

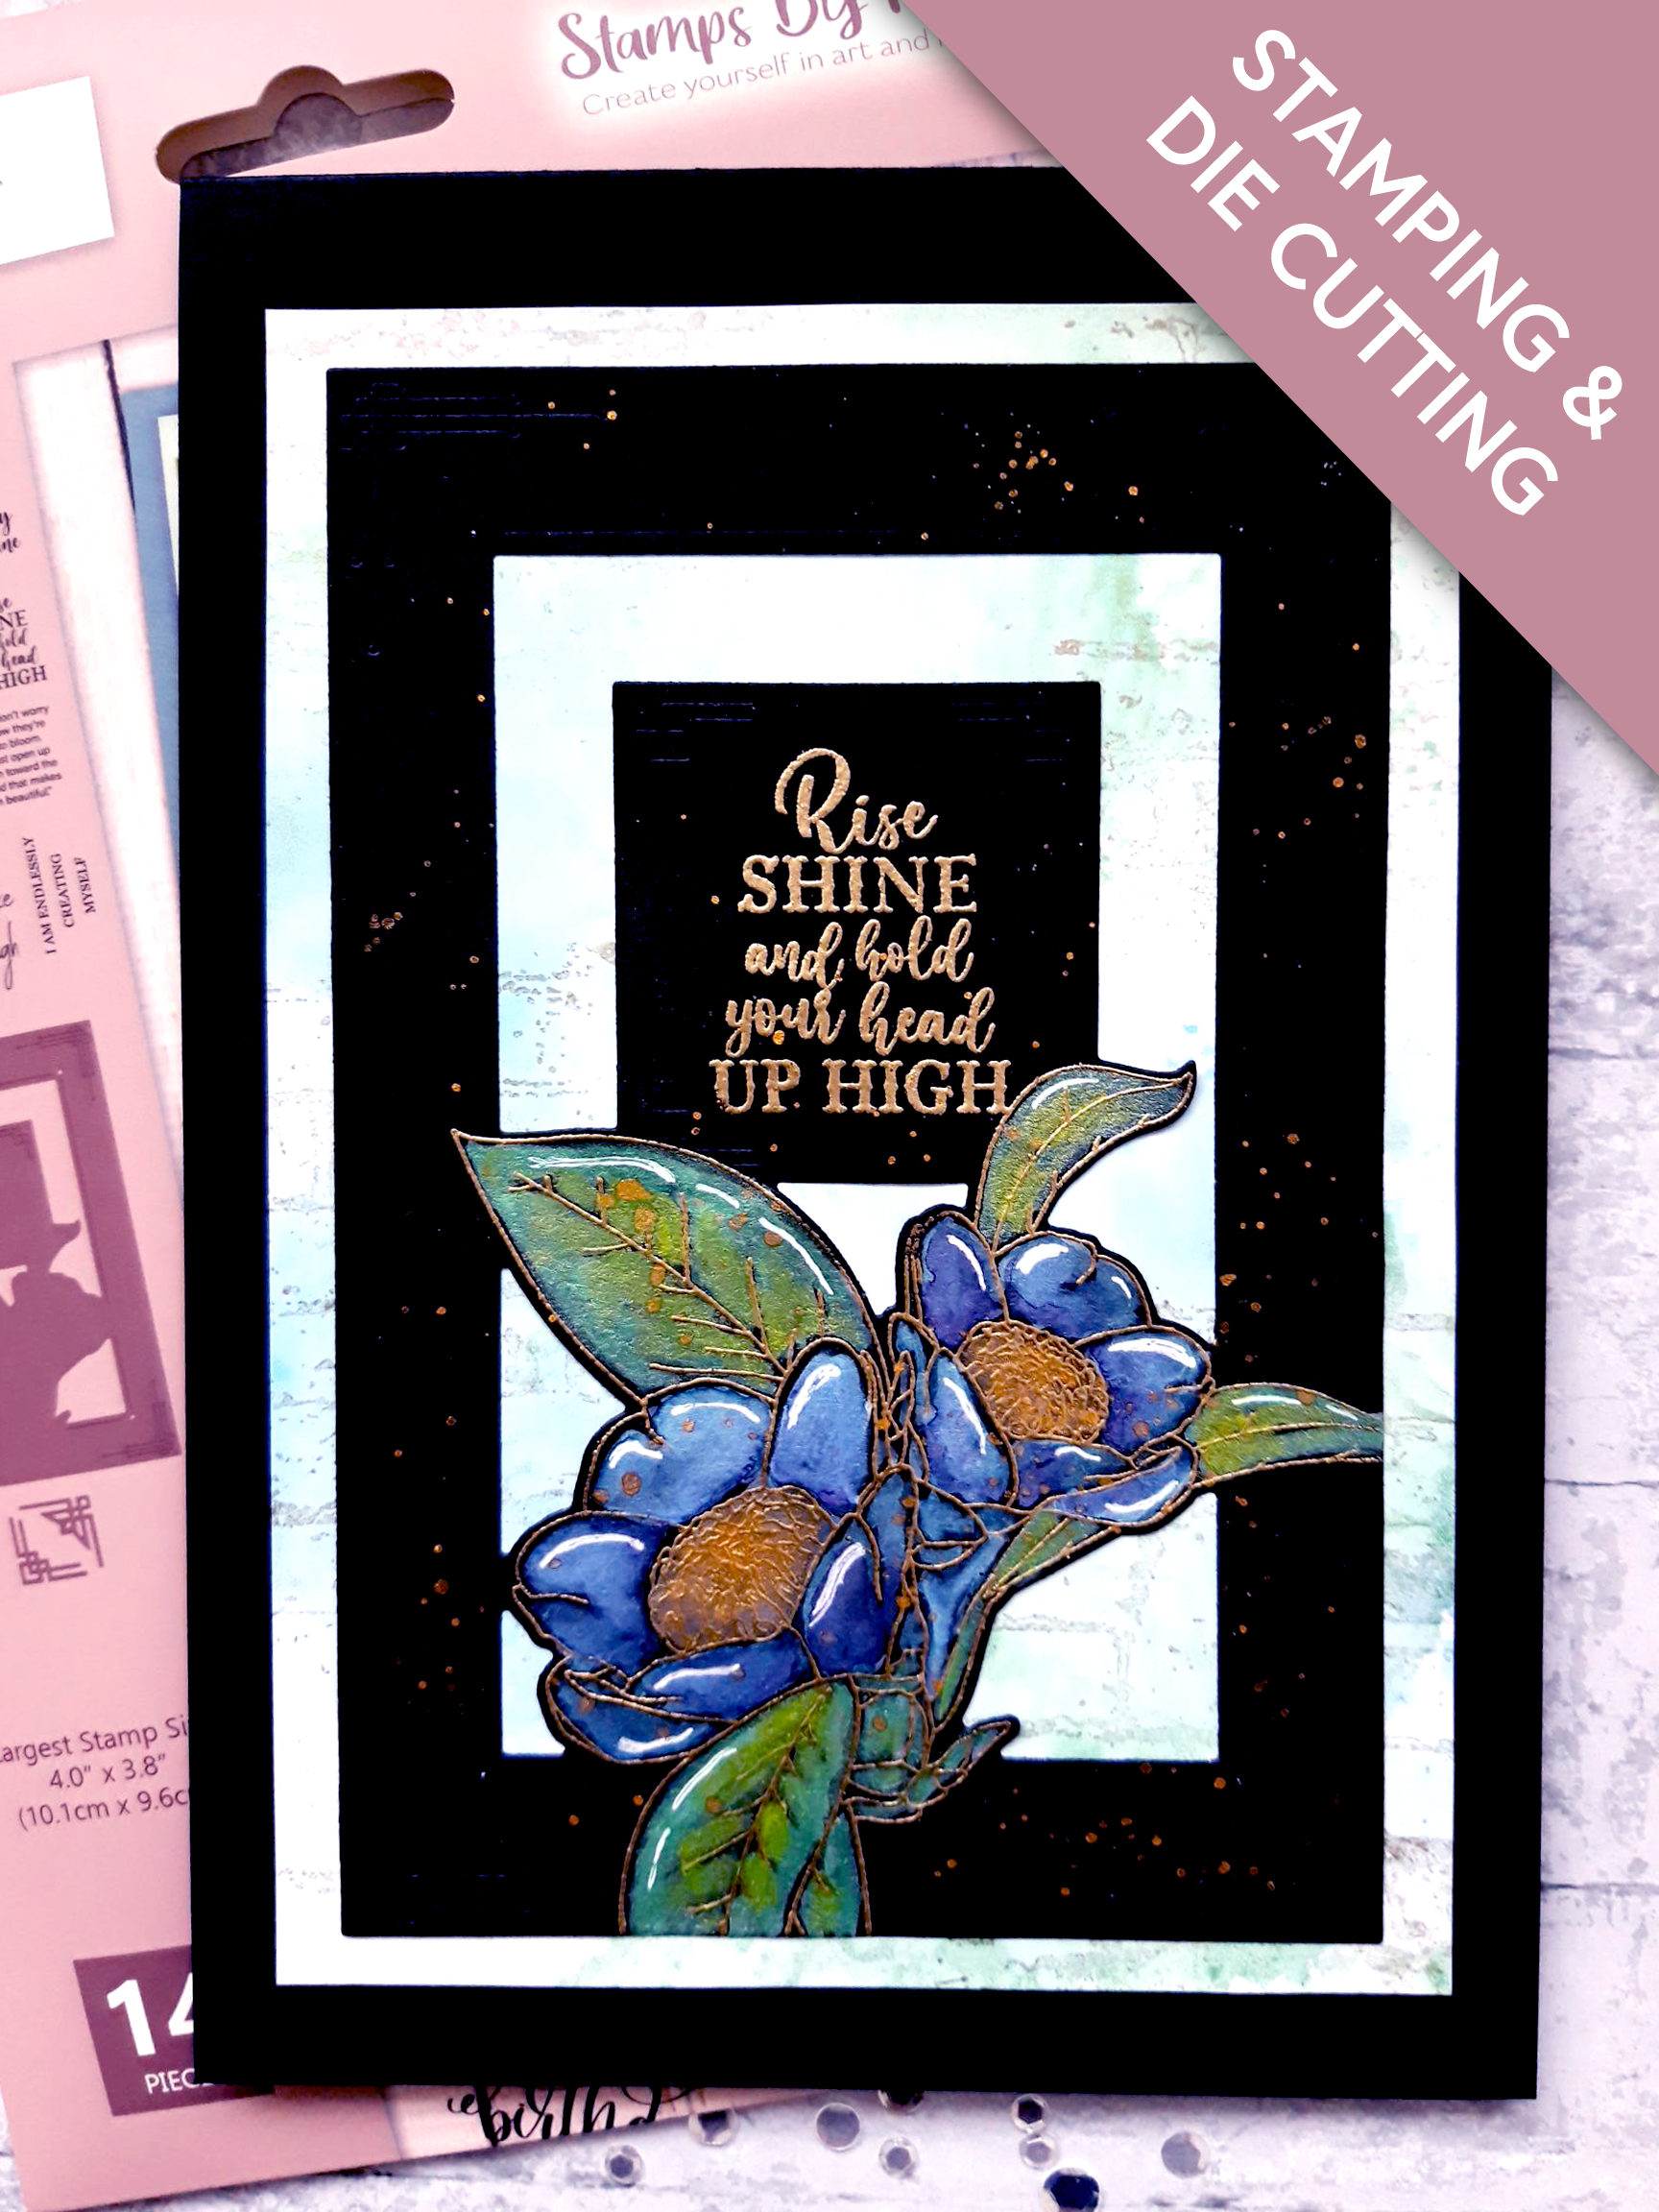
WHAT YOU WILL NEED:
Black top folding card blank (8 1/4 x 5 3/4")
White card (7 1/4 x 5")
Black card (7 x 5")
Stamps and dies from Blossom Vine Stamp And Die Collection
Stamp from Textured Wall Stamp Collection
Versamark sticky ink pad
Anti static bag
Heat gun
Gold embossing powder
Izink Pigment: Avalanche
Izink Shiny Spray: Bleu Ciel, Vert D'Eau, Vert Anis
Izink Dye Spray: Cassis Violet, Goldmine
Izink Embossing ink Pad: Metal Gold
Water spray bottle
Paint brush
Eureka 101
Paper Trimmer
Perfect Together Glue
Die Cutting machine
[click image to enlarge] 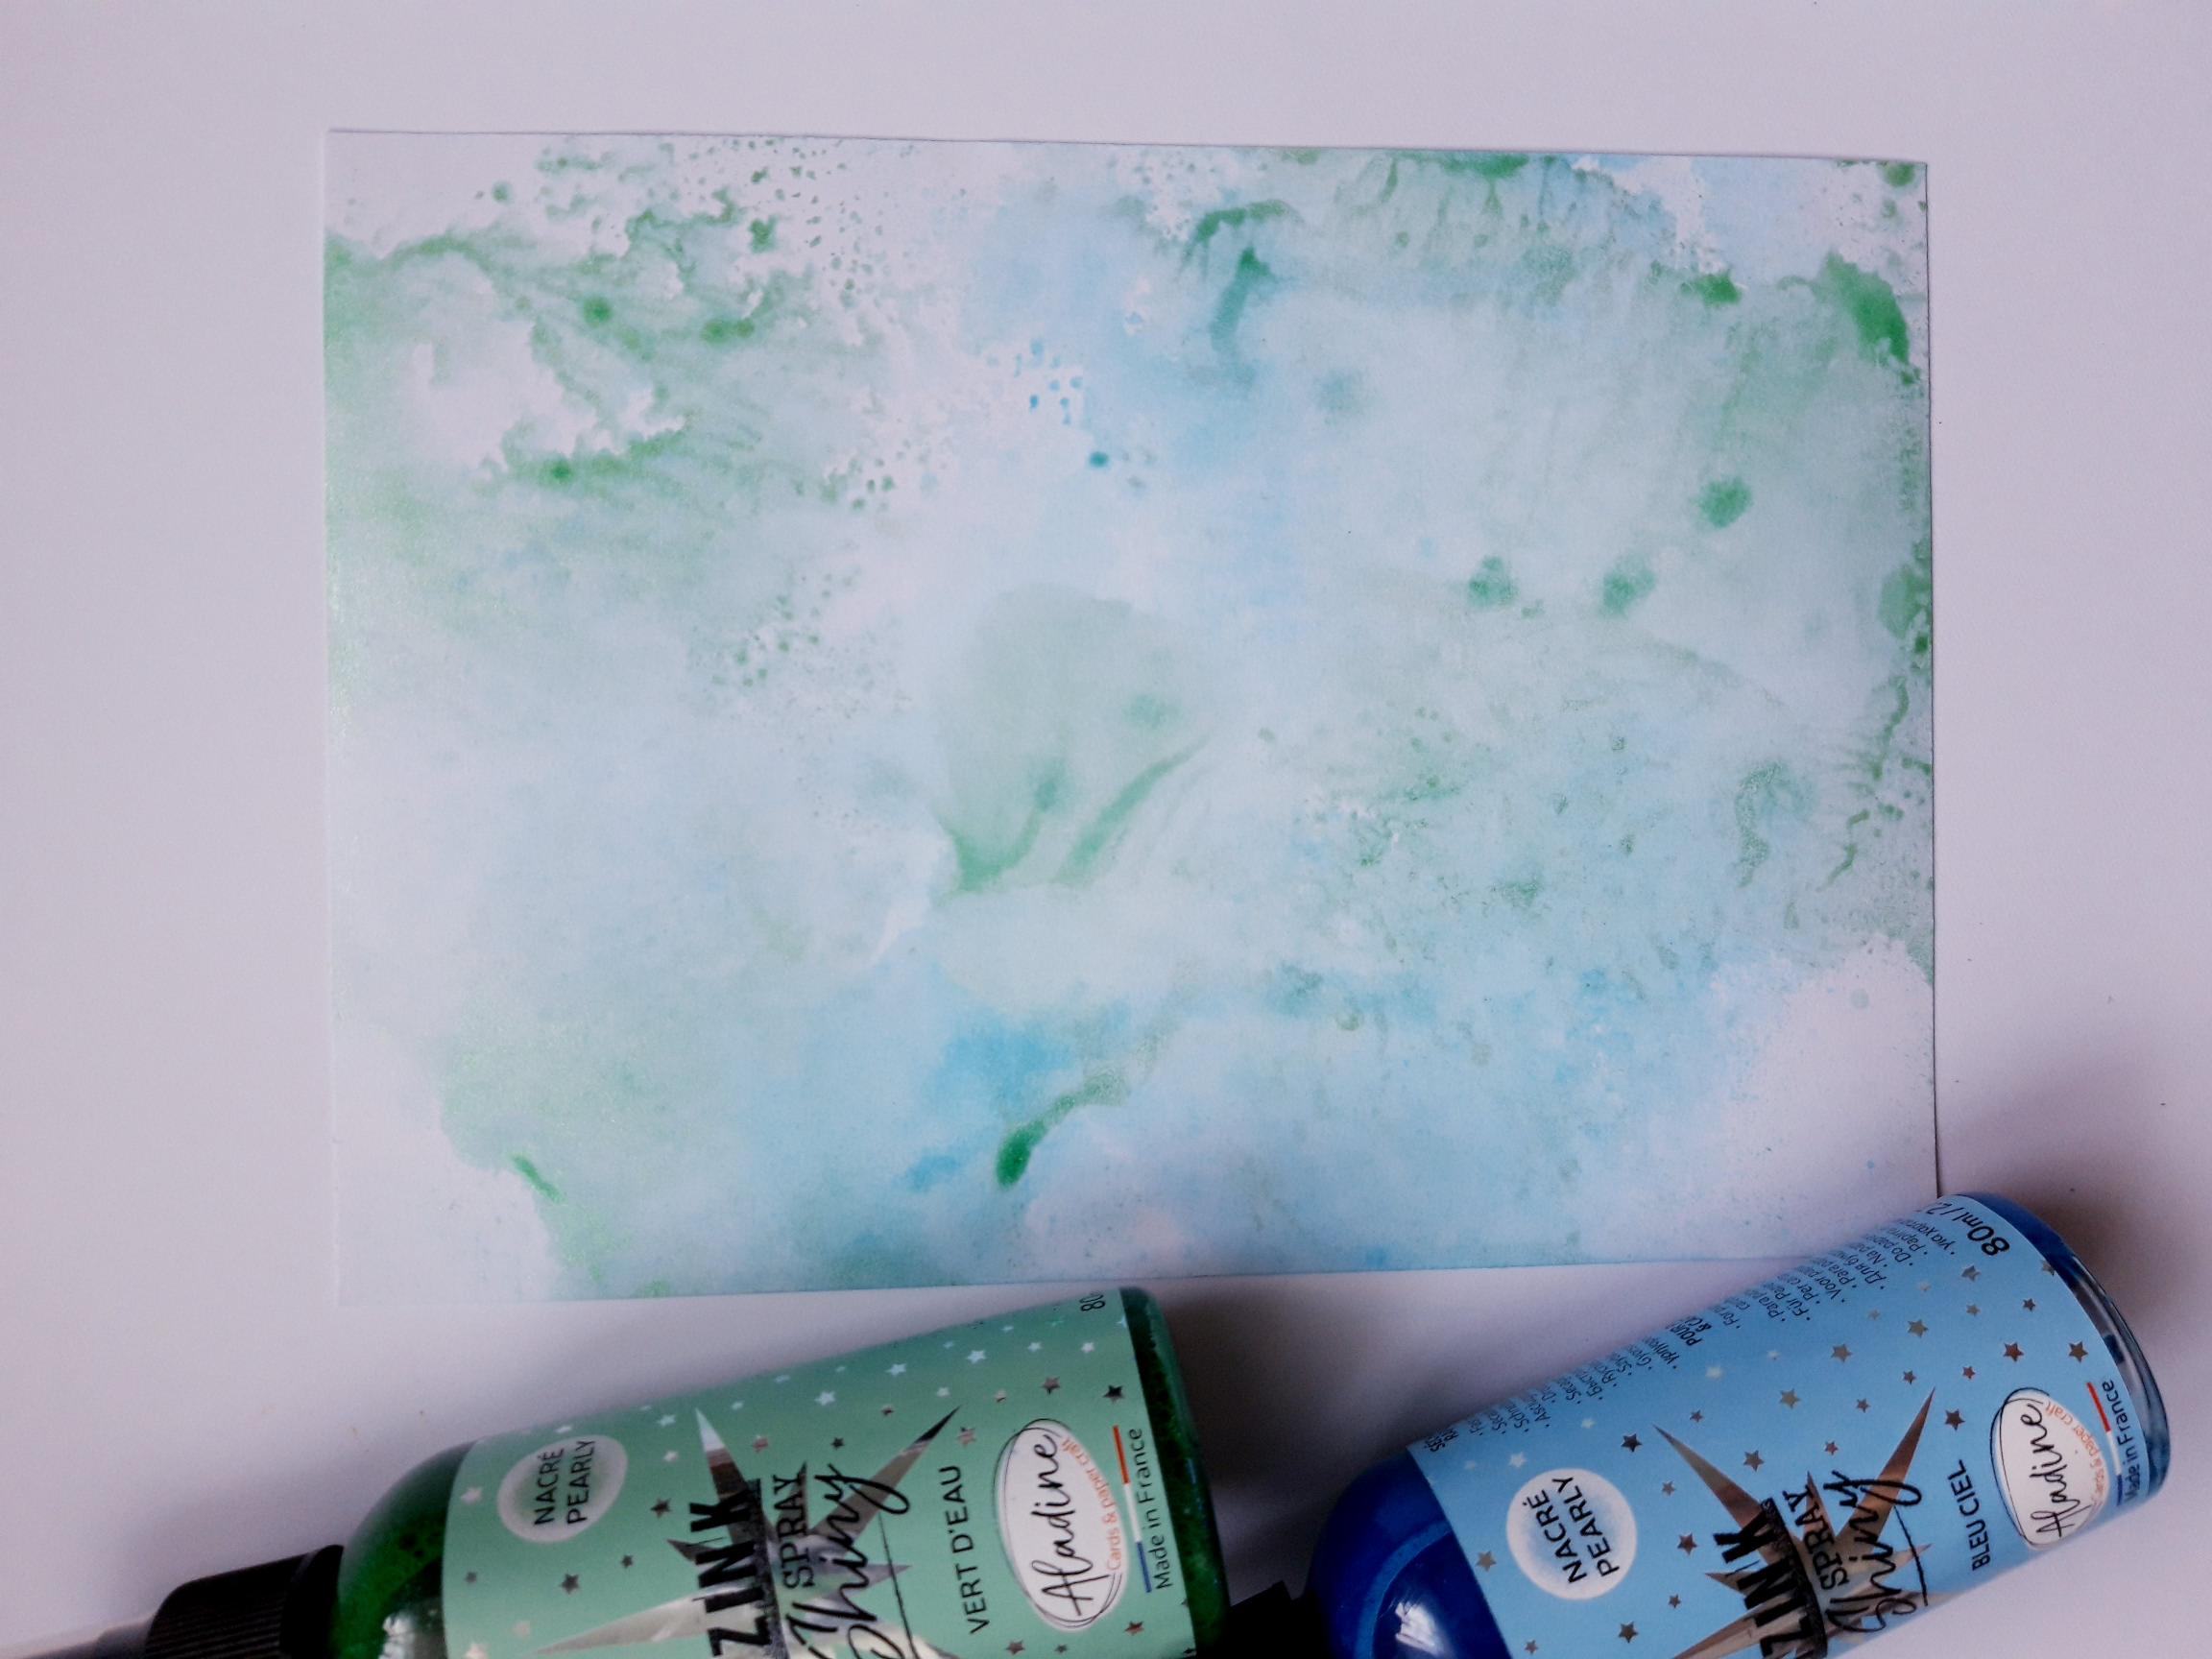
|
Spray the Izink Bleu Ciel on to a craft or glass mat. Spritz with water and smoosh the white card (7 1/4 x 5"), in to the ink. Repeat with the Izink Vert D'Eau spray, and dry off your background. |
|
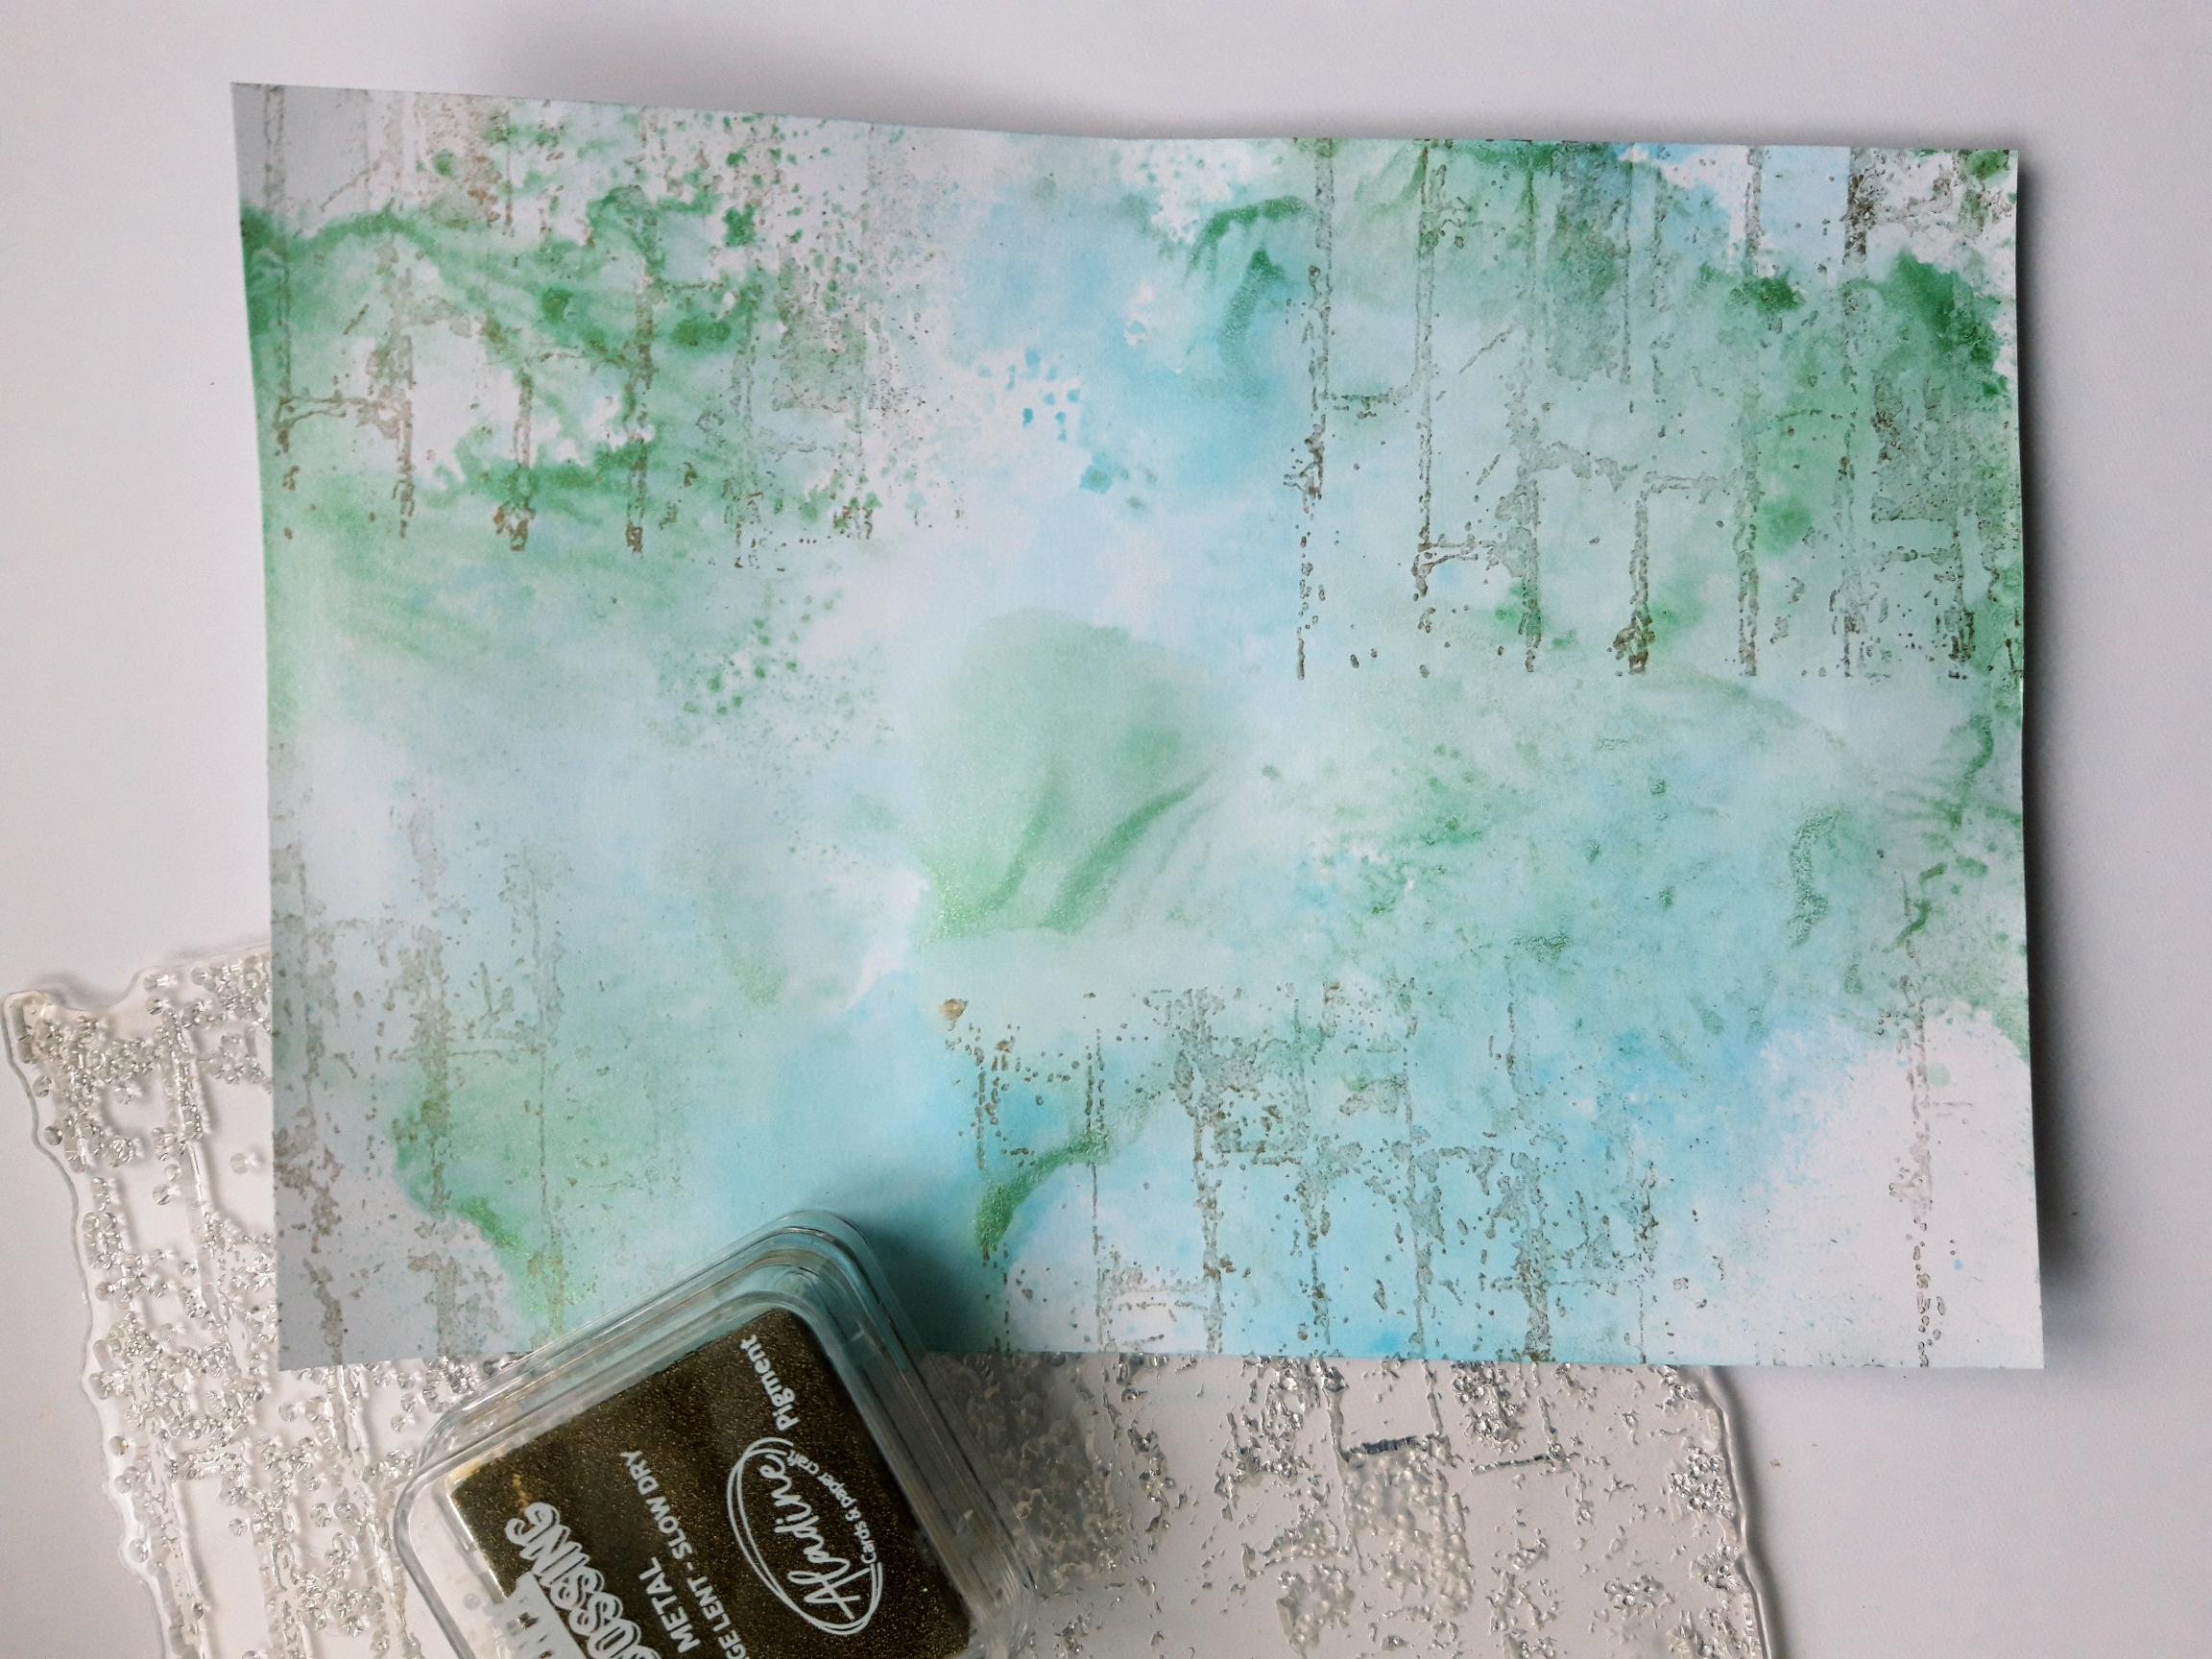
Ink up the stamp from the Textured Wall Collection, with the Izink Goldmine Embossing ink pad. Randomly stamp areas of the wall on to your background, until you are happy with the effect. Set to one side to allow to dry, or speed it up with a heat gun, as the Embossing ink is very slow drying. |
|
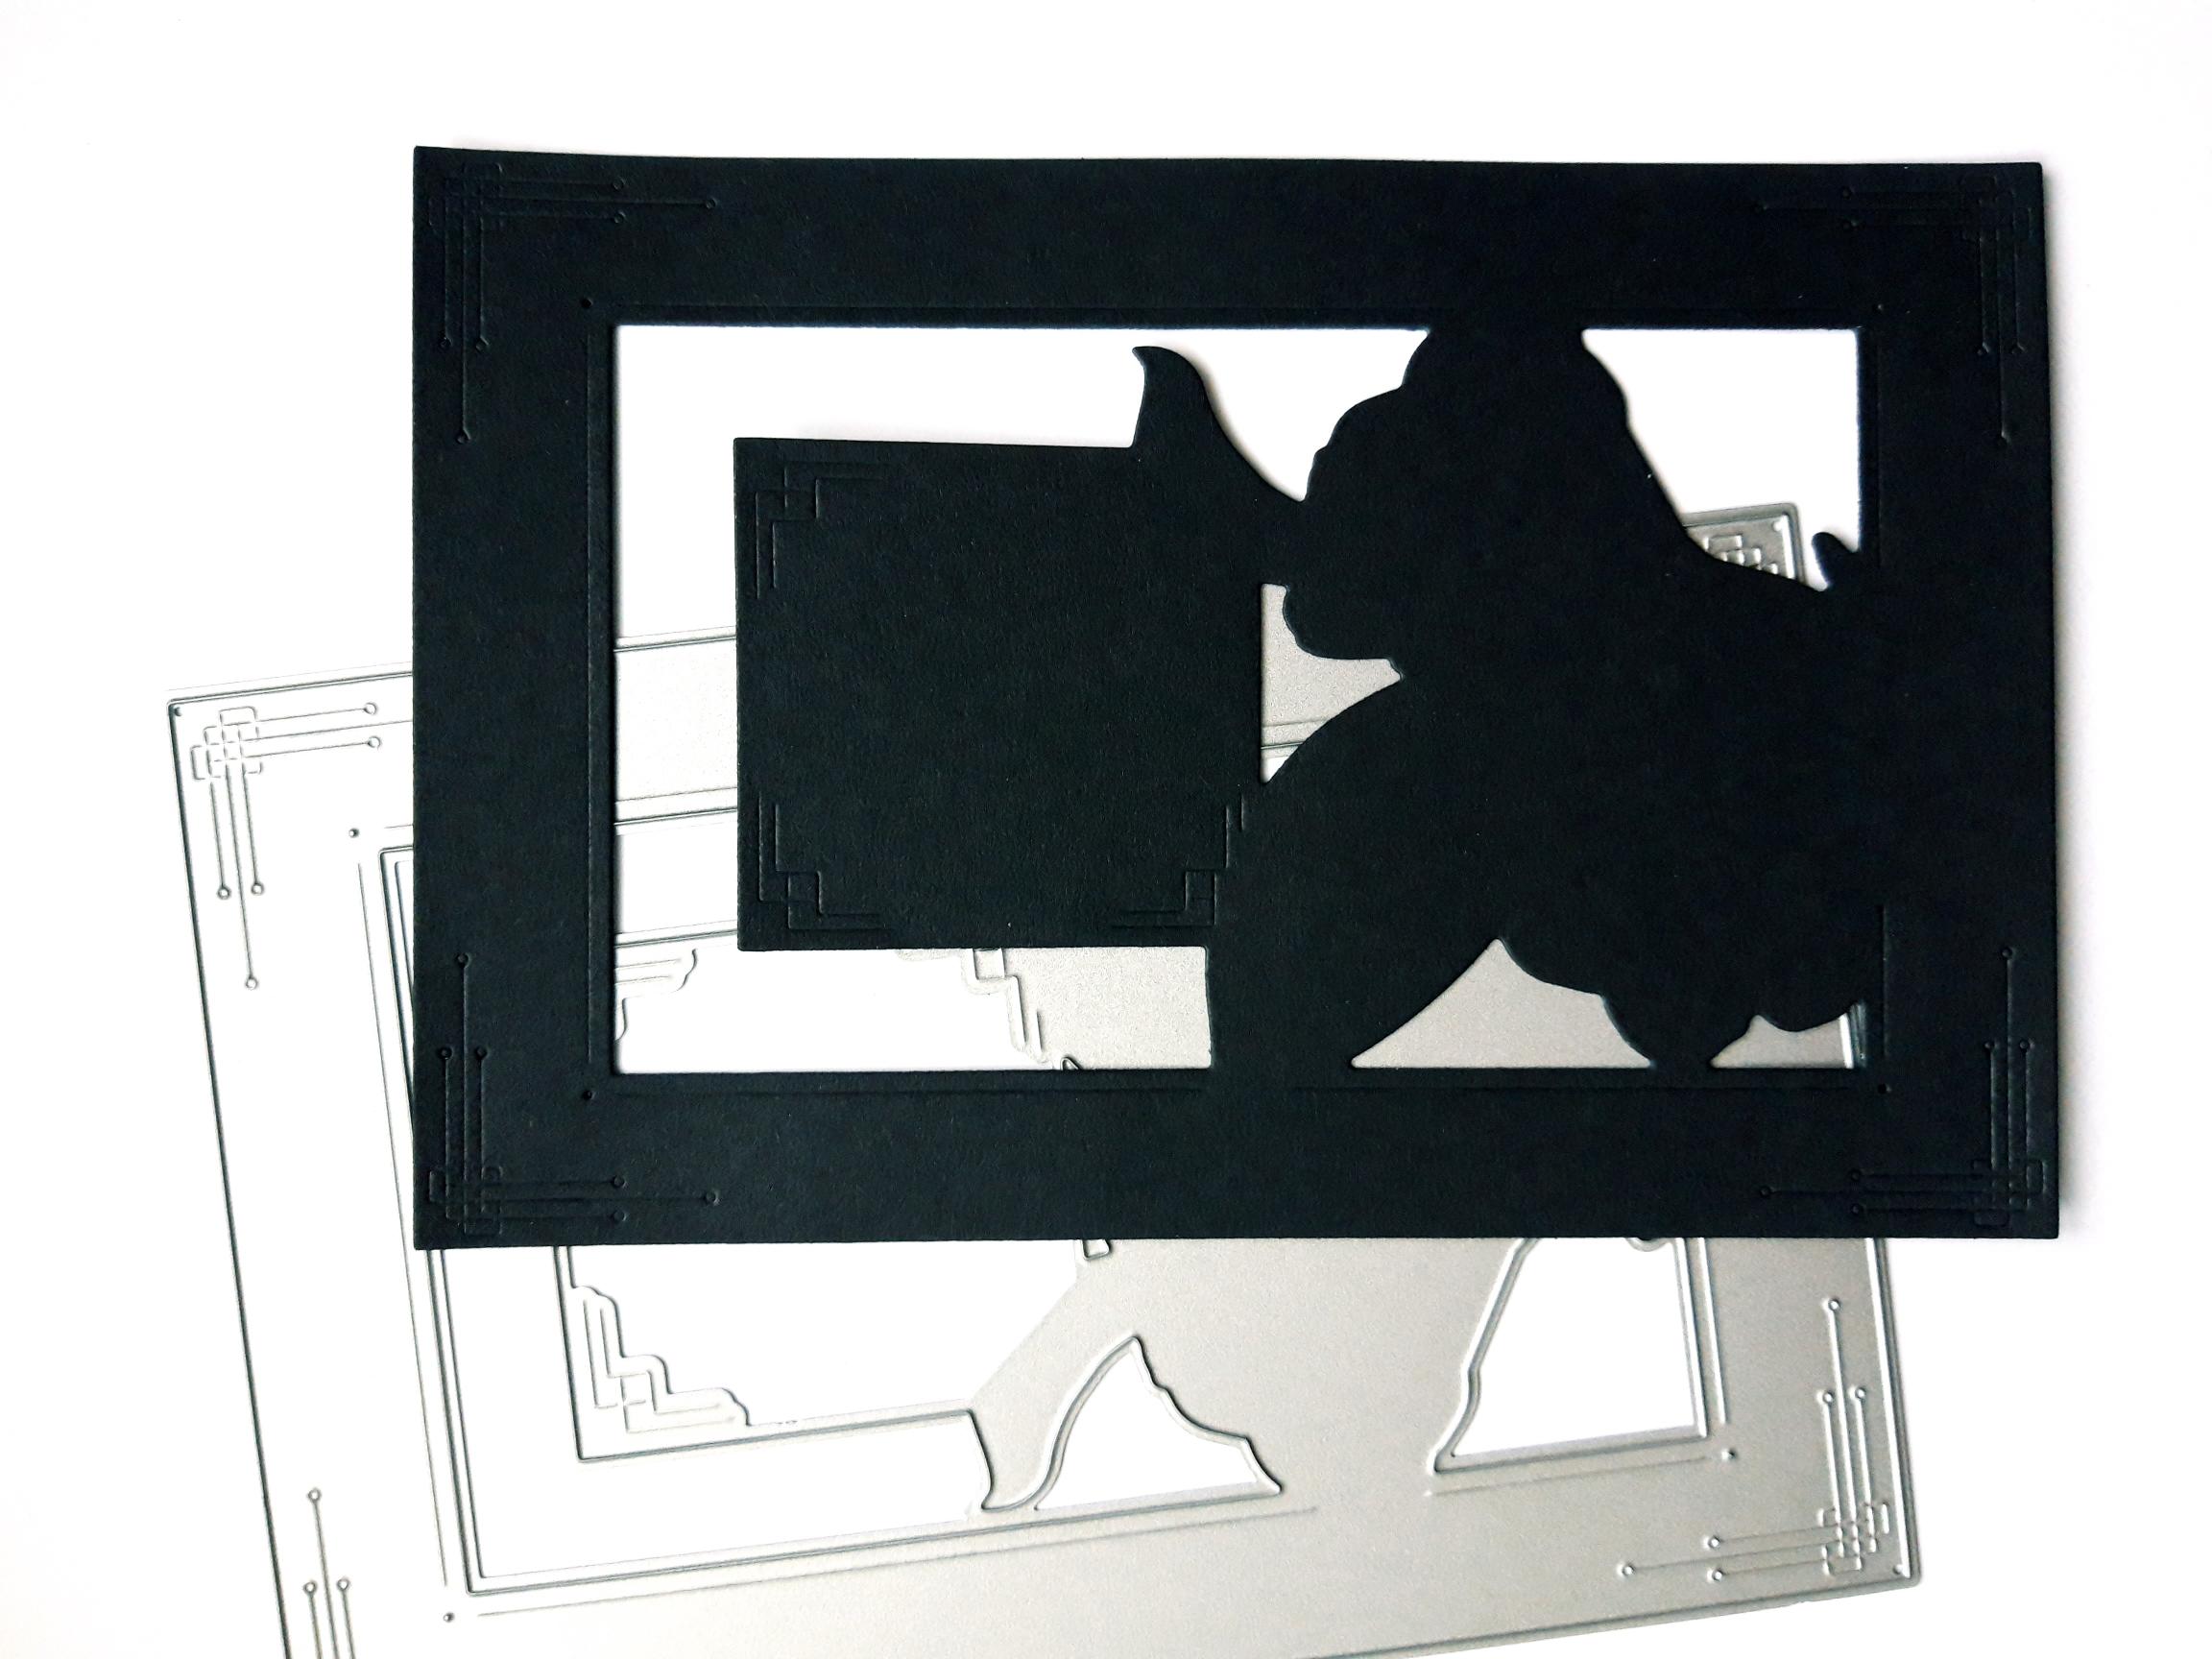
Lay the plate from the Blossom Vine Stamp And Die Collection, on to the black card, and run it through your die cutting machine. |
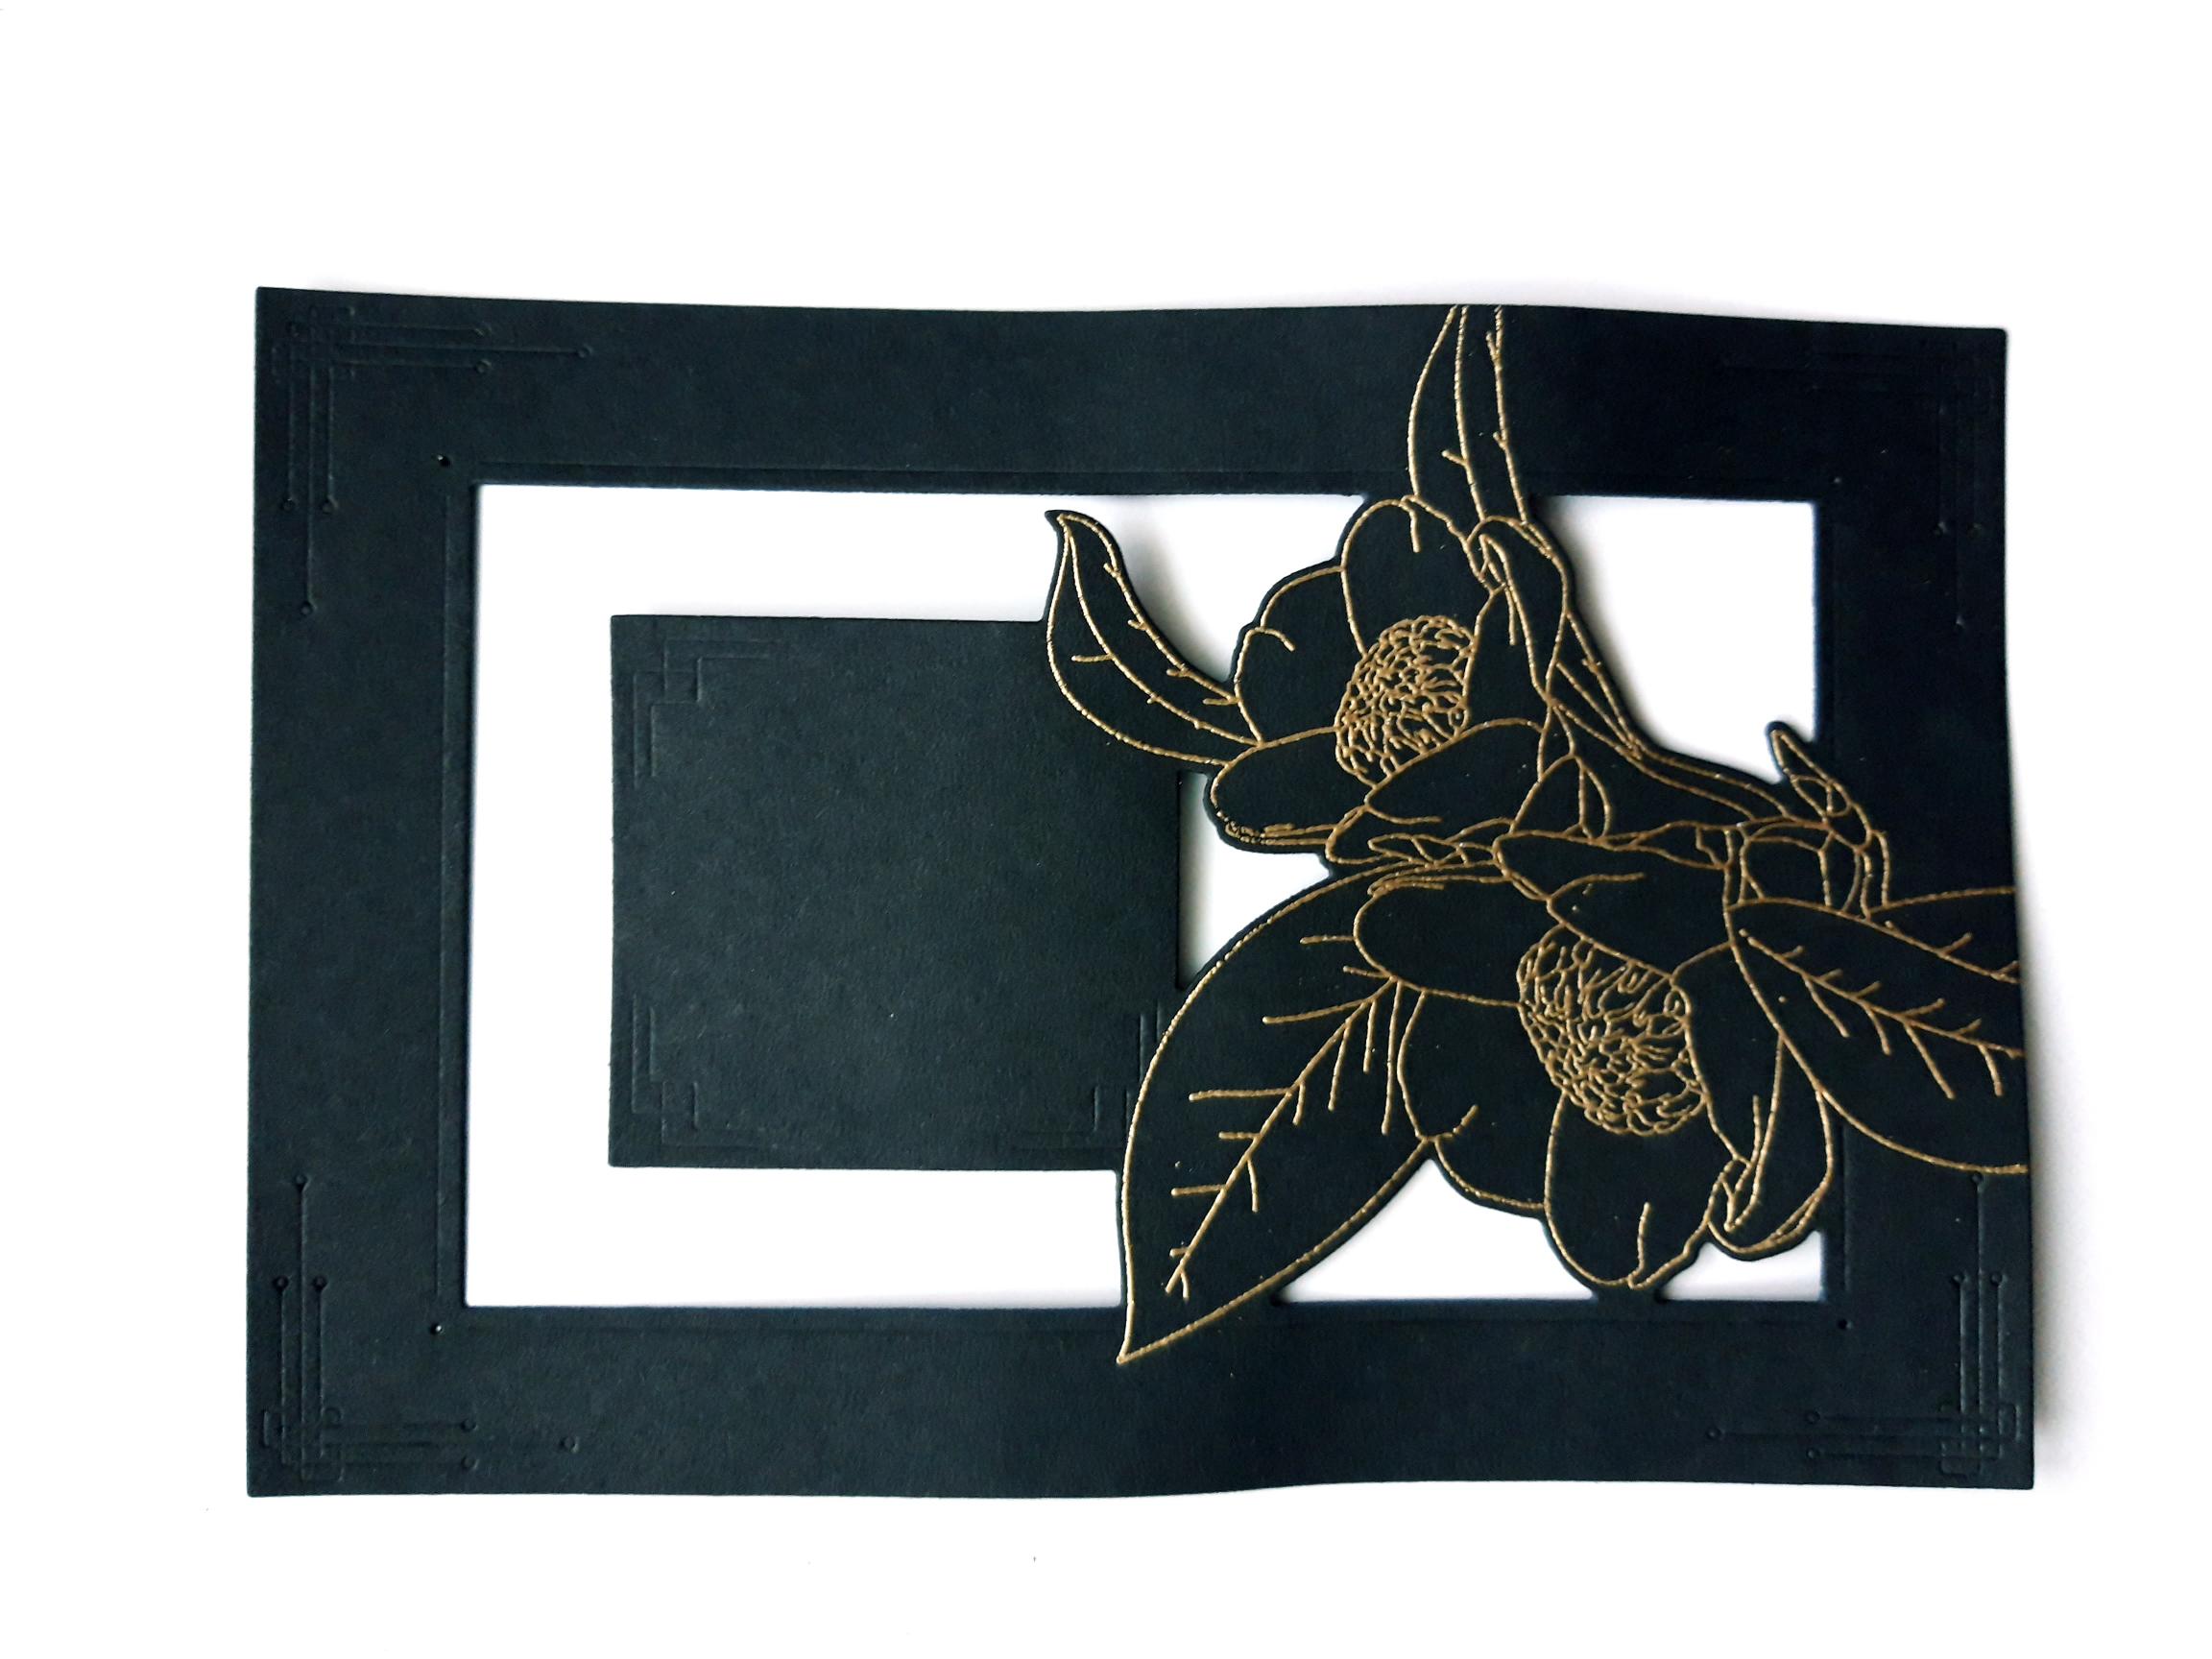
|
Wipe over the die cut frame with an anti static bag. Ink up the coordinating stamp with the Versamark sticky ink, and stamp in place, on your die cut frame. Apply the gold embossing powder over the stamped image. Heat up your gun for a few seconds, then once hot, heat set the powder, moving the heat gun as soon as the powder turns, to minimise warping your card. |
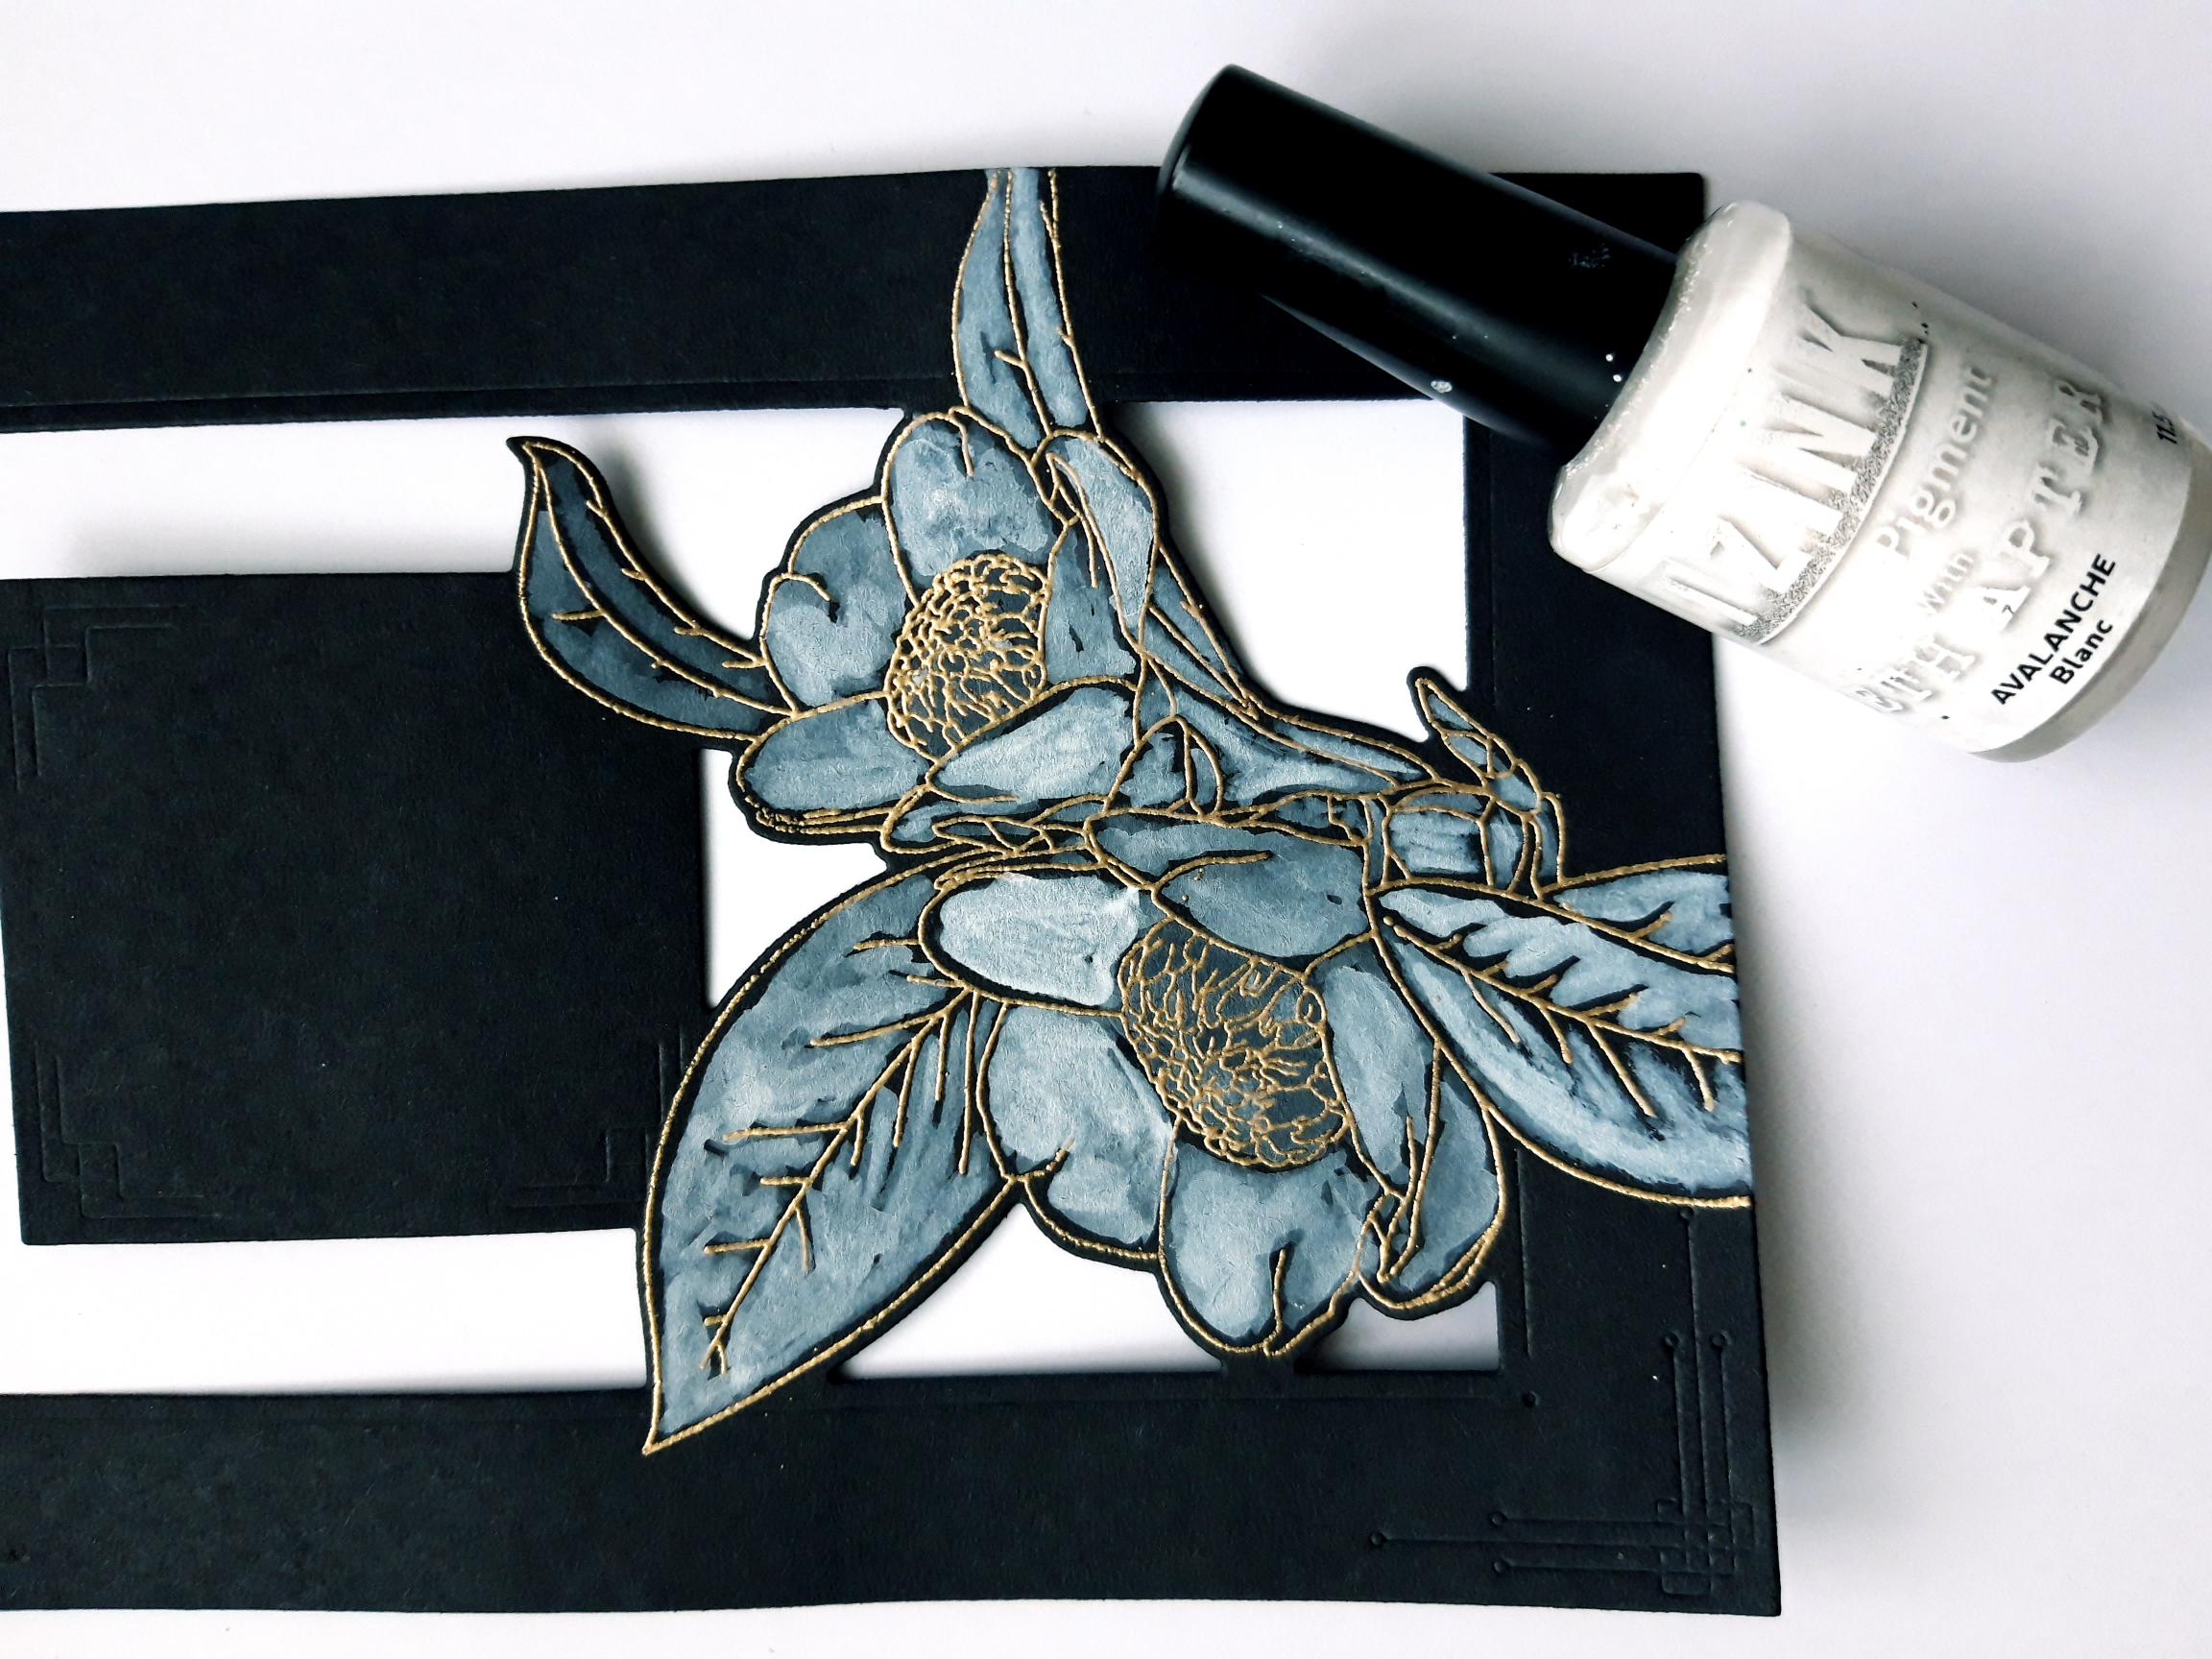
|
Apply the Izink Avalanche Pigment on to your craft mat, add a little water and paint your embossed image. As the card is so dark, painting with white first will act as a base, allowing other colours to show up more clearly. Allow to dry before proceeding to the next step. |
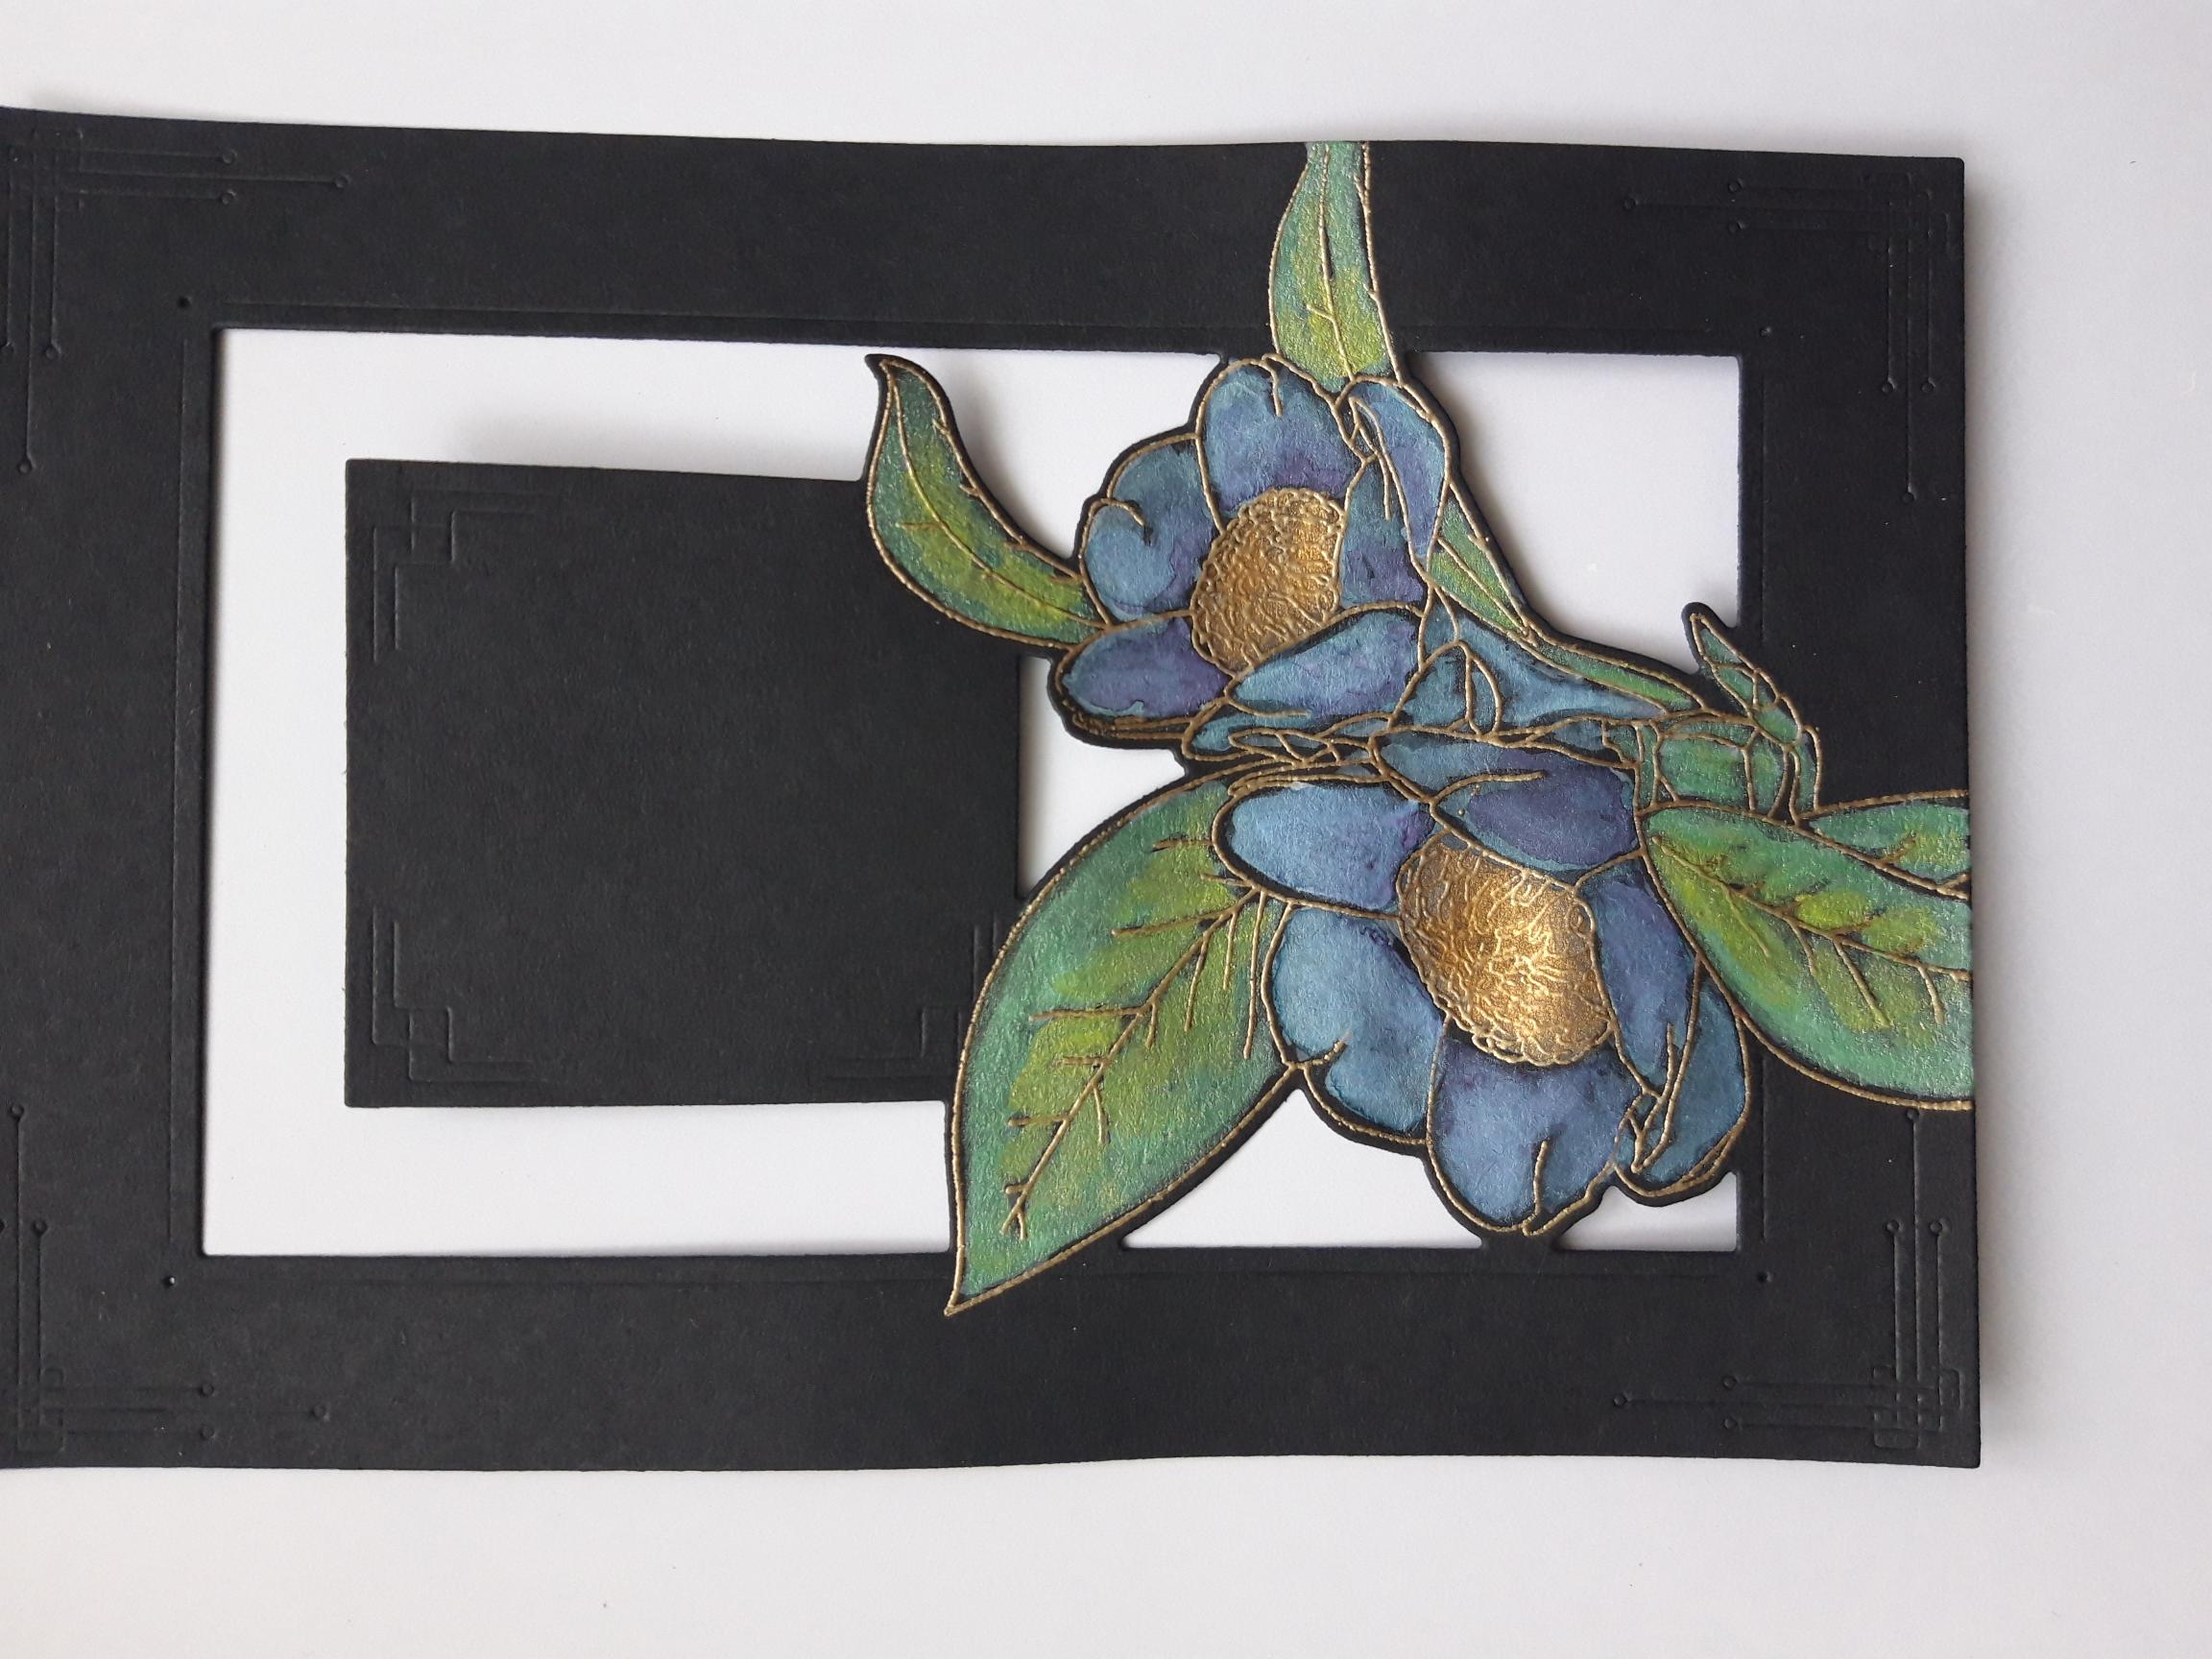
|
Spray the Izink Bleu Ciel, Cassis Violet, Vert D'Eau and Vert Anis on to your craft mat. Add water and paint your embossed image. You can dry in between layers, until you achieve the required depth of colour. |
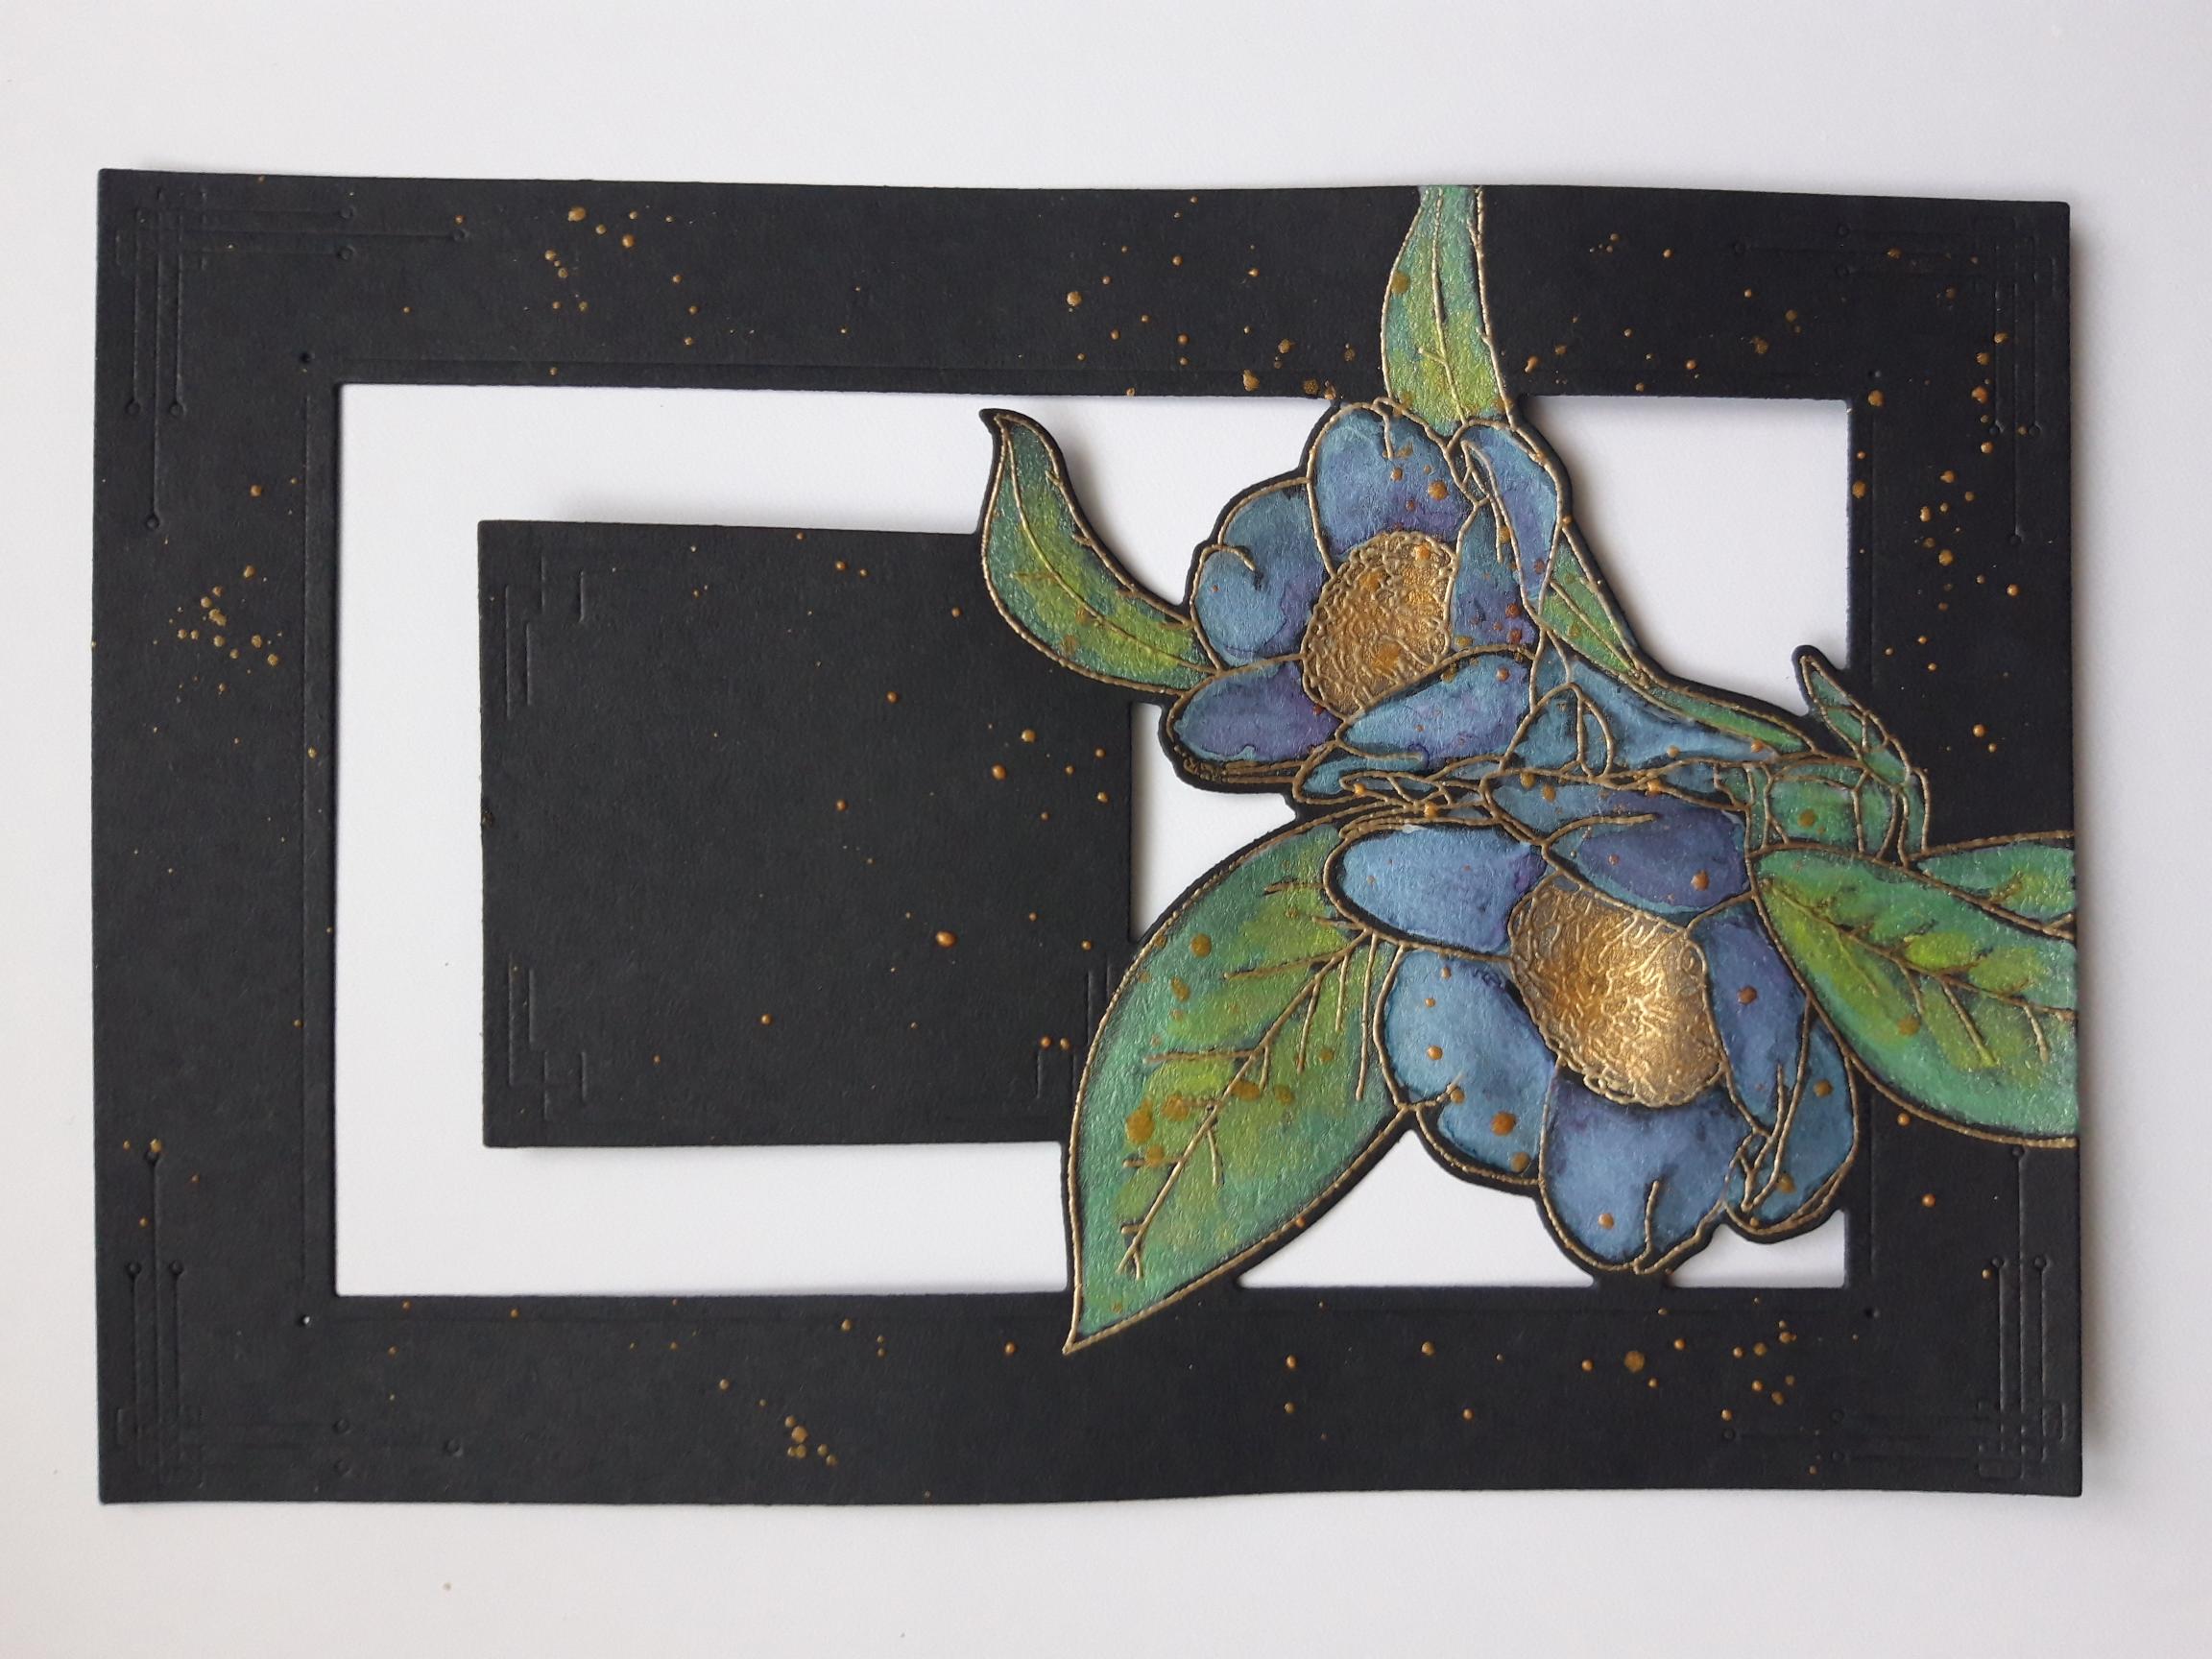
|
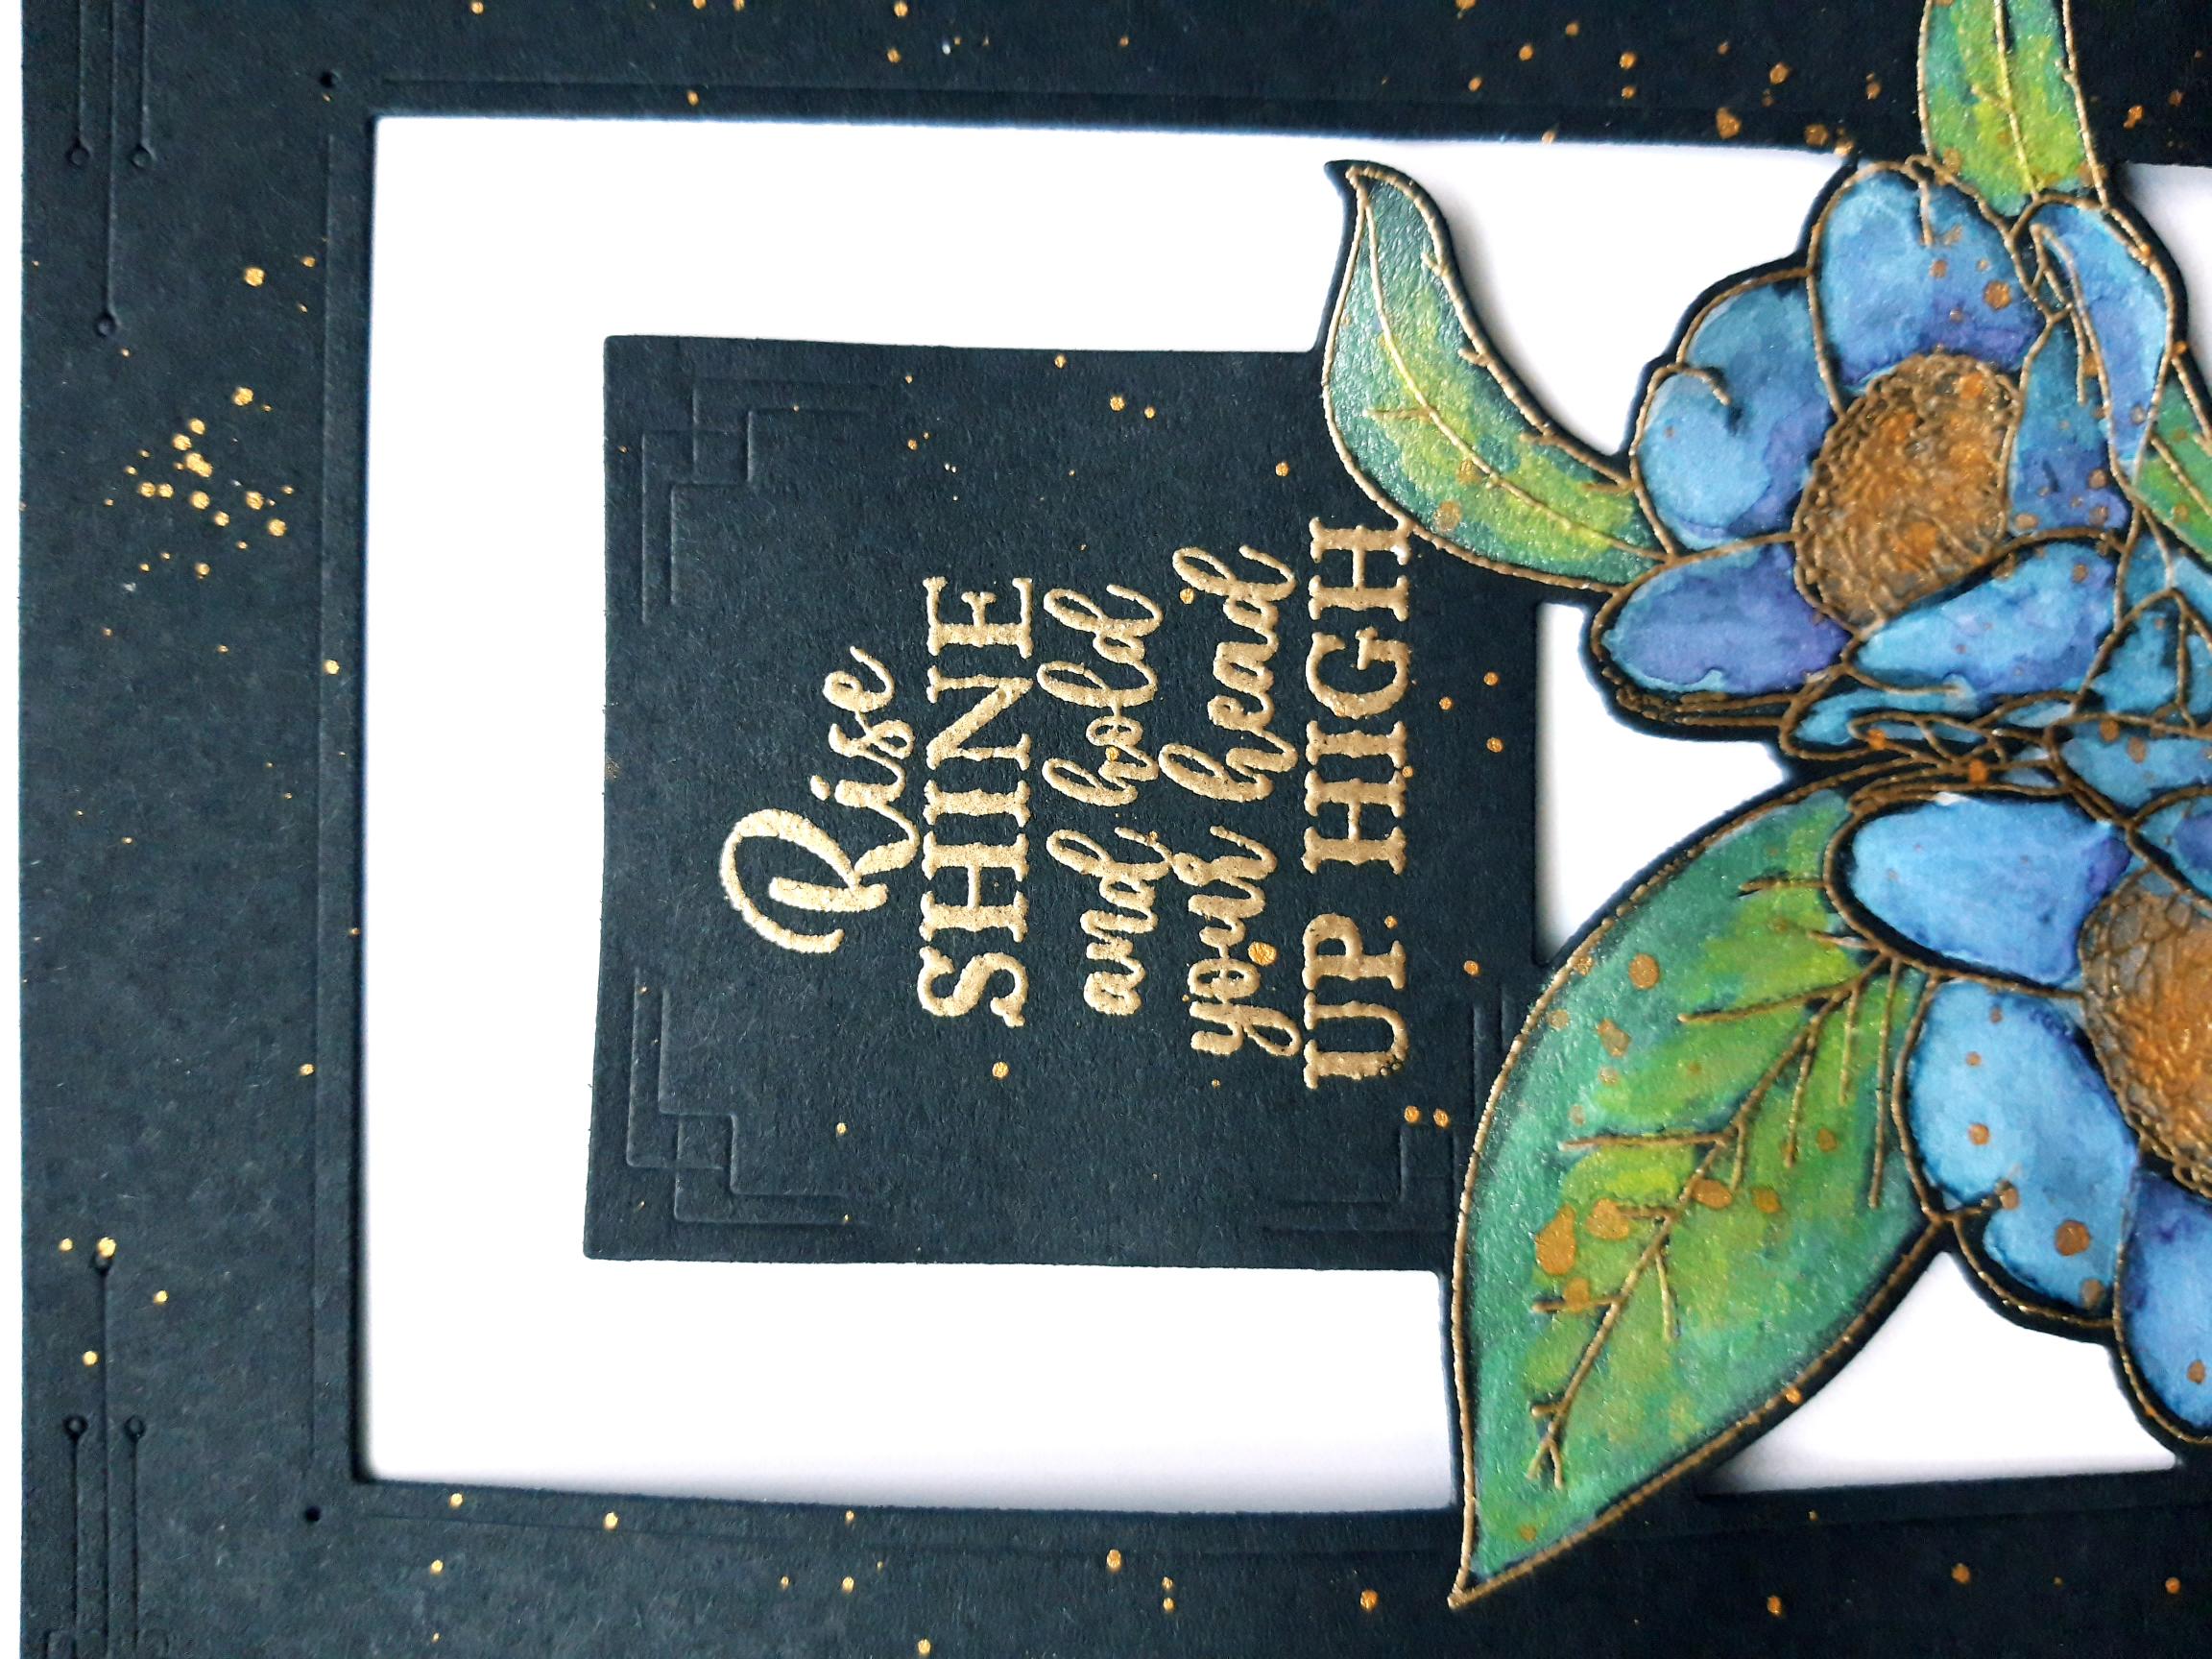
Spray the Izink Goldmine on to your craft mat, add some water and add splats to your artwork, as desired. I love lots of splats!! |
|
Wipe over the square panel in the centre of your frame, with the anti static bag. Ink up the sentiment stamp, from the same set, with the Versamark, and stamp it in the centre of the panel. Apply the gold embossing powder over your stamped sentiment, and heat set, as before. |
|
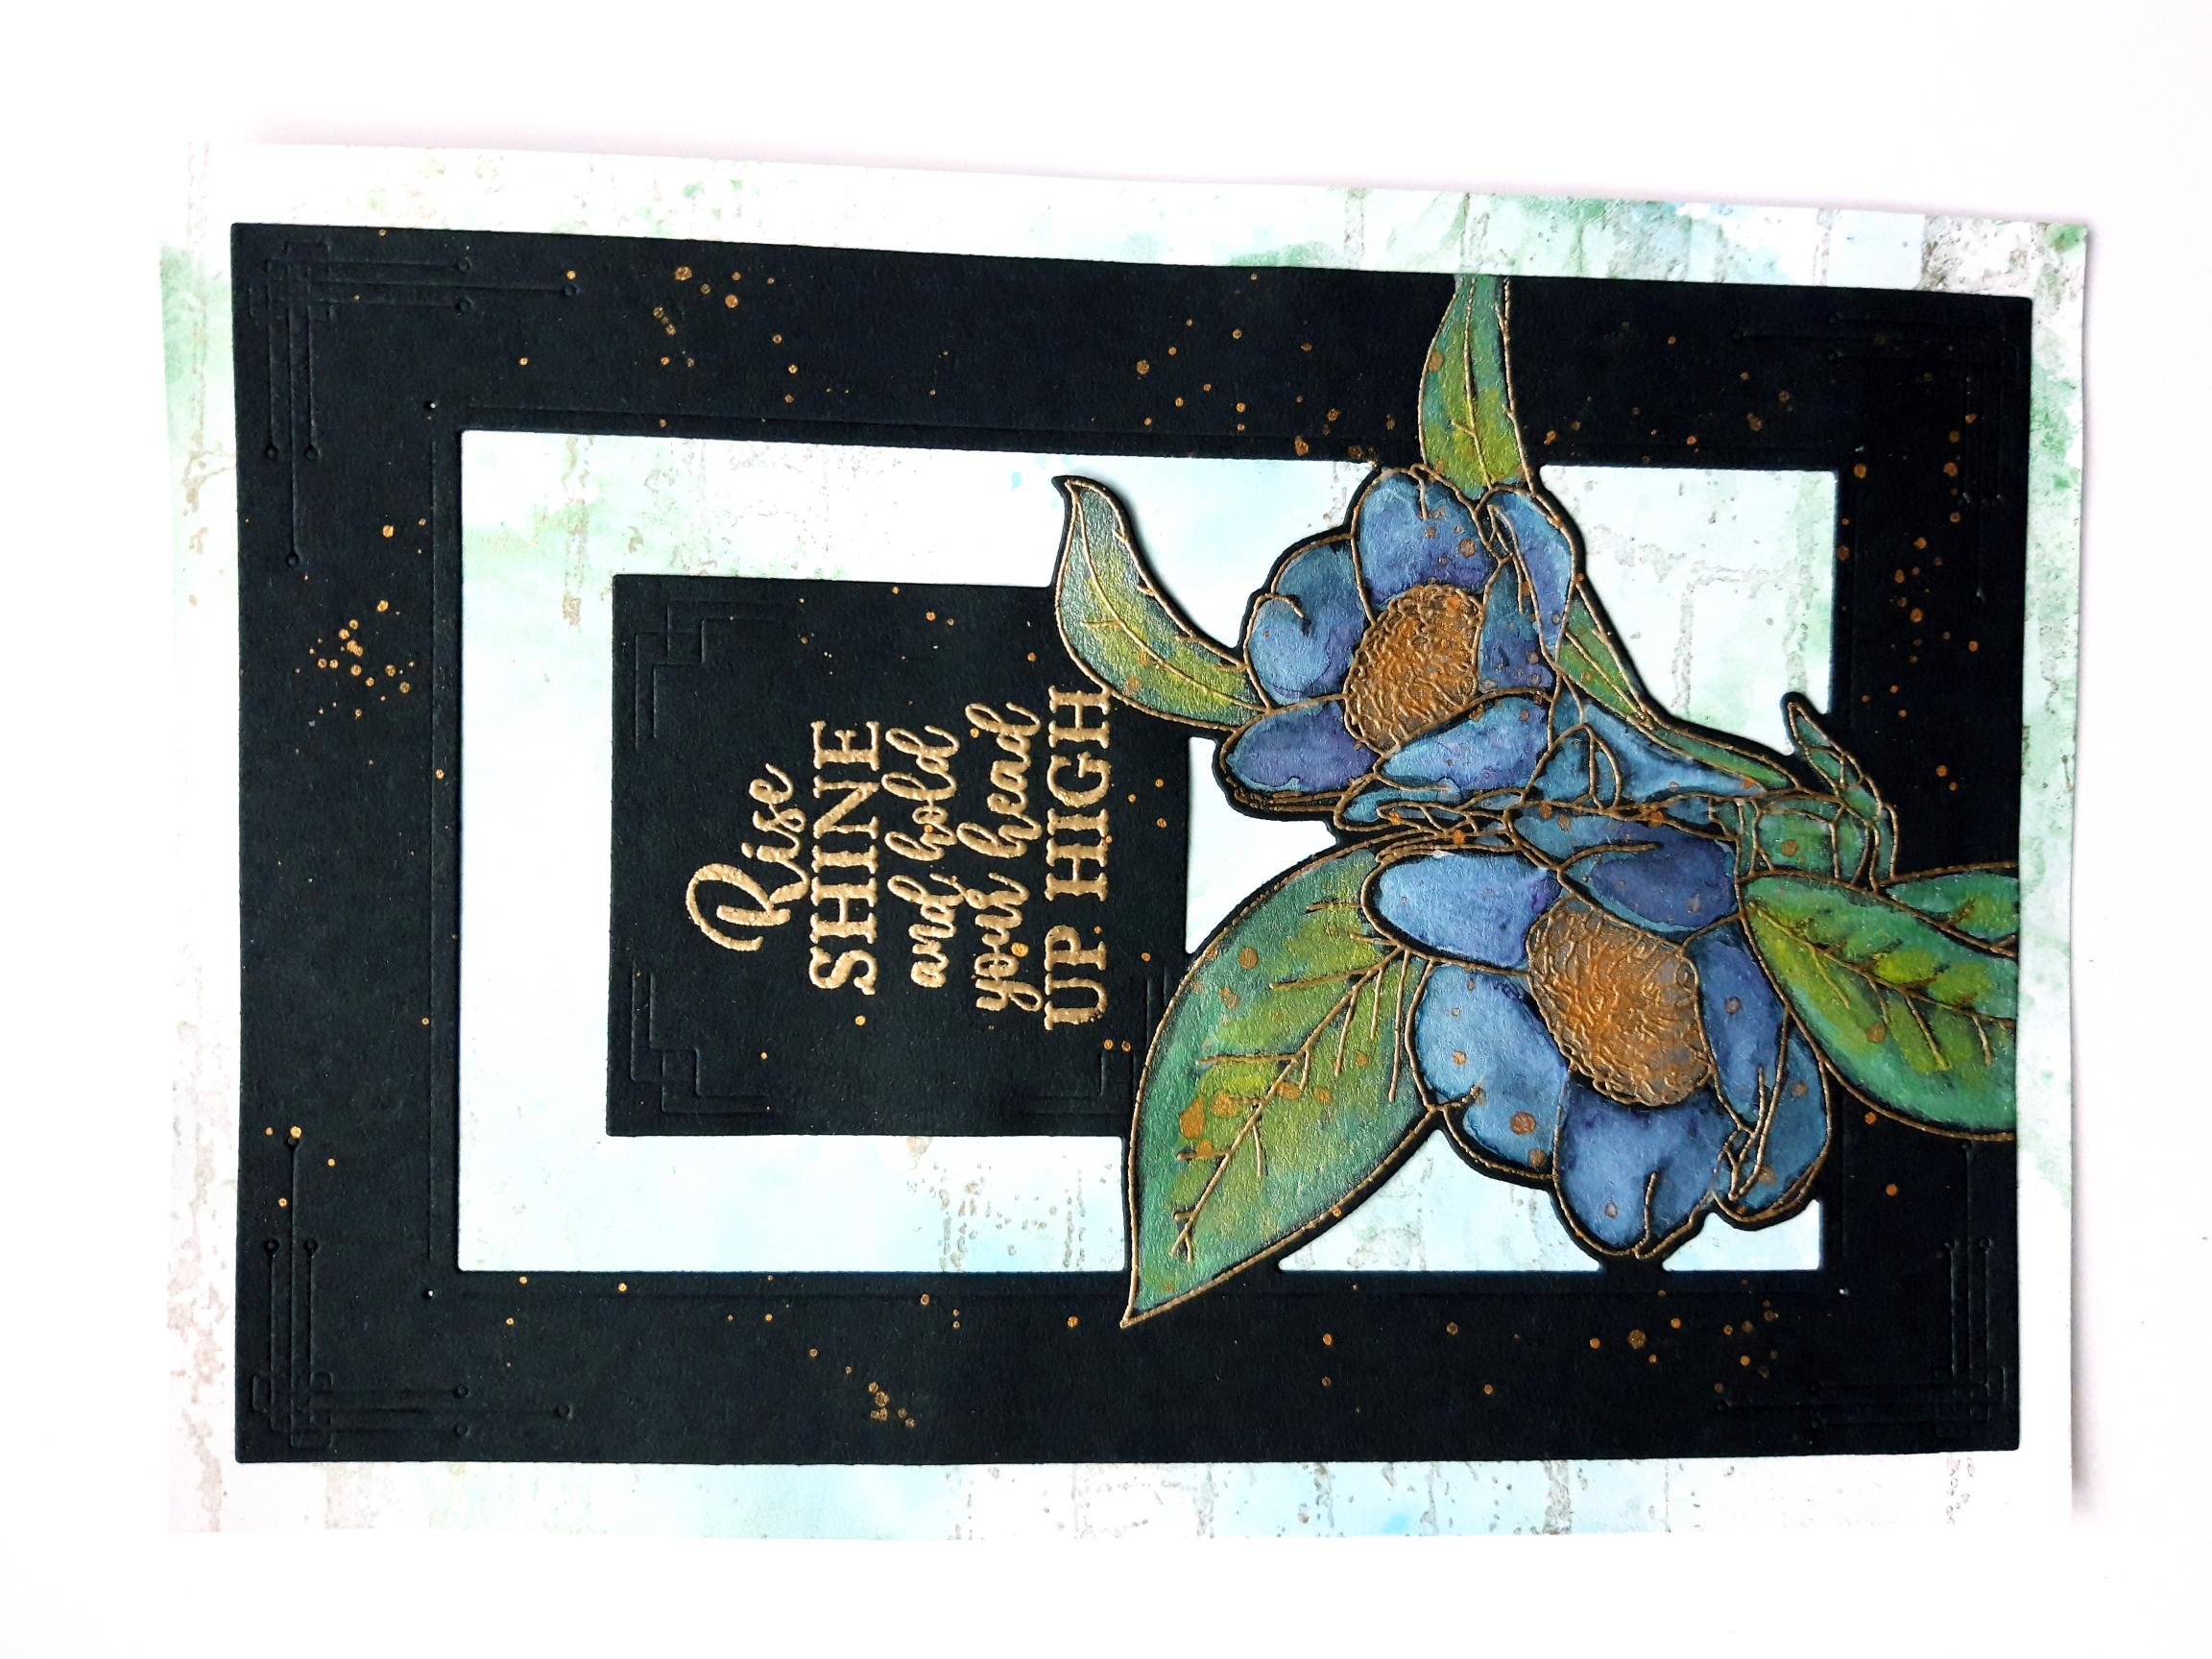
Glue your embossed frame on to the inked background, you made earlier. |
|
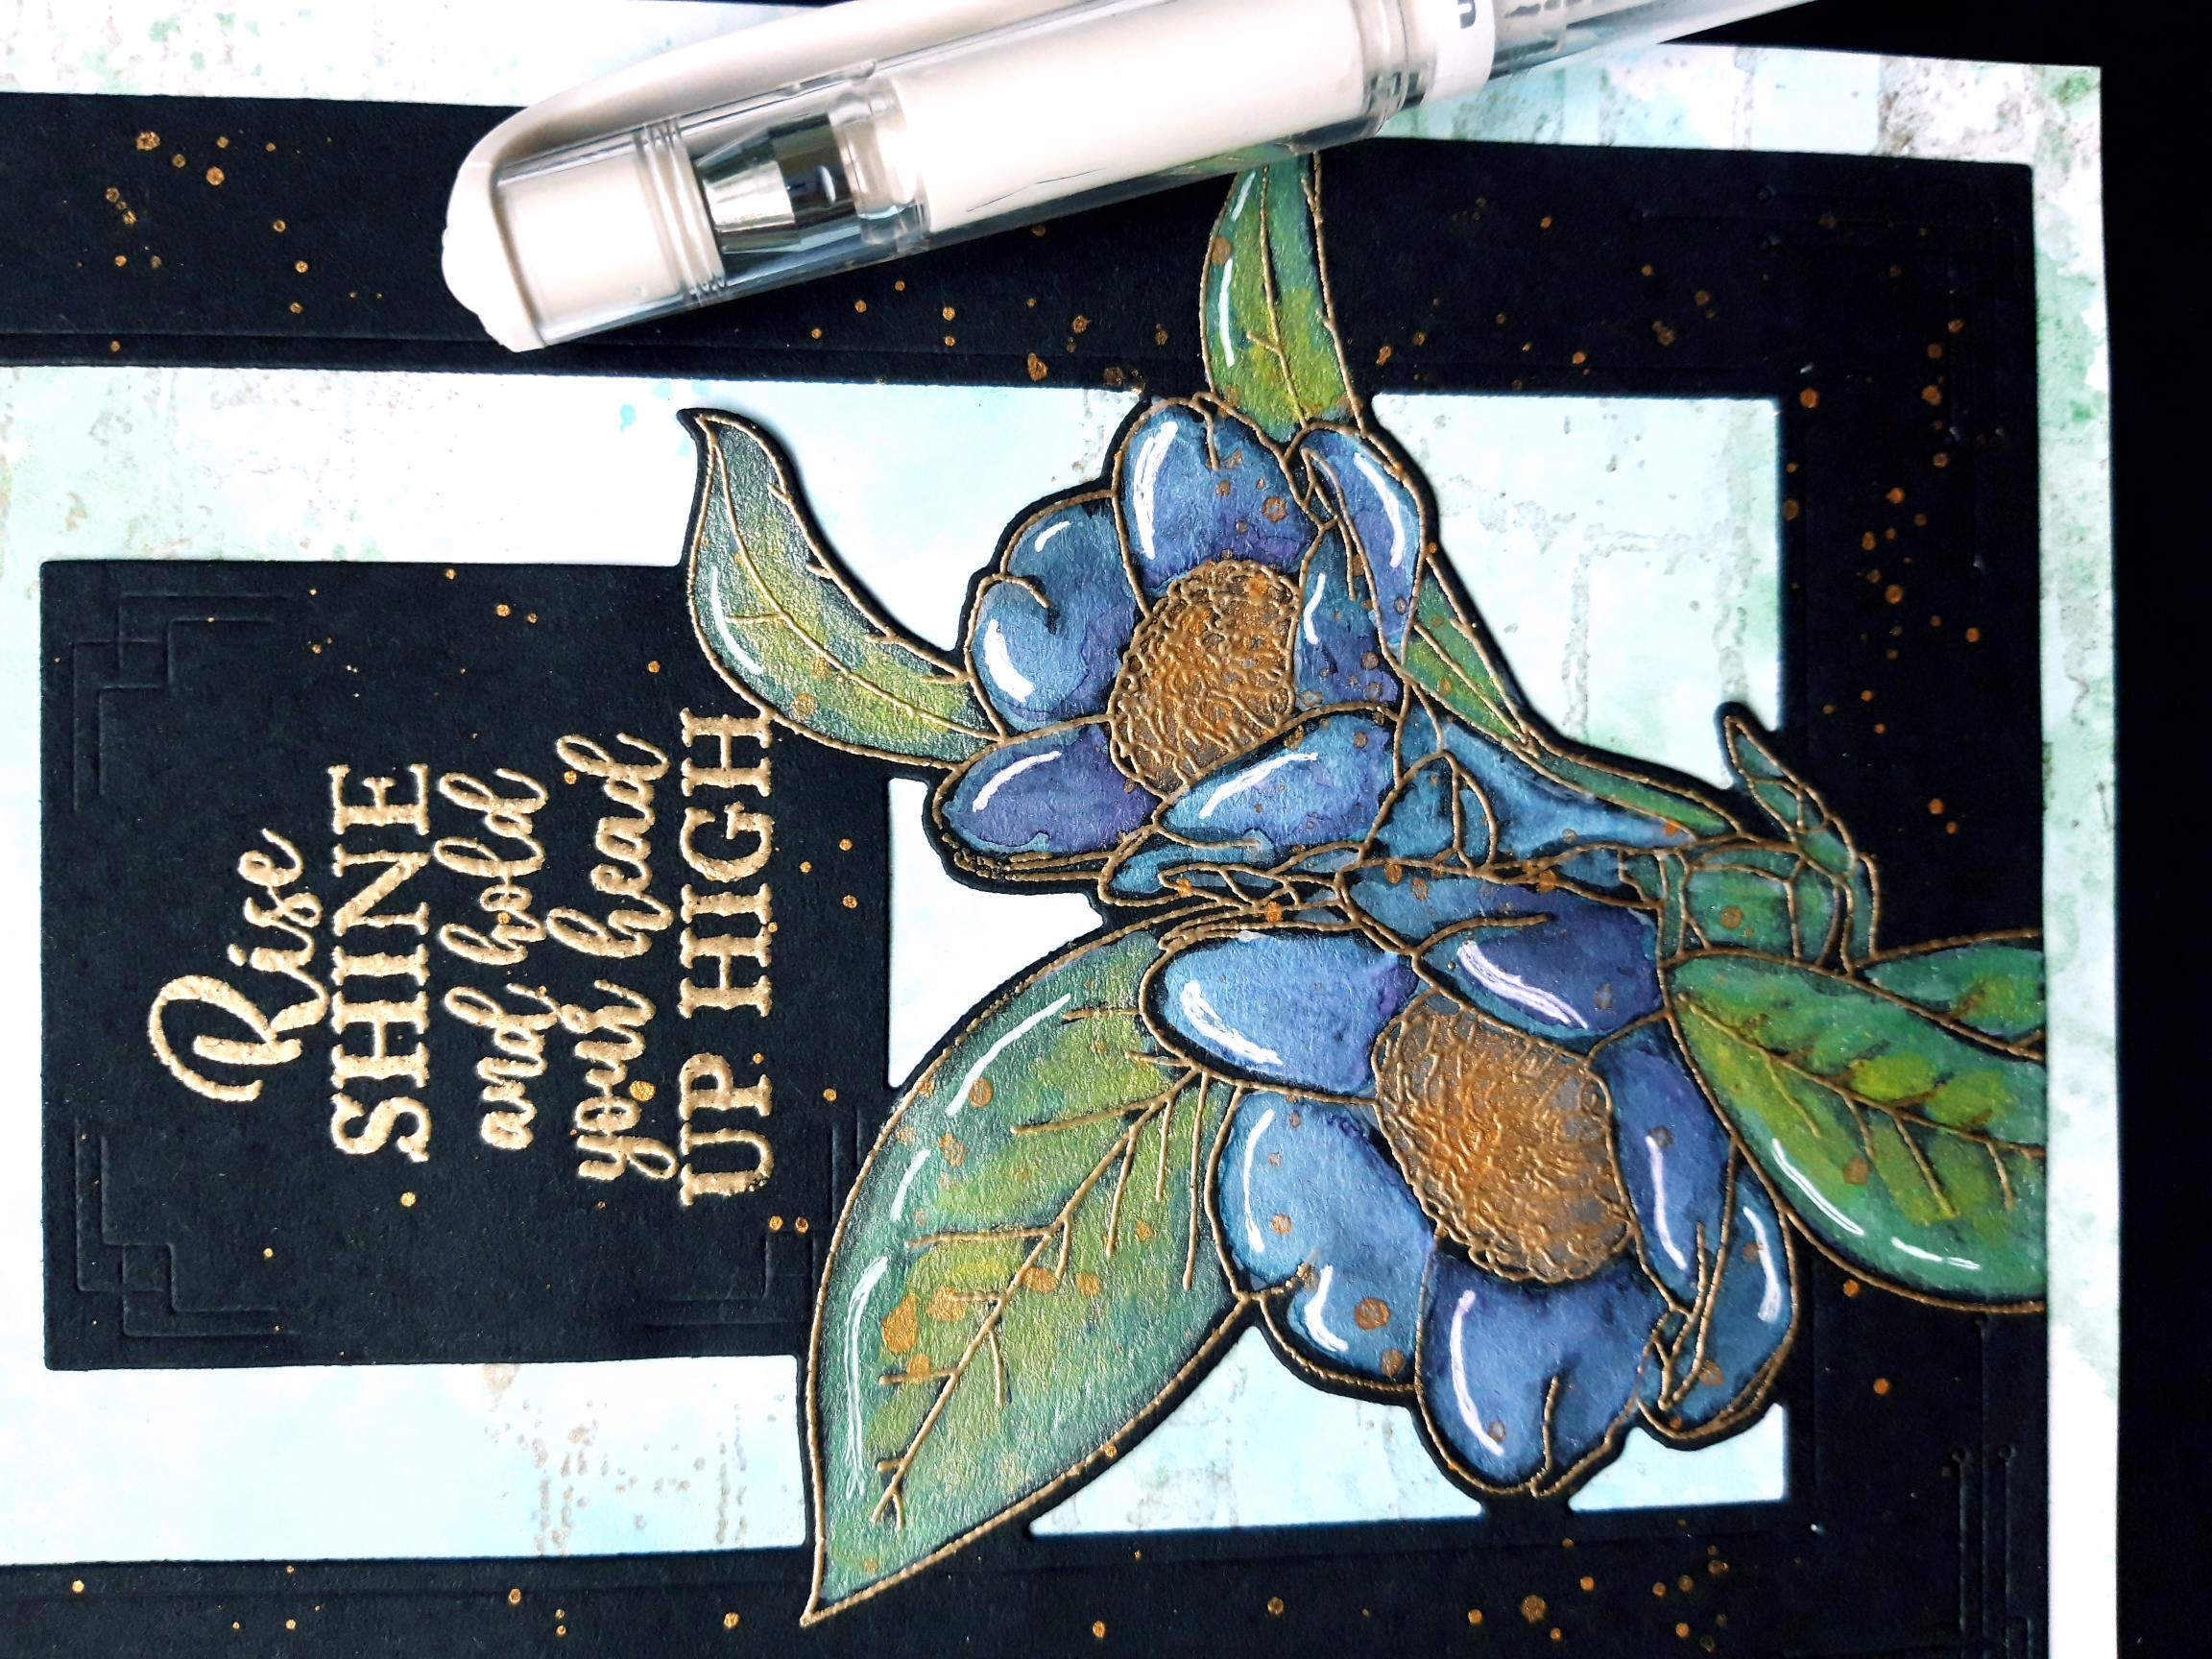
Adhere this on to your top folding, black card blank. To finish, use a white gel pen to add accents and highlights to your artwork, where required. |