

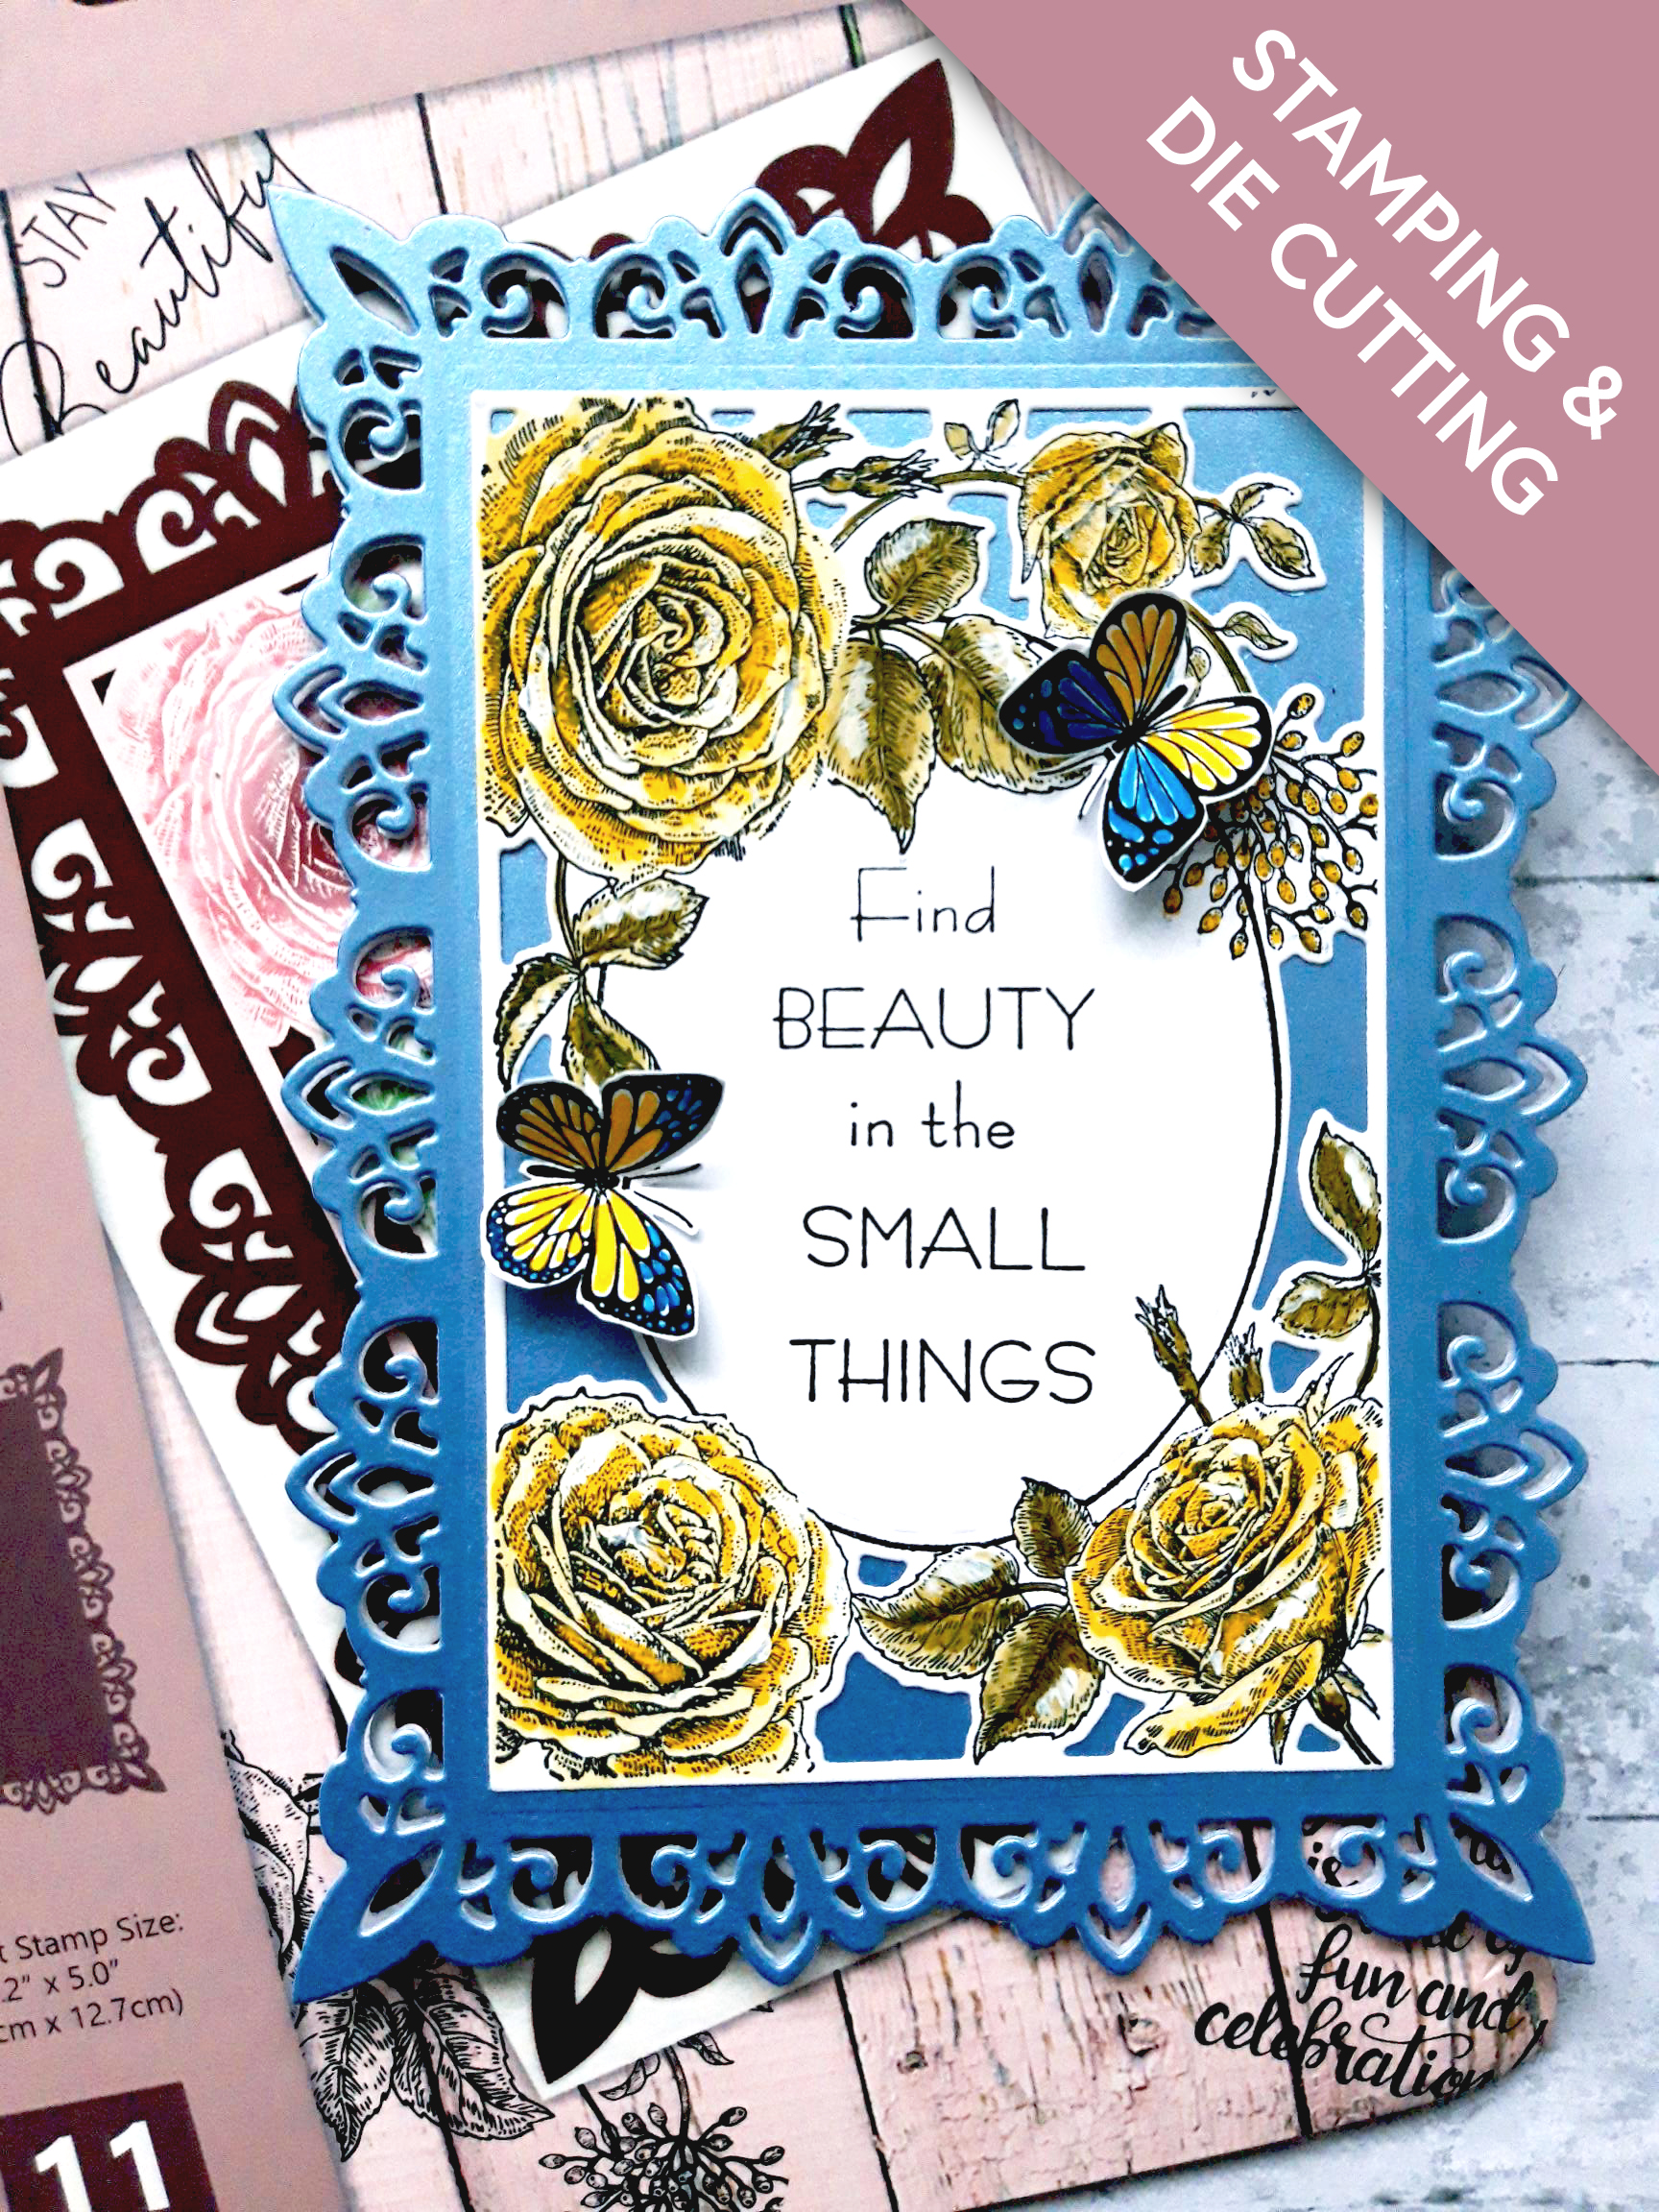
WHAT YOU WILL NEED:
Blue shimmer card A4
White card (6 x 6")
Stamps and dies from Romantic Rose Stamp And Die Collection
Stamps from Bonjour Slimline Stamp And Die Collection
Versafine Ink Pad: Onyx Black
Izink Pigments: Mimosa, Olive Drab, Ultramarine, Avalanche
Paint brush
Eureka 101
Paper Trimmer
Score board
Bone folder
Perfect Together Glue
Red liner double sided tape
Die Cutting machine
[click image to enlarge] 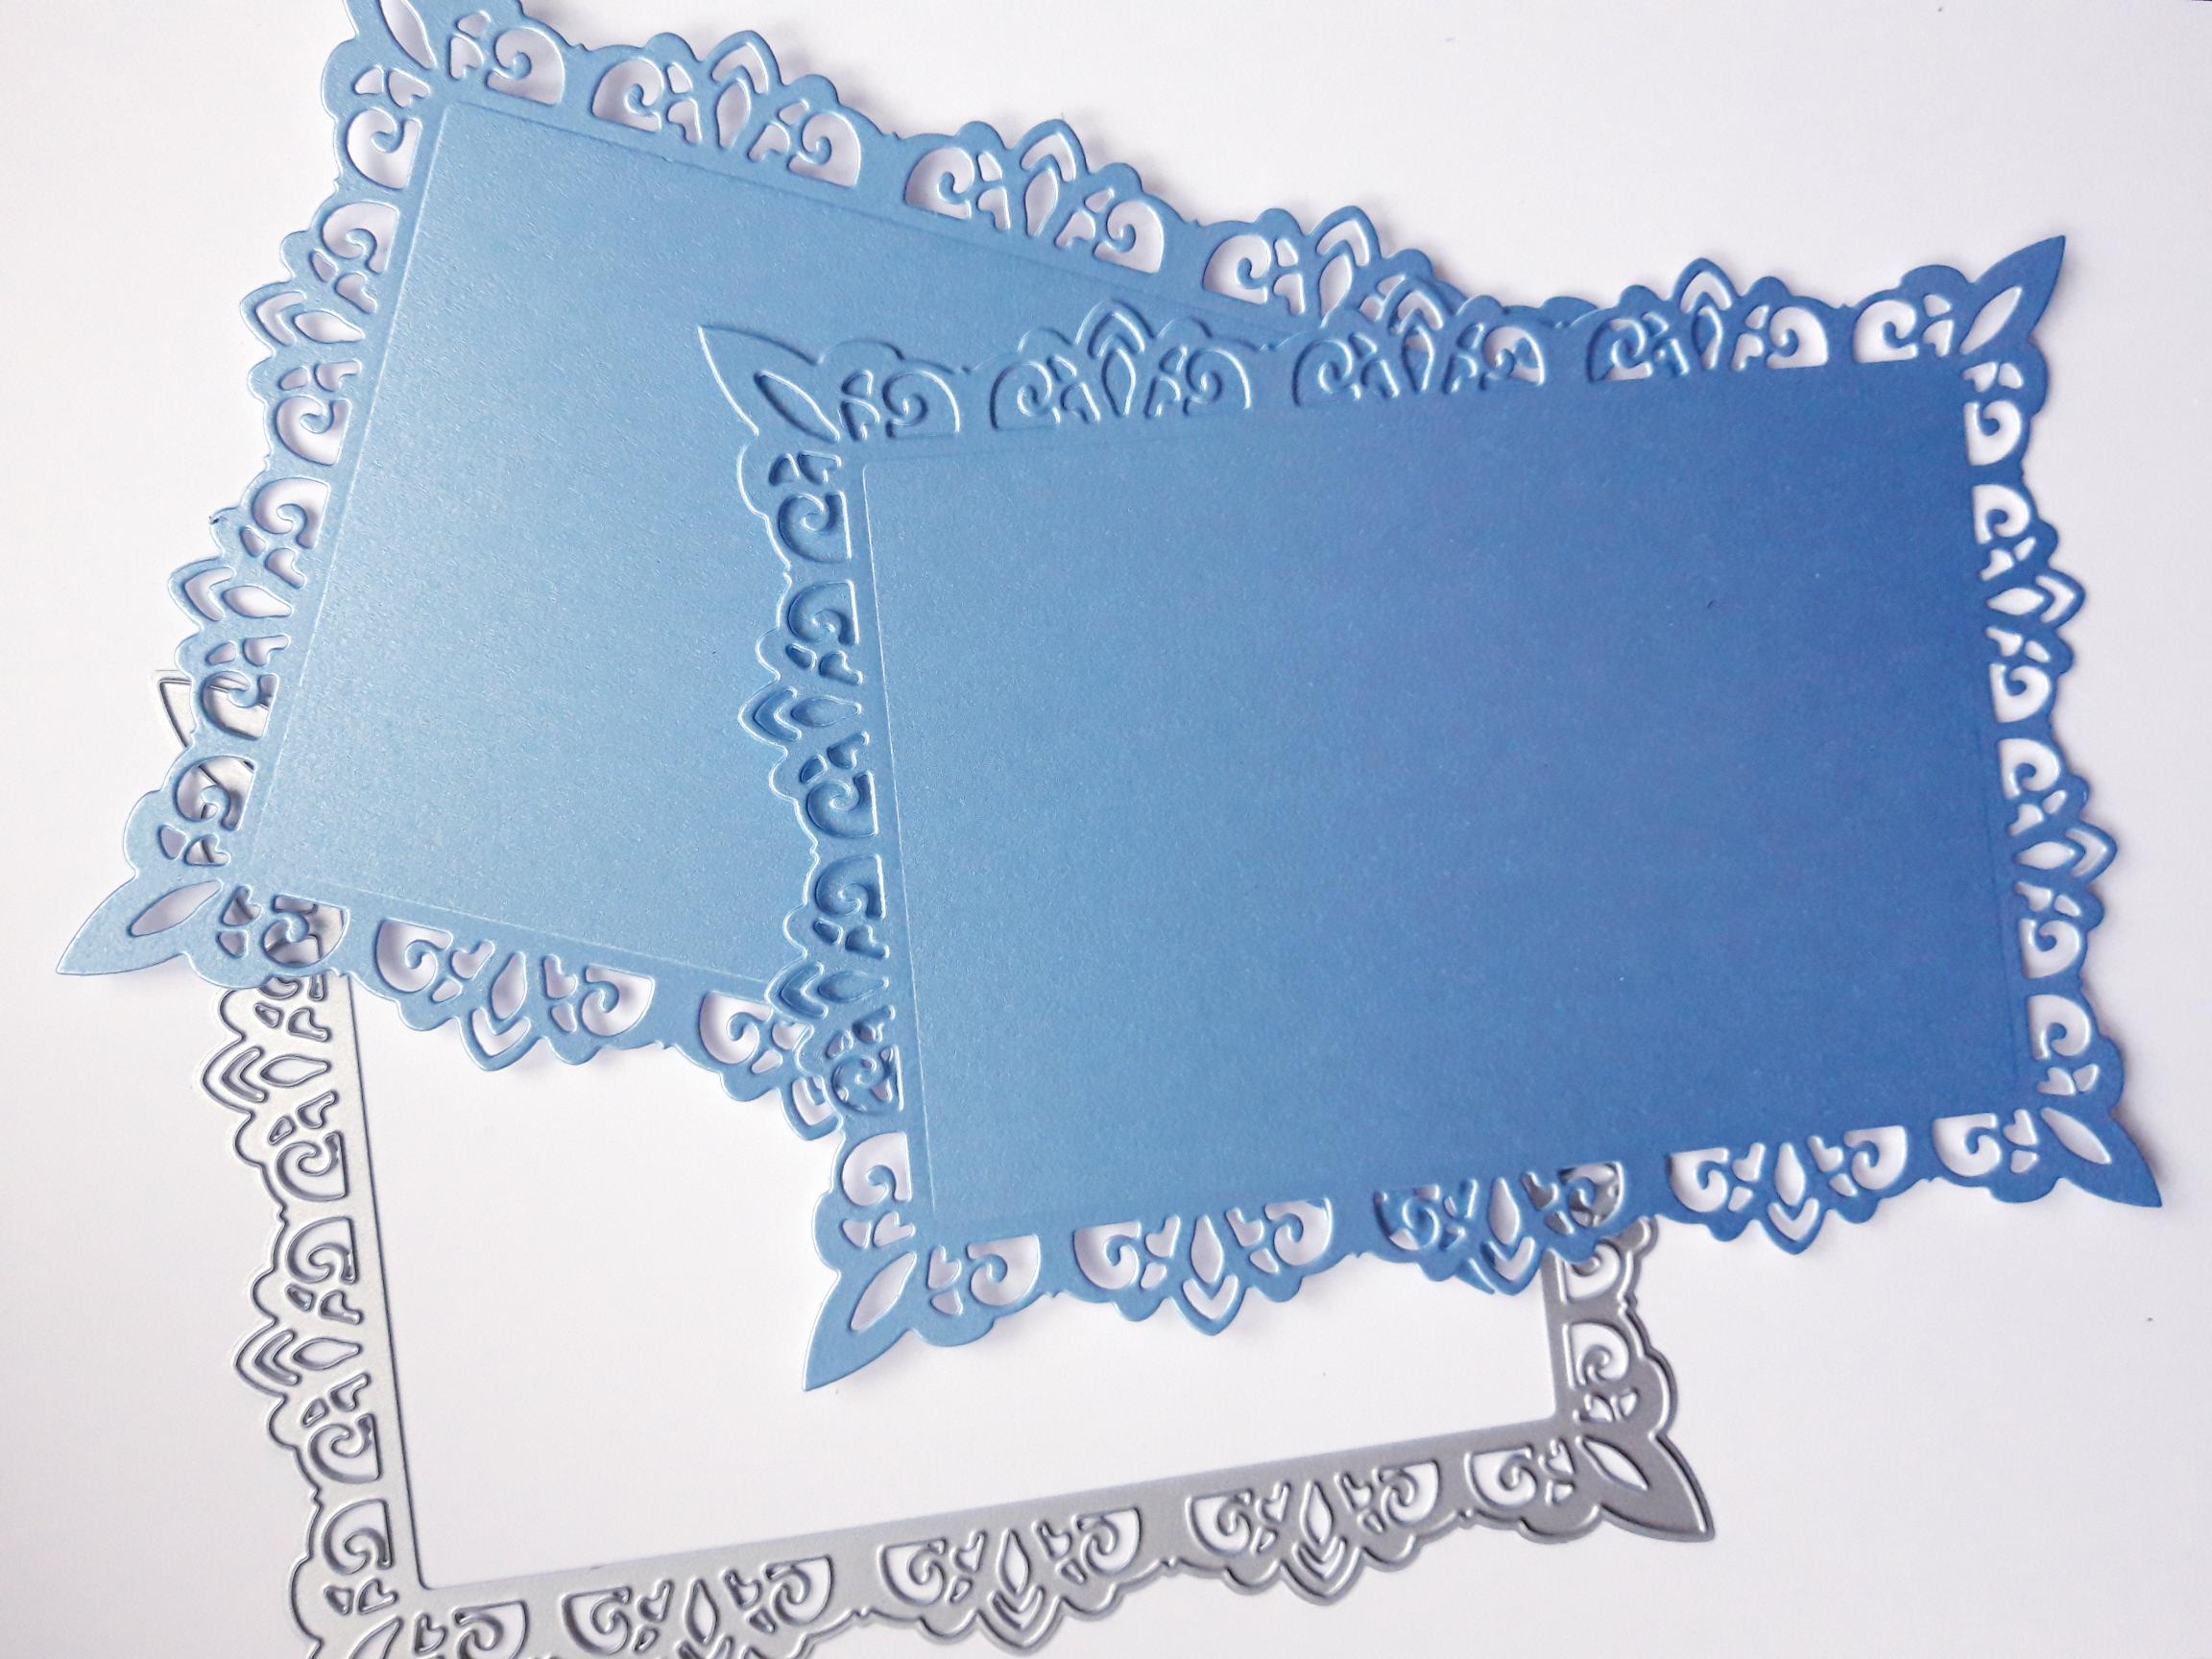
|
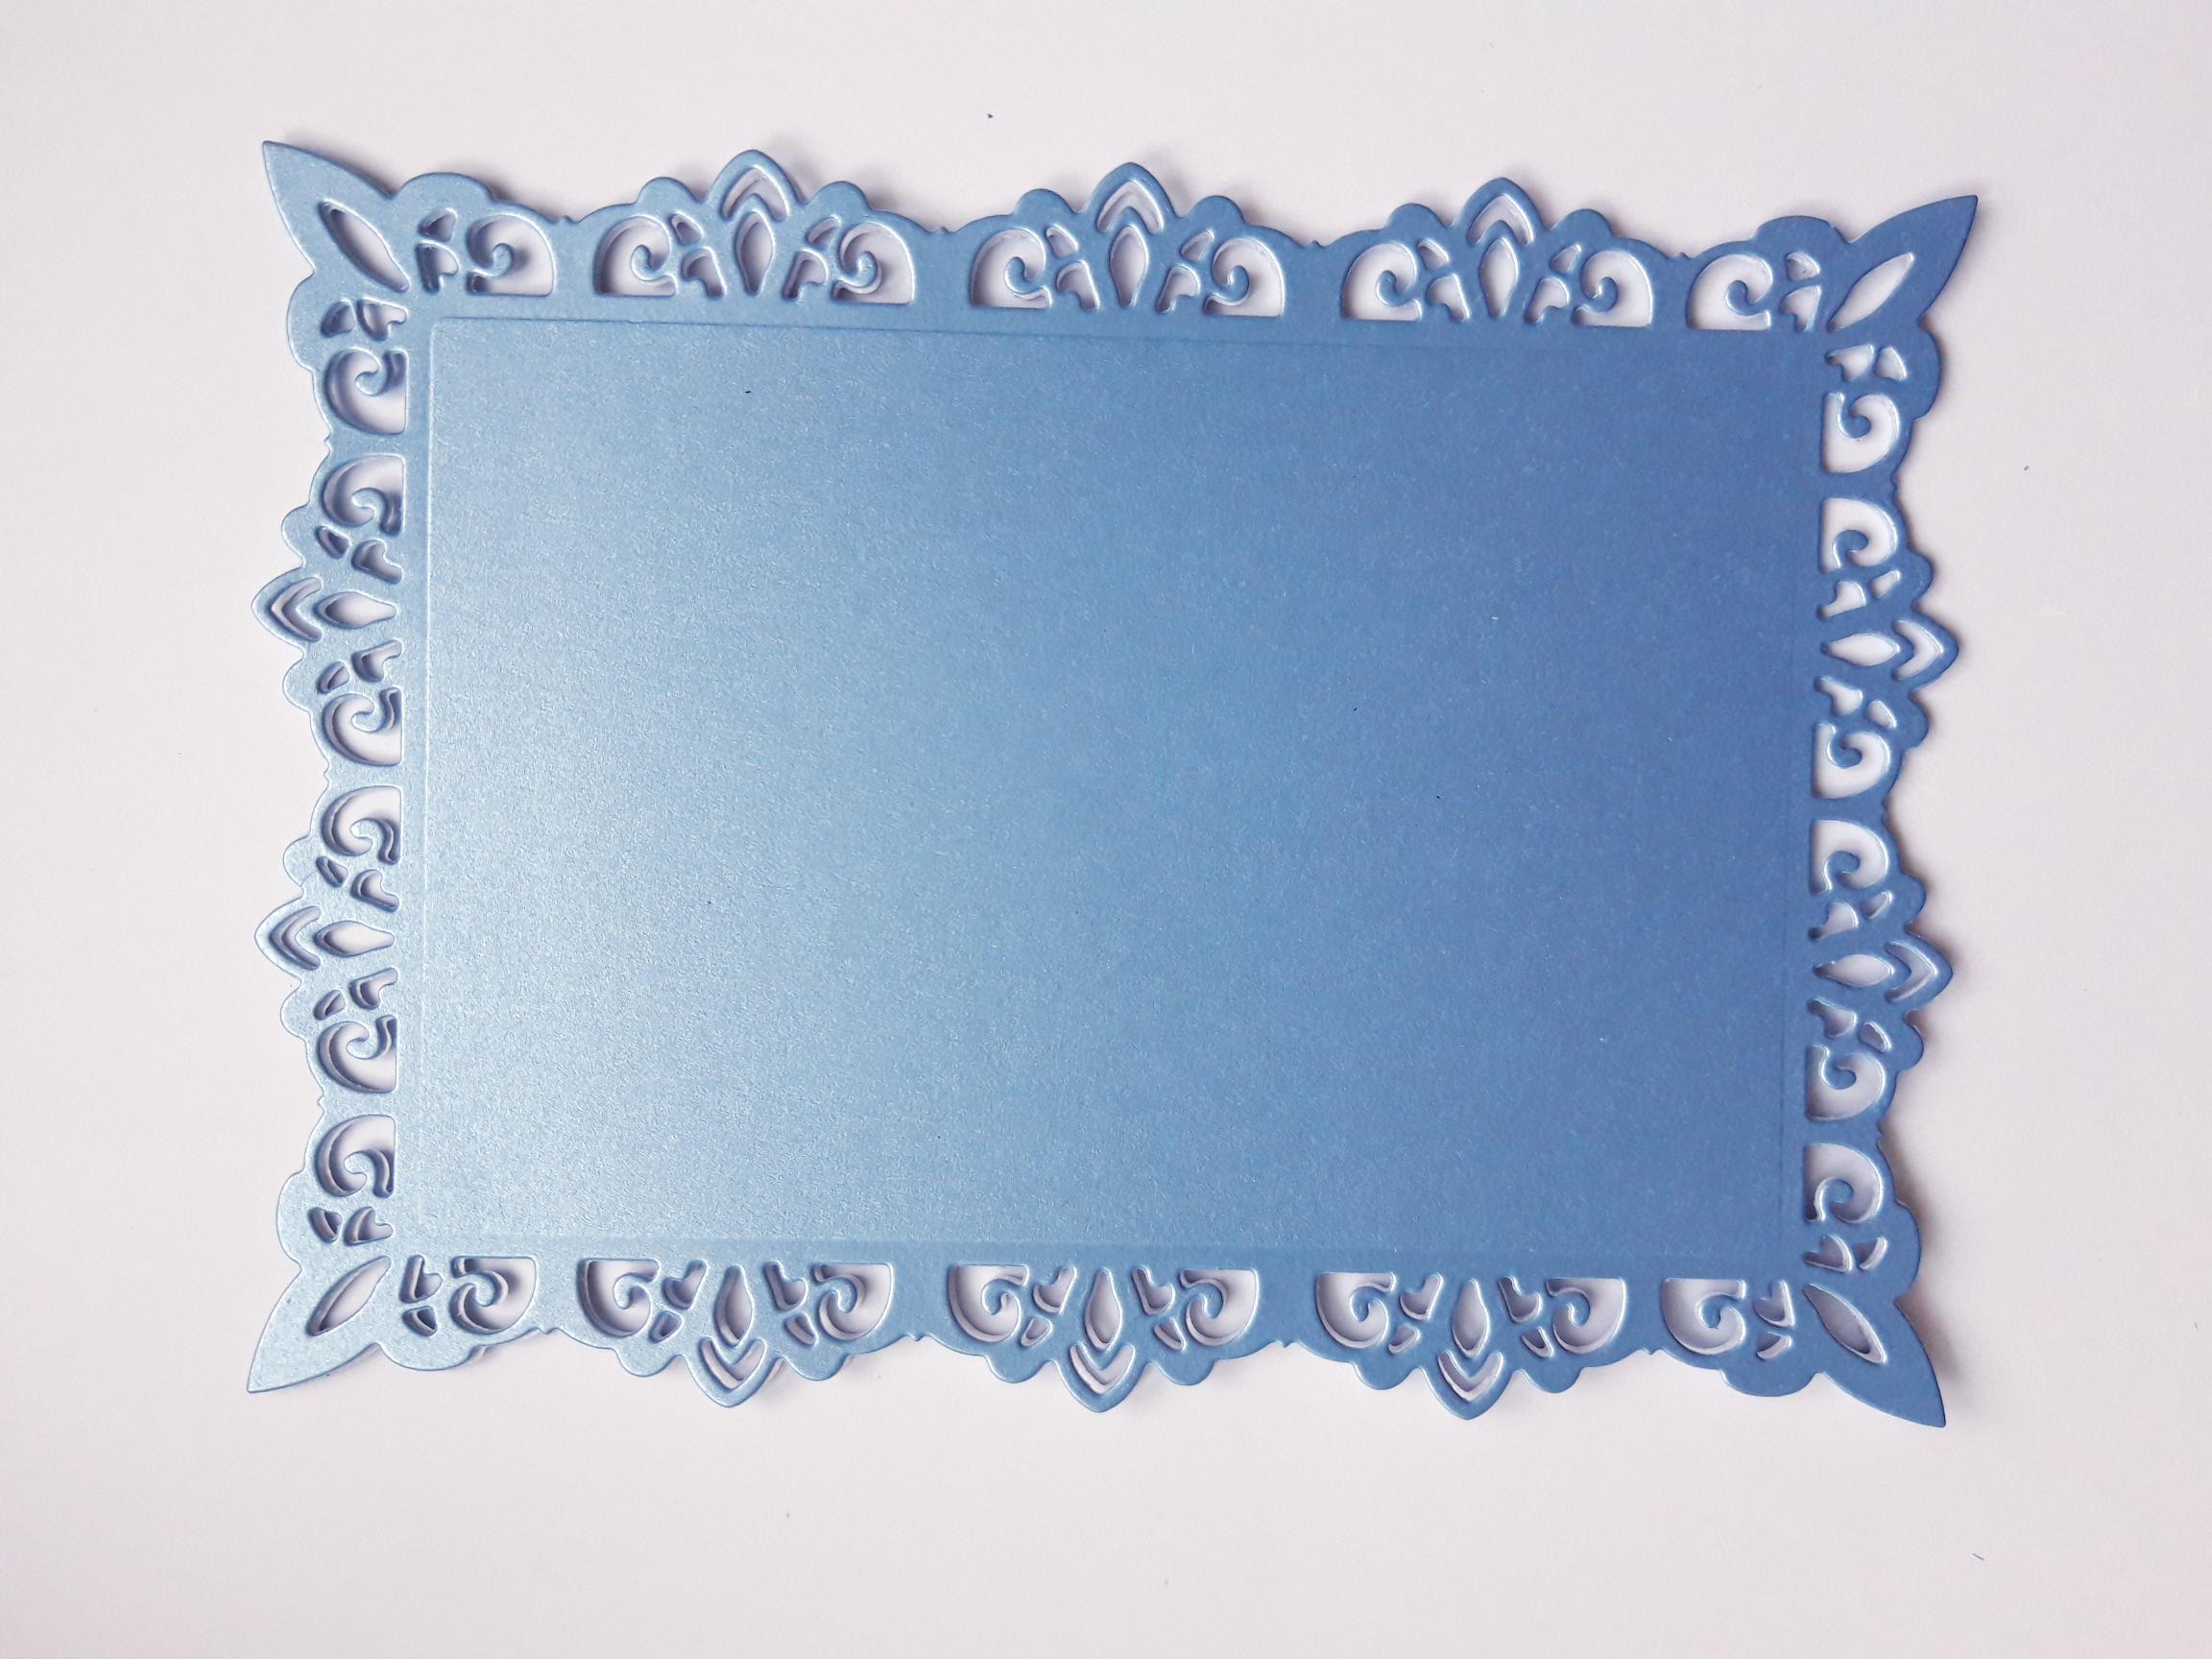
Place the decorative frame panel die, from the Romantic Rose Stamp And Die Collection, on to one half of the blue shimmer card, leaving enough card for a second one to be cut. Run through your die cutting machine. Die cut your second frame, from the other half of the card. |
|
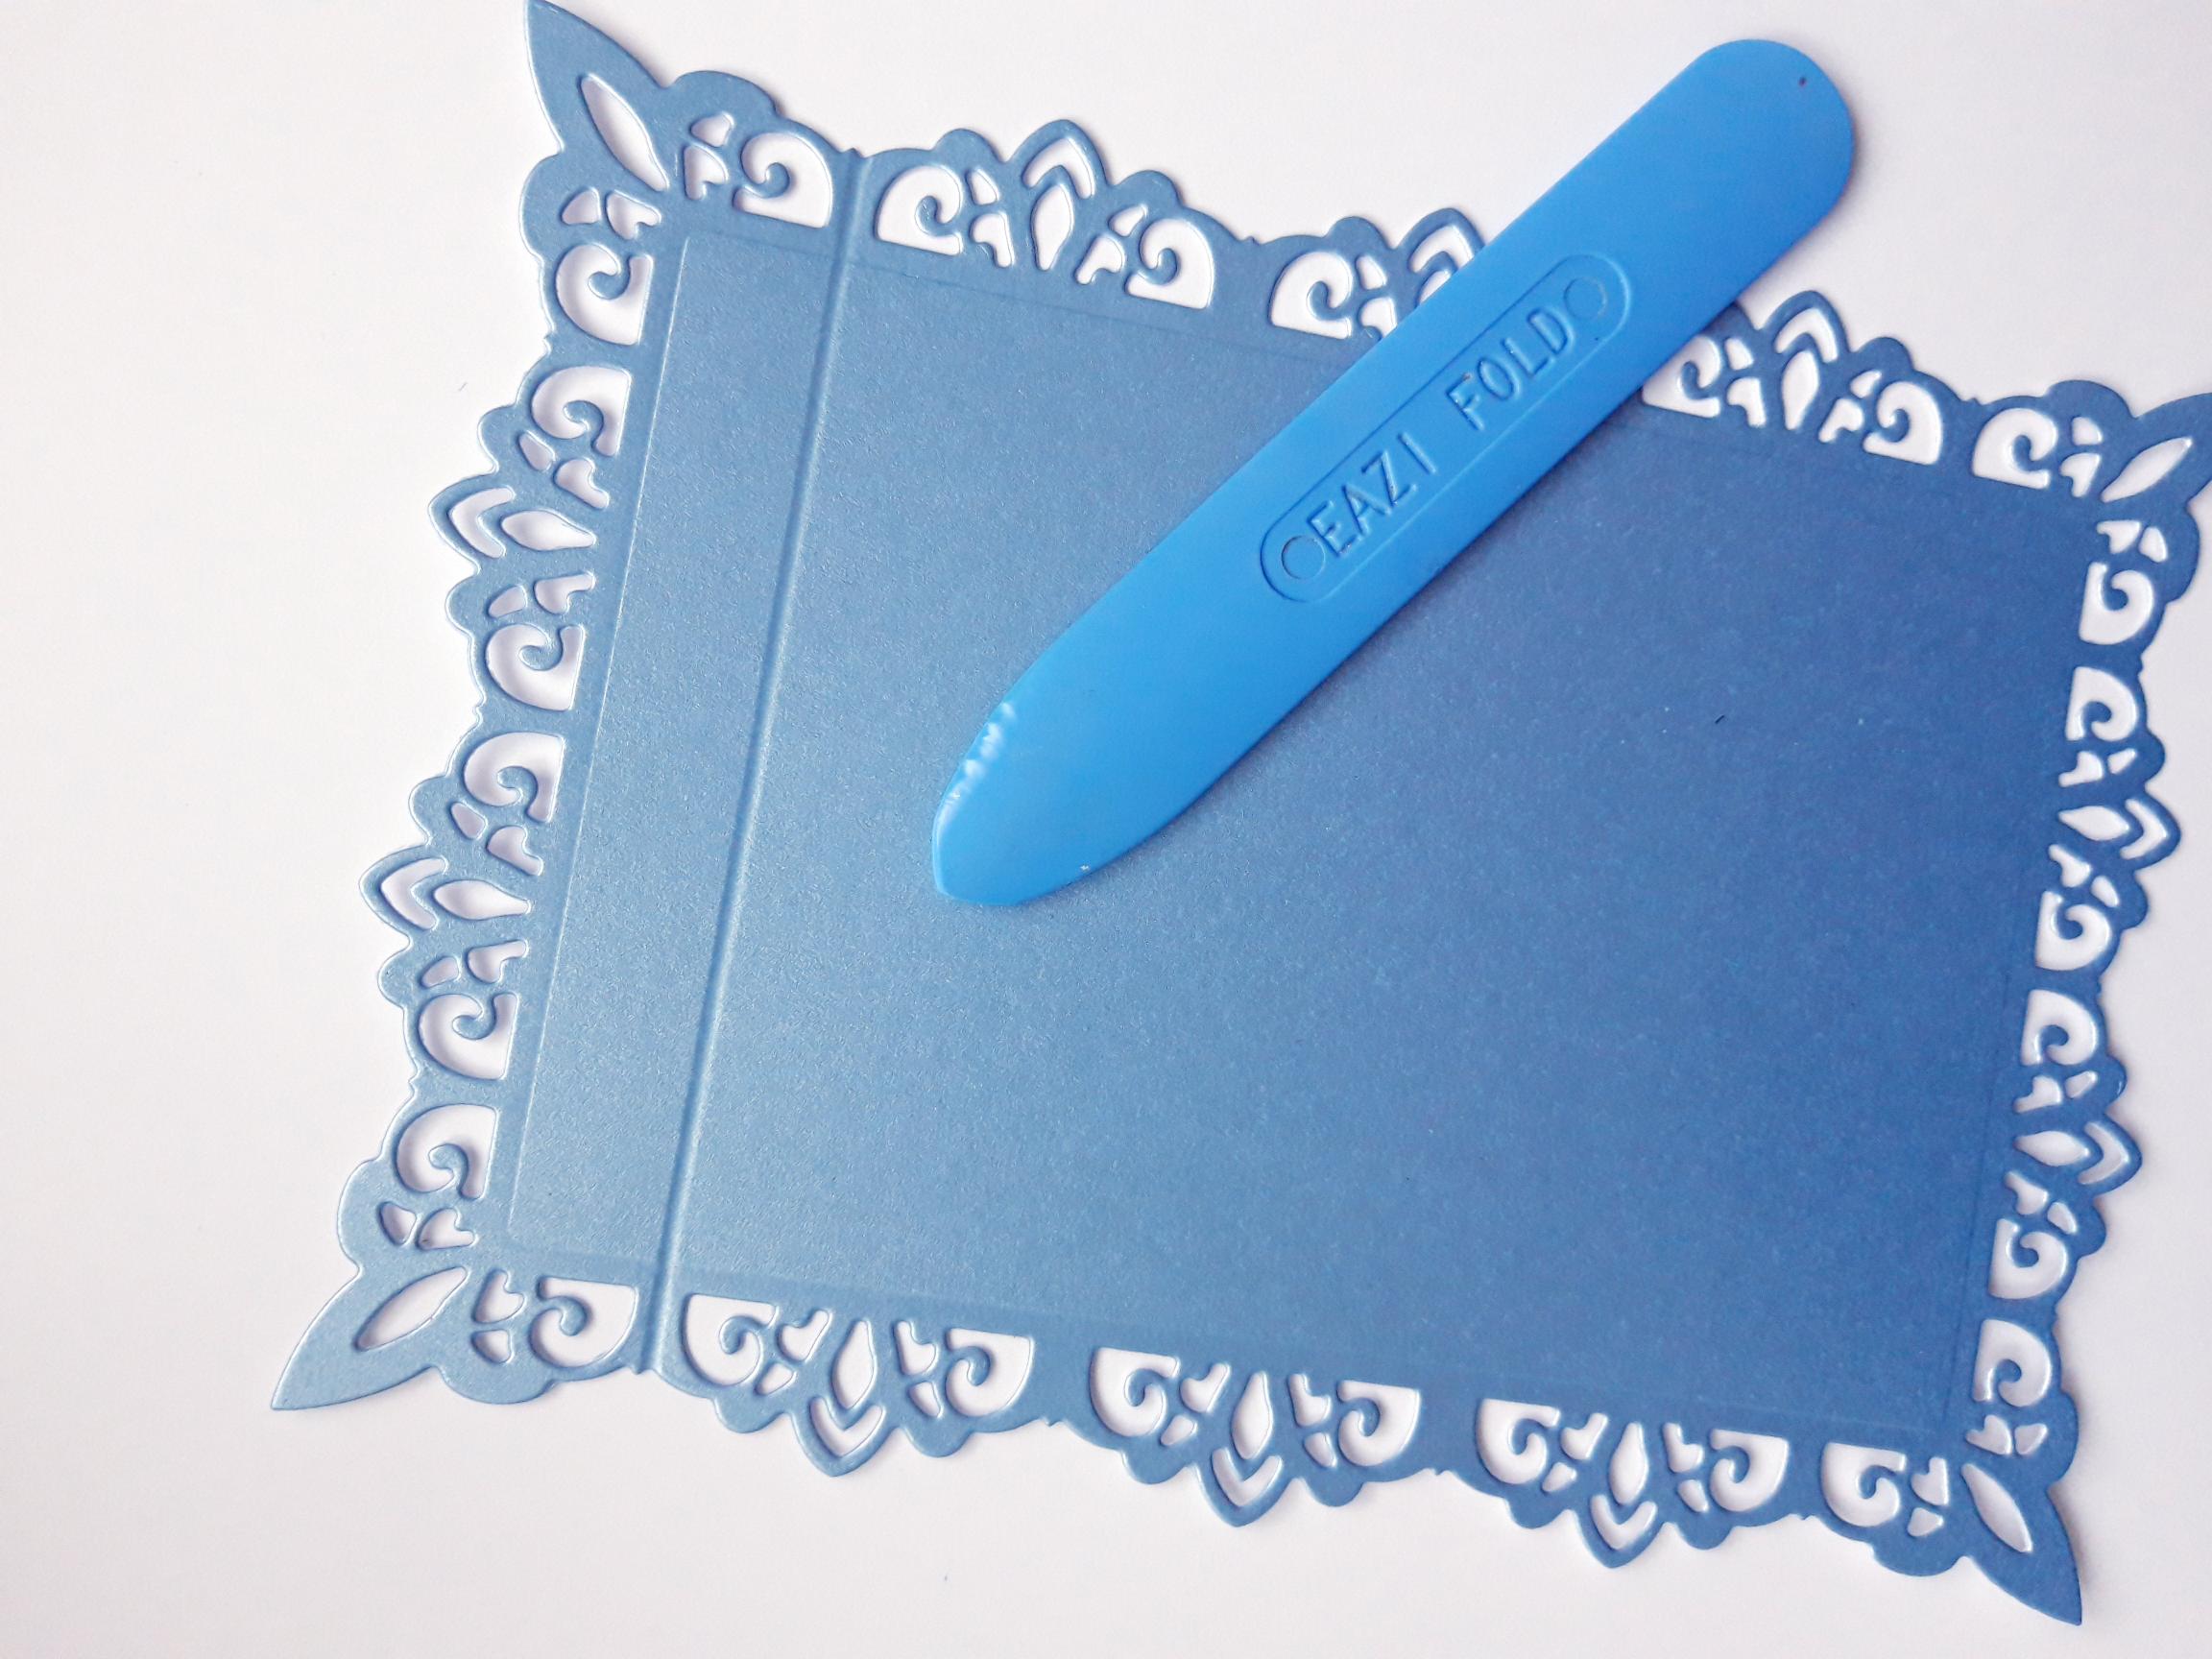
Place ONE of the die cut frames on to your score board, and score a line approx 2cm from the top of one of the ends, as shown here. Use your bone folder to get a good fold along the score line. |
|
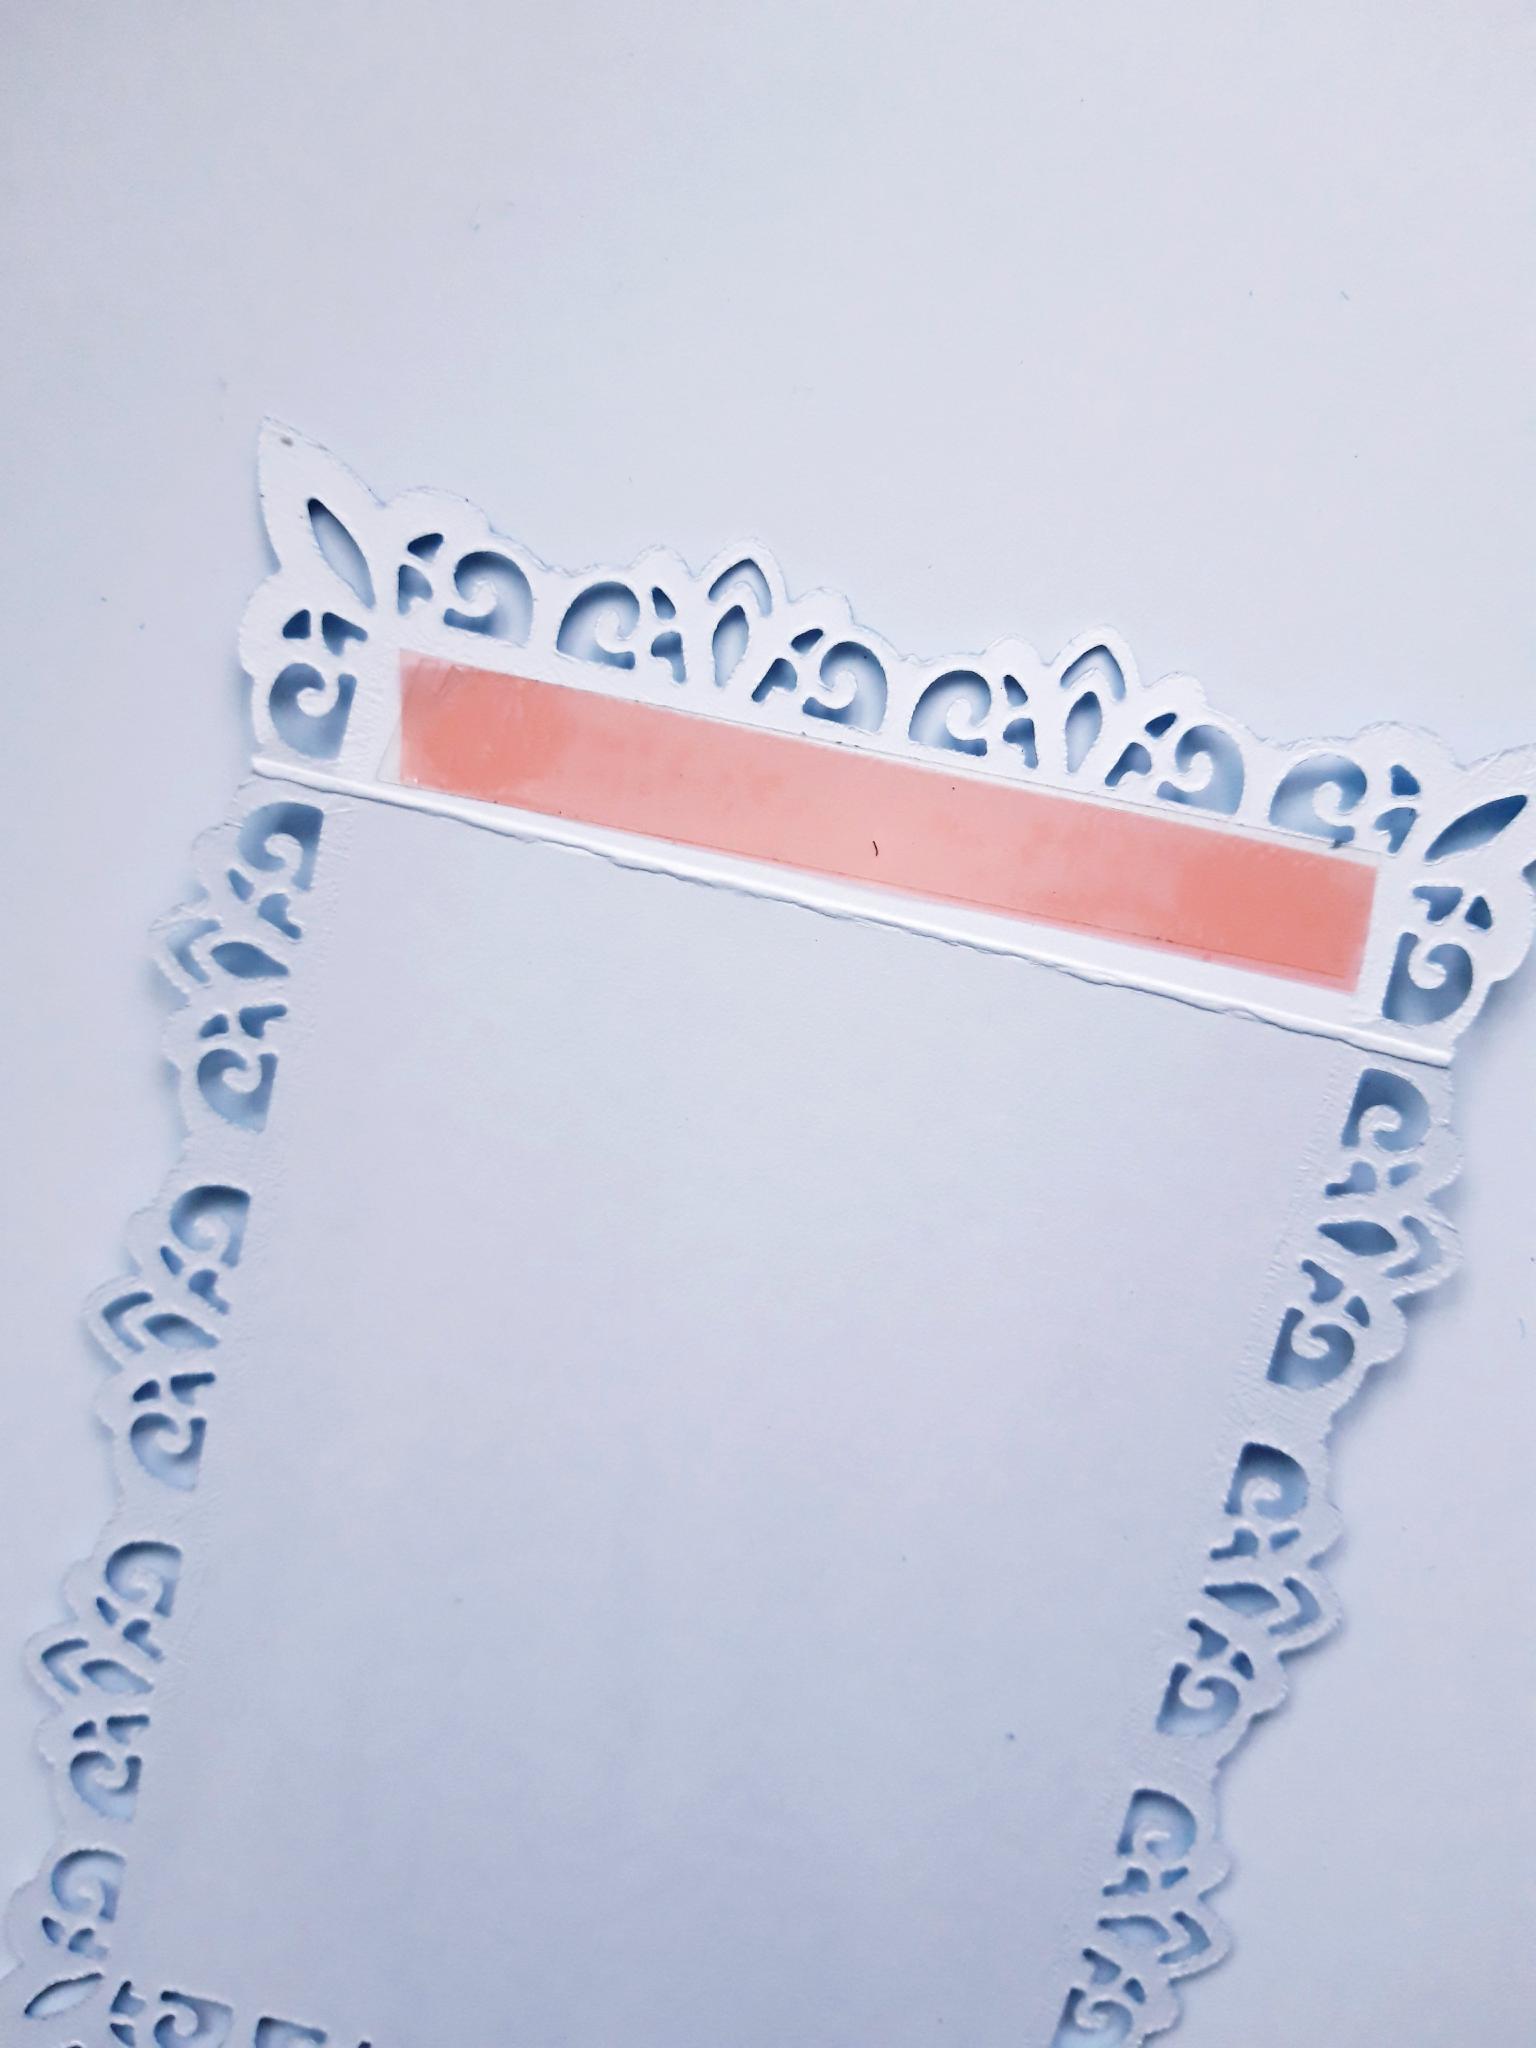
Add red liner tape above the score line, on the reverse side, as shown in this photo. |
|
Peel off the backing from the tape, line up the 2 frames, and carefully adhere together, to create your decorative card blank. Set to one side. |
|
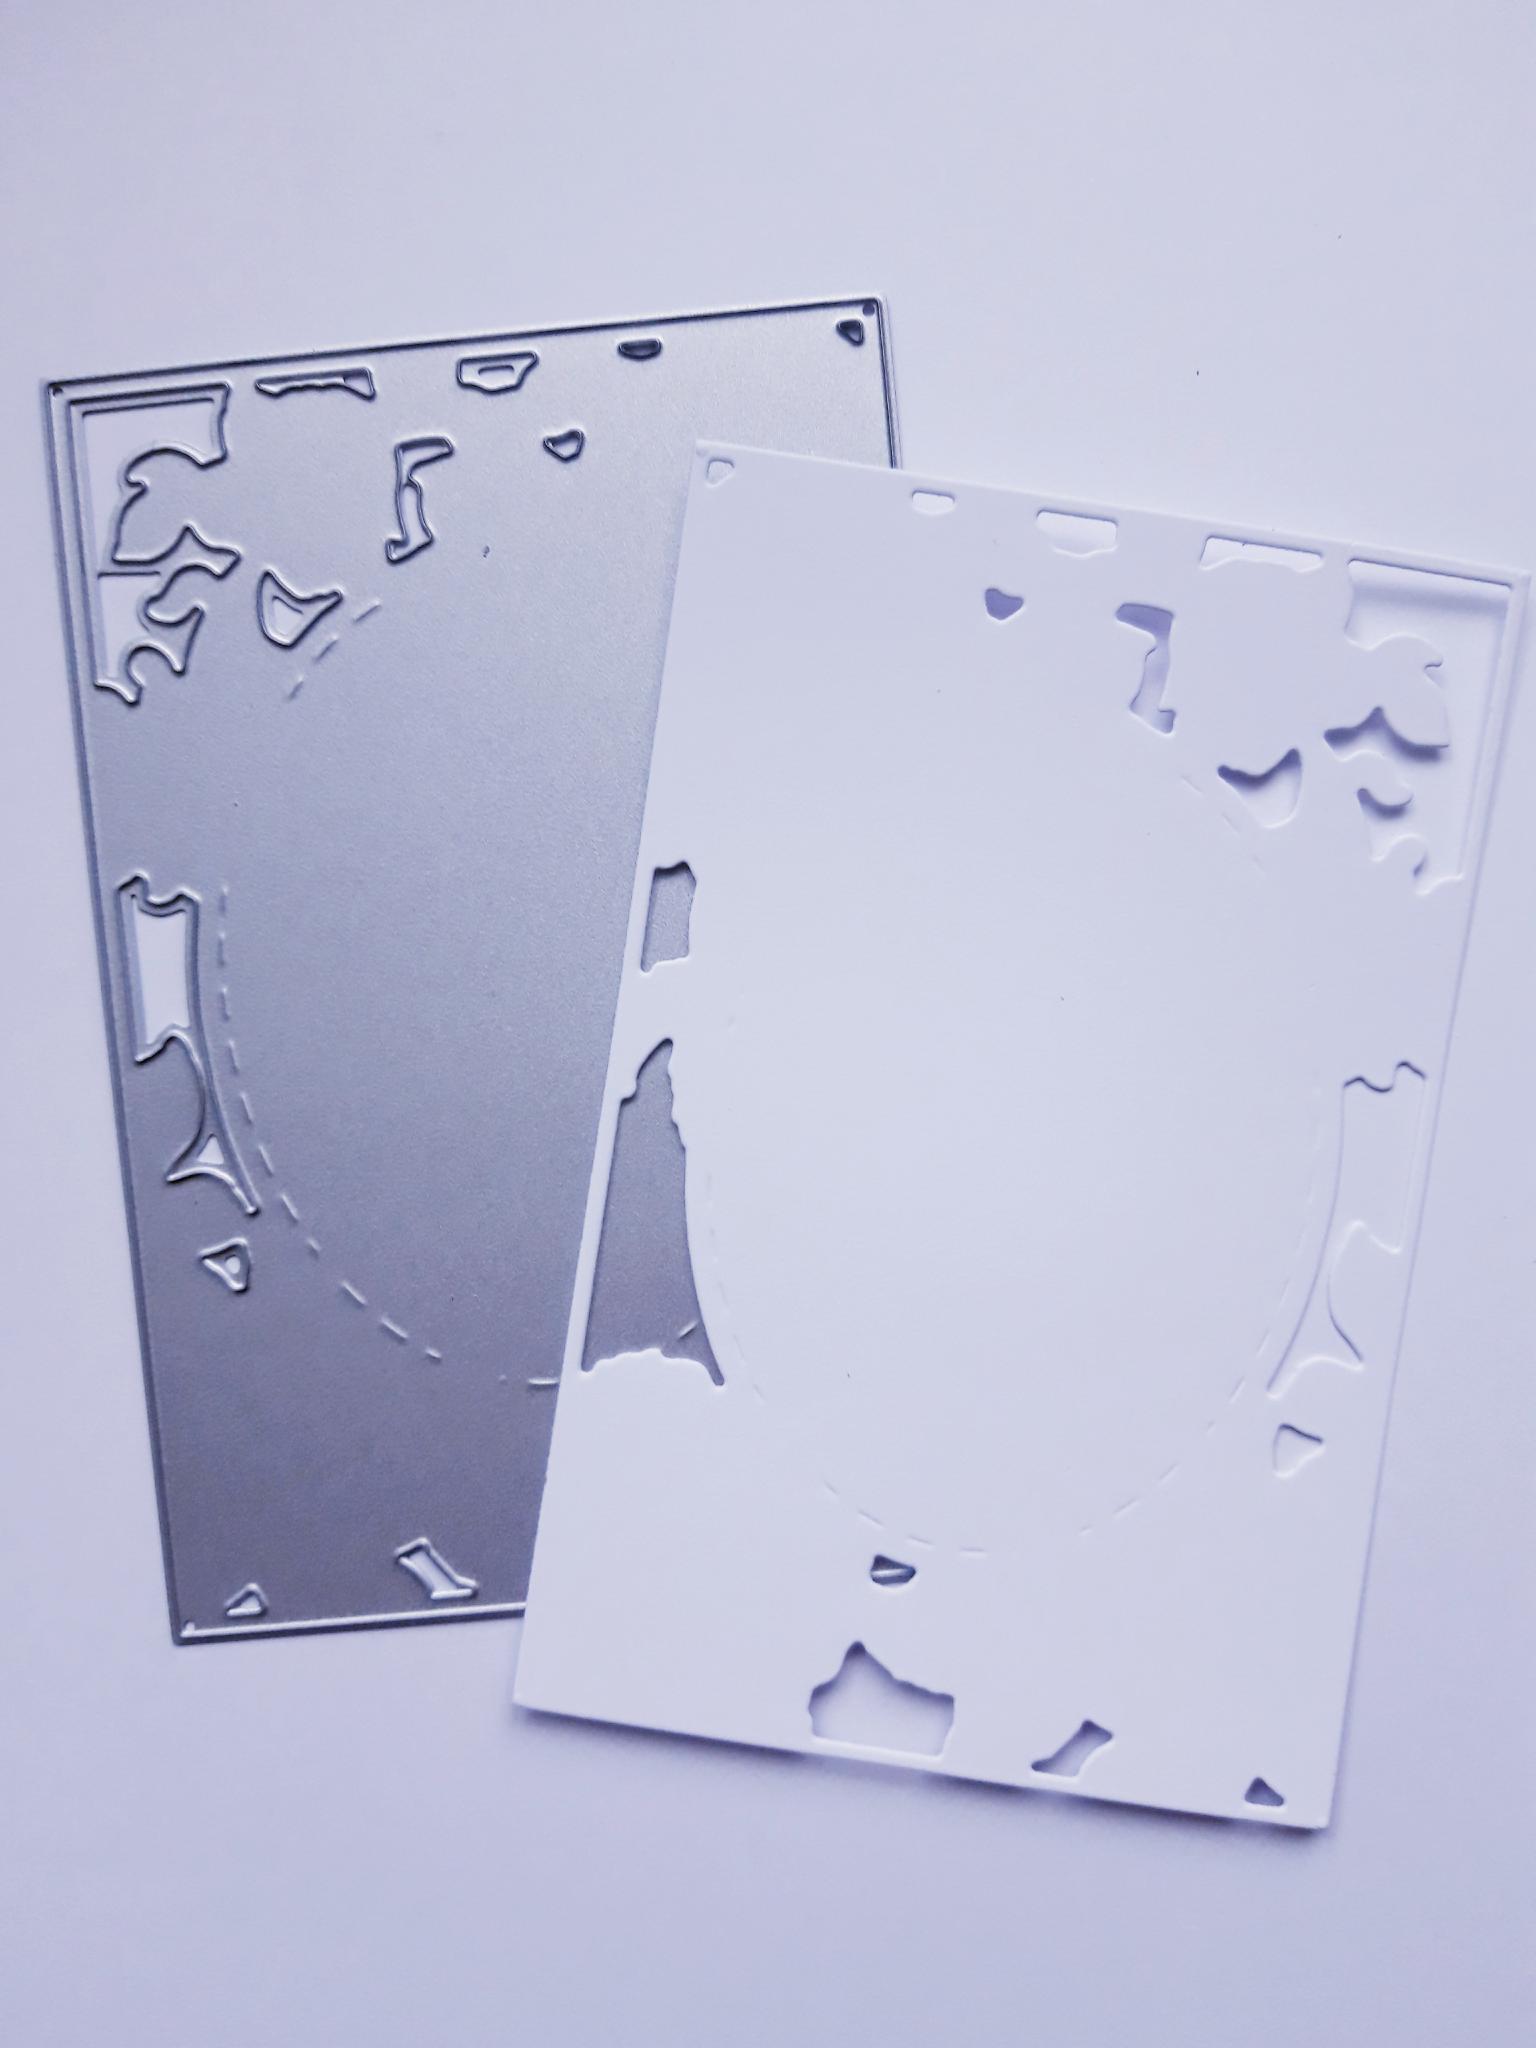
Place the coordinating panel die, on to one side of the 6 x 6" white card. Run through your die cutting machine, keeping the "waste" card for the next step. |
|
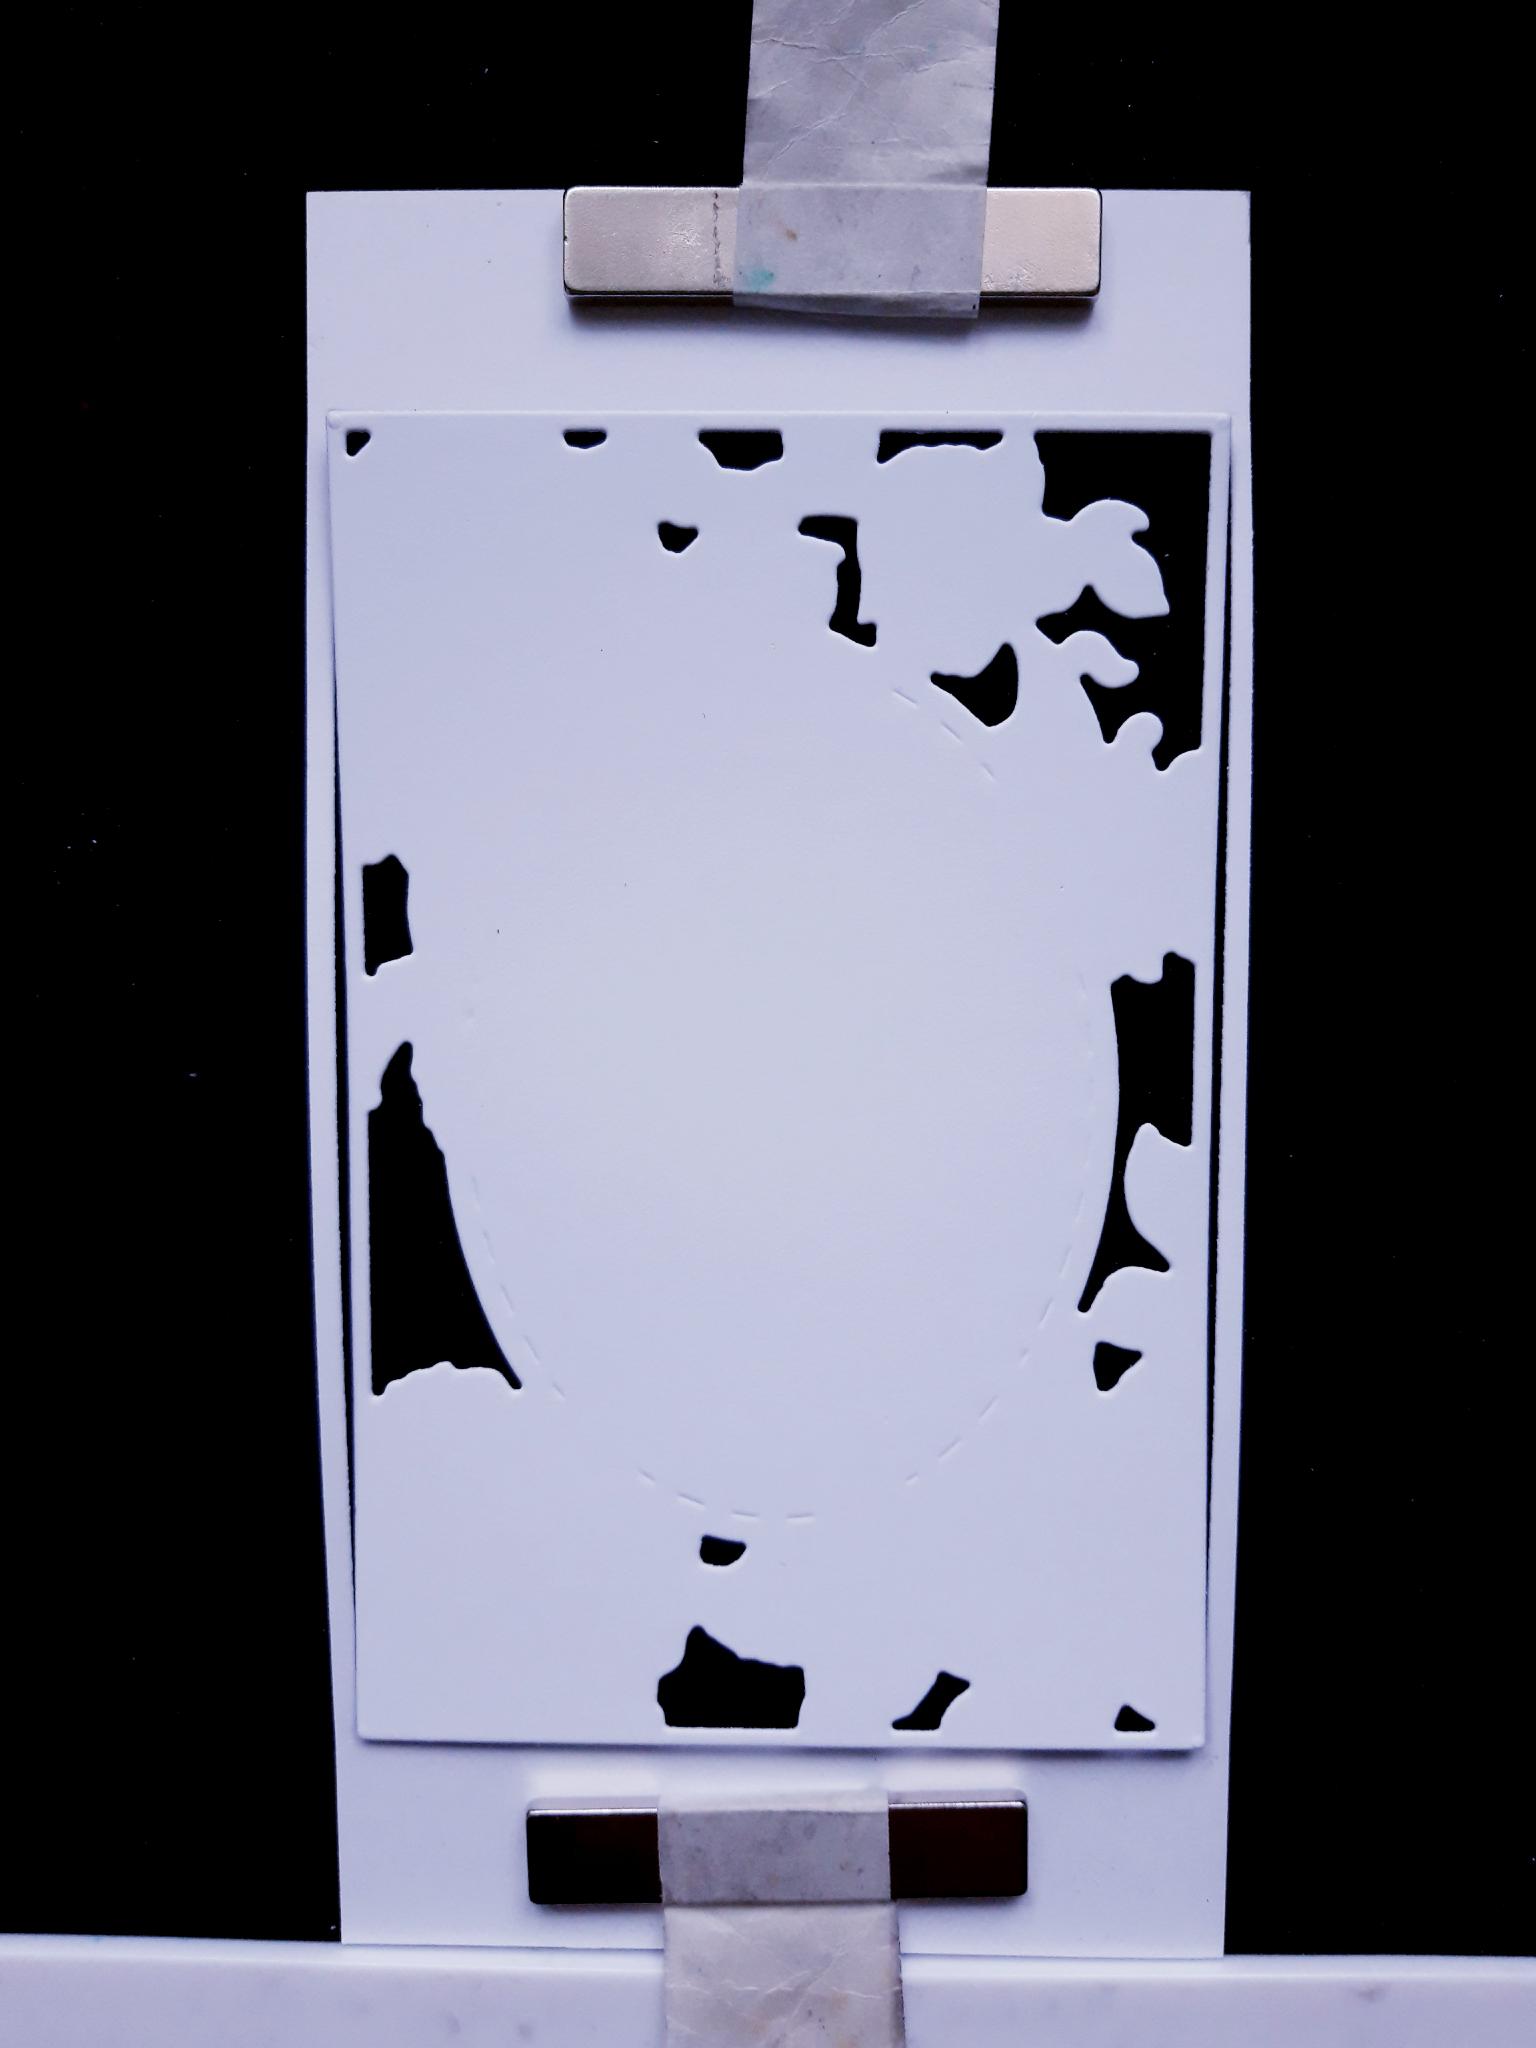
Cut off a small strip of the white "waste" card, and put aside for you to stamp 2 small butterflies on, in a later step. Pop the "waste" card back in your Eureka and place your die cut panel back inside the gap, securing the "waste card" in place with your magnet, as shown. |
|
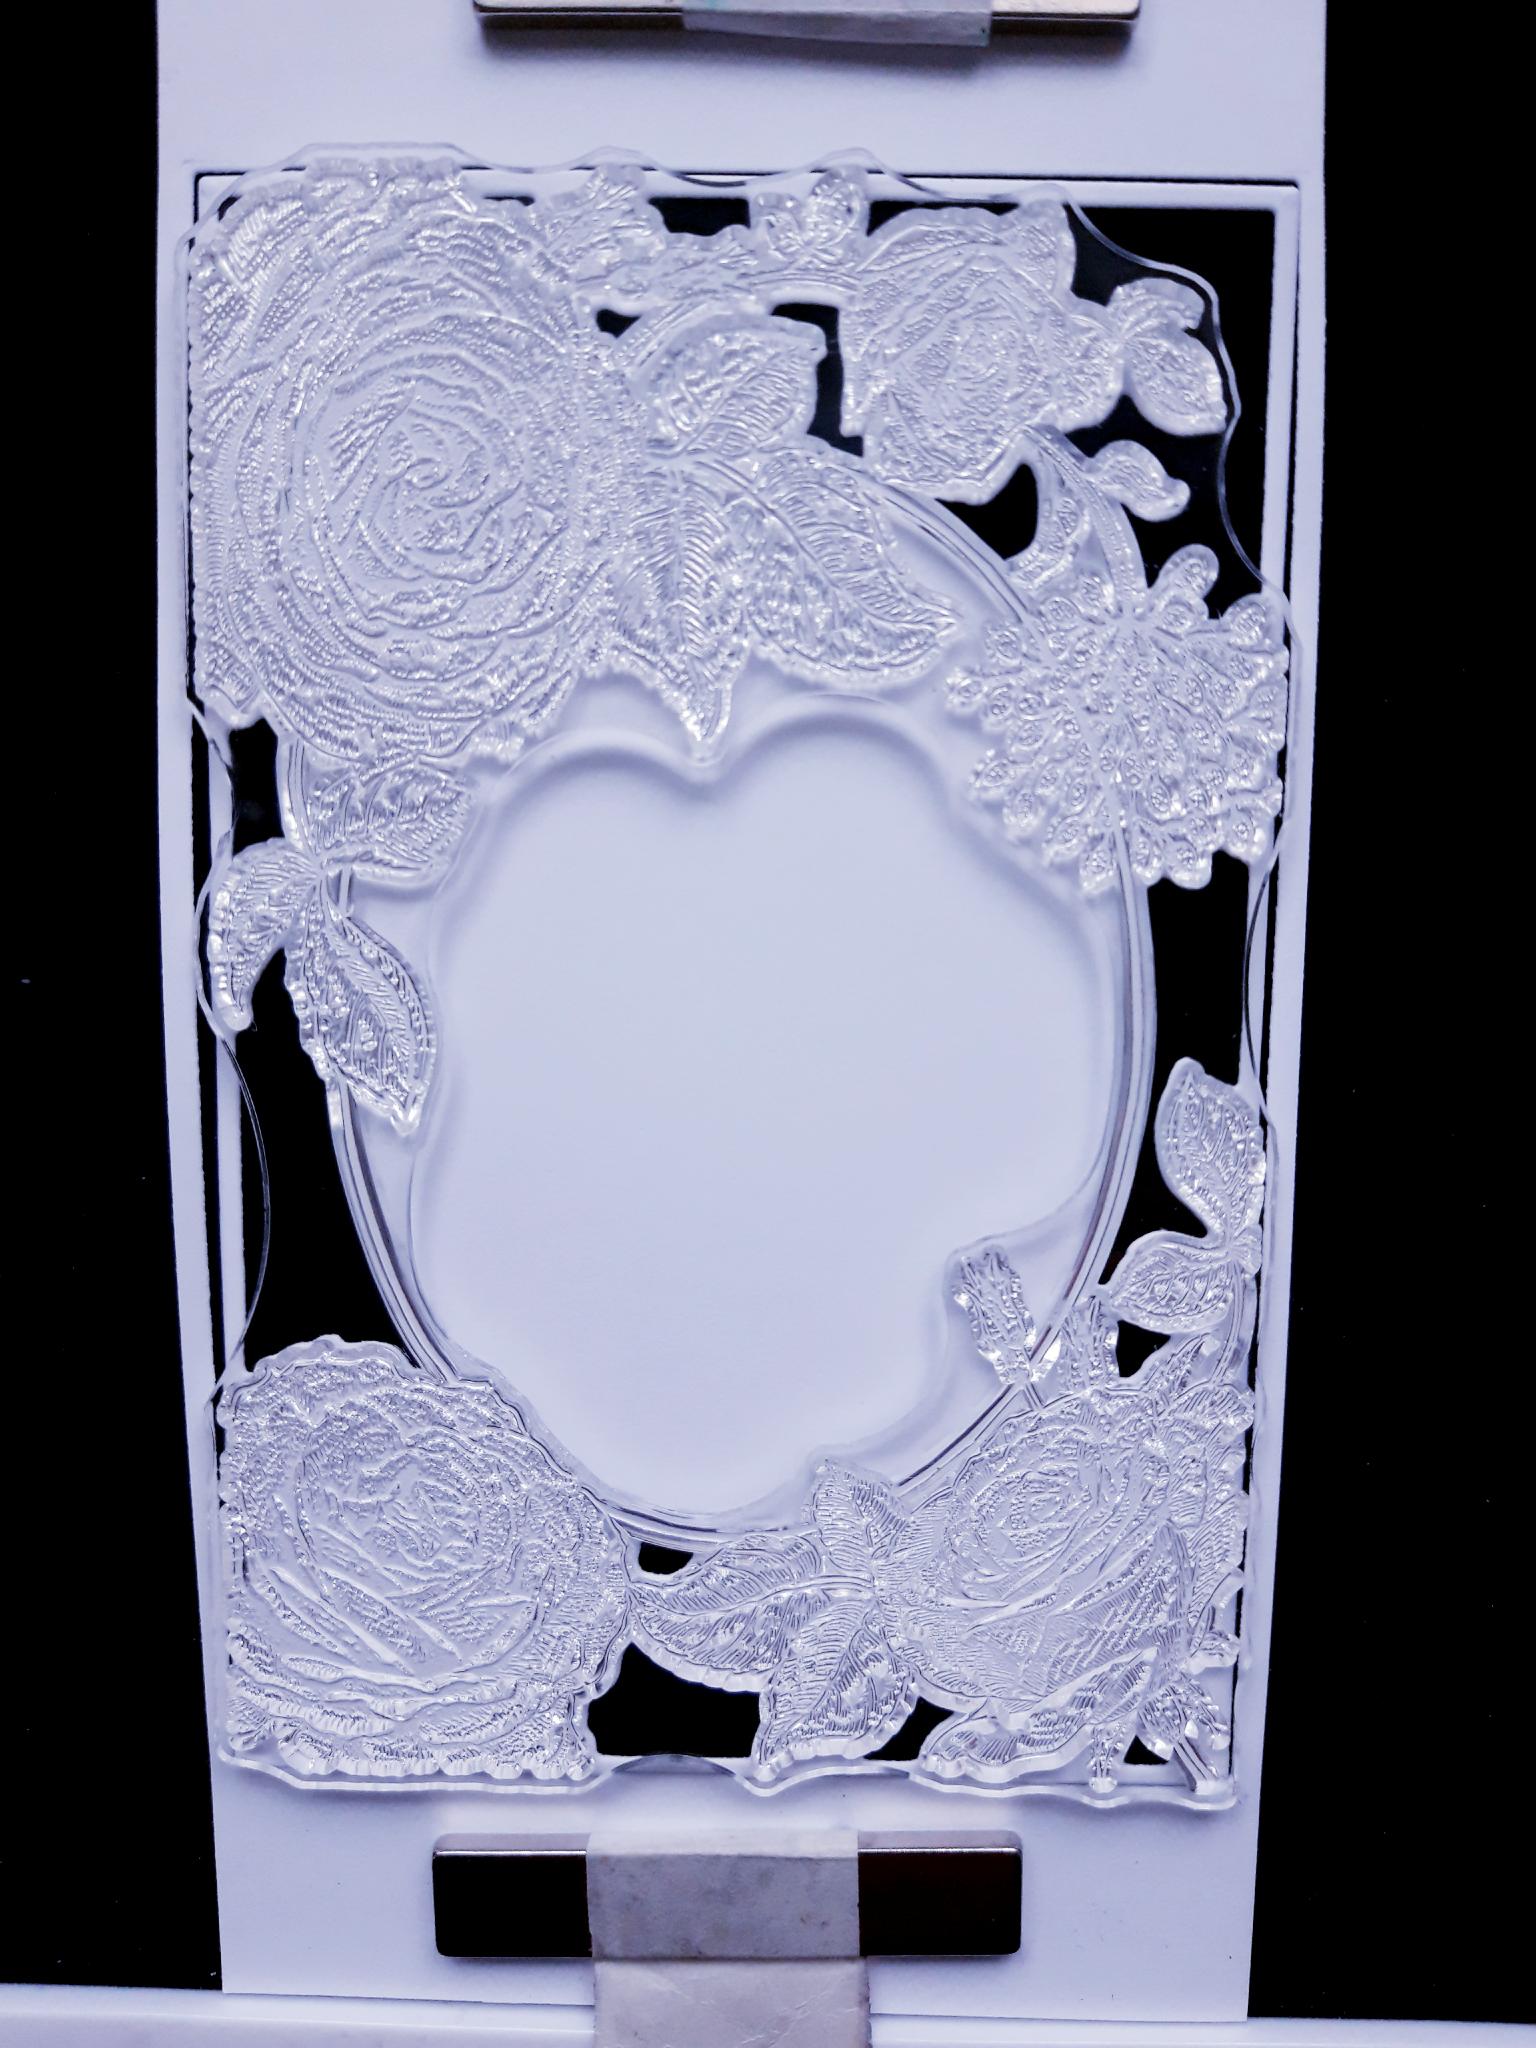
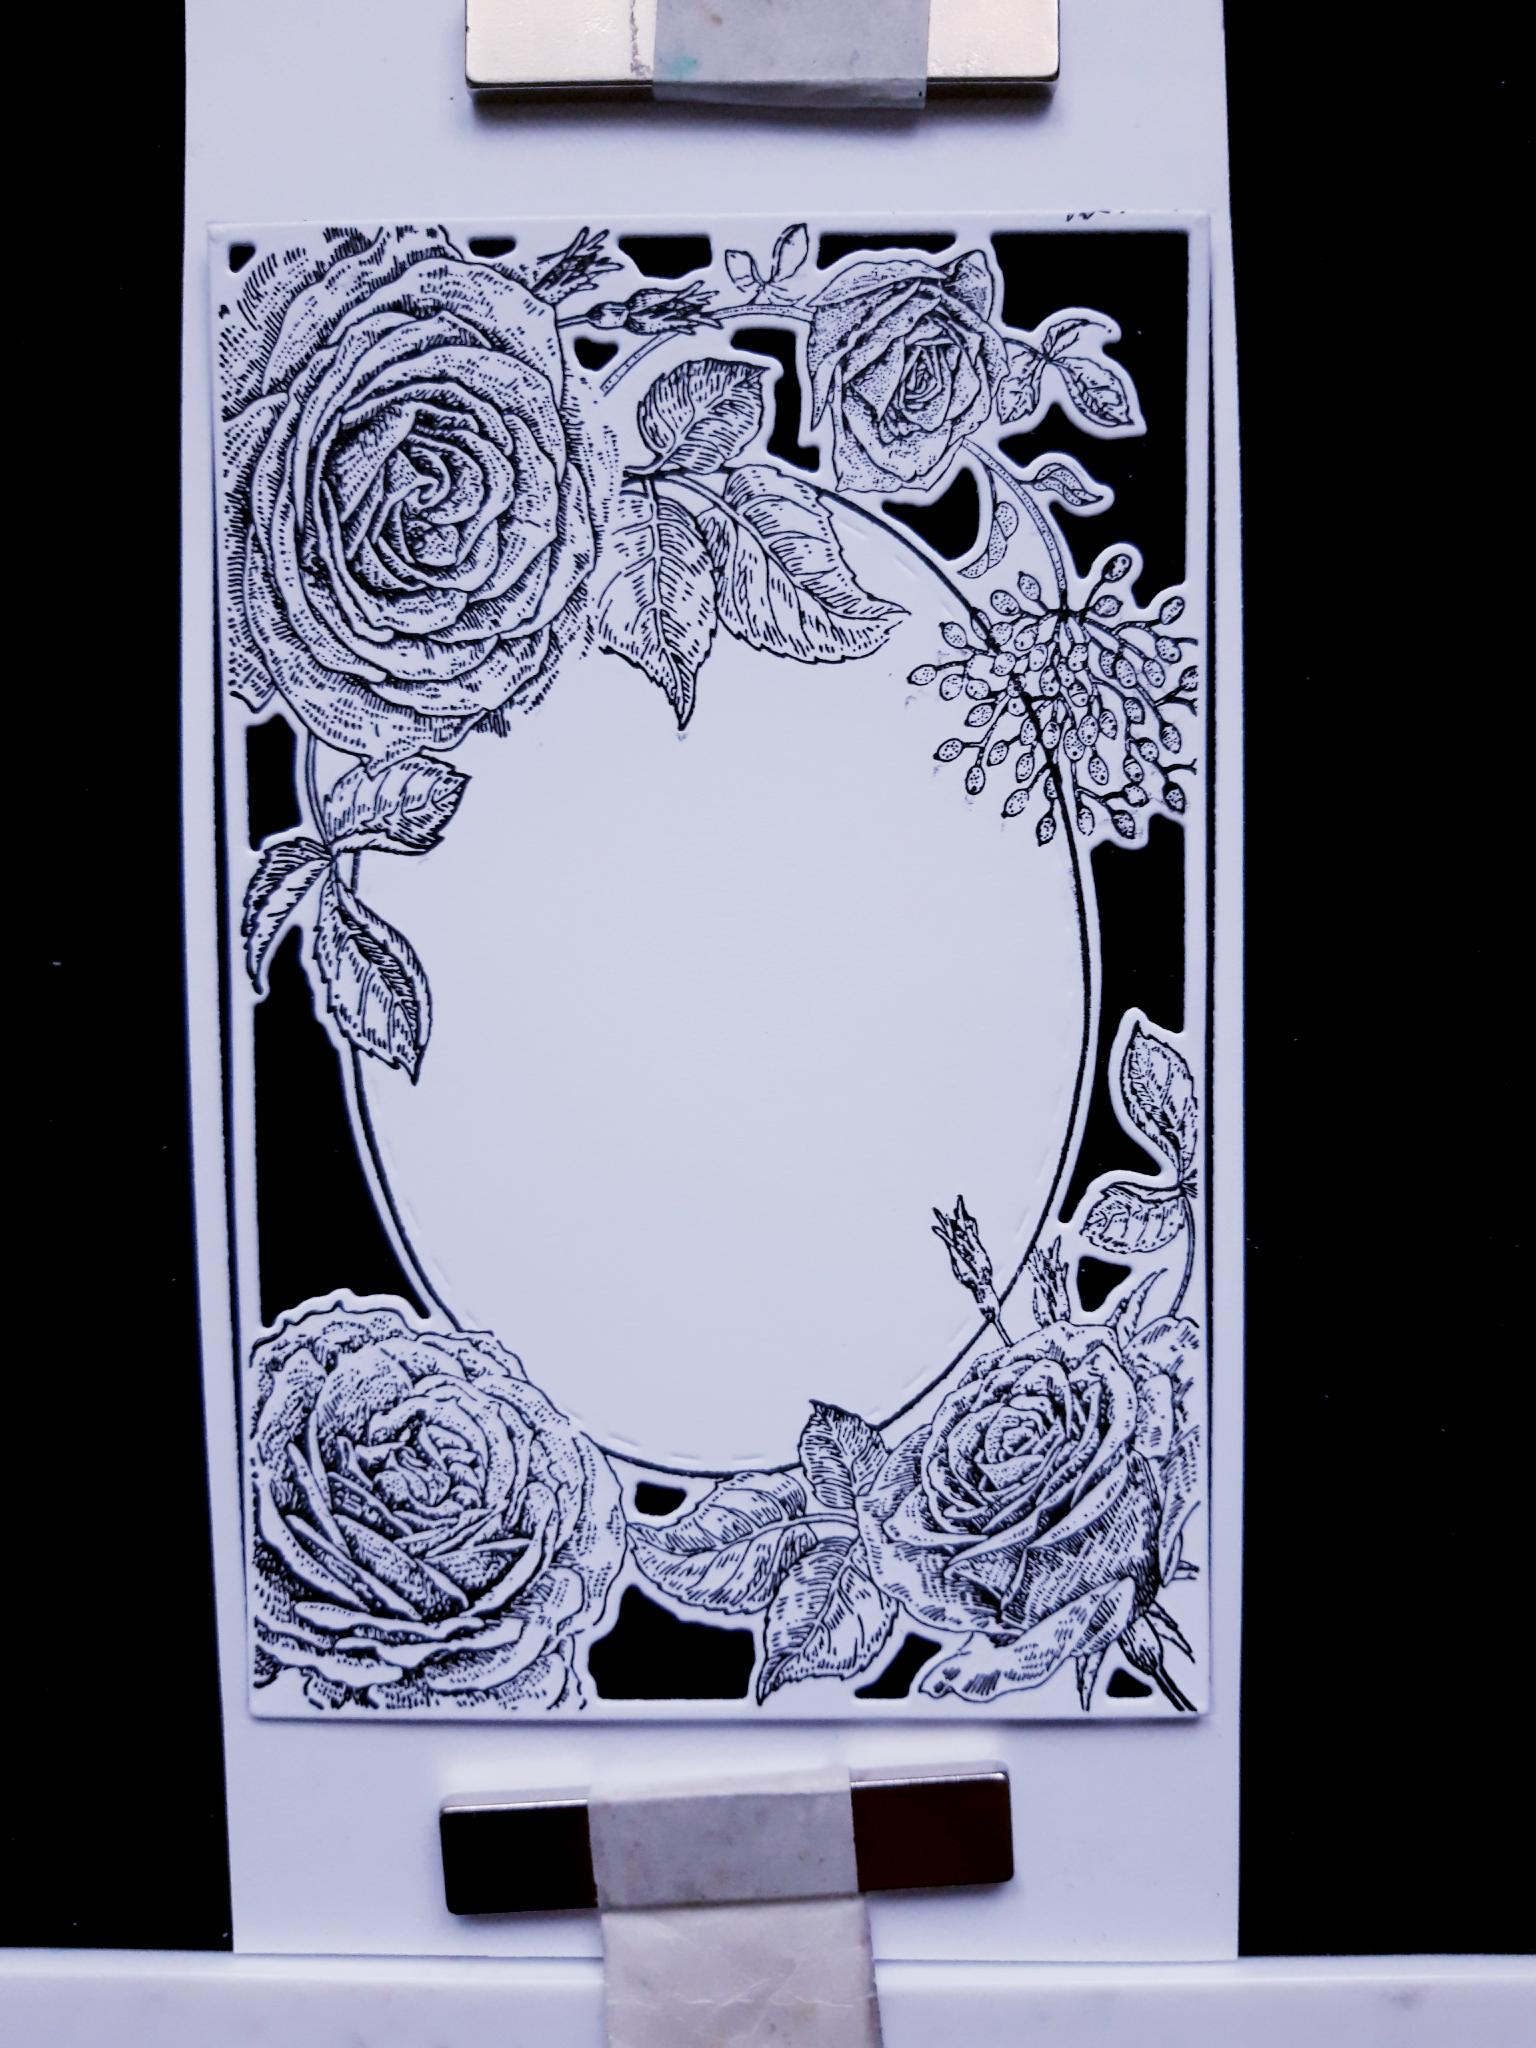
Line up the stamp in position, on top of the die cut panel, as shown in this photo. |
|
Ink up the coordinating stamp, with the Onyx Black Versafine, and stamp on to the die cut panel. |
|
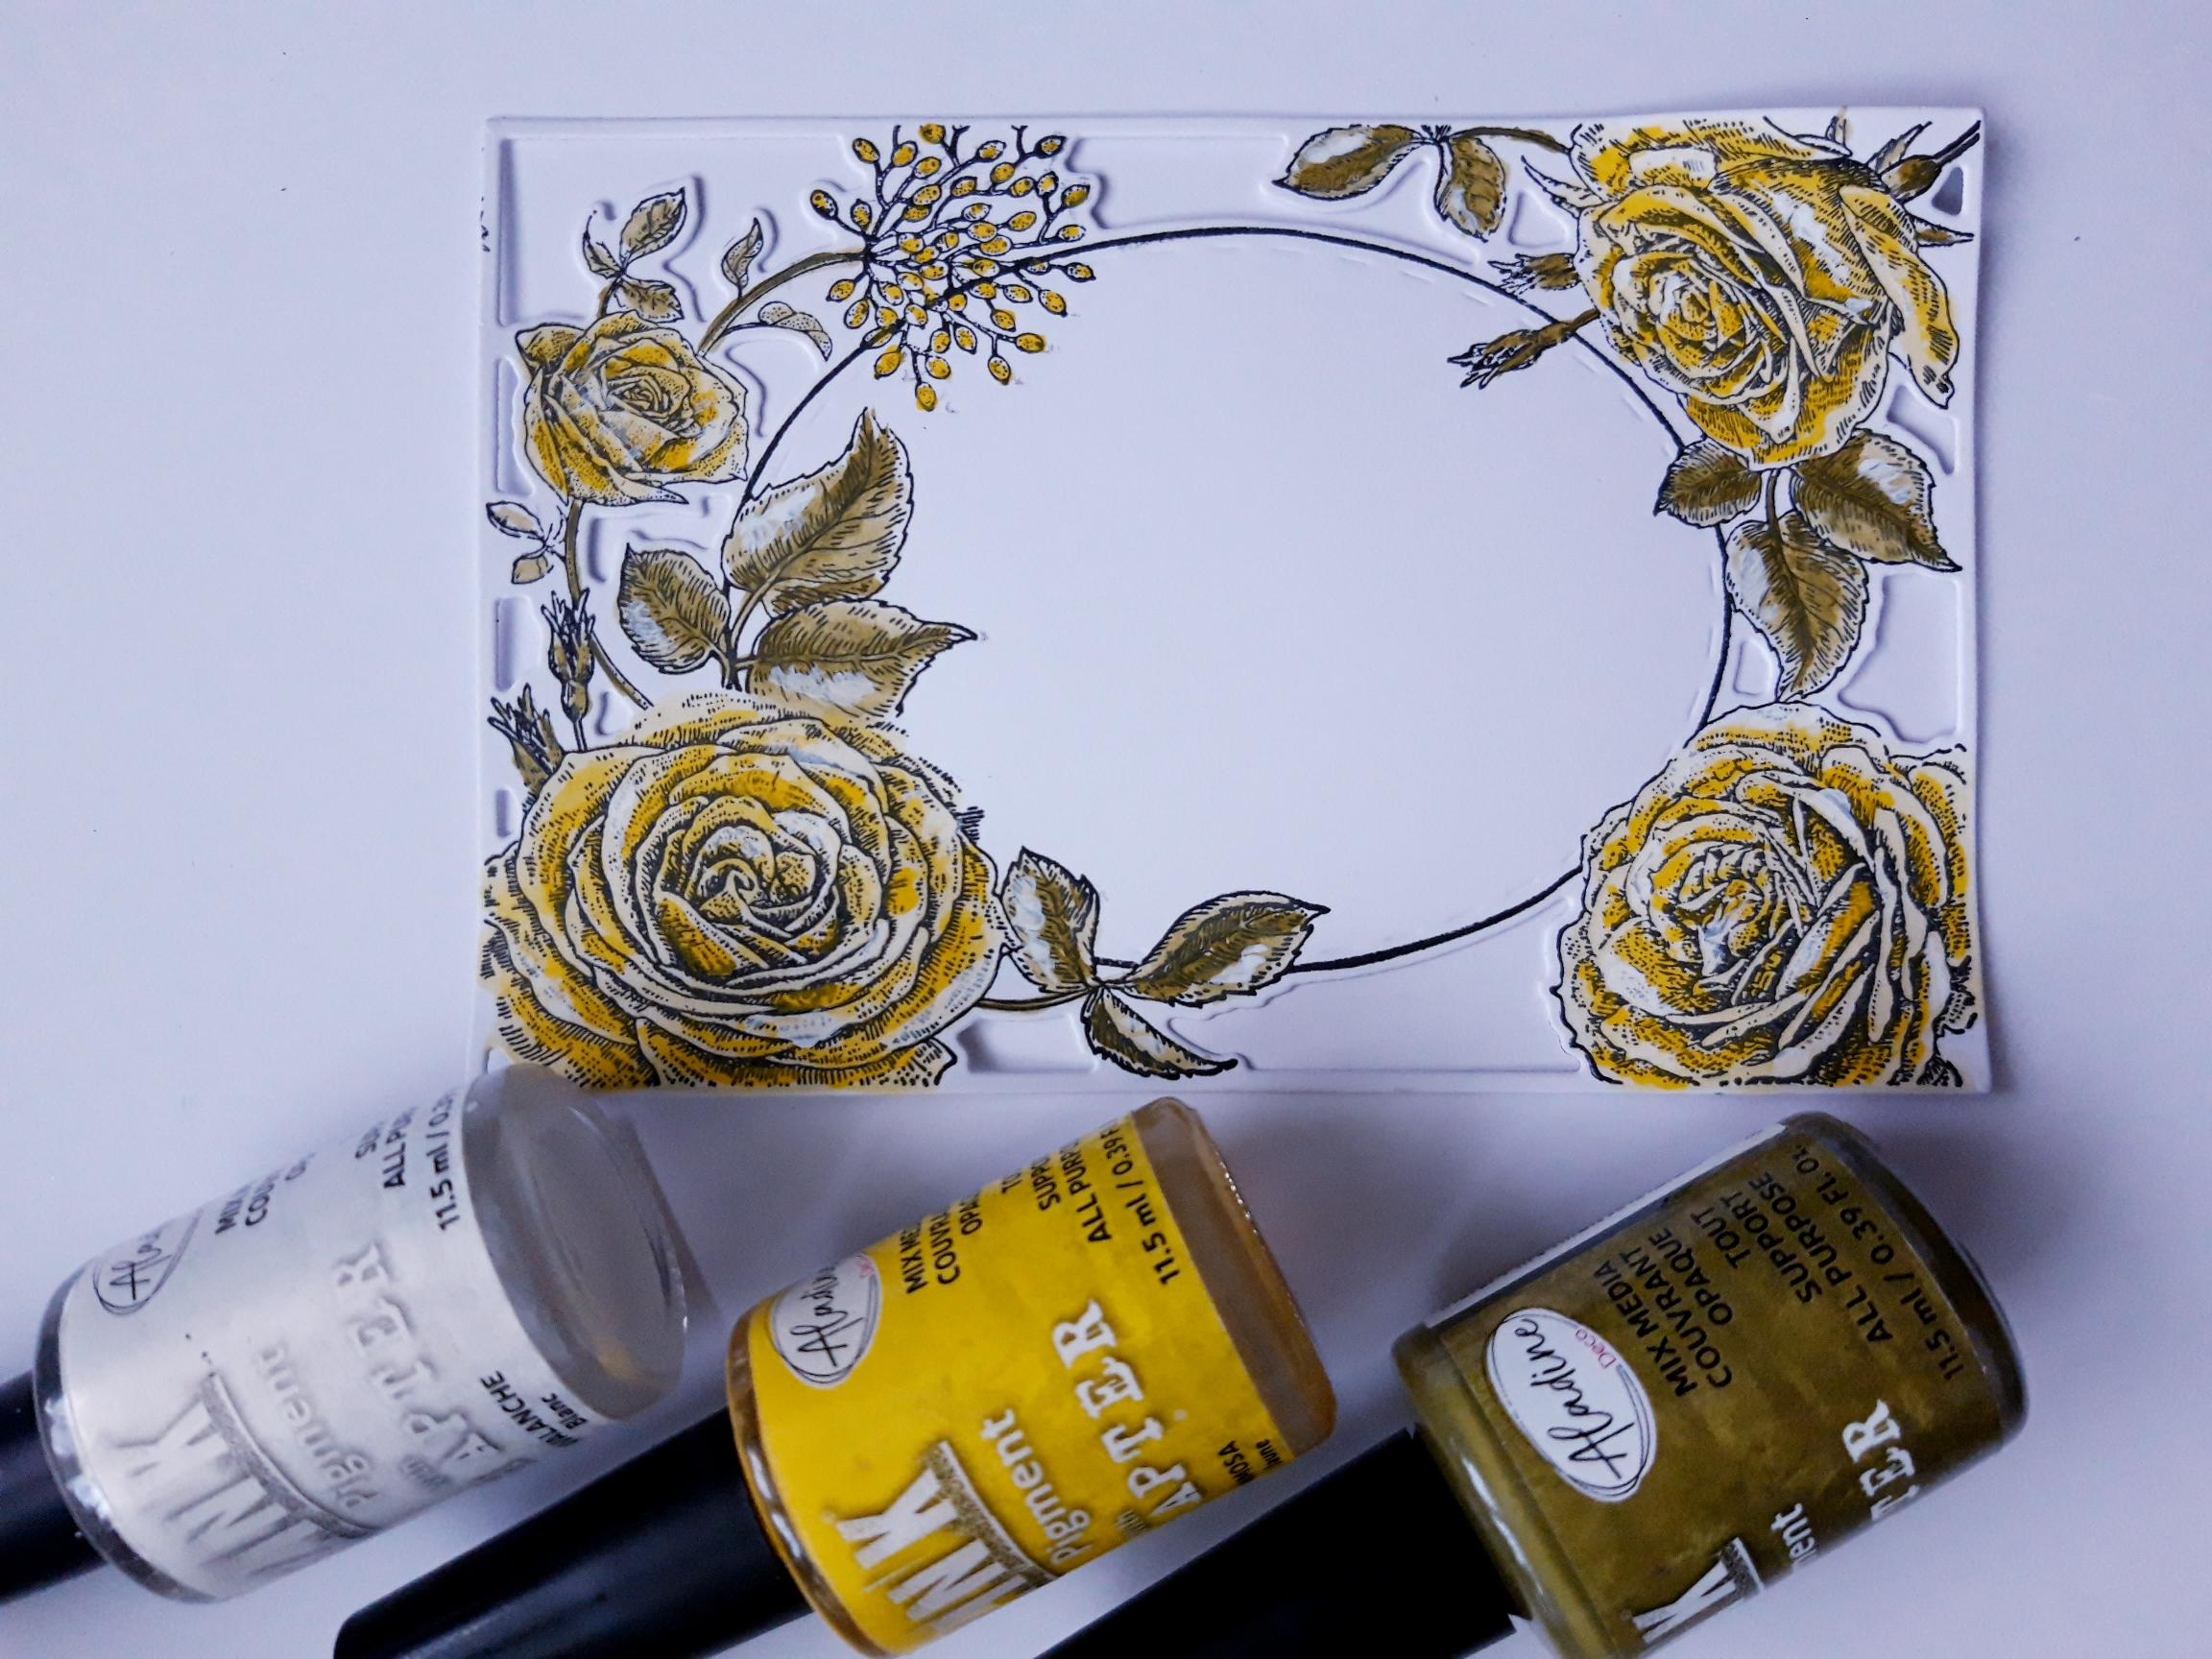
Apply a little of the Mimosa, Olive Drab and Avalanche Izink Pigments, on to a craft or glass mat. Adding a little water, paint your stamped image. You can mix the Avalanche with the other 2 colours, to create lighter shades and, once all the Pigments are dry, you can use it to add accents and highlights to your artwork. |
|
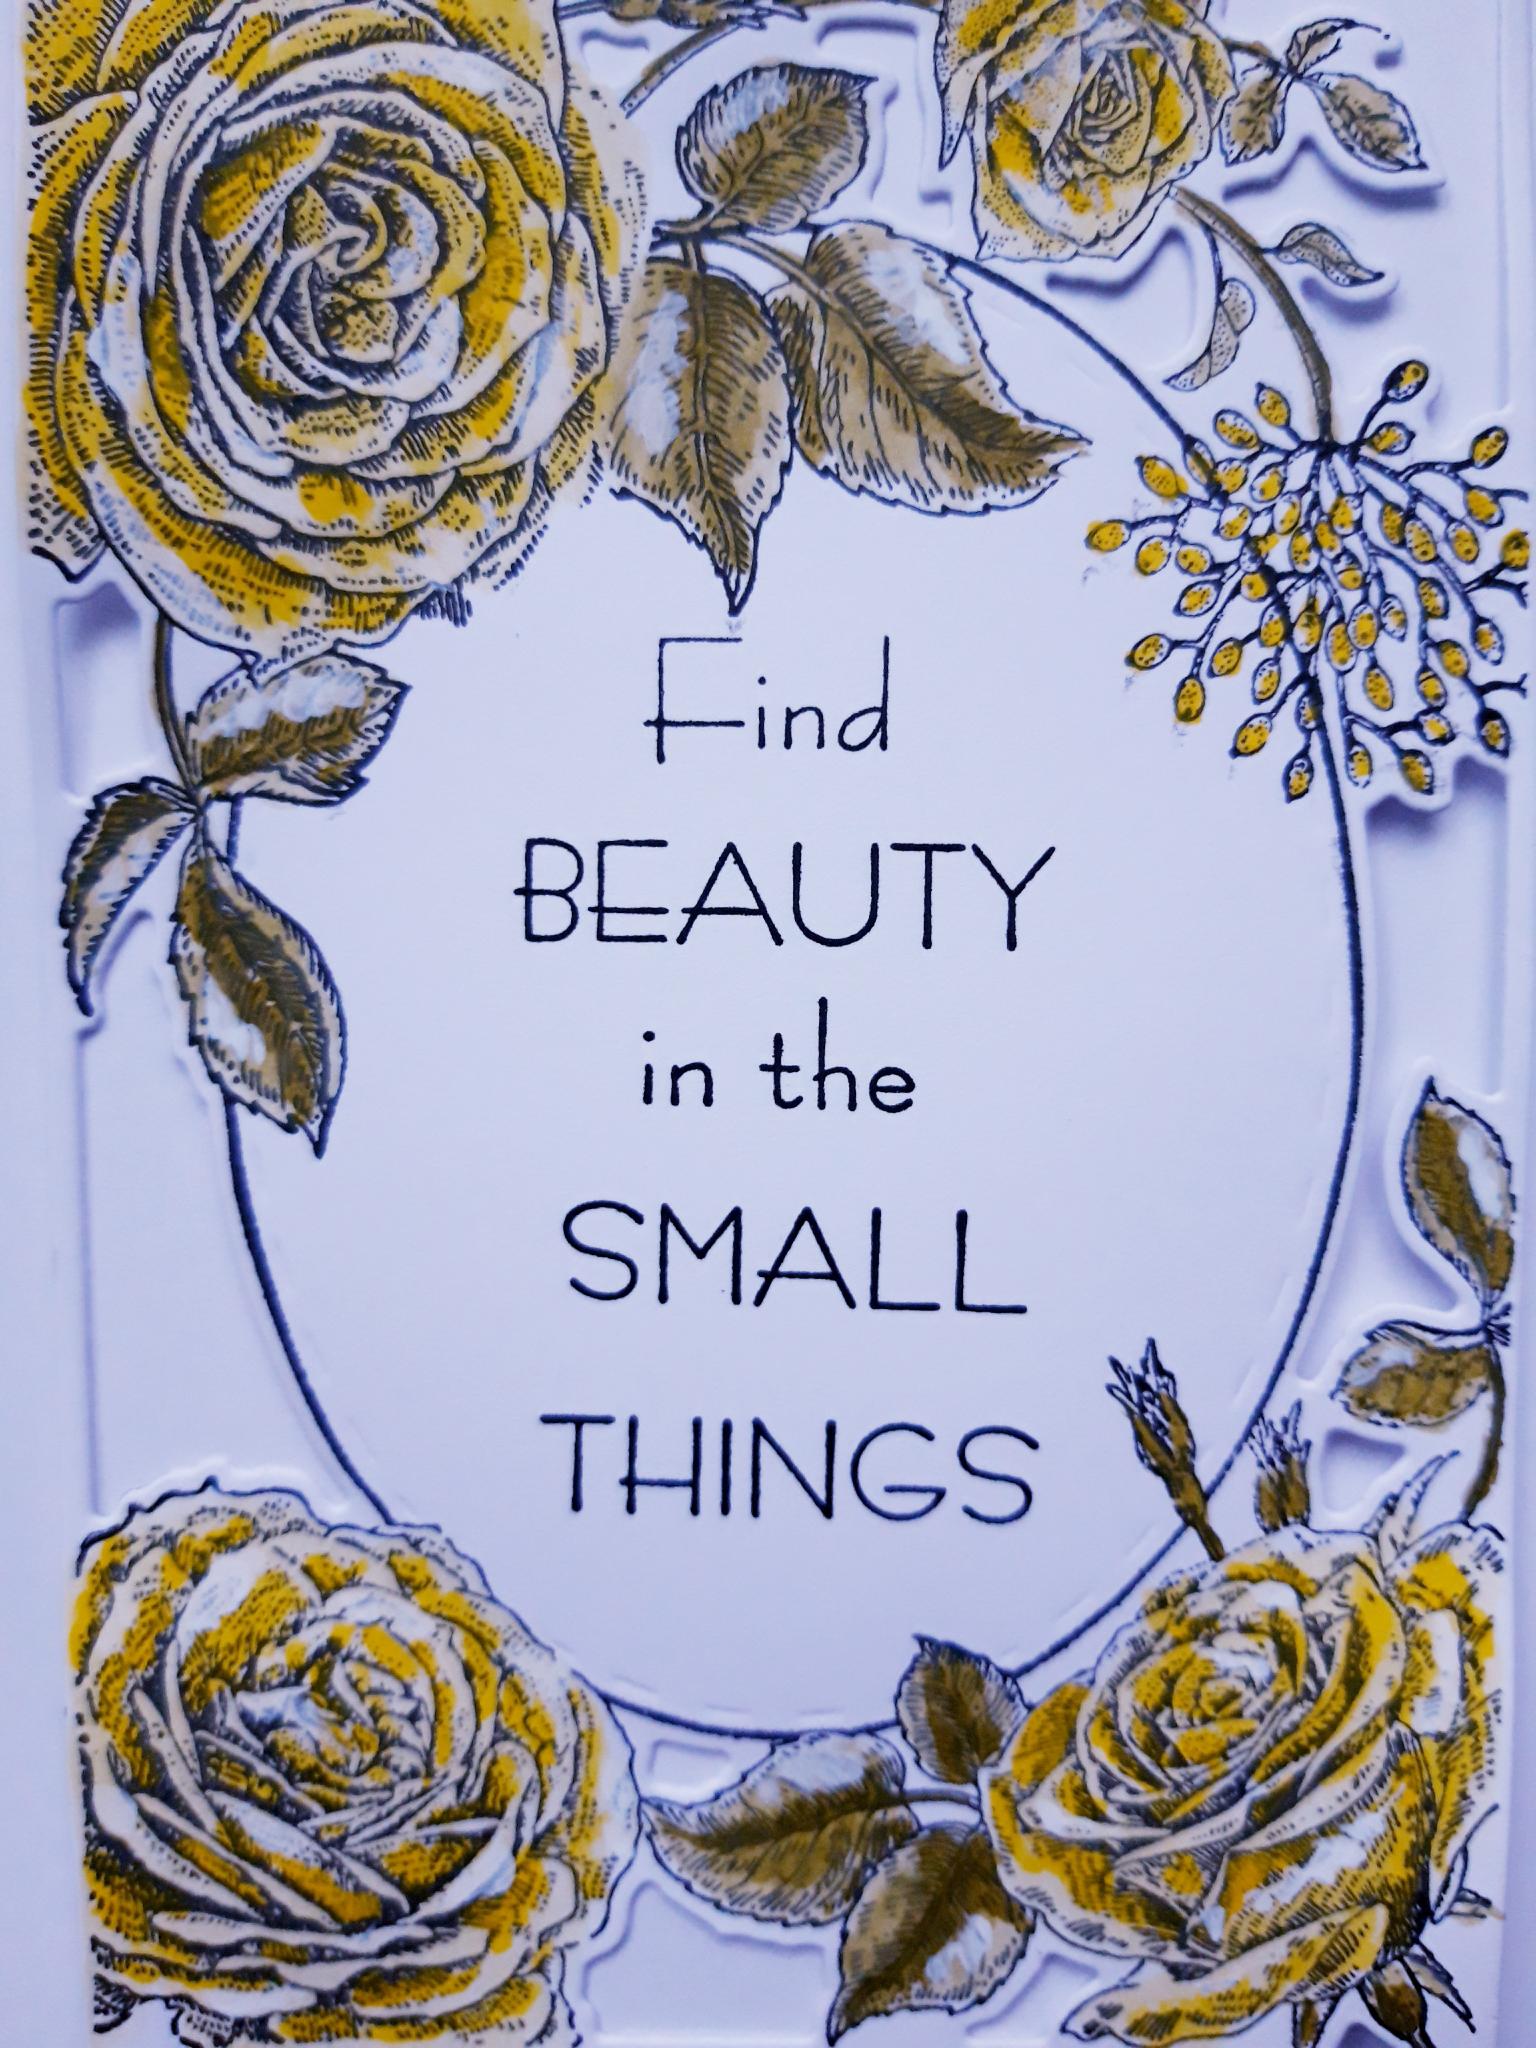
Ink up the sentiment stamp from the same set, with the Versafine, and stamp in the centre panel of your artwork. Set this to one side. |
|
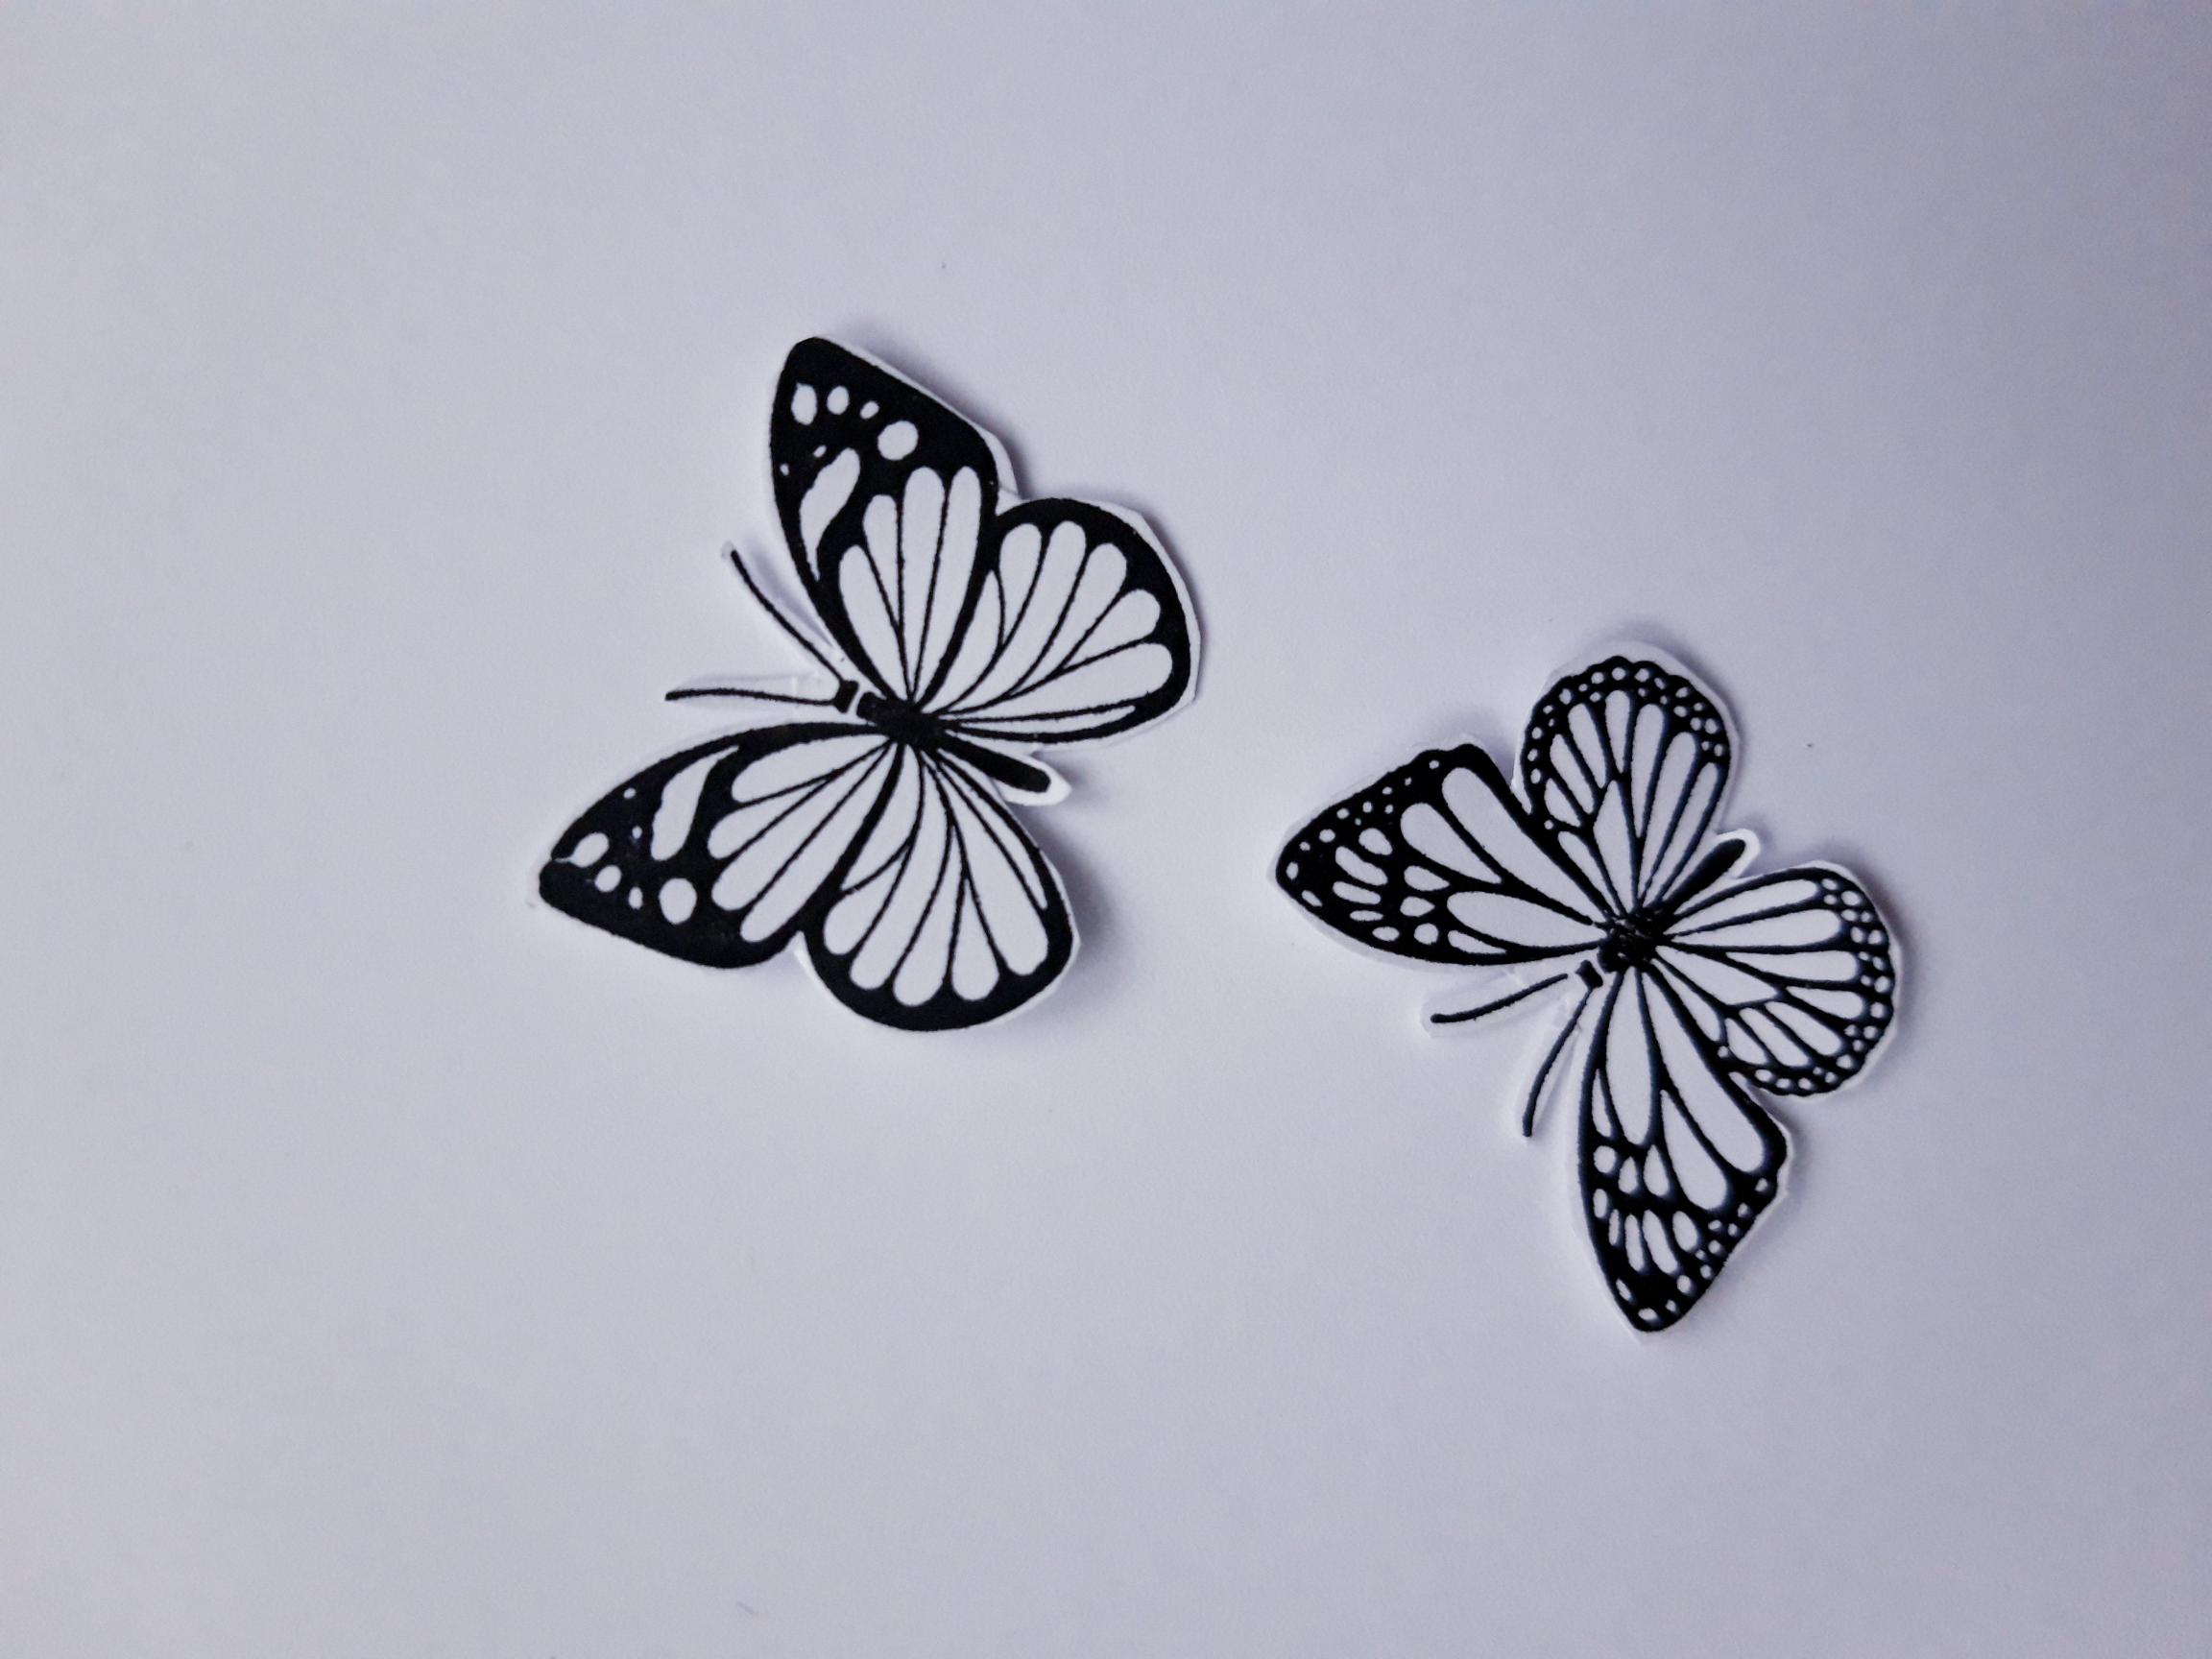
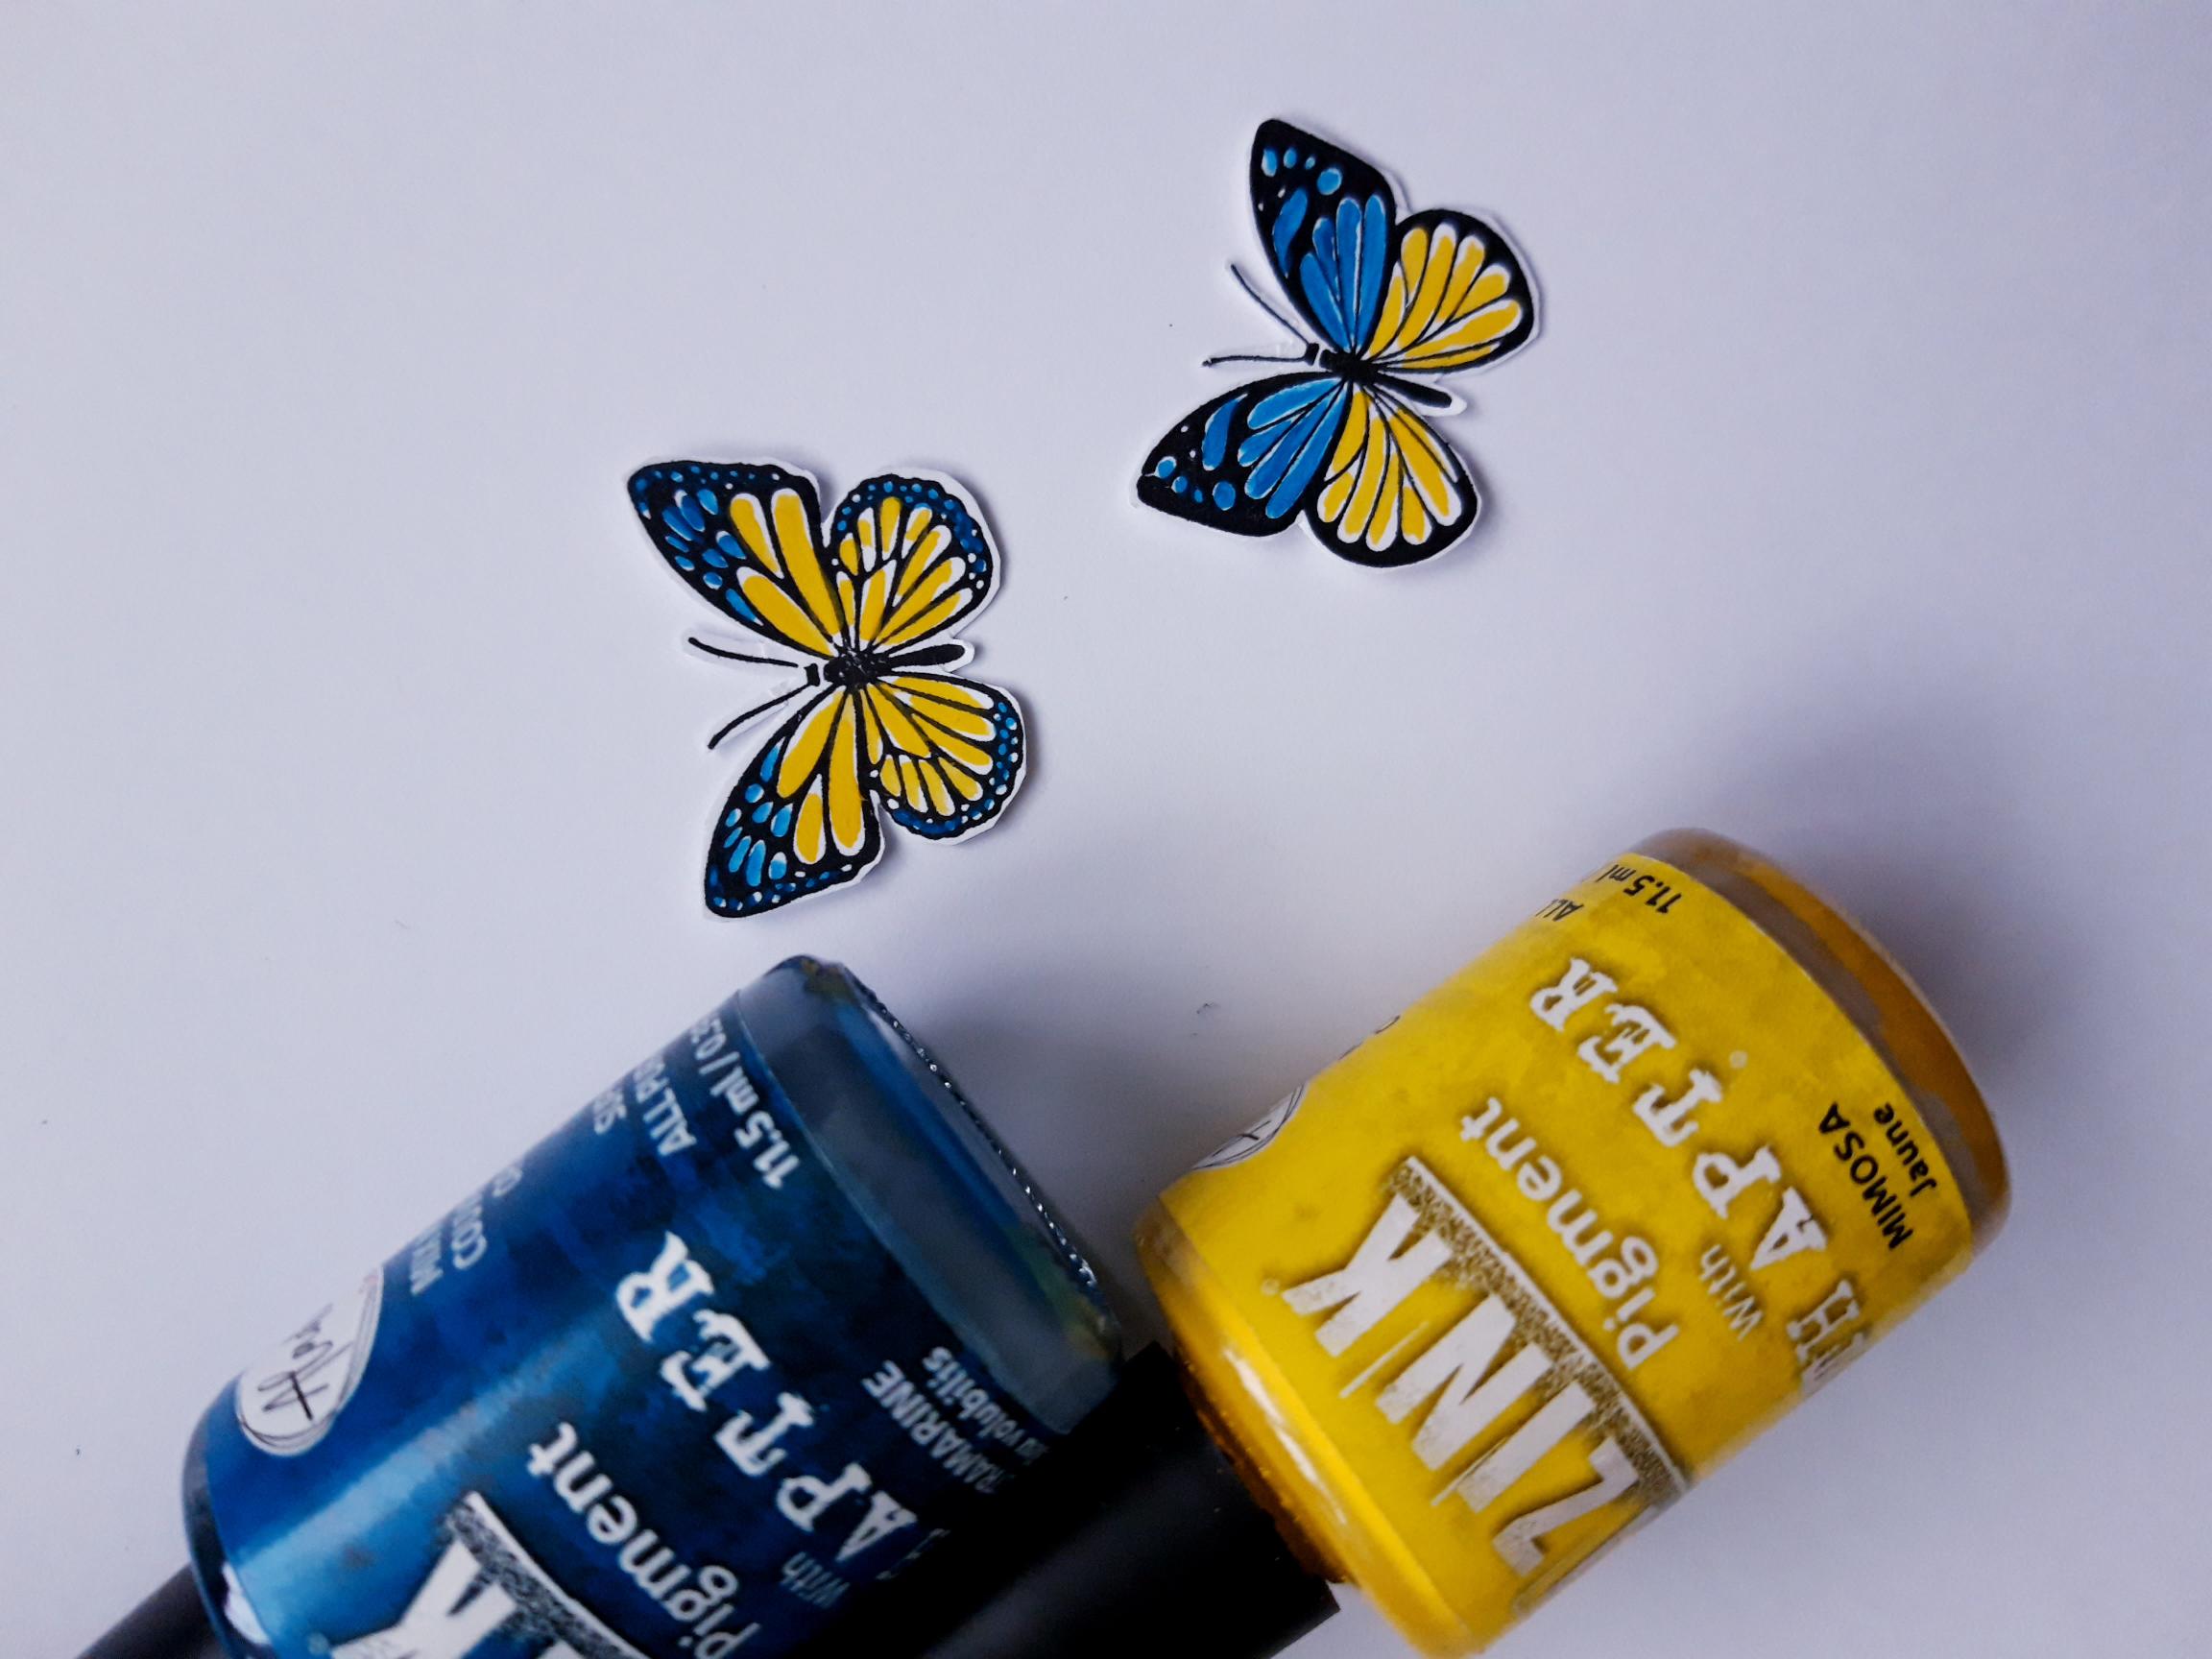
Ink up a couple of the butterflies, from the Bonjour Slimline Stamp And Die Collection, with the Versafine, and stamp on to the white card you set aside earlier. Cut them out. |
|
Use the Mimosa and Ultramarine Izink Pigments, to paint your butterflies. |
|
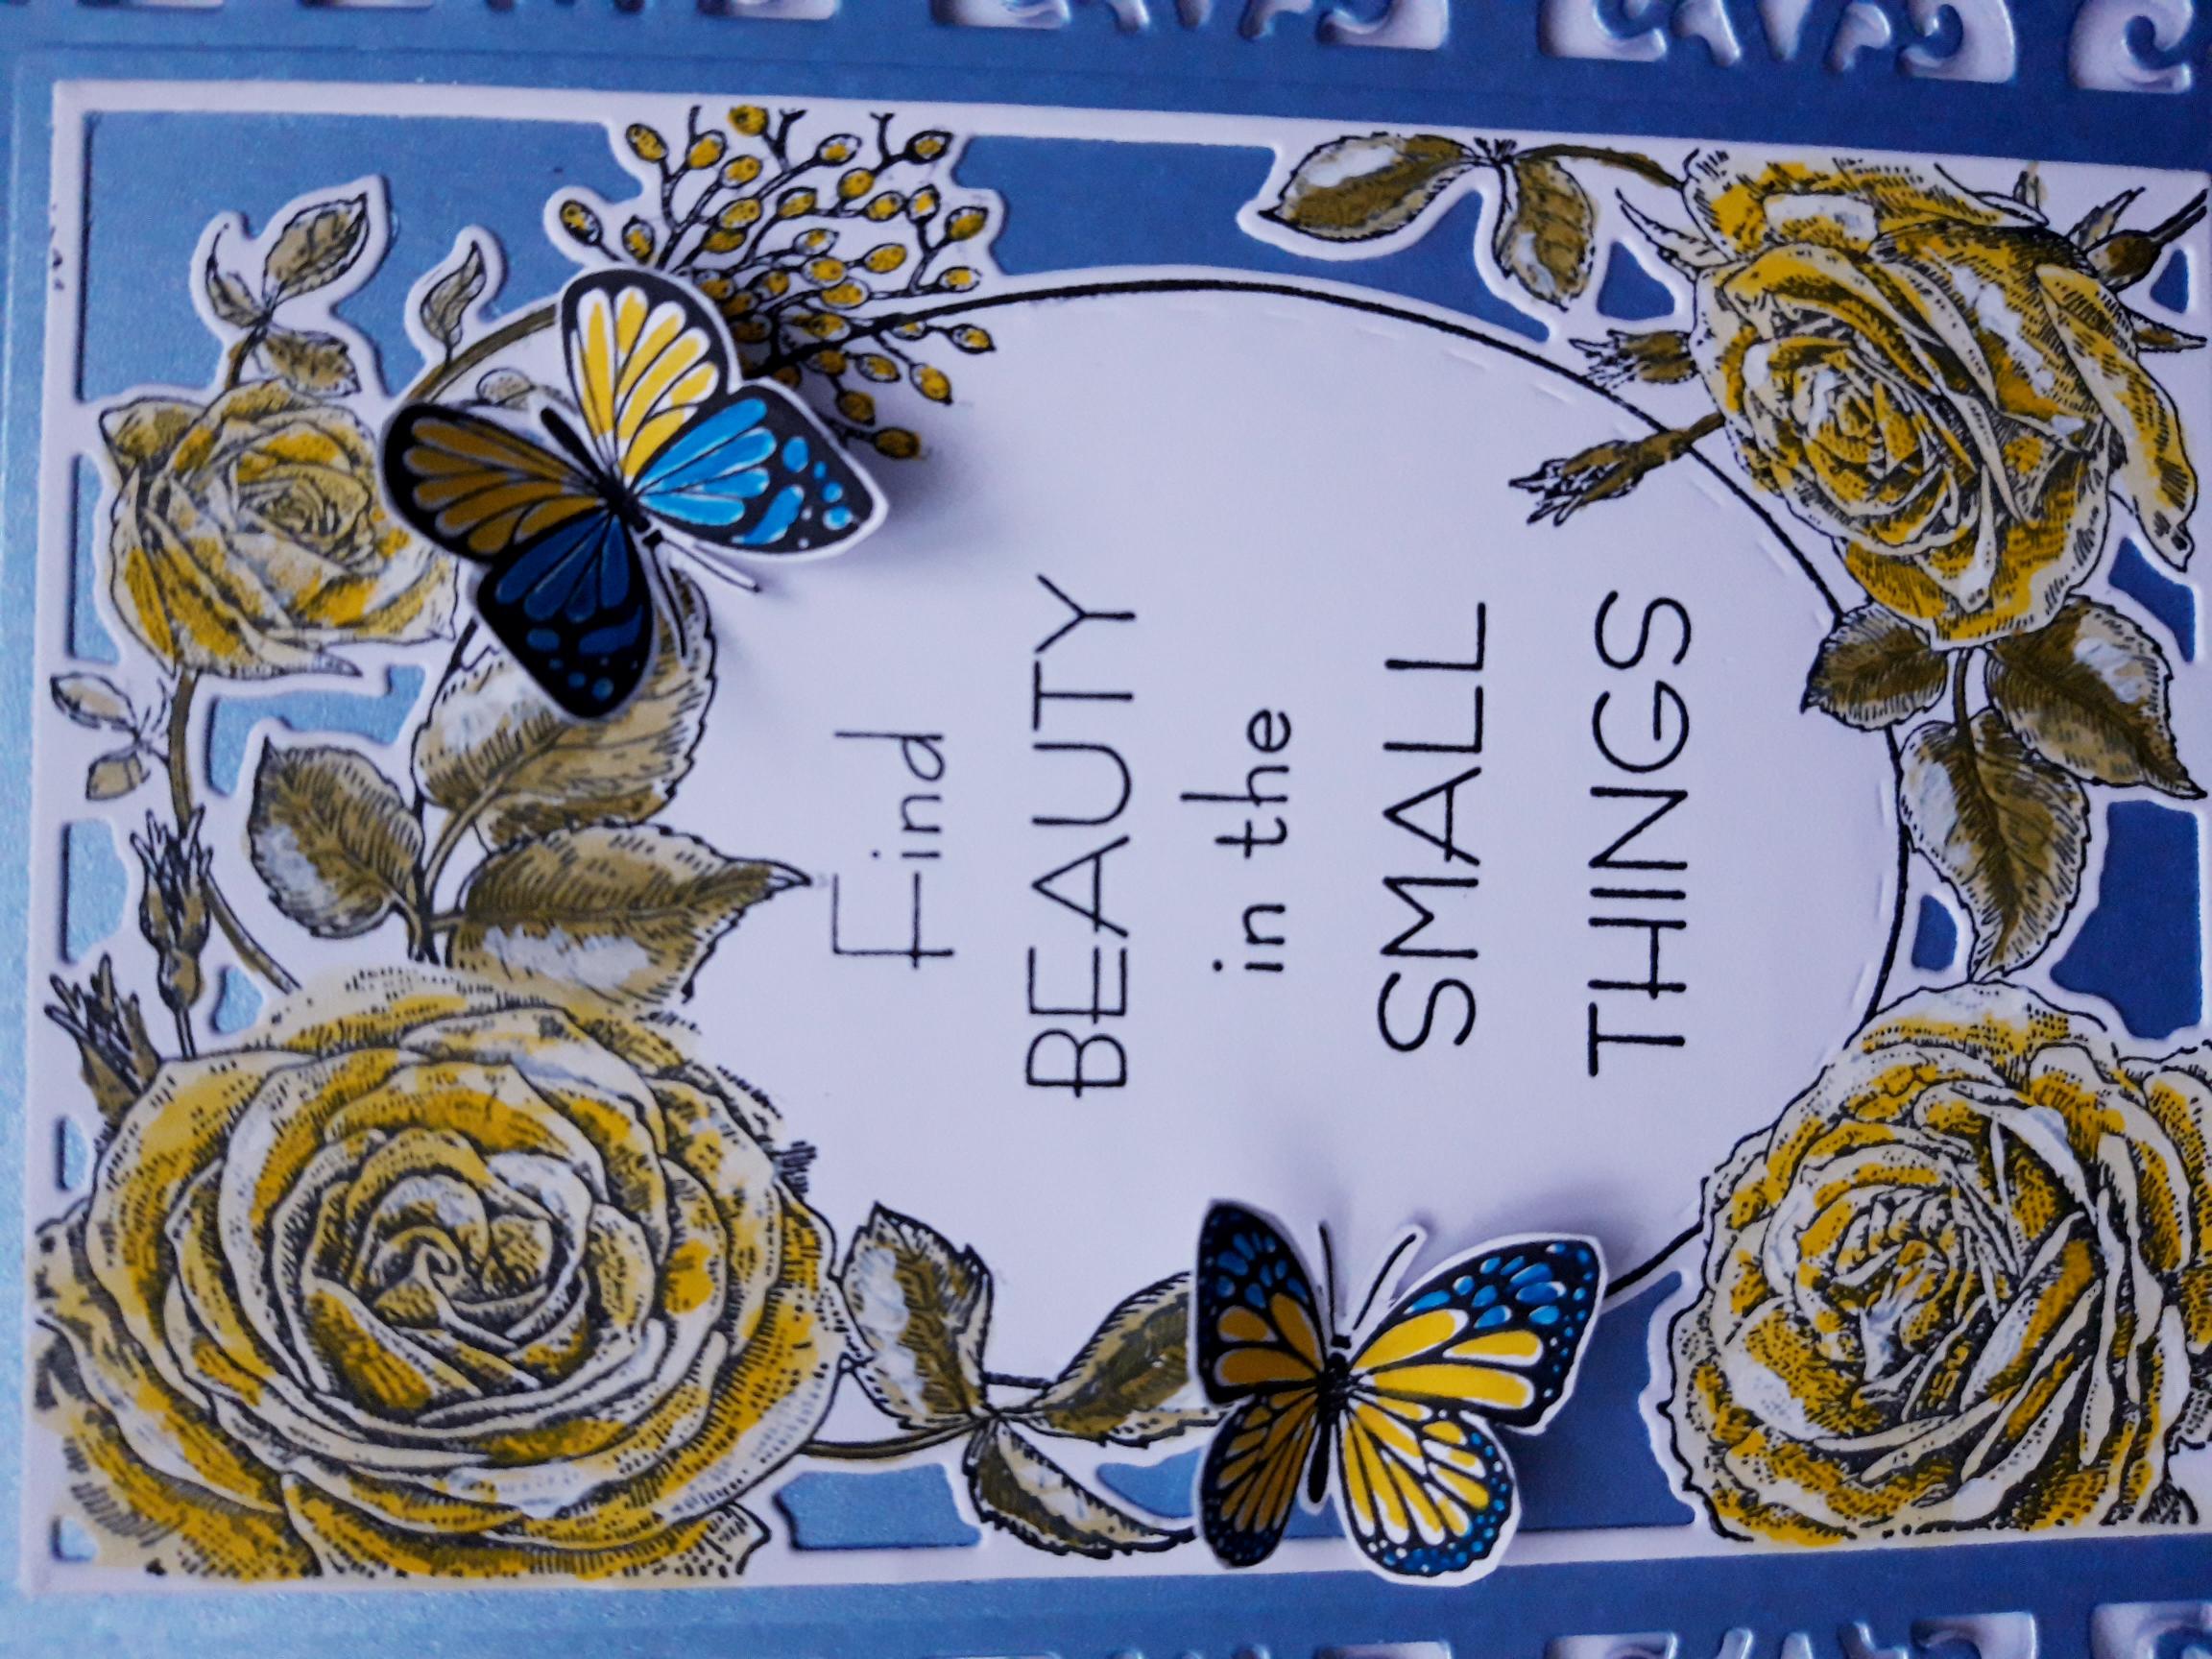
Once the Pigments are dry, mould the butterfly wings with your fingers to give them shape, then adhere where required, on to your finished artwork. |