

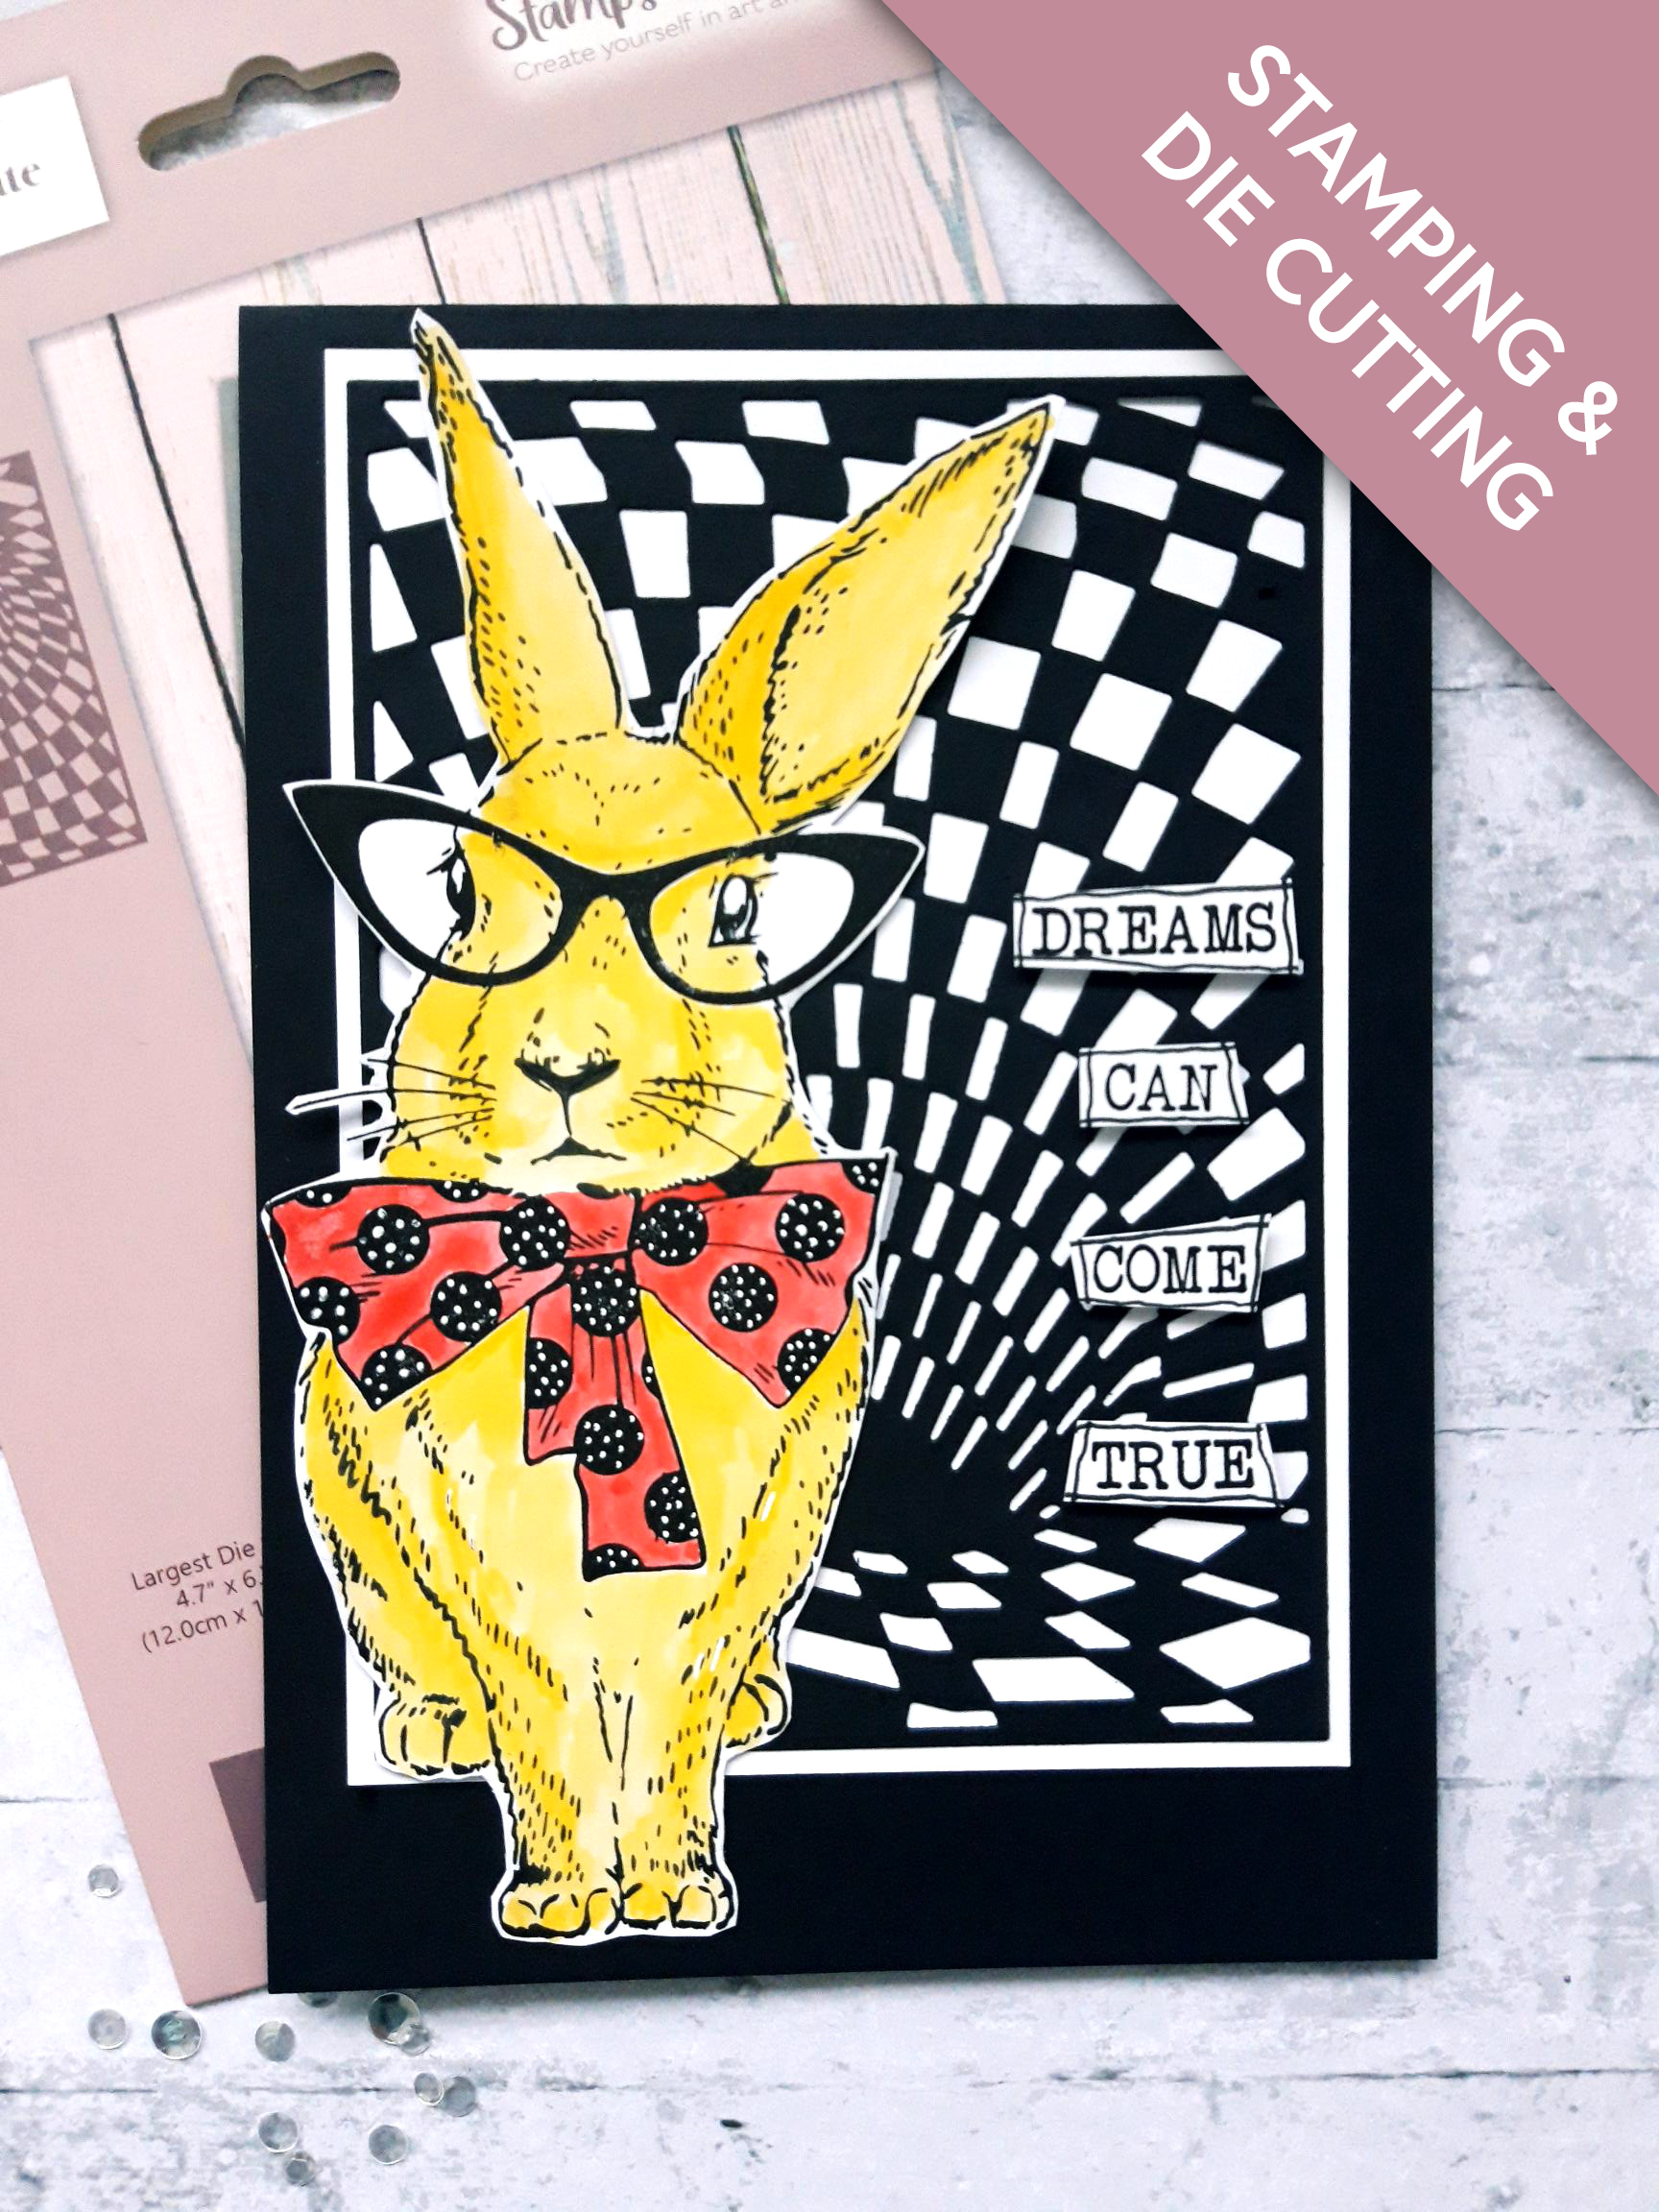
WHAT YOU WILL NEED:
Black top folding card blank (8 1/4 x 5 3/4")
White card 7 x 5"
Black card 7 x 5"
White card A4
Dies from Alice Cover Plate Die Collection
Stamps from Imala Trendy
Stamps from Thirsty Brush UnLtd More Than Words Creative Stamps
Versafine Ink Pad: Onyx Black Versafine
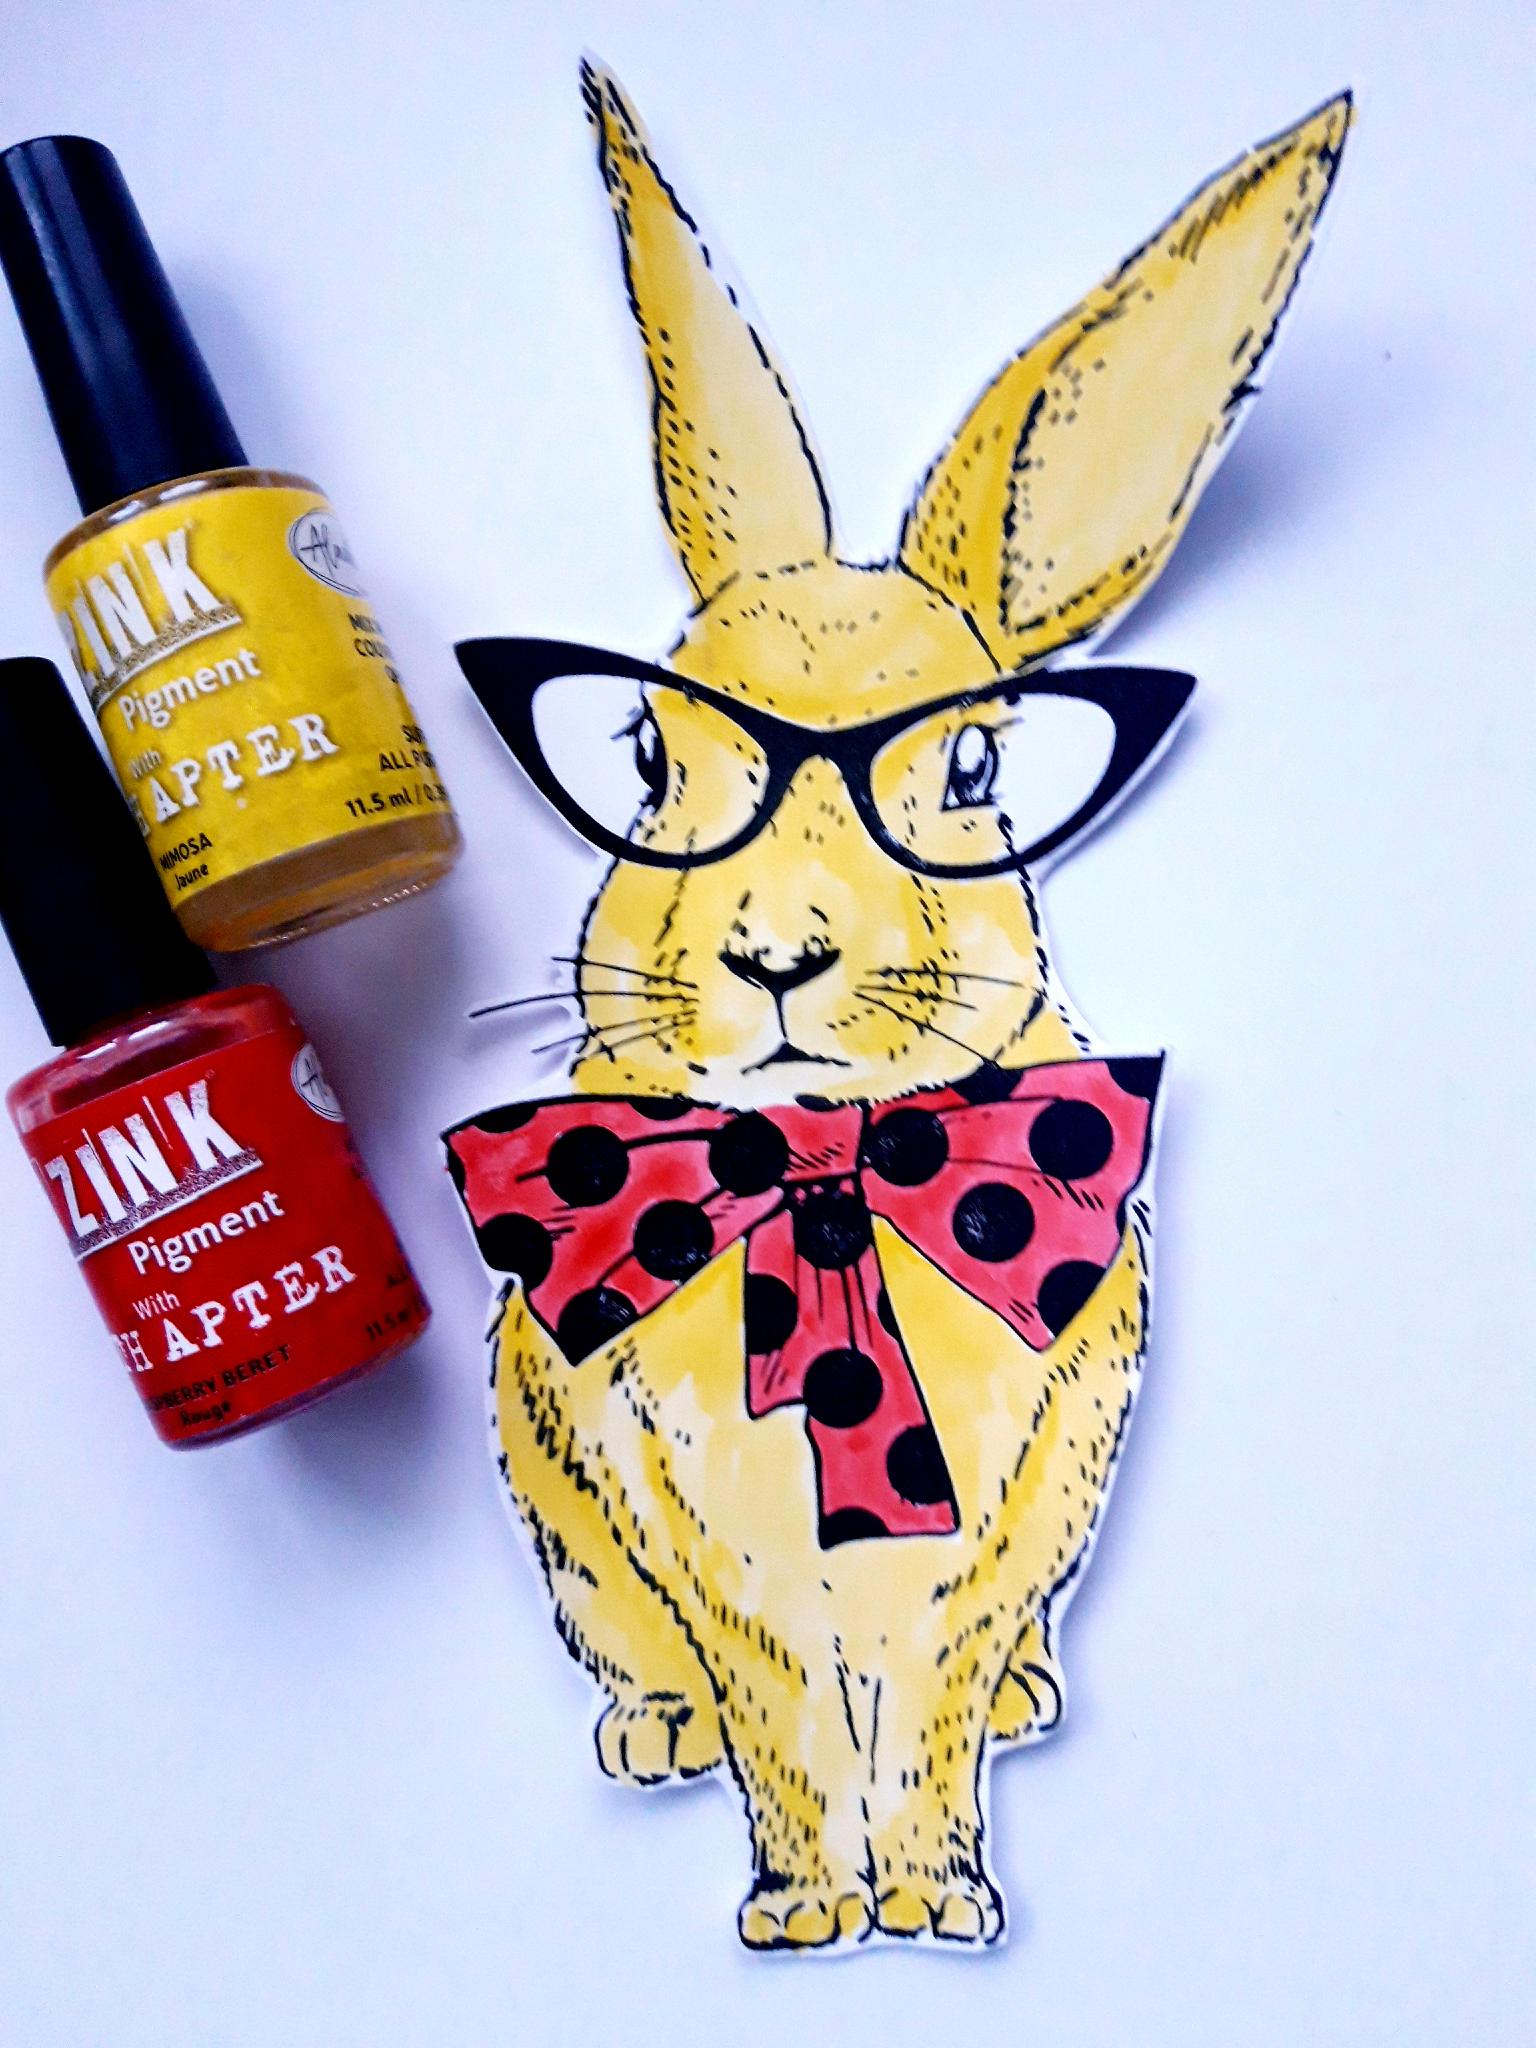
Izink Pigments: Mimosa, Raspberry Beret
Paint brush
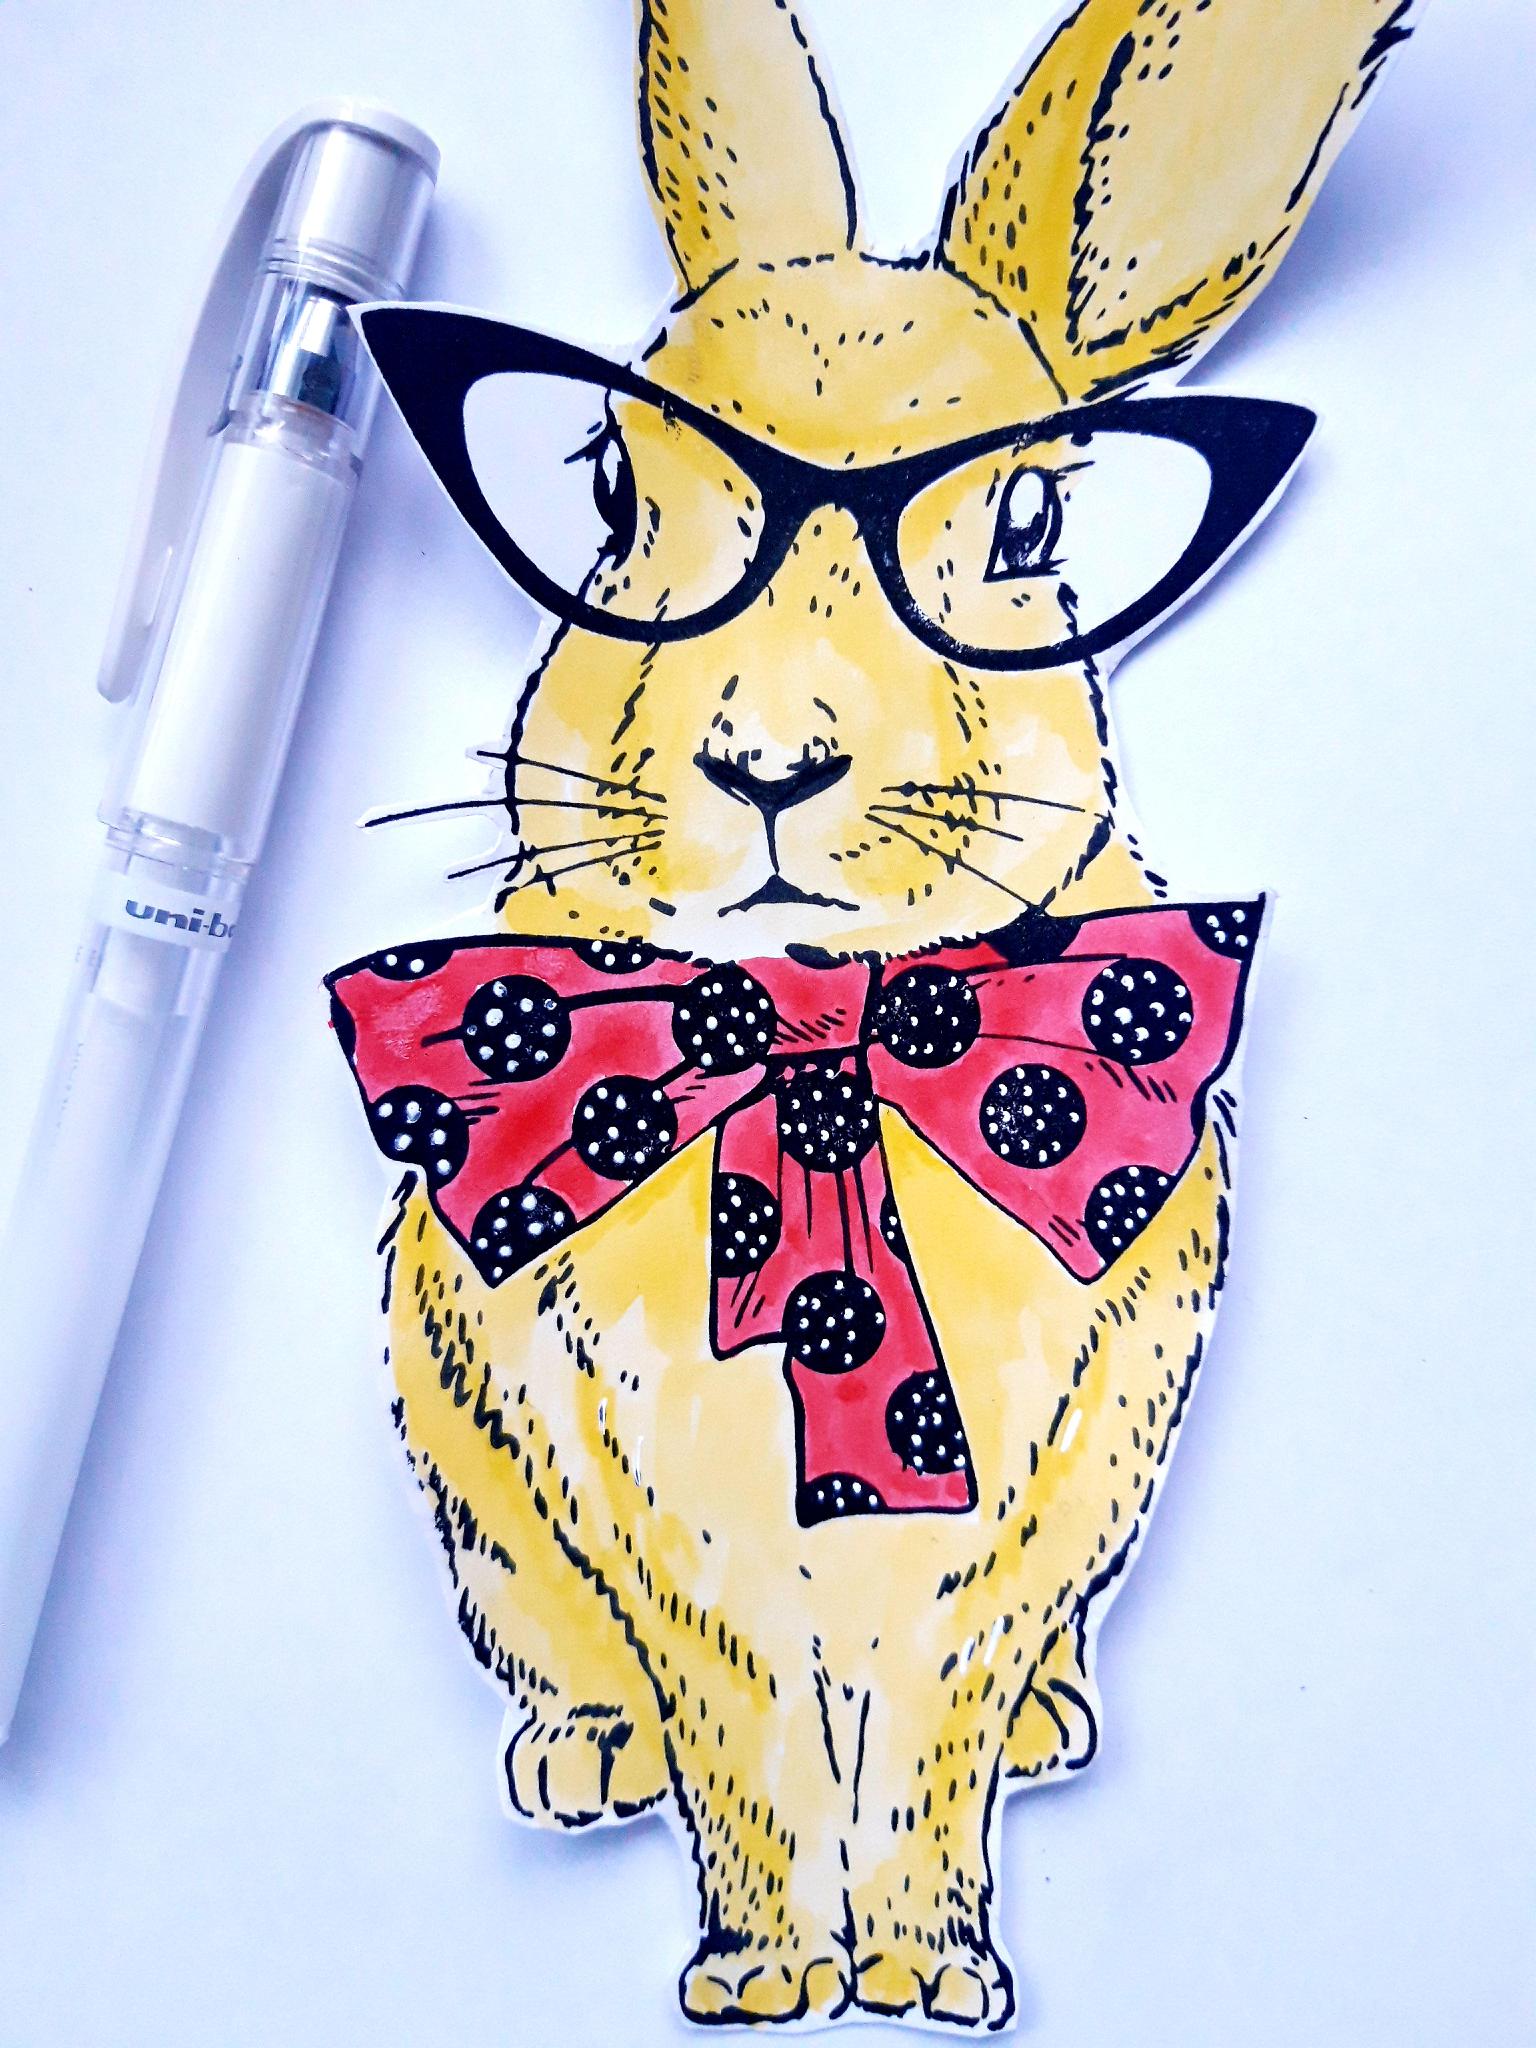
White gel pen
Black pen
Eureka 101
Paper Trimmer
Perfect Together Glue
Foam Pads
Die Cutting machine
[click image to enlarge] 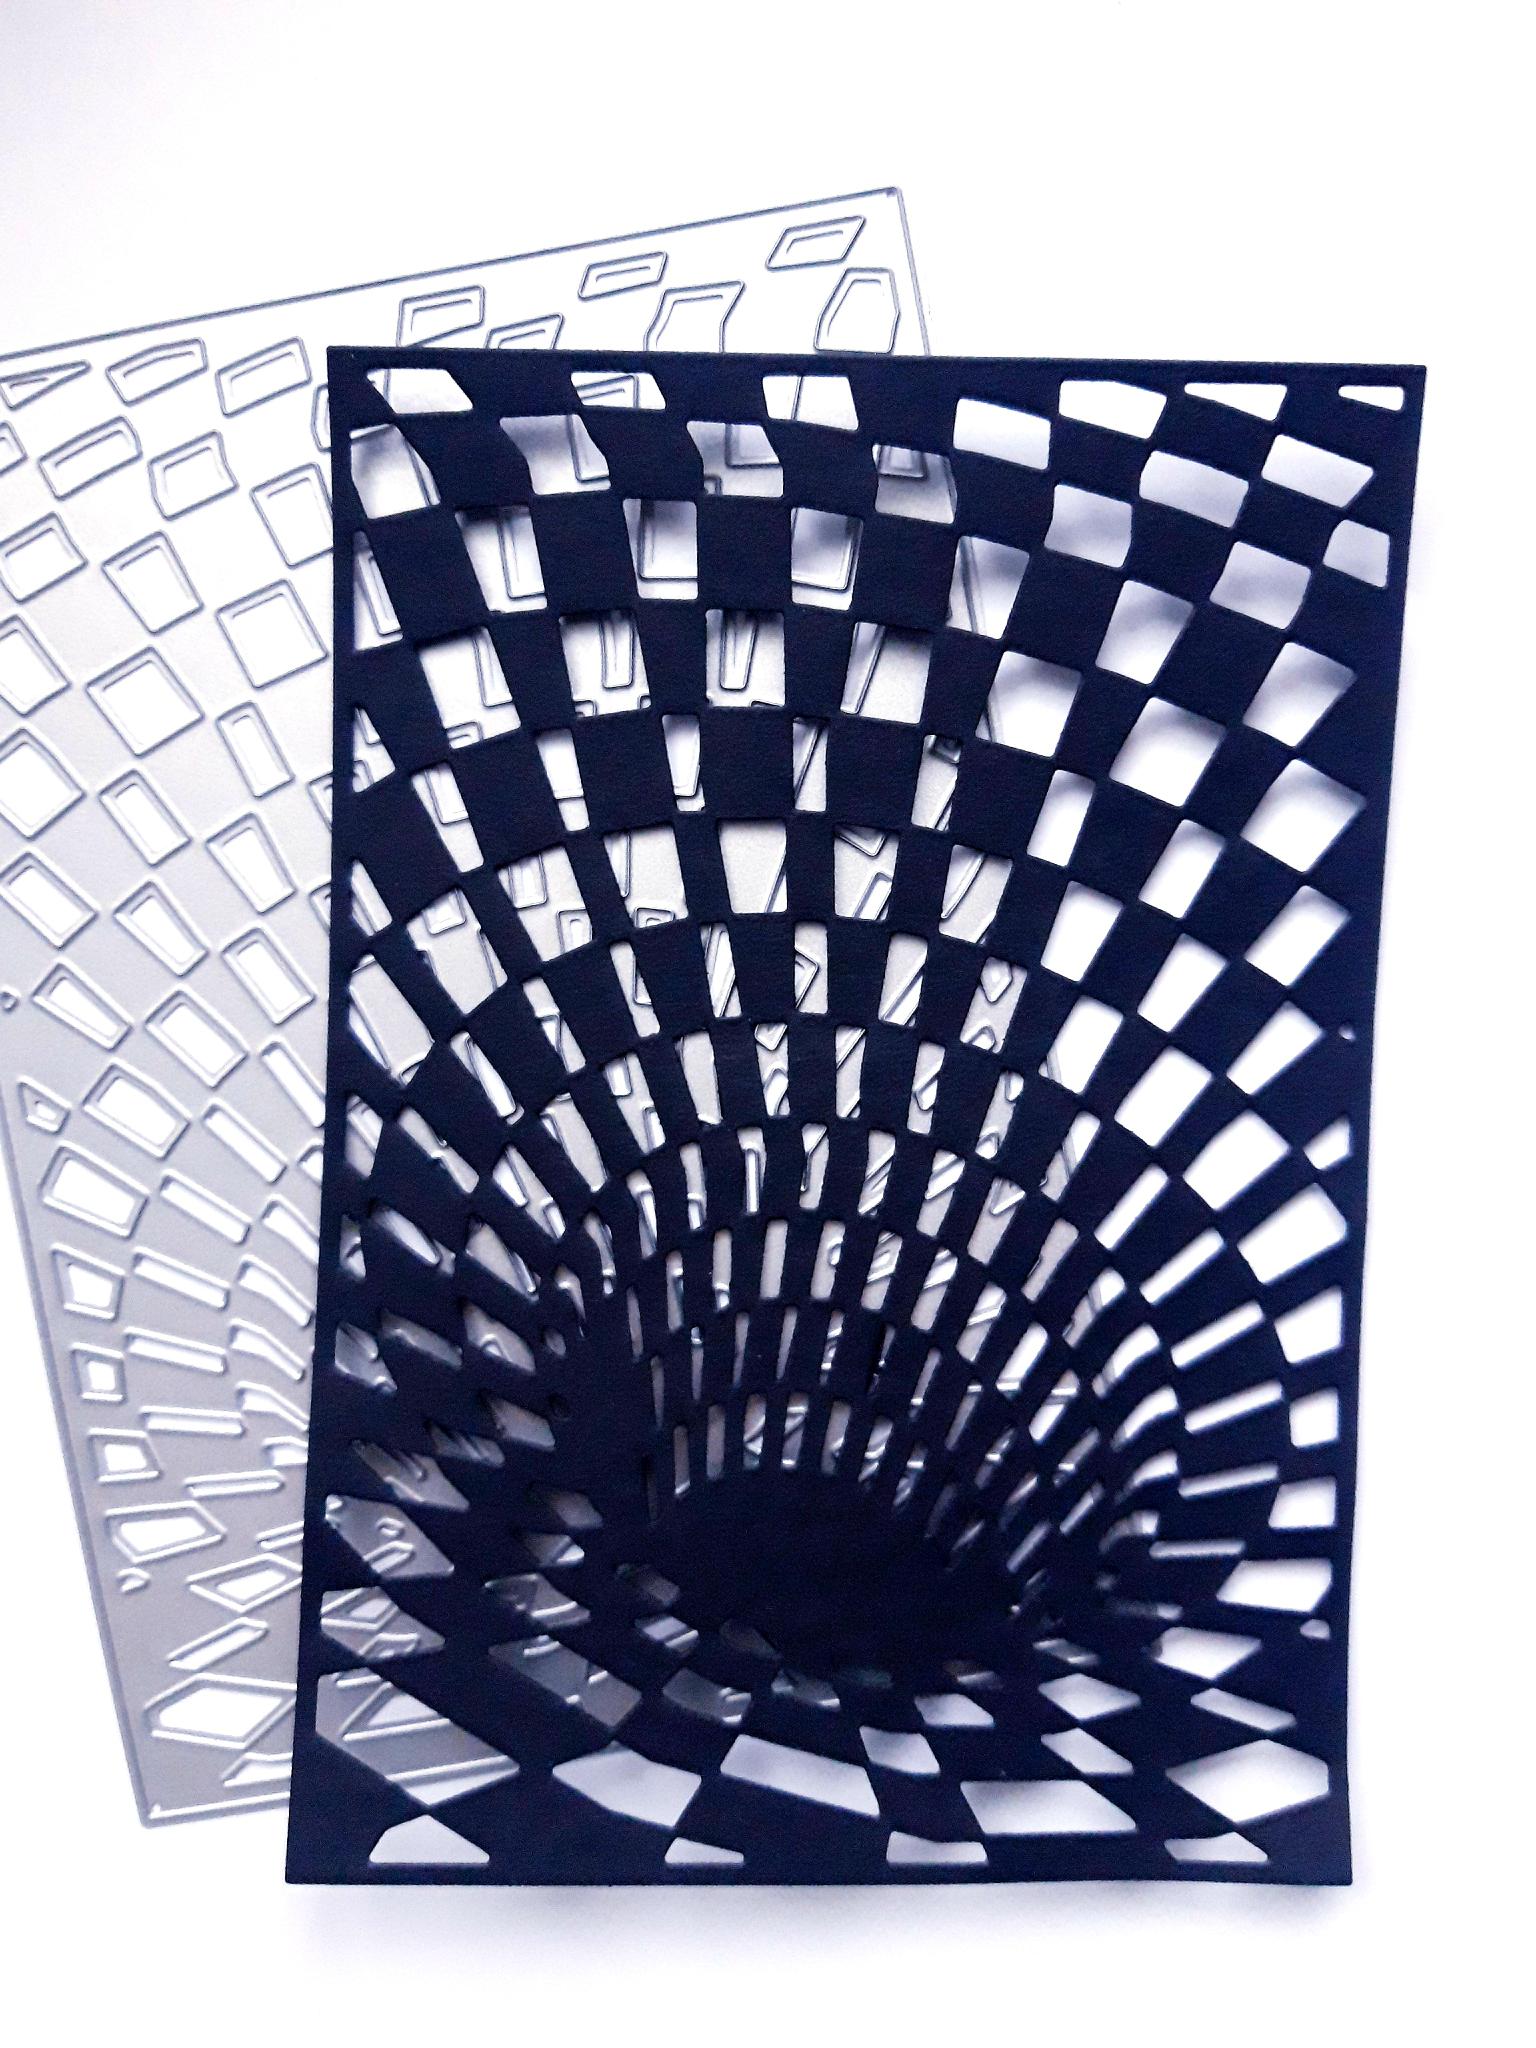
|
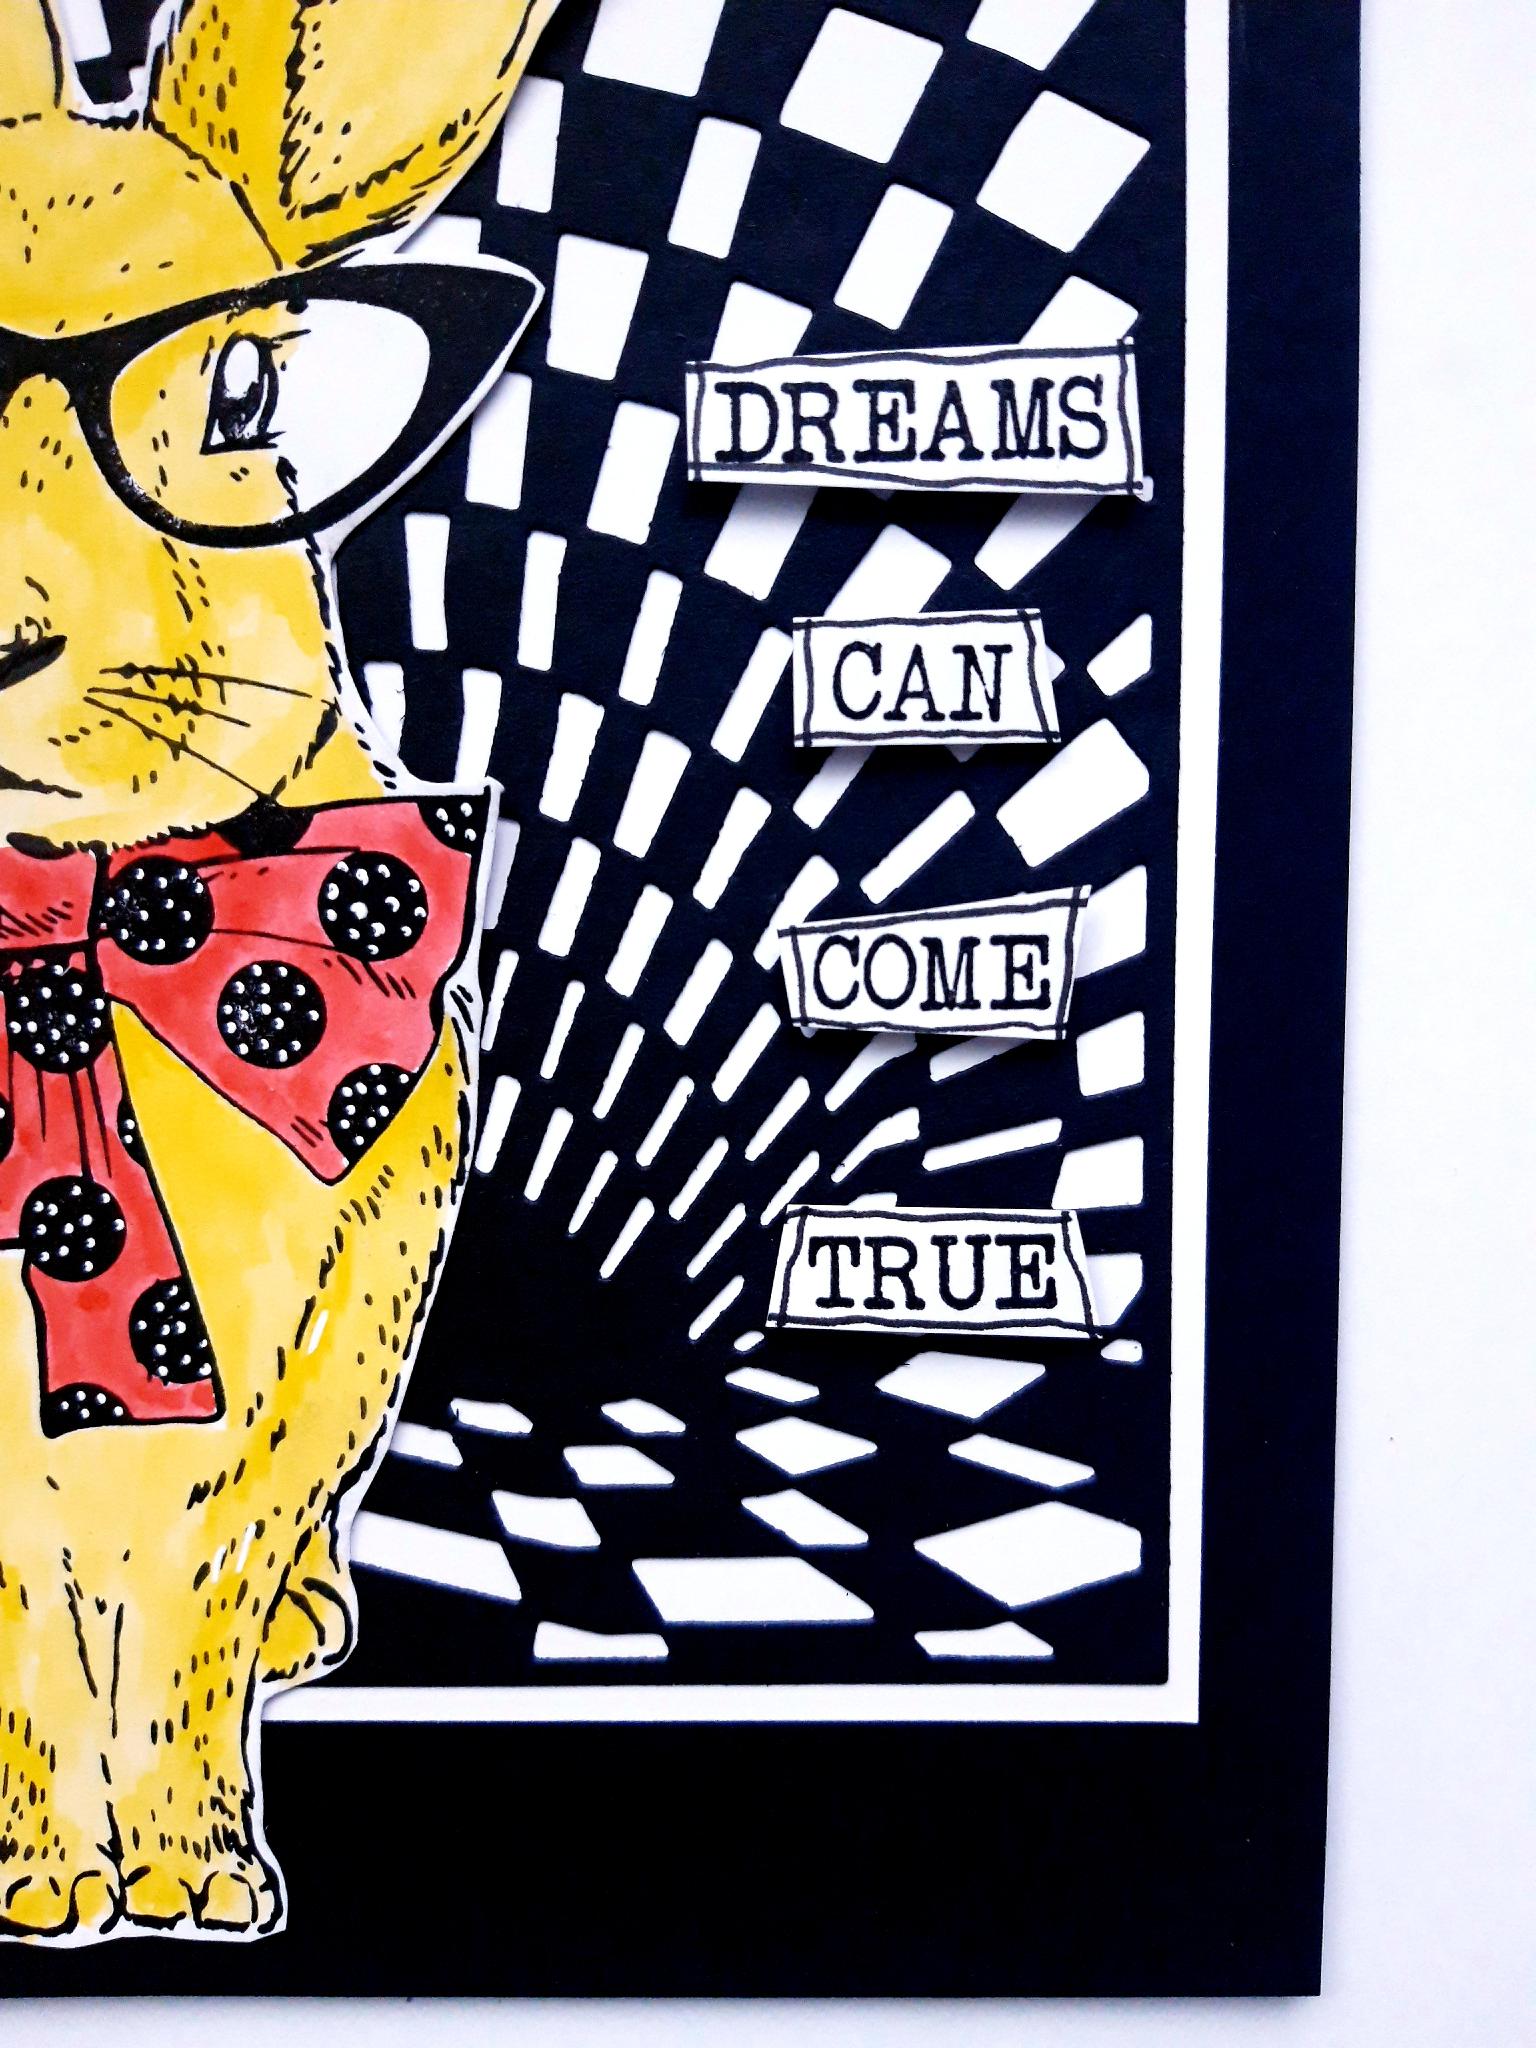
Place the Alice Cover Plate die on to the 7 x 5" black card, and run through your die cuttting machine. |
|
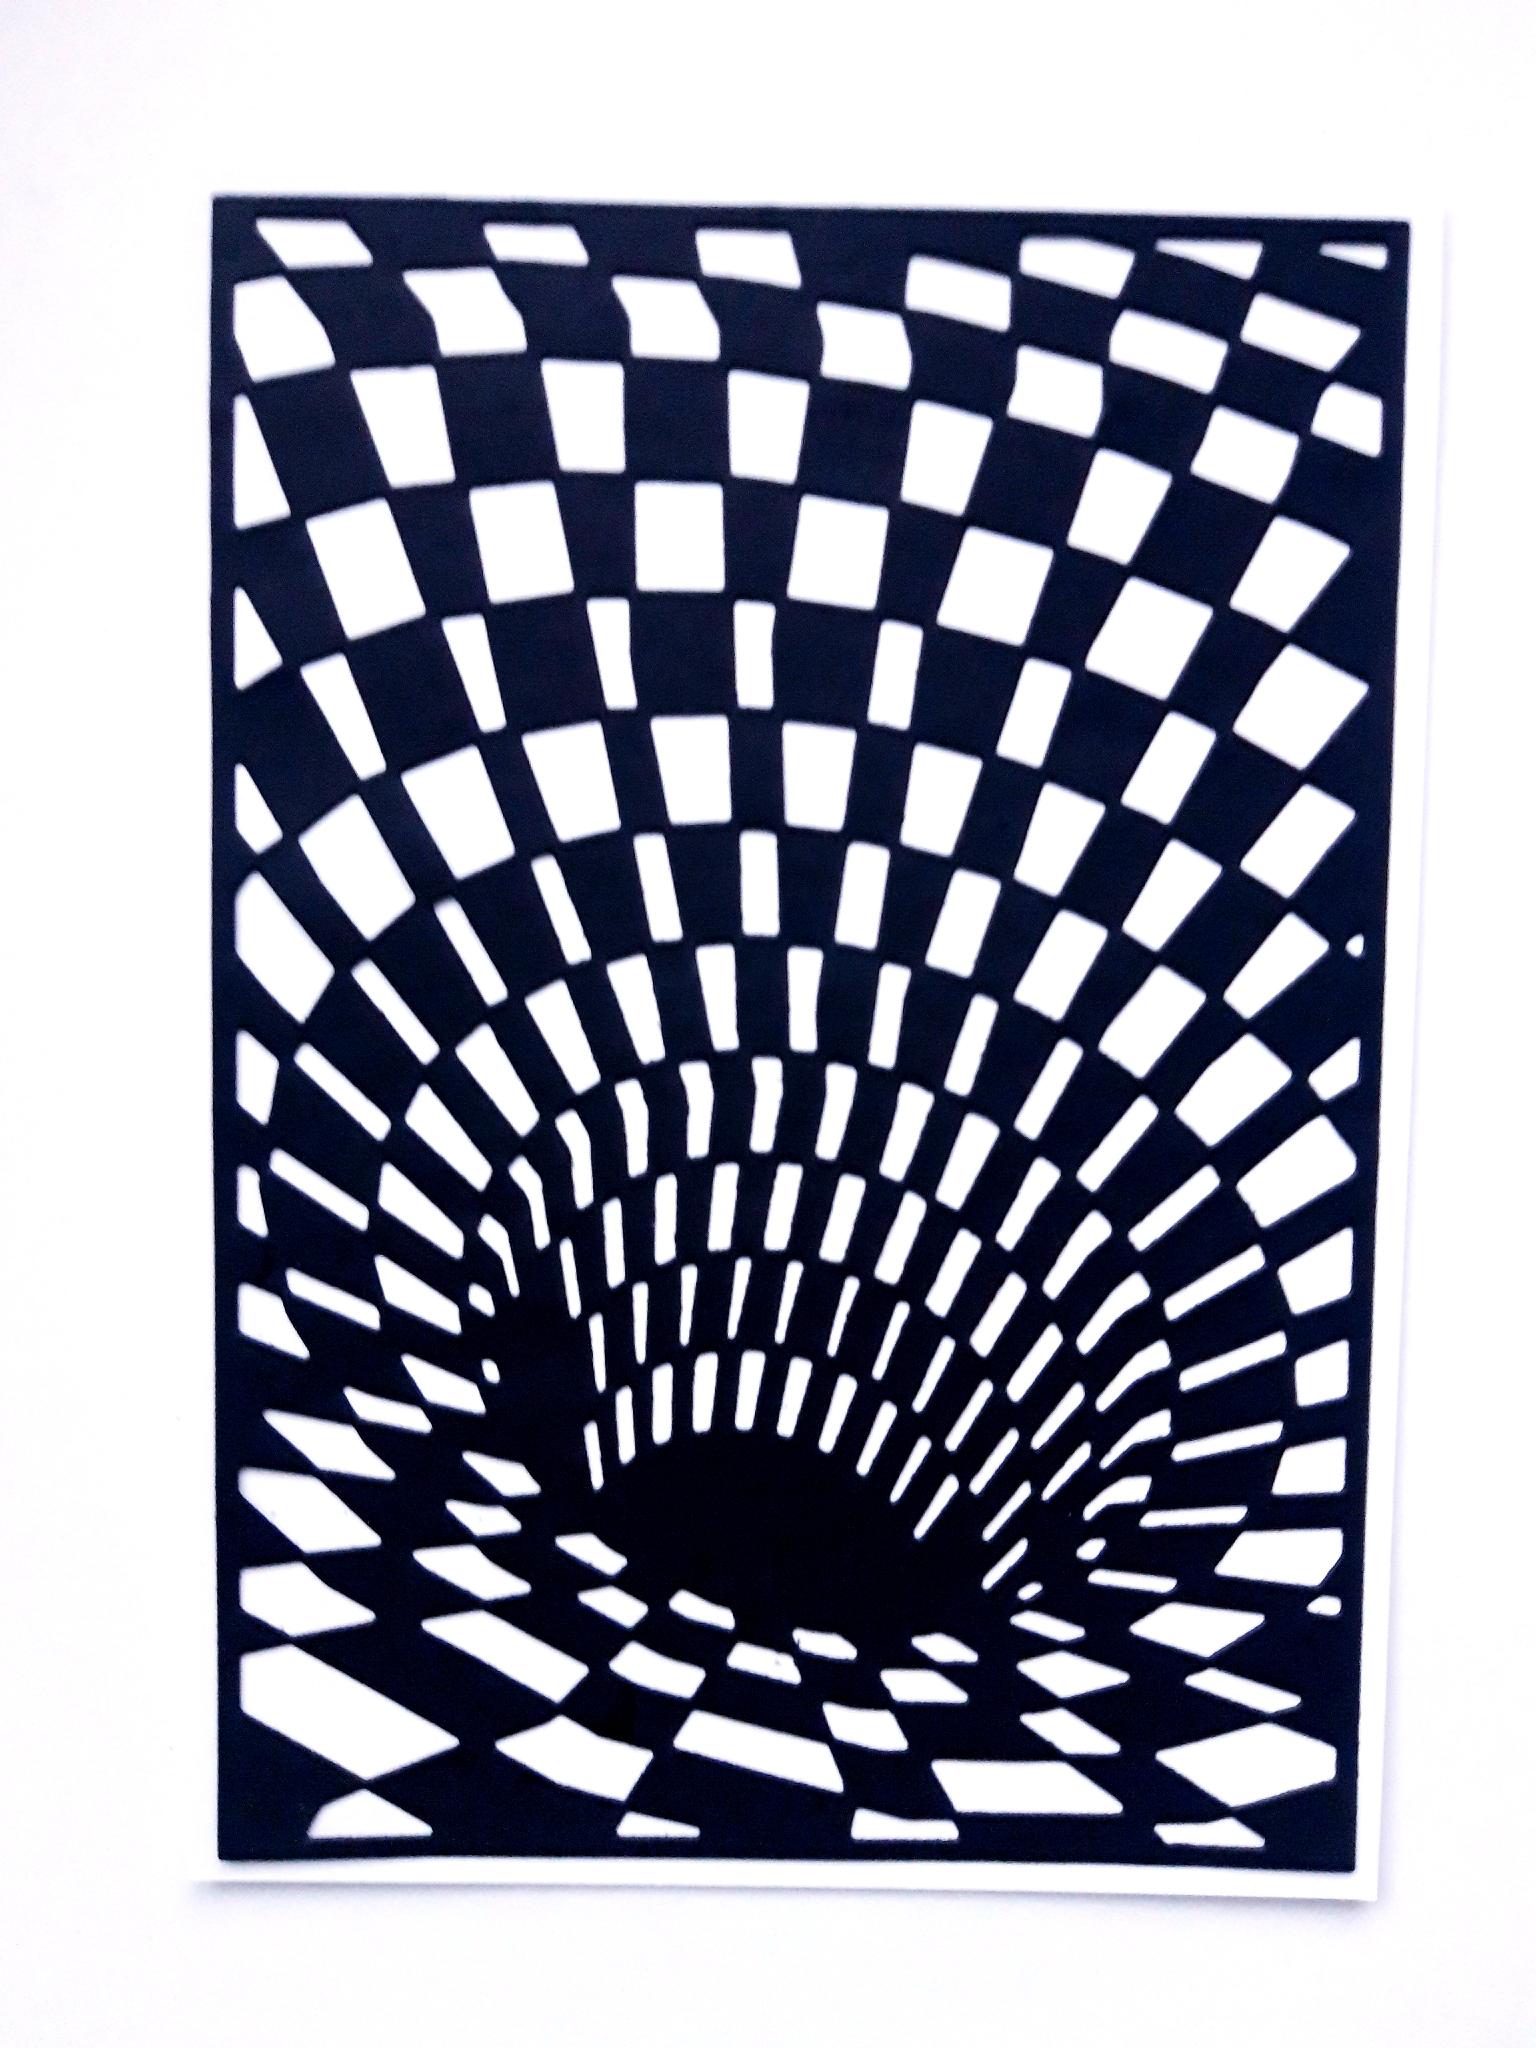
Glue this on to the 7 x 5" white card. |
|
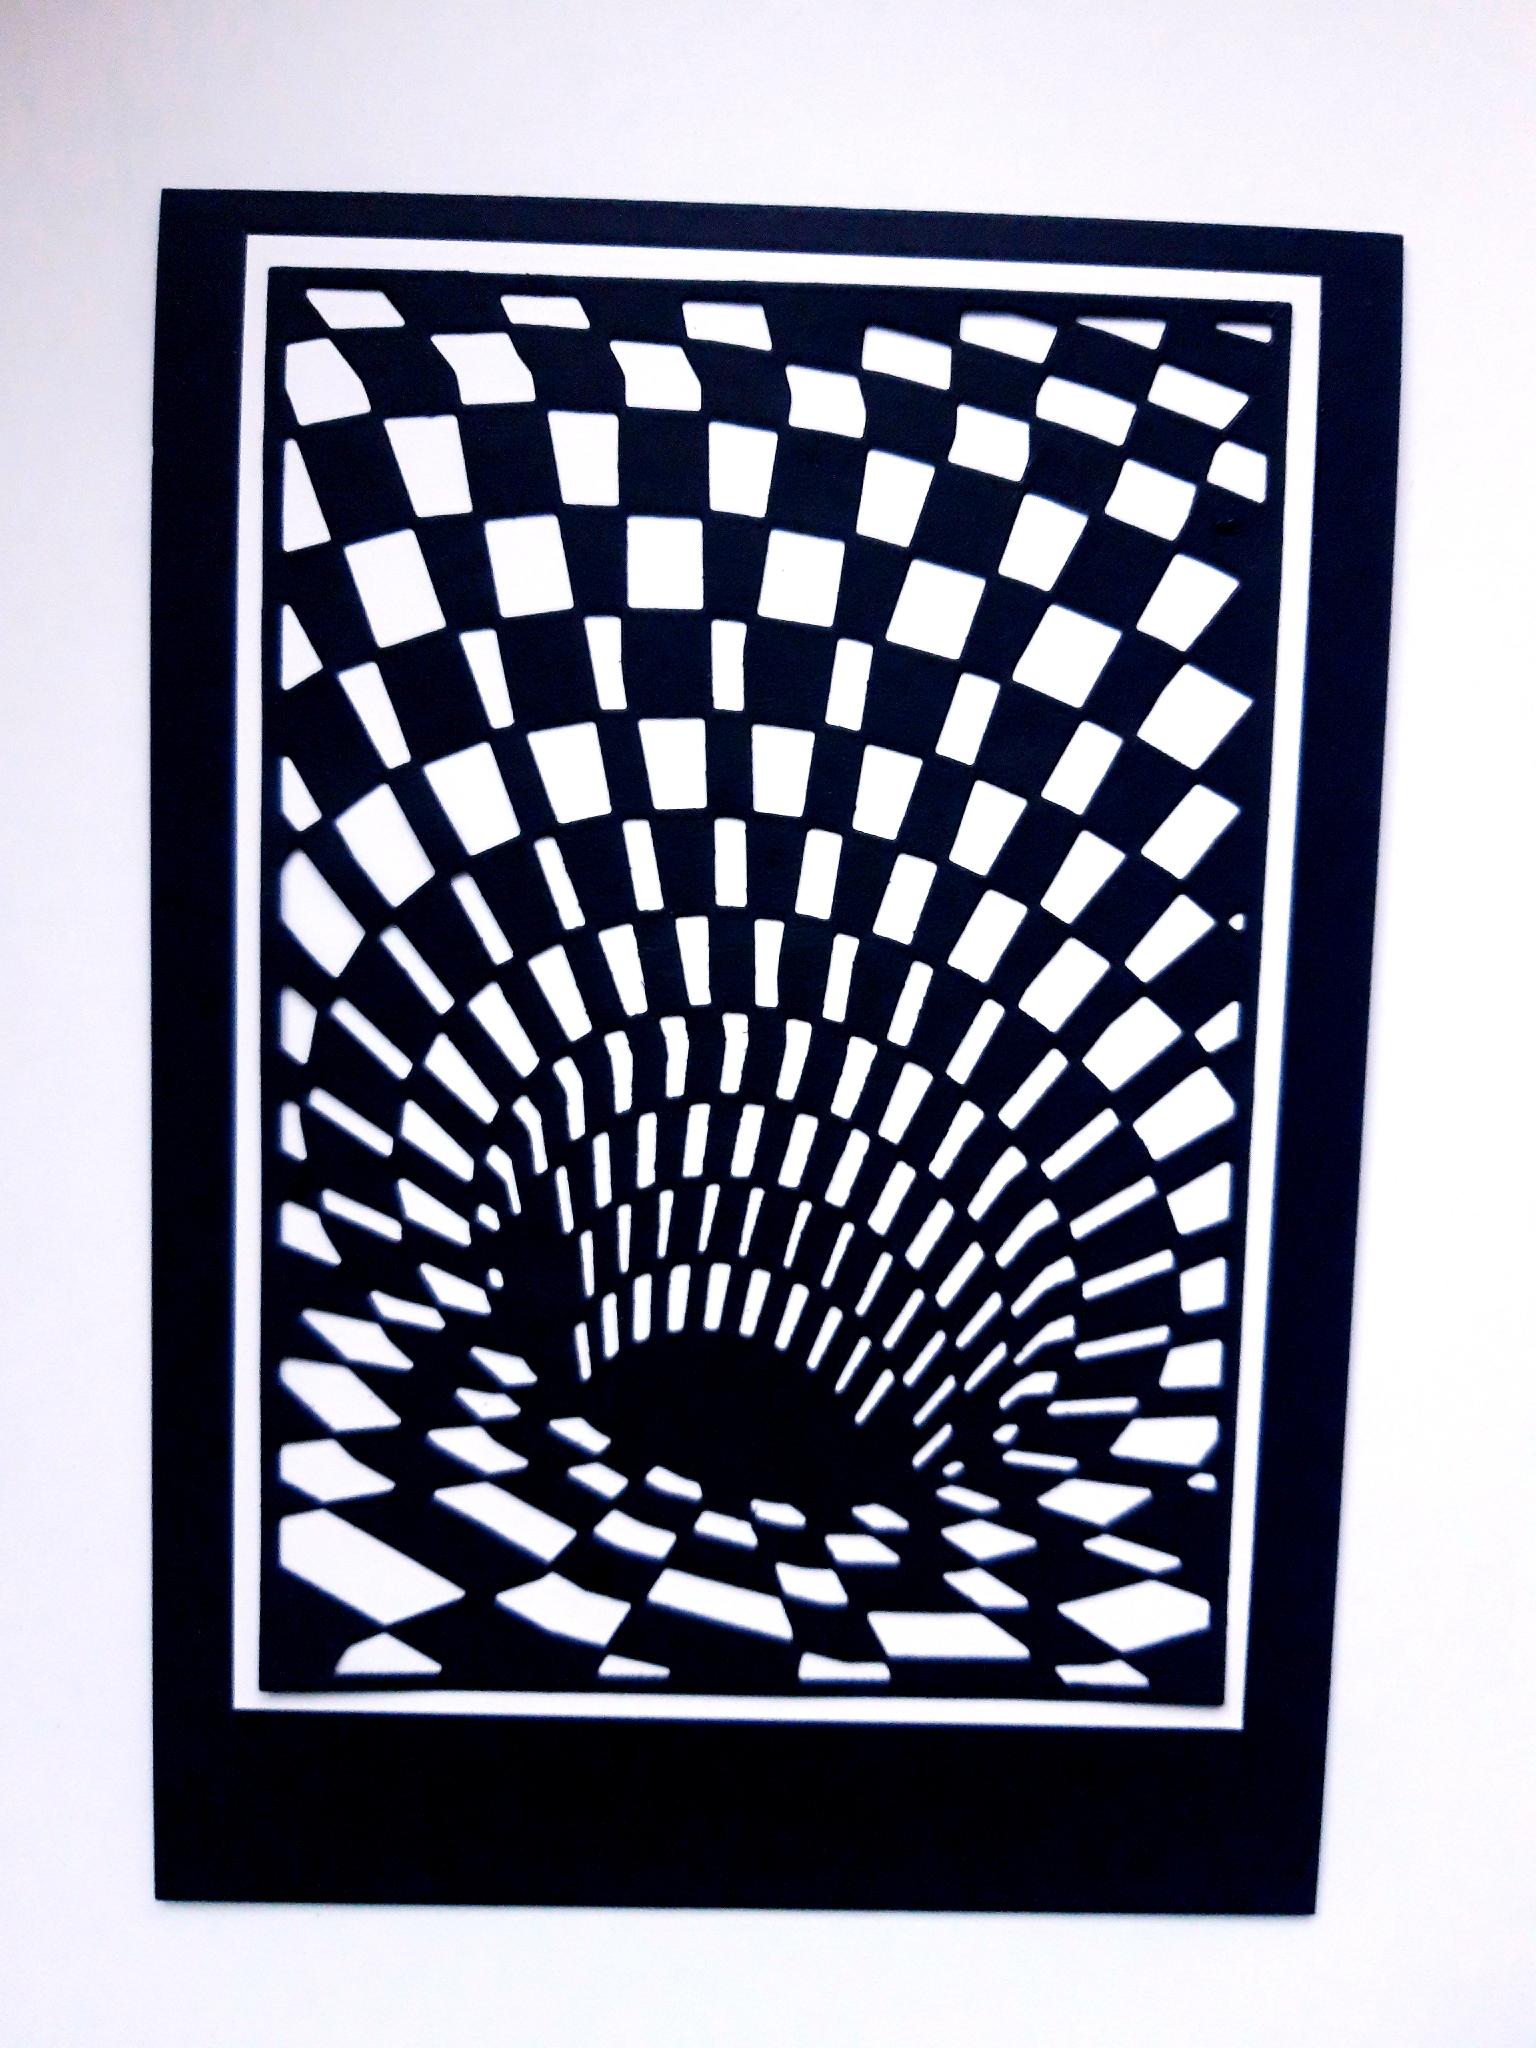
Glue this on to the front of your black, top folding card blank, leaving a bigger space at the bottom. Set this to one side. |
|
Ink up the cute Imala Trendy with the Onyx Black Versafine, and stamp it on to the A4 white card. Cut Trendy out, and set the rest of the white card to one side. Apply the Izink Pigments on to a craft, or glass mat and adding a little water, paint your stamped image. |
|
Once the Pigments are dry, use your white gel pen to add accents, and highlights to your artwork. |
|
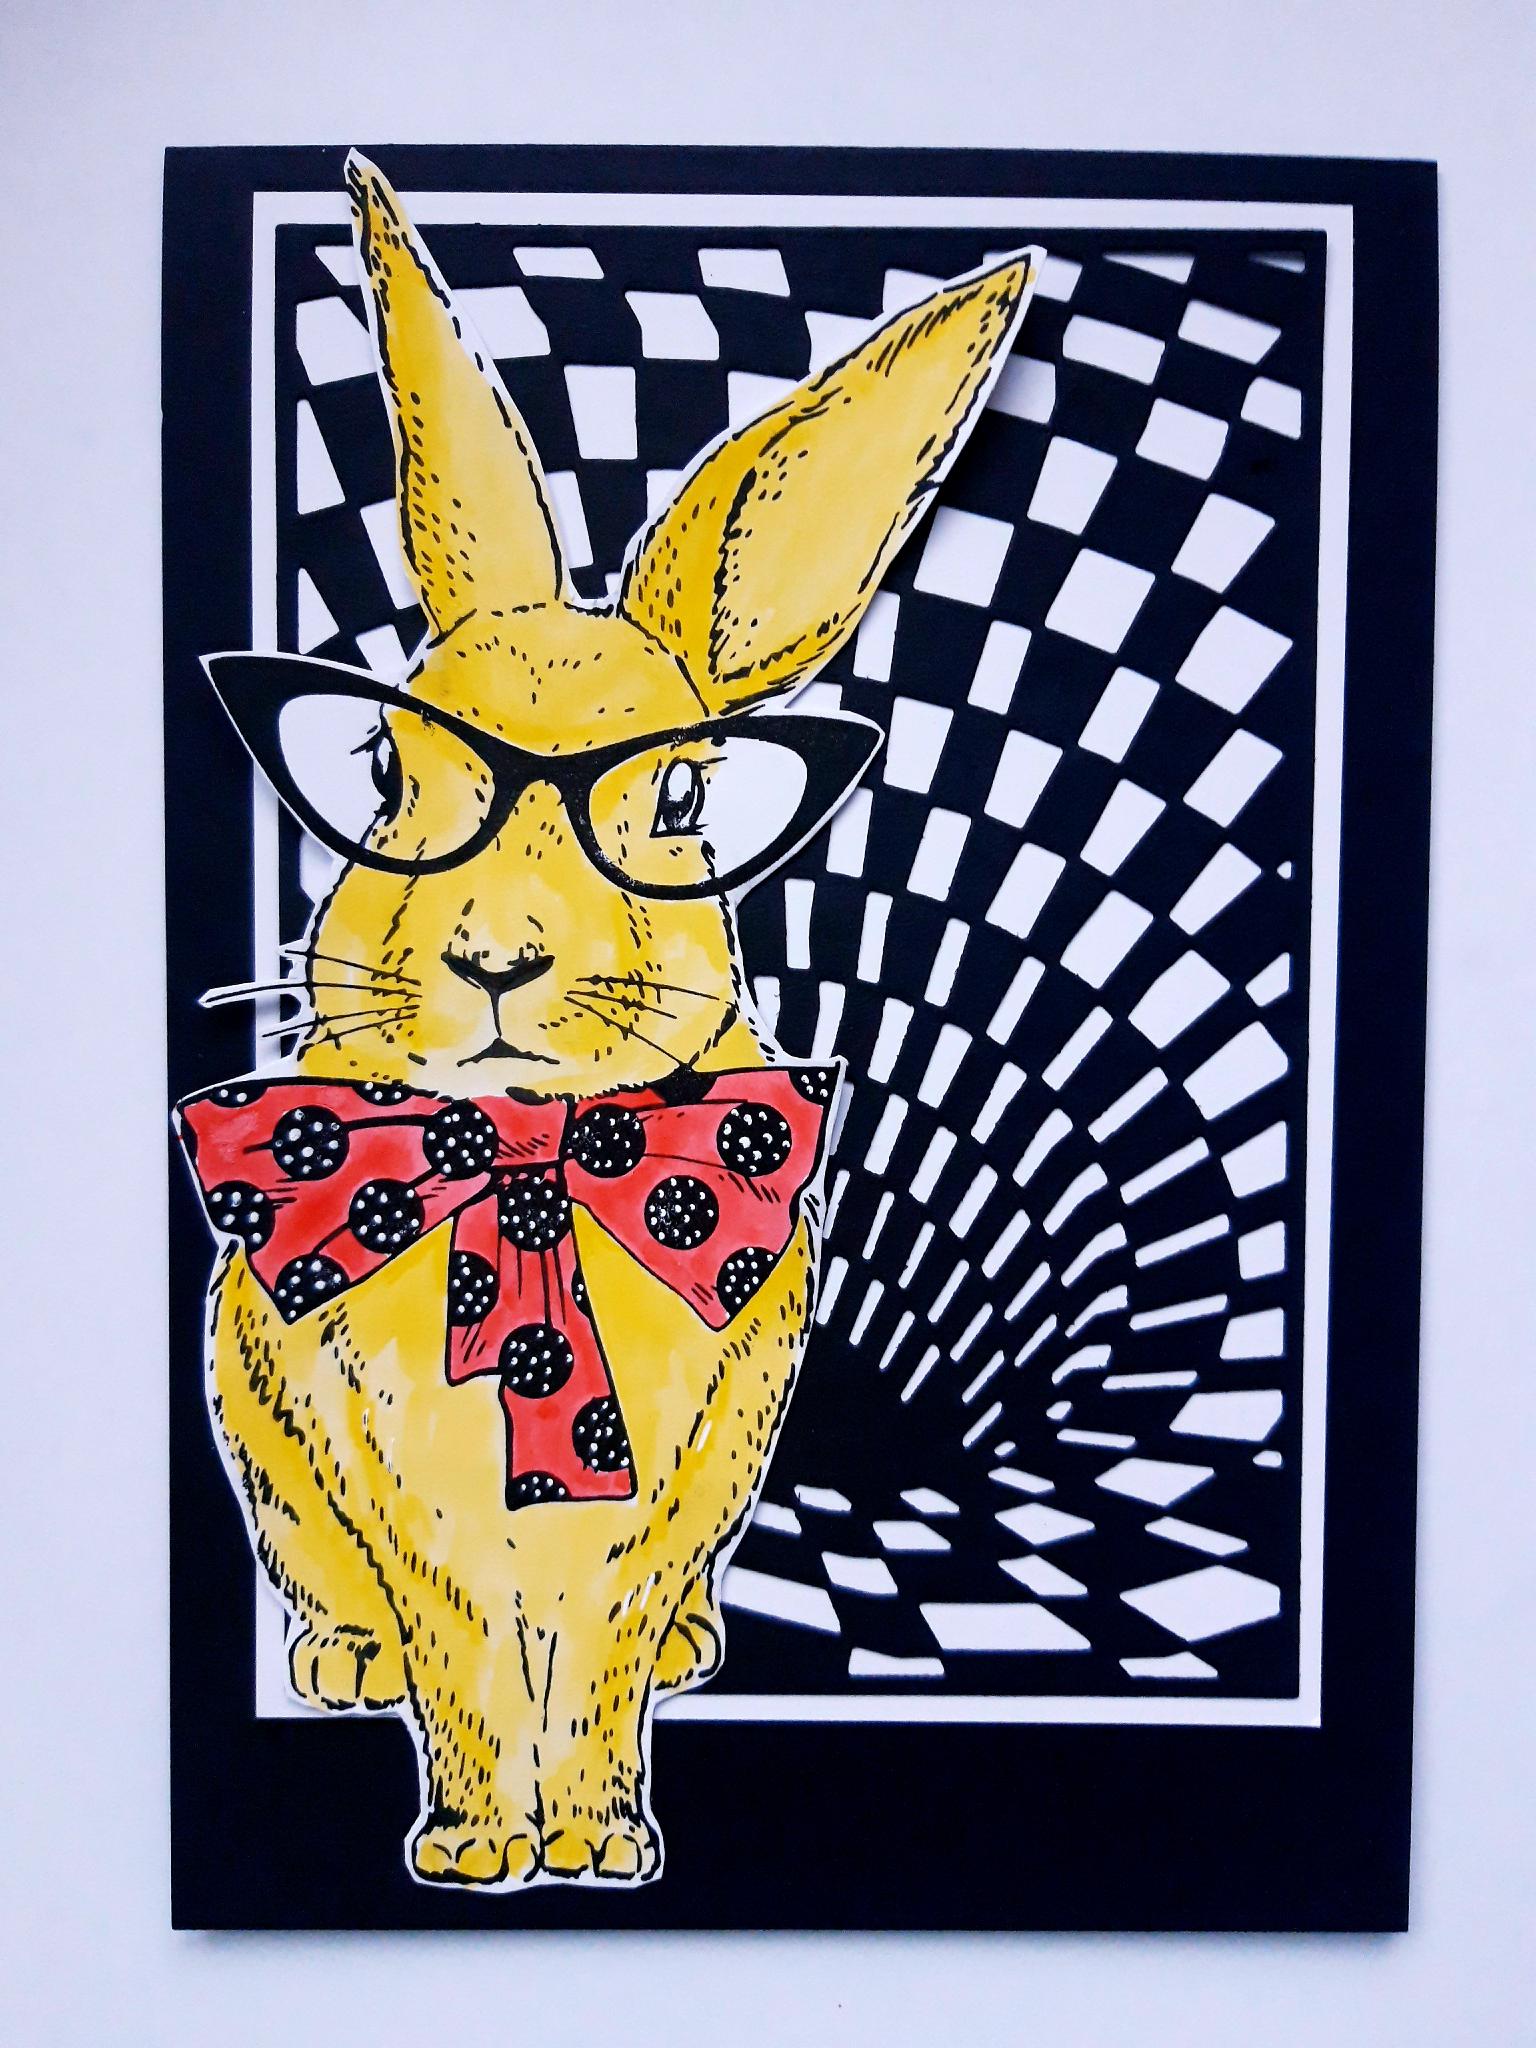
Adhere Trendy on to the left hand side of your prepped card blank, with foam pads, to add dimension to your card. Set to one side. |
|
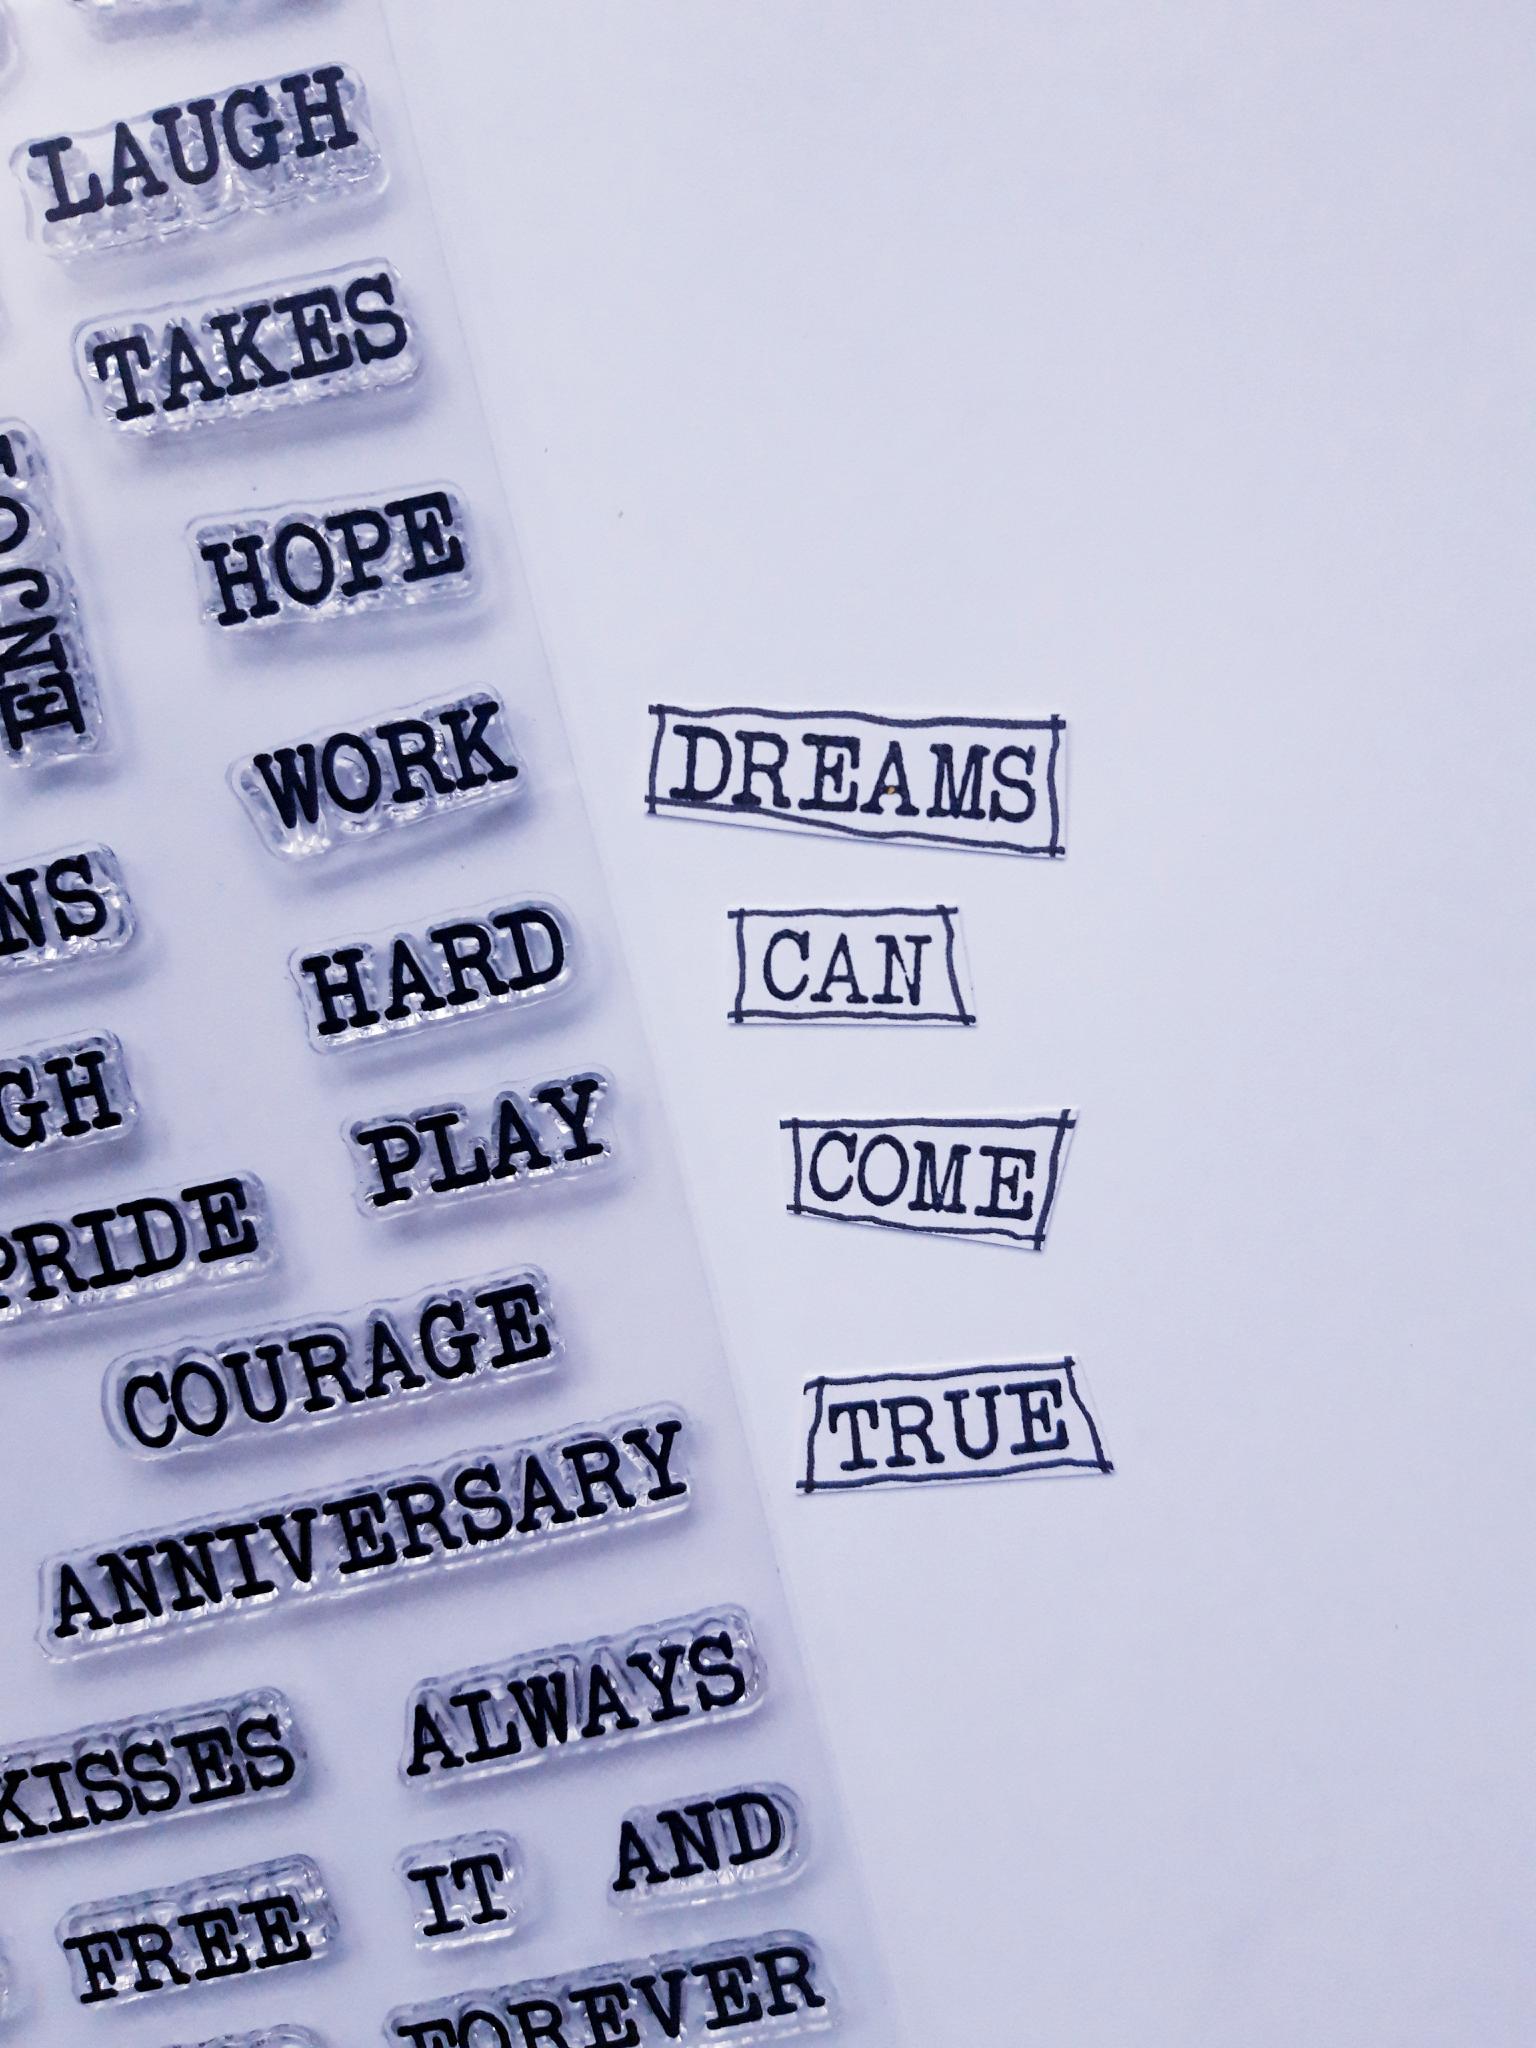
Ink up your chosen word sentiments, from the Thirsty Brush UnLtd More Than Words Creative Stamps set, with the Onyx Black Versafine. Stamp on to the white card, that you set aside earlier. Cut around each stamped word, then use a black pen to draw a decorative frame around them.
|
|
Adhere your sentiments in place, using foam pads. |