Give your friends $10 off their first order!
Refer a FRIEND


WHAT YOU WILL NEED:
White card blank 5 x 7"
Black/white cardstock
Vellum
Happiness Blooms HD3D Embossing Folder
WOW Embossing Ink Pad
WOW heat tool
WOW white embossing powder
Anti-static bag
Izink Shiny Spray: Jaune Pastel, Rose Poudre, Orange Pastel
Distress Ink/Oxide Ink Pad: Black Soot
Glitter/clear sparkle pen
Eureka 101 Watercolour Tablet
SBM A3 Magnetic glass mat
Paper Trimmer
Glue
Double-sided tape
Die Cutting machine
[click image to enlarge] 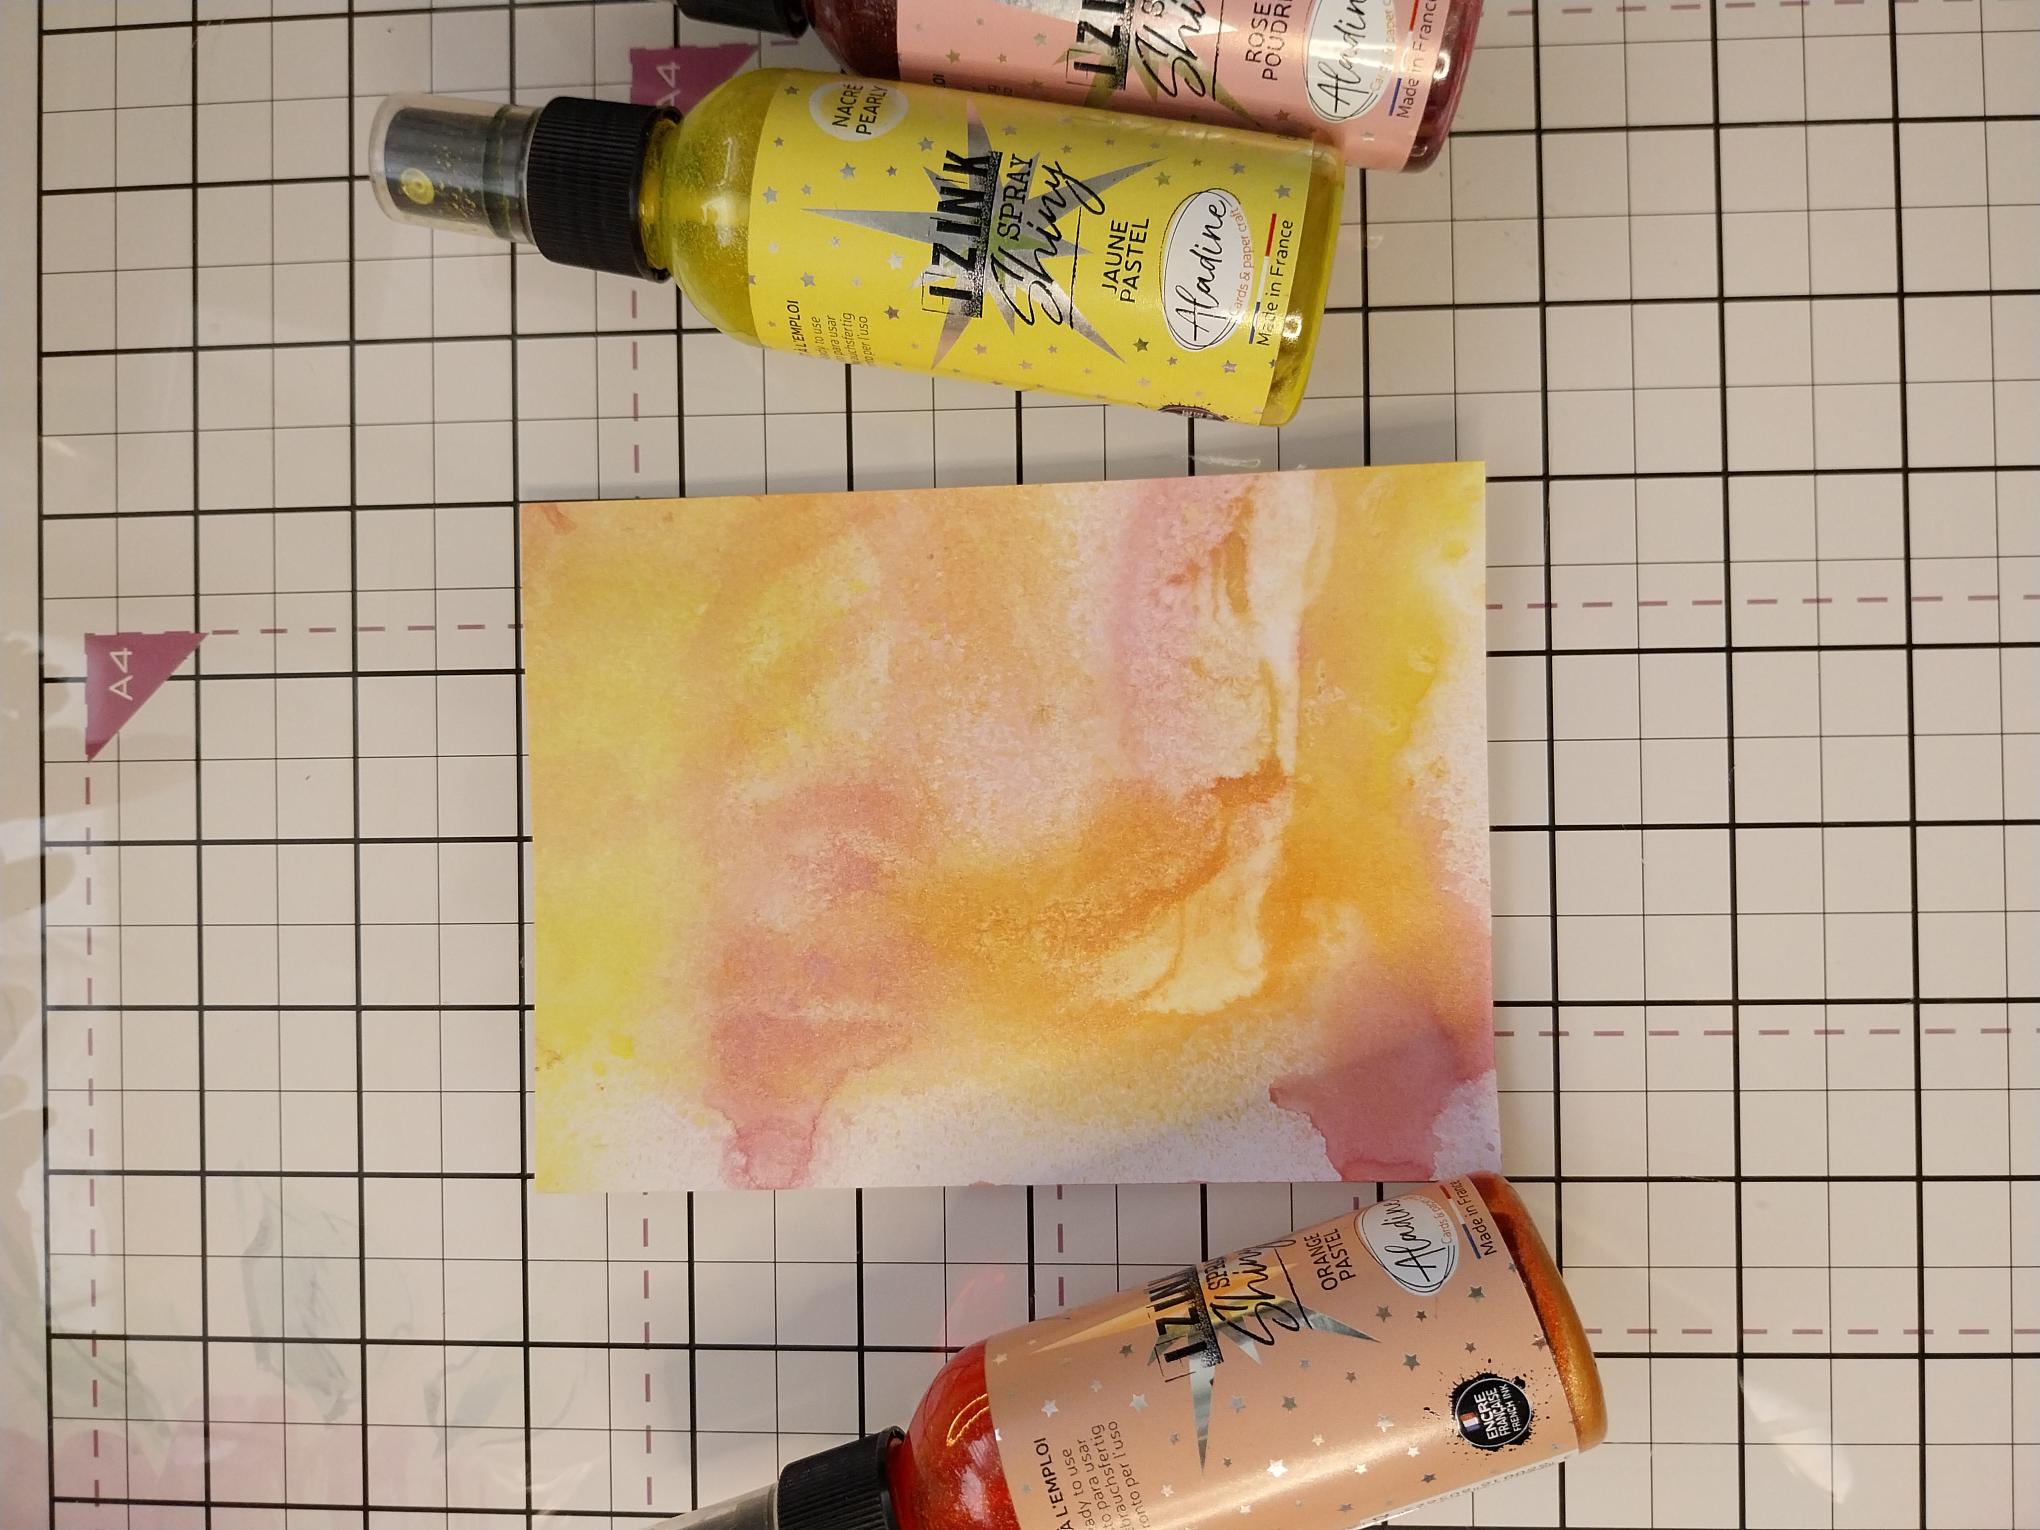
|
Cut a piece of white card to 4 1/4 x 5 3/4". Swirl your Shiny Izink sprays to activate the mica then one at a time, spray onto your glass mat. Pick up the ink on the card. Alternatively, spray directly onto the card. The choice is yours. |
|
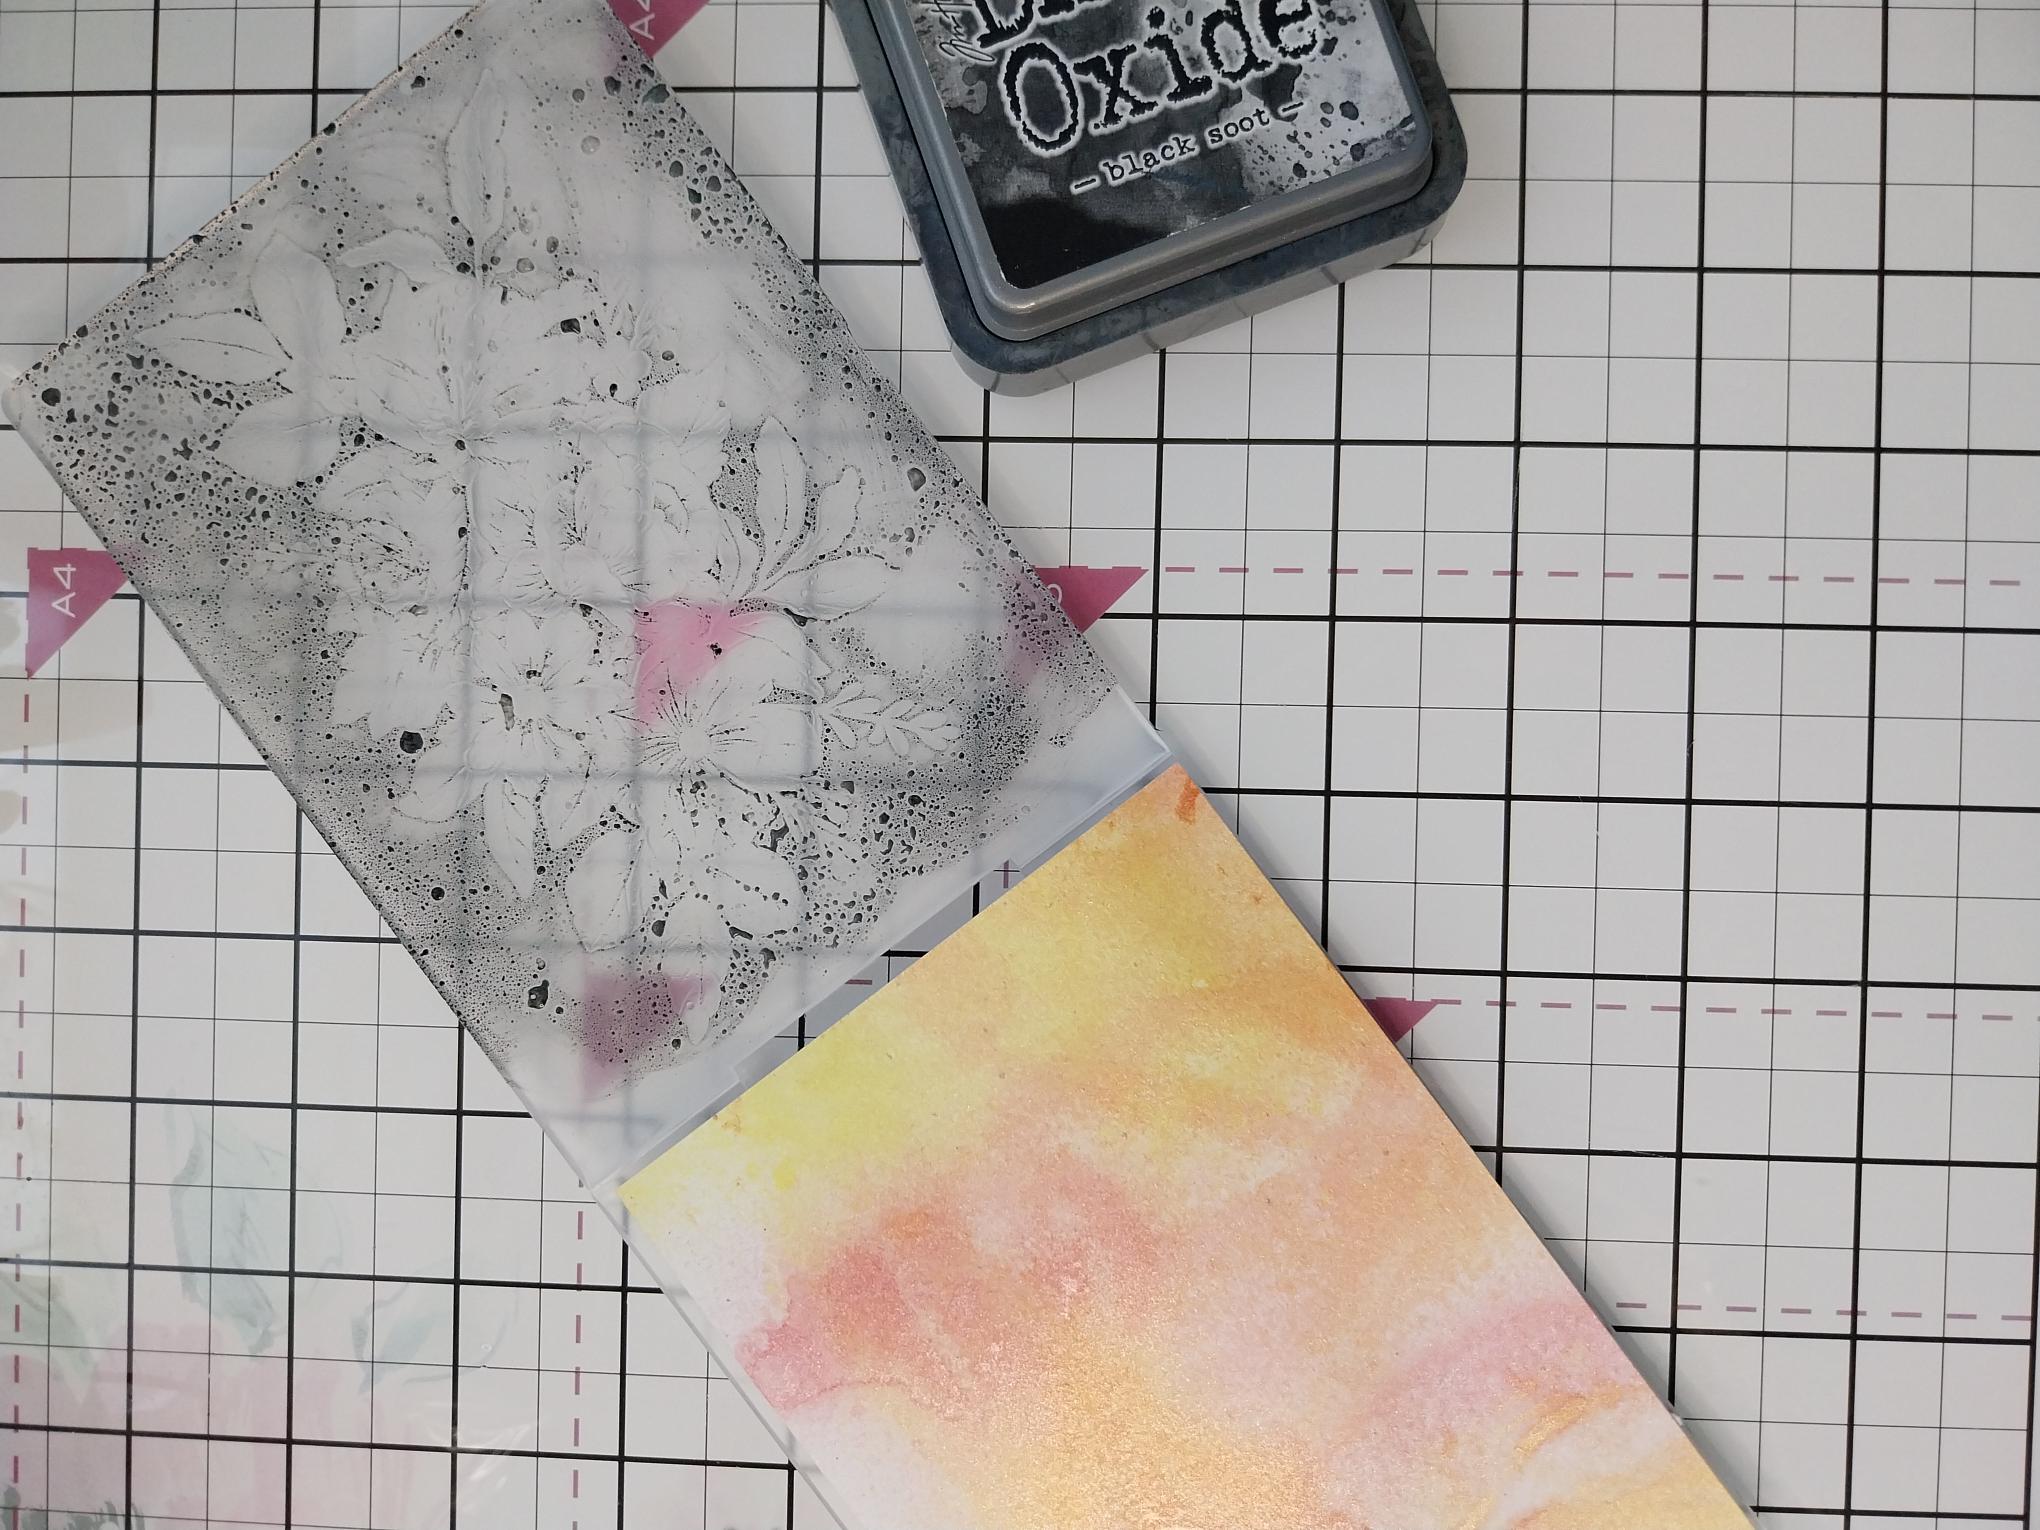
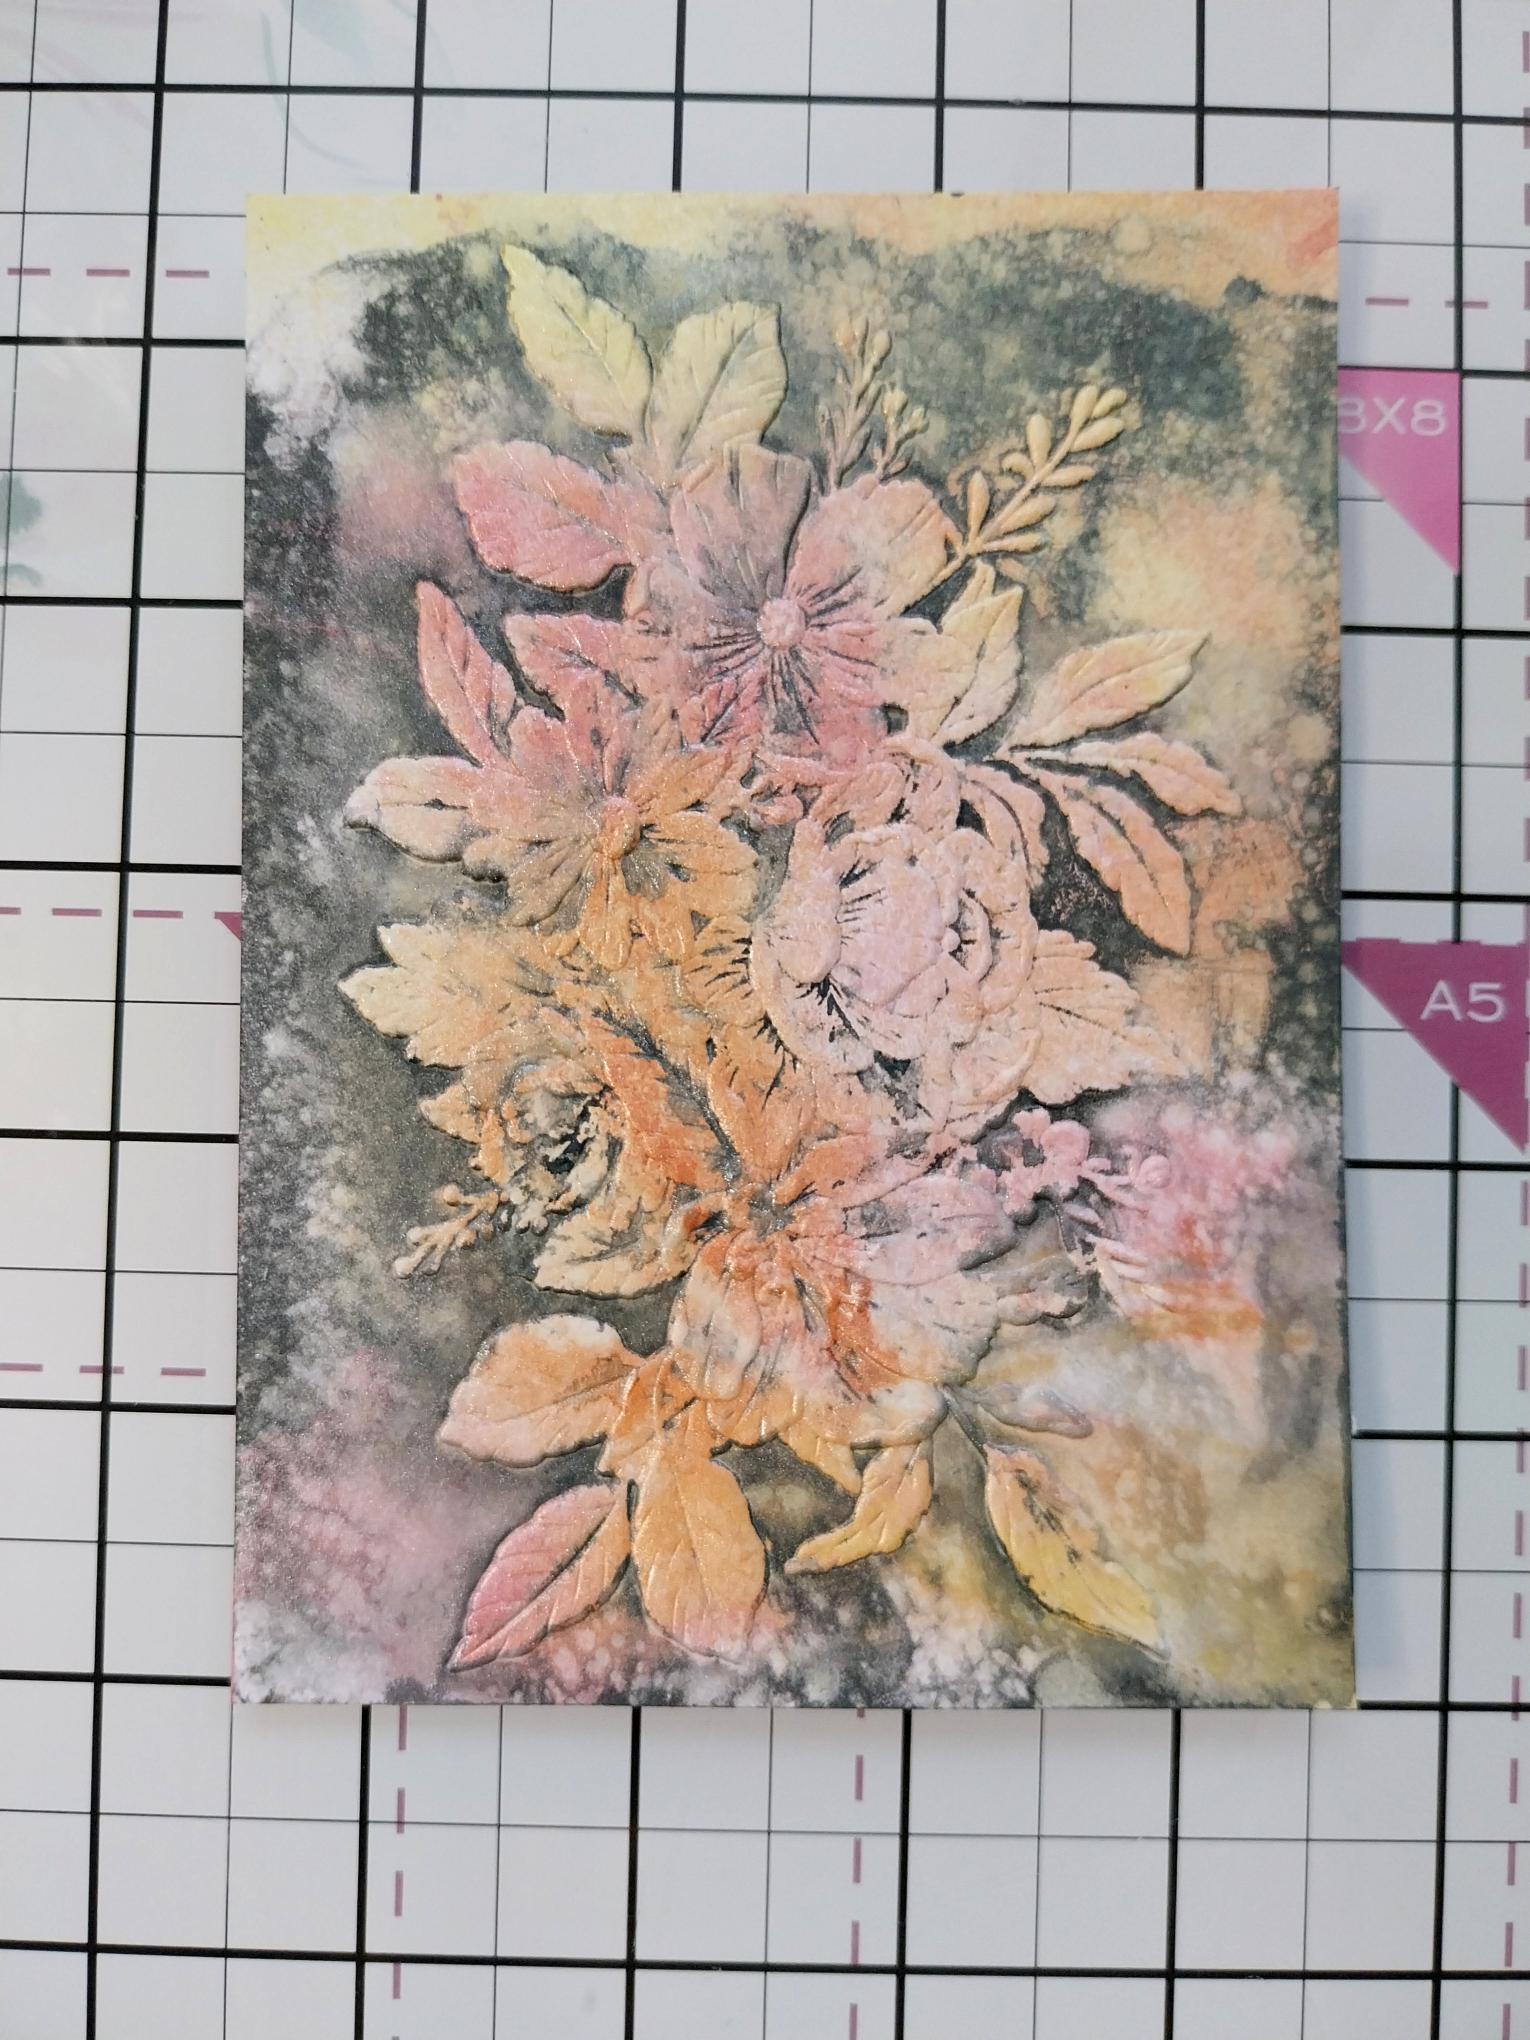
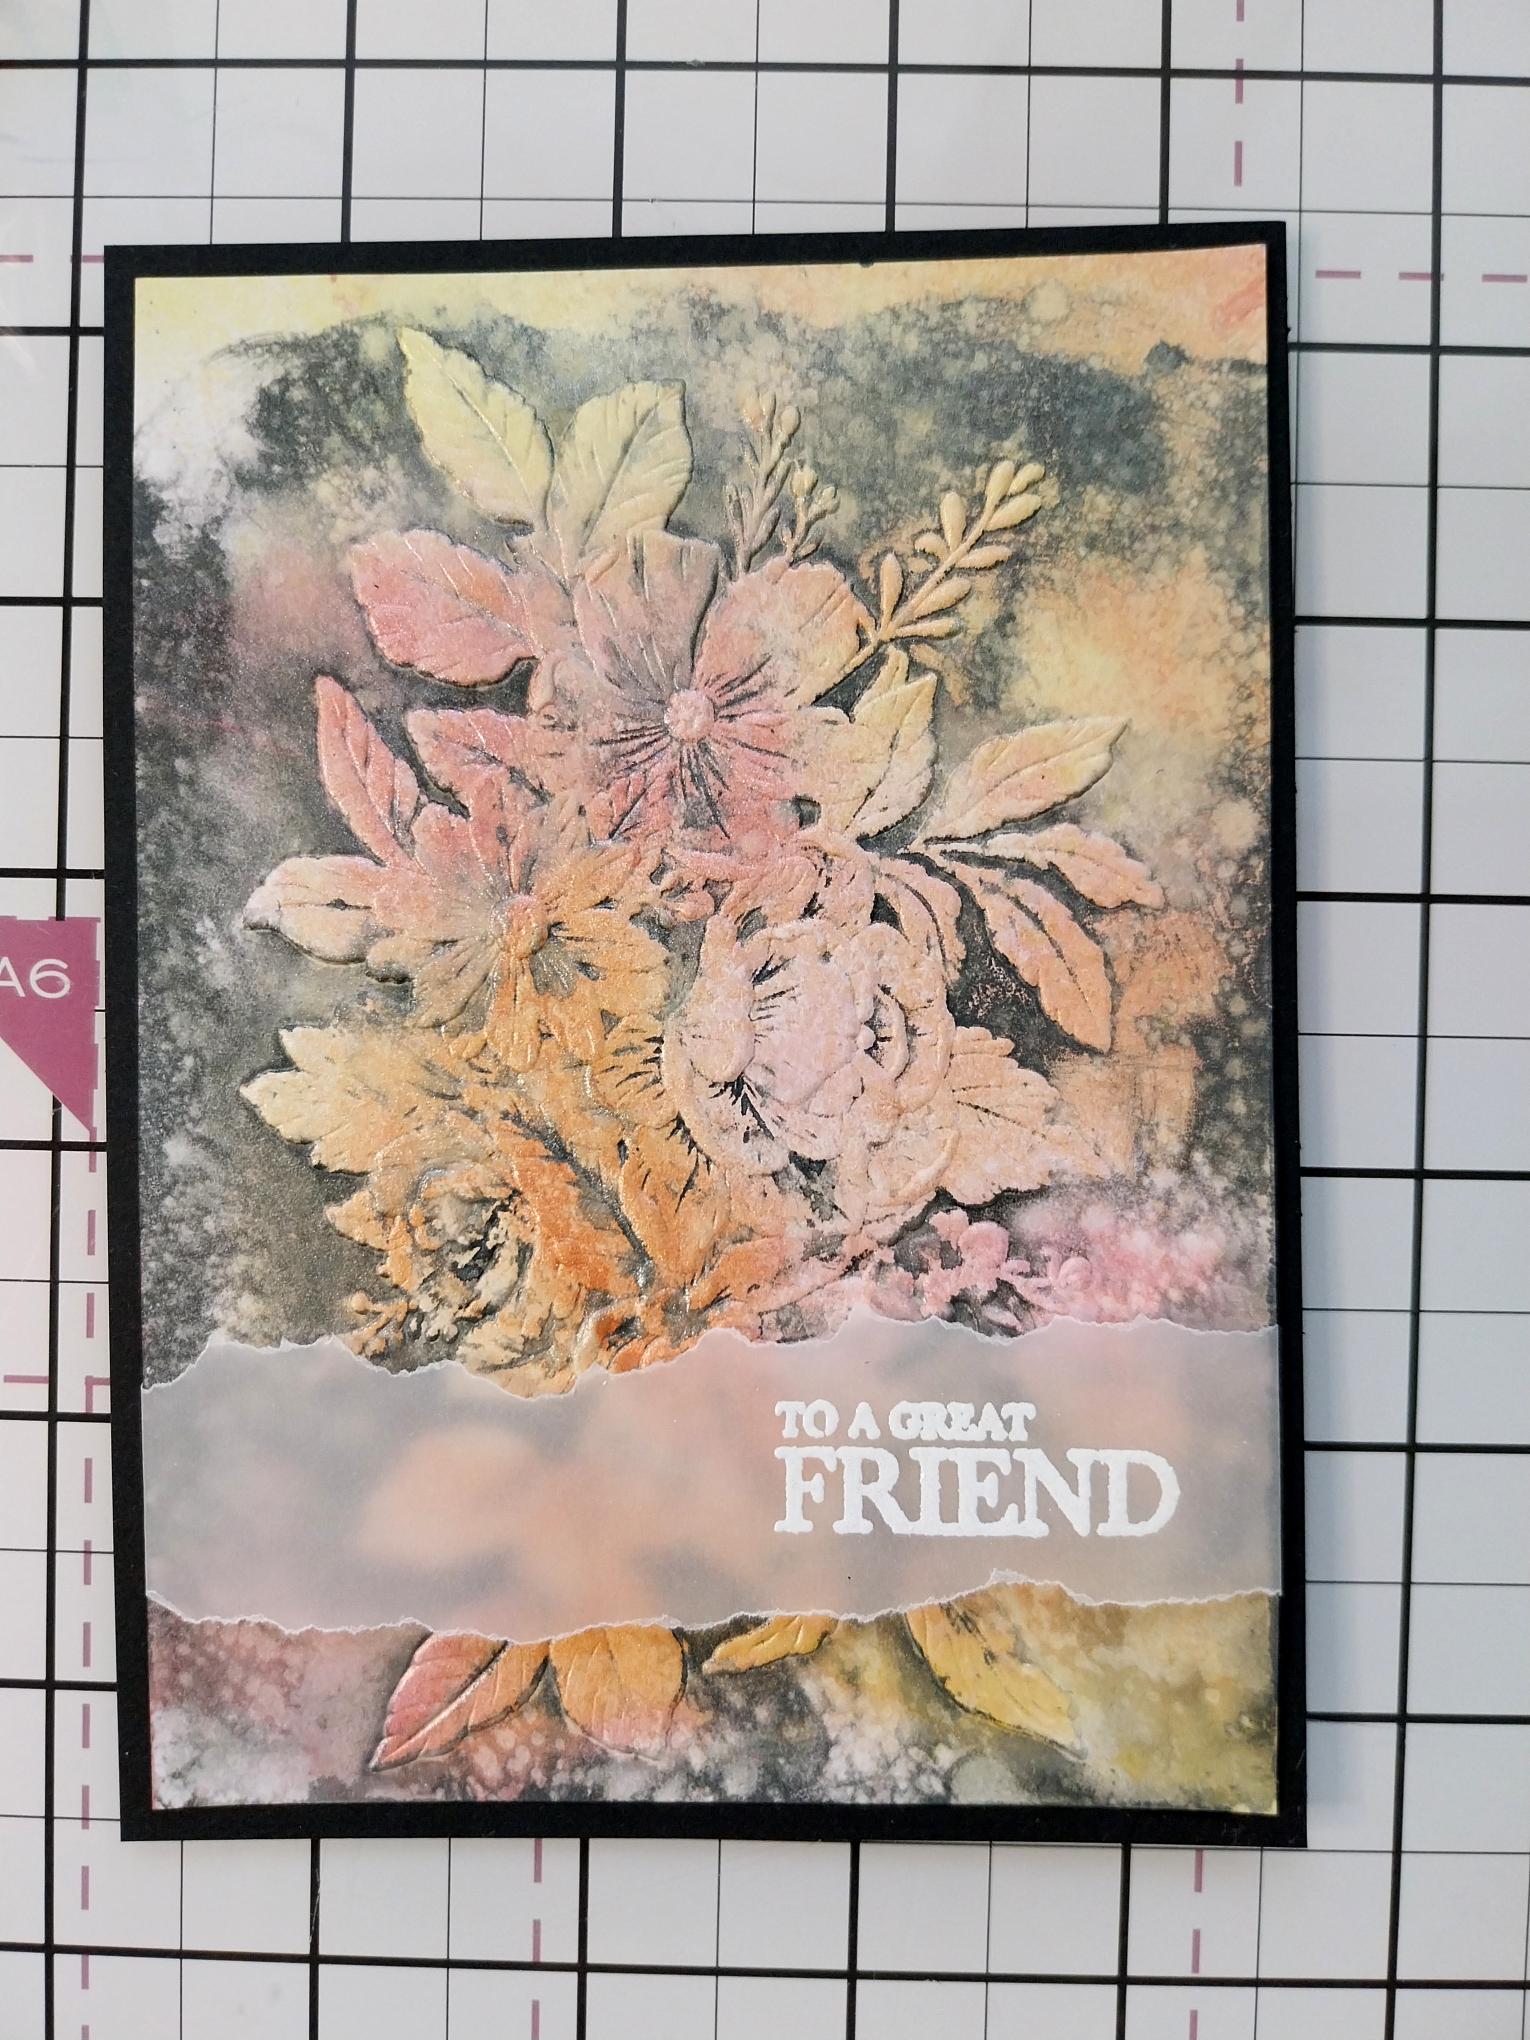
Once the ink is dry, ink up the debossed side of the Happiness Blooms embossing folder, with your Black Soot. Spritz lightly with water. Pop your card inside and run through your machine. |
|
You can add more Black Soot to your artwork, if preferred. Just play with the inks until you're happy with the result. |
|
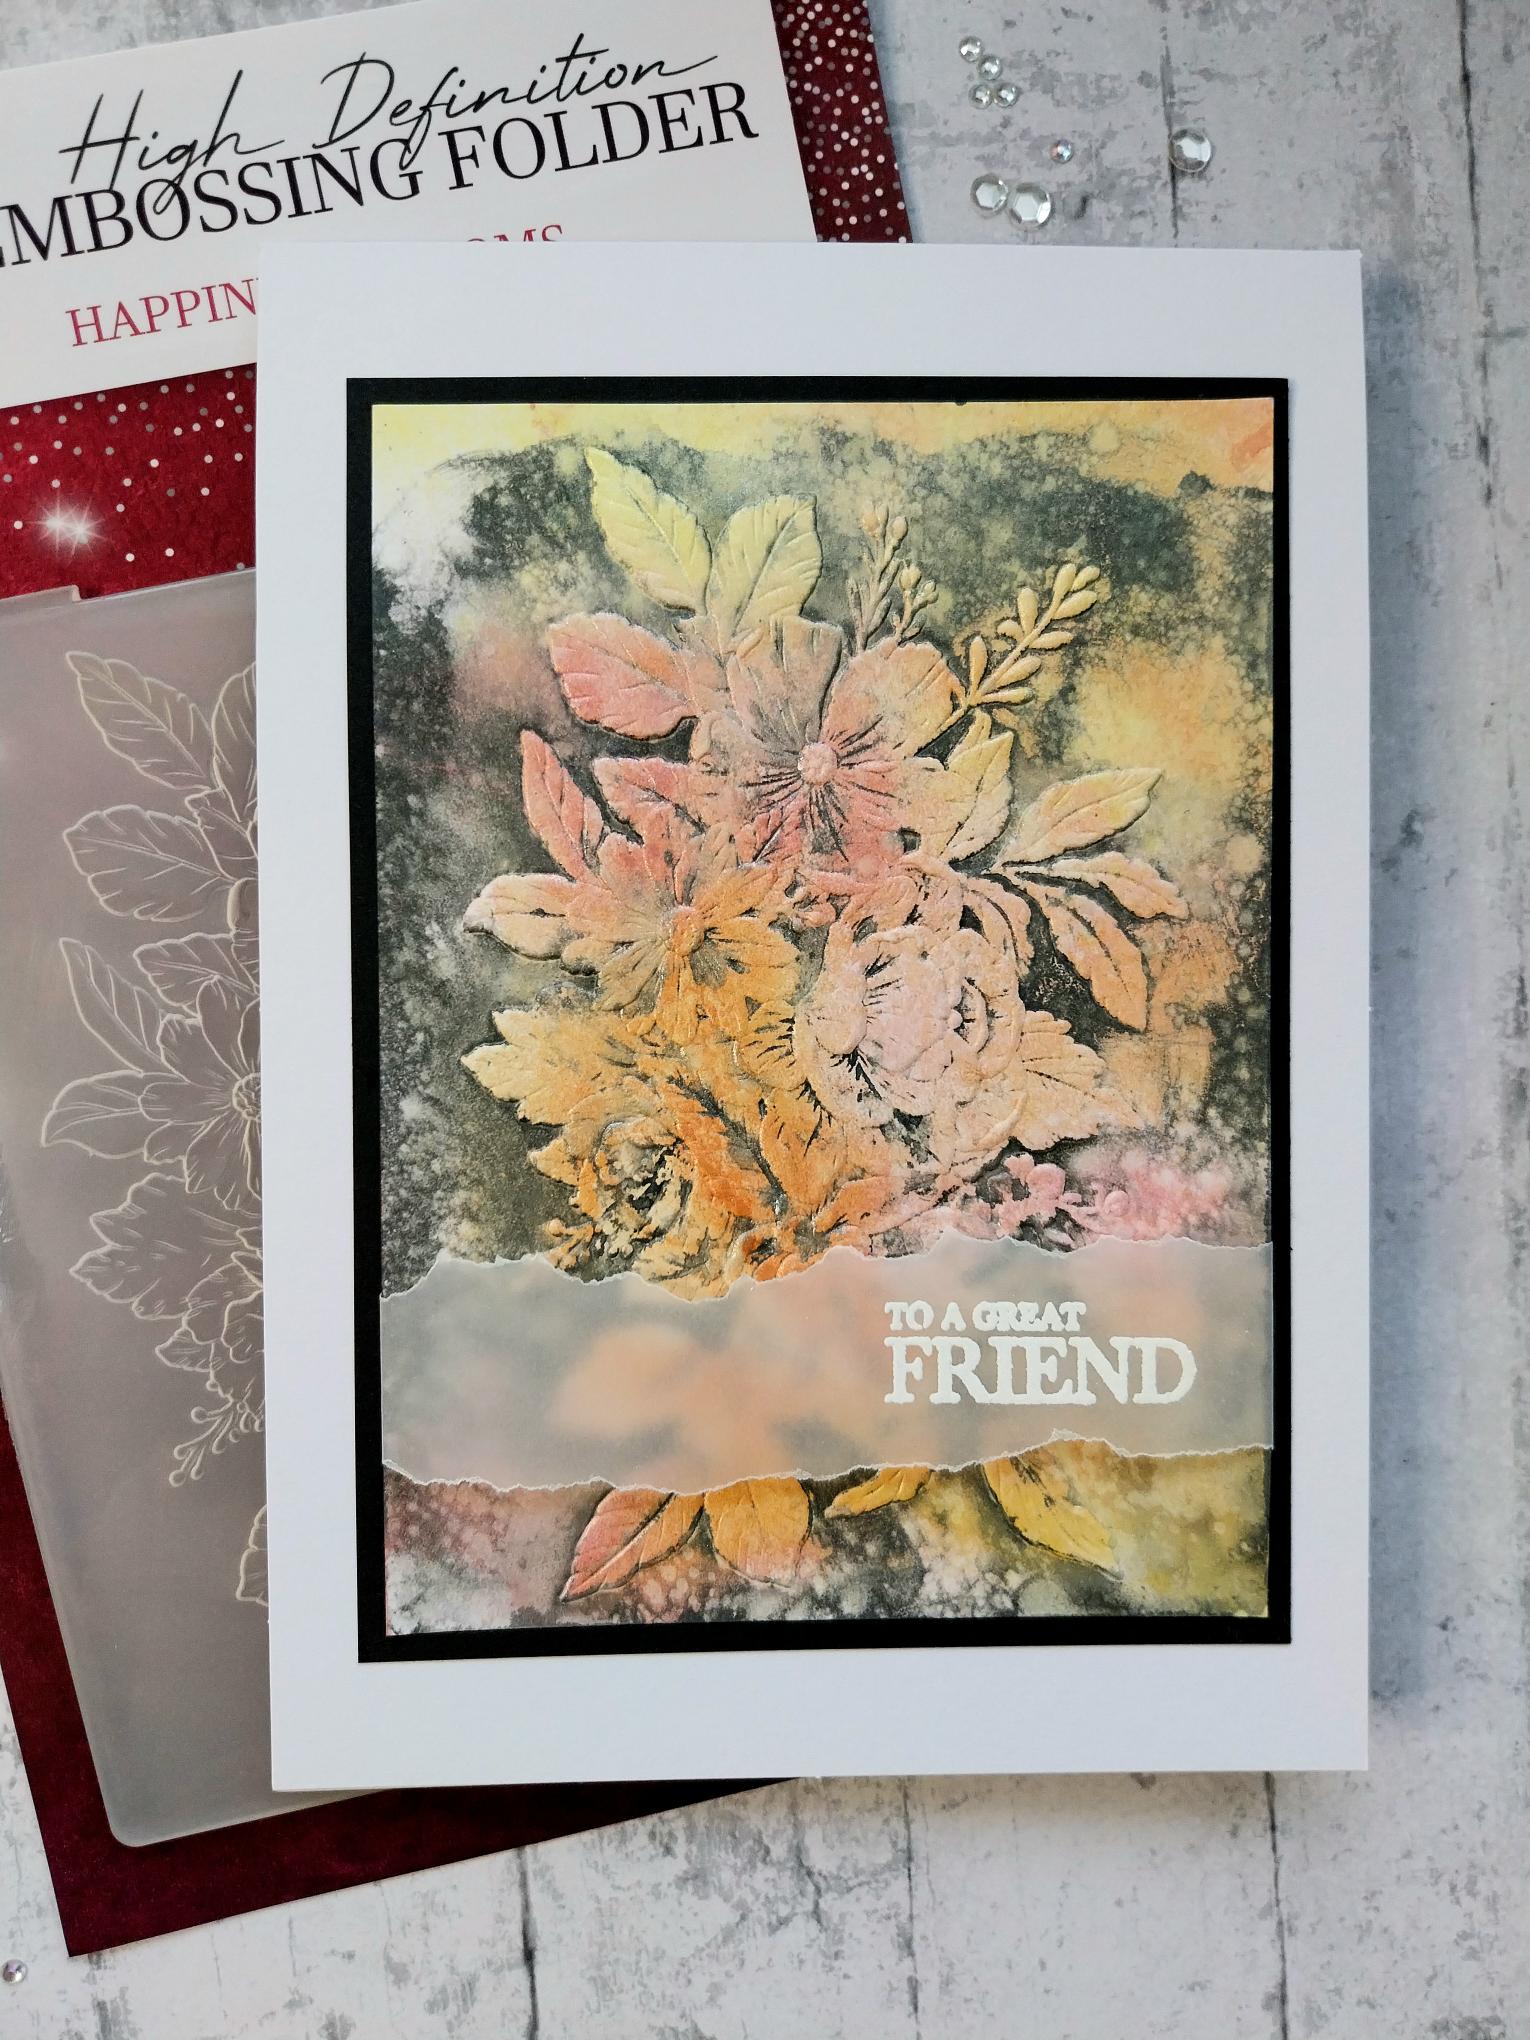
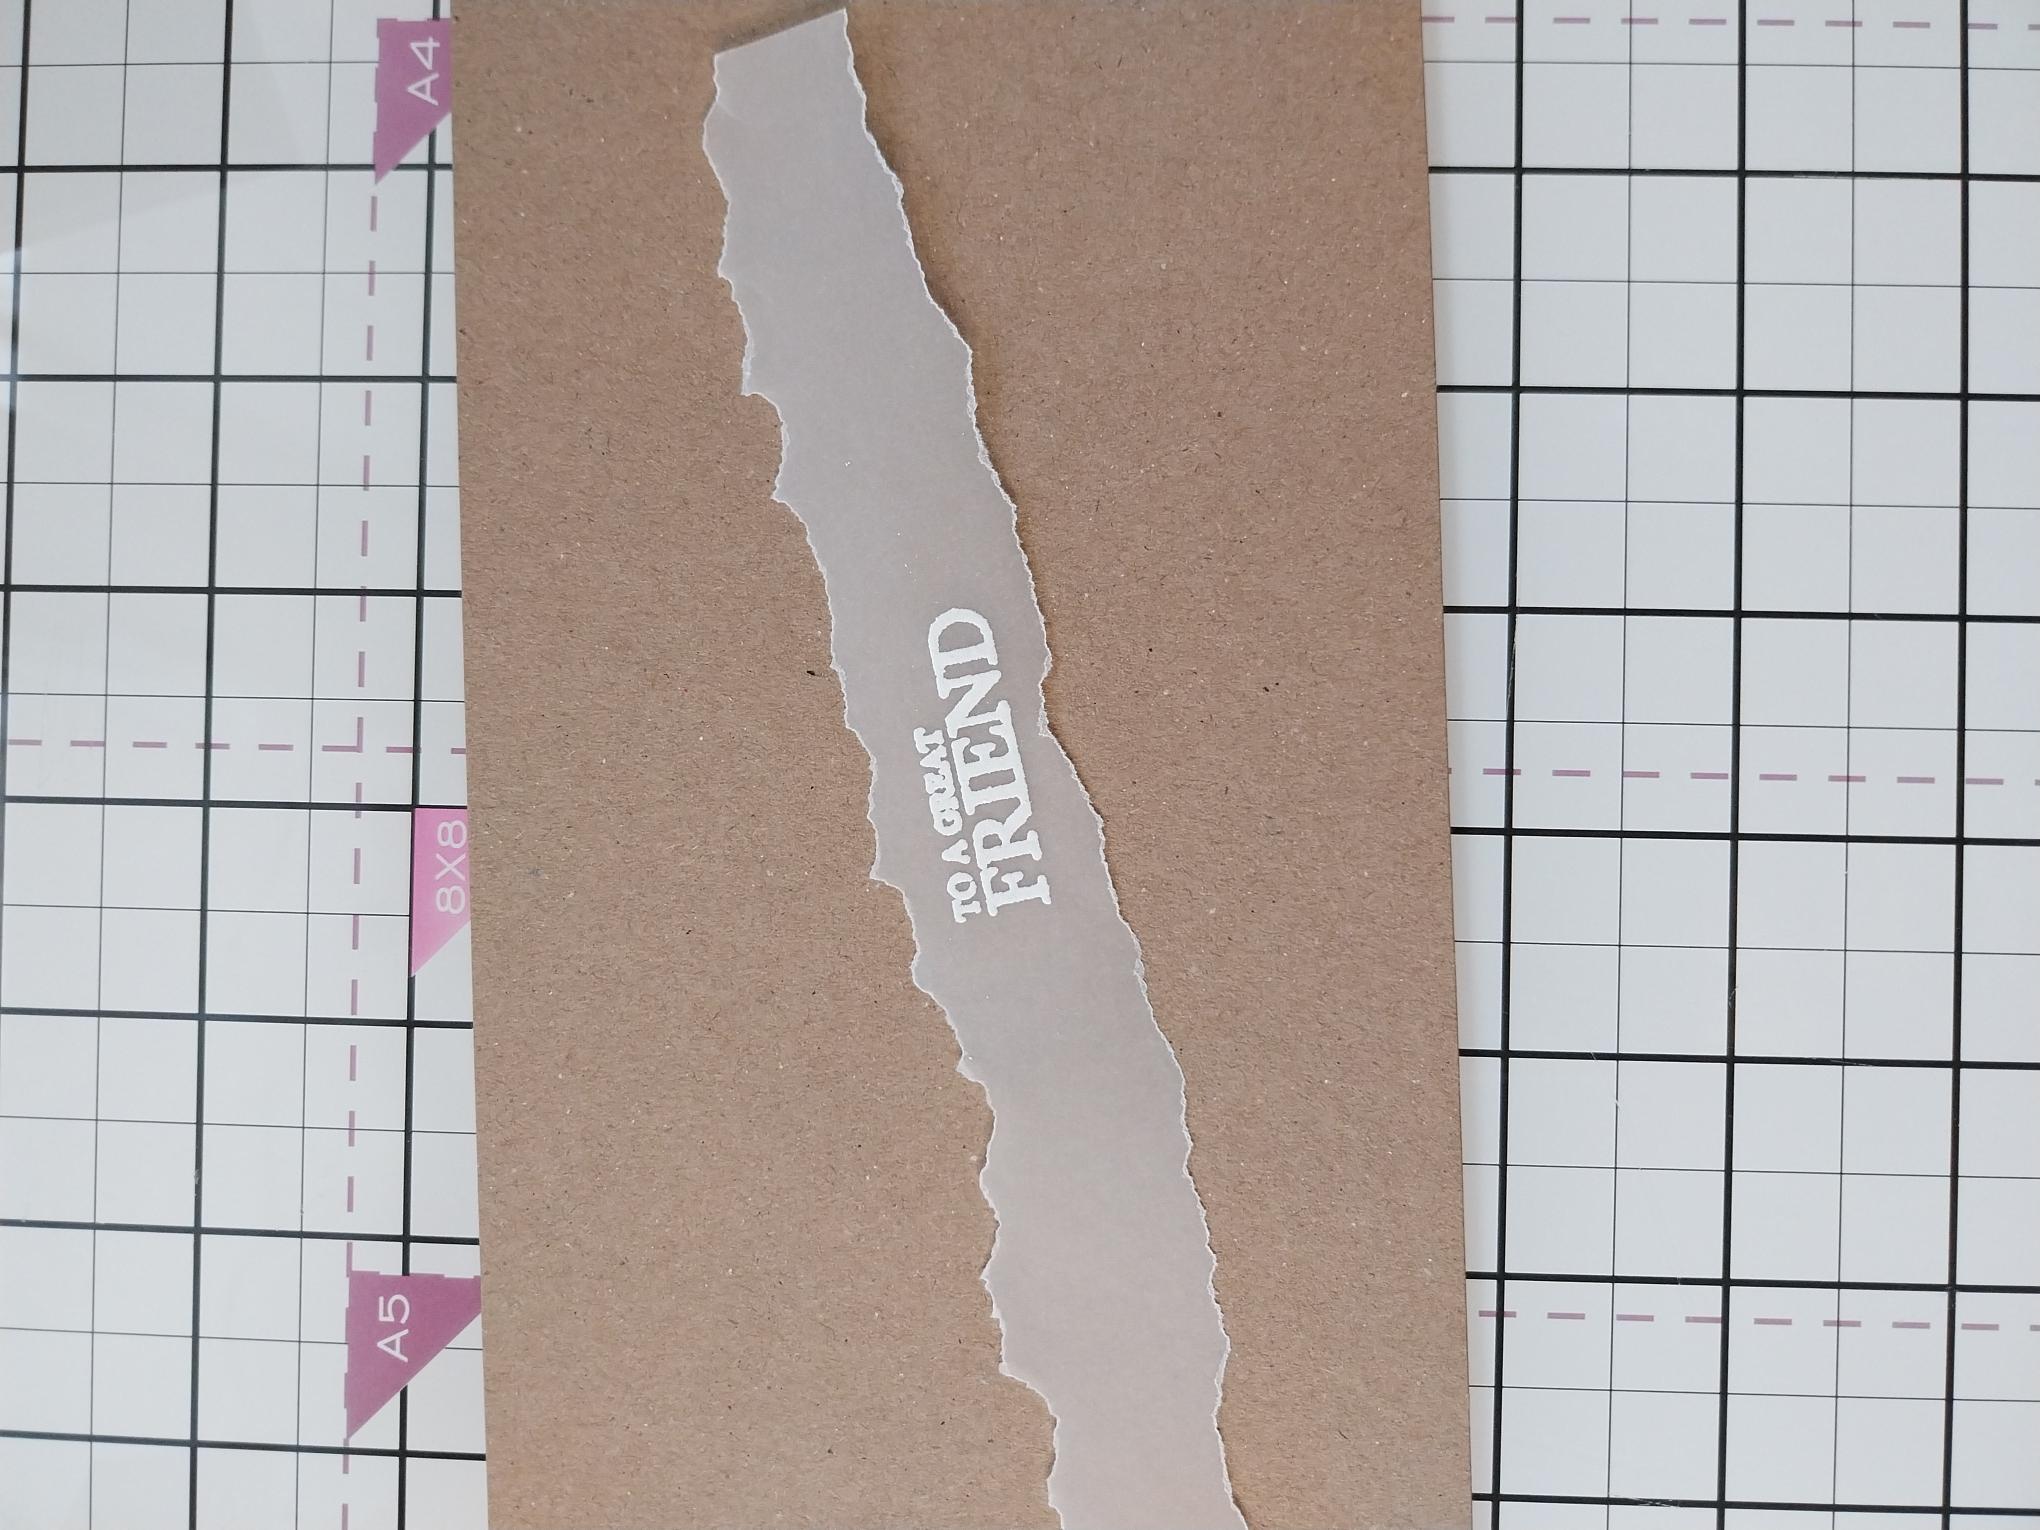
Tear a strip of vellum wider than your inked card. Wipe the vellum with your anti-static bag before stamping your sentiment in the centre, with your sticky embossing ink. Apply the white embossing powder over the stamped image, decanting any excess powder back in the pot. Get your heat tool hot before you heat set the powder to avoid burning the powder and warping the vellum. |
|
Lay your embossed vellum across the bottom half of the inky background. Tuck the vellum over the edges of the card and secure on the reverse with your double-sided tape. |
|
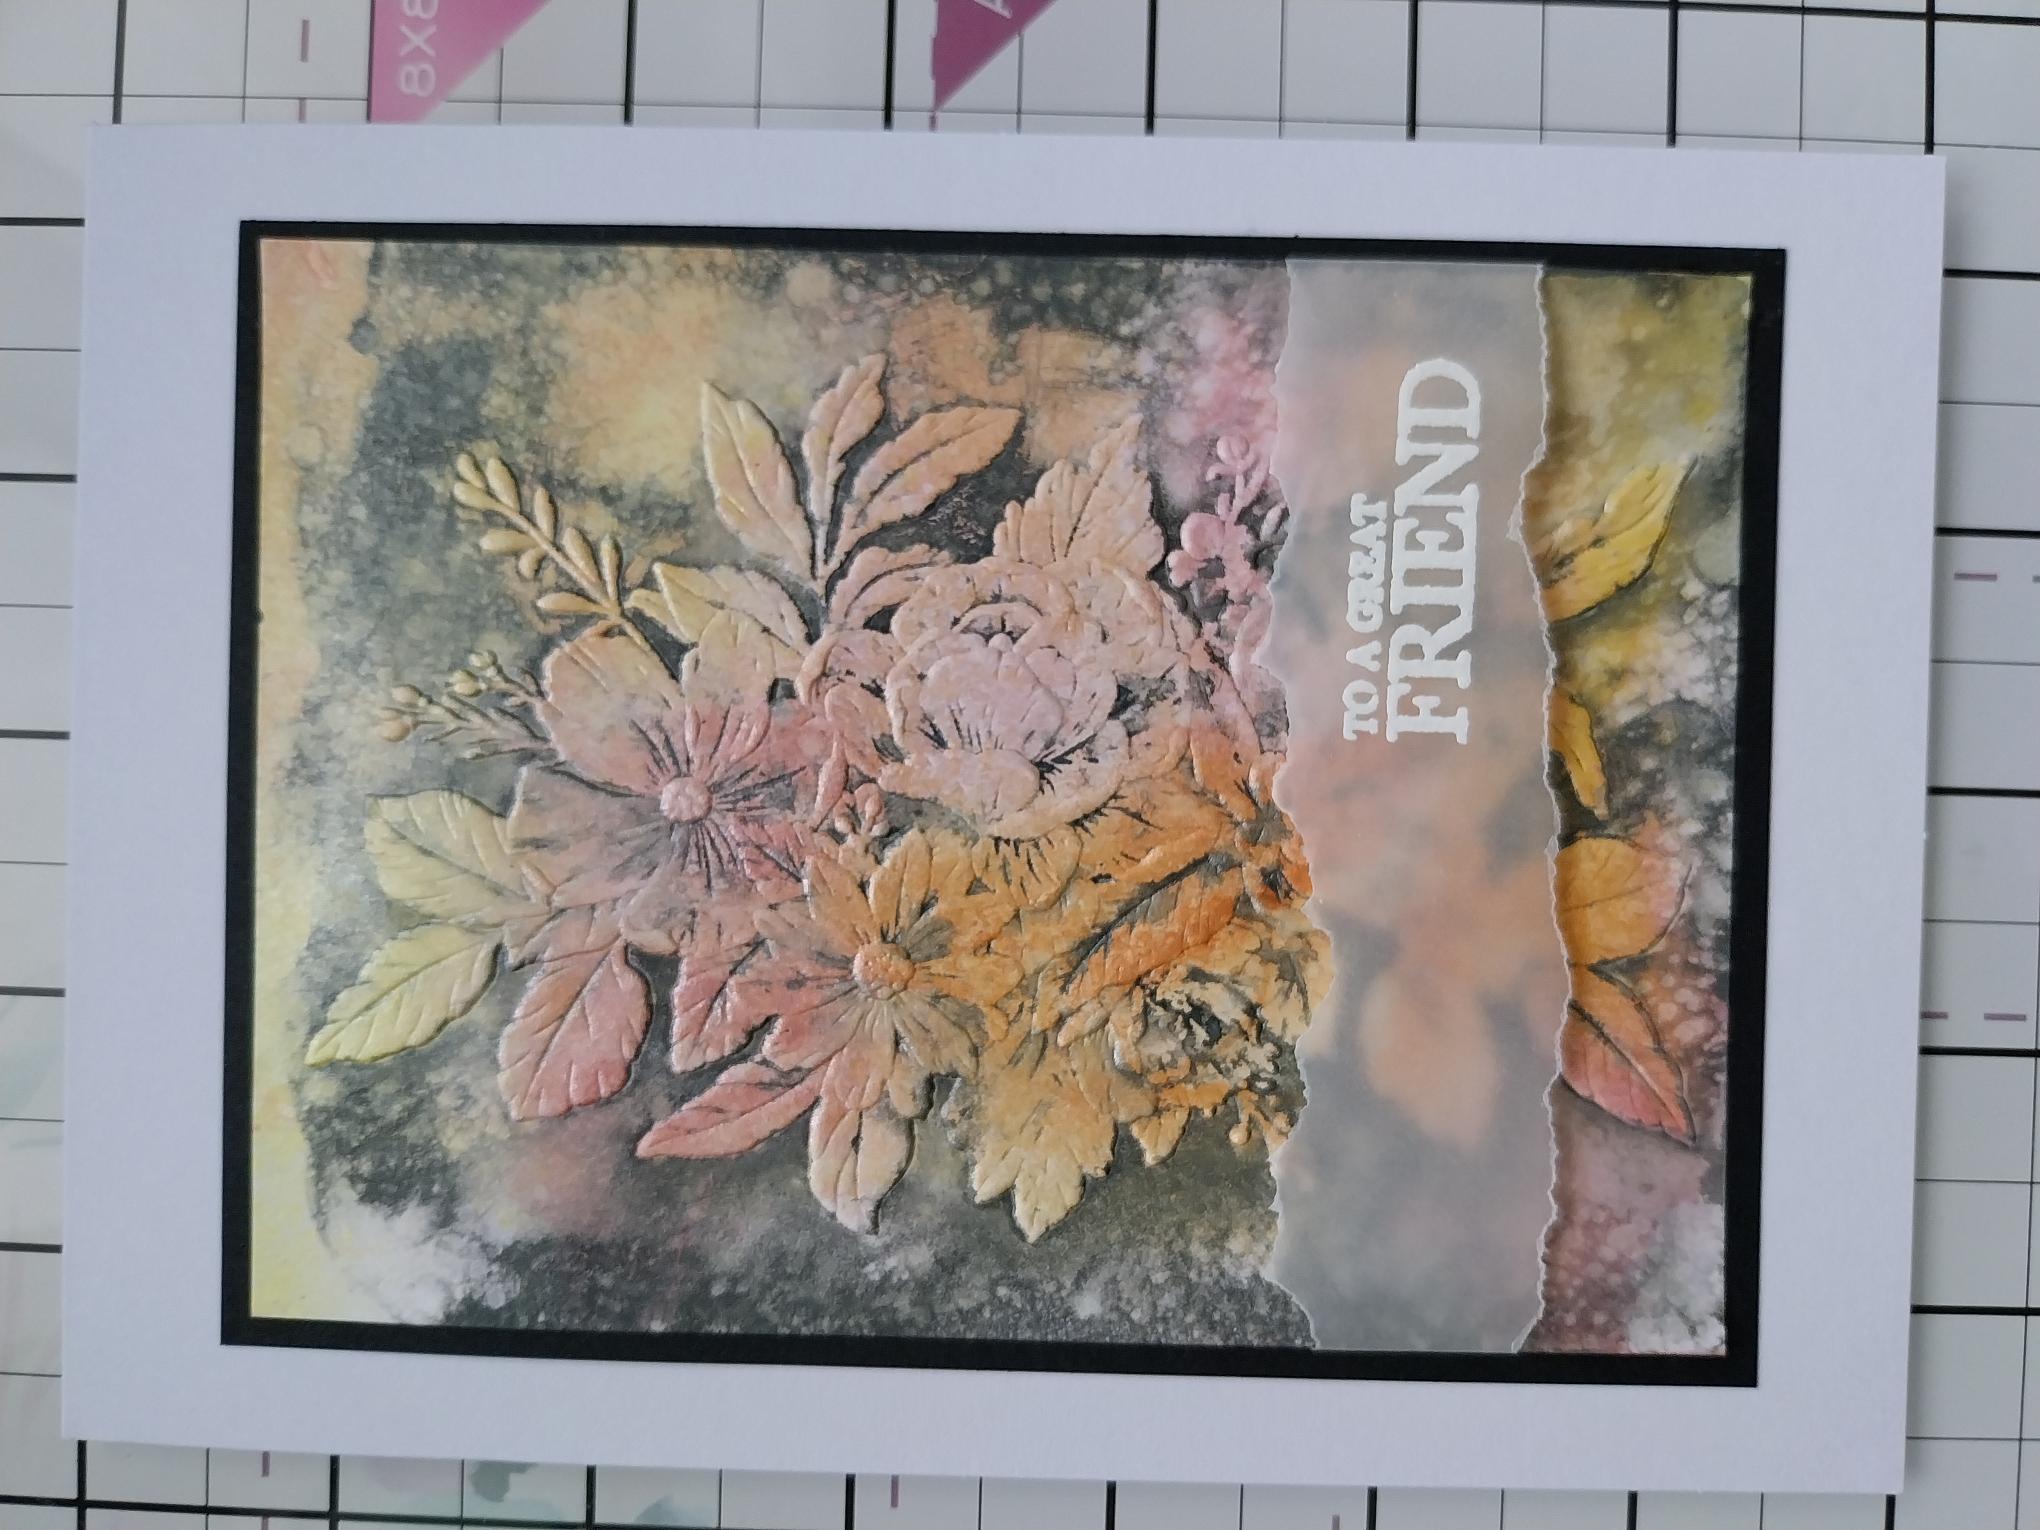
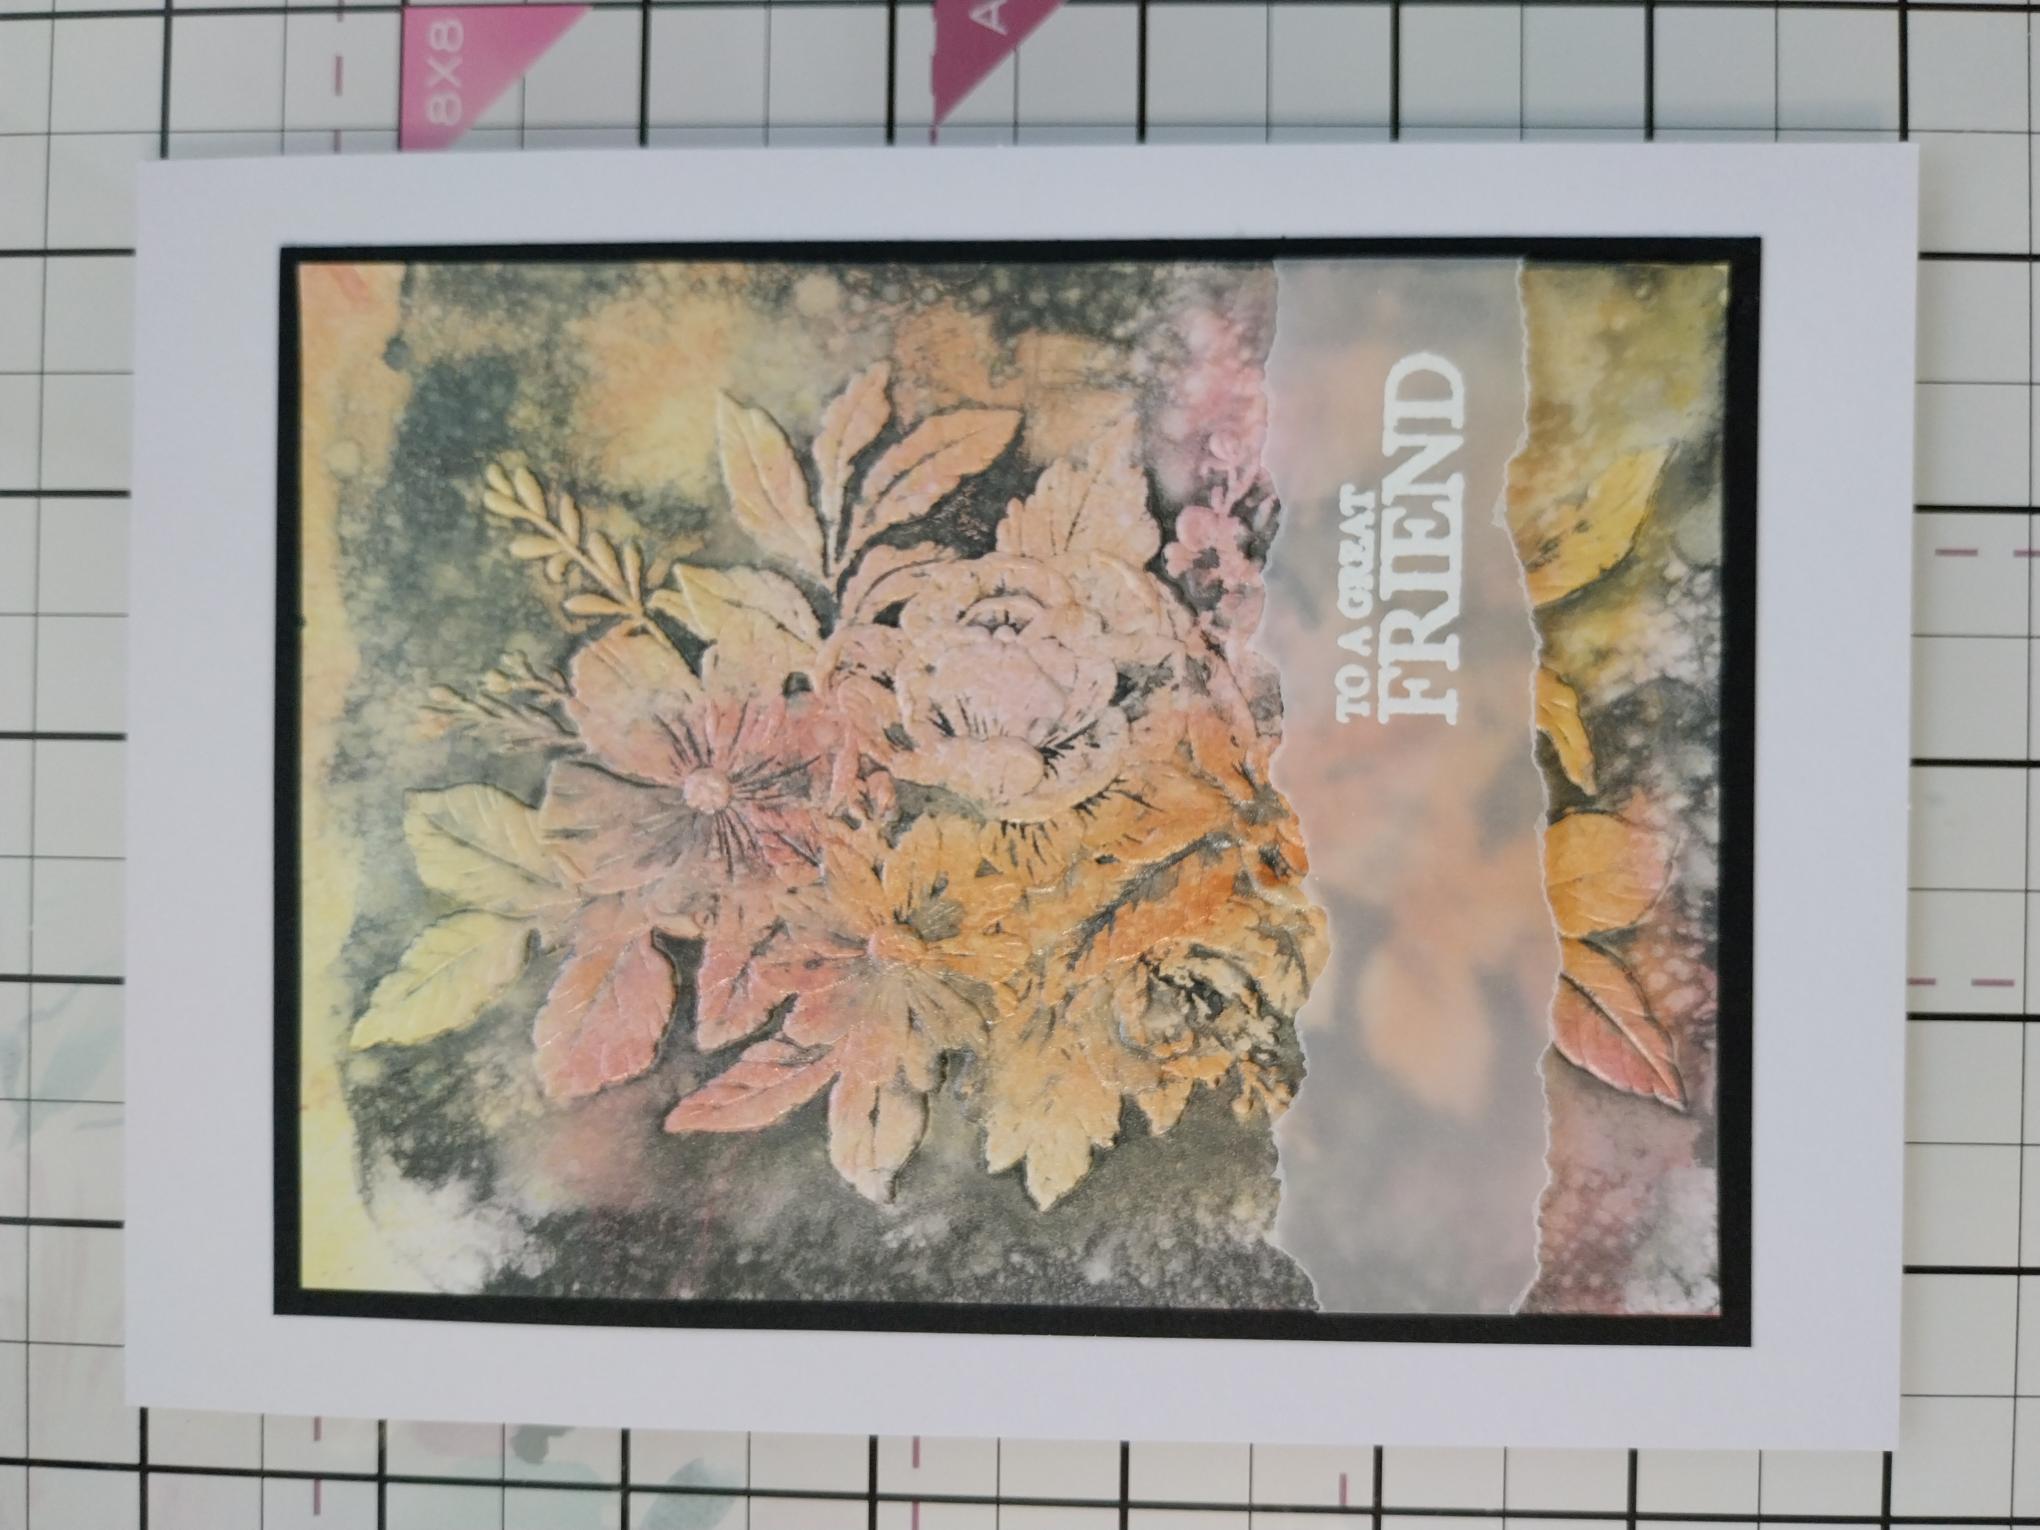
Mat onto black card cut to 4 1/4 x 5 3/4" and then onto your white card blank. |
|
Use your glitters and clear sparkle pens to add extra sparkle if required. |