Give your friends $10 off their first order!
Refer a FRIEND


WHAT YOU WILL NEED:
White card blank 5 x 7"
Glitter card
Winter Scenes Hot Foiled Colouring Book
Festive Baubles Paper Pad
Festive Baubles Die Set
Circle nesting dies
Watercolour paints
Paint brush
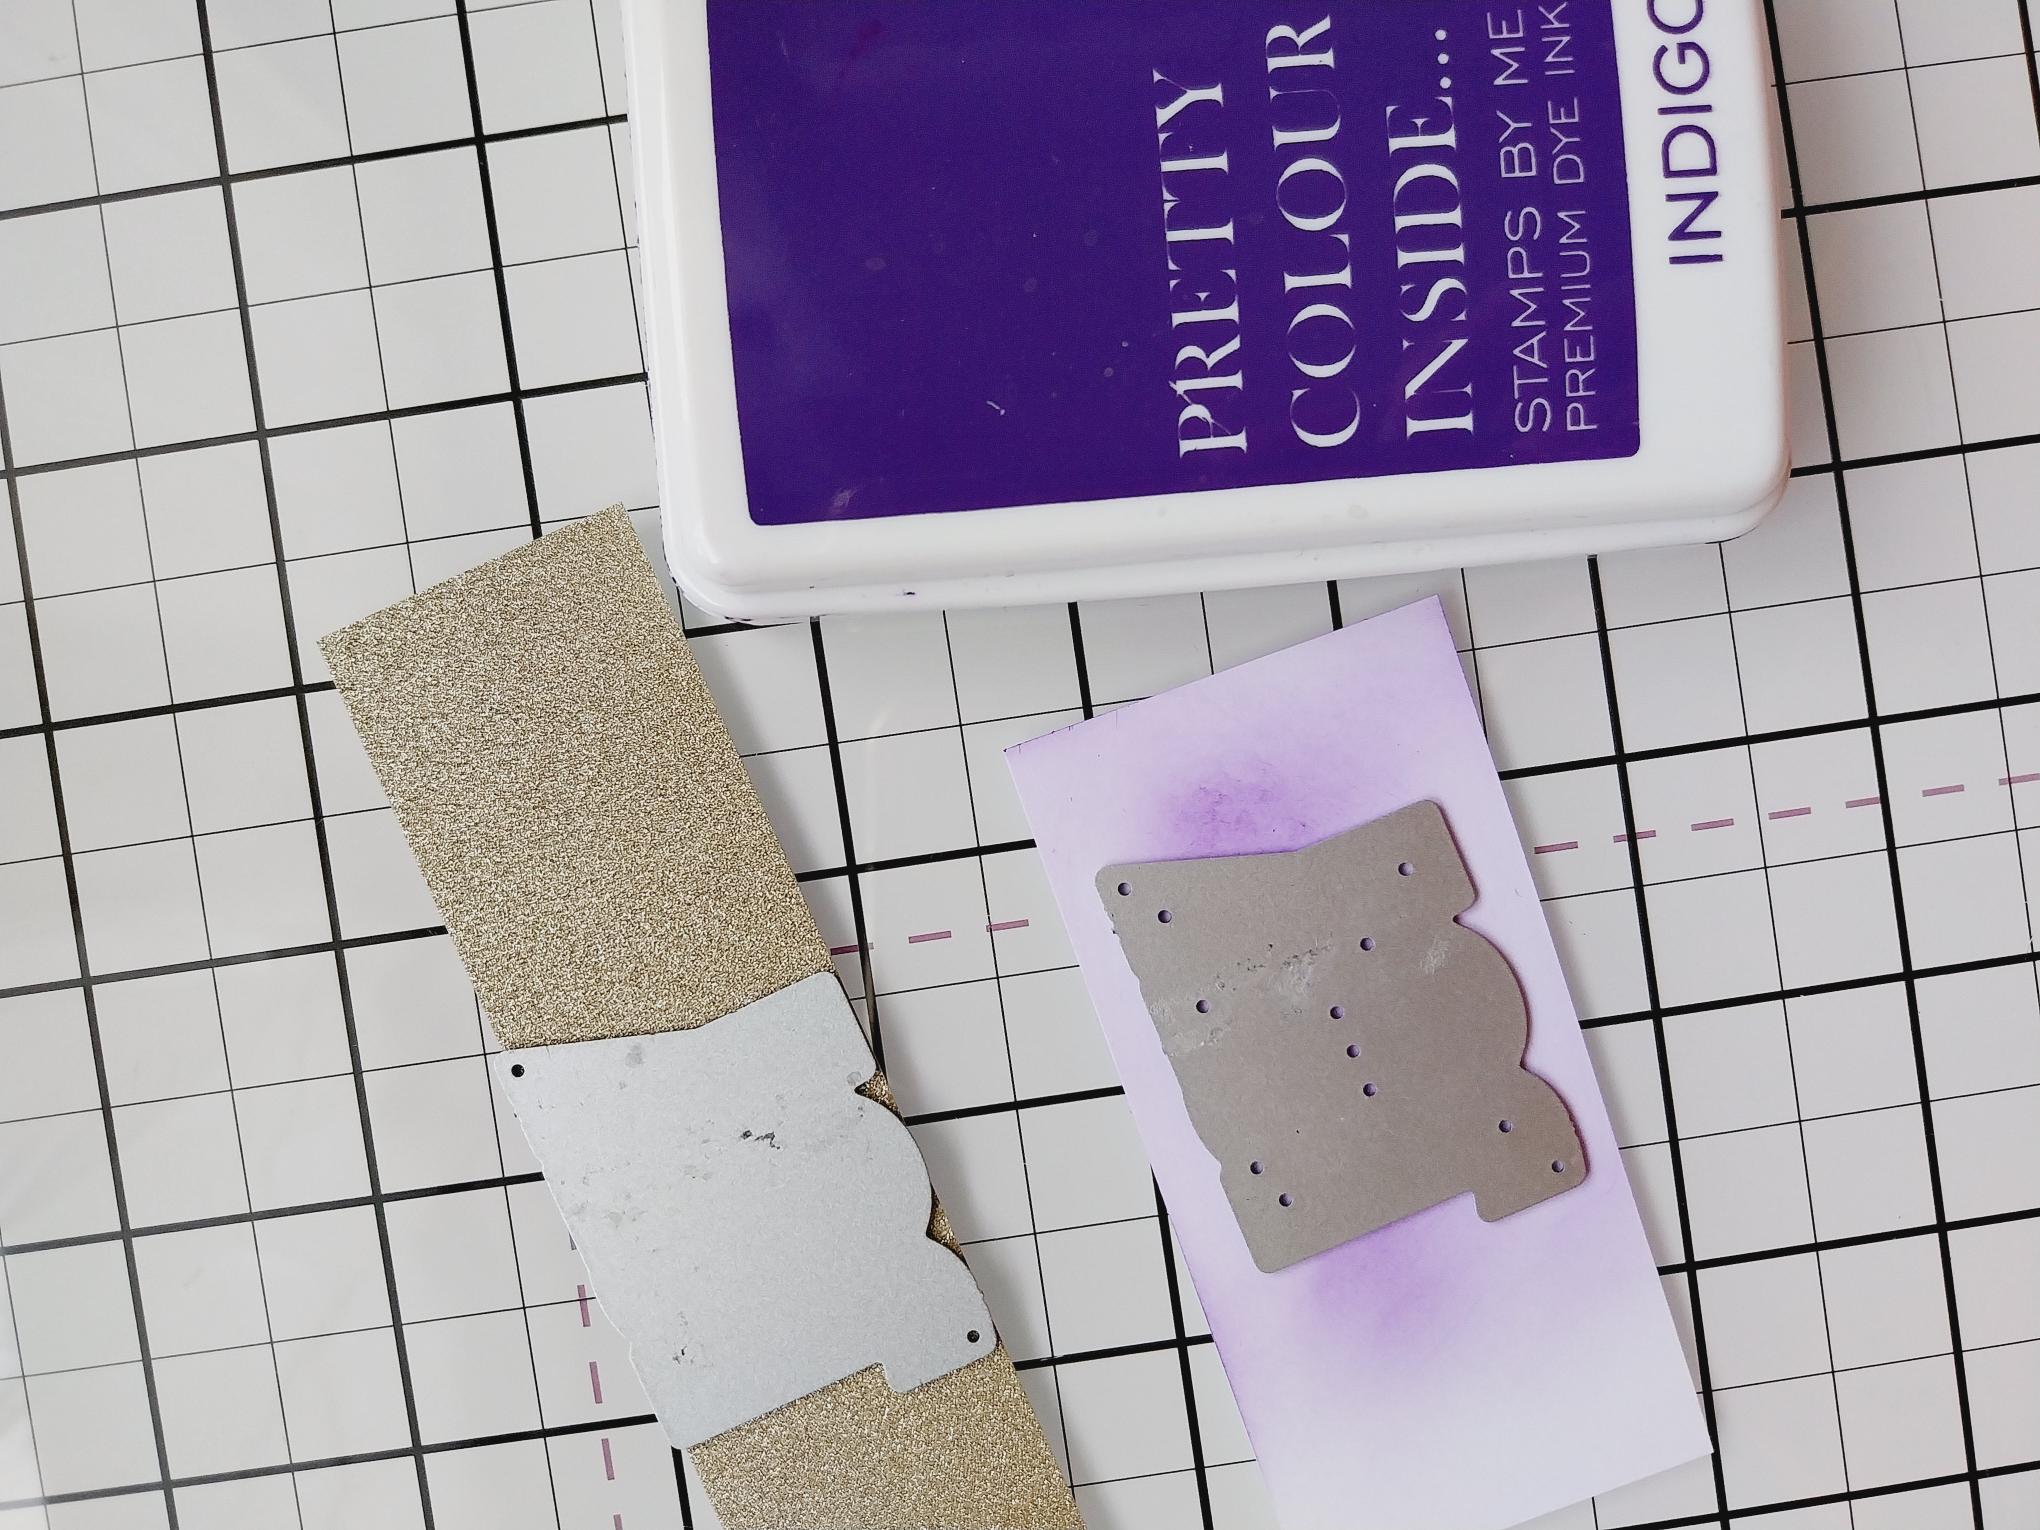
SBM Dye Ink Pad: Indigo
Blending tool
SBM A3 Magnetic glass mat
Paper Trimmer
Glue
Die Cutting machine
[click image to enlarge] 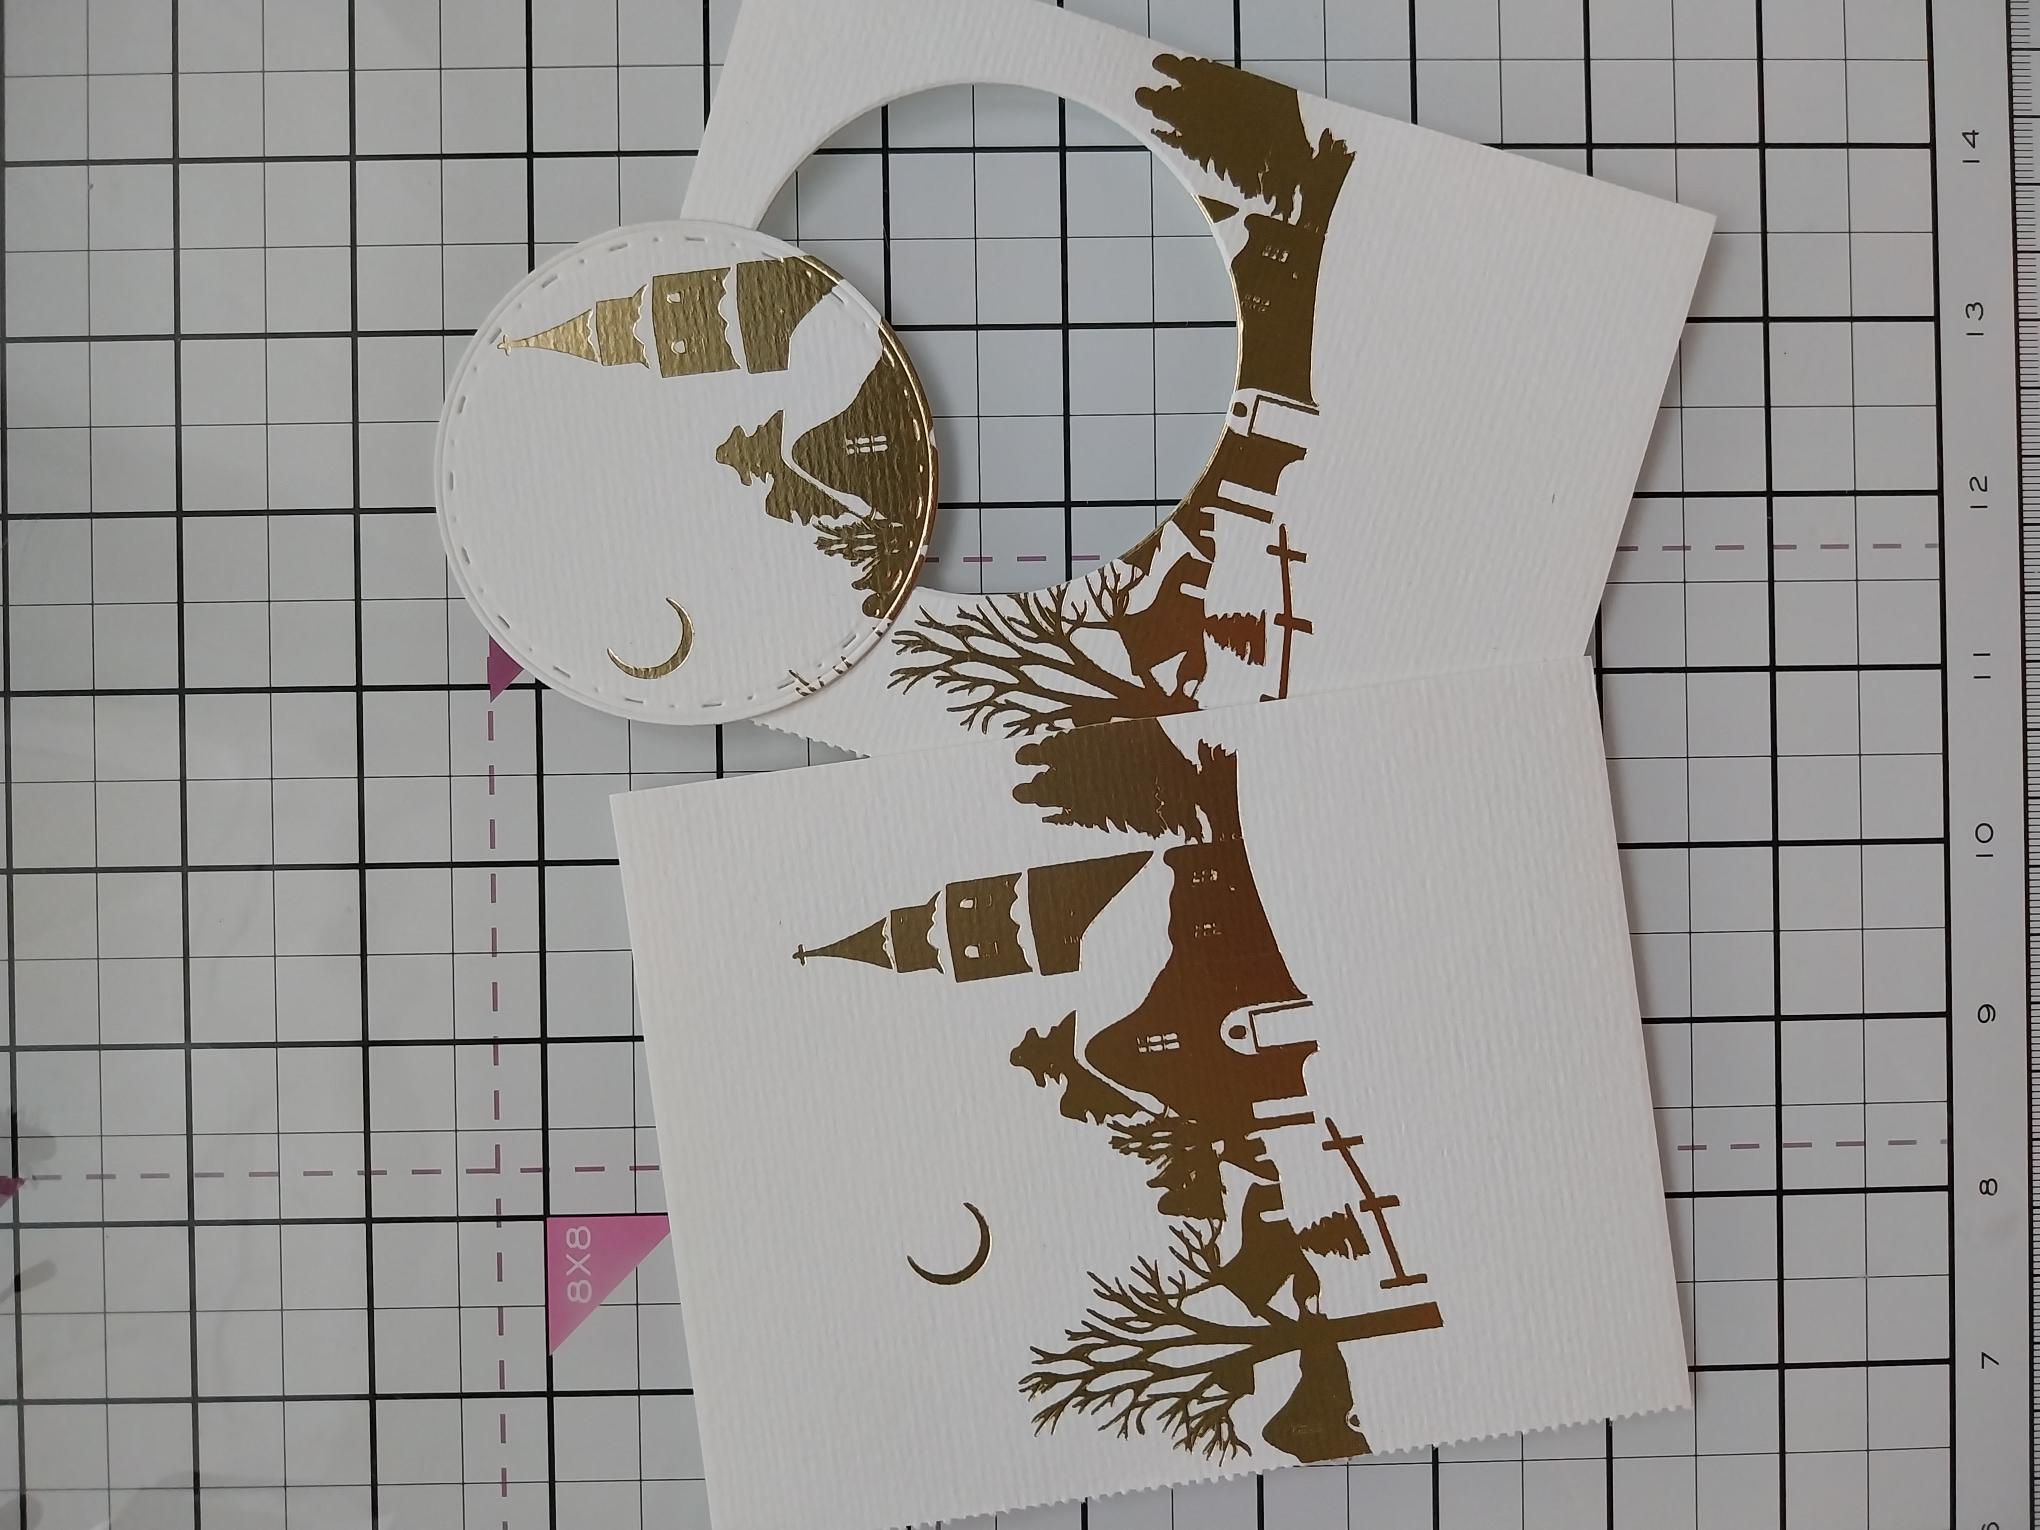
|
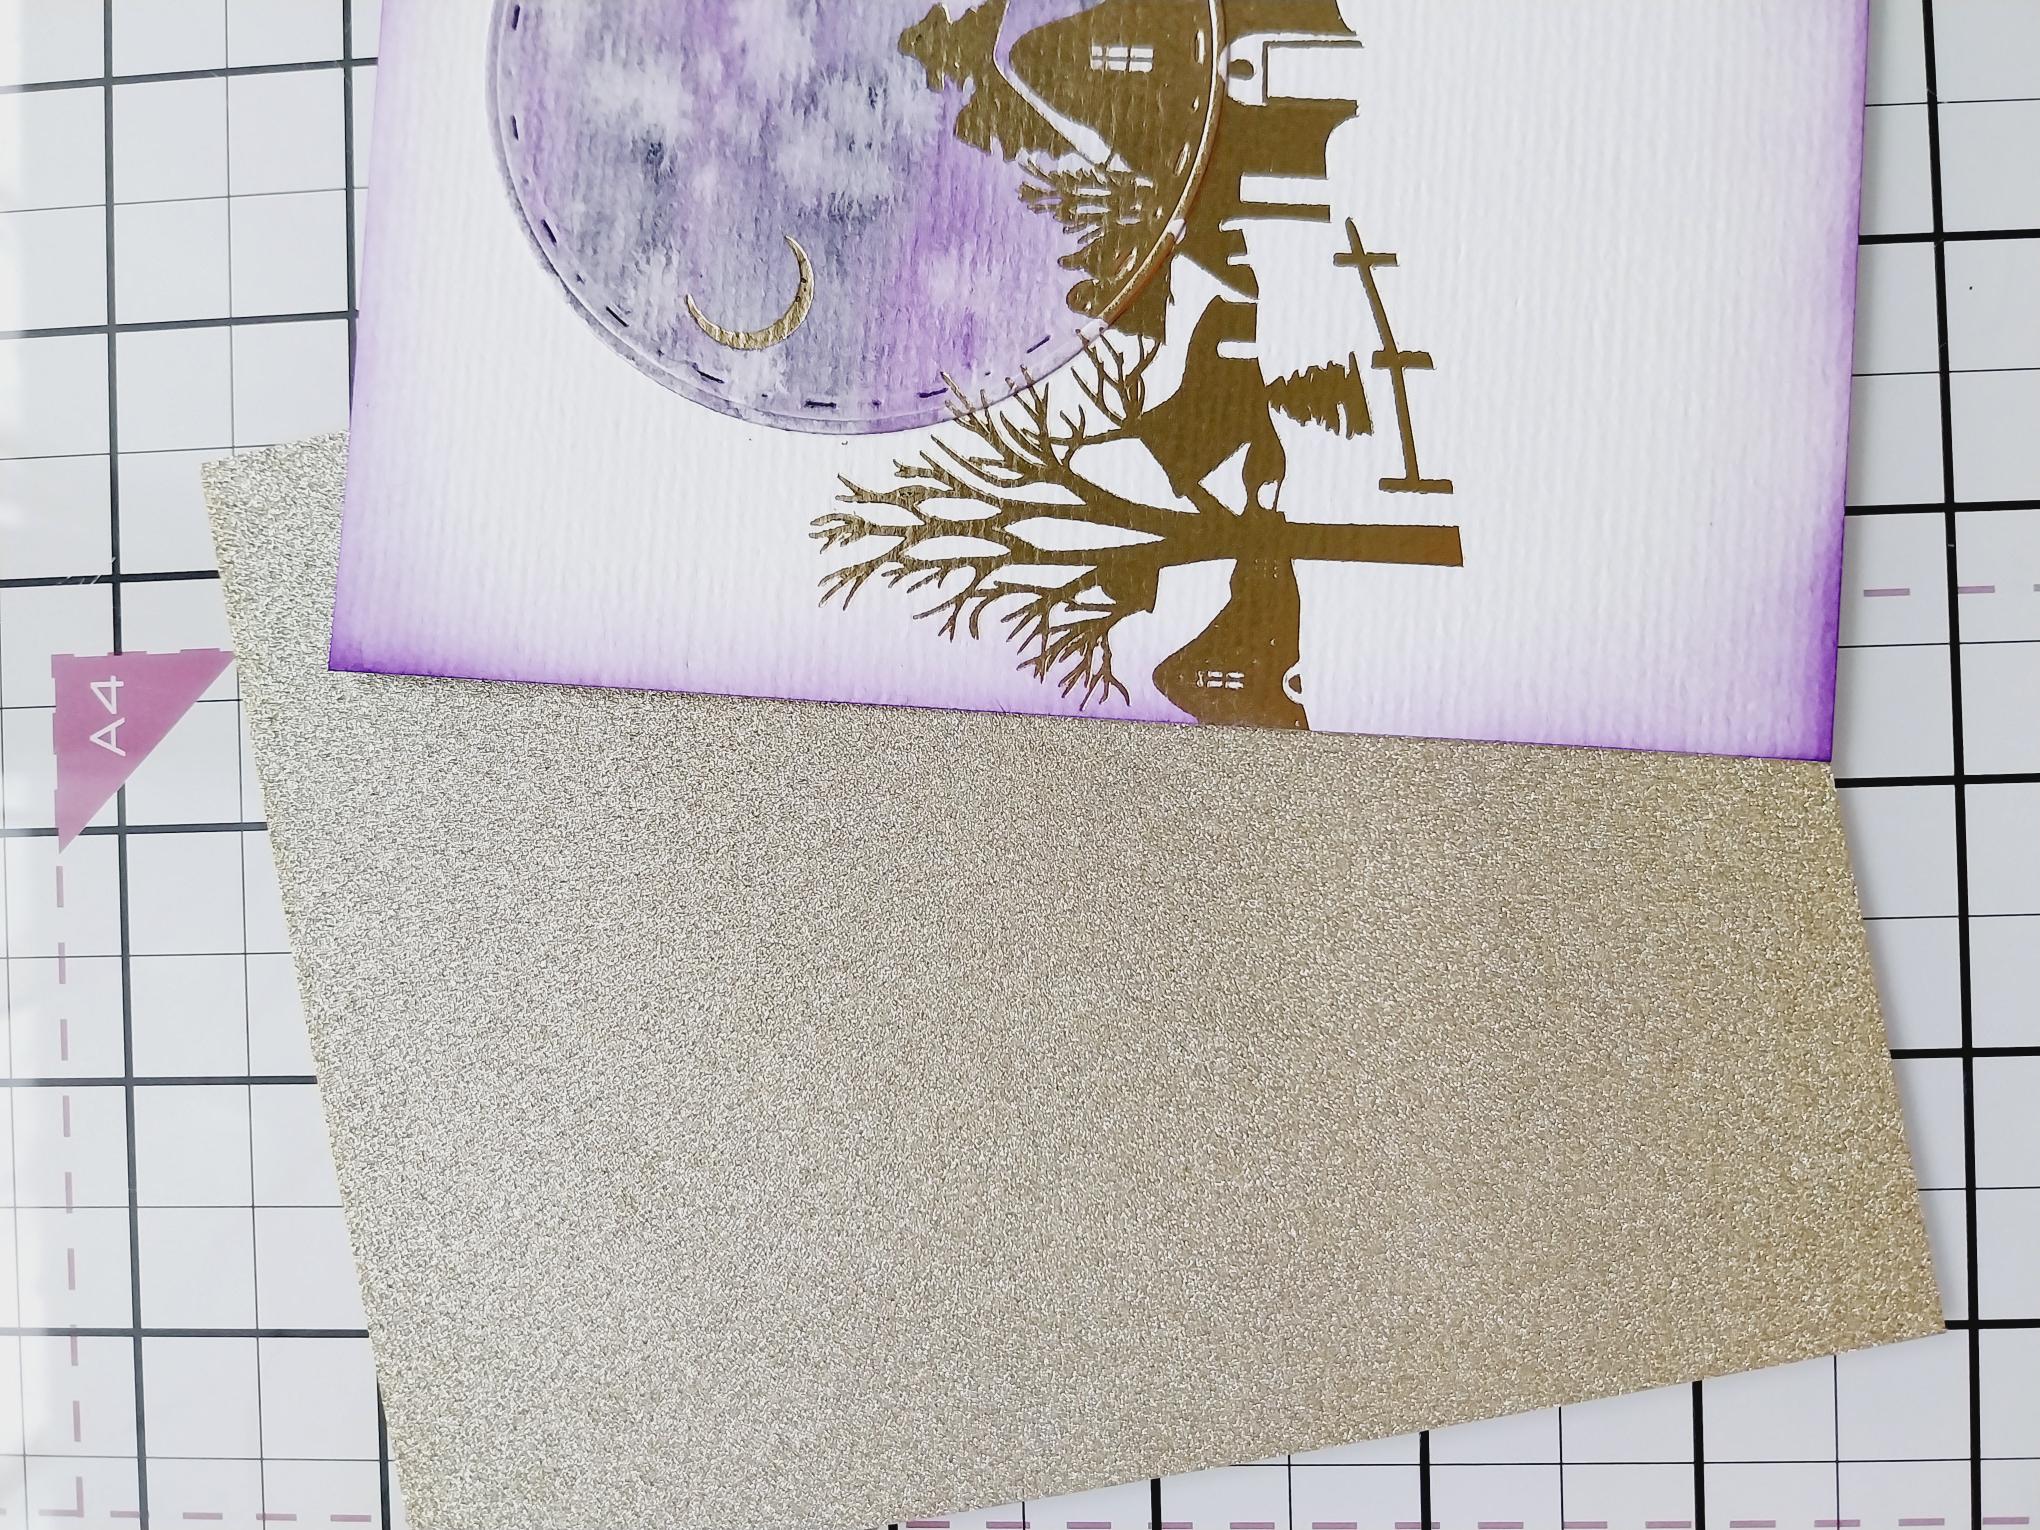
Gently tear out TWO sheets of the same design, along the perforated lines. Trim off the perforated edge on one of them. Die cut a circle from the second sheet, incorporating your chosen focal area of the hot foiled design. |
|
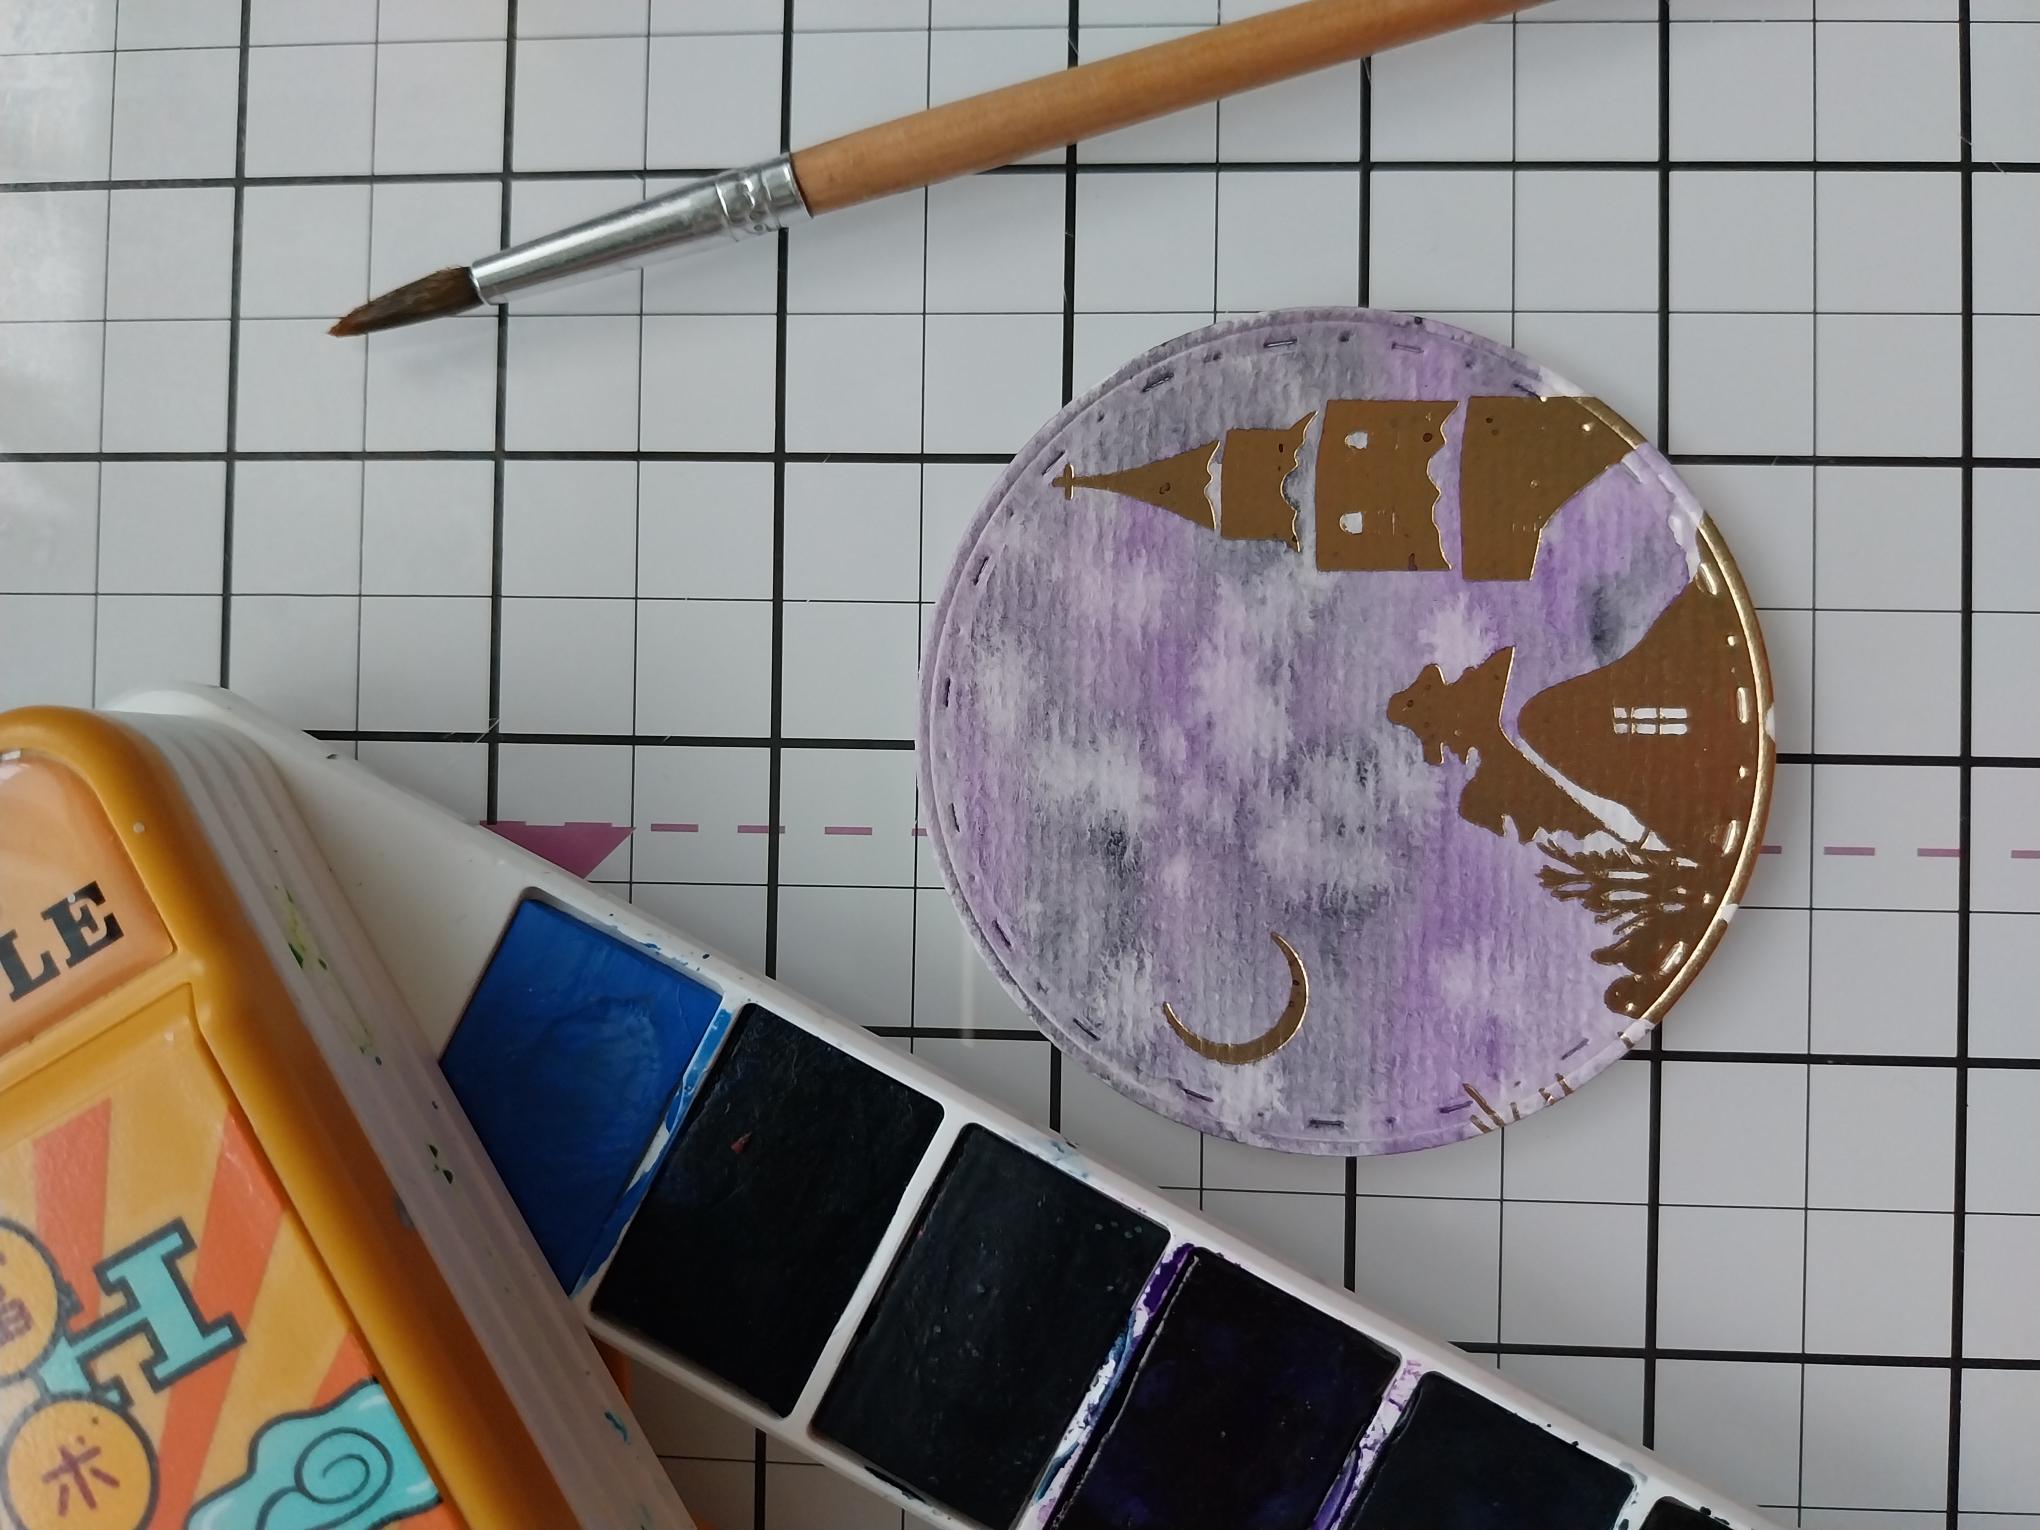
Using your watercolour paints, create your sky. |
|
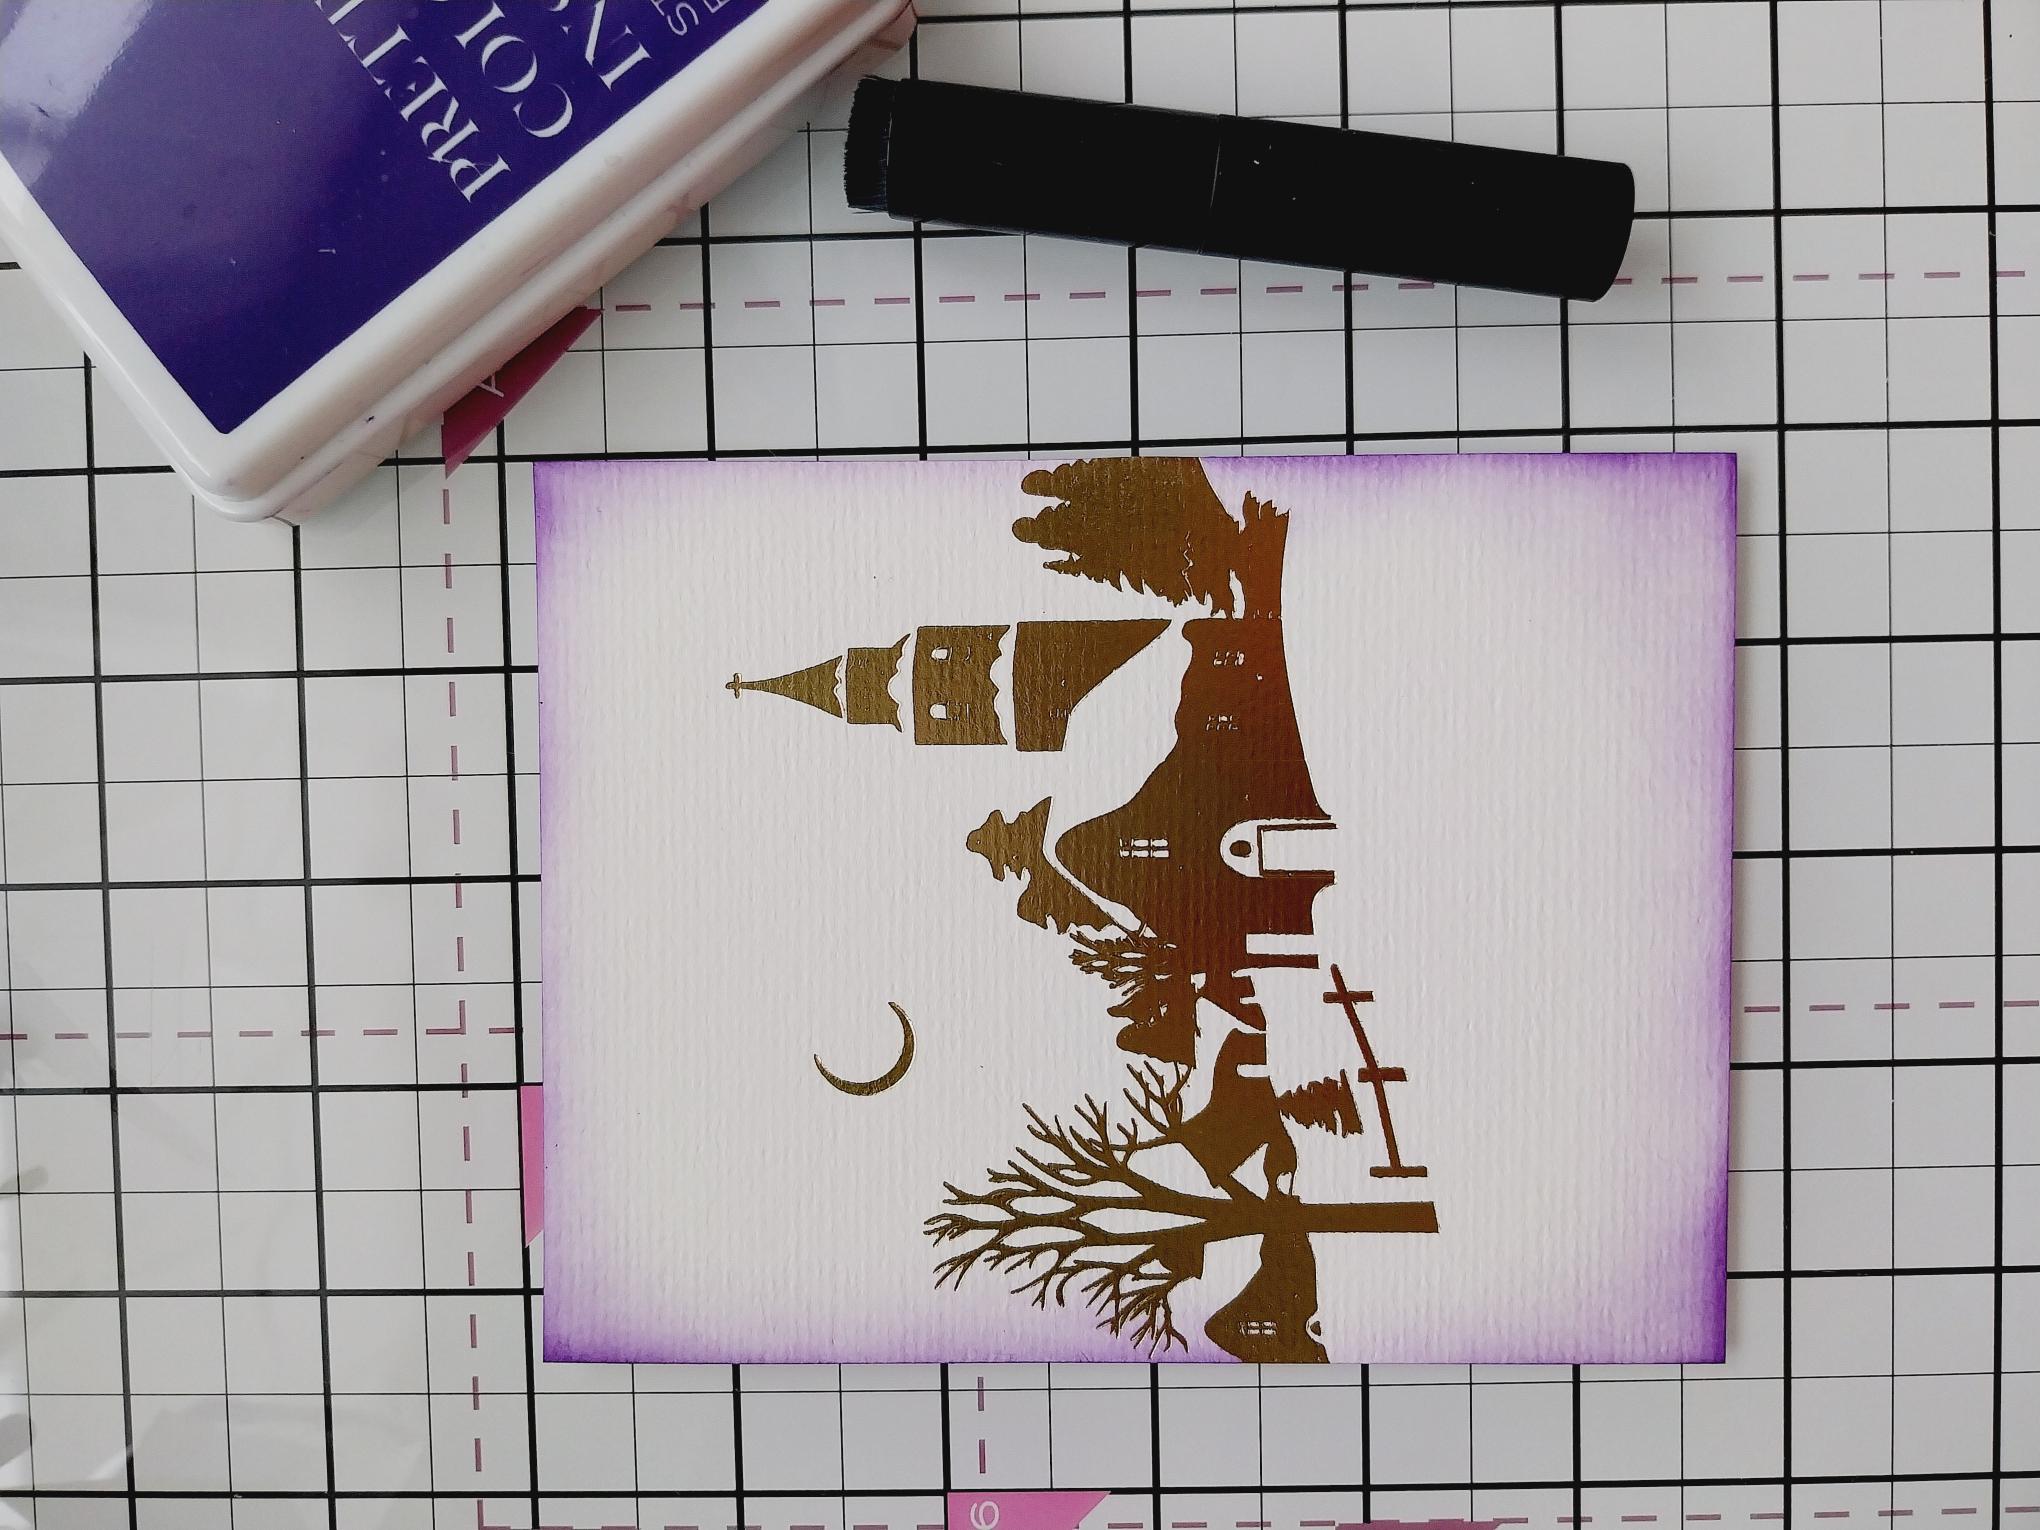
Blend a coordinating ink around the edges of the first hot foiled sheet...for my sample I went with Indigo as the main colour. |
|
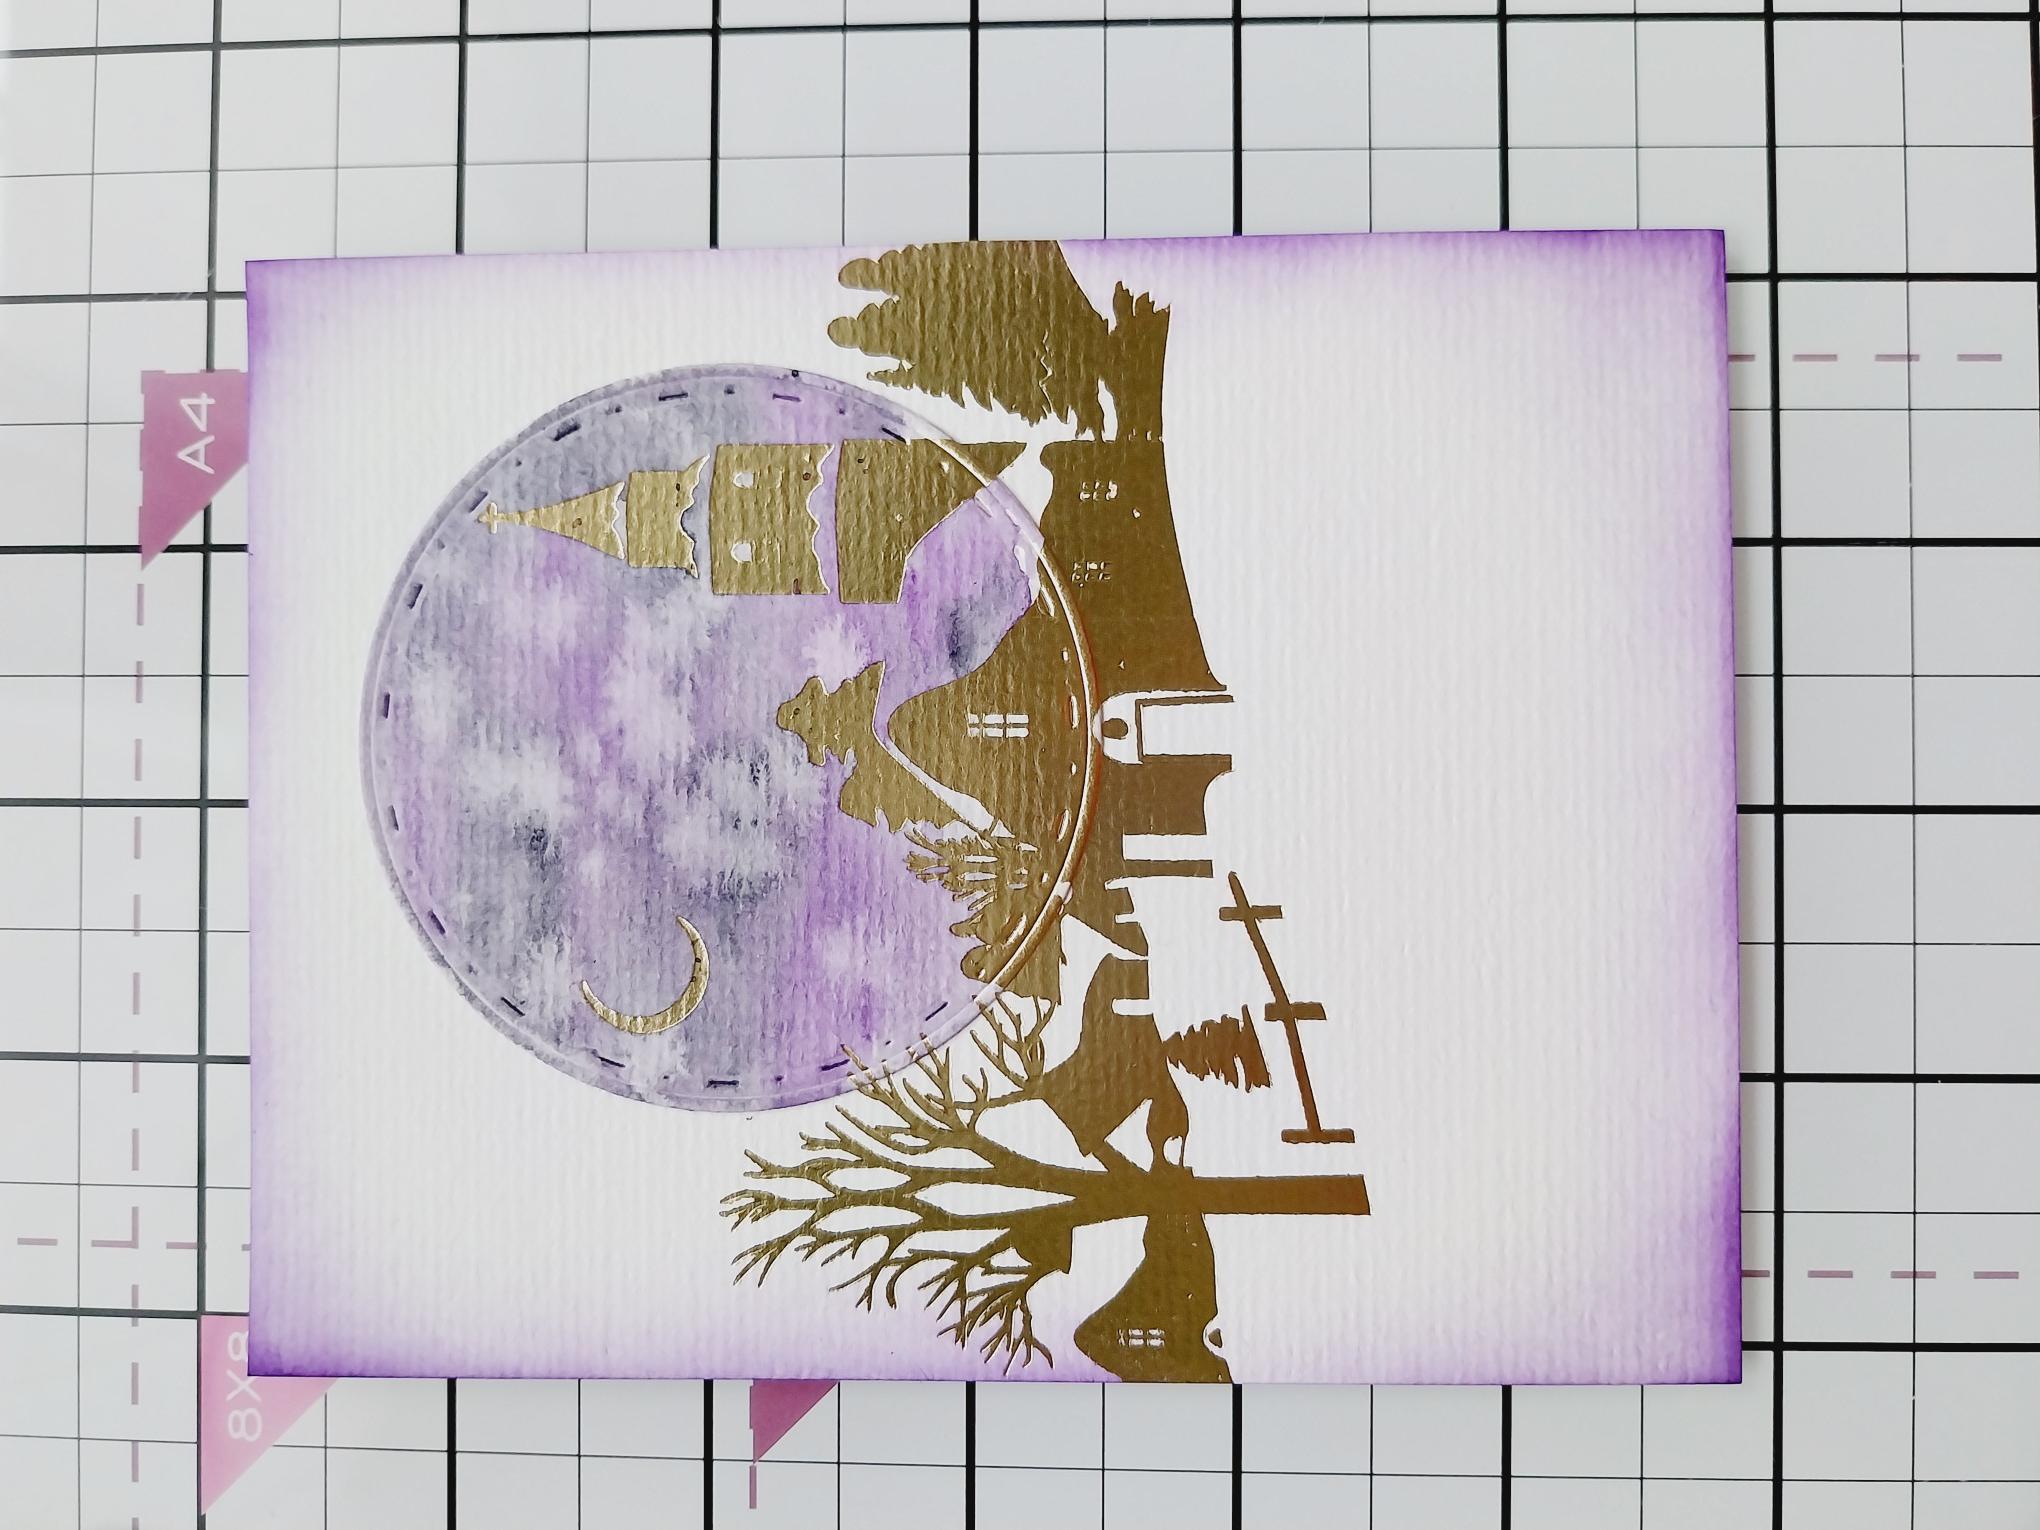
Line up and adhere your painted circle topper onto the inked card. This is referred to as the "spotlight technique". |
|
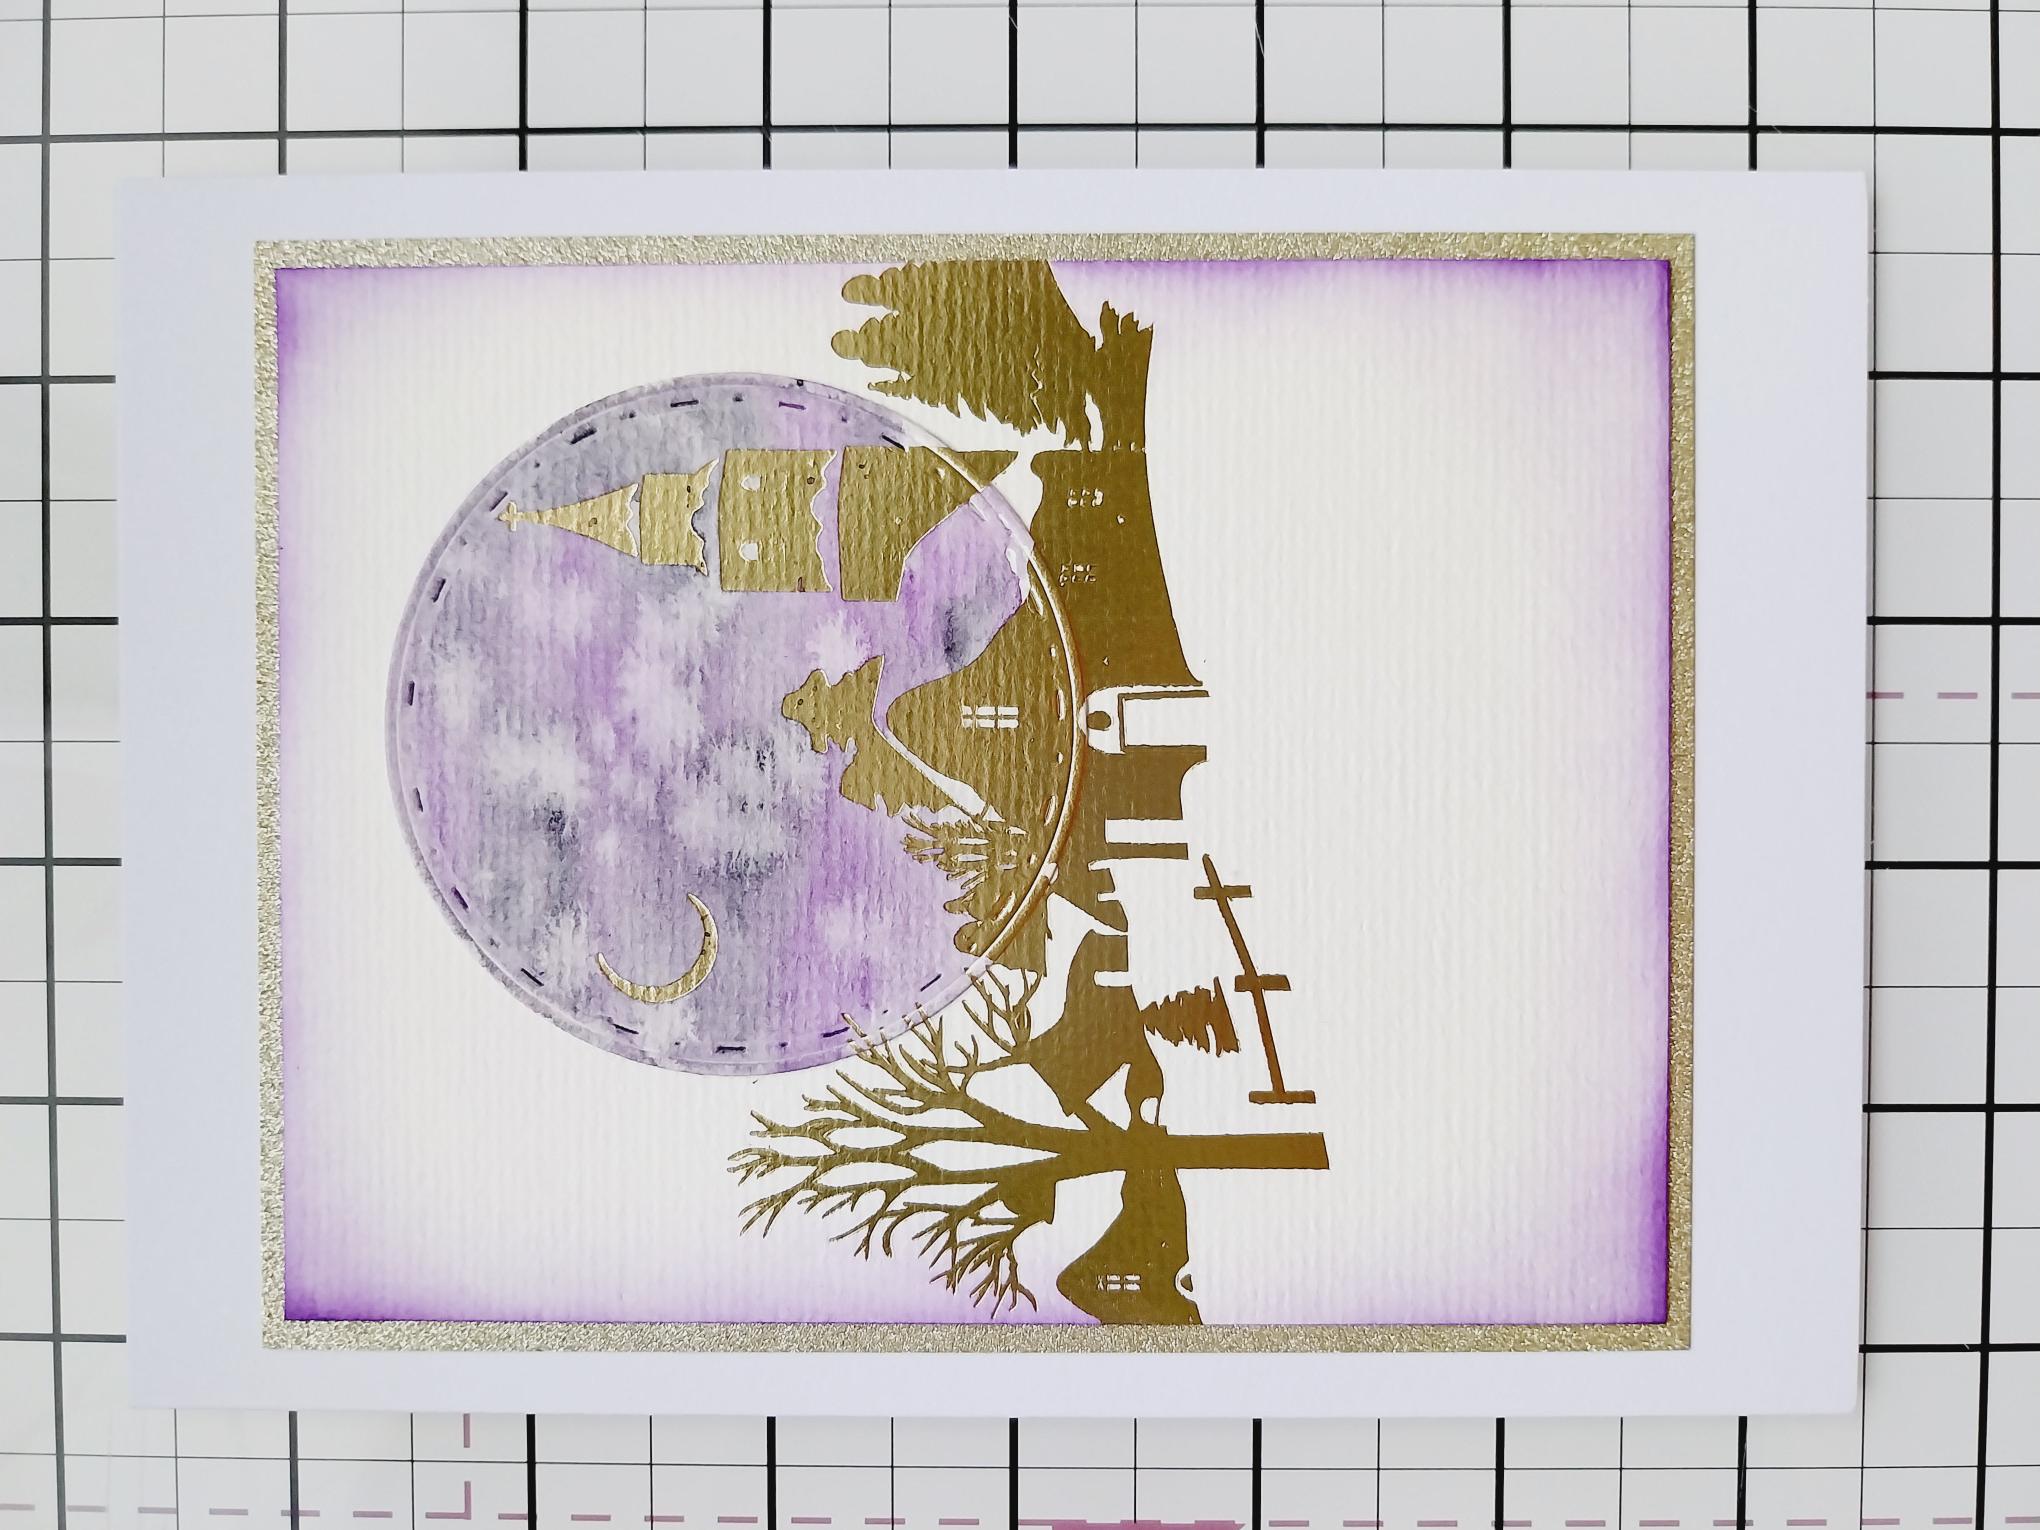
Choose a sheet of coordinating glitter card from the Festive Baubles paper pack and trim to 4 1/2 x 5 3/4". |
|
Adhere your artwork onto the glitter card and then onto the front of your card blank. |
|
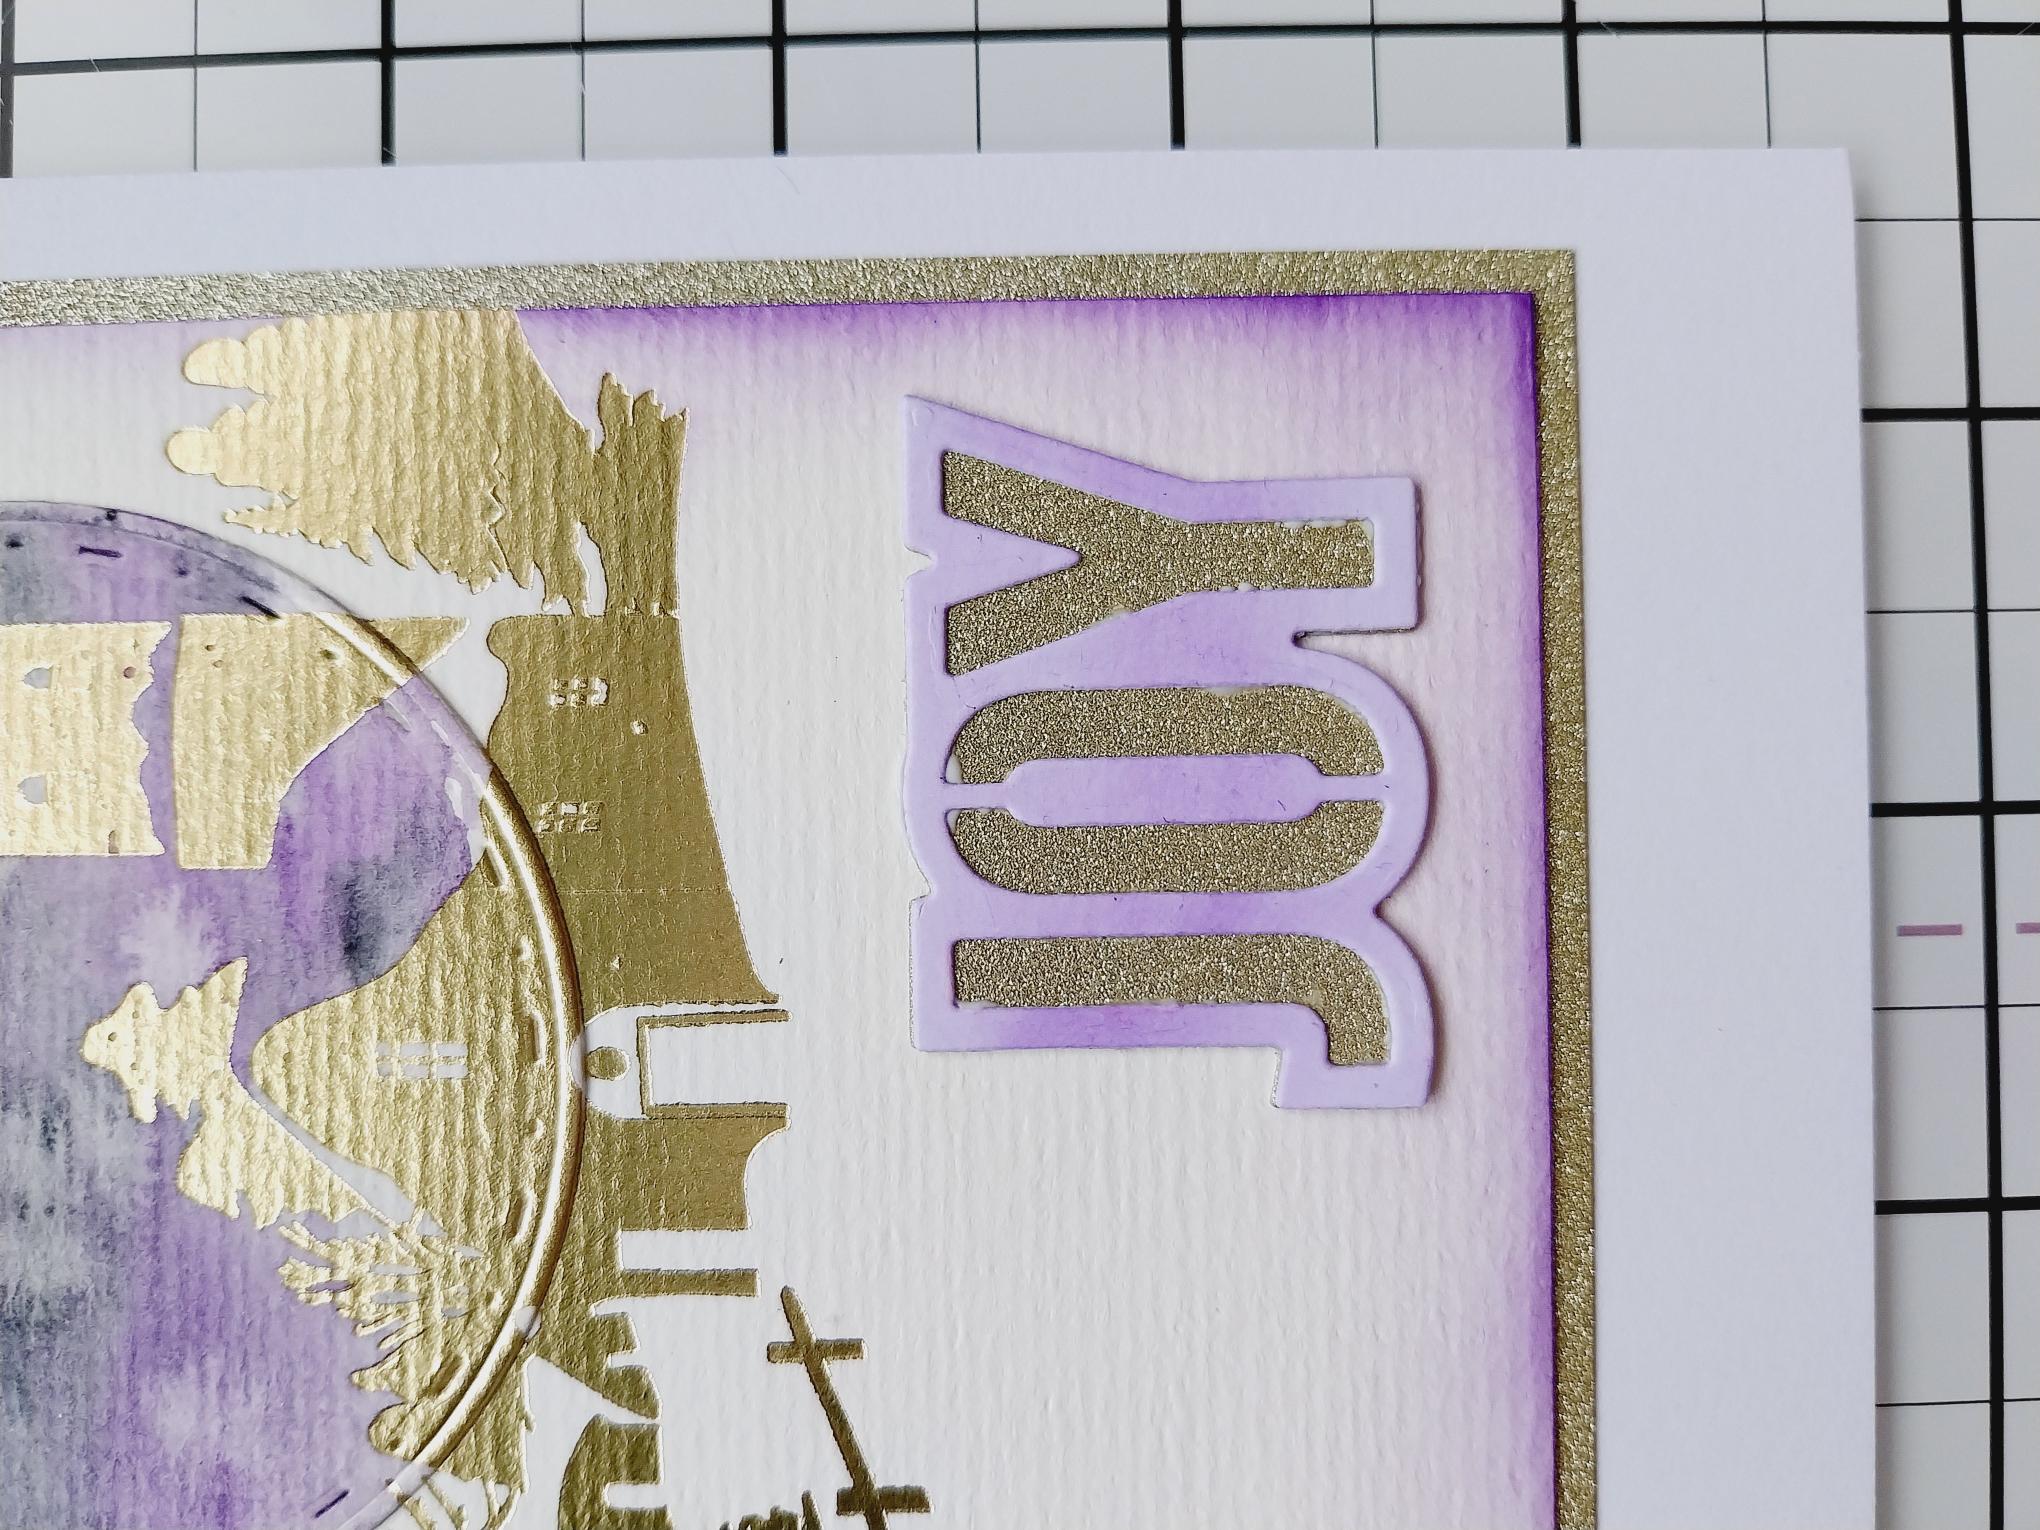
Ink a piece of white card with Indigo and die cut the detailed JOY die, from the Festive Baubles die set. Die cut the solid mat die from the same coloured glitter card used earlier. |
|
Adhere the die cut sentiments together and glue to the bottom right of your finiashed card. |