

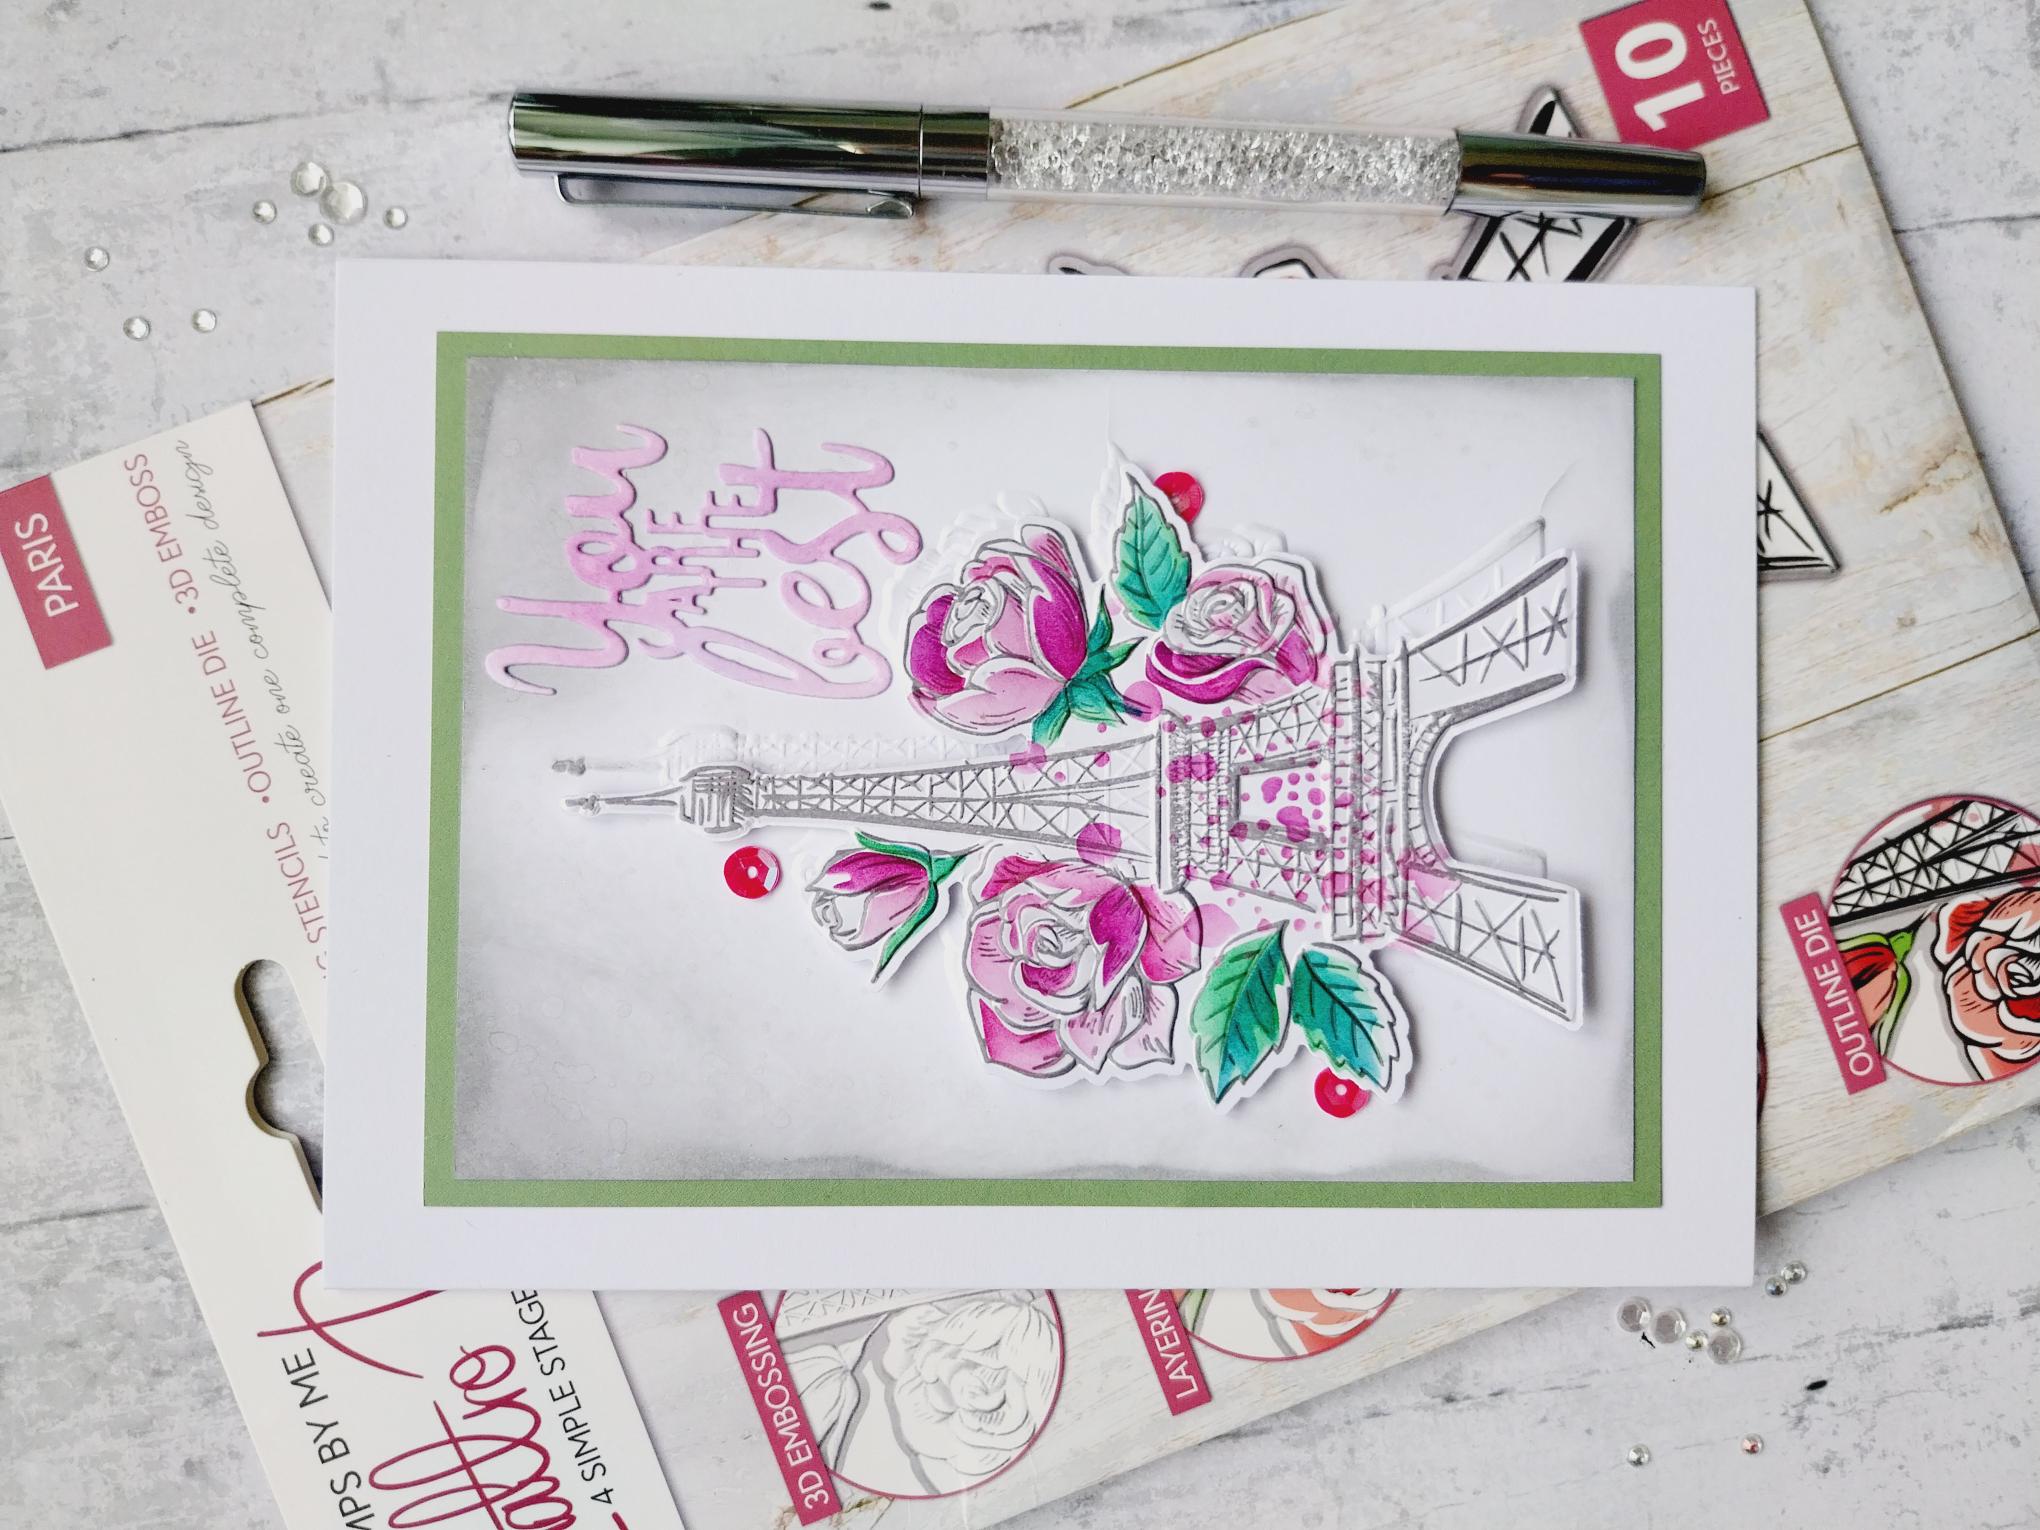
WHAT YOU WILL NEED:
White card blank 5 x 7"
Green/white cardstock
Quattro D Paris
Versafine Ink Pad: Smoky Grey
SBM Premium Dye Ink Pad: Magenta, Indigo, Hedgerow, Tiffany
Distress Ink/Oxide Ink Pad: Lost Shadow
Blending tool
Paint brush
Sequins
Pick up and pokey tool
Pearlywinks Diamond Pearl Mist Spray
Eureka 101 Watercolour Tablet
SBM A3 Magnetic glass mat
Paper Trimmer
Glue
Die Cutting machine
[click image to enlarge] 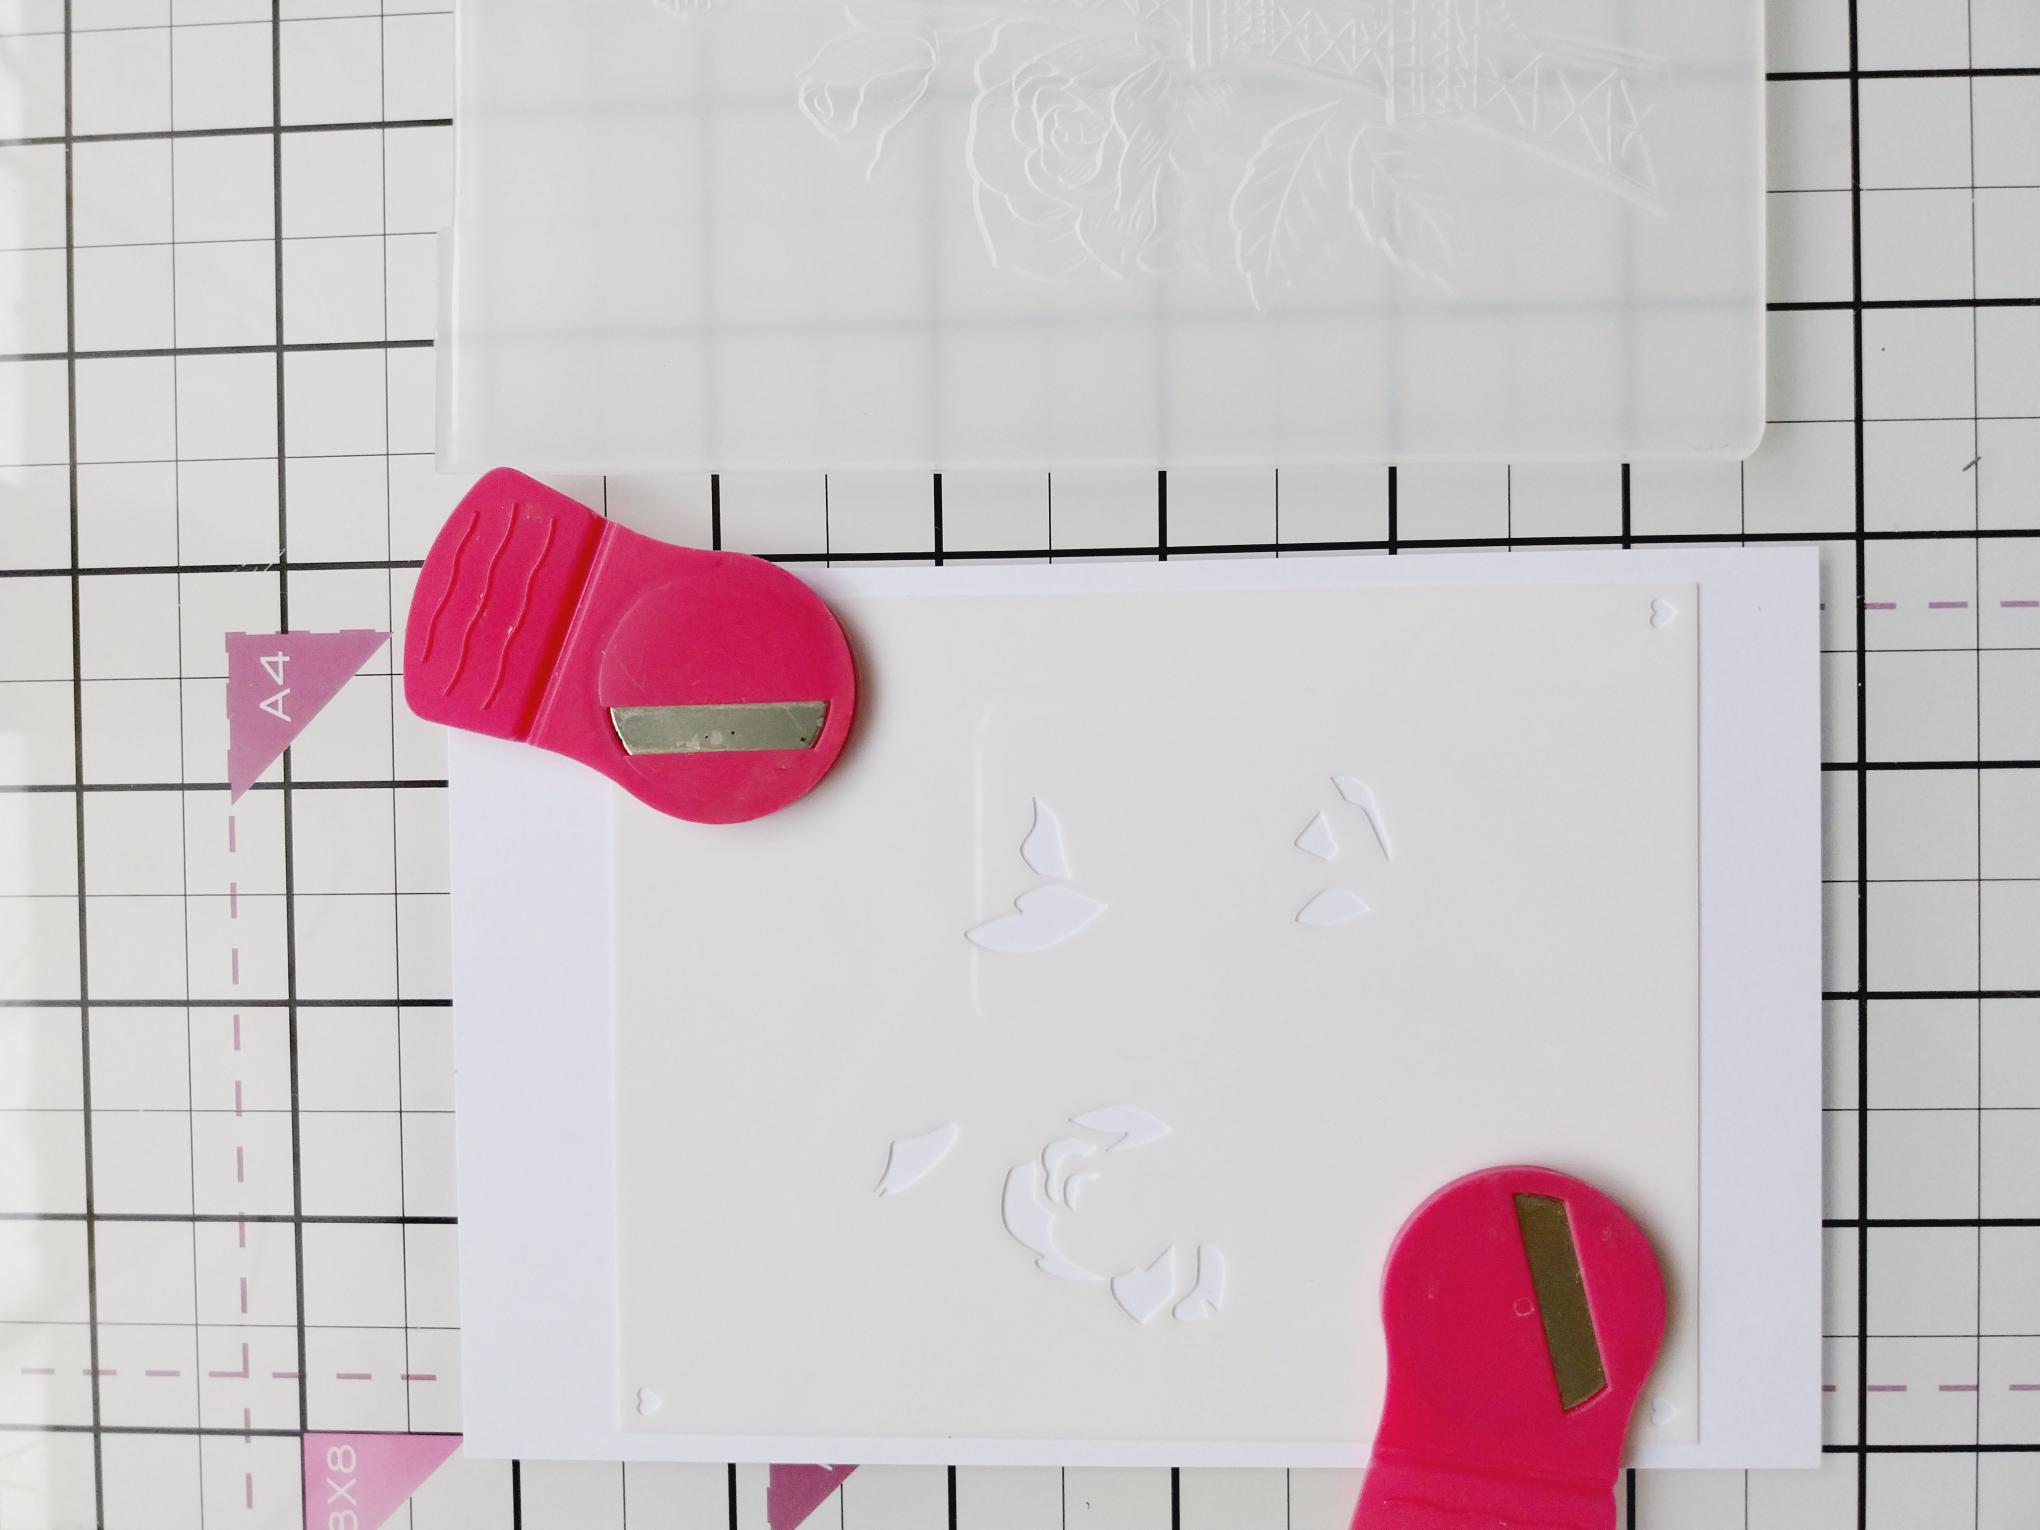
|
Cut a piece of white card to 4 x 6" and secure stencil 1 on top. |
|
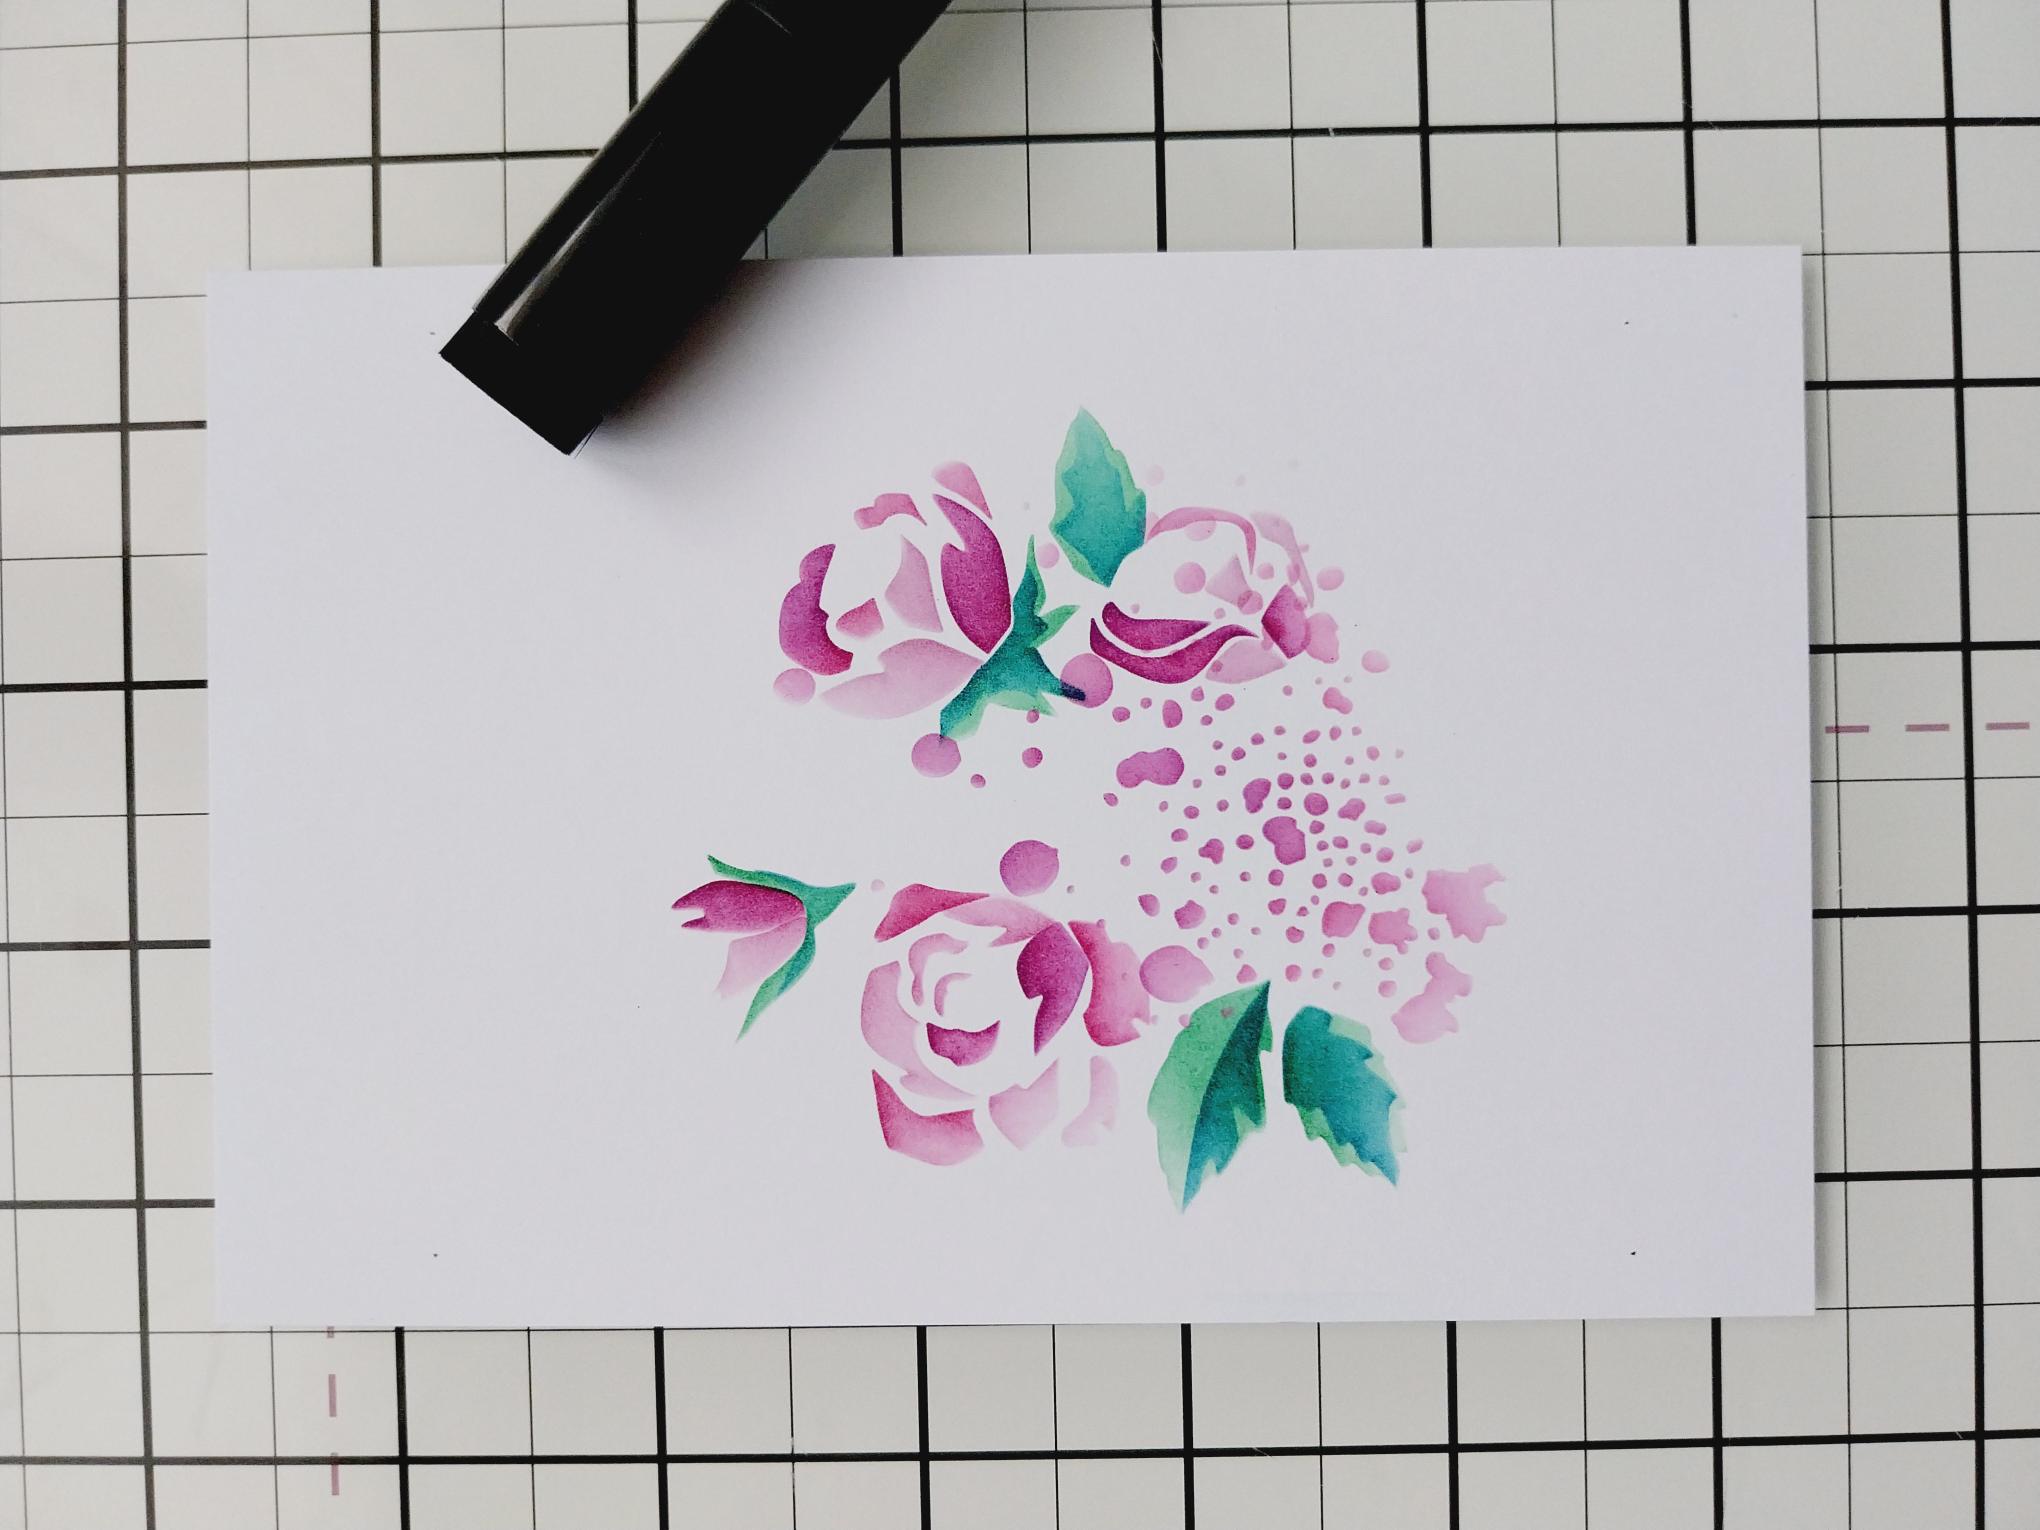
Each of the stencils in the Quattro D collection are numbered and have hearts in the corner to help you line each stencil up, if required. Use your blending tool to apply ink through each stencil, on to the white card as follows: Stencil 1 Magenta but only lightly Stencil 2 Magenta but with more pressure Stencil 3 Magenta with more intensity Stencil 4 Hedgerow Stencil 5 Tiffany Stencil 6 Magenta |
|
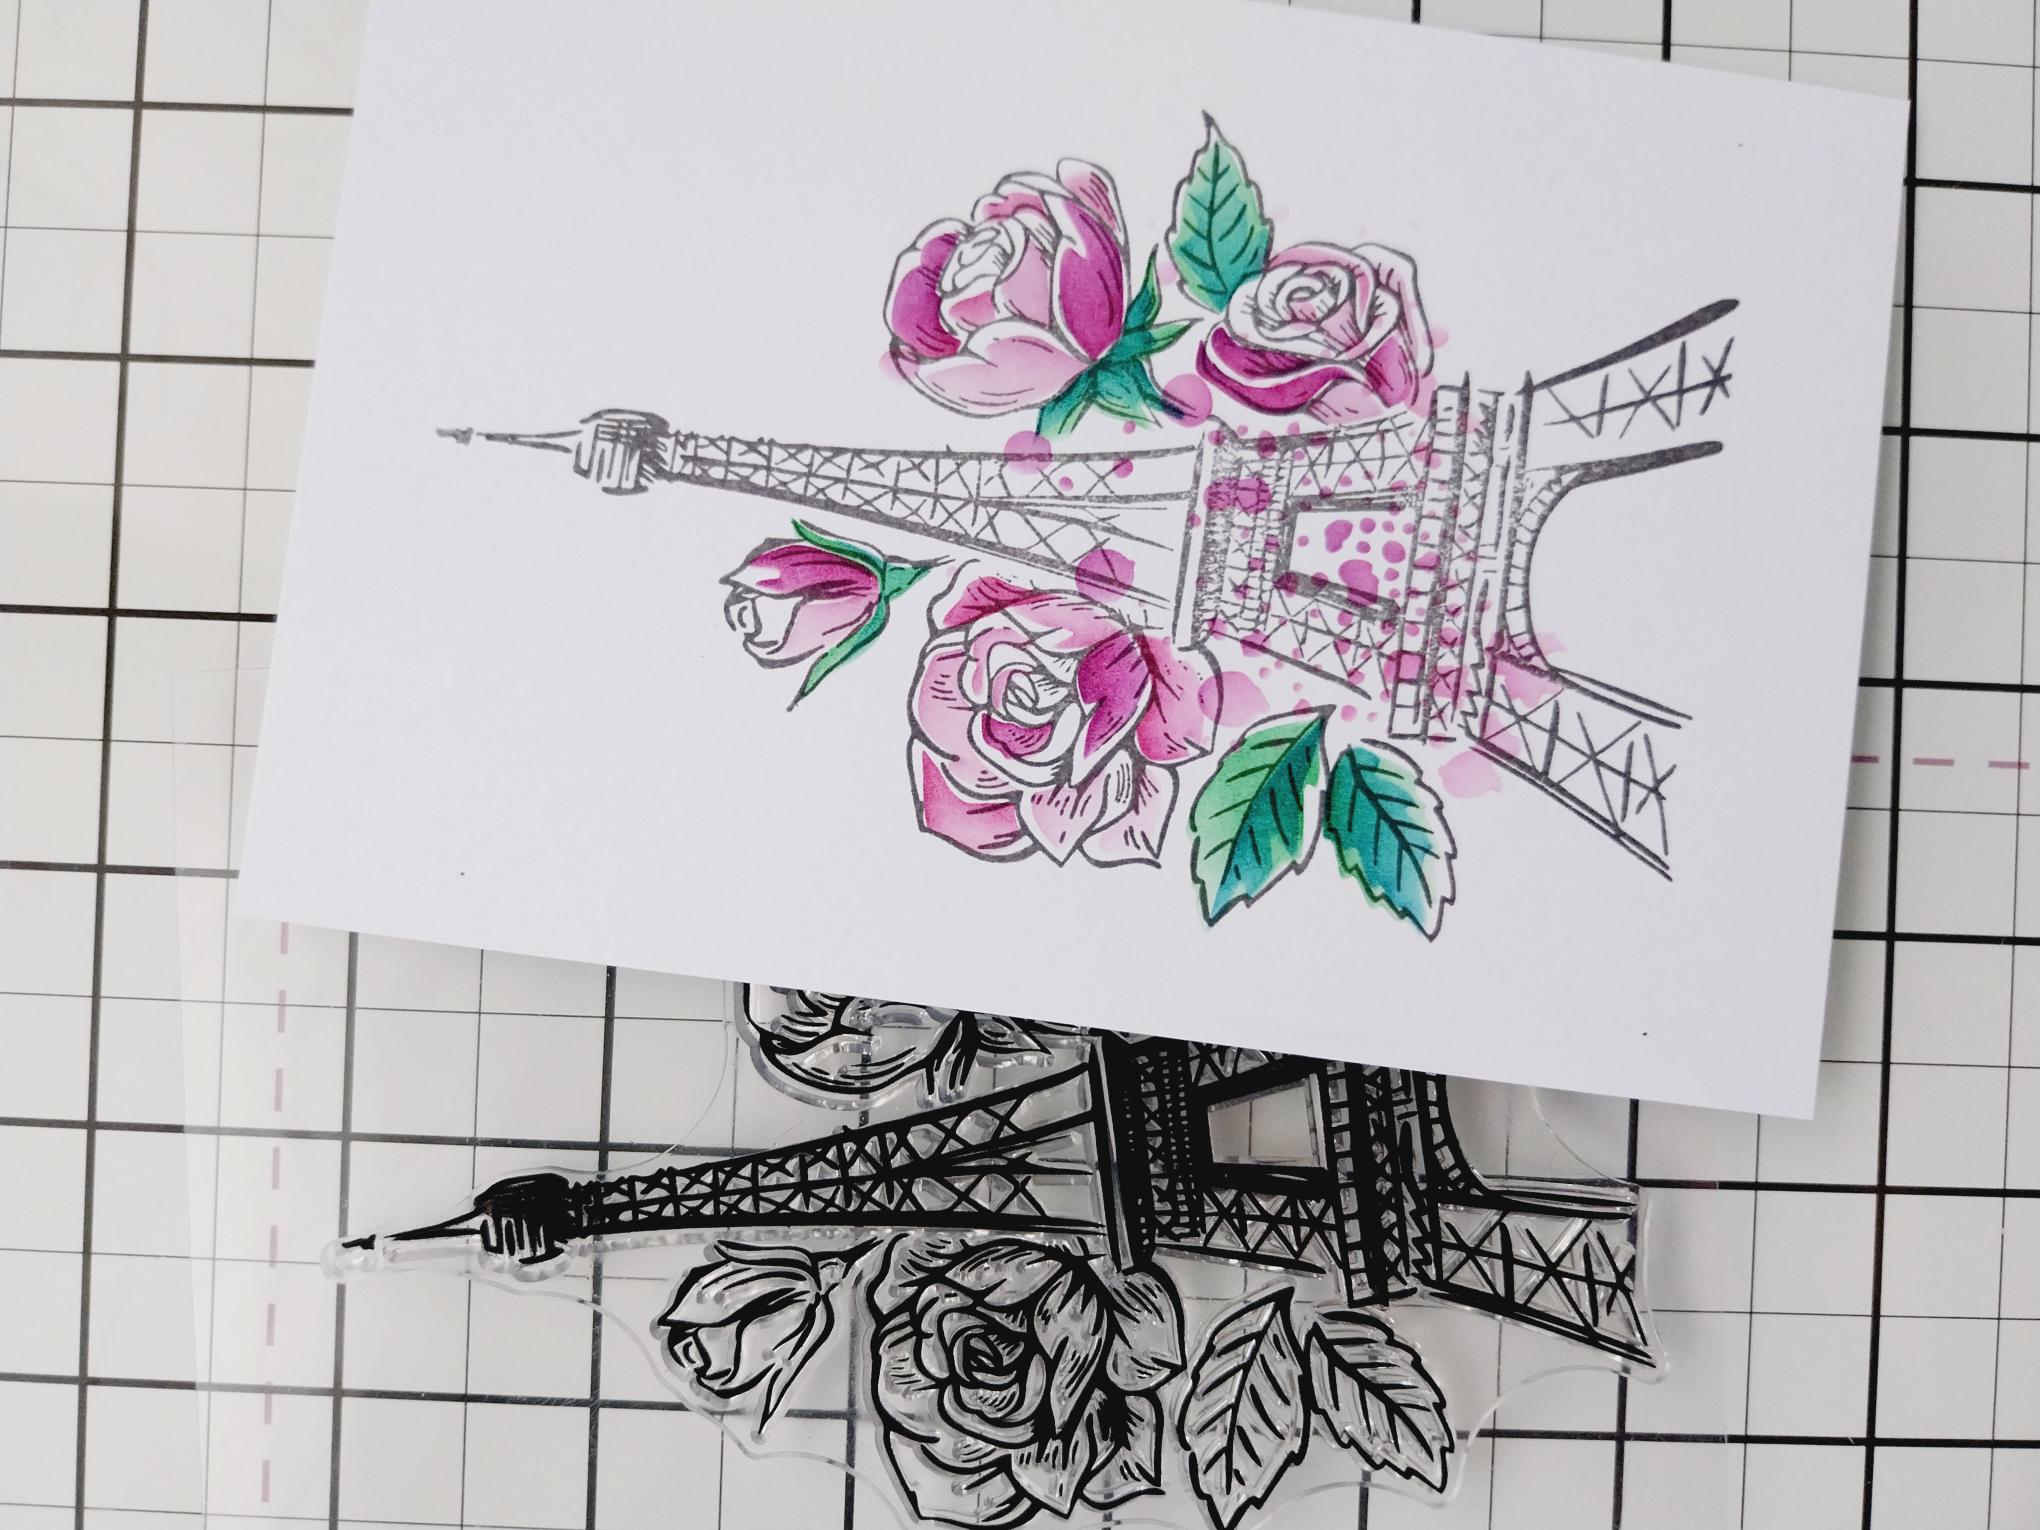
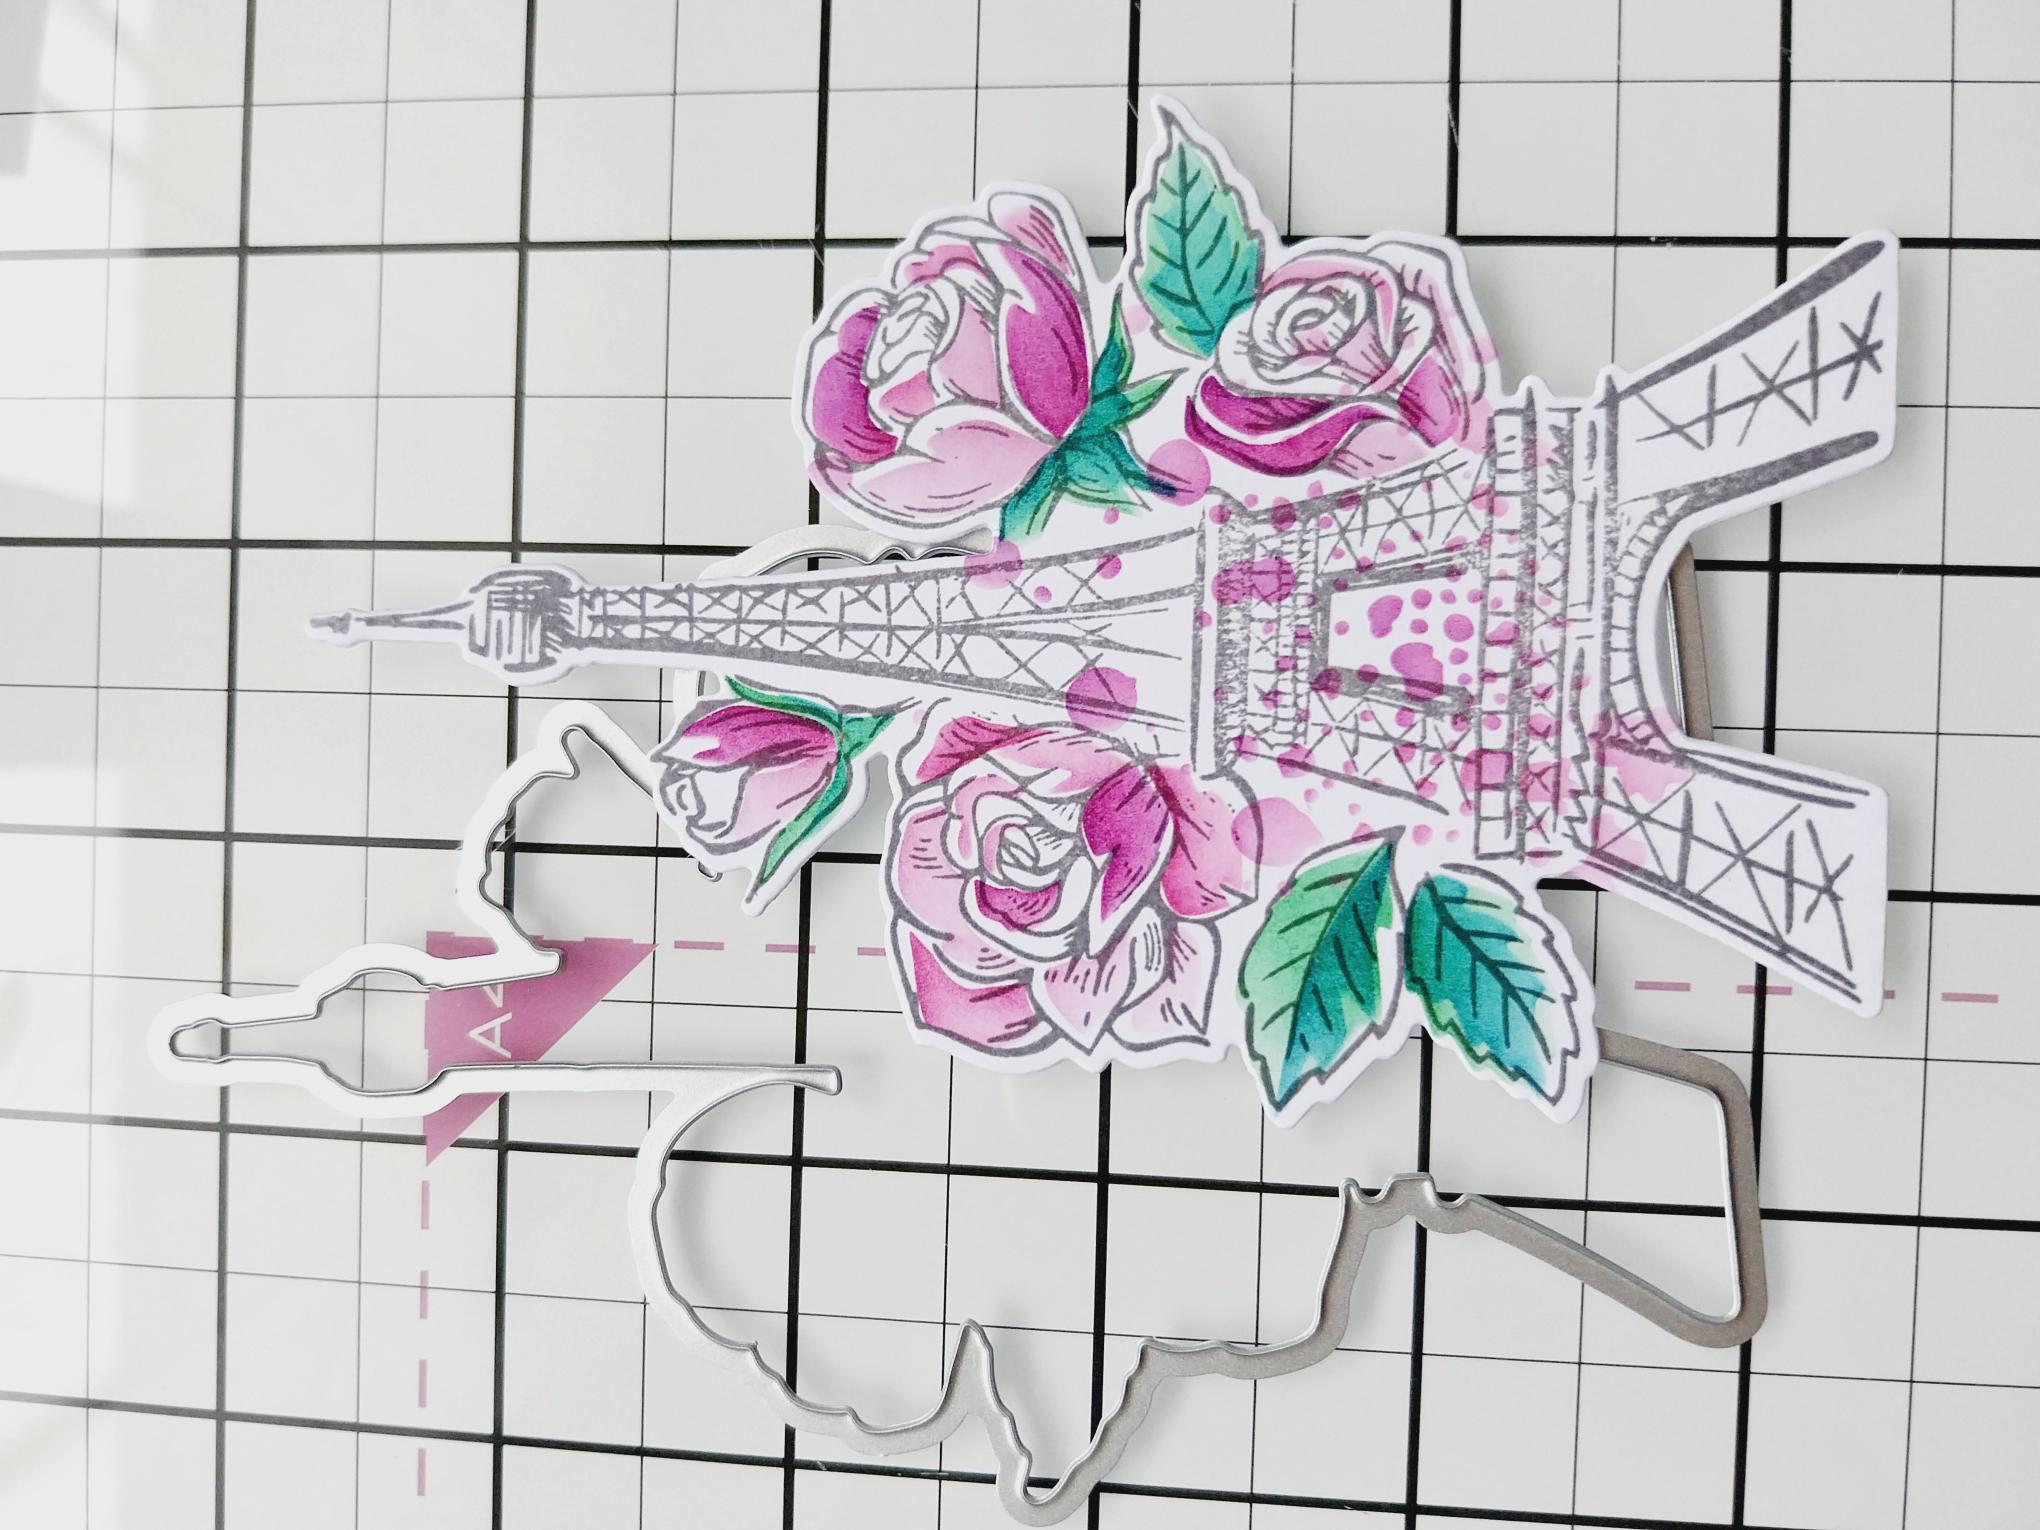
Stamp over the stencilled image using the smoky Grey Versafine. |
|
Use the coordinating die to cut it out. |
|
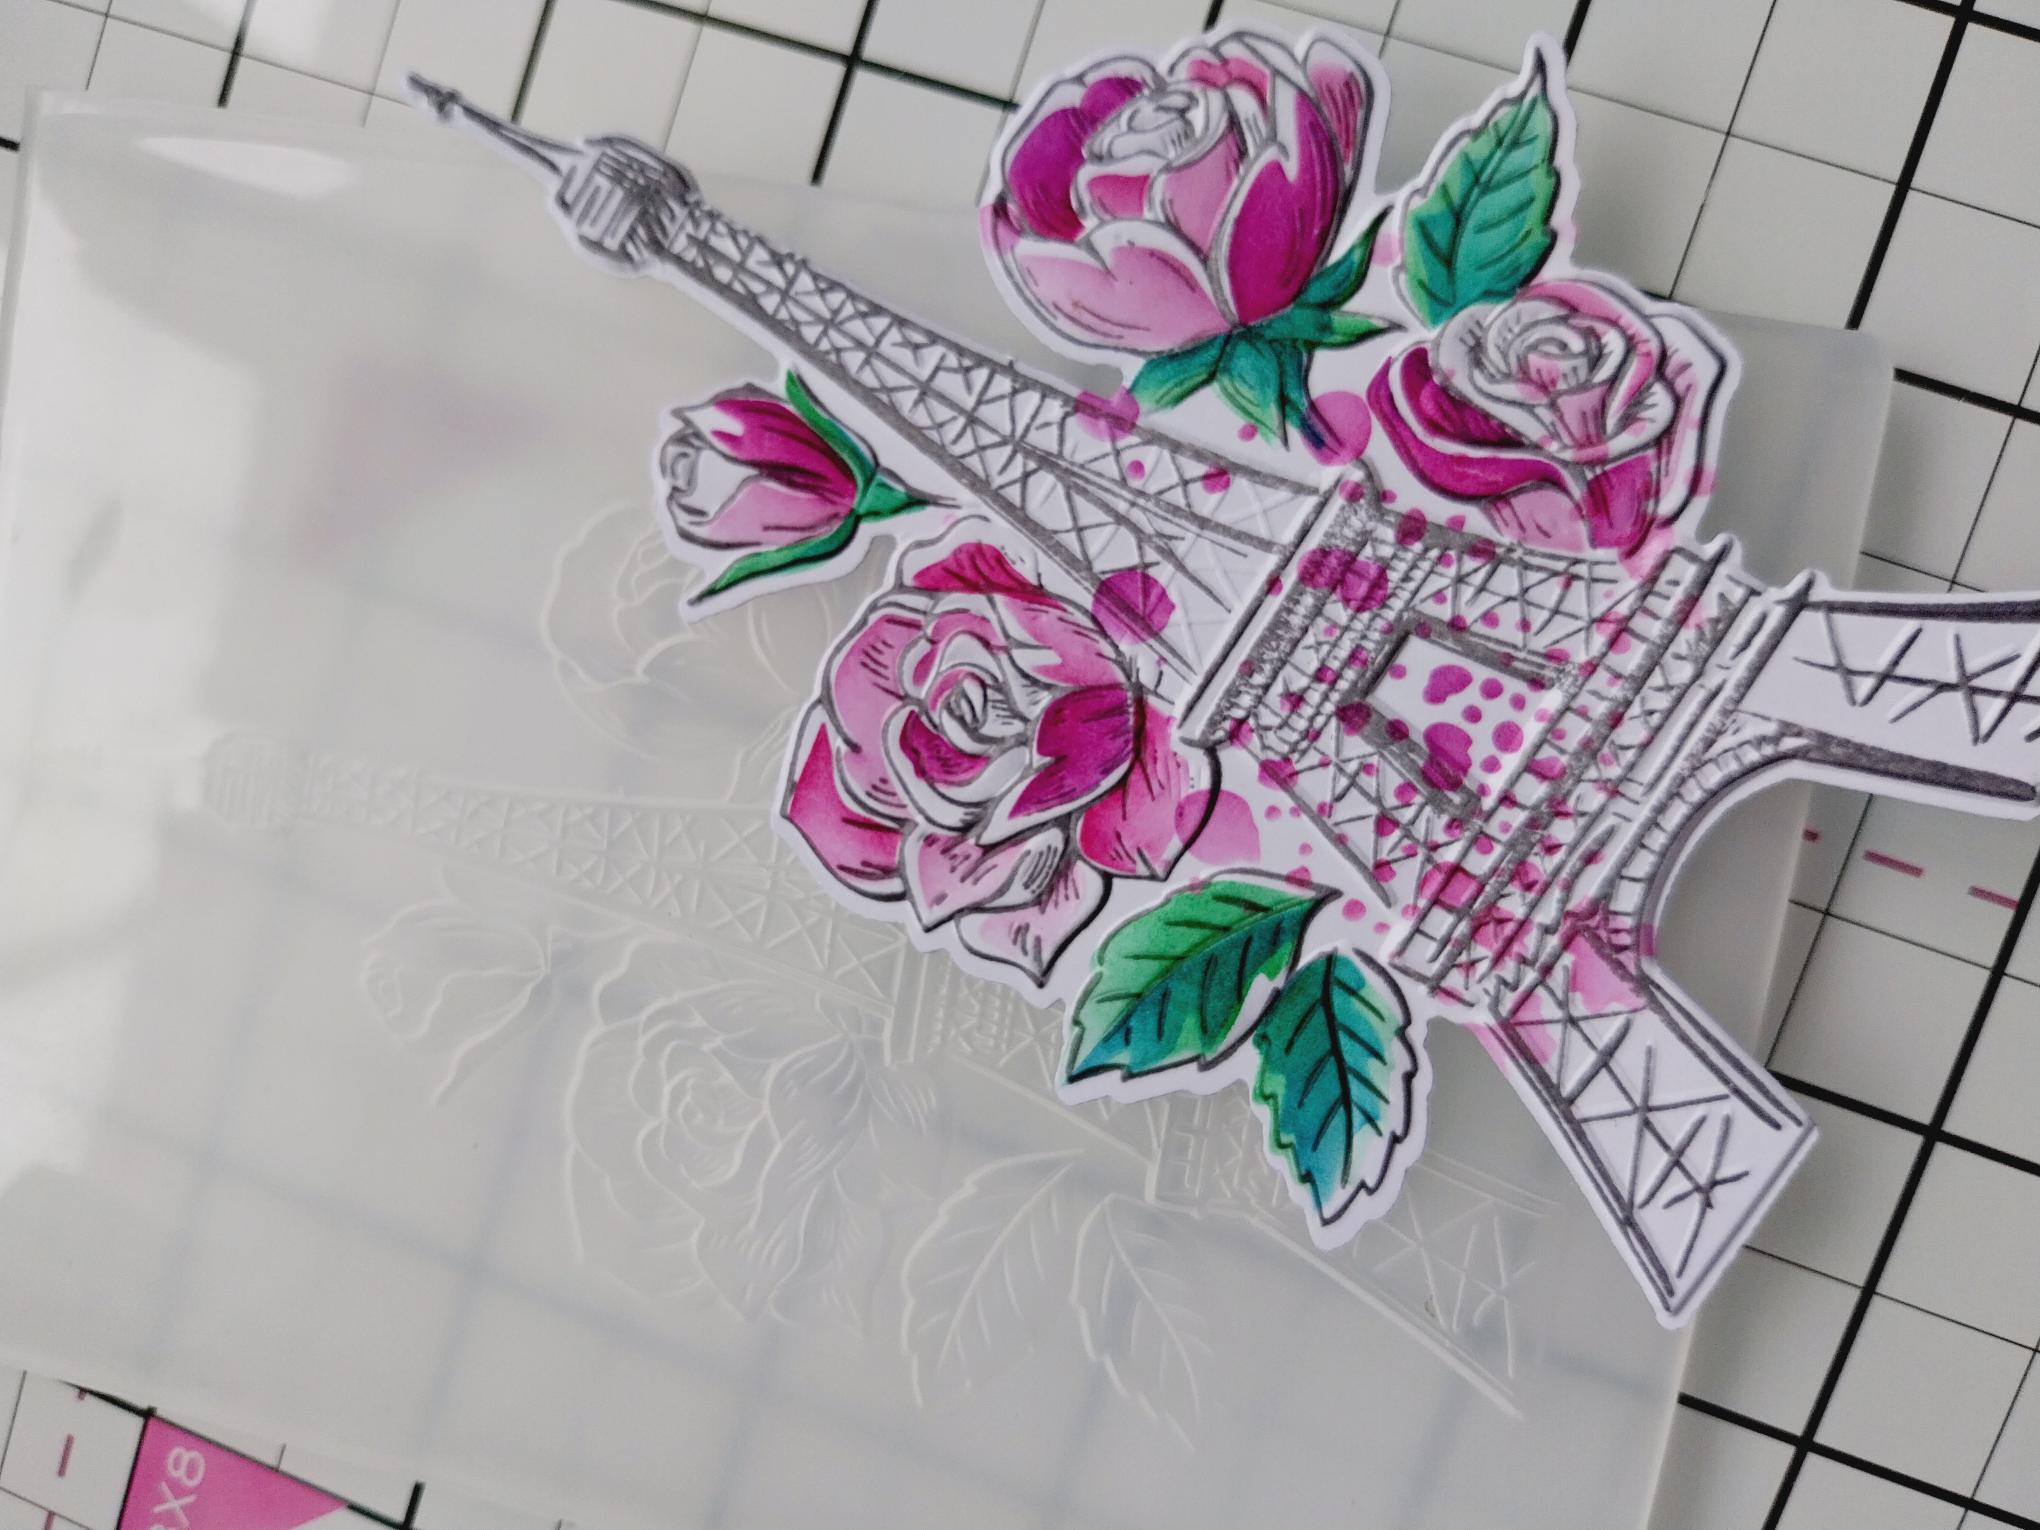
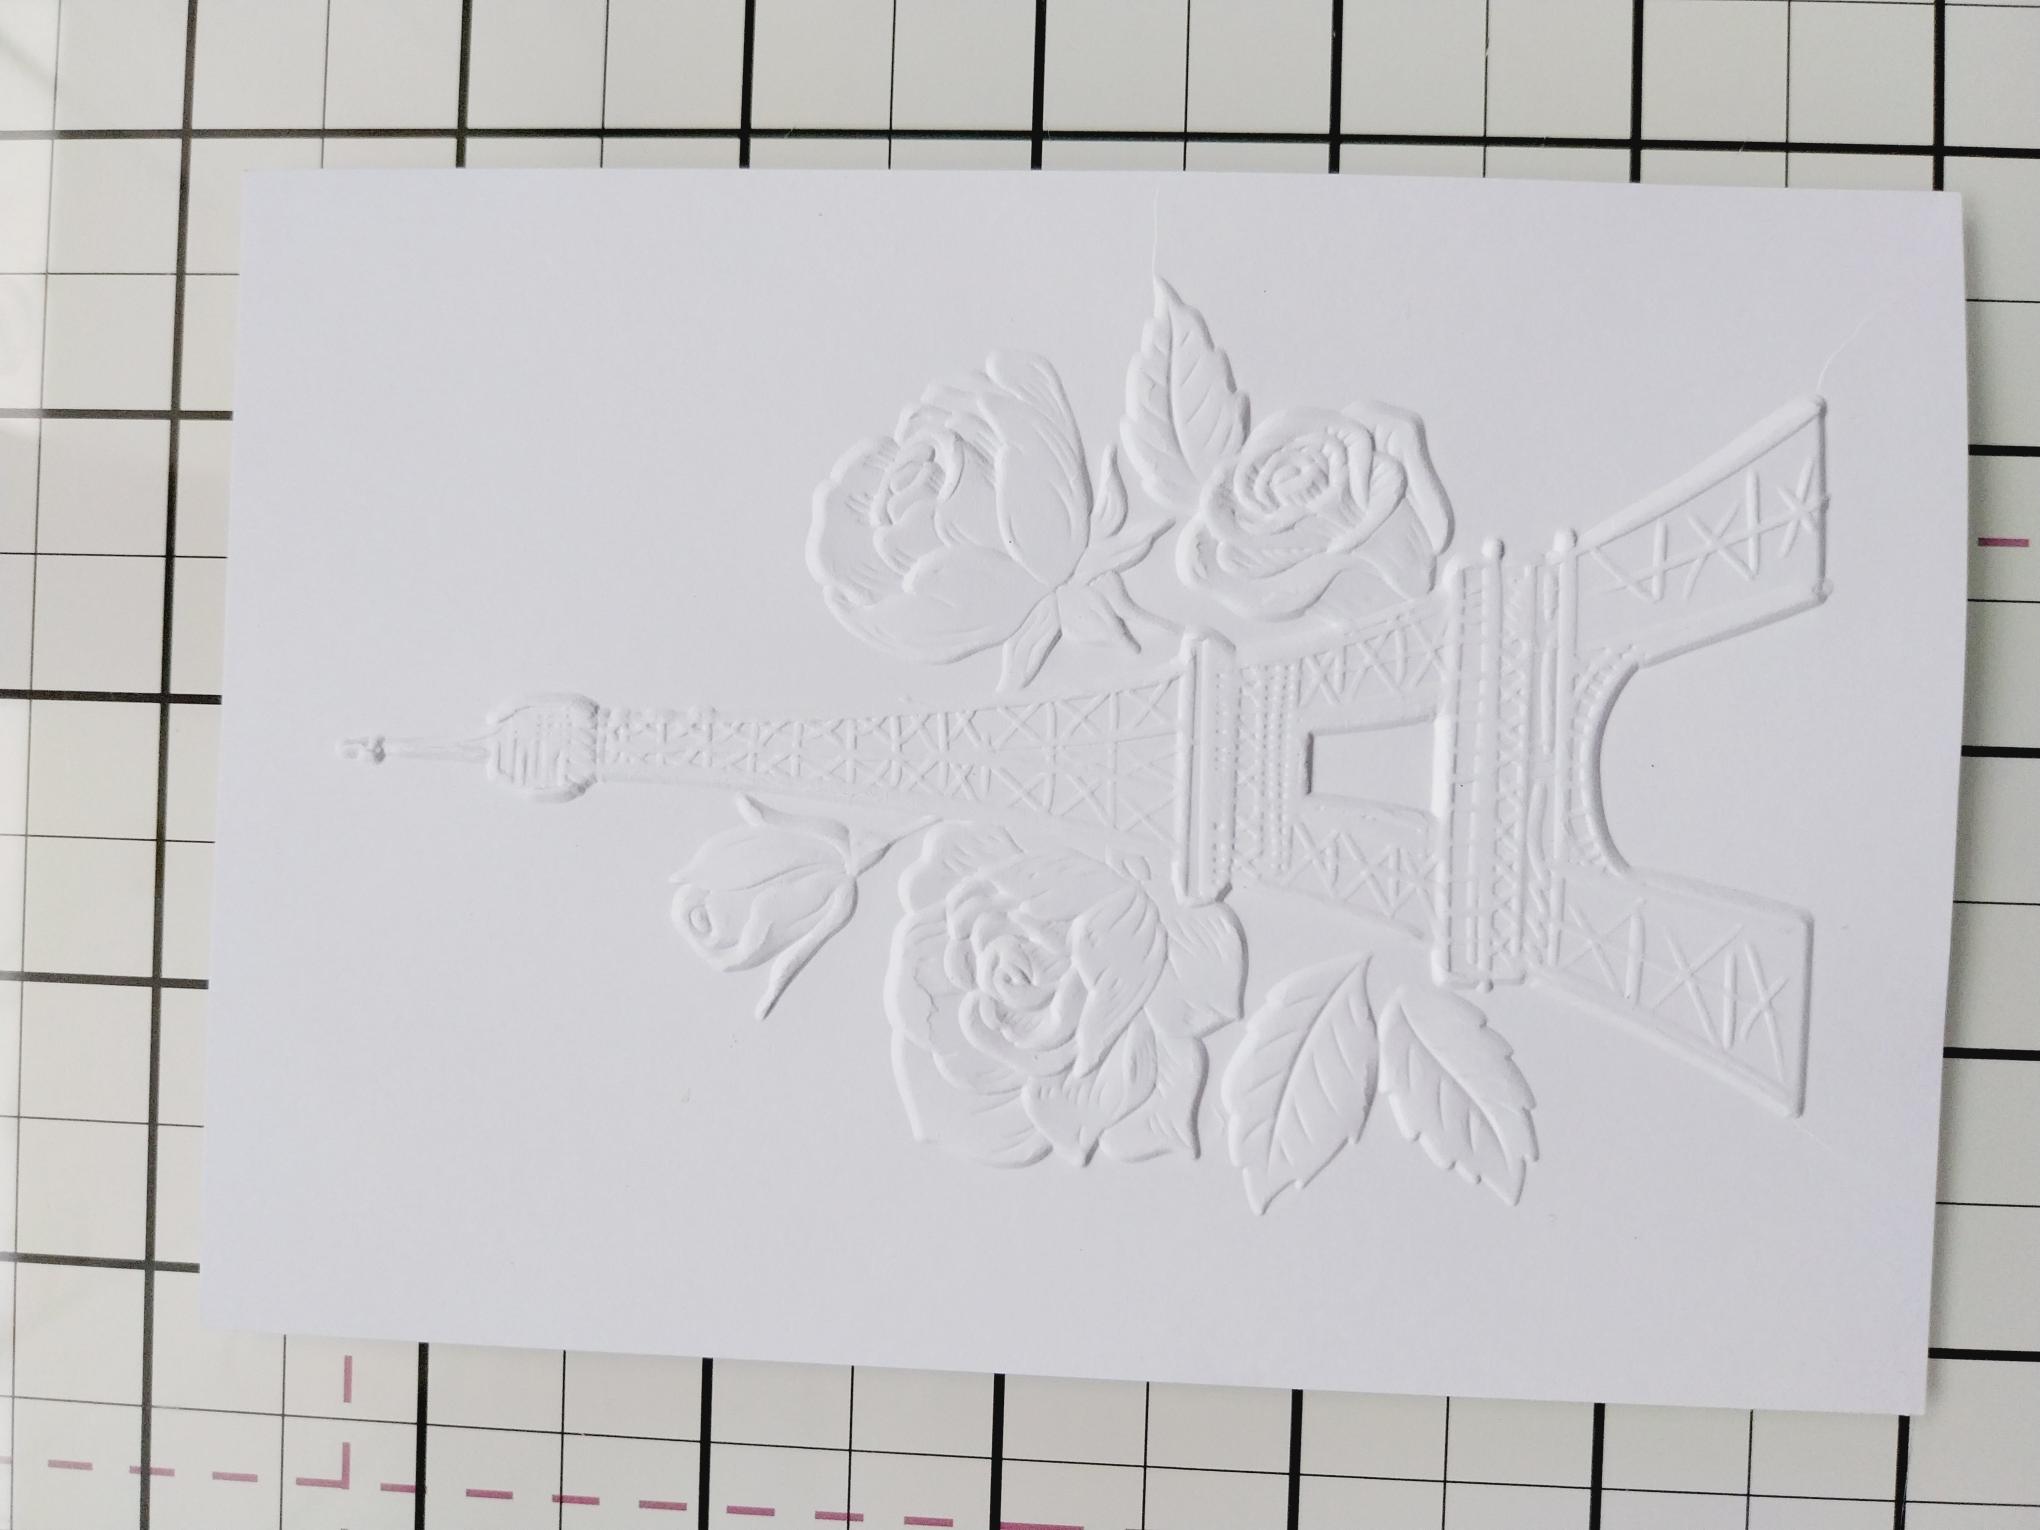
Line it up inside the embossing folder and run it through your machine. |
|
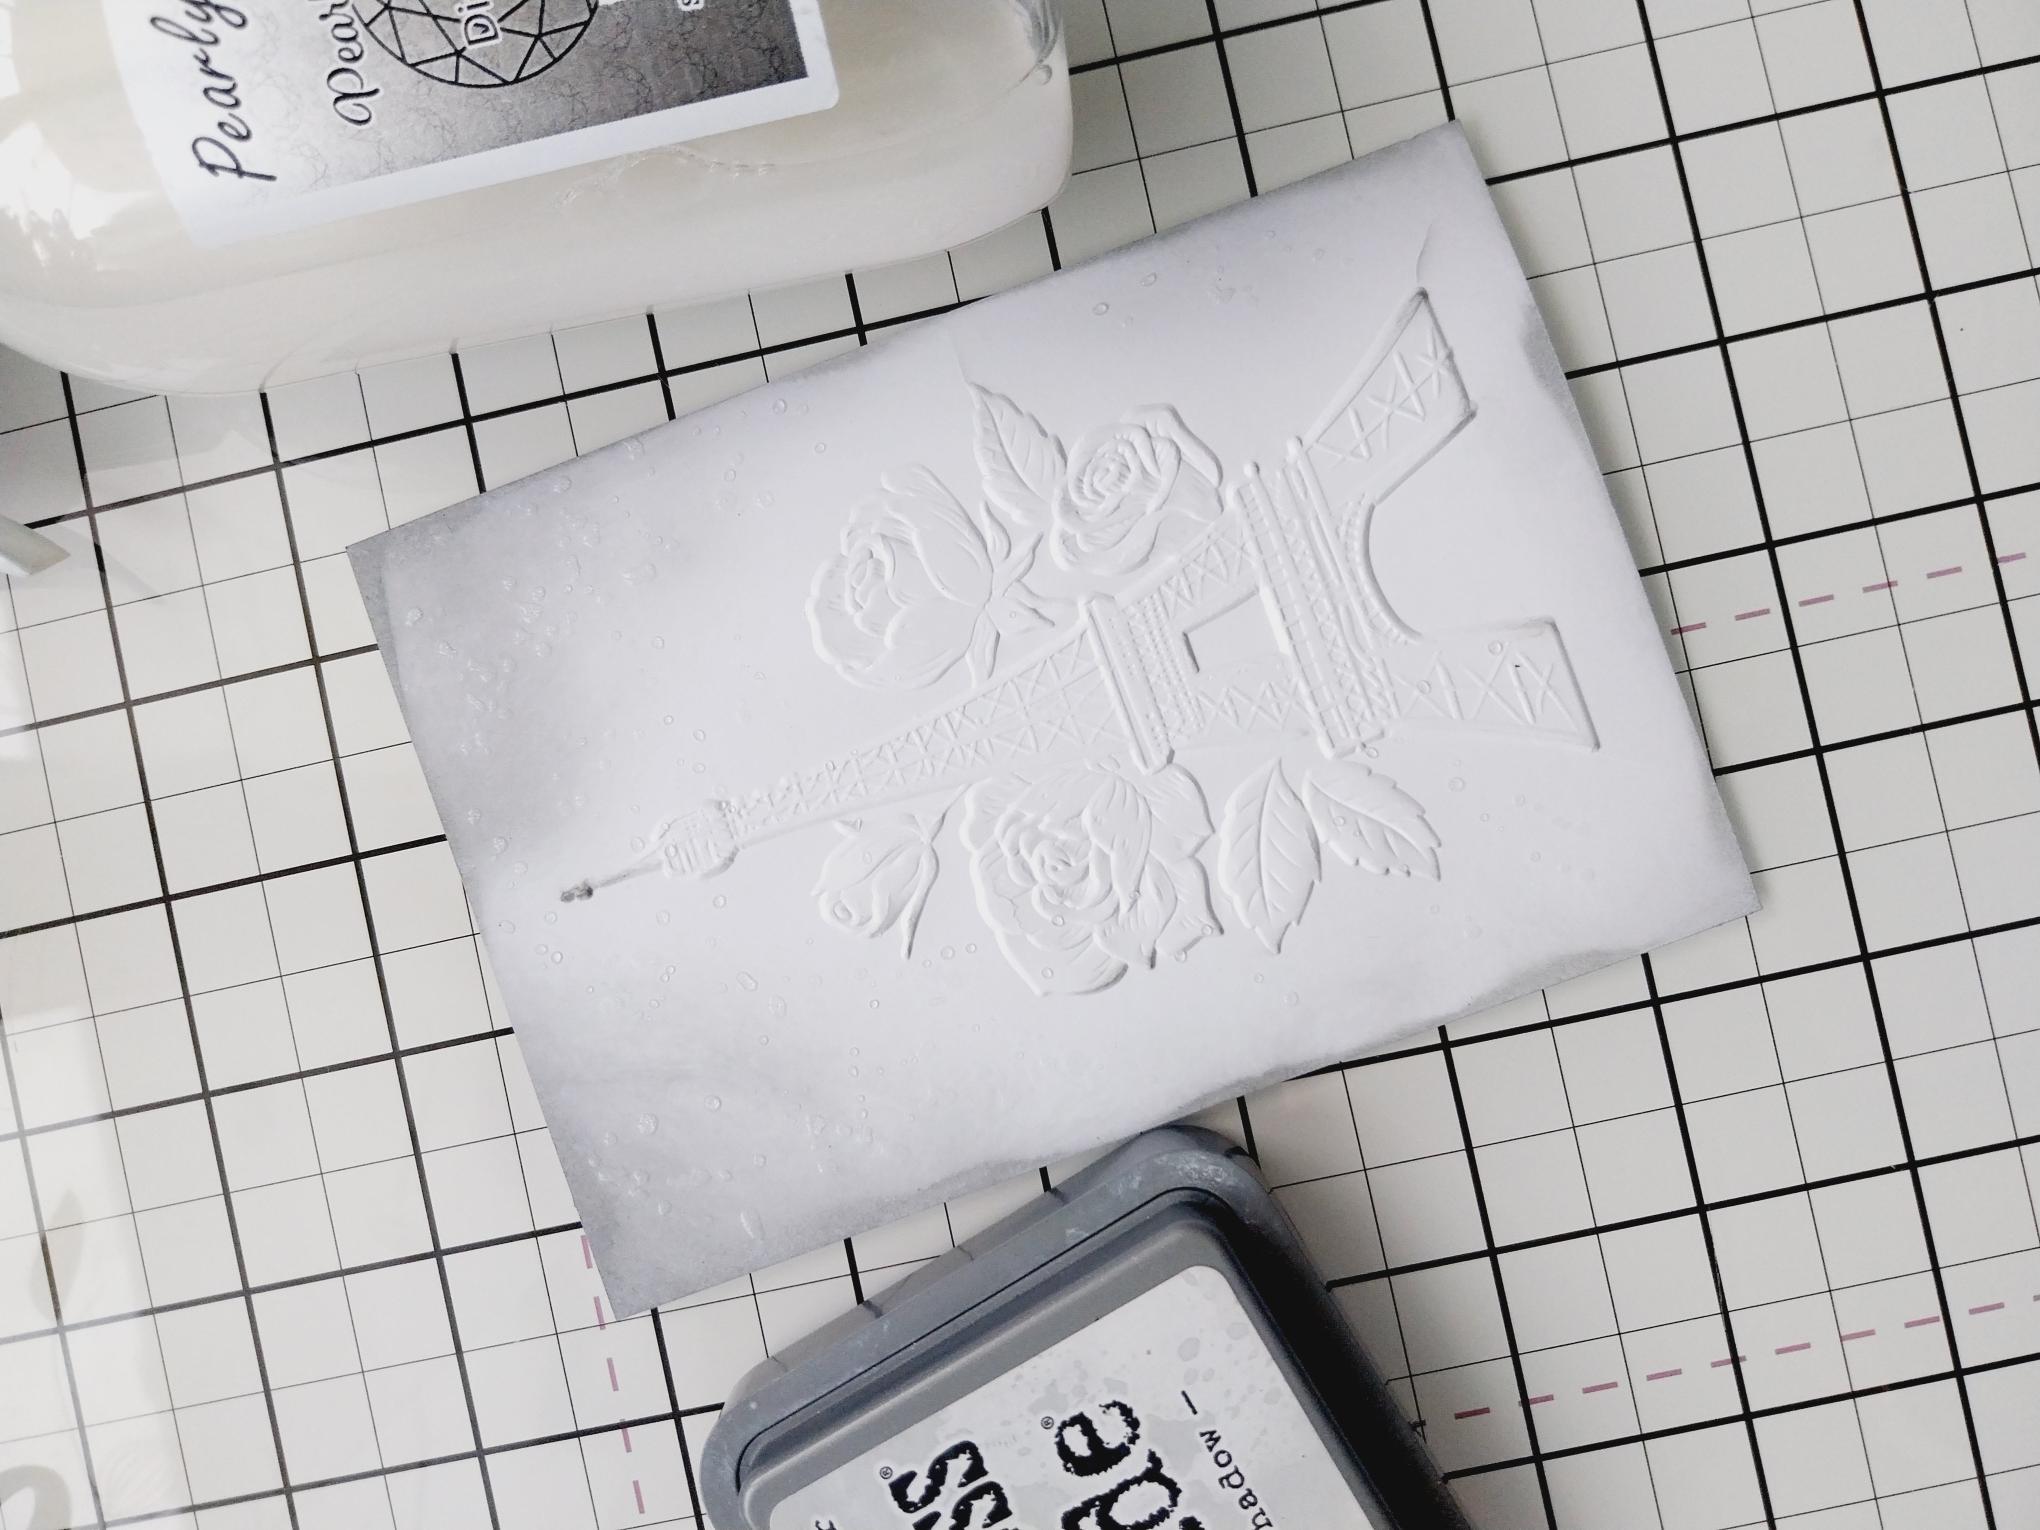
Trim another piece of white card to 4 x 5 3/4". Place inside the embossing folder and run it through your machine. |
|
Ink around the edges with the Lost Shadow Distress Oxide. |
|
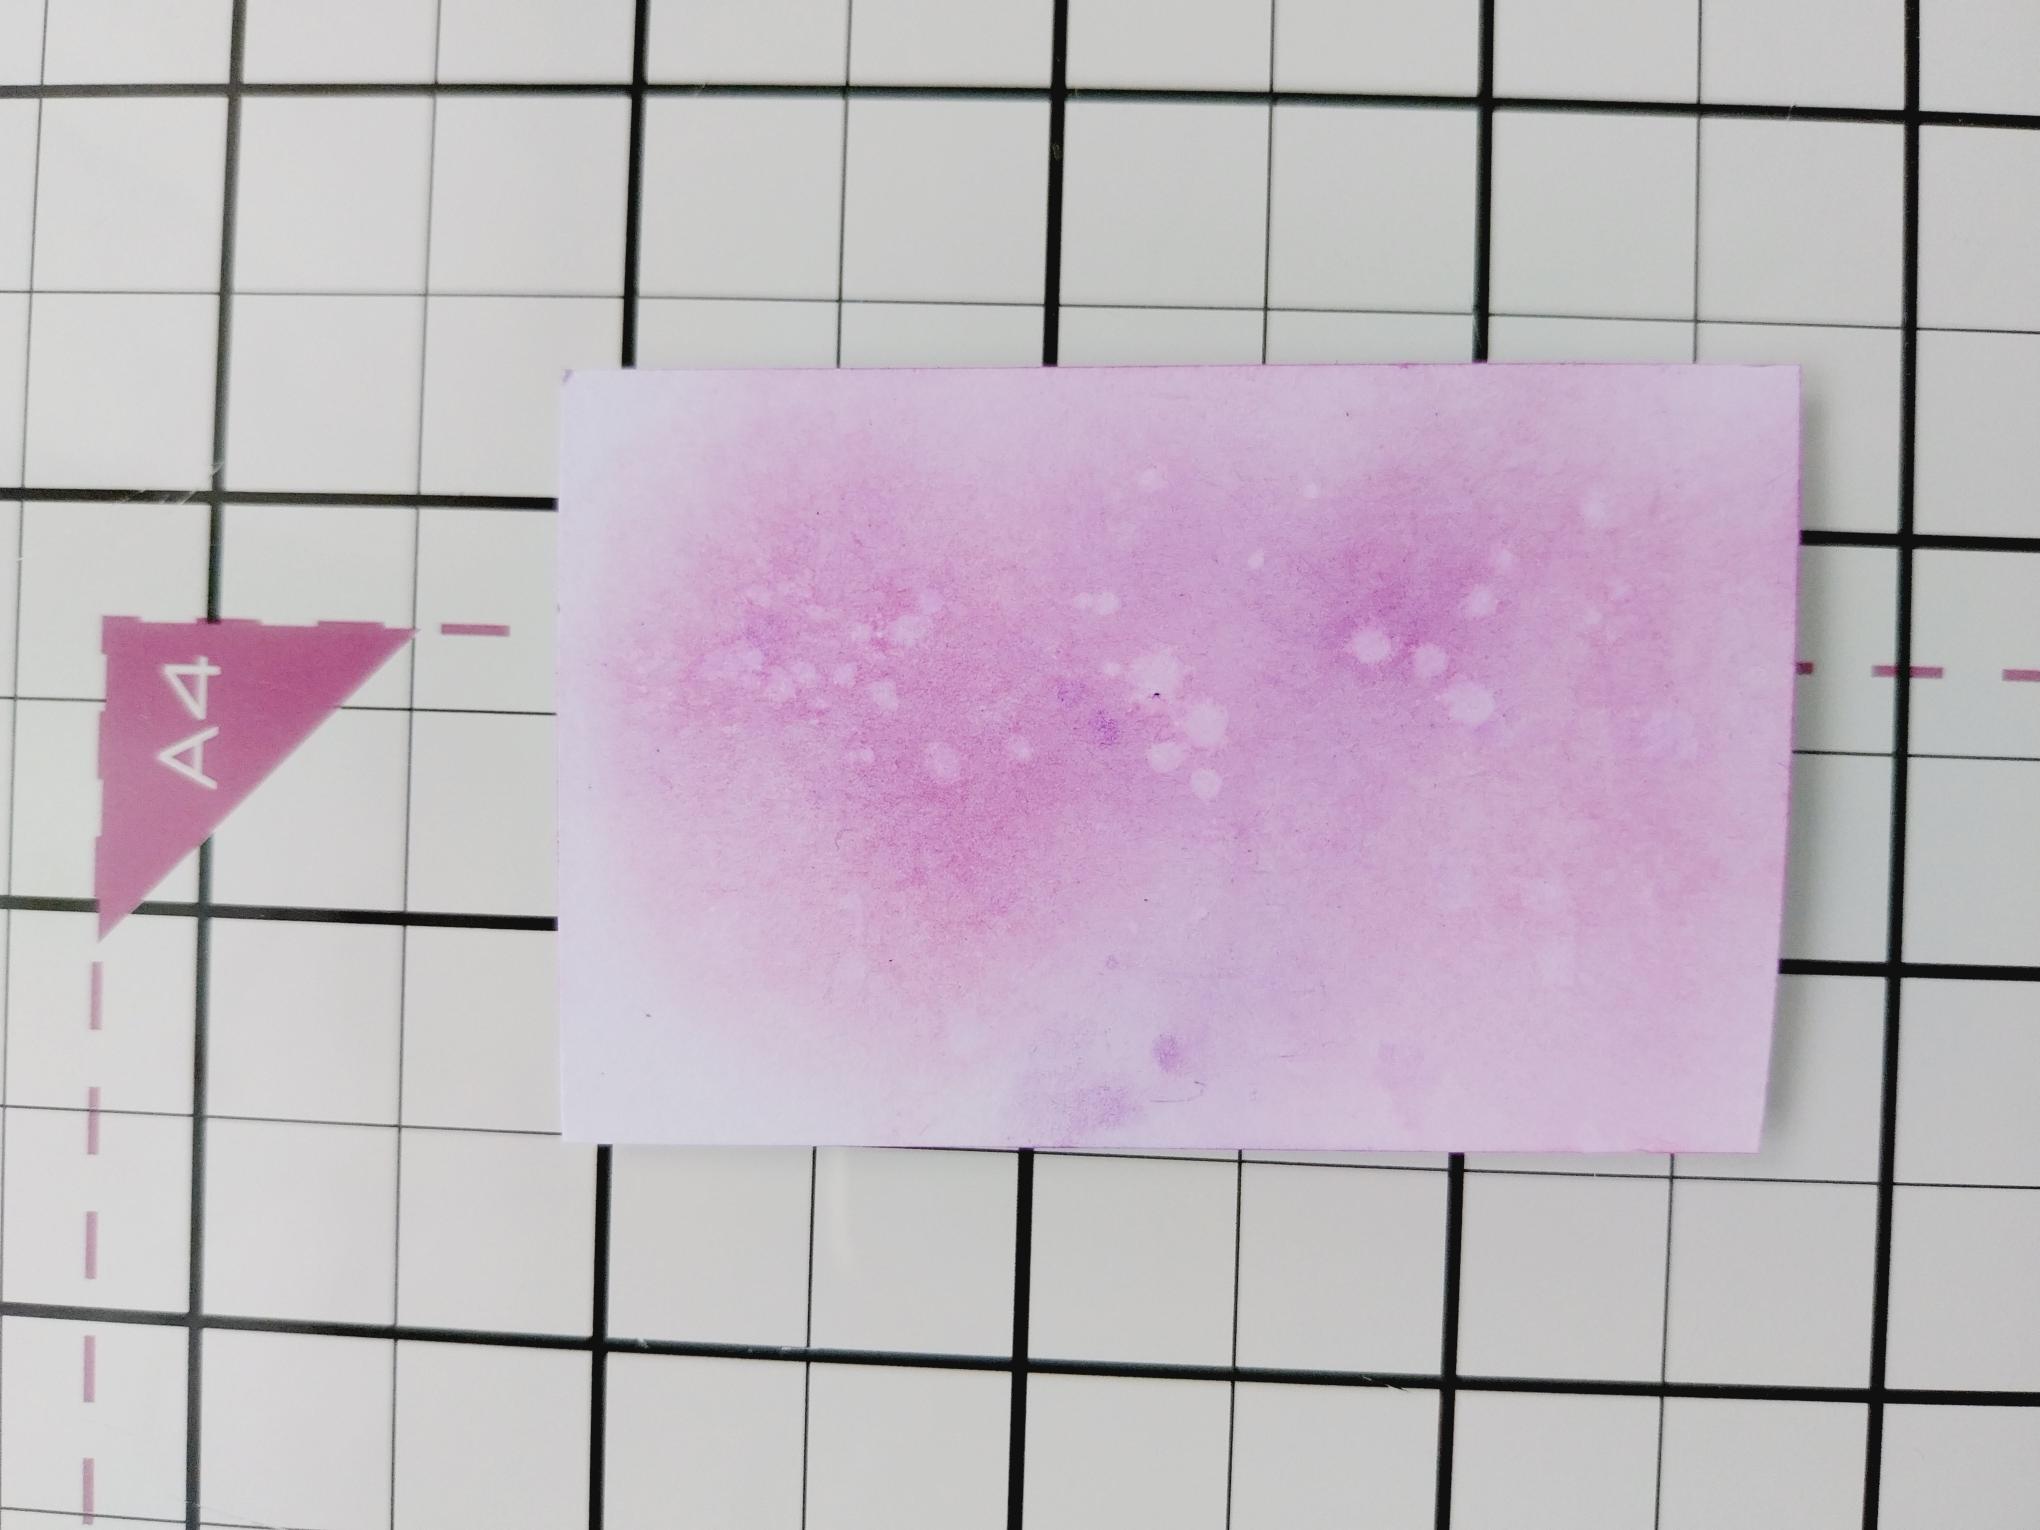
Cut a piece of white card big enough to die cut the "You Are The Best" die. Ink onto the card with Magenta and splatter with drops of water. Mop the excess water/ink off with a paper towel. |
|
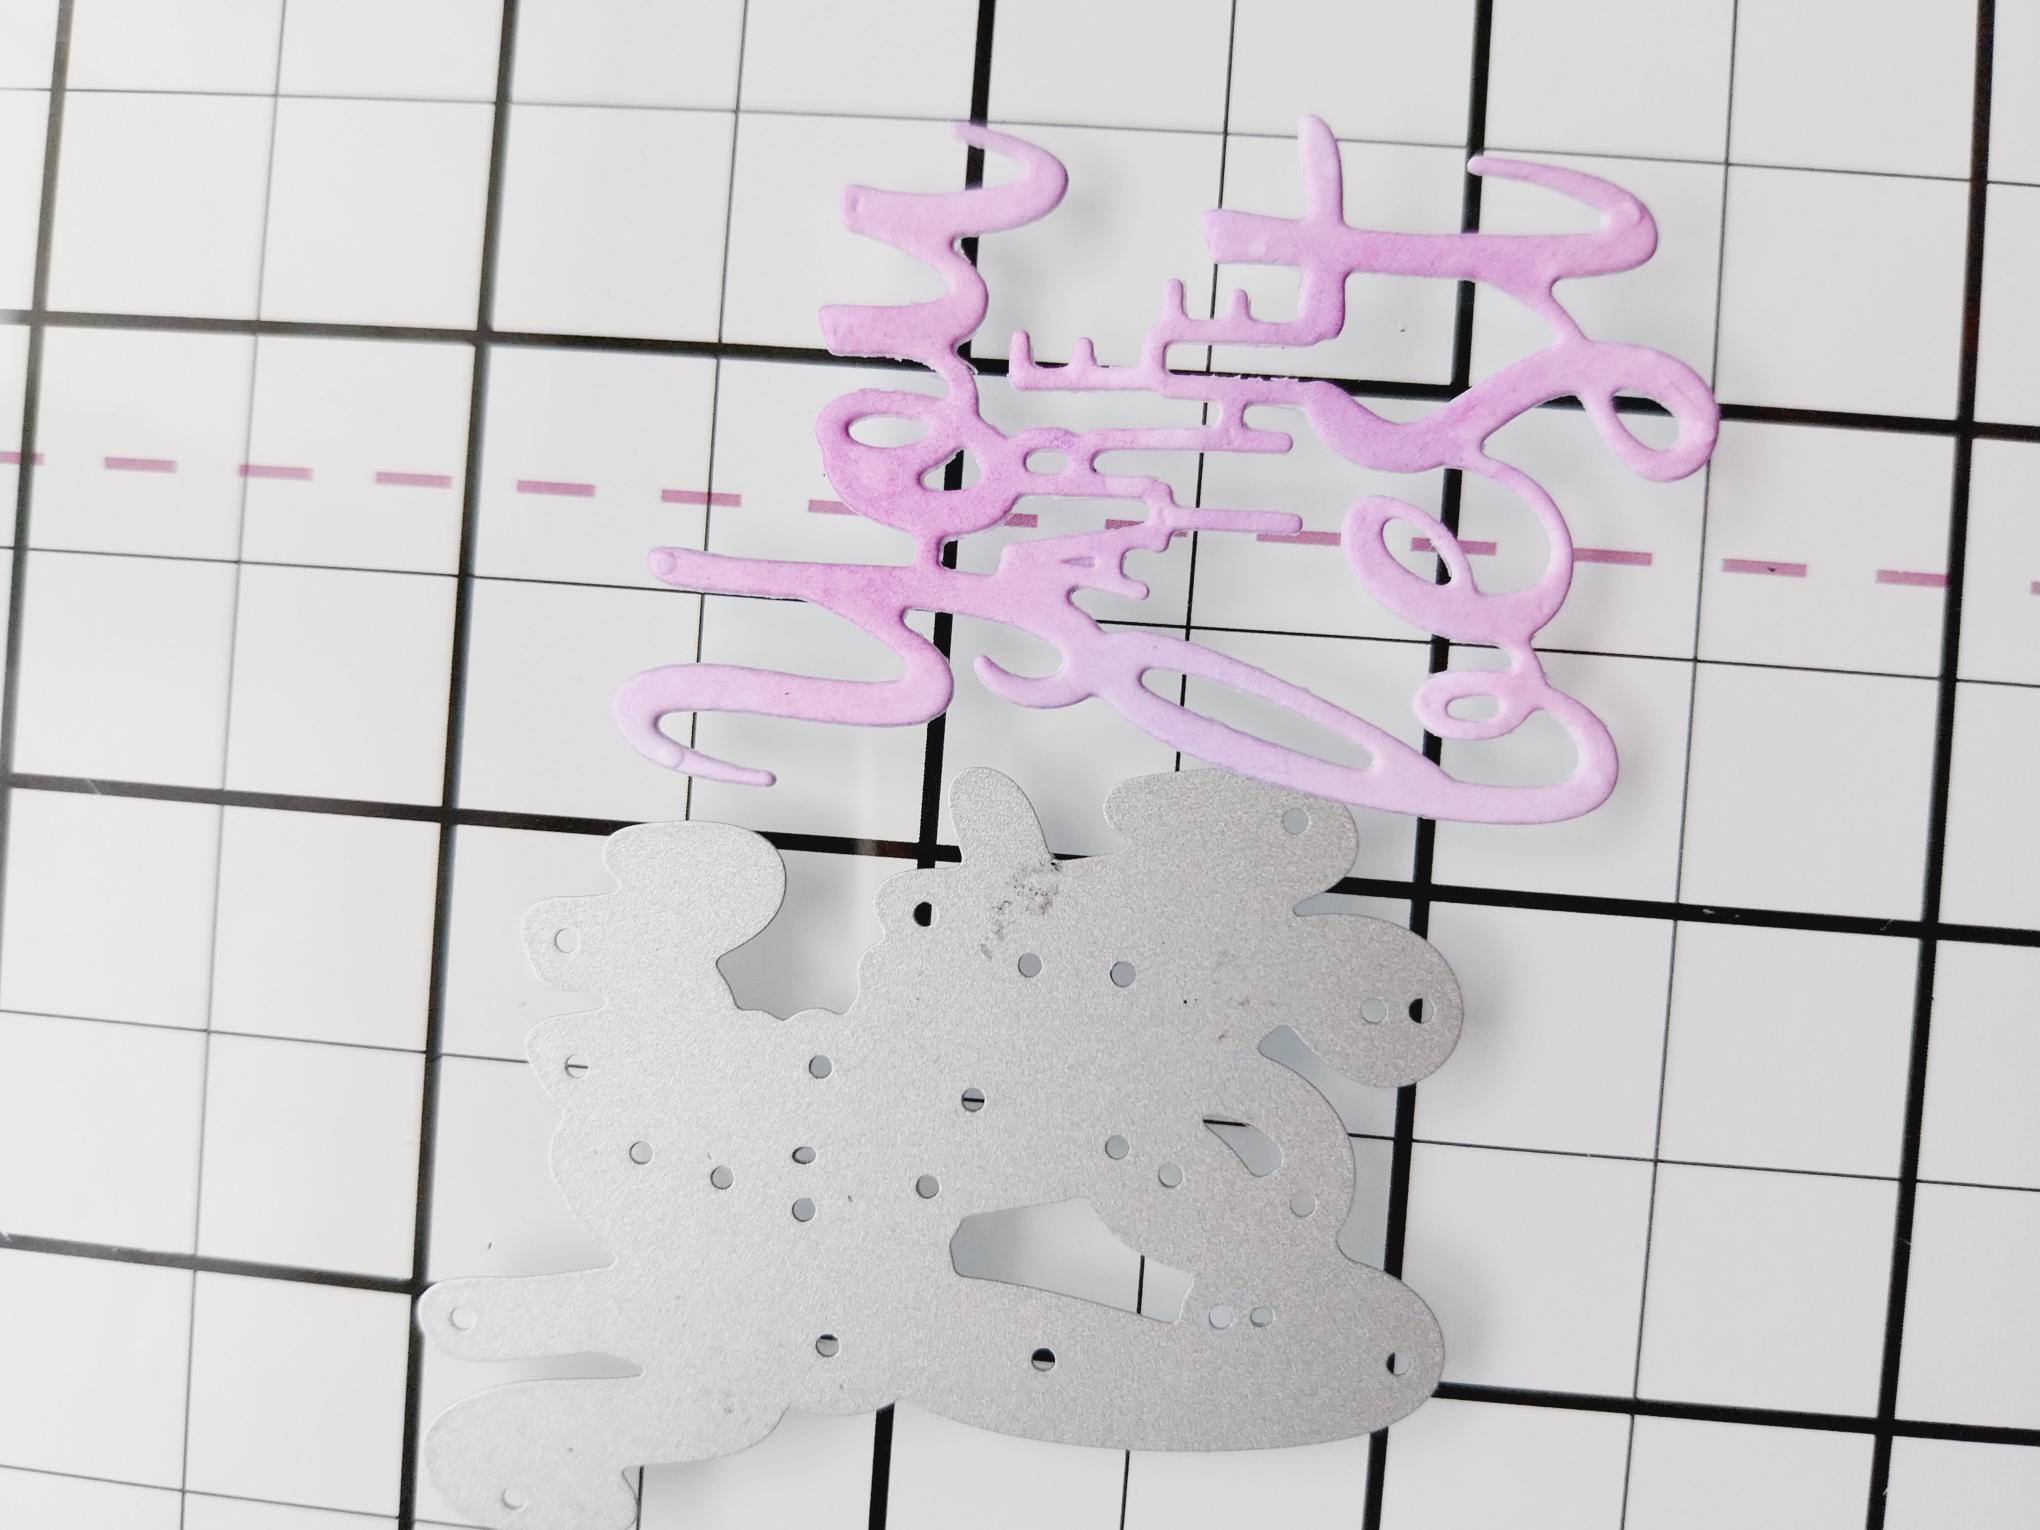
Die cut the sentiment ...you now have a colour coordinated element! |
|
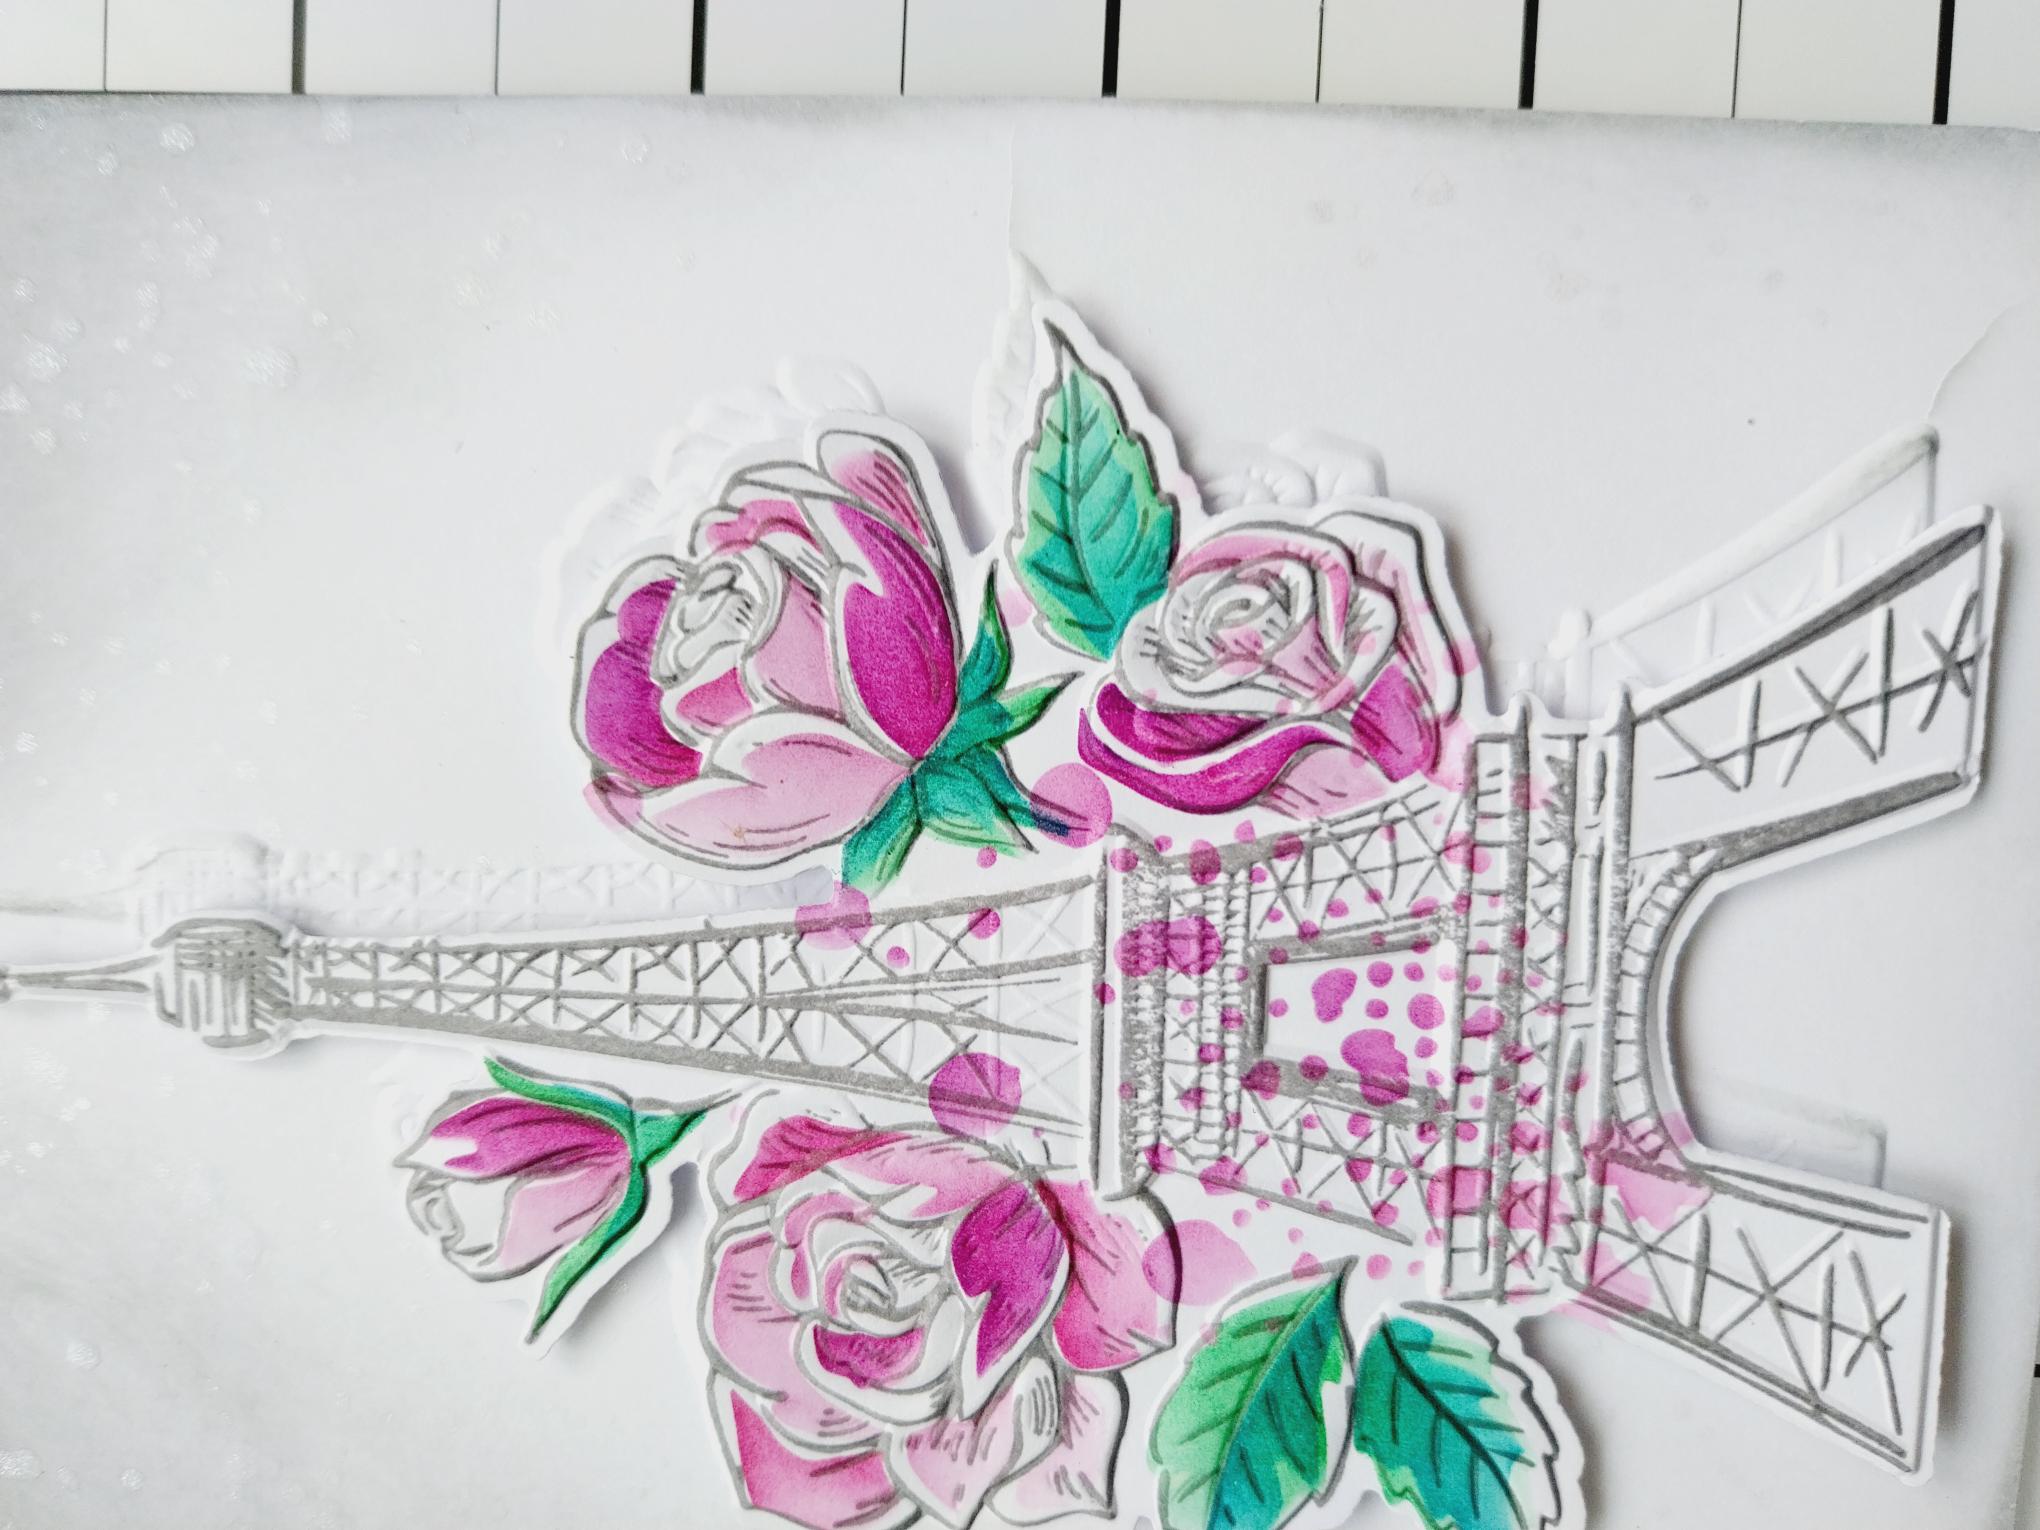
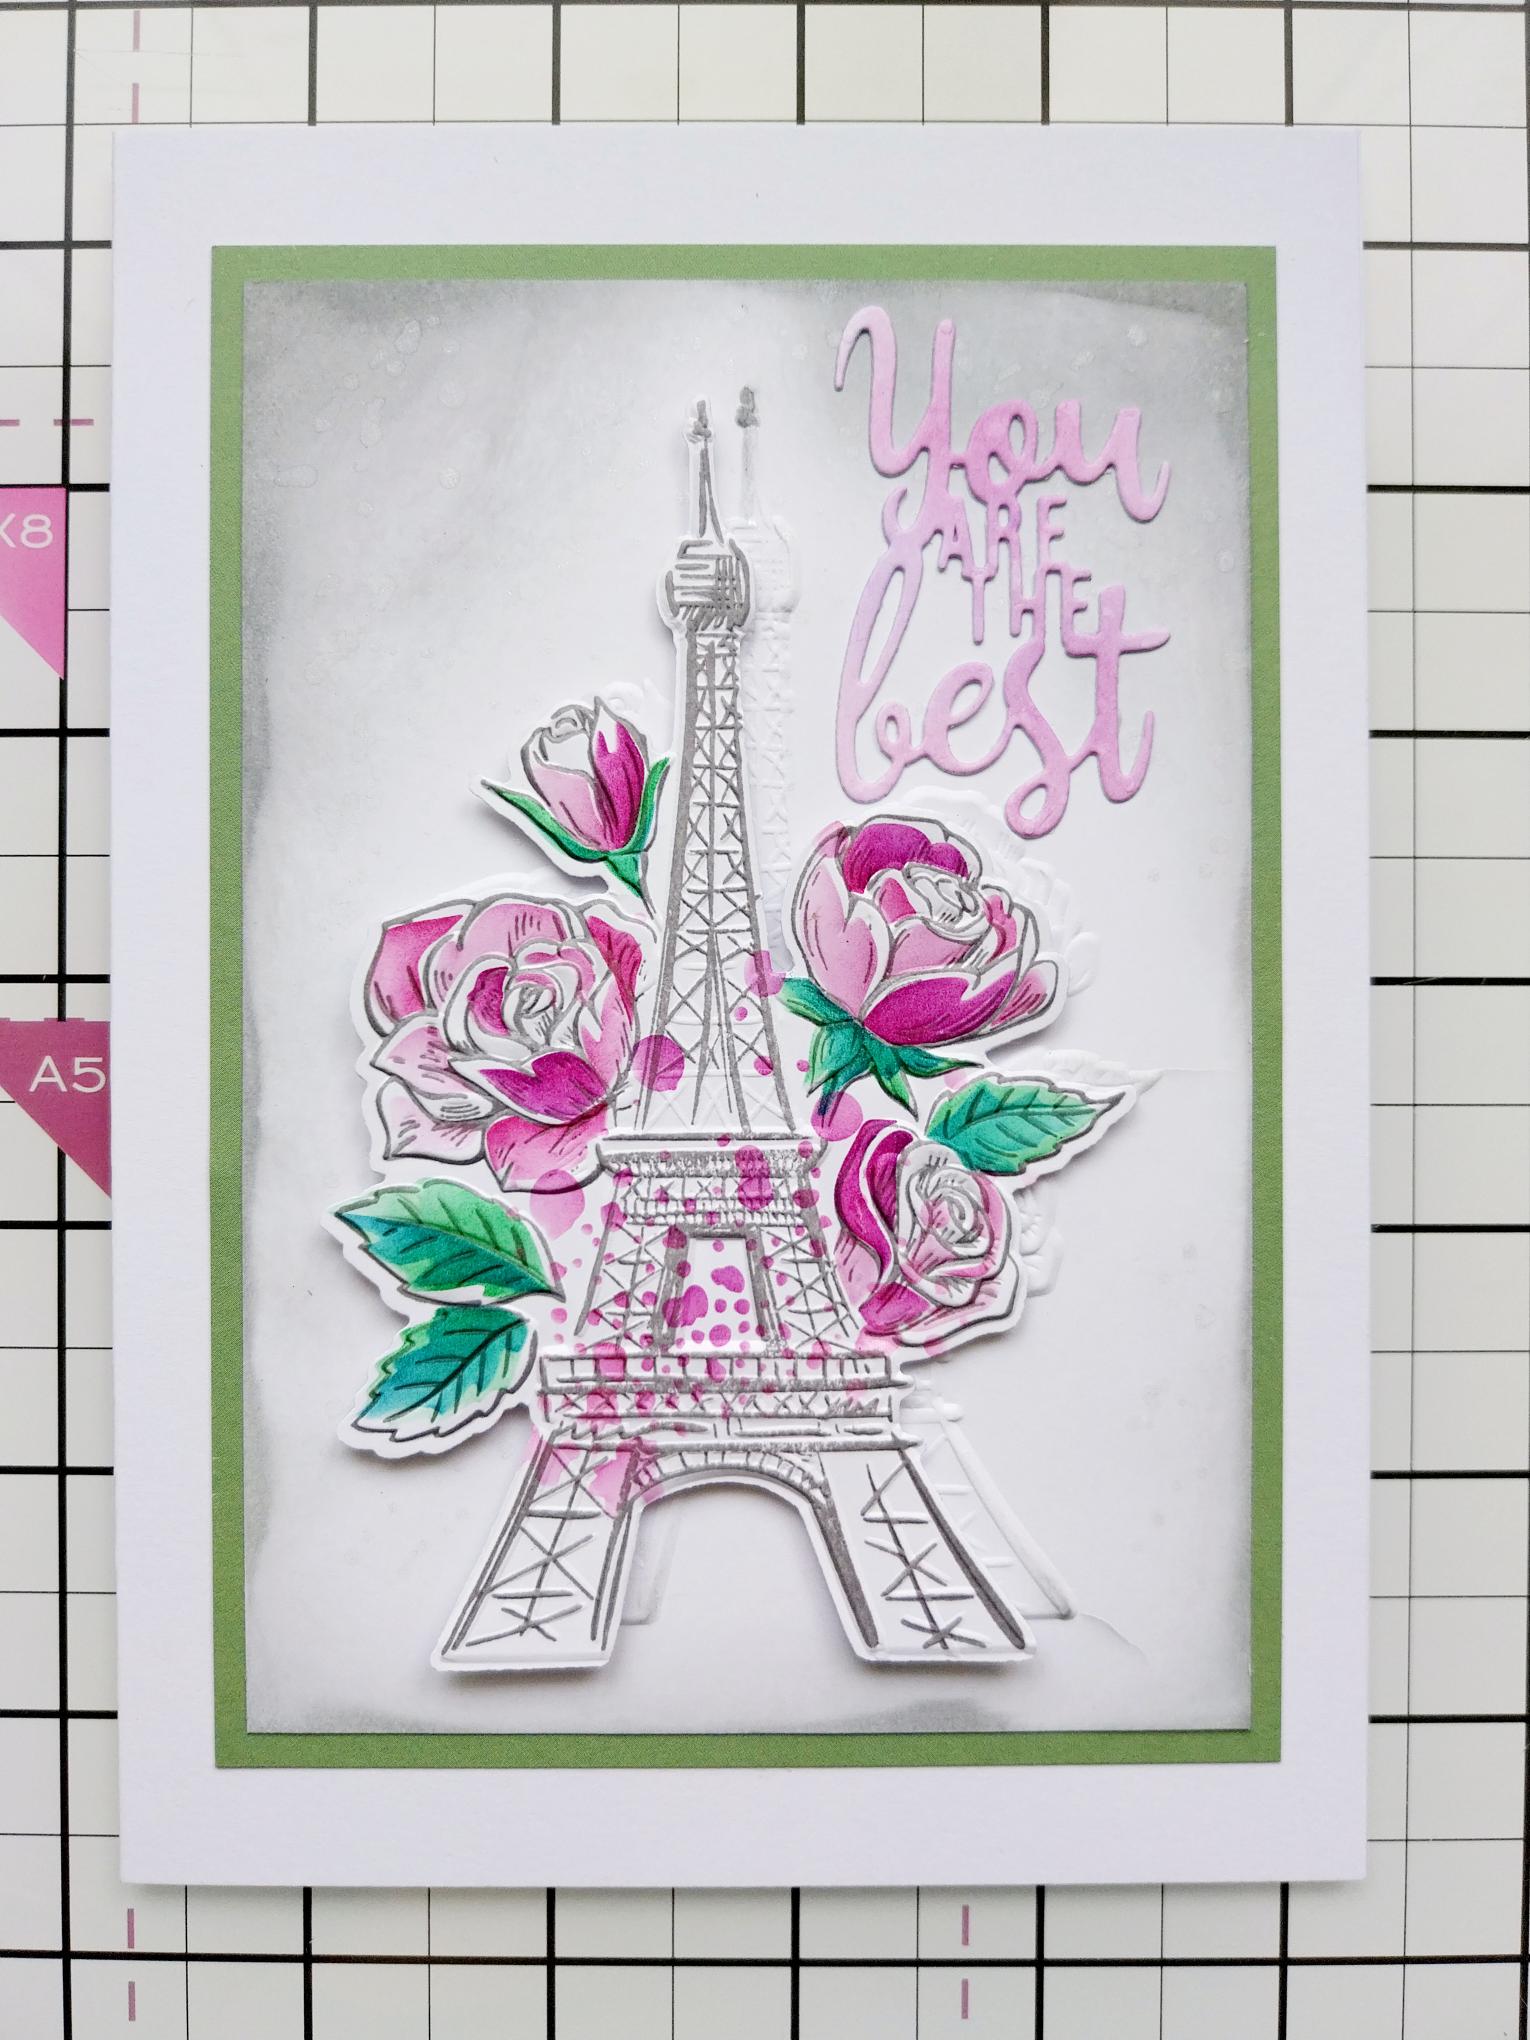
Adhere the 3D Paris element onto the inked, embossed card, placing it slightly lower than the embossed image, thus creating a "drop shadow" effect. |
|
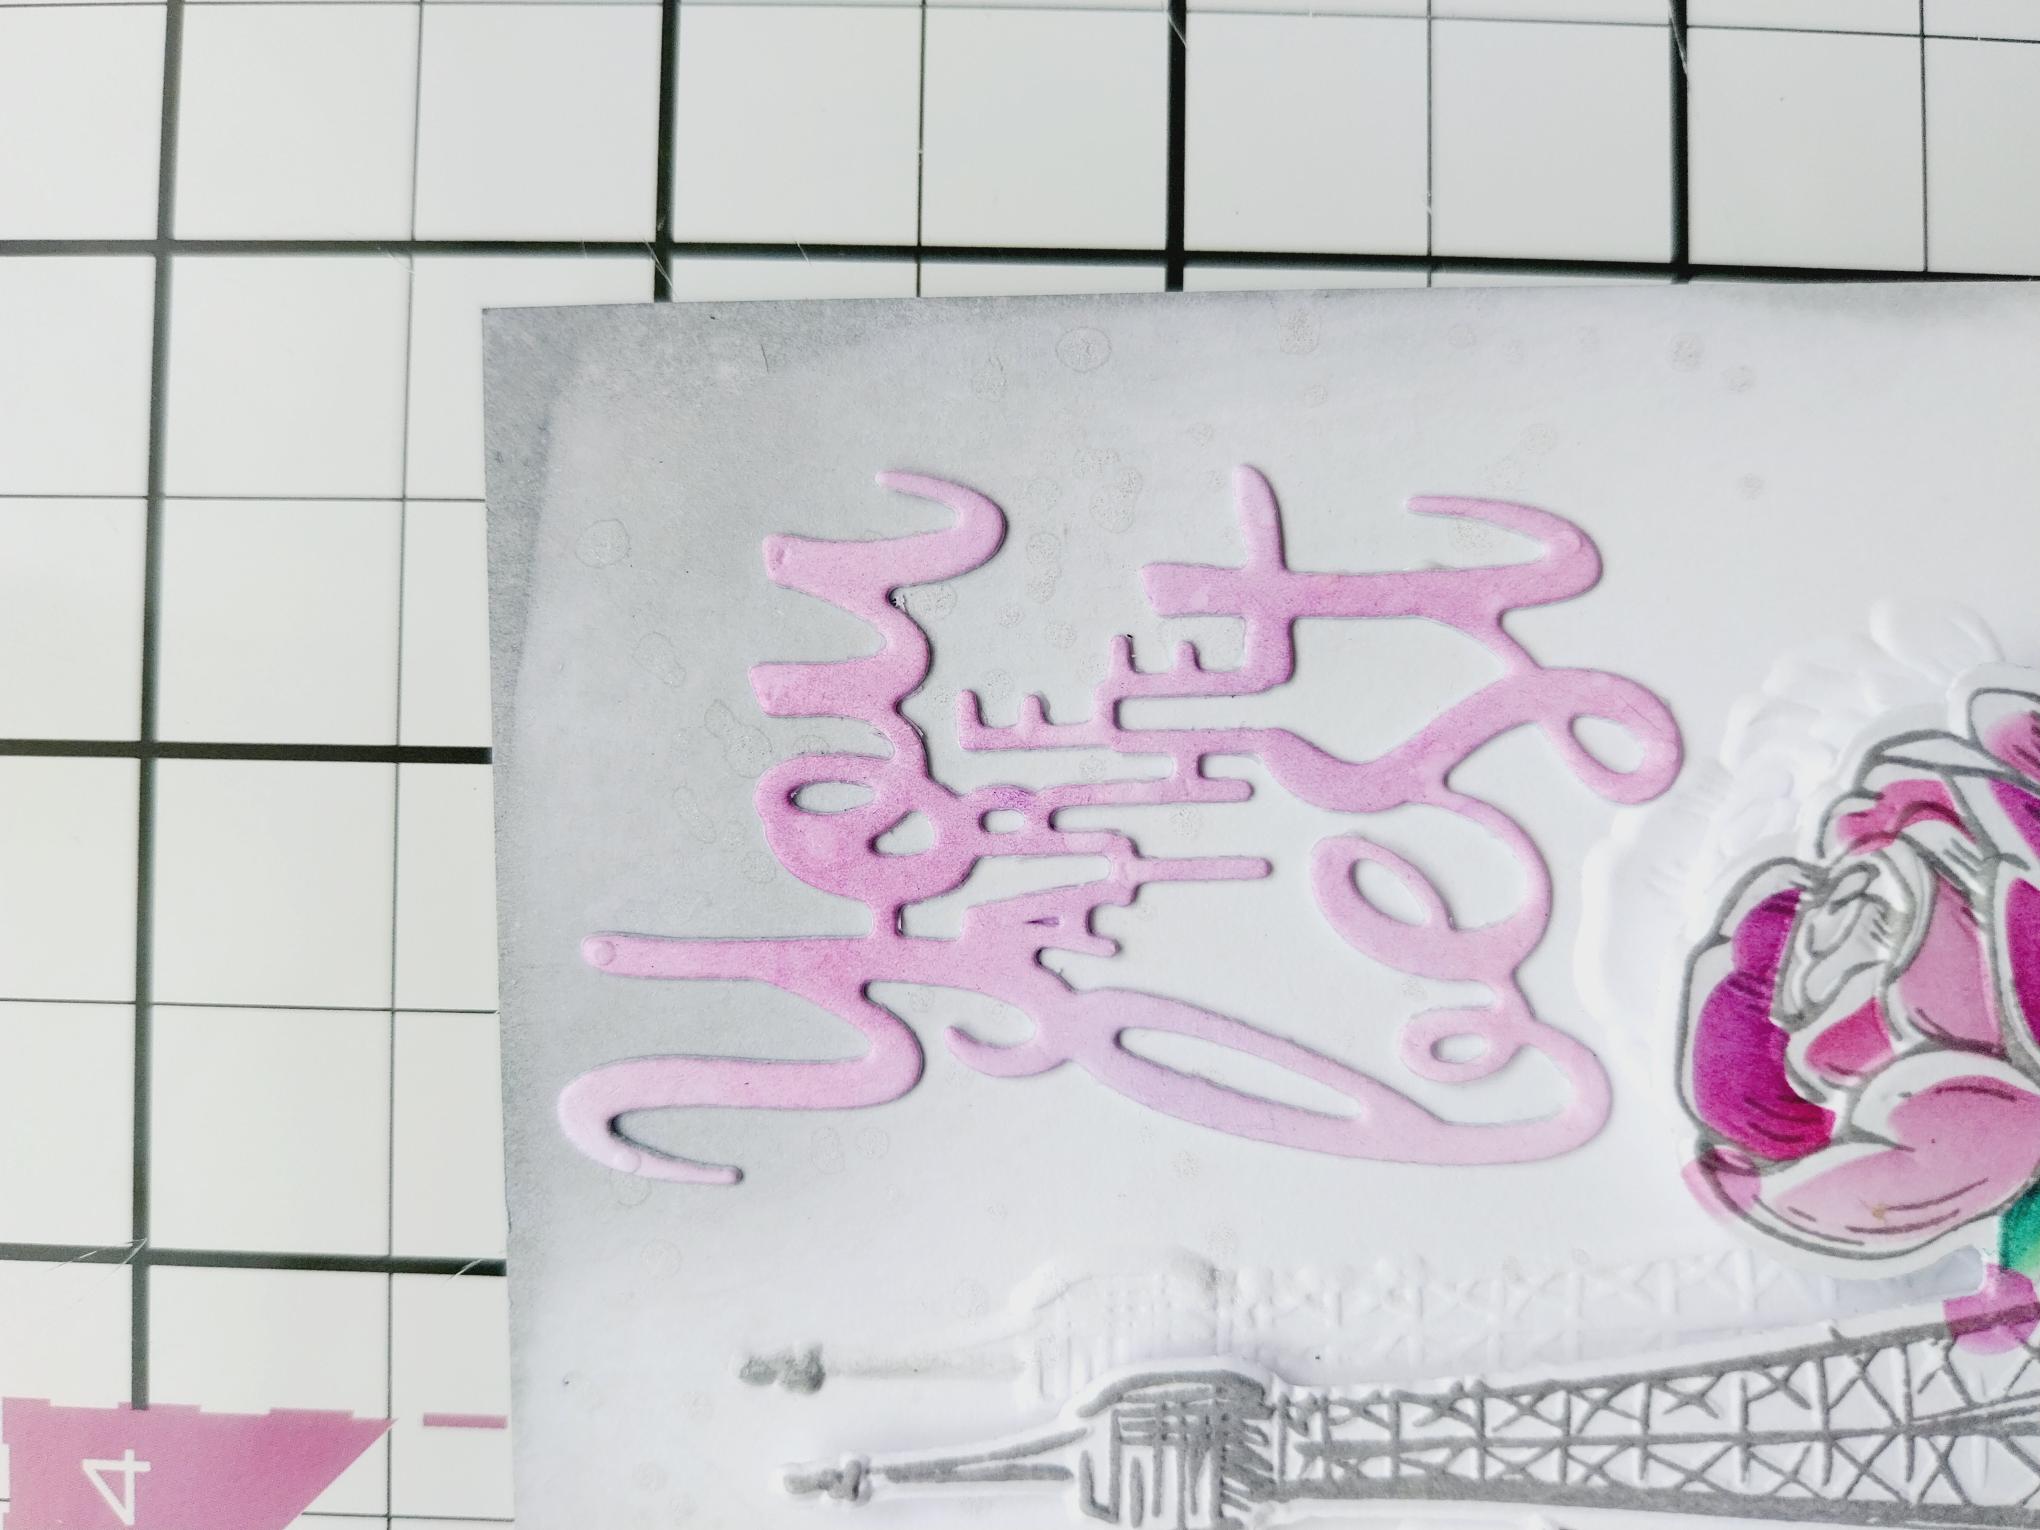
Adhere the sentiment in the top right corner. |
|
Mat your artwork onto the green cardstock, cut to 4 1/4 x 6" and then onto your card blank. |
|
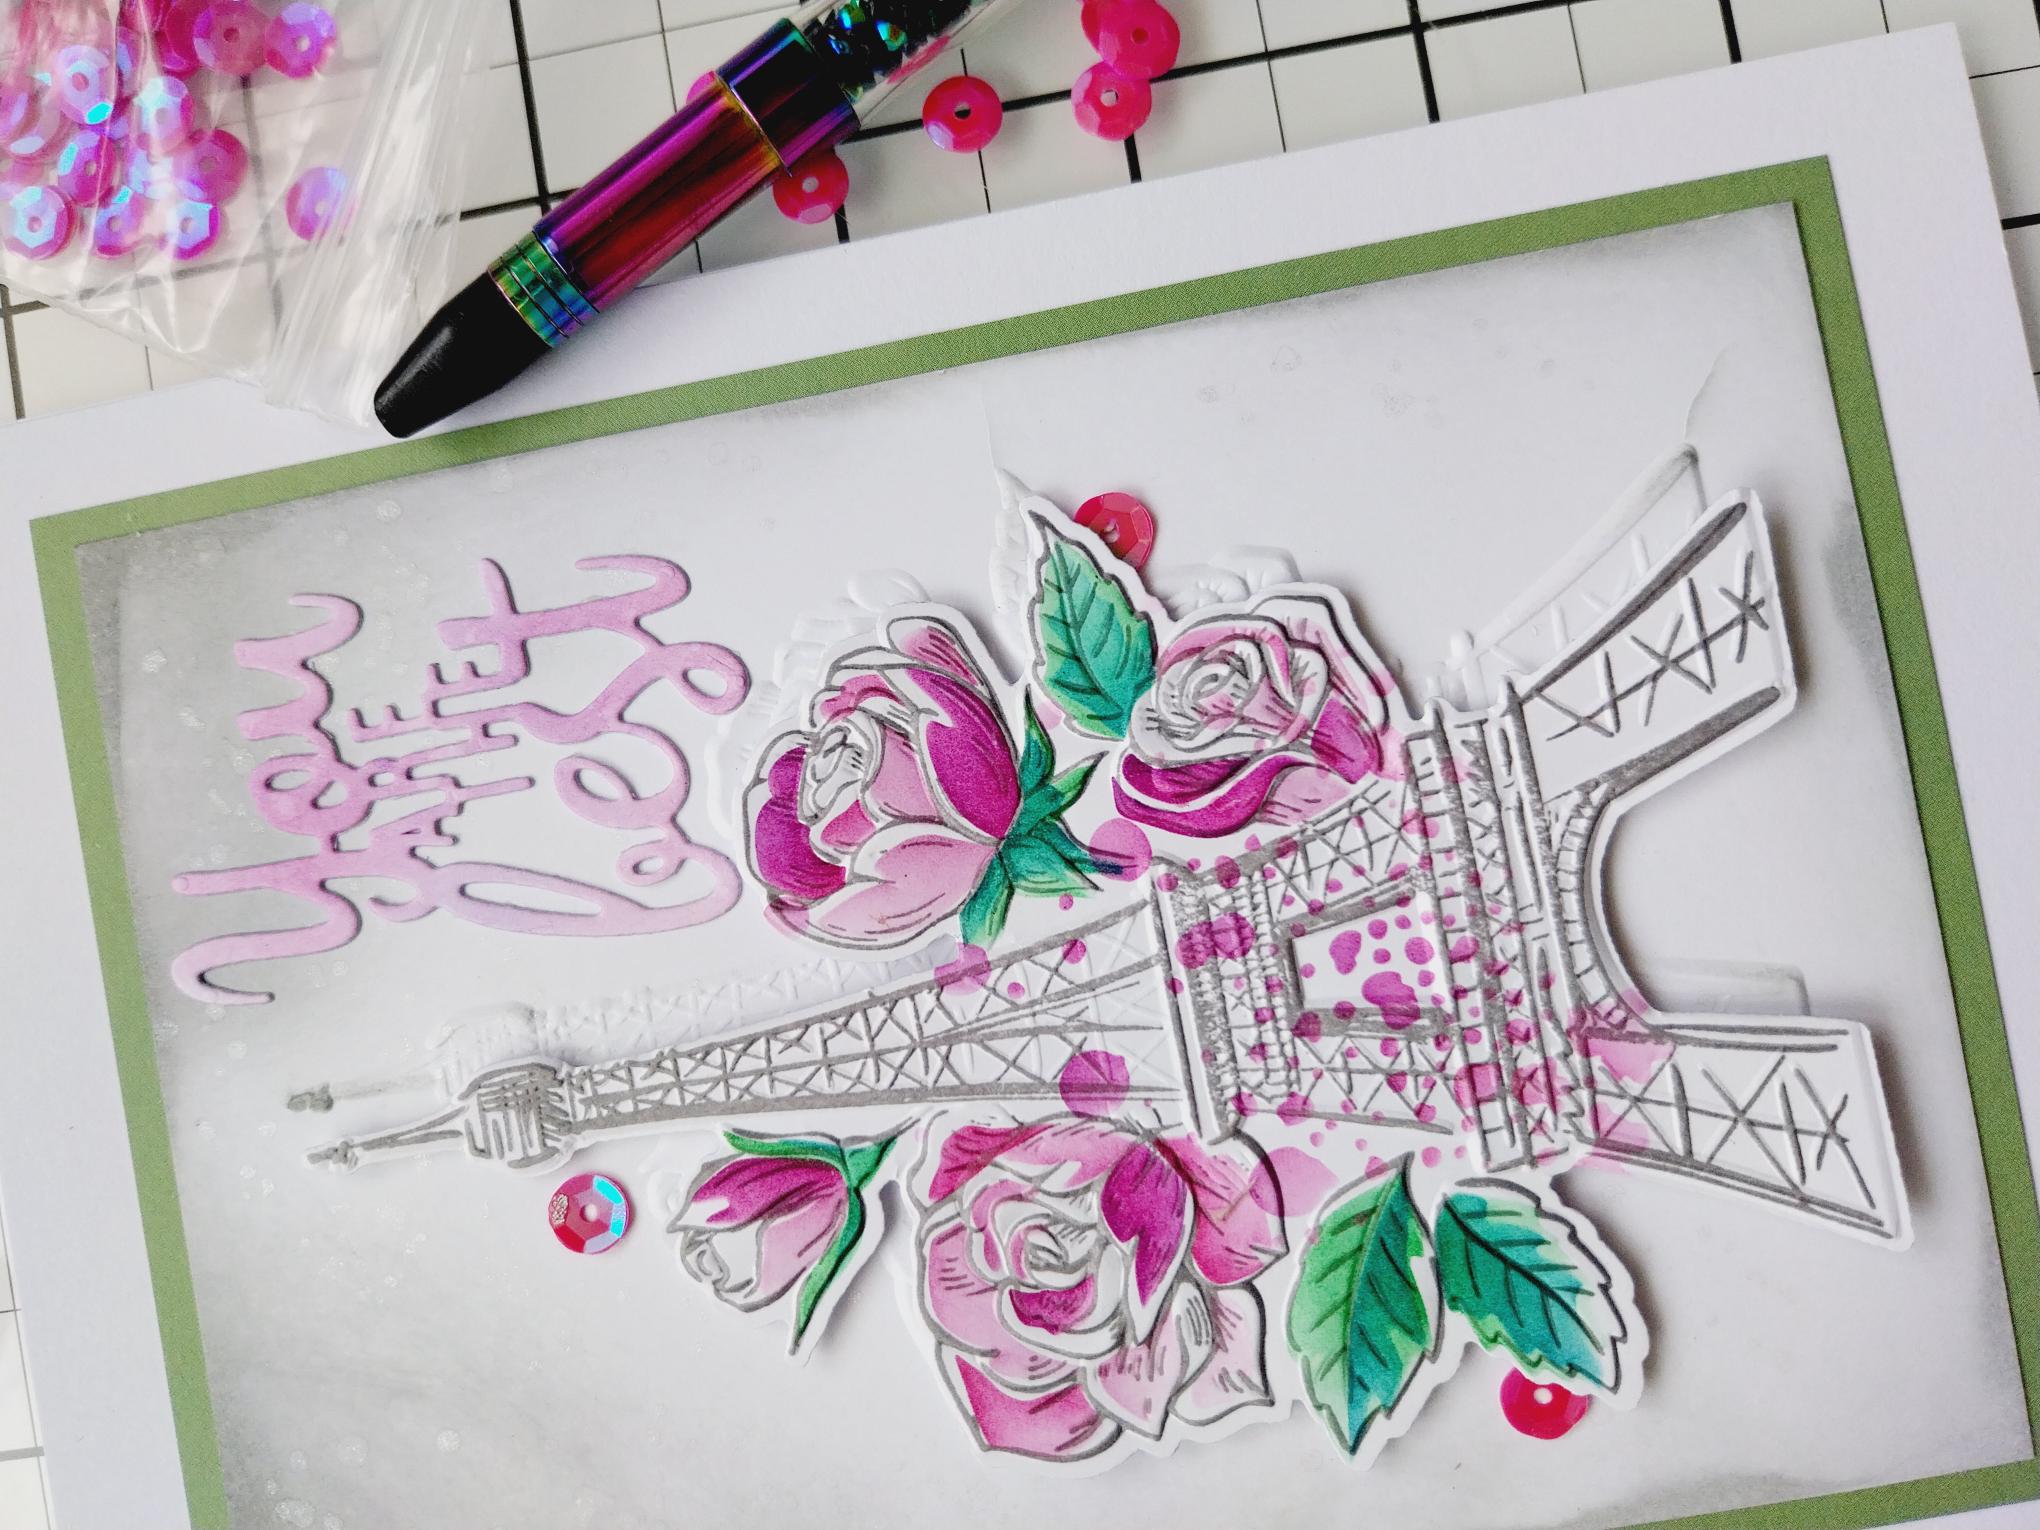
To finish, add a few sequins, on, under and around your 3D element. |