


WHAT YOU WILL NEED:
White card blank 6 x 8"
Black/white cardstock
Quattro D Hibiscus
SBM Hybrid Ink Pad: Midnight
SBM Premium Dye Ink pad: Sherbet, Bittersweet, Hedgerow, Tiffany, Heather
Sequins
Pick Up and pokey Tool
Blending brush
Eureka 101 Watercolour Tablet
SBM A3 Magnetic glass mat
Paper Trimmer
Glue
Double-sided tape/tape runner
Die Cutting machine
[click image to enlarge] 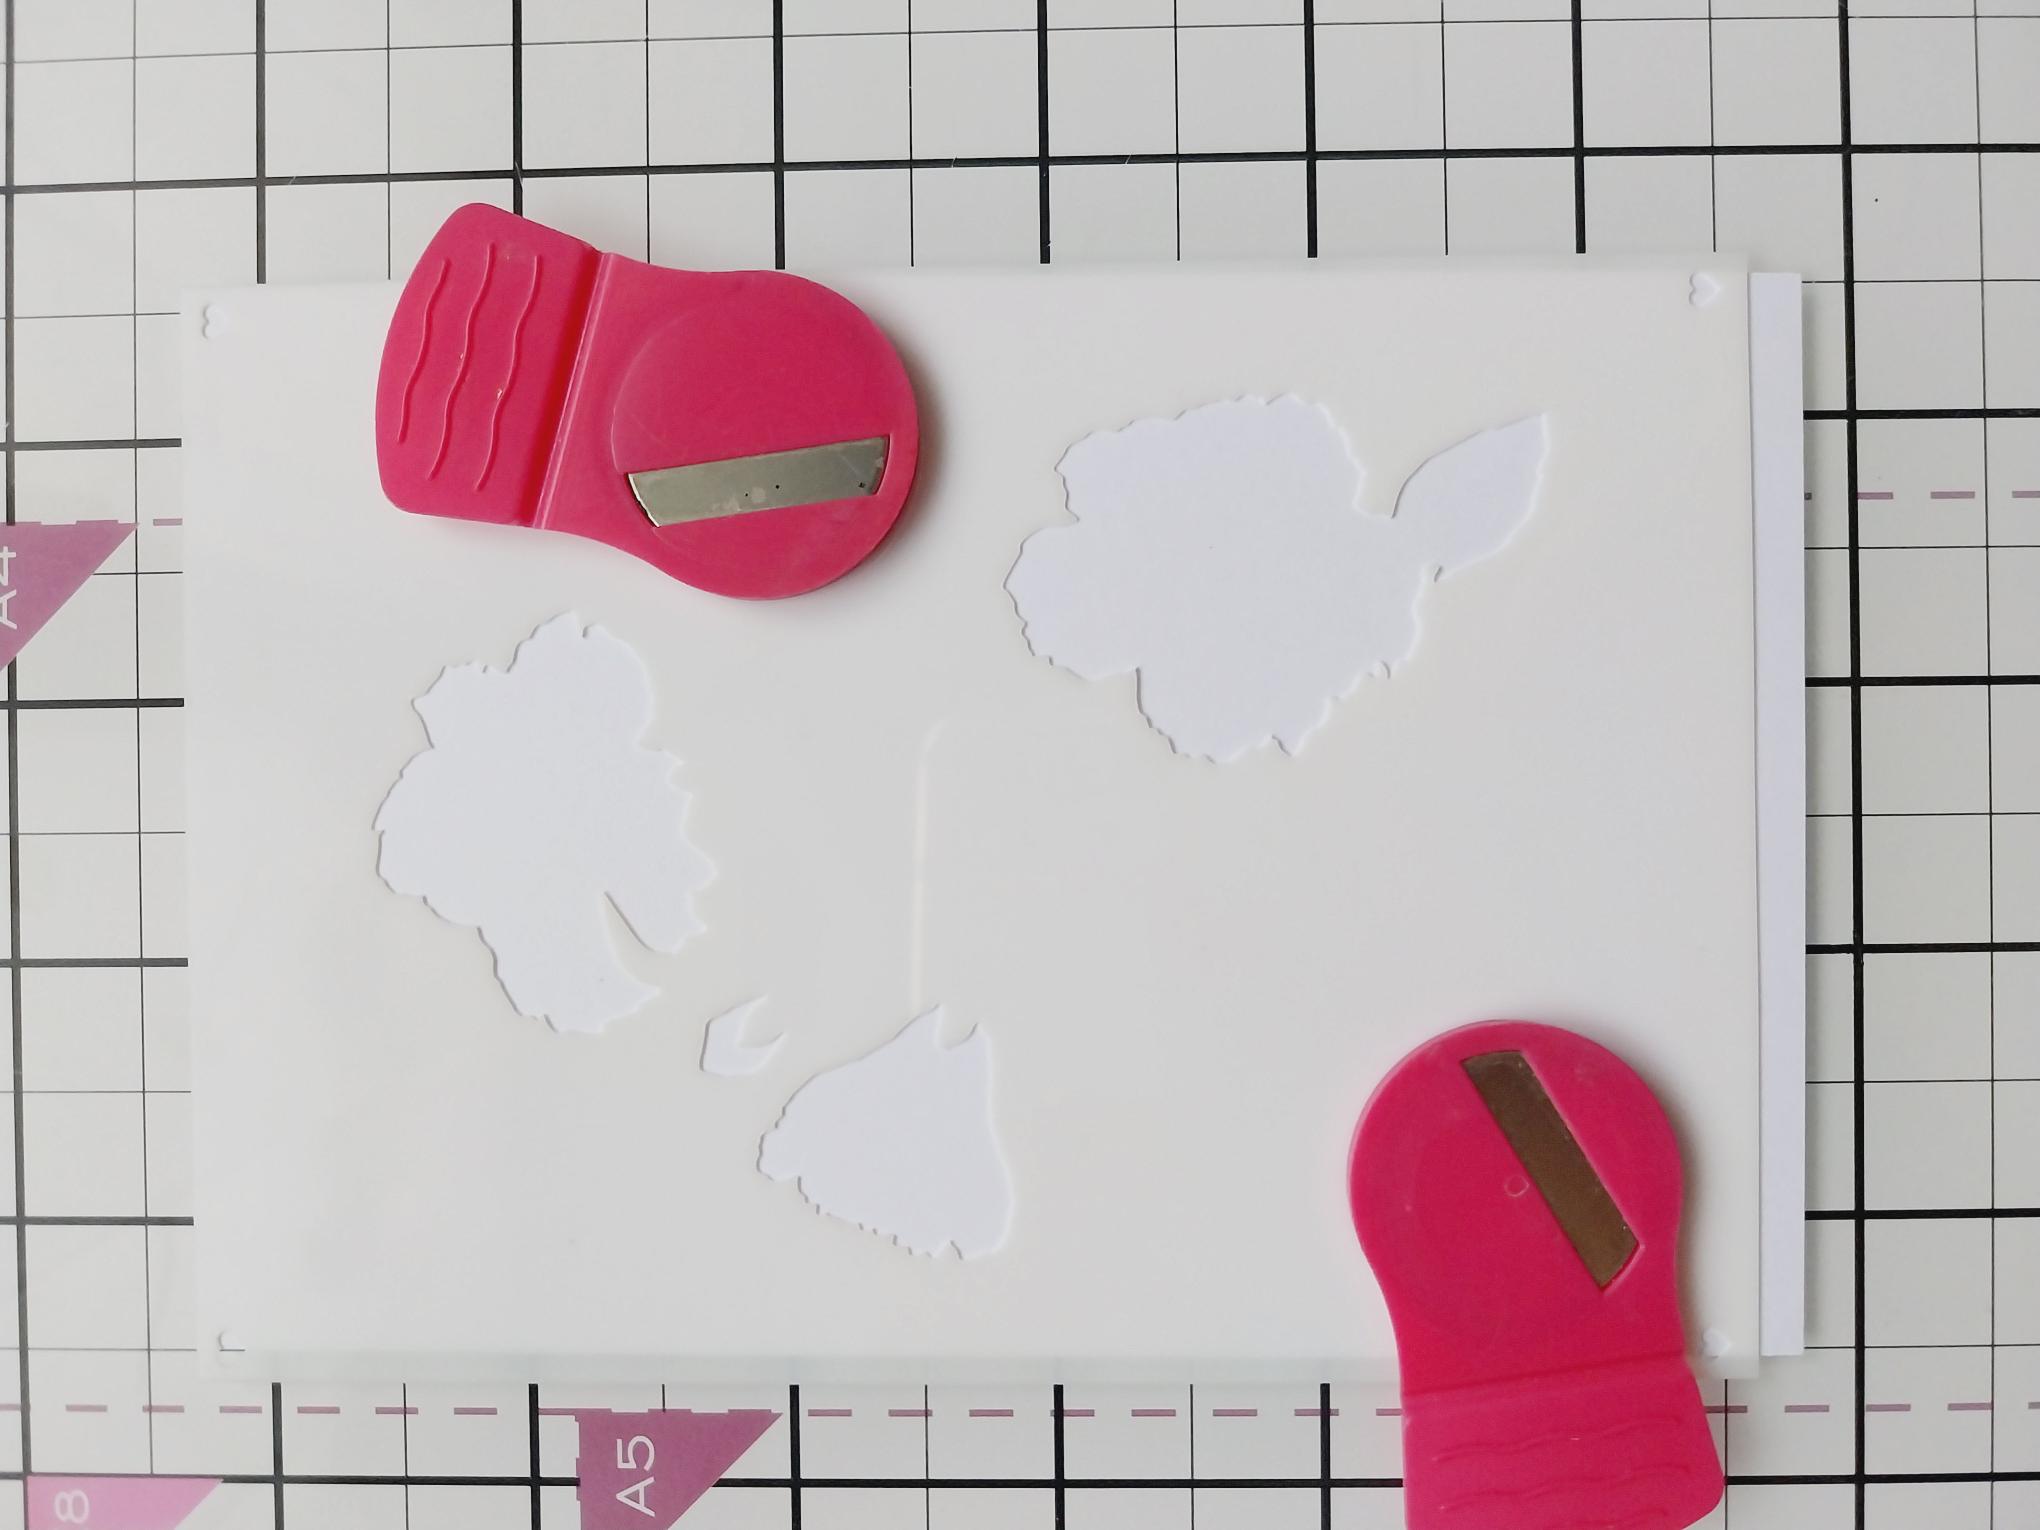
|
Trim a piece of white card to 3 3/4 x 5 3/4" and secure stencil 1 in place. |
|
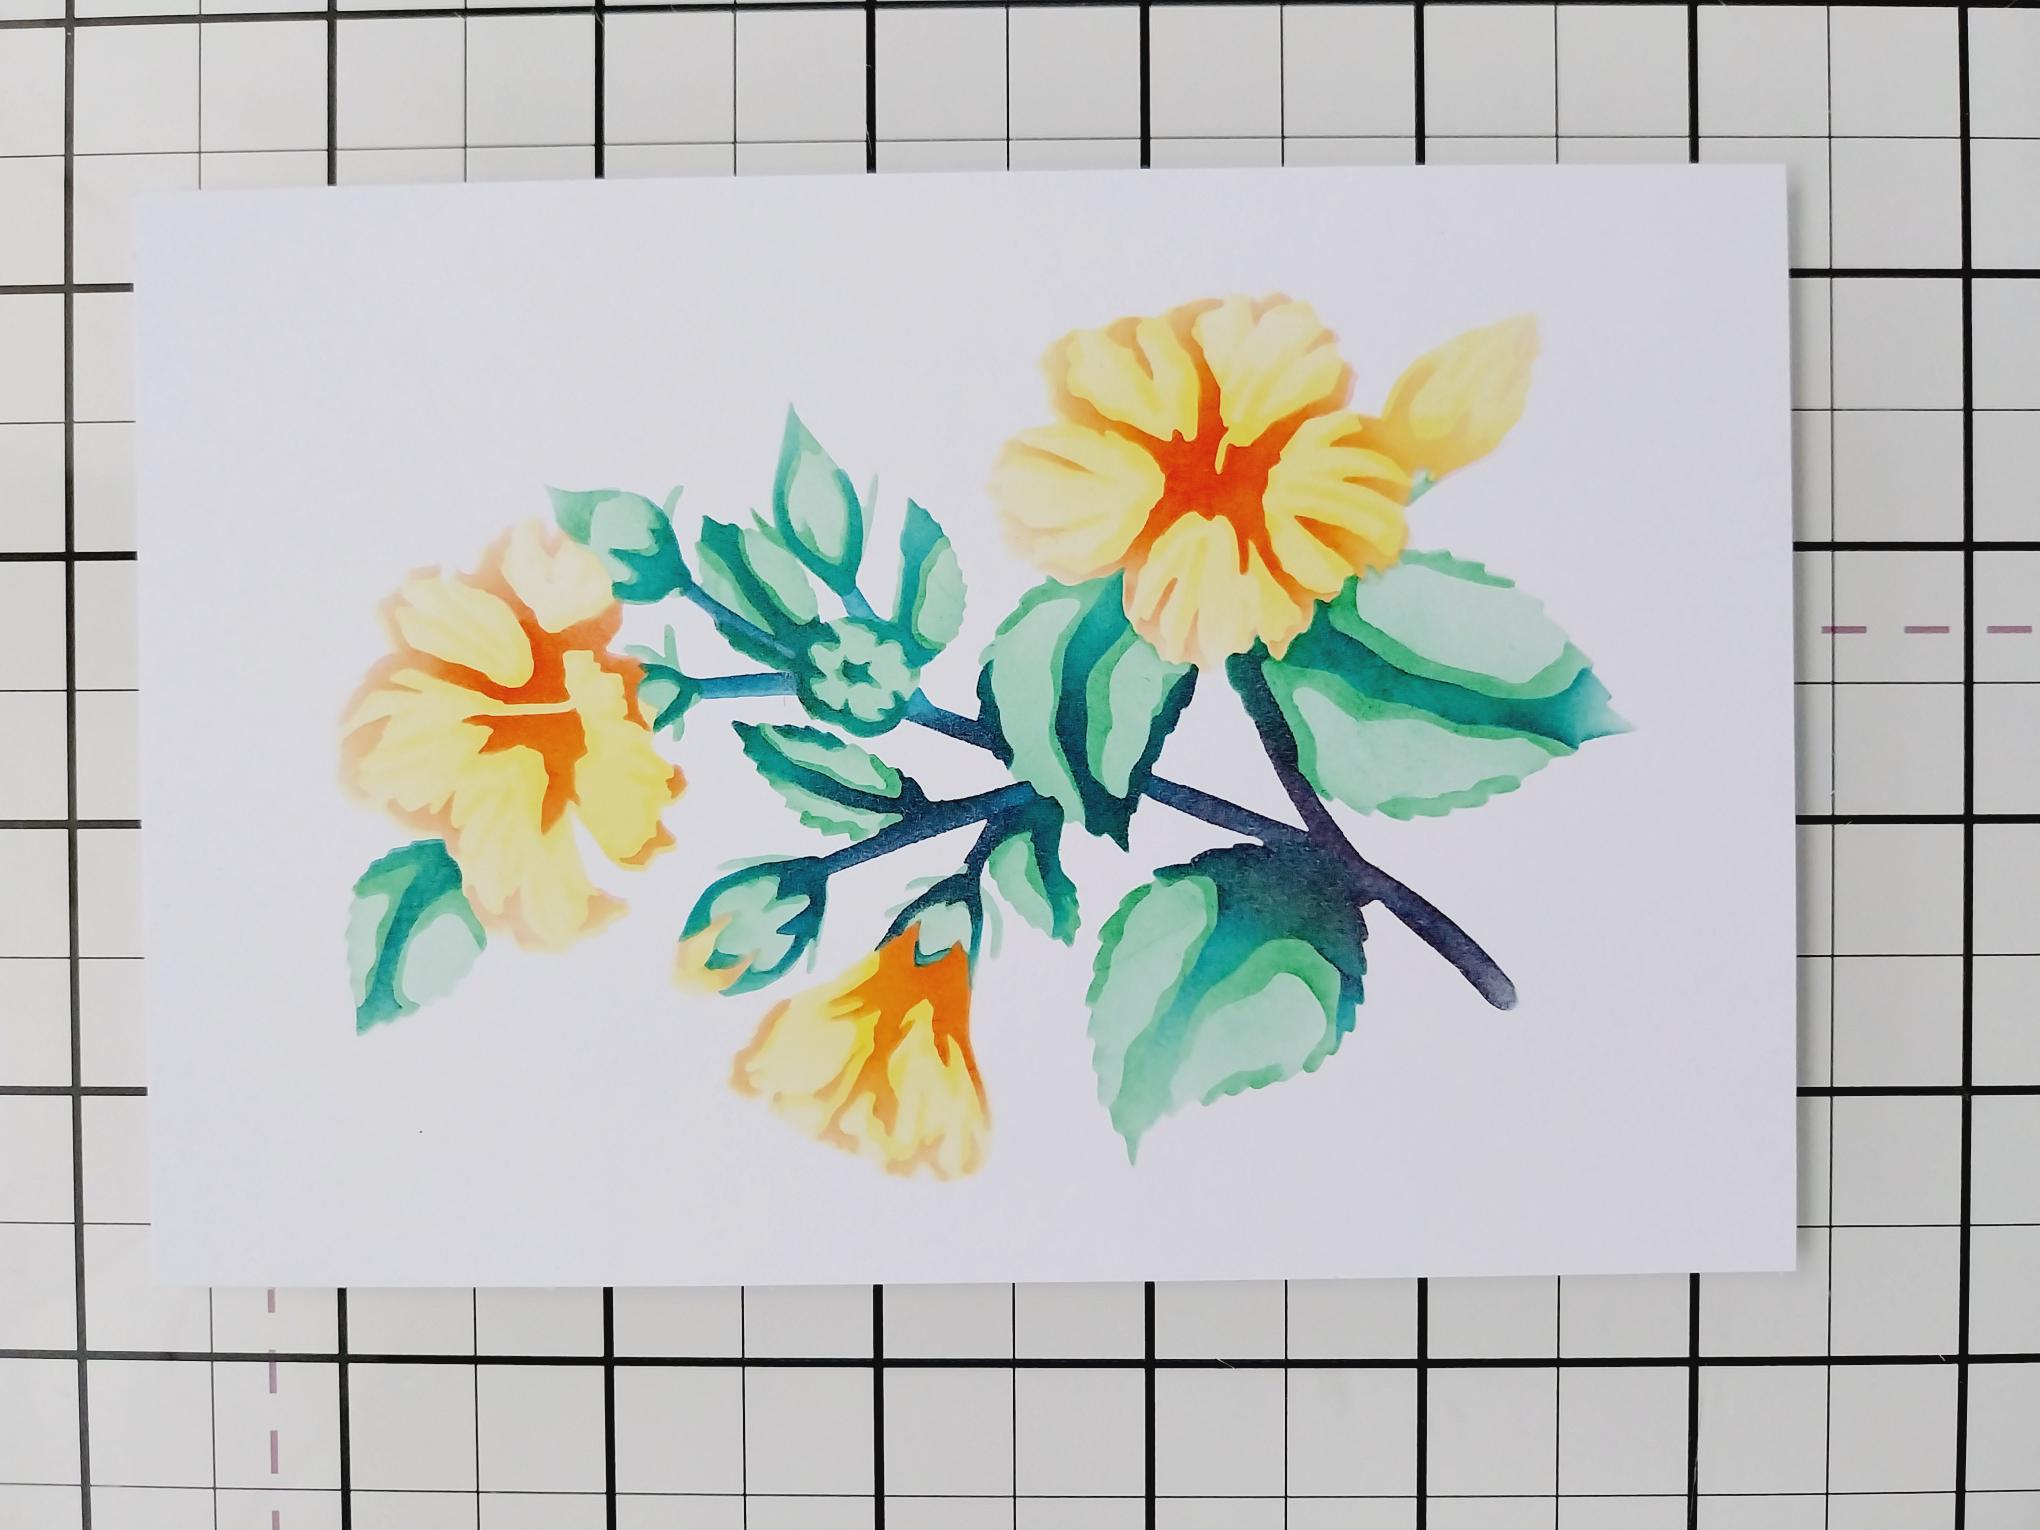
Each of the stencils in the Quattro D collection are numbered and have hearts in the corner to help you line each stencil up, if required. Use your blending tool to apply ink through each stencil, on to the white card as follows: Stencil 1 Sherbet but only lightly Stencil 2 Sherbet but with more pressure for a more vibrant colour Stencil 3 Bittersweet Stencil 4 Hedgerow but lightly Stencil 5 Hedgerow with more pressure Stencil 6 Hedgerow and Heather along the stems |
|
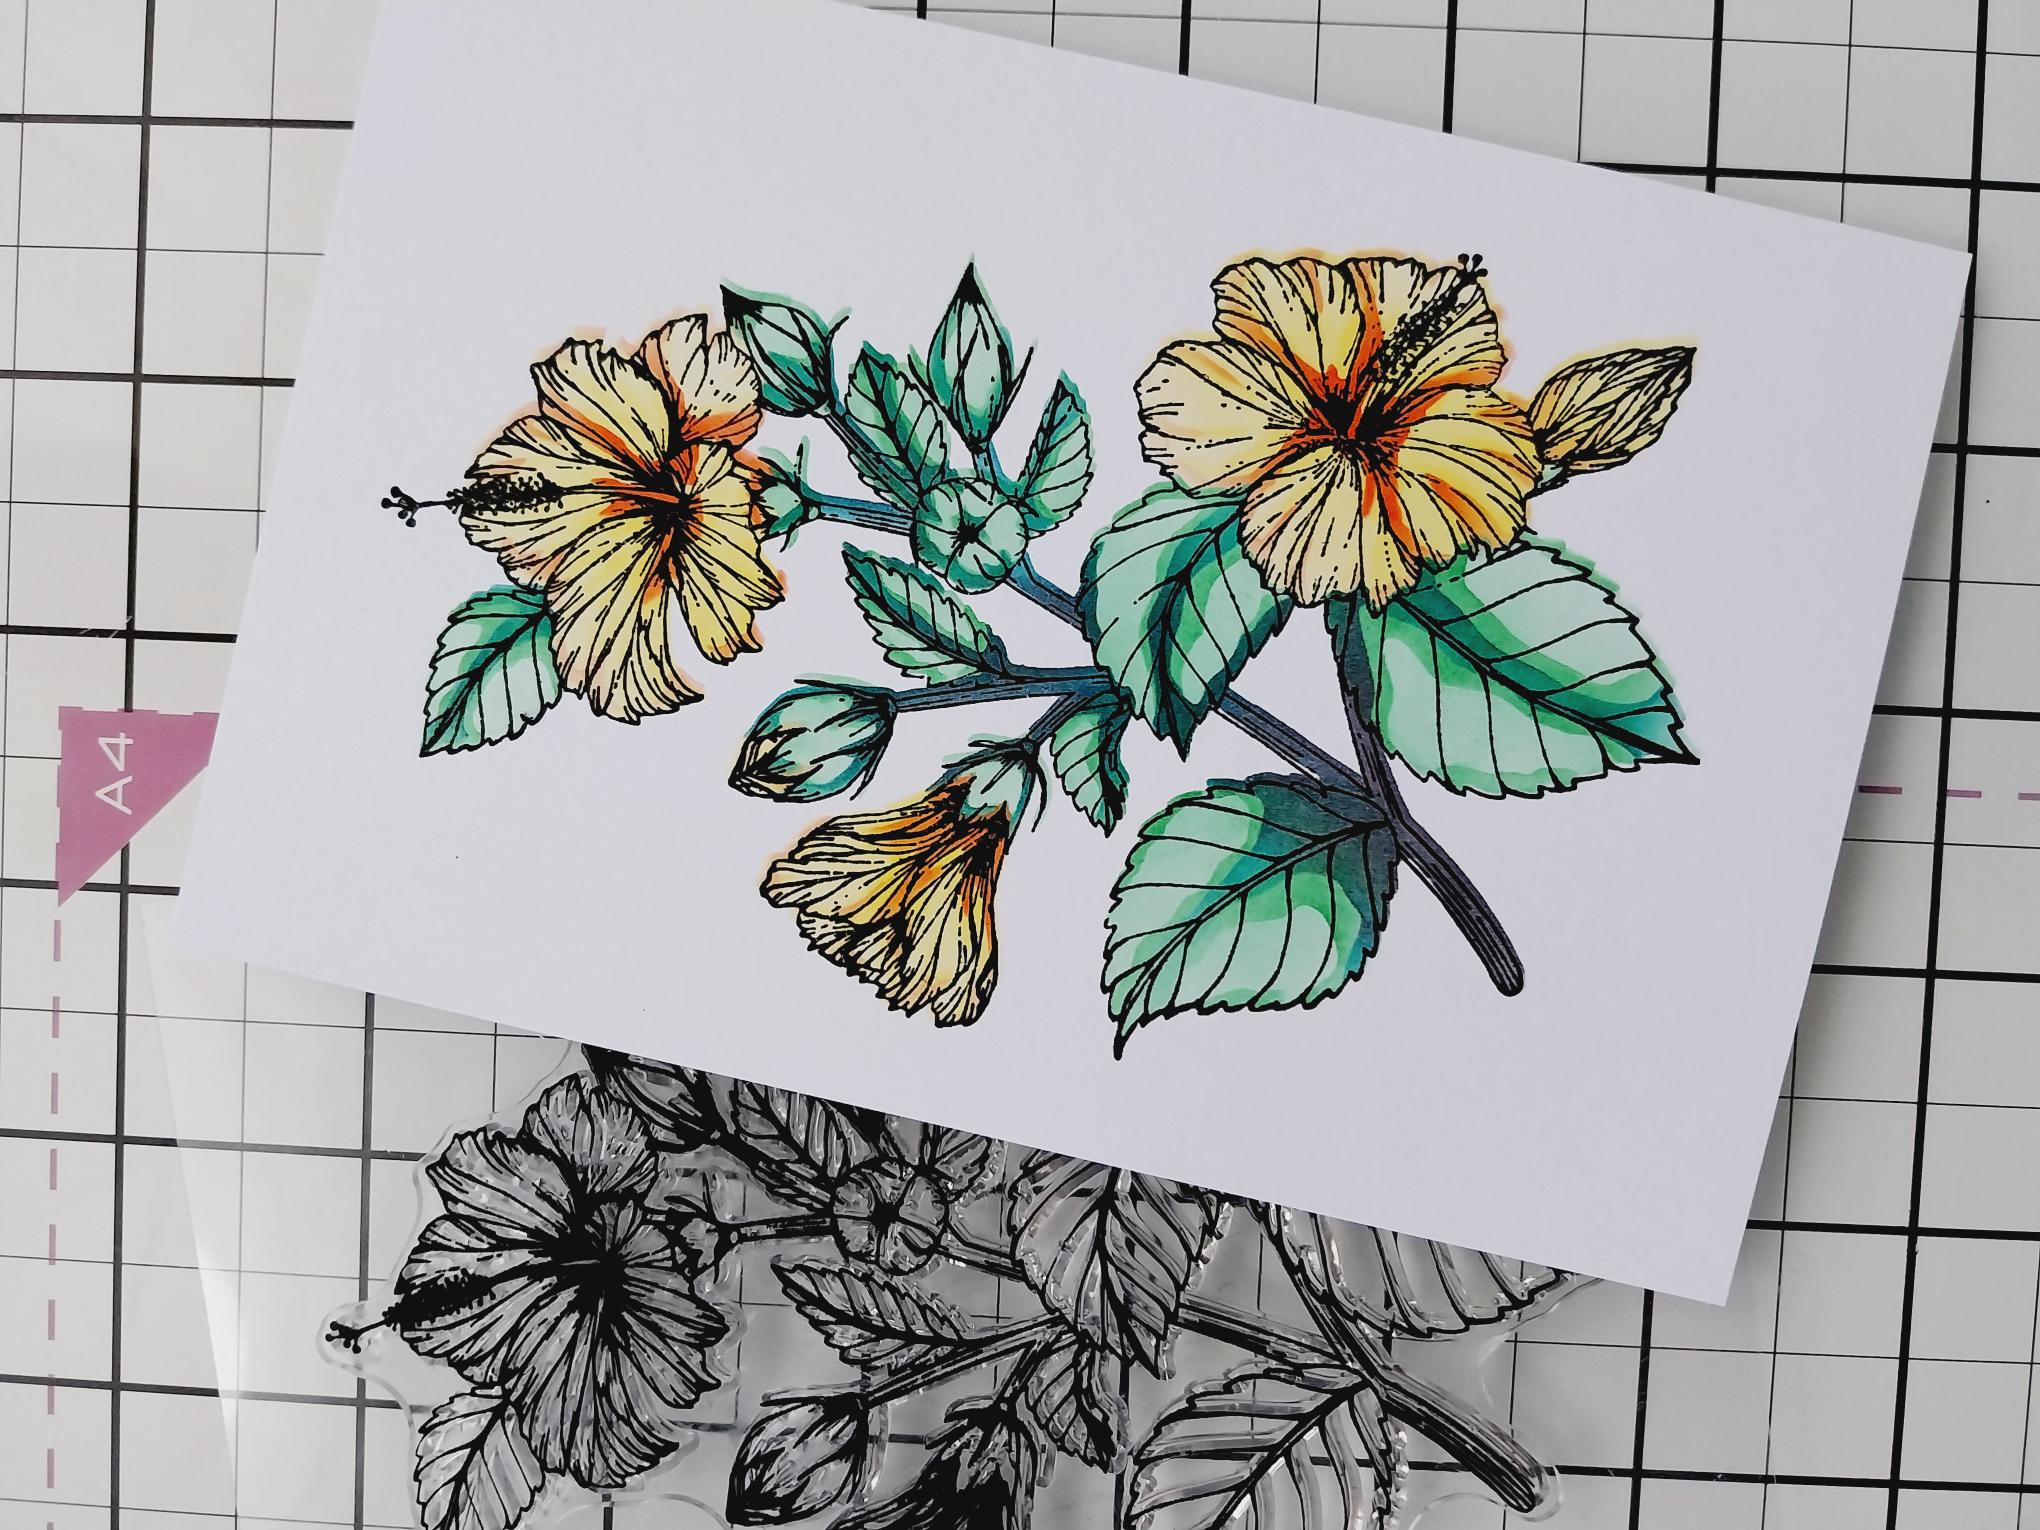
Stamp over your stencilled image with the Midnight ink. |
|
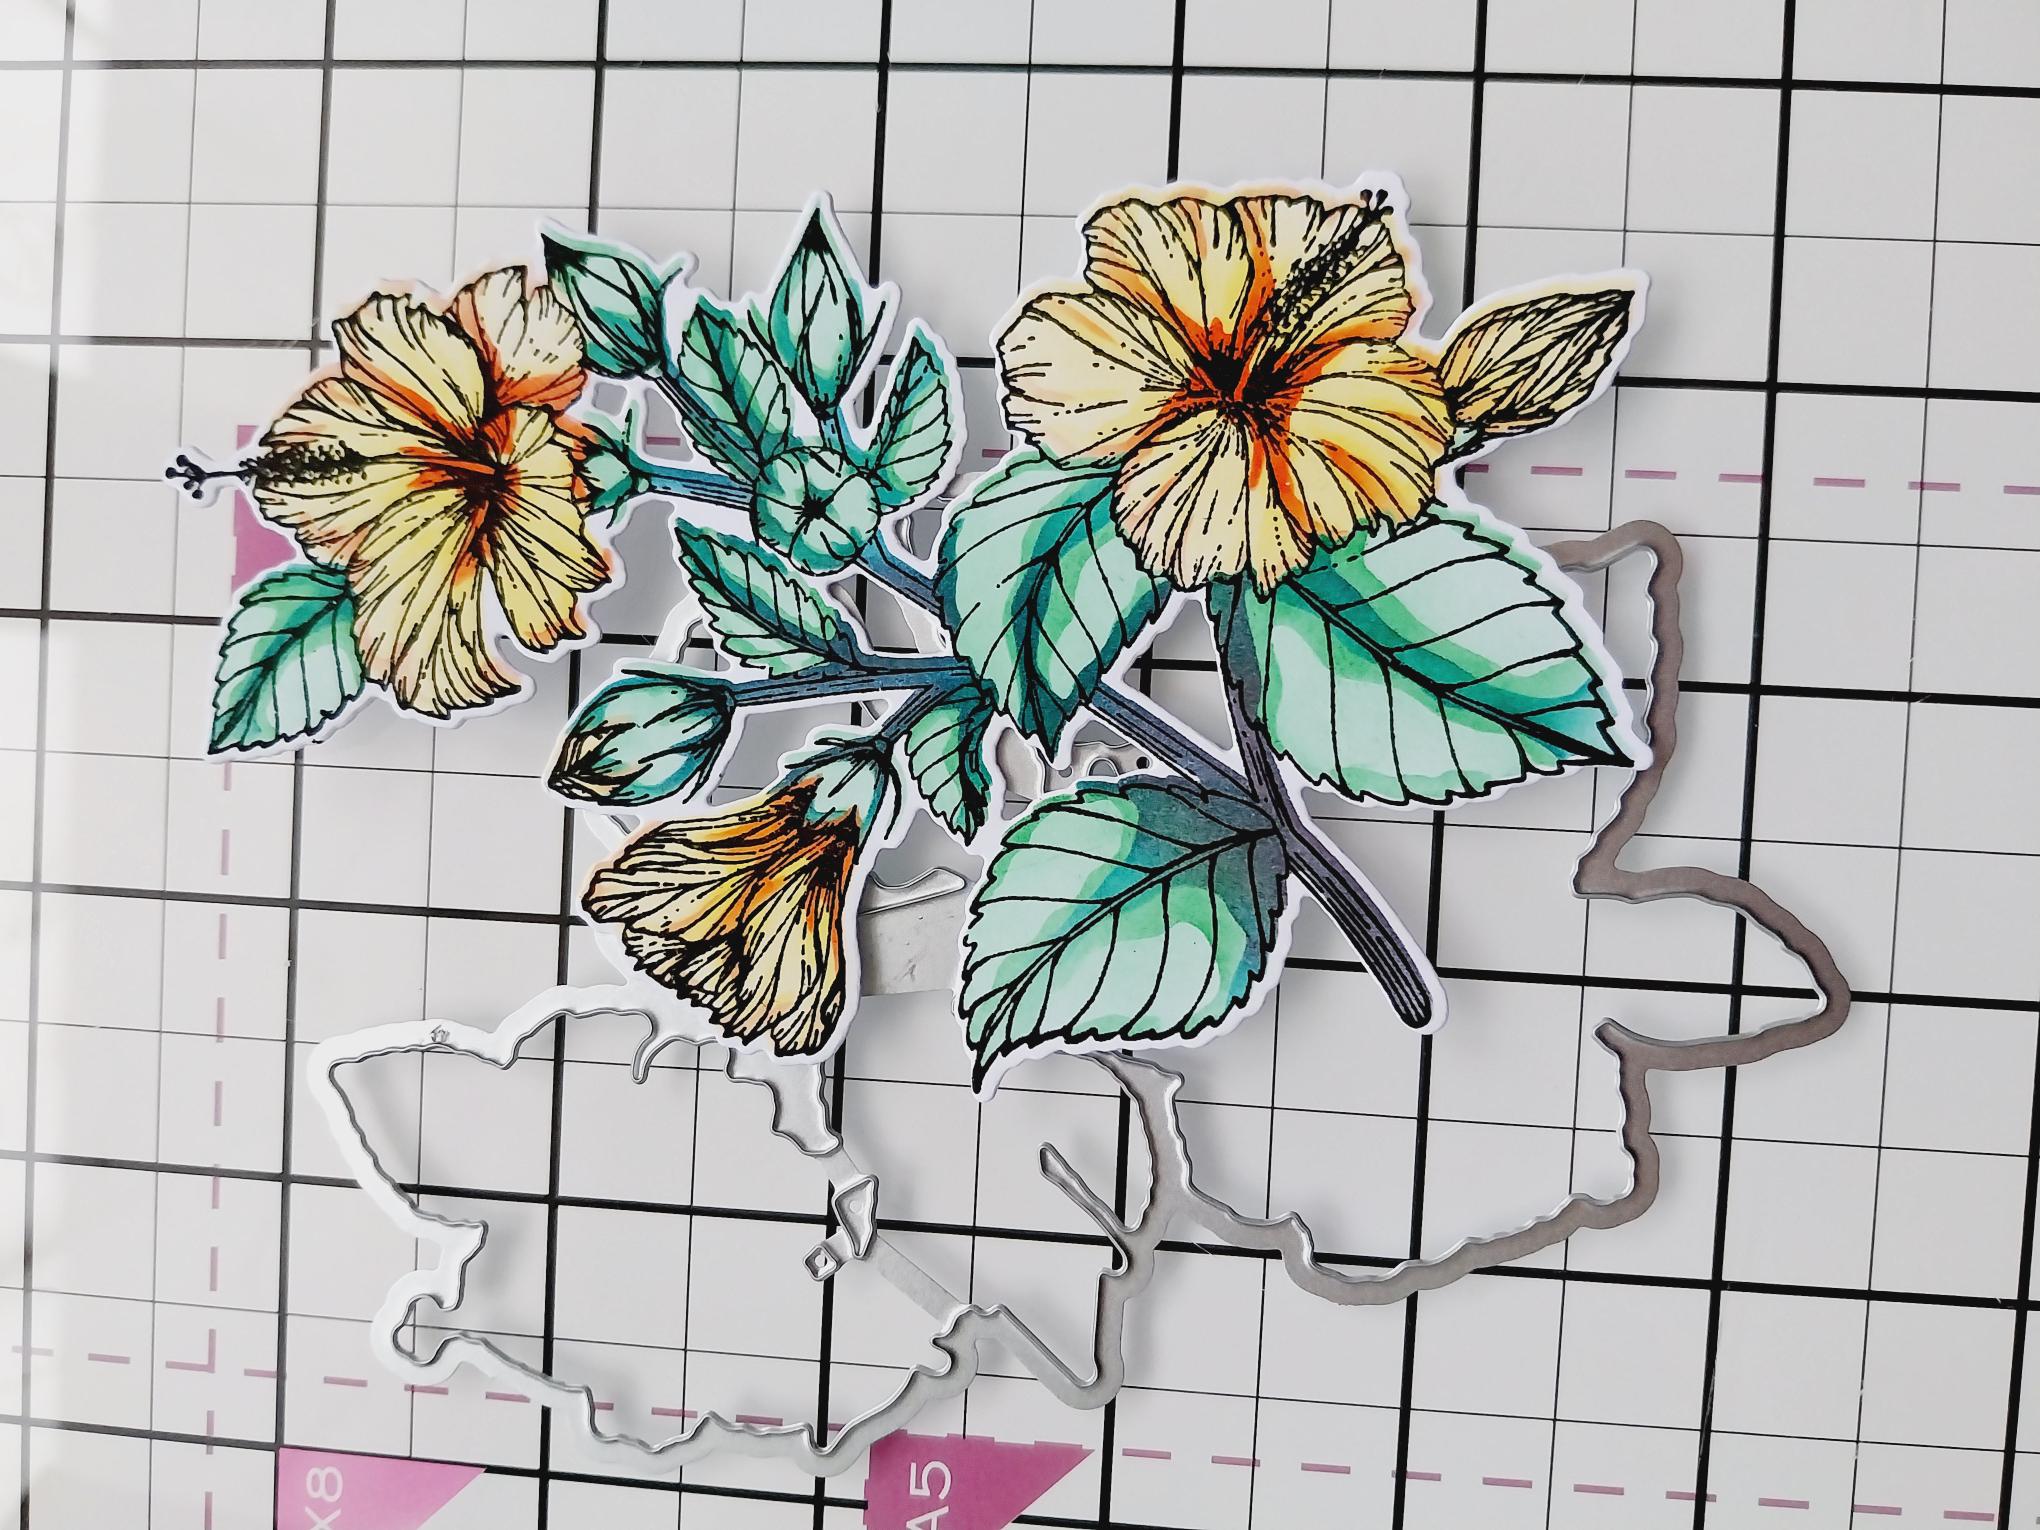
Use the coordinating die to cut it out. |
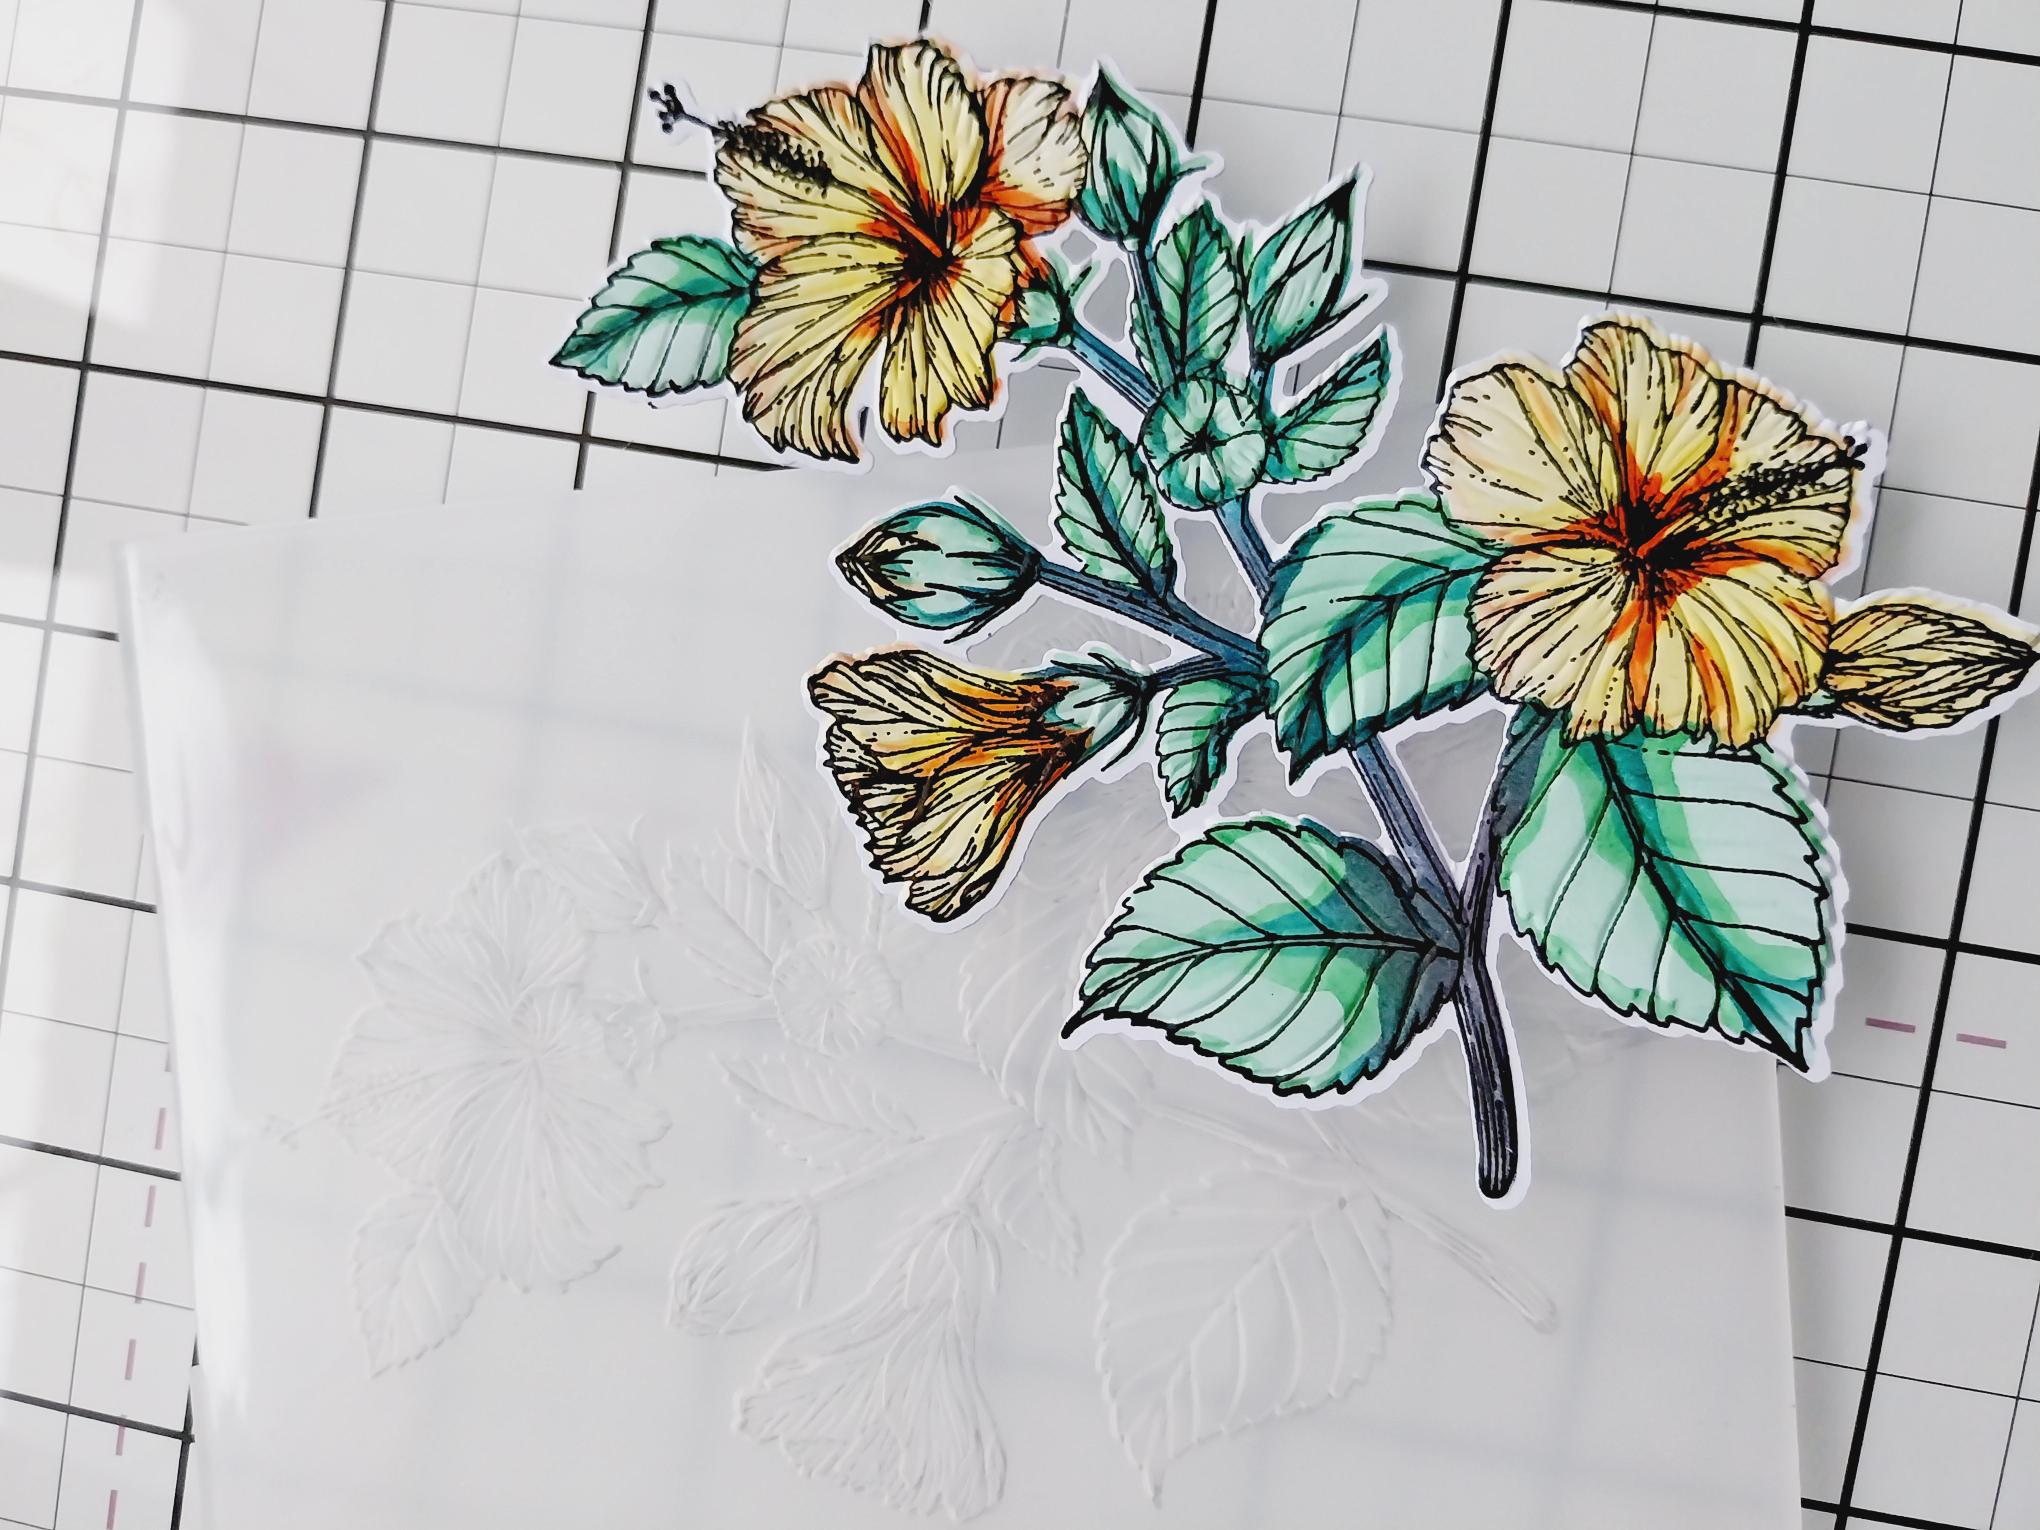
|
Line up inside the embossing folder and run it through your machine. |
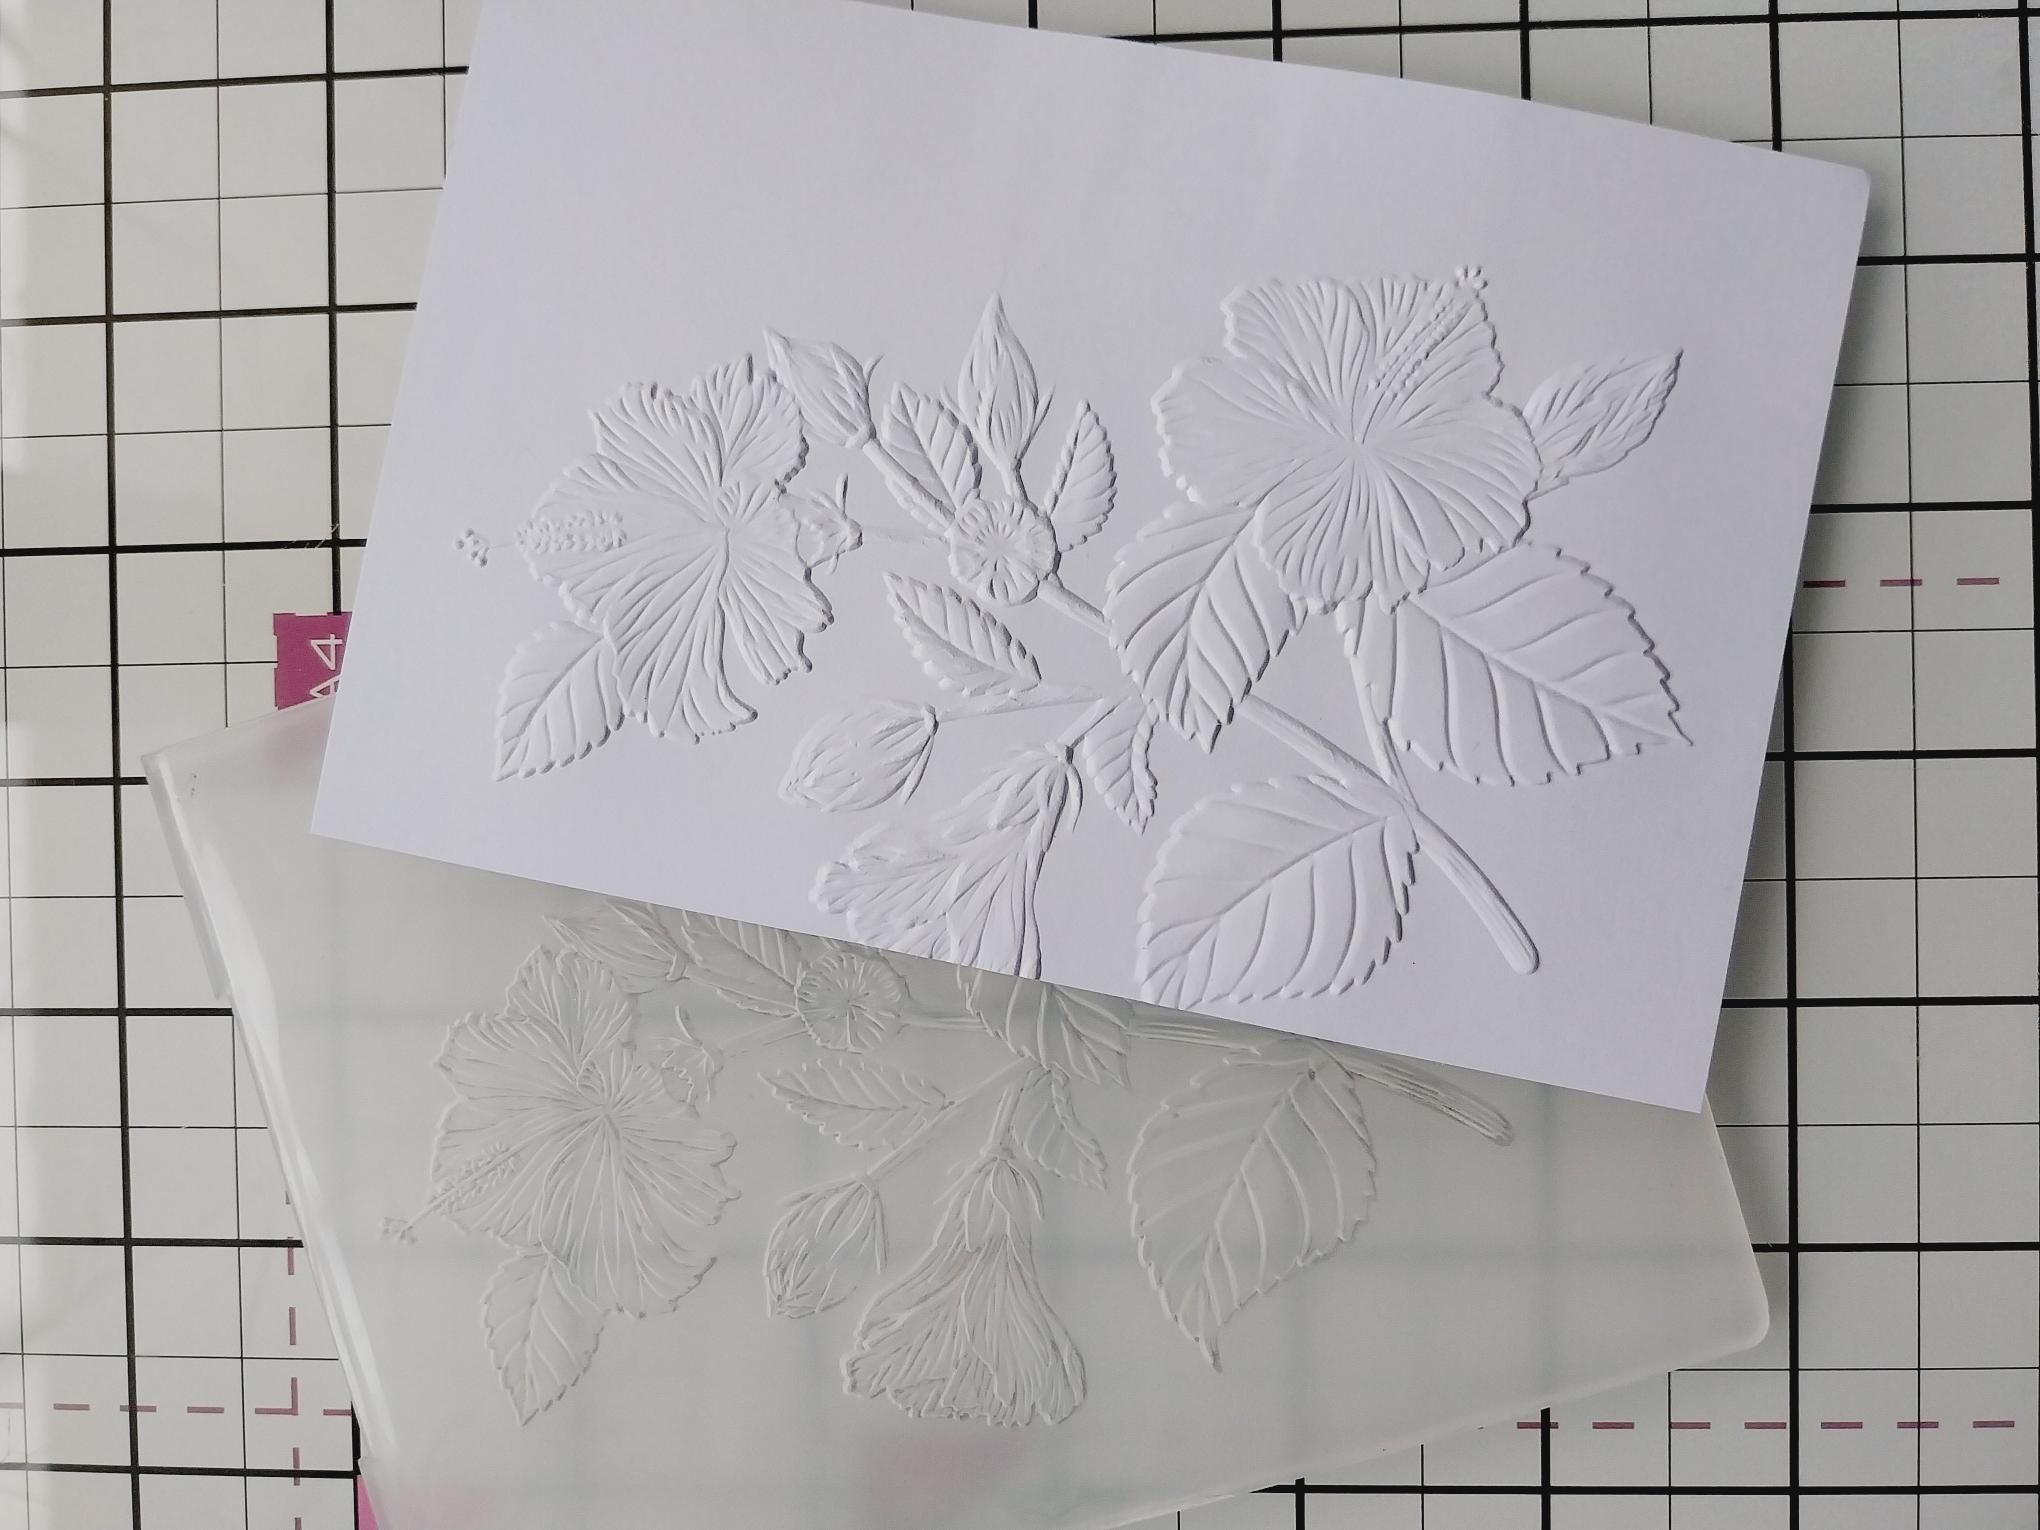
|
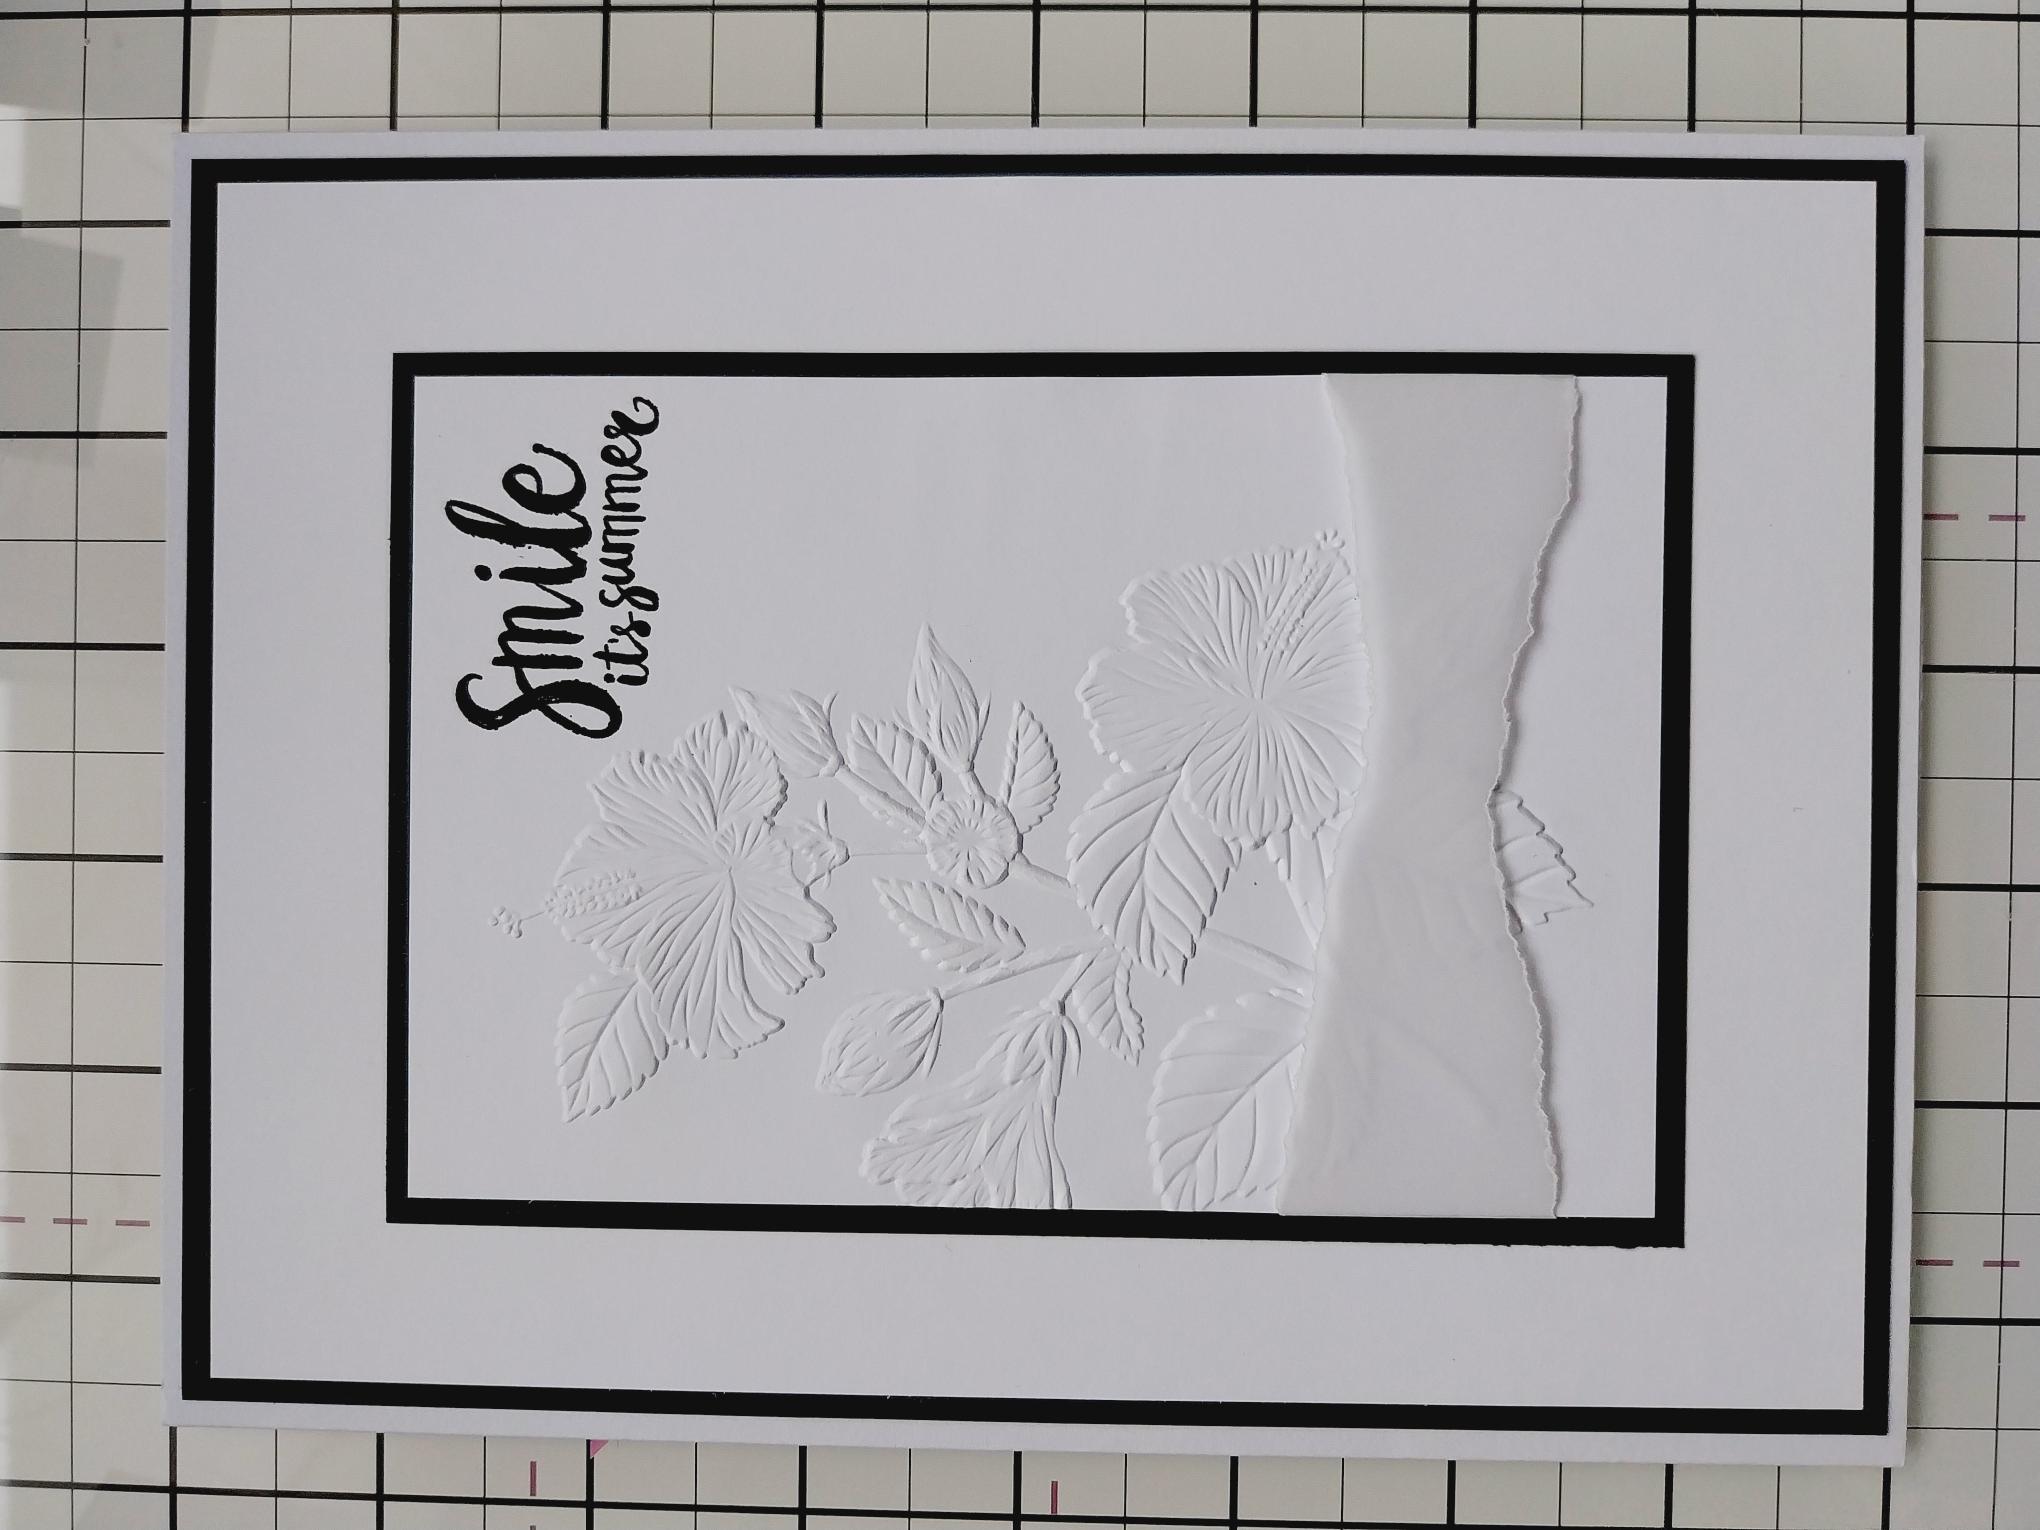
Cut another piece of card to 3 3/4 x 5 3/4", place inside the folder so the floral image is coming onto the left side and run it through your machine. |
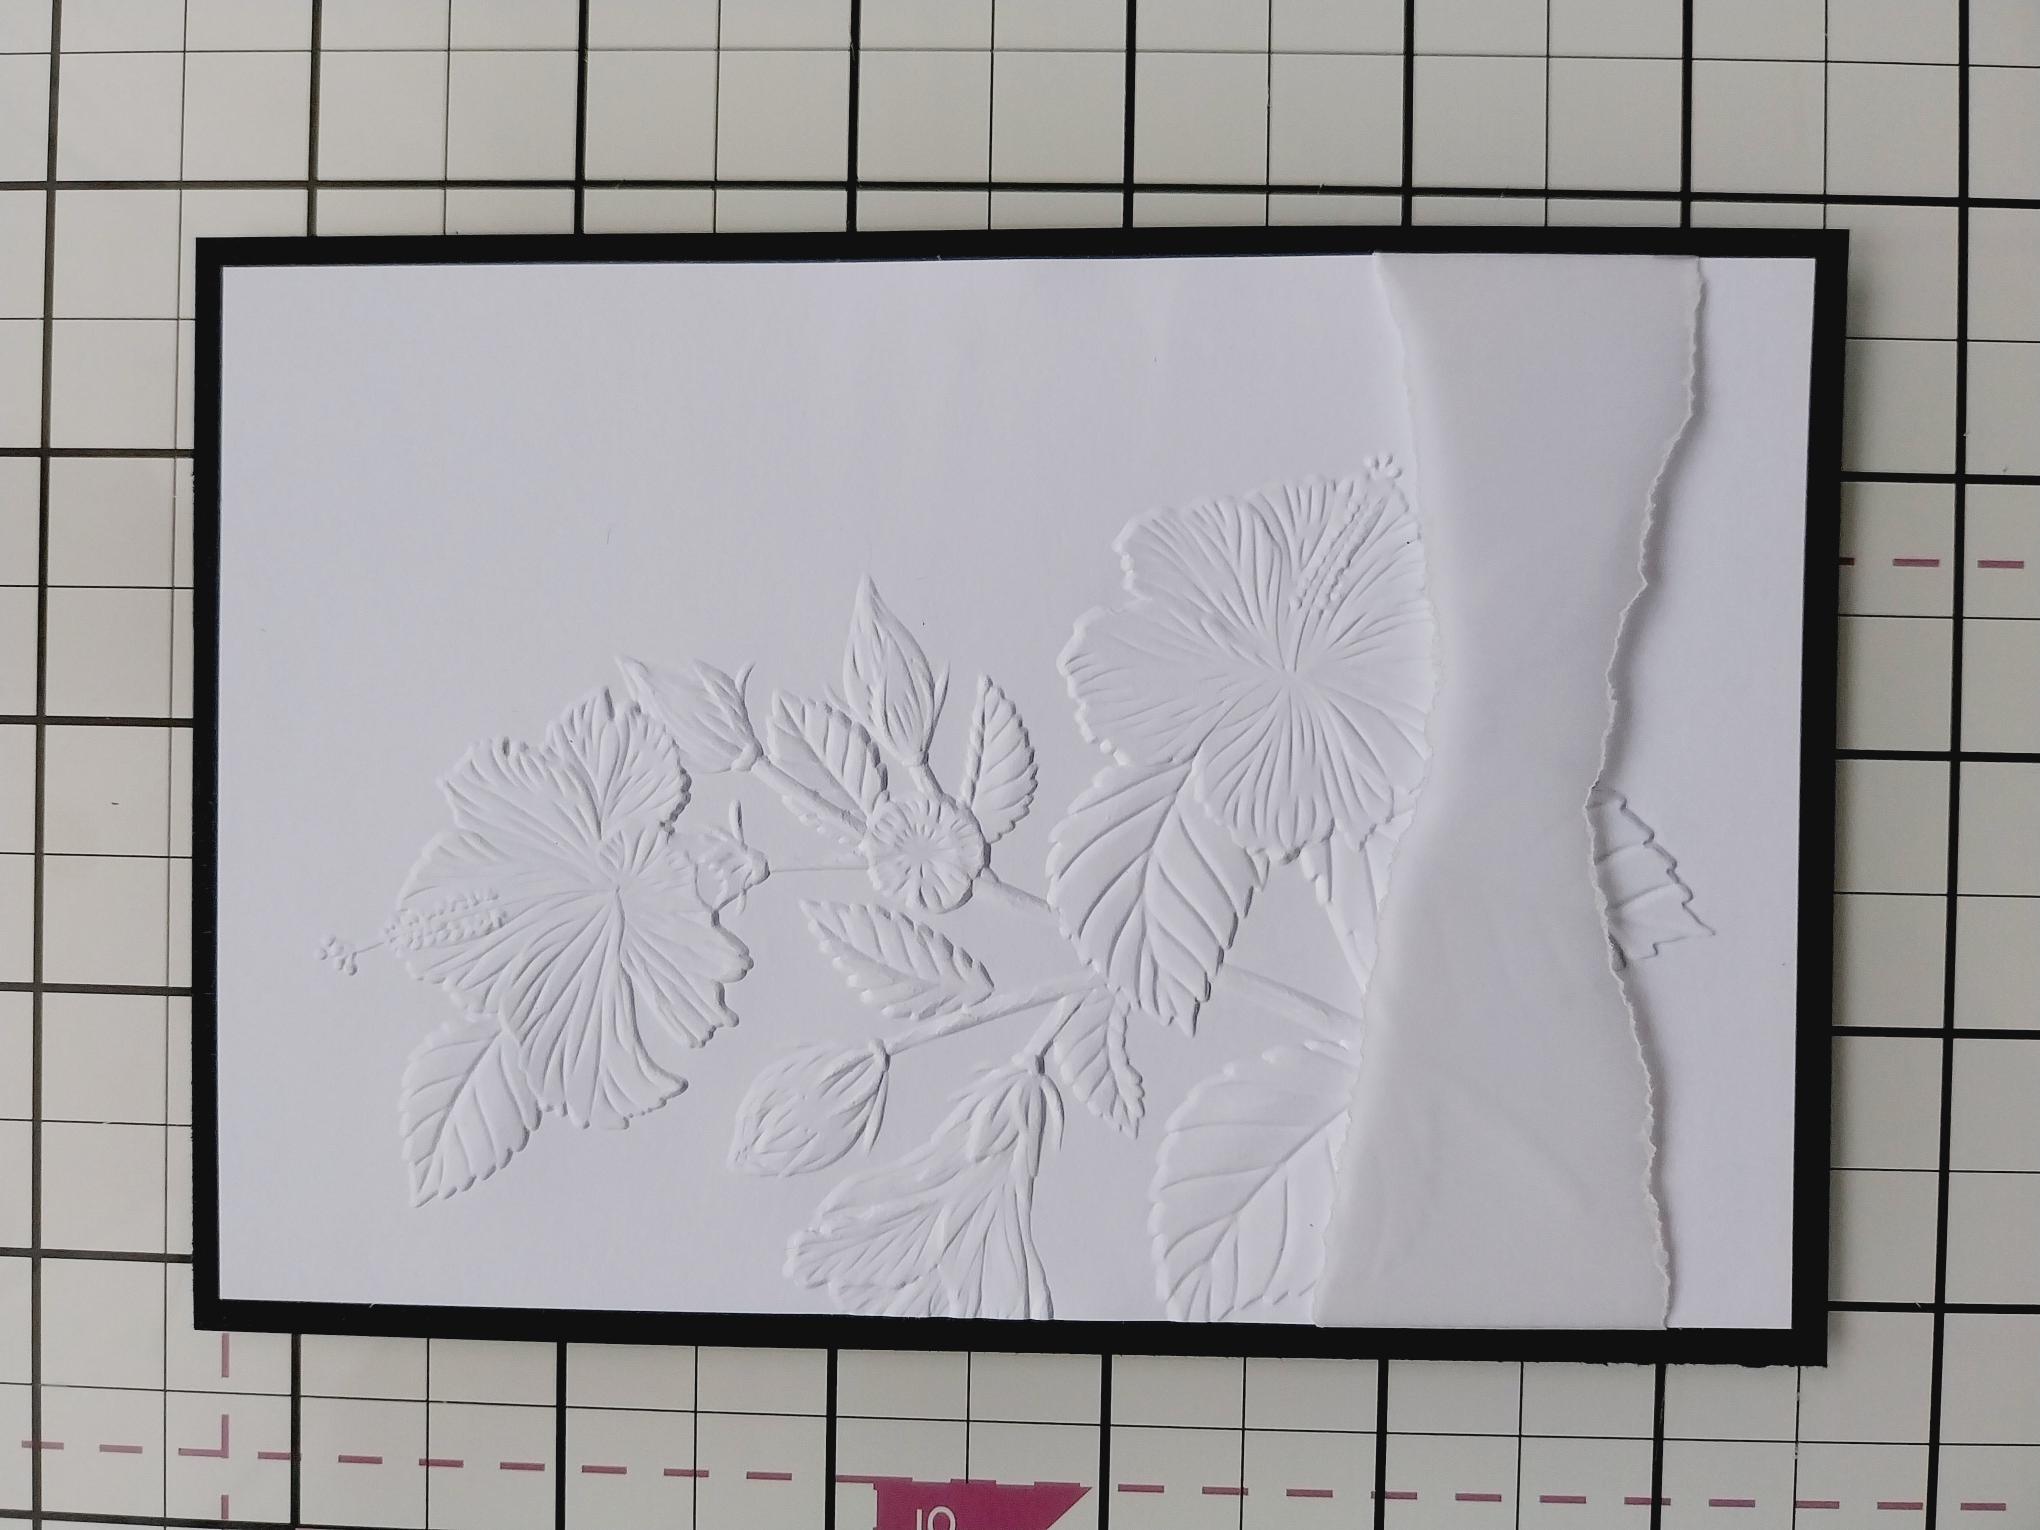
|
Secure a piece of torn vellum across the bottom third of the embossed card, taping it on the reverse, then adhere to black card cut to 4 x 6". |
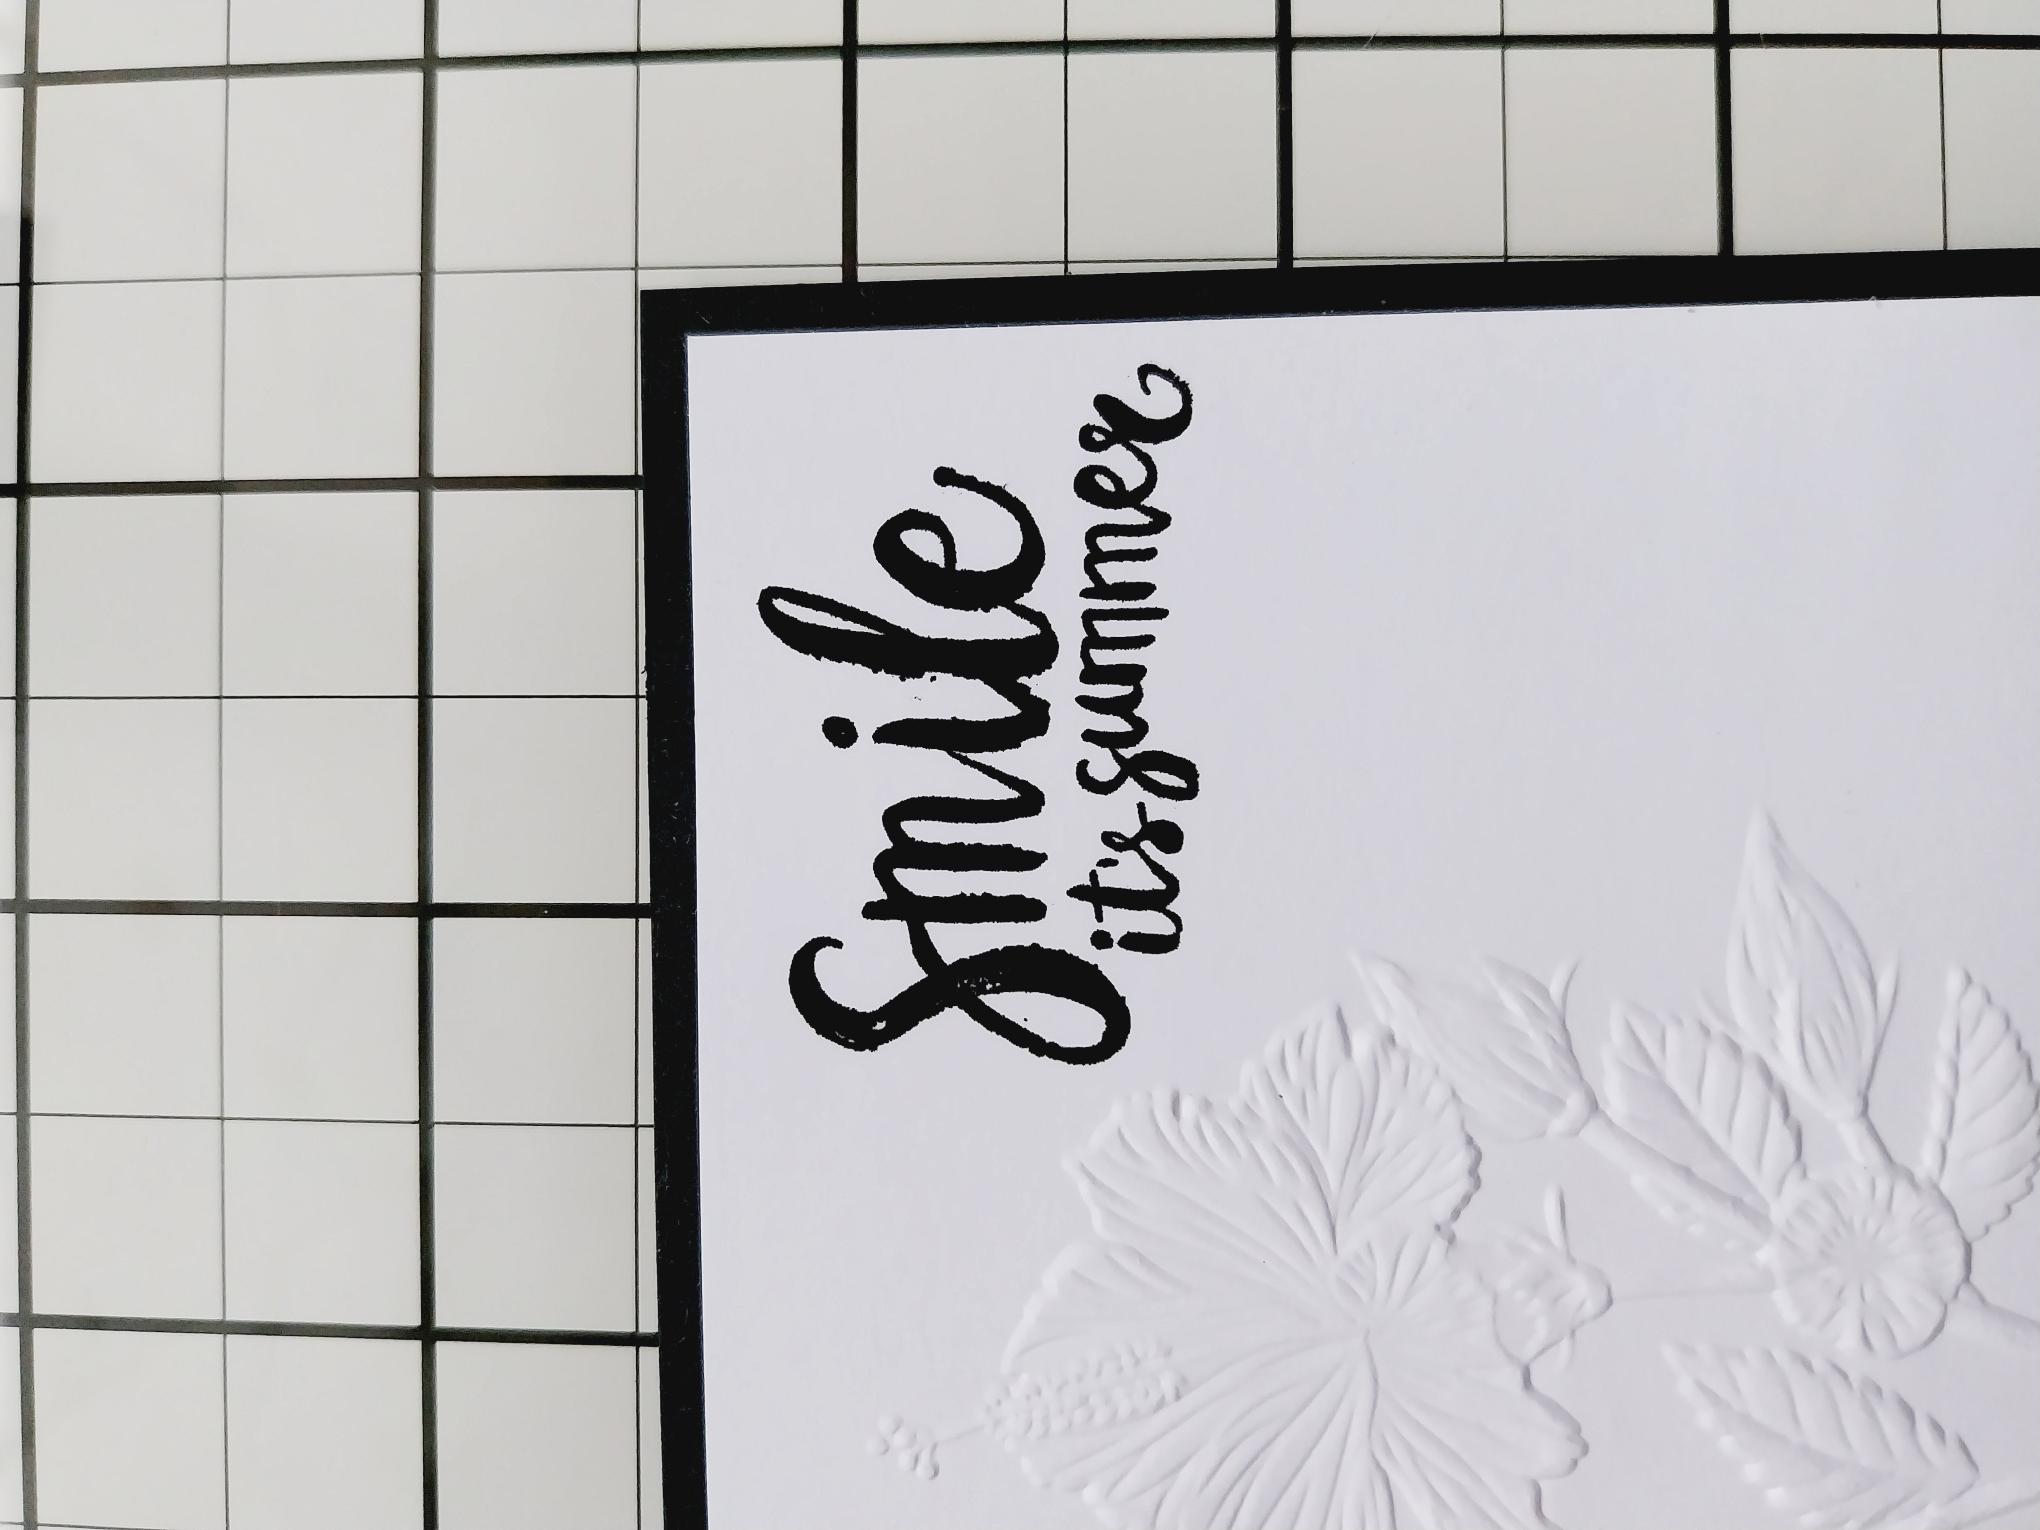
|
Stamp your sentiment in Midnight, in the top right corner. |
|
Adhere to white card cut to 5 1/2 x 7 1/2" and then onto black card cut to 5 3/4 x 7 3/4. Finally, adhere to the front of your card blank. |
|
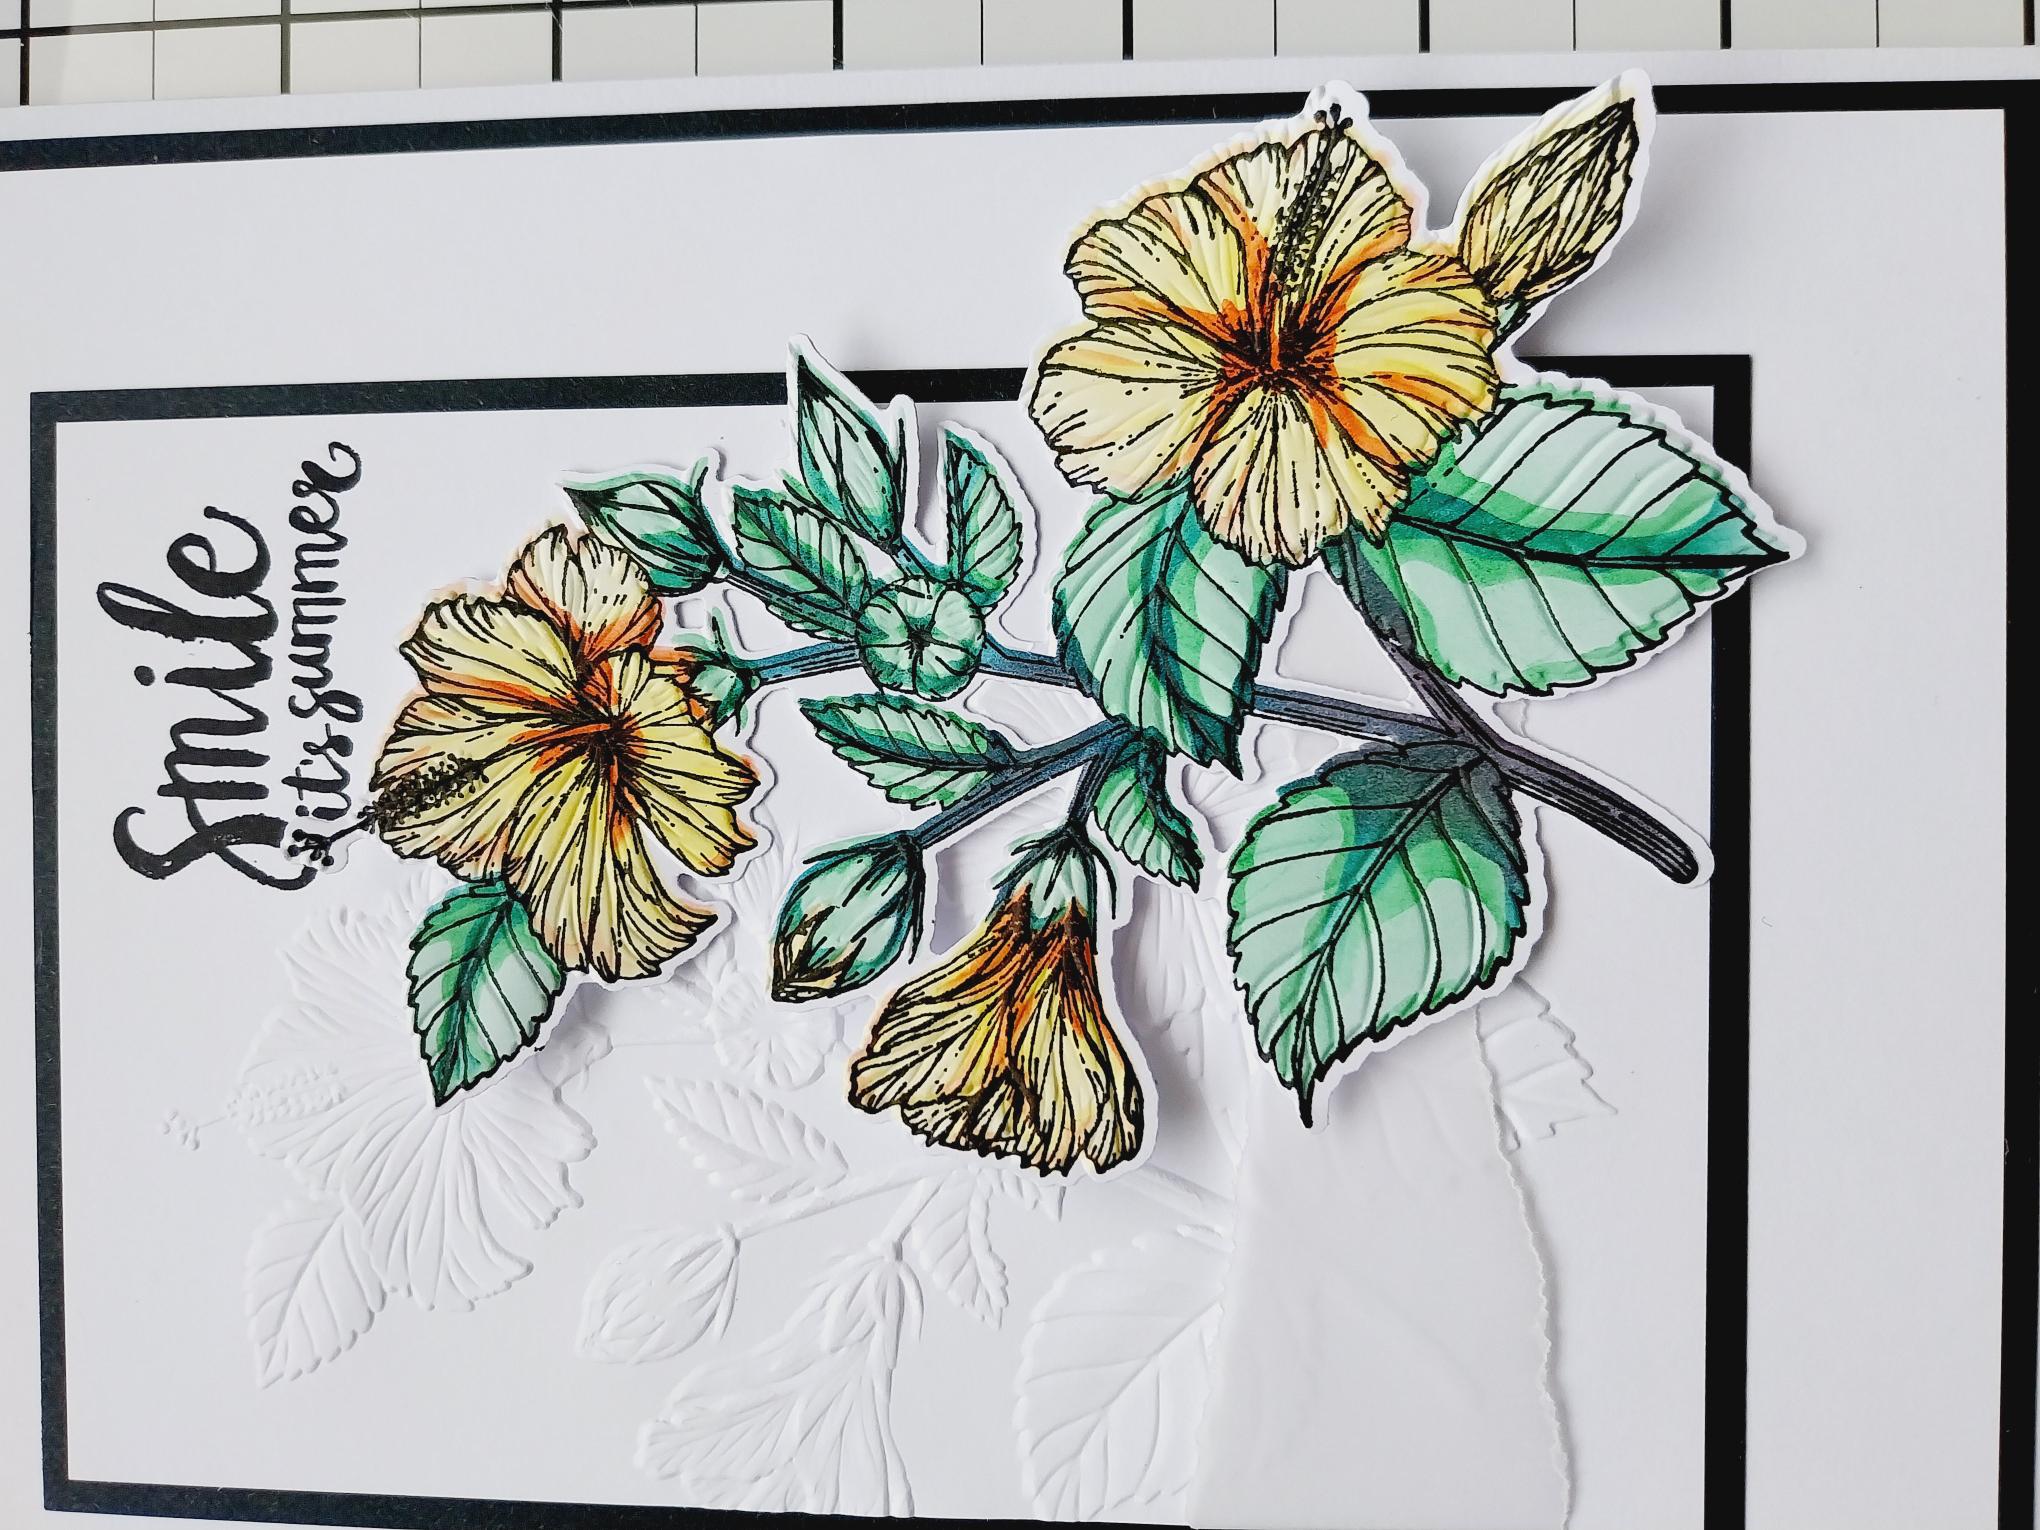
Adhere your 3D Hibiscus onto your card where preferred. |
|
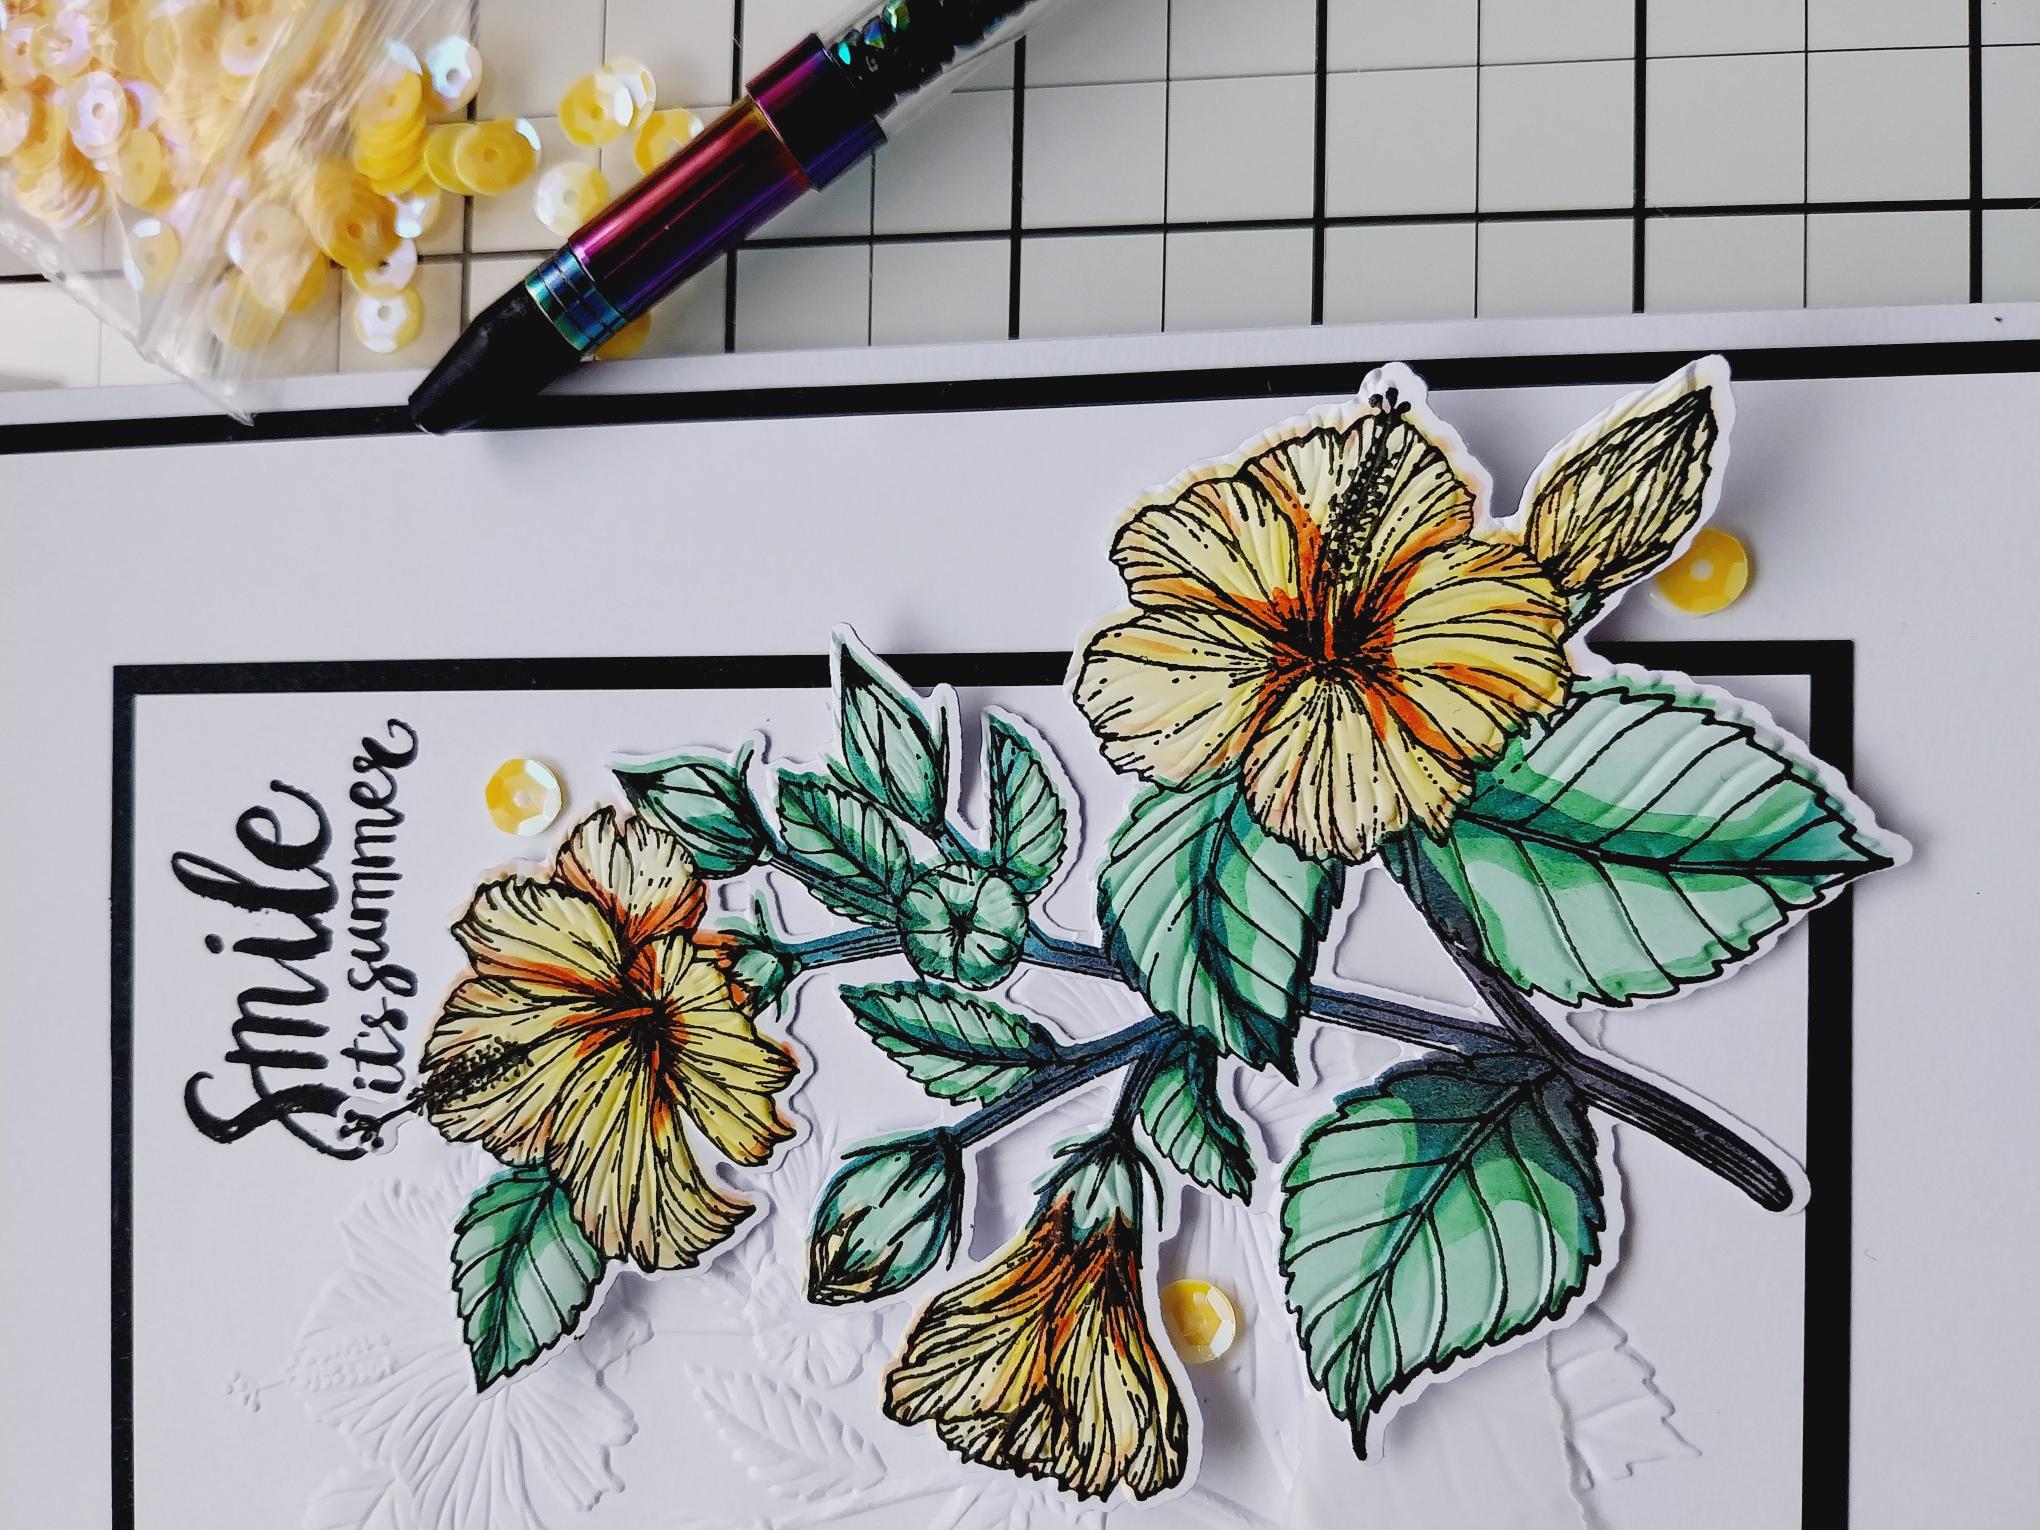
Finish your card by adding a few sequins on, under and around your Hibiscus. |