

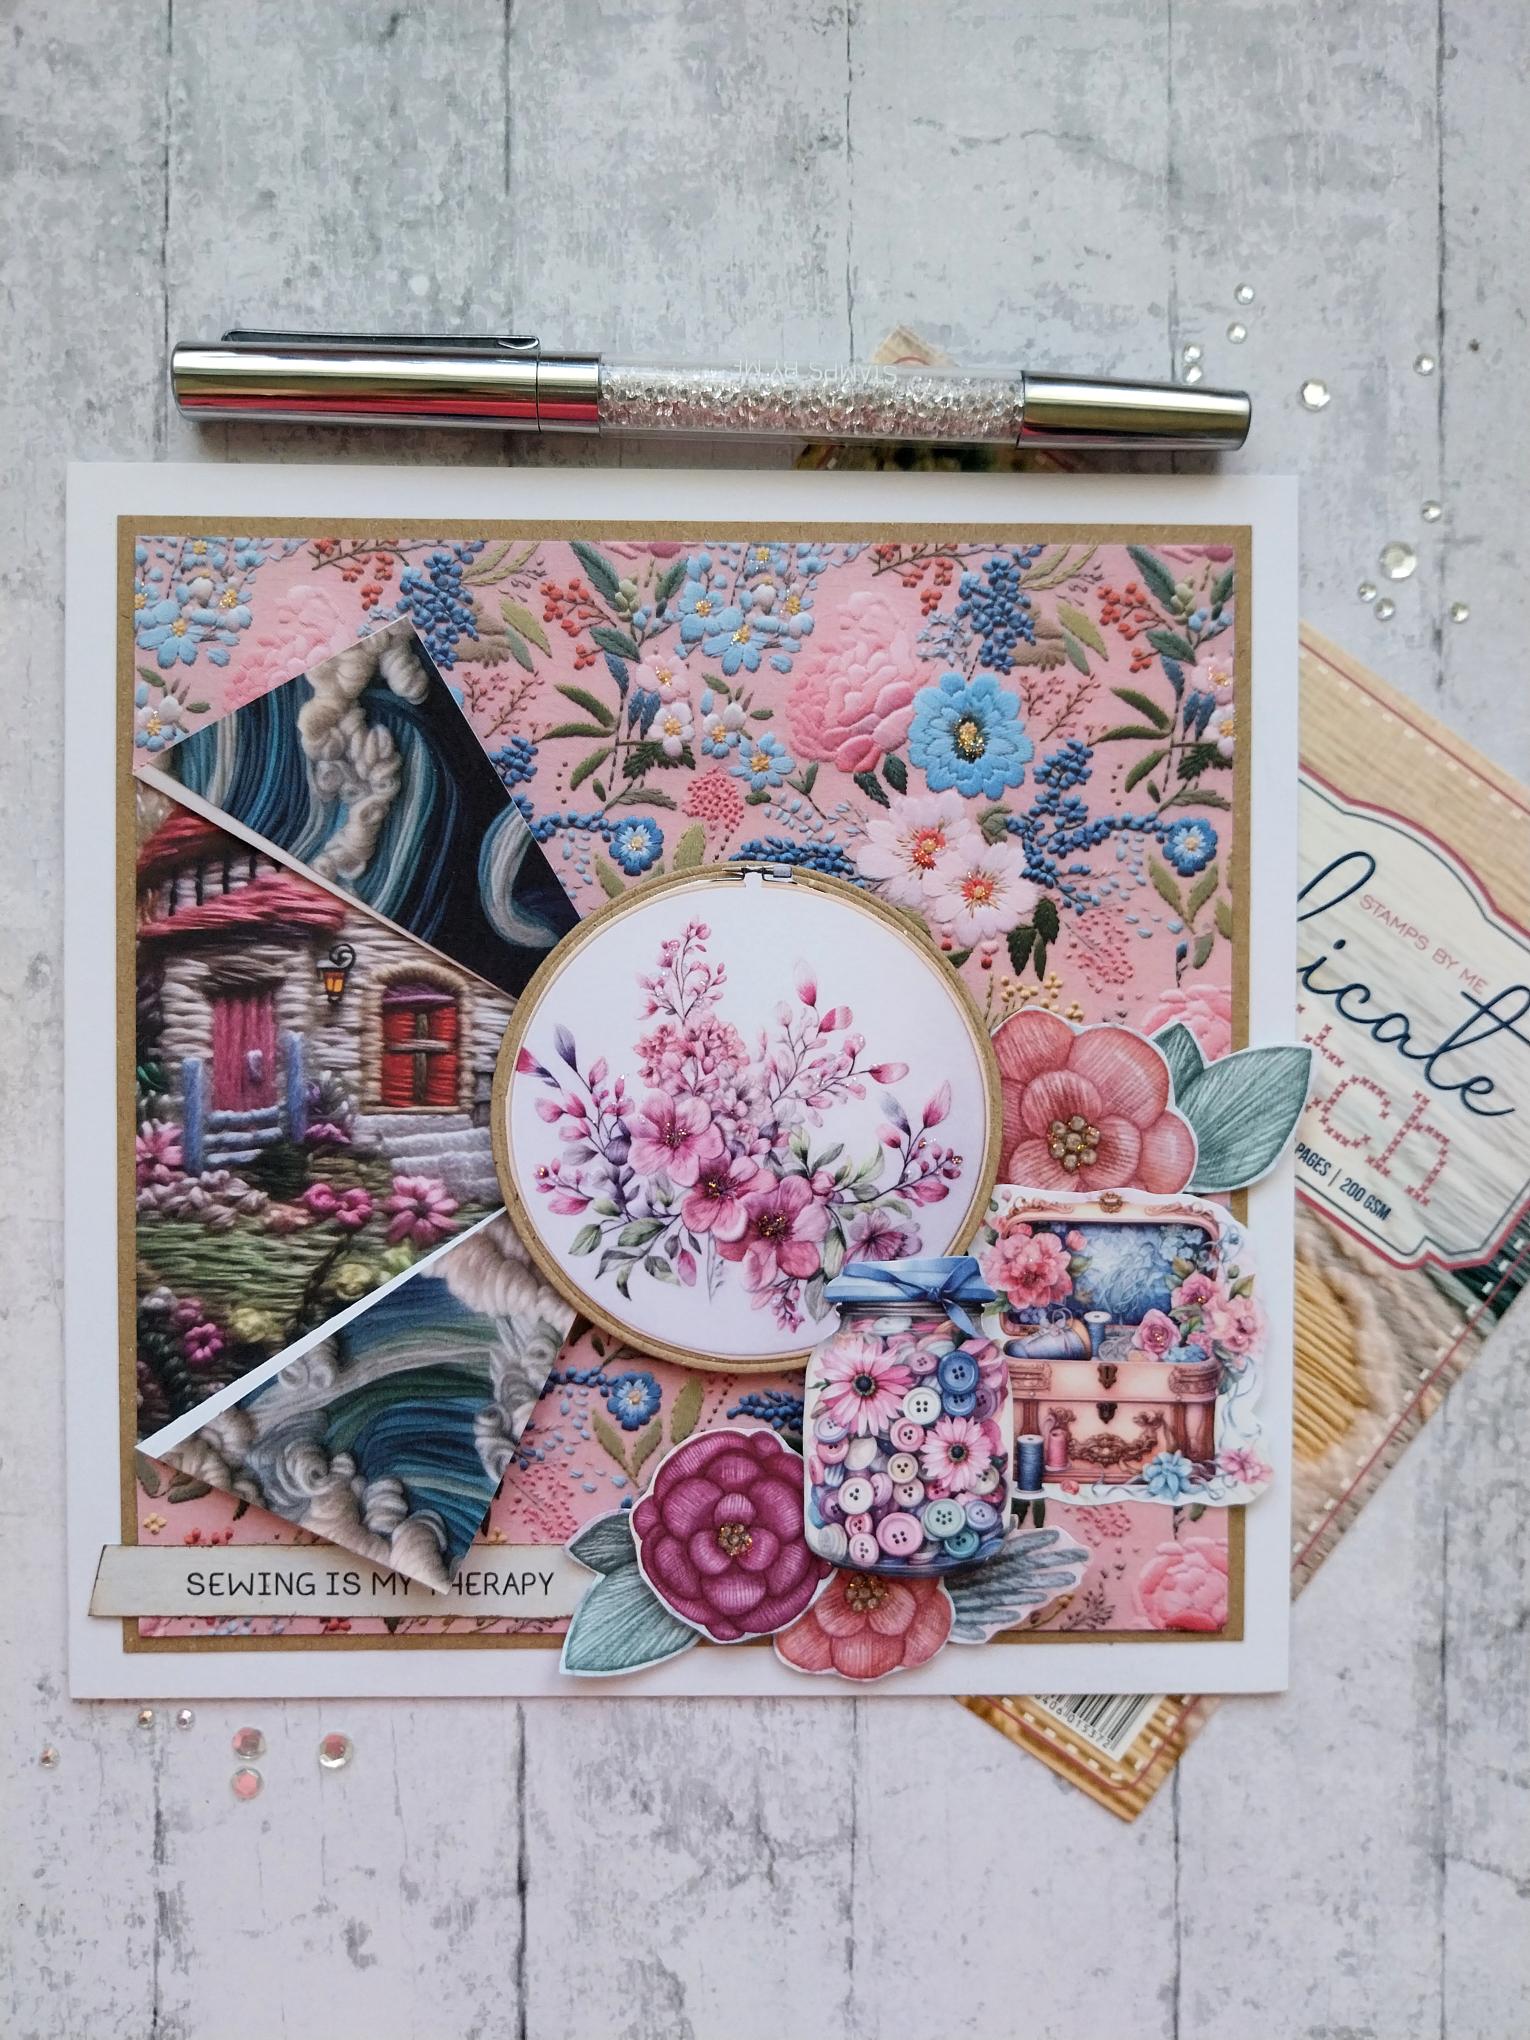
WHAT YOU WILL NEED:
White card blank 7 x 7"
Kraft cardstock
Delicate Stitch Paper Collection
Delicate Stitch Paper, Stamp and Die Collection
Circle nesting dies
Stickles
SBM A3 Magnetic glass mat
Paper Trimmer
Glue
Foam pads
Die Cutting machine
[click image to enlarge] 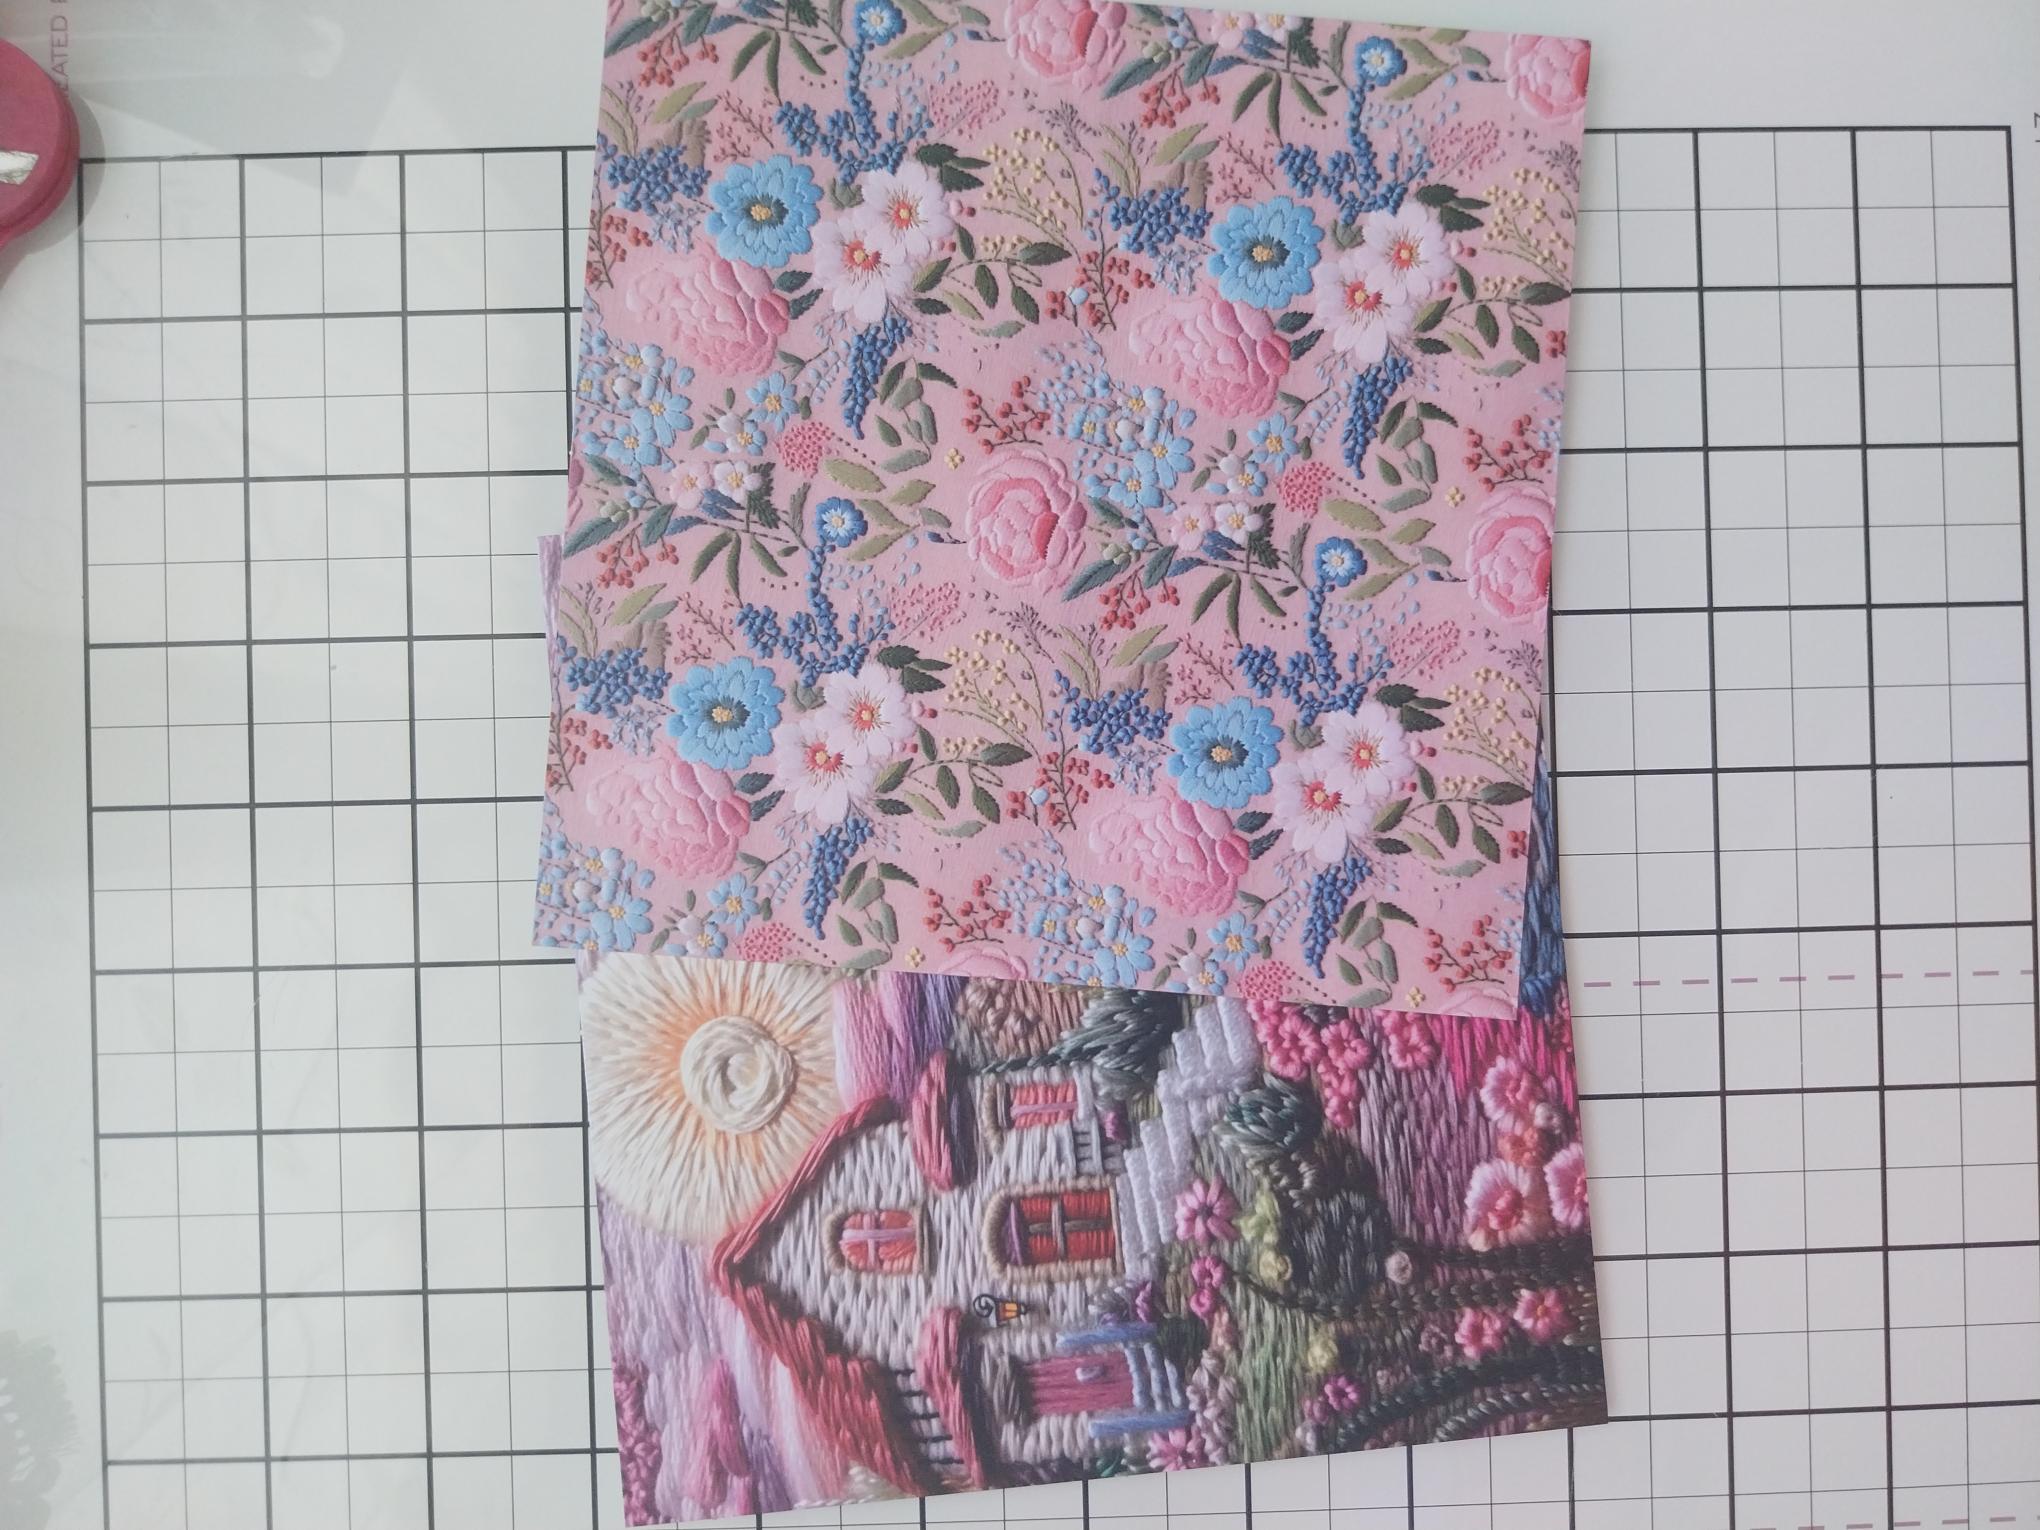
|
Pick two sheets from the paper pack, one with a scene on it and the other a floral background. |
|
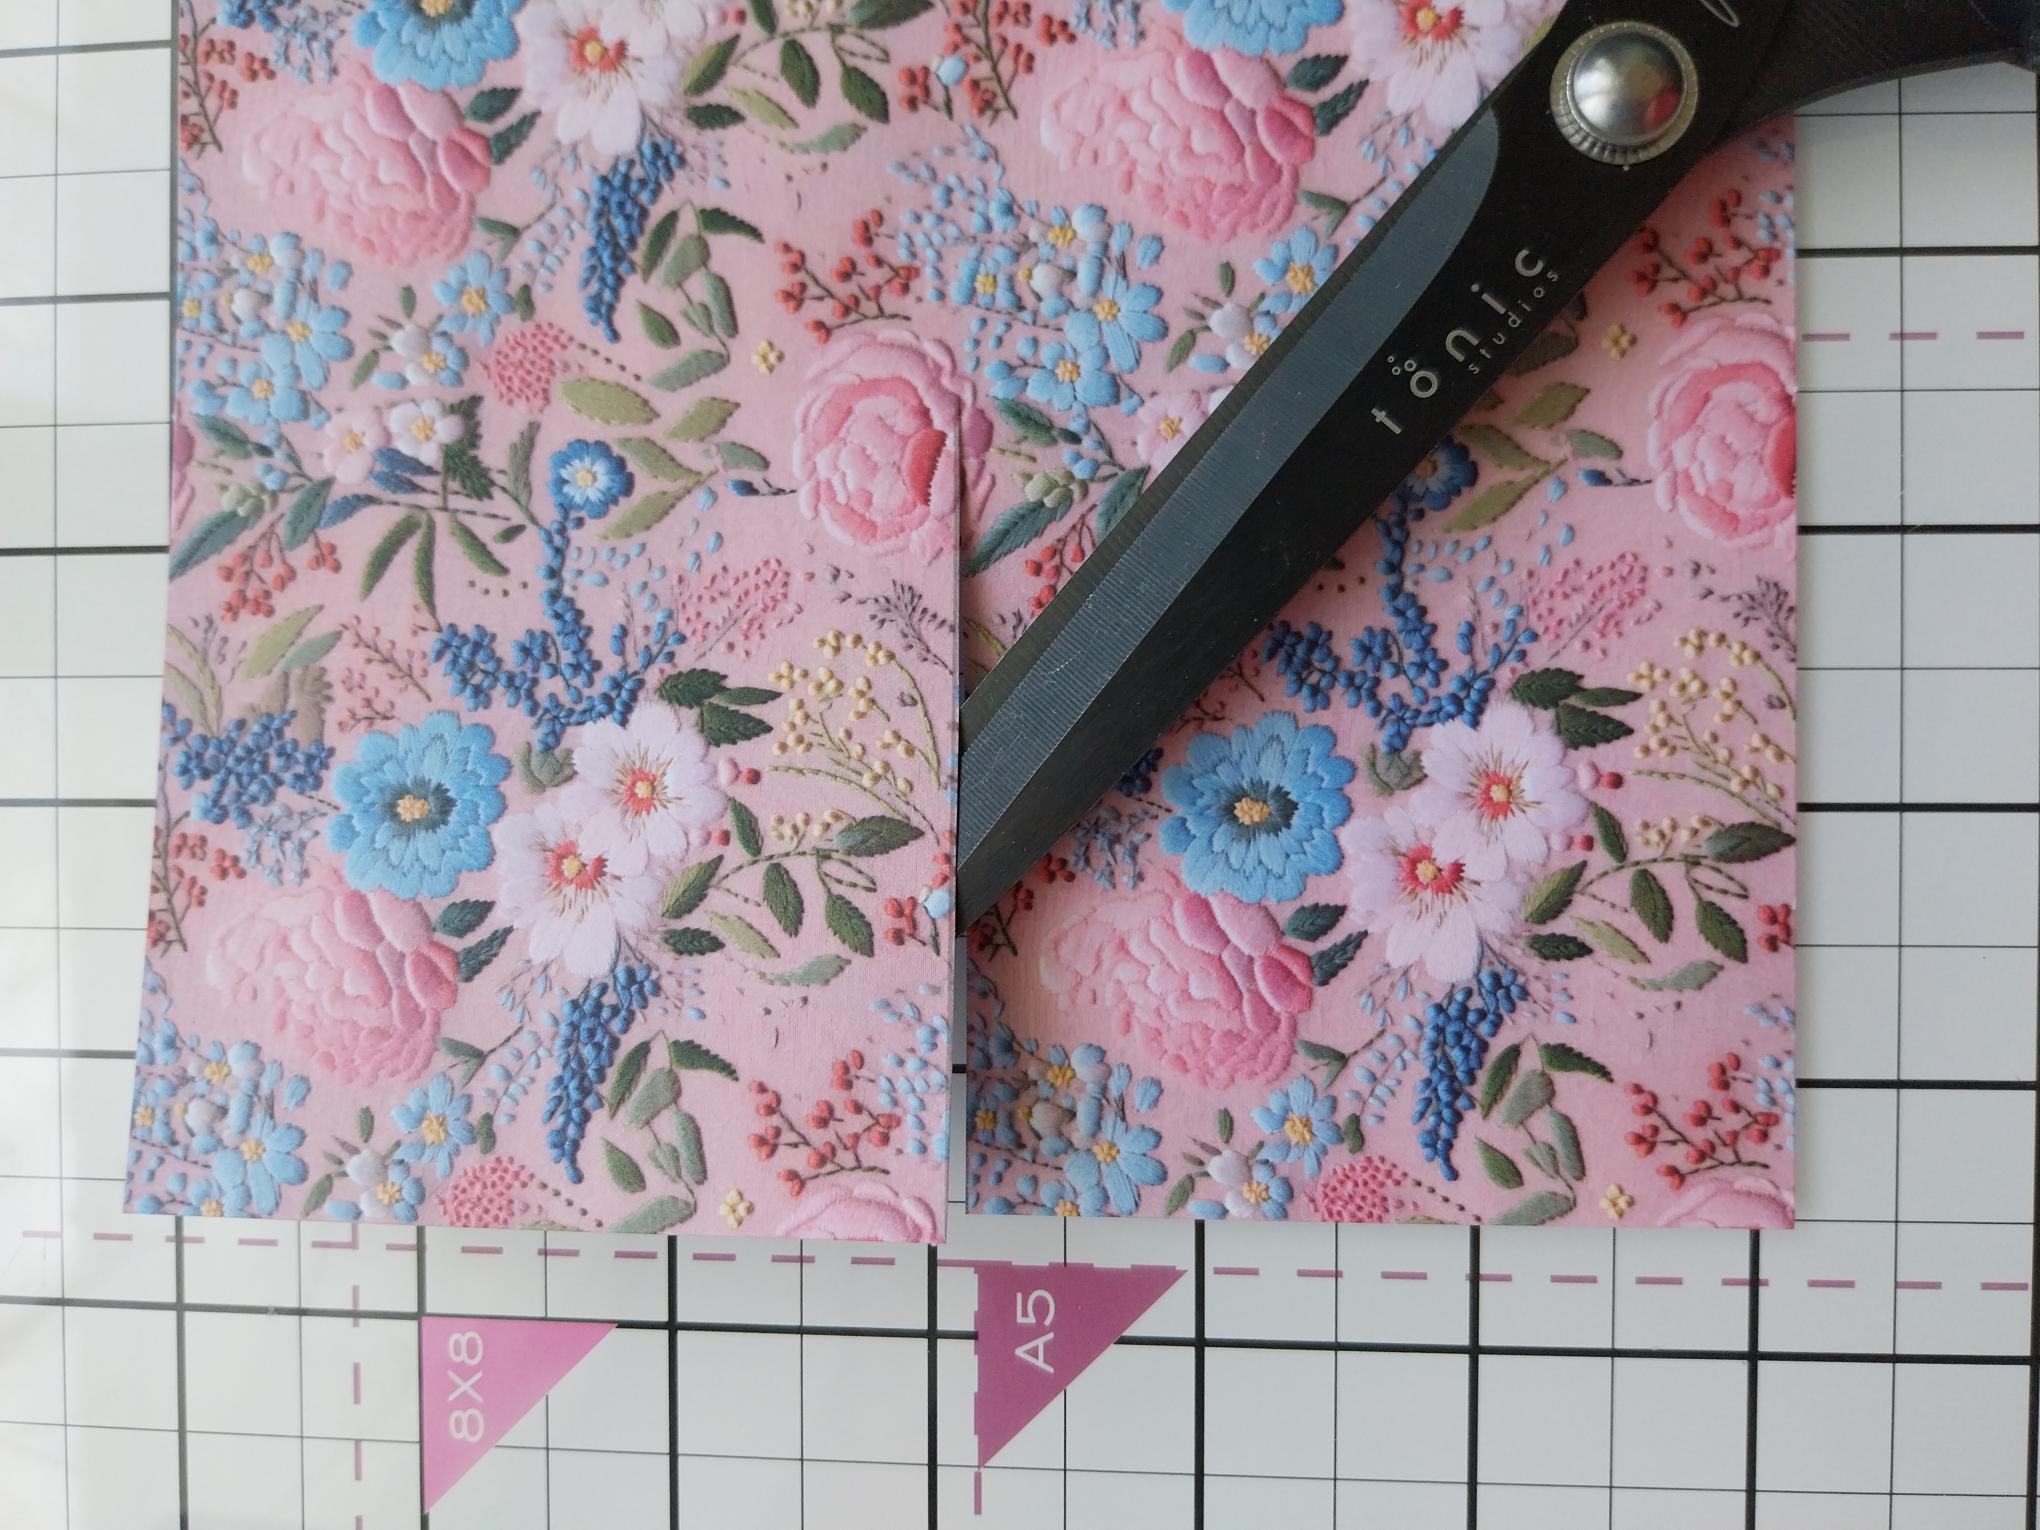
Cut a horizontal 3" line across the left of the floral paper, half way down, as seen here. You can increase the length of the cut line depending on the scene-based paper you have chosen, as when folded back it will "reveal" an area of your printed image. |
|
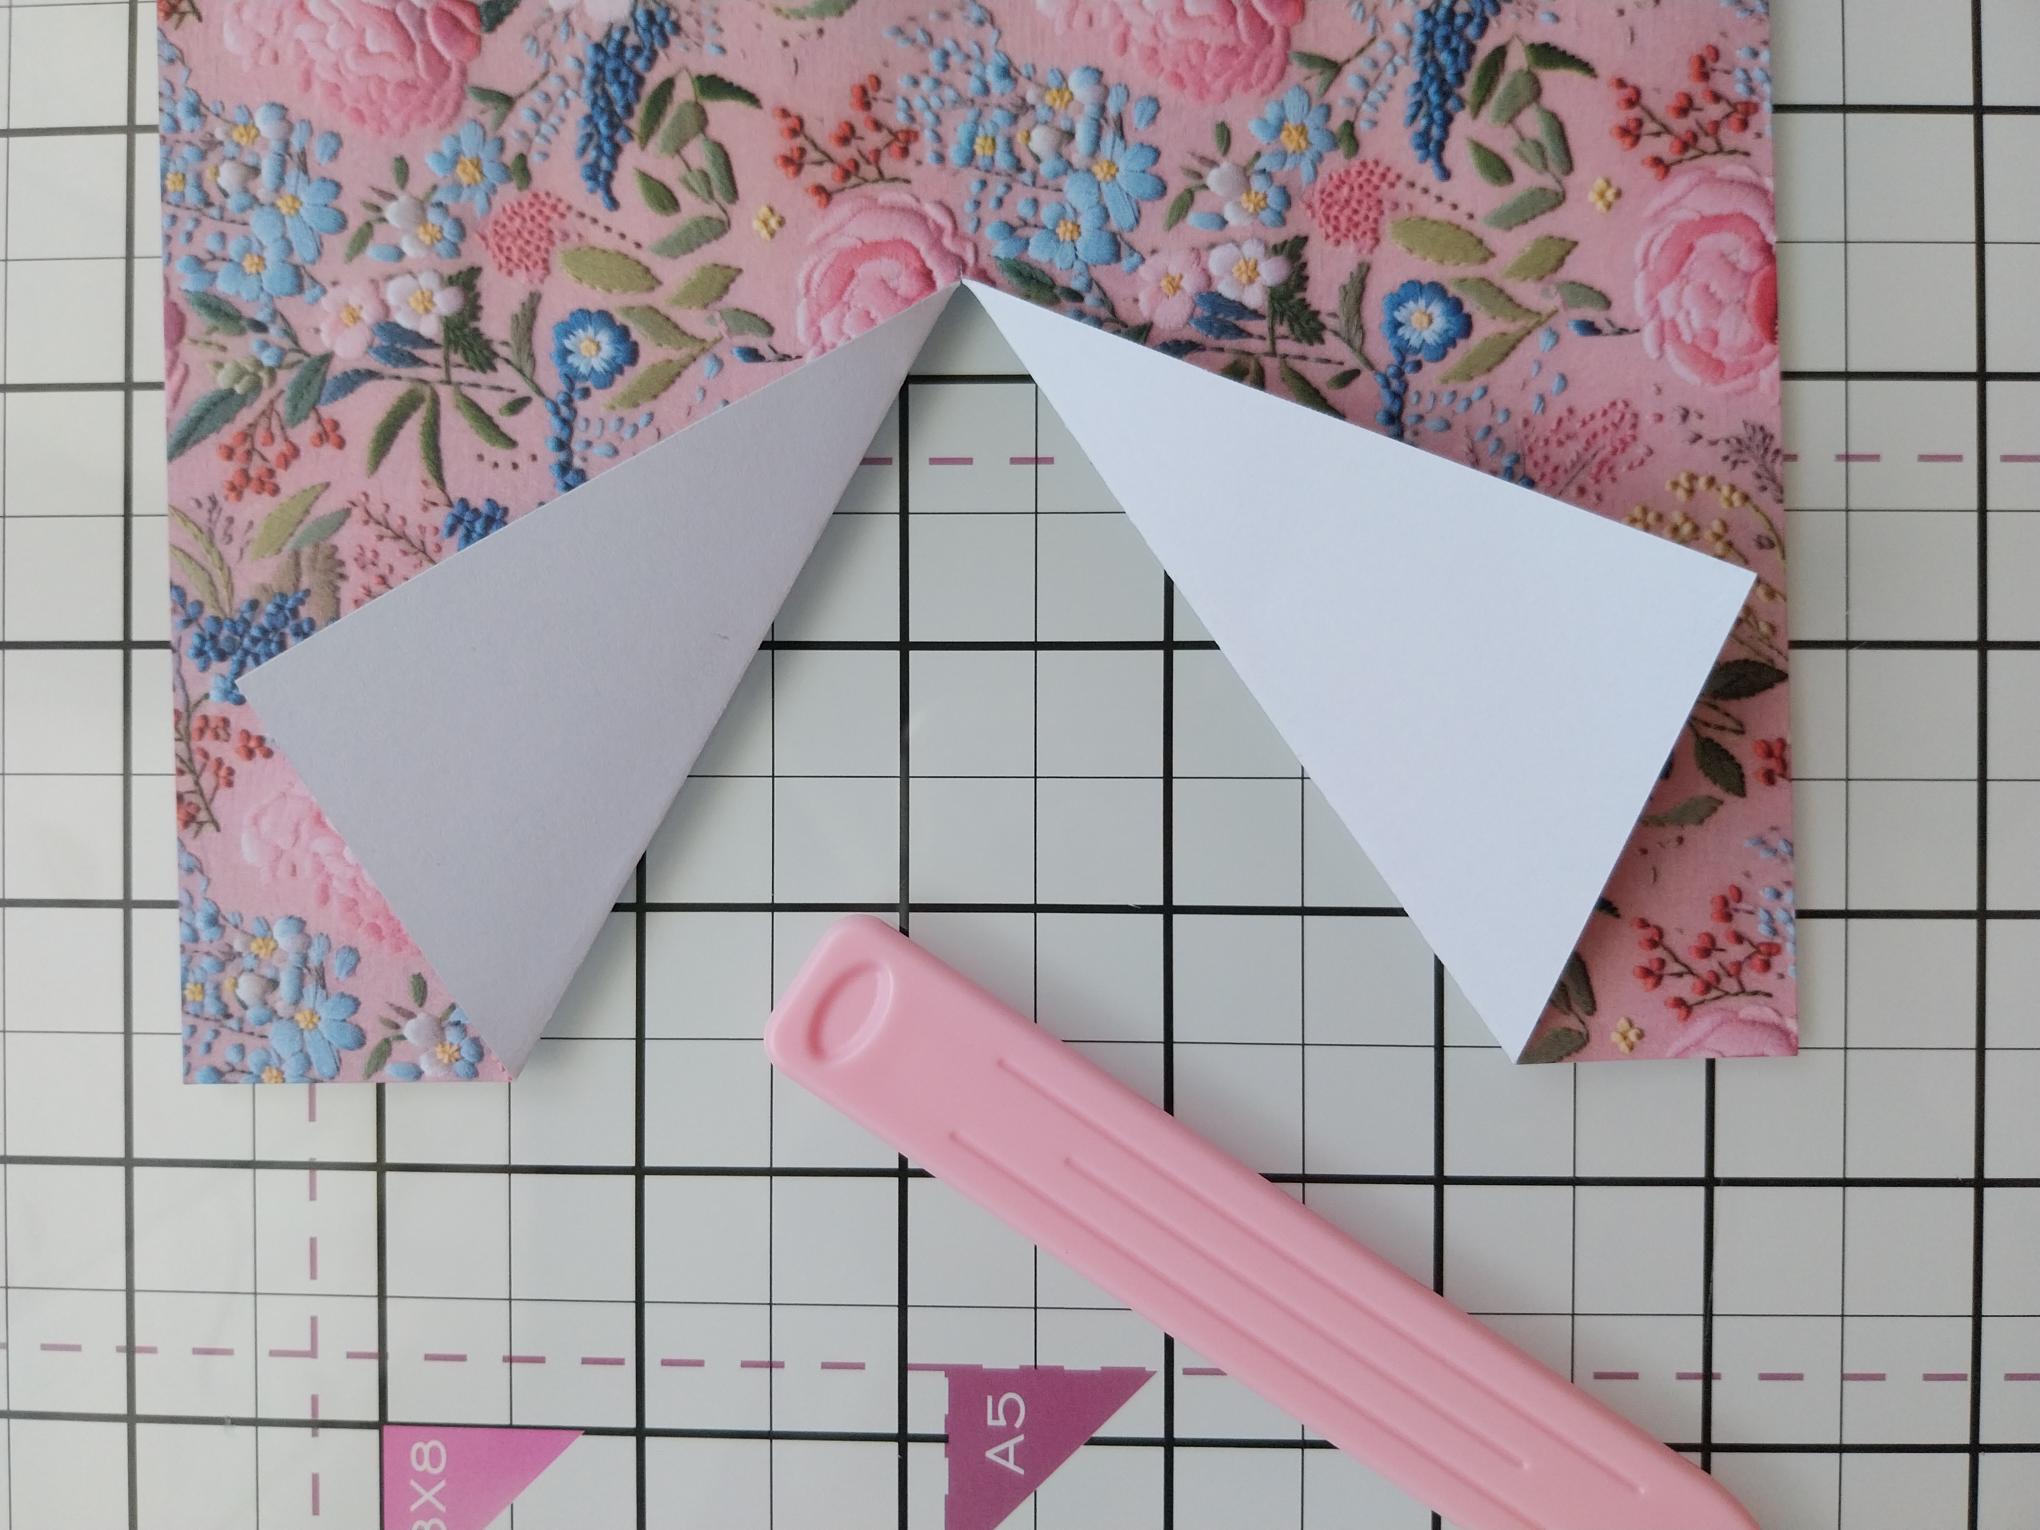
Fold back to create two flaps. |
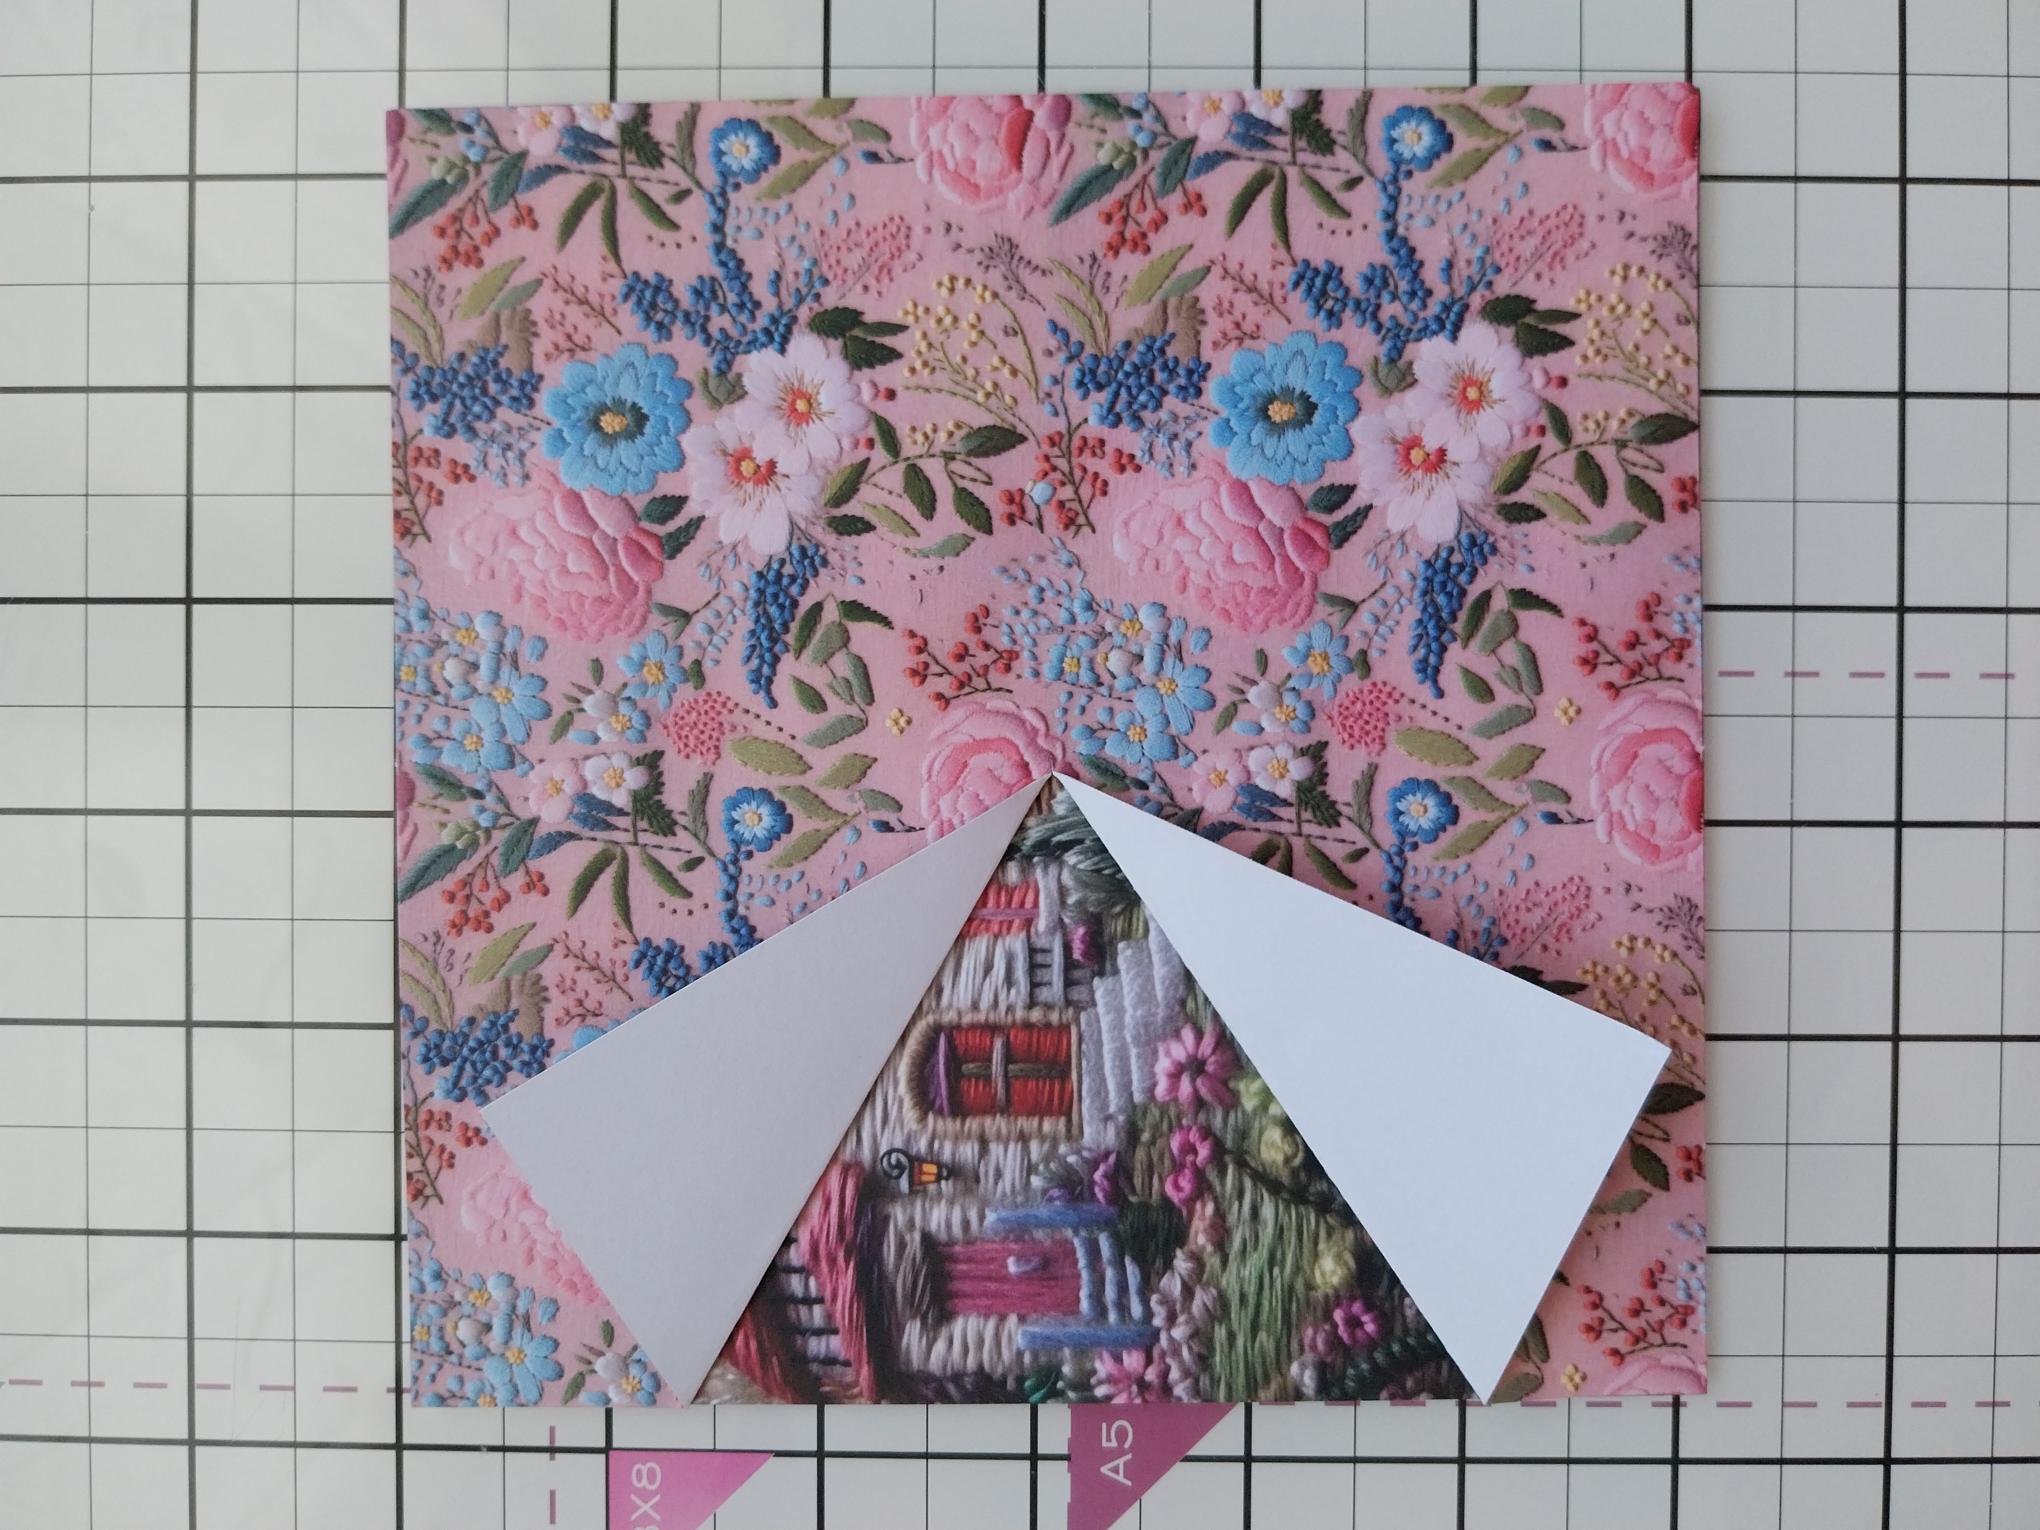
|
Adhere in place over your scene-based decorative paper. |
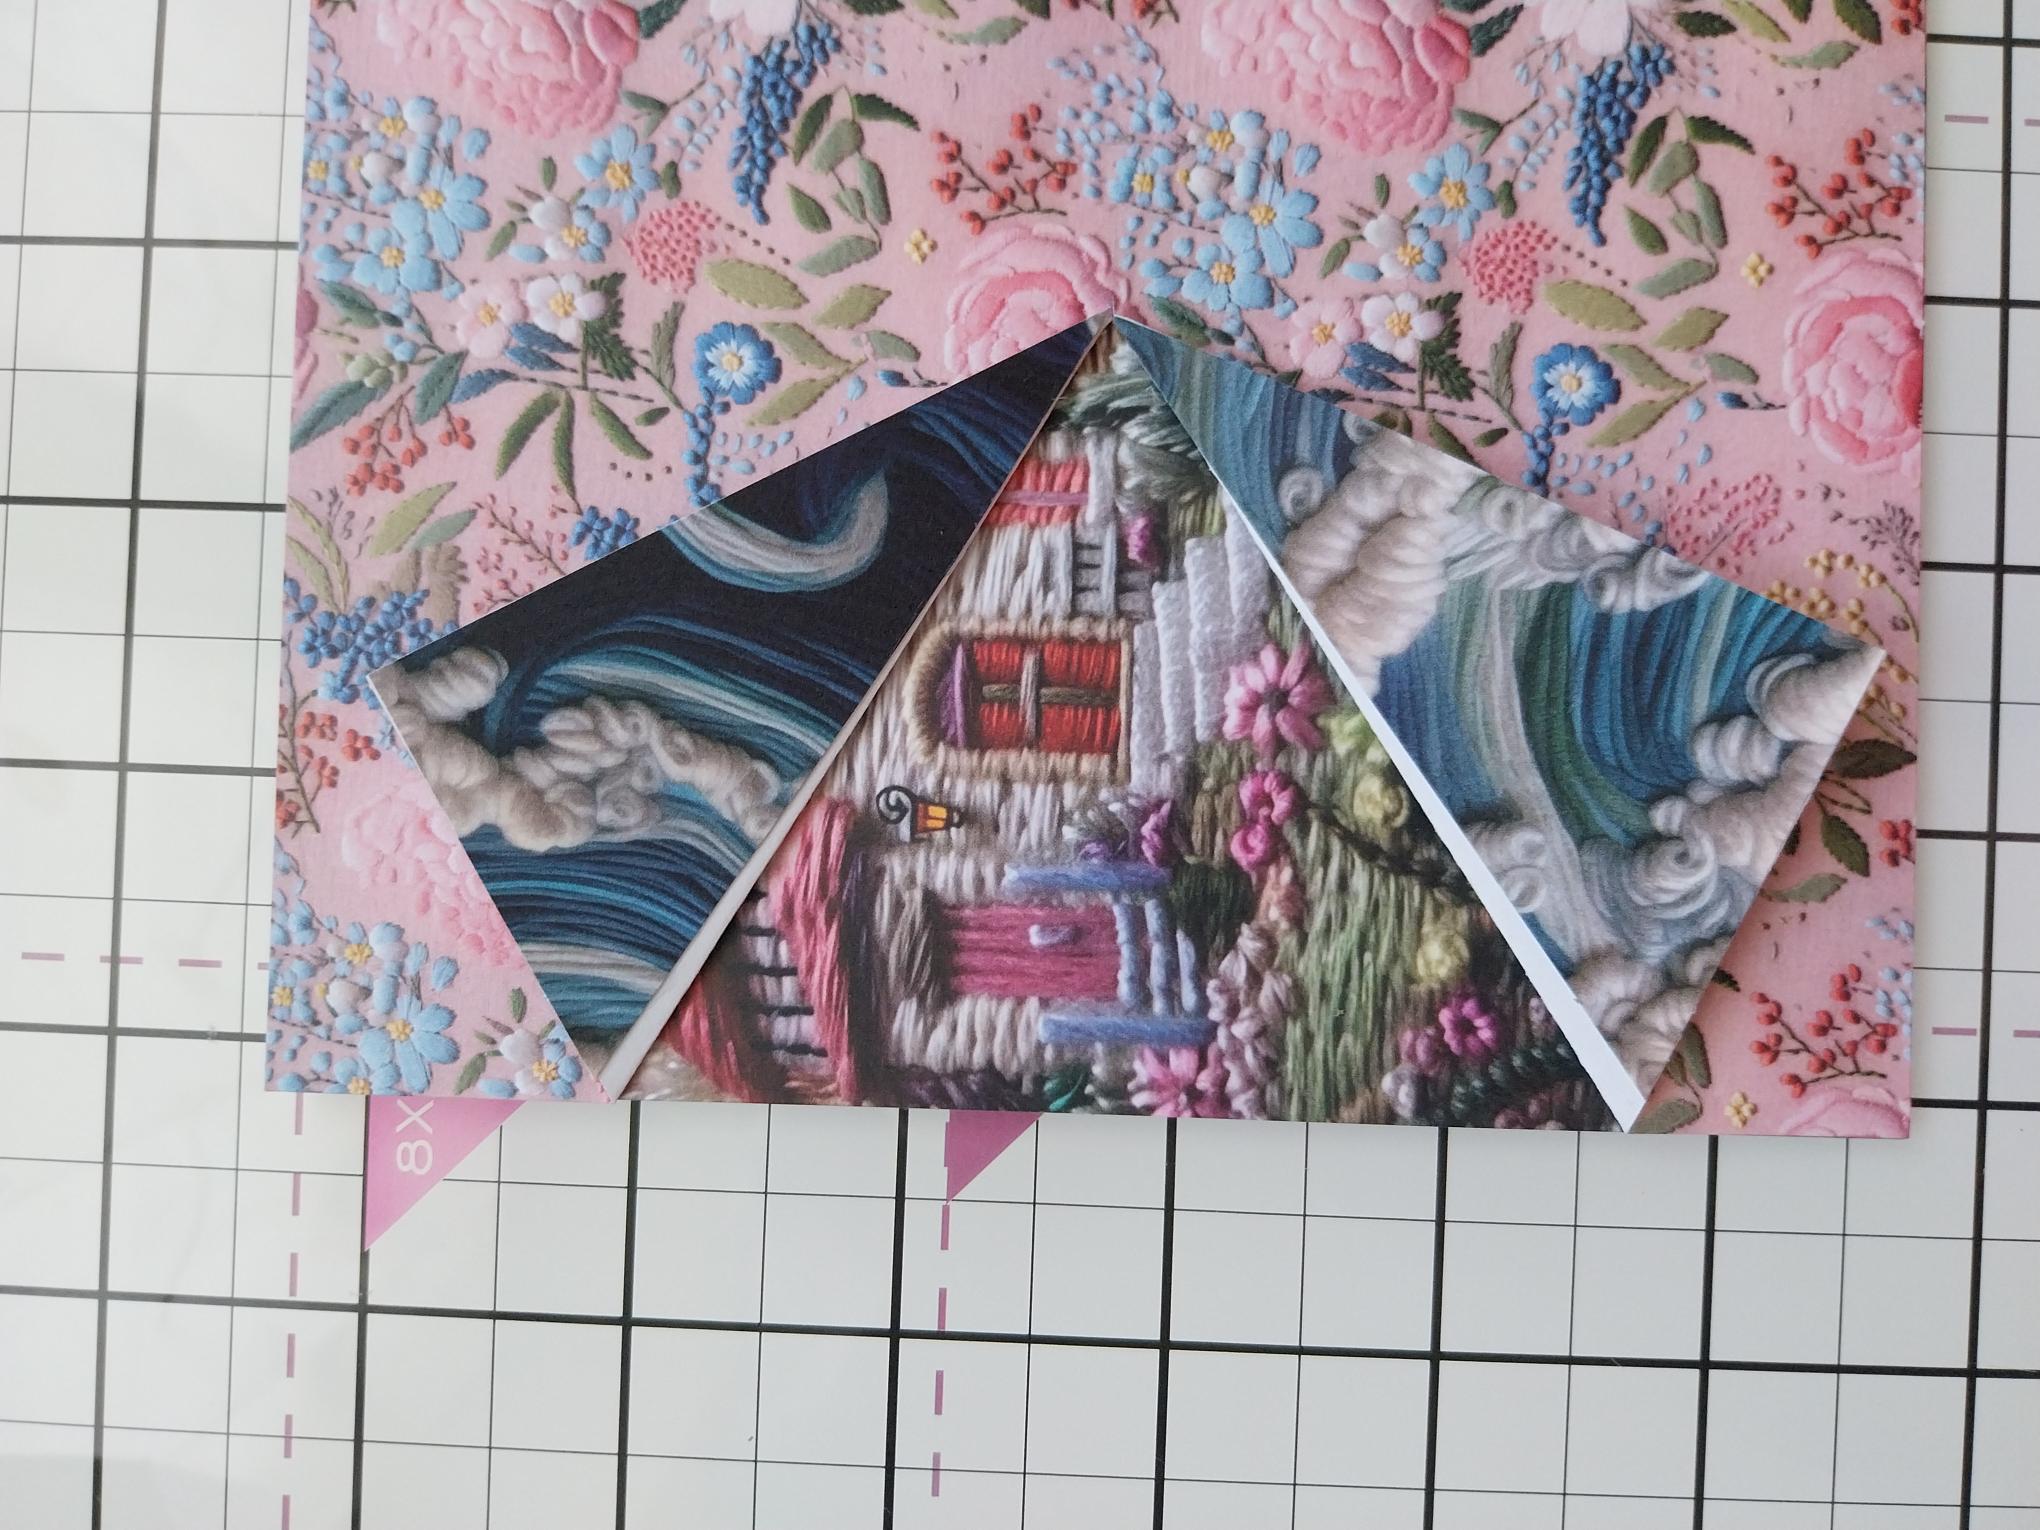
|
Cut two triangles from the papers, to cover the folded back flaps. |
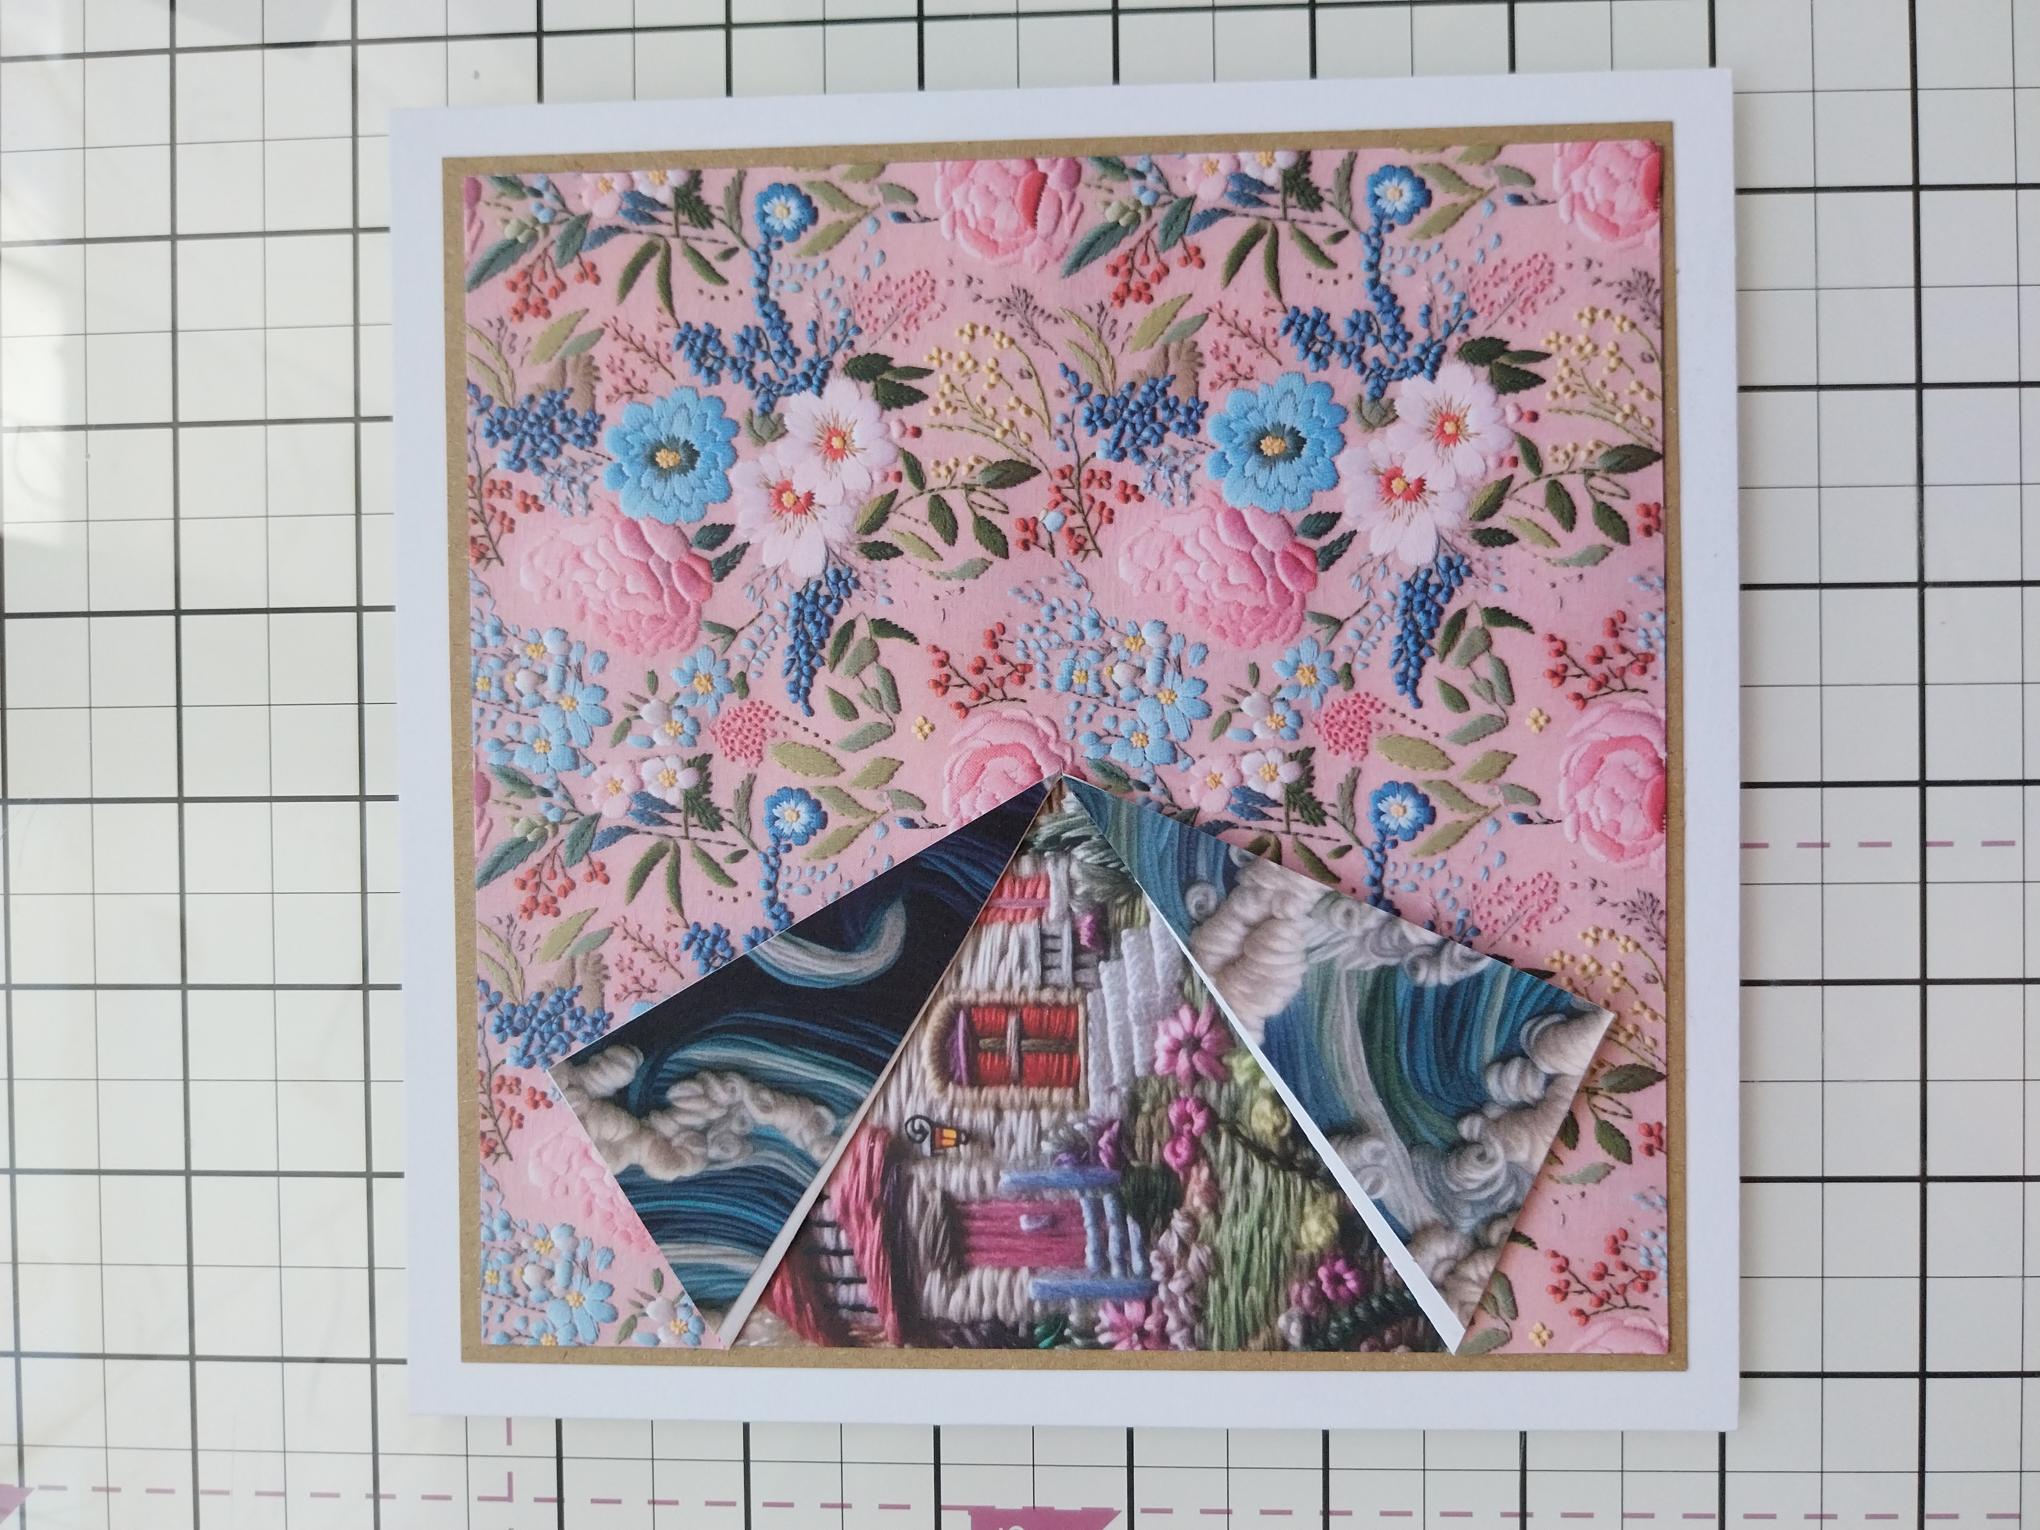
|
Adhere onto kraft card cut to 6 1/4" square and then onto your card blank. |
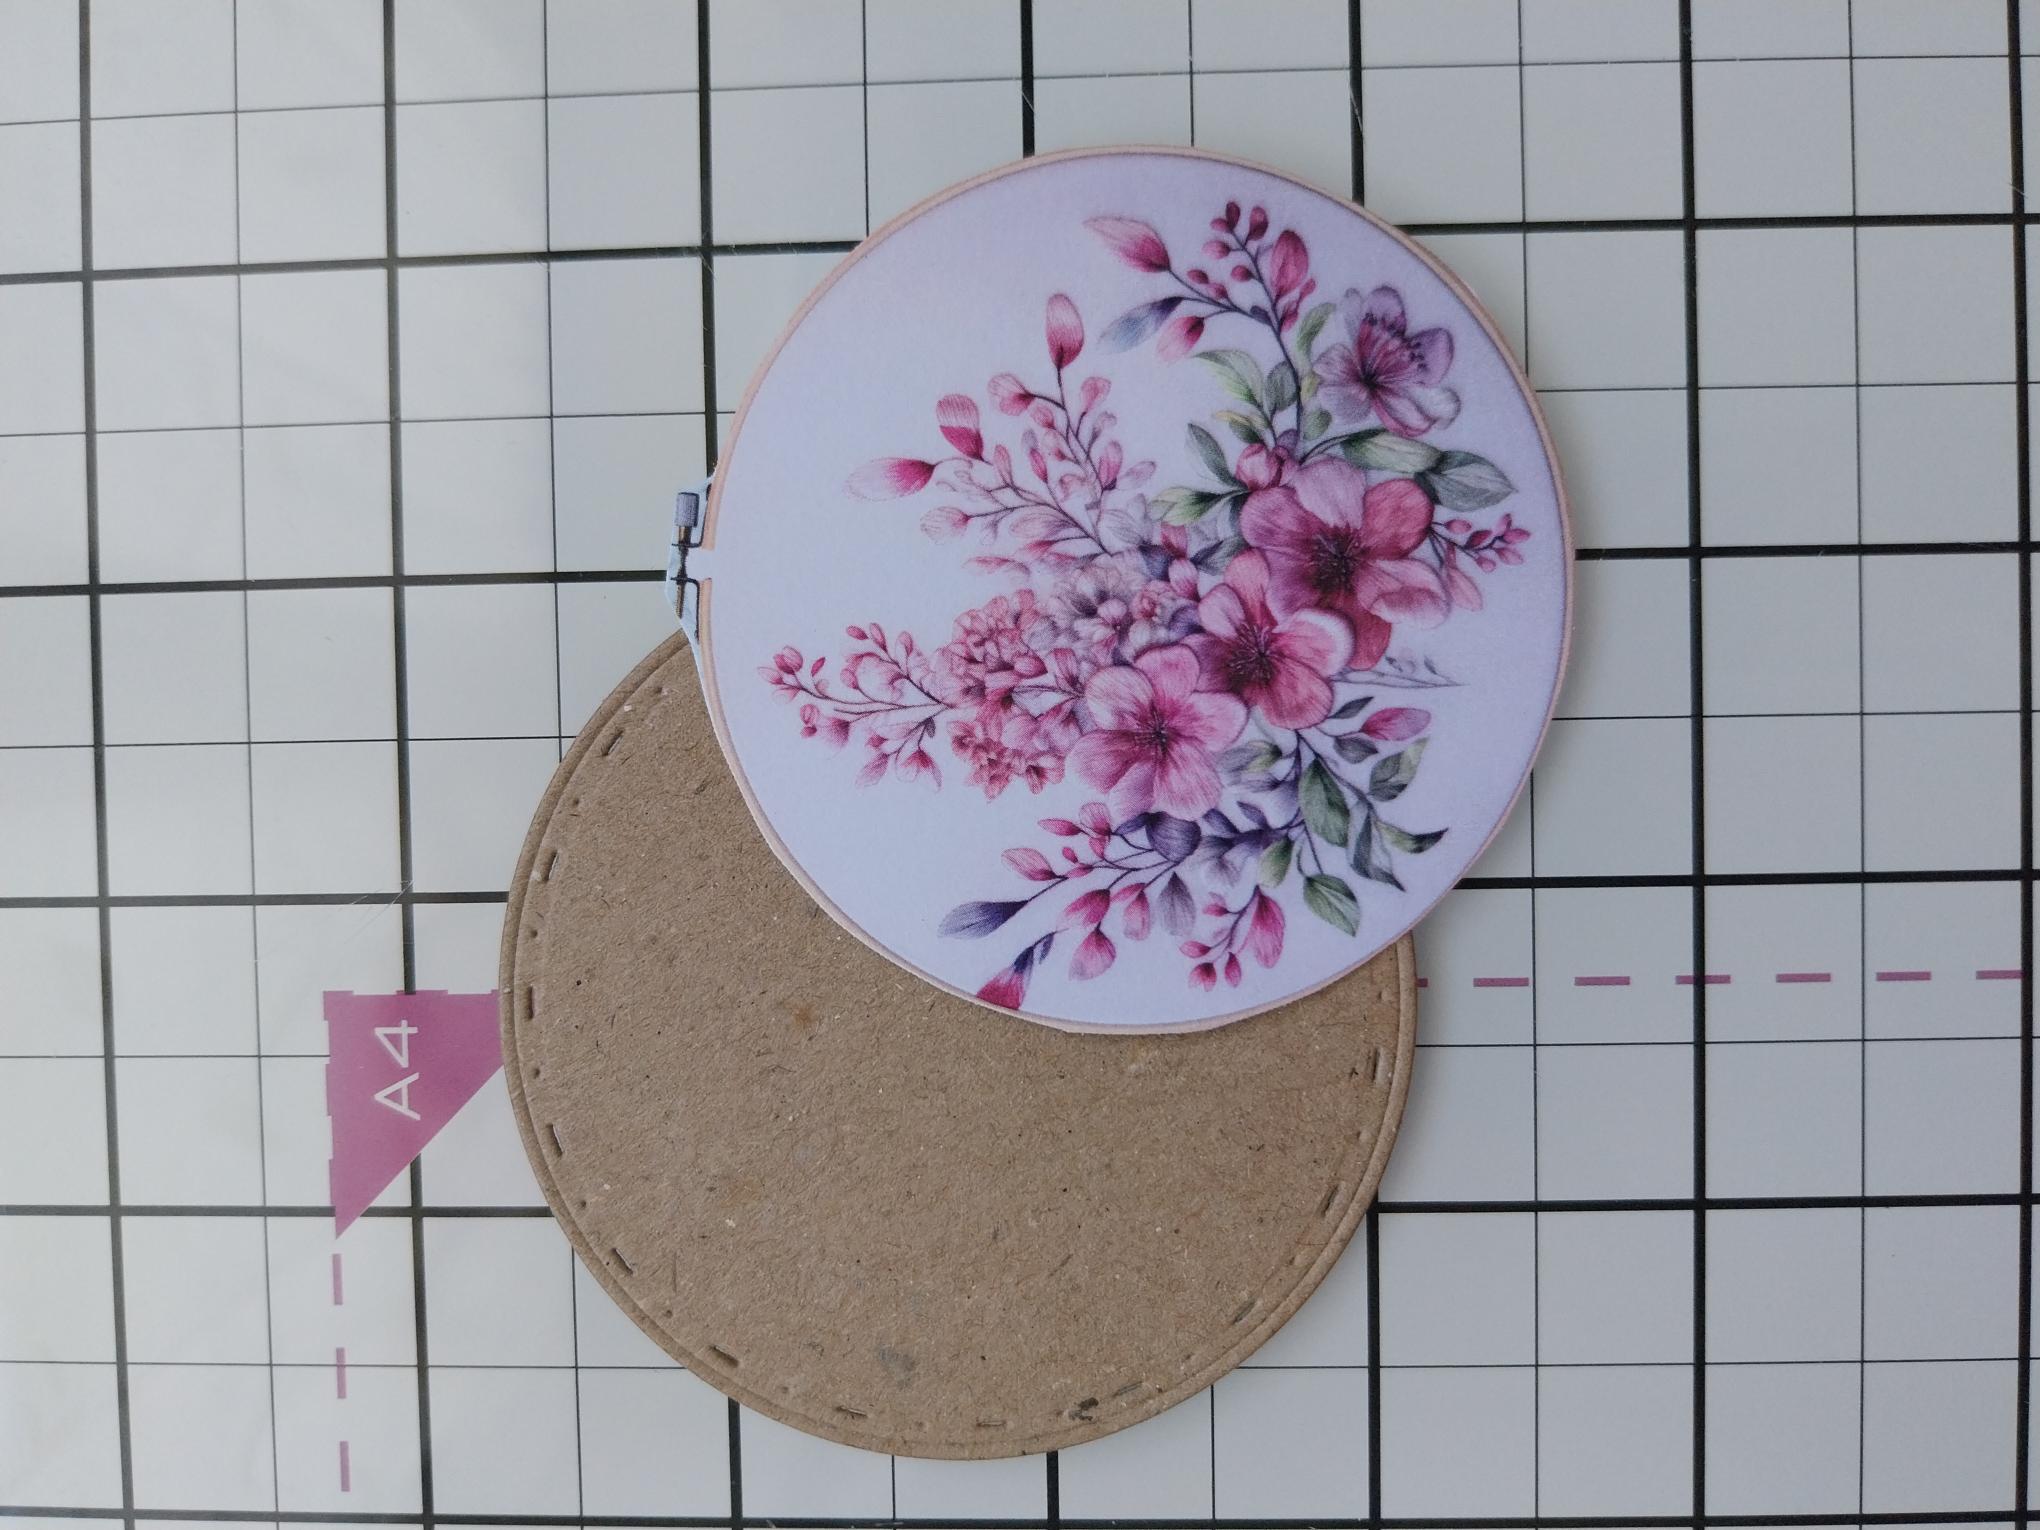
|
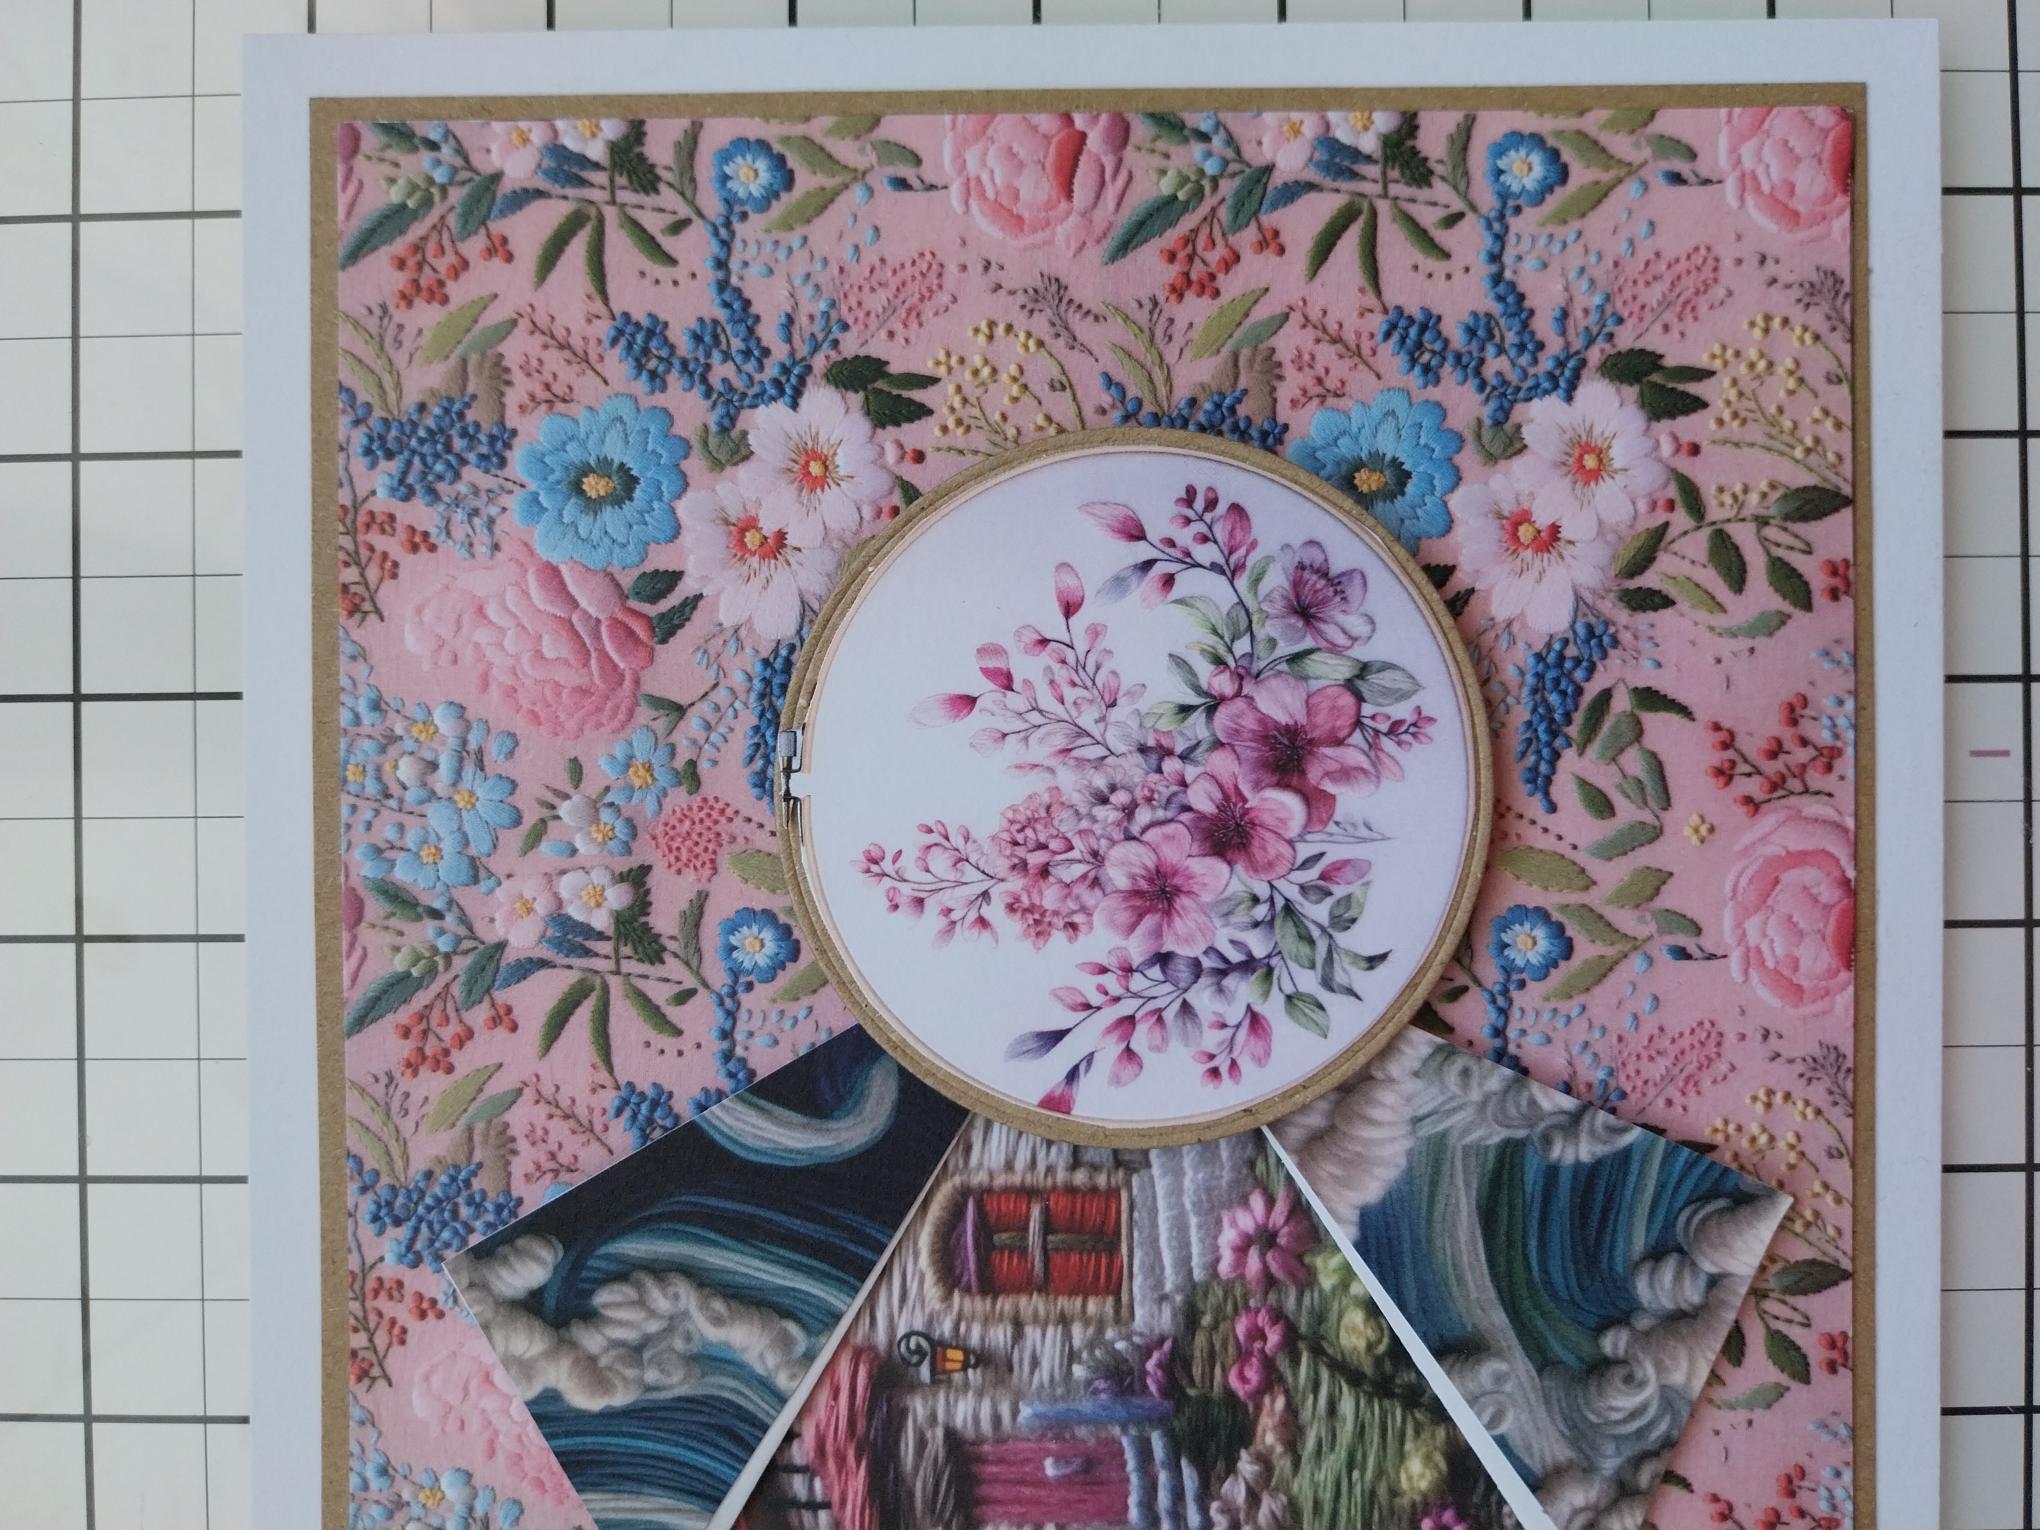
Use a nesting die to cut one of the embellishment circles from the paper pack. |
|
Use foam pads to adhere where the flaps meet. |
|
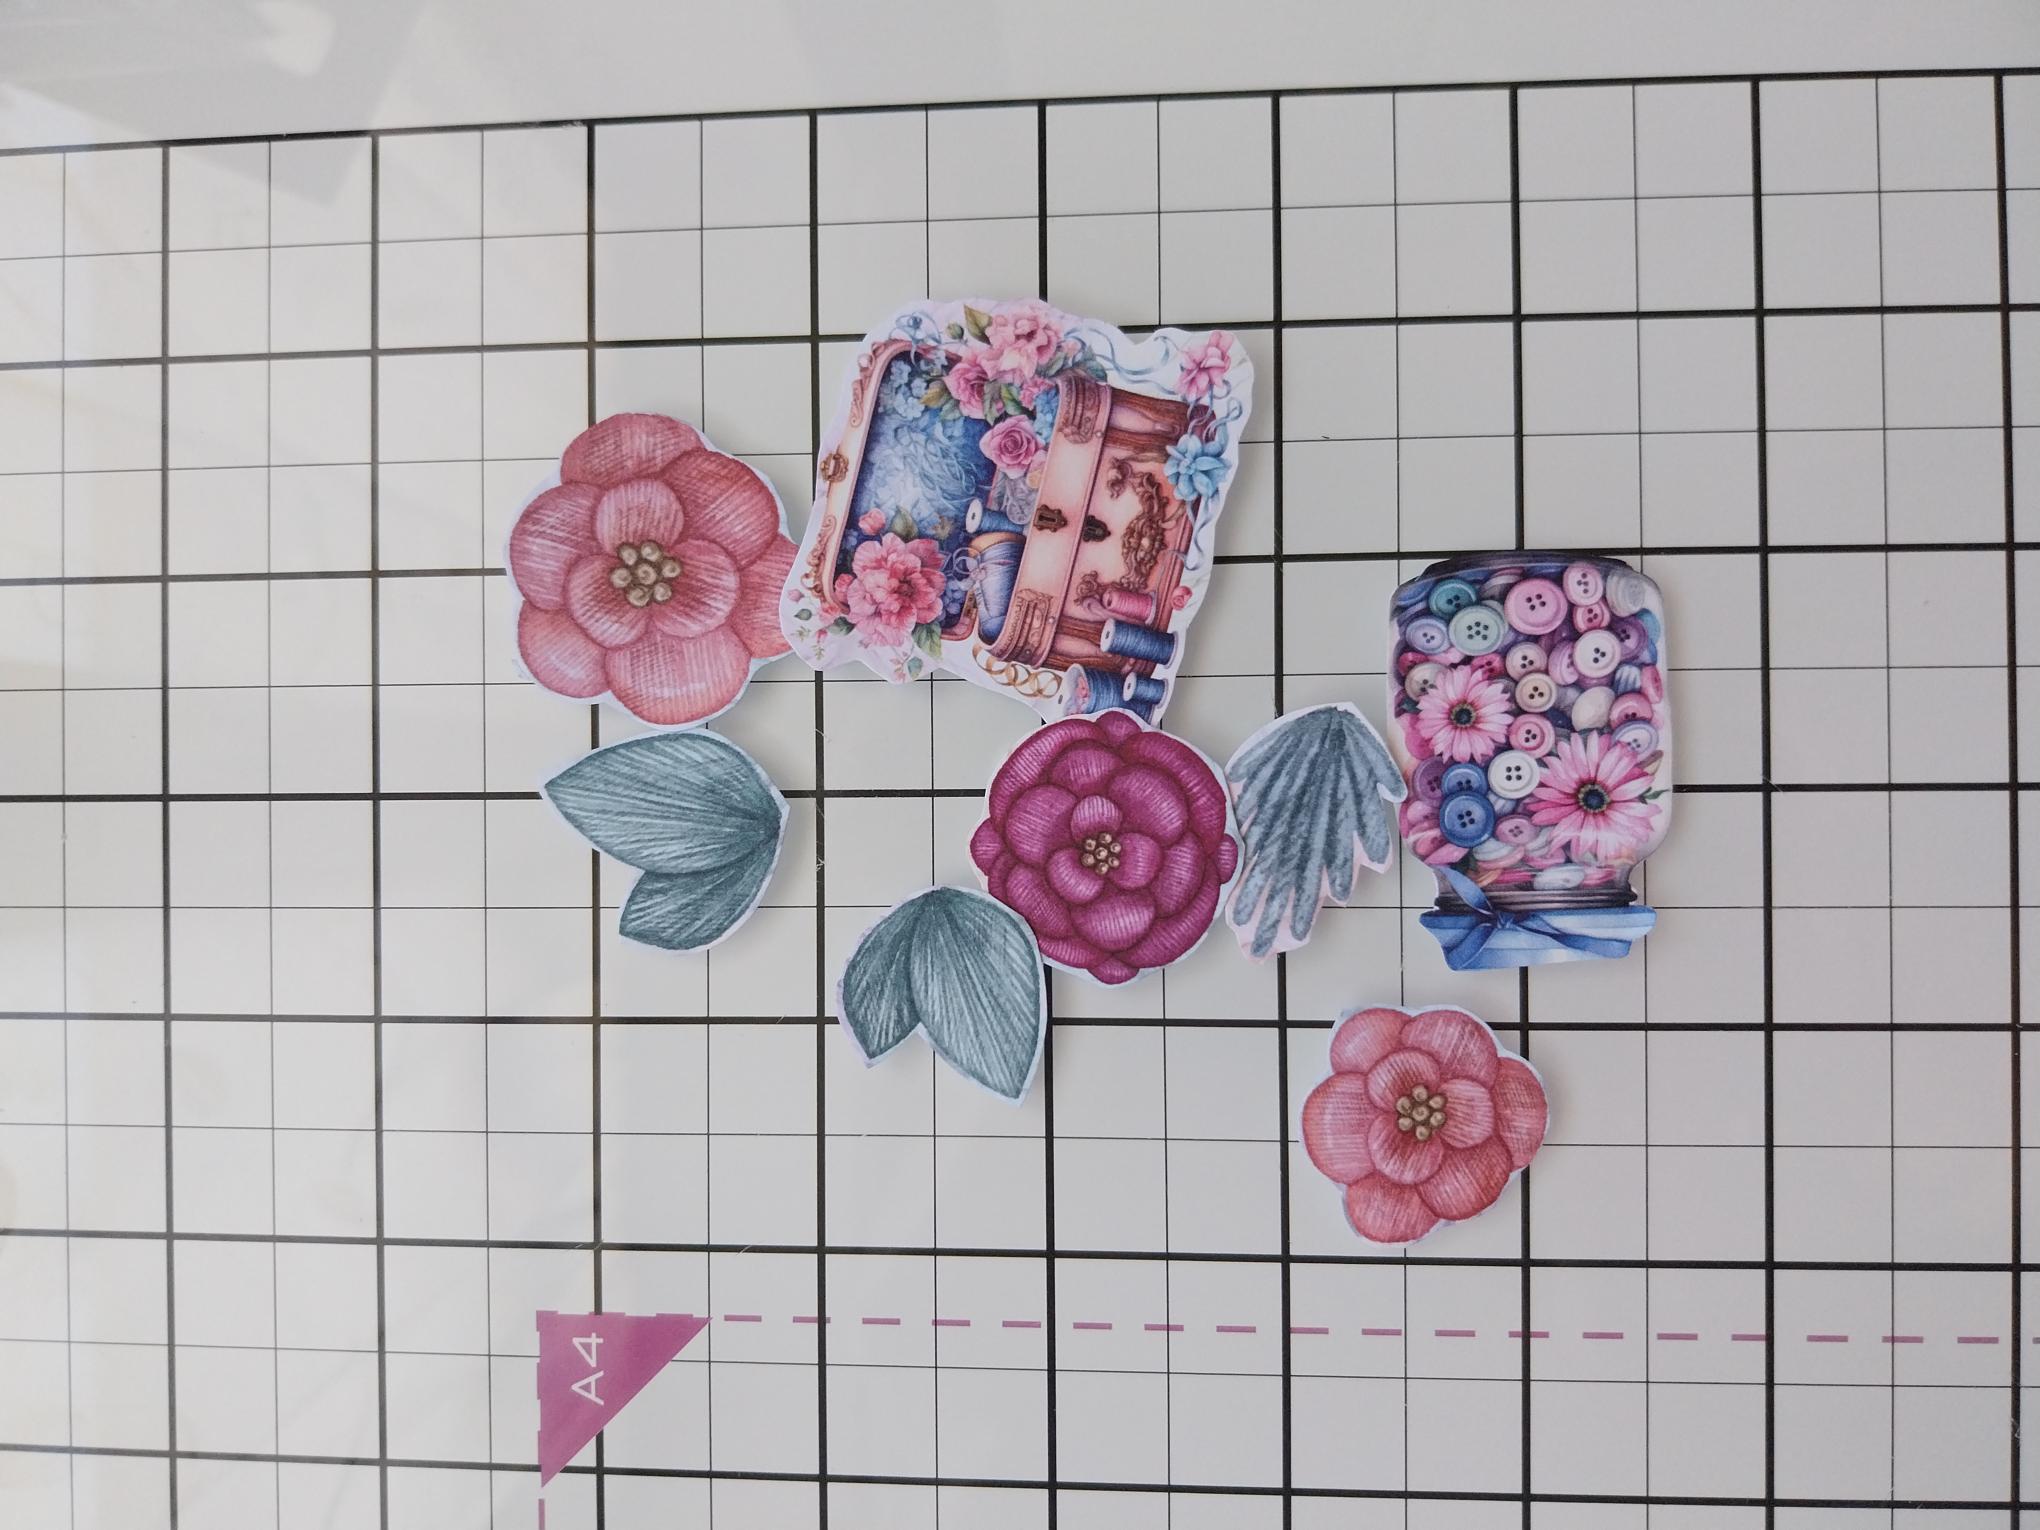
Fussy cut a selection of elements from your paper pack. |
|
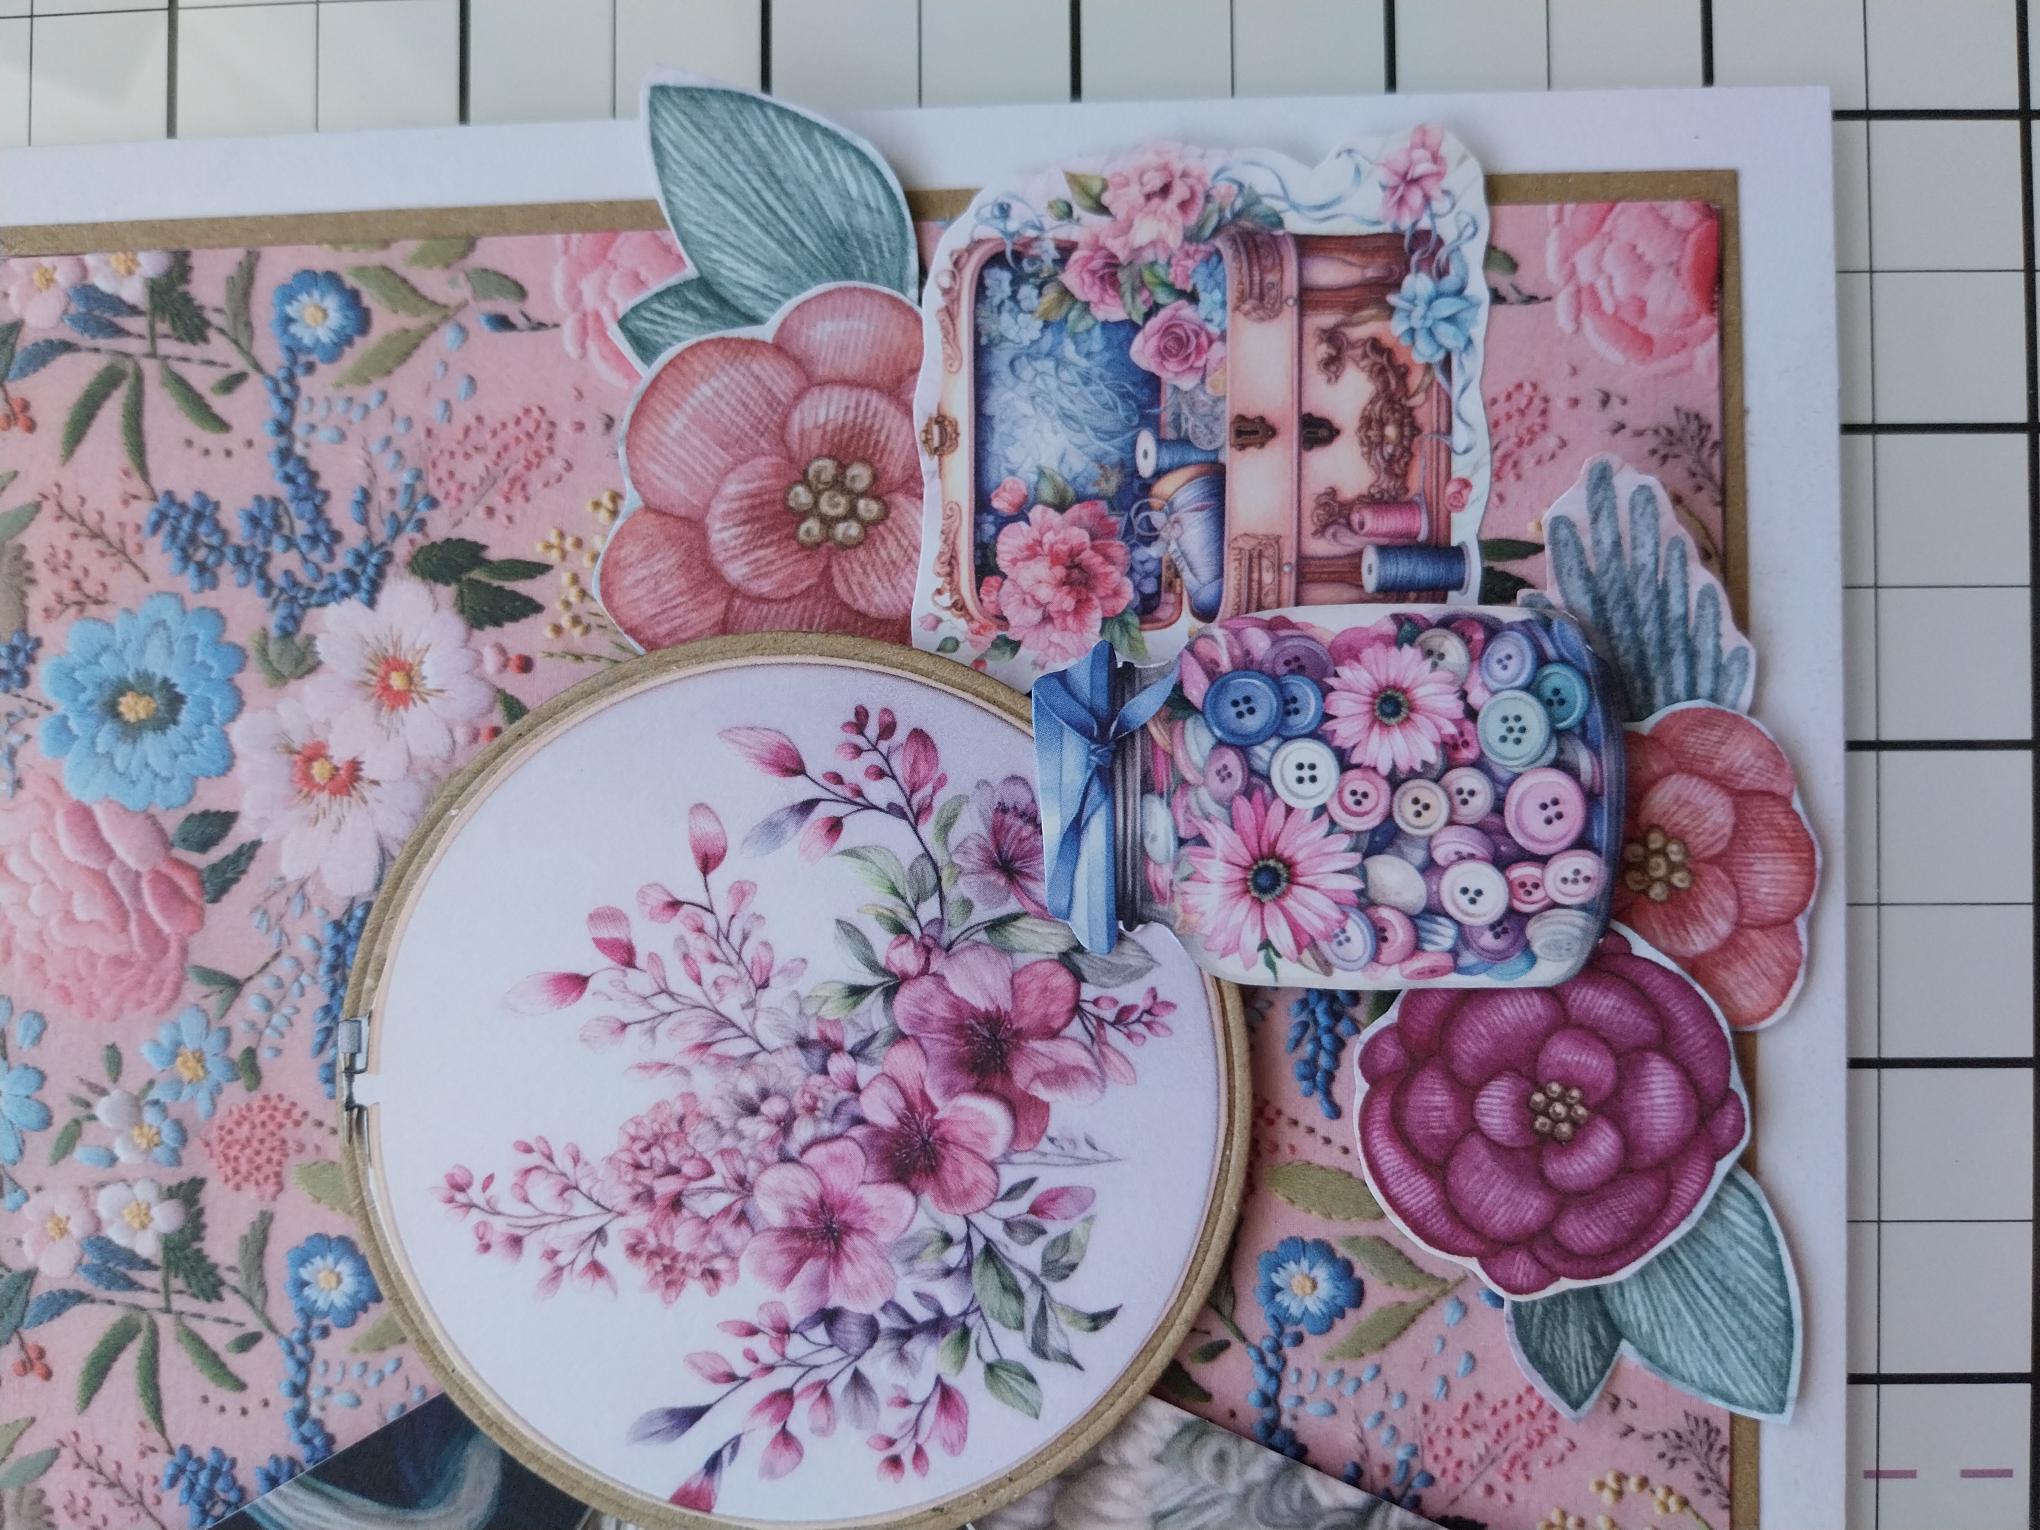
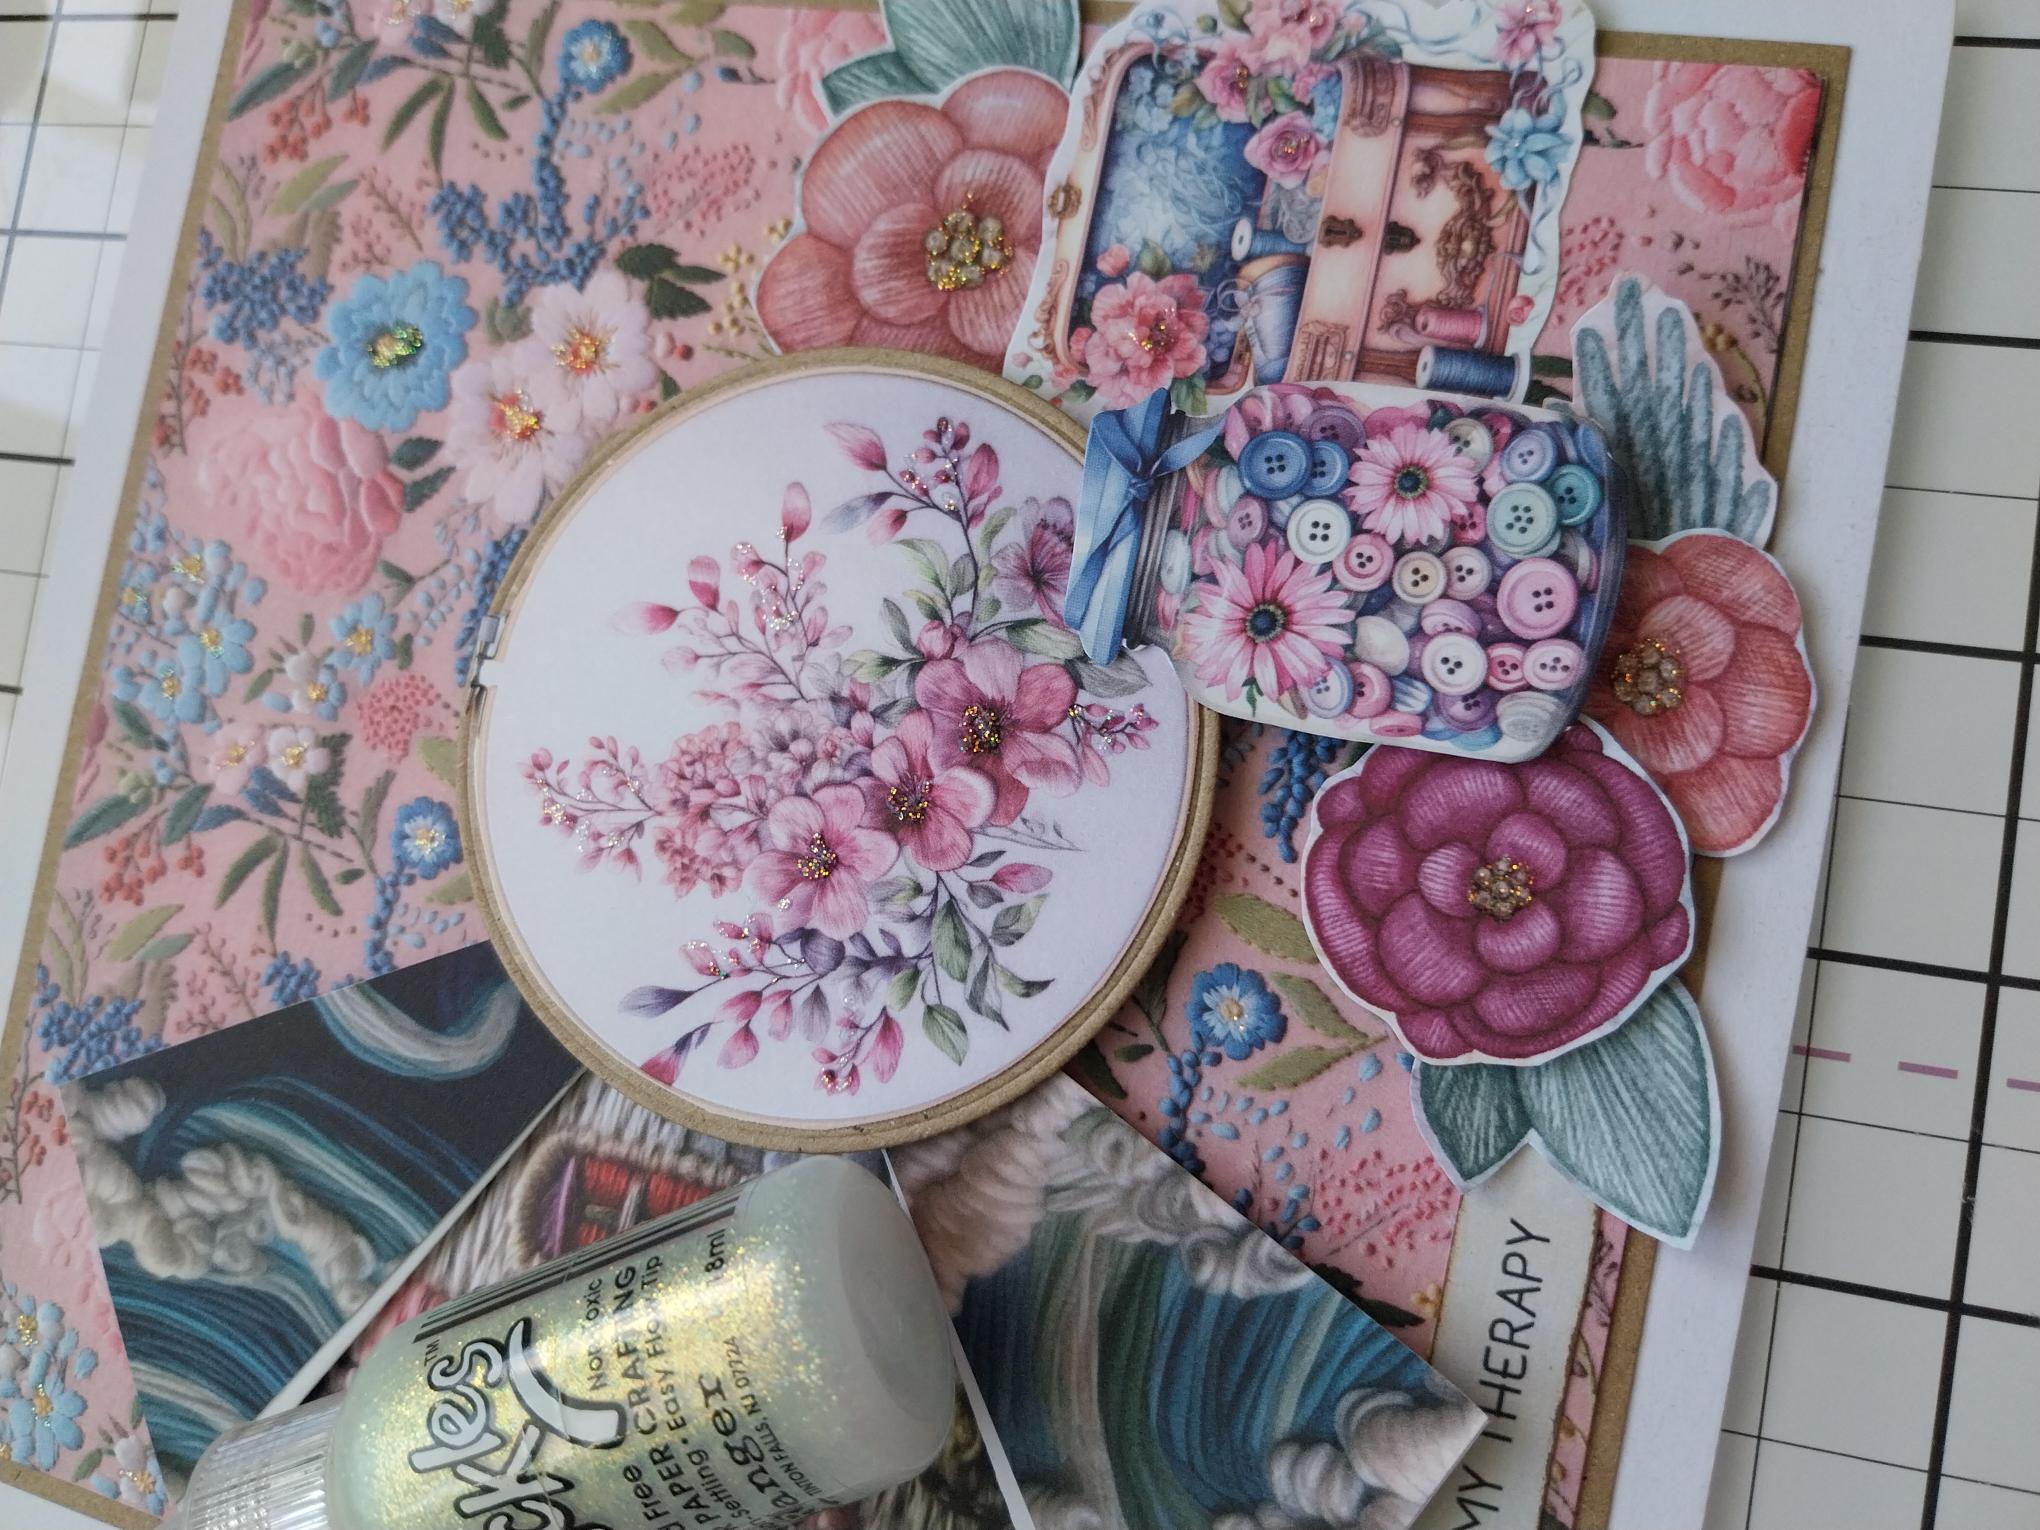
Use both wet glue and foam pads to adhere in the bottom right area of your card. |
|
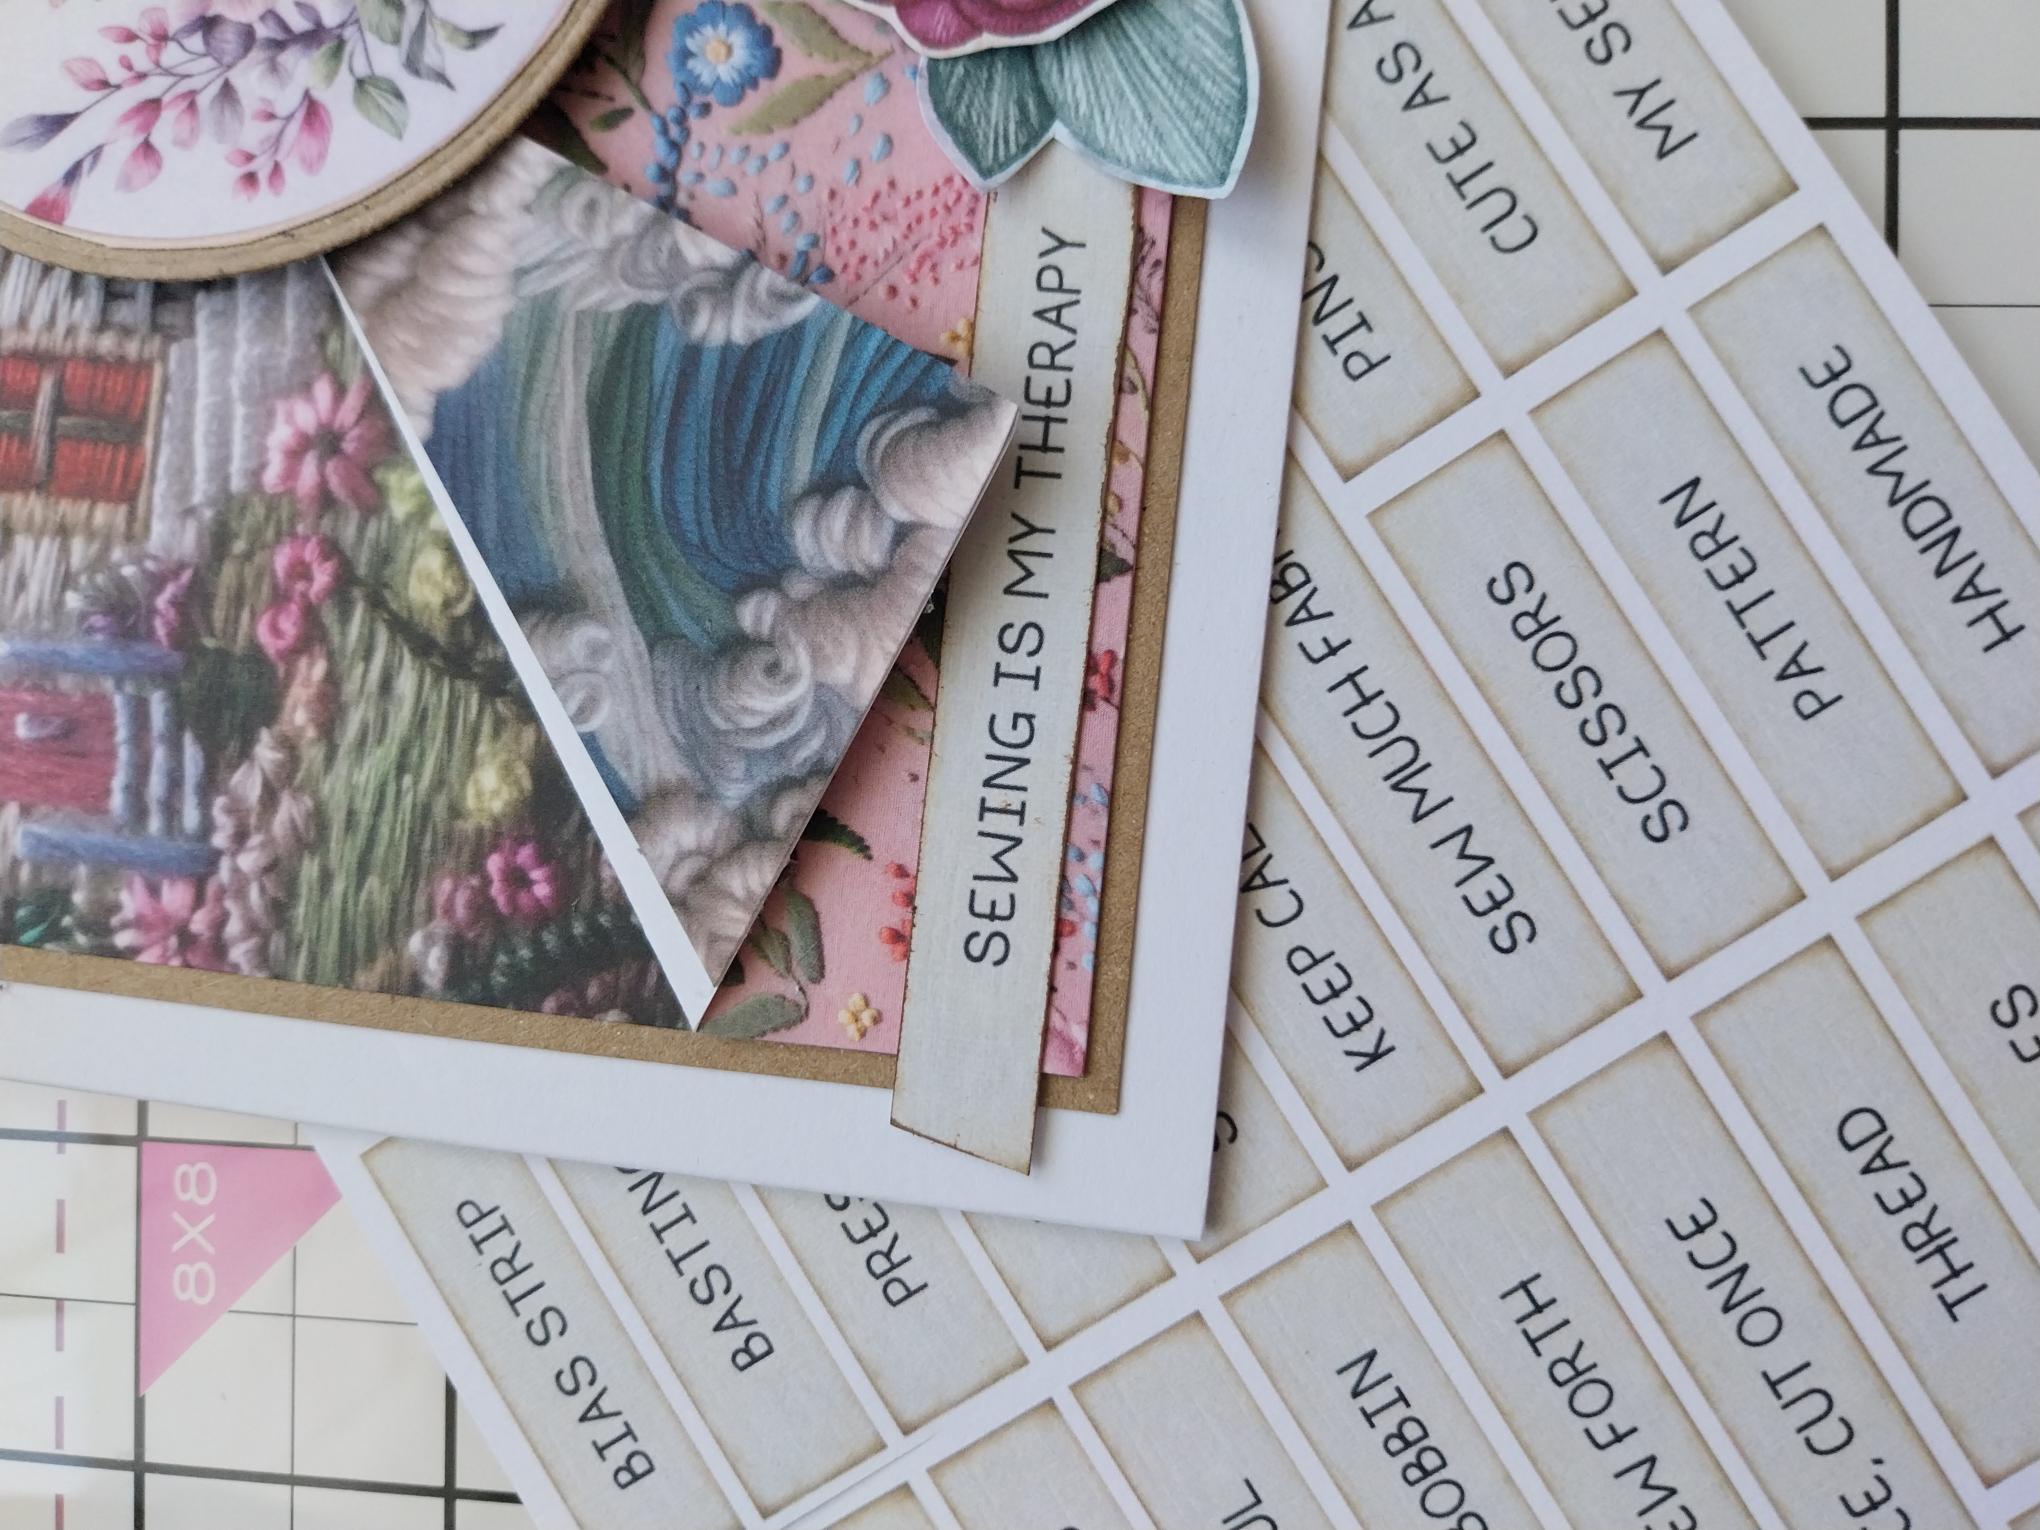
Adhere one of the sentiment tabs from the collection, to the bottom left of your card. |
|
Use your Stickles to add a touch of sparkle to your finished card. |