


WHAT YOU WILL NEED:
Tails & Tweets Cardmaking Kit
Enchanted Bows, Tags and Paper Bundle
Bells & Blessings
Distress Ink/Oxide Ink Pad: Frayed Burlap
Vellum
Blending brush
SBM A3 Magnetic glass mat
Paper Trimmer
Glue
Red liner tape
Gems
Die Cutting machine
[click image to enlarge] 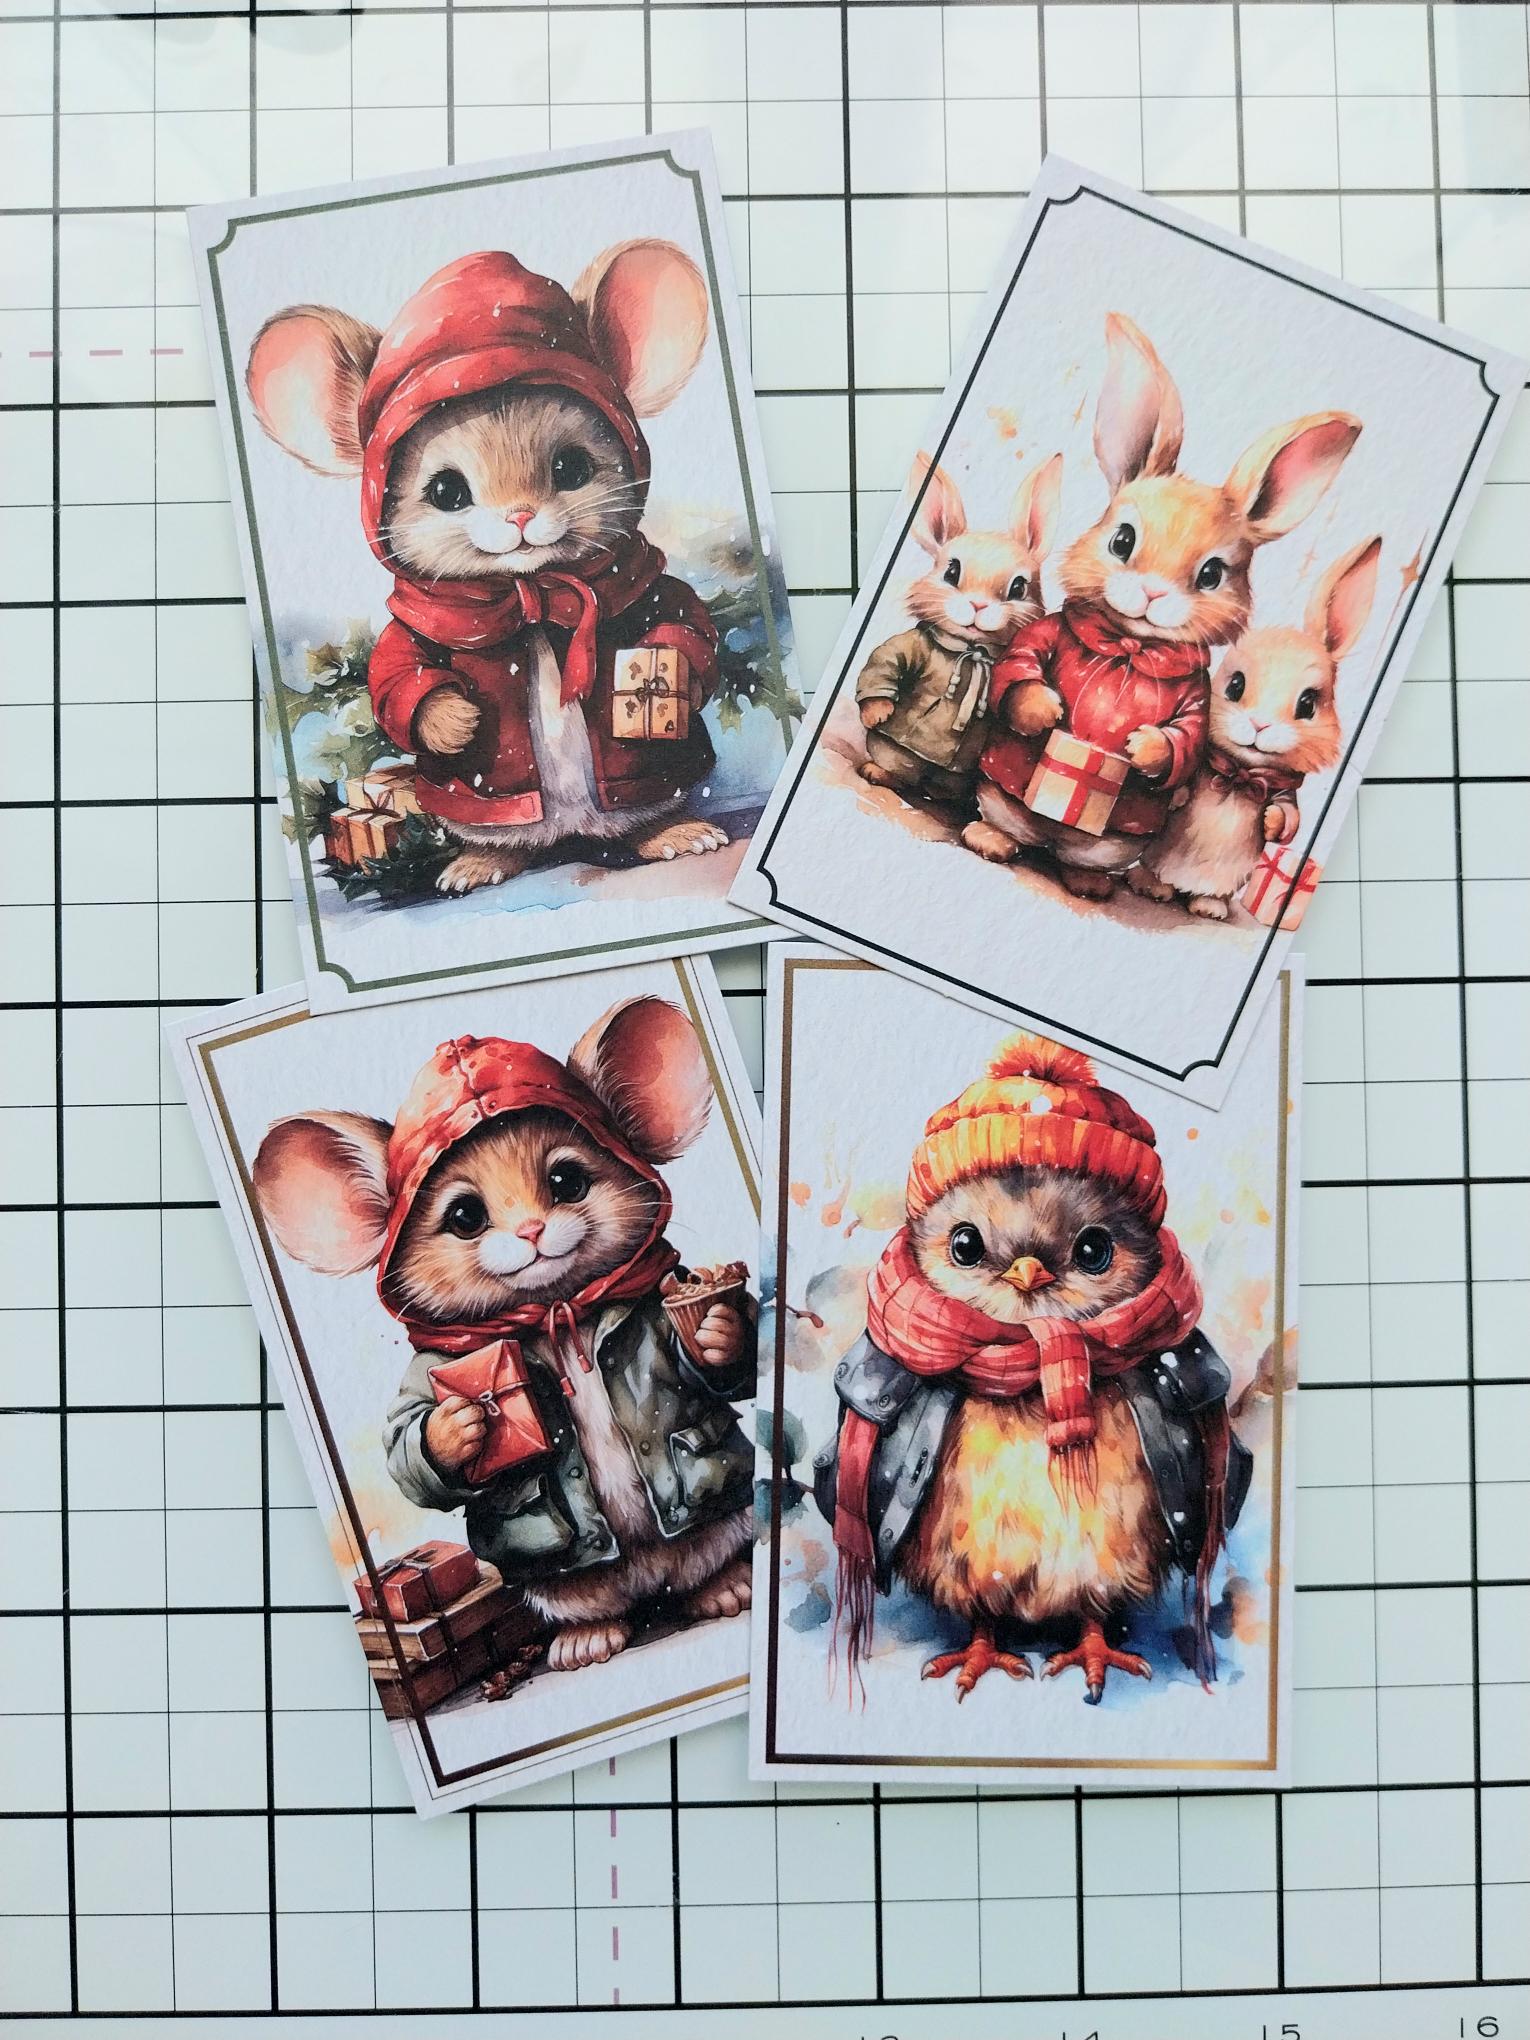
|
Pick four of the beautiful toppers from the kit. You can of course make more to go in your gift set but for the purposes of this guide I have gone with four. |
|
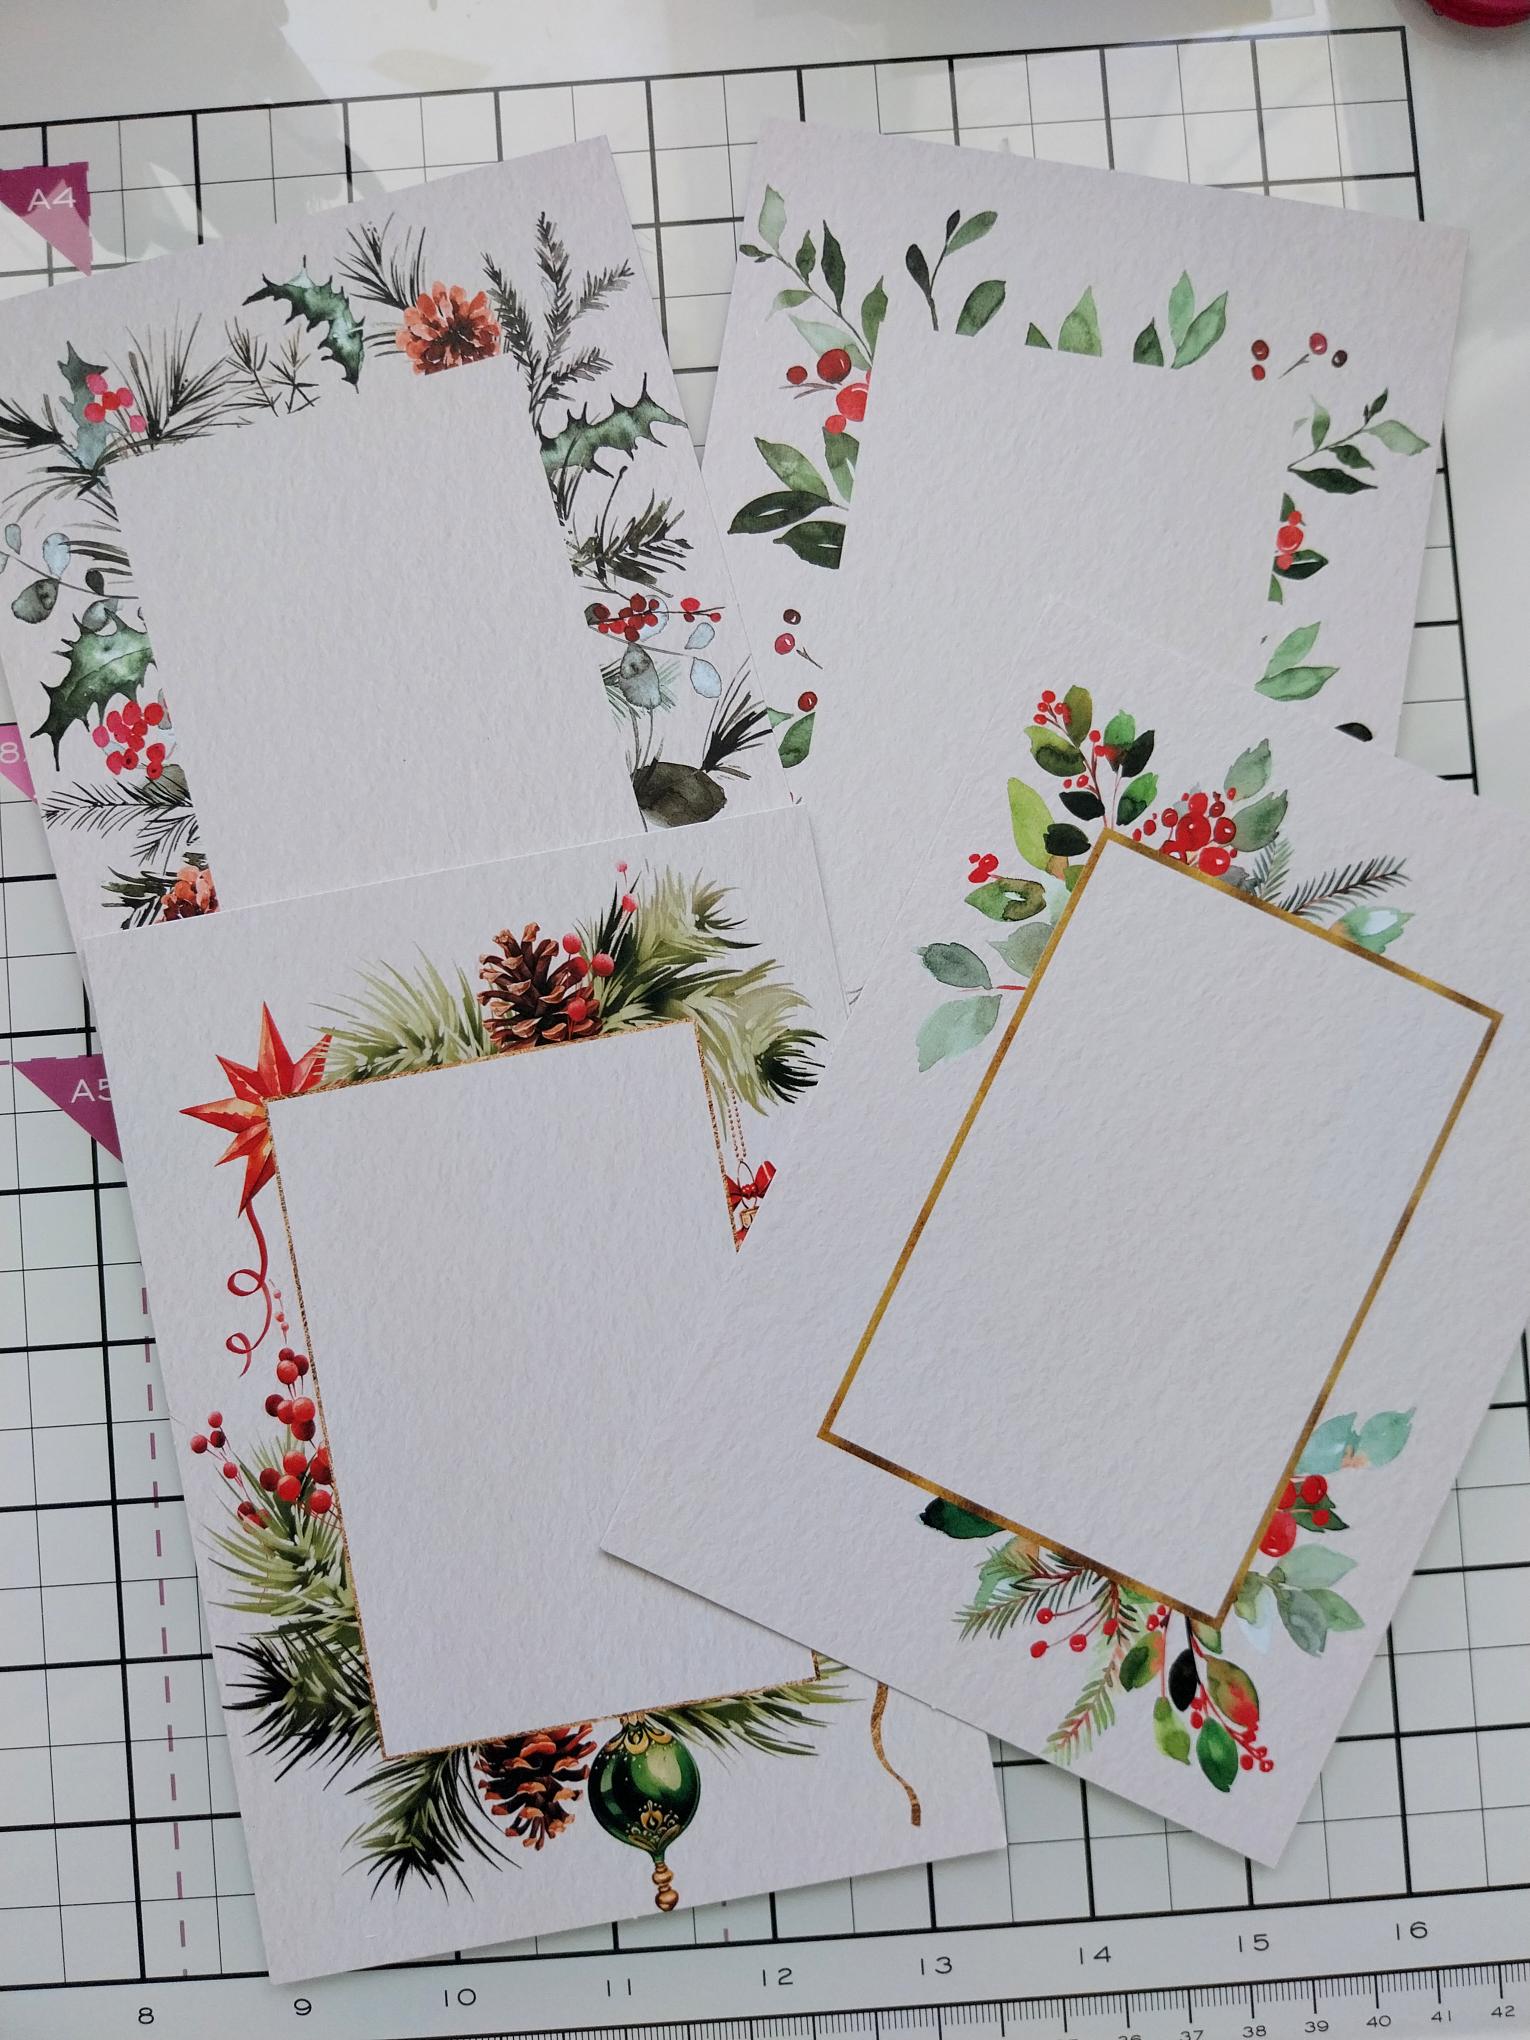
Pick 4 of the coordinating backing papers. |
|
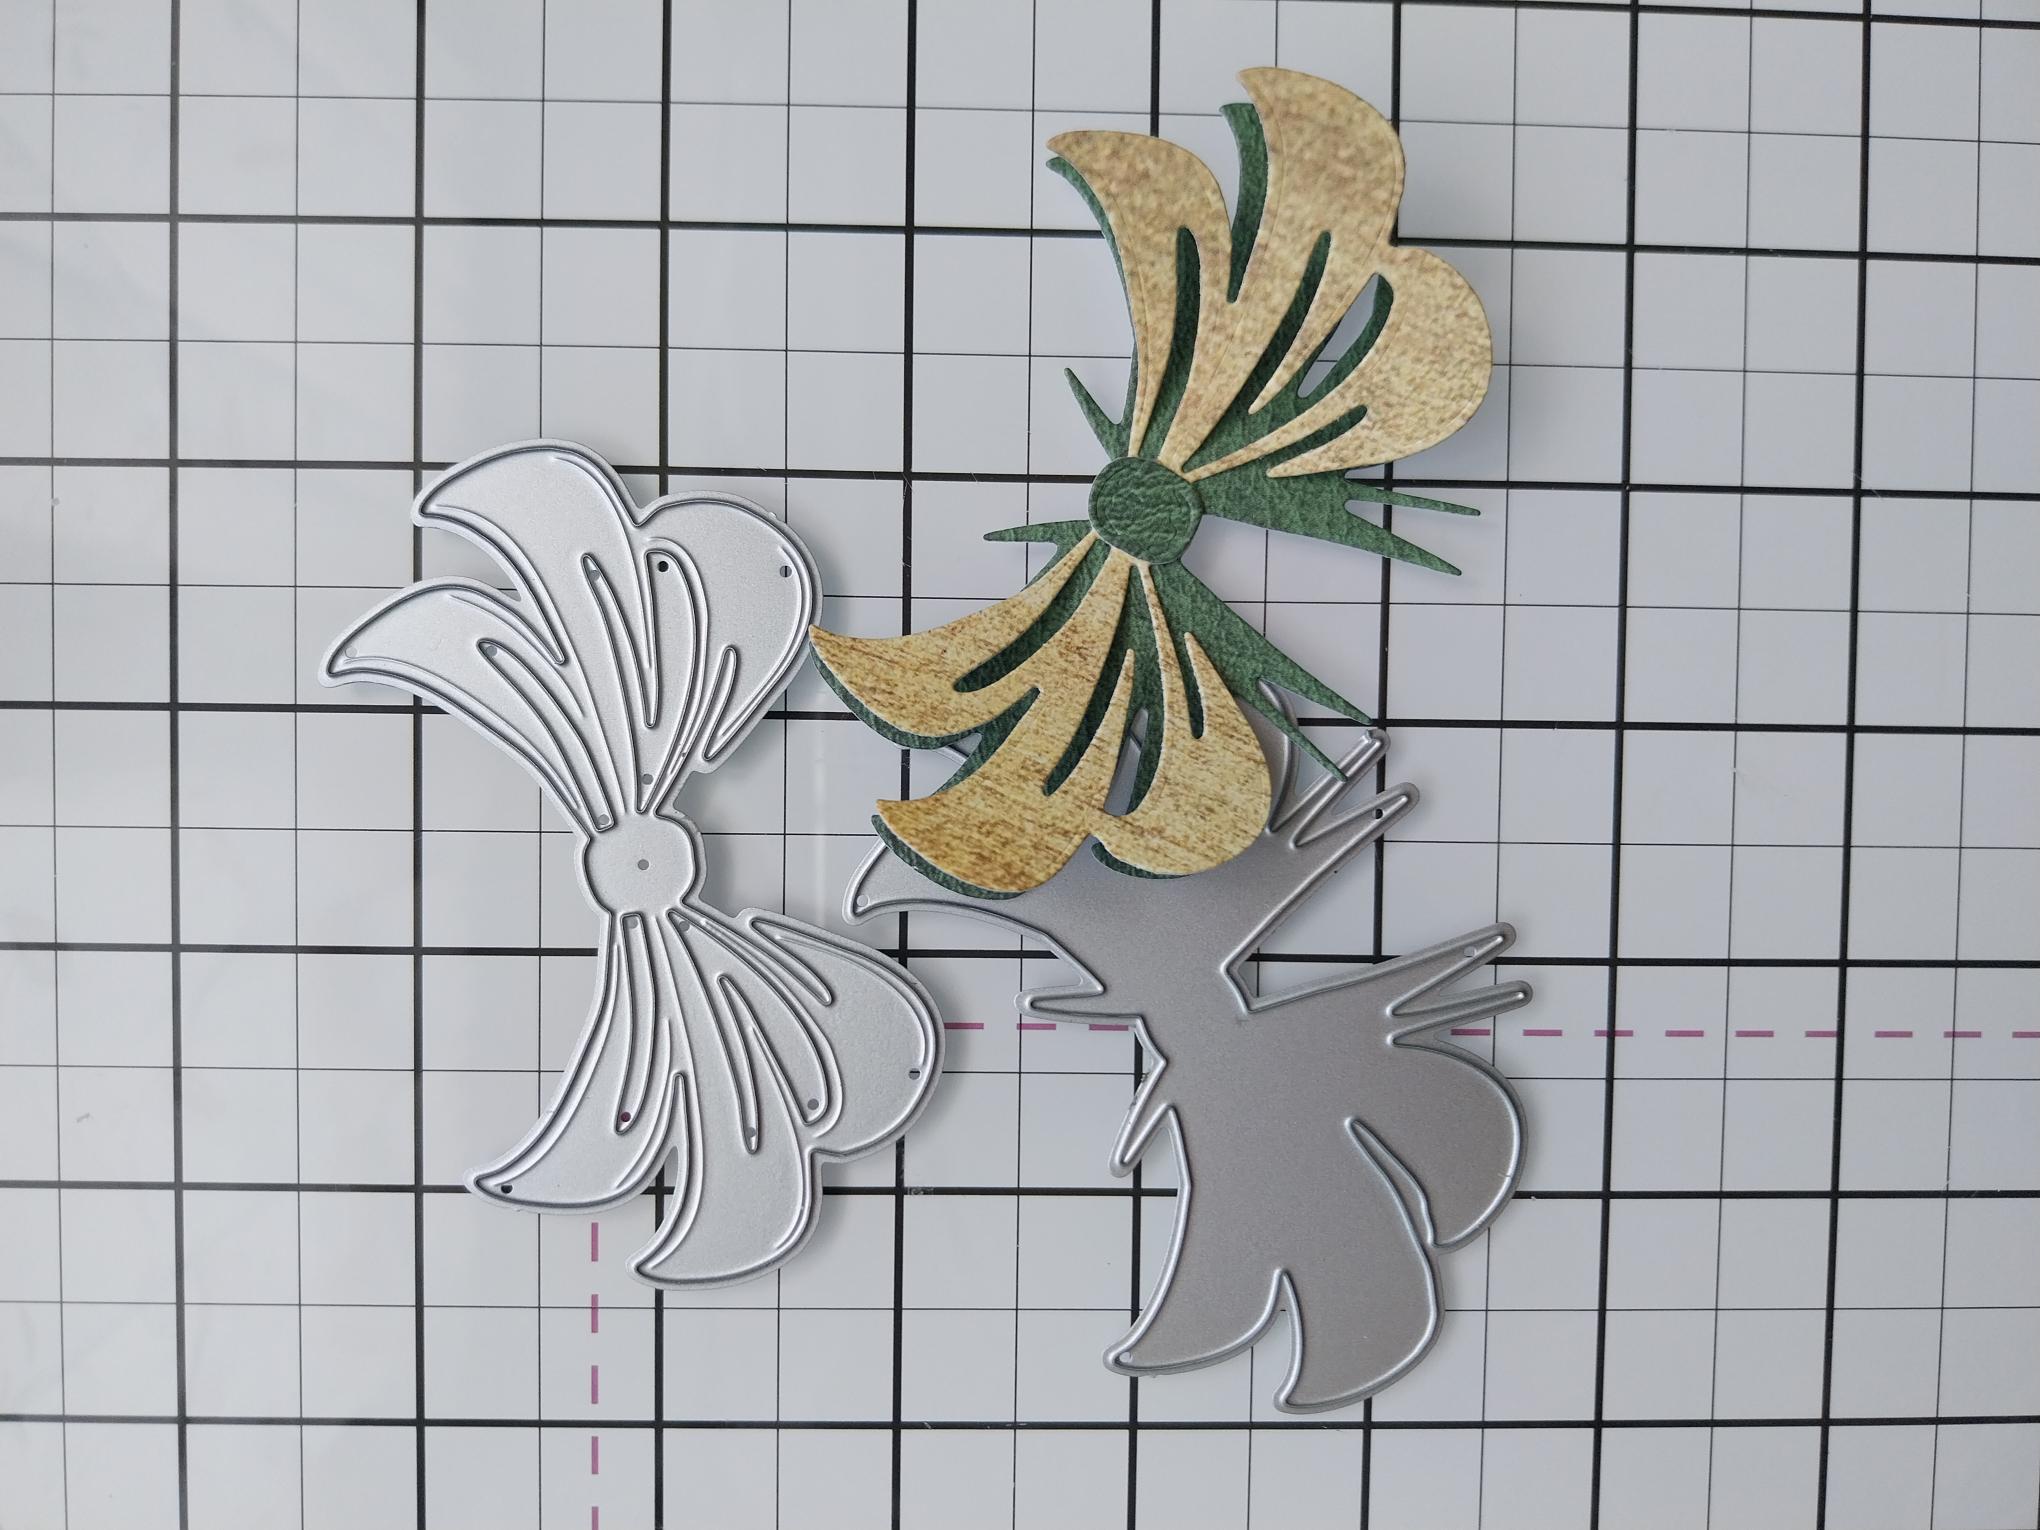
Die cut the Bow elements from the Enchanted Bow bundle, in your chosen papers, coordinating them with one of your chosen toppers. Pop to one side. |
|
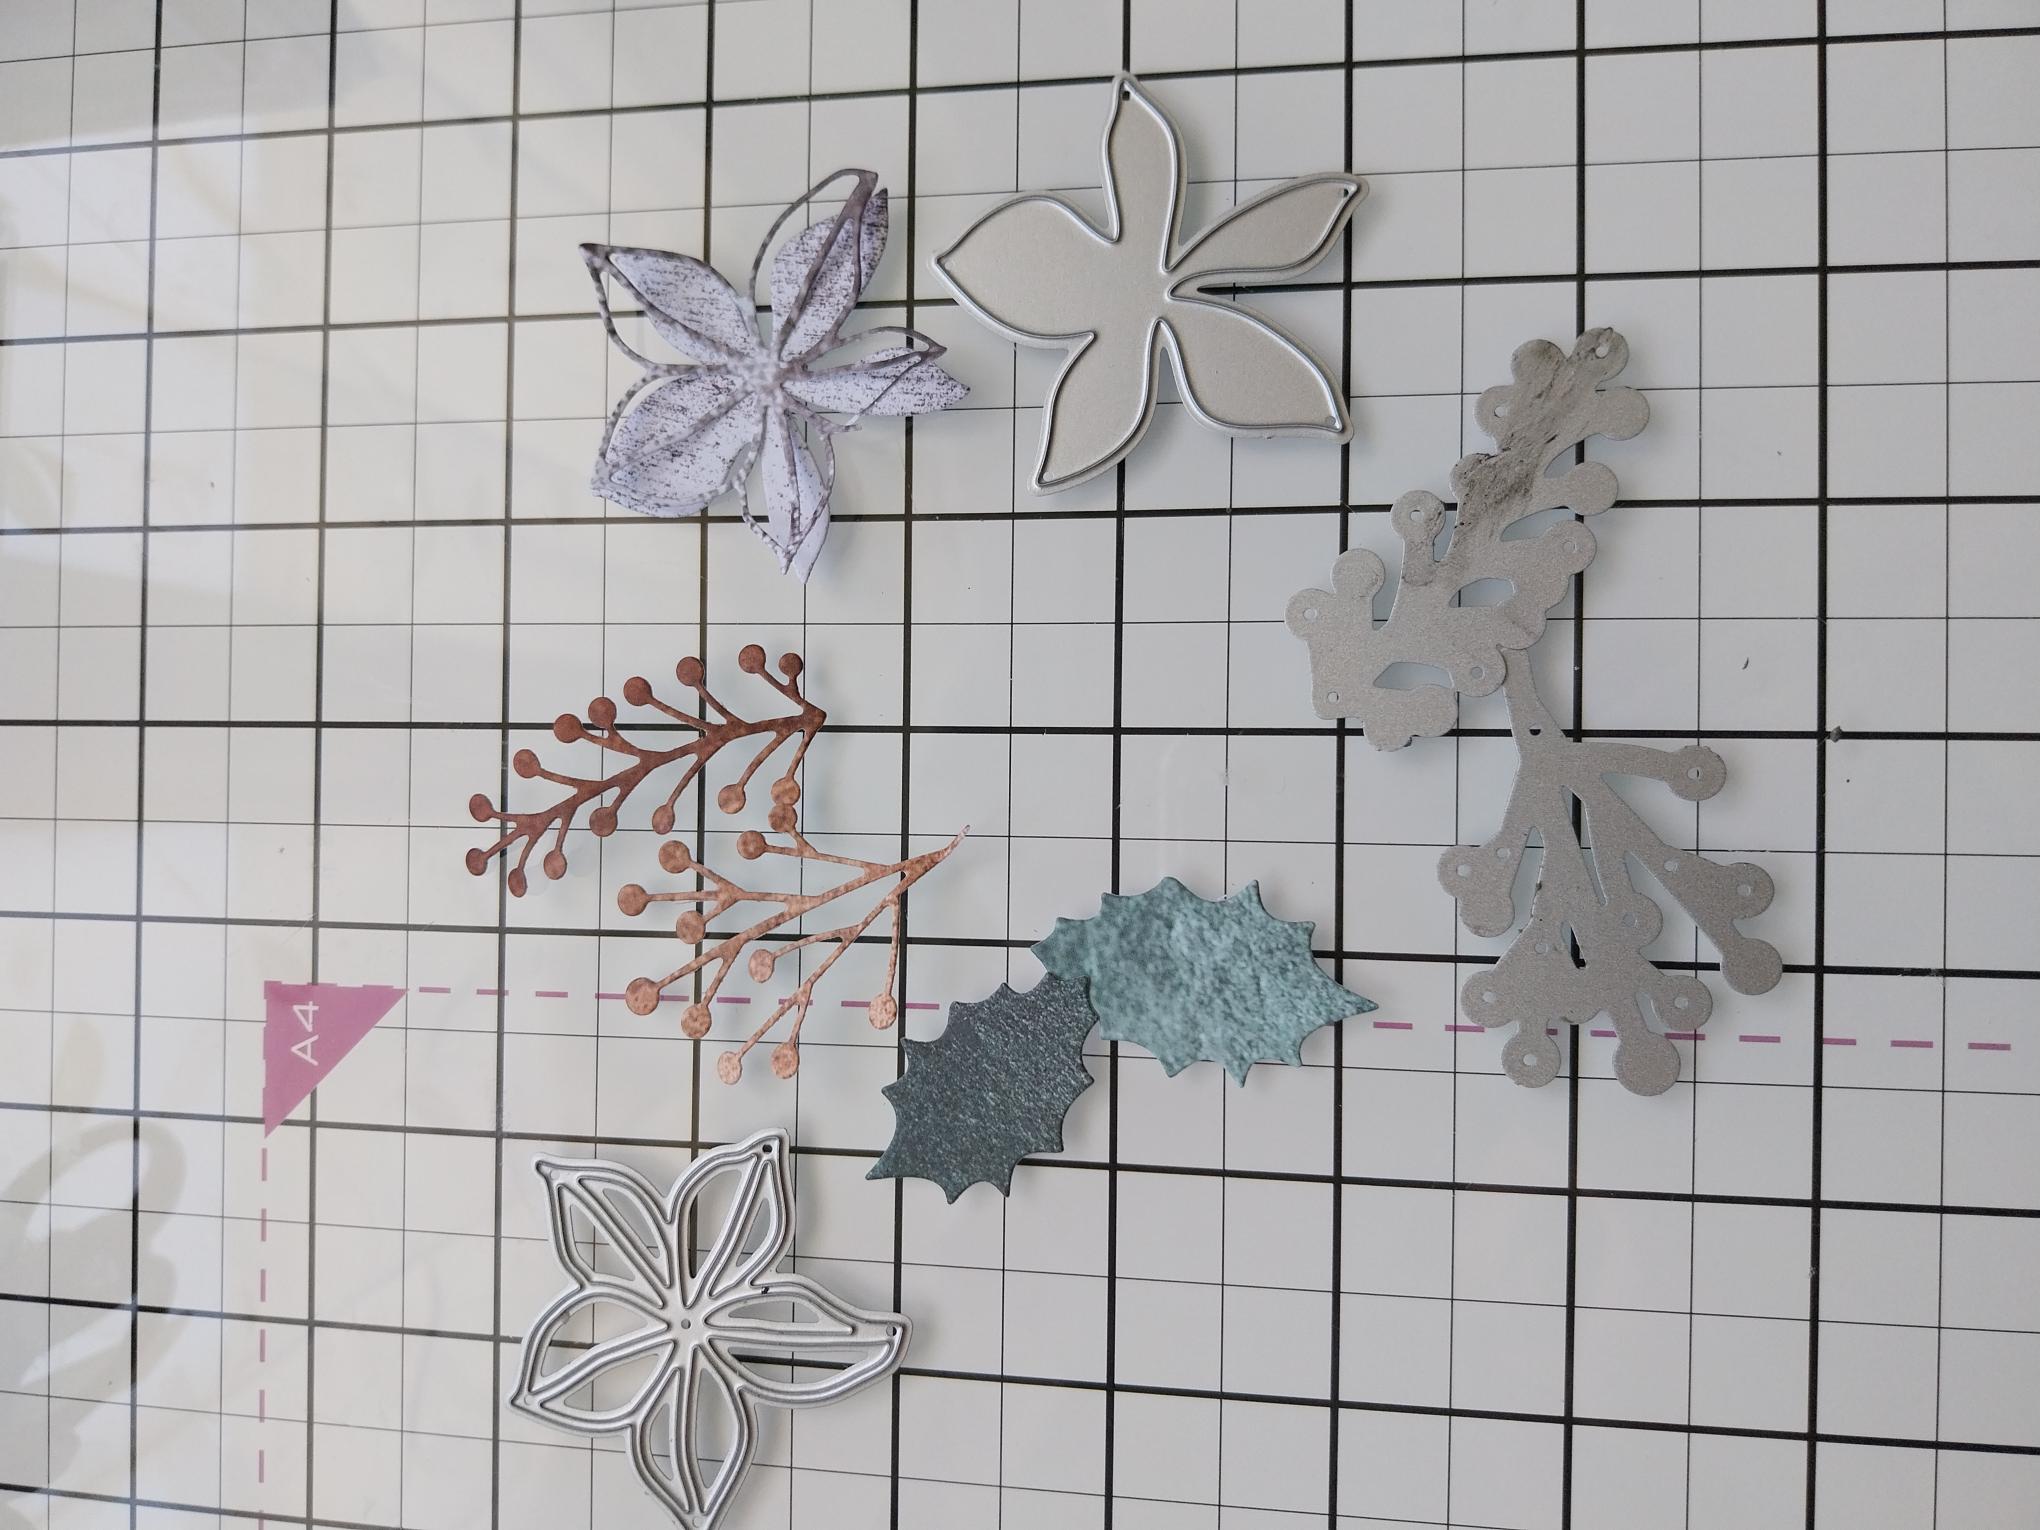
Die cut the embellishment elements in your chosen papers (from your festive collections), again coordinating with another topper. Set aside. |
|
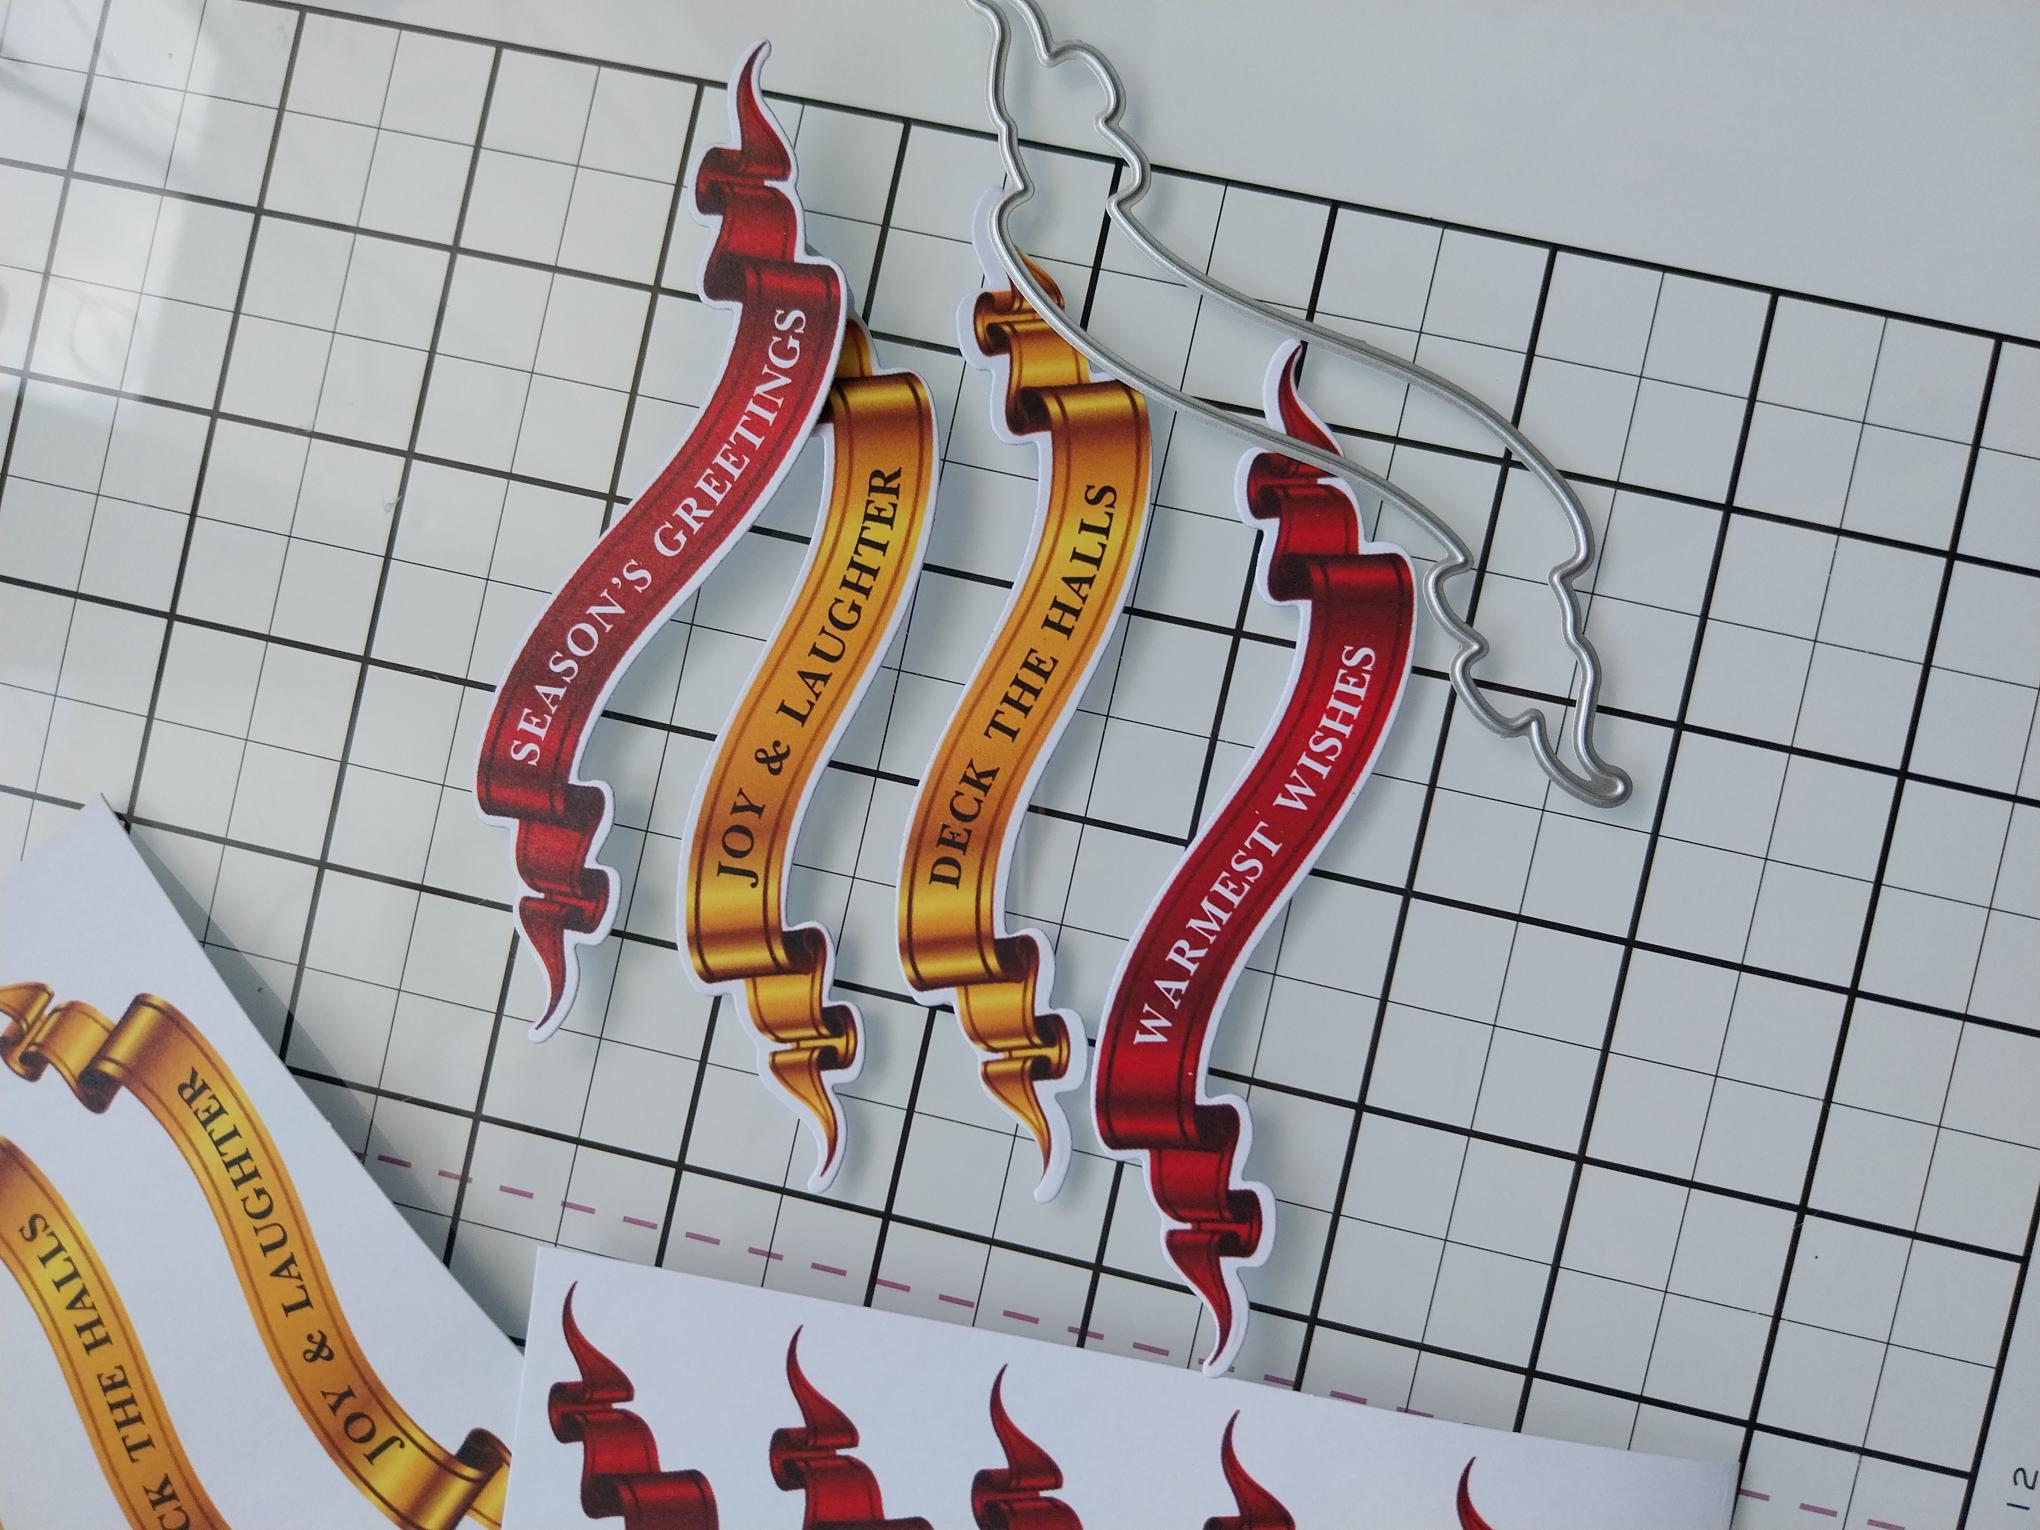
Die cut FOUR of the sentiment banners, using the die provided in the kit. Pop to one side. |
|
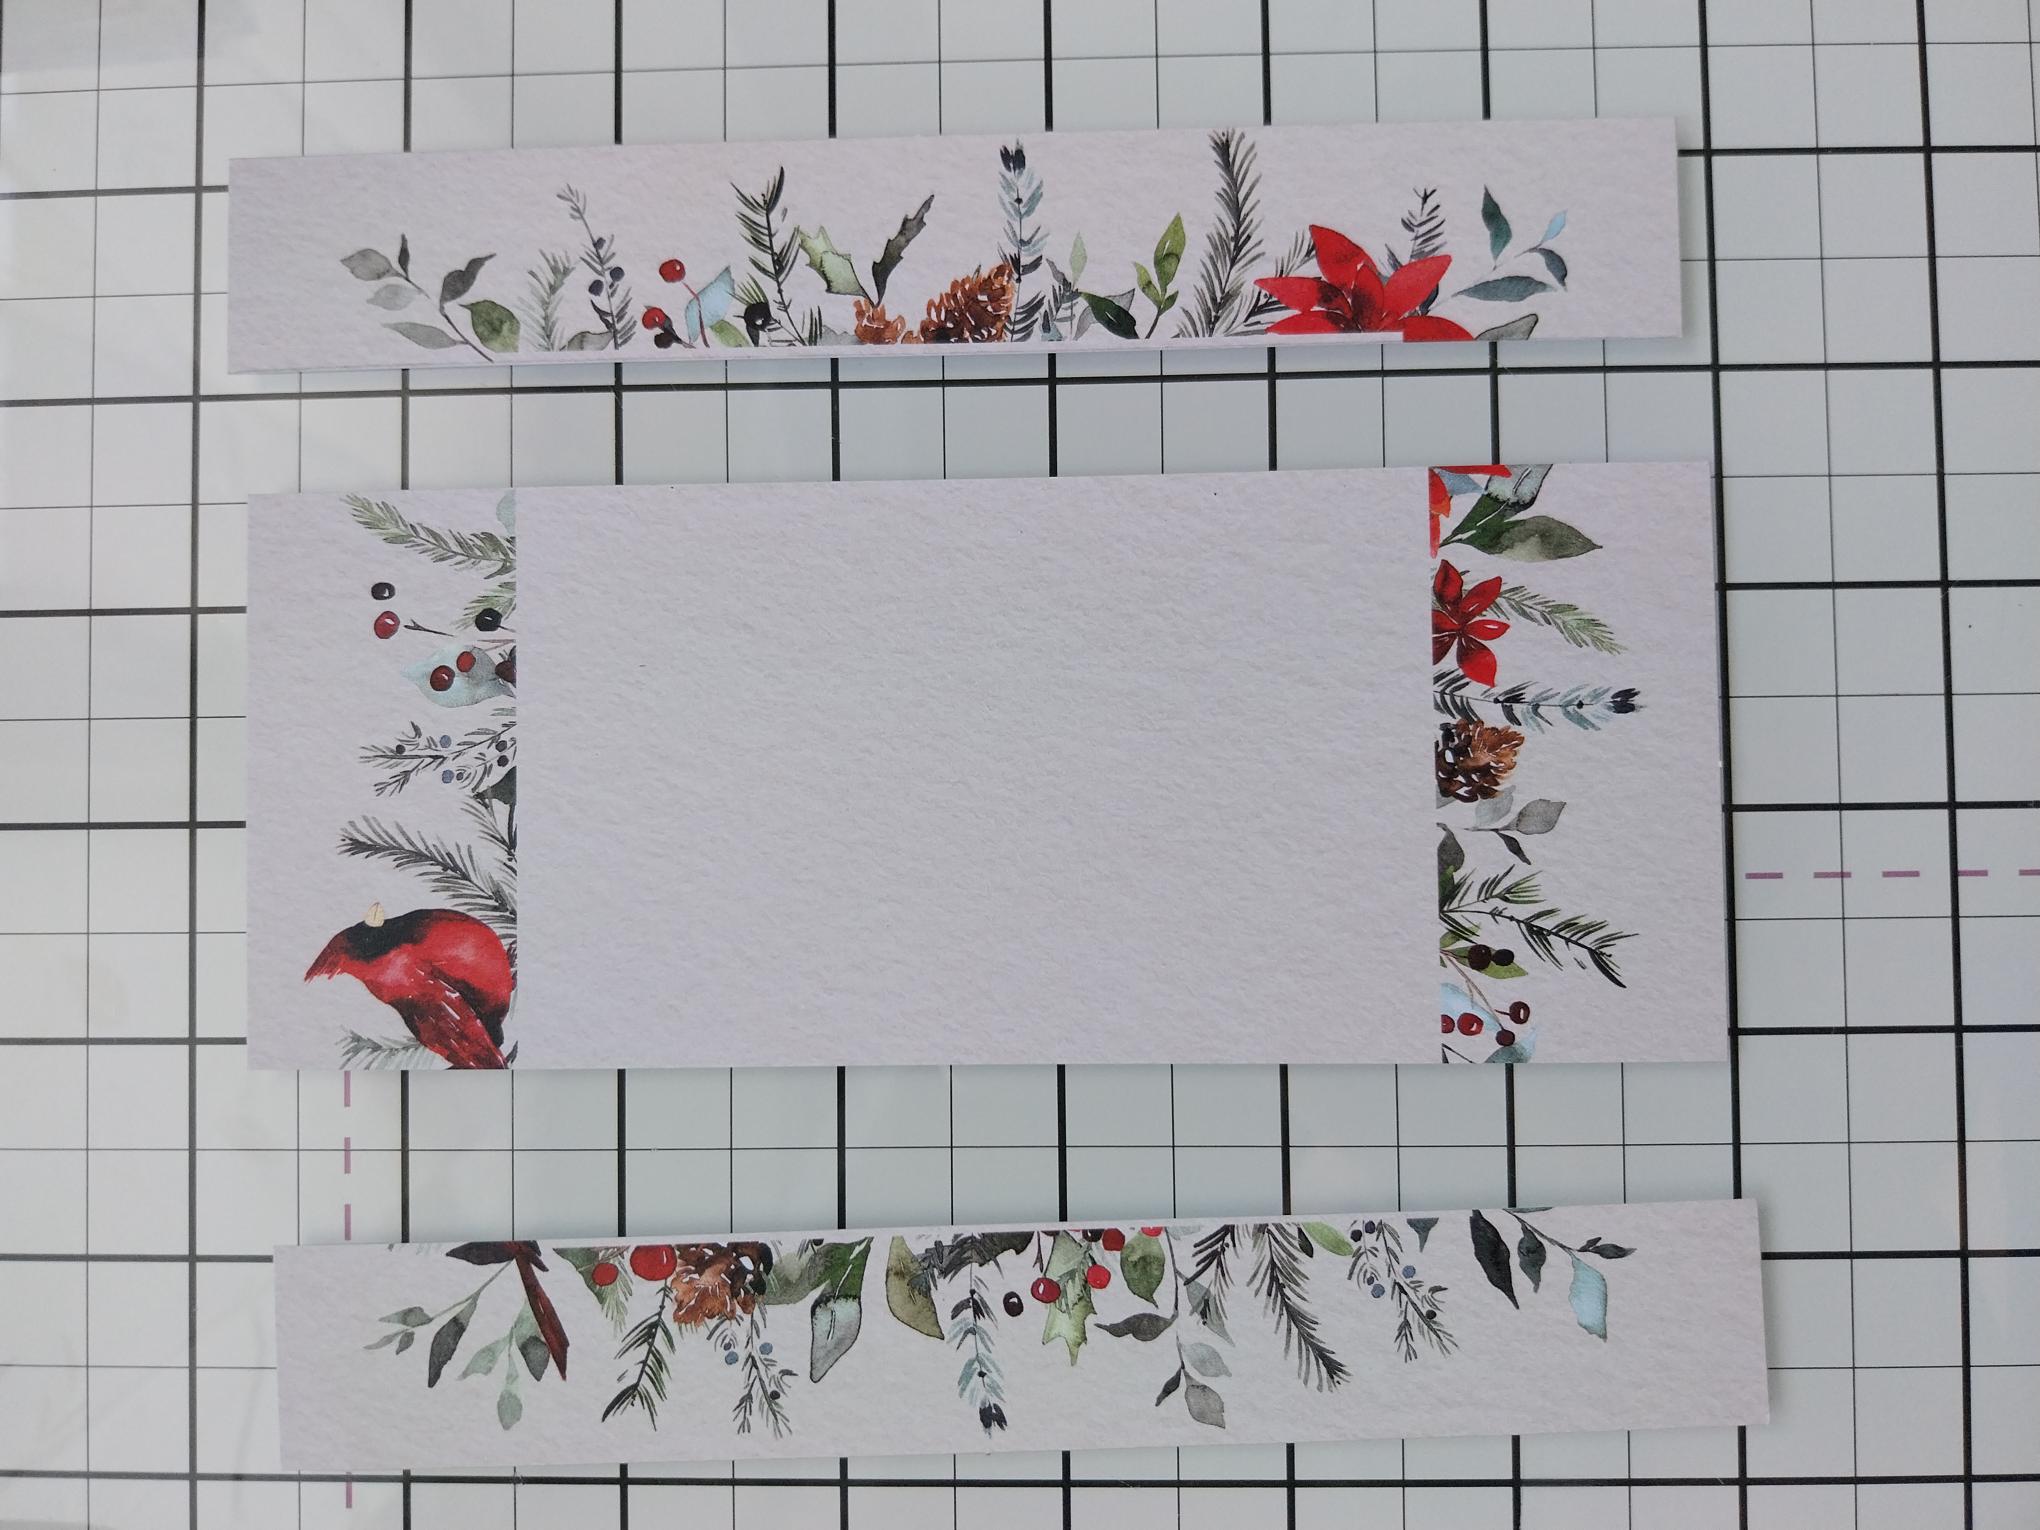
Remove this paper and trim TWO panels from the sides of the paper...these will be used later, to create your belly band to hold your finished notelets. |
|
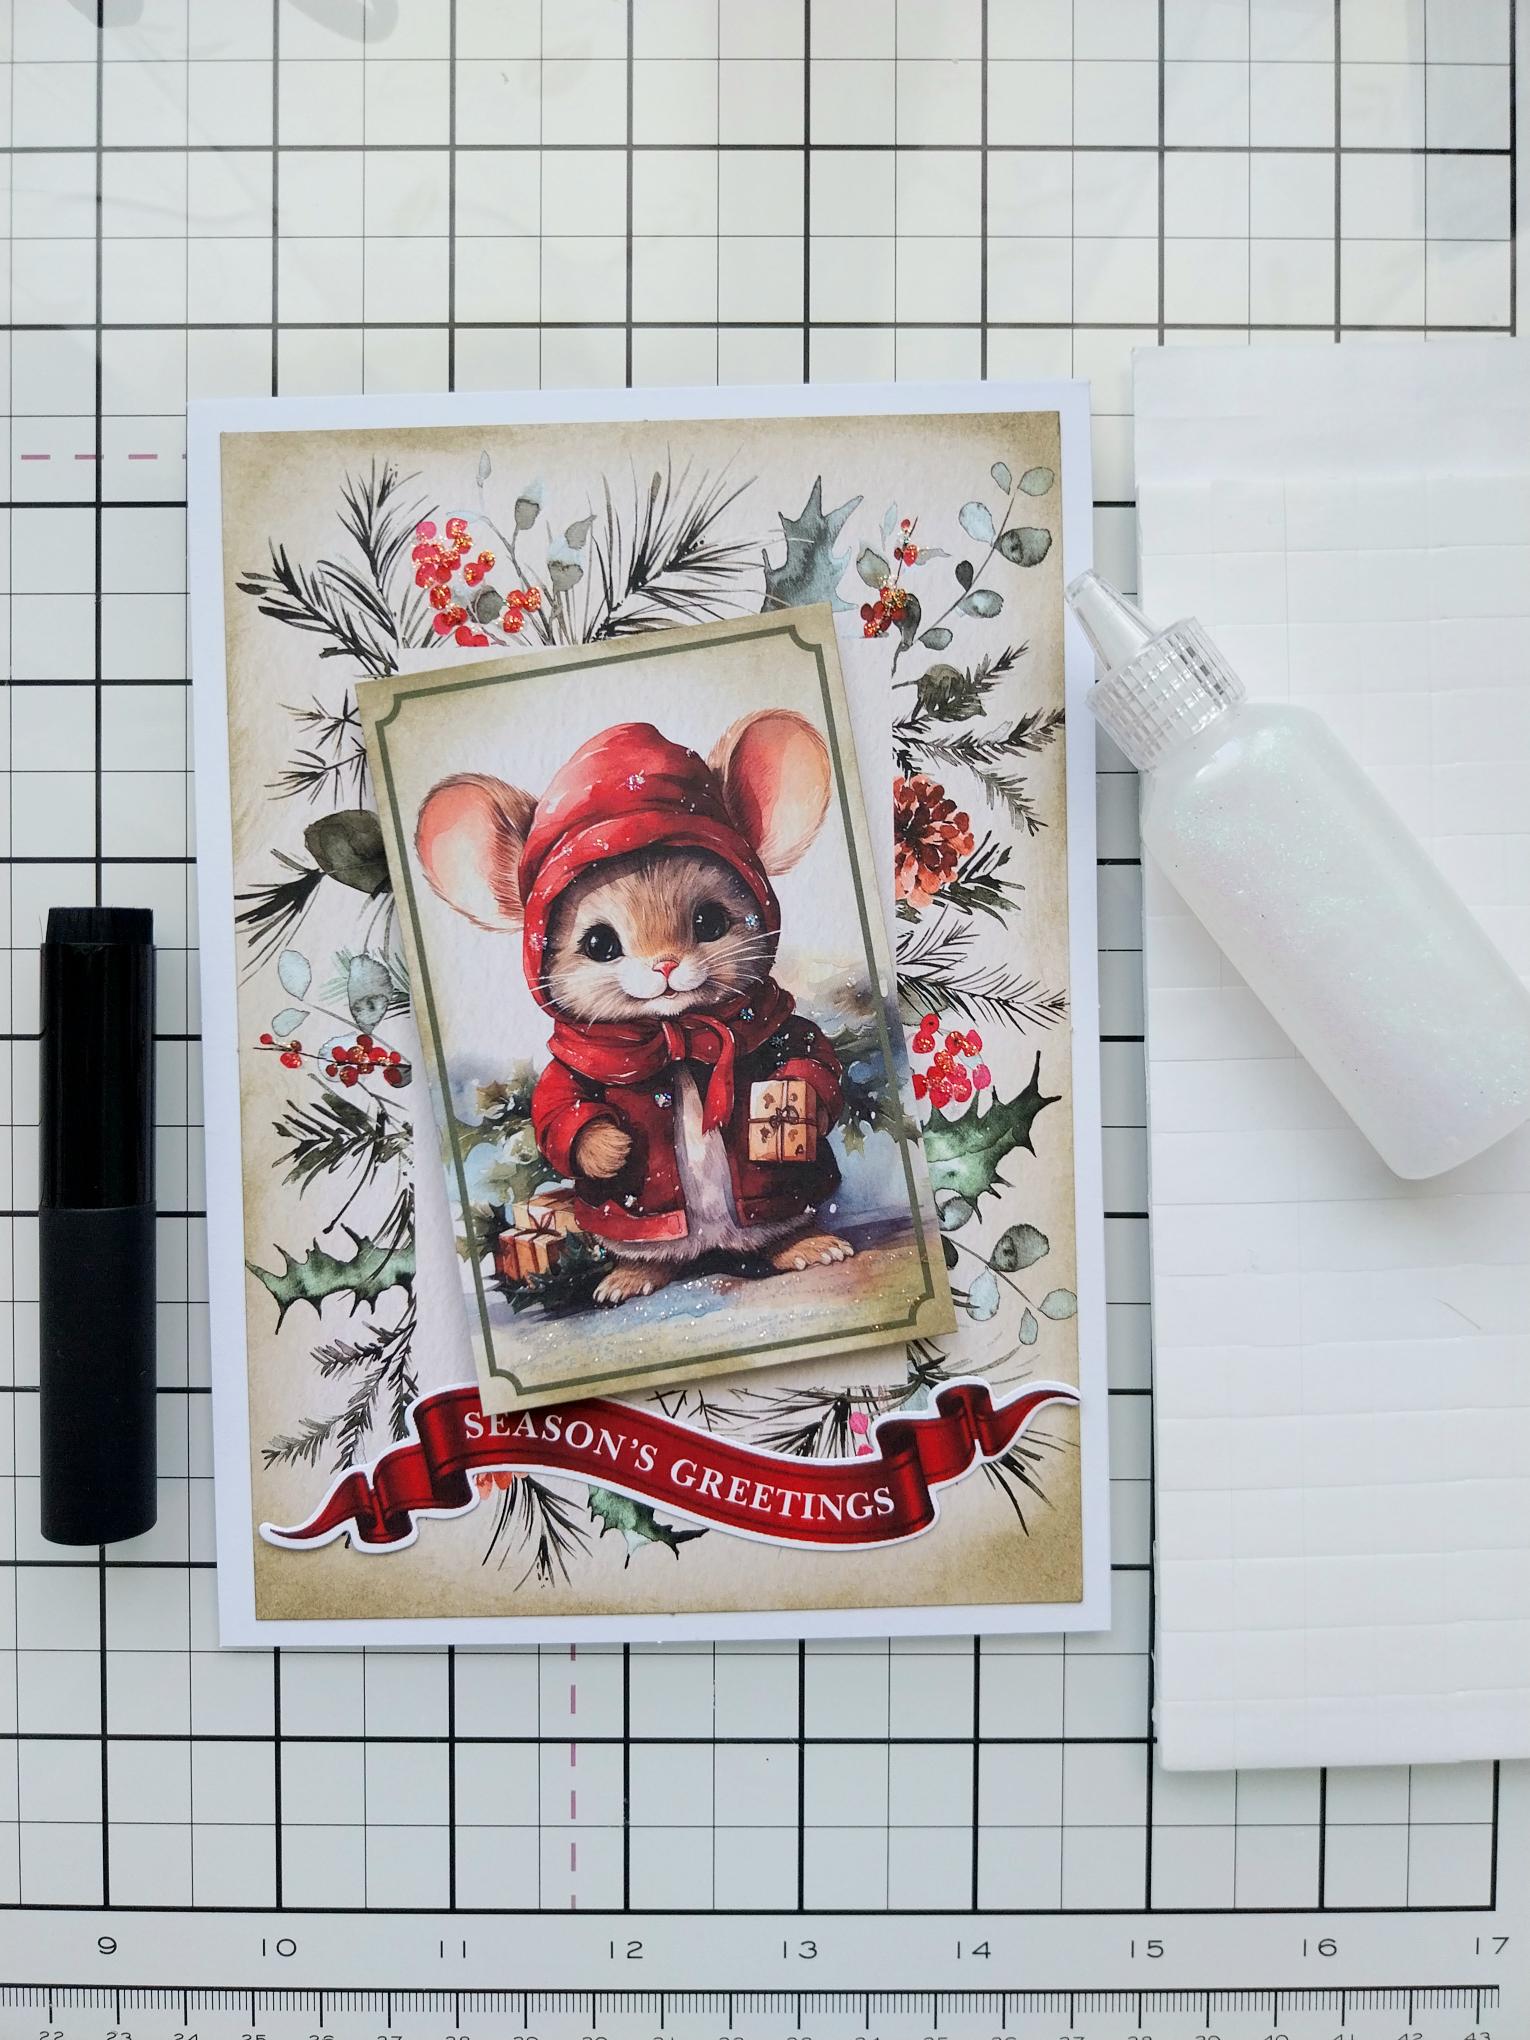
Now it's time to create your first notelet and for this one I incorporated the glitter (included in your kit) and ink blending with the Frayed Burlap, around the edges of my paper and topper, which were then adhered to one of the card blanks included within your kit. |
|
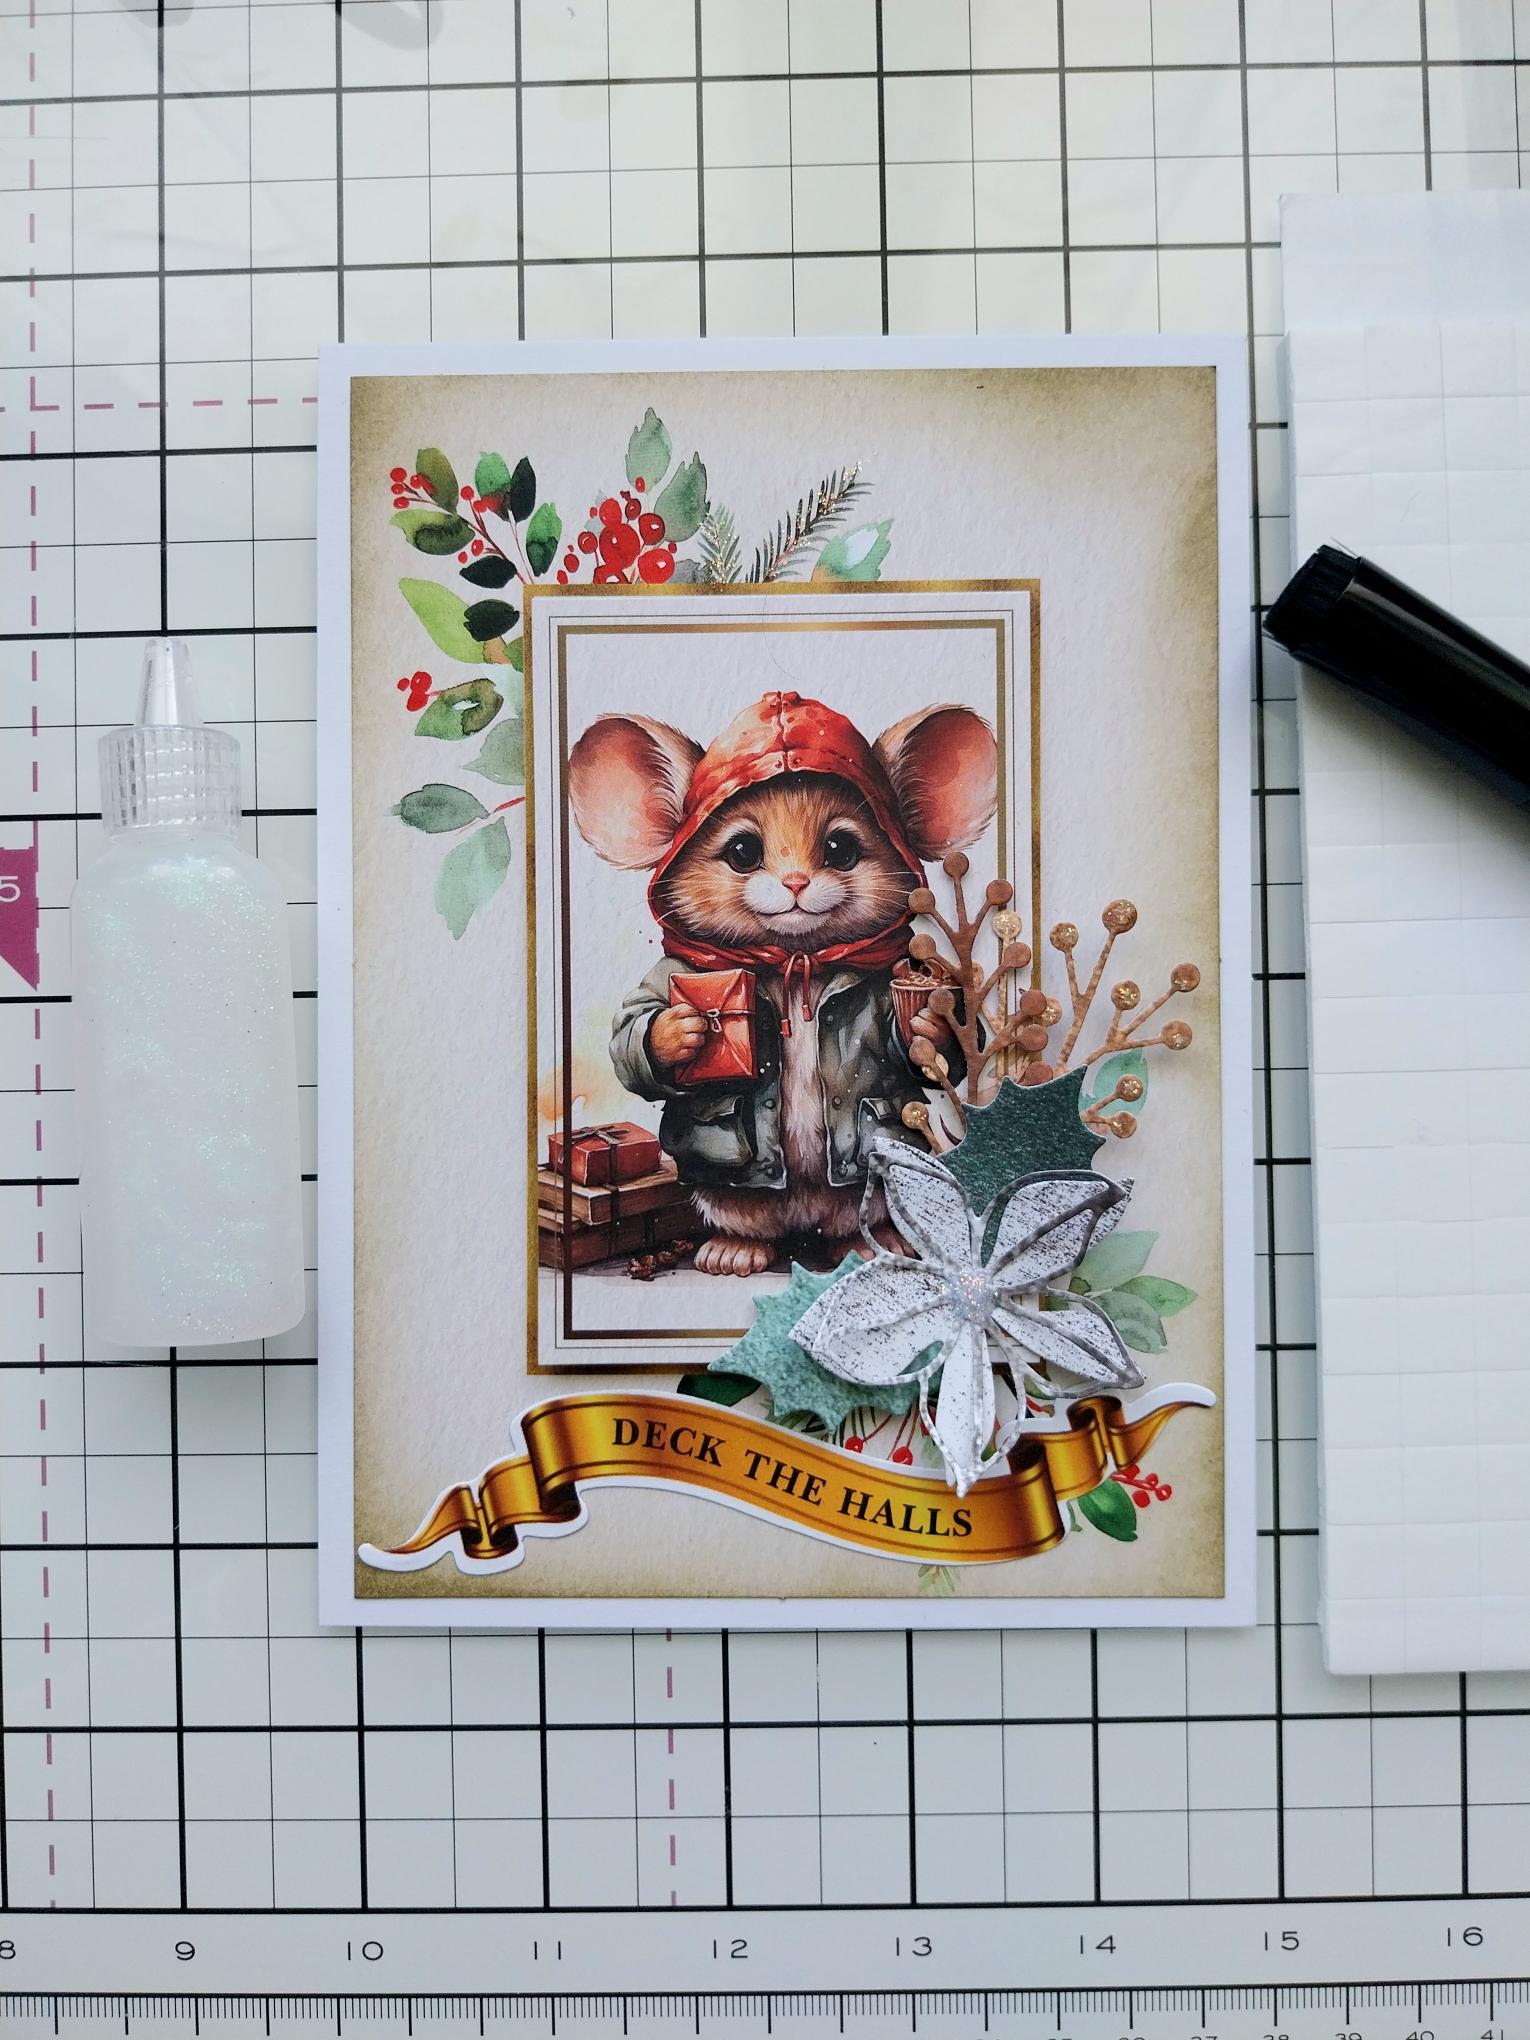
For my second notelet, I did some more ink blending, added glitter and I created a display with my die cut 3D floral and foliage embellishments. |
|
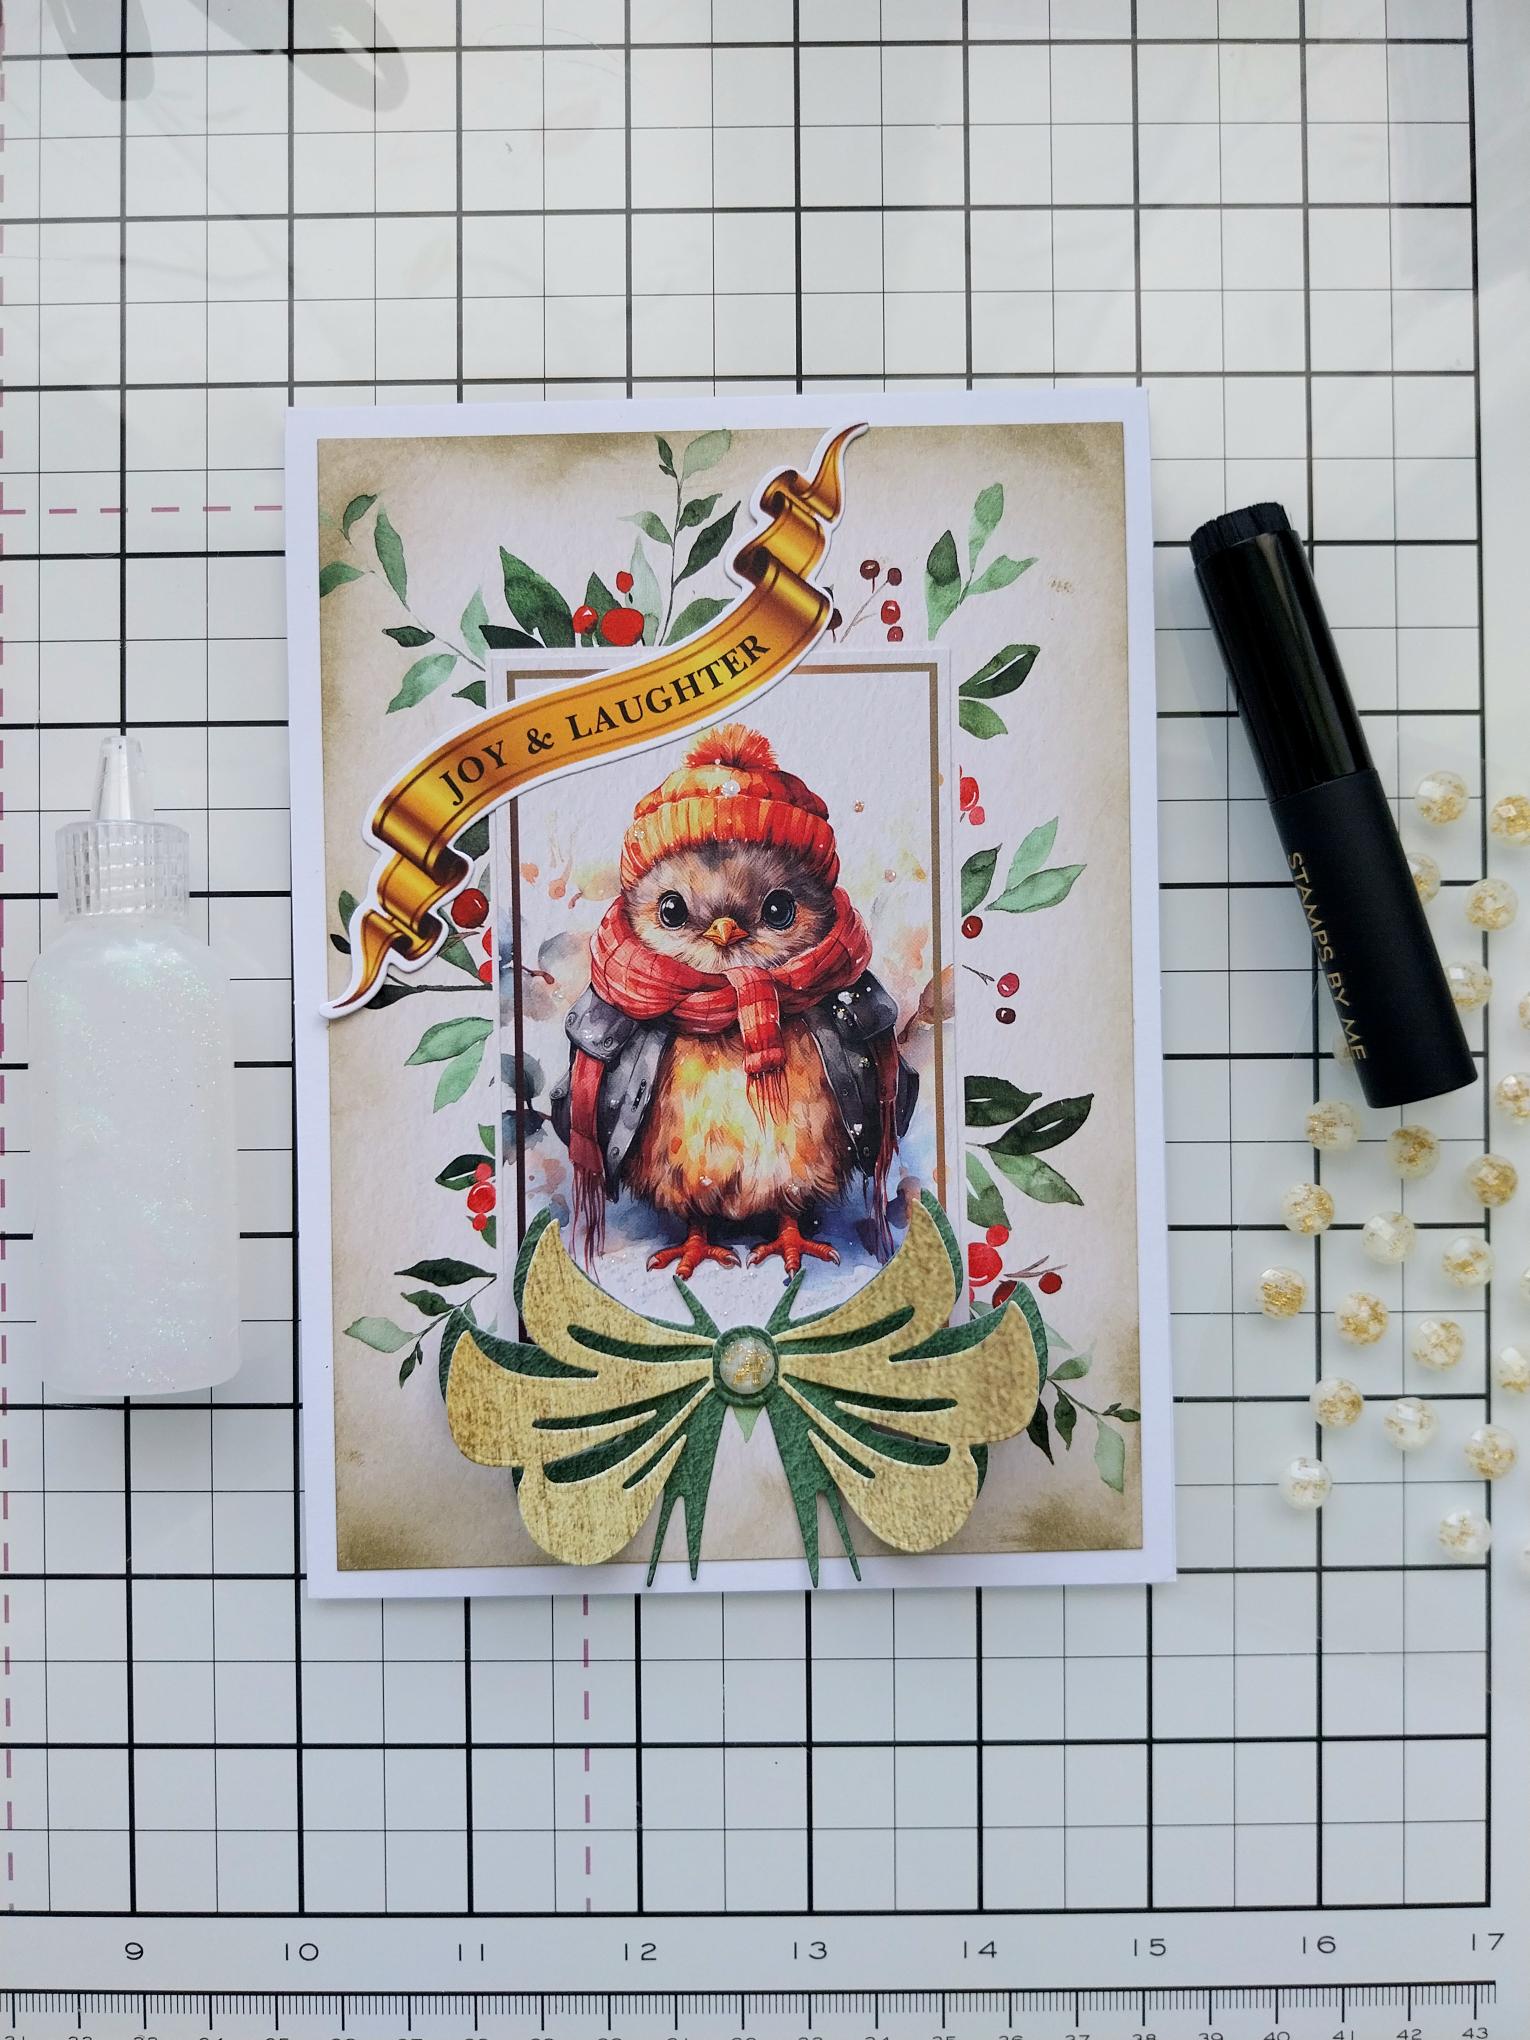
On my third notelet I used the 3D Enchanted bow, an adhesive gem in the centre and obviously more festive gliiter! |
|
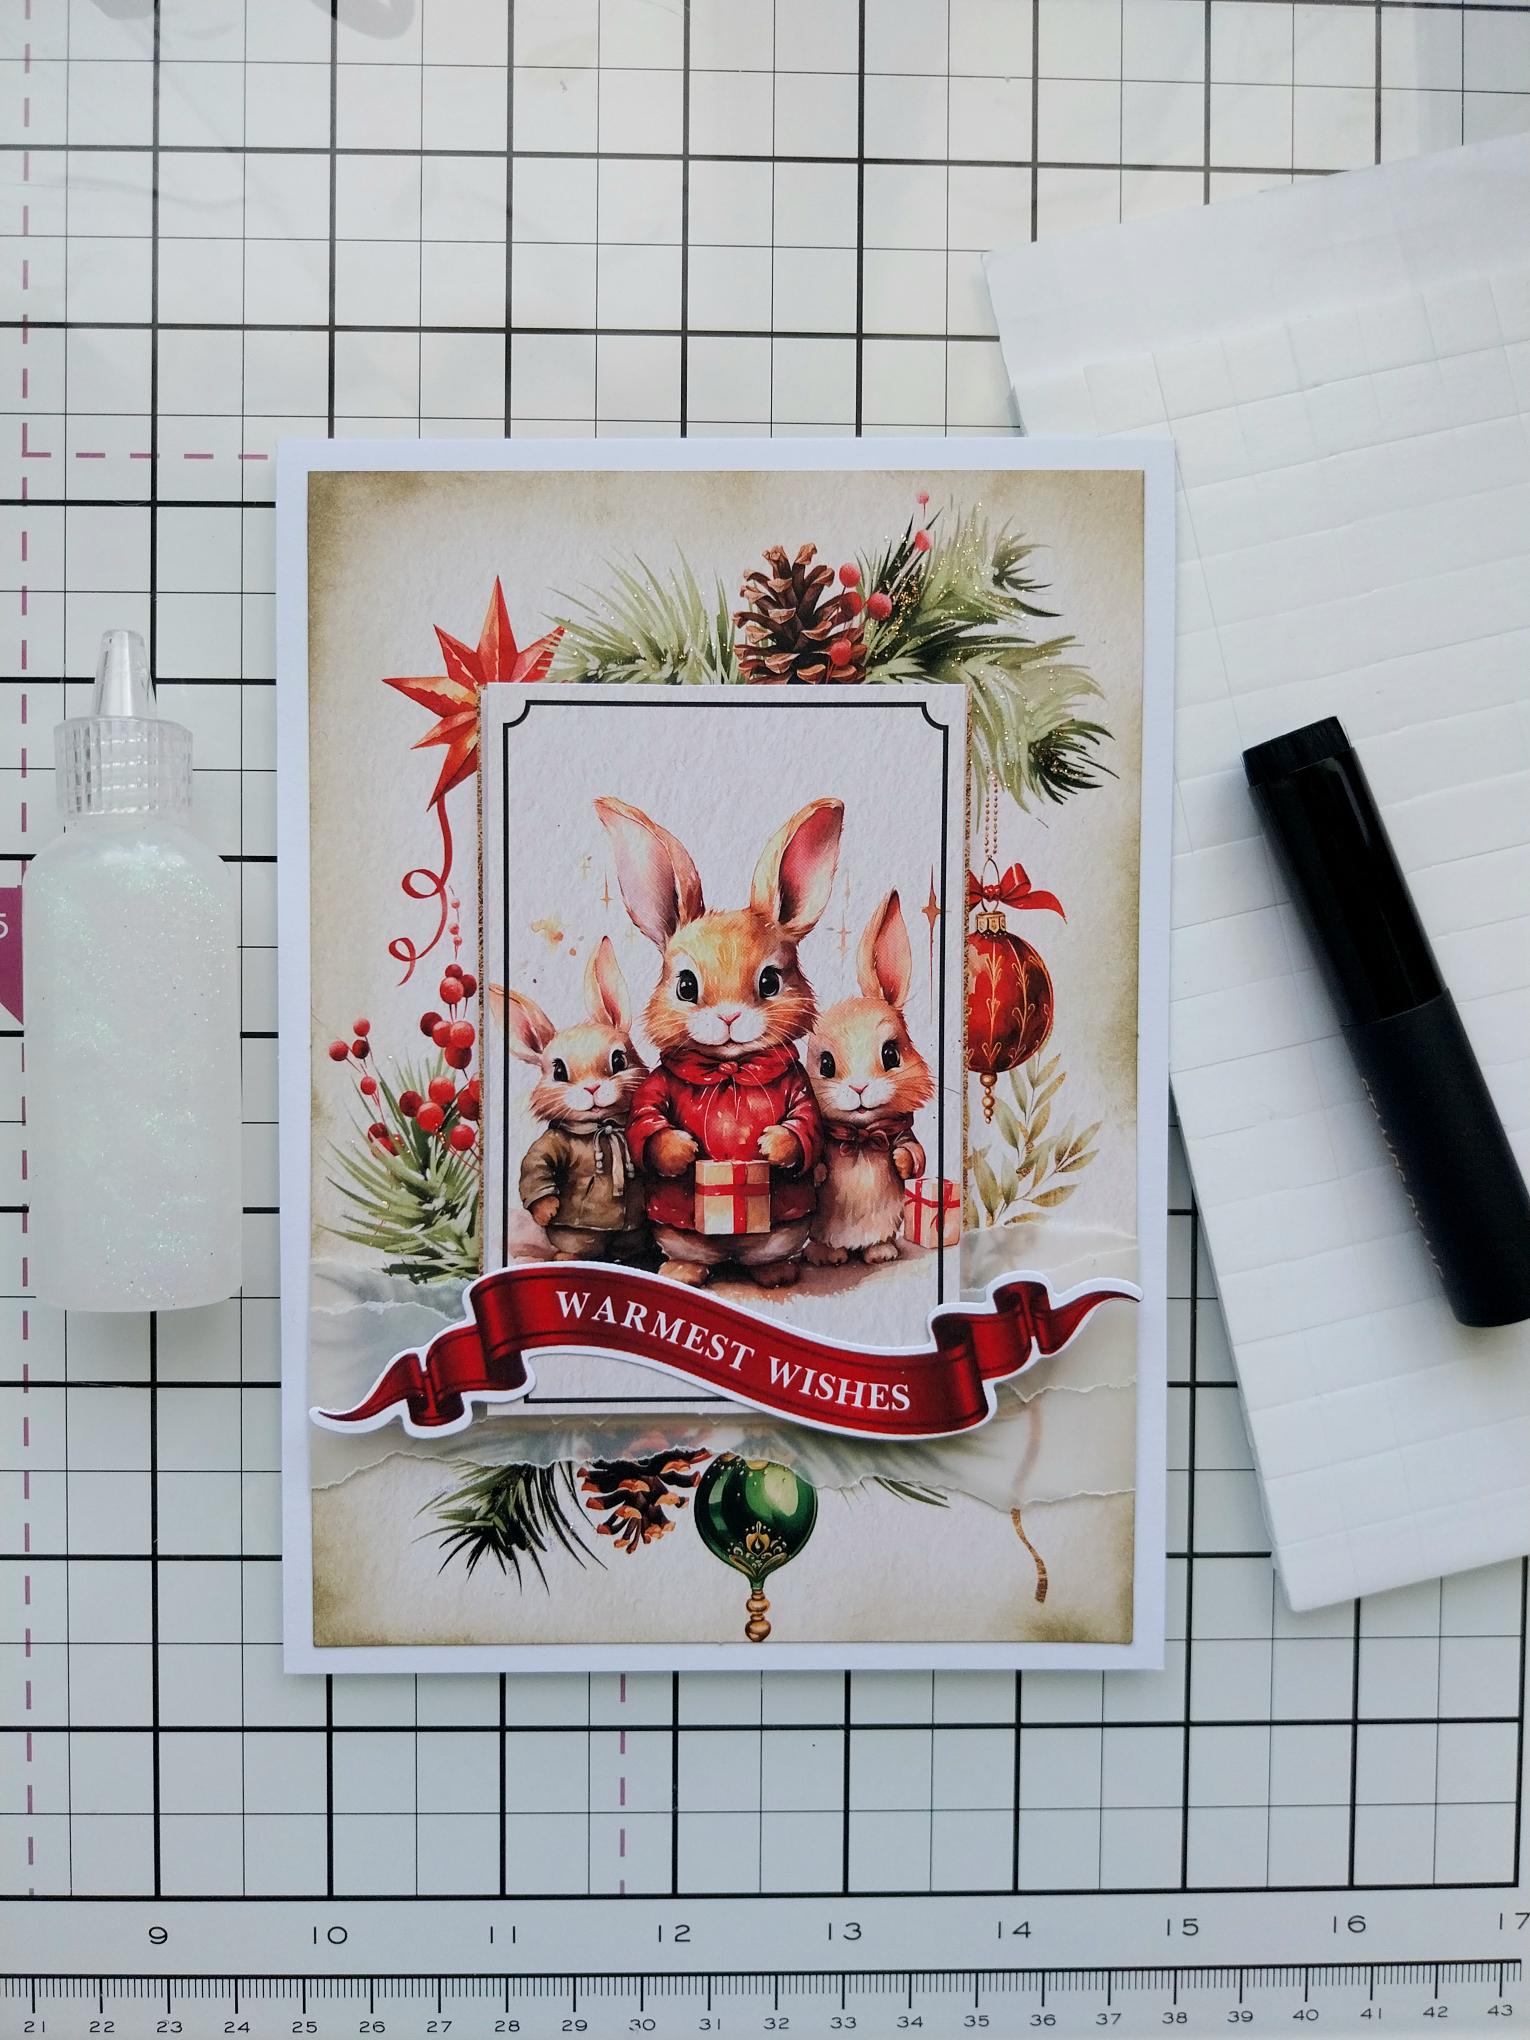
For my fourth notelet I incorporated torn vellum across the bottom half on which I adhered the sentiment banner. A touch of ink and sparkle and voila!! All four notelets completed. |
|
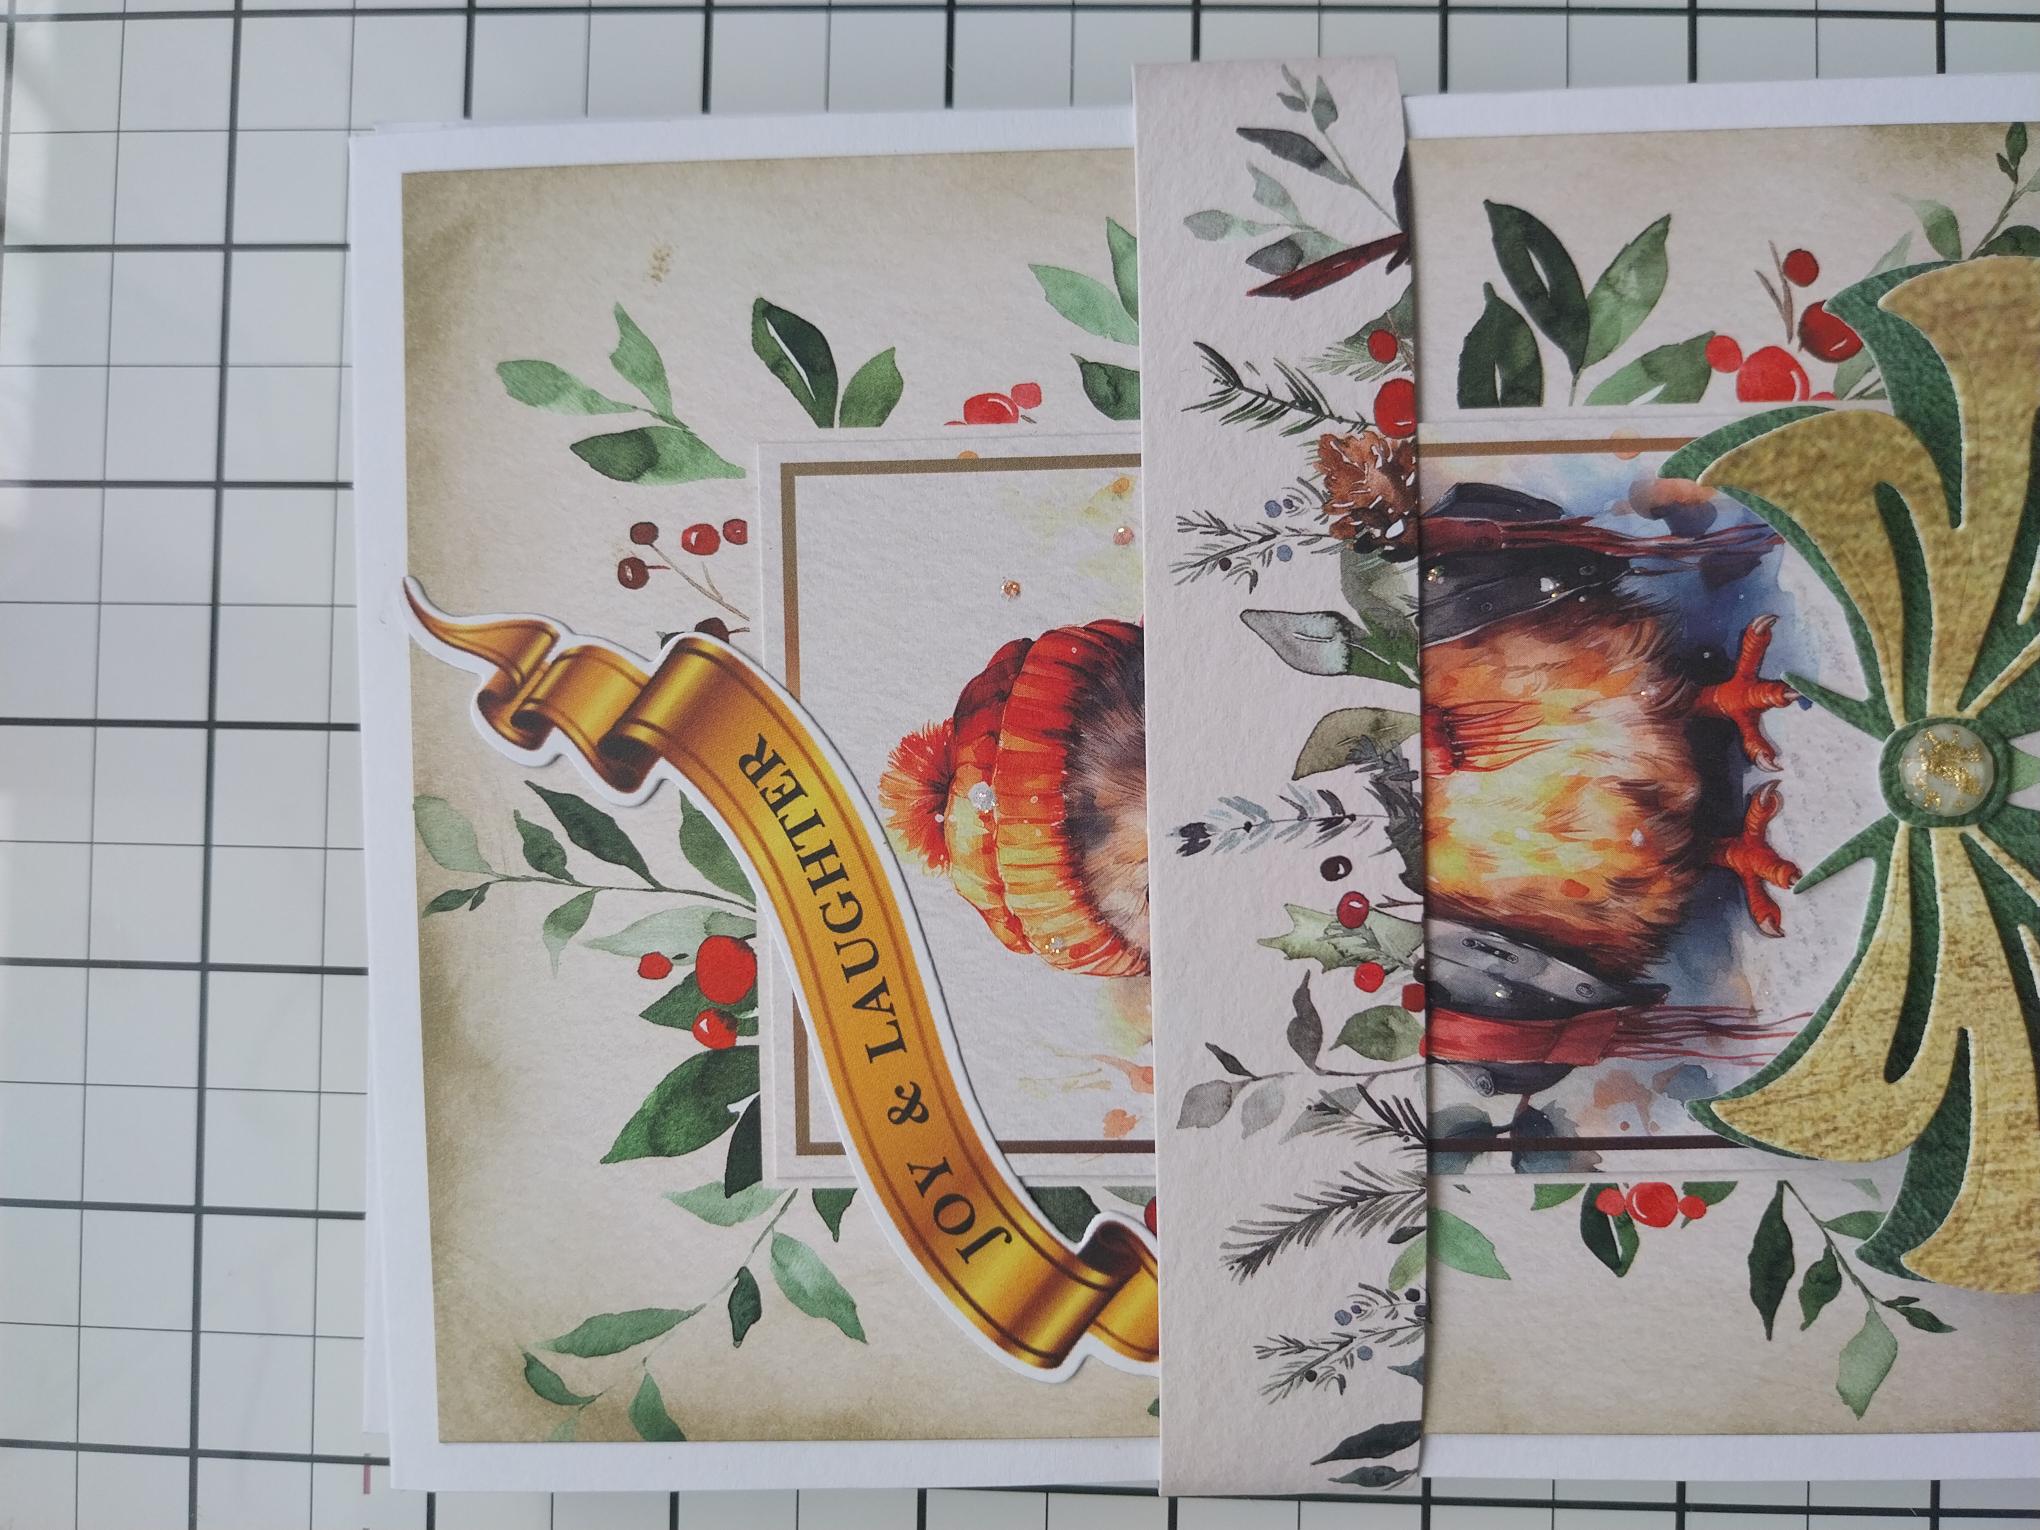
Place all FOUR notelets and their envelopes in a pile. Taking the printed panels you trimmed off a paper earler, wrap the first one around the notelets set, using the second panel as an extender which you need to adhere and trim as necessary, to create your belly band. Ensure you can slide the belly band on and off the gift set BEFORE you glue the extender panel in place!! I used red liner tape to adhere the extender panel in place so it wouln't come undone when in use. |
|
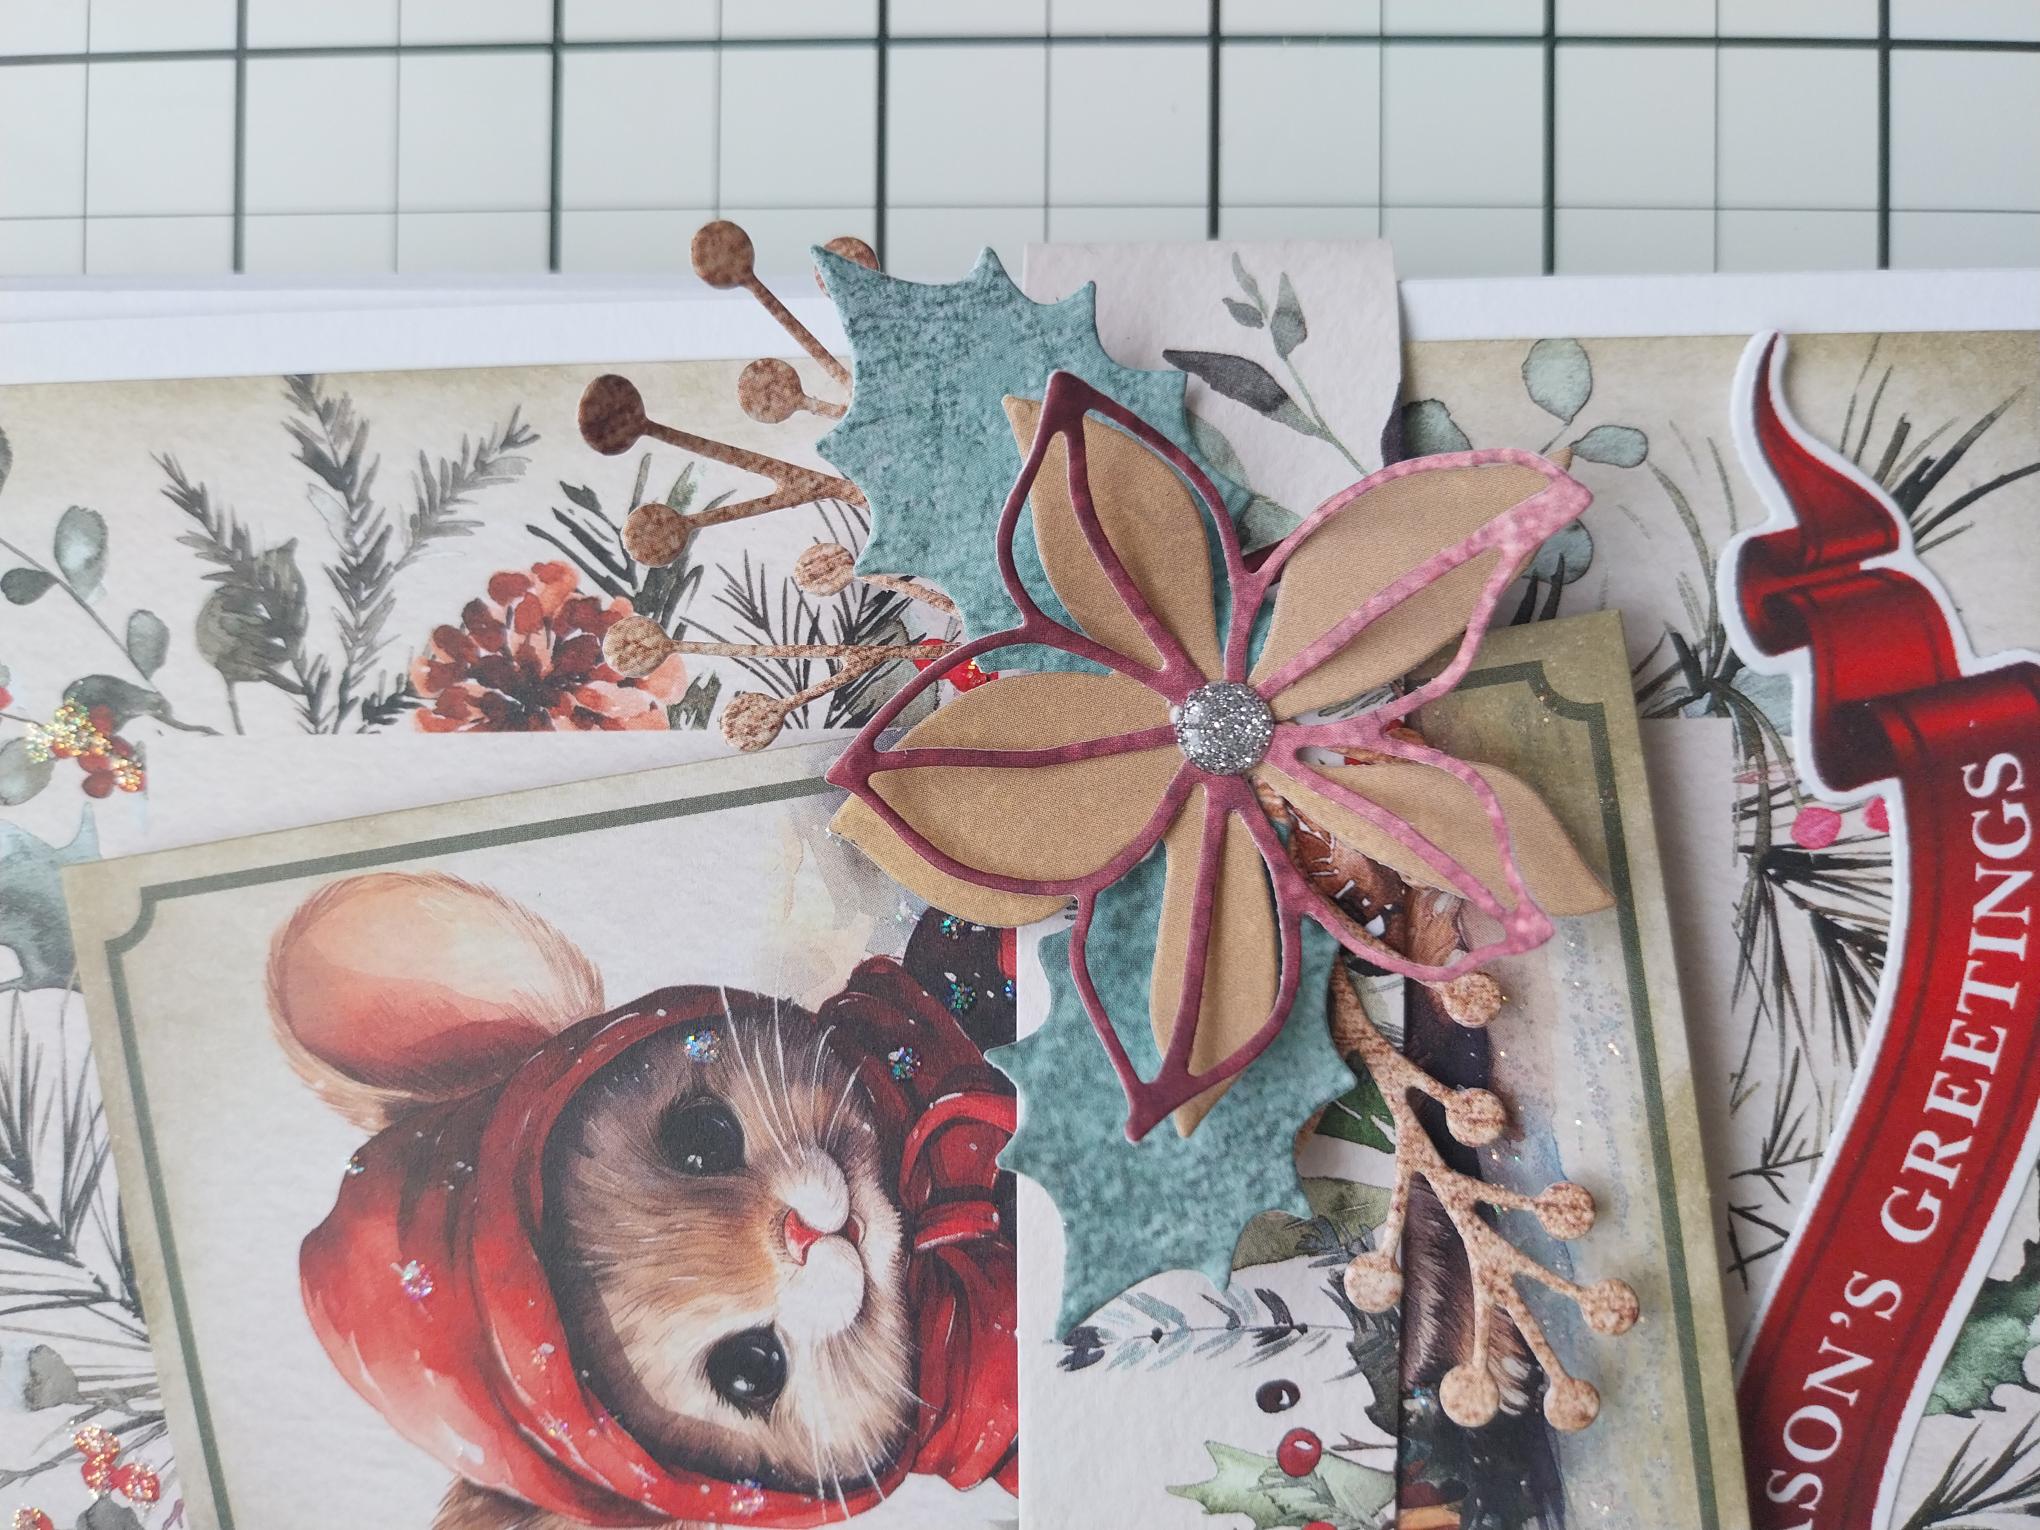
Die cut a selection of floral and foliage elements, from the papers in your festive collections and use these to decorate the belly band. |