


WHAT YOU WILL NEED:
White card blank 6 x 8"
Kraft cardstock
Snowy Trails Paper Pad
Distress Ink/Oxide Ink Pad: Fossilized Amber, Lost Shadow
Blending tool
Stickles
SBM A3 Magnetic glass mat
Paper Trimmer
Glue
Foam pads
[click image to enlarge] 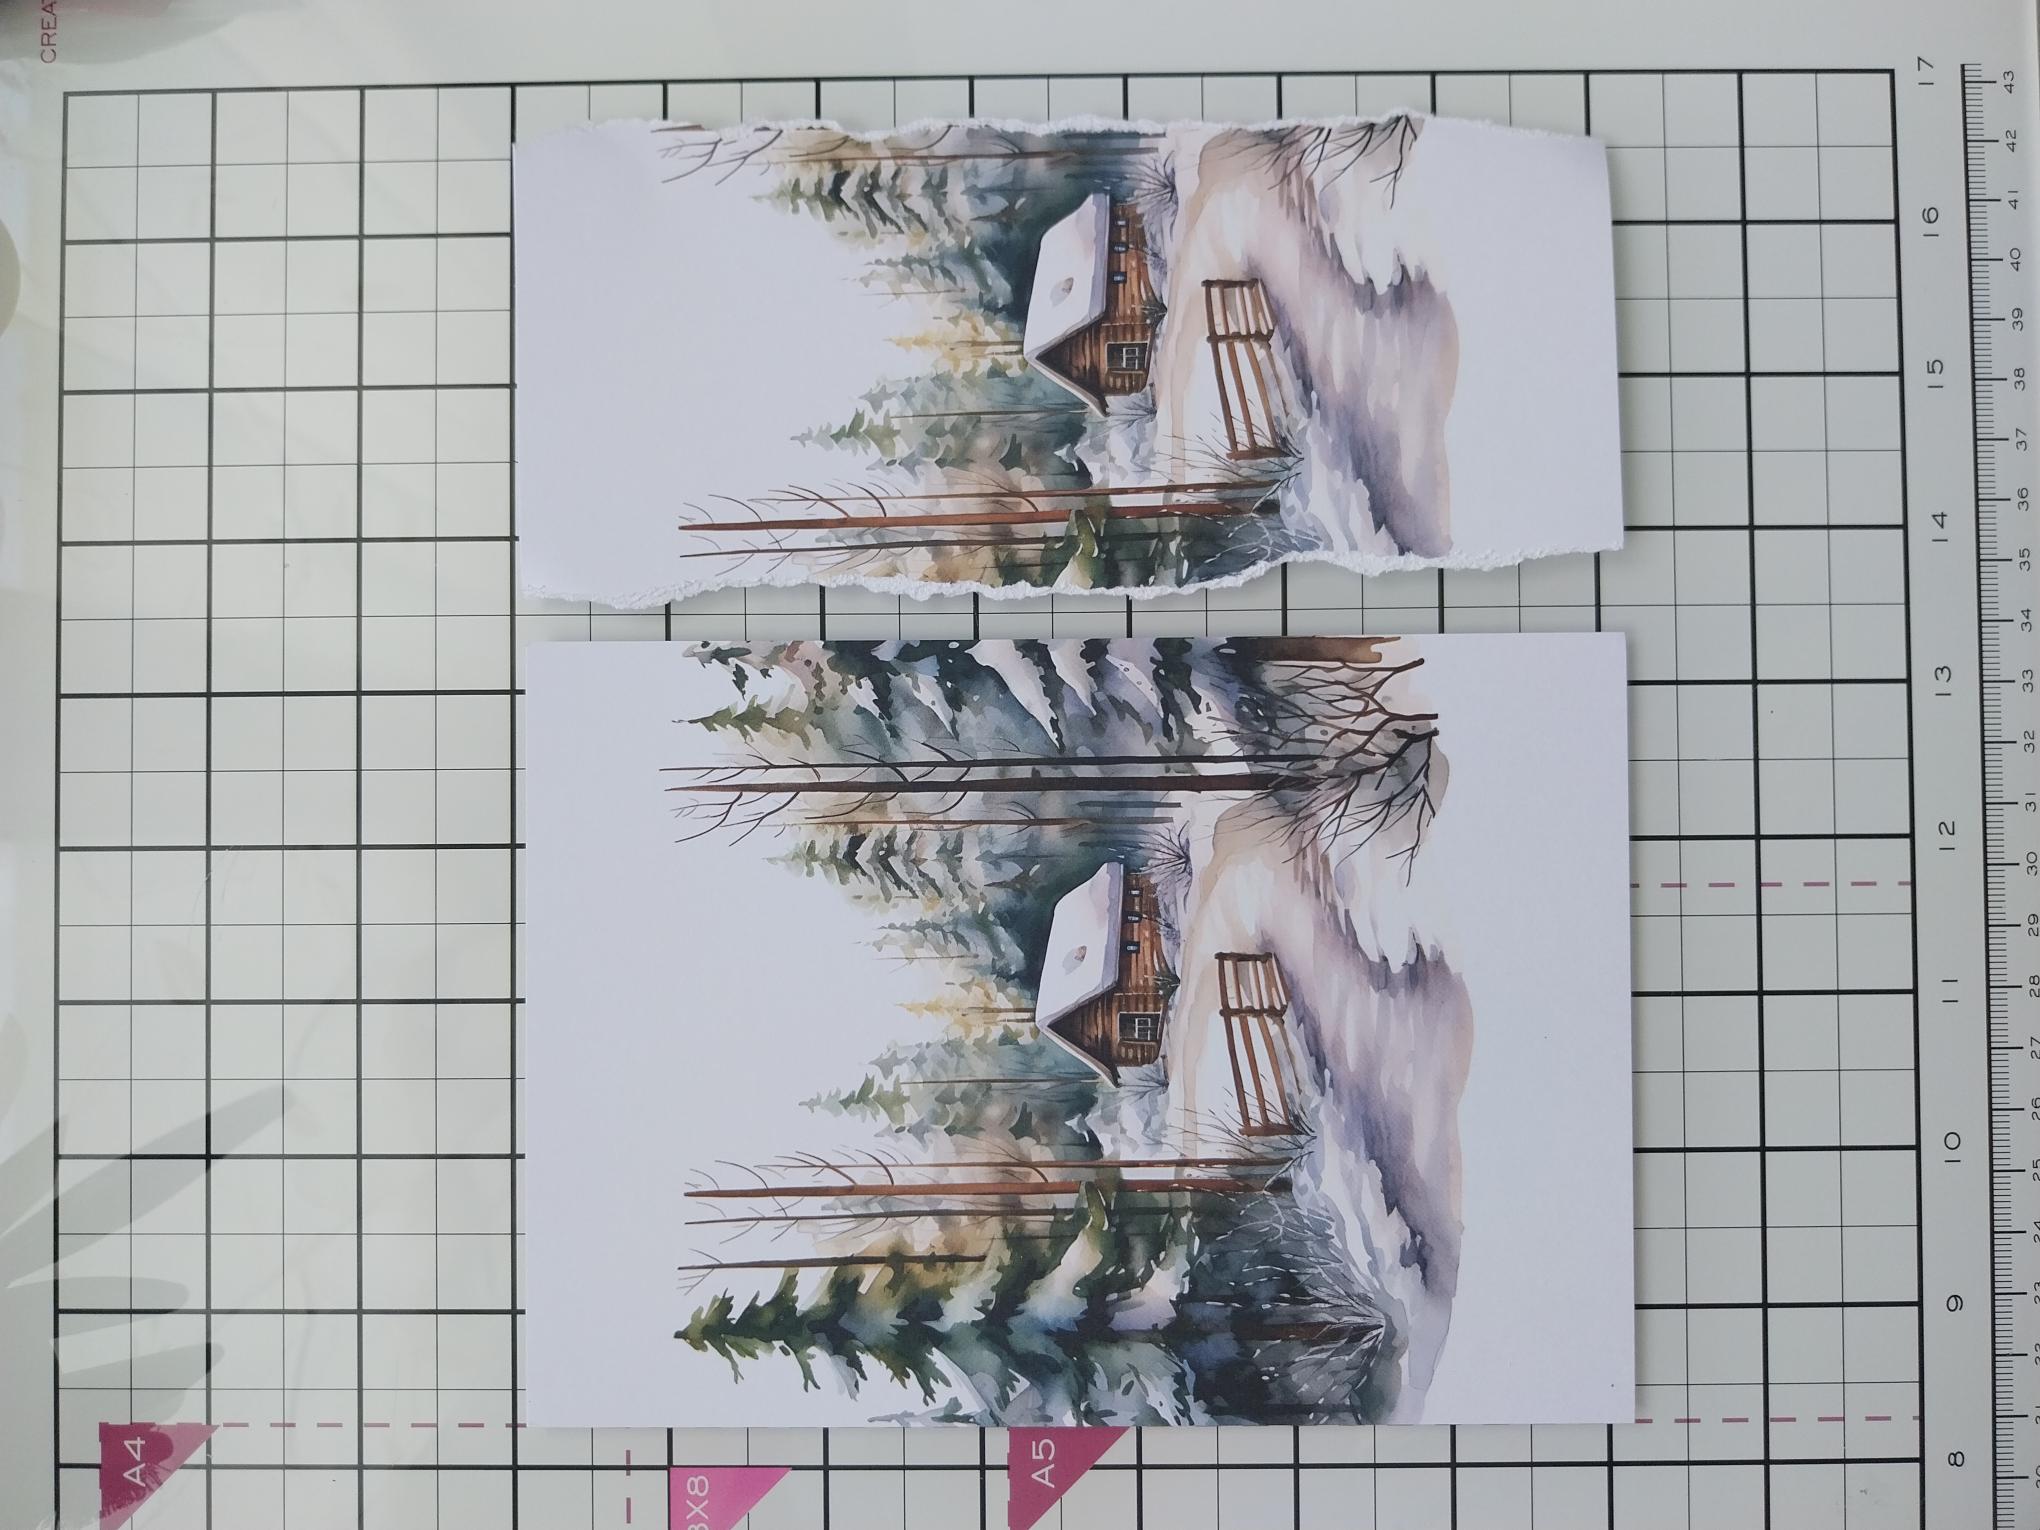
|
Choose THREE sheets of the same design from the Snowy Trails paper pack. Tear ONE of them, incorporating the focal cabin within the torn panel. |
|
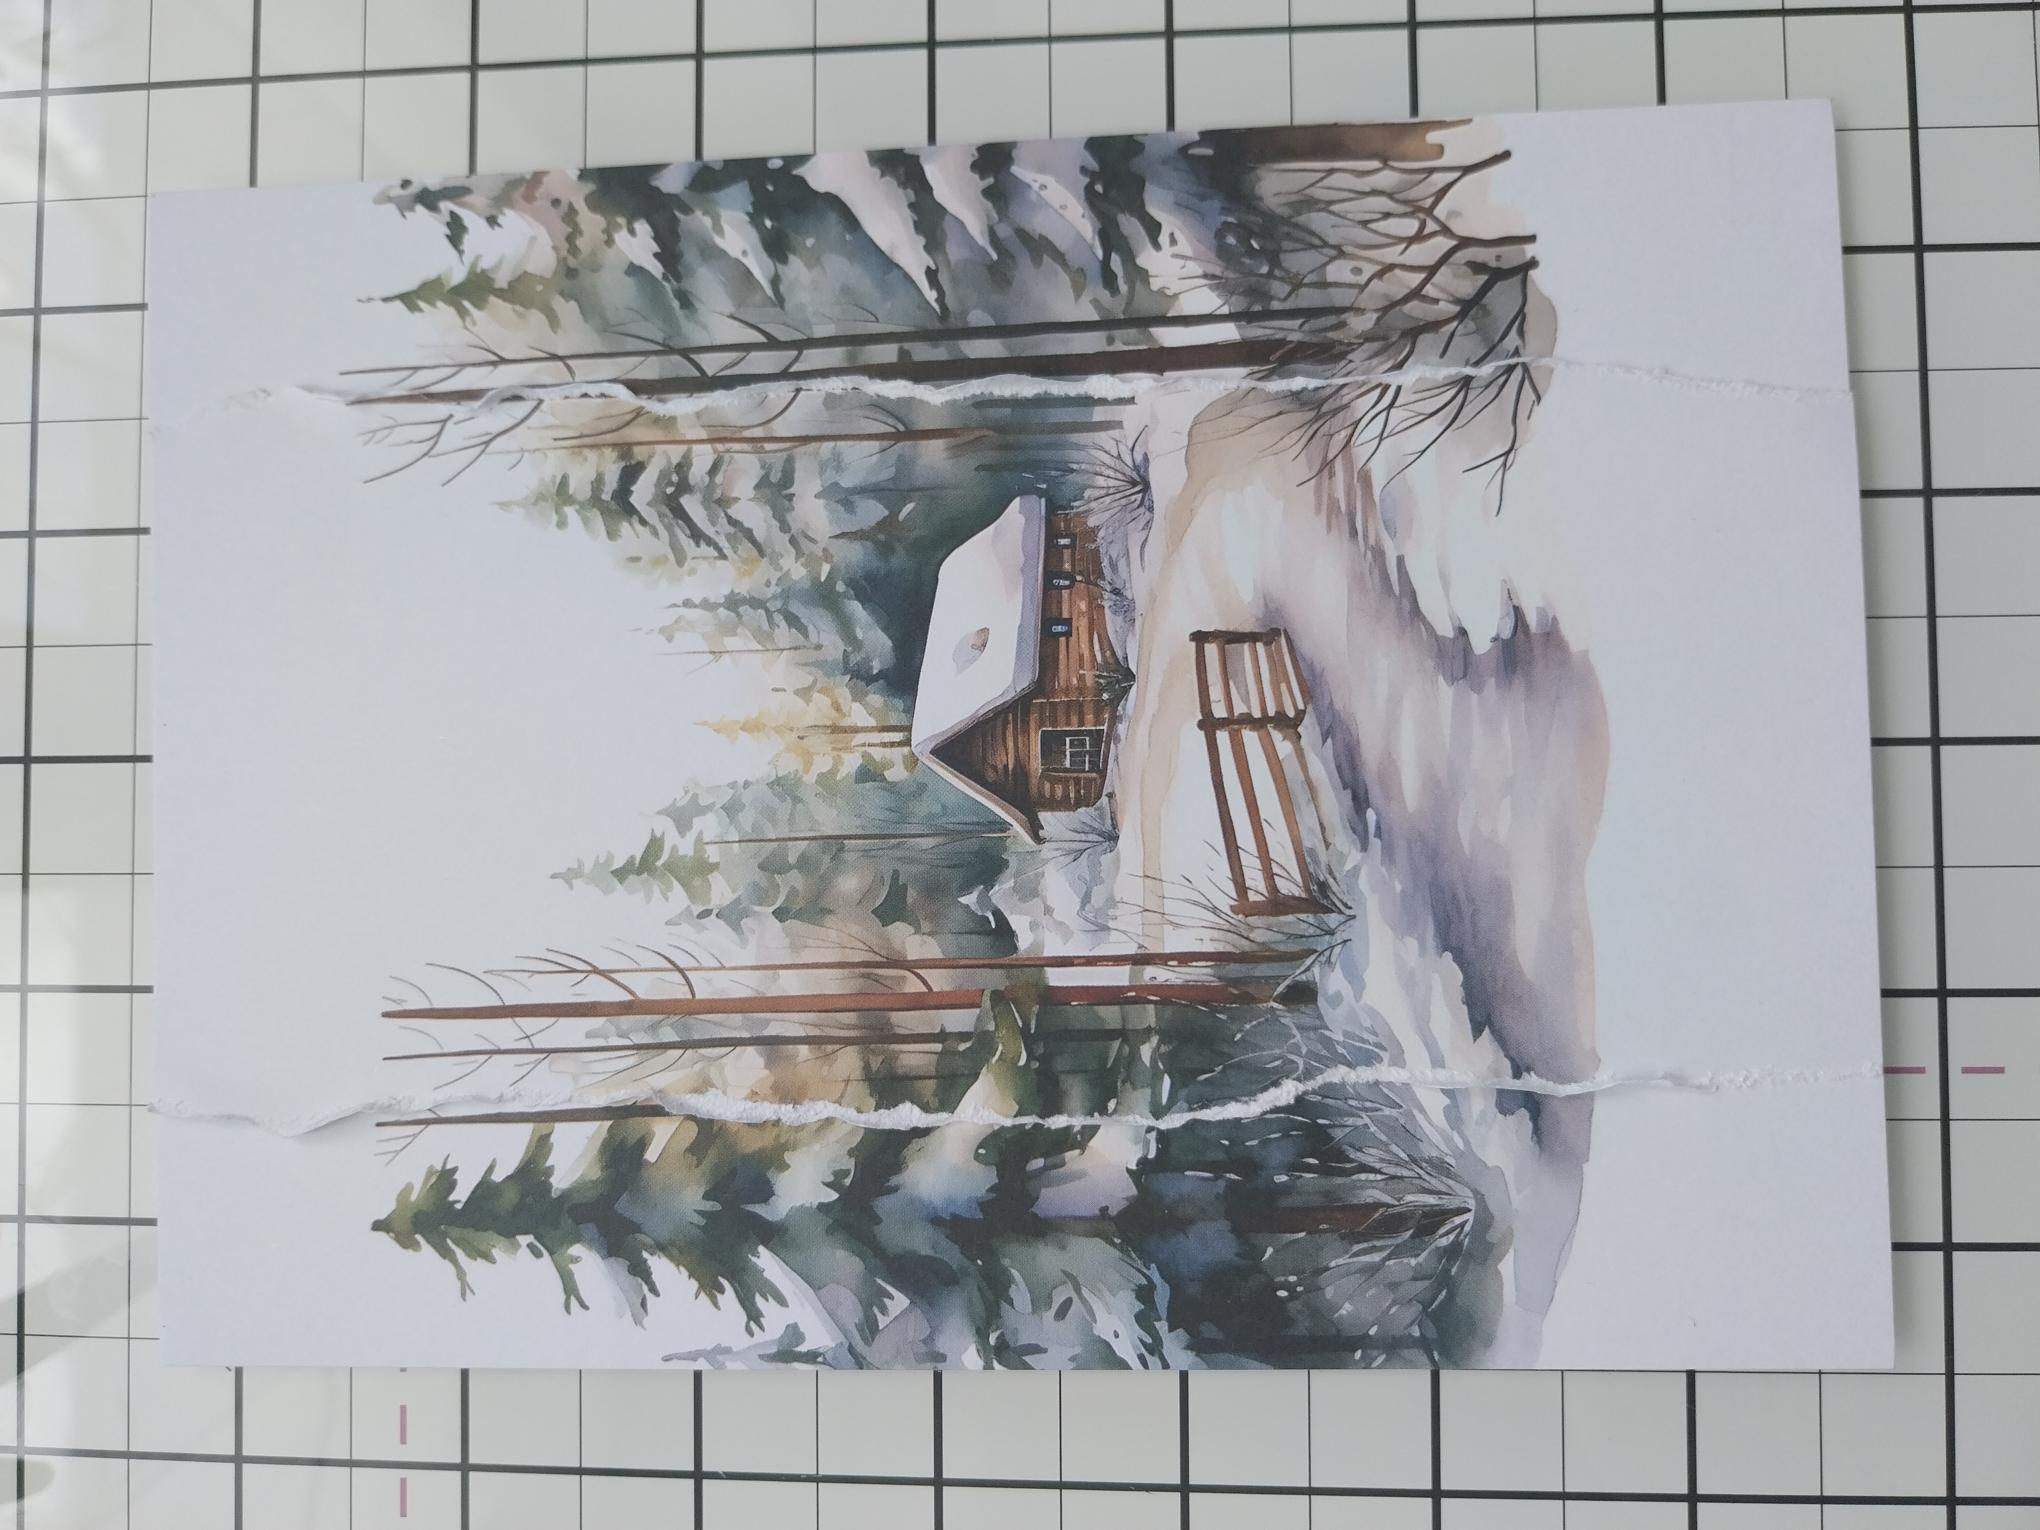
Scrunch and lift the torn edges before lining up the design and adhering it on top of the second sheet, as seen here. |
|
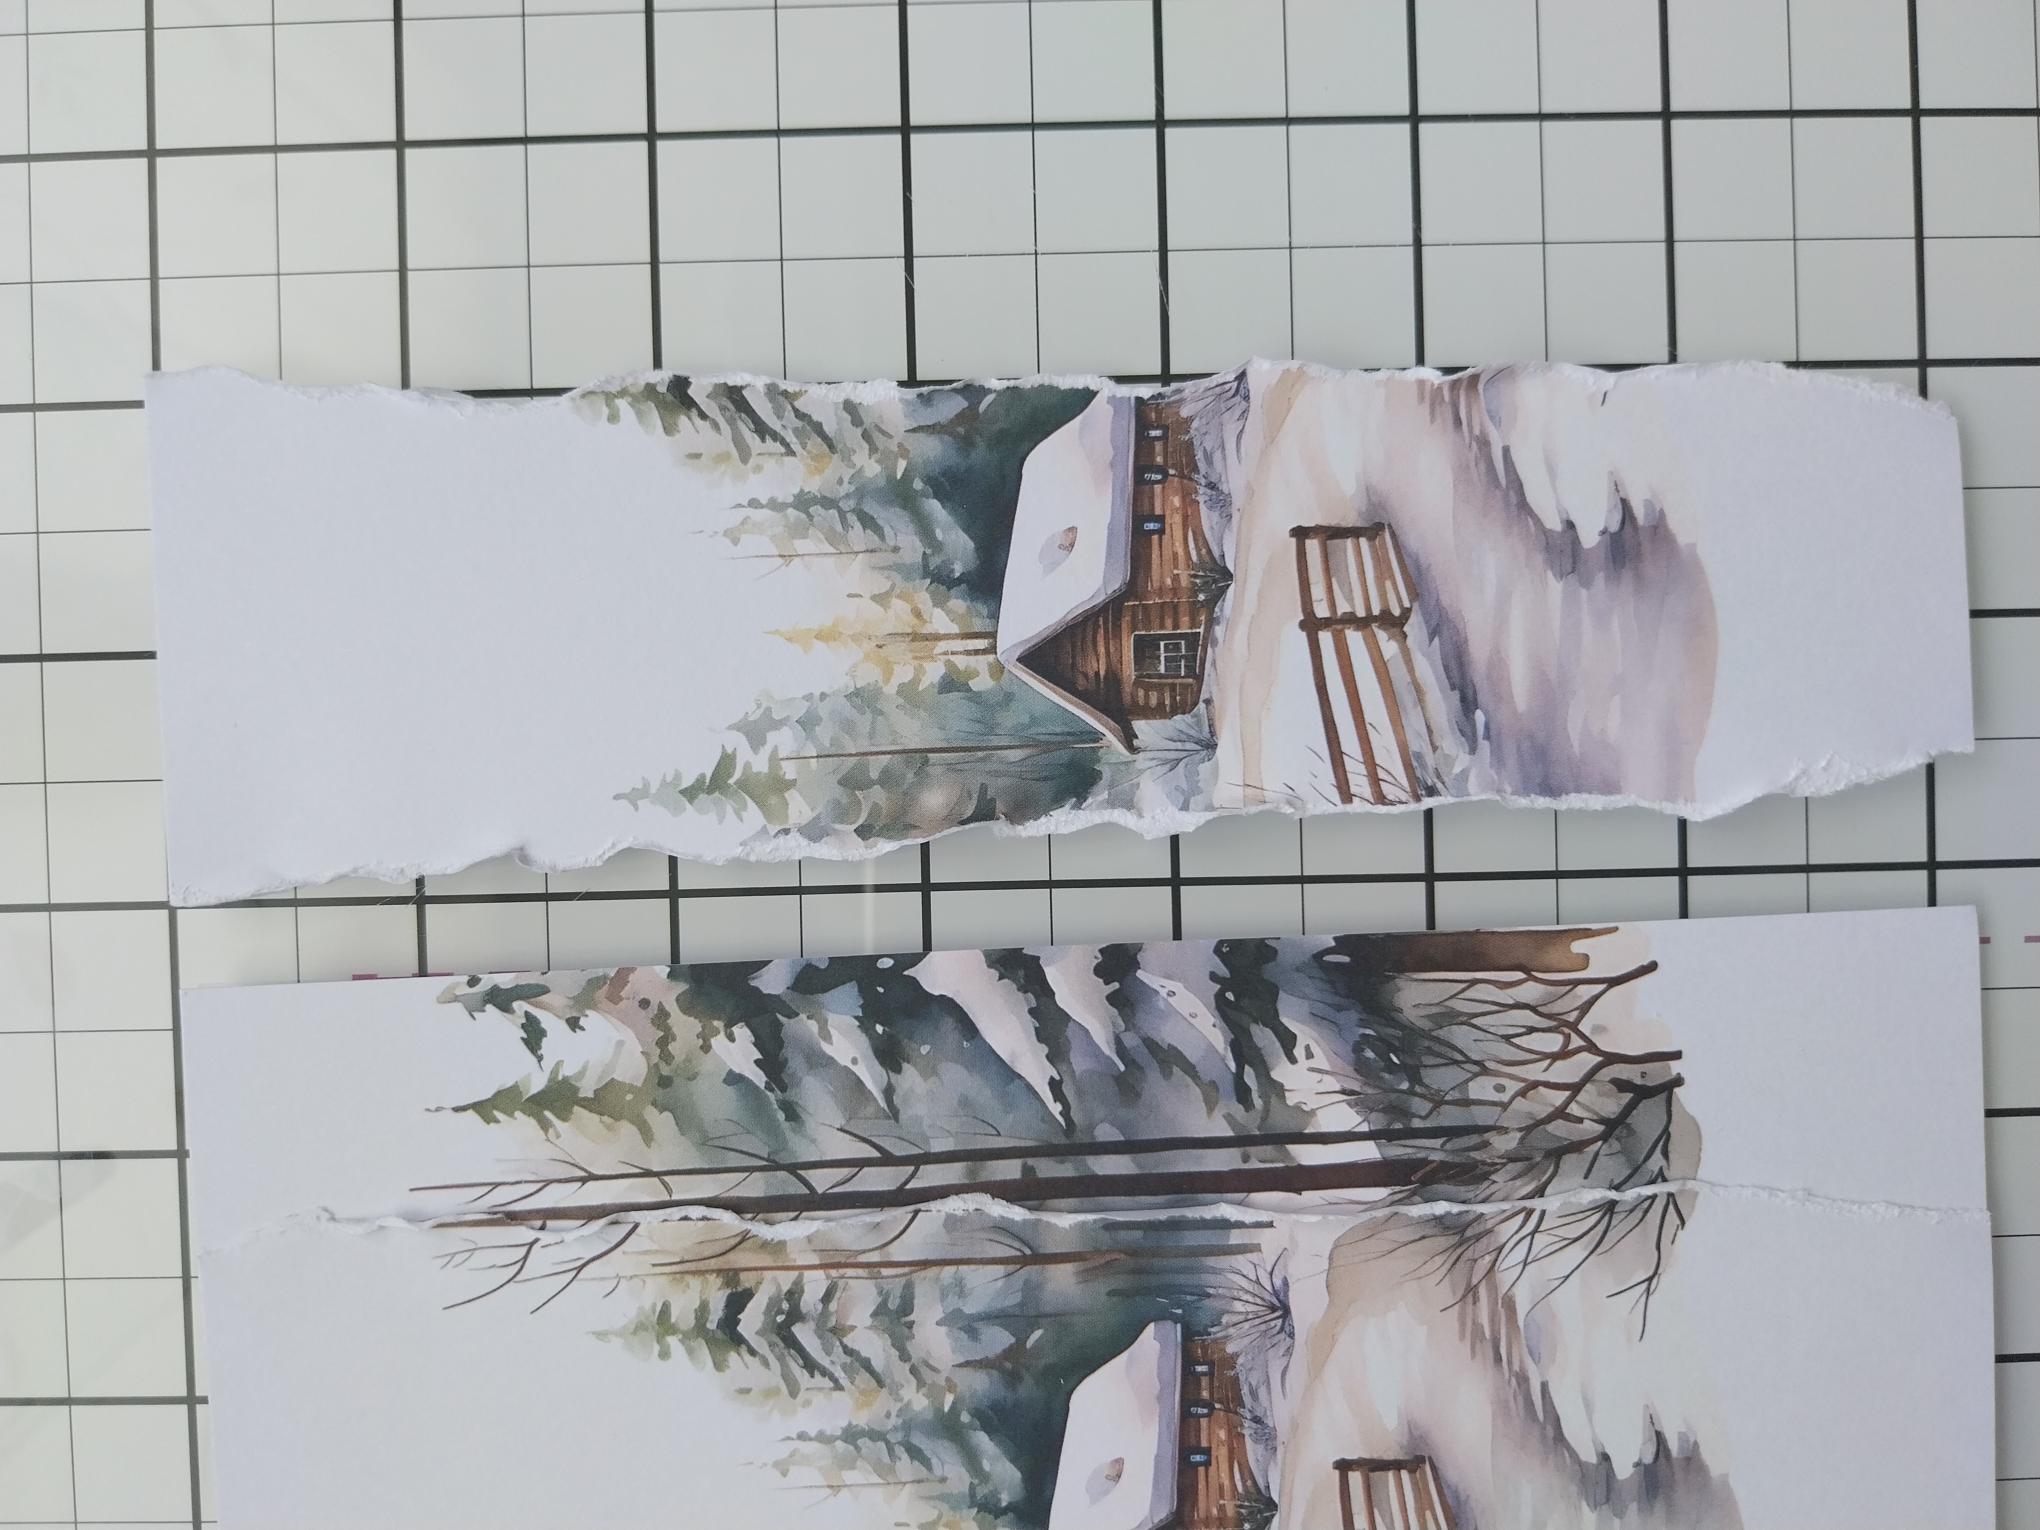
Tear the THIRD sheet to create an even-narrower panel but still incorporating the cabin within this panel. |
|
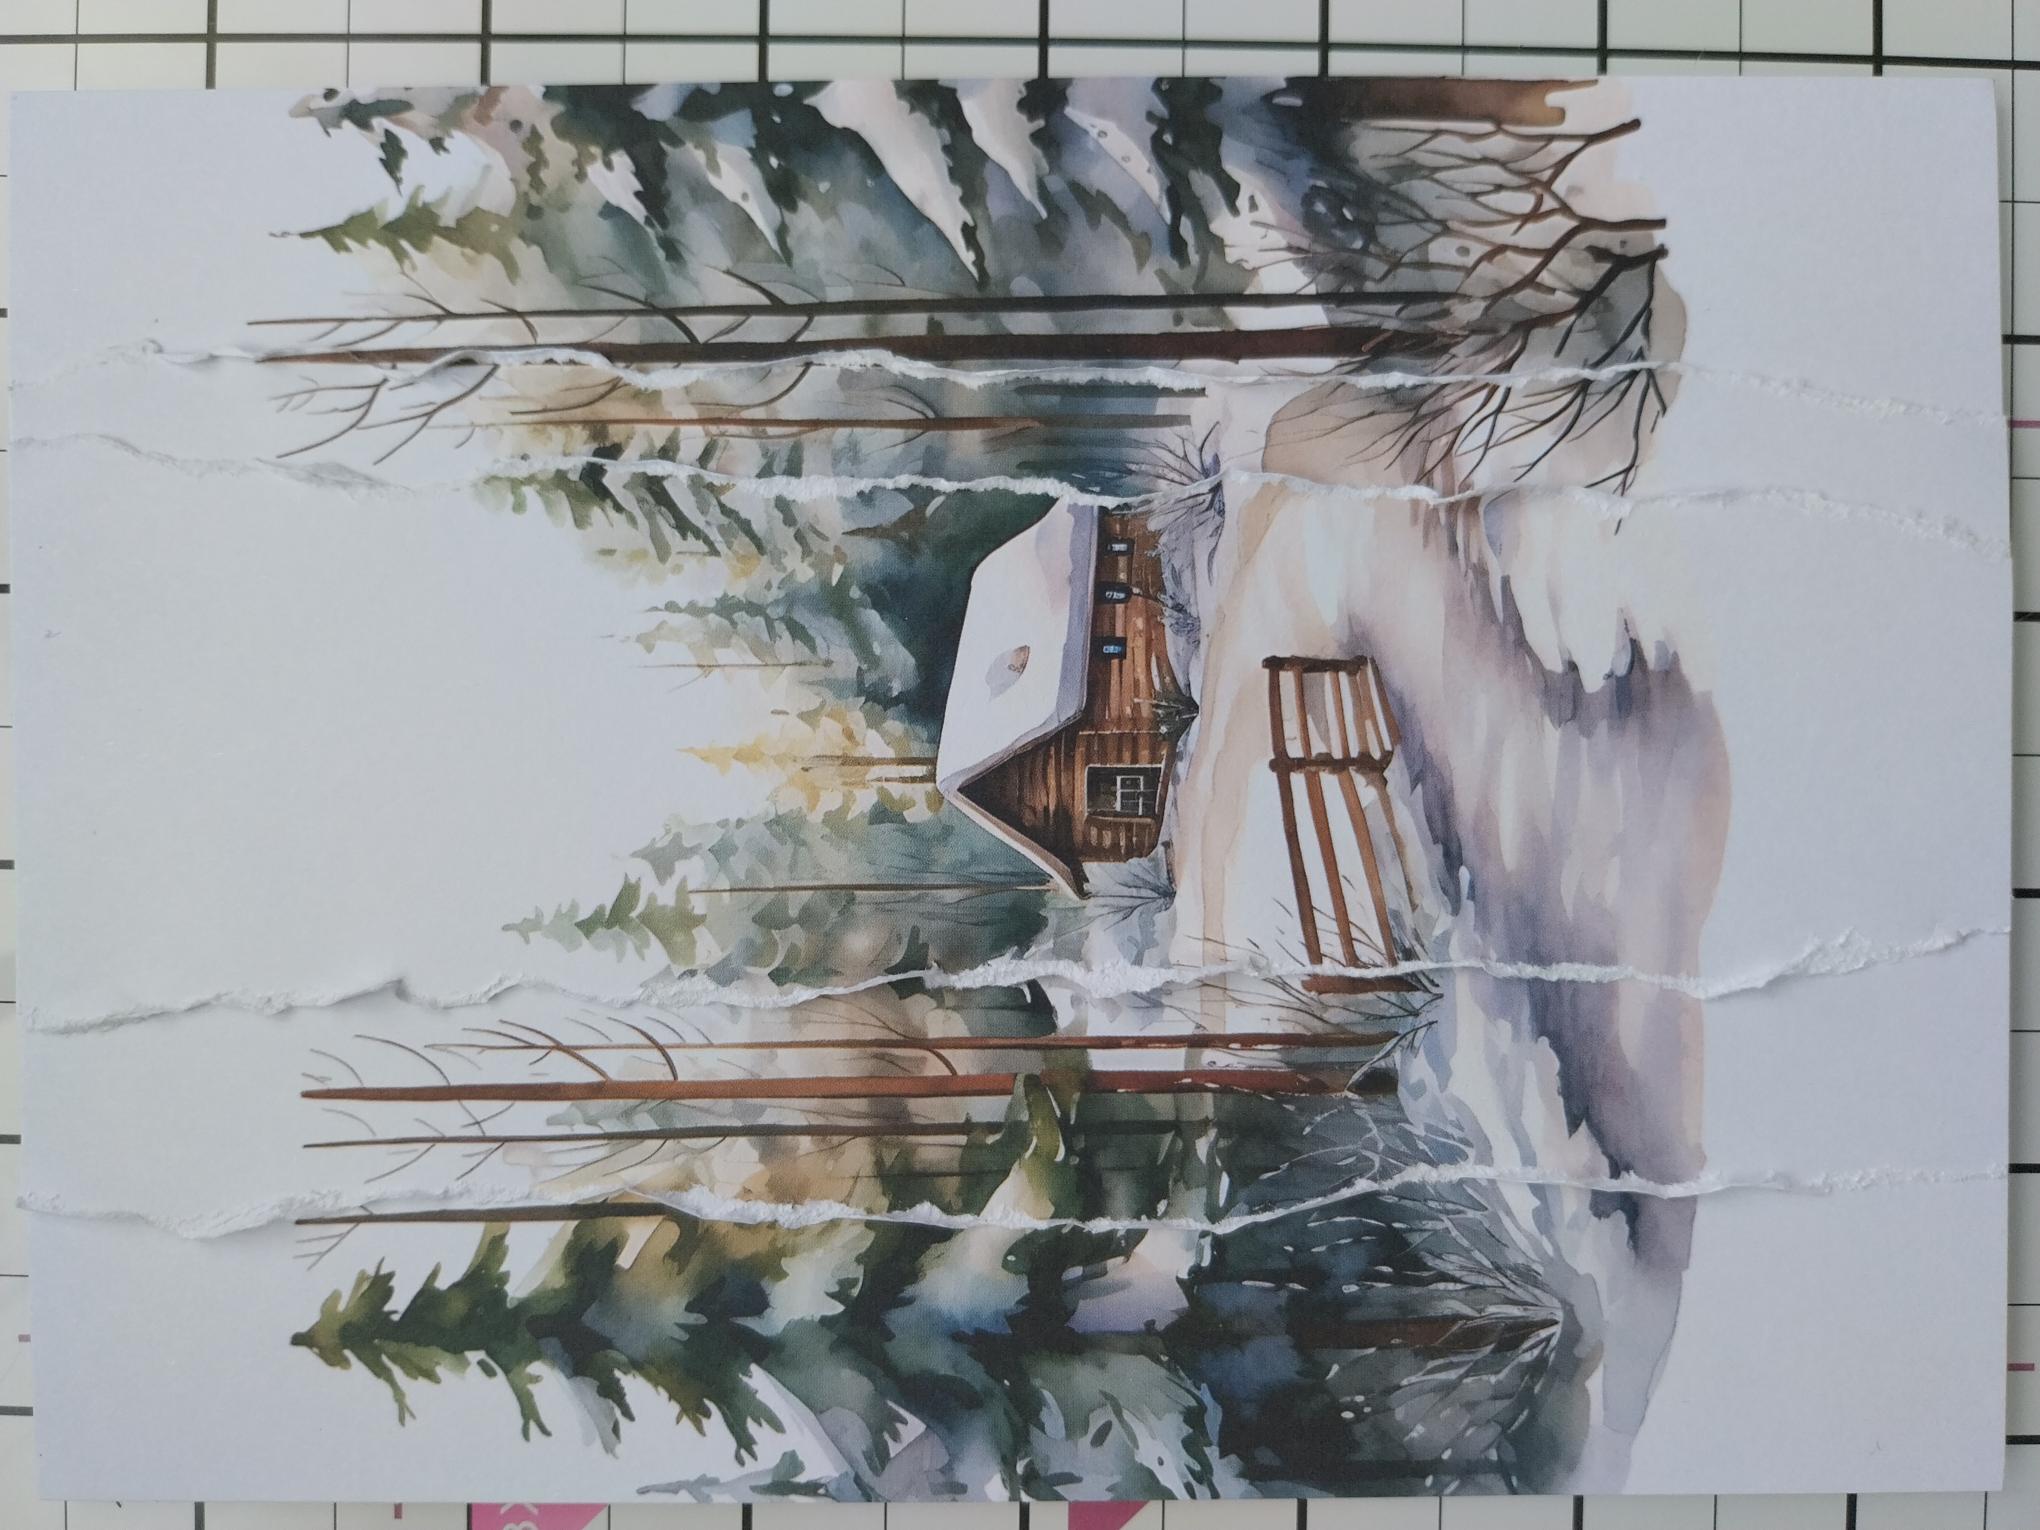
Again, scrunch and lift the torn edges before lining up the design and adhereing the panel on top of the other two. |
|
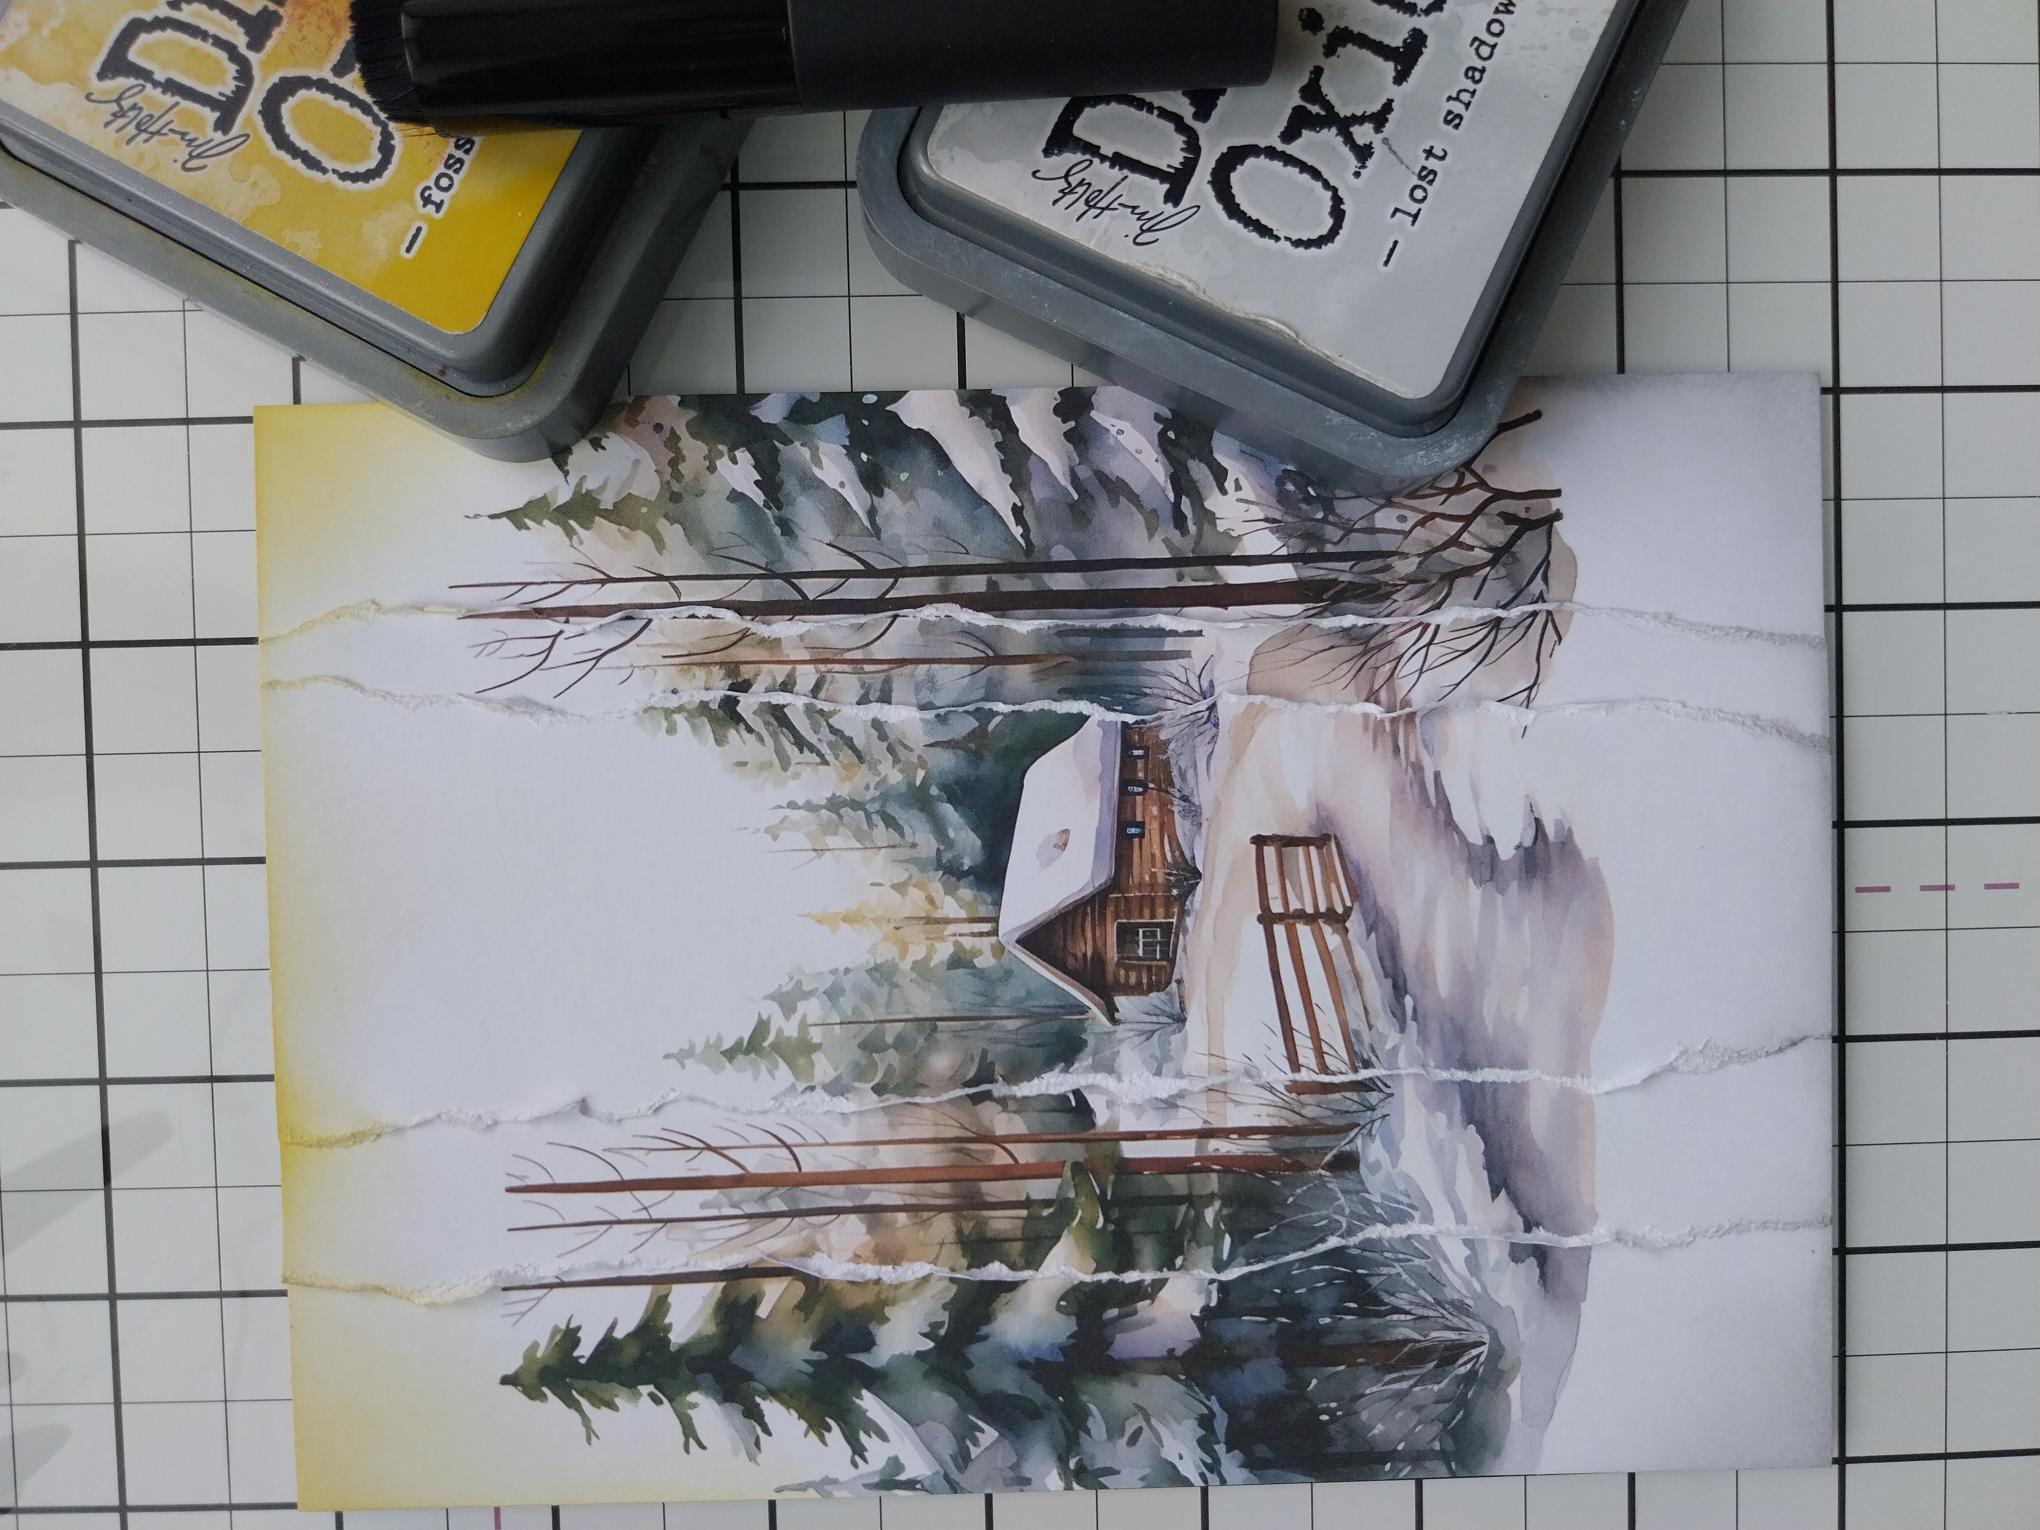
Blend the Fossilized Amber around the top section of the papers, depicting the glow of the Sun. Then blend the Lost Shadow around the bottom to add a hint of shadow and perspective to the snowy ground. |
|
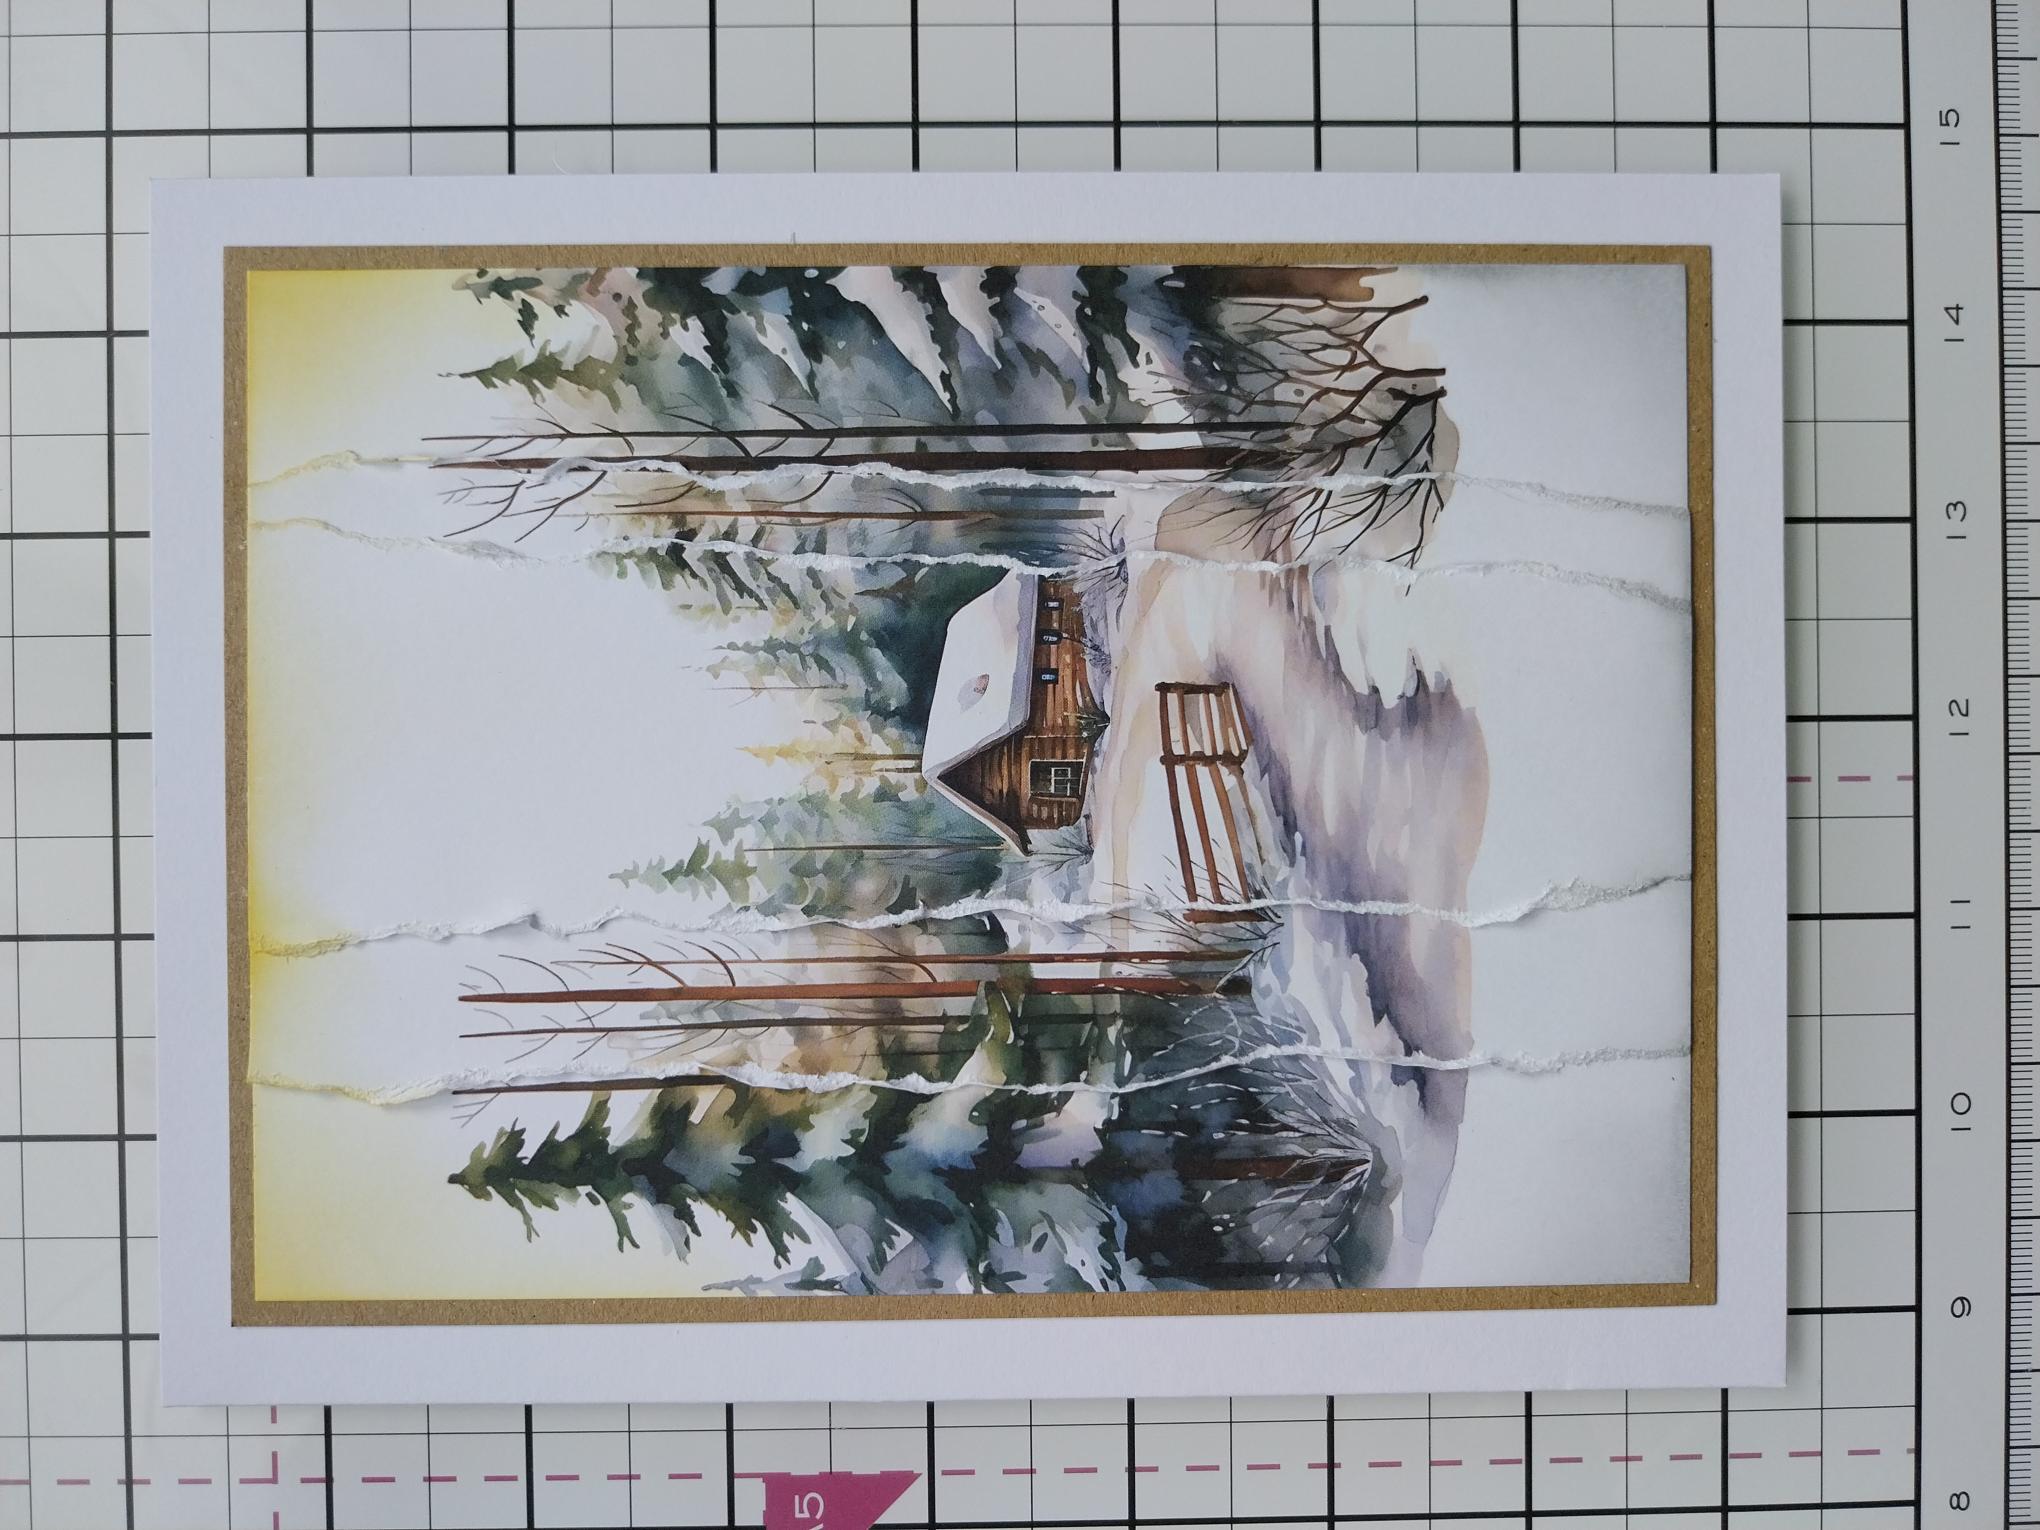
Mat on to kraft card trimmed to 5 1/4 x 7 1/4" and then onto your white card blank. |
|
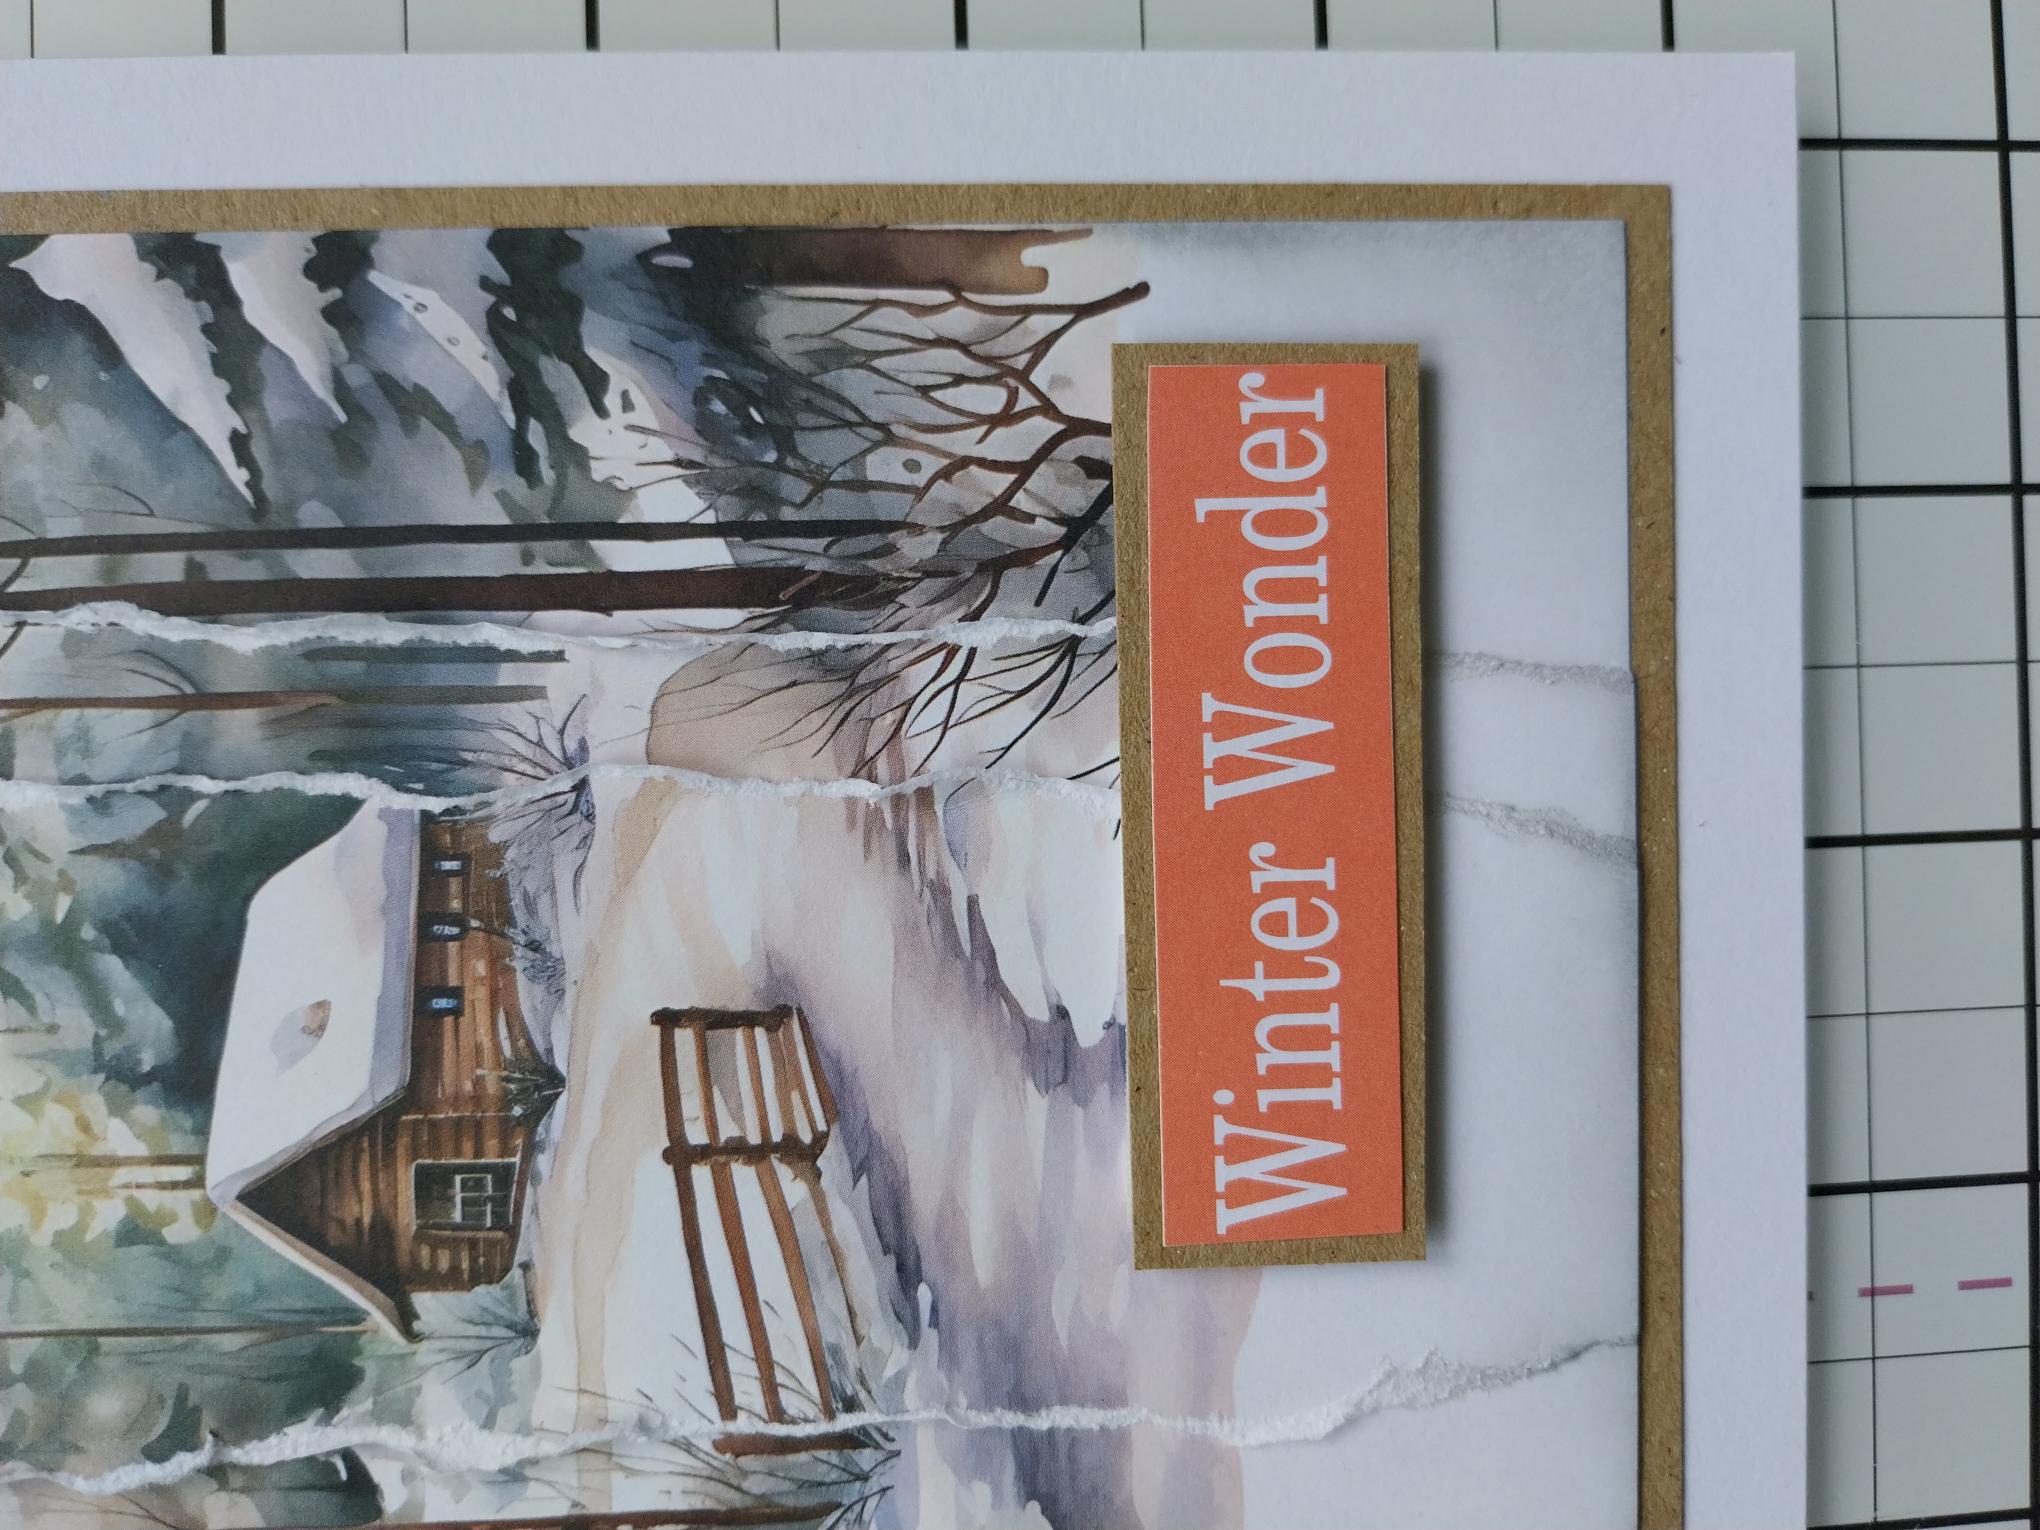
Cut out one of the printed tabs and mat onto a piece of kraft card slightly bigger. Adhere to the bottom left with foam pads. |
|
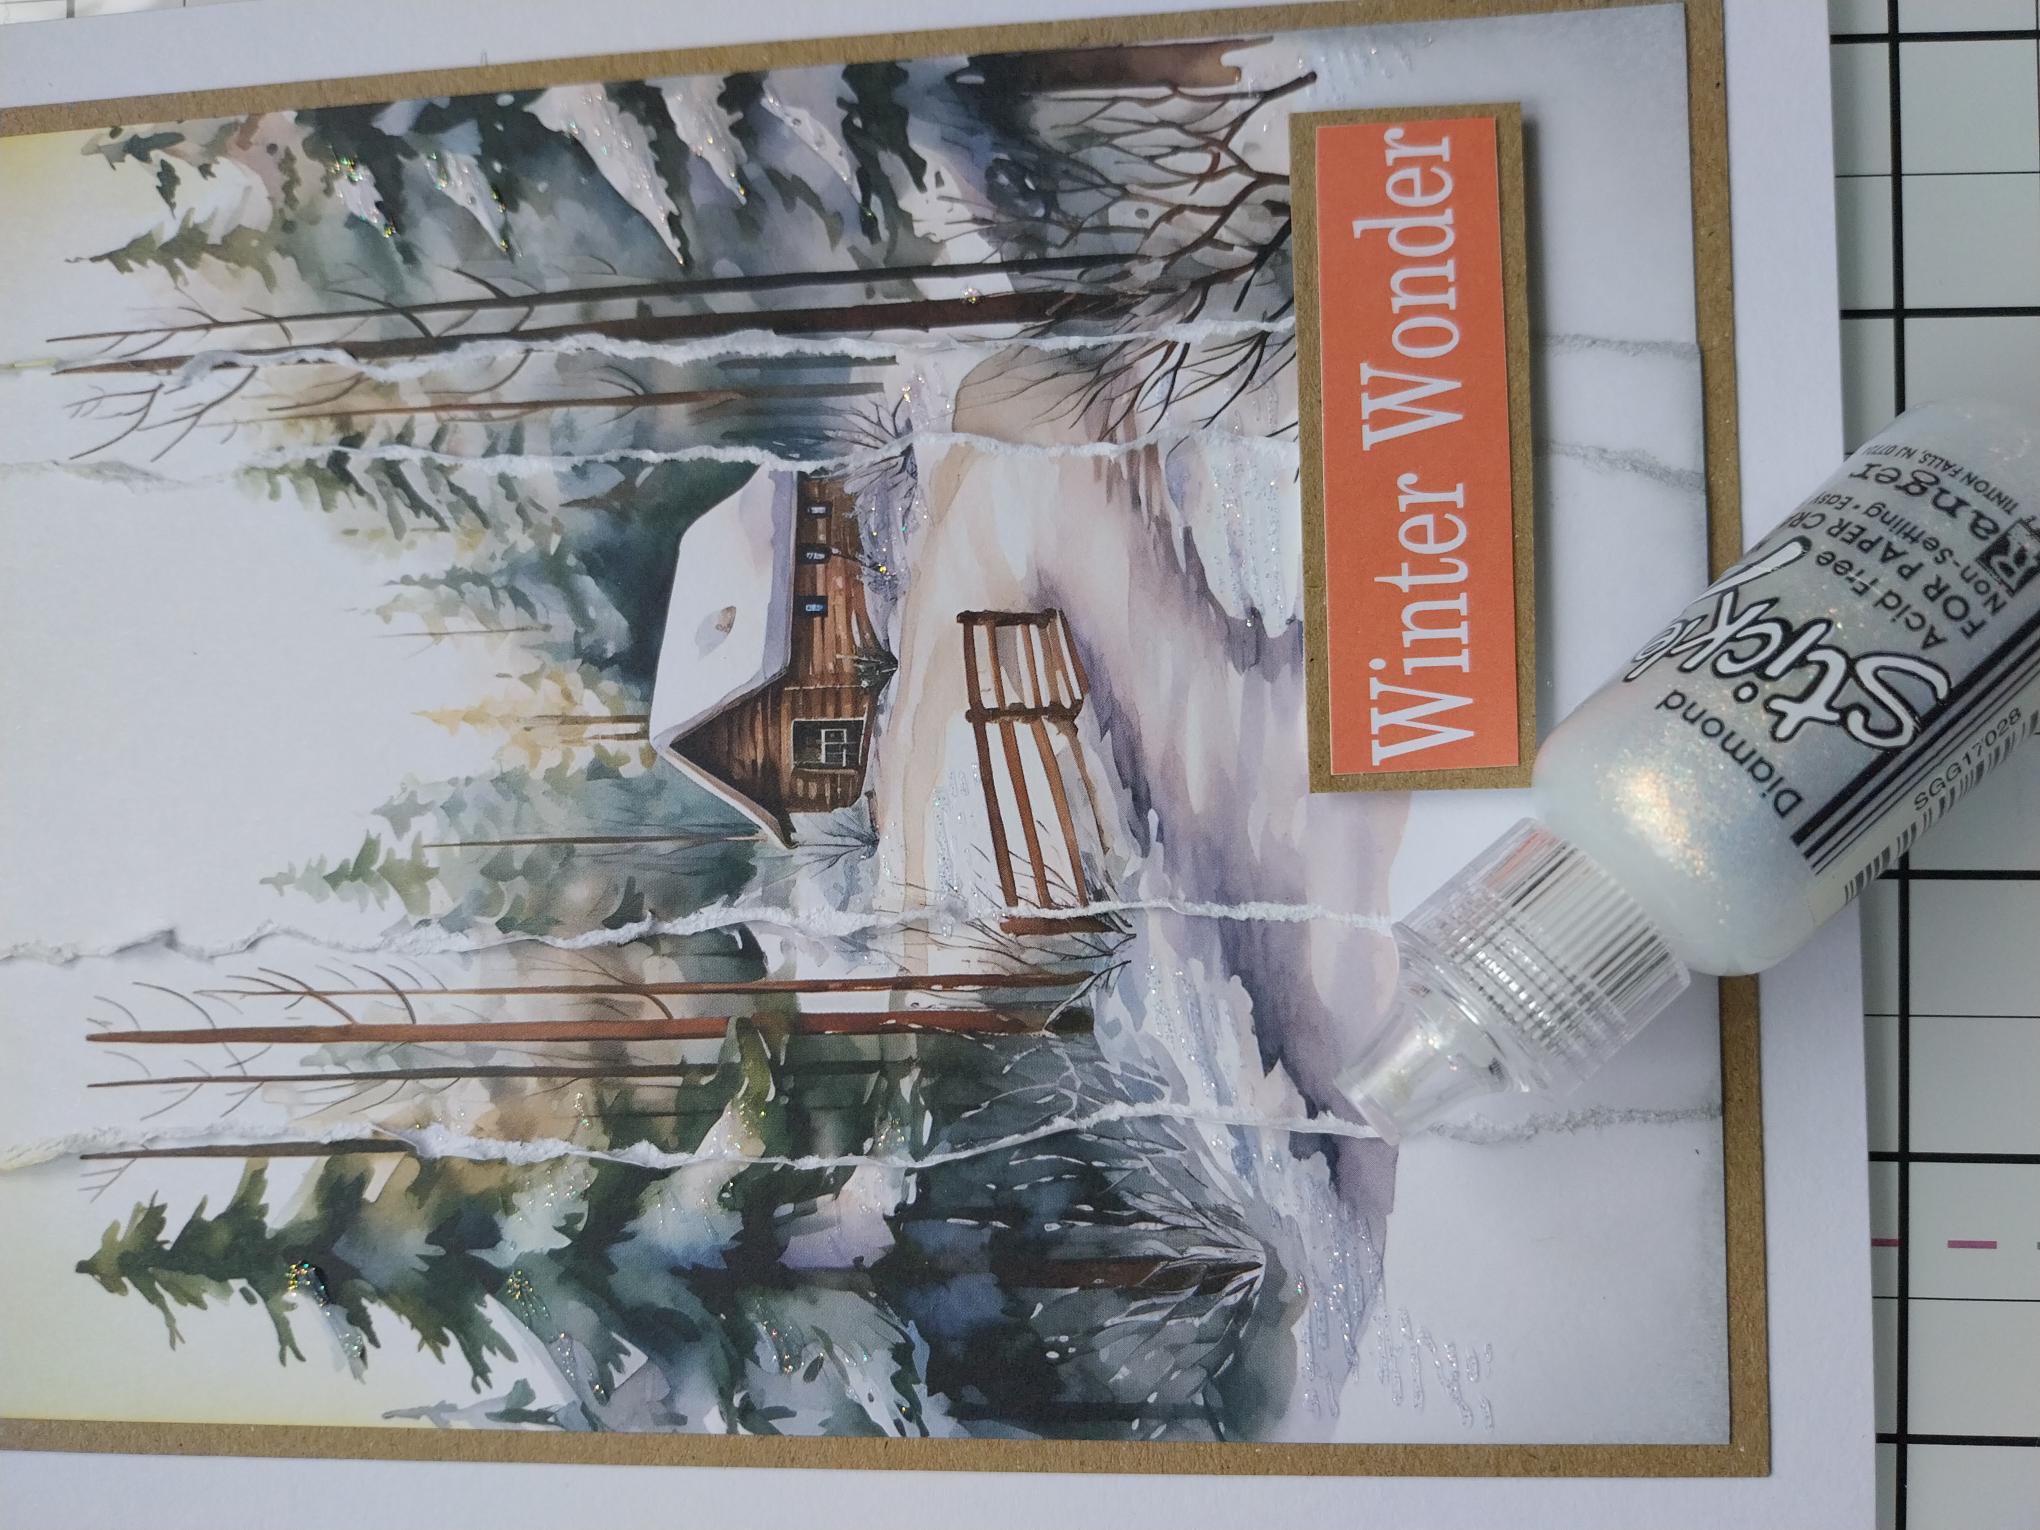
To finish, use your Stickles to add a touch of festive sparkle to your card. |