

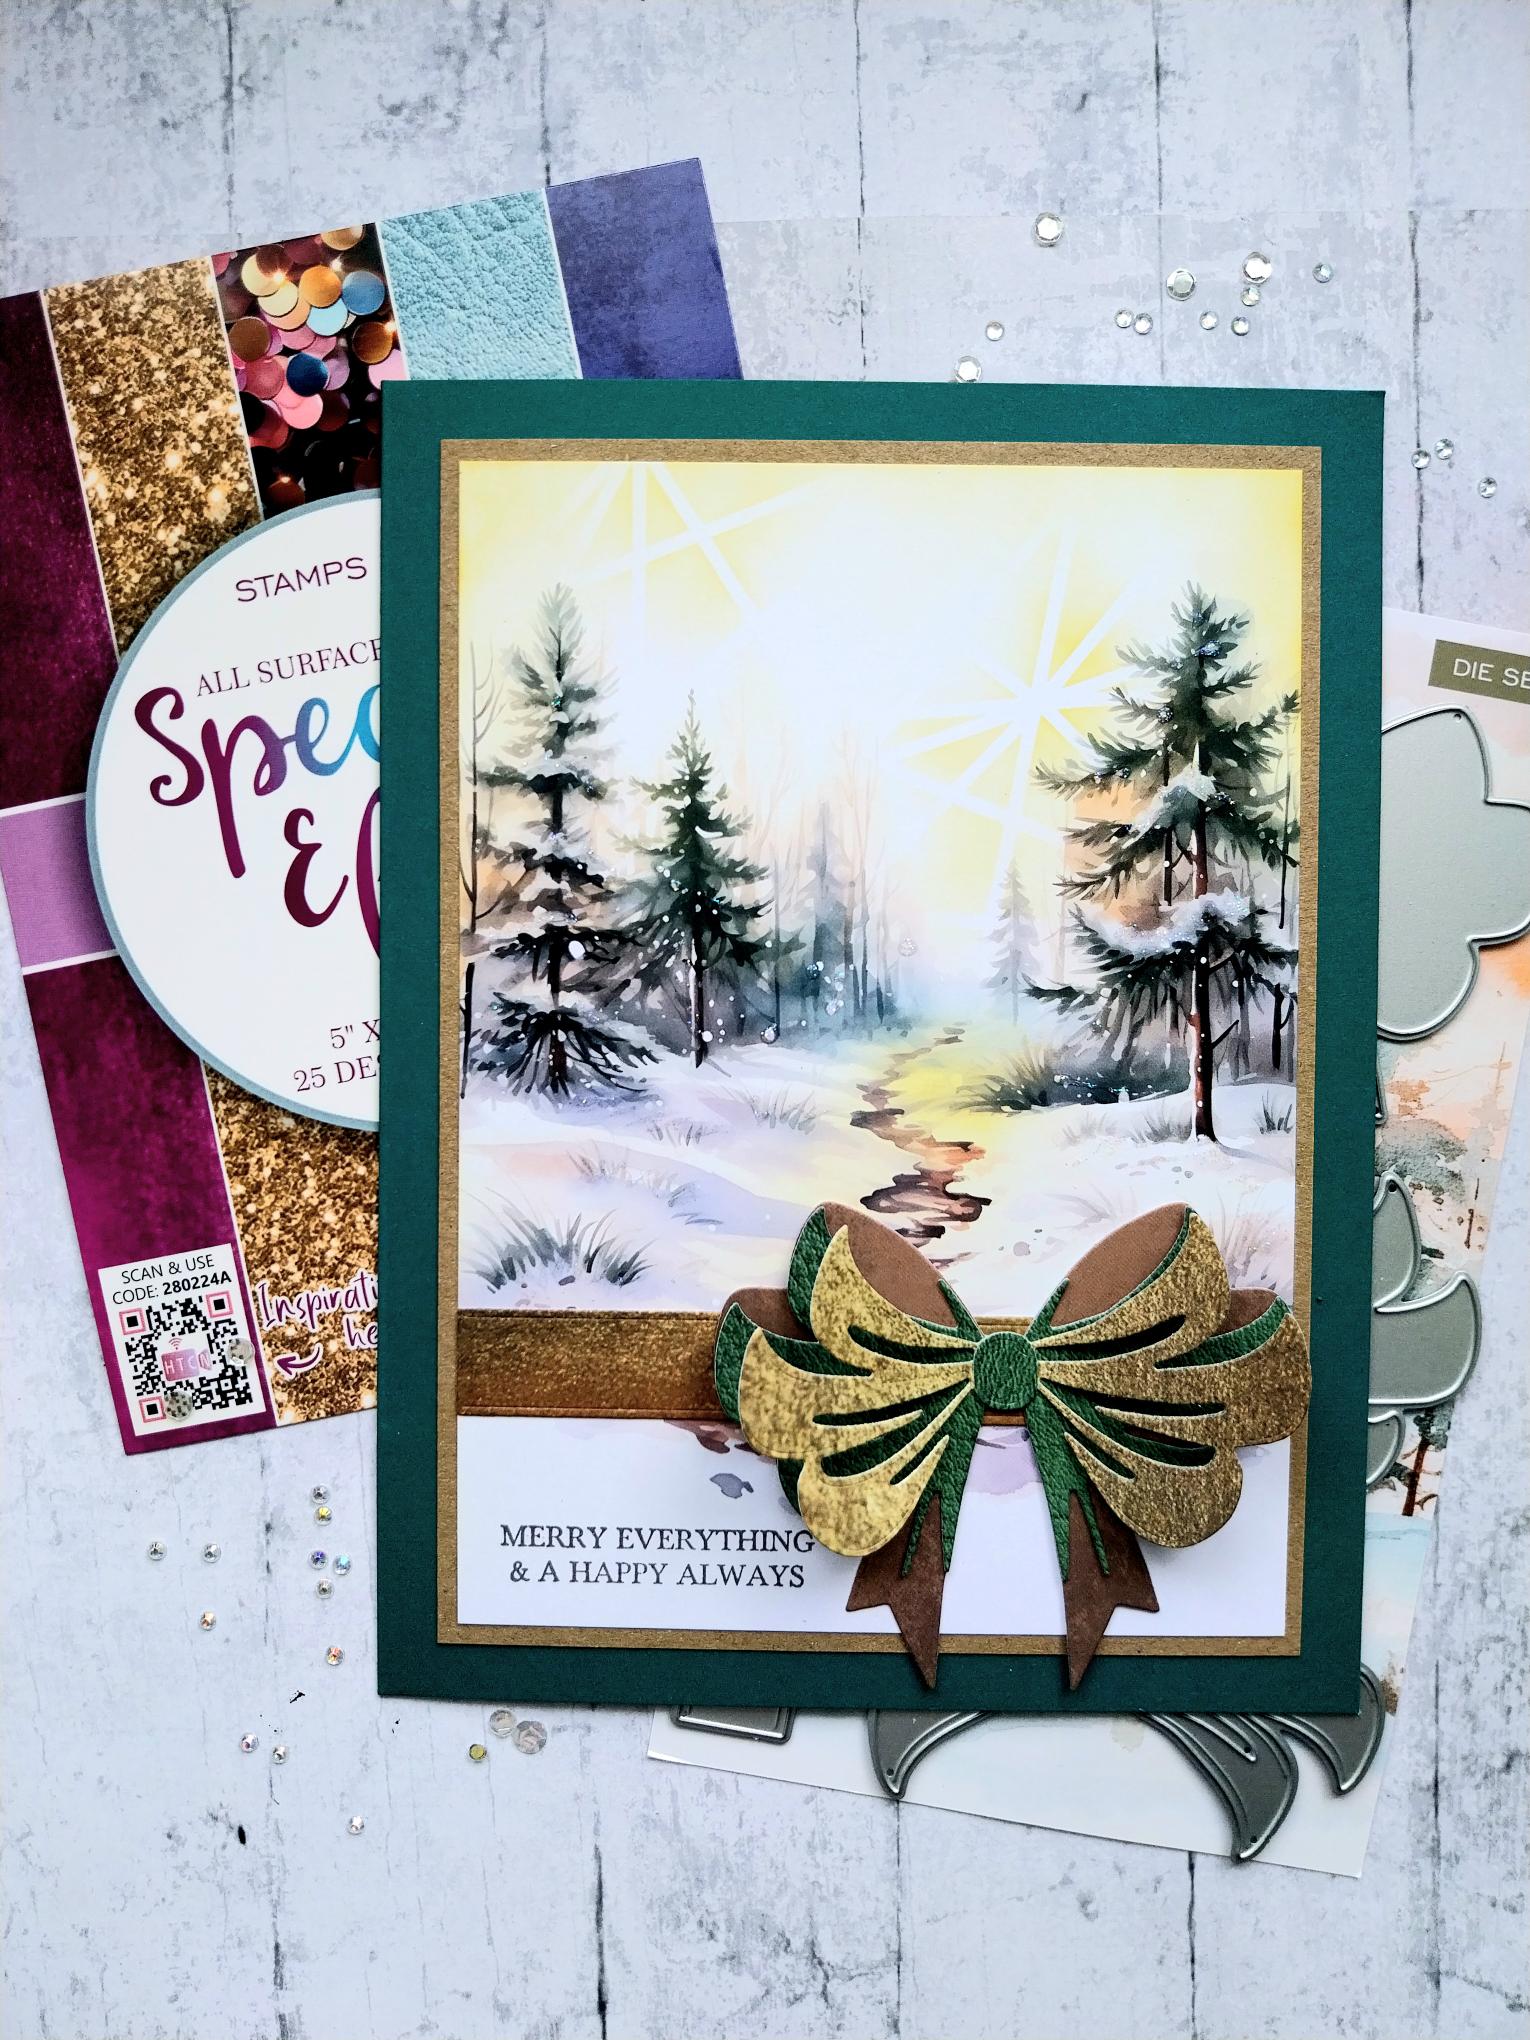
WHAT YOU WILL NEED:
Teal card blank 6 x 8"
Kraft cardstock
All Surfaces Special Effects 5 x 7" Paper Collection
Snowy Trails 5 x 7" Paper Pad
Stickles
Enchanting Bows Die
Enchanting Tags Stamp and Die
Versafine Ink Pad: Smoky Grey
Distress Ink/Oxide Ink Pad: Fossilized Amber
Honeycom 7 x 7" Stencil
Blending tool
Eureka 101 Watercolour Tablet
SBM A3 Magnetic glass mat
Paper Trimmer
Glue
Die Cutting machine
[click image to enlarge] 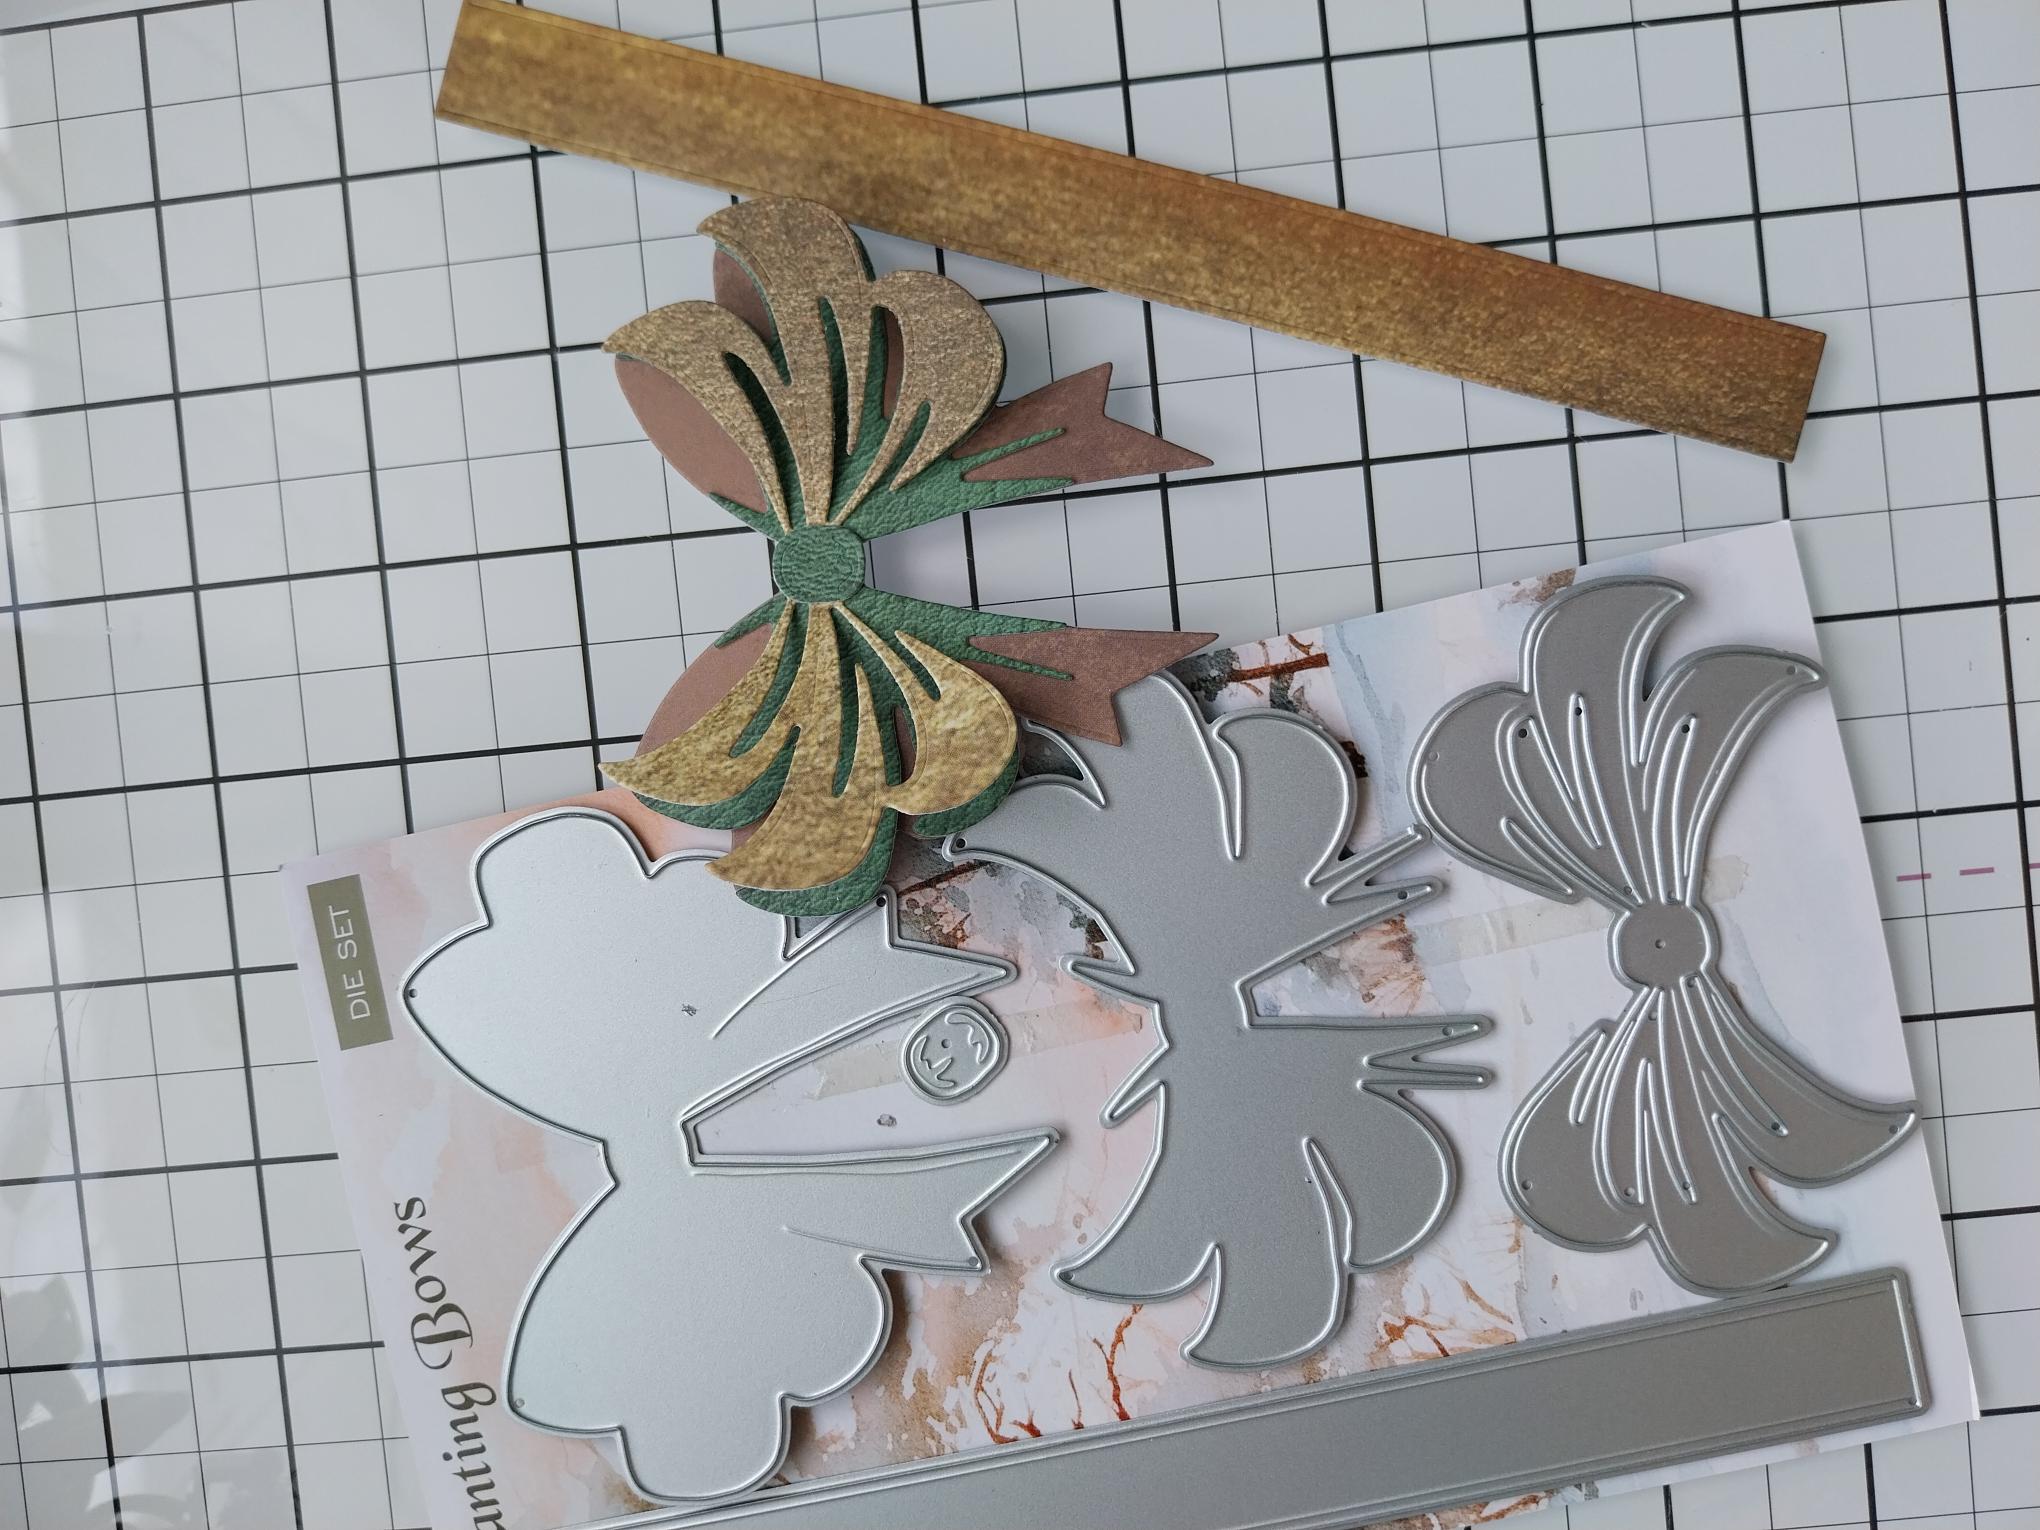
|
Choose THREE coordinating papers from the Special Effects collection and use the dies from the Enchanting Bows to cut out your elements. Adhere together to create your beautiful layered bow, popping the die cut band aside. |
|
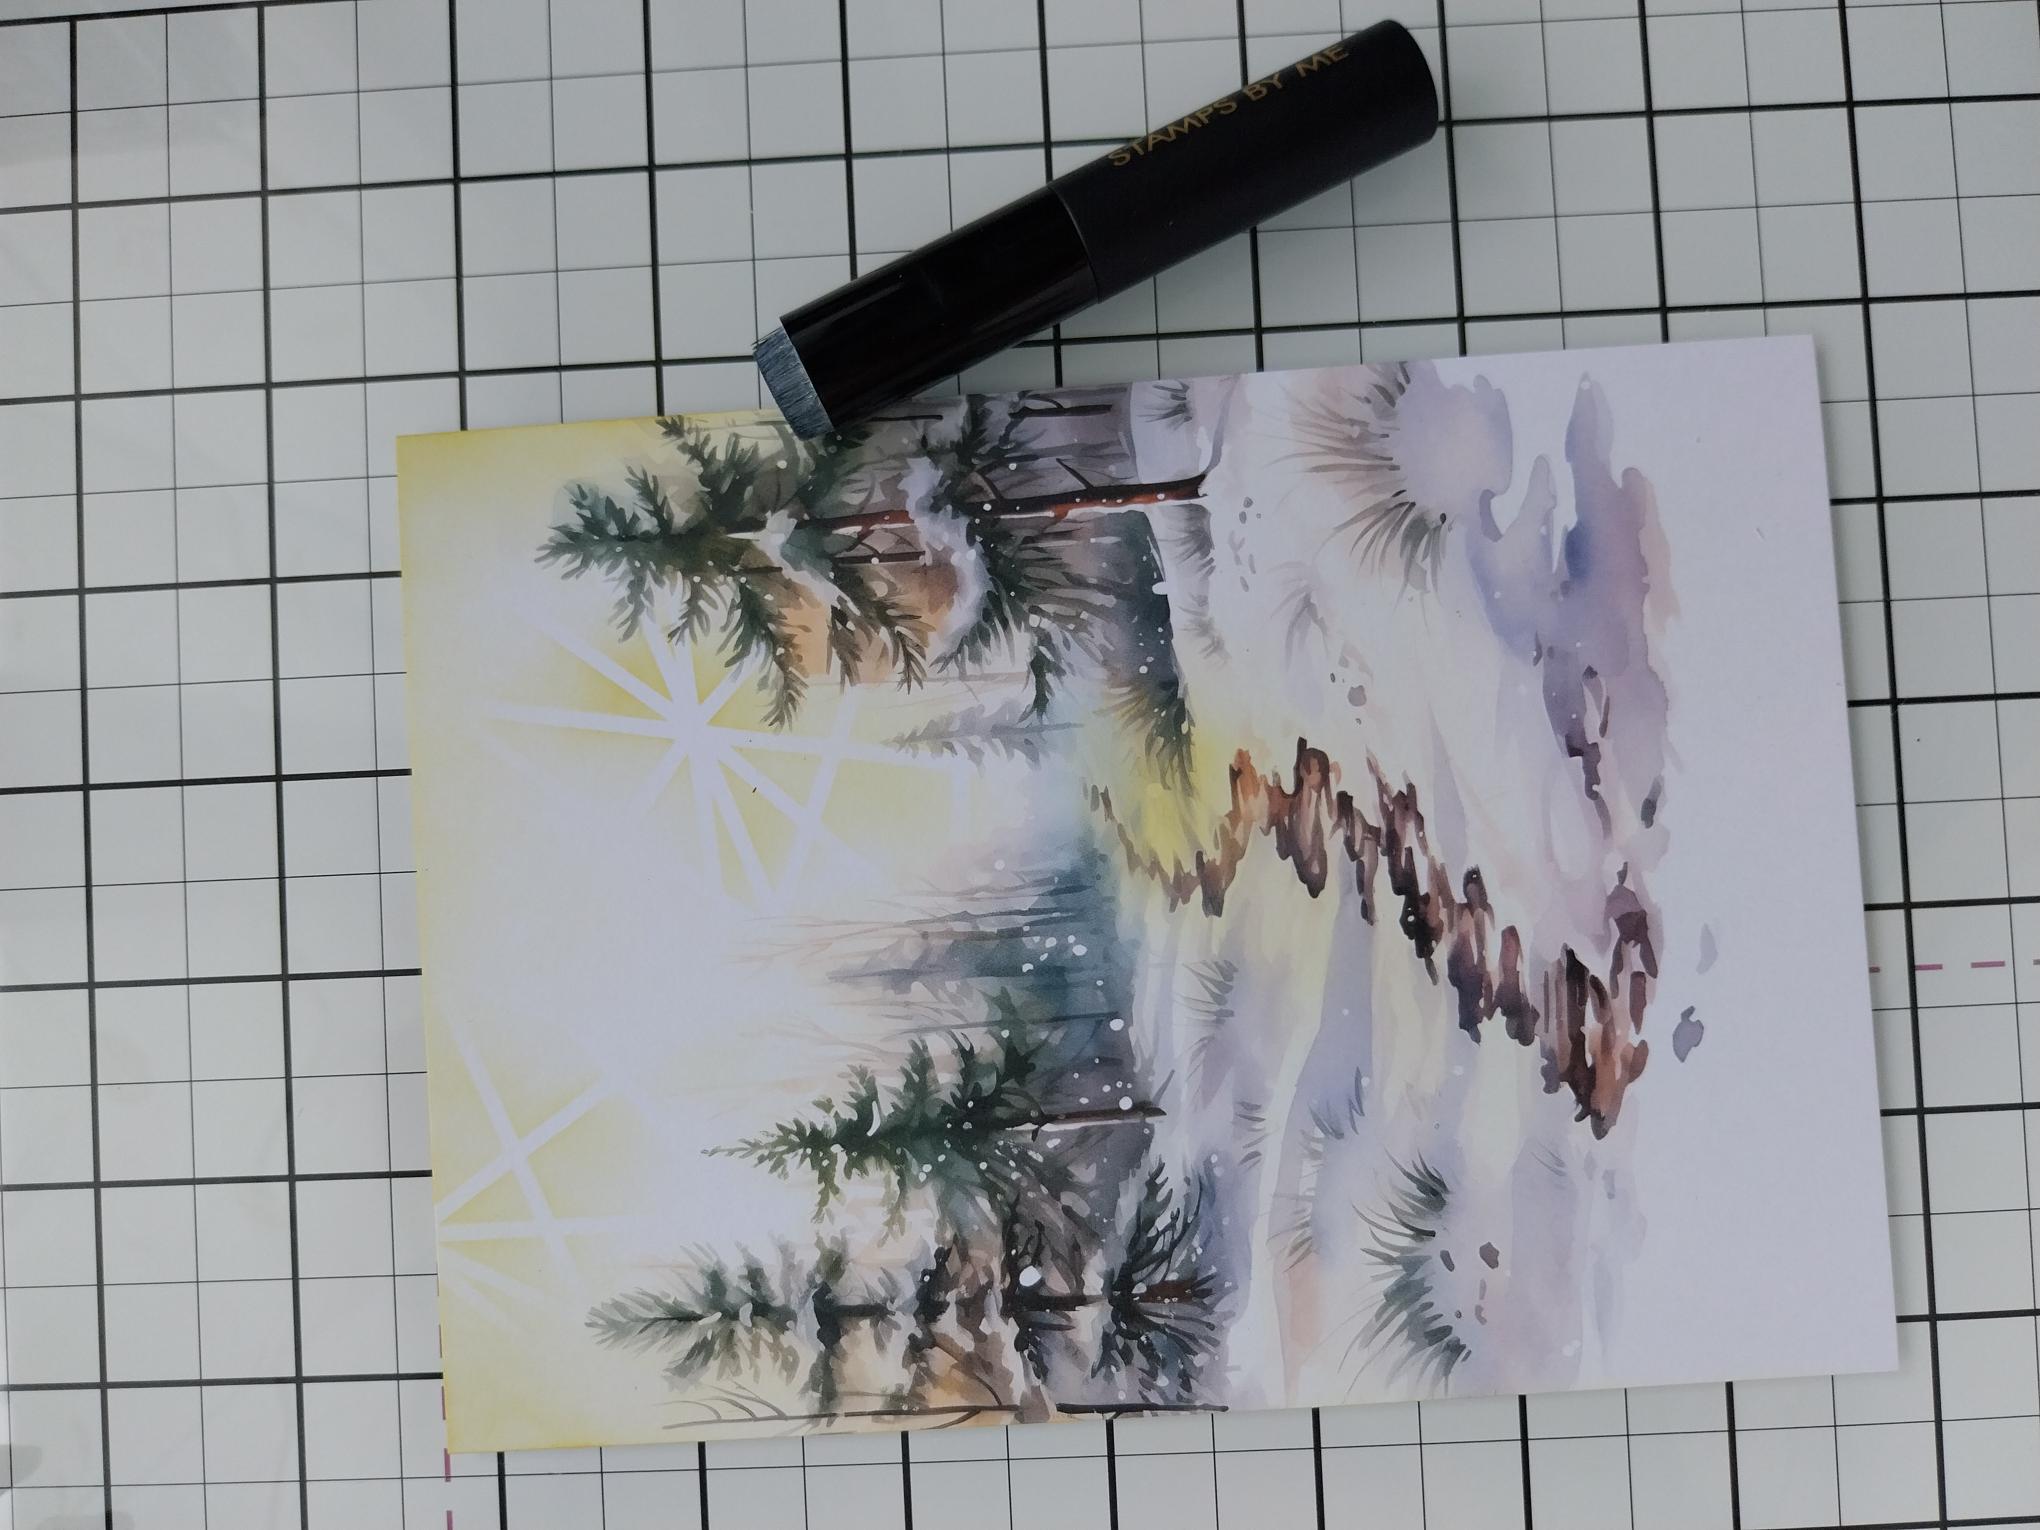
Choose your background scenic paper from the Snowy Trails paper pad. Blend the Fossilized Amber randomly through the Honeycomb Stencil to create texture in the sky, adding a hint of the yellow coming down the track. |
|
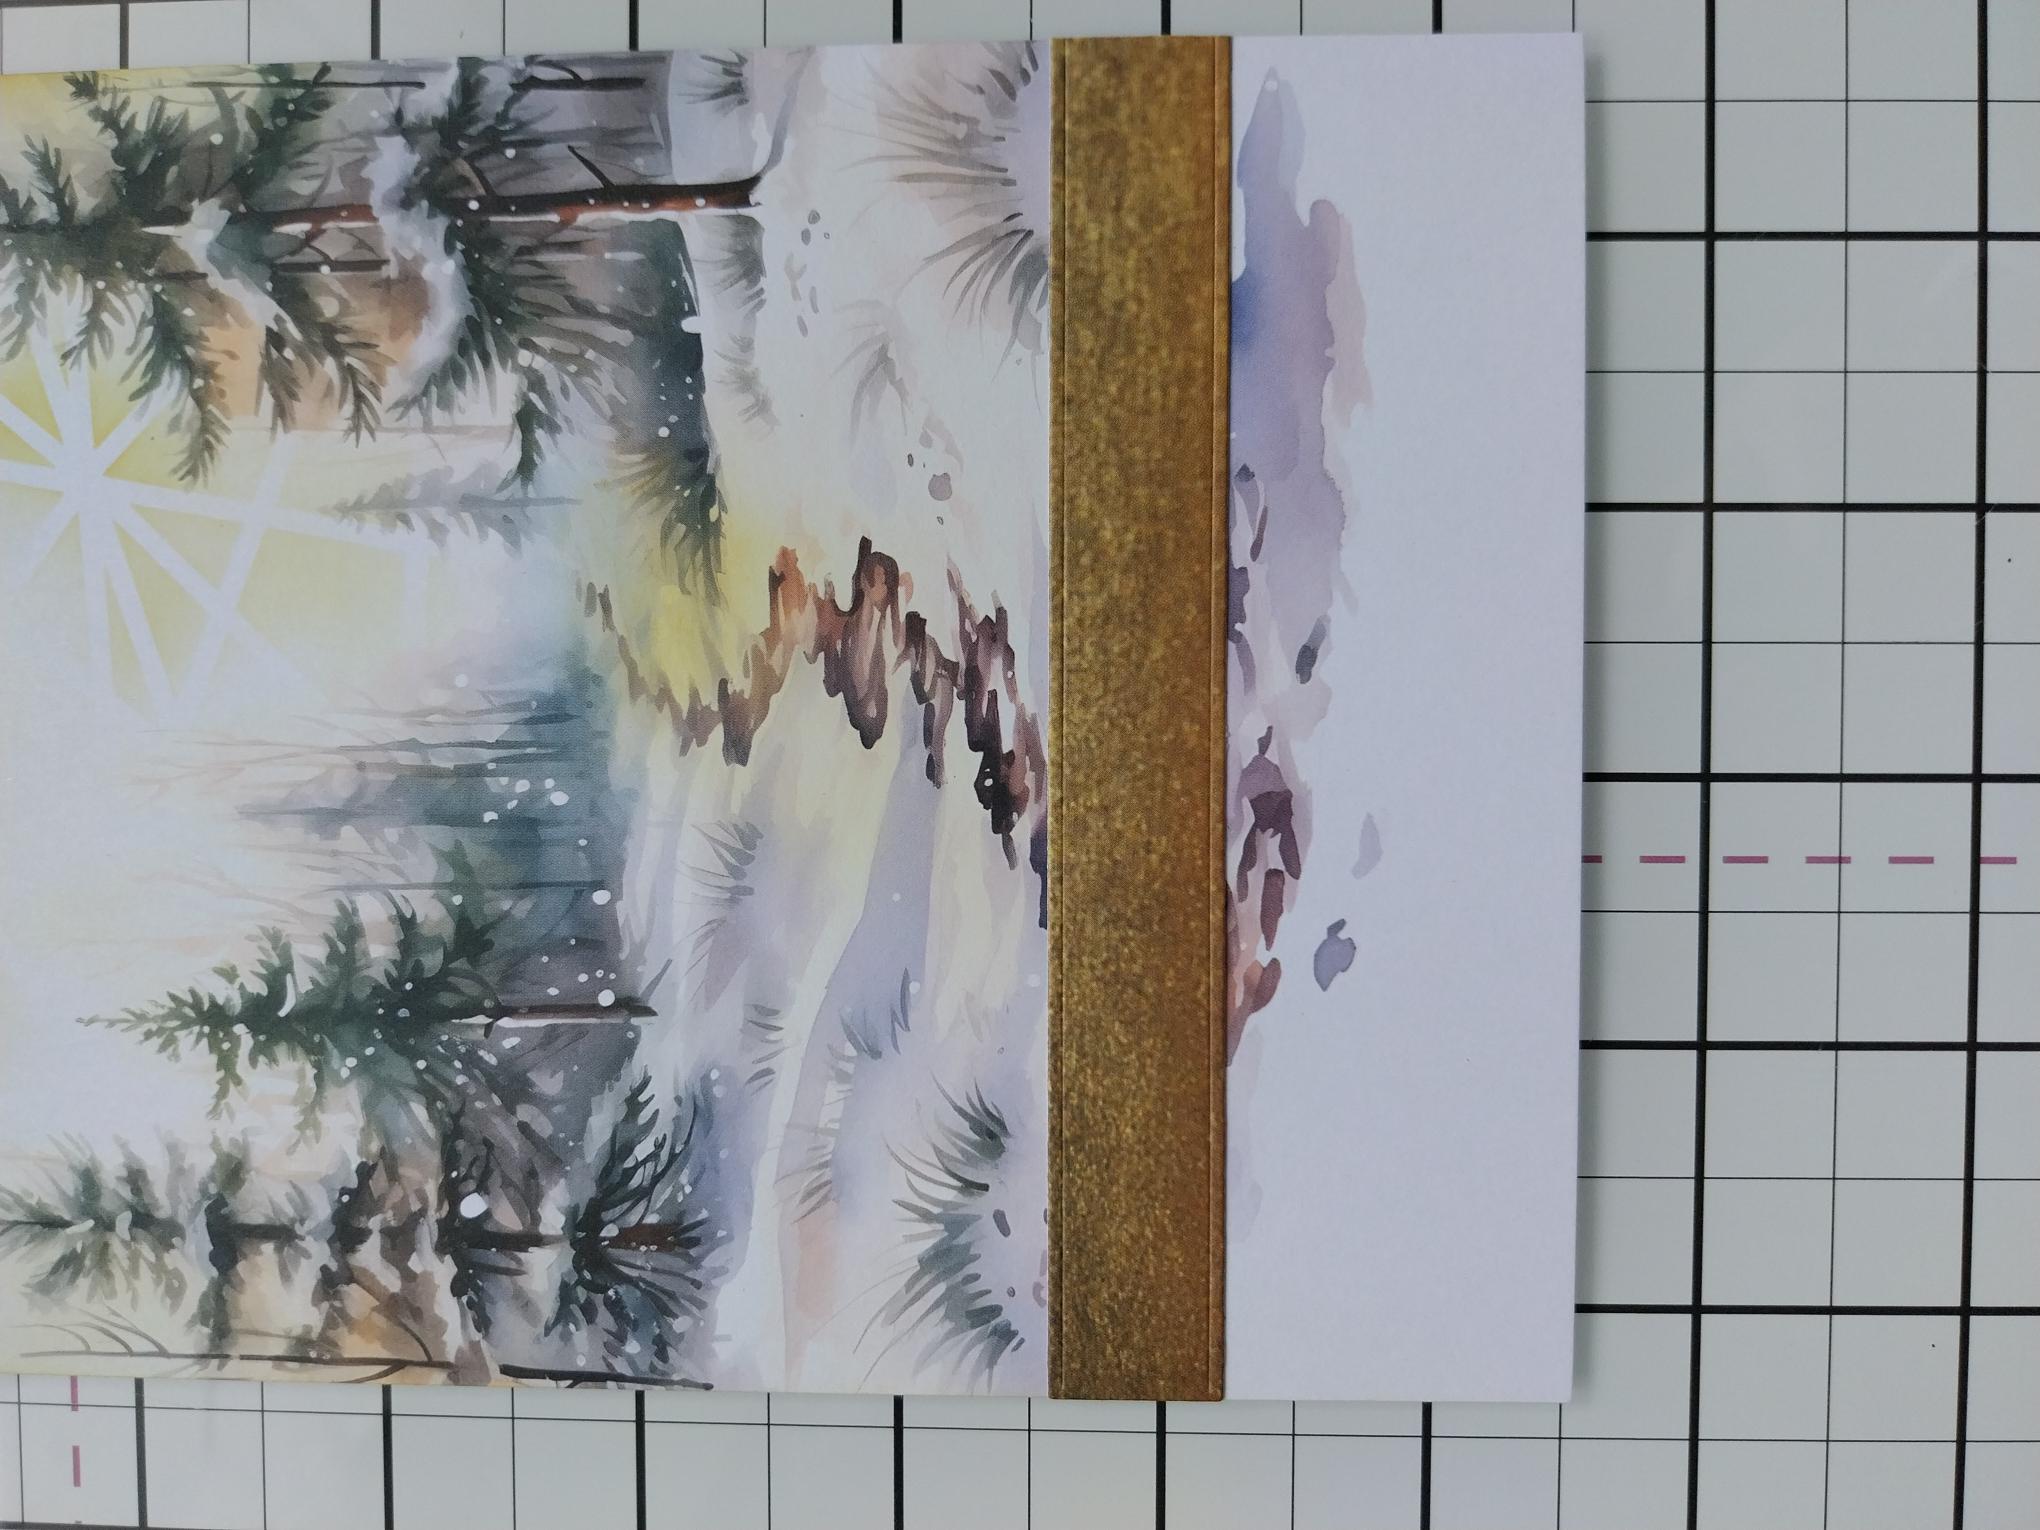
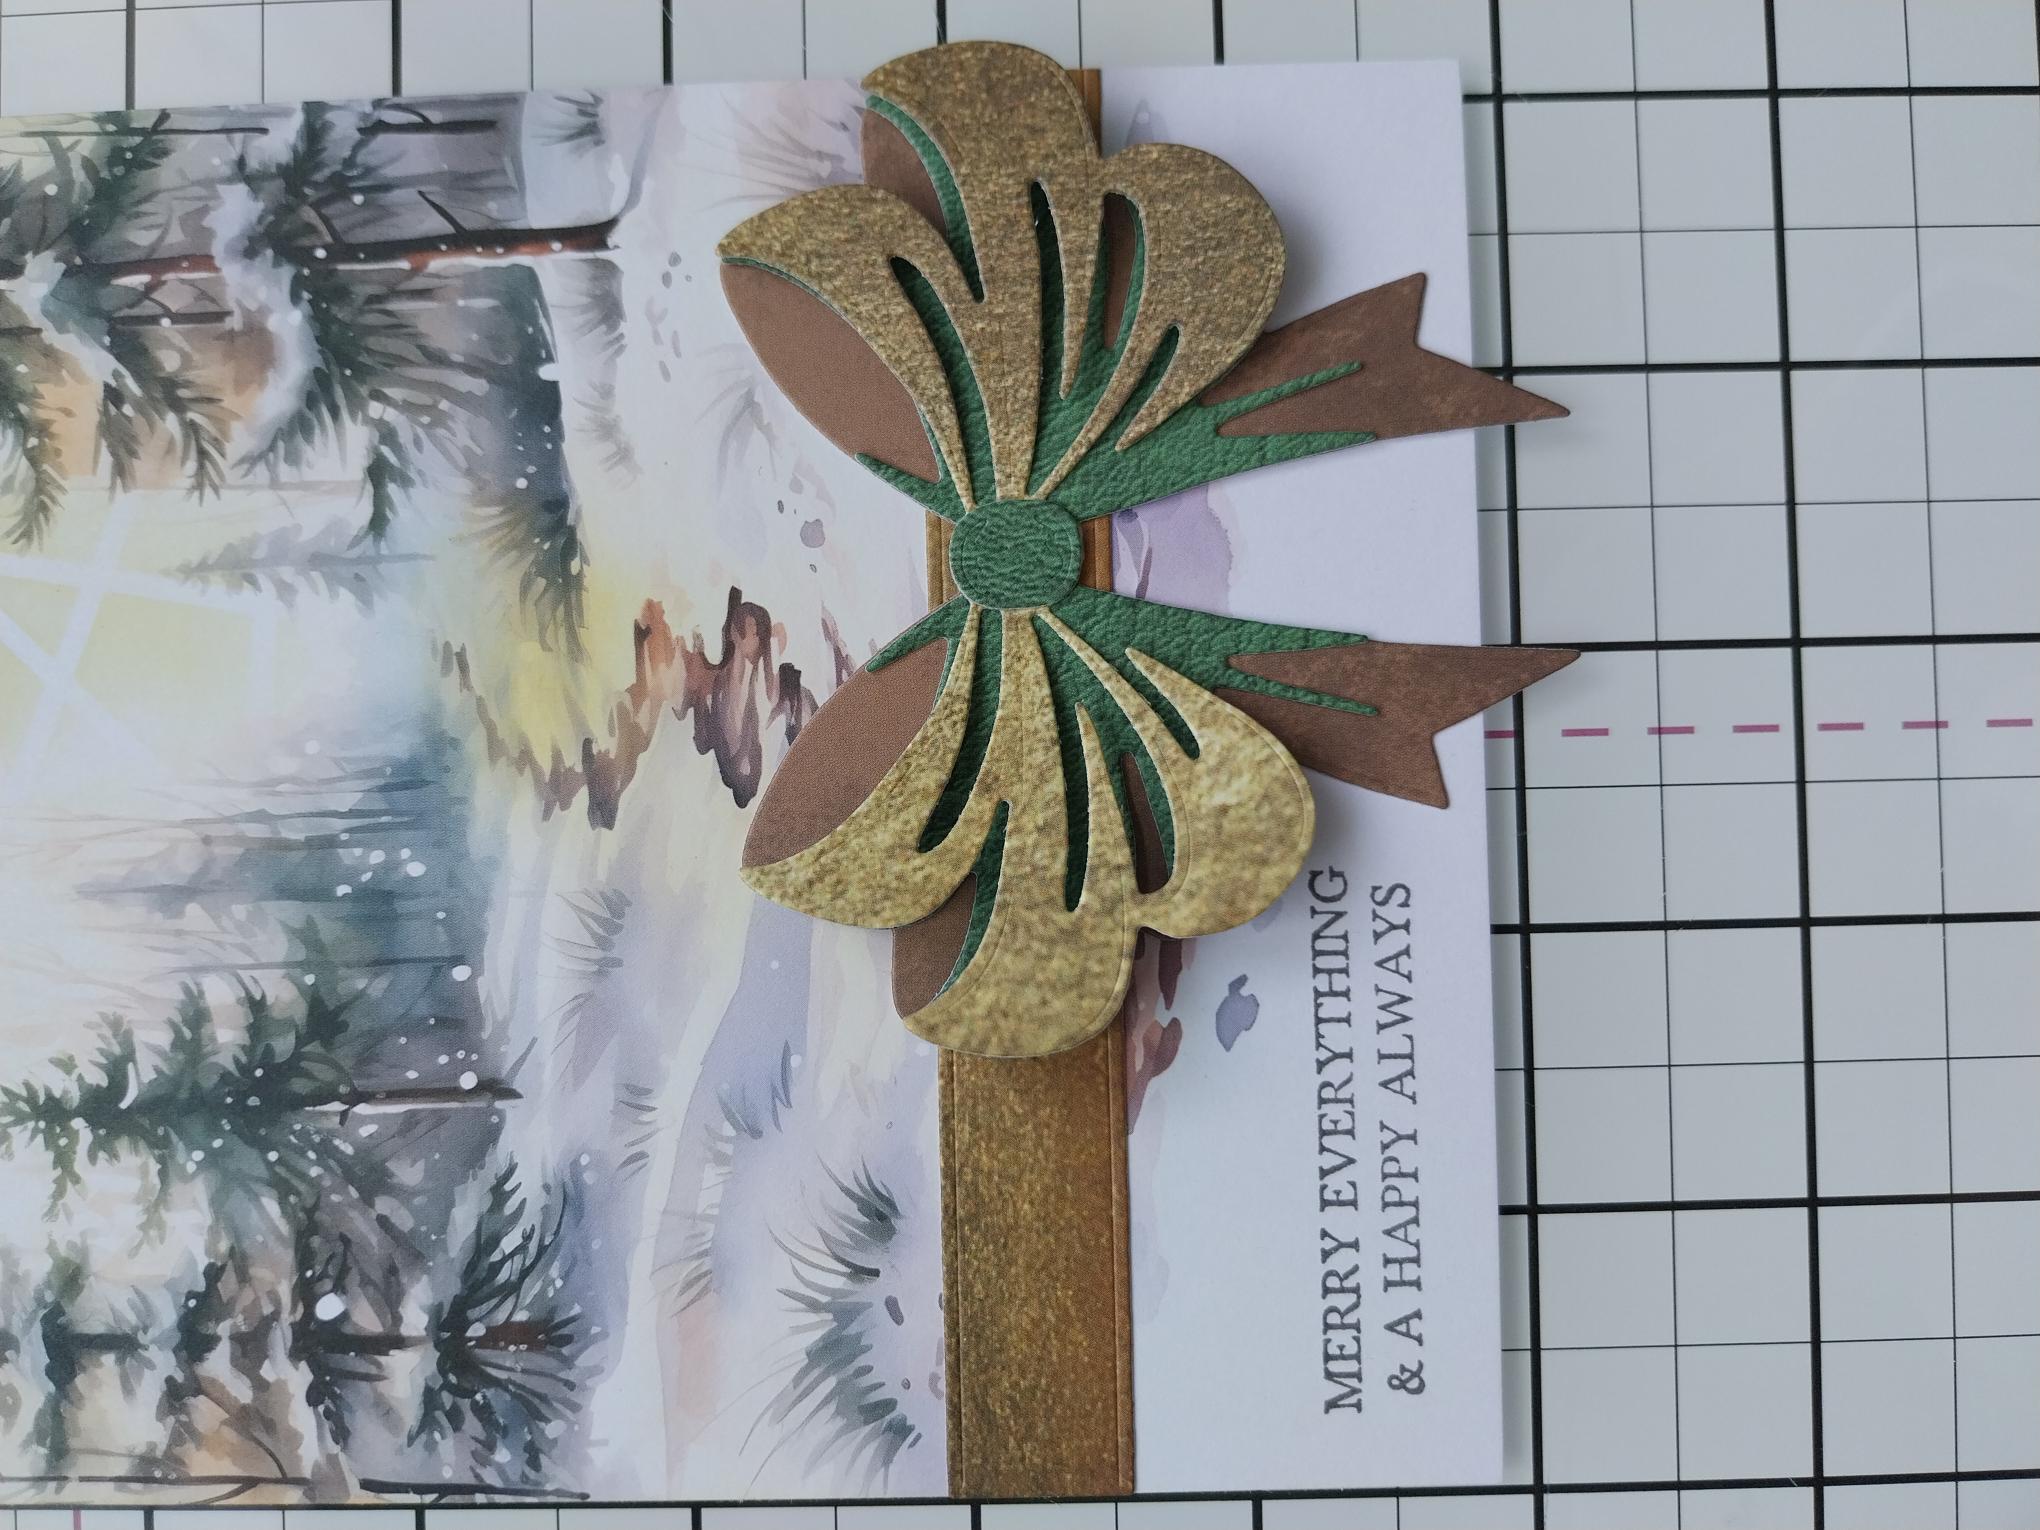
Adhere the die cut band across the lower half of the inked paper, ensuring you leave enough room below for the sentiment. |
|
Using your die cut bow as a positional guide, stamp your sentiment in Versafine, under the banner and to the left of the paper. Adhere your bow in place, to the right of the sentiment. |
|
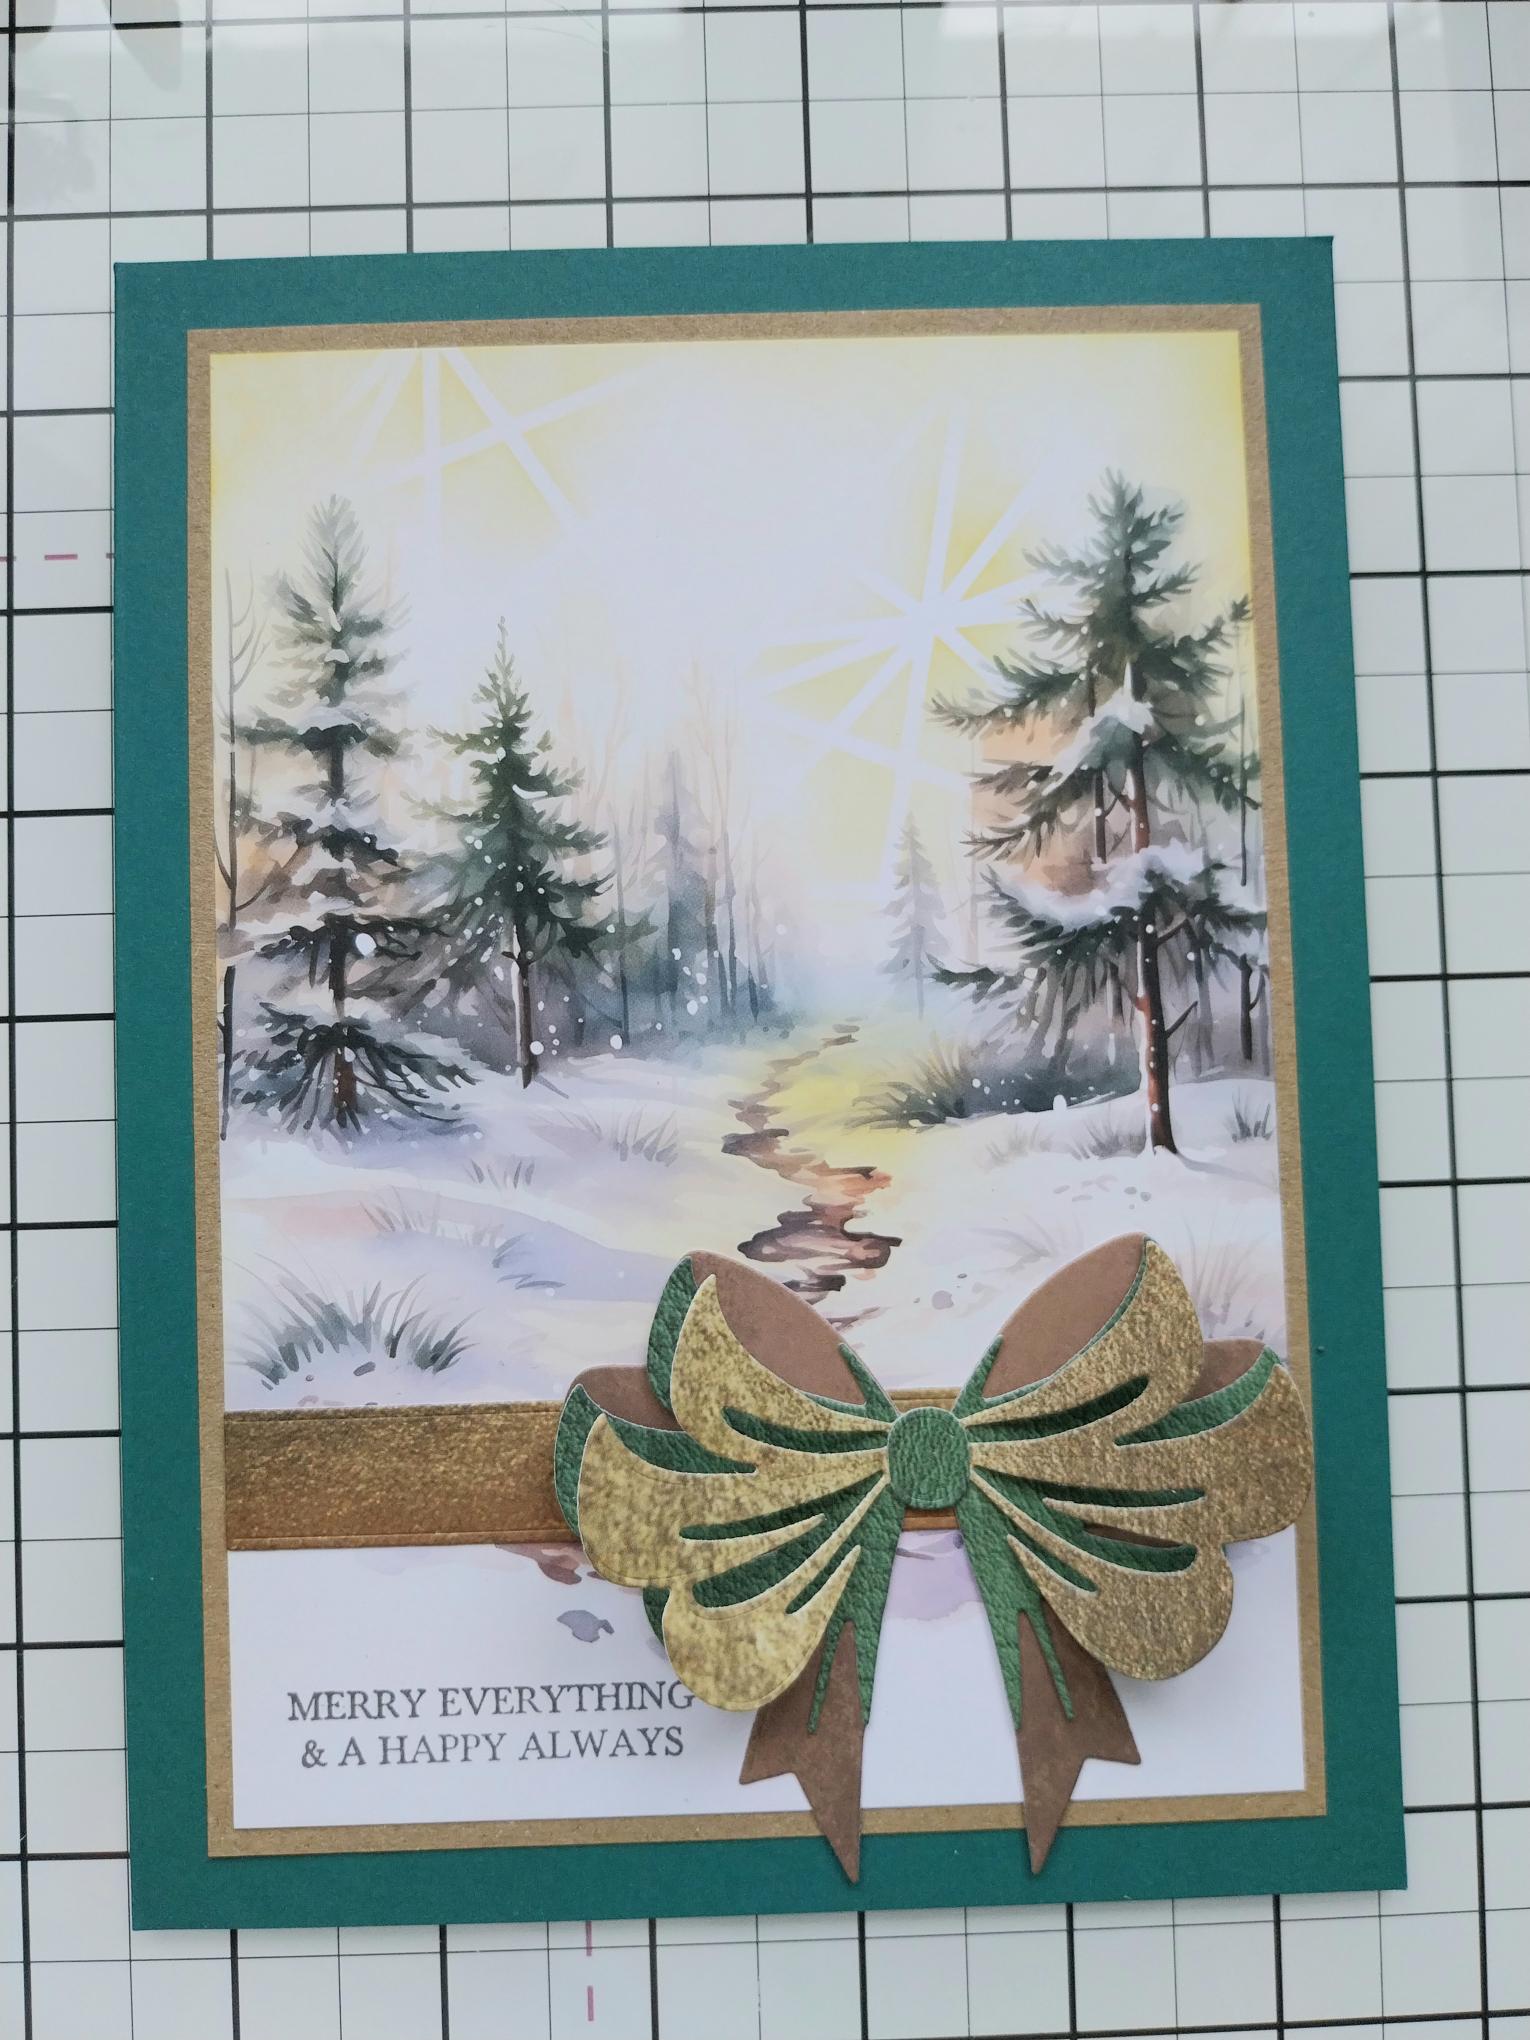
Adhere your artwork onto kraft card trimmed to 5 1/4 x 7 1/4" and then onto the front of your teal card blank. |
|
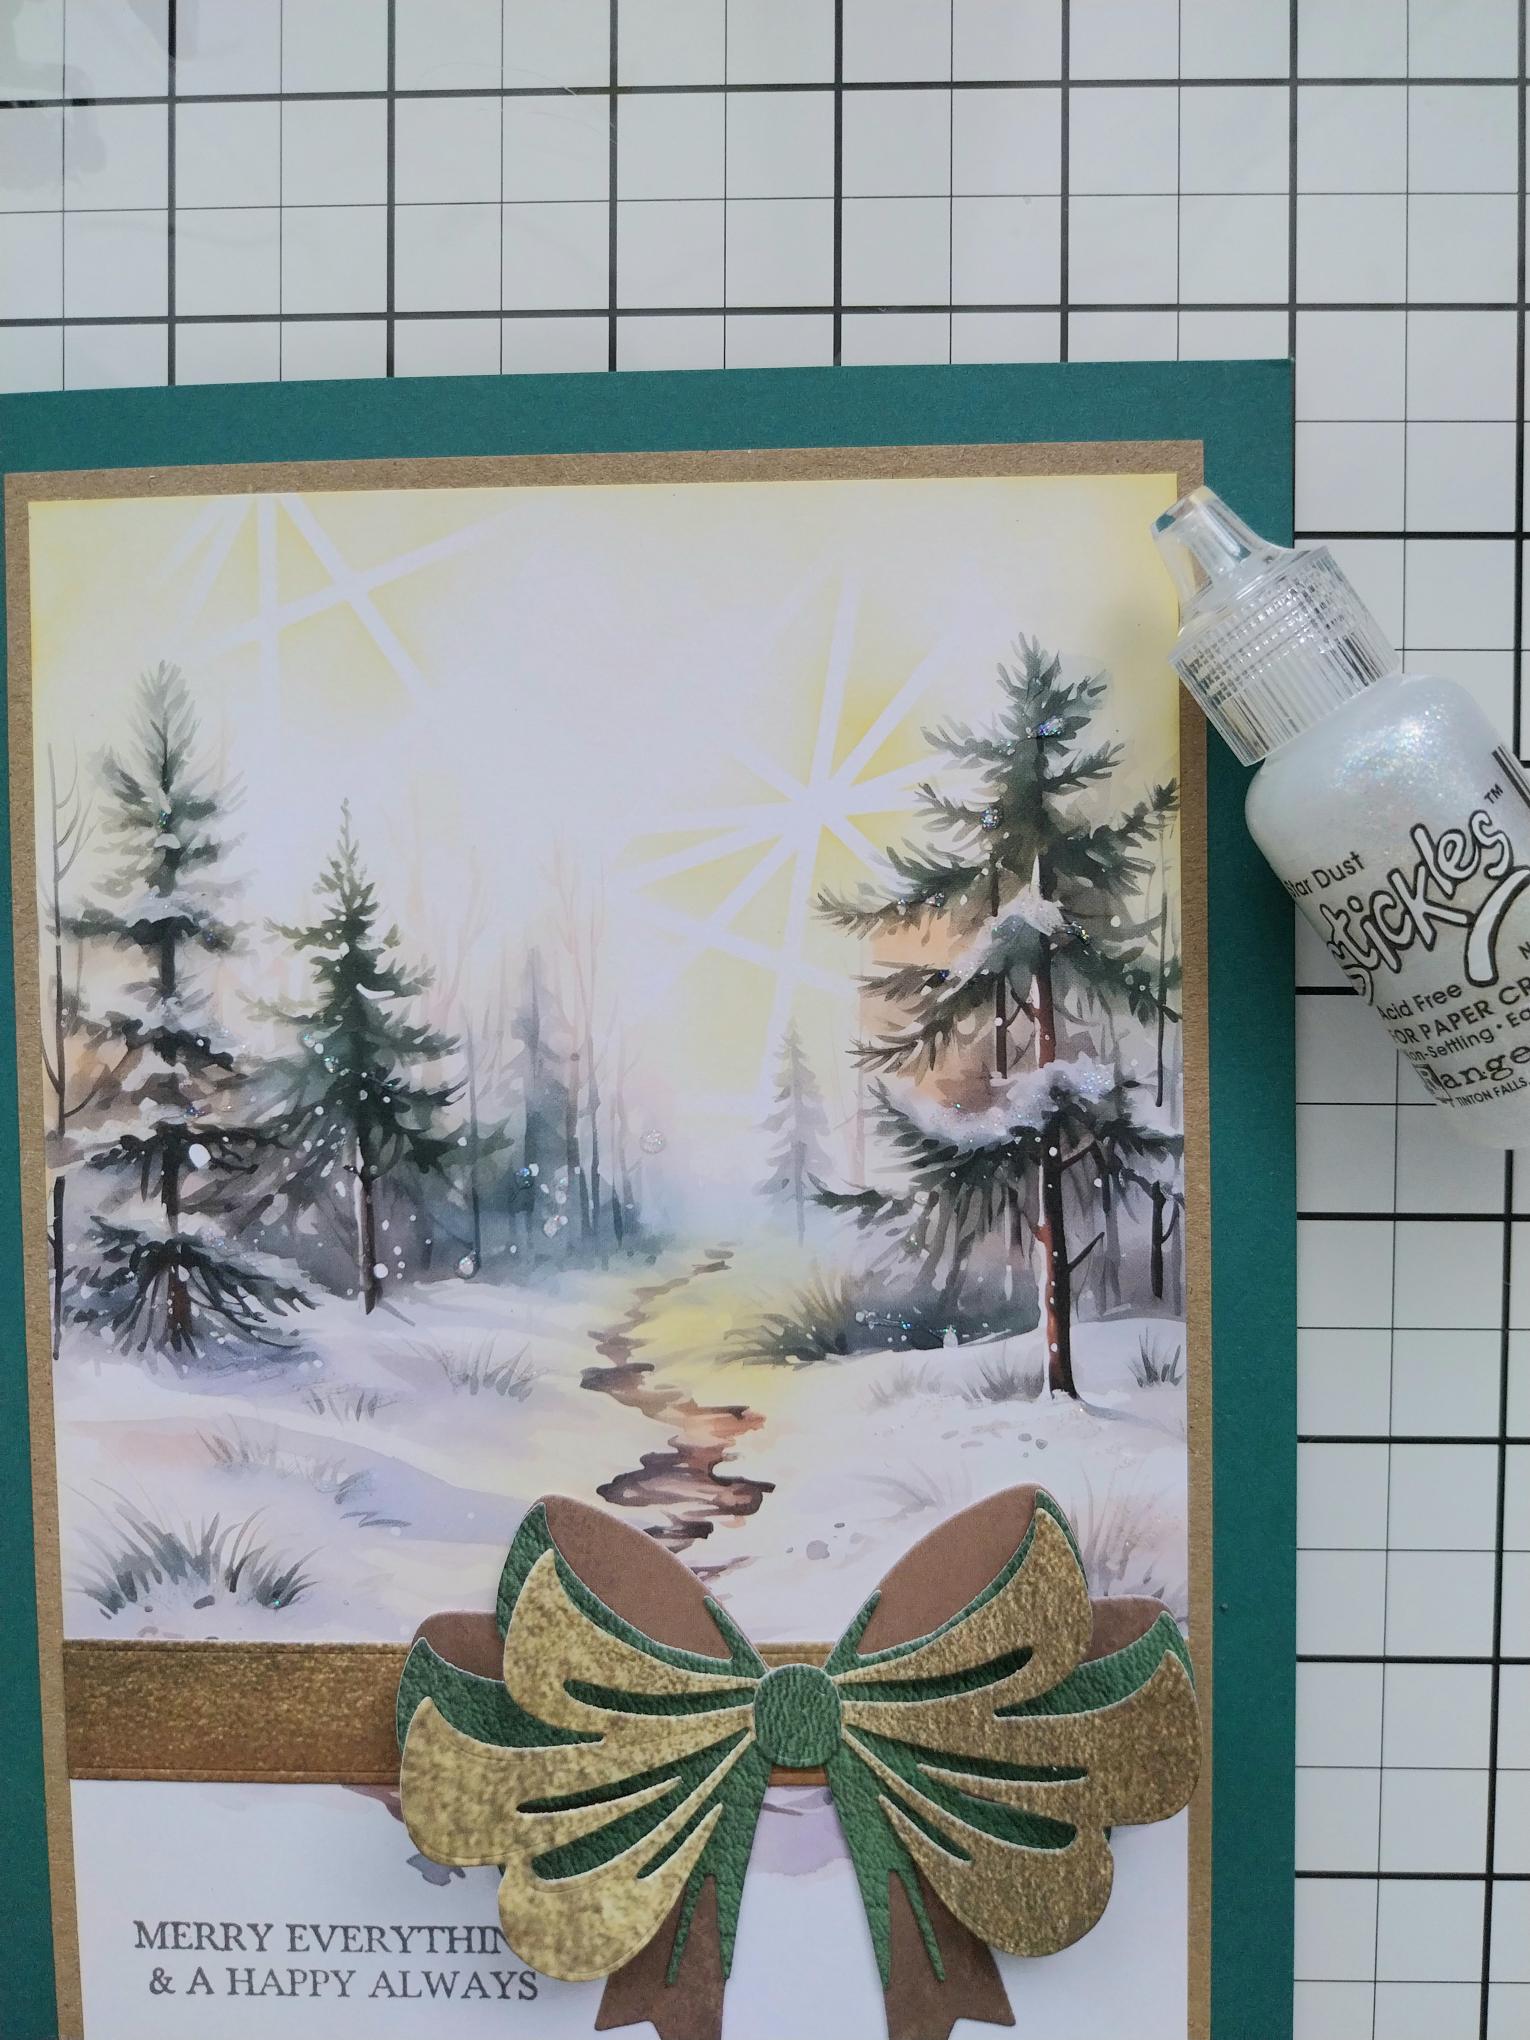
Use your Stickles to add a touch of festive sparkle to your card. |