

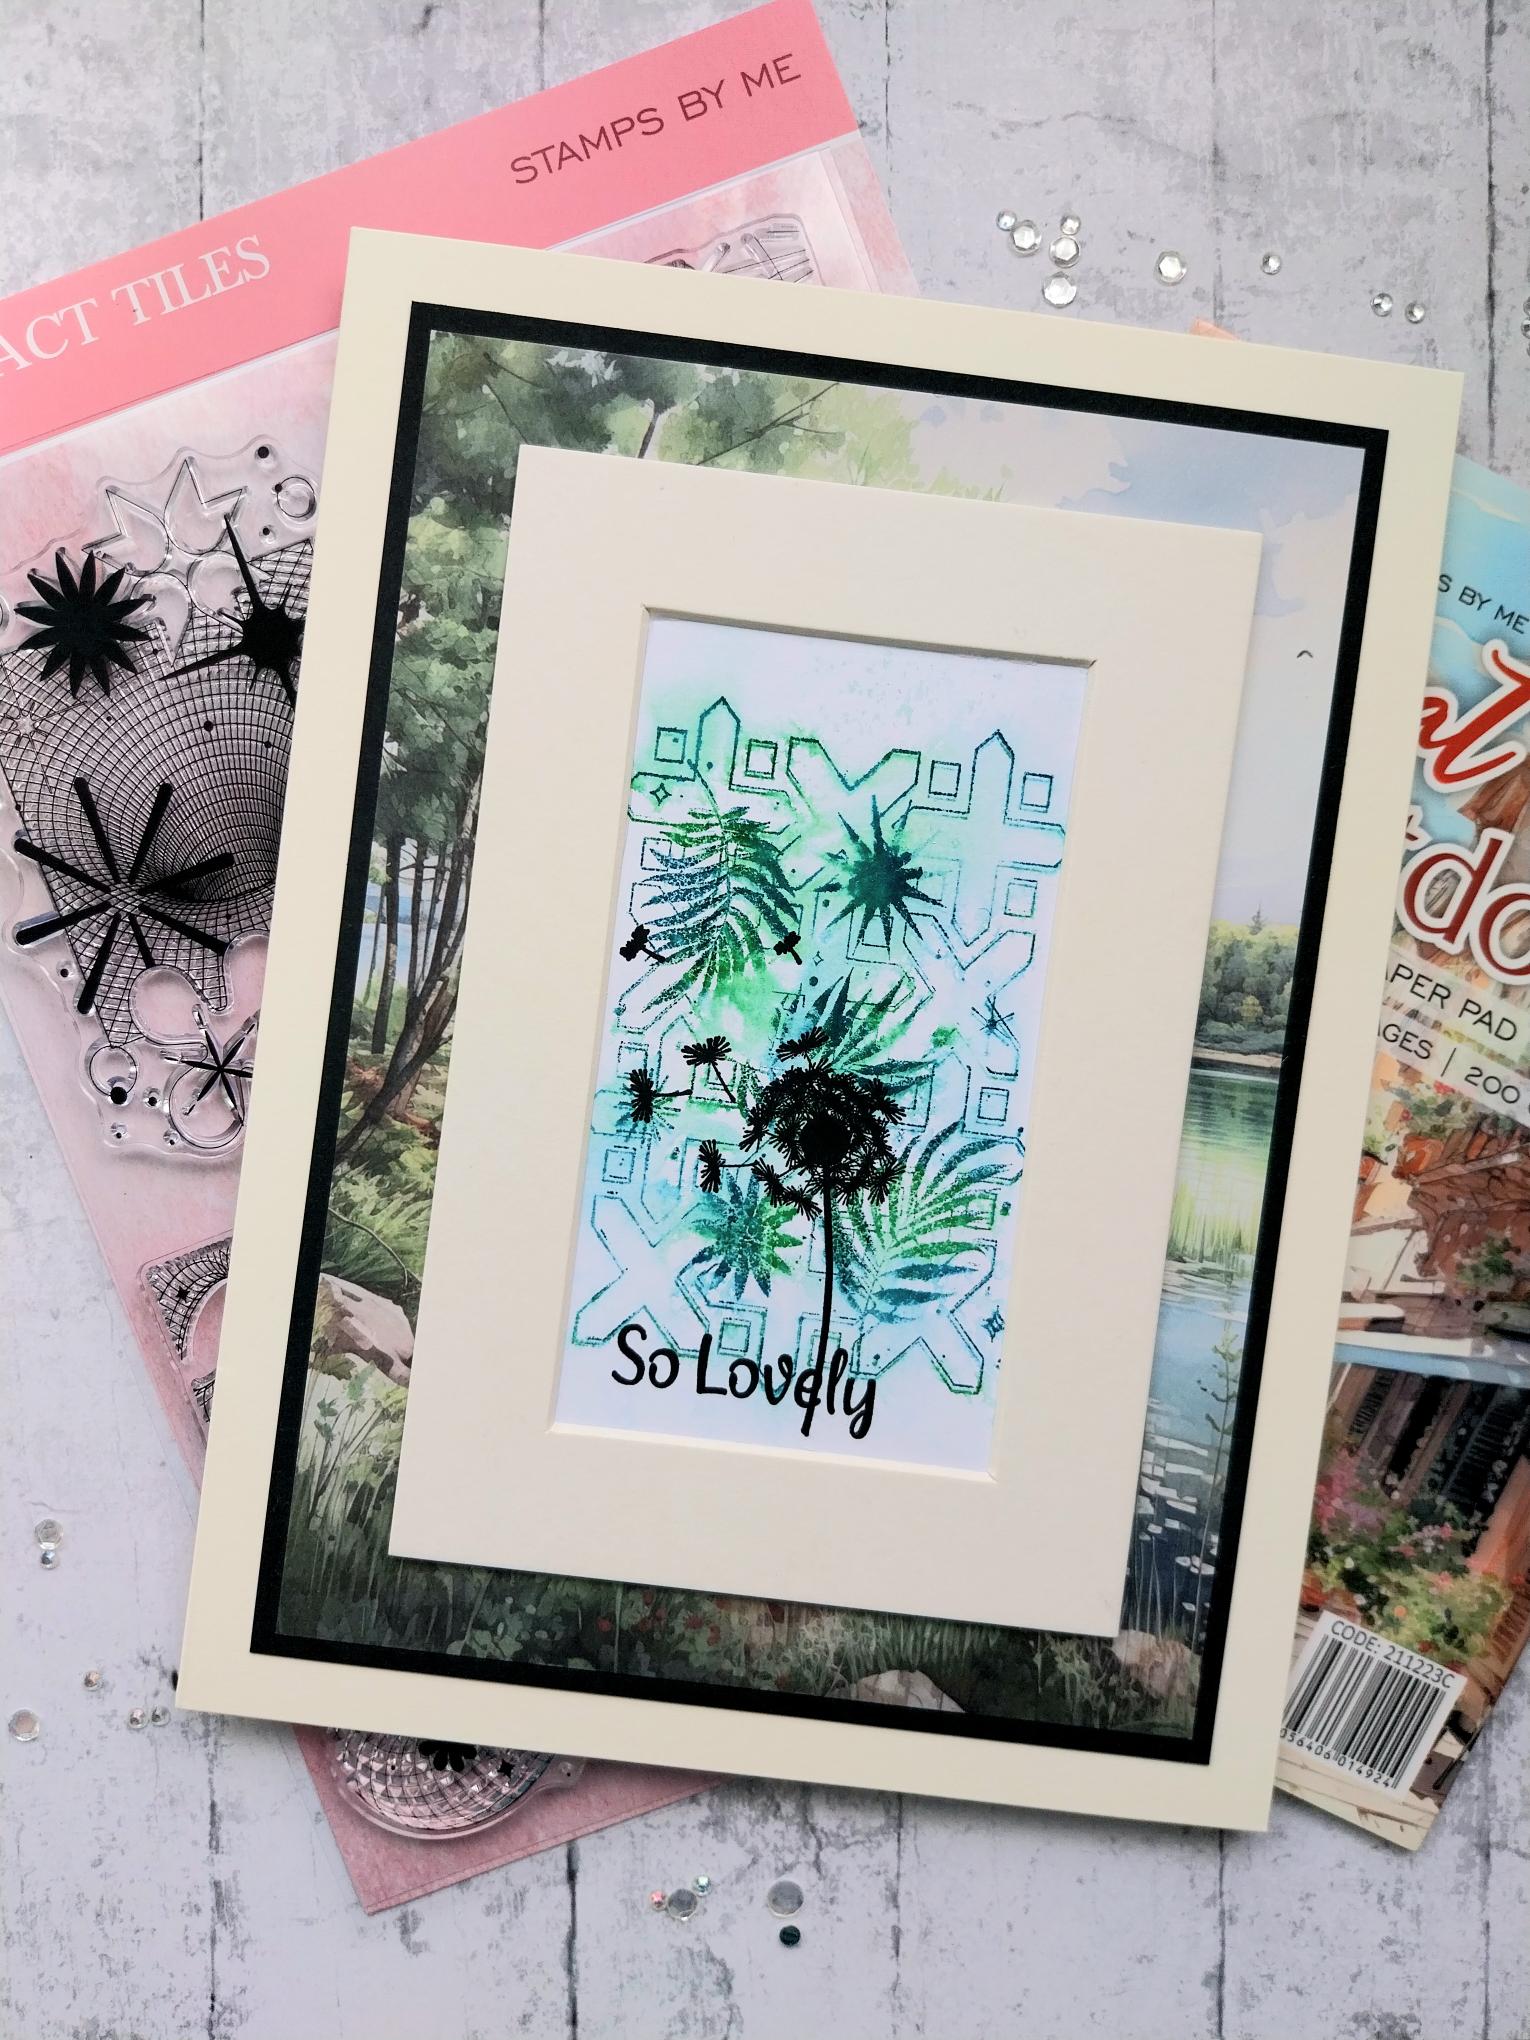
WHAT YOU WILL NEED:
Cream card blank 6 x 8"
Black/white cardstock
Cream card frame mount (you can make your own with rectangular nesting dies)
Abstract Tiles Stamp
Make A Wish A5 Stamp
Great Outdoors 5 x 7" Paper Pad
SBM Hybrid Ink Pad: Midnight
SBM Dye Ink Pad: Tiffany, Hedgerow
Water spray bottle
Eureka 101 Watercolour Tablet
SBM A3 Magnetic glass mat
Paper Trimmer
Glue
Die Cutting machine
[click image to enlarge] 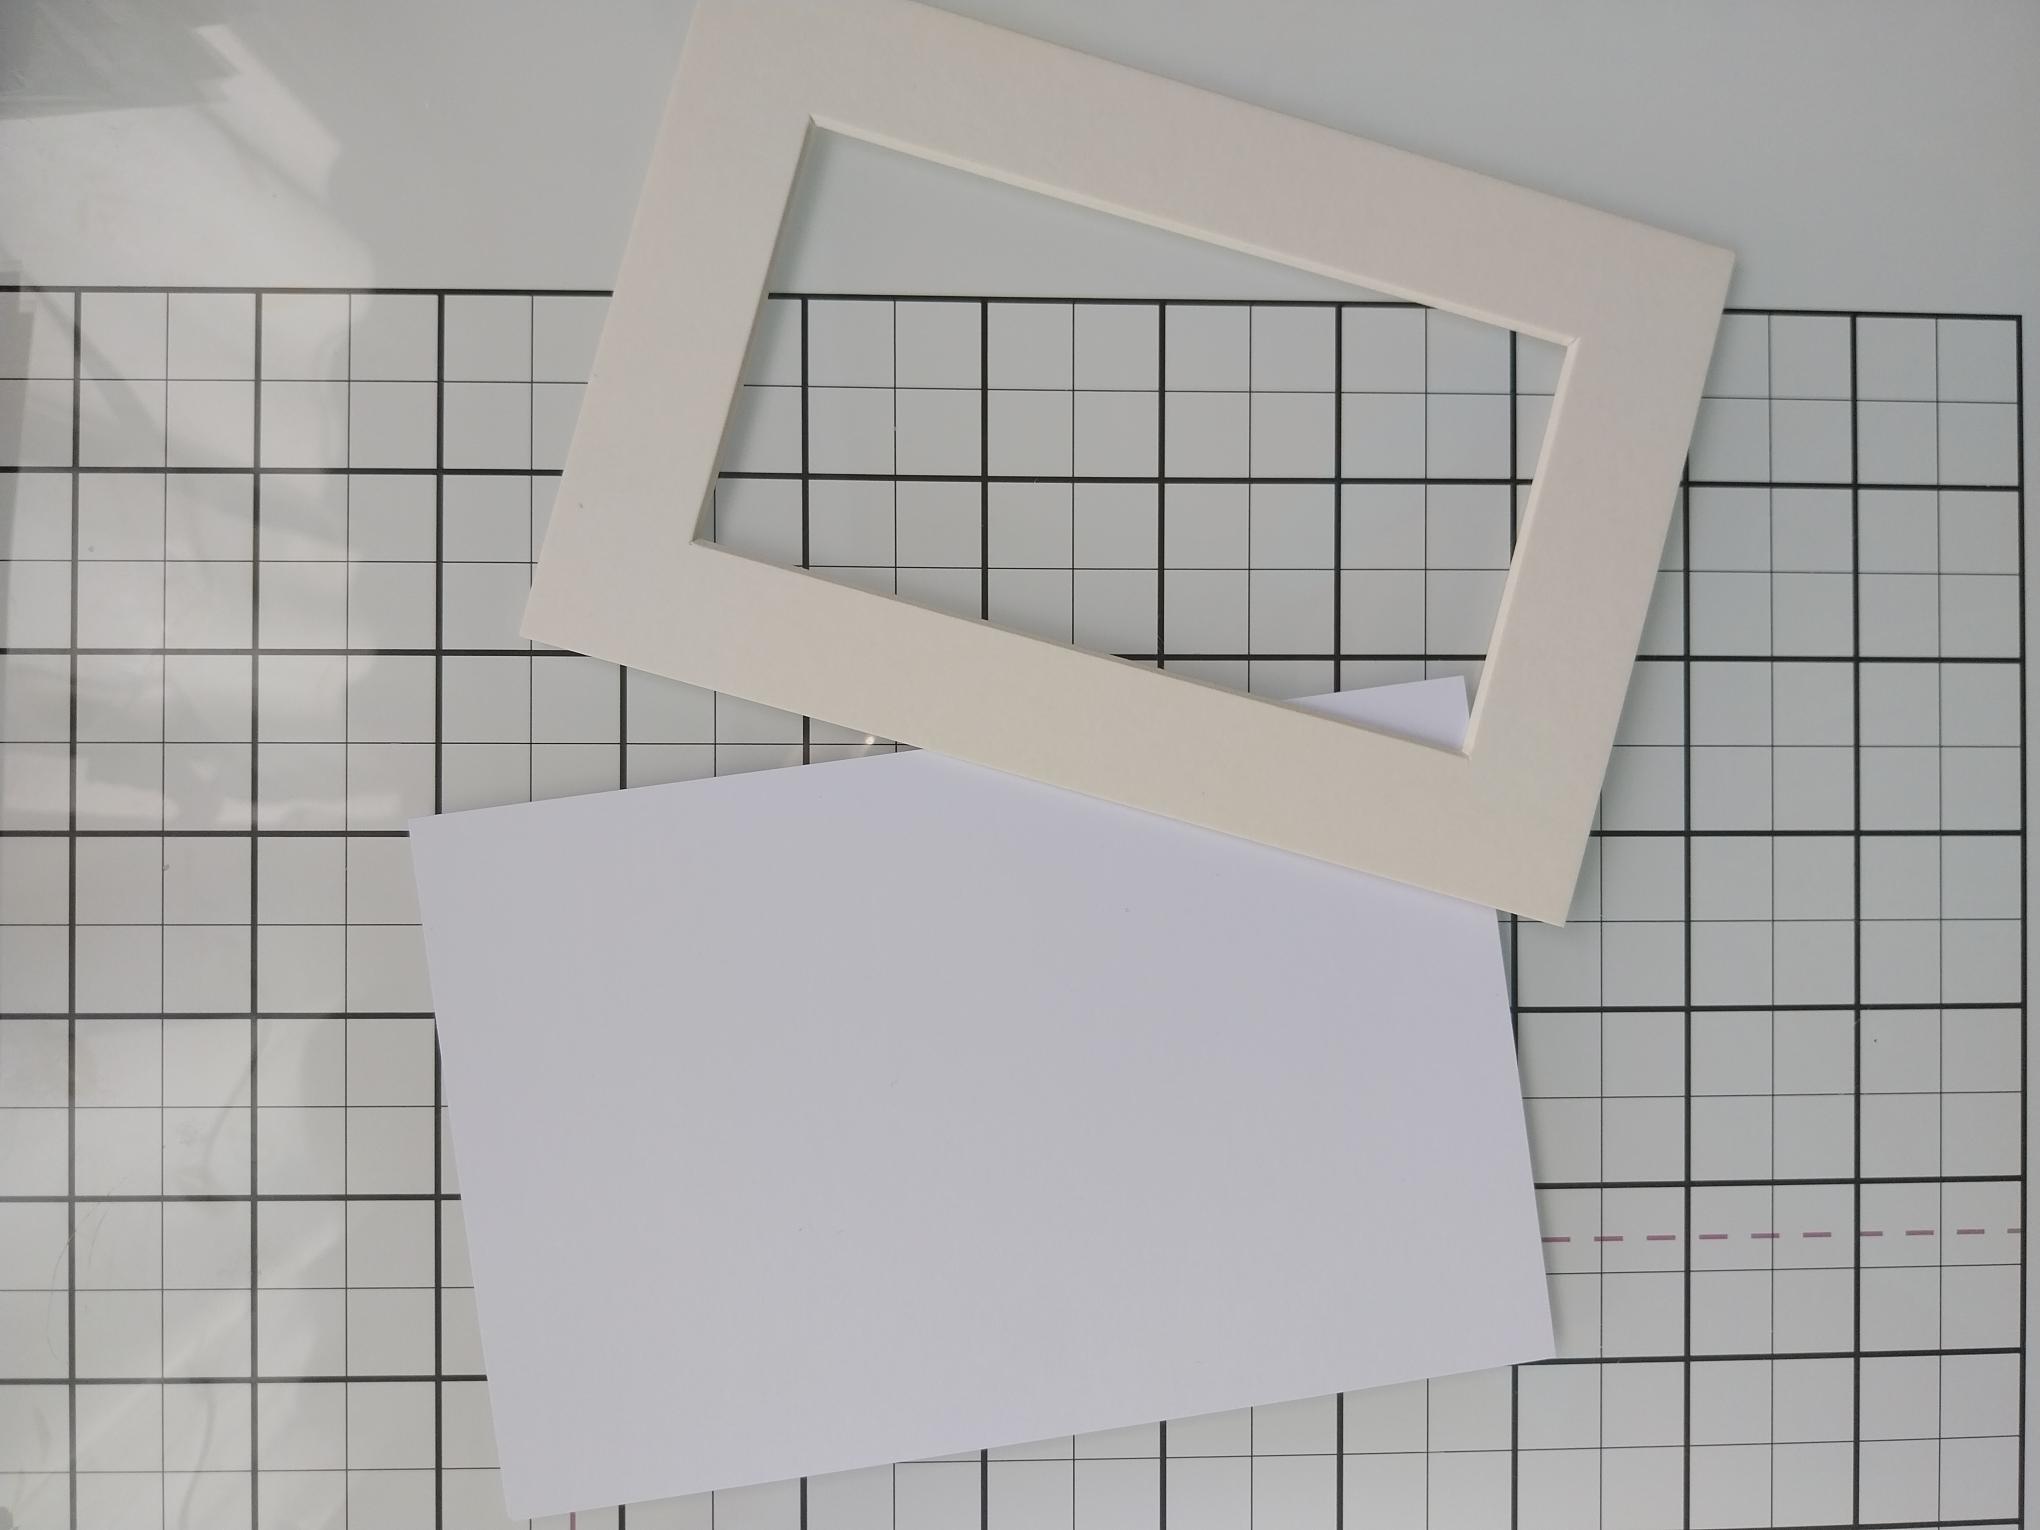
|
Trim a piece of white card to 6 x 4". You will also need a cream frame mount the same size or marginally bigger. |
|
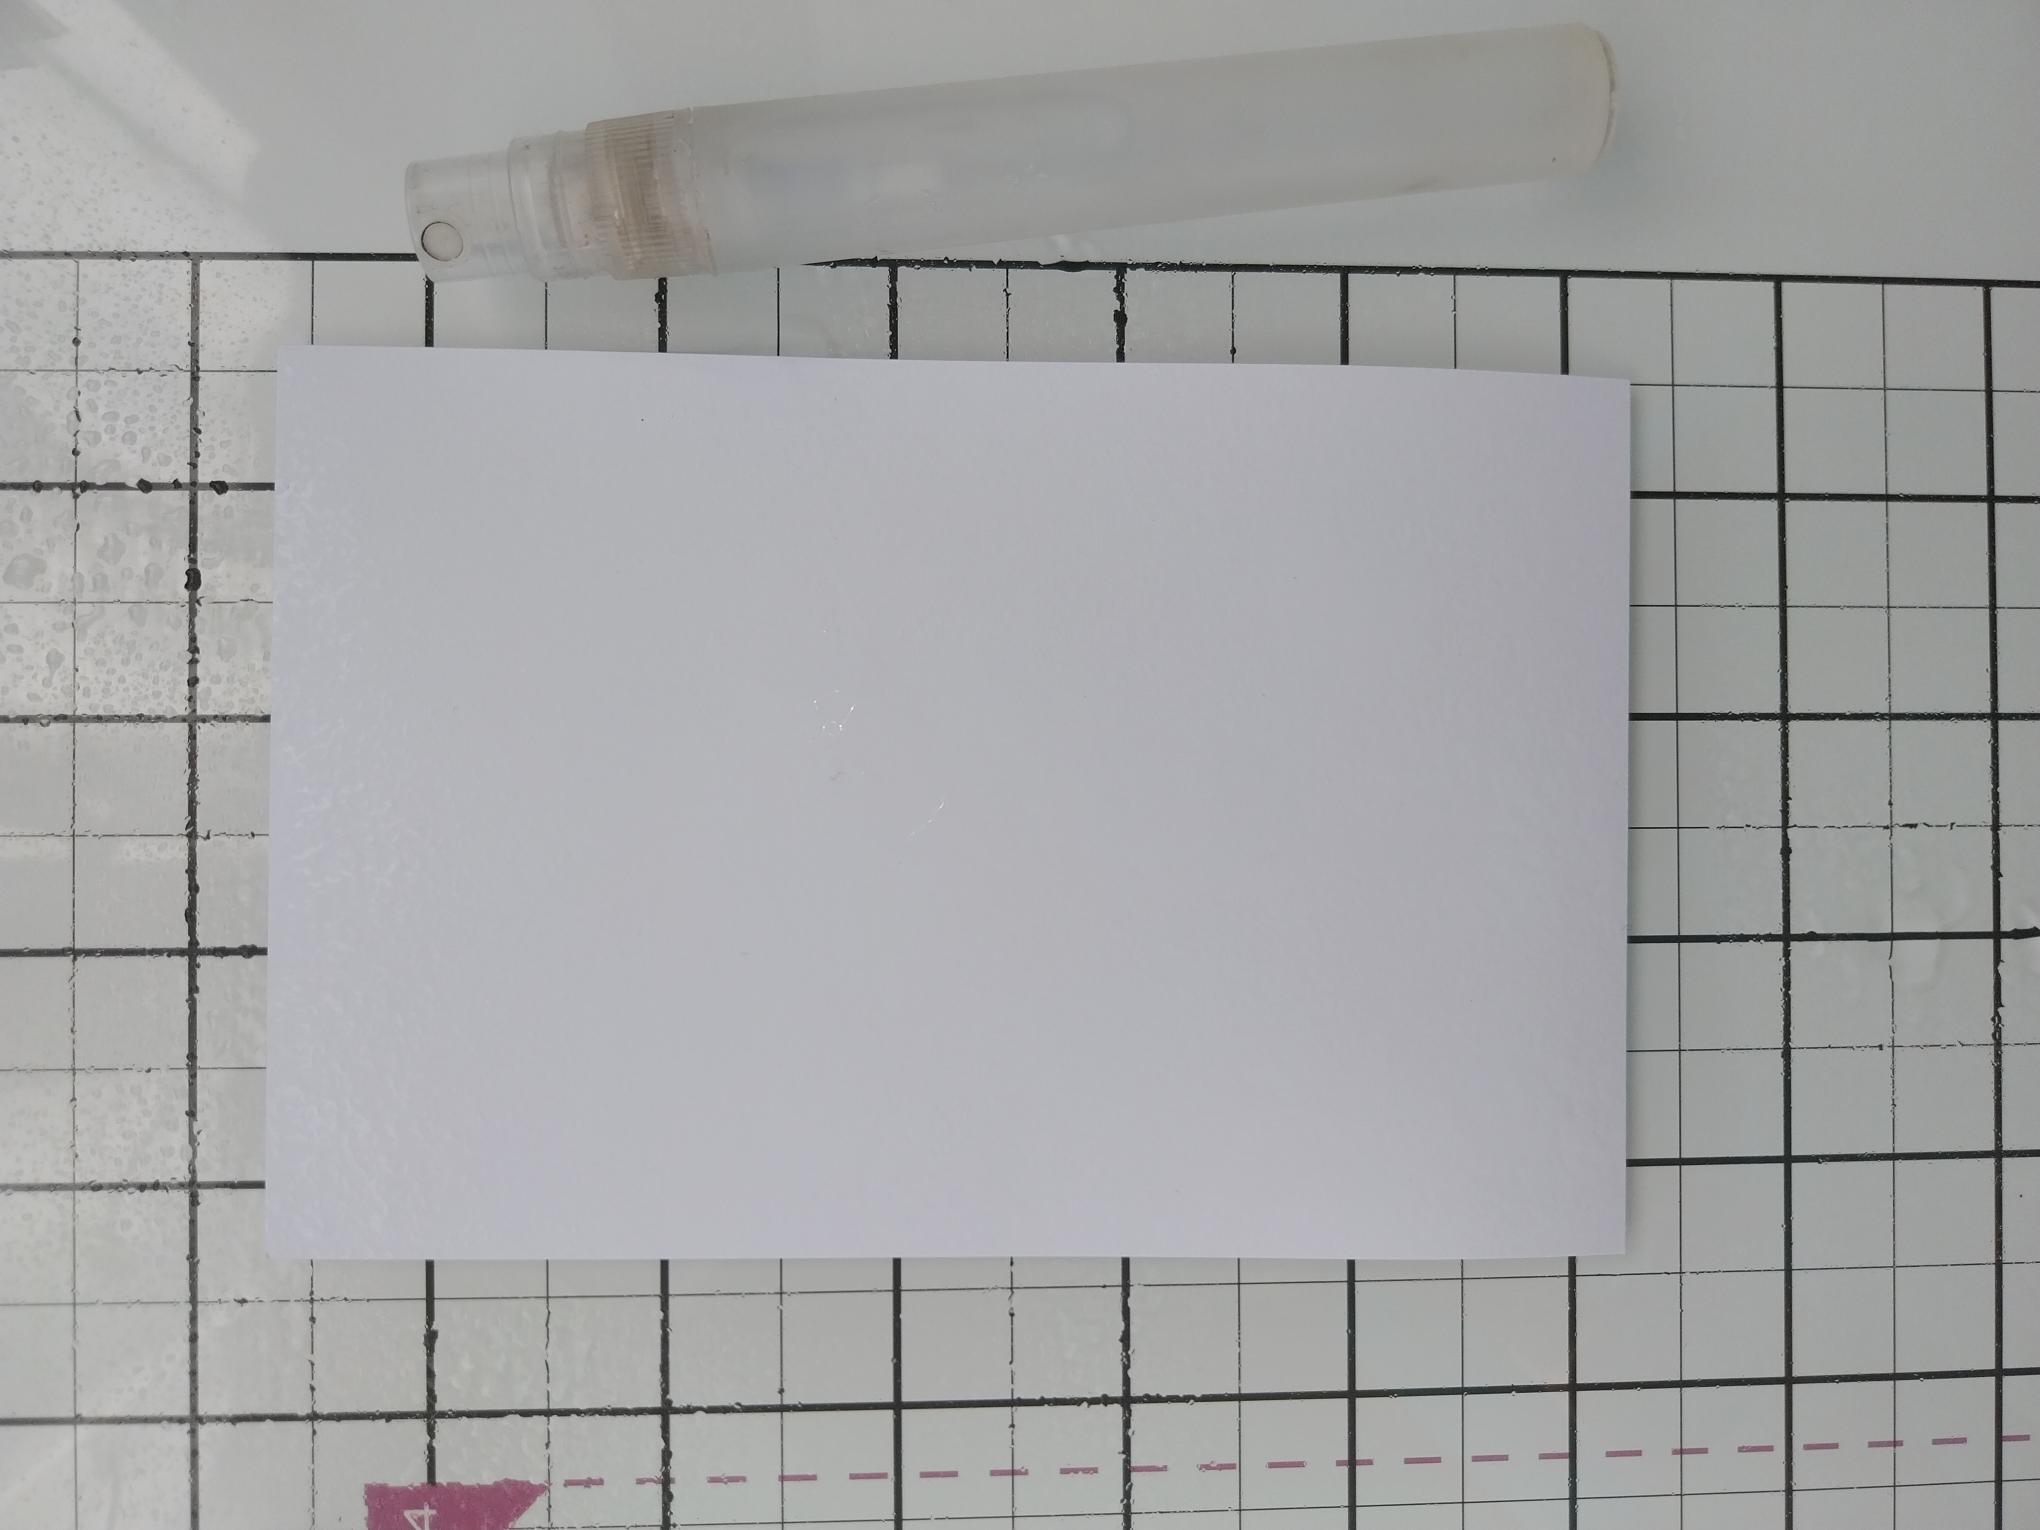
Spritz the white card with water. |
|
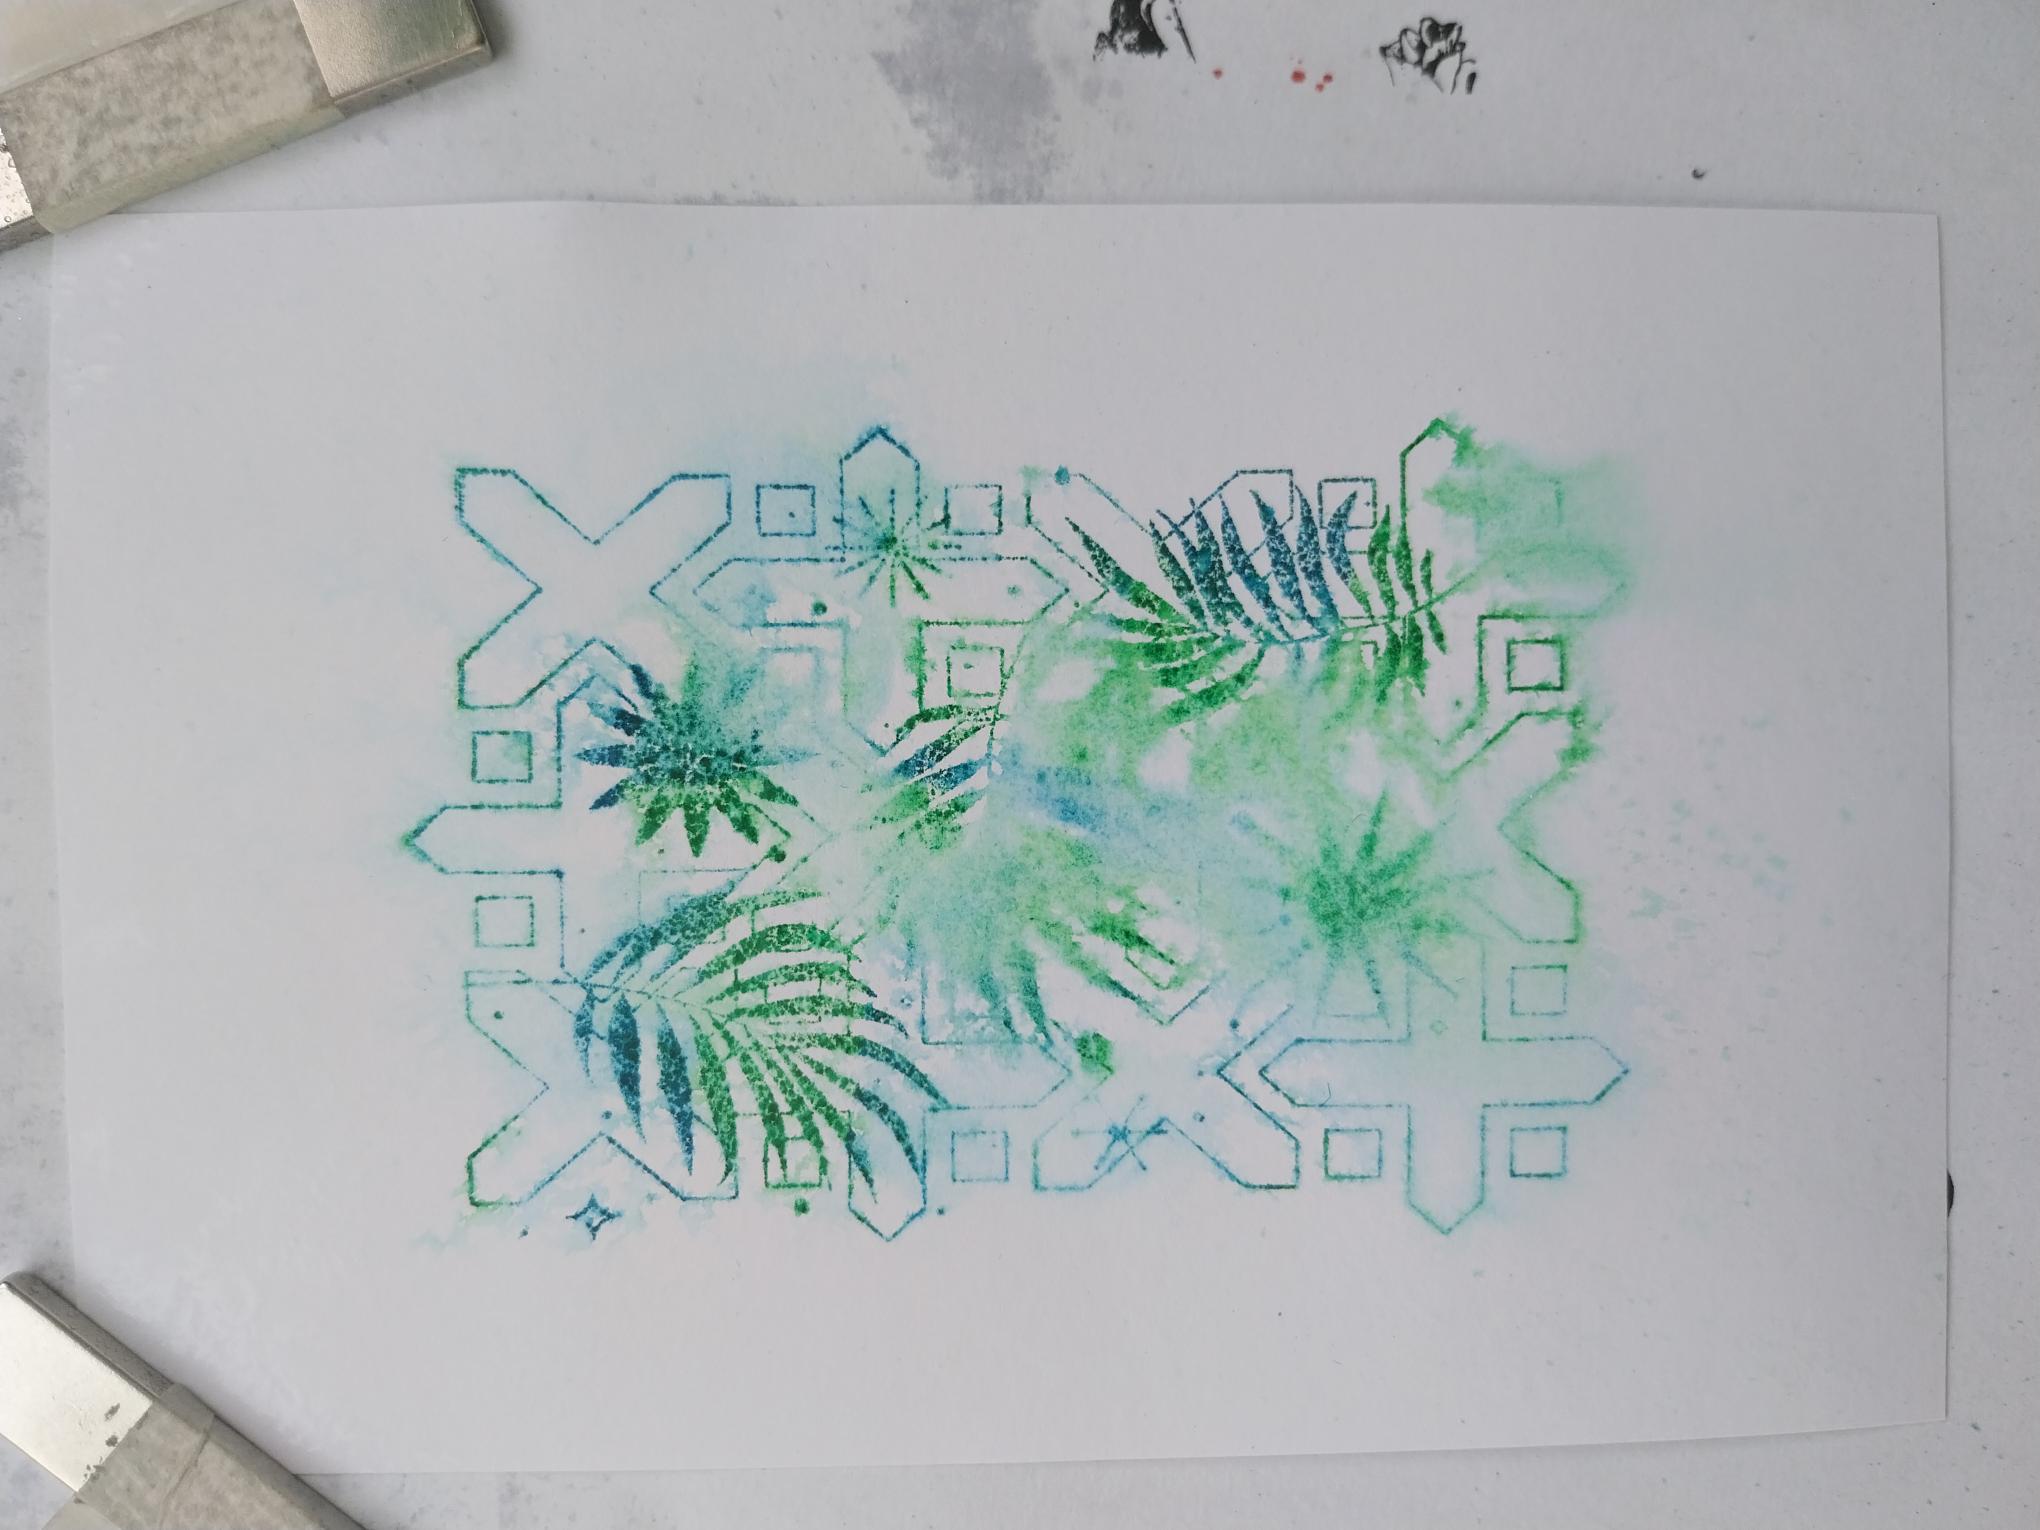
Ink up one of the Abstract Tiles with Tiffany and Hedgerow and stamp centrally onto the sprayed card. Allow the ink to move and "bleed", mopping up the excess with a paper towel, once happy with the result. DO NOT MOVE THE POSITION OF BOTH THE STAMP AND THE CARD, AT THIS STAGE!! |
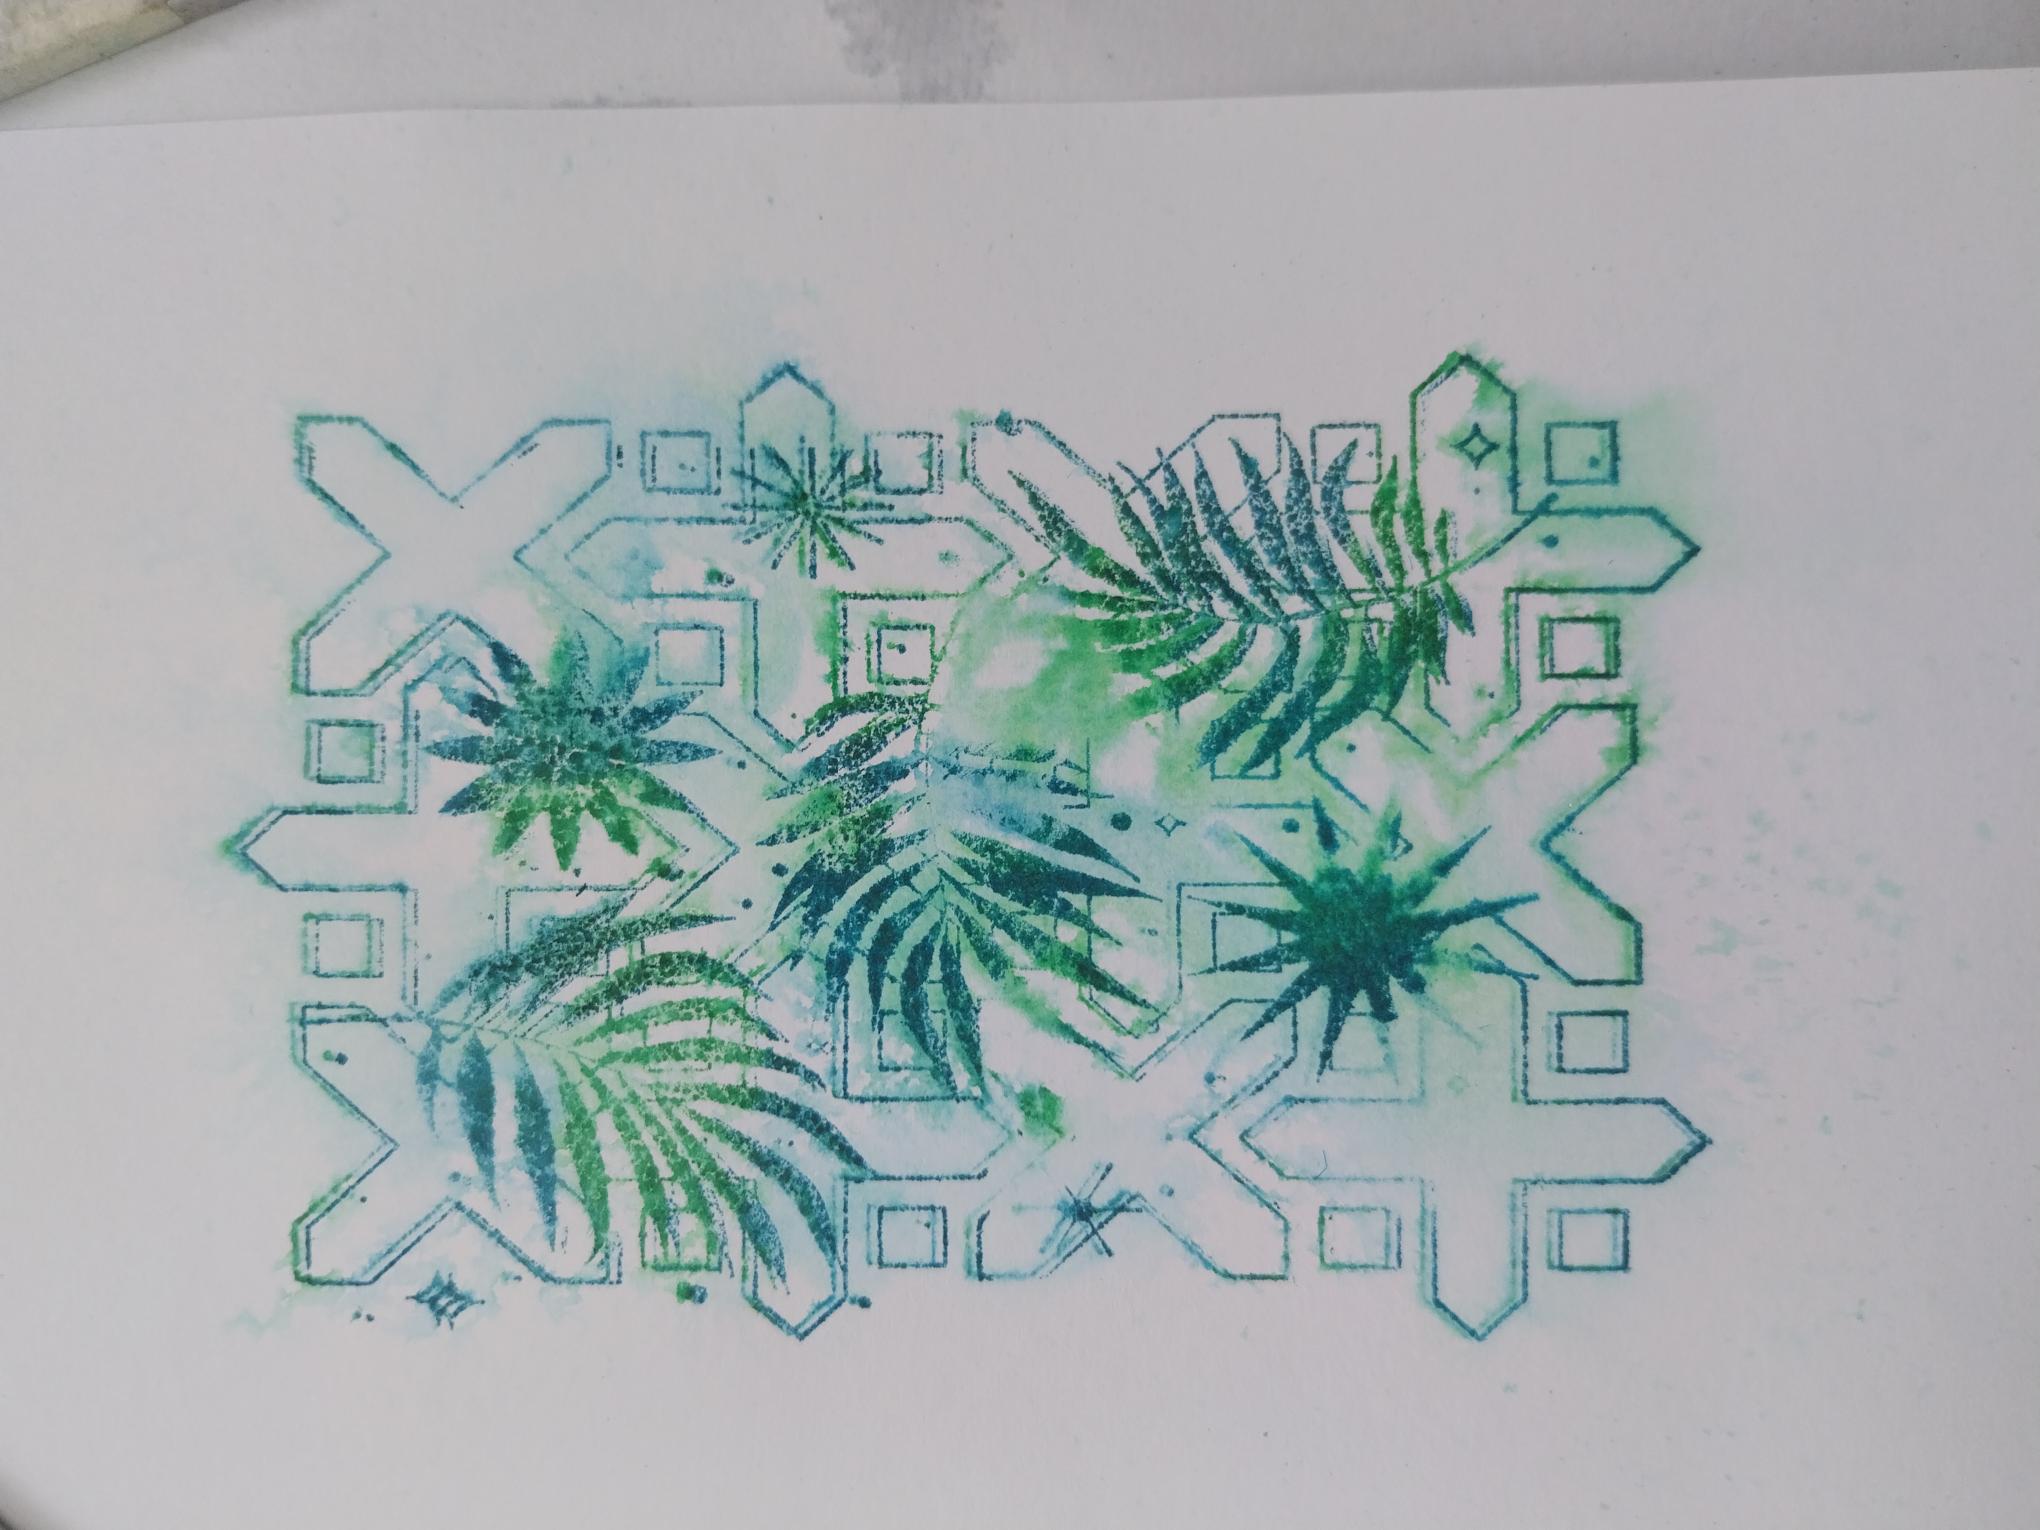
|
Re-ink the stamp randomly and go back over your watercolour image, bringing back some of the definition. |
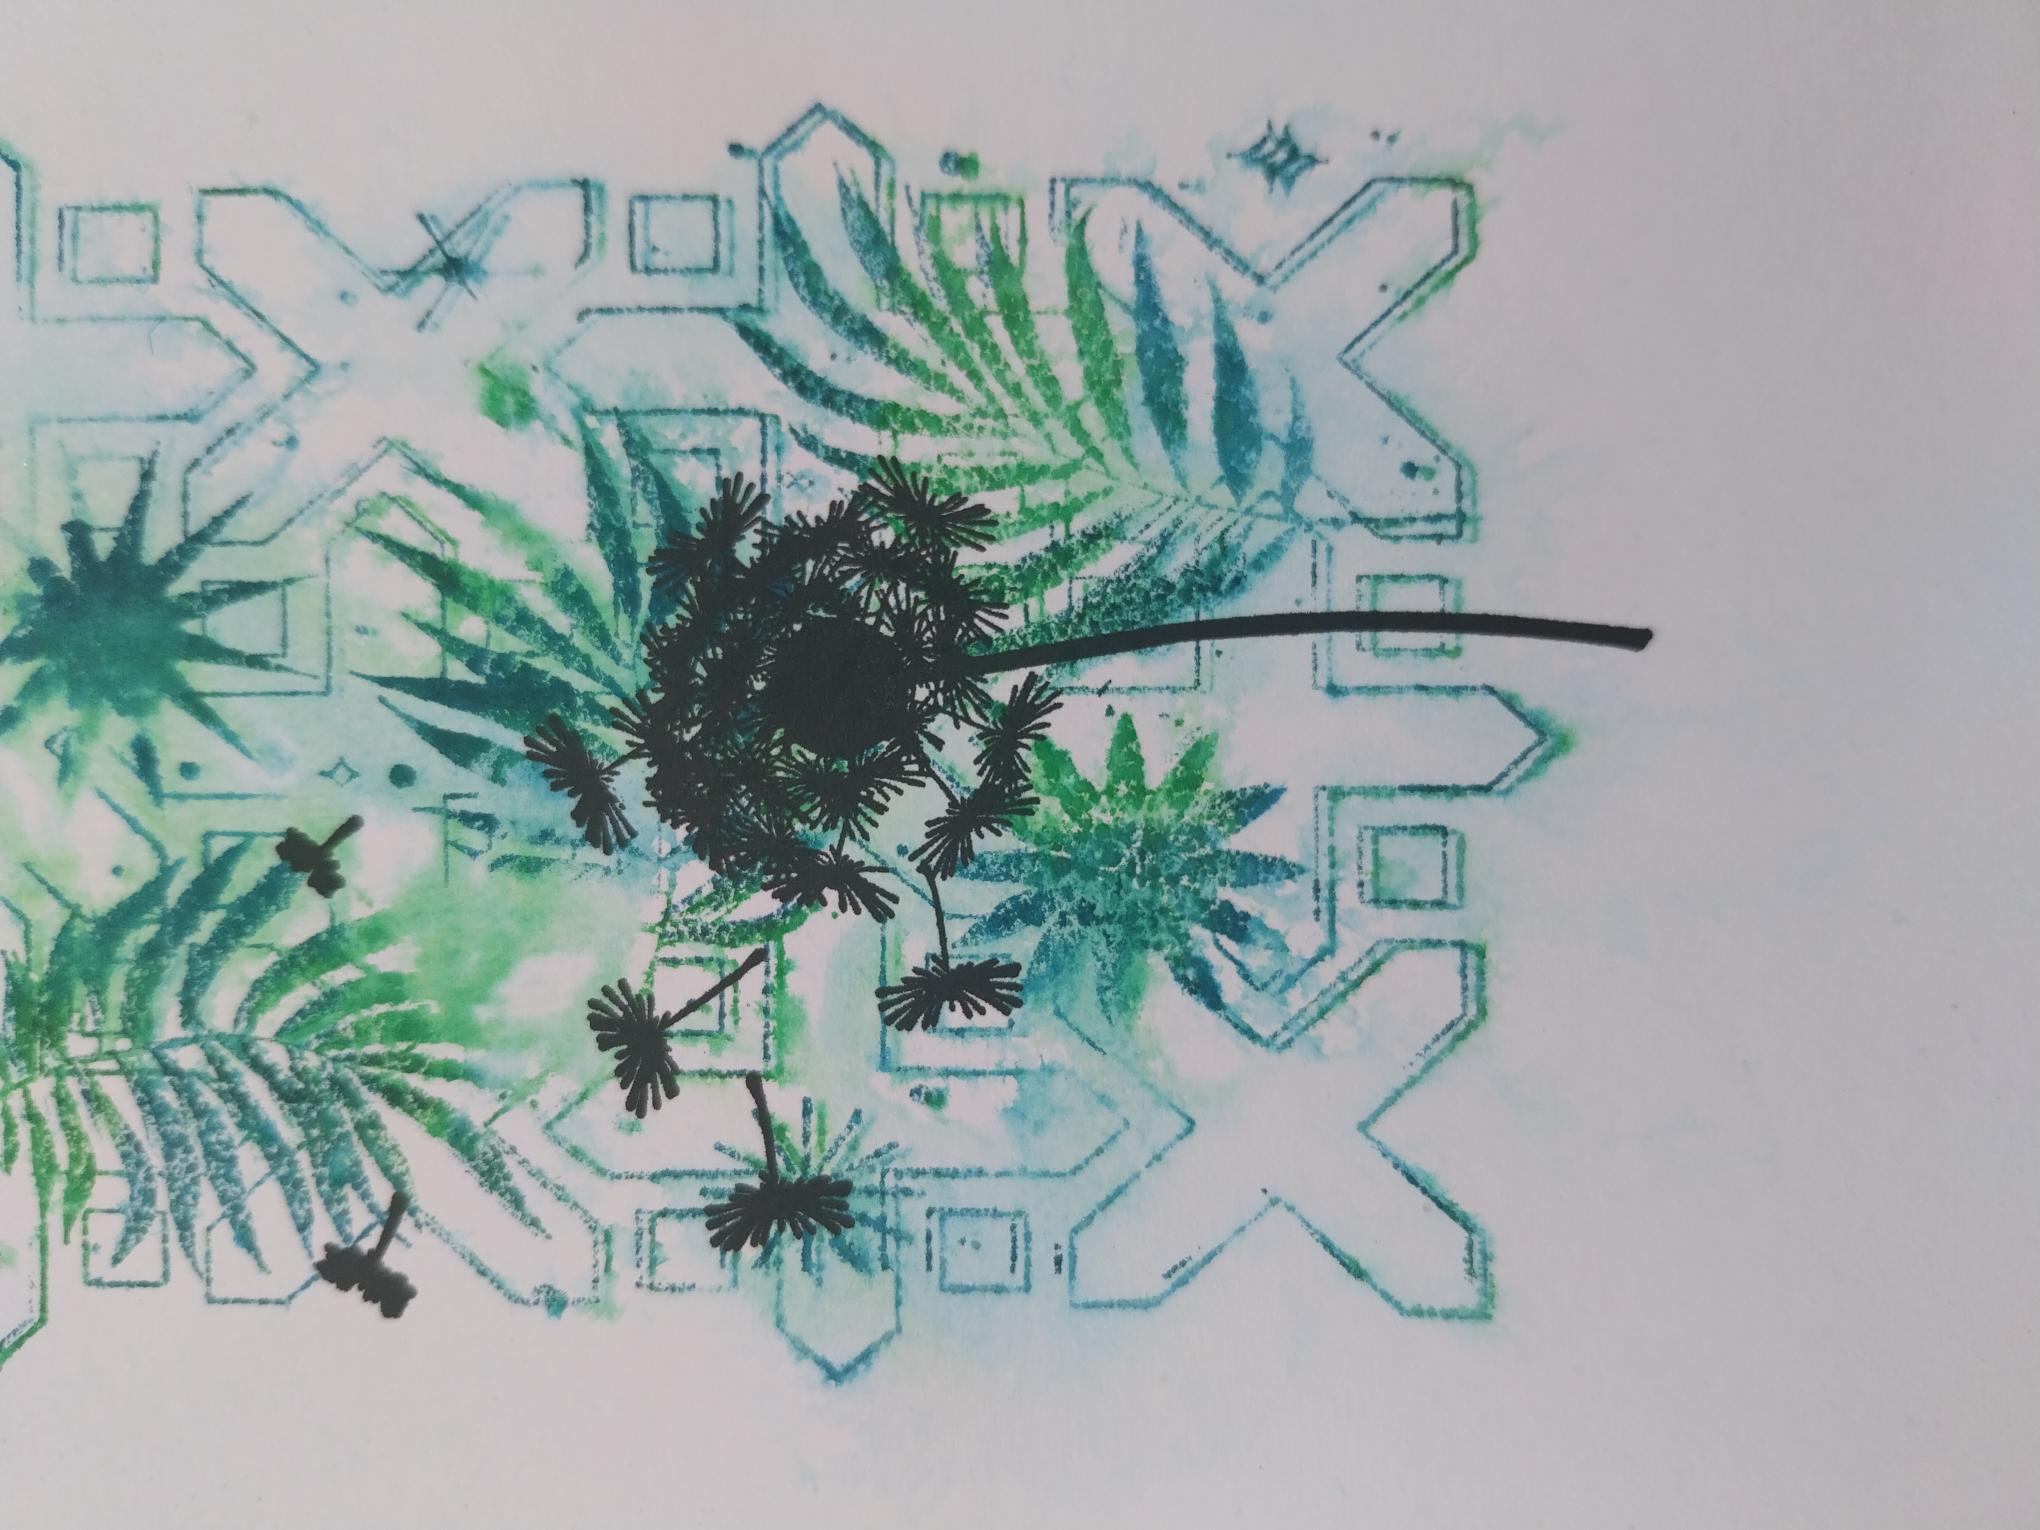
|
Stamp your floral silhouette in Midnight, on to your stamped tile. |
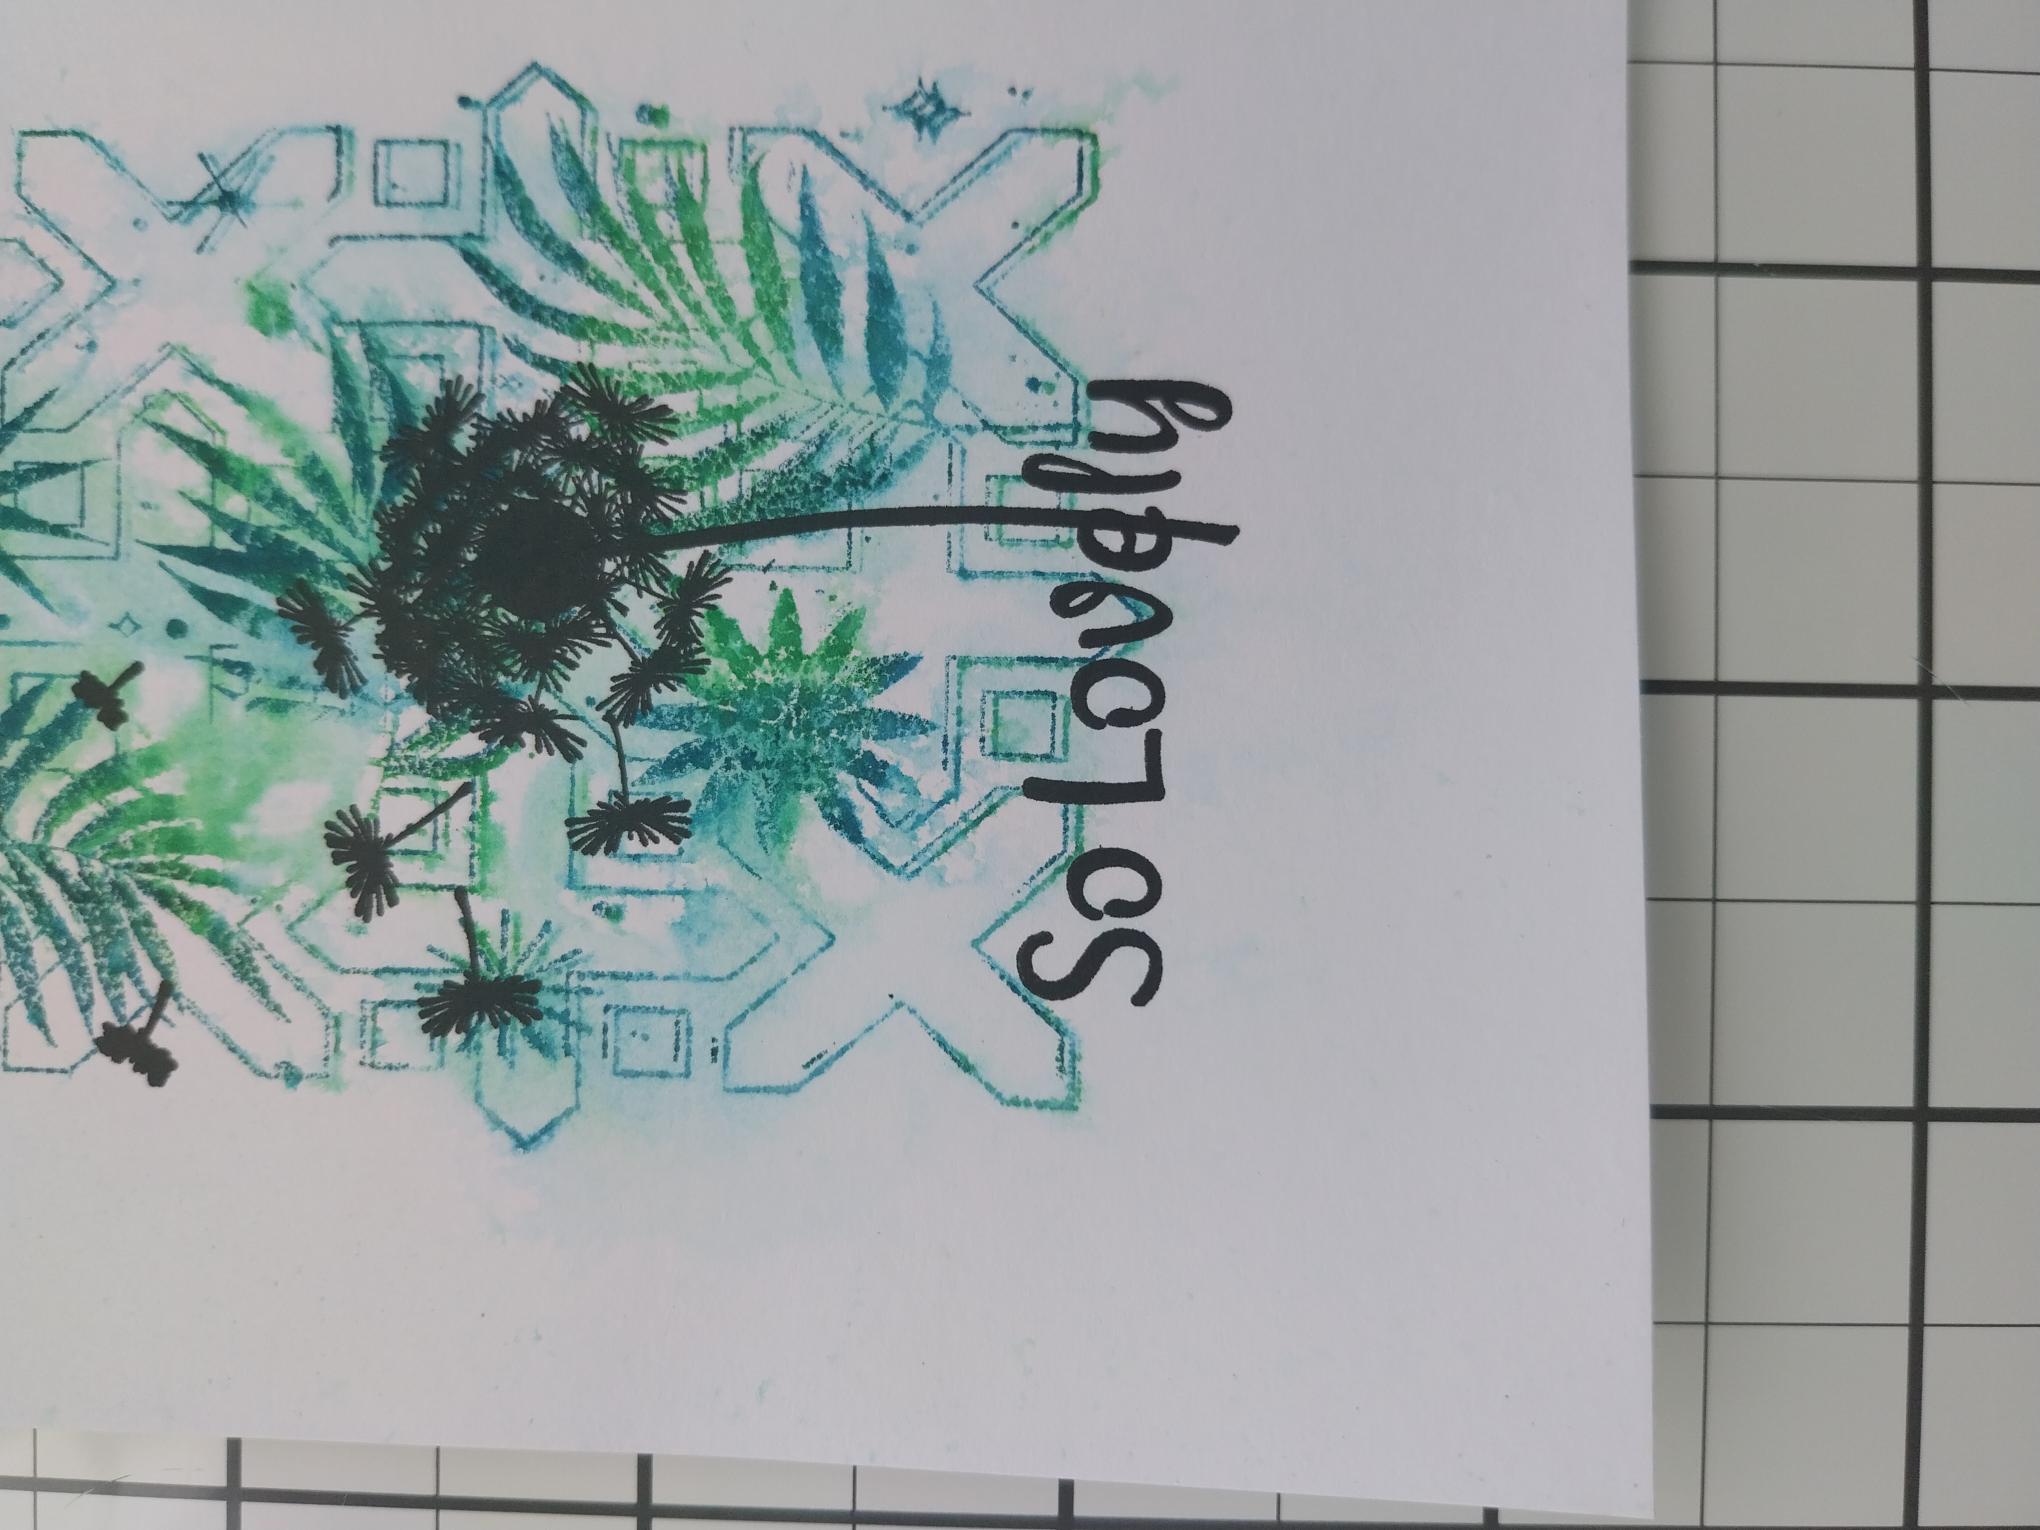
|
Stamp the sentiment across the stem of your stamped flower. |
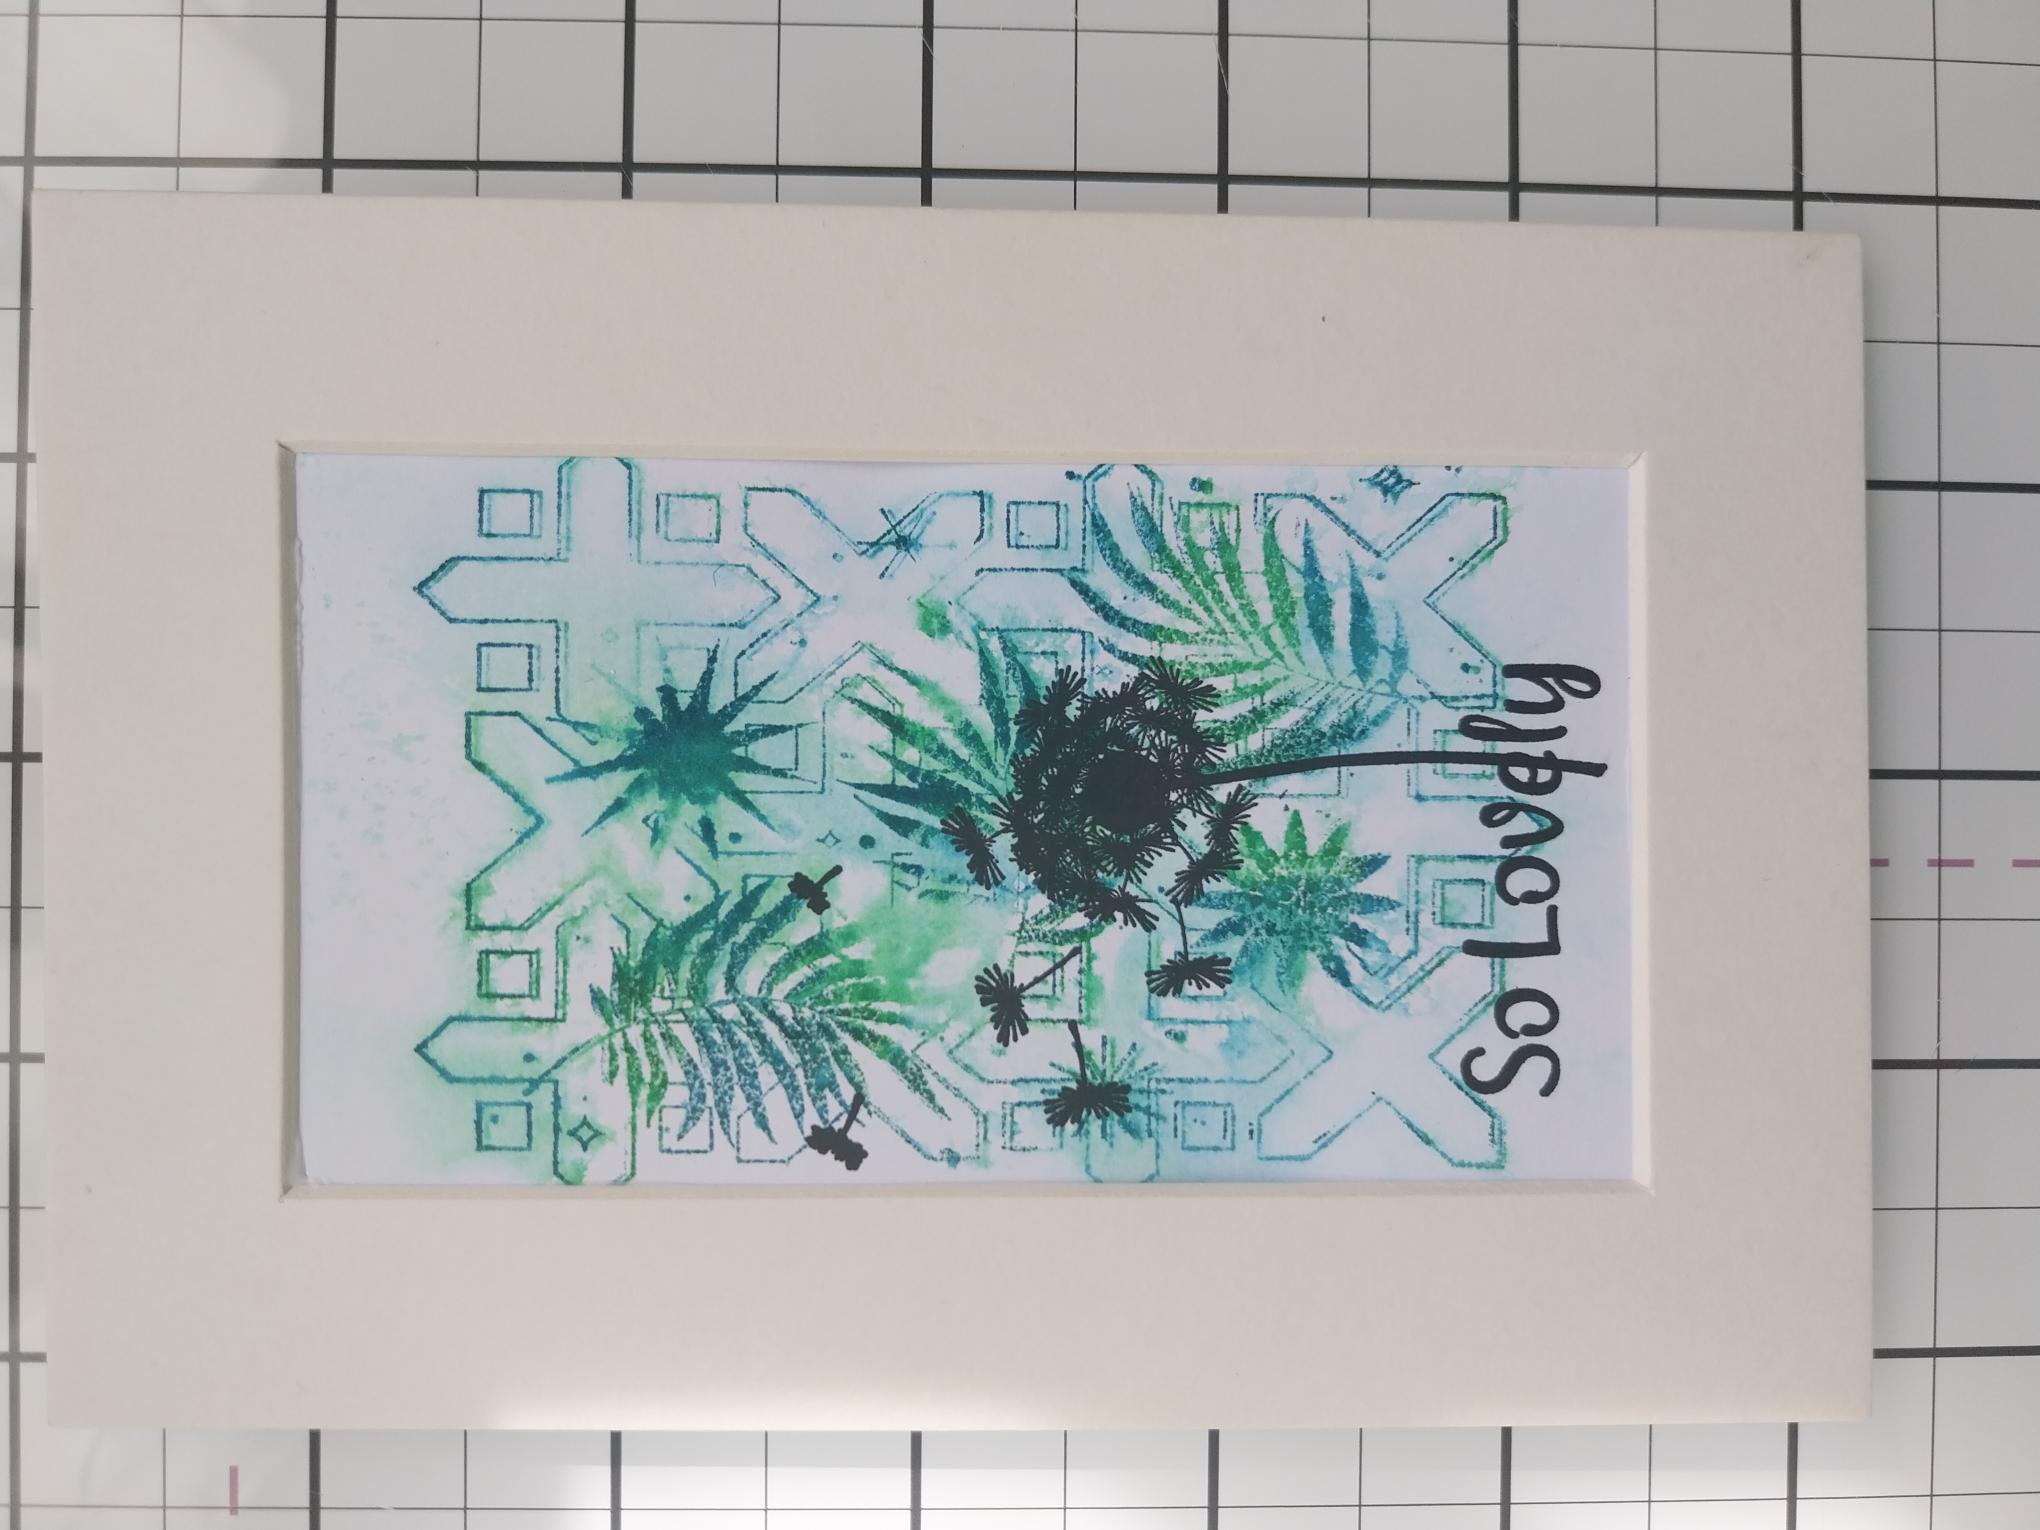
|
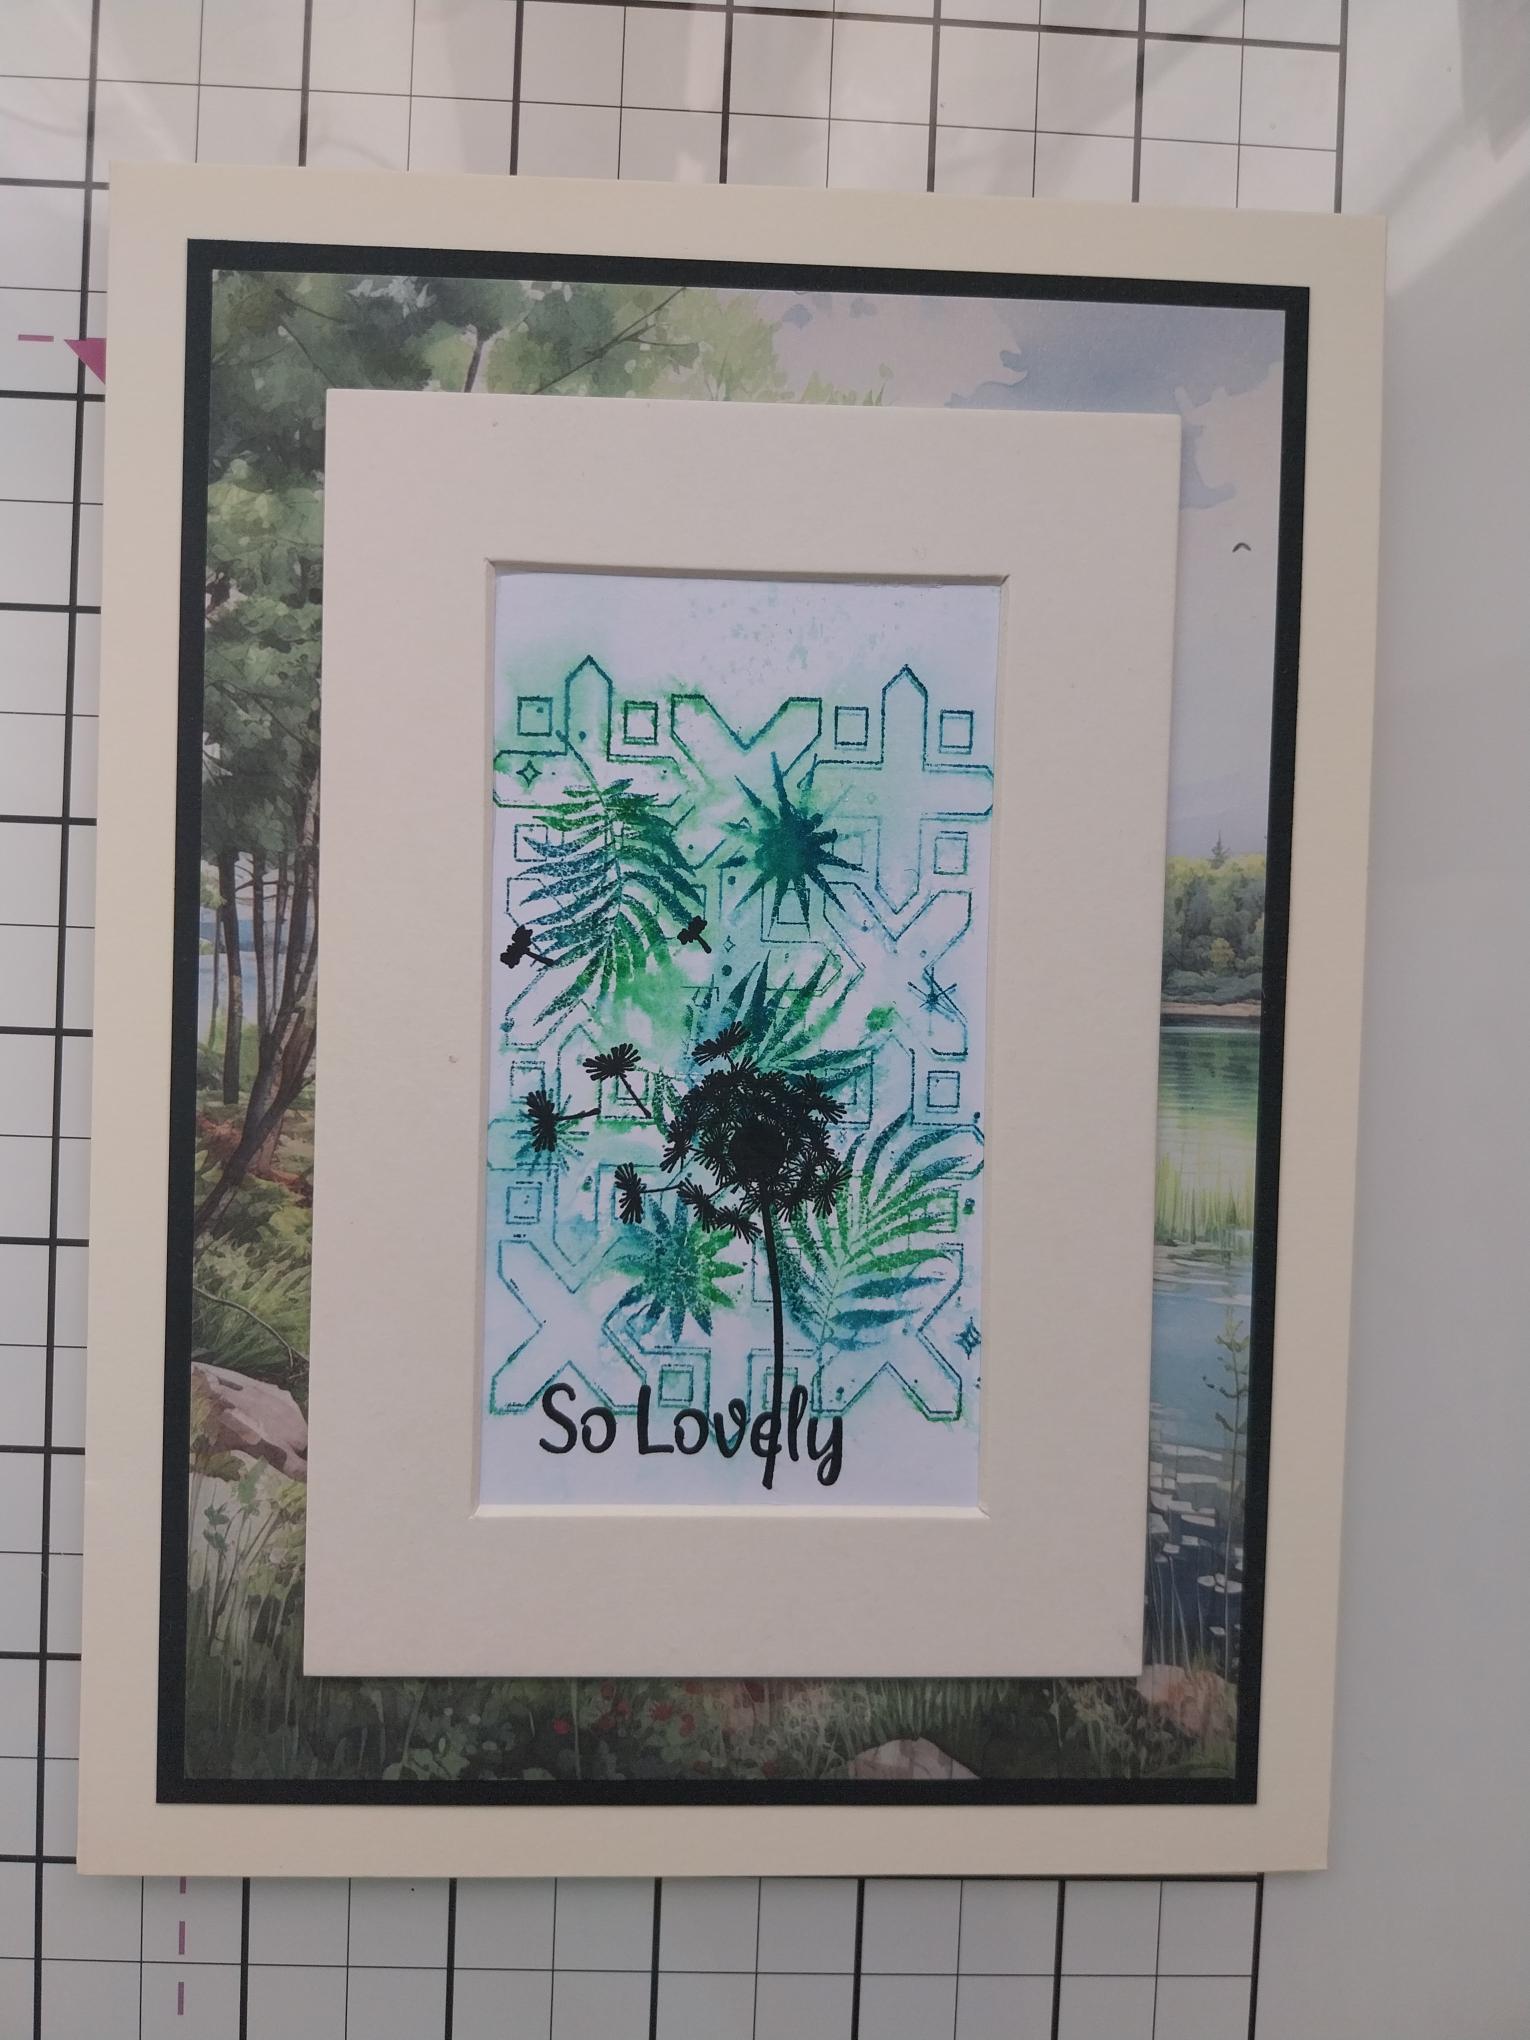
Adhere your framed mount on top of your artwork. |
|
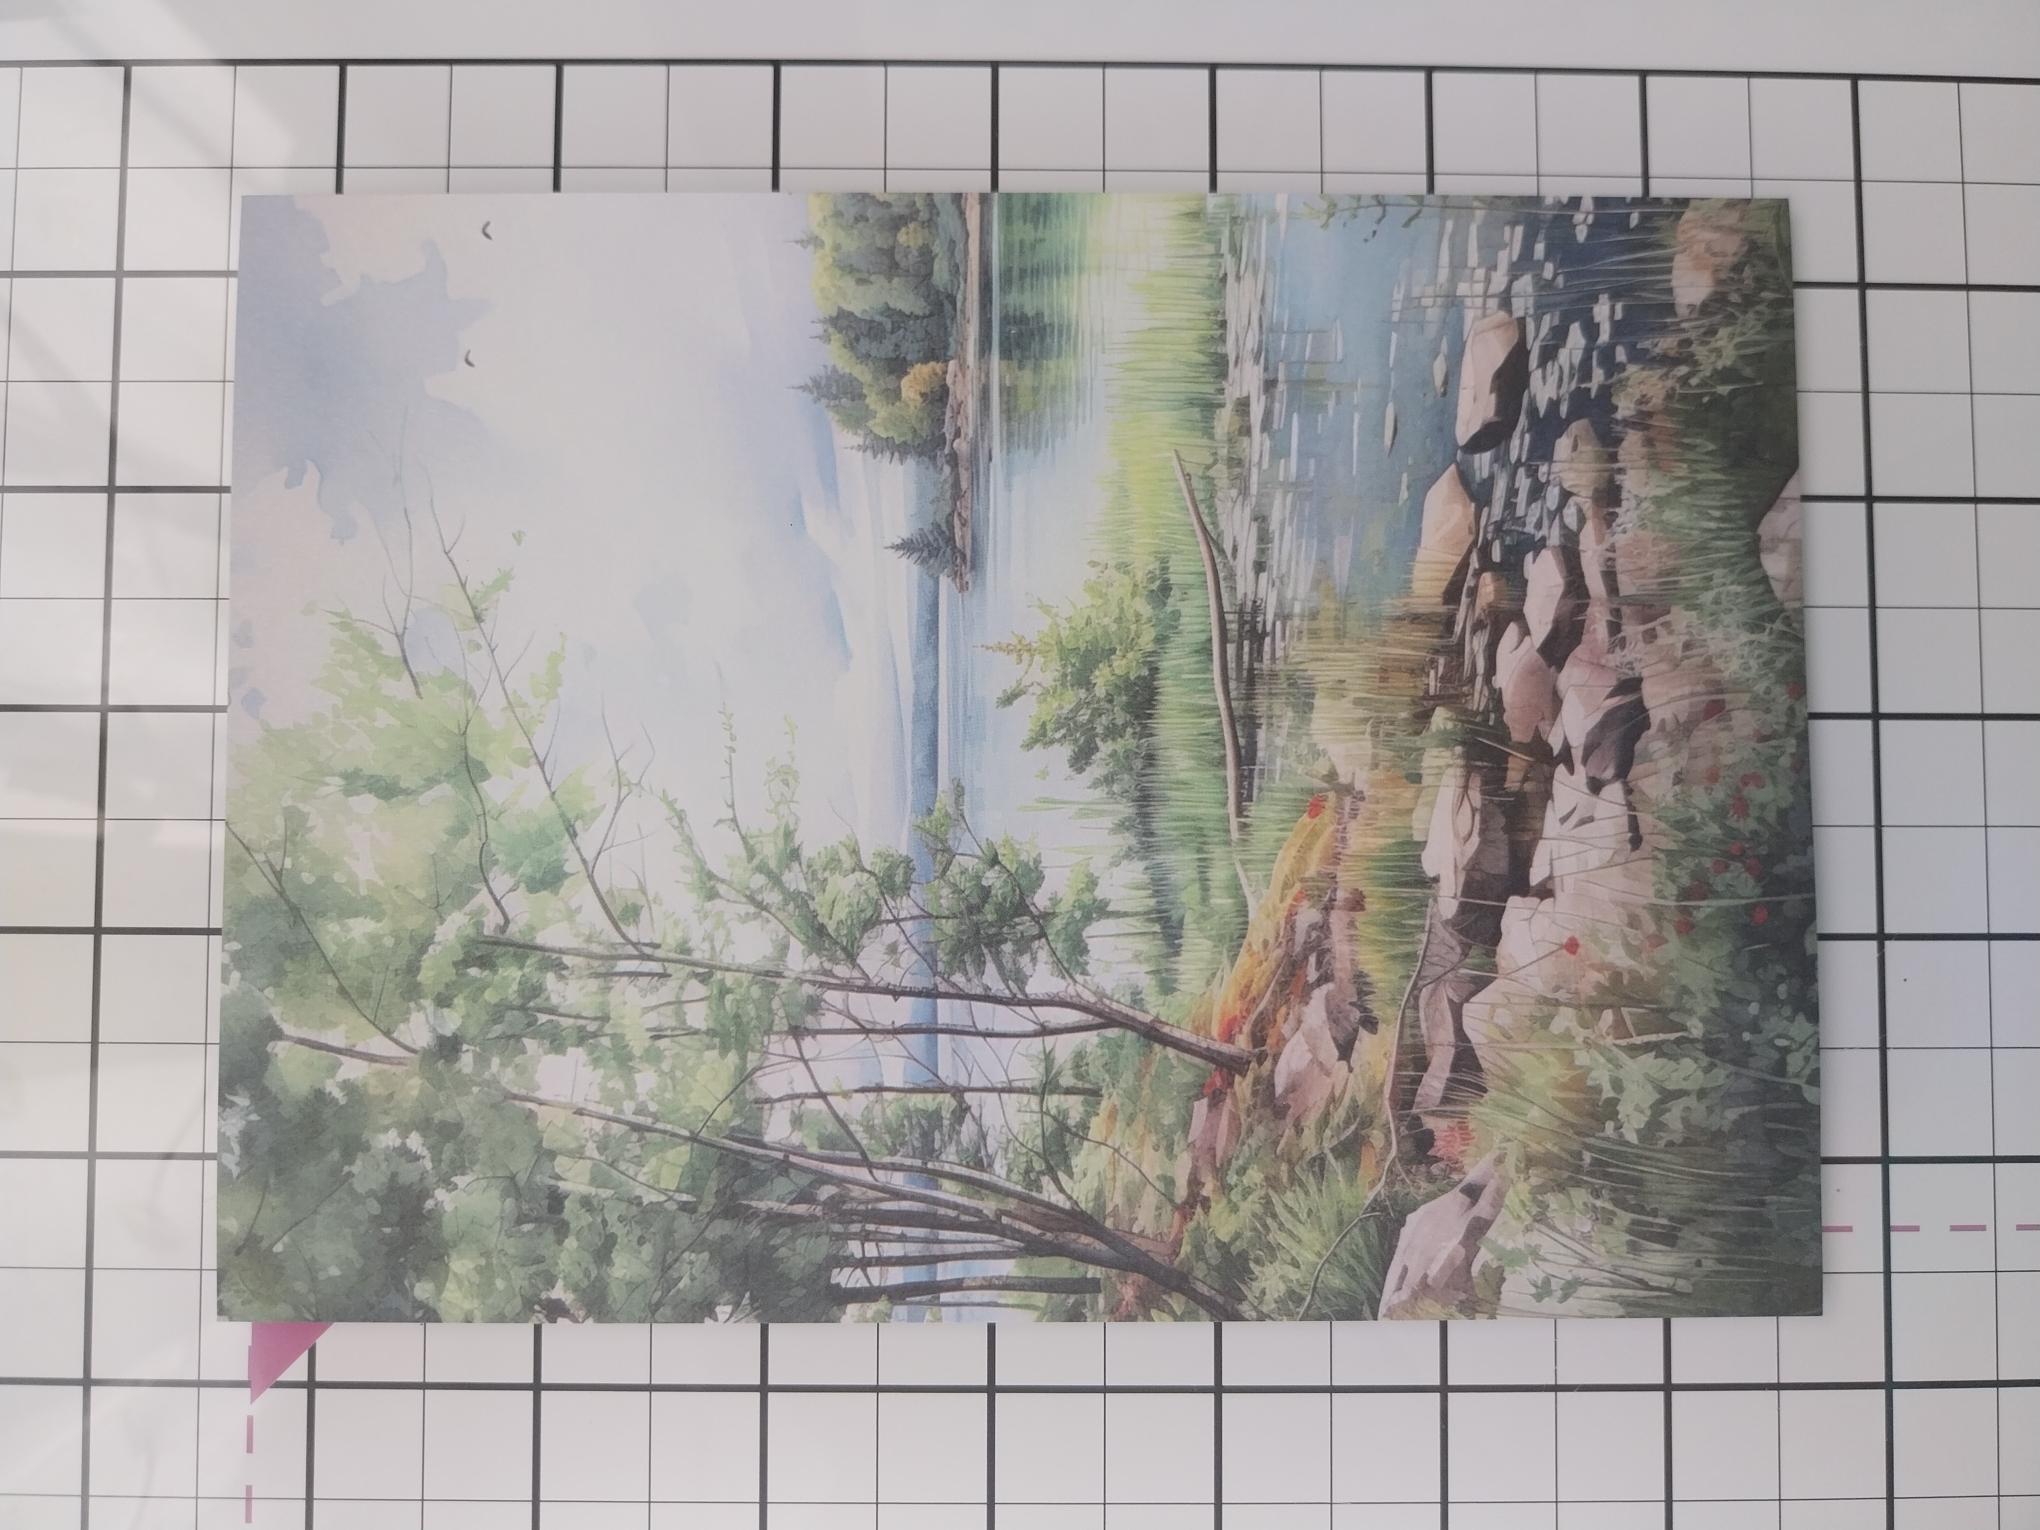
Choose one of the beautiful scenic papers from the Great Outdoors paper pack. |
|
Mat on to black card trimmed to 5 1/4 x 7 1/4" and then onto your cream card blank. Adhere your framed artwork in the centre, to finish. |