

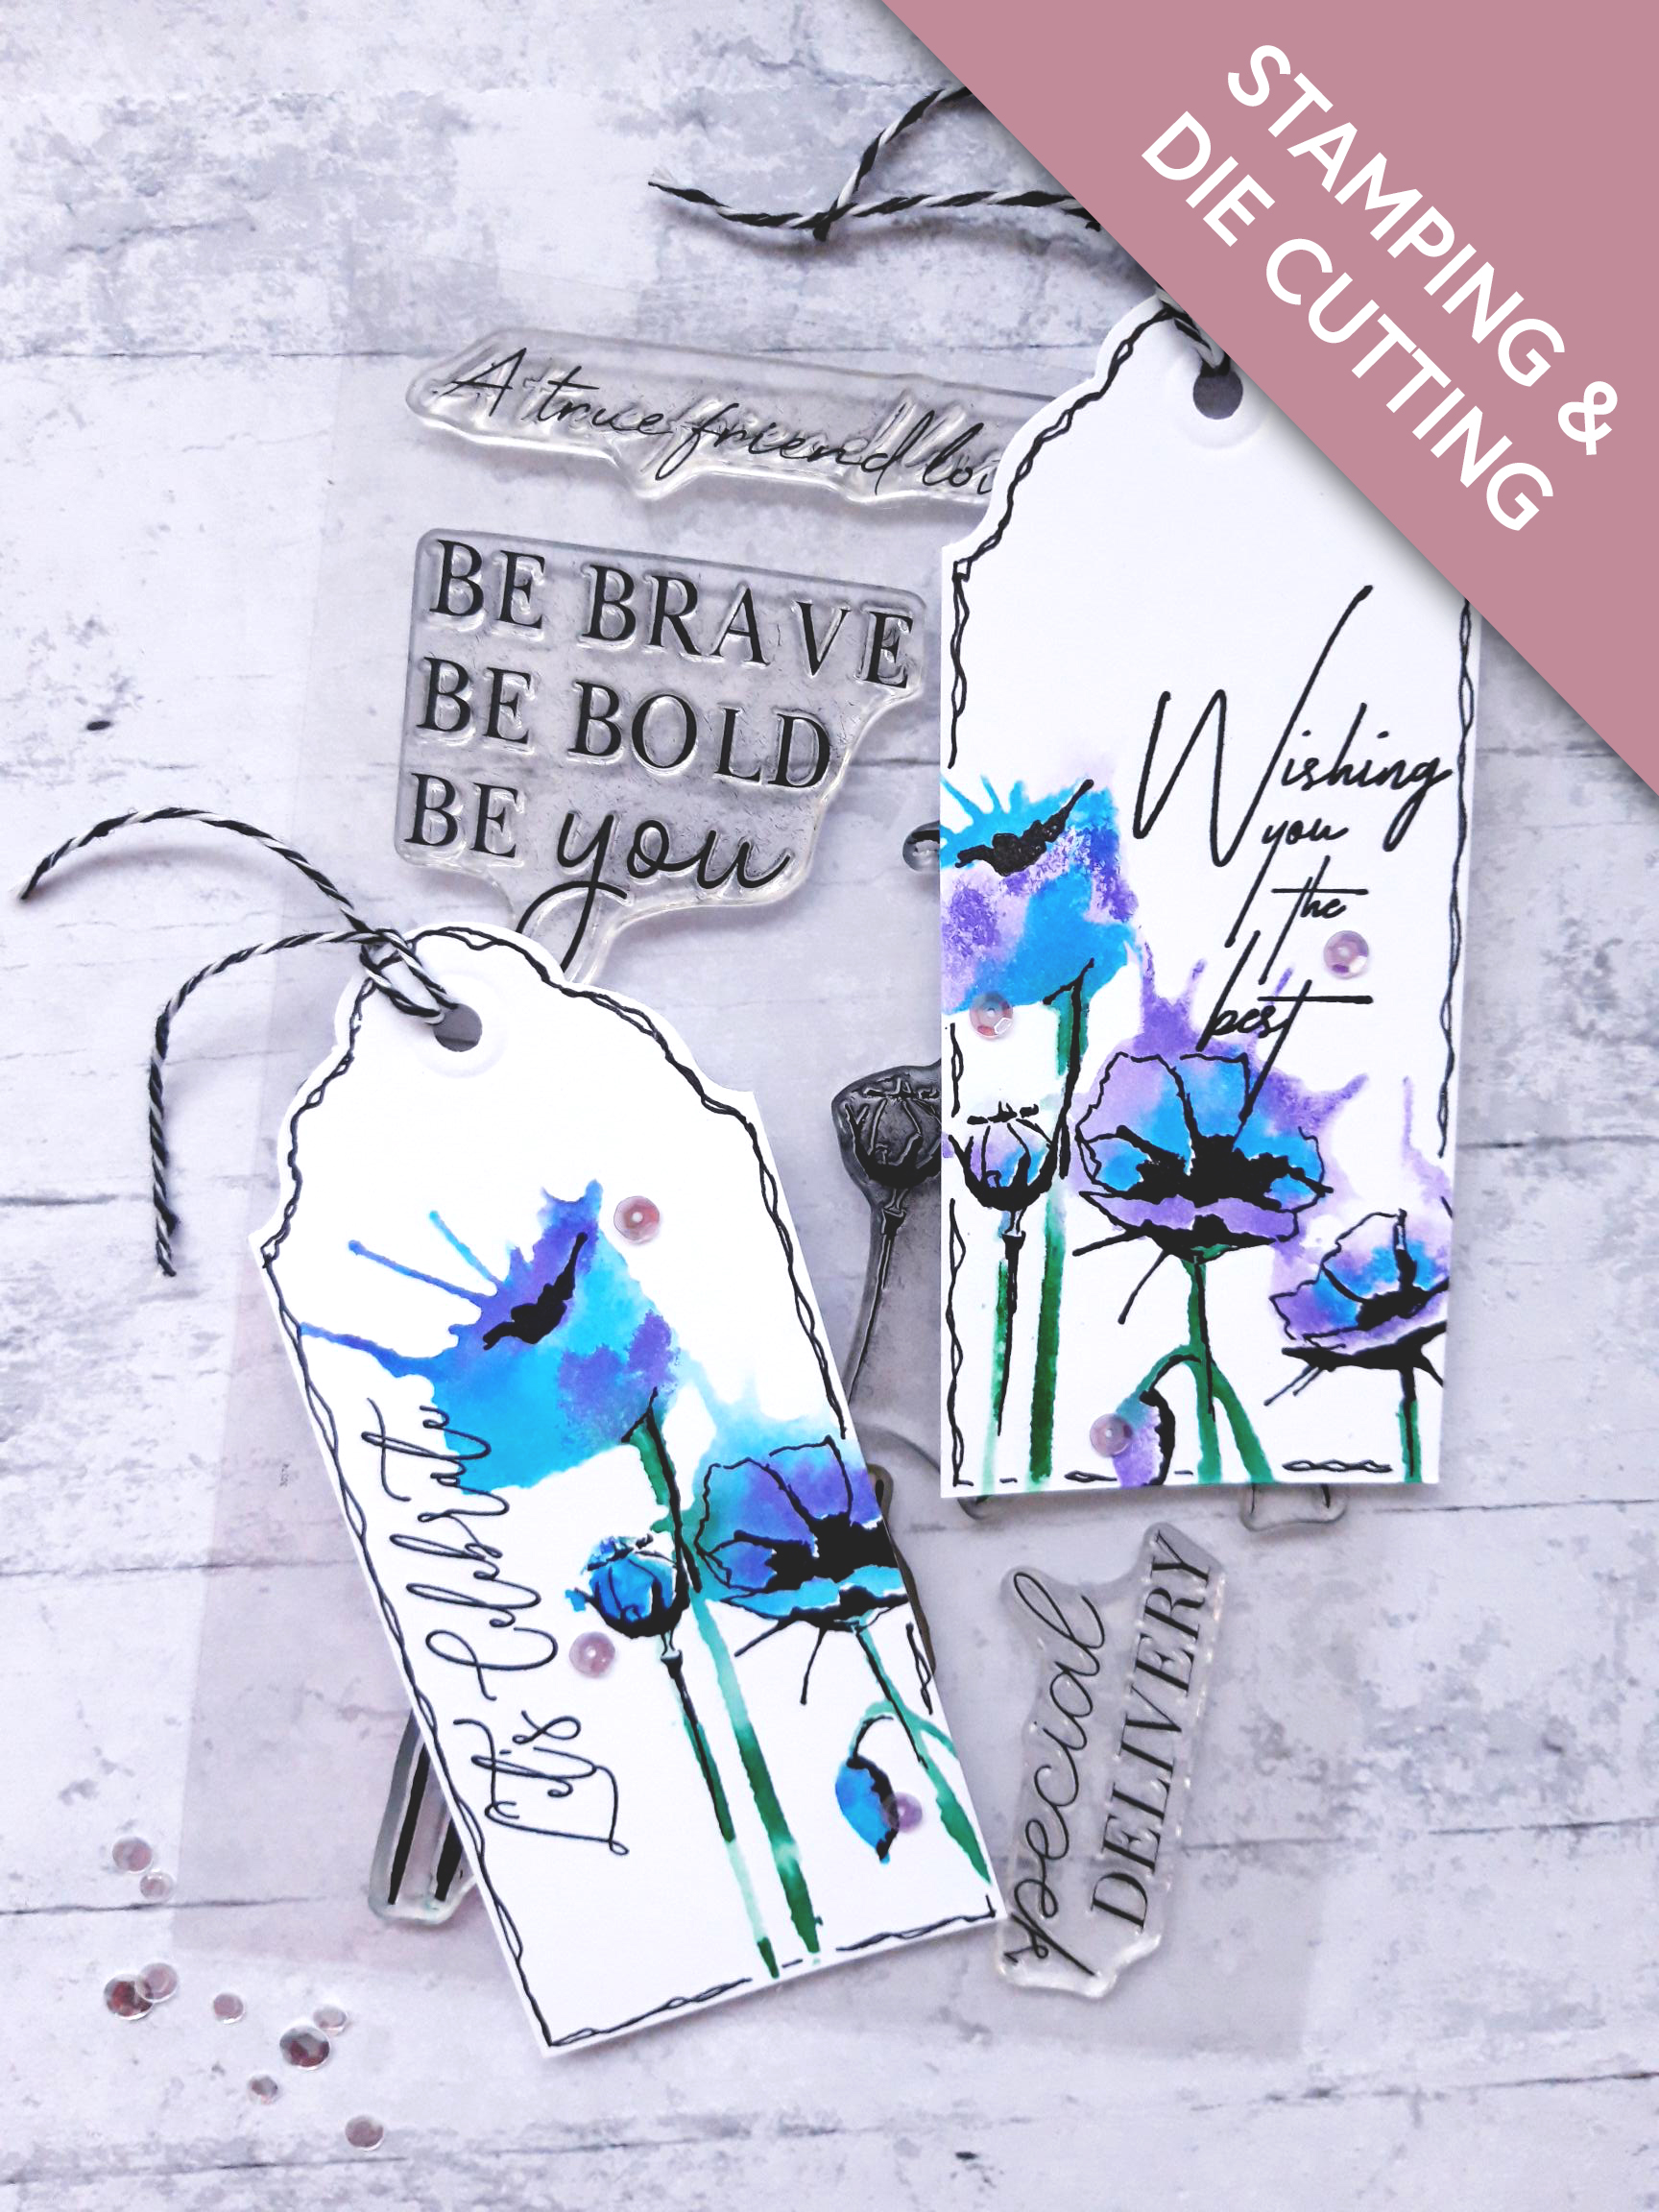
WHAT YOU WILL NEED:
White card - TWO pieces cut to 5 3/4 x 2 1/2"
Stamps from Lamination Special Delivery Stamp Collection
Stamps from Lamination Happiness Is Homemade Stamp Collection
Stamps from Lamination My Sunshine Stamp Collection
Versafine Ink Pad: Onyx Black
Tag Punch
Gossip Glitter Colouring Pens: Aqua, Green, Lake Blue, Purple
Sequins: Amethyst
Heat gun
Spray water bottle
Black pen
Bakers Twine
Eureka 101
Paper Trimmer
Perfect Together Glue
[click image to enlarge] 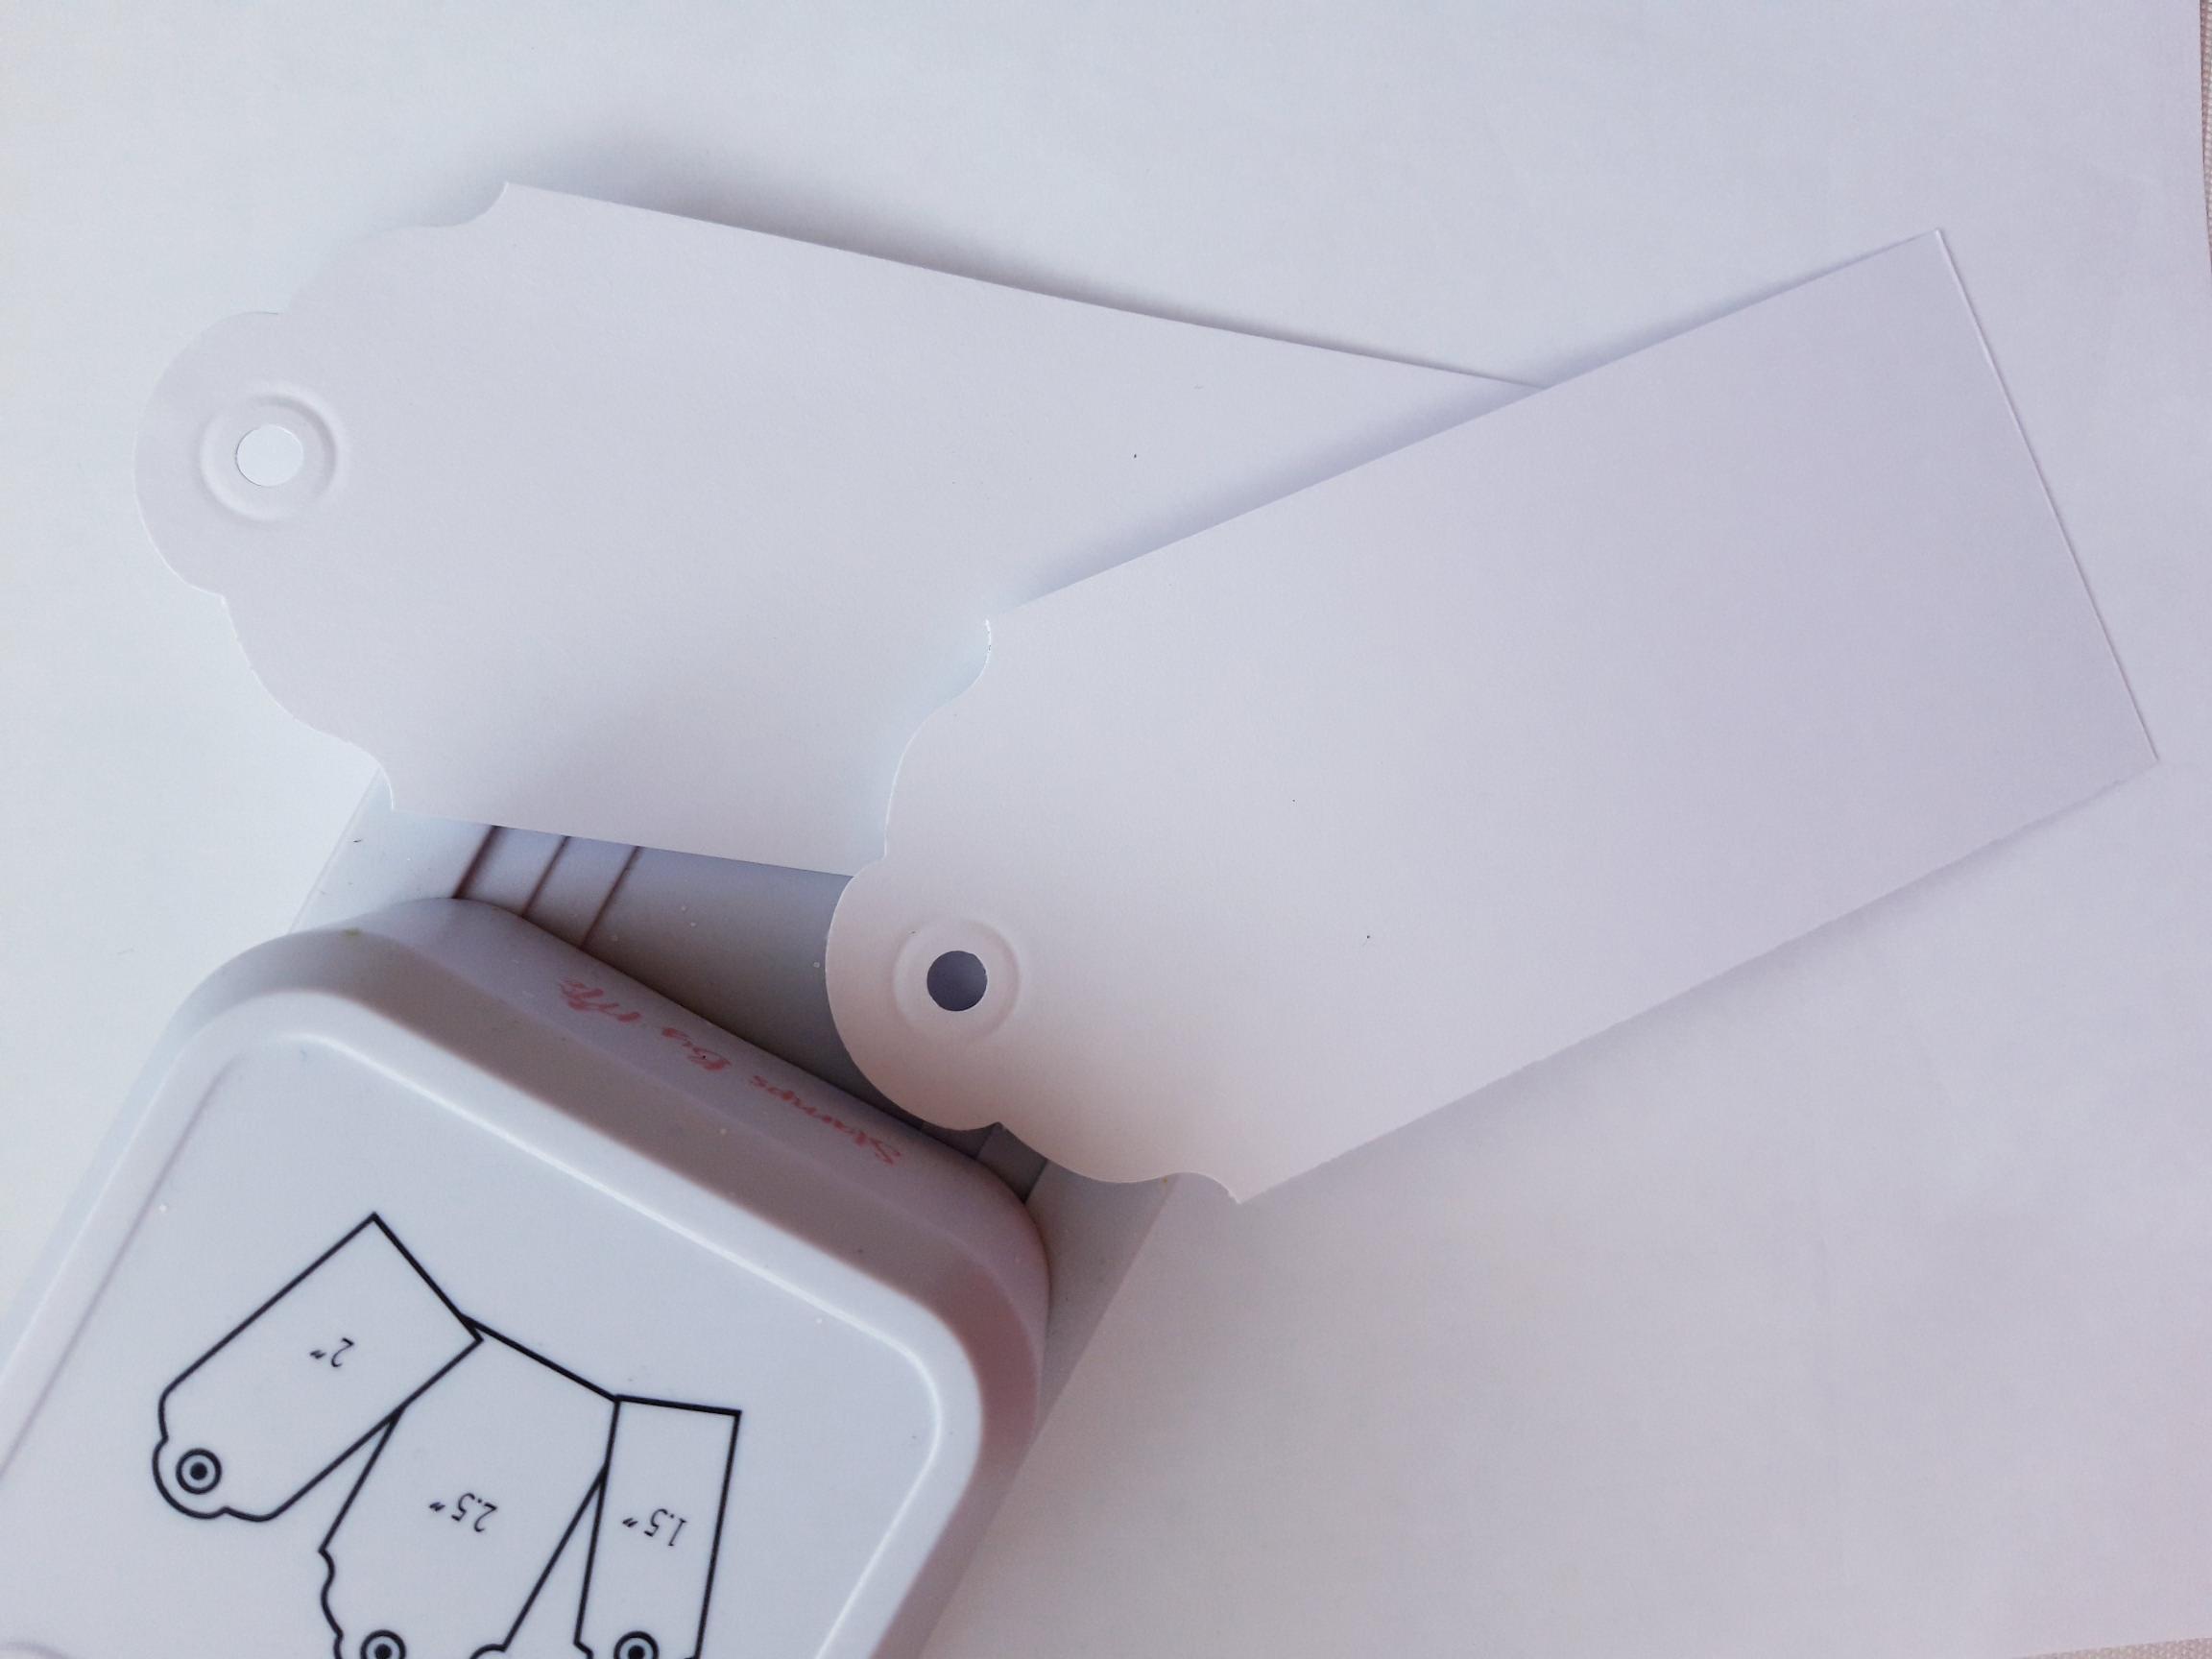
|
Use the tag punch on one end, of each of the white pieces of cardstock. |
|
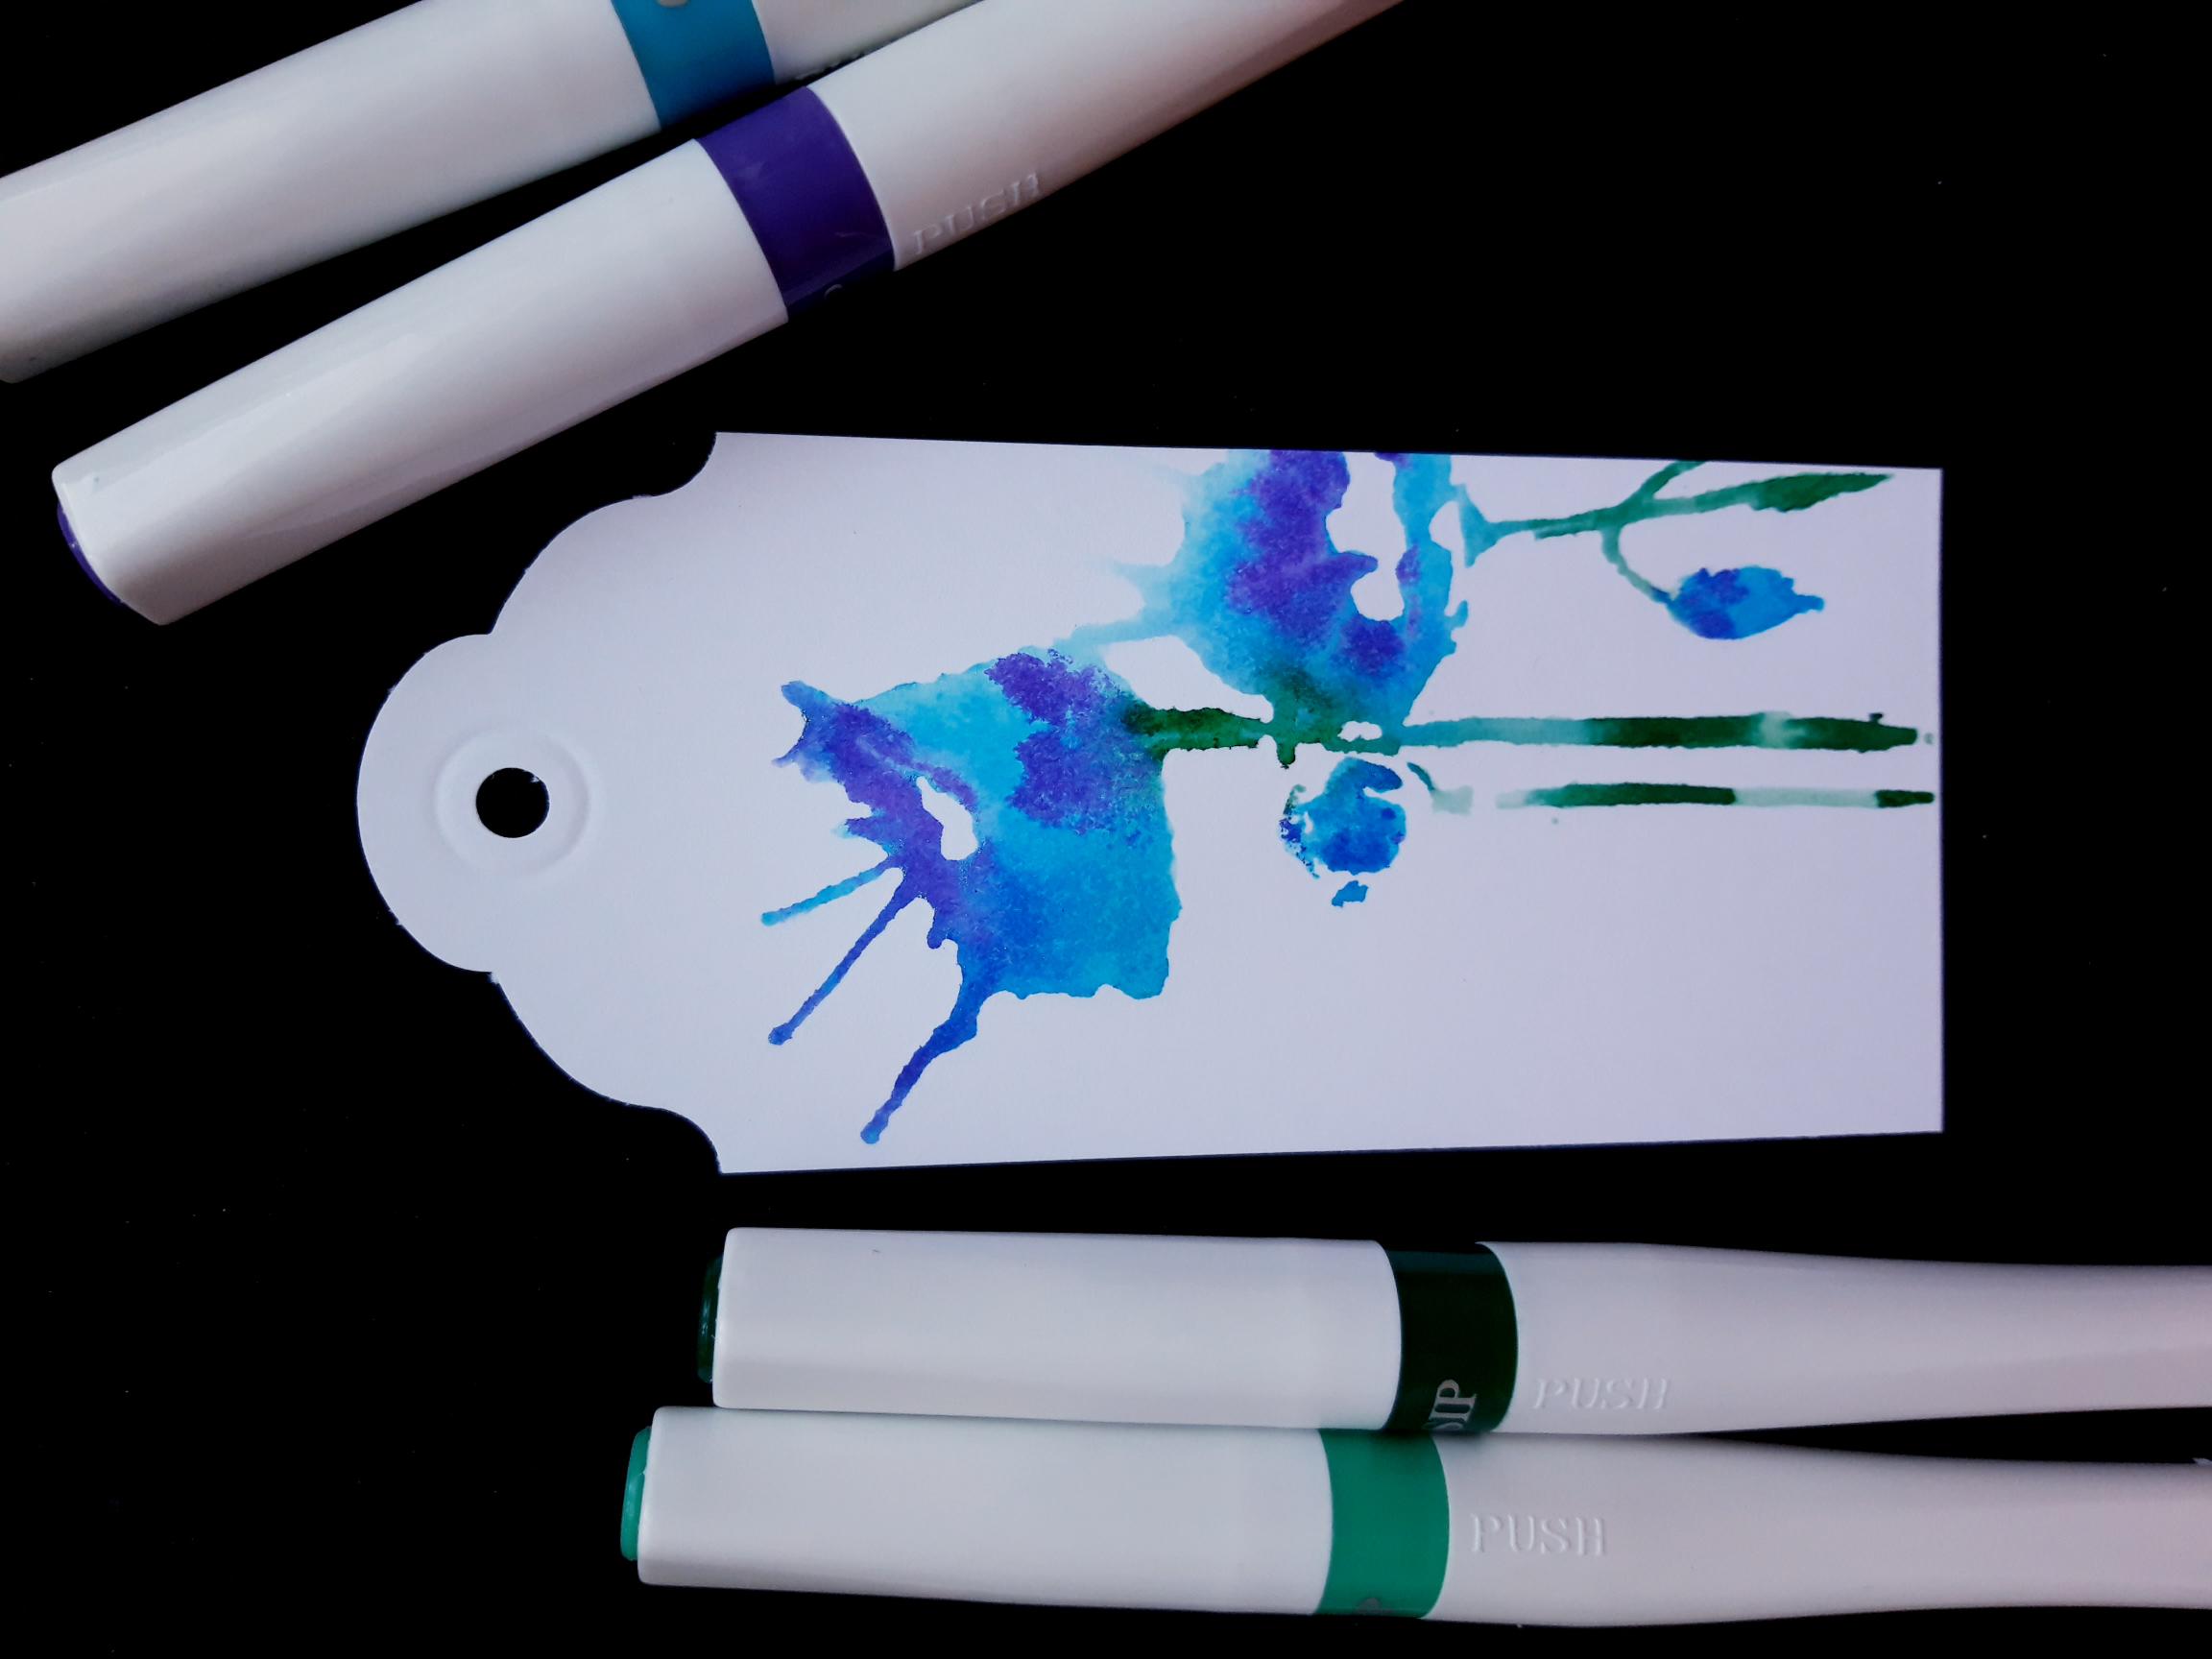
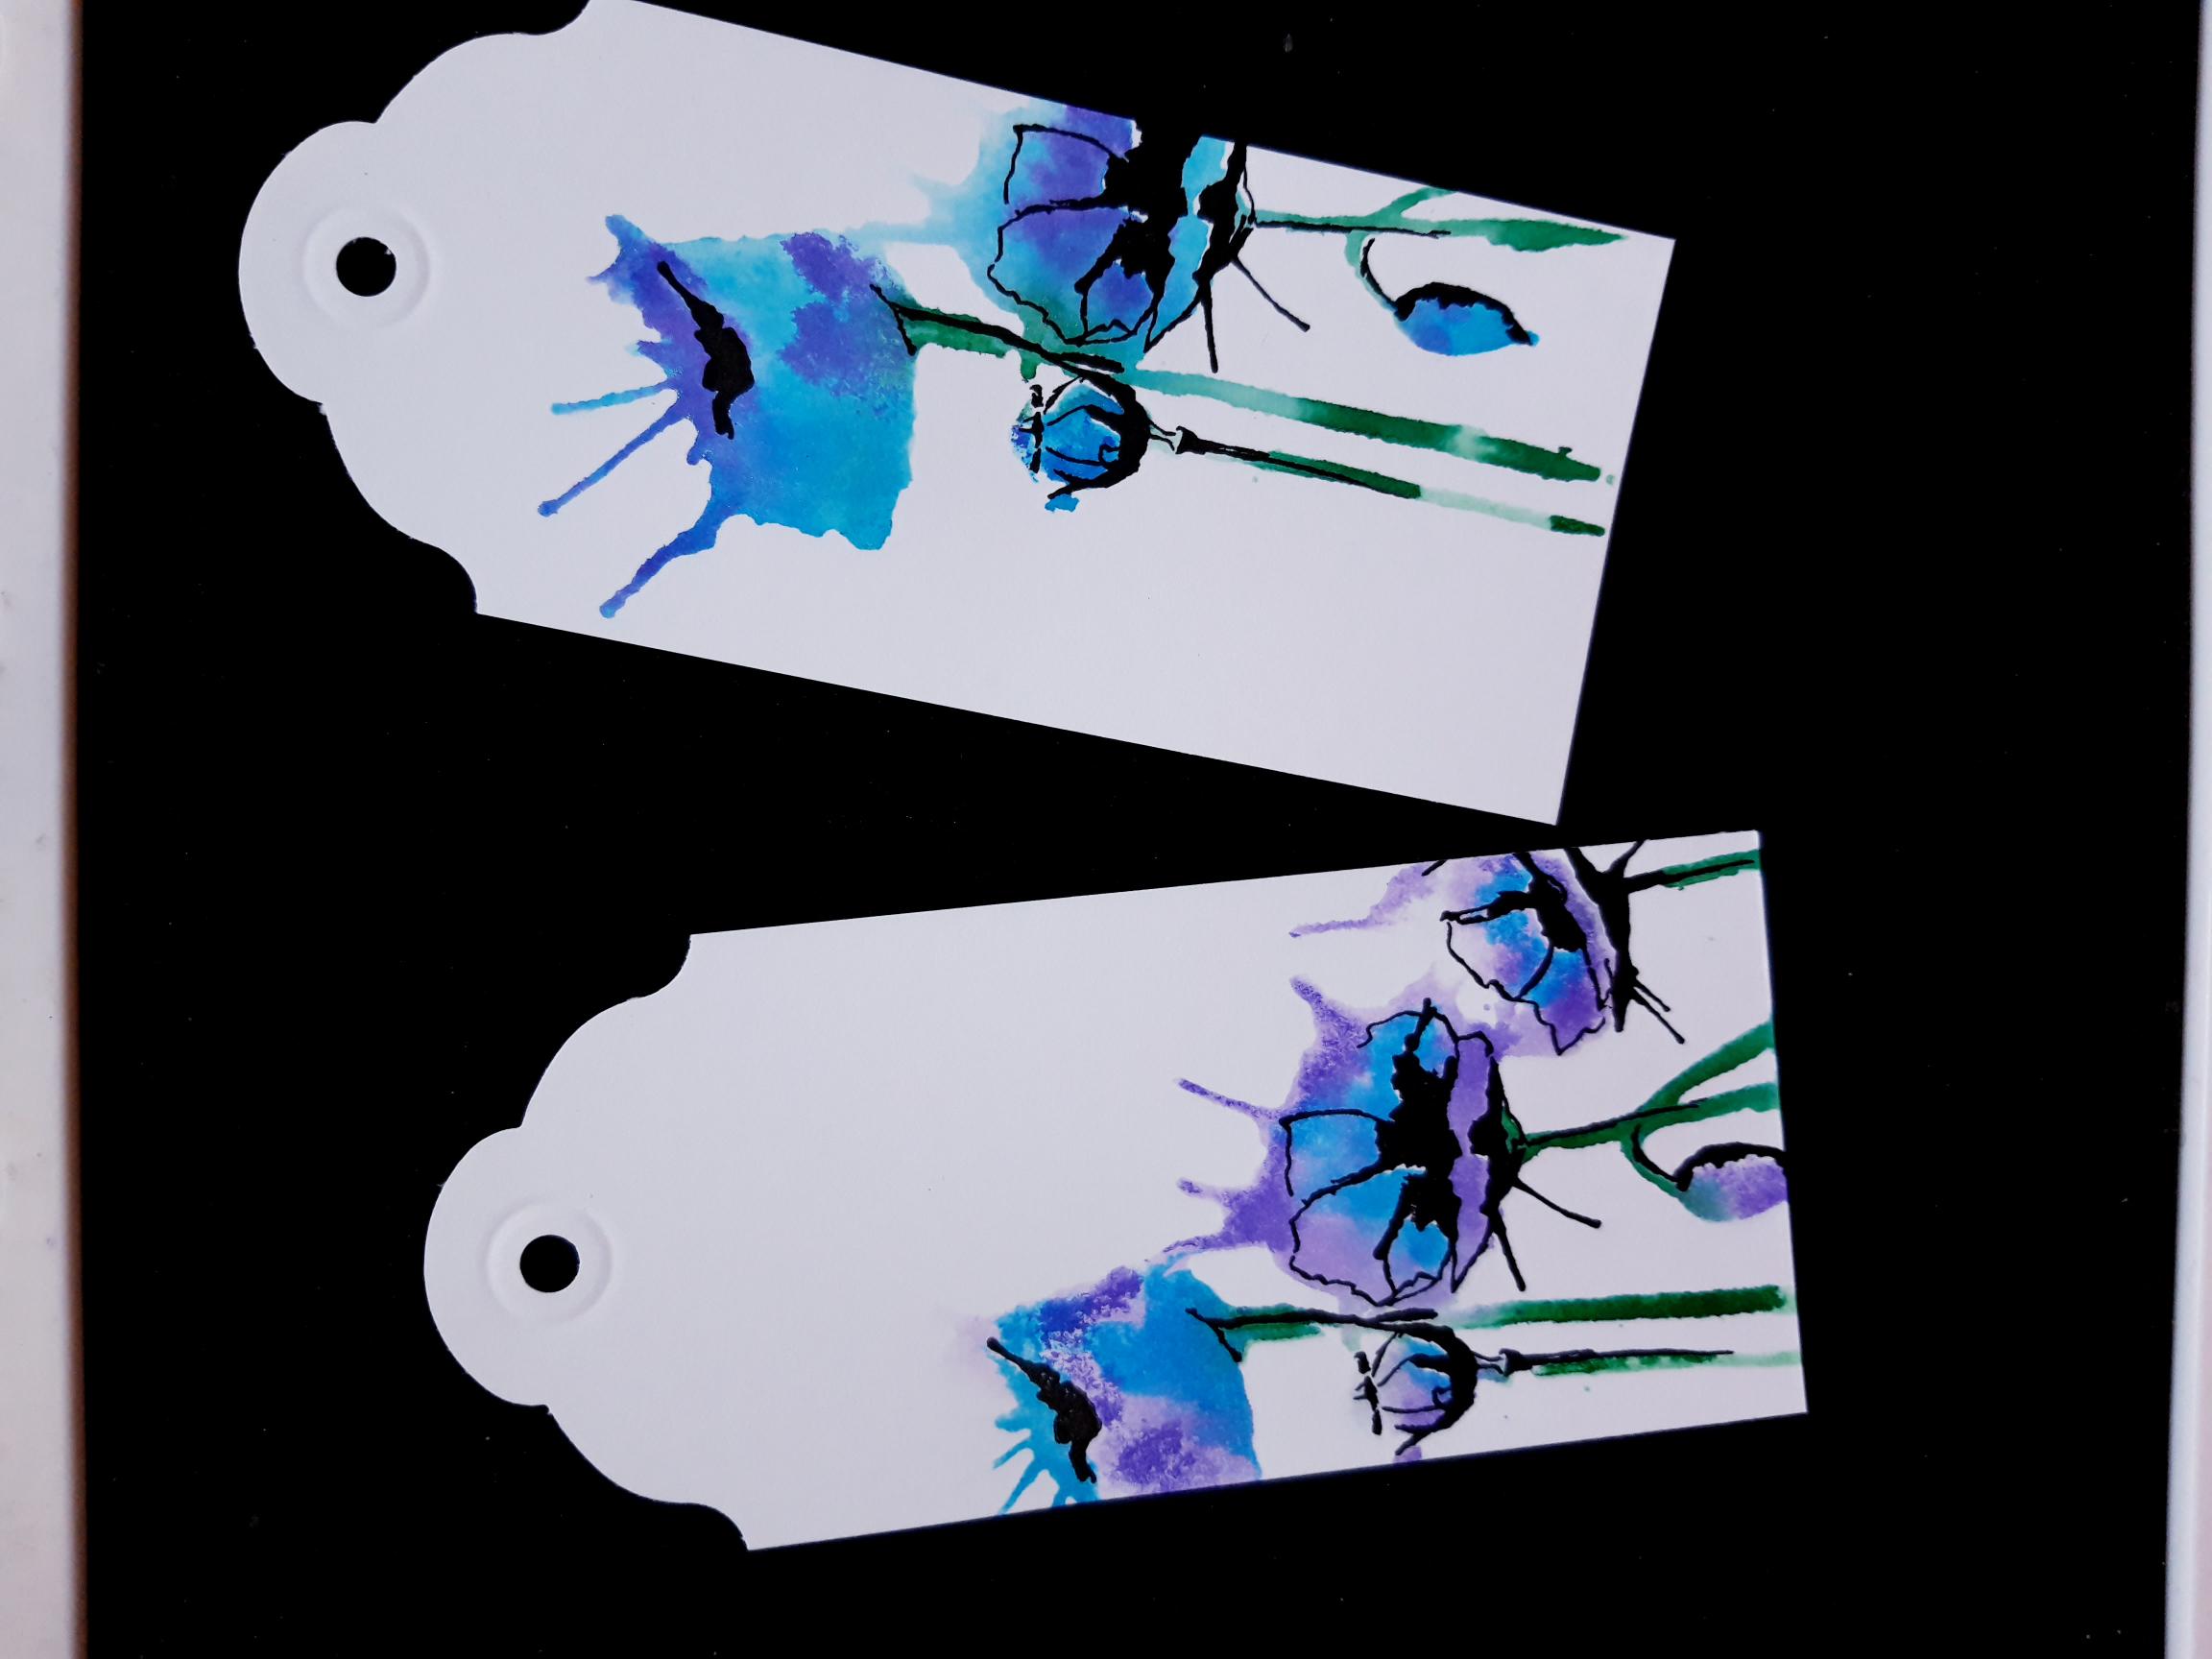
Ink up the solid stamp, from the Special Delivery Lamination Stamp Collection, with all the Gossip Glitter pens (You can apply, and stamp each colour separately, or apply all colours together, allowing them to bleed in to each other). Spritz the stamp with a little water, and stamp on to one of the tags. You can reapply the pens, spritz and stamp, until you are happy with the effect. Set to one side to dry. |
|
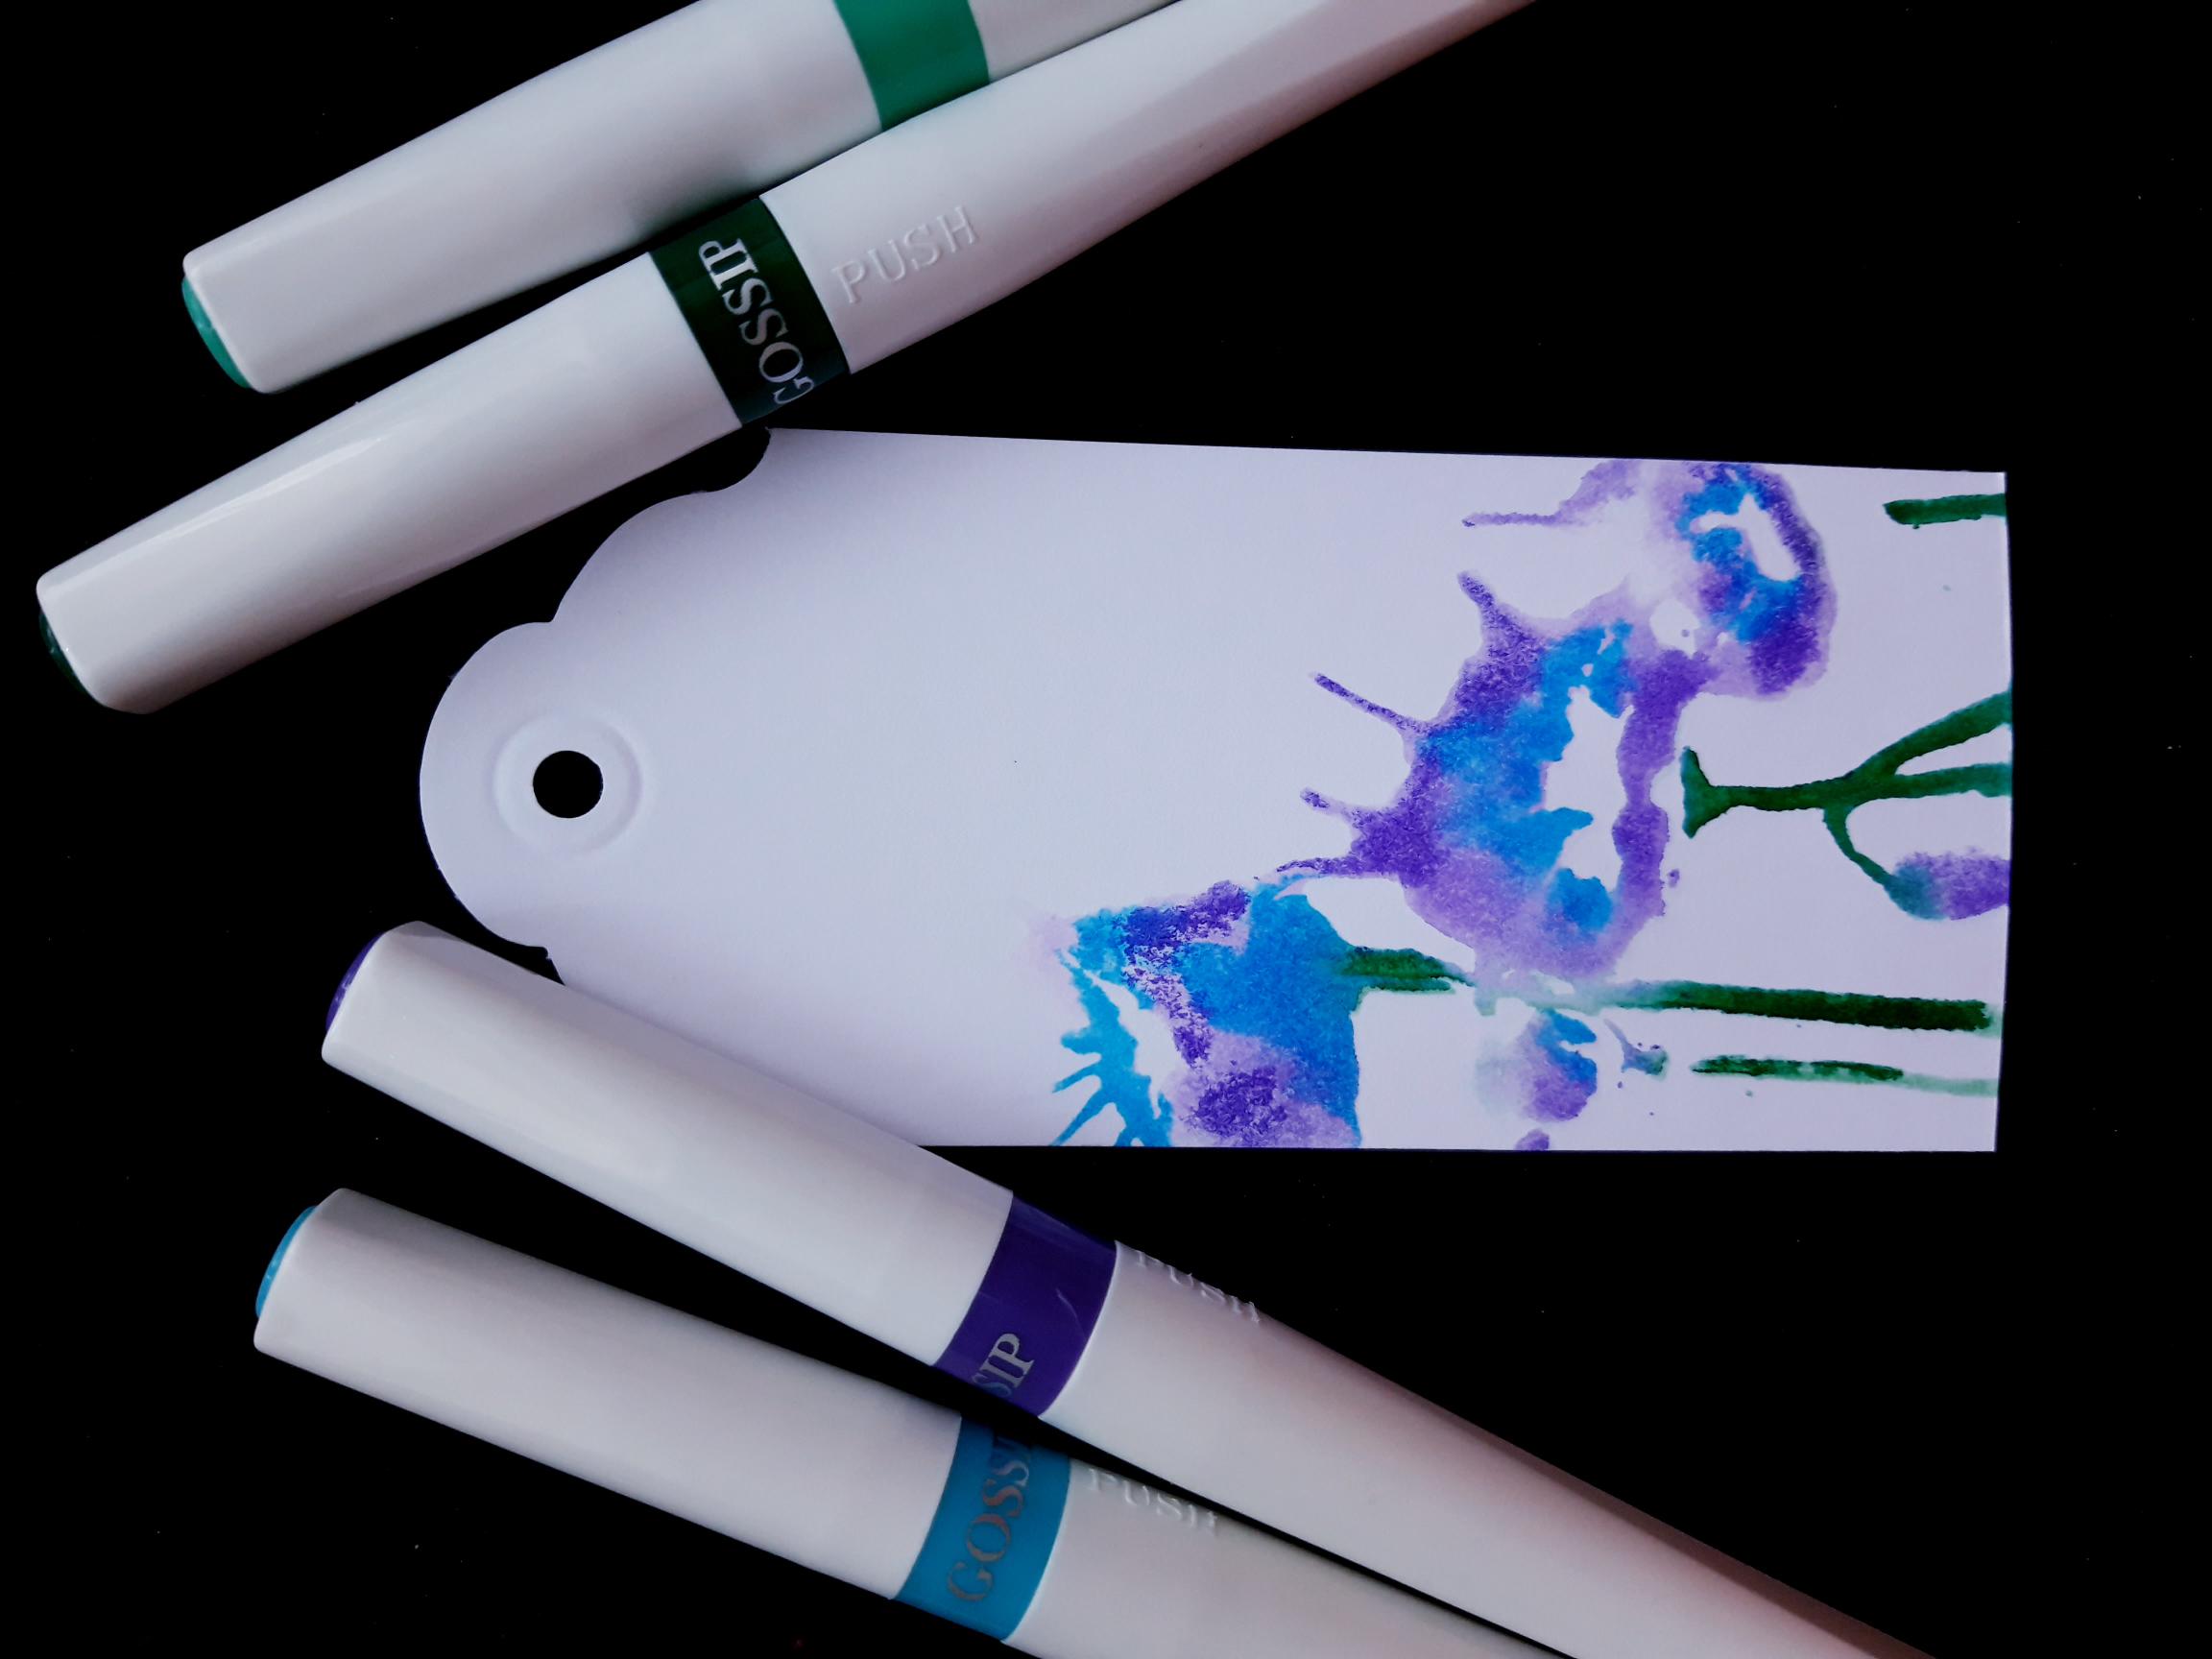
Ink up the same stamps, with the same pens. Spritz the stamp with water, and stamp in a different layout, on to the second tag. Again, you can reapply the pens and stamp back over the image, until you achieve the desired effect. Allow image to dry naturally, or speed up with a heat gun. |
|
Ink up the coordinating, detailed stamp, with the Onyx Black Versafine. Line up and stamp over one of the stamped images. Ink it up again, and stamp over the second image. If you are unsure how to line up your detailed stamp, use the images on the packaging as a guide. Alternatively, stamp the 2 layers on a piece of copier paper first, to see how they fit together. |
|
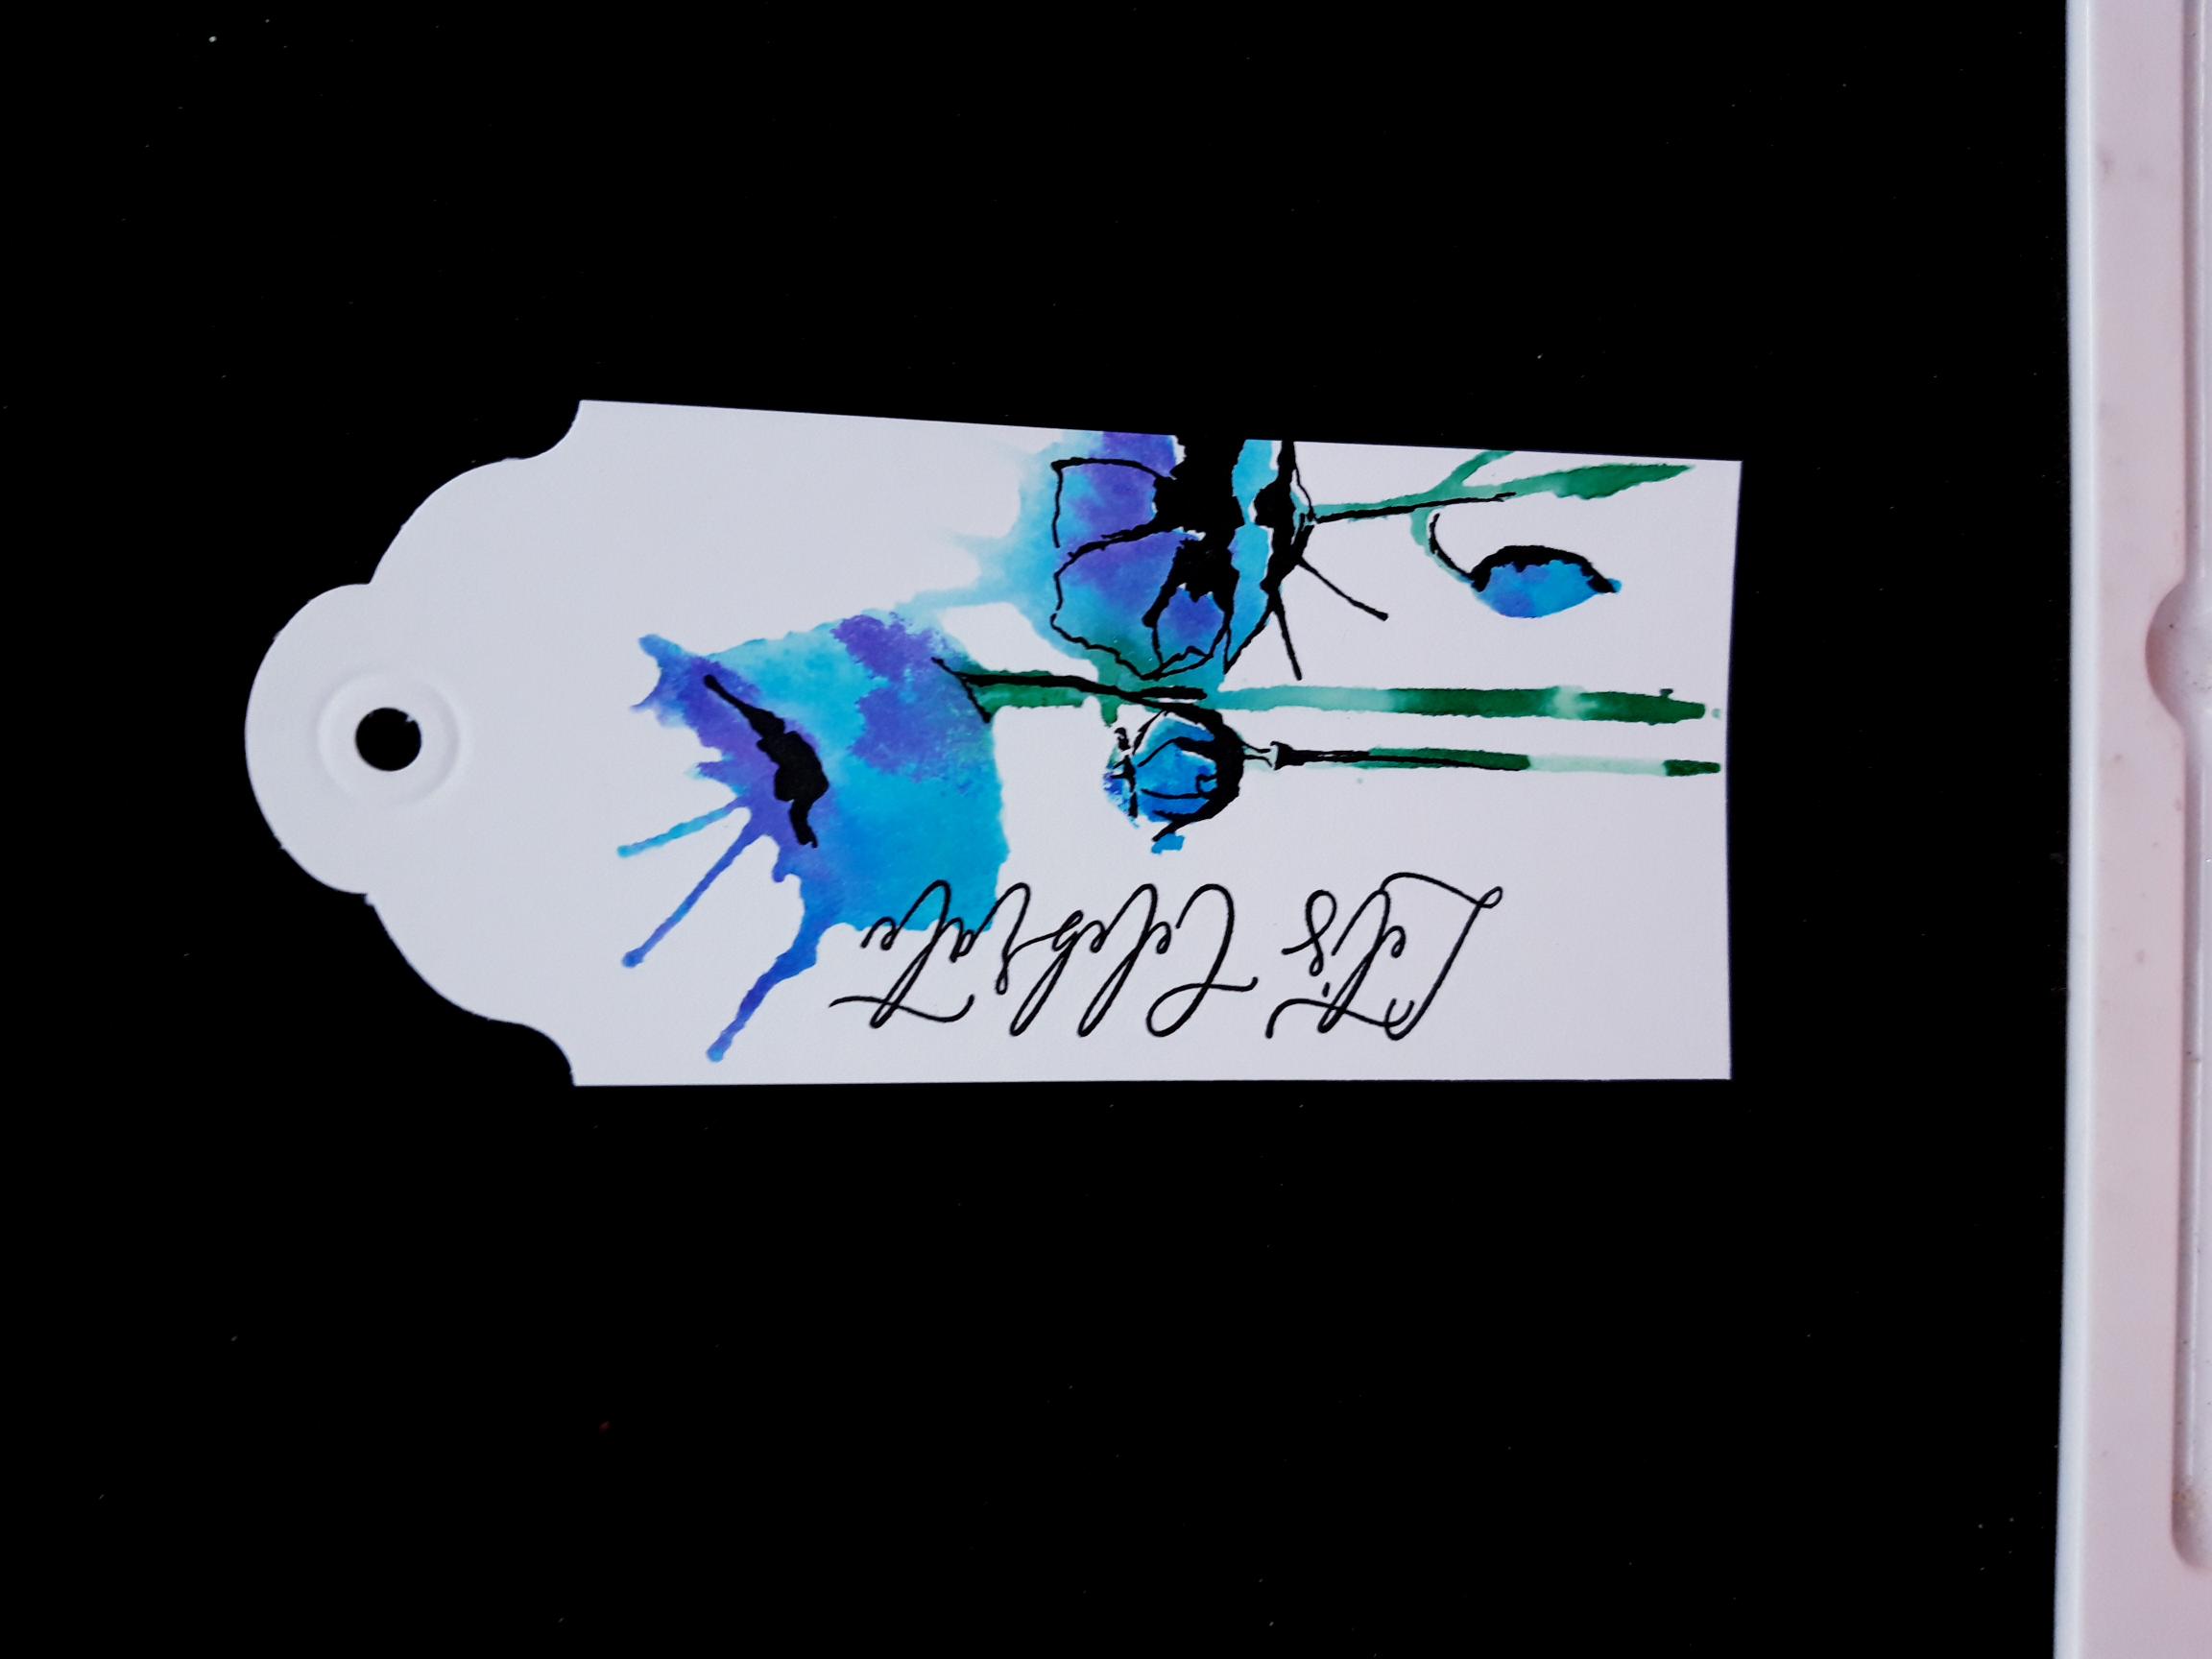
Ink up the sentiment from the Happiness Is Homemade Lamination Stamp Collection, with the Onyx Black Versafine. Stamp vertically, down the side, of one of the stamped tags. |
|
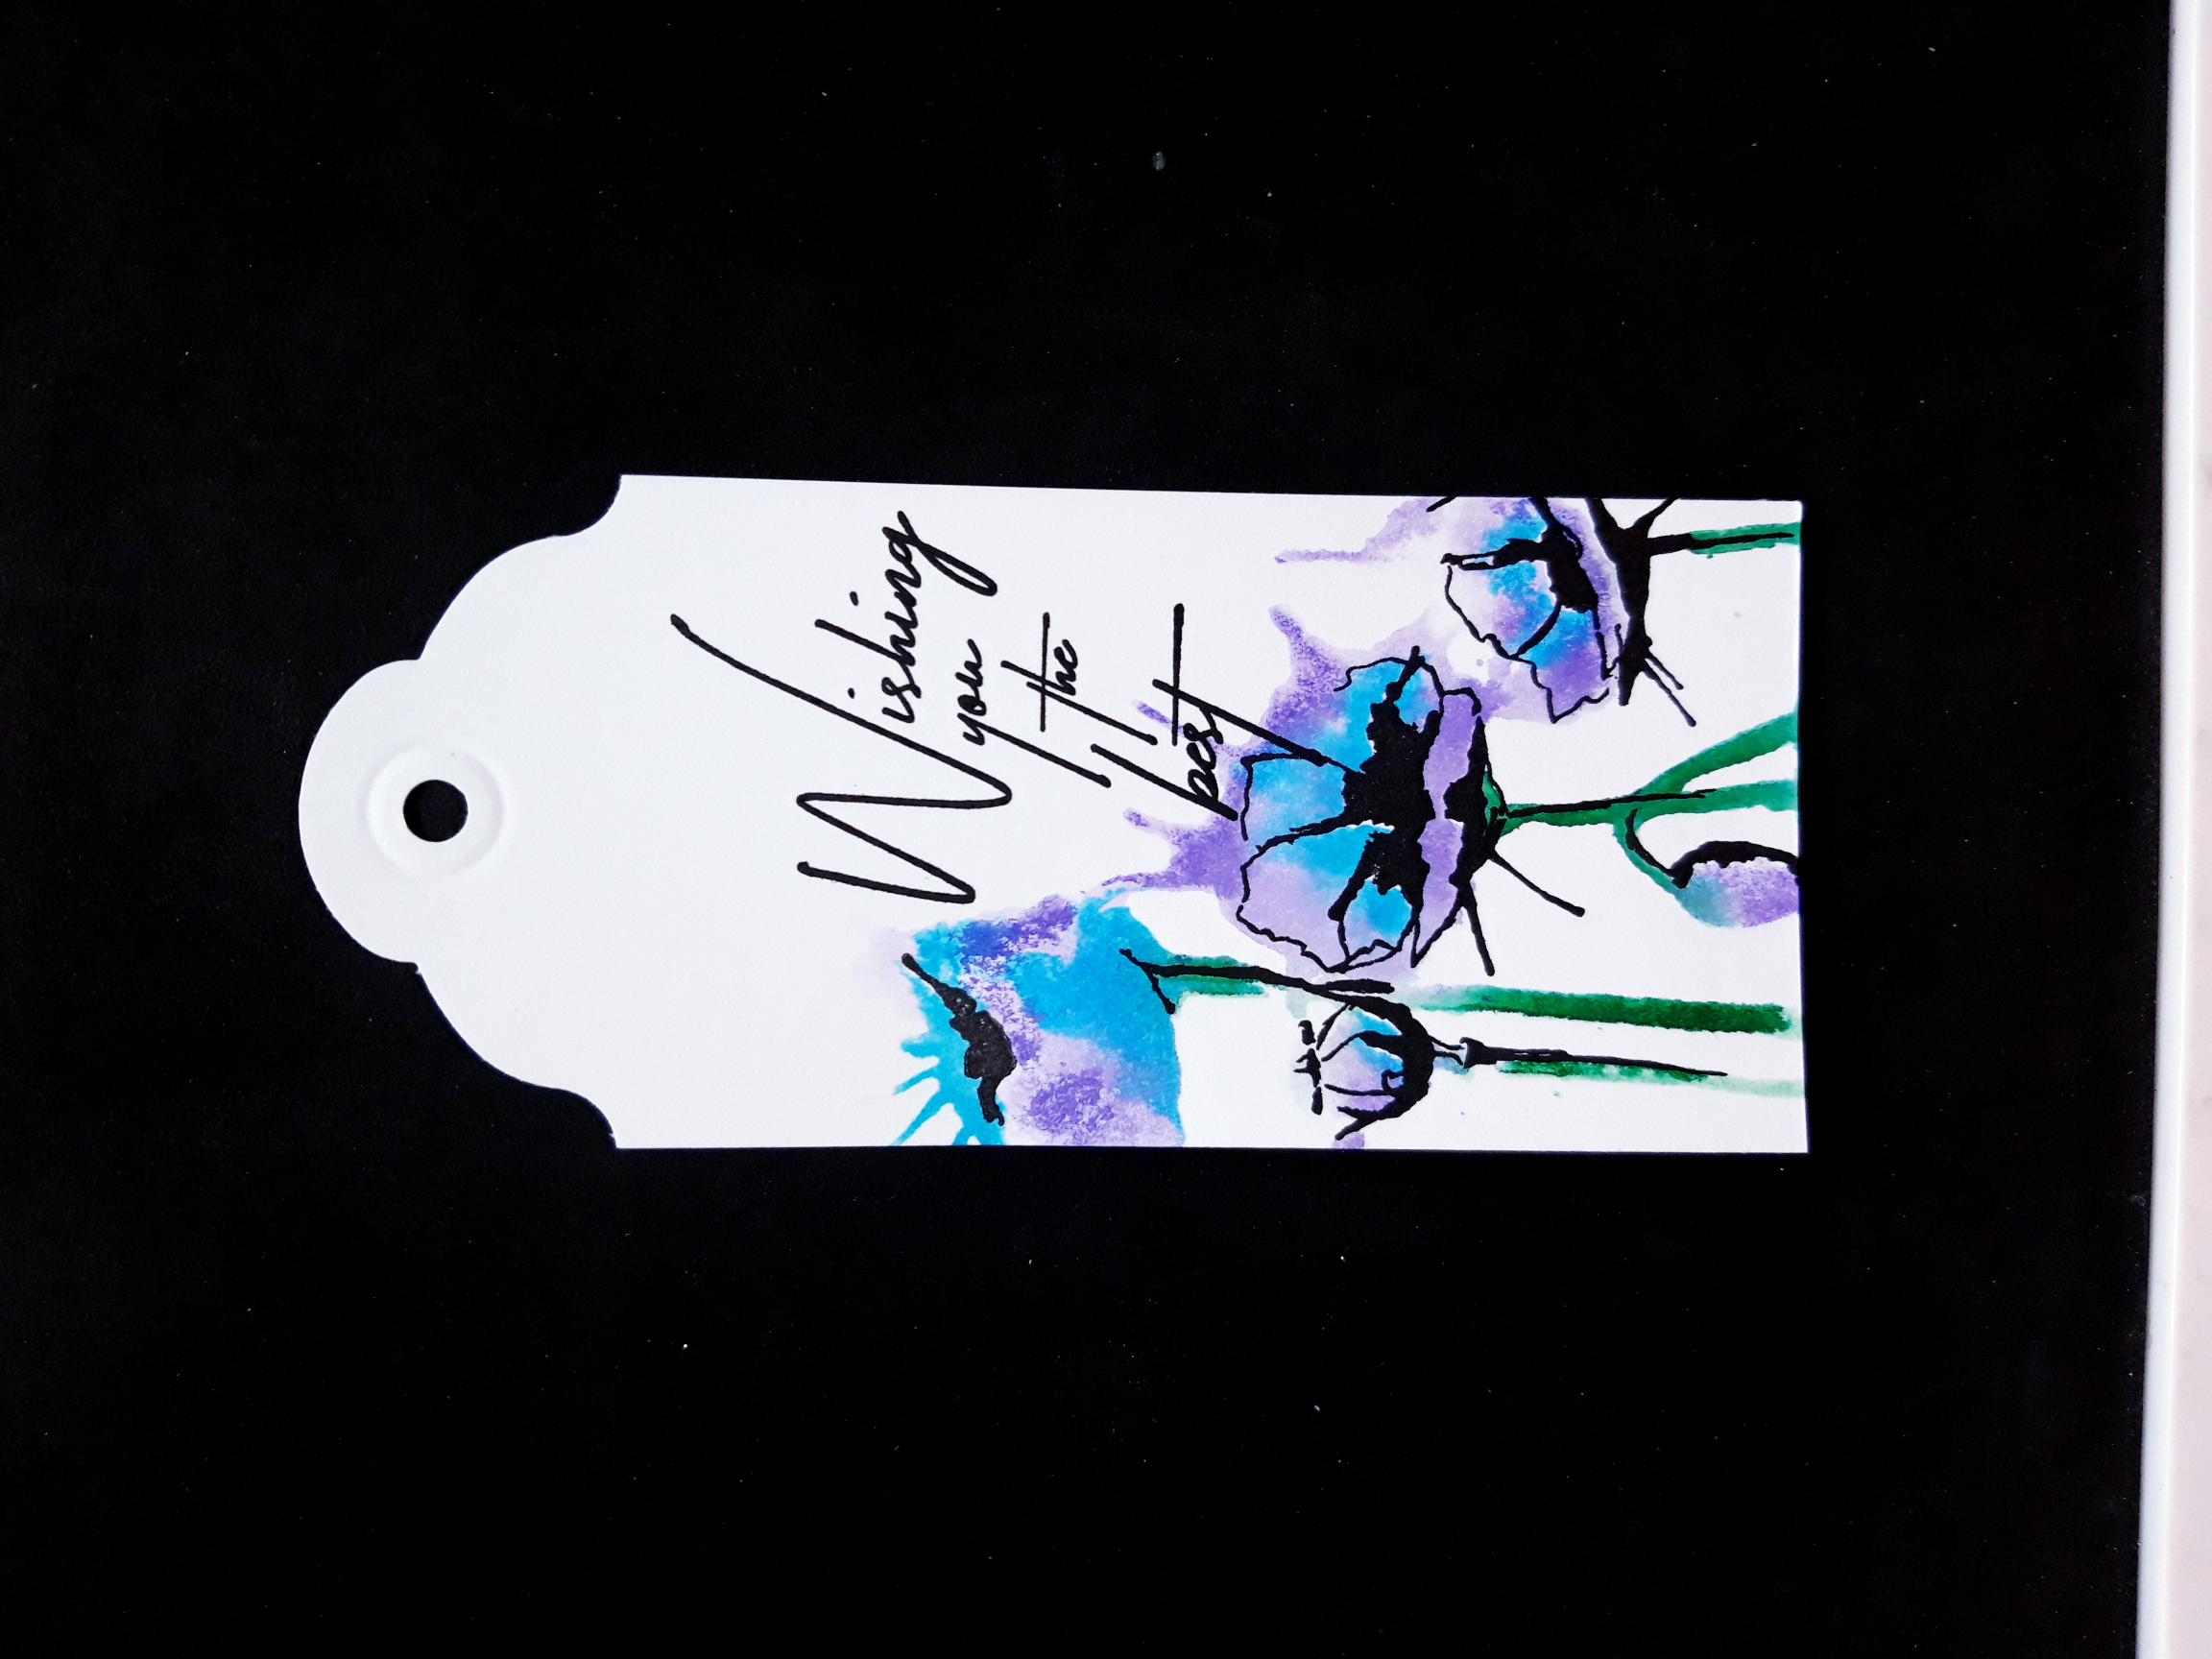
Ink up the sentiment from the My Sunshine Lamination Stamp Collection, with the Versafine. Stamp where required, on your second stamped tag. |
|
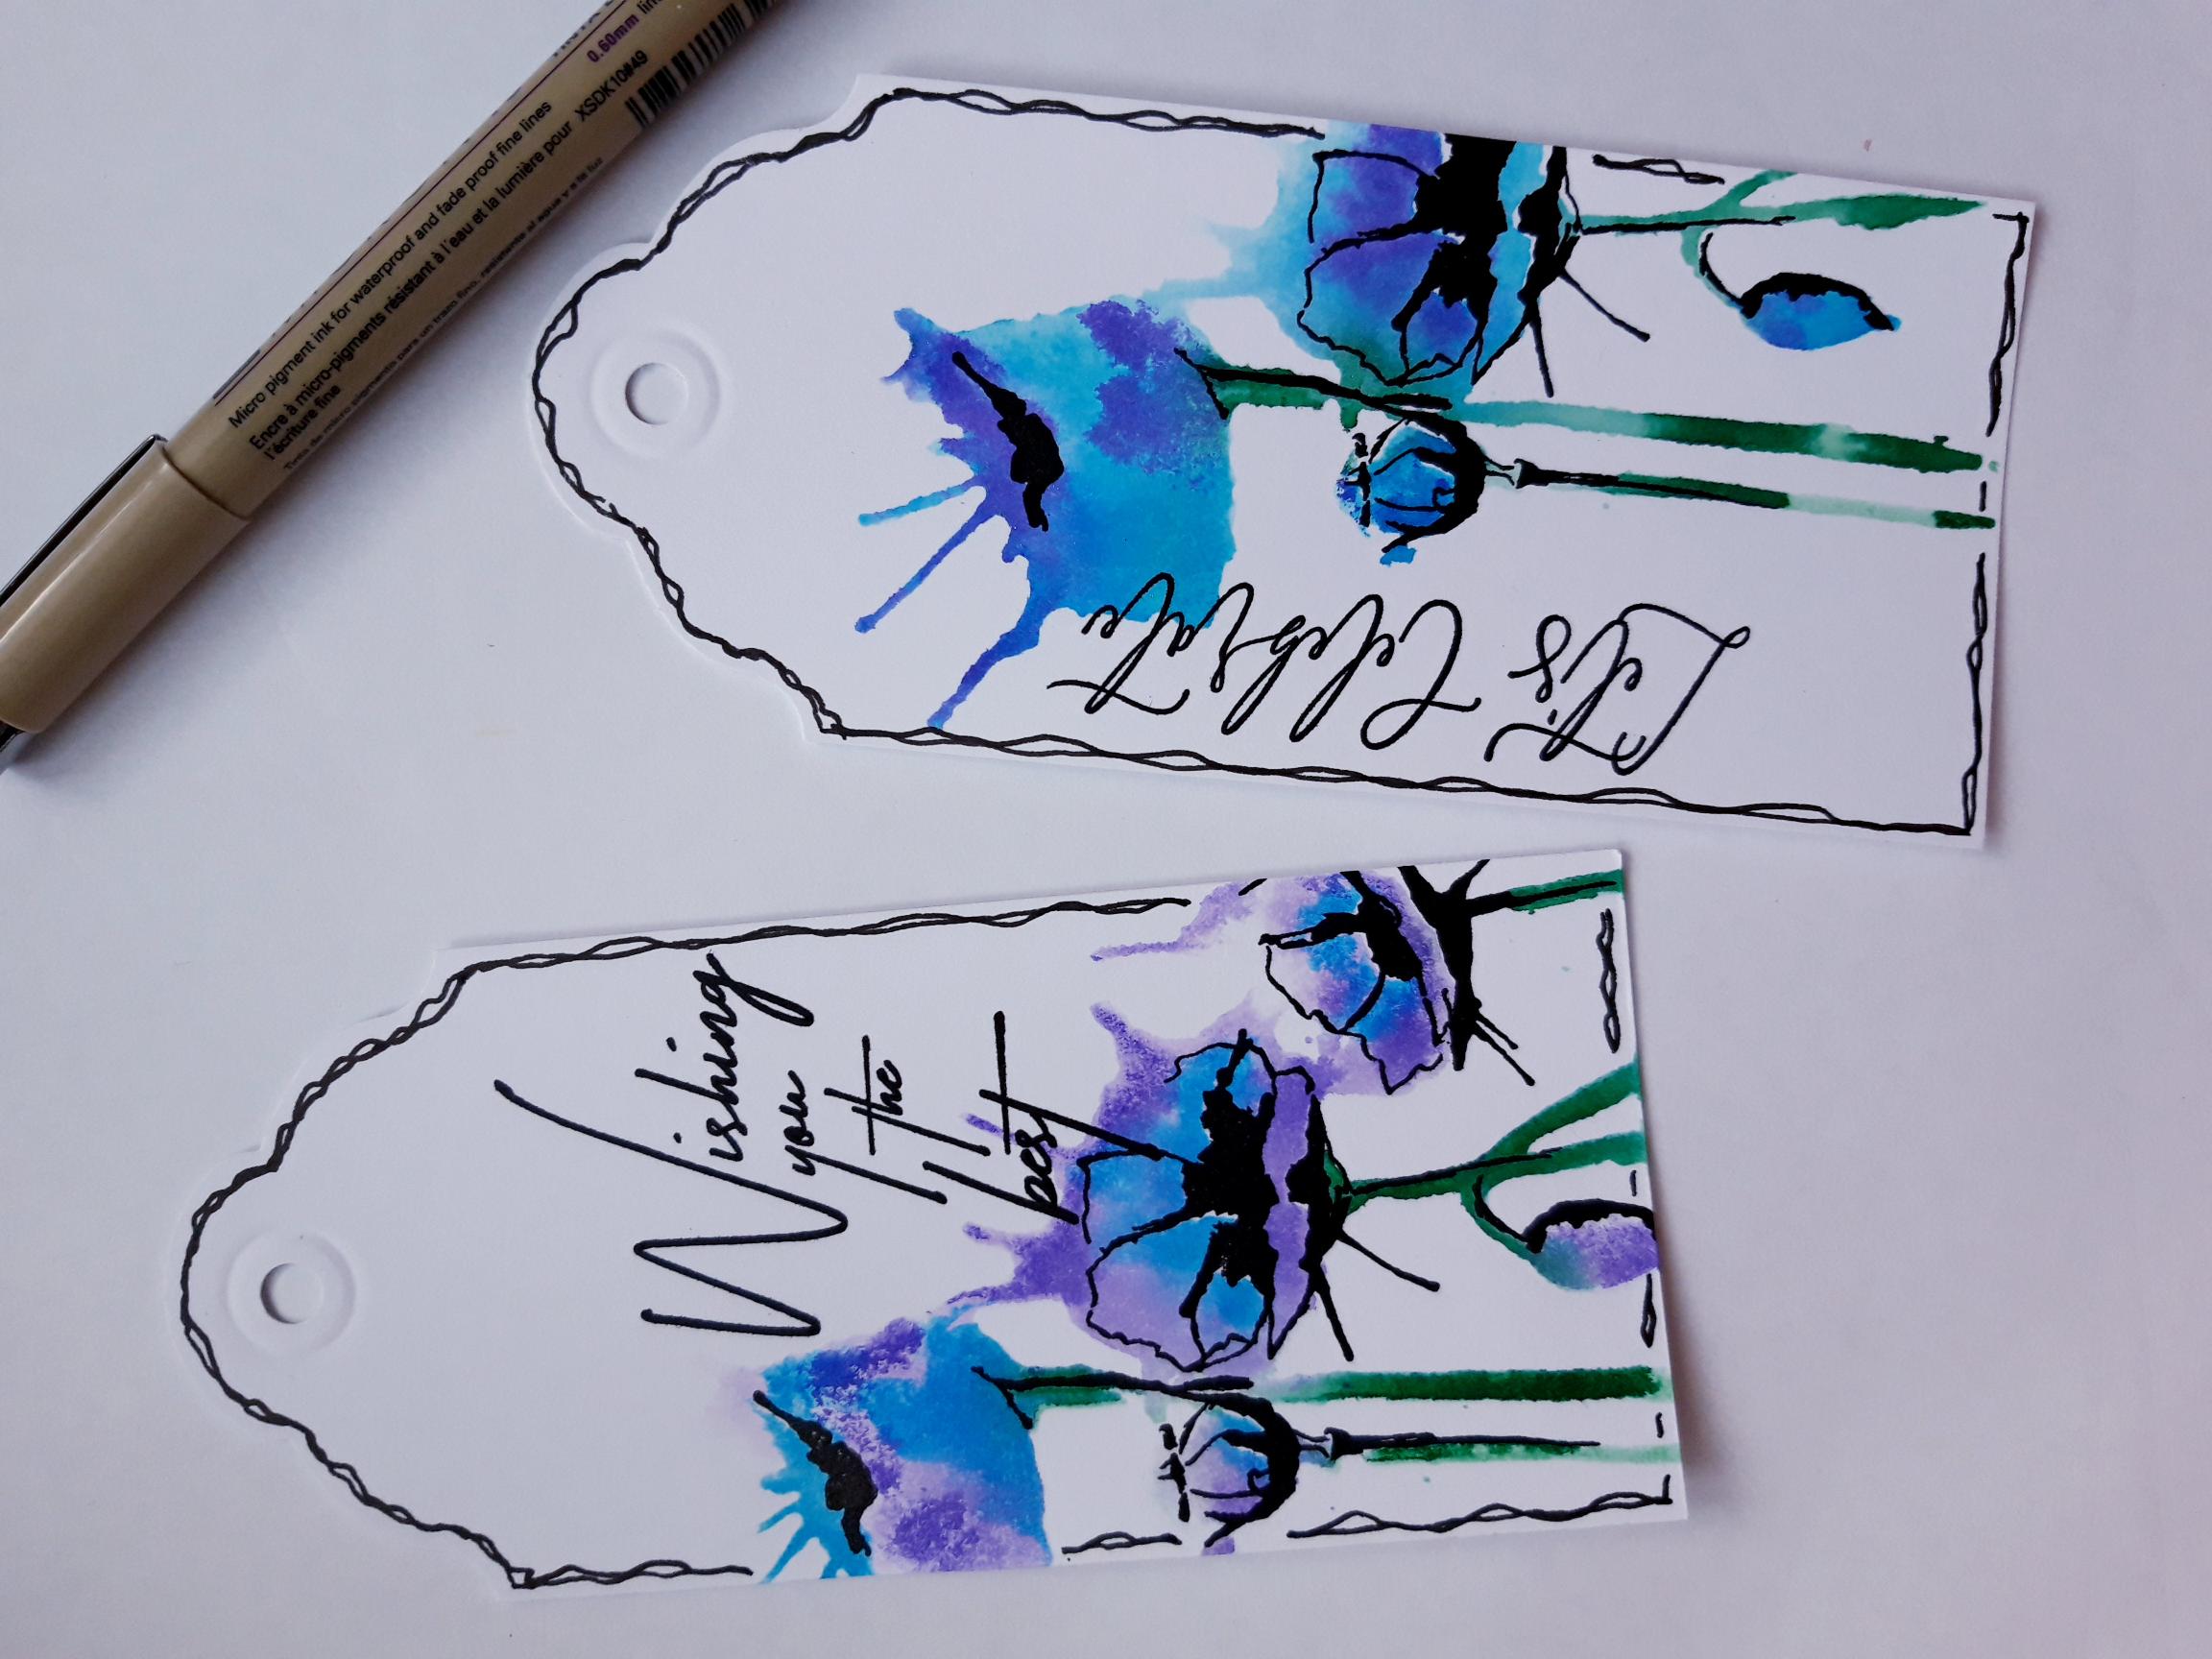
Use a black pen to draw decorative, wiggly frames, around both tags. |
|
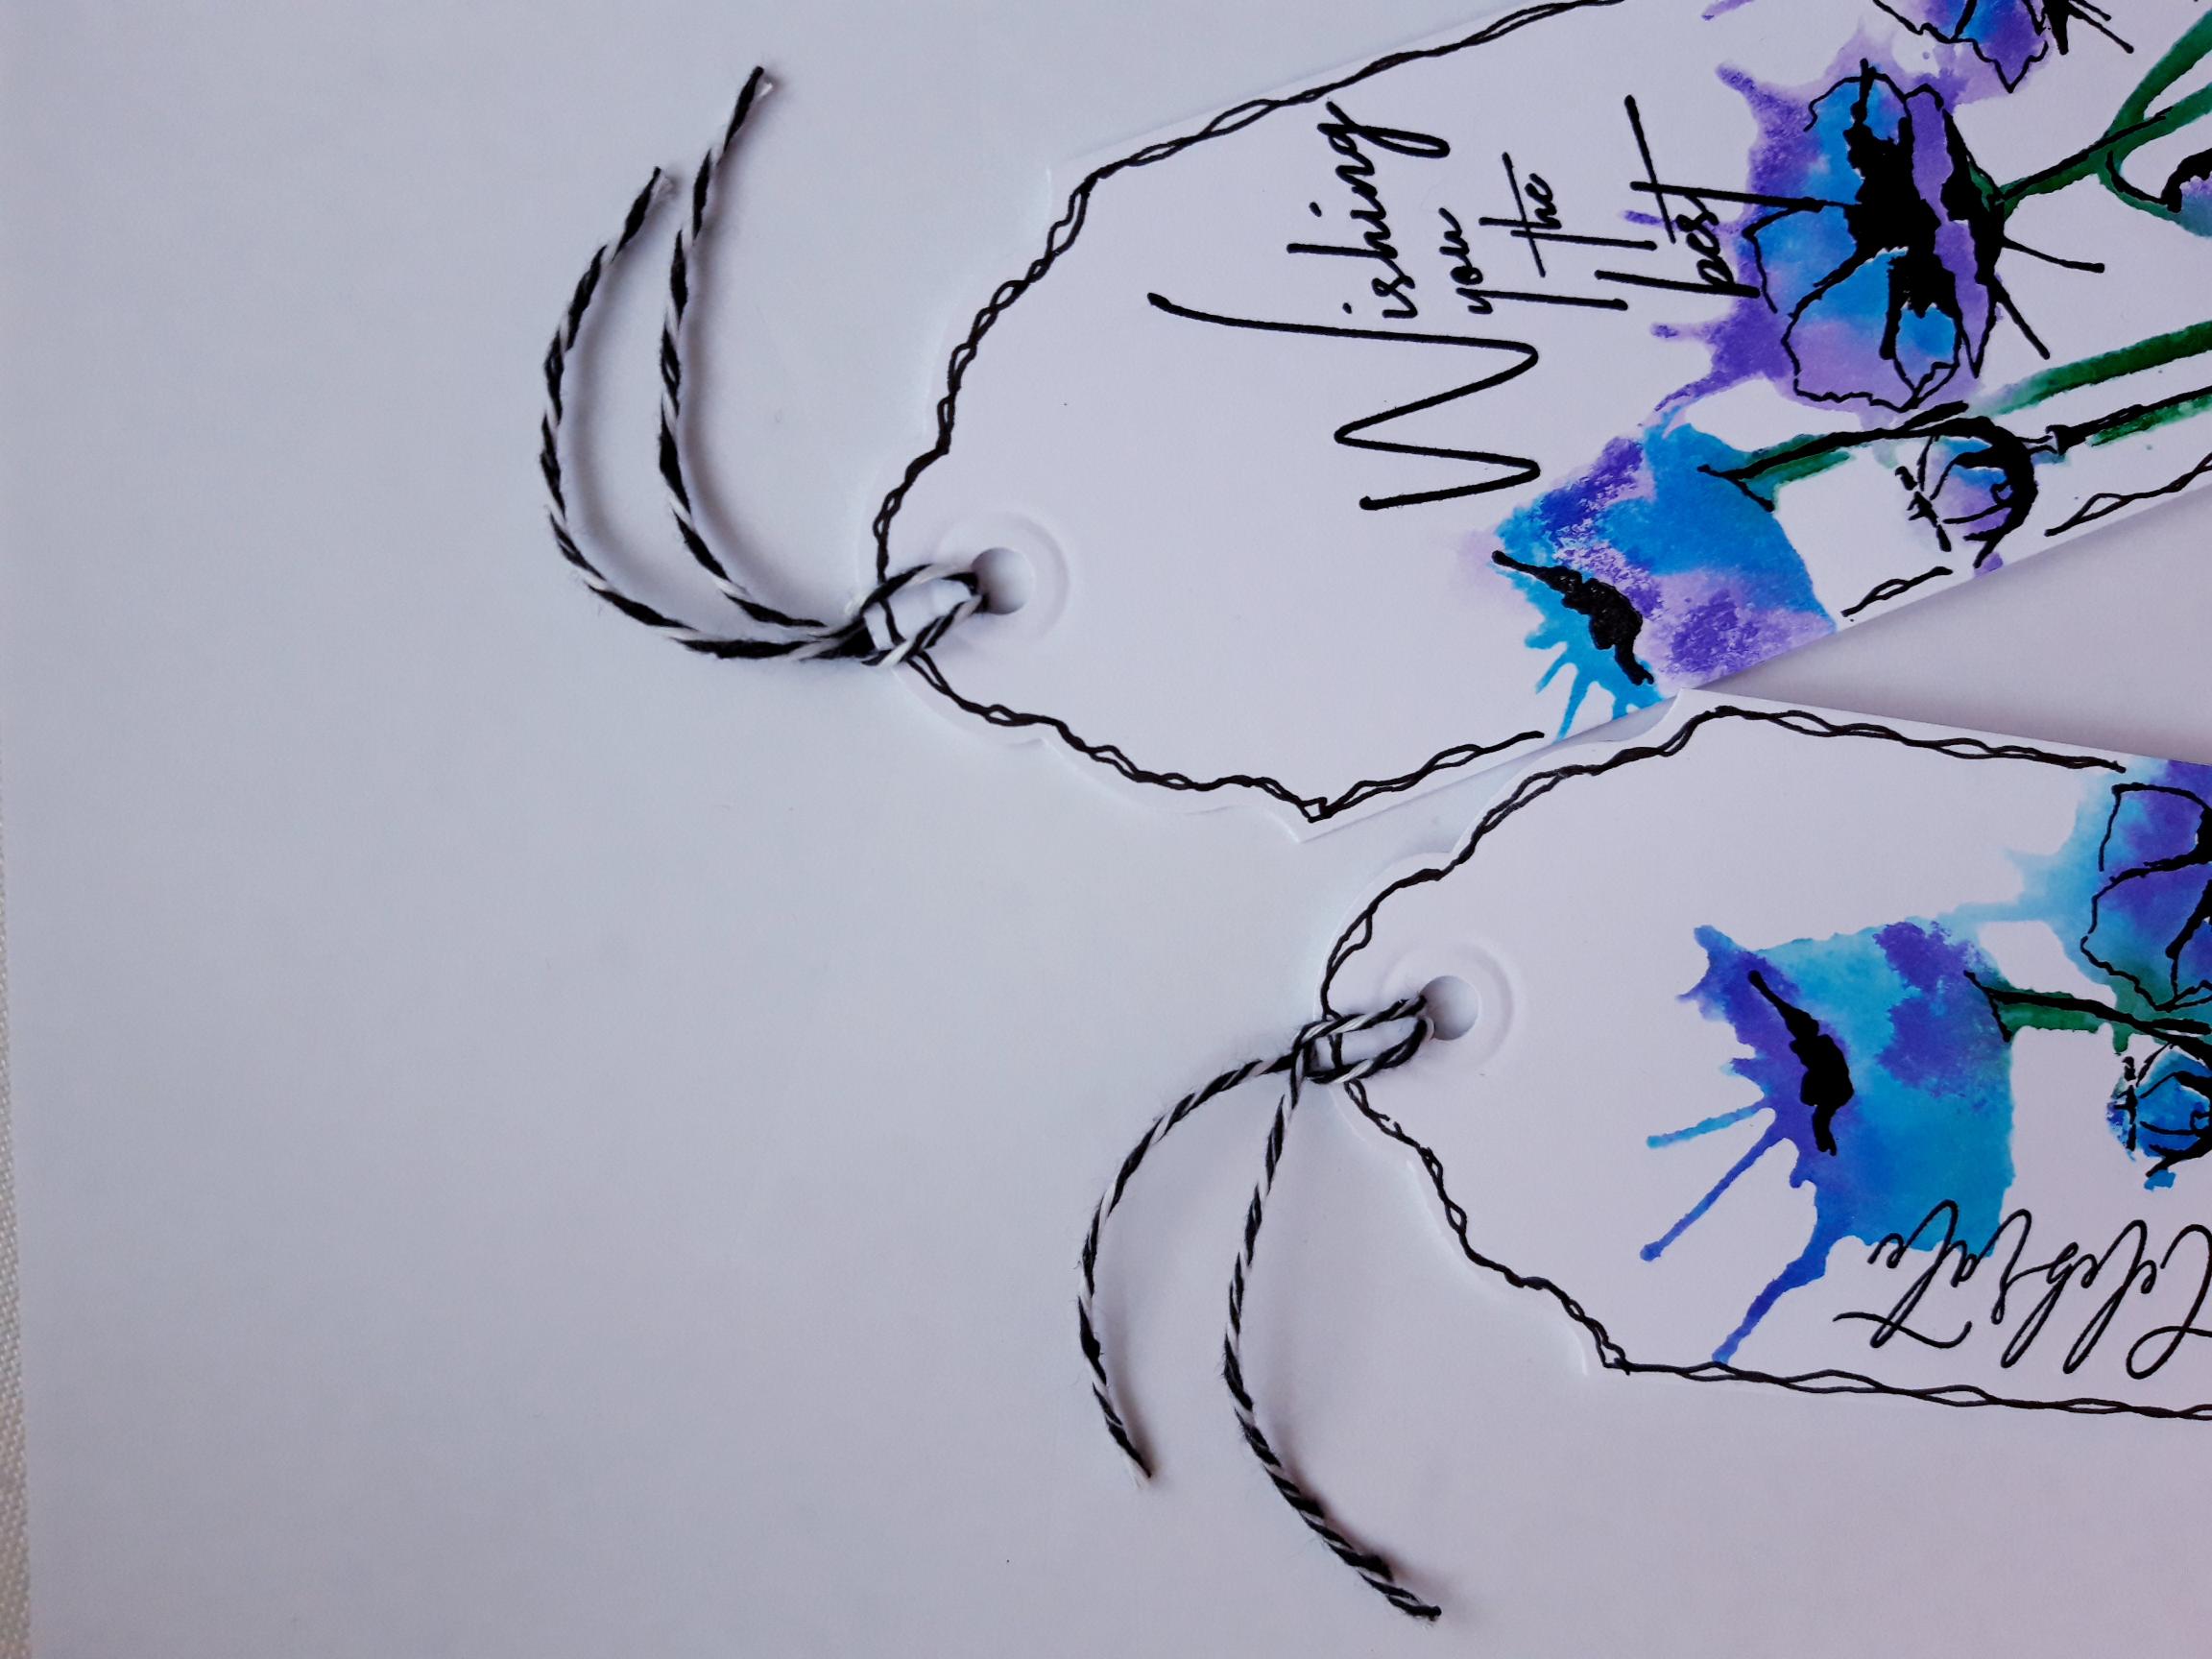
Tie a piece of Bakers Twine, through each of the punched holes. |
|
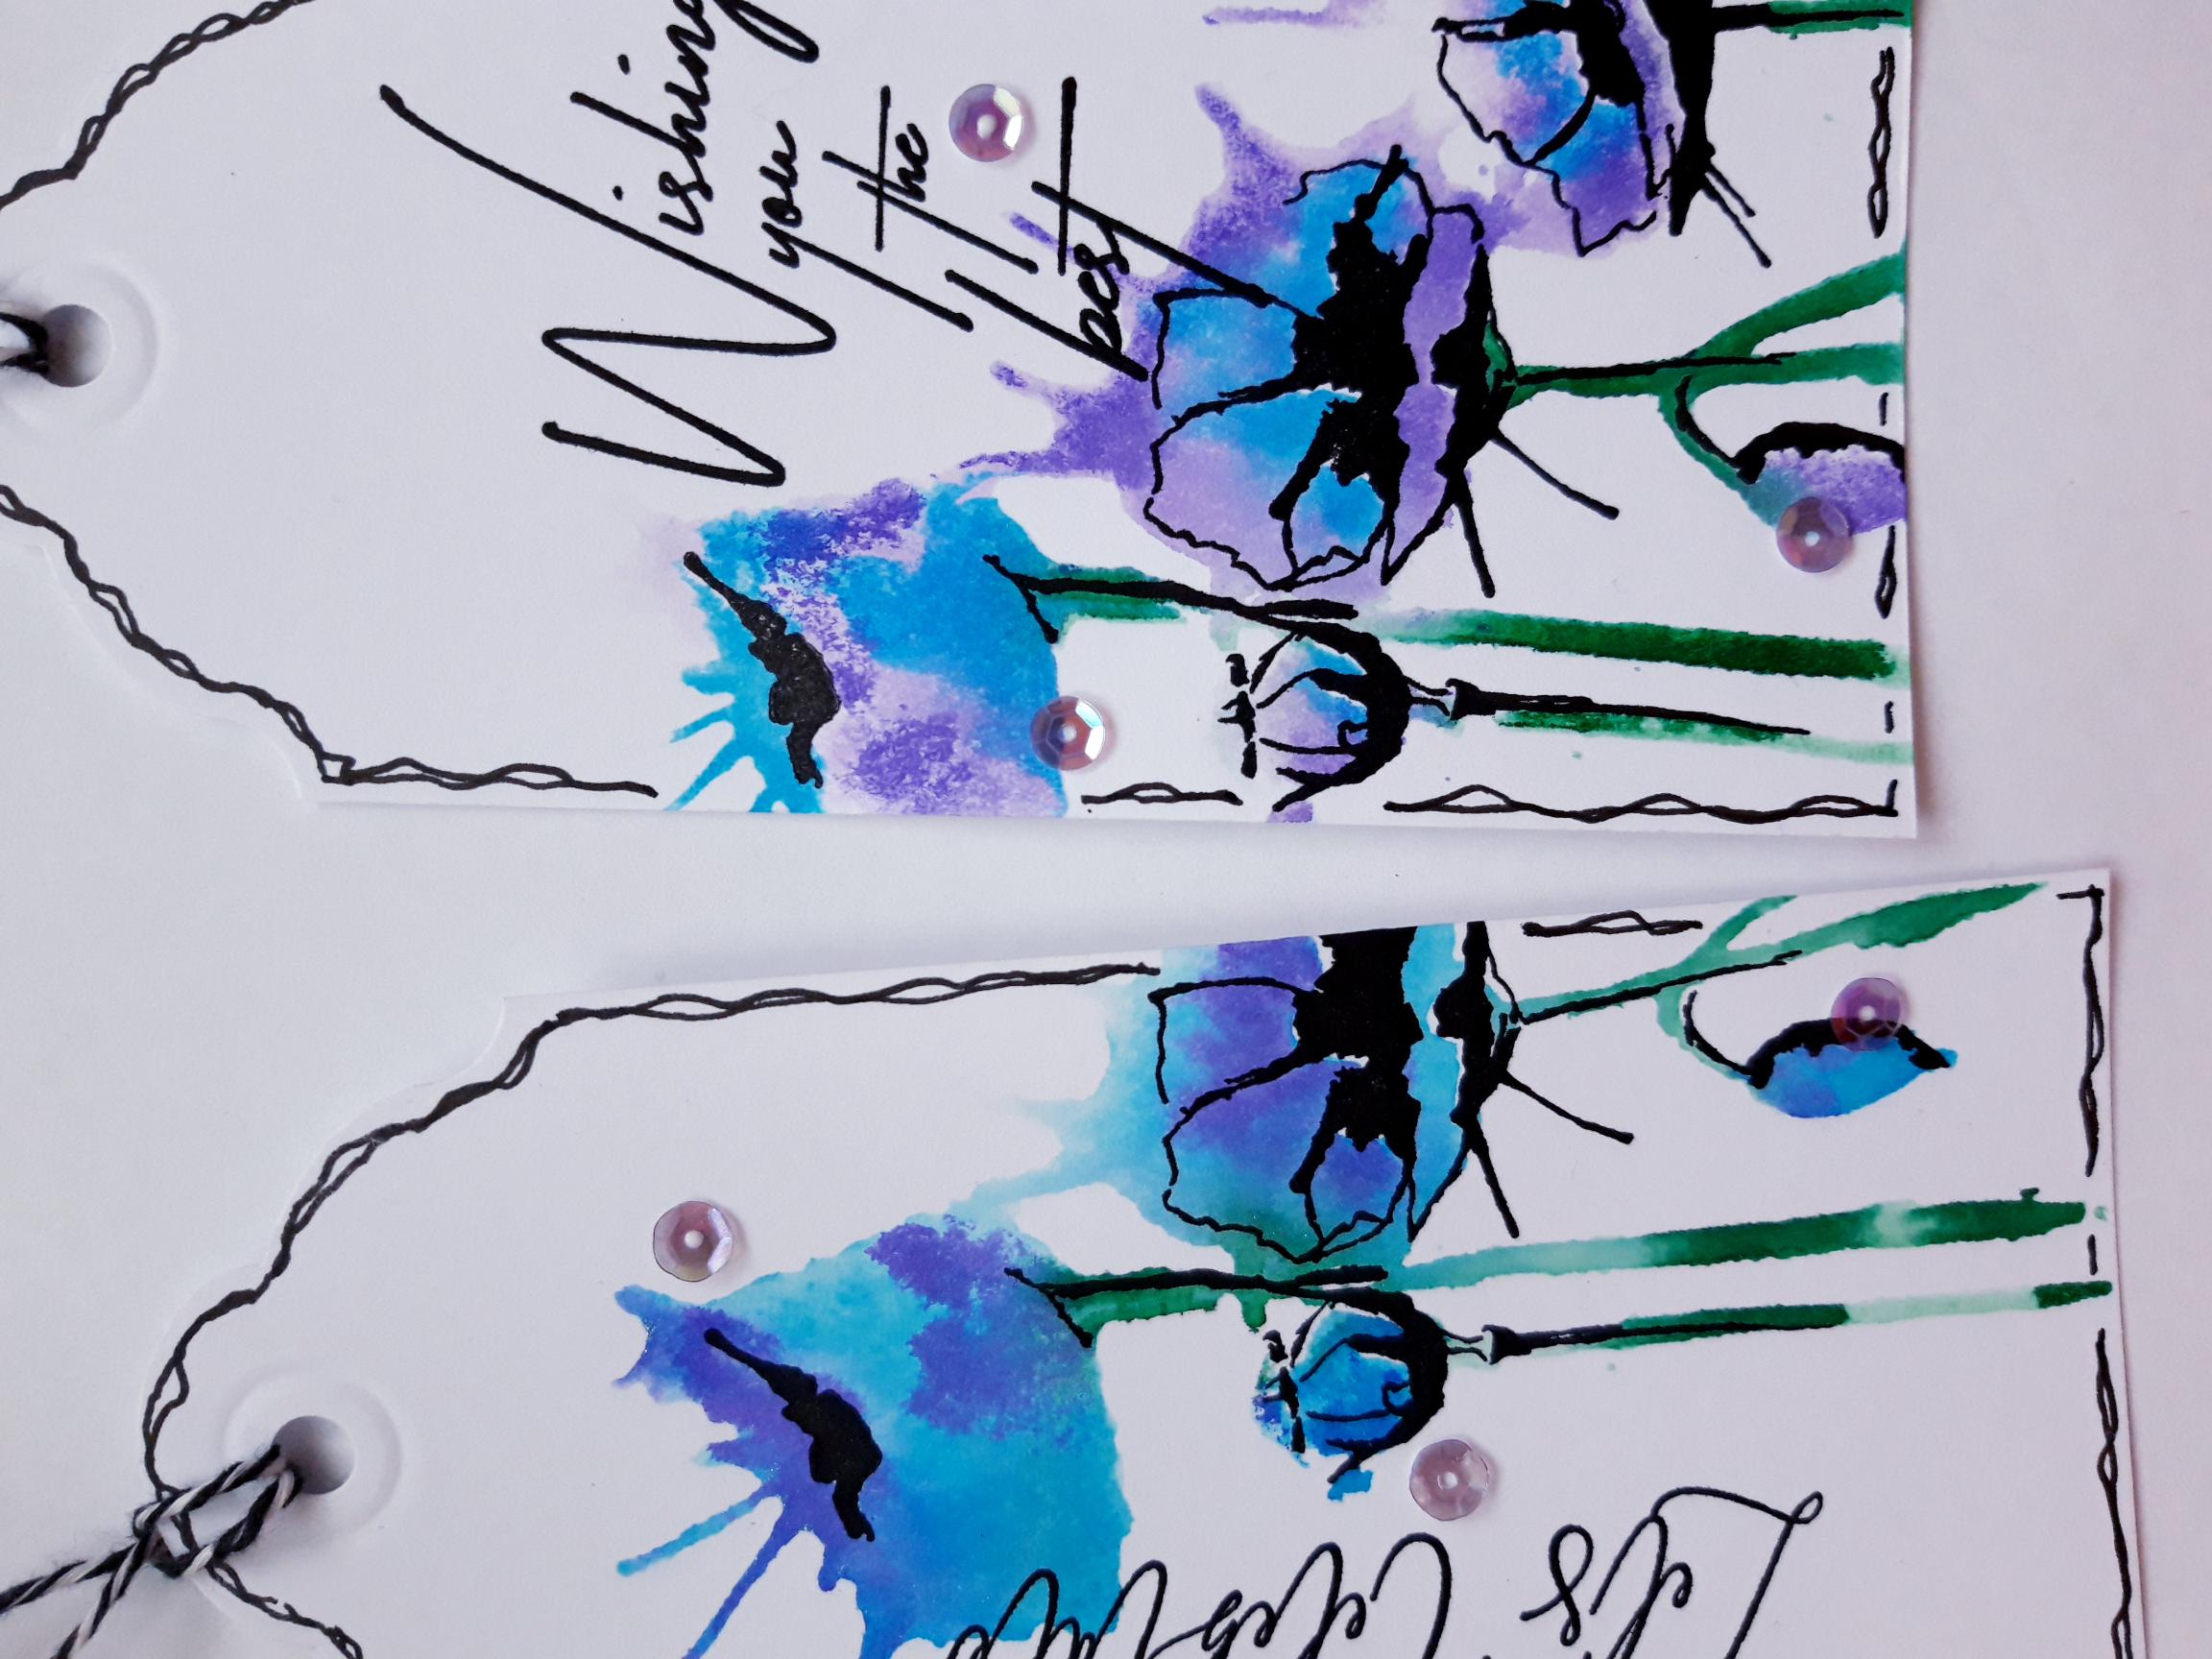
To finish off your gift tags, add sequins as required. |