


WHAT YOU WILL NEED:
Grey landscape card blank 6 x 8"
Black/white/kraft cardstock
Quattro D Cheers
SBM Hybrid Ink Pad: Midnight
SBM Pigment Ink Pad: Cotton
Distress Ink/Oxide Ink Pad: Black Soot, Hickory Smoke, Vintage Photo, Walnut Stain, Frayed Burlap, Fossilized Amber, Wild Honey
Blending tool
Heat tool
Eureka 101 Watercolour Tablet
SBM A3 Magnetic glass mat
Paper Trimmer
Glue
Foam pads
Die Cutting machine
[click image to enlarge] 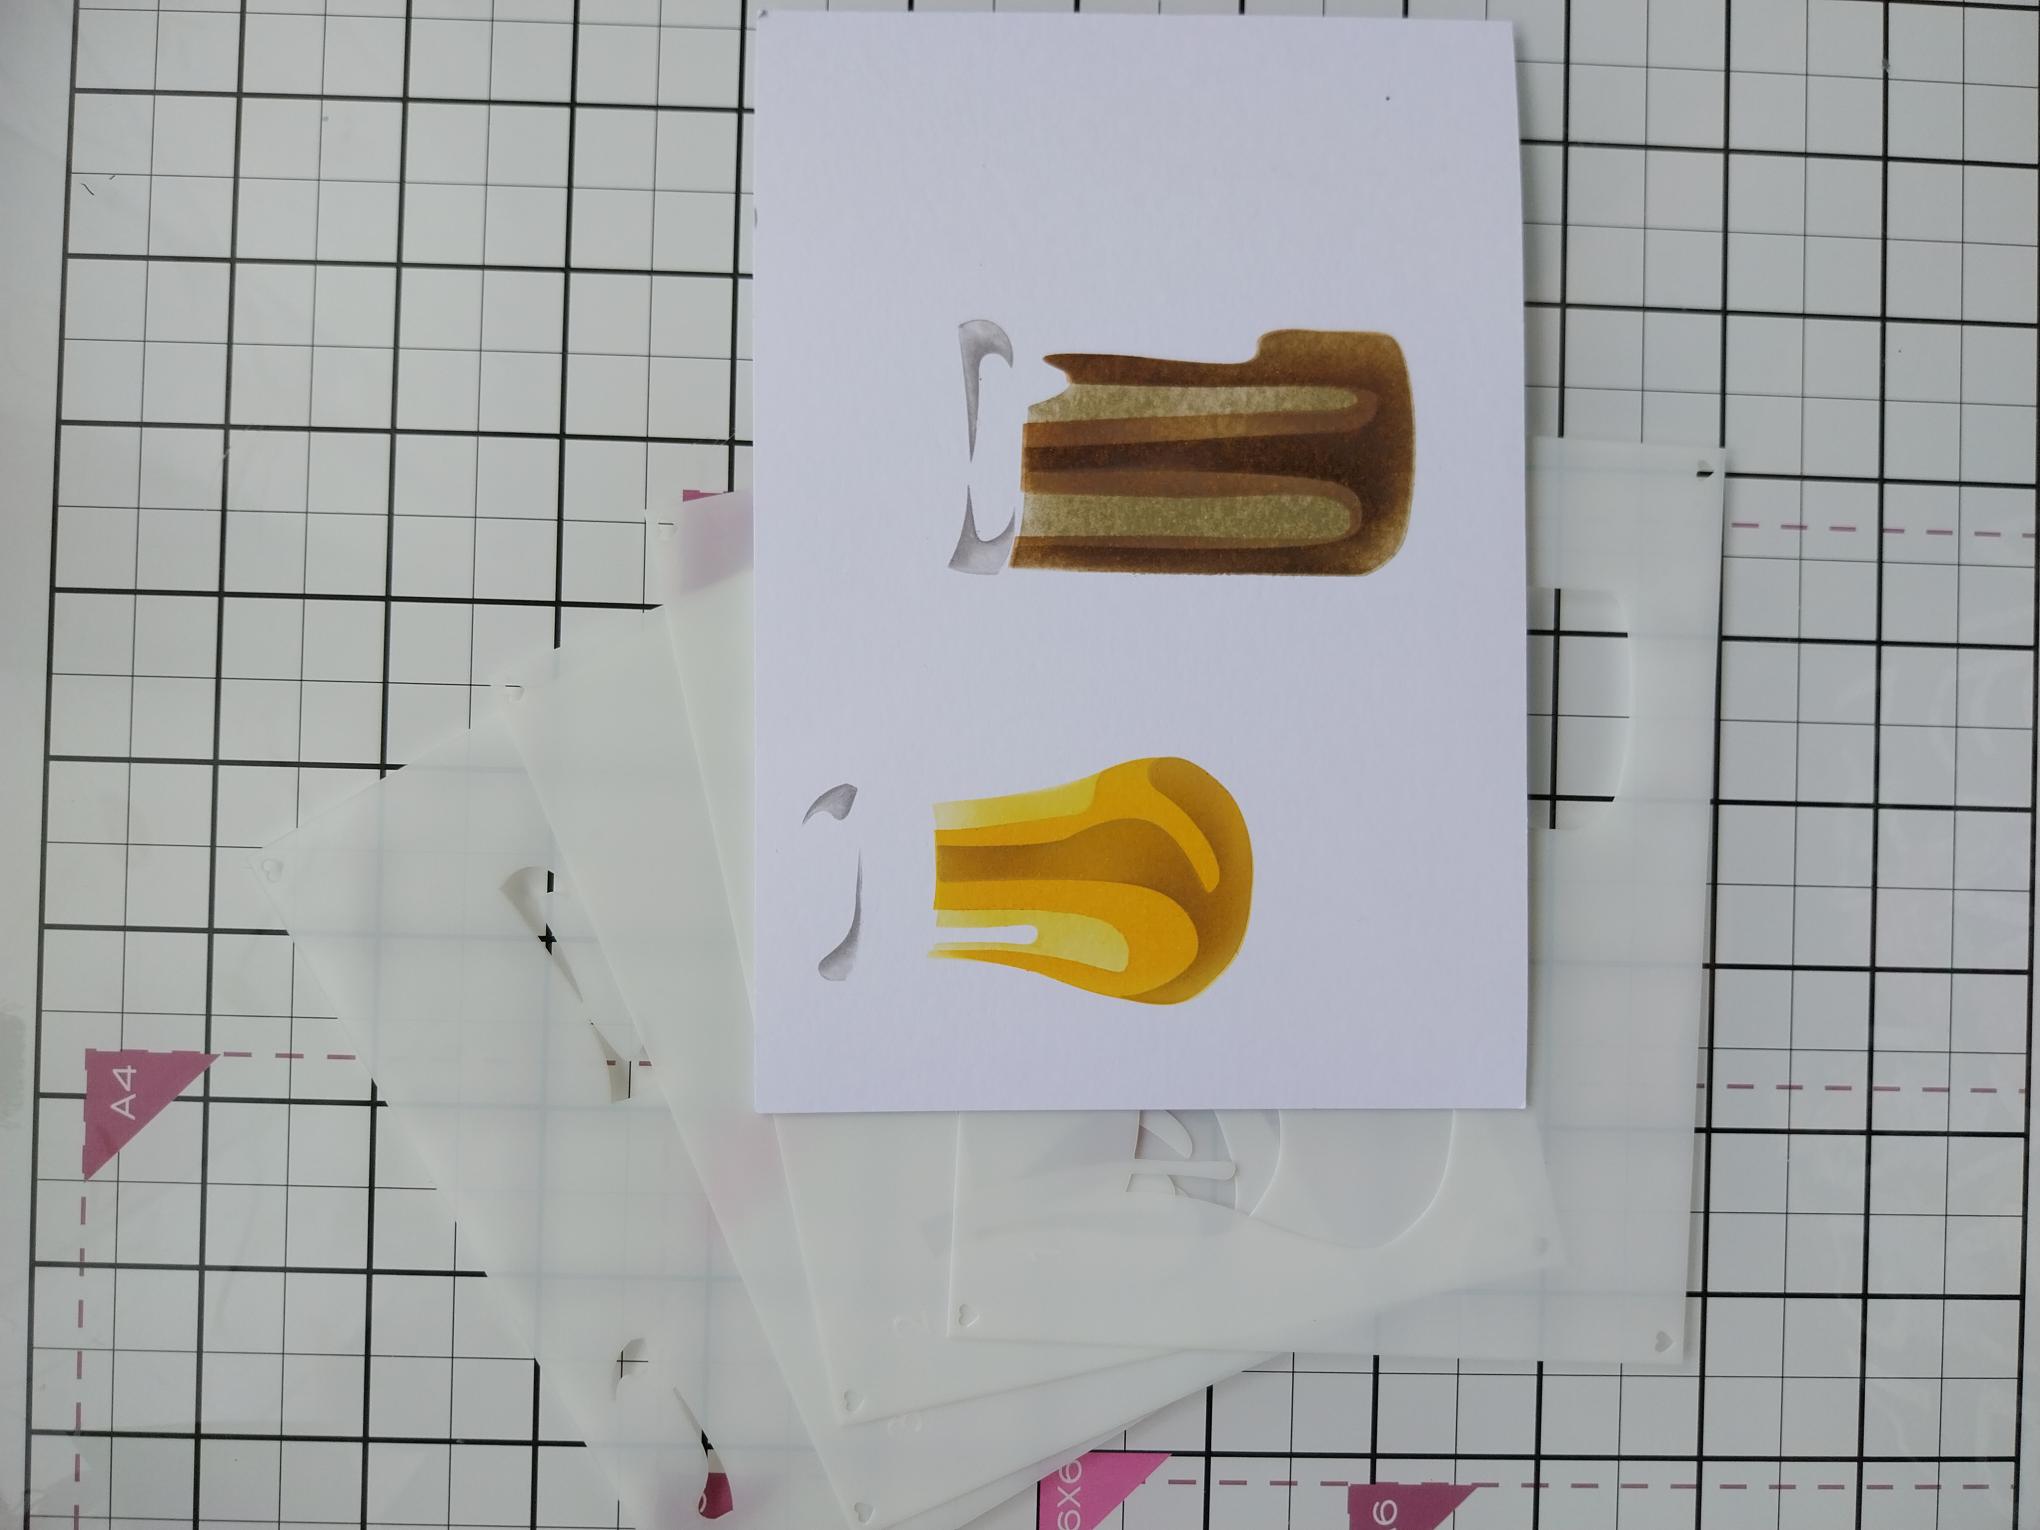
|
Place stencil 1 on a piece of 5 x 7" landscape white card. Use a blending tool to apply the Fossilized Amber and Frayed Burlap. Line up stencil 2 and blend with Wild Honey and Vintage Photo. Apply Frayed Burlap and Walnut Stain through stencil 3 and finally blend Hickory Smoke through stencil 4. |
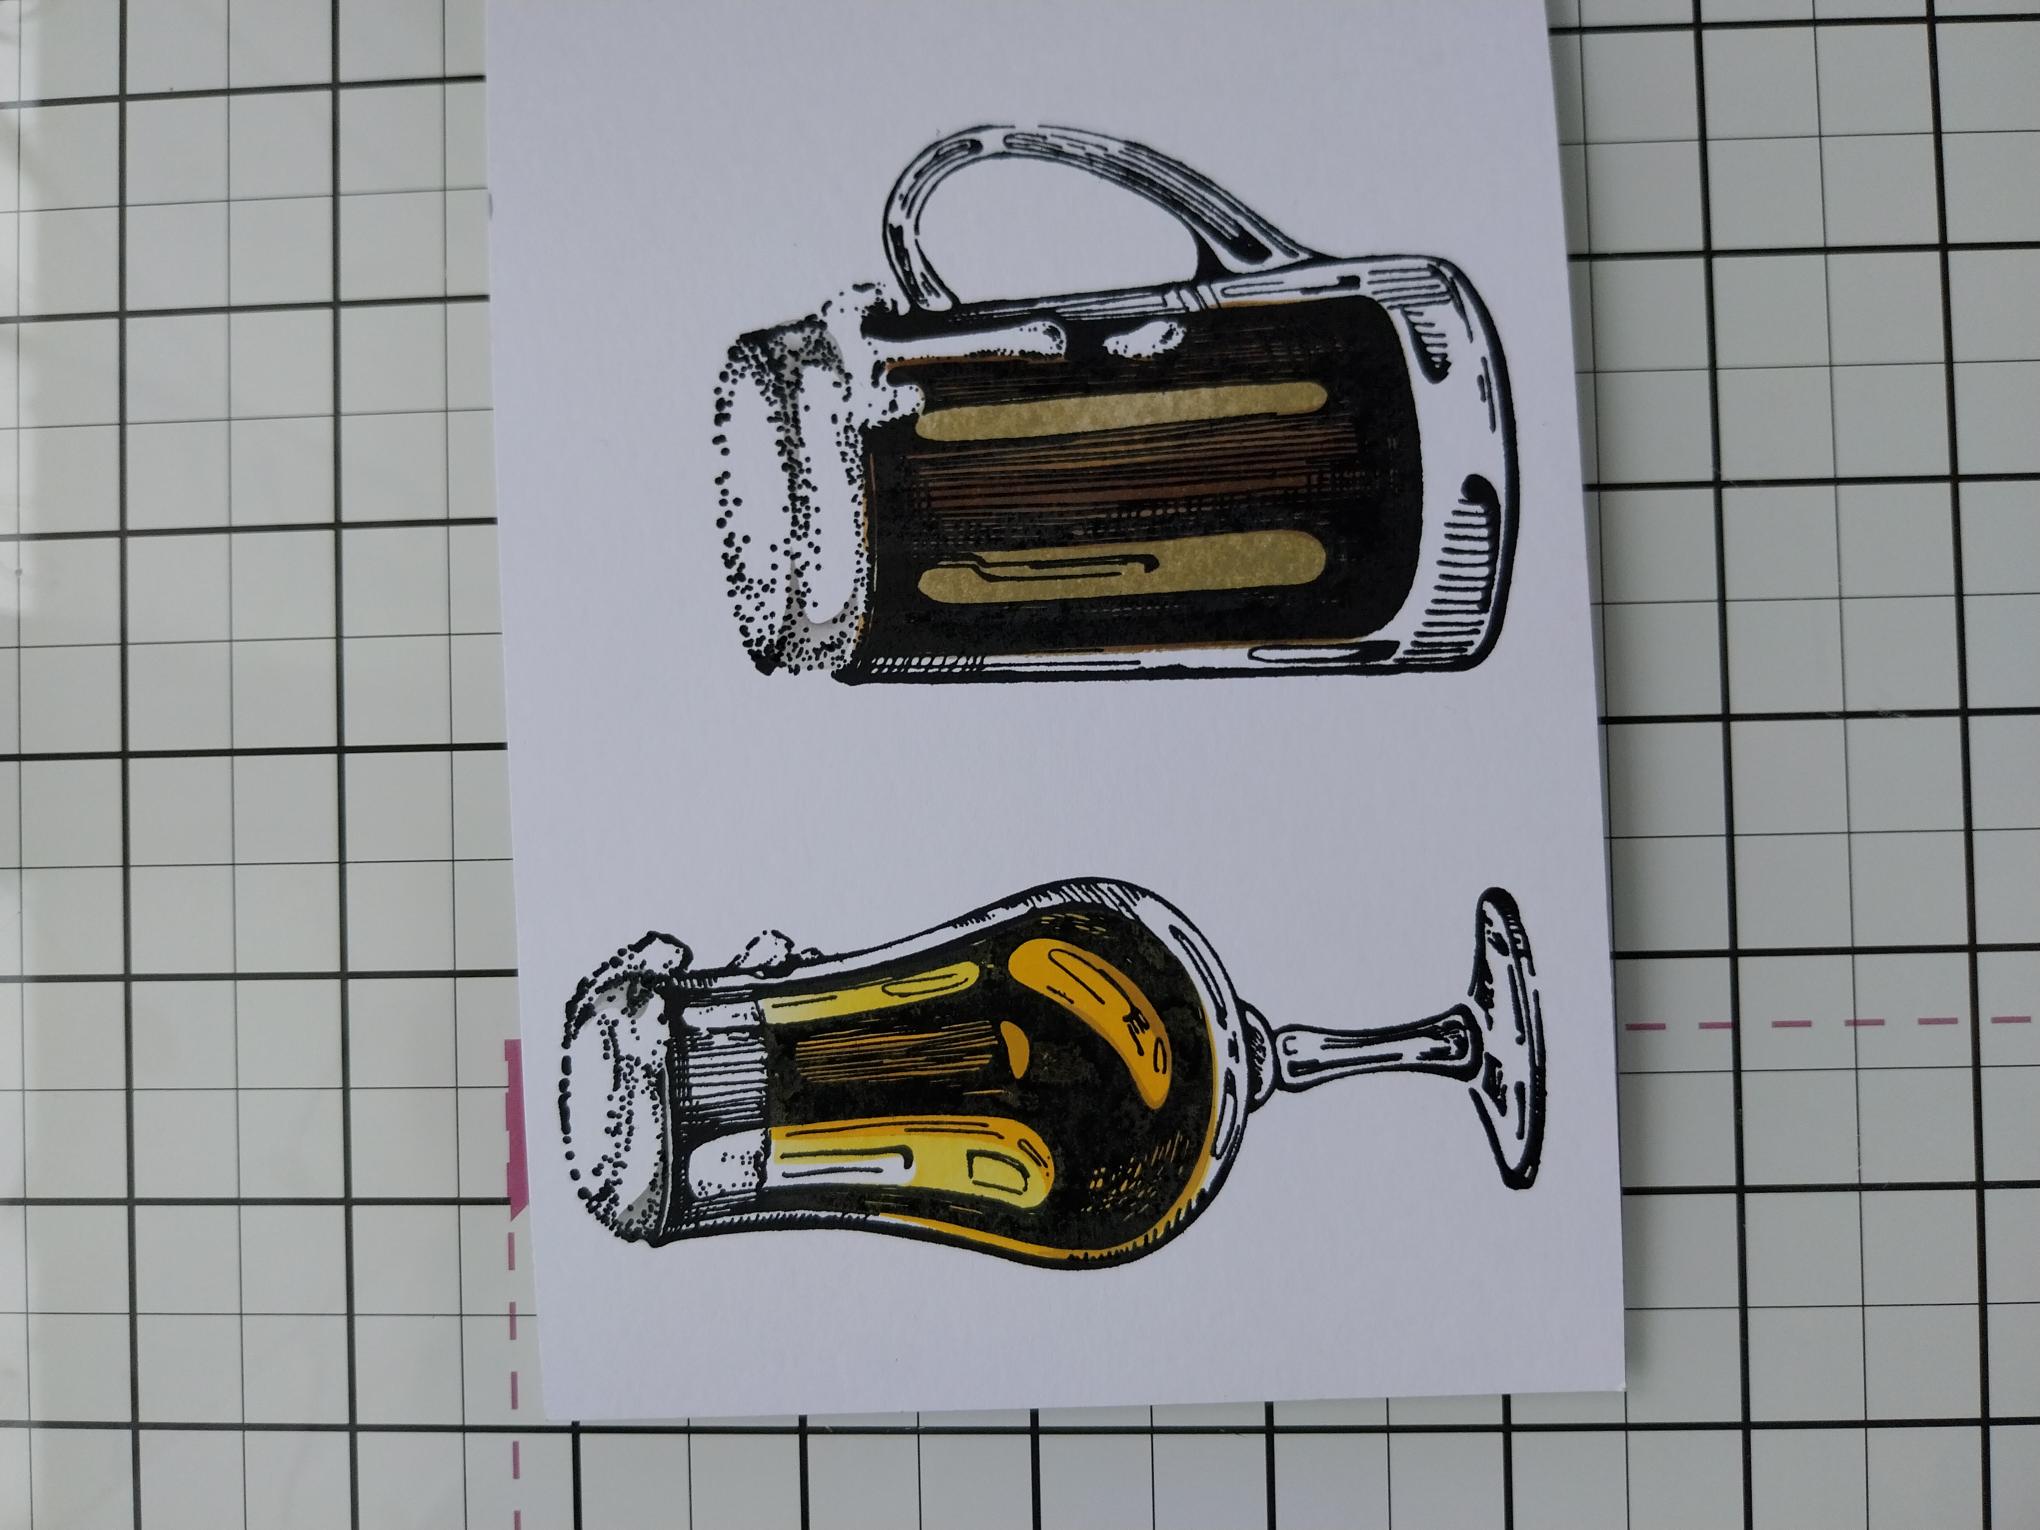
|
Stamp over your stencilled images in Midnight. |
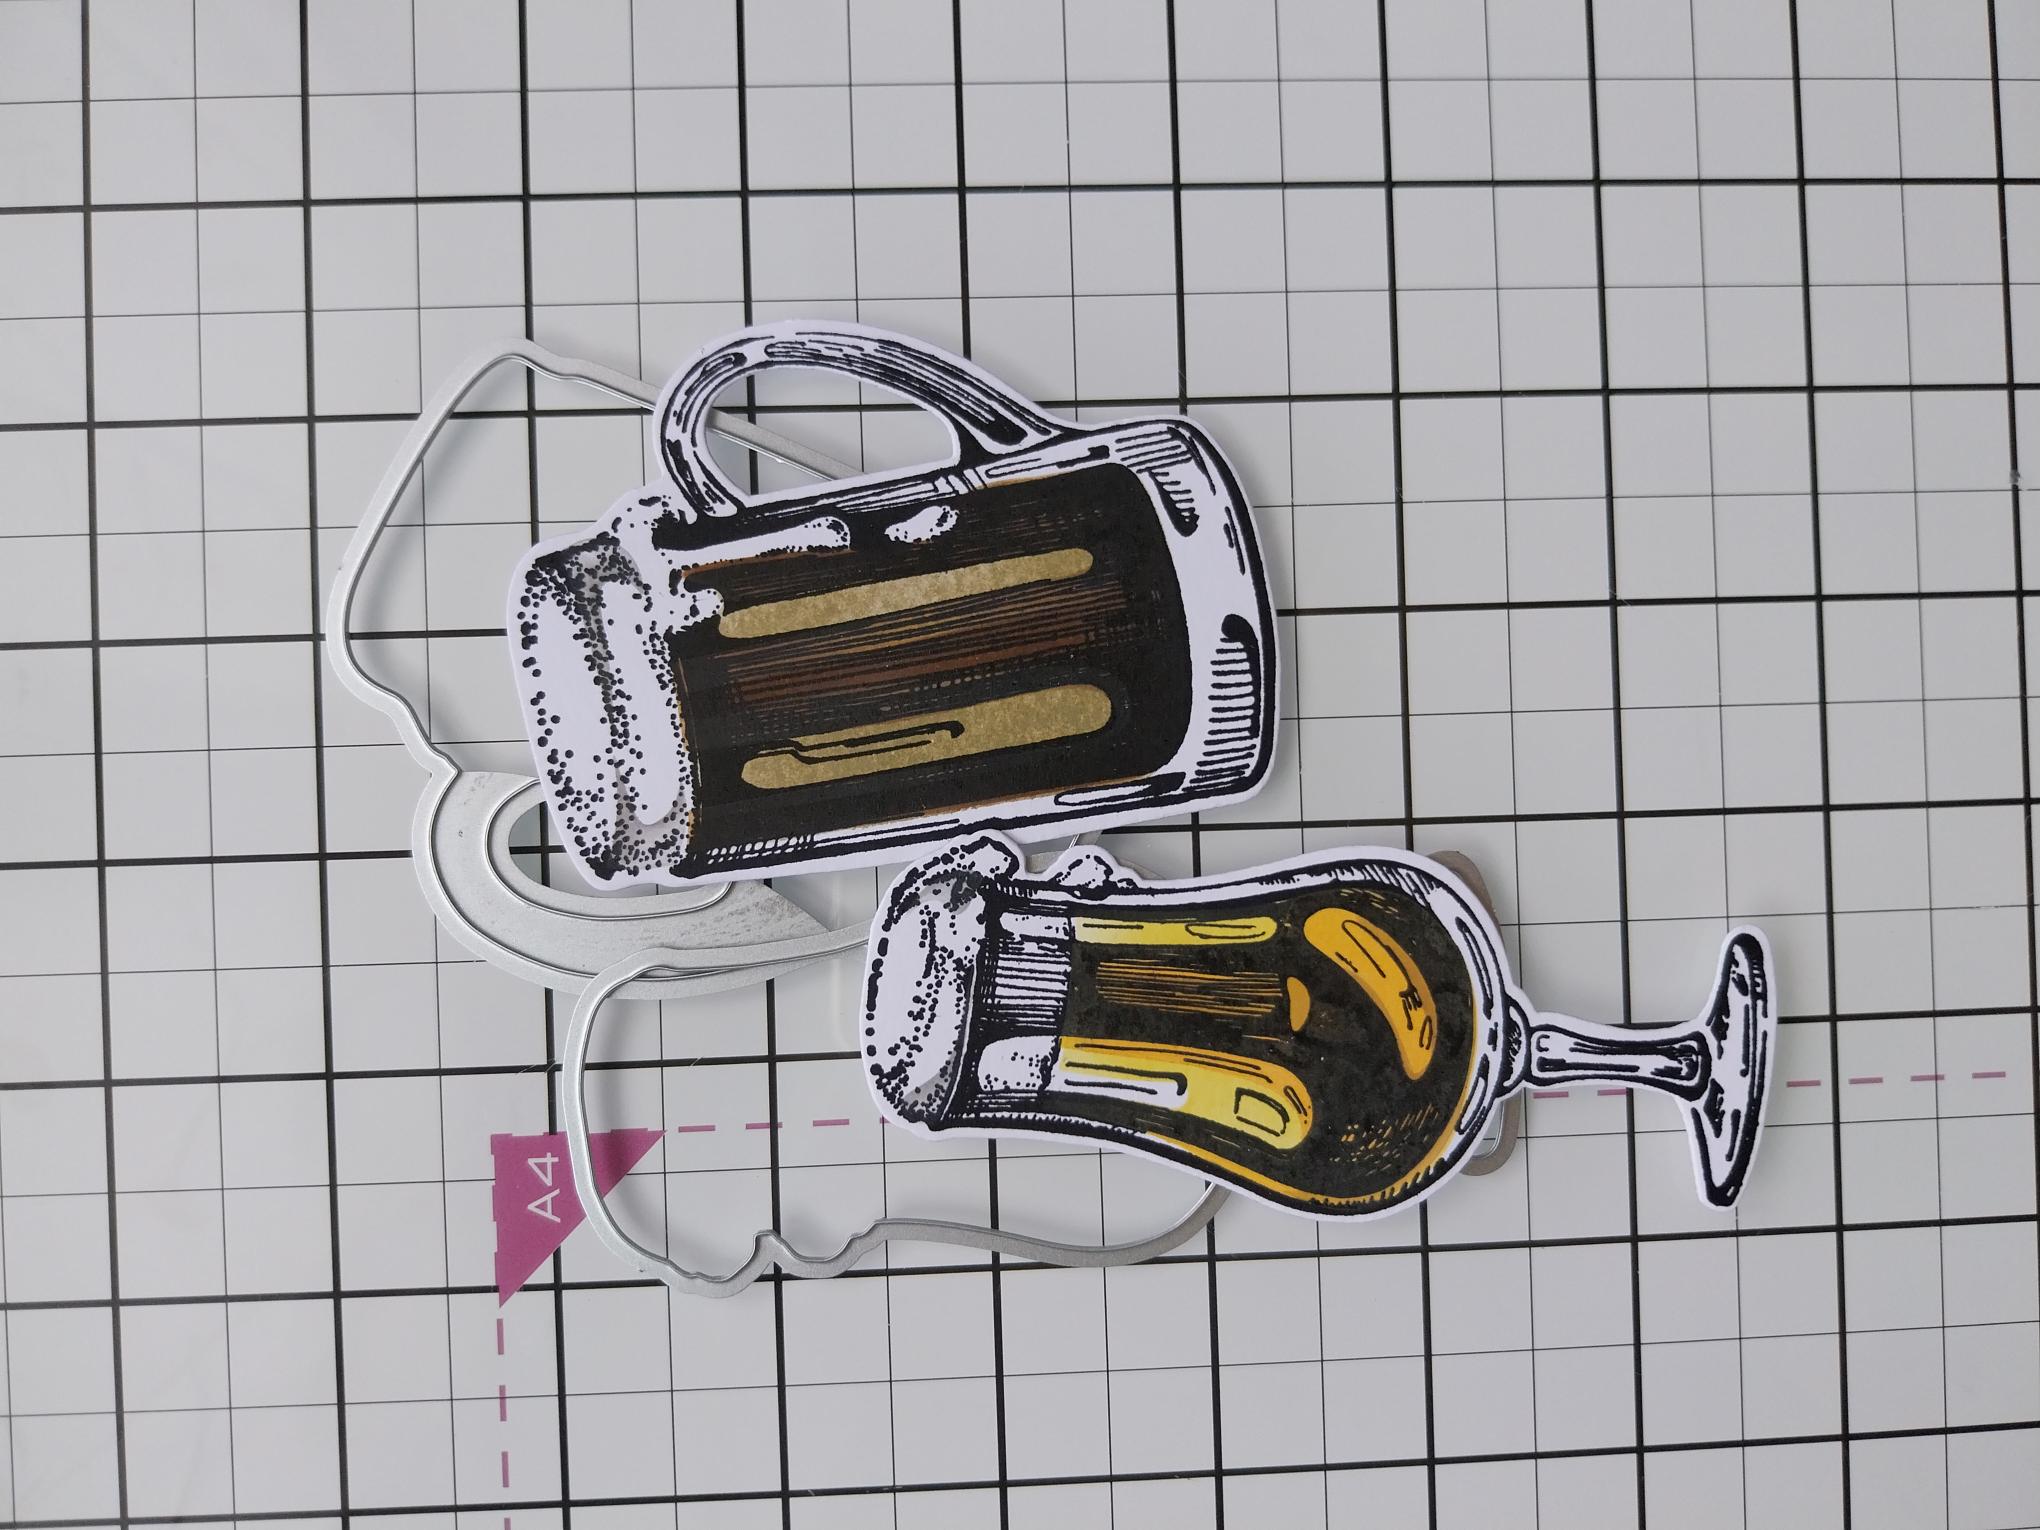
|
Use the coordinating dies to cut them out. |
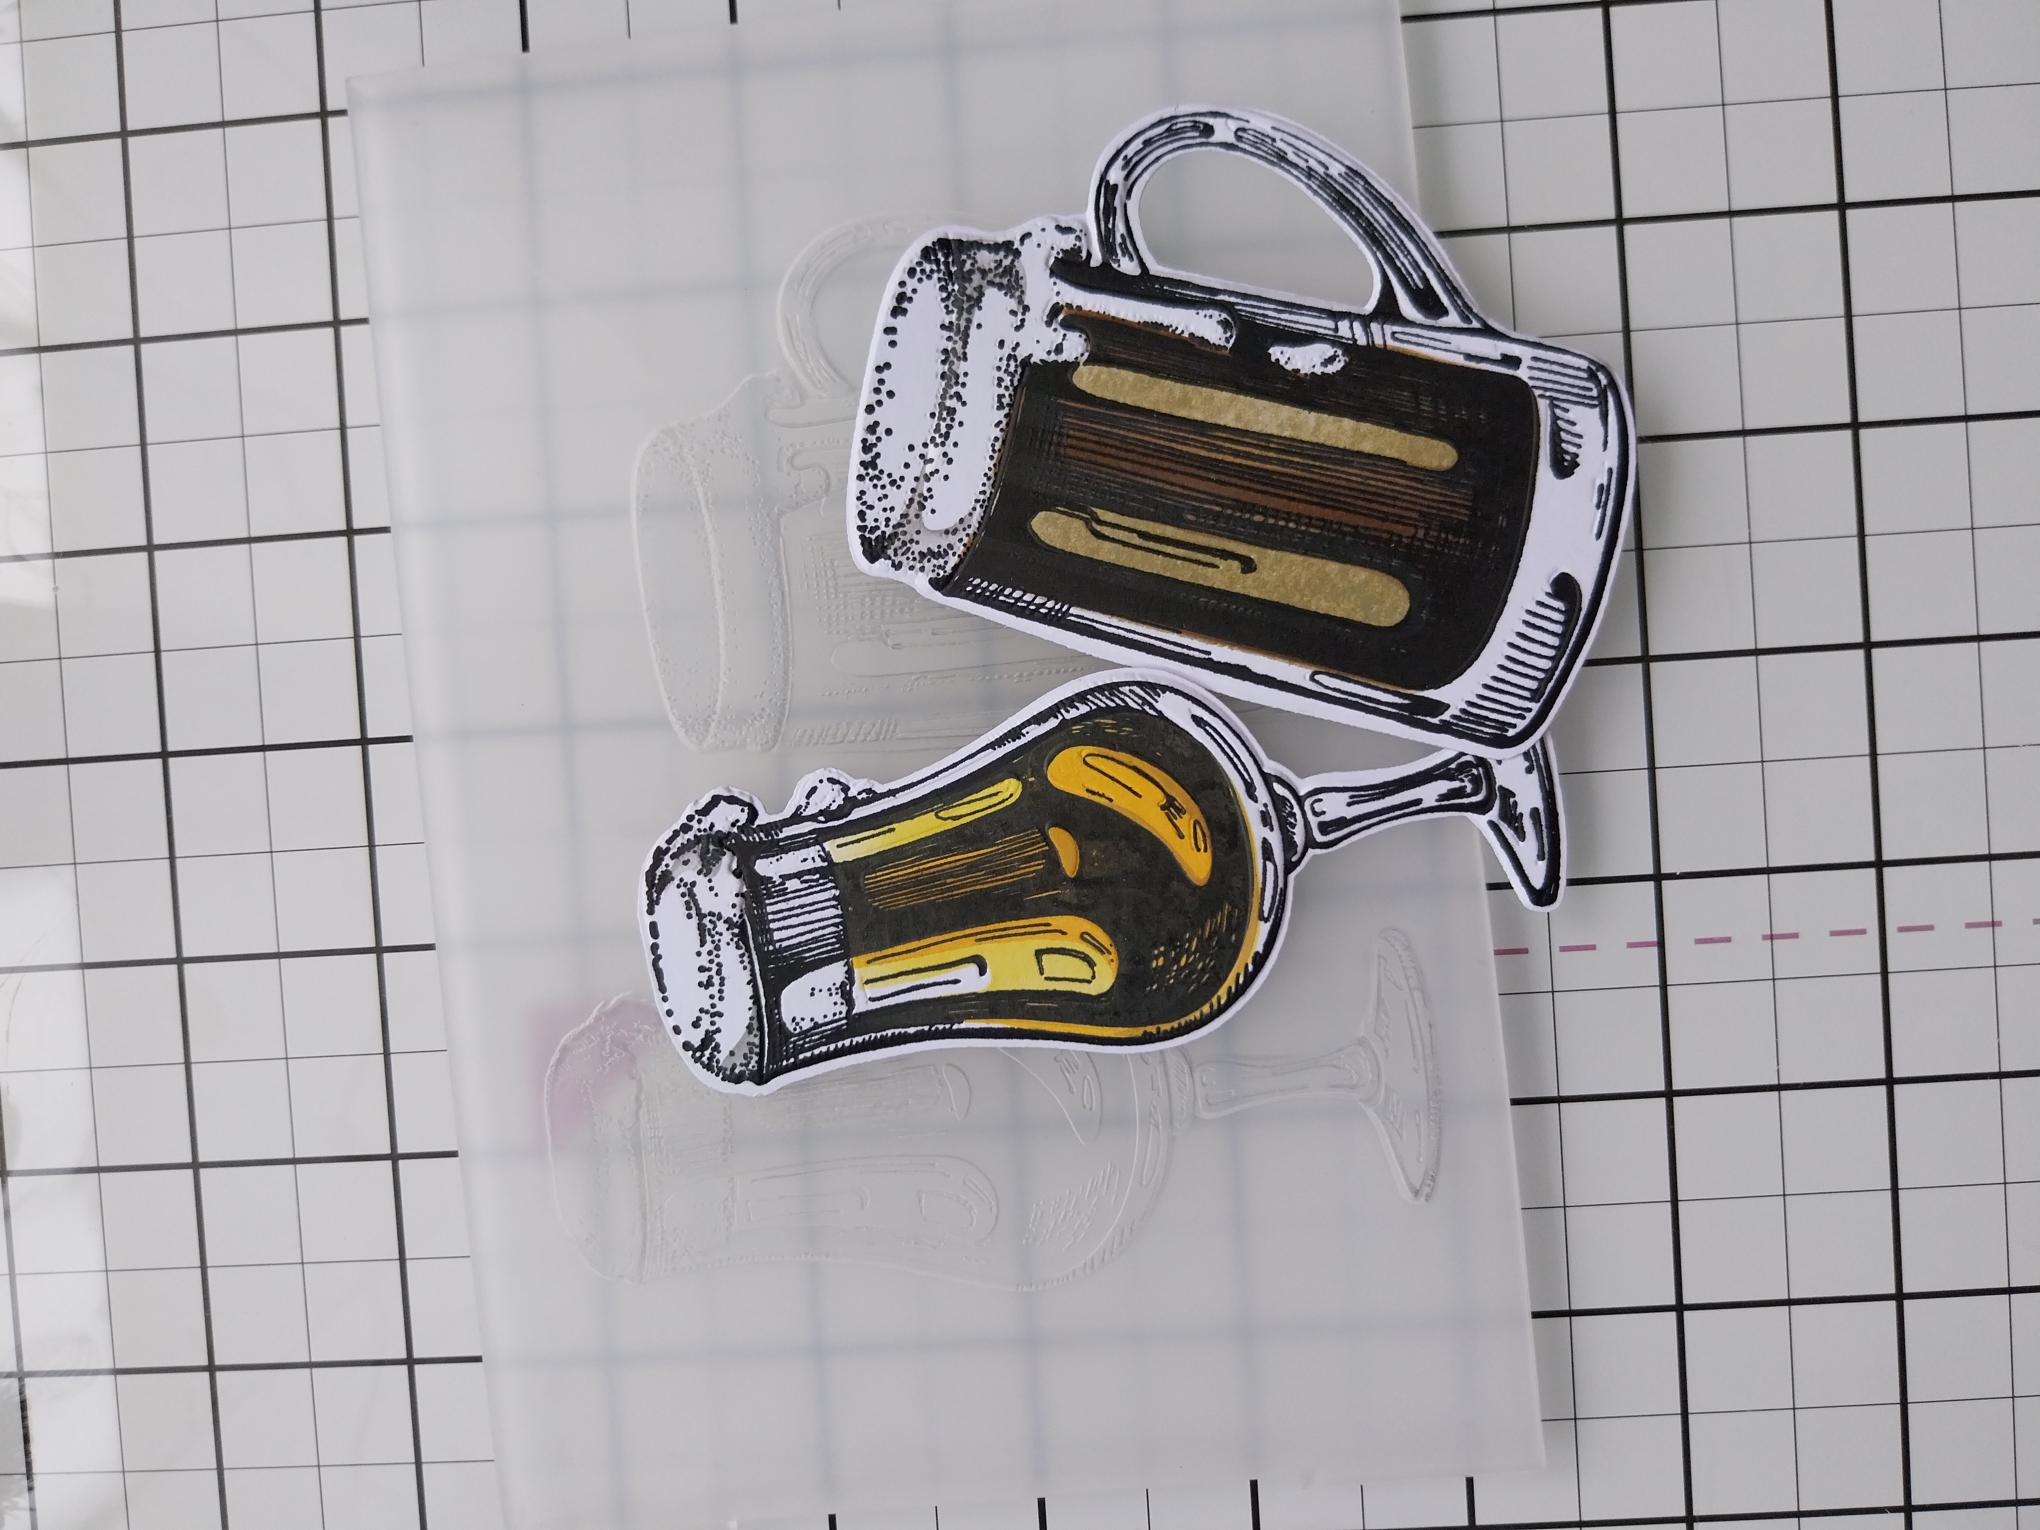
|
Place inside the embossing folder and run them through your machine. Pop to one side. |
|
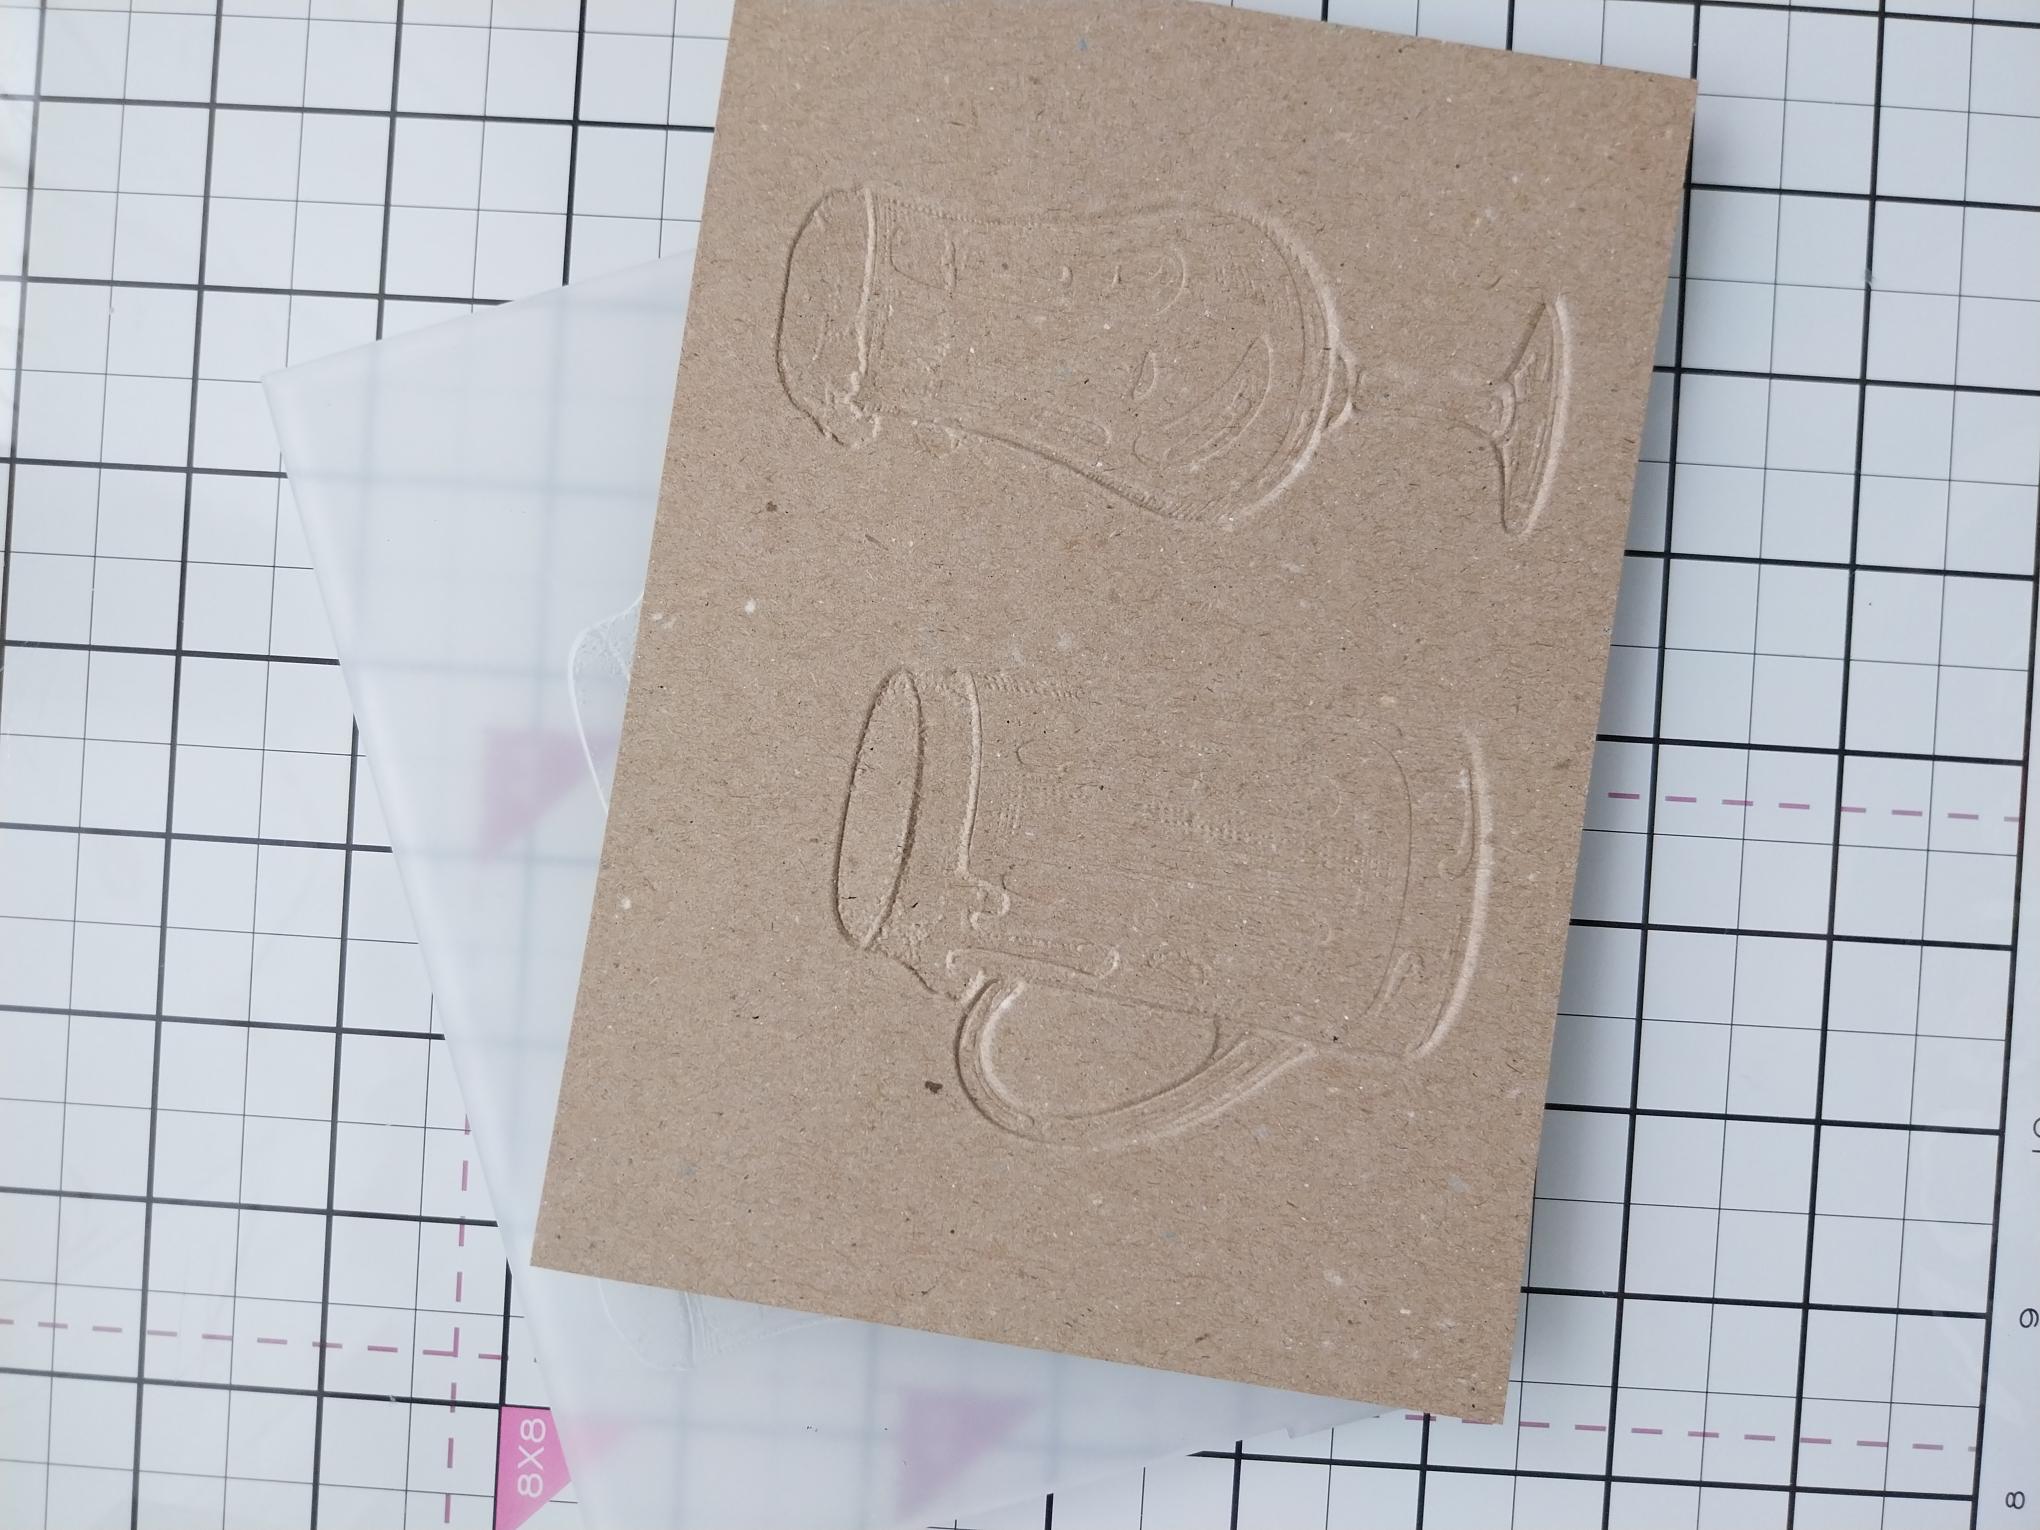
Cut a piece of kraft card to 5 x 7", place inside the embossing folder and run it through your machine. We will be using the DEBOSSED side for this card. |
|
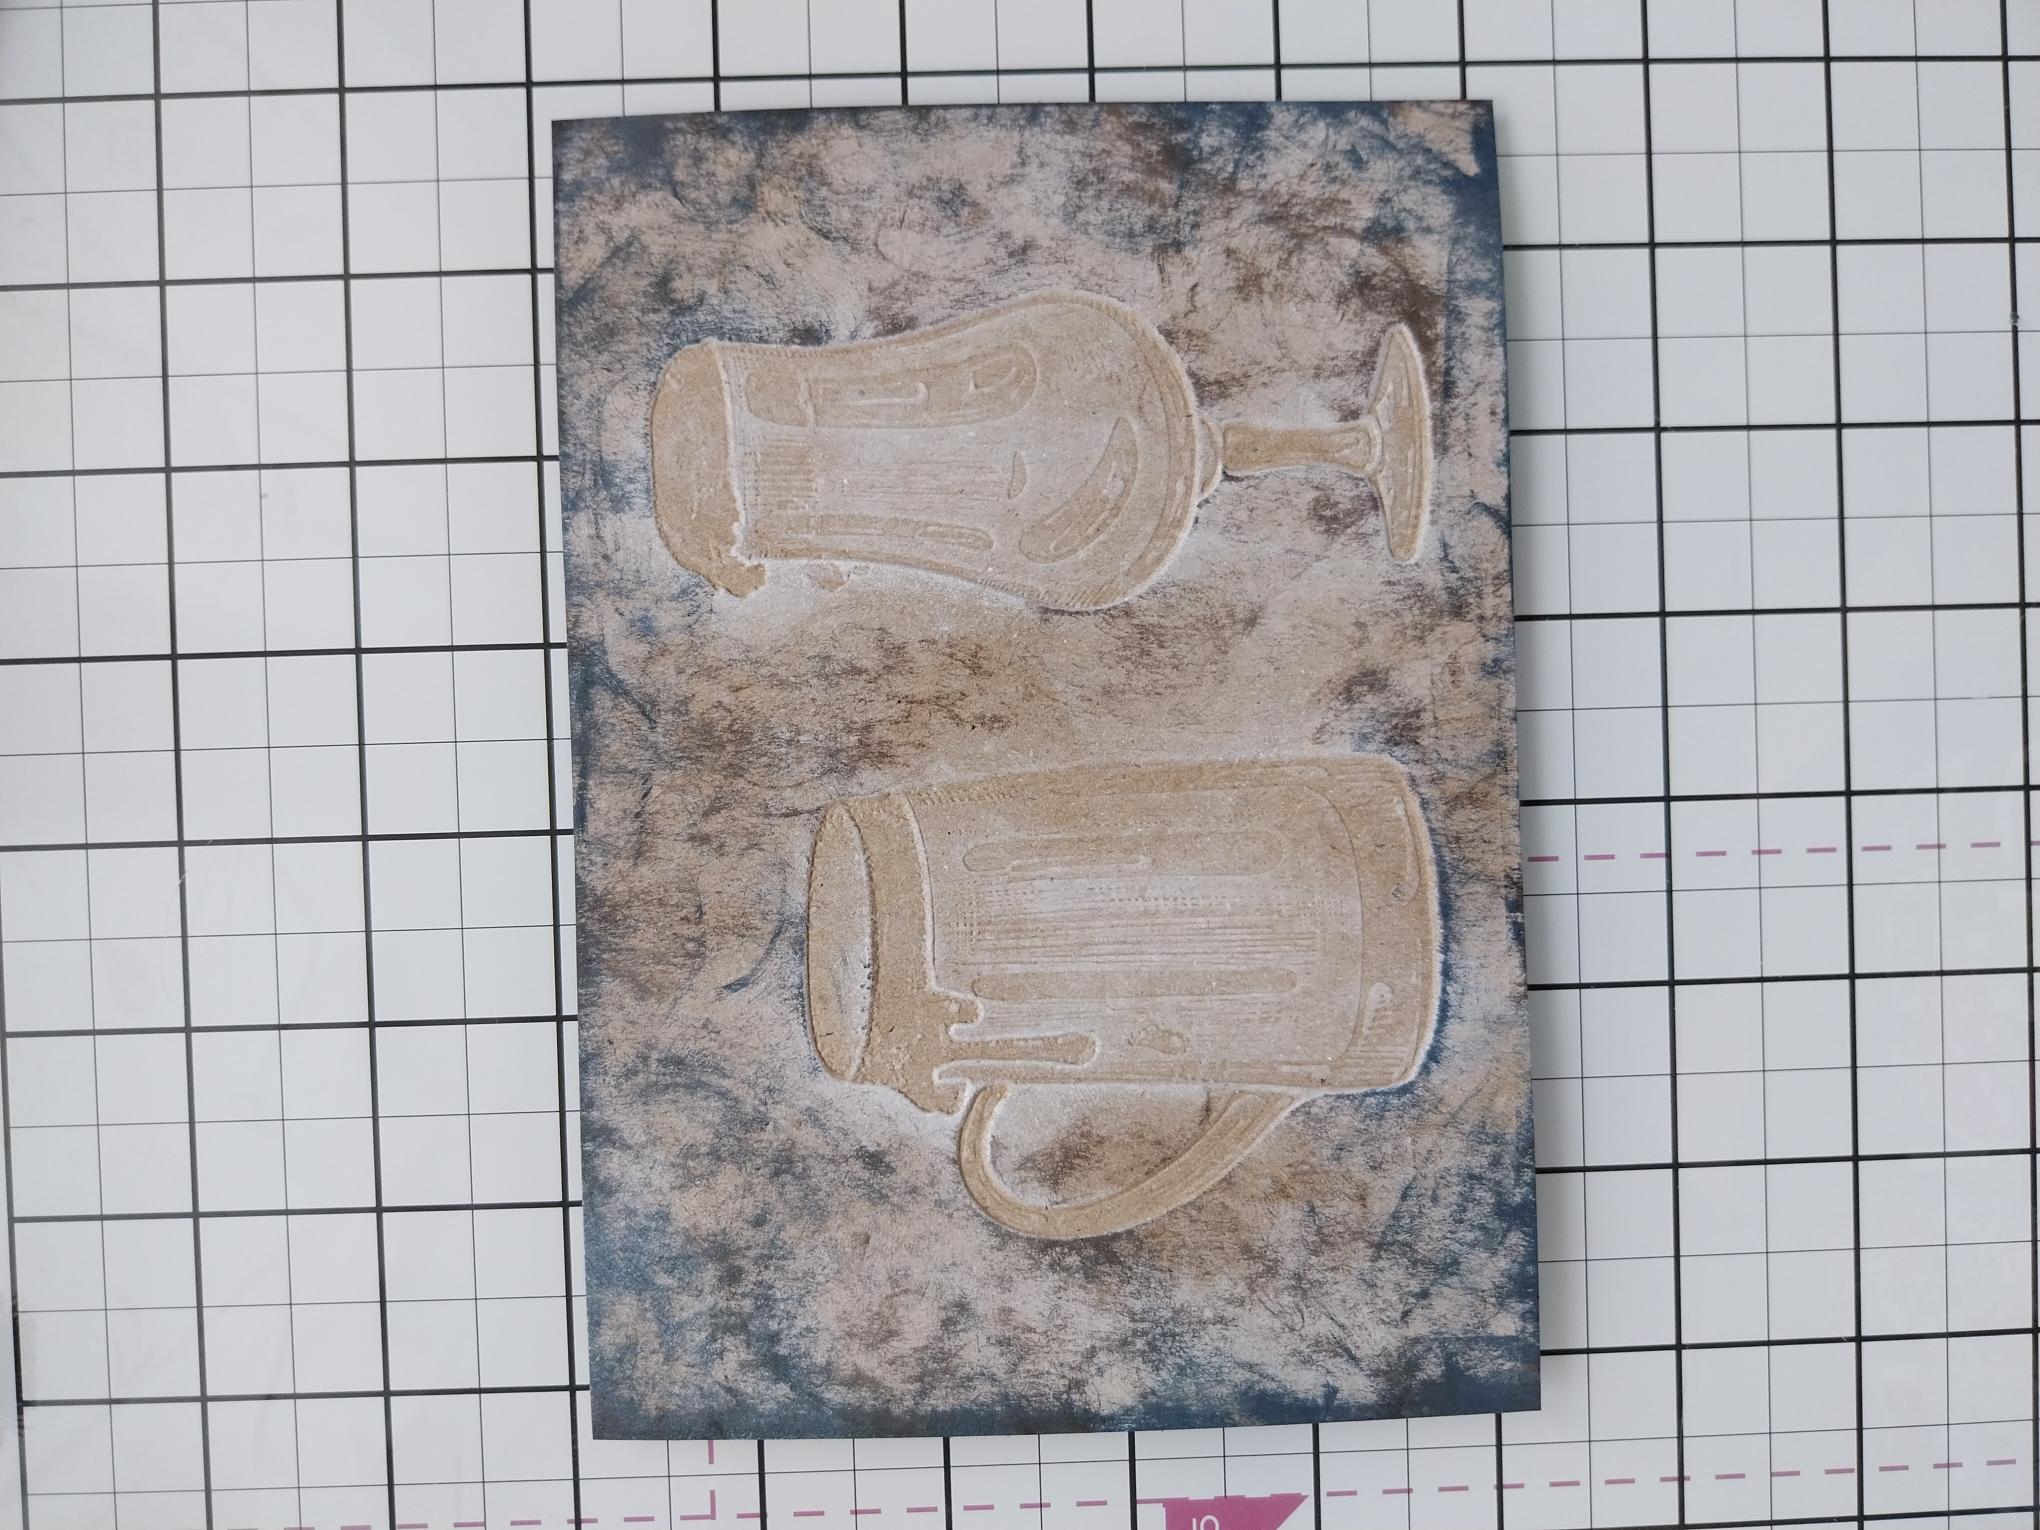
Swipe the Cotton ink pad over the kraft card and blast dry with your heat tool before swiping the Black Soot around the outer edges of the card. You can re-ink the folder with both inks, until you are happy with the result. |
|
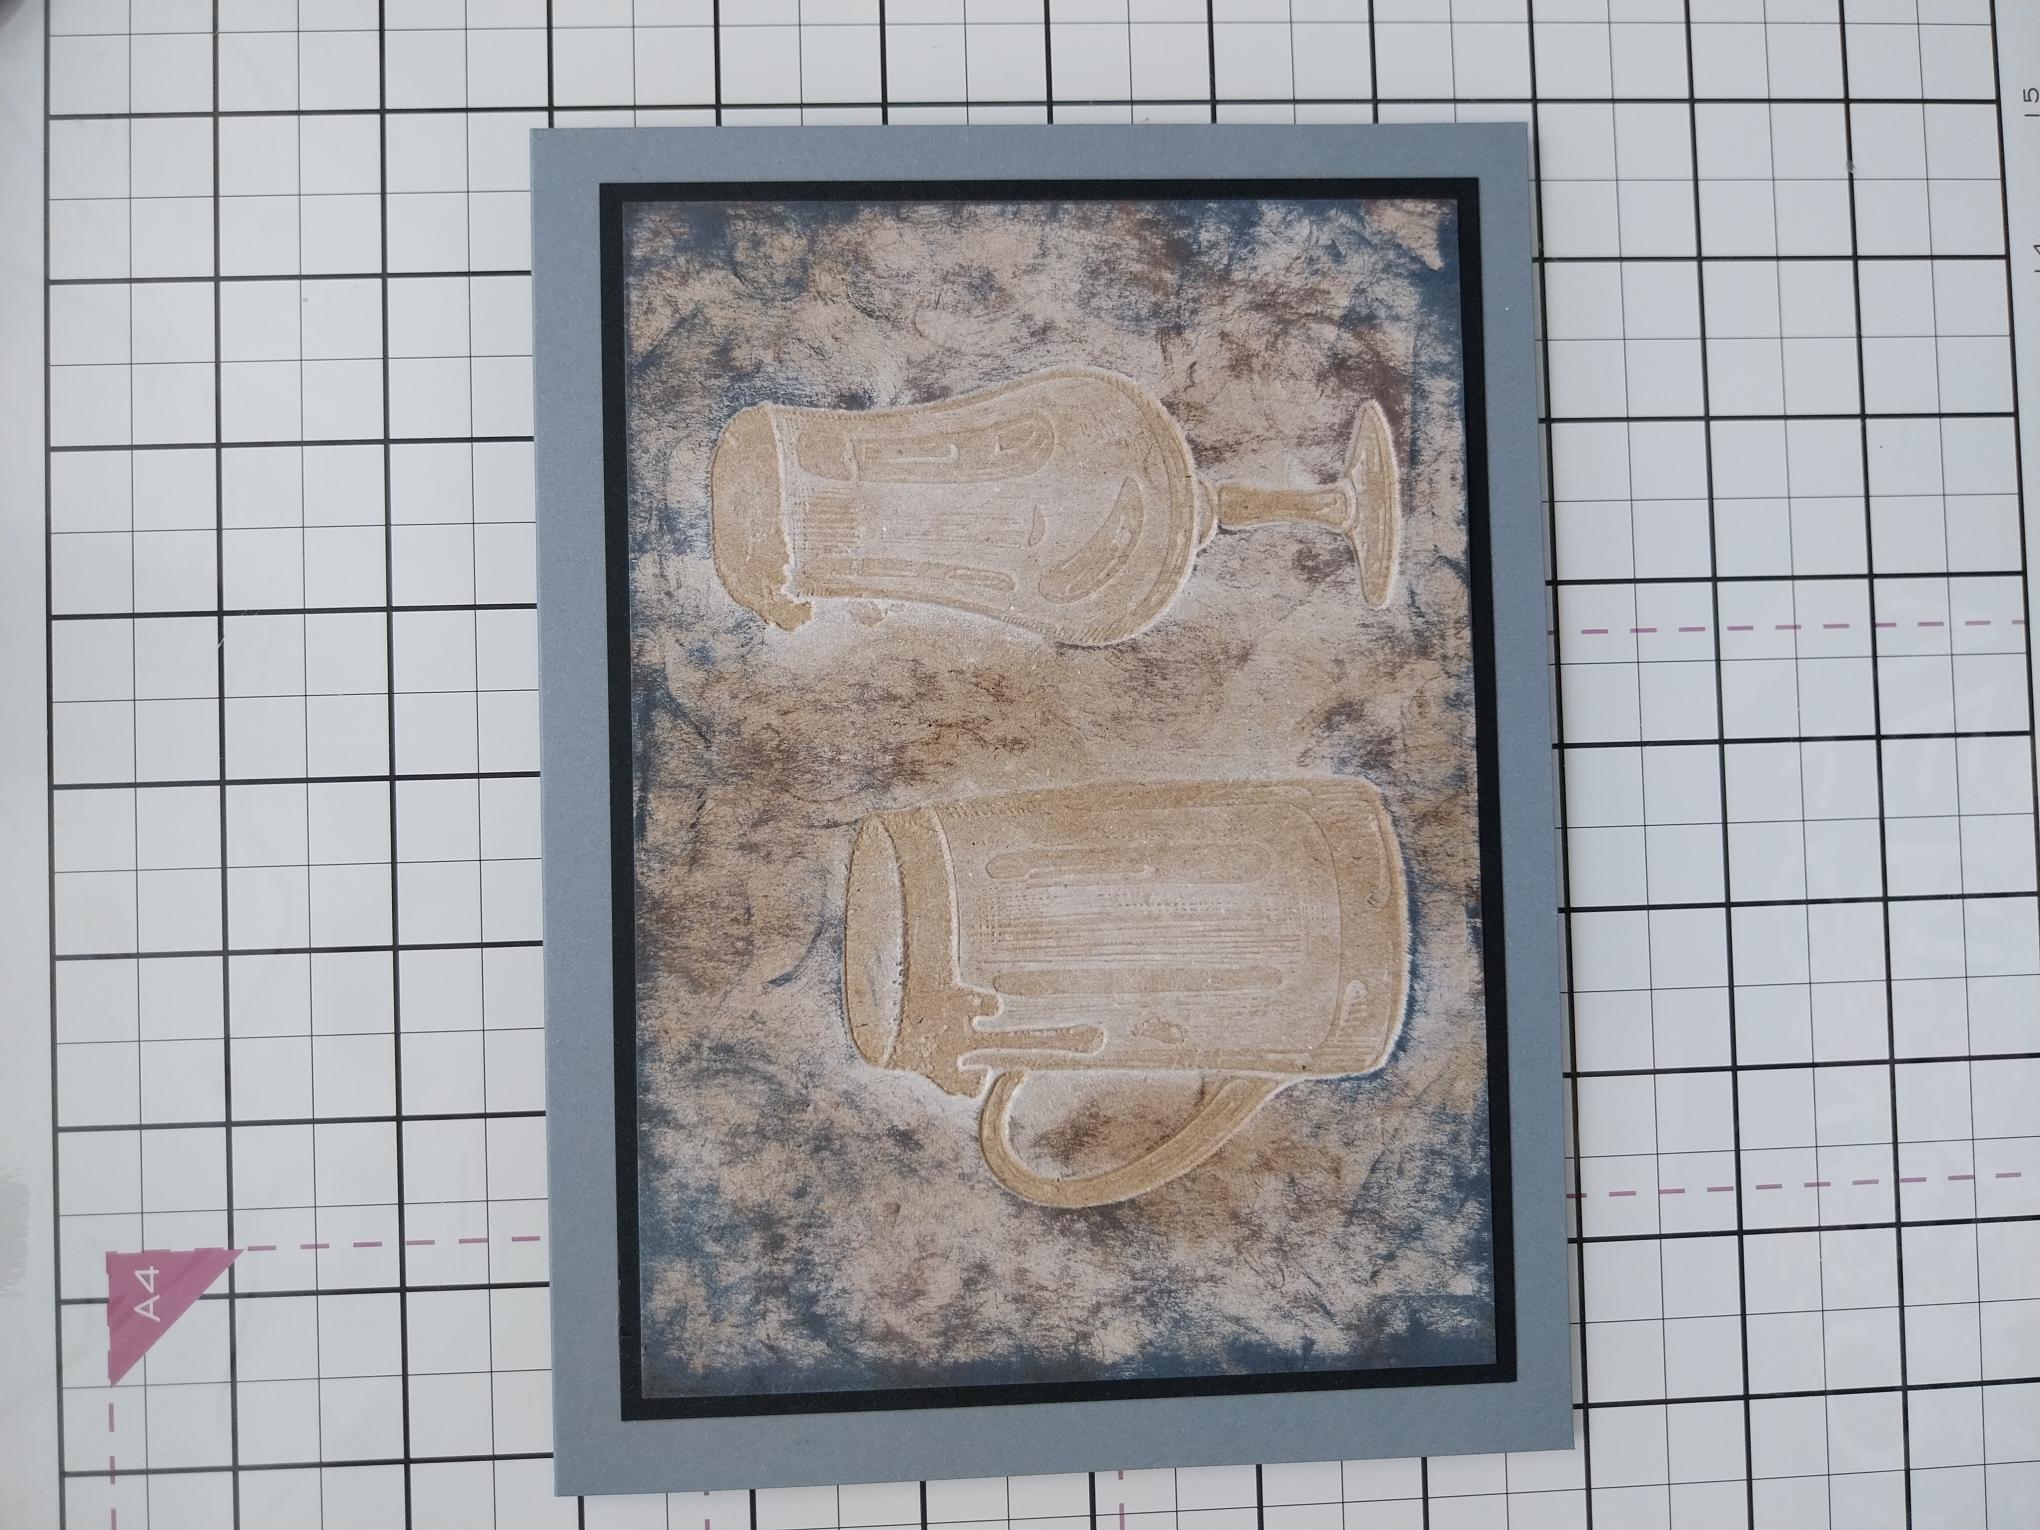
Mat on to black card trimmed to 5 1/4 x 7 1/4" and then on to the front of your landscape grey card blank. |
|
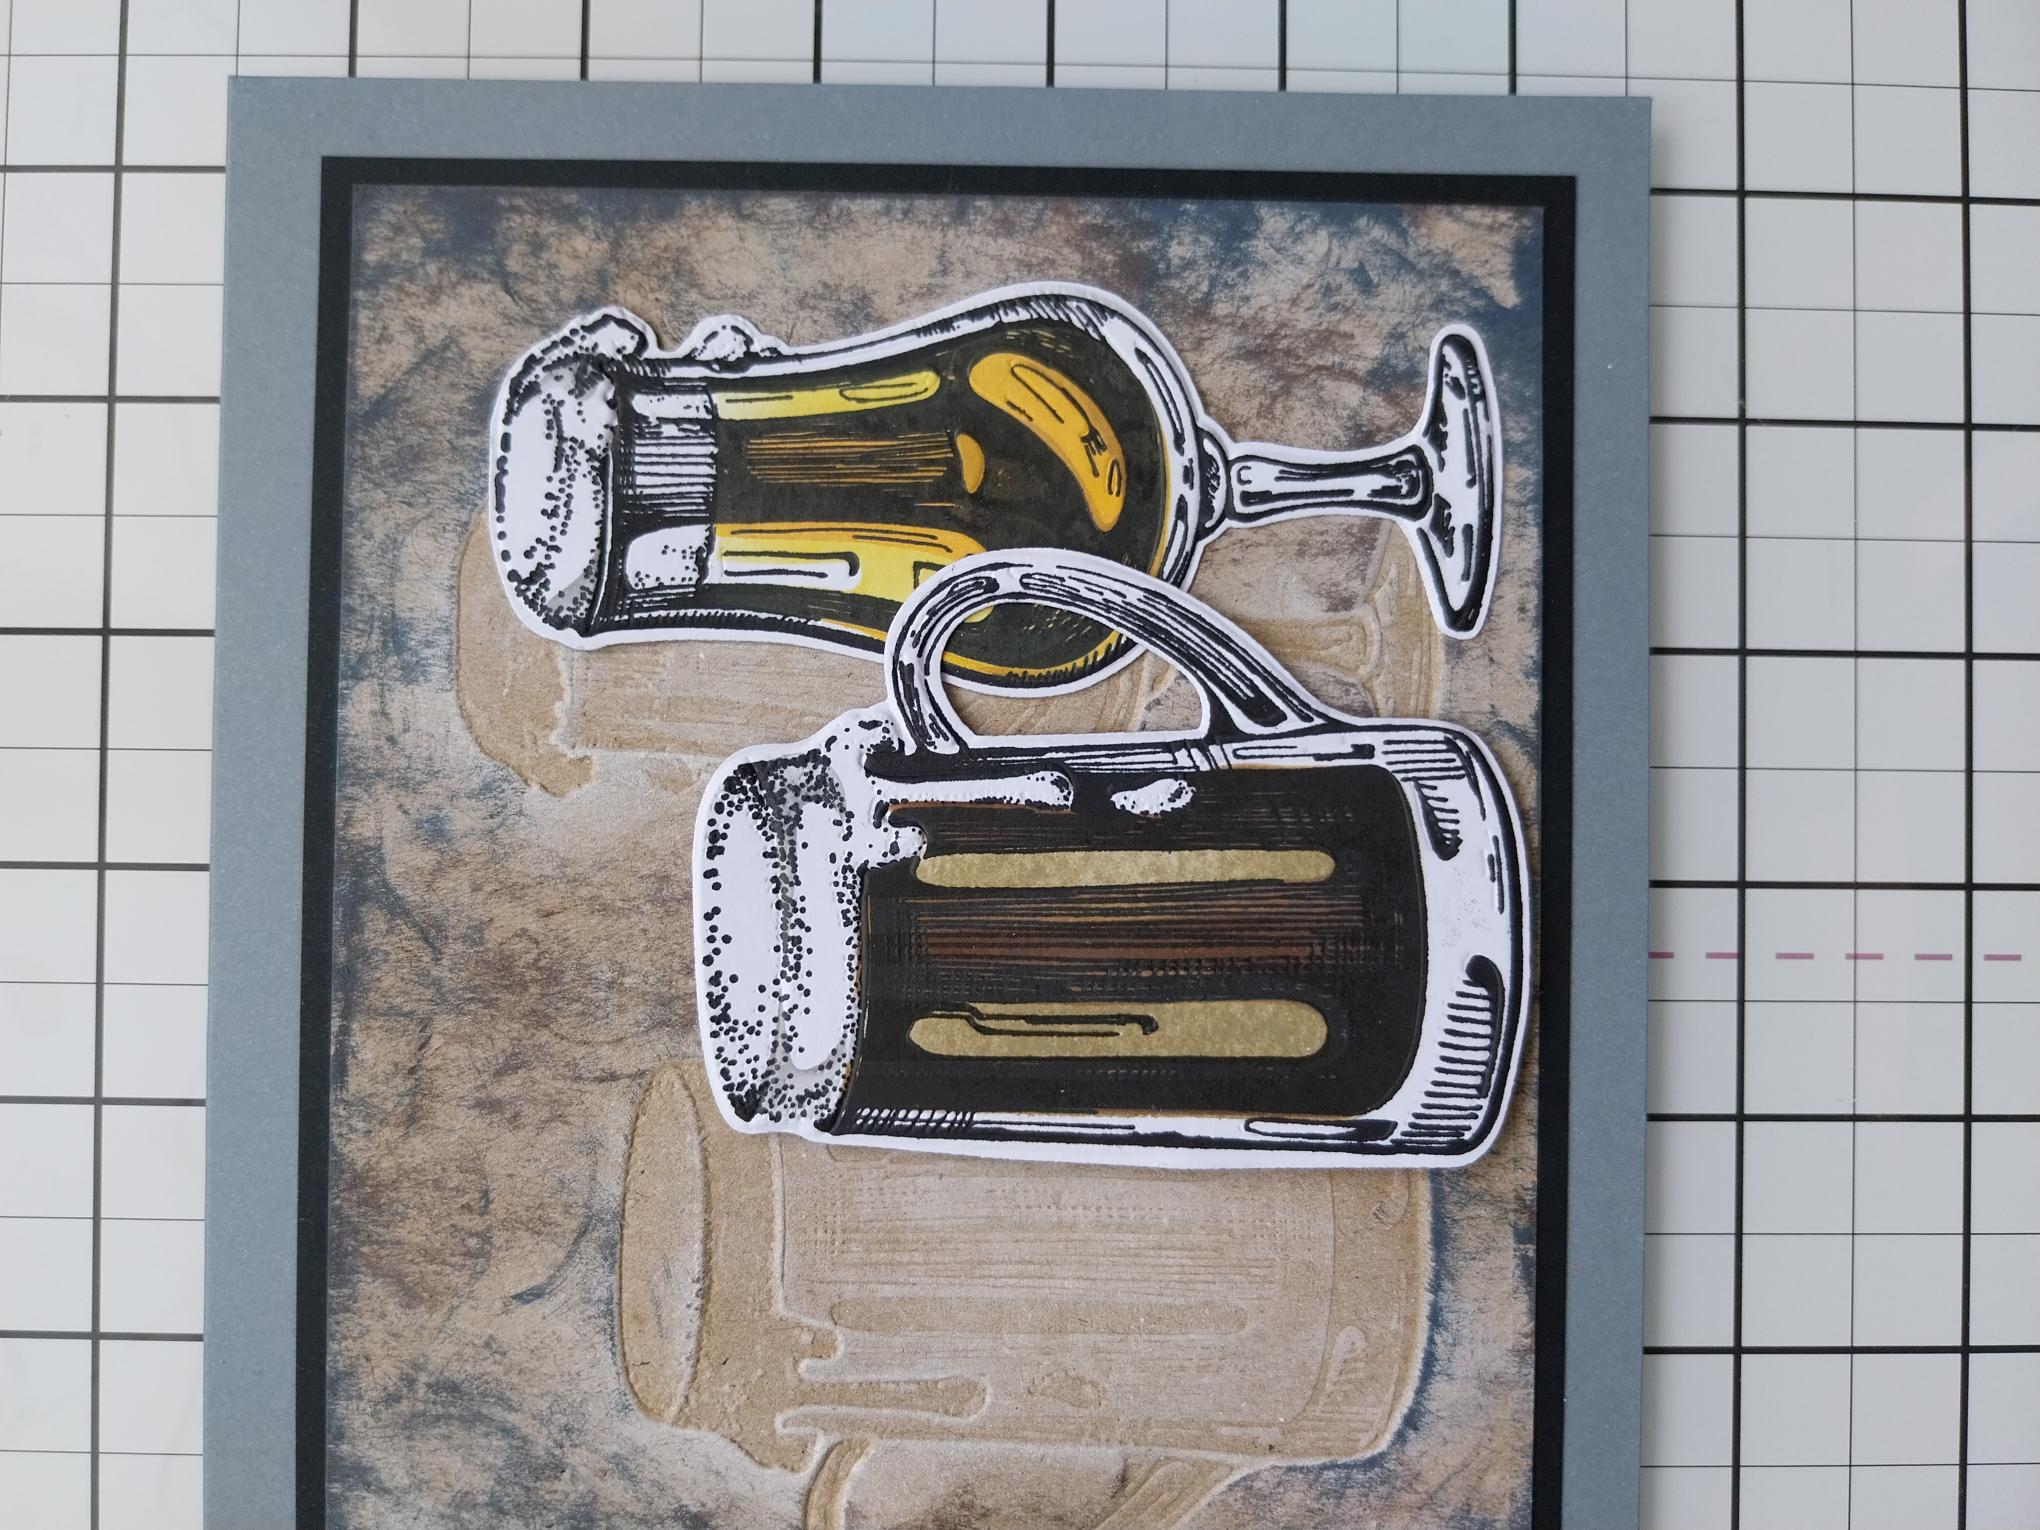
Adhere the 3D elements with foam pads, to the right of the embossed background. |
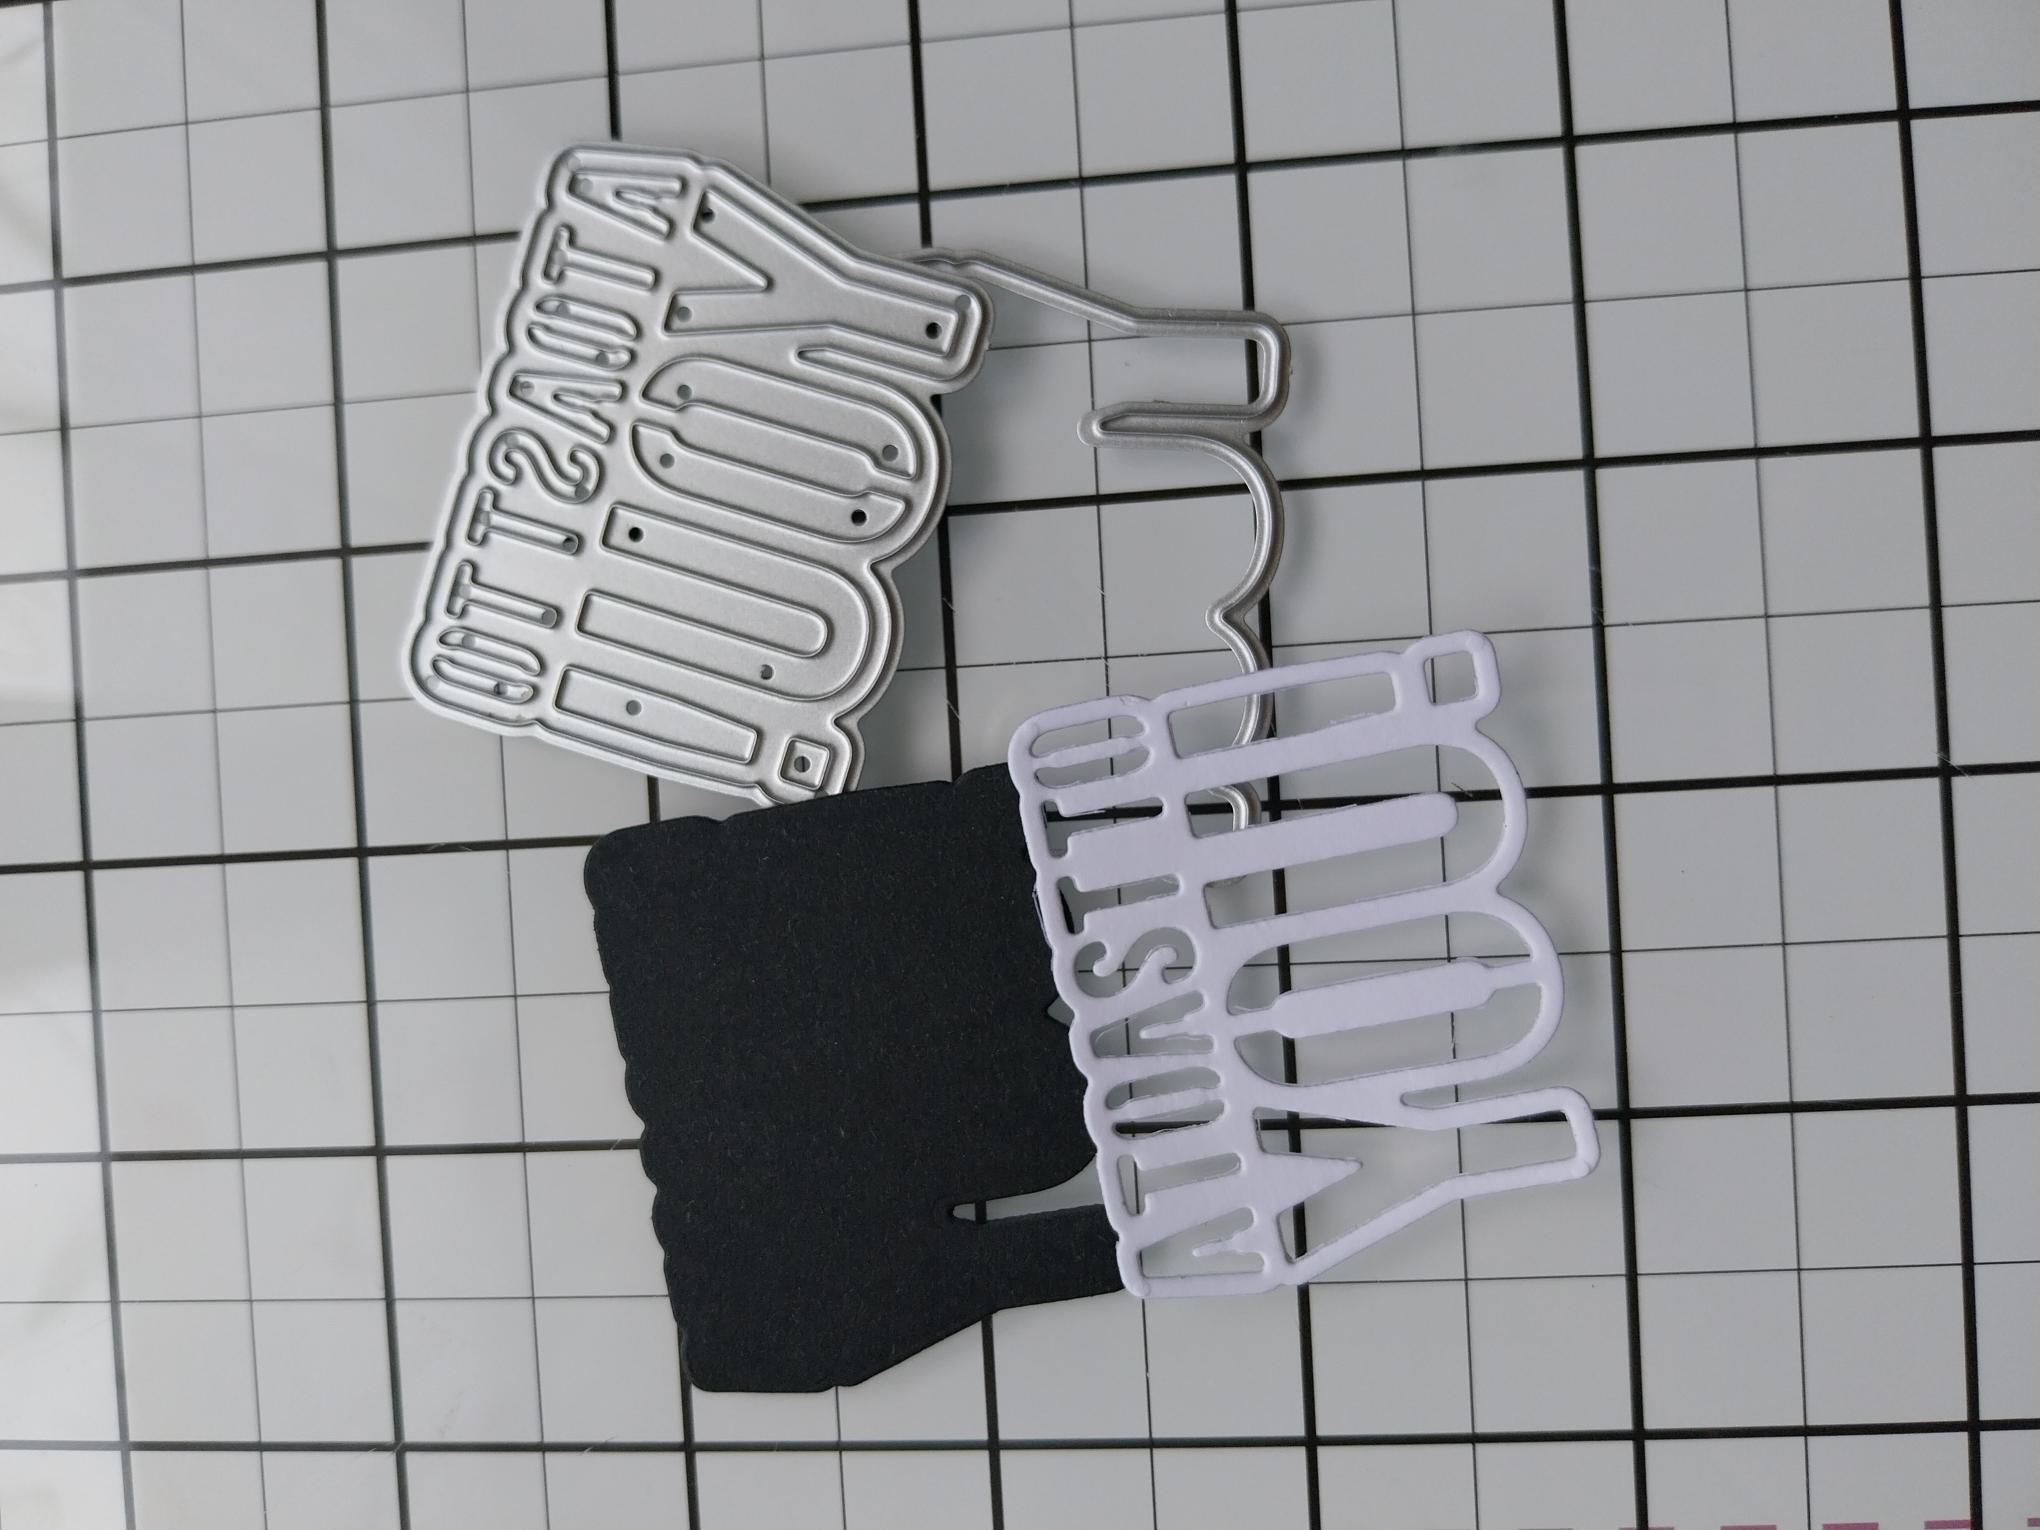
|
Die cut the detailed "A Toast To You" from white card and the solid die from black. |
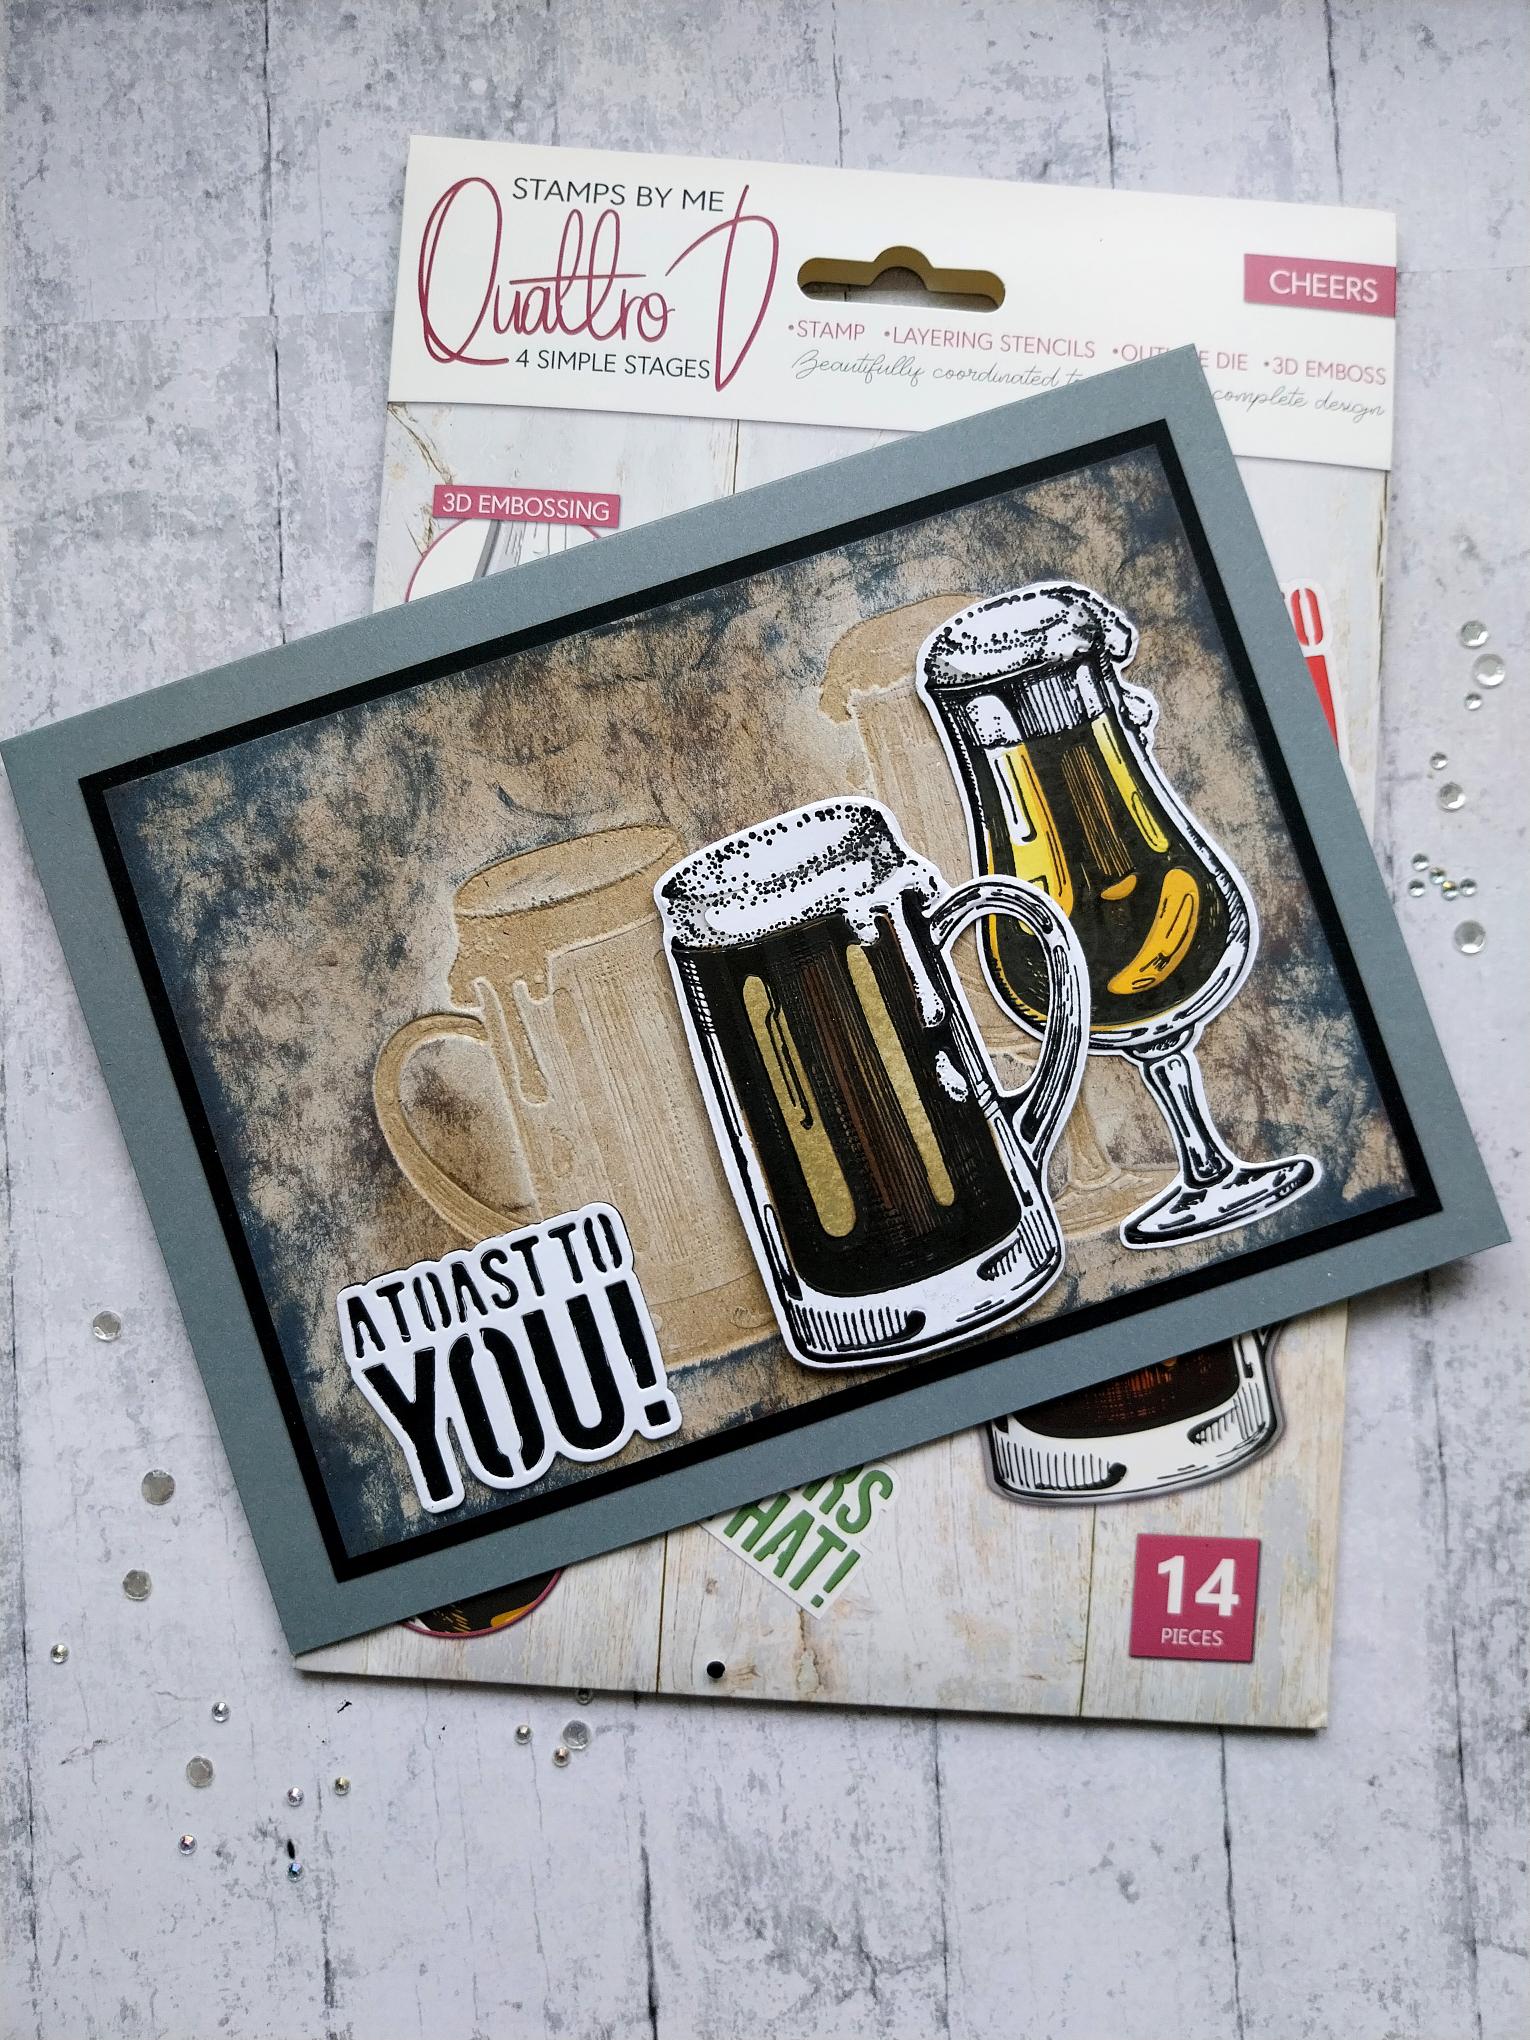
|
Adhere the die cut sentiment together, then adhere to the left of your card. |