


WHAT YOU WILL NEED:
White card blank 7 x 7"
Black/white cardstock
Masking sheet, copy paper, post-it-note
IMALA Let's Flamingle A5 Stamp
IMALA Pearly Whites A5 Stamp
SBM Hybrid Ink Pad: Midnight
SBM Dye Ink Pad: Magenta
IZINK Dye Ink Spray: Violet Cassis
IZINK Shiny Spray: Bleu Ciel
Confetti Paint: Moondust
Paint Brush
Black pen
Eureka 101 Watercolour Tablet
SBM A3 Magnetic glass mat
Paper Trimmer
Glue
[click image to enlarge] 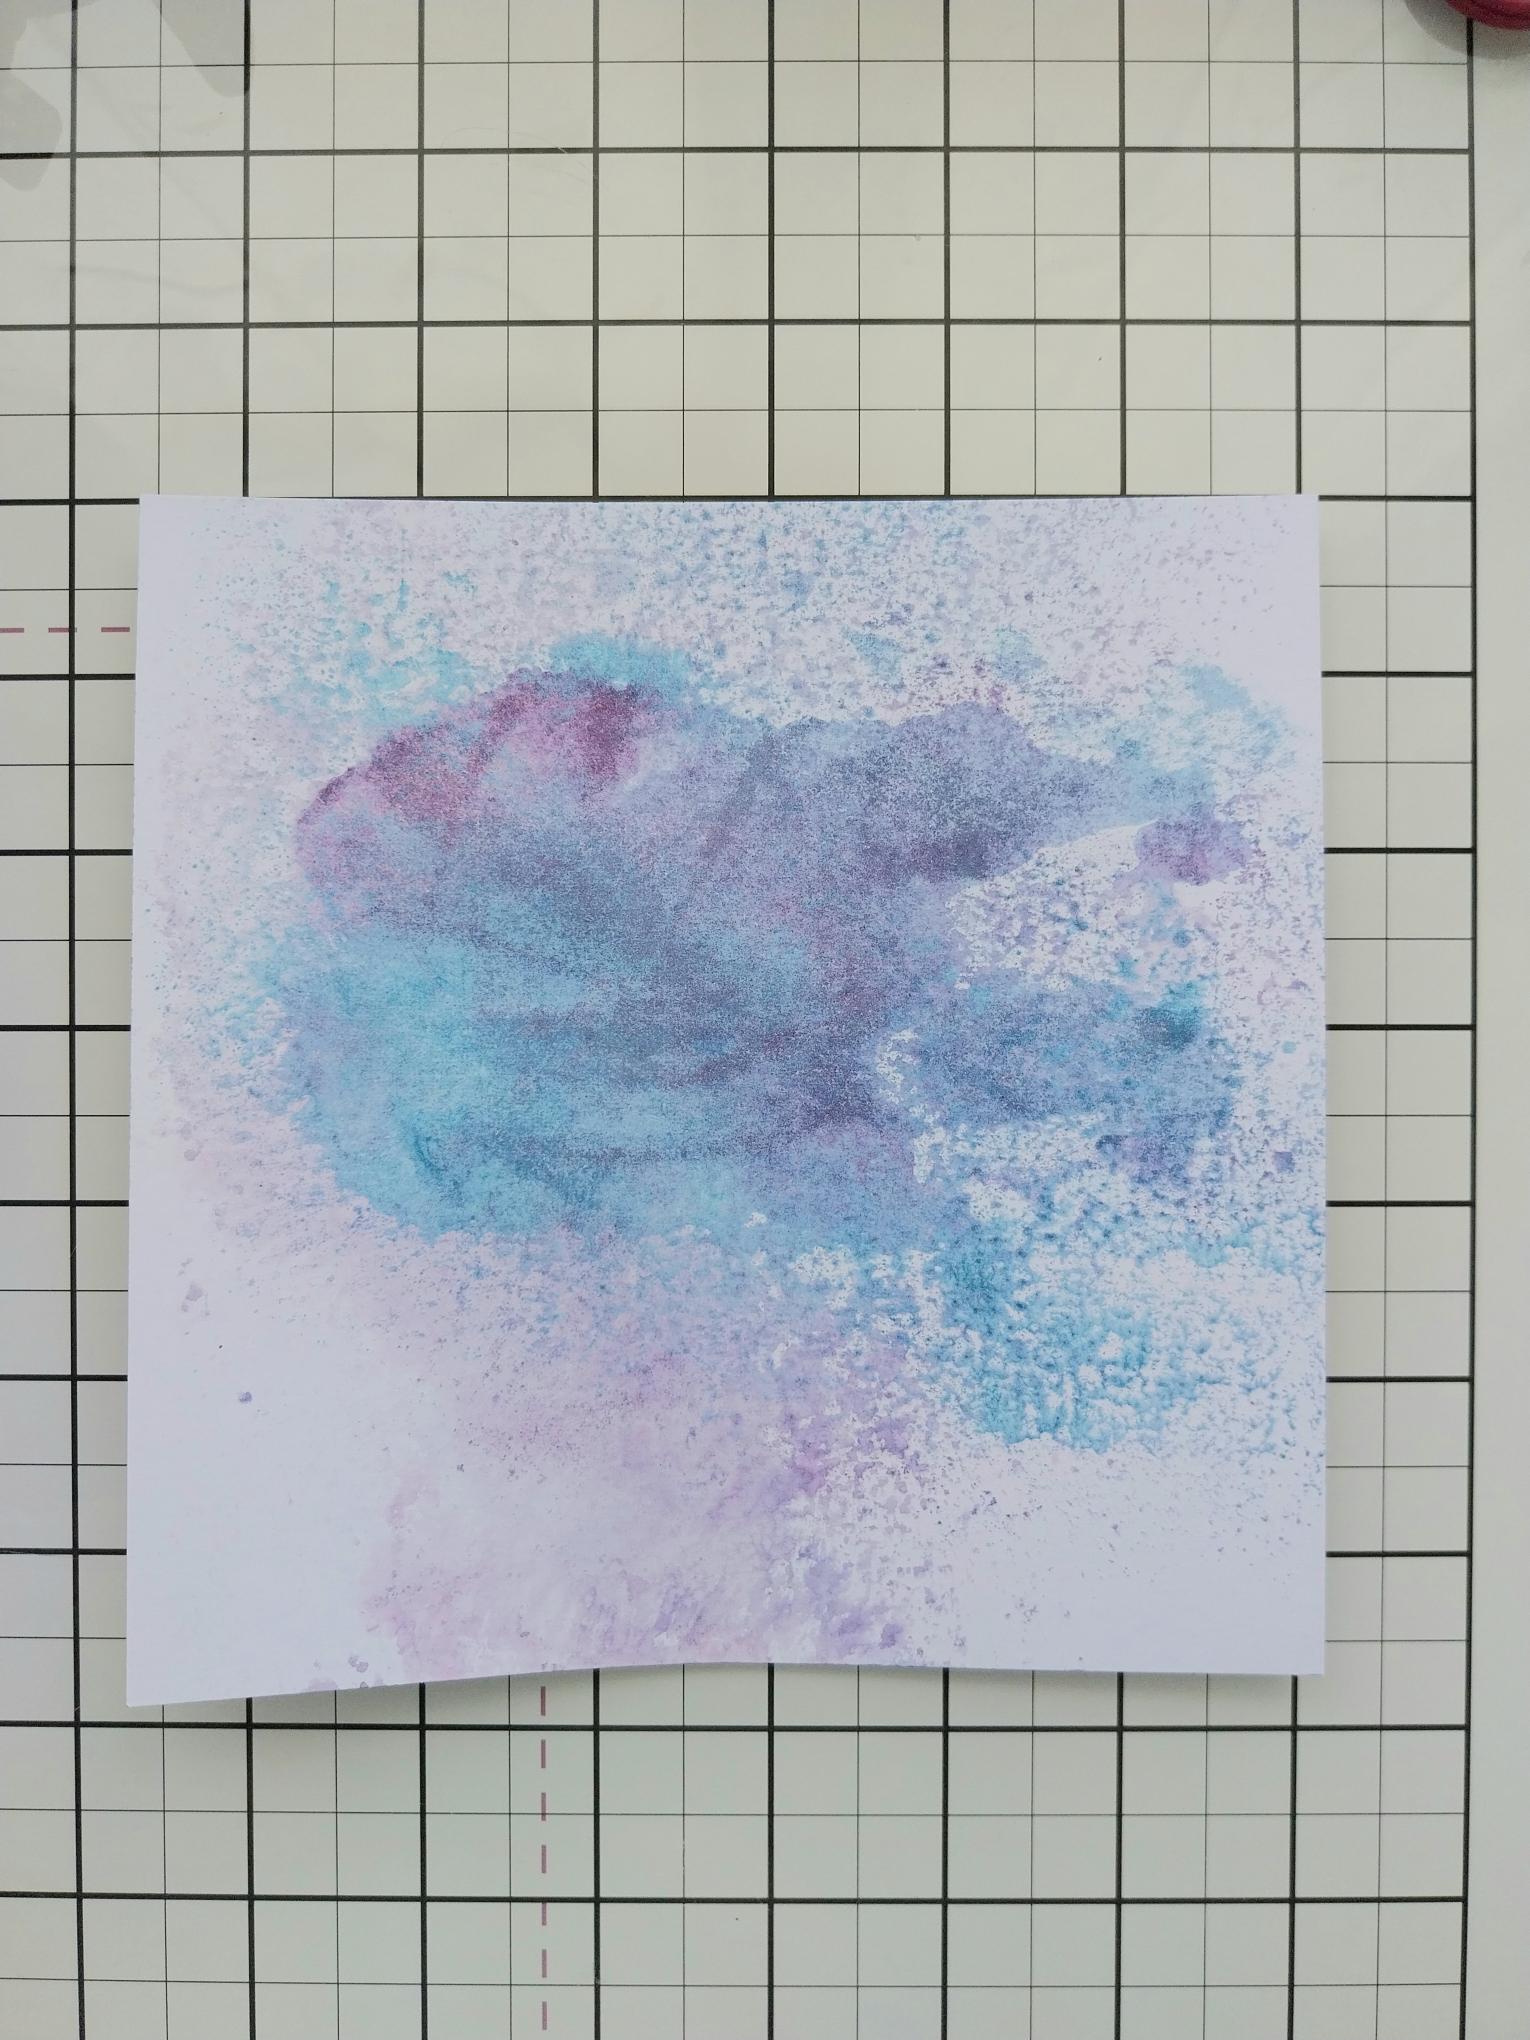
|
Cut a piece of white card to 6 1/2" square. Spray the IZINK inks on to your glass mat and "smoosh" the card through the ink to create your background. |
|
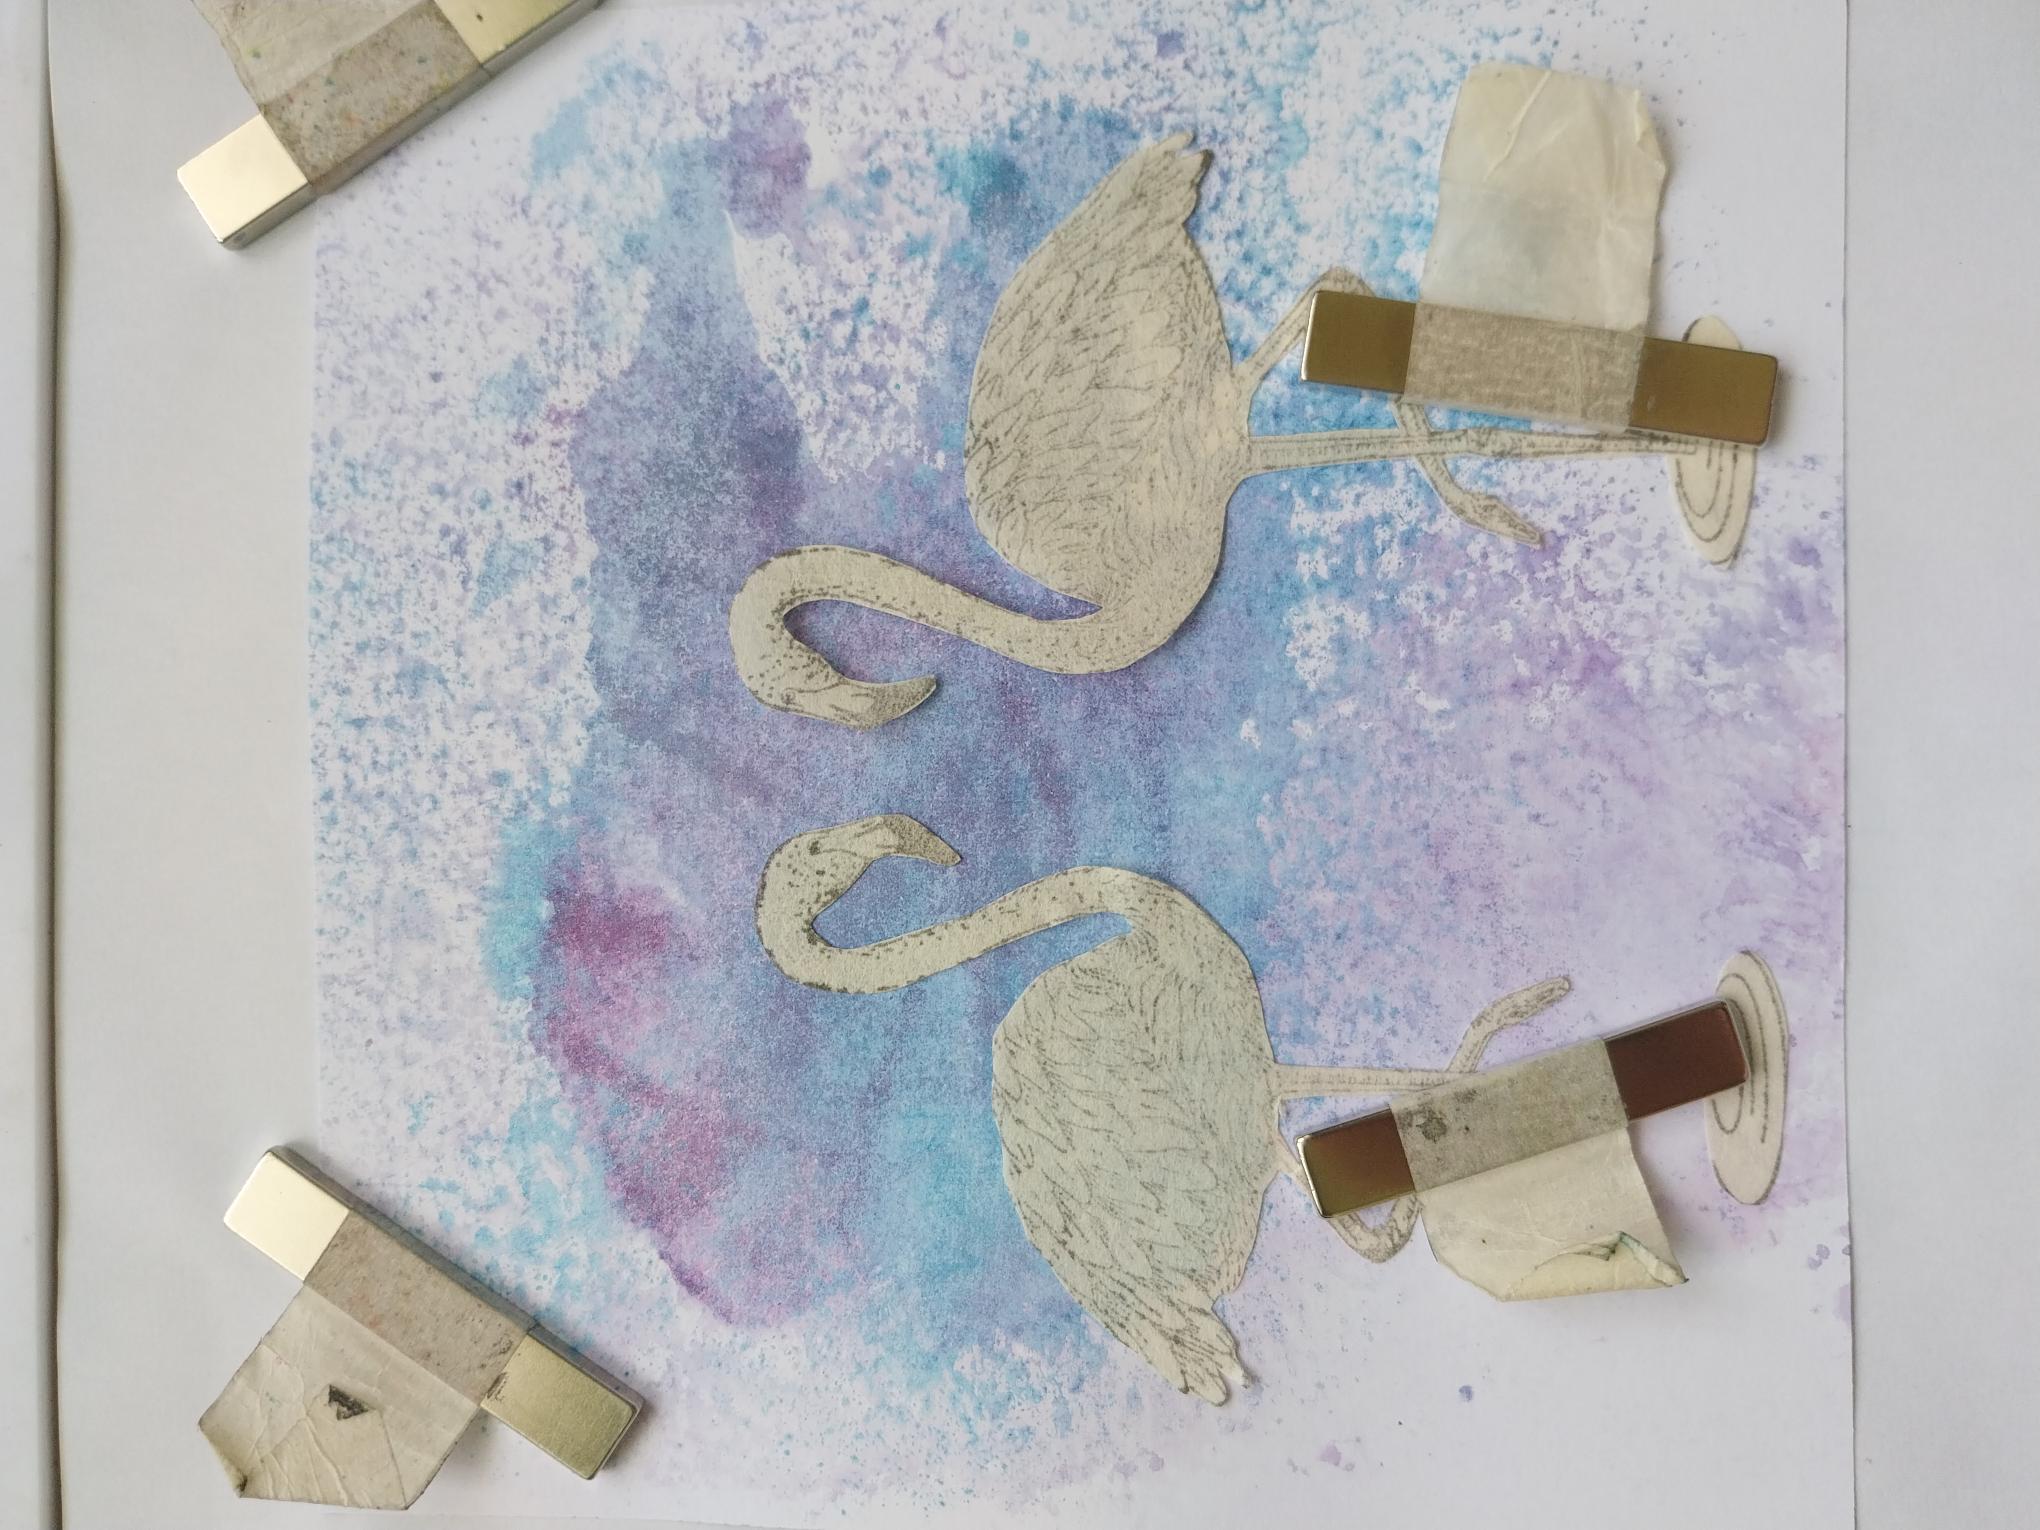
Stamp the Flamingos on to a masking sheet or copy paper and fussy cut to create two "masks". Secure in place on the dried inked card, with your Eureka magnets. |
|
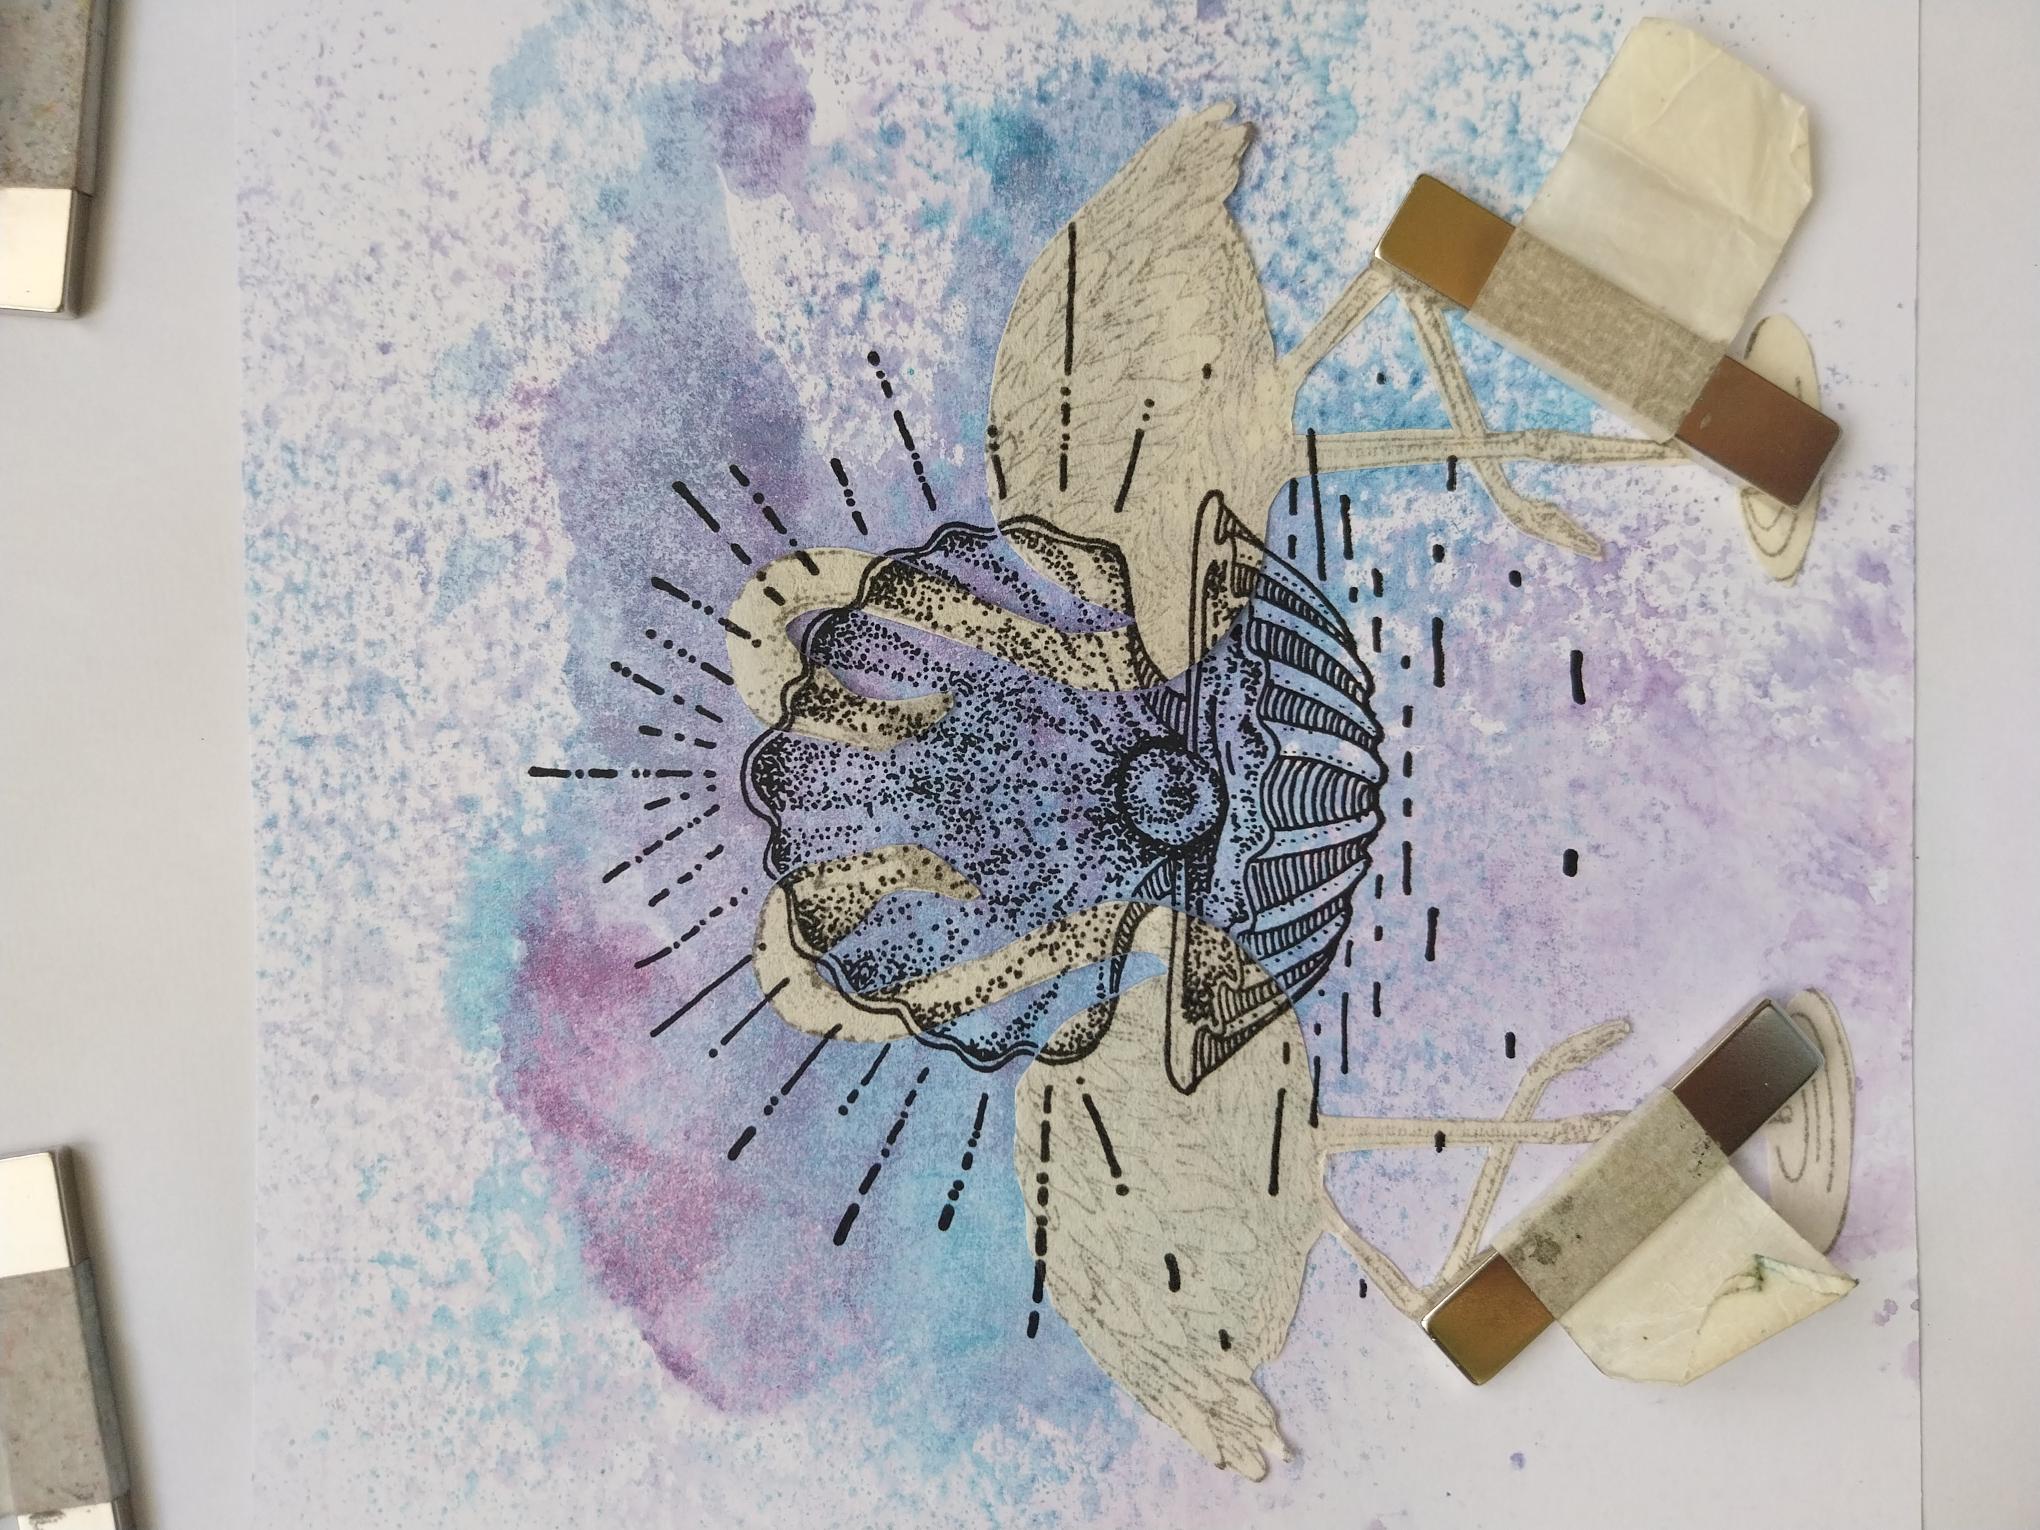
Stamp the beautiful Oyster shell in Midnight, in the centre of your background, overlapping the Flamingo masks as seen here. |
|
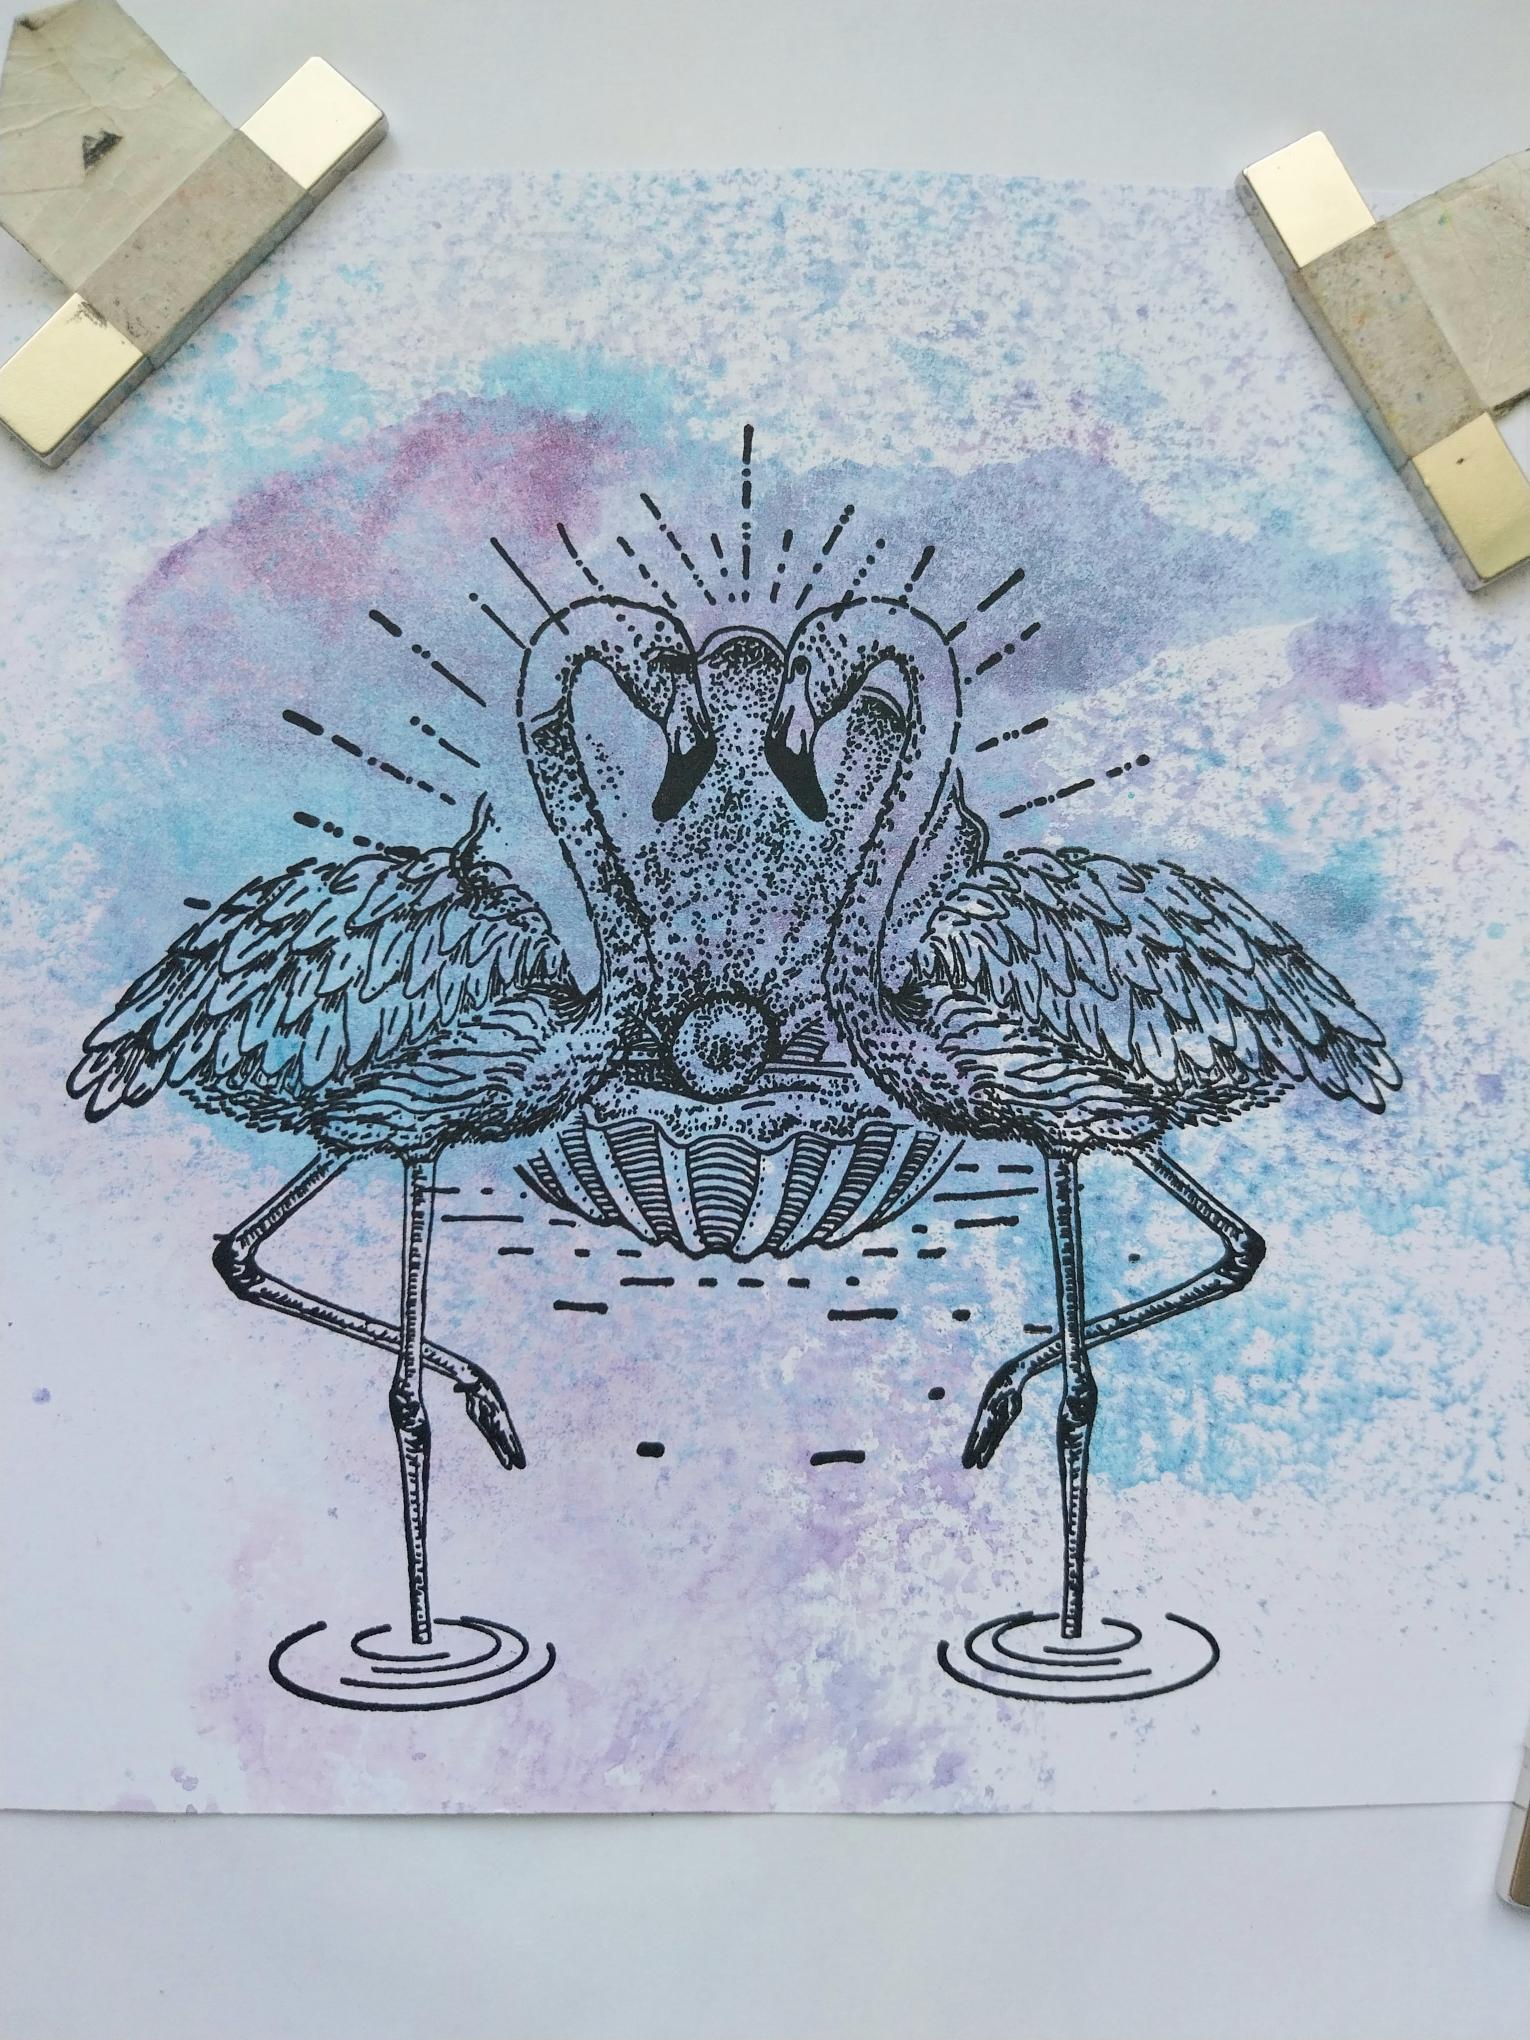
Remove the masks and stamp the Flamingos in position. |
|
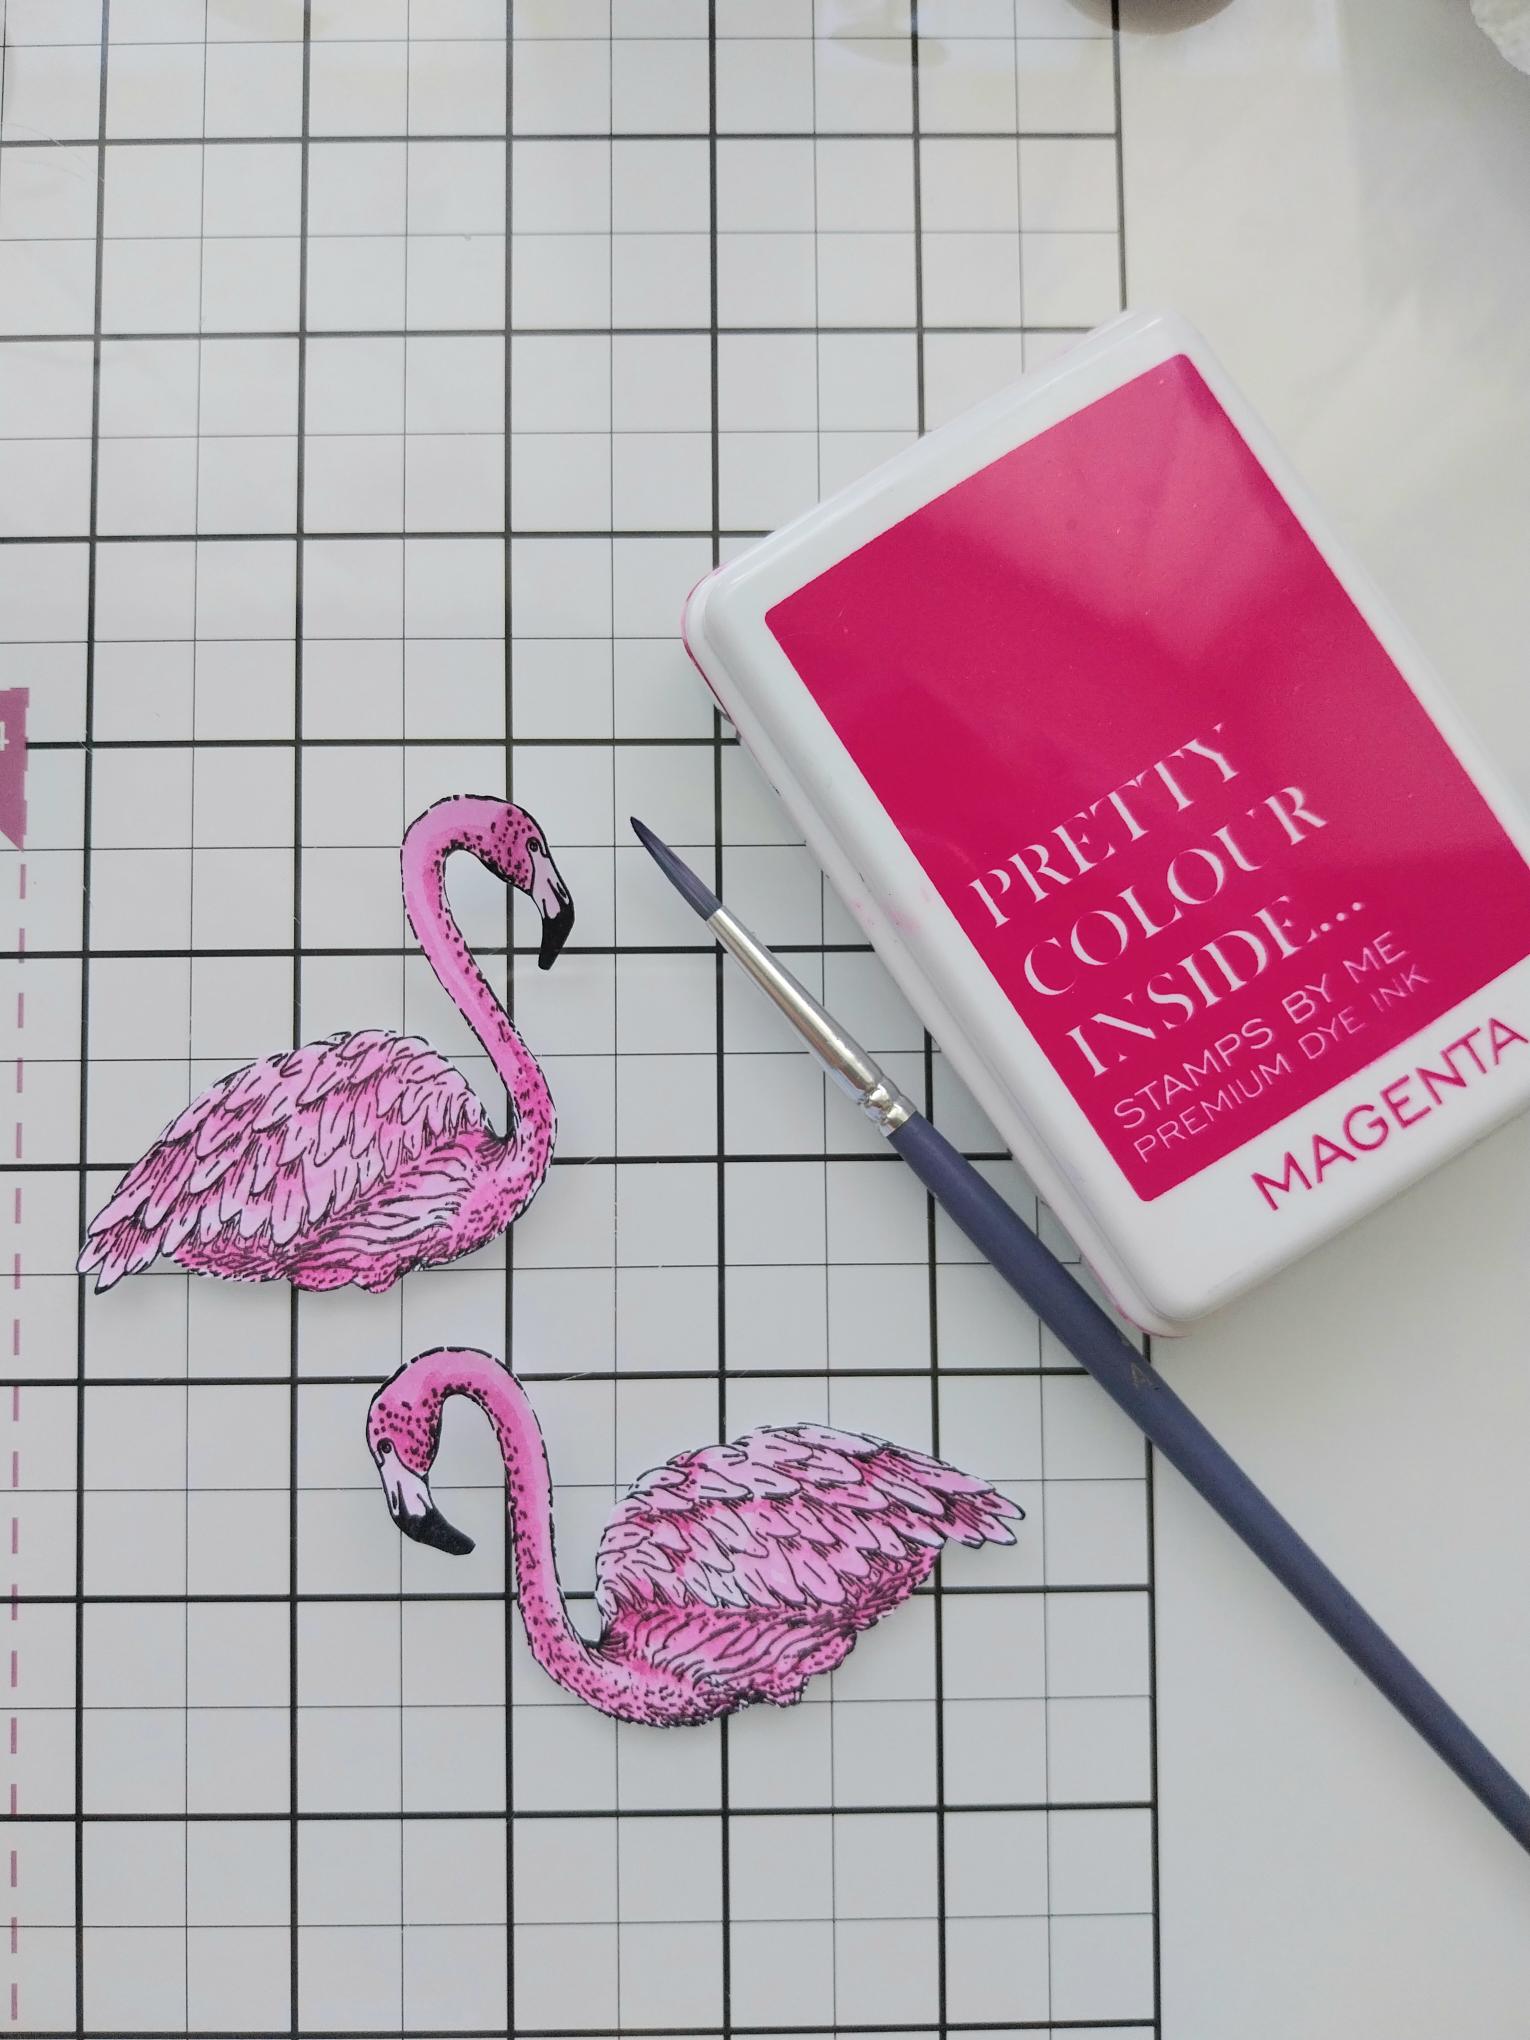
On a seperate piece of white card stamp the Flamingos, colour with the Magenta and fussy cut...you don't need their legs! Pop to one side. |
|
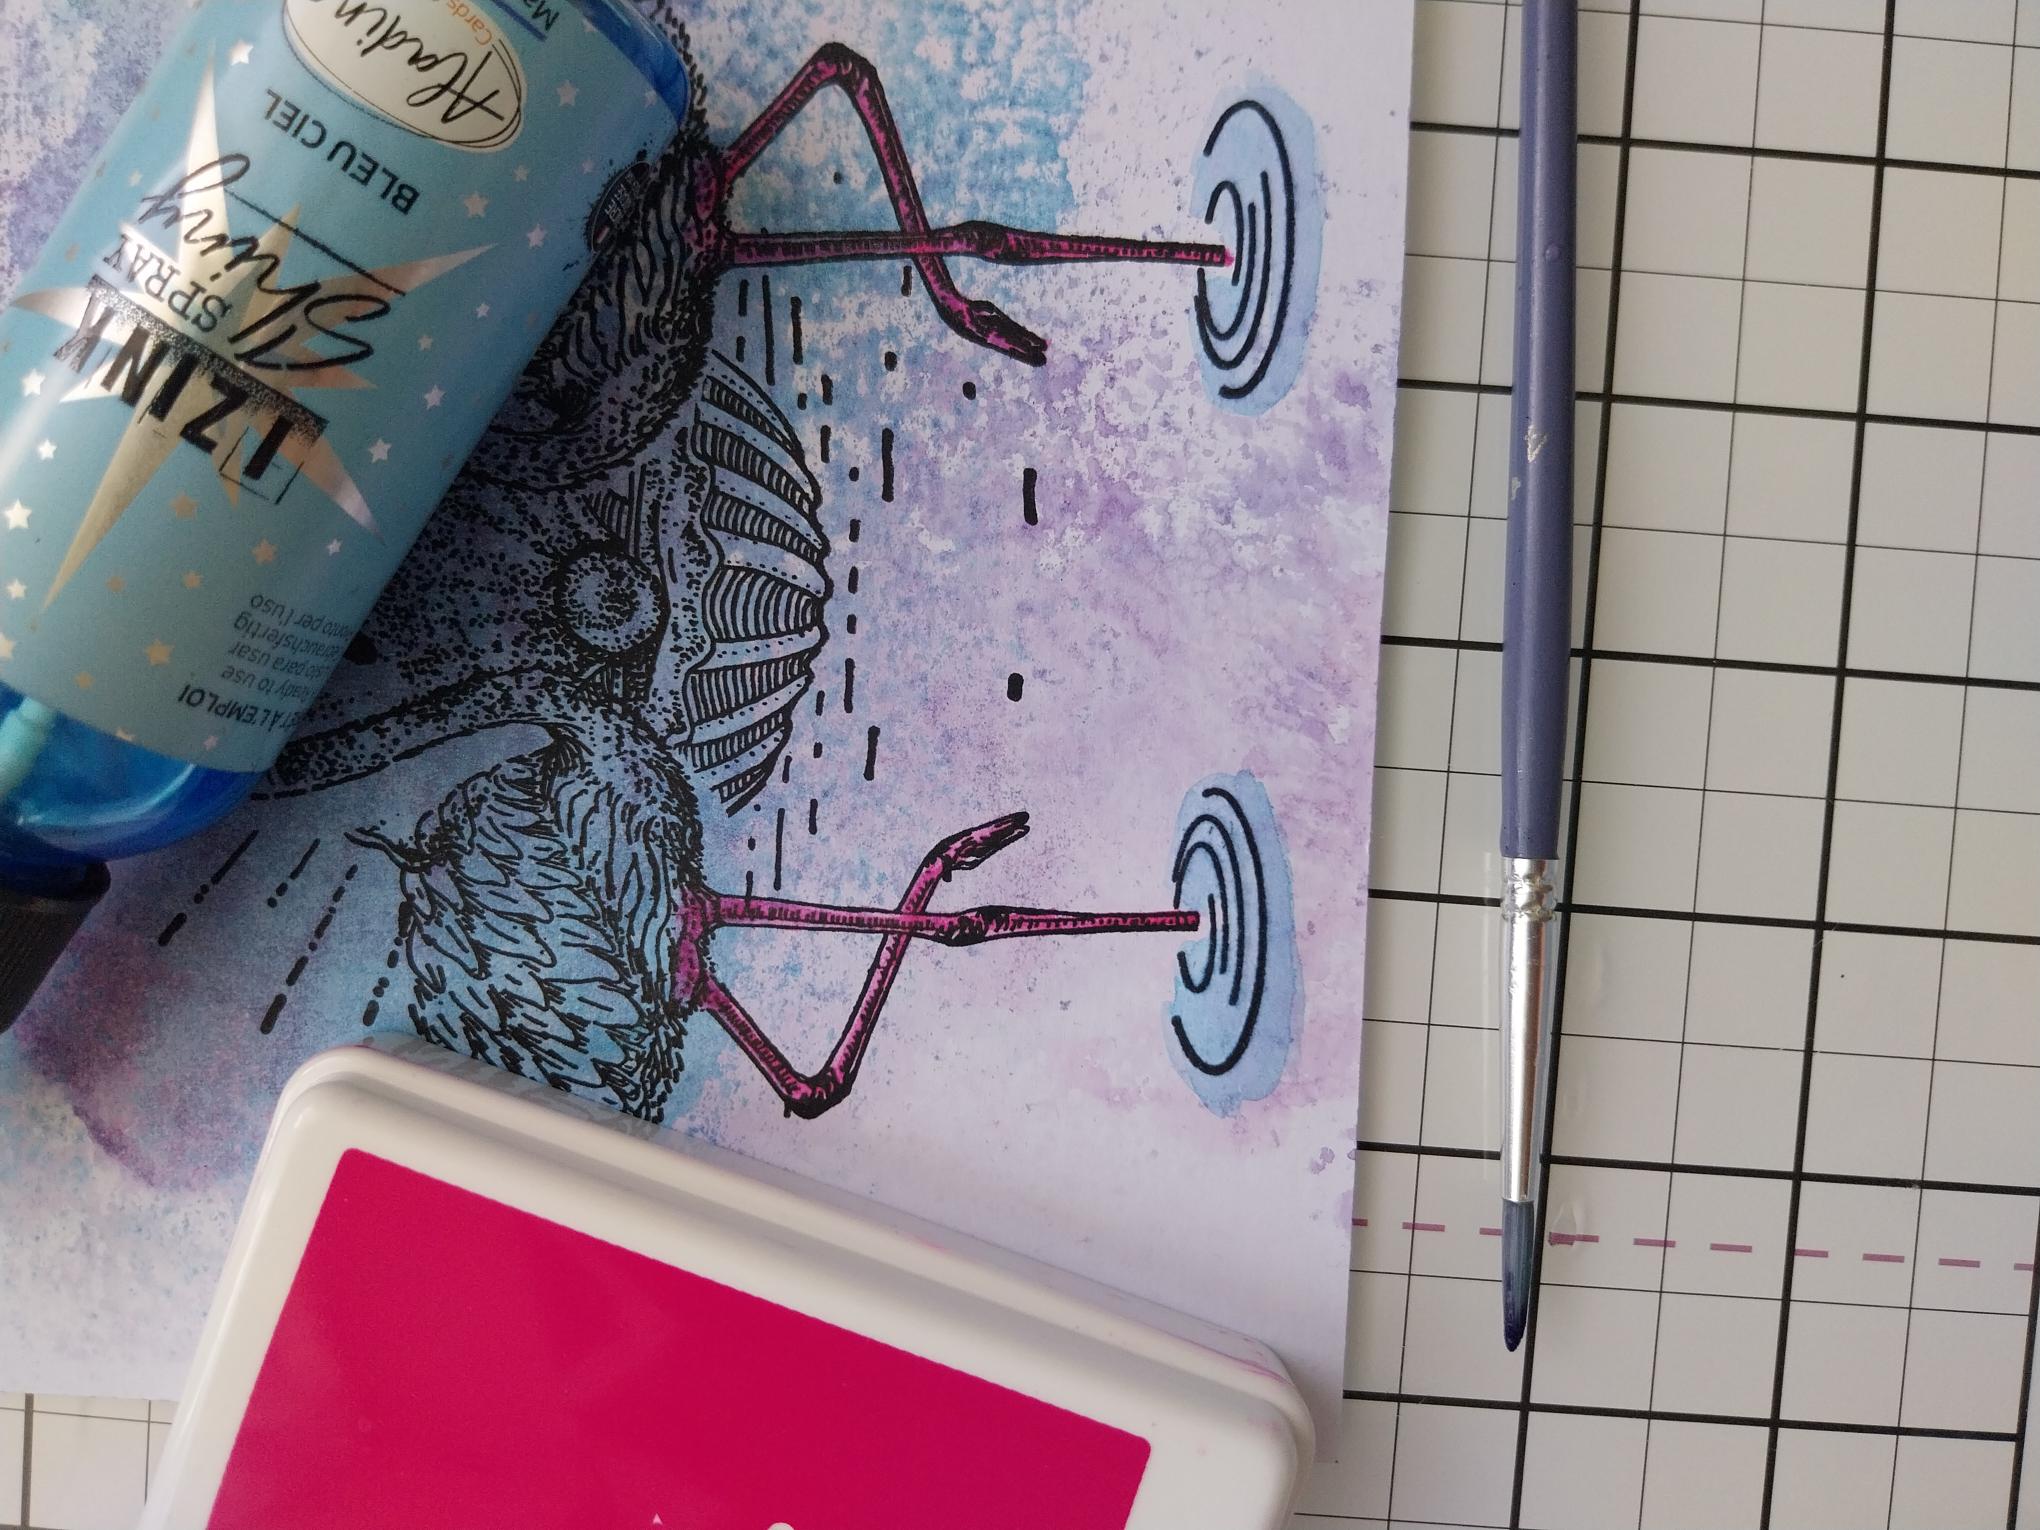
Colour in the stamped Flamingos legs with Magenta and the ripples around their feet using the Bleu Ciel IZINK spray. |
|
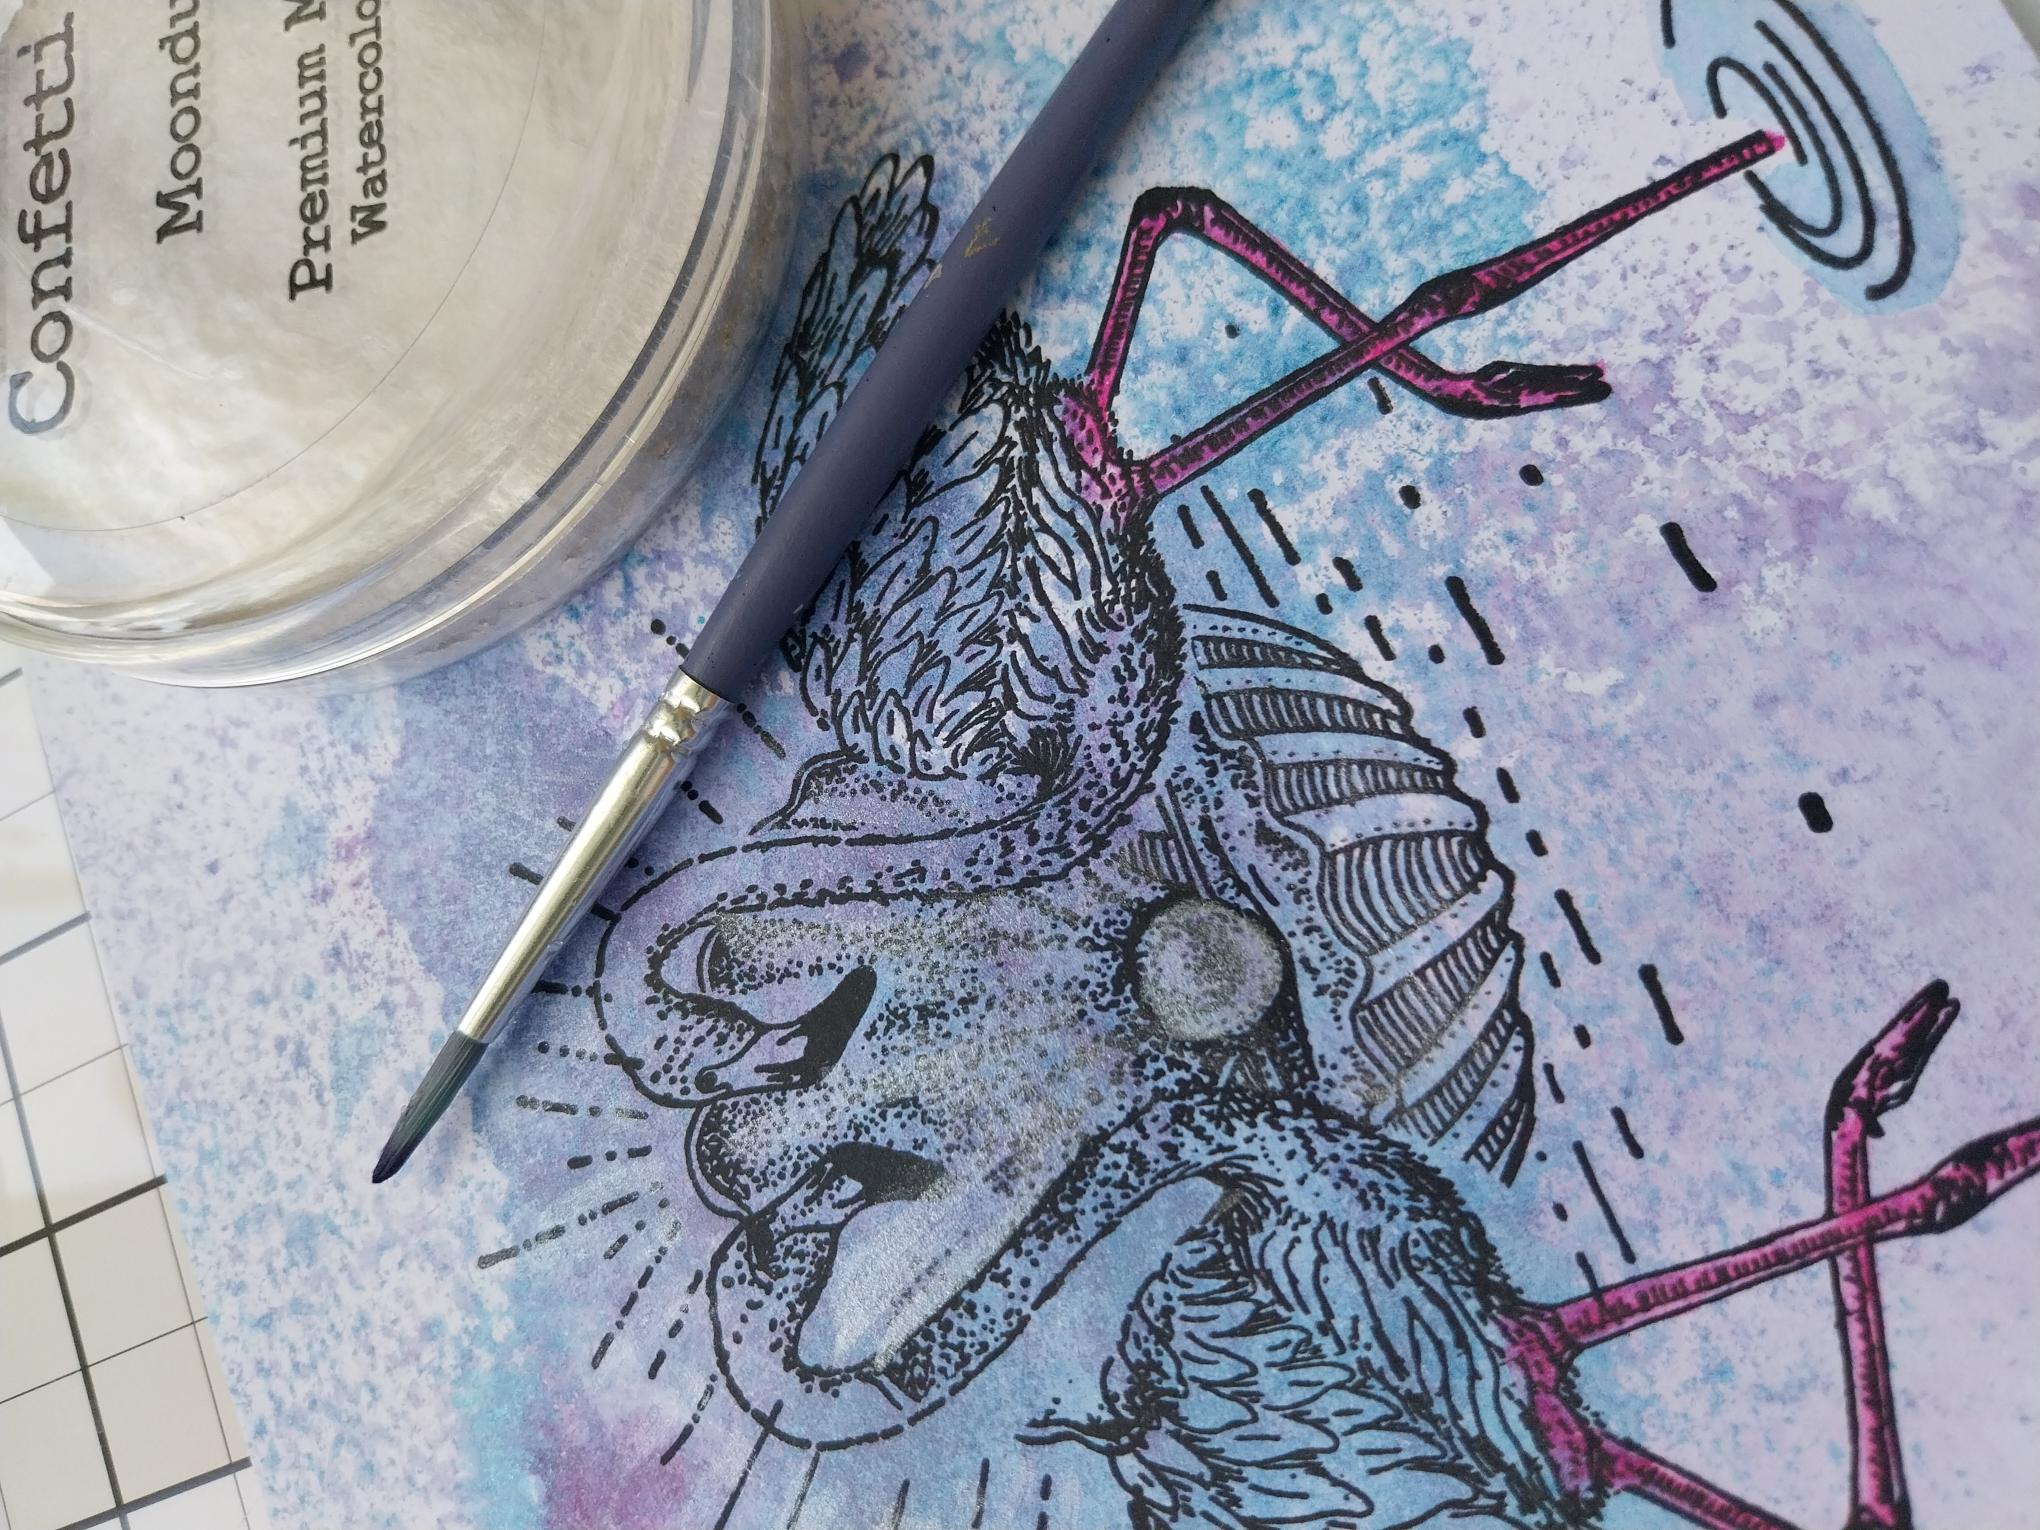
Use the Confetti Moondust to add shimmer to the Pearl and around the shell, as required. |
|
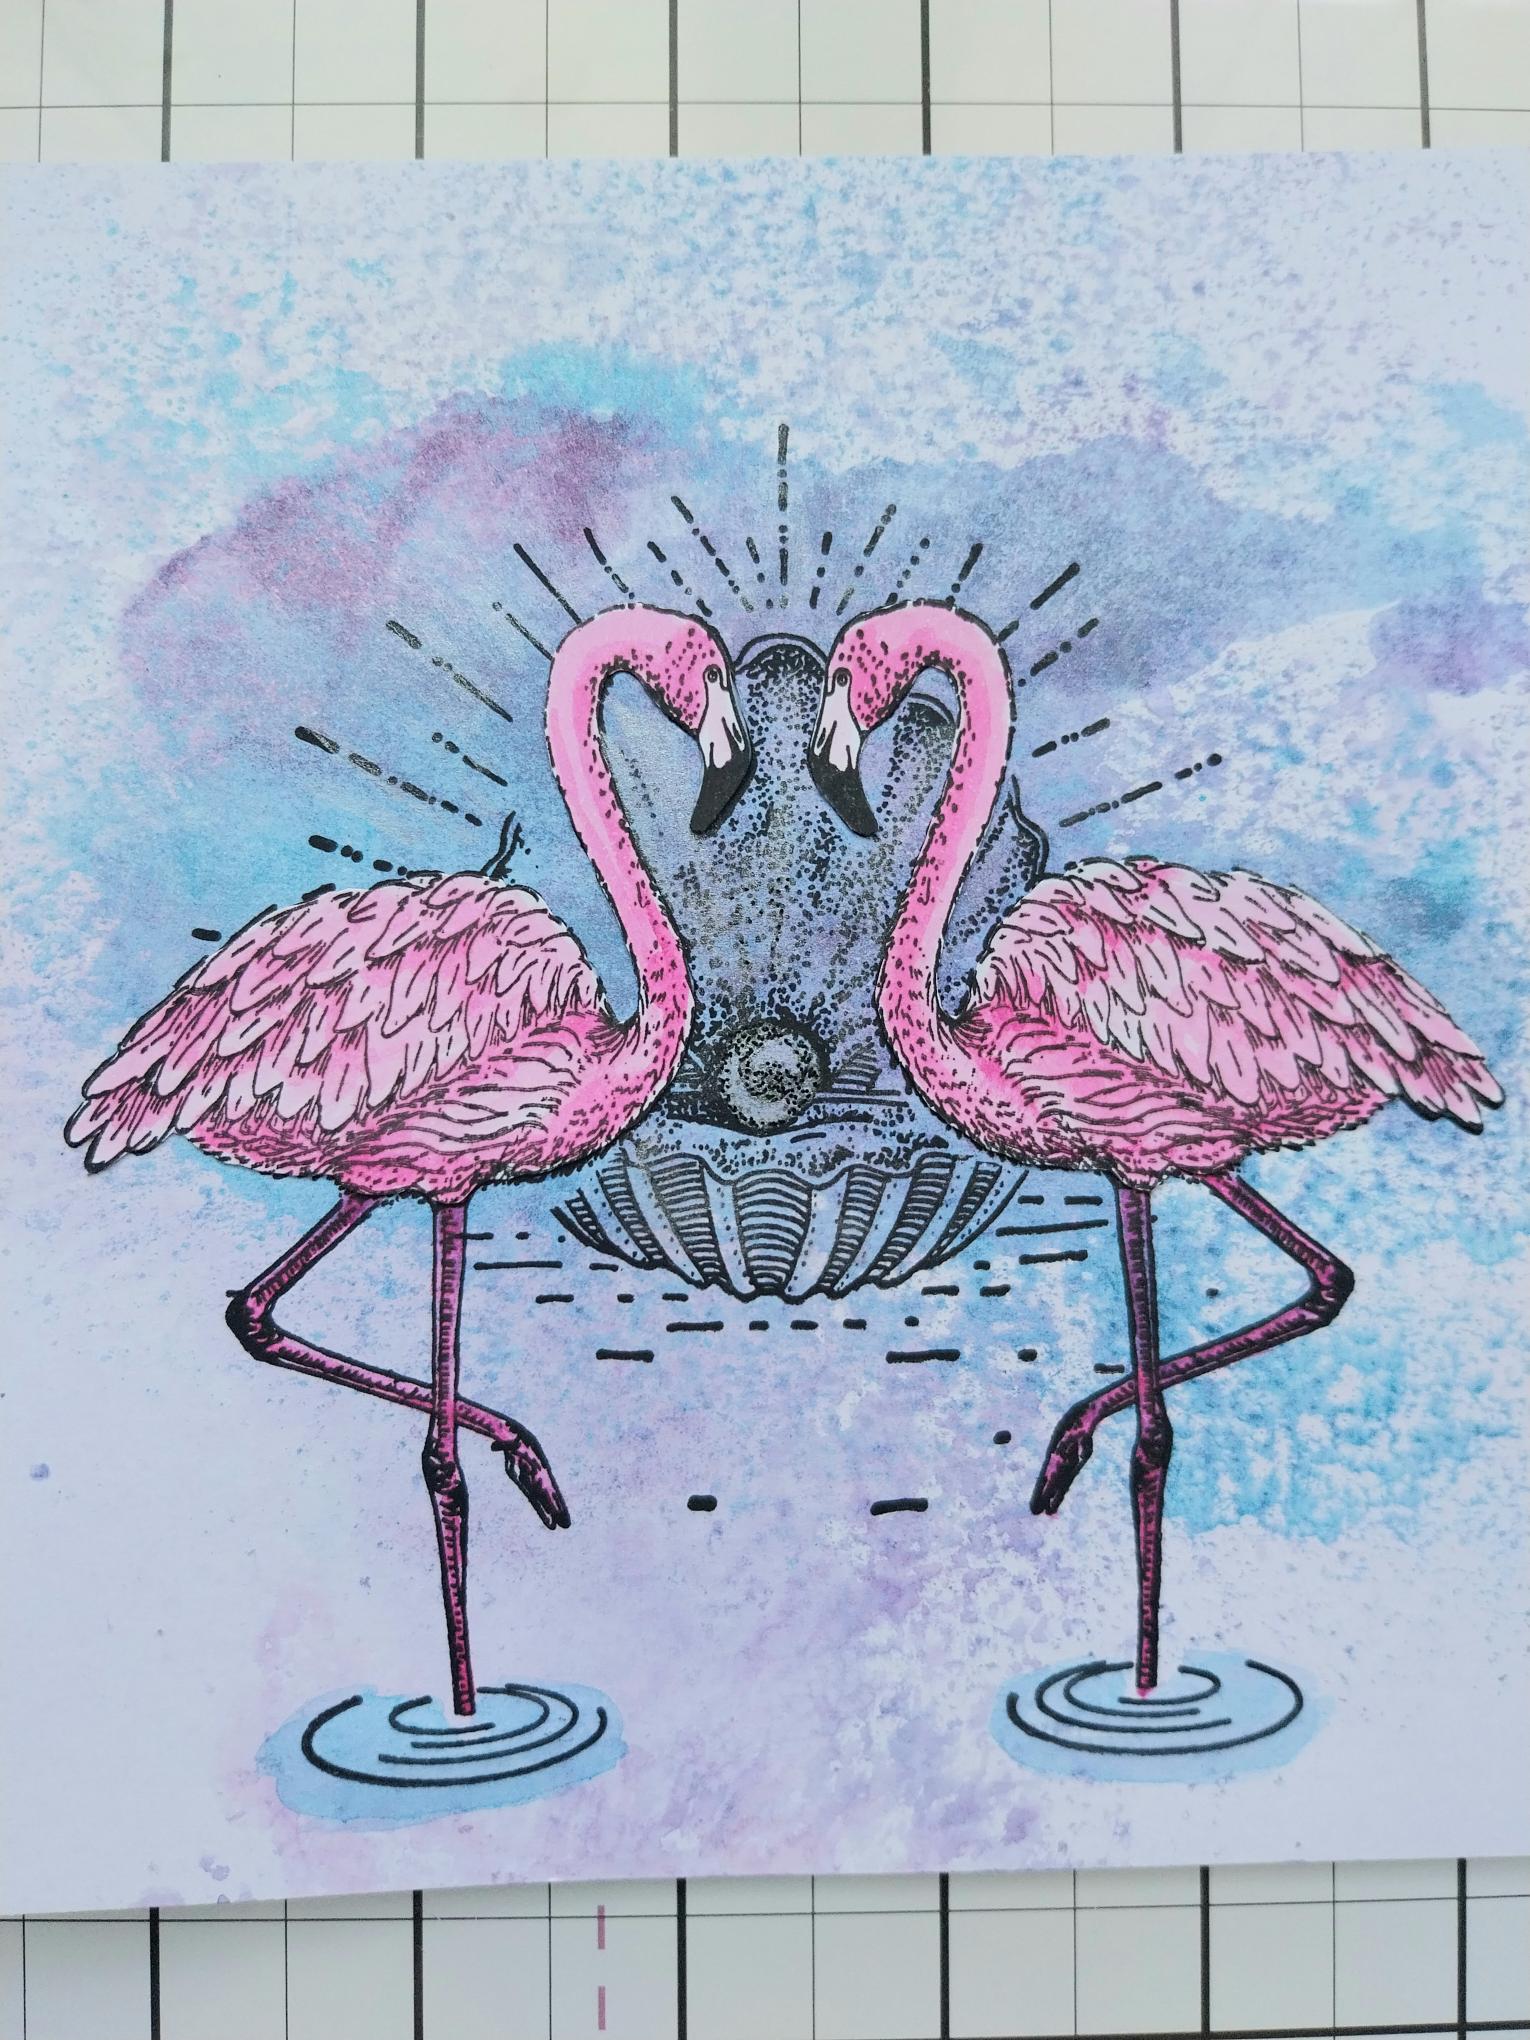
Adhere your pink painted Flamingos in place. |
|
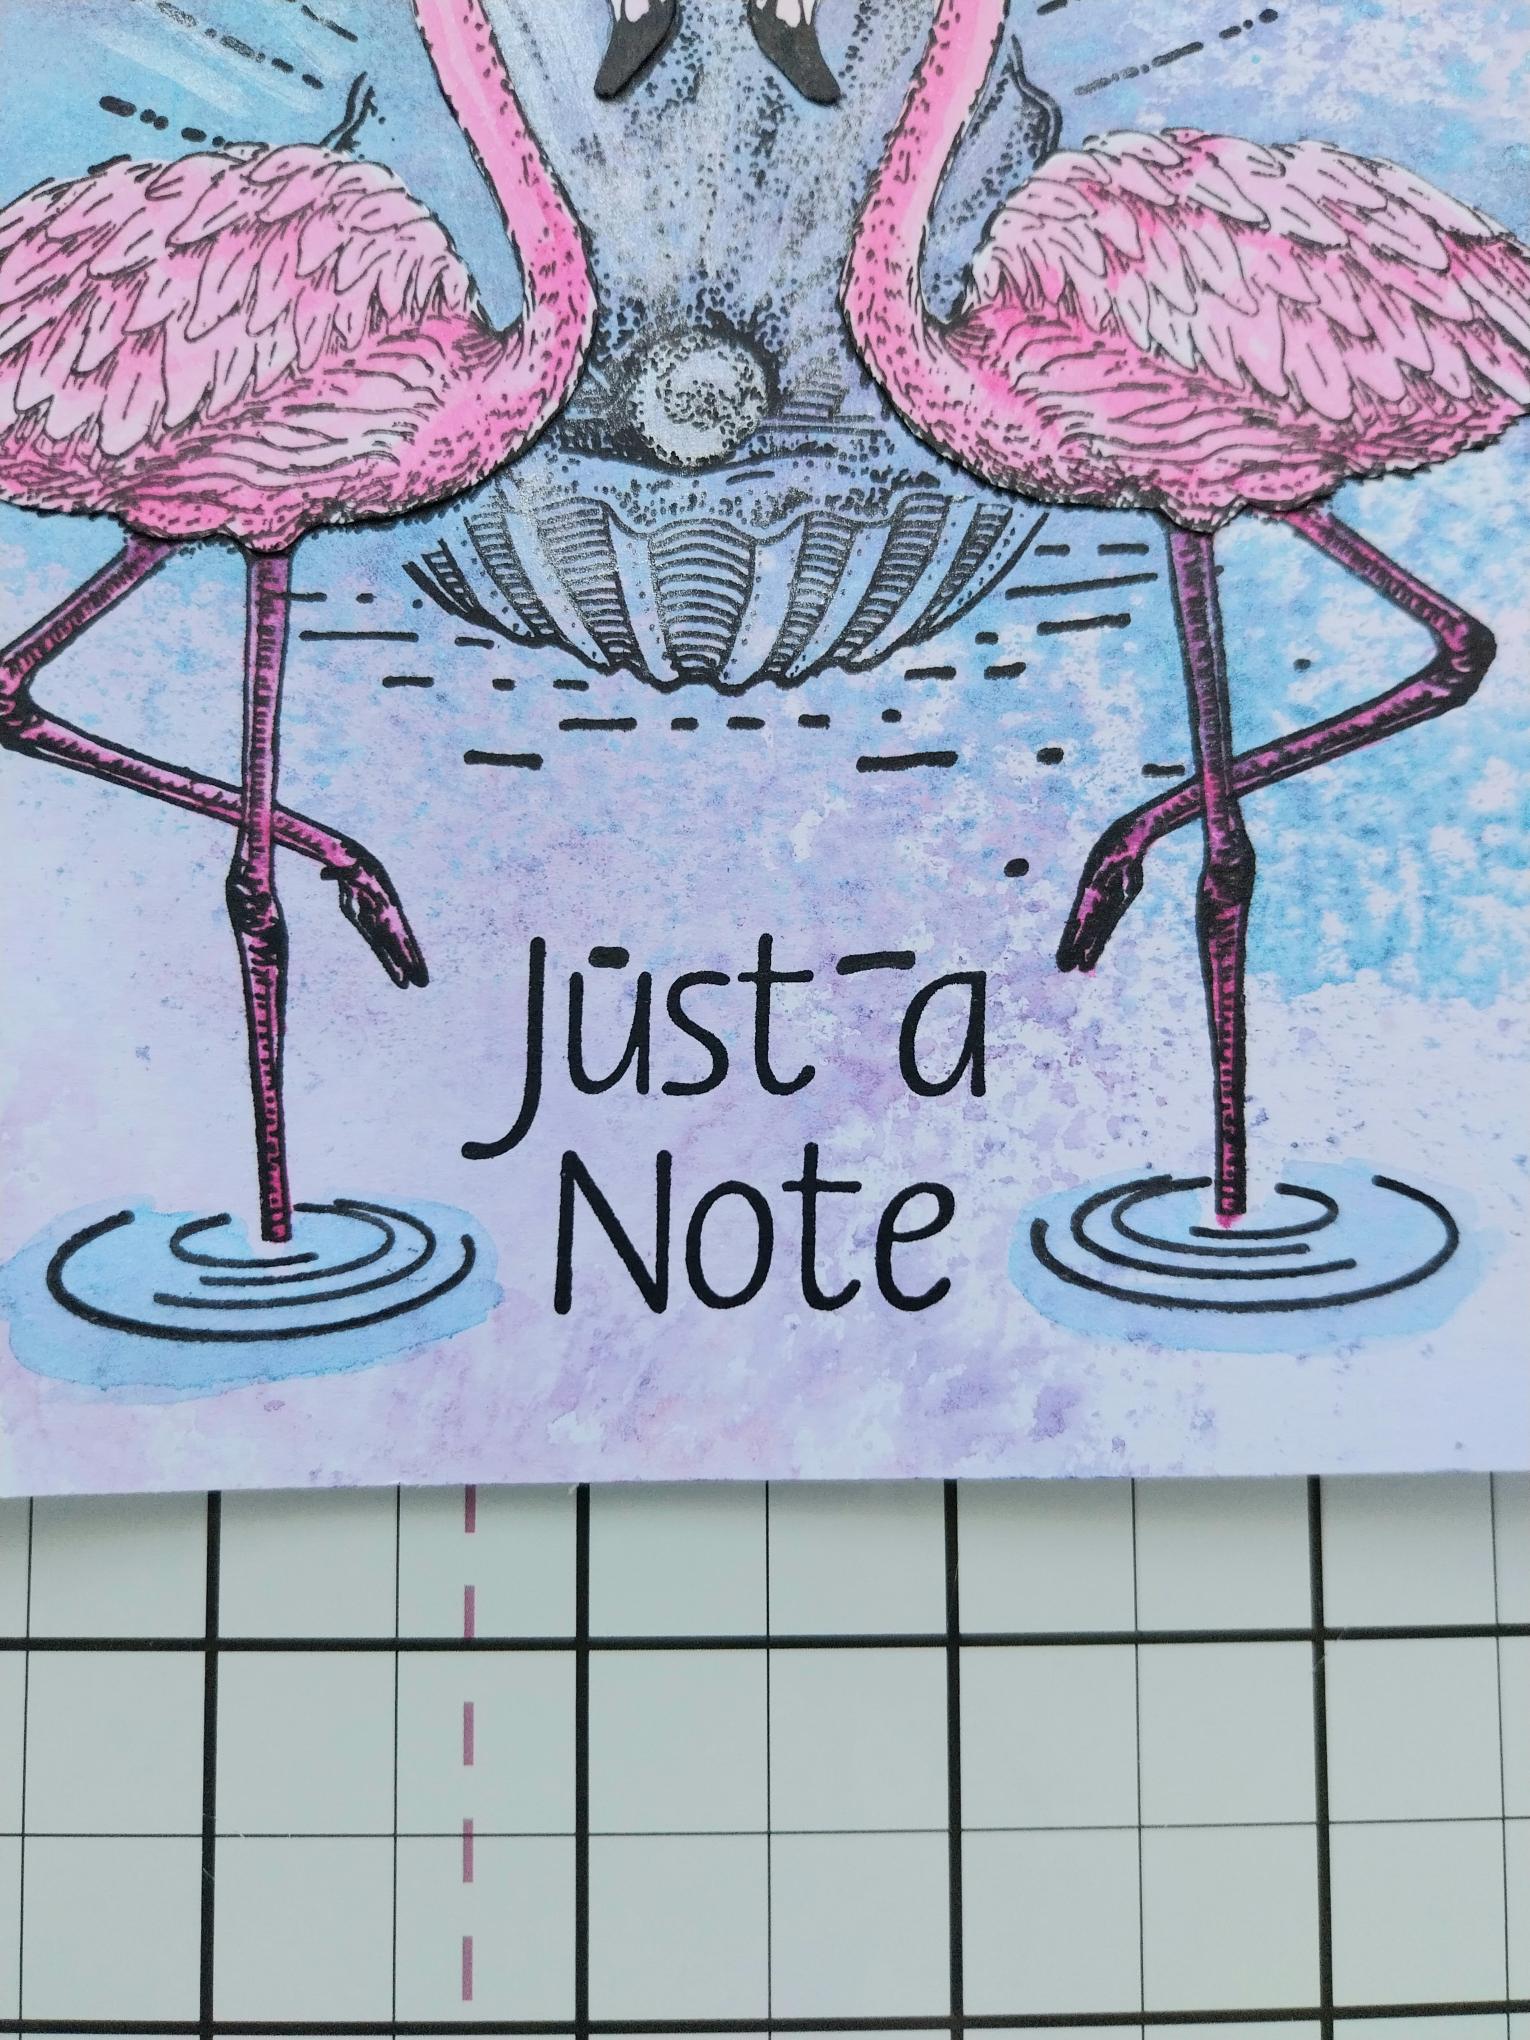
Stamp the sentiment in the centre. |
|
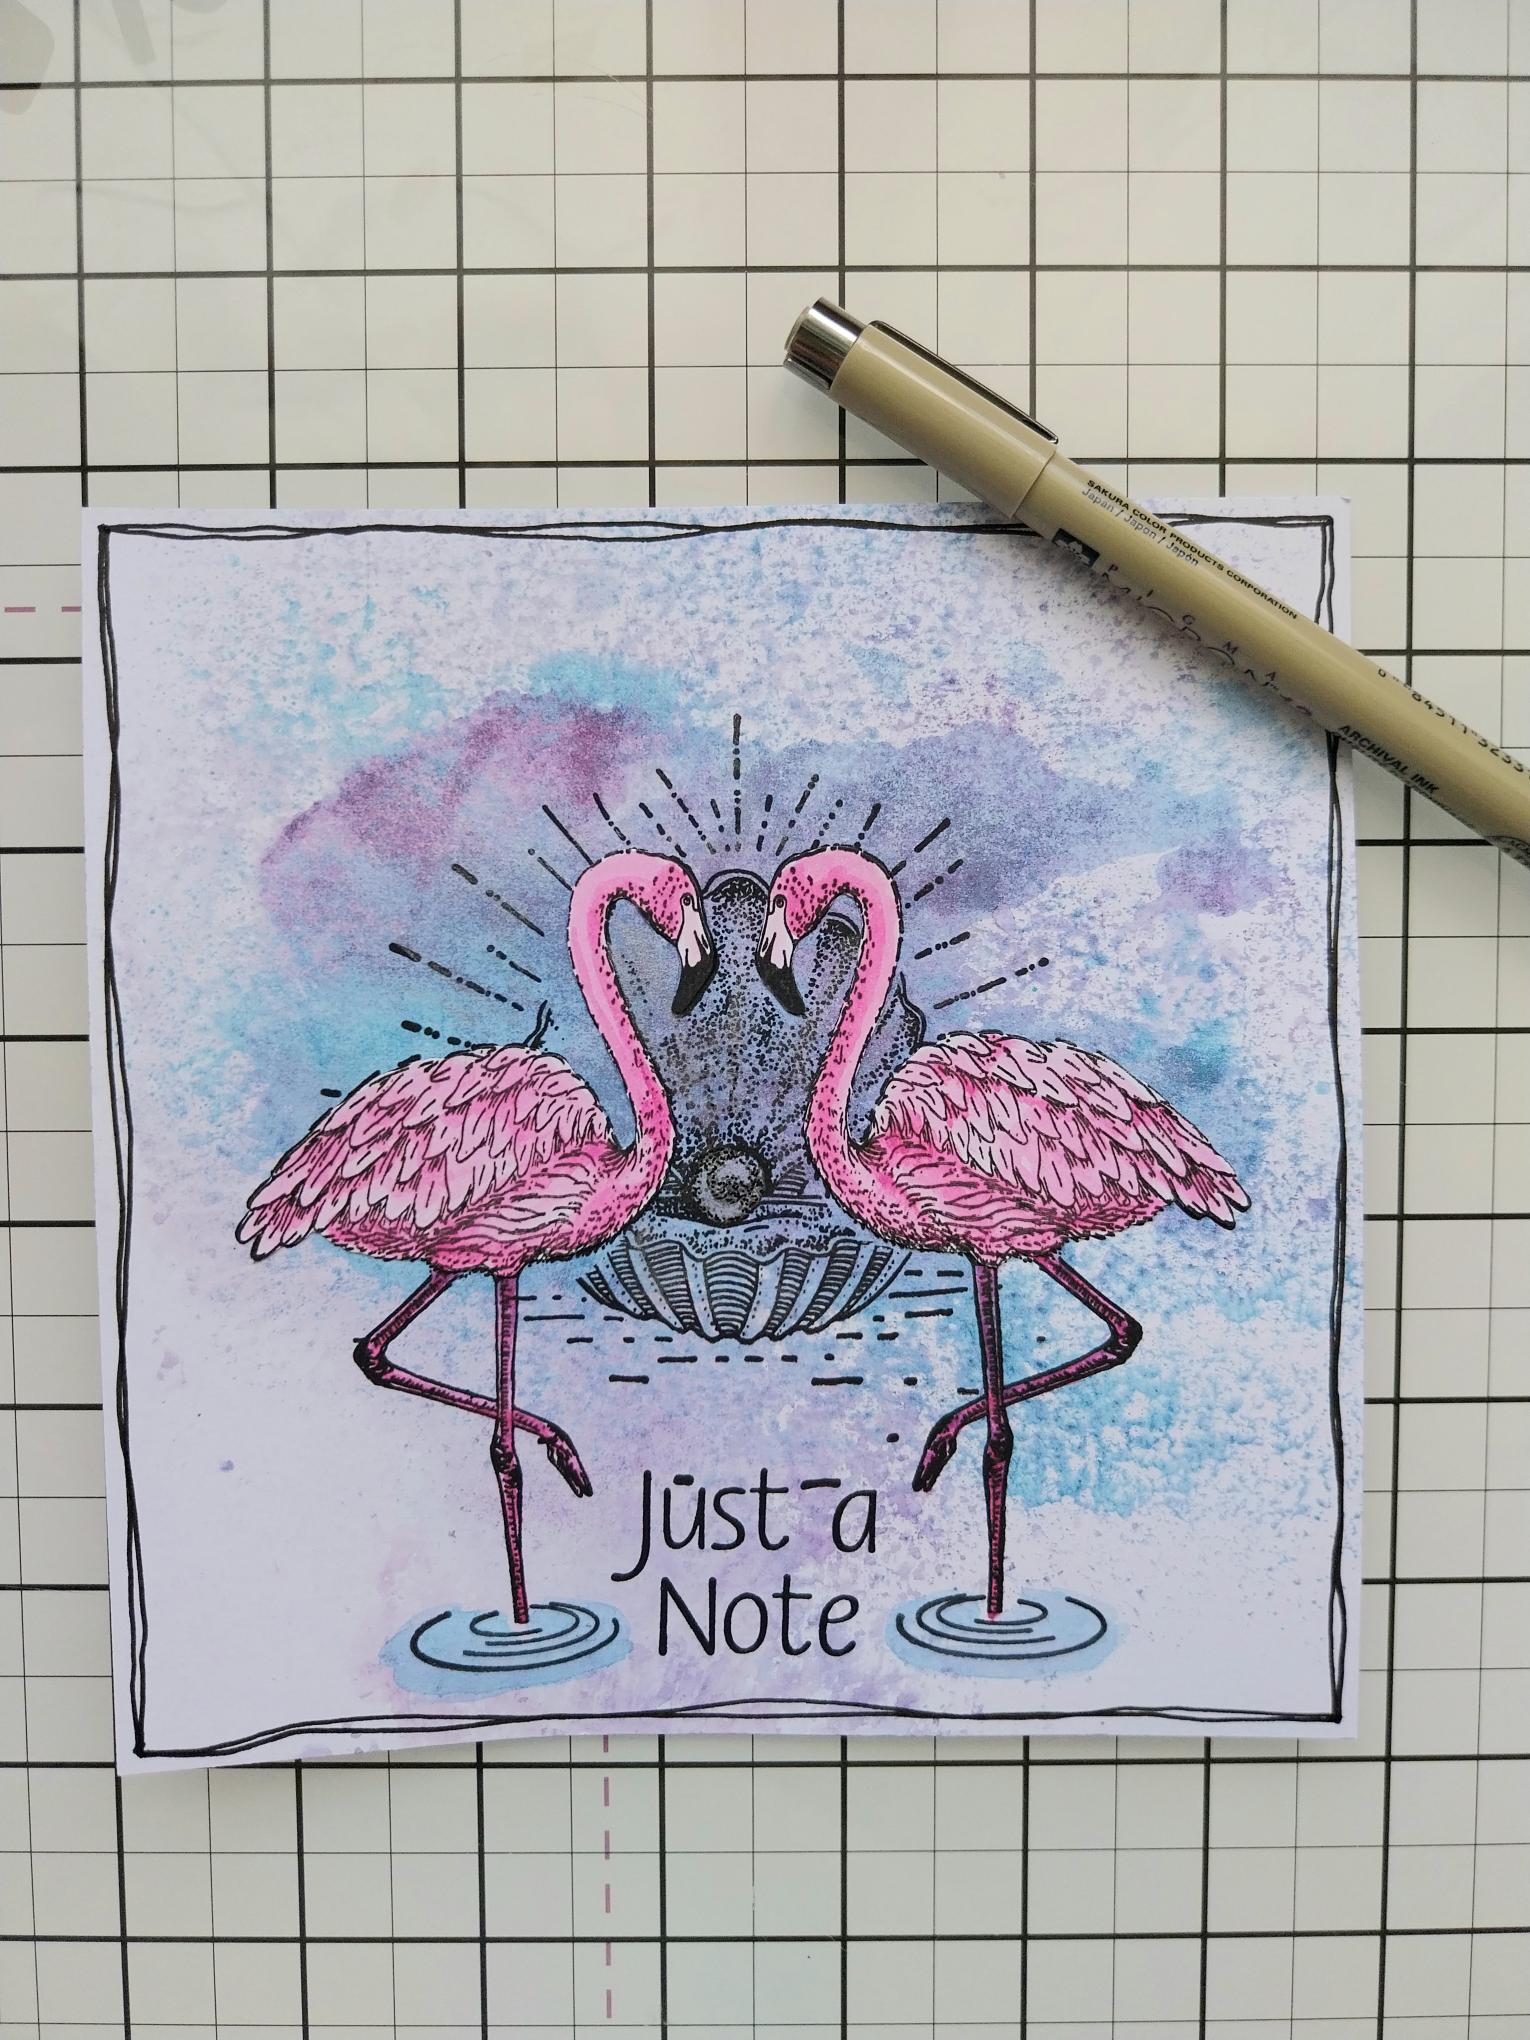
Use a black pen to add a decorative frame around the card. |
|
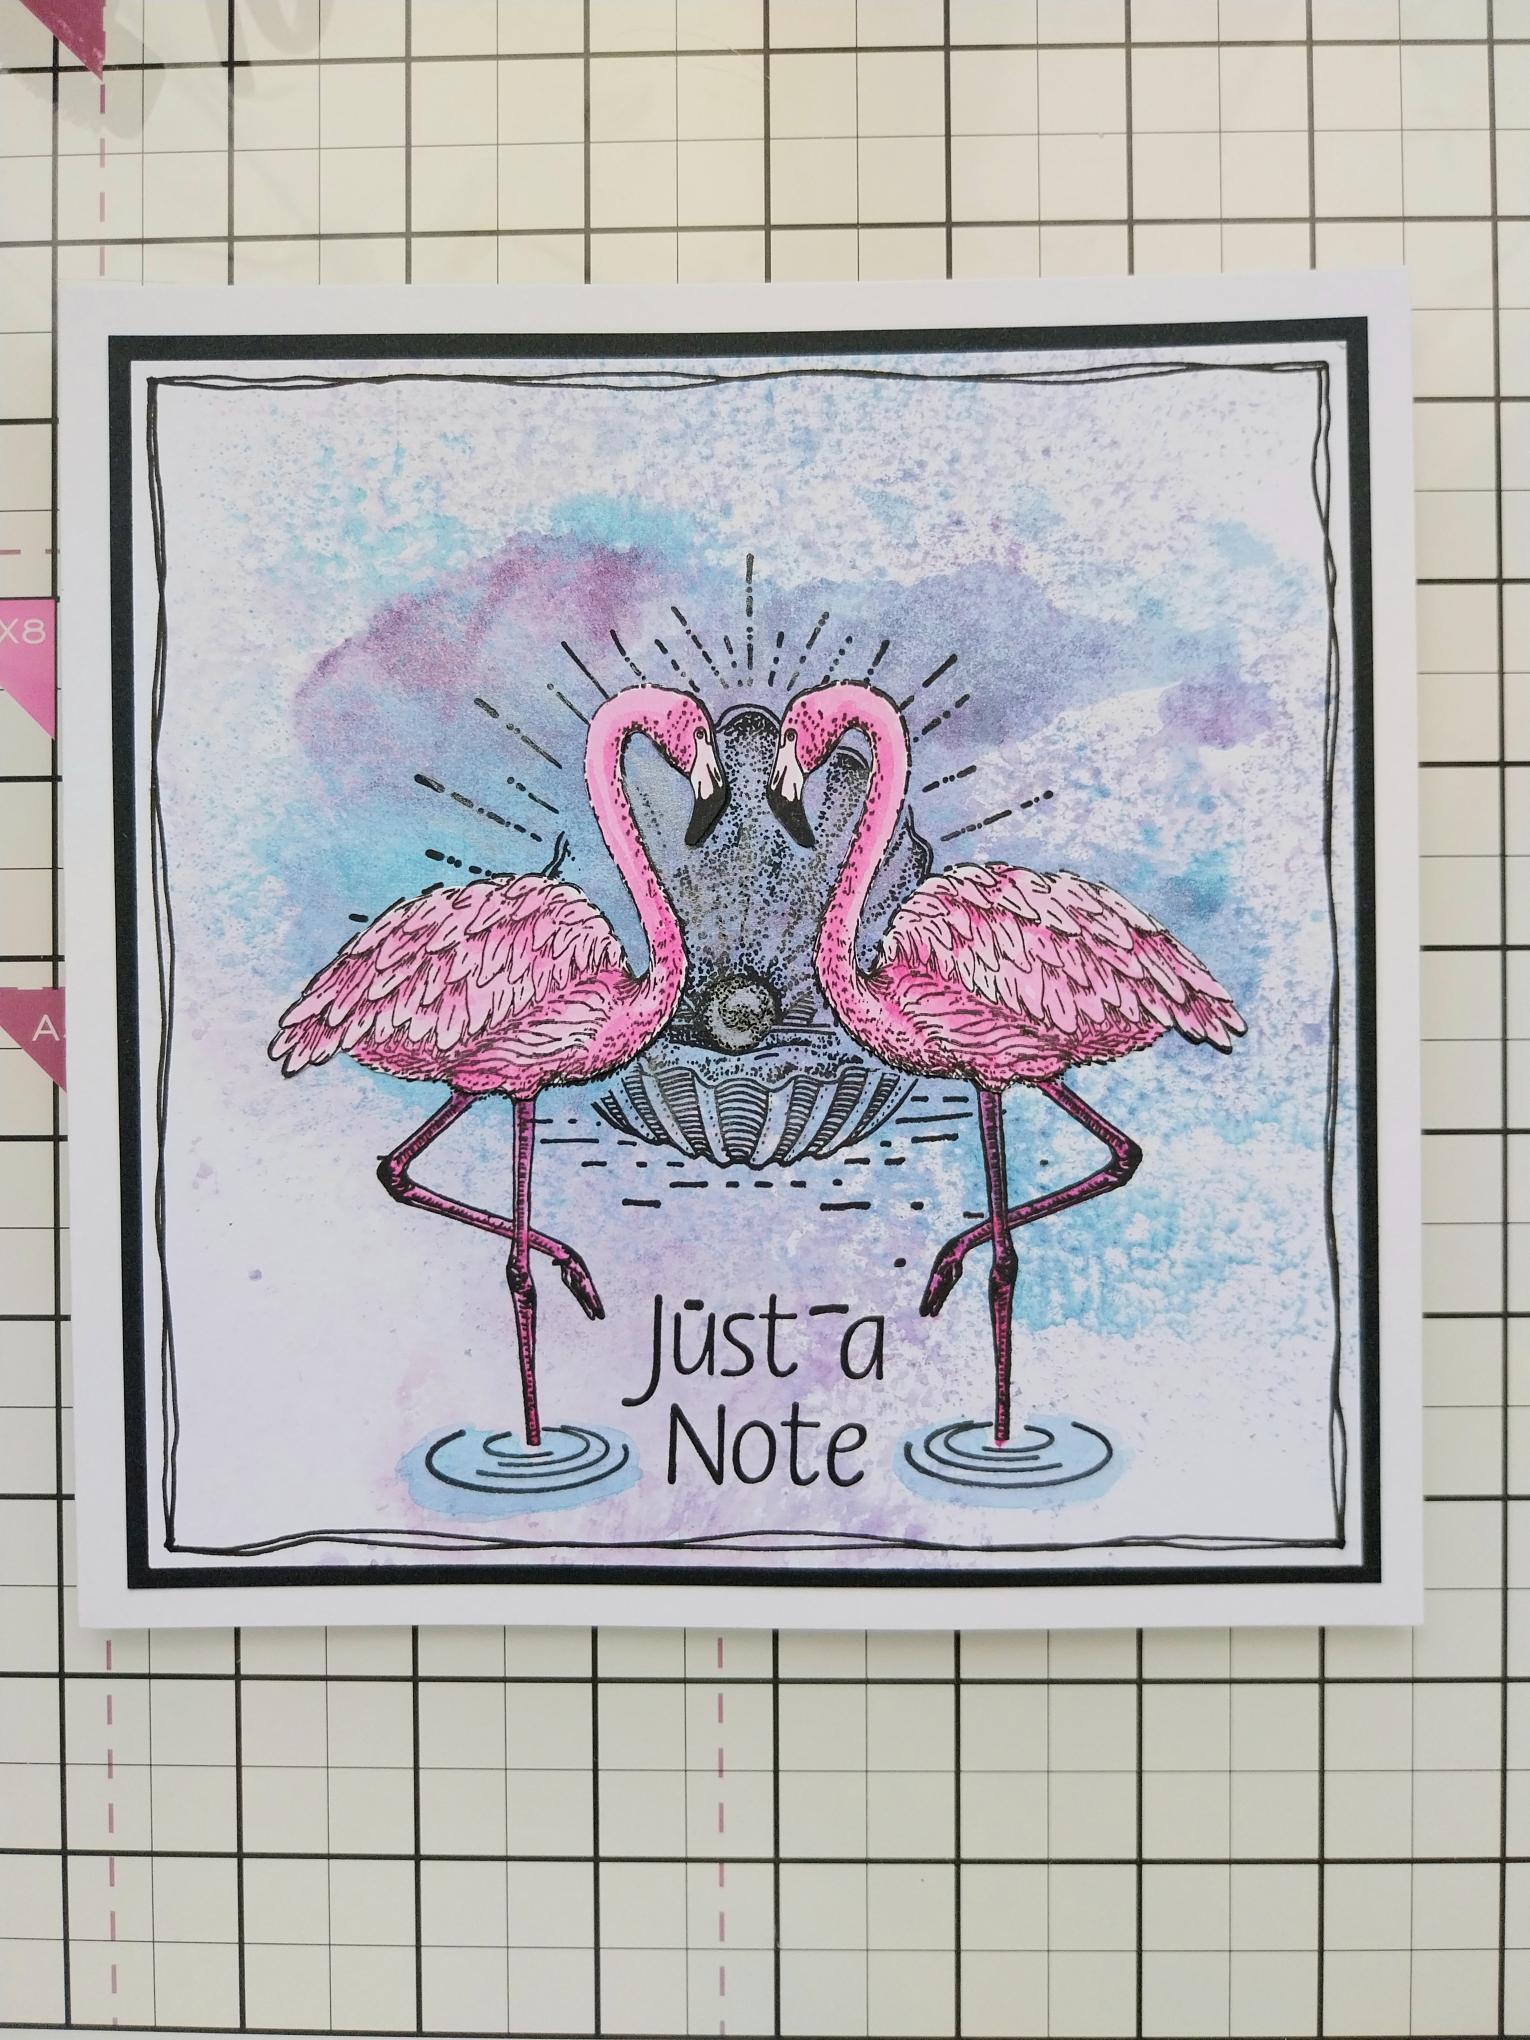
Finally, adhere your artwork on to black card trimmed to 6 3/4" square and then on to your white card blank. |