

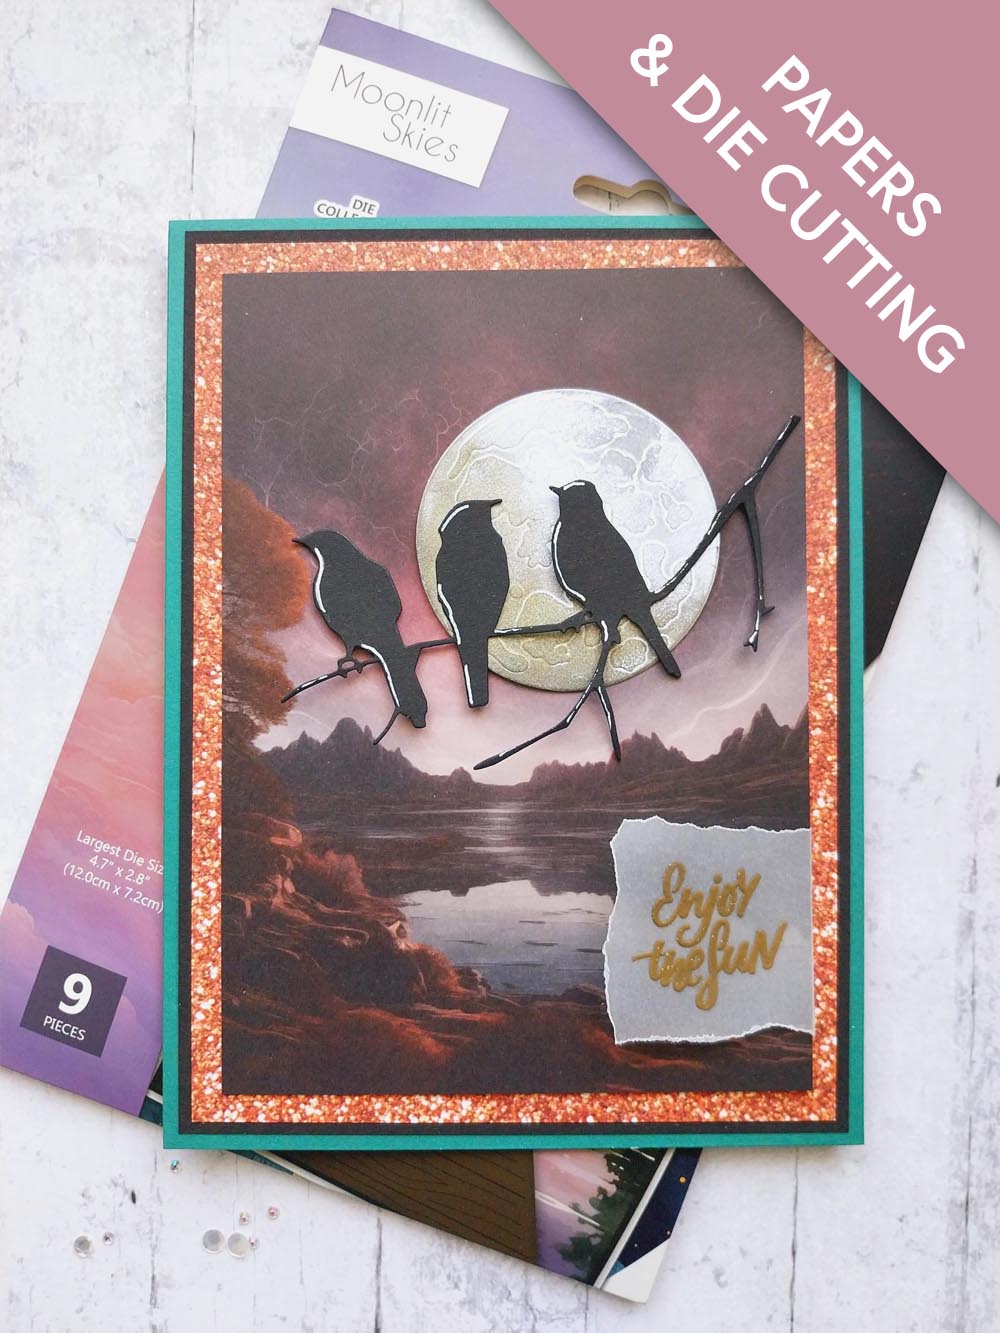
WHAT YOU WILL NEED:
Teal card blank 6 x 8"
Black cardstock
Vellum
Moonlit Skies Die Set
We Can Dream 5 x 7 Paper Pad
To The Moon And Back Stamp
Copper All Surfaces Paper Pack
Imala white gel pen
Confetti Ink: Graphite, Mushroom
WOW embossing Ink Pad
WOW heat tool
WOW Gold embossing powder
Anti-static bag
Eureka 101 Watercolour Tablet
SBM A3 Magnetic glass mat
Paper Trimmer
Glue
Double-sided tape
Die Cutting machine
[click image to enlarge] 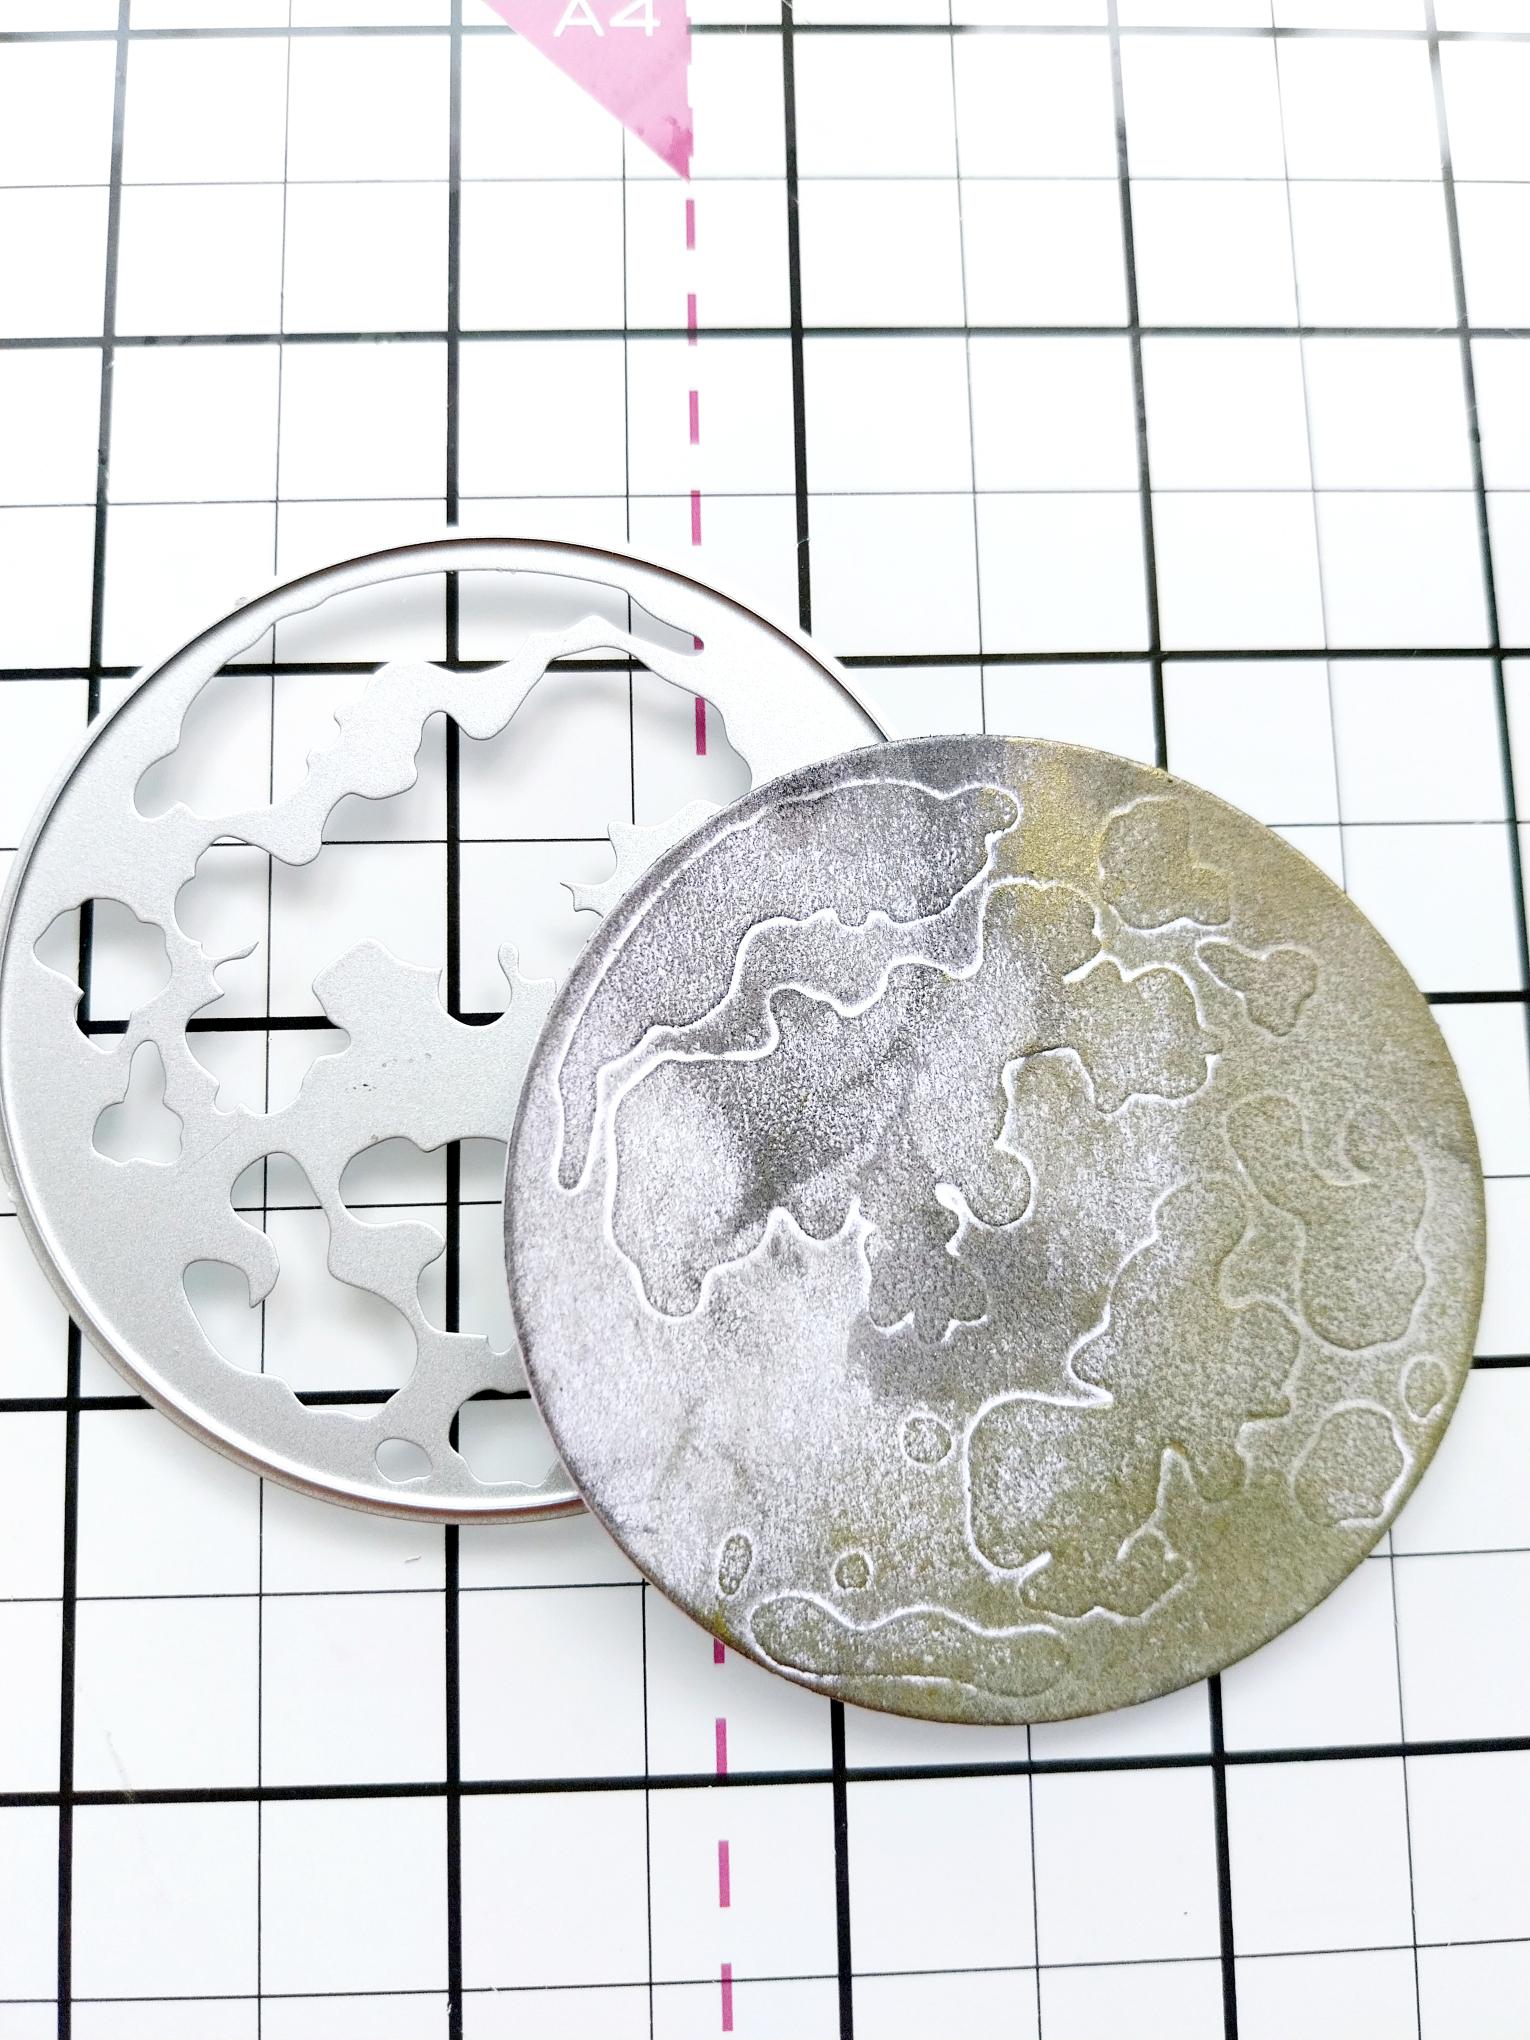
|
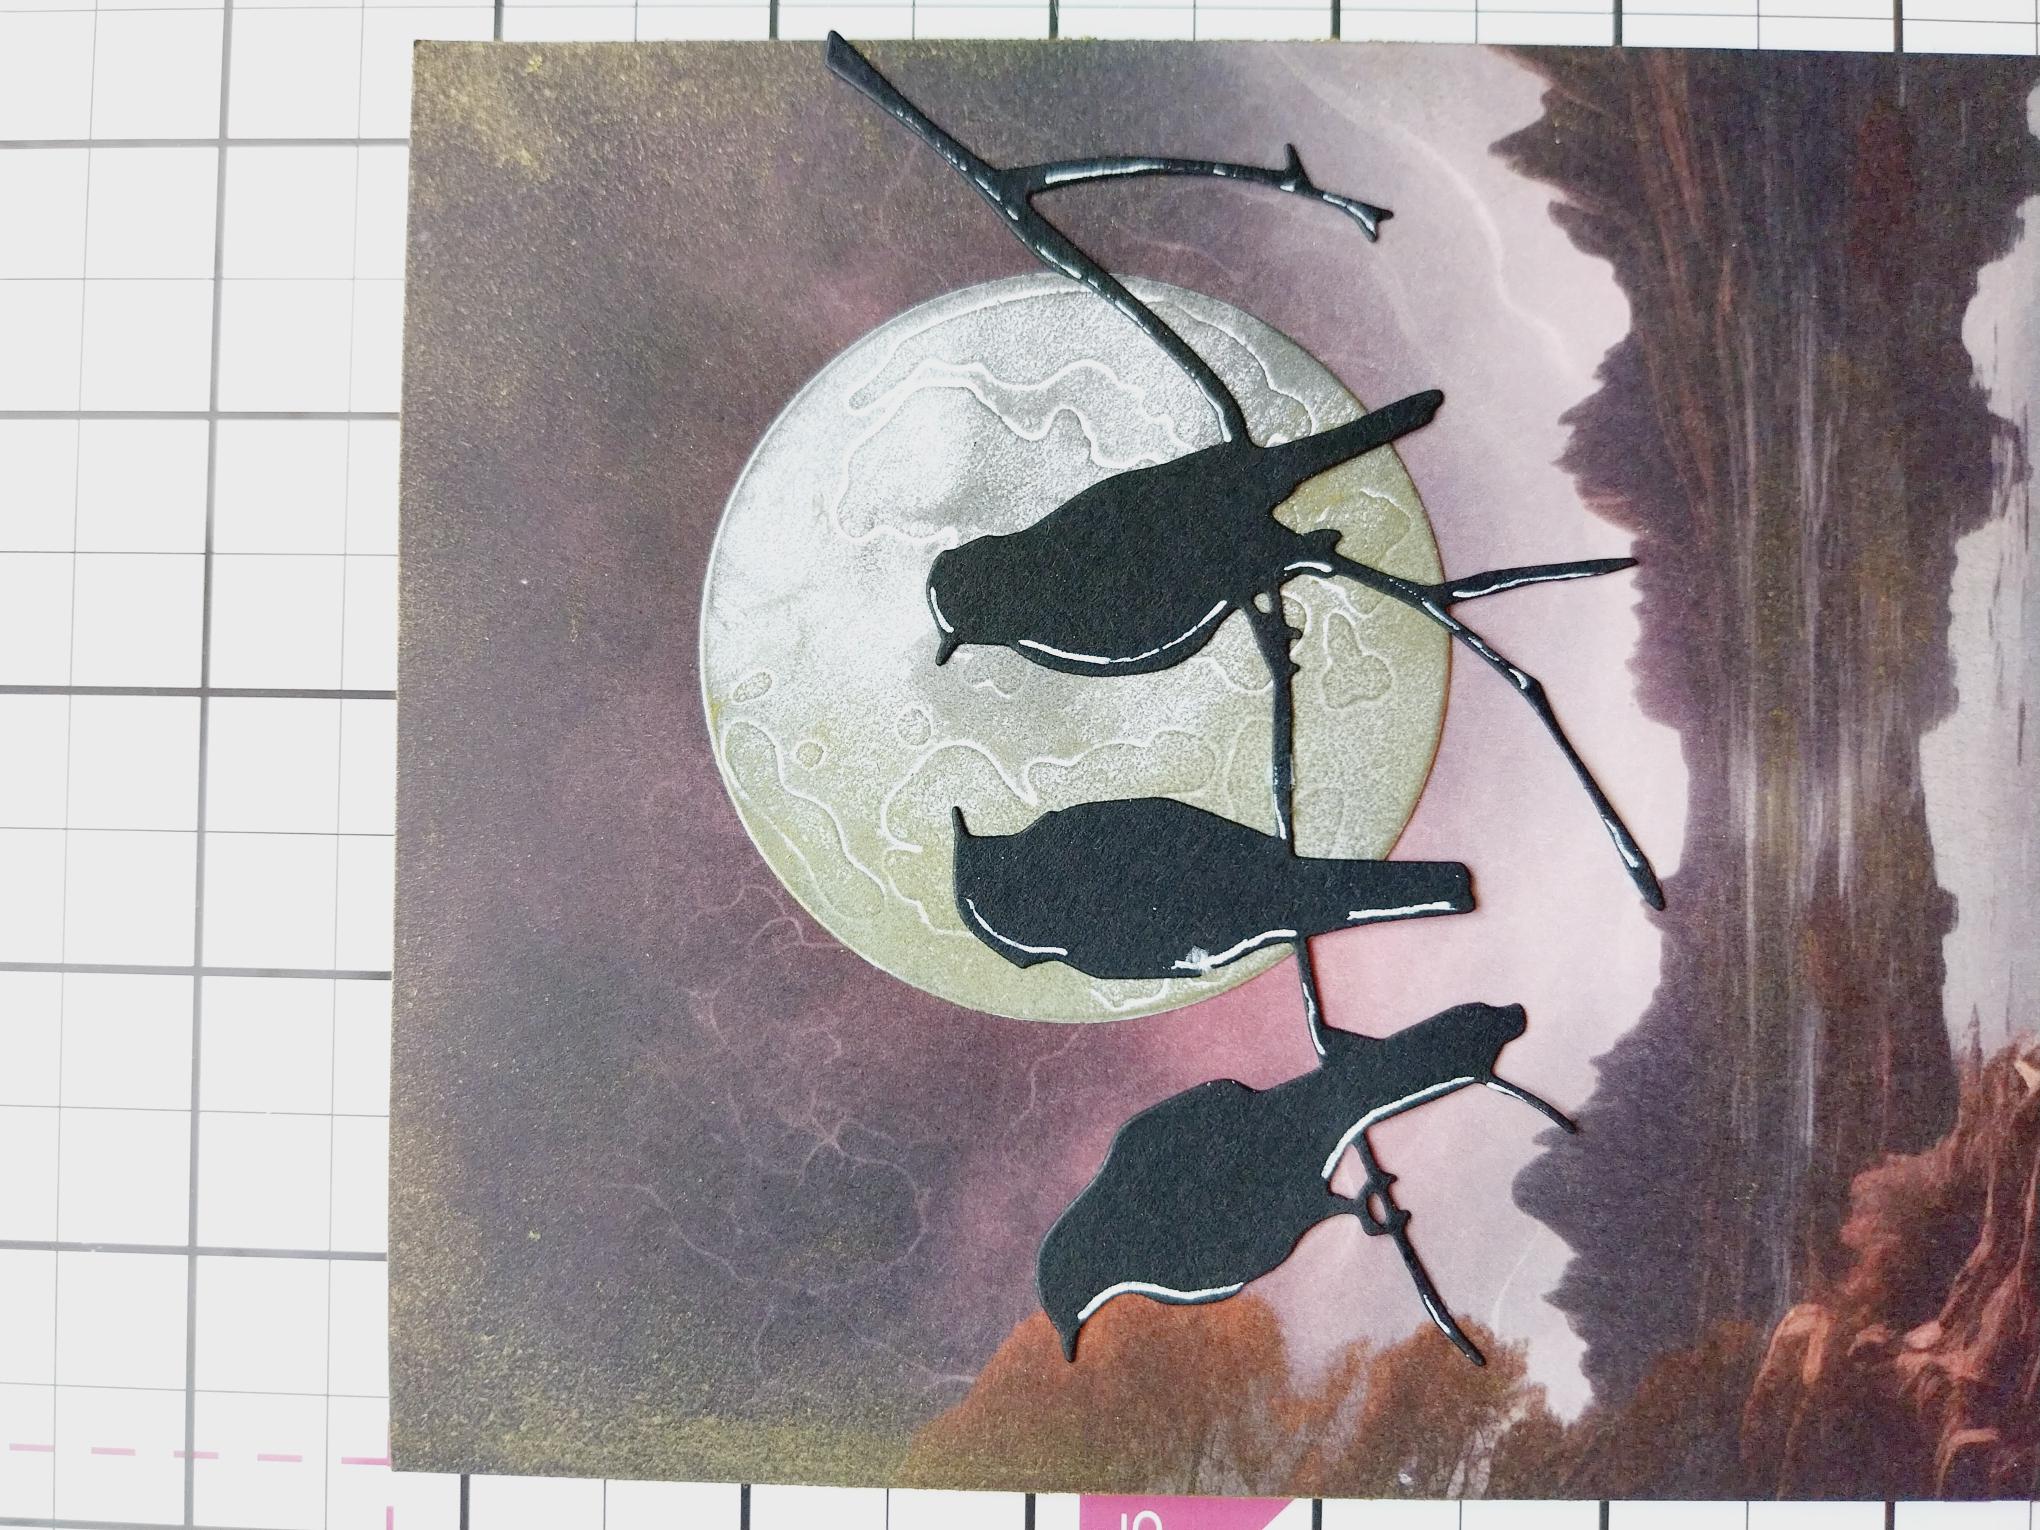
Die cut the embossed Moon from white card and use the Confetti inks, with a little water, to add colour to your embossed Moon. |
|
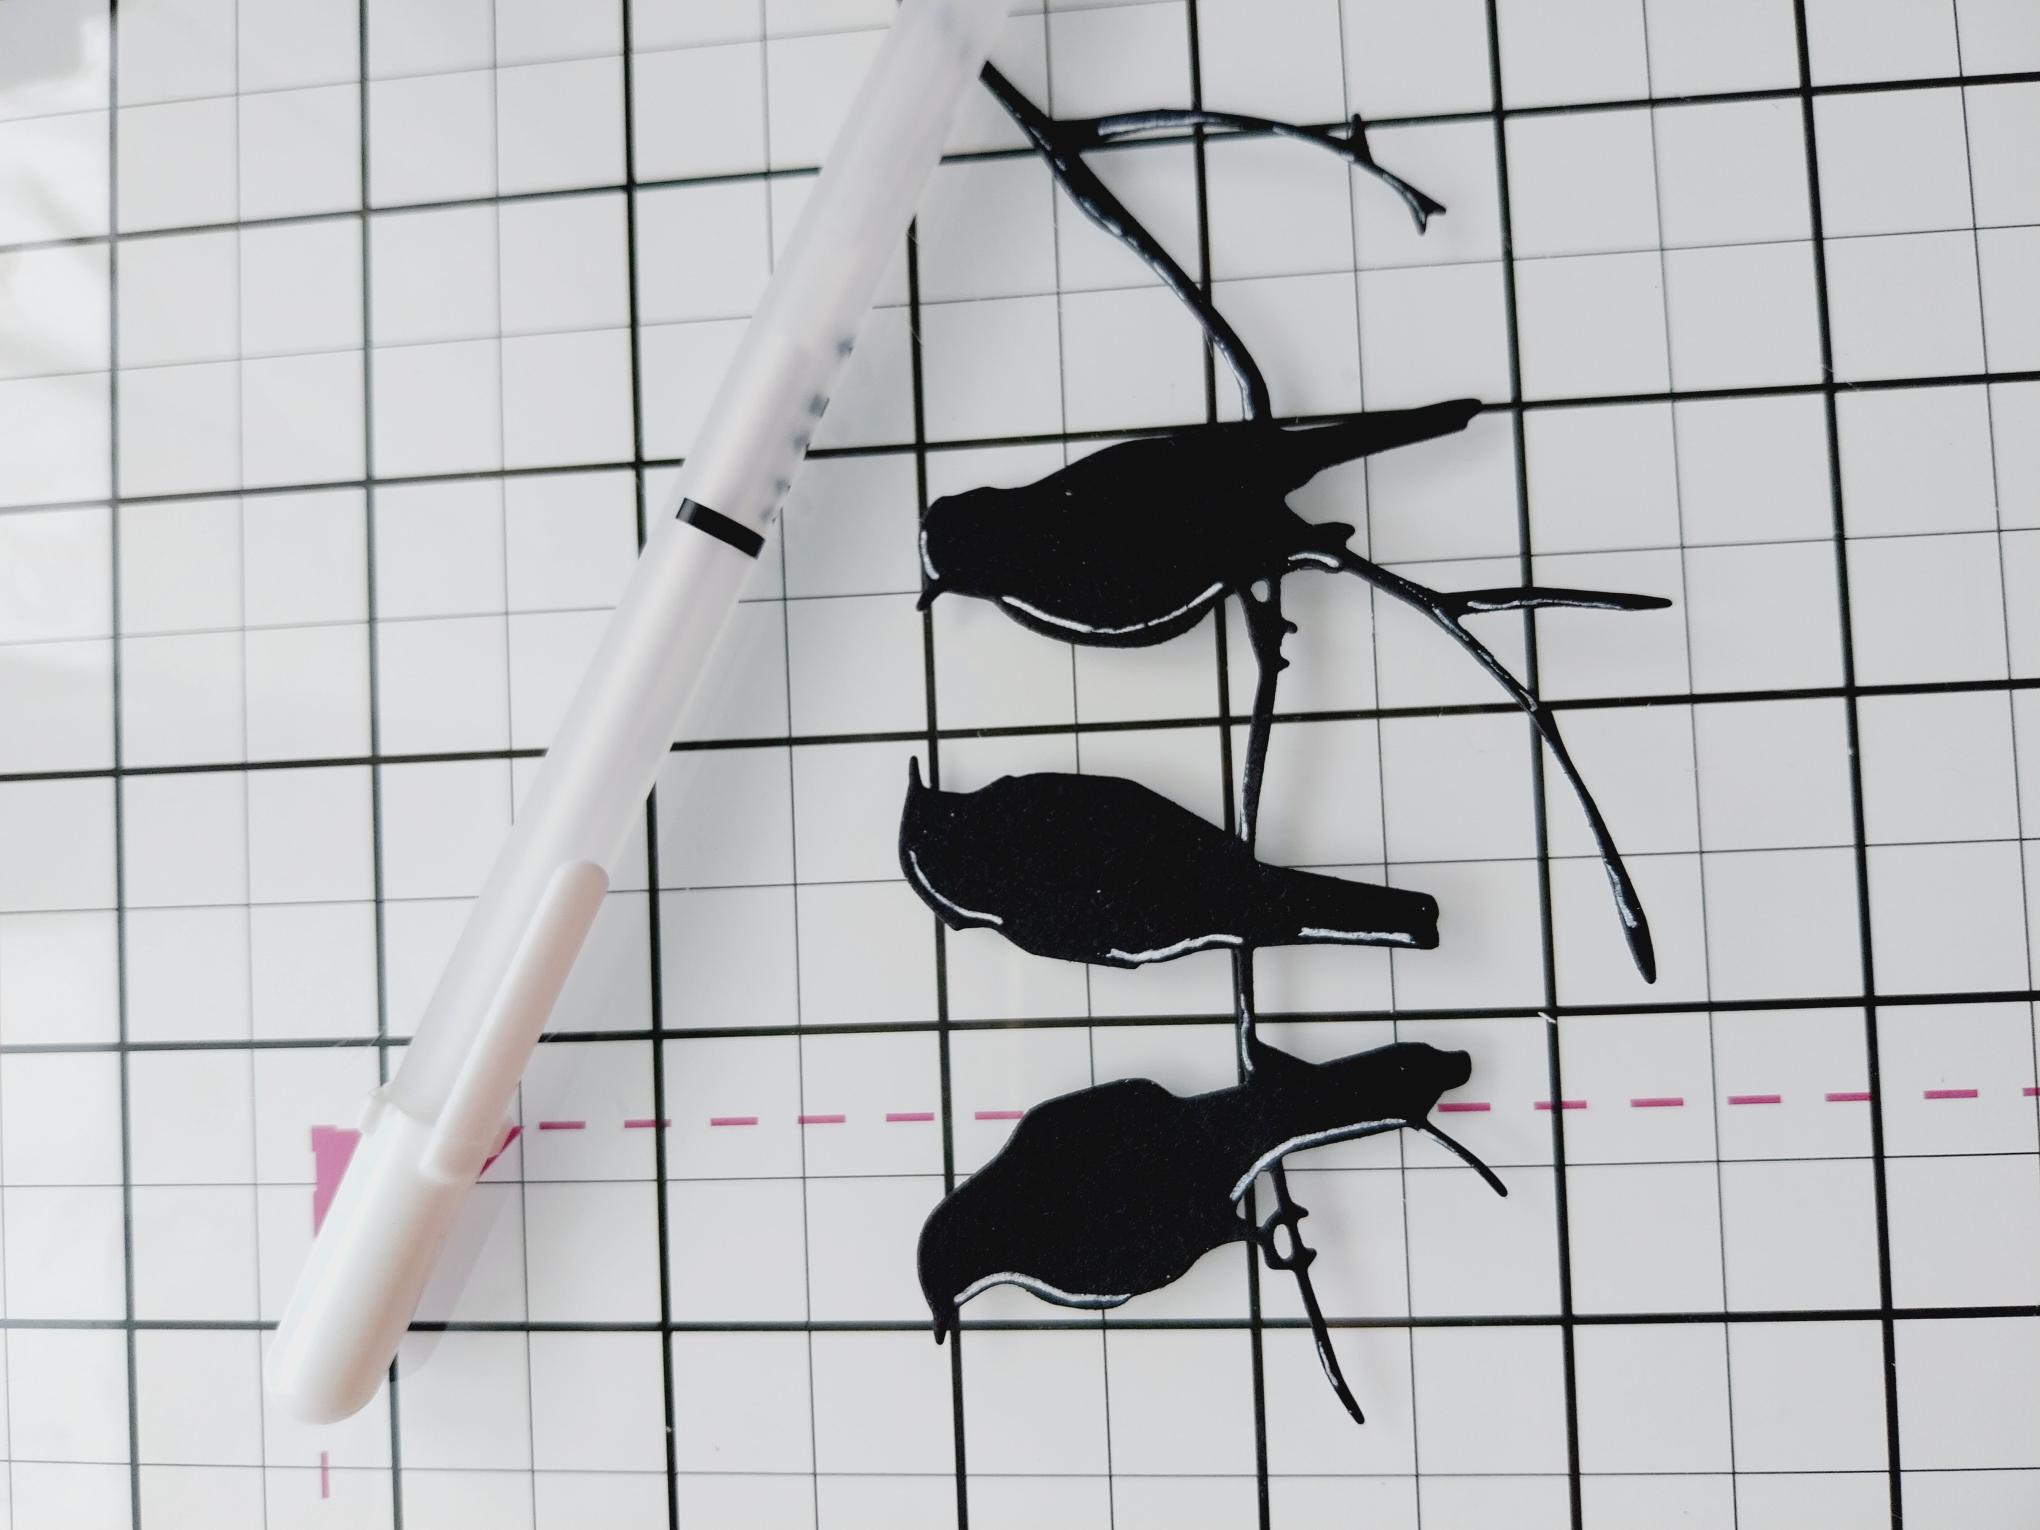
Die cut the silhouette birds from black card and use a white gel pen to add accents. |
|
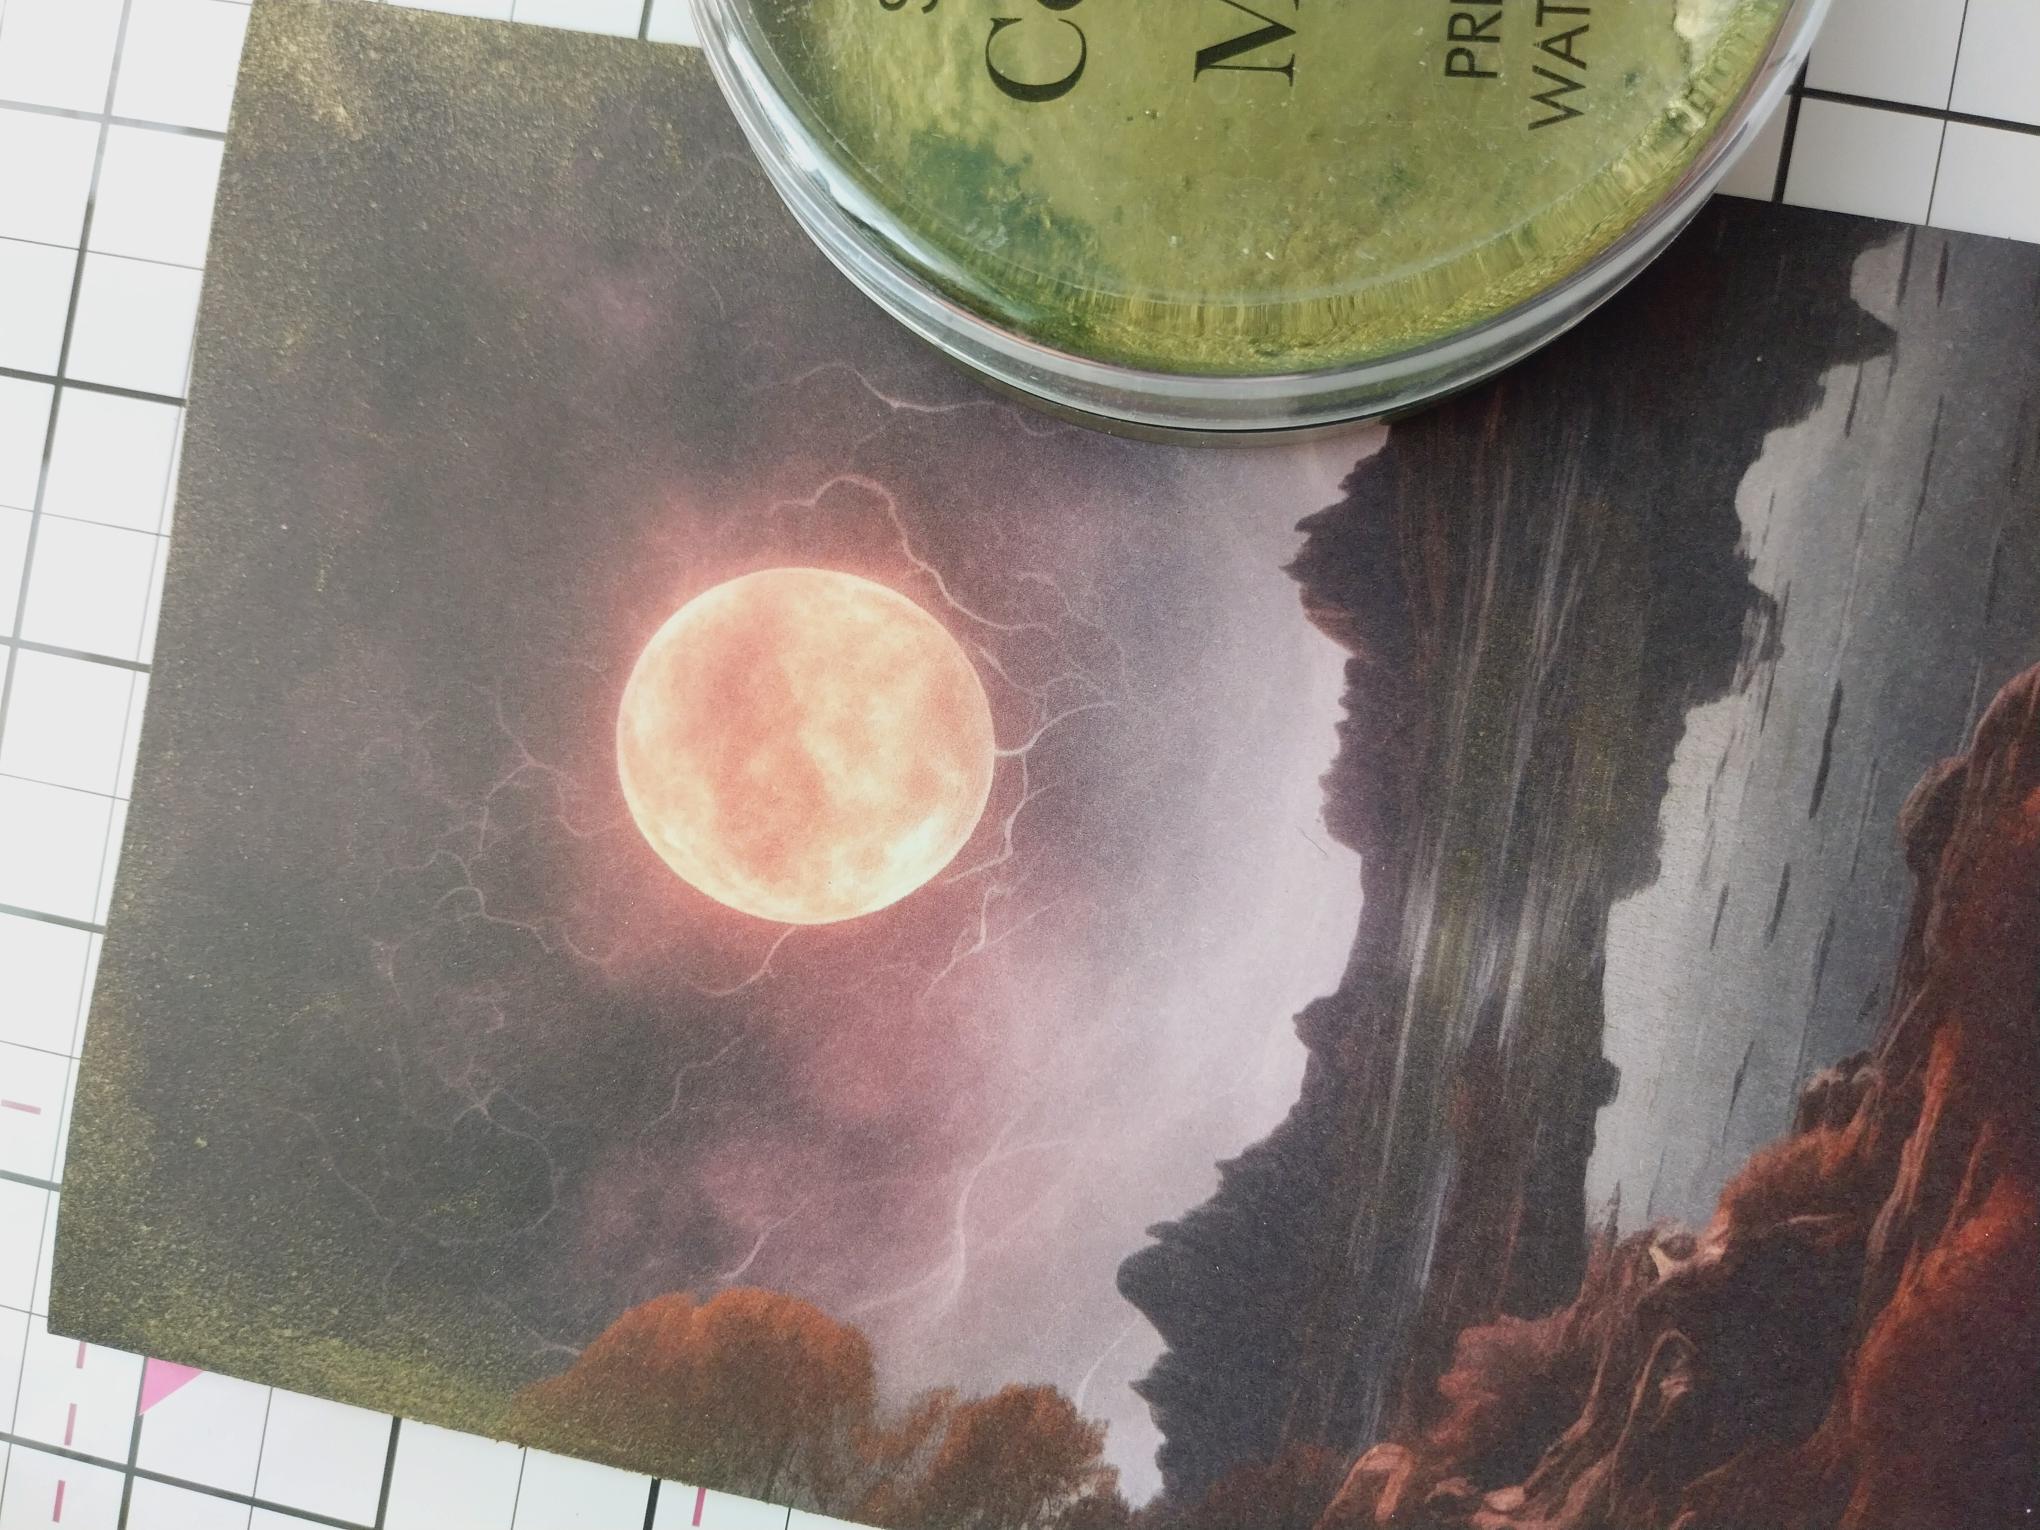
Add water to the Mushroom Confetti ink and add a touch of shine across the sky on this decorative paper from We Can Dream. |
|
Adhere your die-cut birds across your inked paper. Pop to one side. |

|
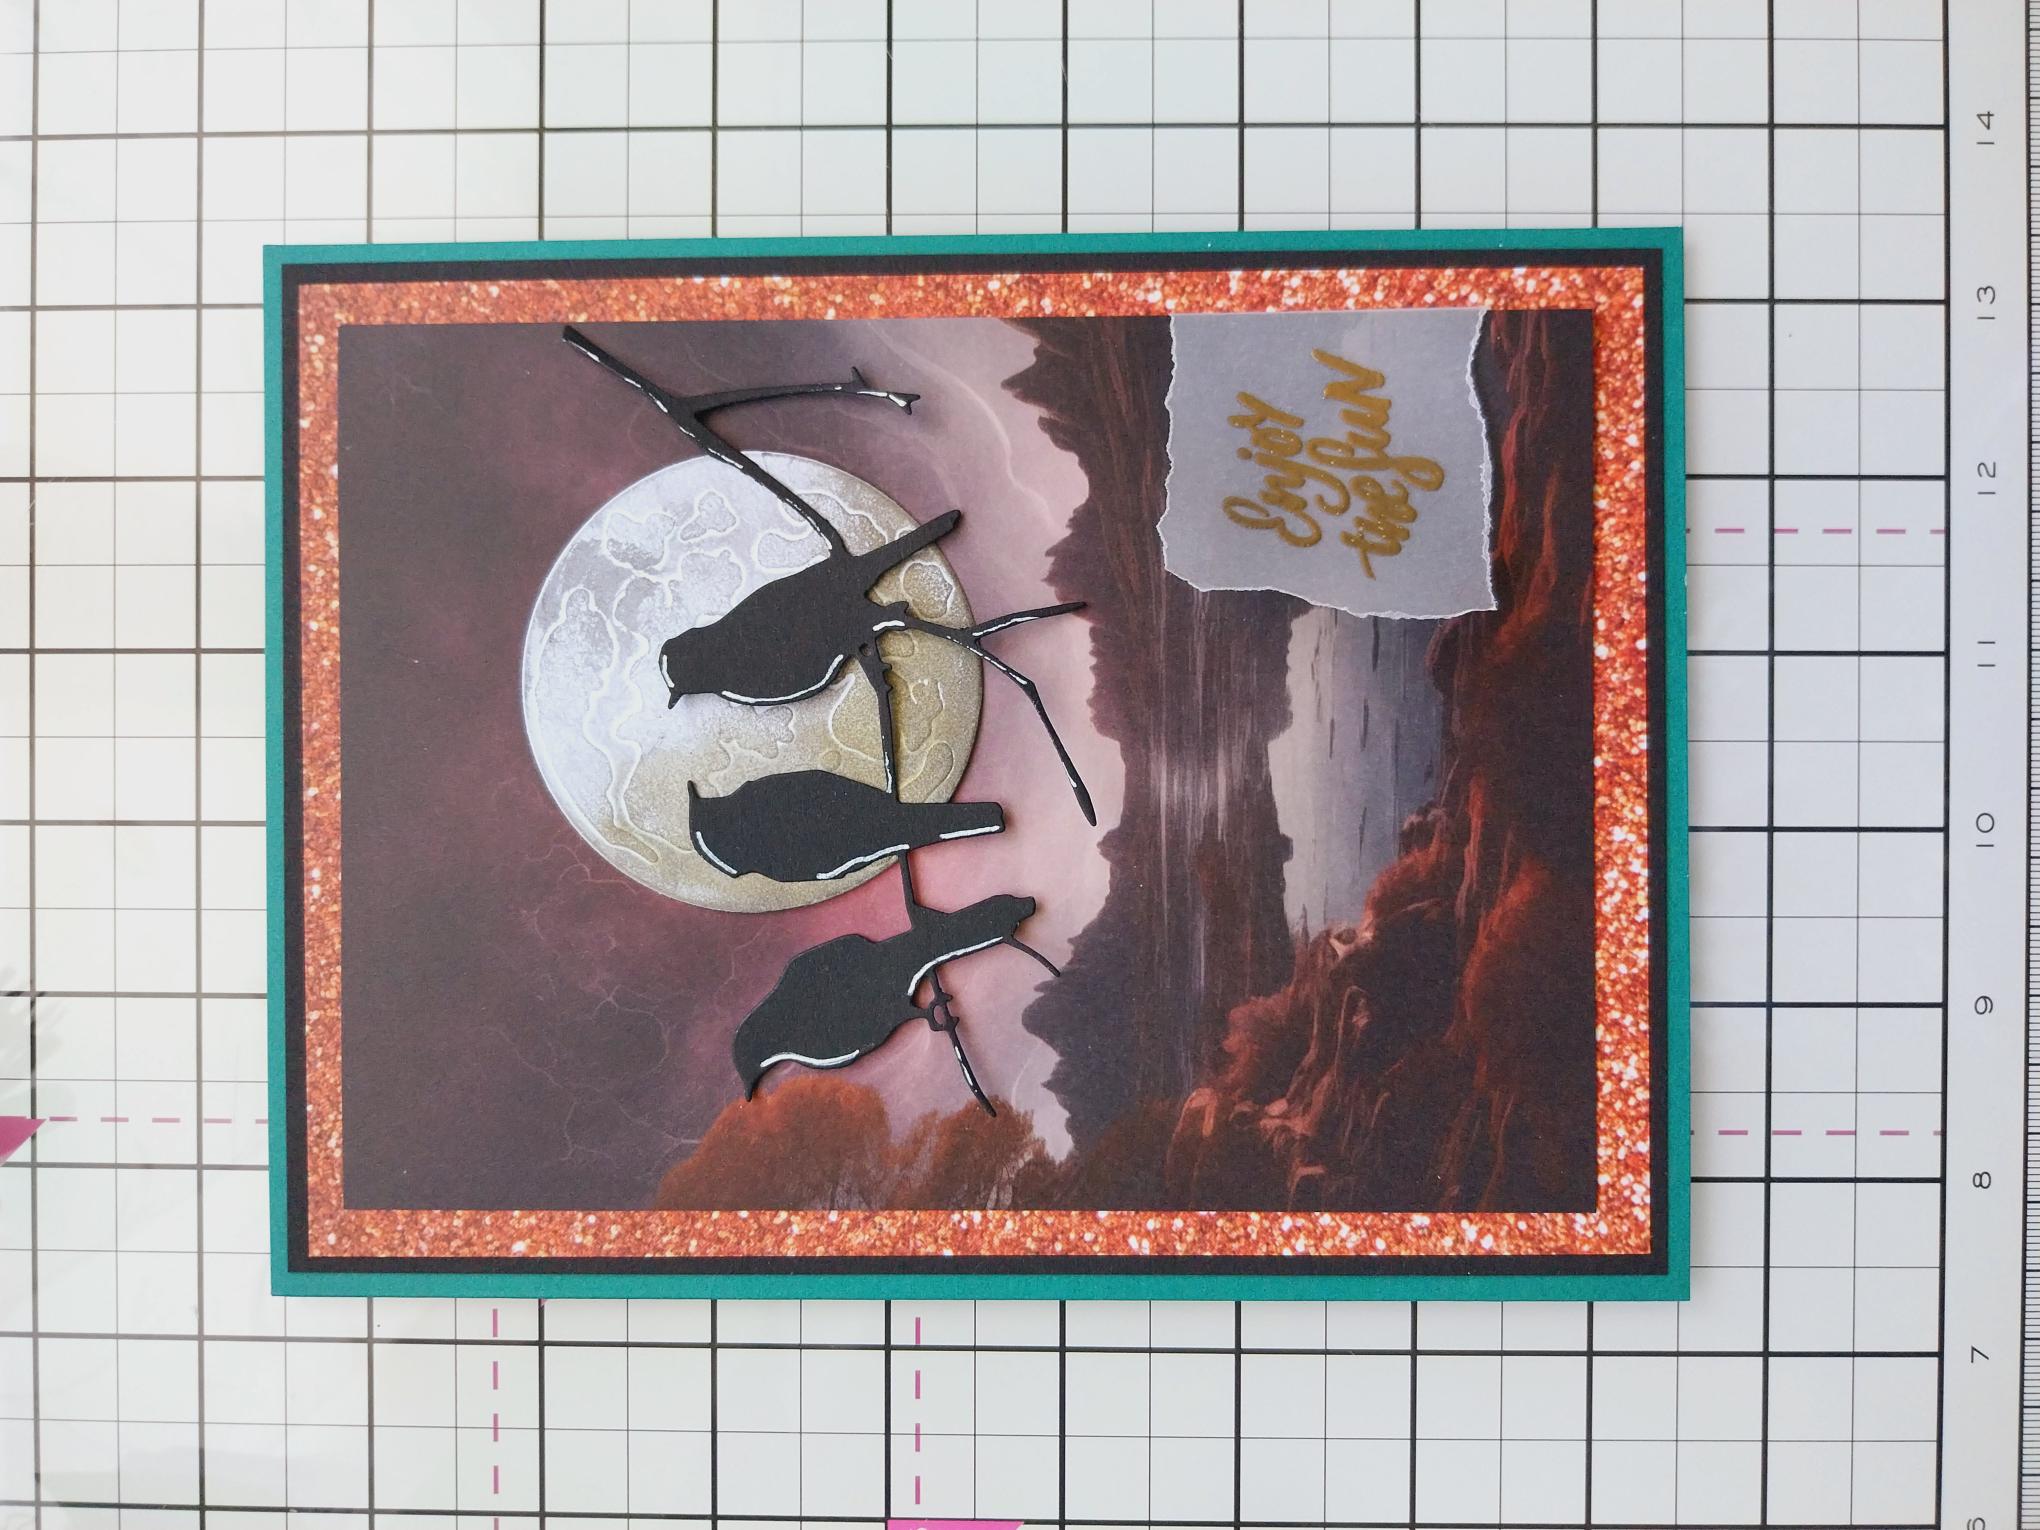
Tear a piece of vellum deep enough for the sentiment to fit on and with extra vellum to the right, which can be folded over, allowing you to secure over the edge of the paper. Wipe over the vellum with your anti-static bag before stamping the sentiment in the sticky WOW embossing ink. Apply the Gold embossing powder over the stamped image, decanting any excess powder back in the pot. Get your heat tool hot before heat setting the powder, ensuring your move the heat tool as soon as the powder starts to turn. This will minimise the warping of the vellum or burning of the powder. |
|
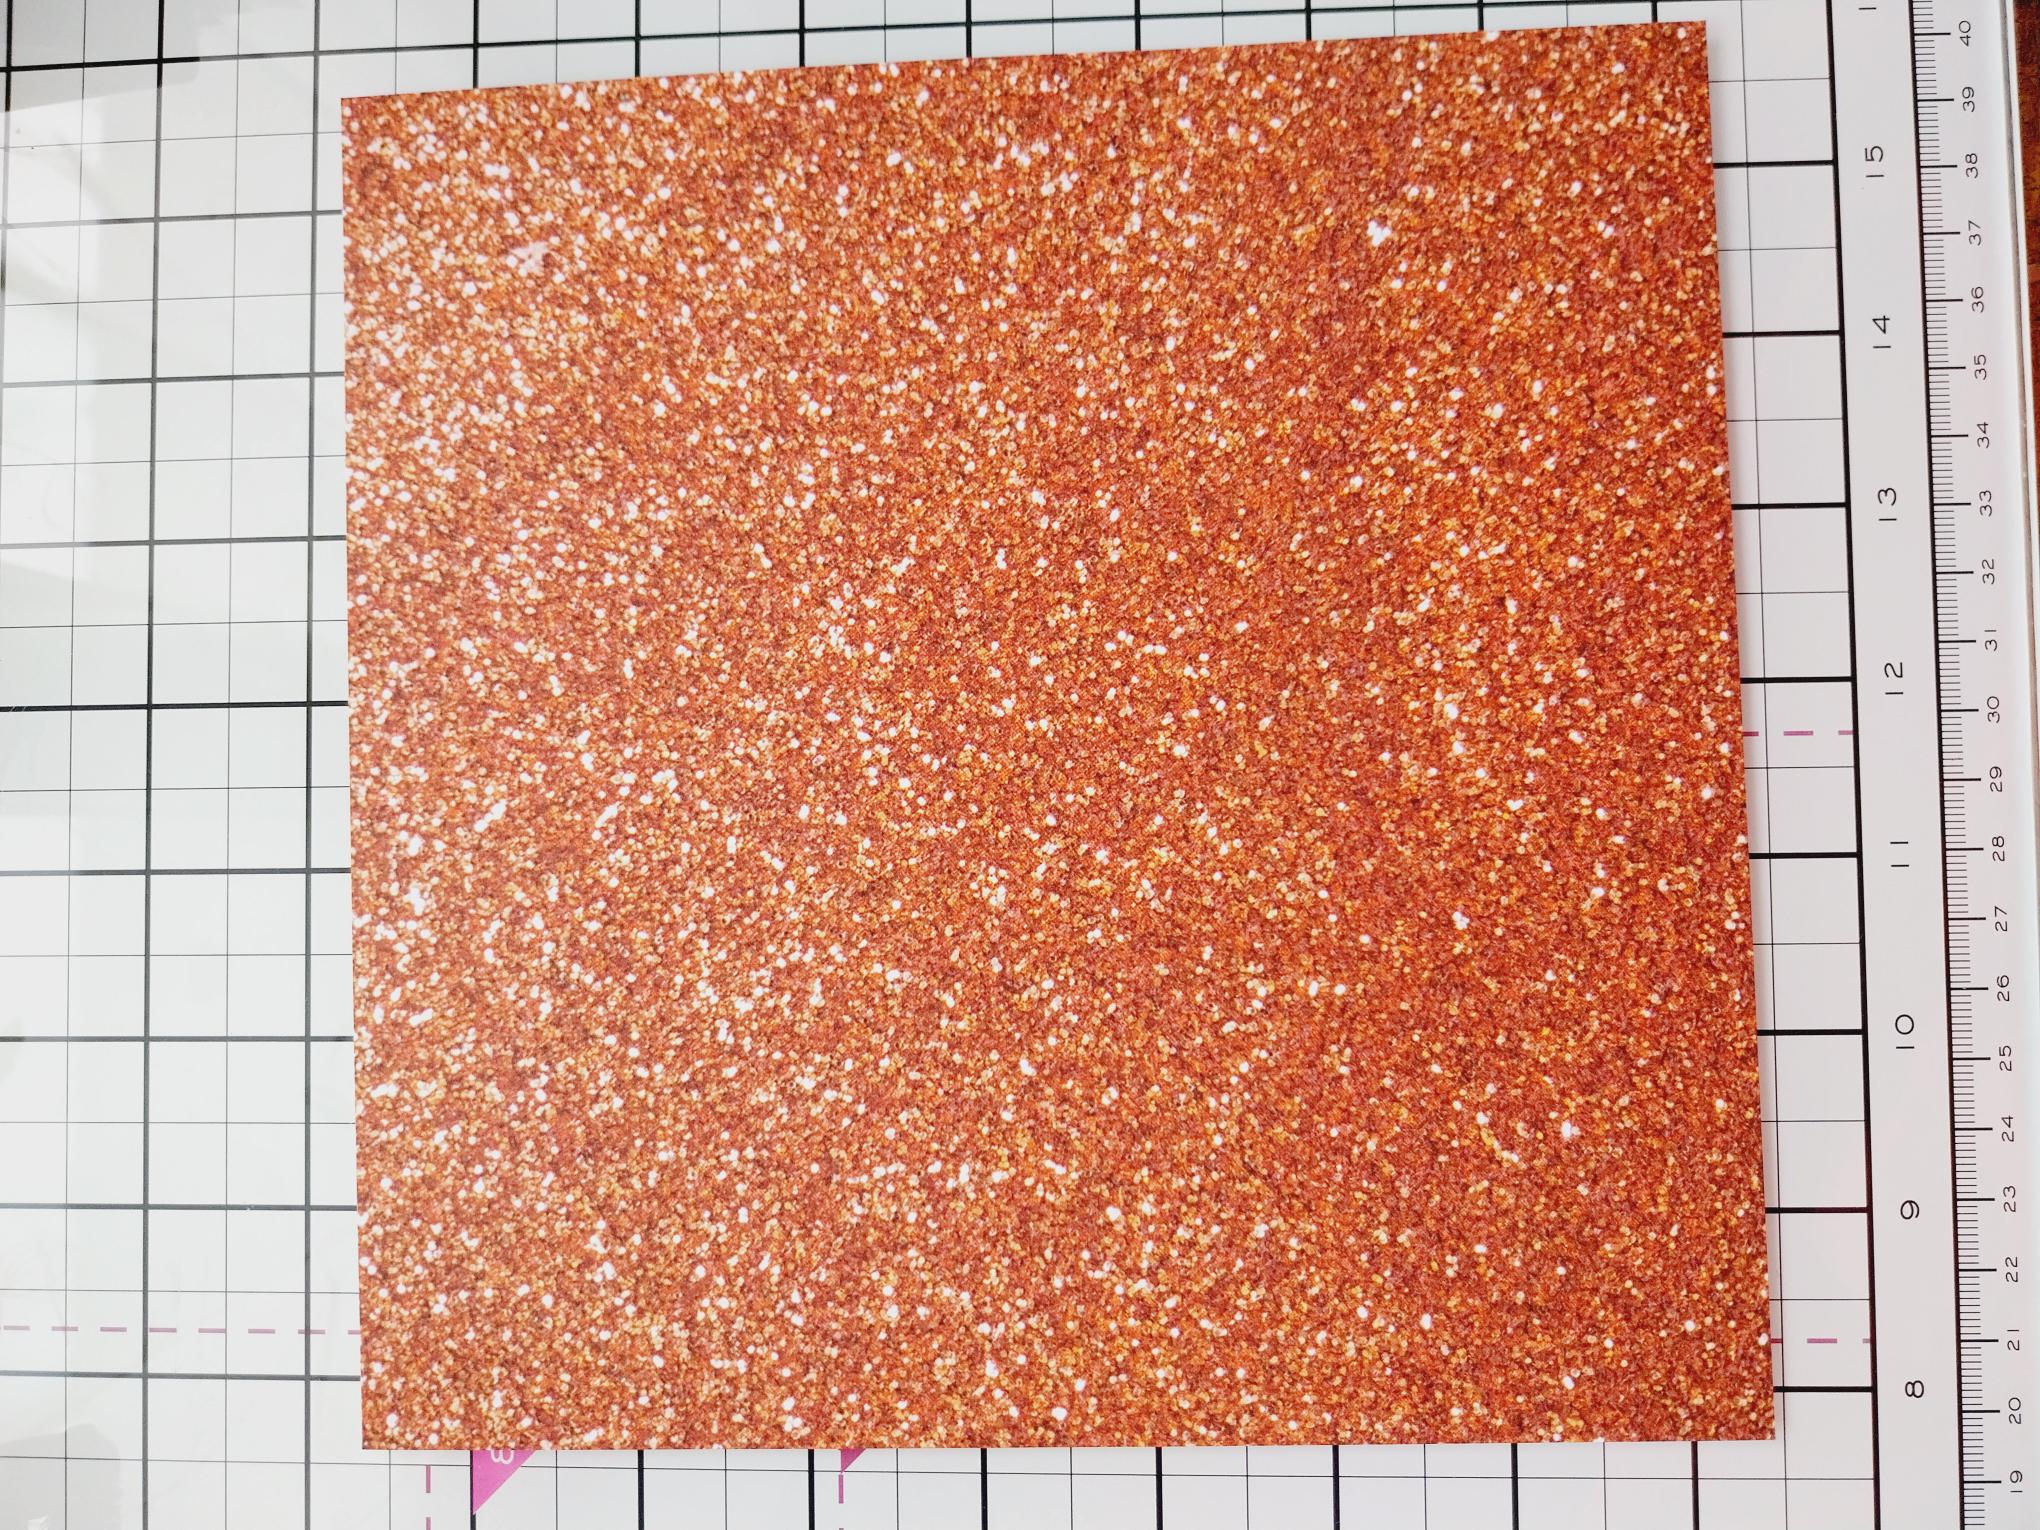
Choose this paper from the All Surfaces Paper Pack. Trim down to 7 3/4 x 5 3/4". |
|
Tuck the folded right edge of the vellum over the lower right side of the decorative paper and secure on the reverse with a bit of double-sided adhesive tape as seen here. Adhere to the trimmed Copper paper and finally on to the Teal card blank to finish. |