Give your friends $10 off their first order!
Refer a FRIEND


WHAT YOU WILL NEED:
Grey card blank 6 x 8"
White cardstock
SBM Pretty Colours Inside designer cardstock: Indigo
Ethereal Love Collection
SBM Hybrid Ink Pad: Midnight
SBM Dye Ink Pad: Indigo
Versafine Ink pad: Clair Fantasia
Blending tool
Eco Friendly Crystal Frost Media Glitter Indigo
Eureka 101 Watercolour Tablet
SBM A3 Magnetic glass mat
Paper Trimmer
Glue
[click image to enlarge] 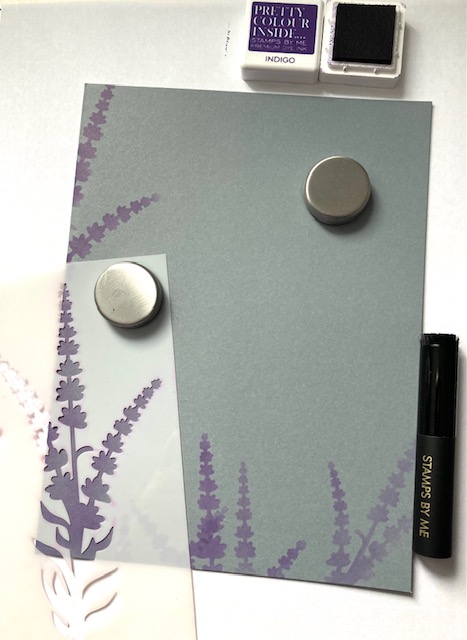
|
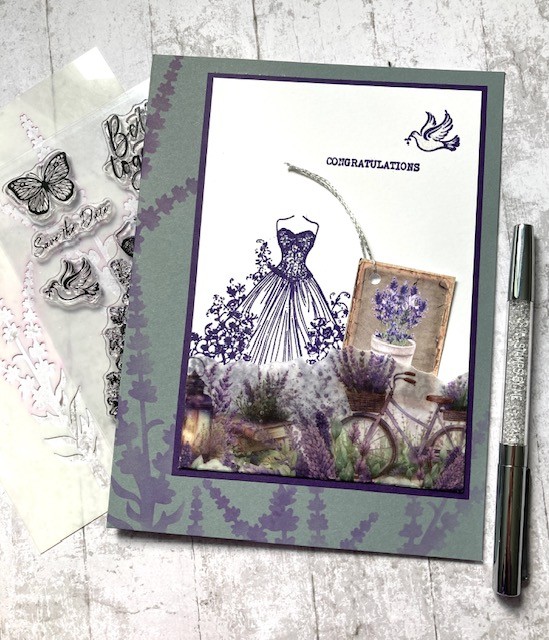
Decorate around the bottom and left side of your grey card front using your lavender stencil and your blending tool, with Indigo ink. Change the position of your stencil as you go round to add some variety. Pop to one side. |
|
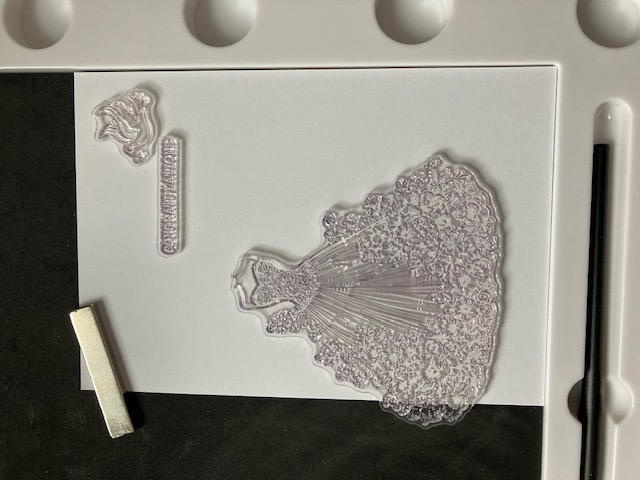
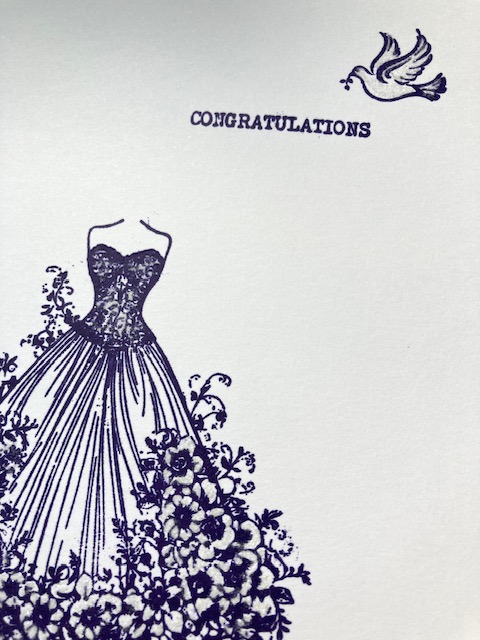
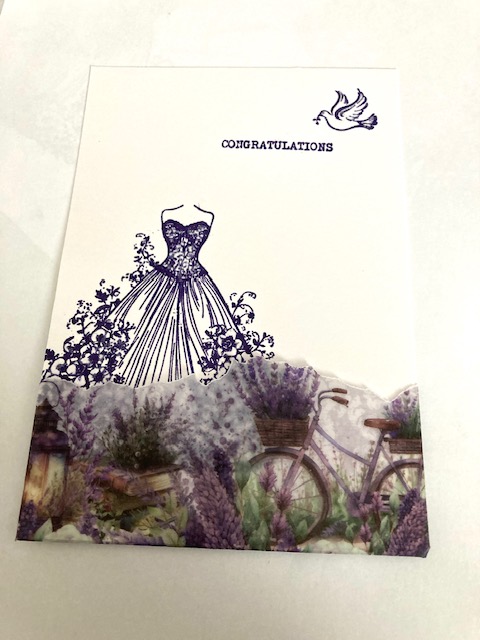
On your white piece of card 4 1/2 x 6 1/2", plan where you want to stamp your dress, sentiment and dove. NB leave a space at bottom to put your vellum - approximately 1 inch so that it won’t cover all of your beautiful stamping. Use a waterproof ink to do your stamping. This will prevent the ink bleeding when we add glue on the next step. (I’ve used VersaFine Clare - Fantasia as it is a good colour match to Stamps By Me Indigo but any waterproof ink will be ok) |
|
Next add some sparkle. Add glue to the flowers, top of the dress and the dove and then add Stamps By Me Media Glitter - Eco Friendly Crystal Frost Purple over these areas. You can add as much or as little as you like just add more or less glue. Once the glue has dried brush away any excess glitter before moving on. |
|
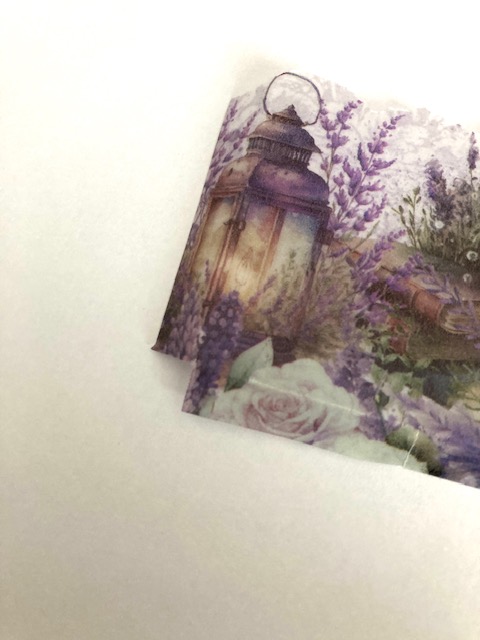
Pick you favourite vellum from the kit and tear a panel. Place over your image and there should be slight excess on the left, right and bottom sides. Wrap this tightly around the back of your white piece of card which will enable you to glue your vellum at the back of your card stock - hiding the glue and creating a pocket on the front of you card. |
|
To make glueing your vellum easier, after folding it around your card, remove and cut away the square where the two folds meet on the bottom left and right before putting back in position and gluing in place on the reverse of the card. |
|
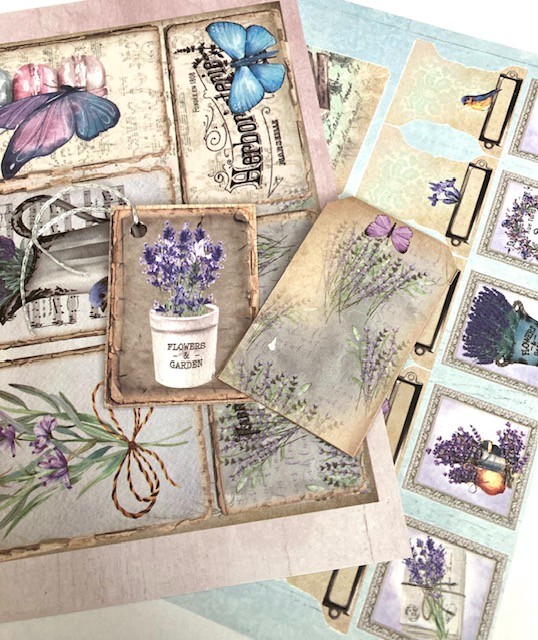
Once the vellum is in place you can add anything you want to inside the pocket from the ephemera pages included with this collection. I have made a tag. |
|
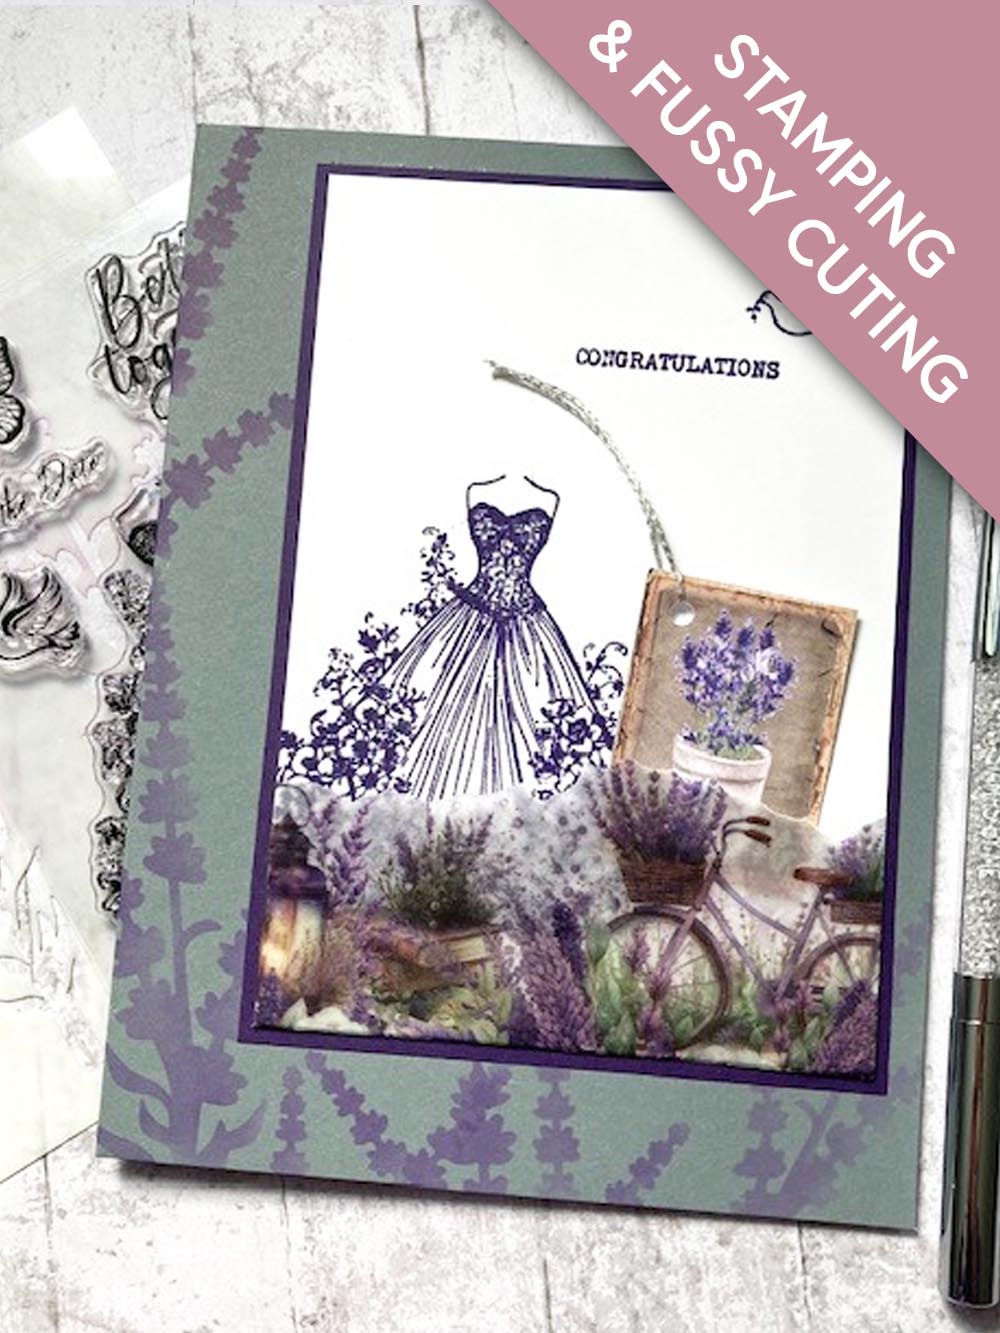
Finally glue your artwork to the 4 3/4 x 6 3/4" Indigo card, to create a frame and then glue this onto your grey card base. |