

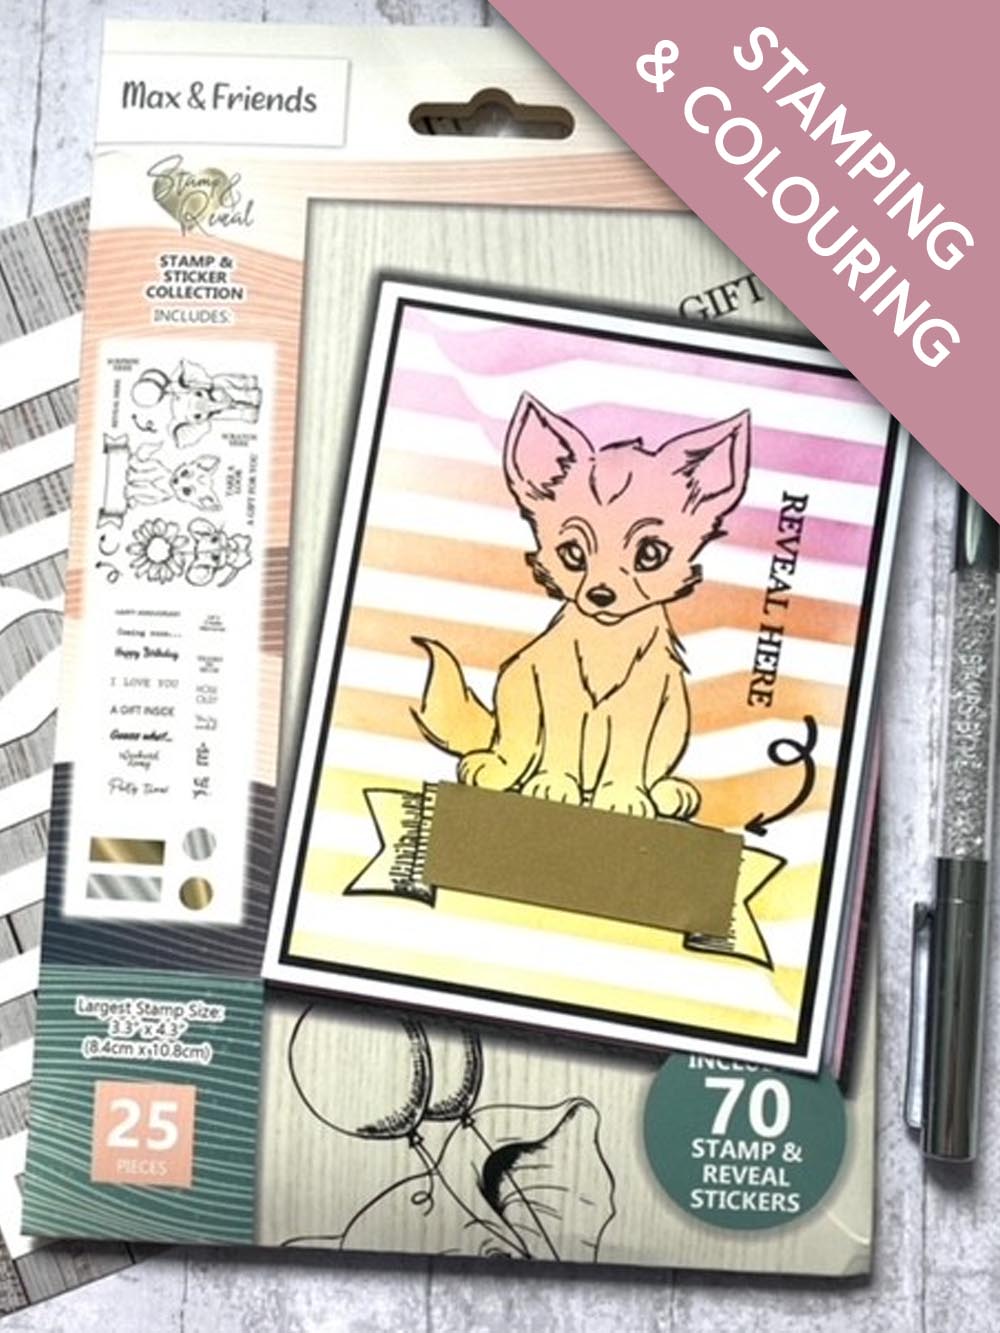
WHAT YOU WILL NEED:
White card blank 4 1/4 x 5 1/2"
Black/White cardstock
Max & Friends A5 Stamp & Sticker
Illusion 7 x 7" Stencil
SBM Hybrid Ink Pad: Midnight
SBM Dye Ink pad: Sherbet, Magenta
Eureka 101 Watercolour Tablet
SBM A3 Magnetic glass mat
Paper Trimmer
Glue
Removable tape
Die Cutting machine
[click image to enlarge] 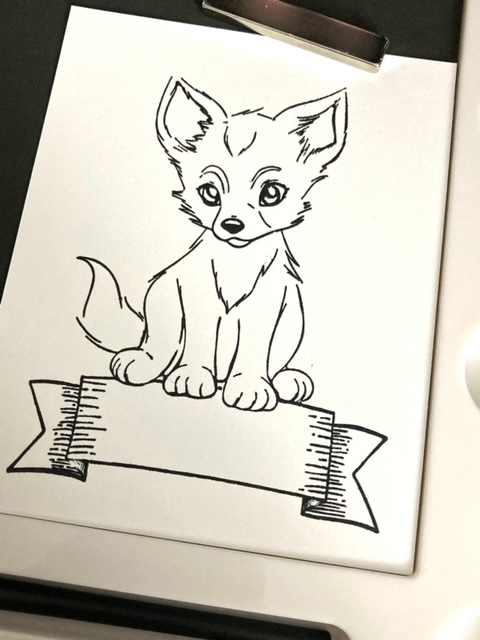
|
Stamp the image of this cute fox onto a piece of white card stock. |
|
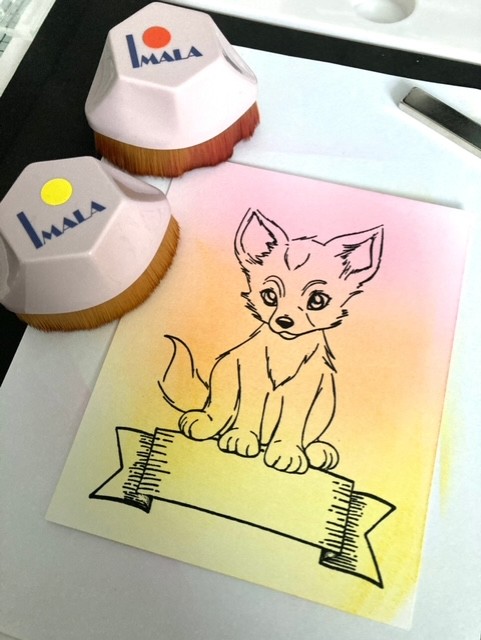
Use your blending brushes to add Sherbet from the bottom up, approximately two thirds of the card and apply Magenta from the top of the card down approximately two thirds. The two colours should overlap and where they do they will blend to make a beautiful orange. Continue alternating blending between the two colours until you are happy. |
|
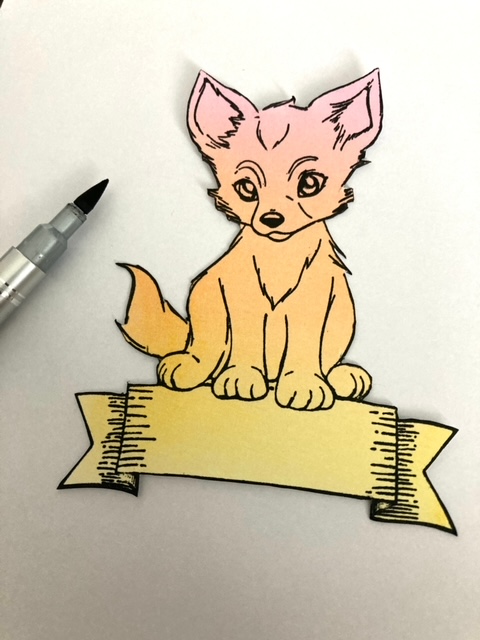
Fussy cut out your image. Ink blending your image prior to fussy cutting will give you a continuing background and depending on your fussy cutting abilities this will make it easier as it will be less obvious if you don’t cut right up to the image. You can now use a black permanent marker and go around / slide against the edge of your fussy cut image - this will hide the white ‘core’ of the cardstock you’ve fussy cut and can result in a more professional finish.
|
|
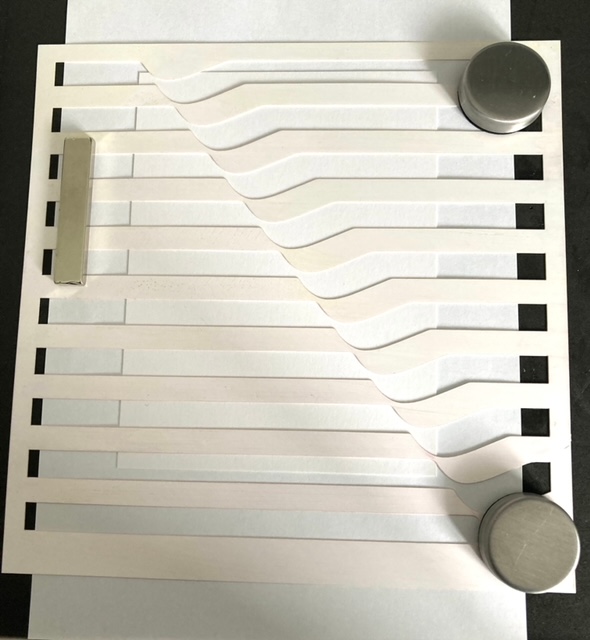
Take your 5 1/8 by 3 7/8" white piece of card and secure with removable tape on the back. Position the Illusion stencil where you want it for ink blending, again securing it in place with magnets or removable tape. |
|
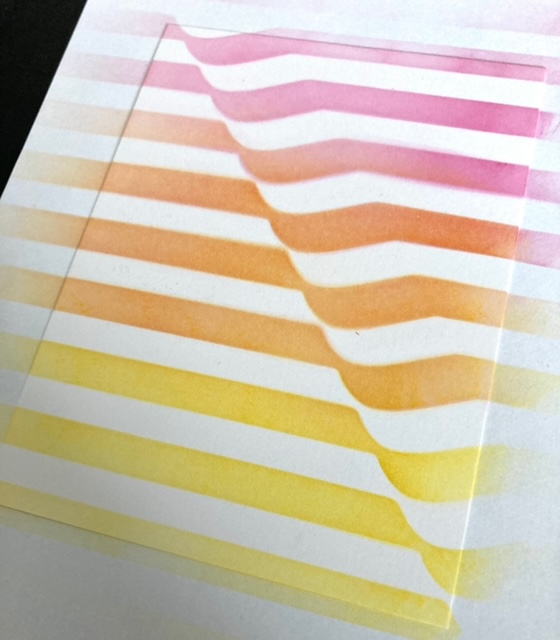
Ink blend through the stencil the same way as you did on your fox - applying Sherbet ink on the bottom, two thirds up and the Magenta ink onto the top two thirds down, so they meet in the middle to create orange.
|
|
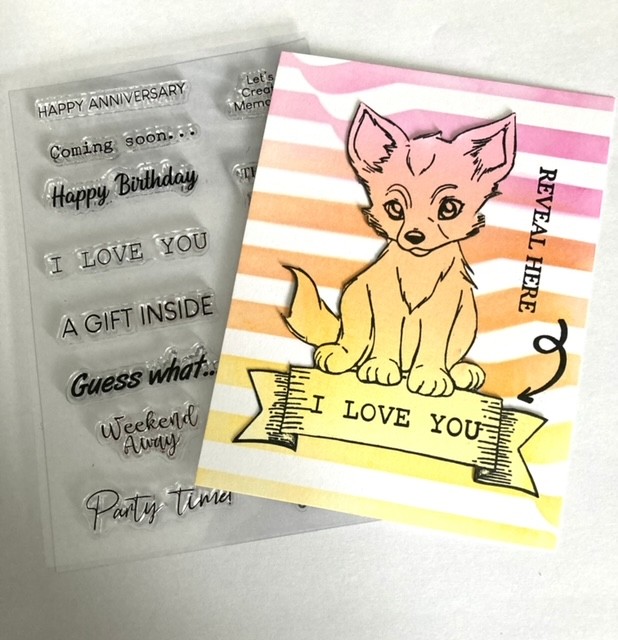
Glue your coloured image to your stencilled card and stamp whichever sentiments and directions you prefer from the accompanying stamps that come in your Max and Friends set. |
|
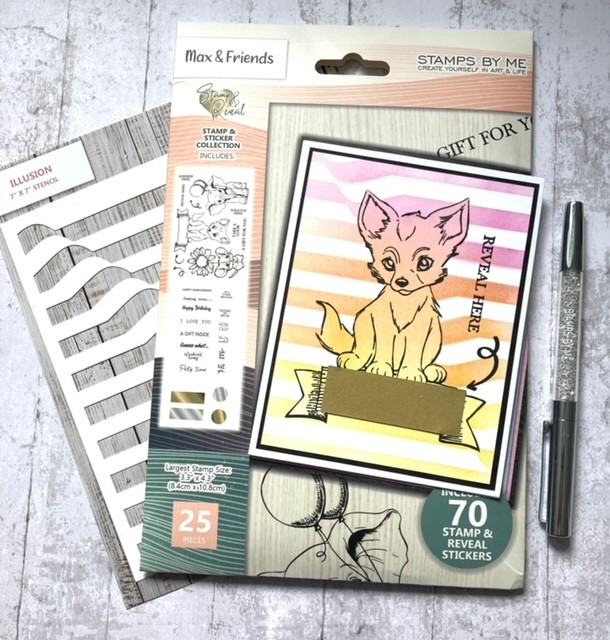
Finally add a gold or silver sticker and mat and layer your card onto black card trimmed to 5 1/4" x 4" and then on to your card blank. |