Give your friends $10 off their first order!
Refer a FRIEND


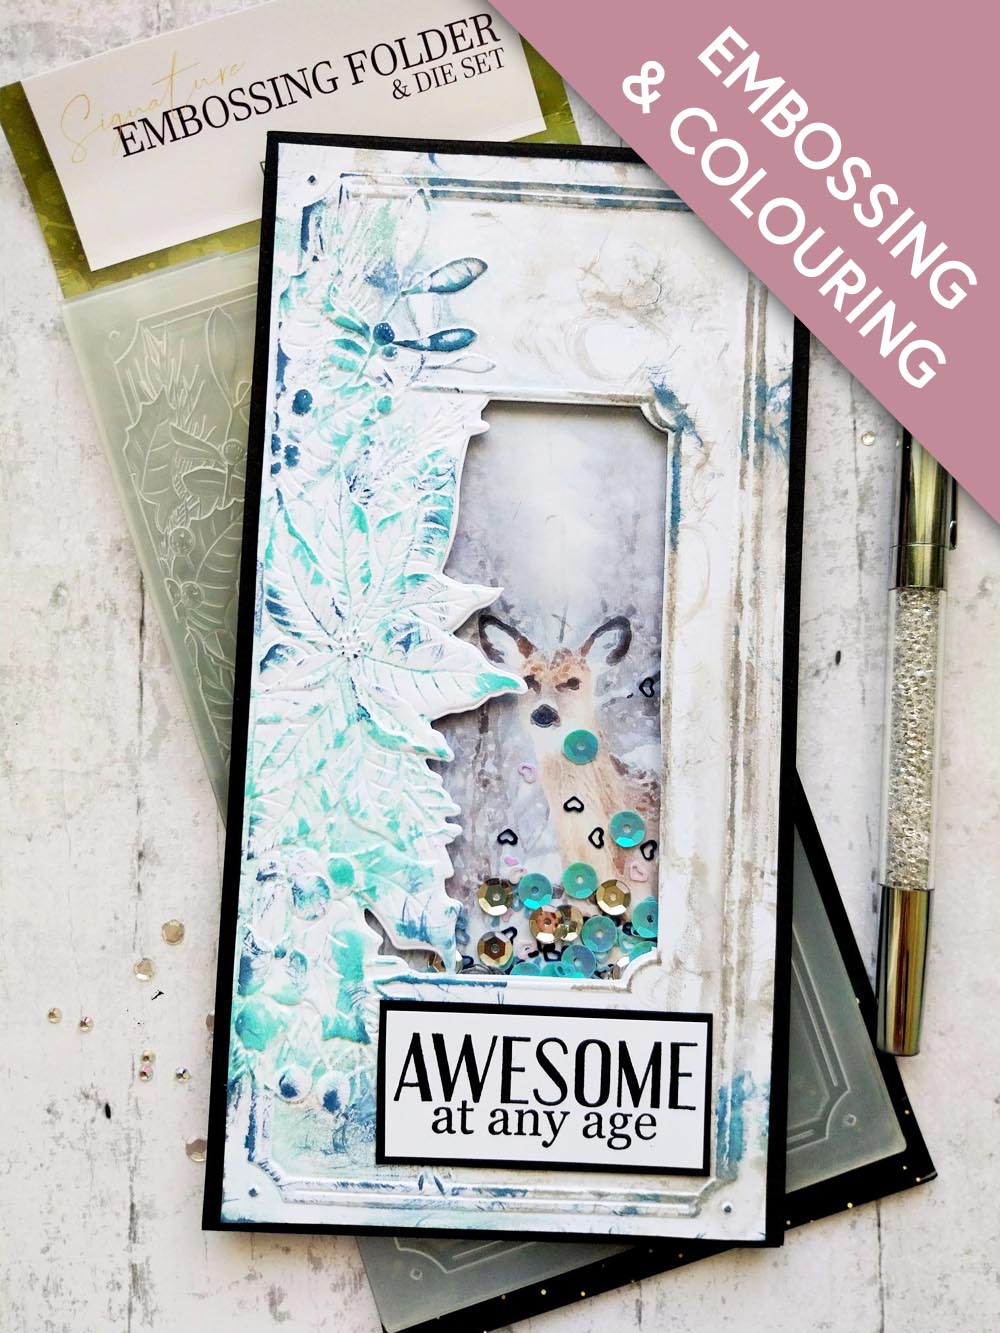
WHAT YOU WILL NEED:
Black card blank 8 1/4 x 4 1/4"
Black/white cardstock
Acetate
Believe 3D Embossing Folder and Die
Winter Magic Slimline Painted Mounts
Woodland Wildlife Stamp and Stencil Collection
SBM Hybrid Ink Pad: Midnight
Distress Ink/Oxide Ink Pad: Hickory Smoke, Salvaged Patina, Faded Jeans
Pearlywinks Diamond Pearl Mist
Water spray bottle
Paint brush
Sequins
Eureka 101 Watercolour Tablet
SBM A3 Magnetic glass mat
Paper Trimmer
Glue
Foam pads
Red liner tape
Die Cutting machine
[click image to enlarge] 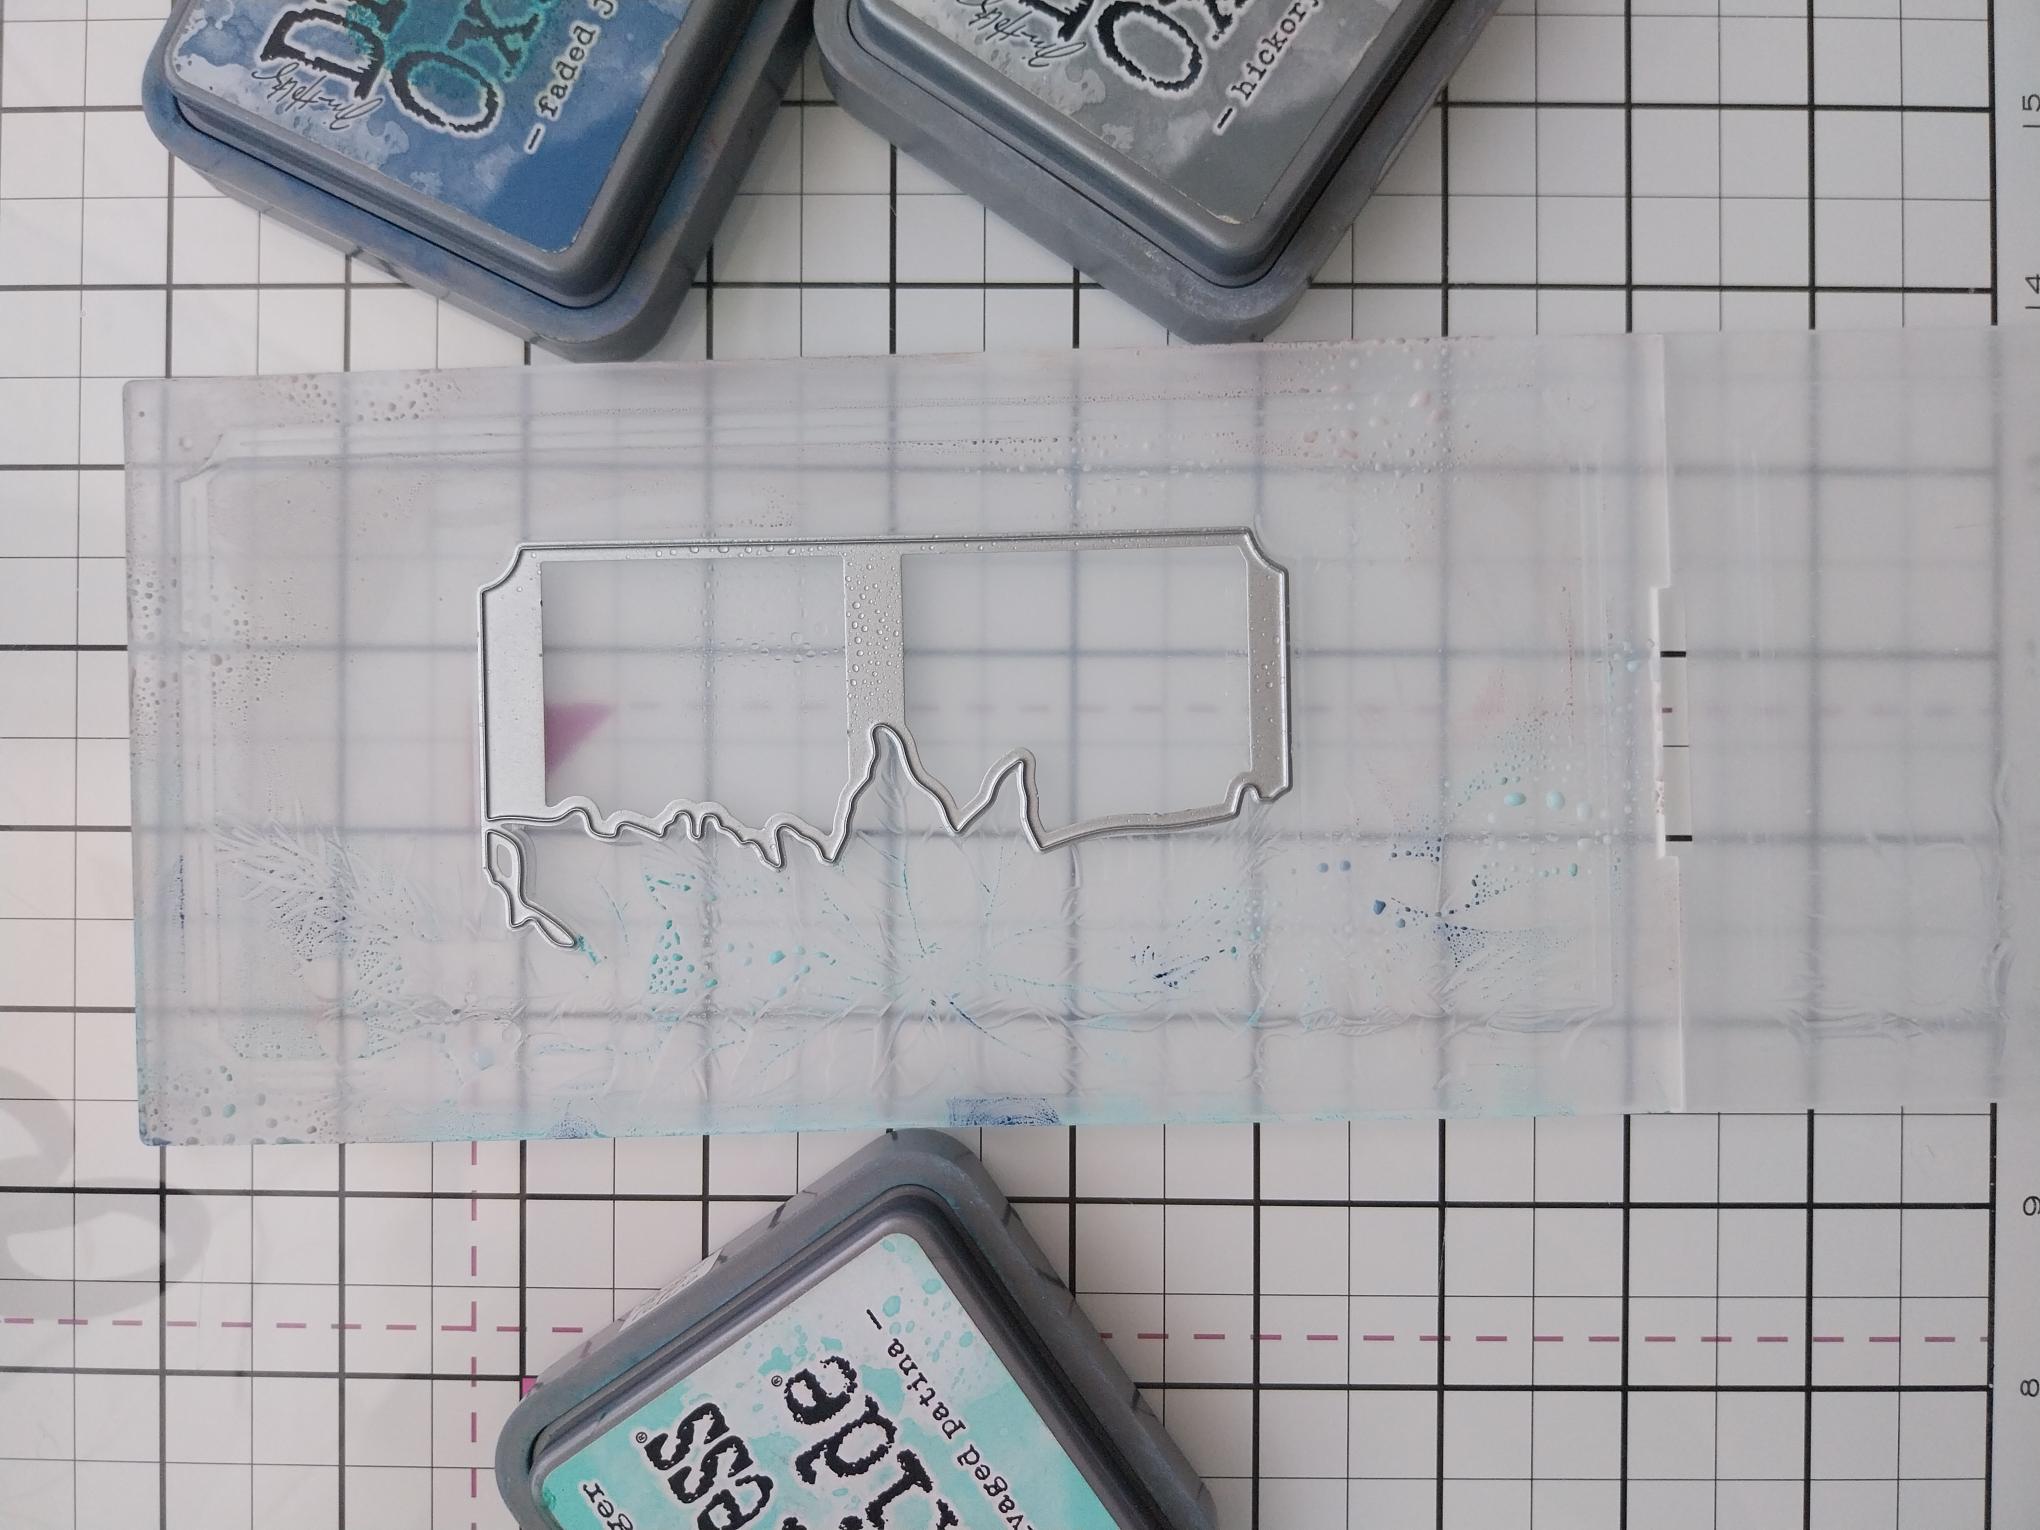
|
Using your Distress ink pads, ink around the side of the folder with the die and spritz with water. |
|
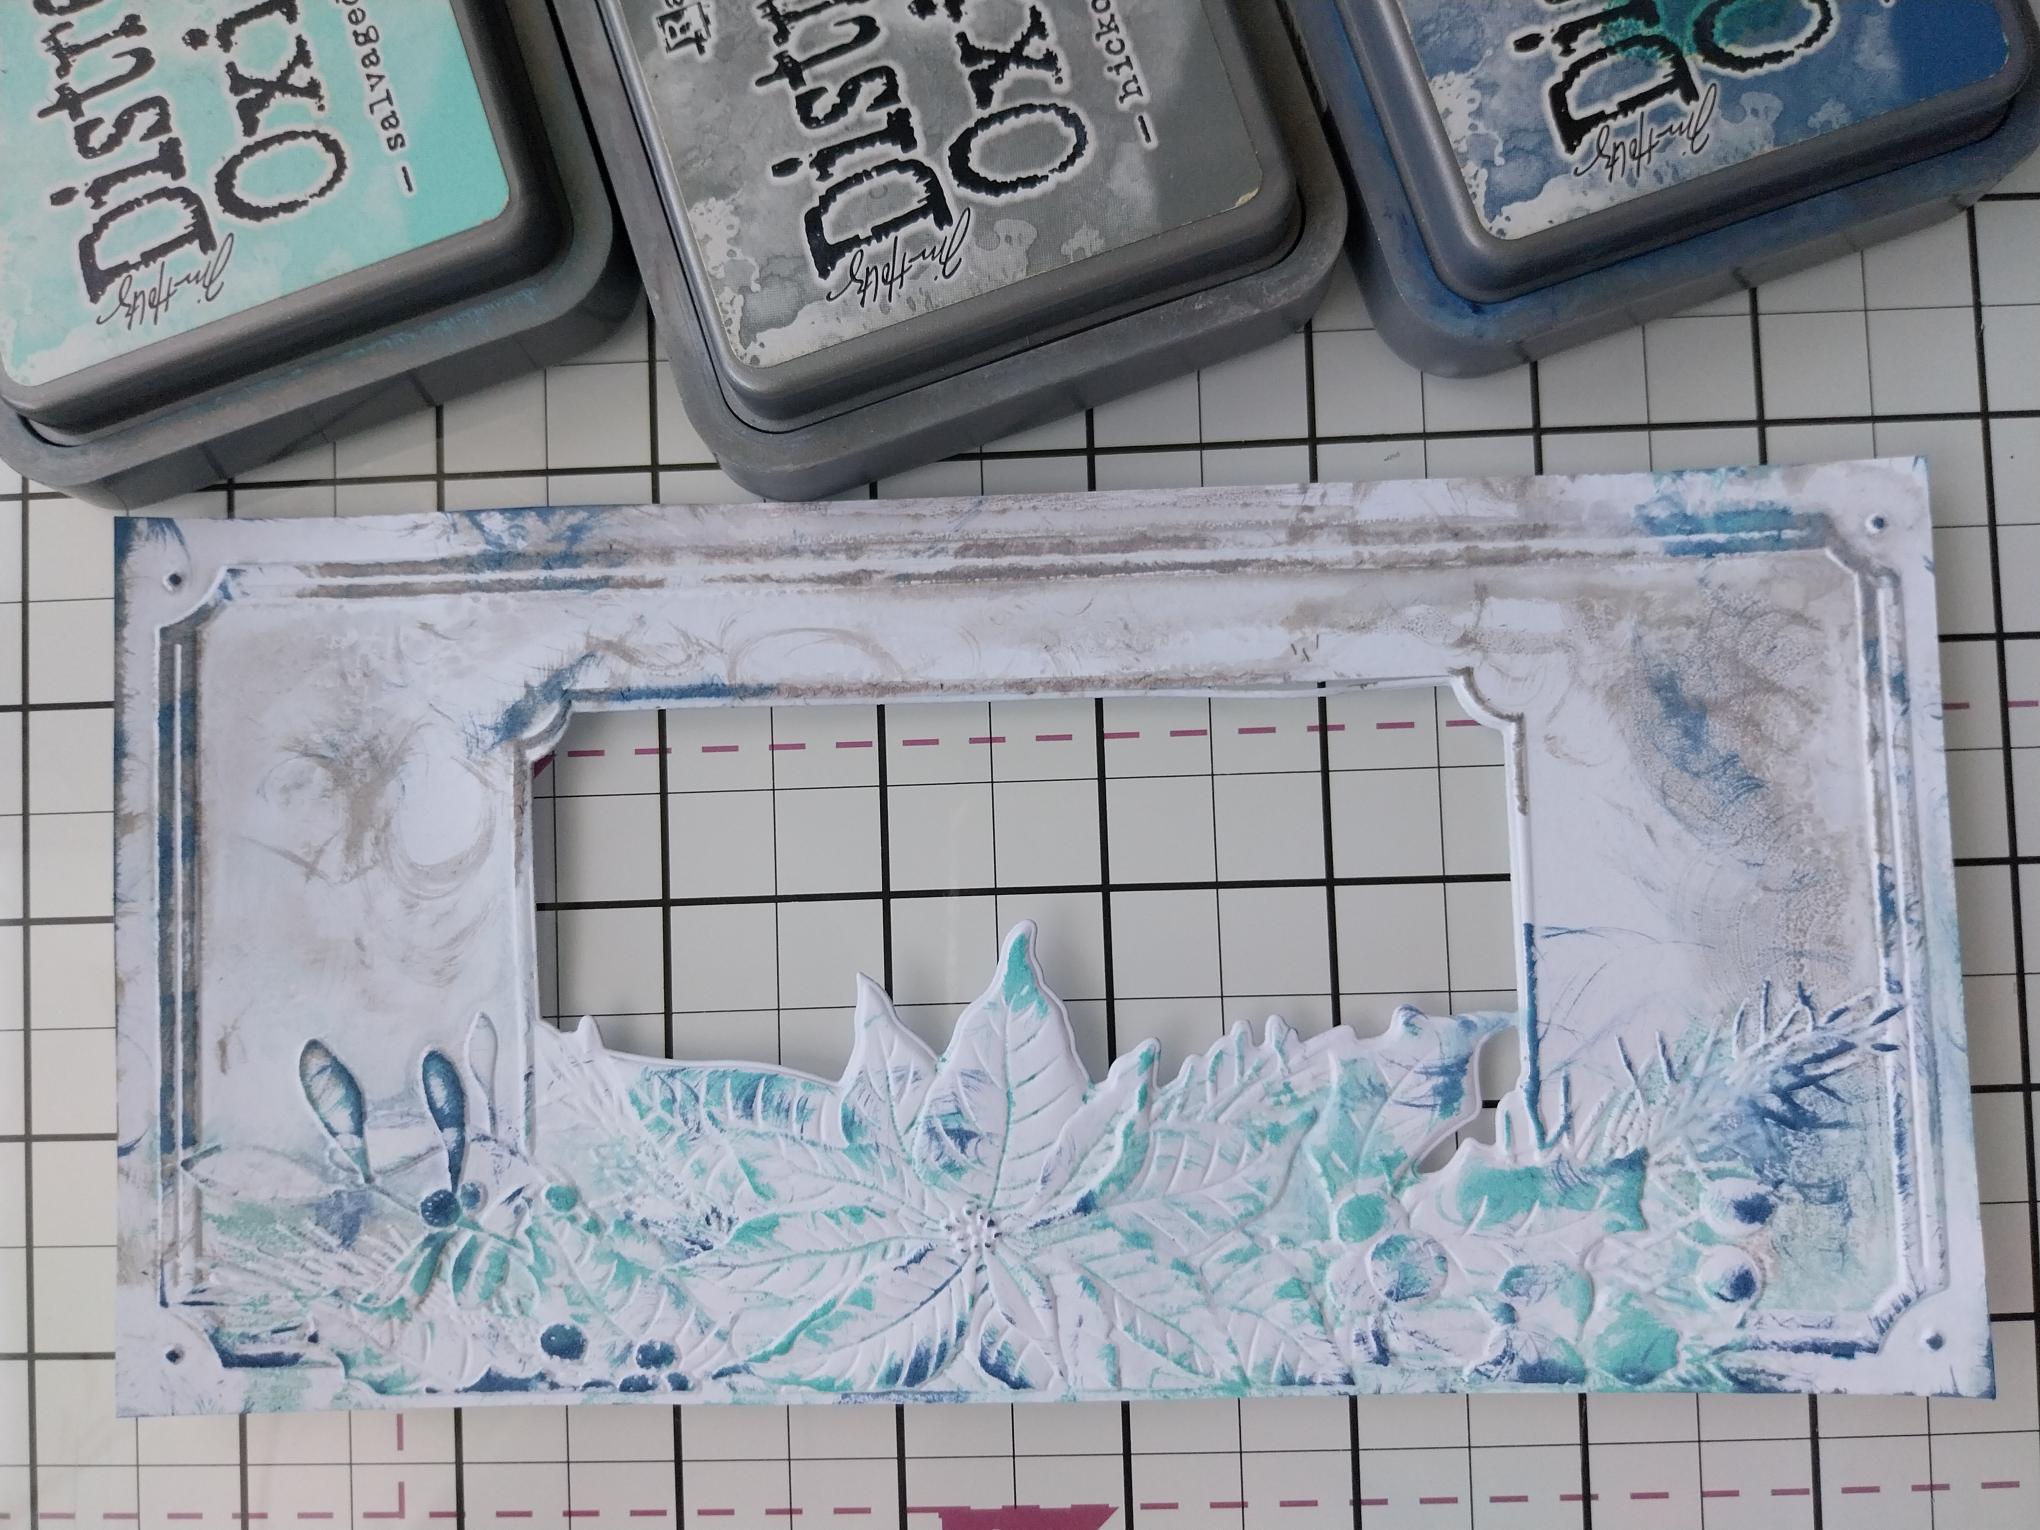
Place a piece of card trimmed to 8 x 4" inside the folder and run it through your machine. You can now go back in with your inks and a paint brush and add more colour. |
|
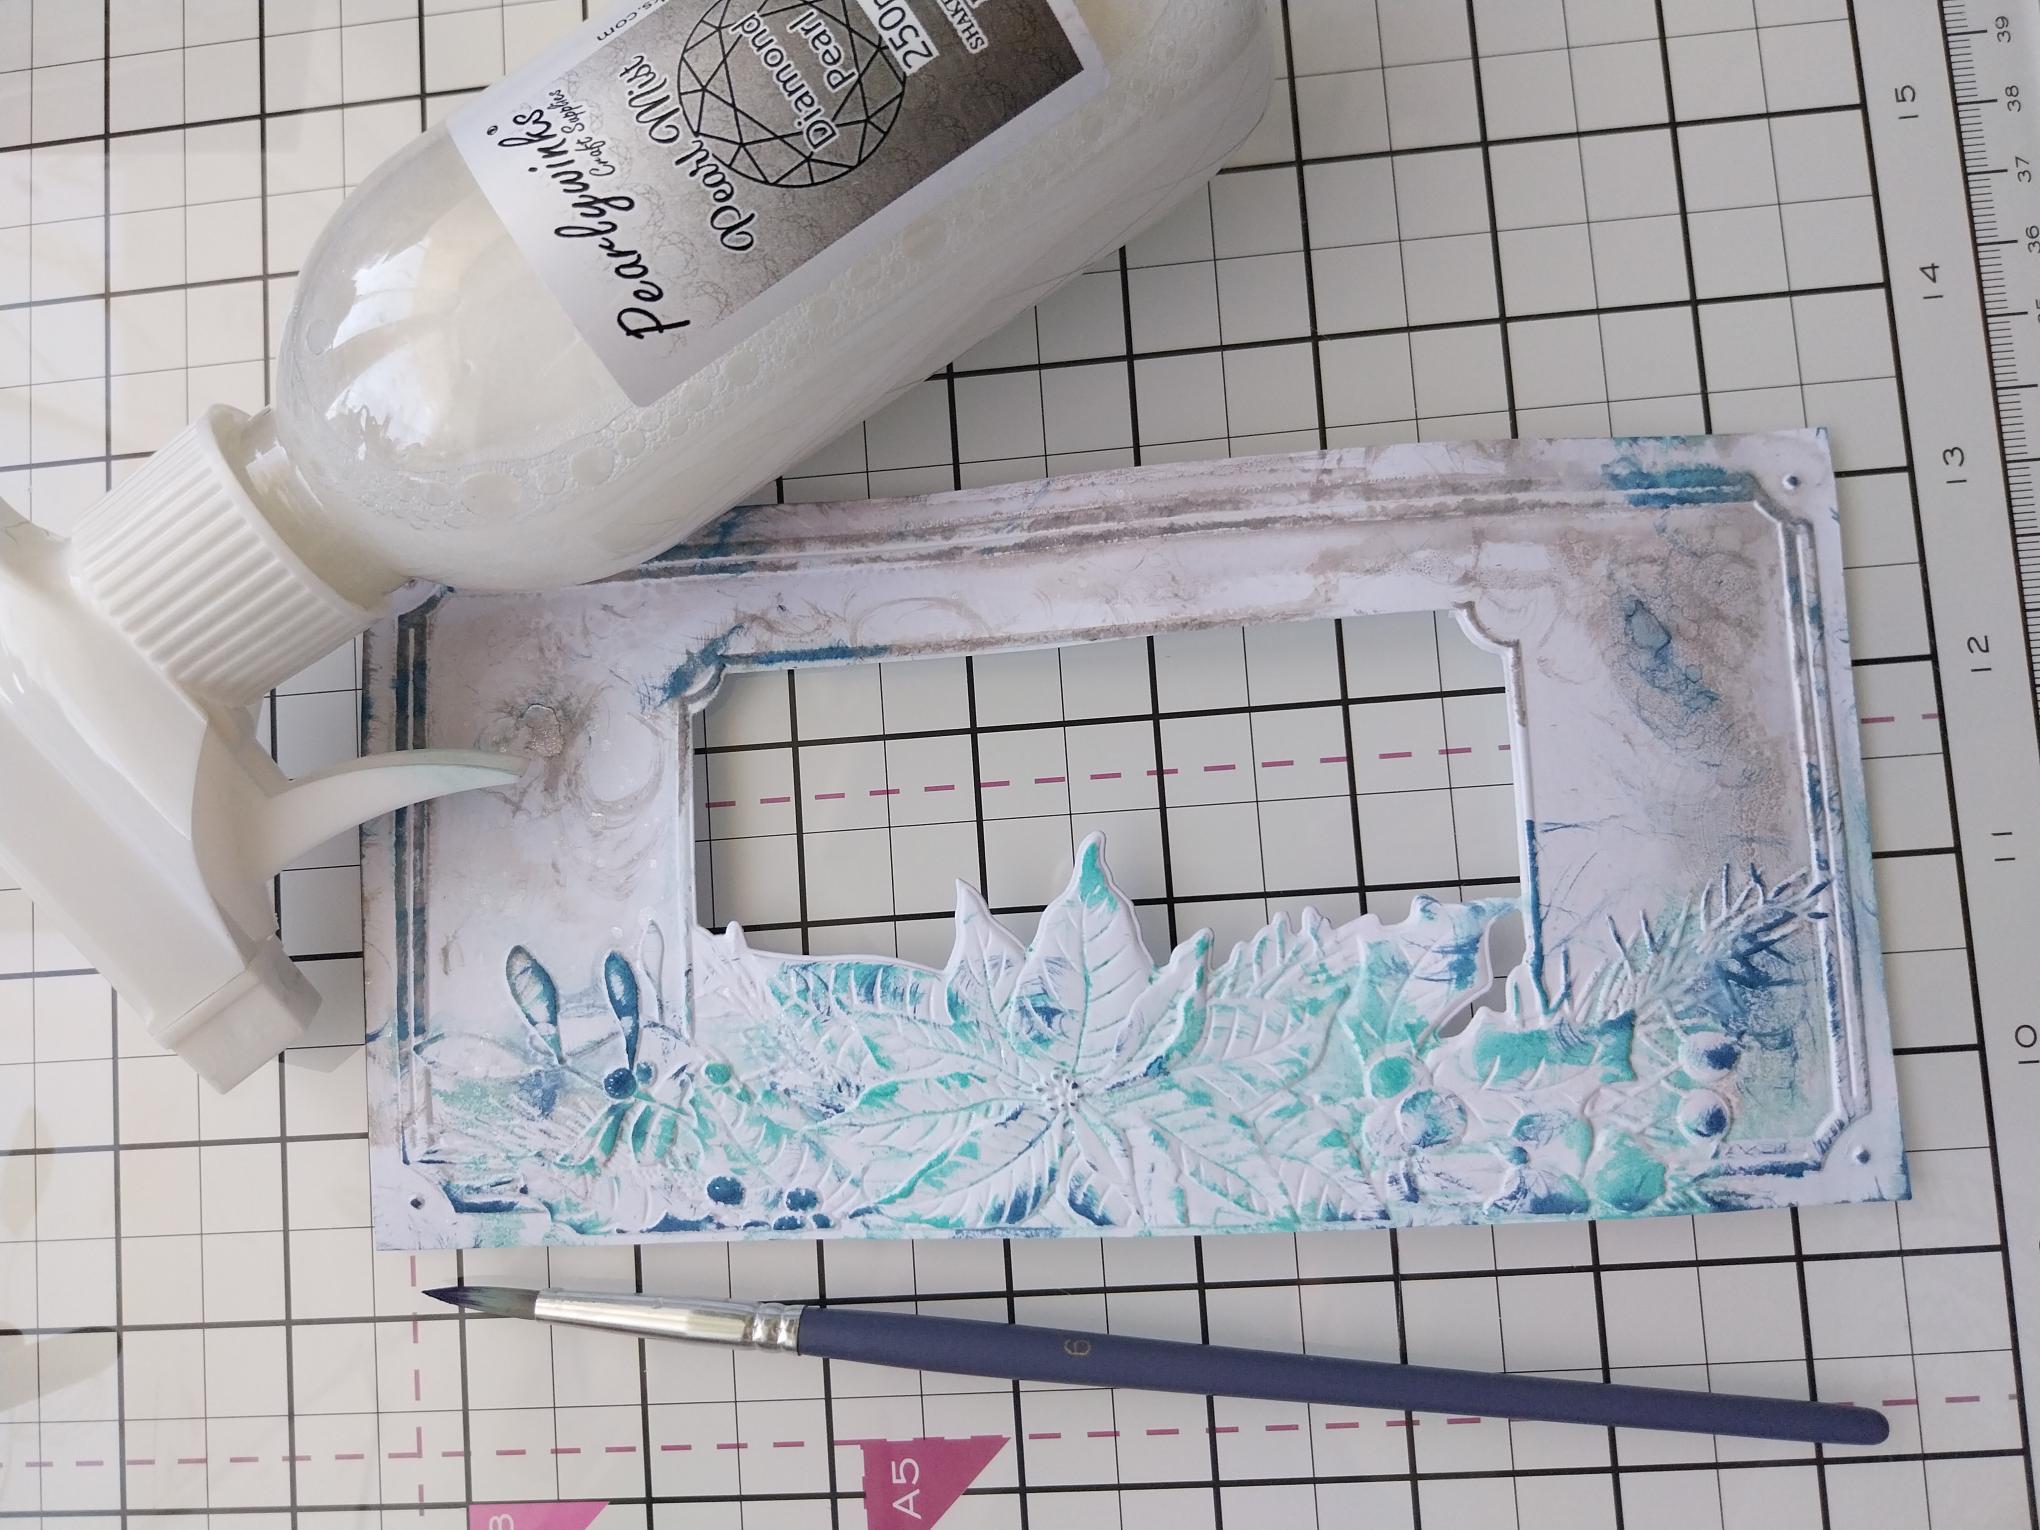
Swirl your Pearlywinks spray to activate the mica and use a paint brush to add sparkle where required. |
|
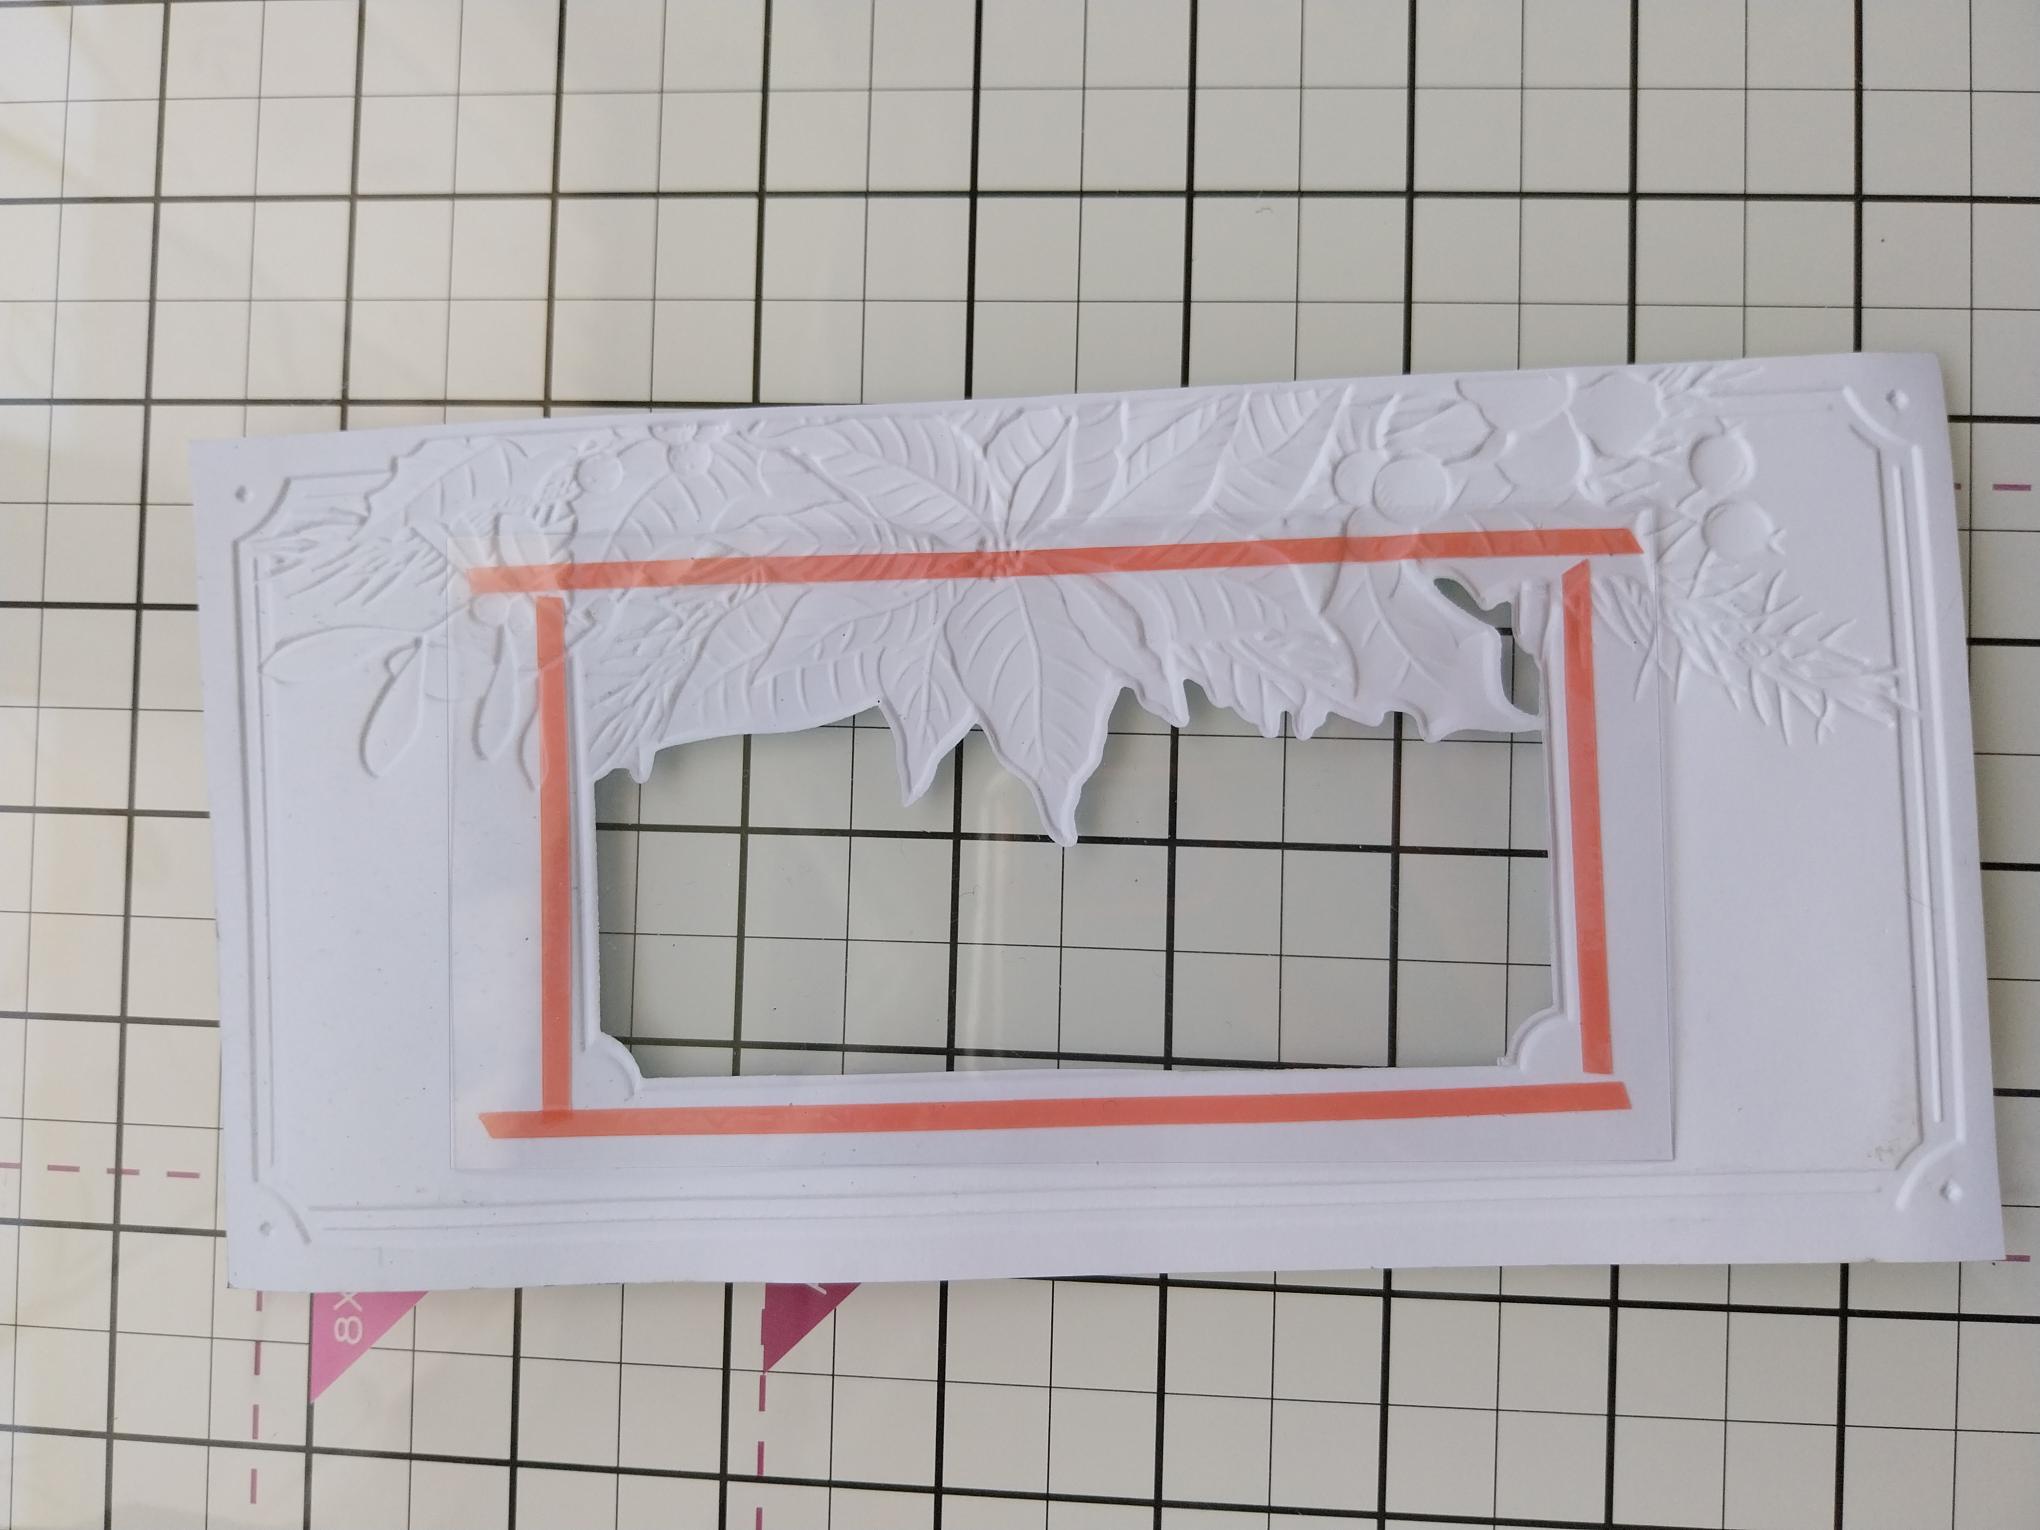
Adhere a piece of acetate over the die cut aperture, on the reverse of the embossed card. |
|
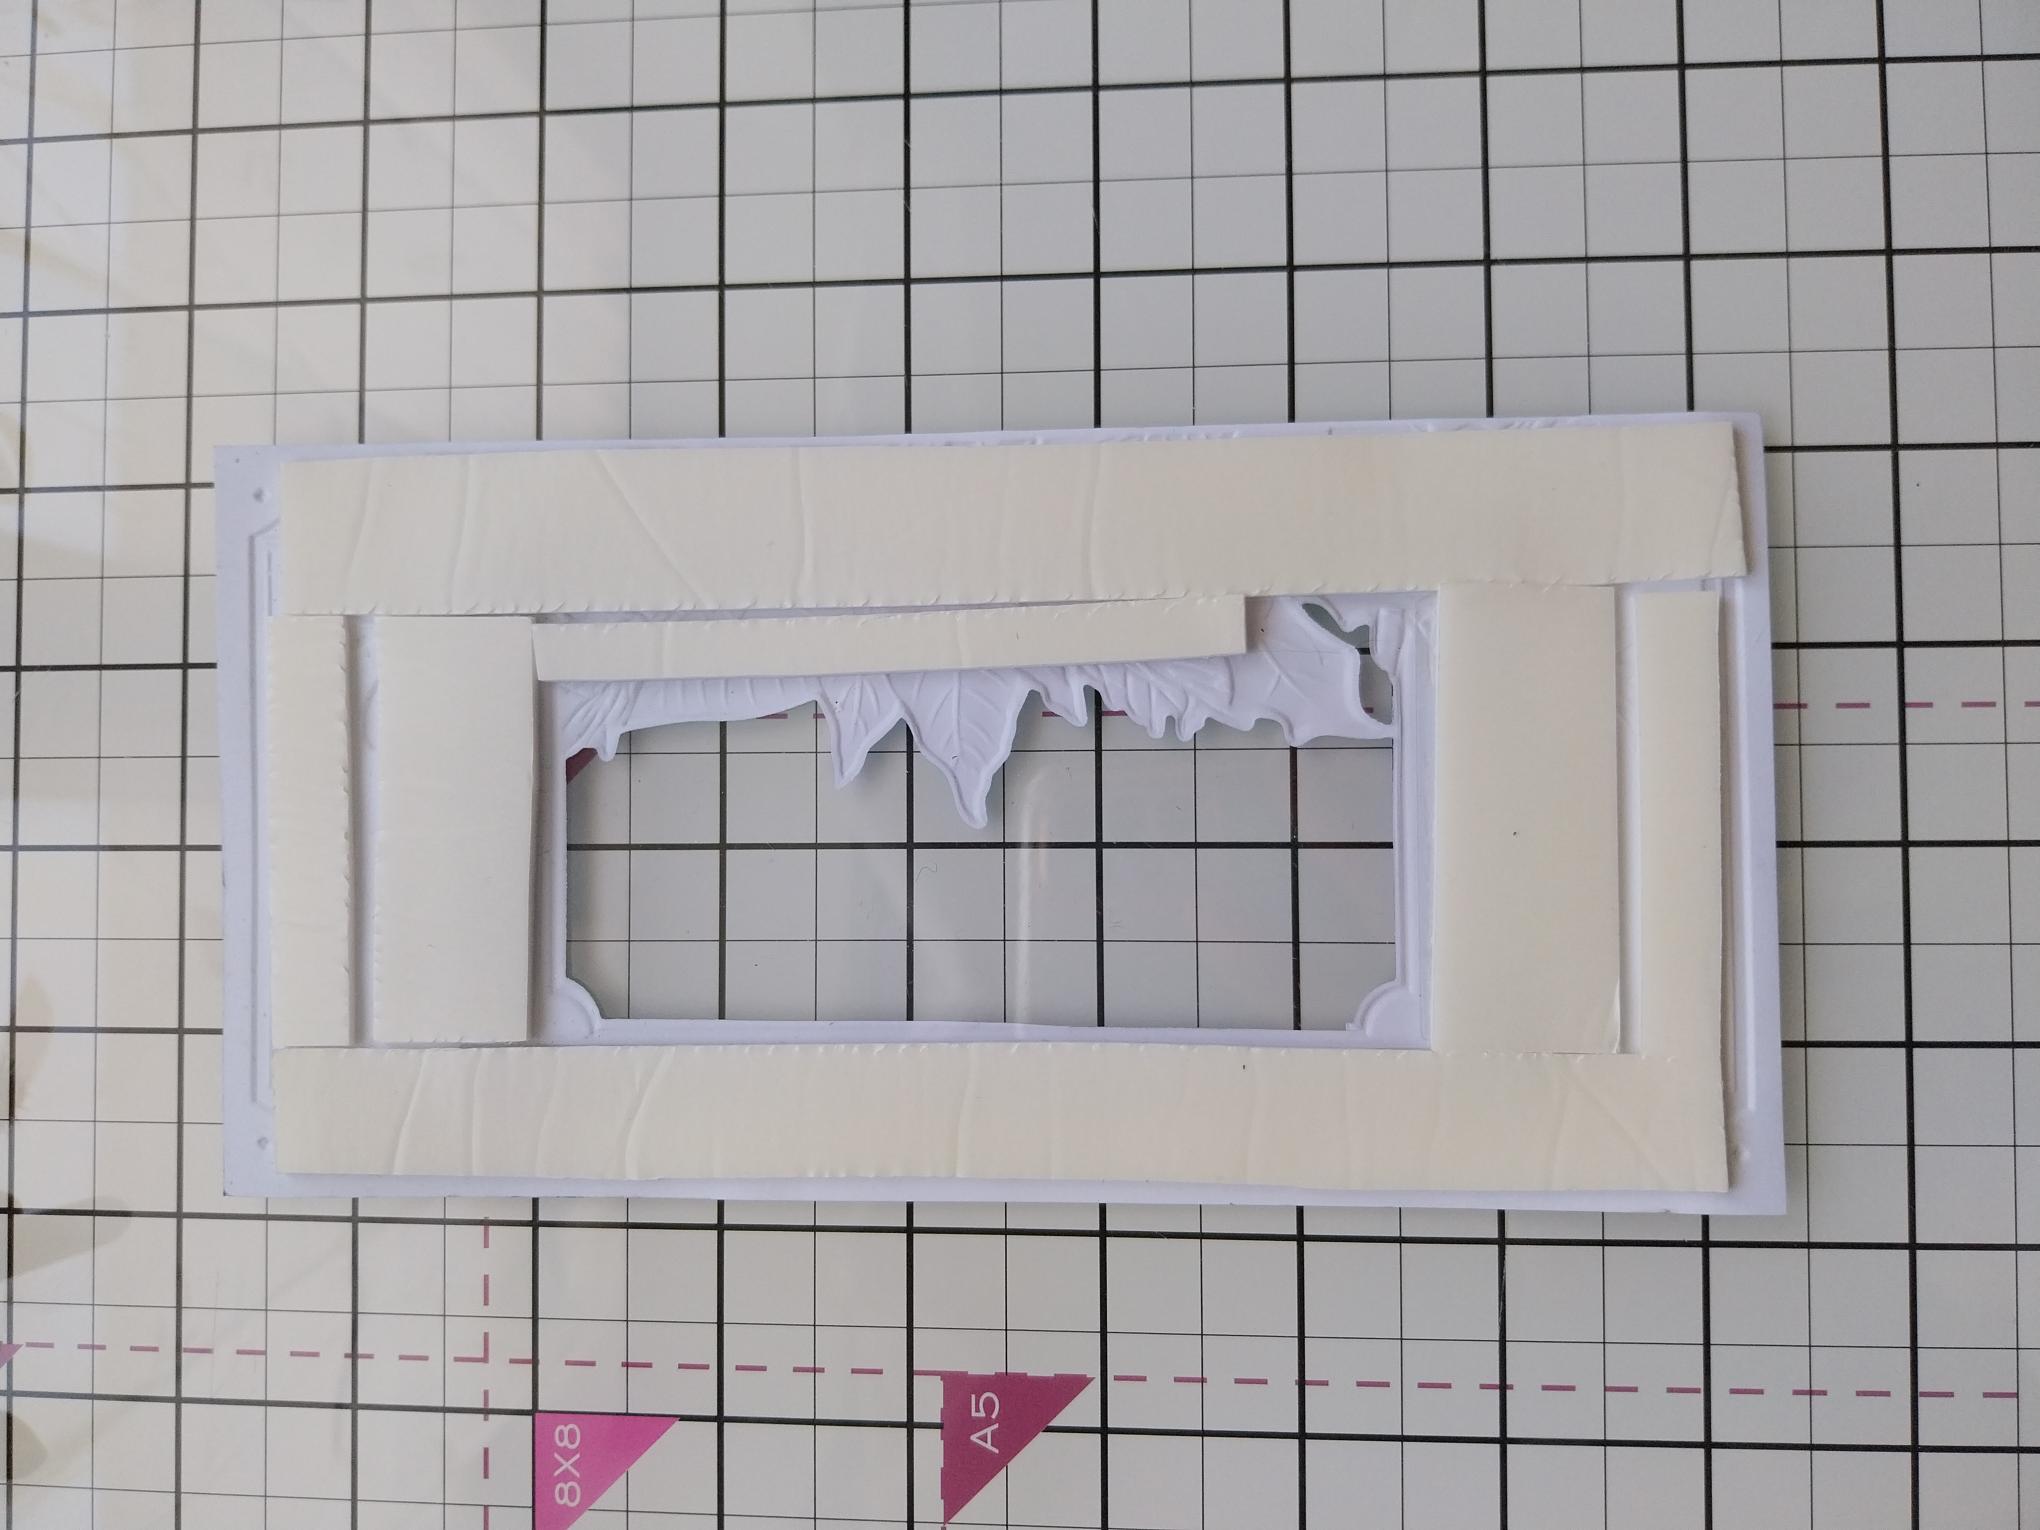
Add foam pads around the aperture, as close to the edge as possible as shown here. |
|
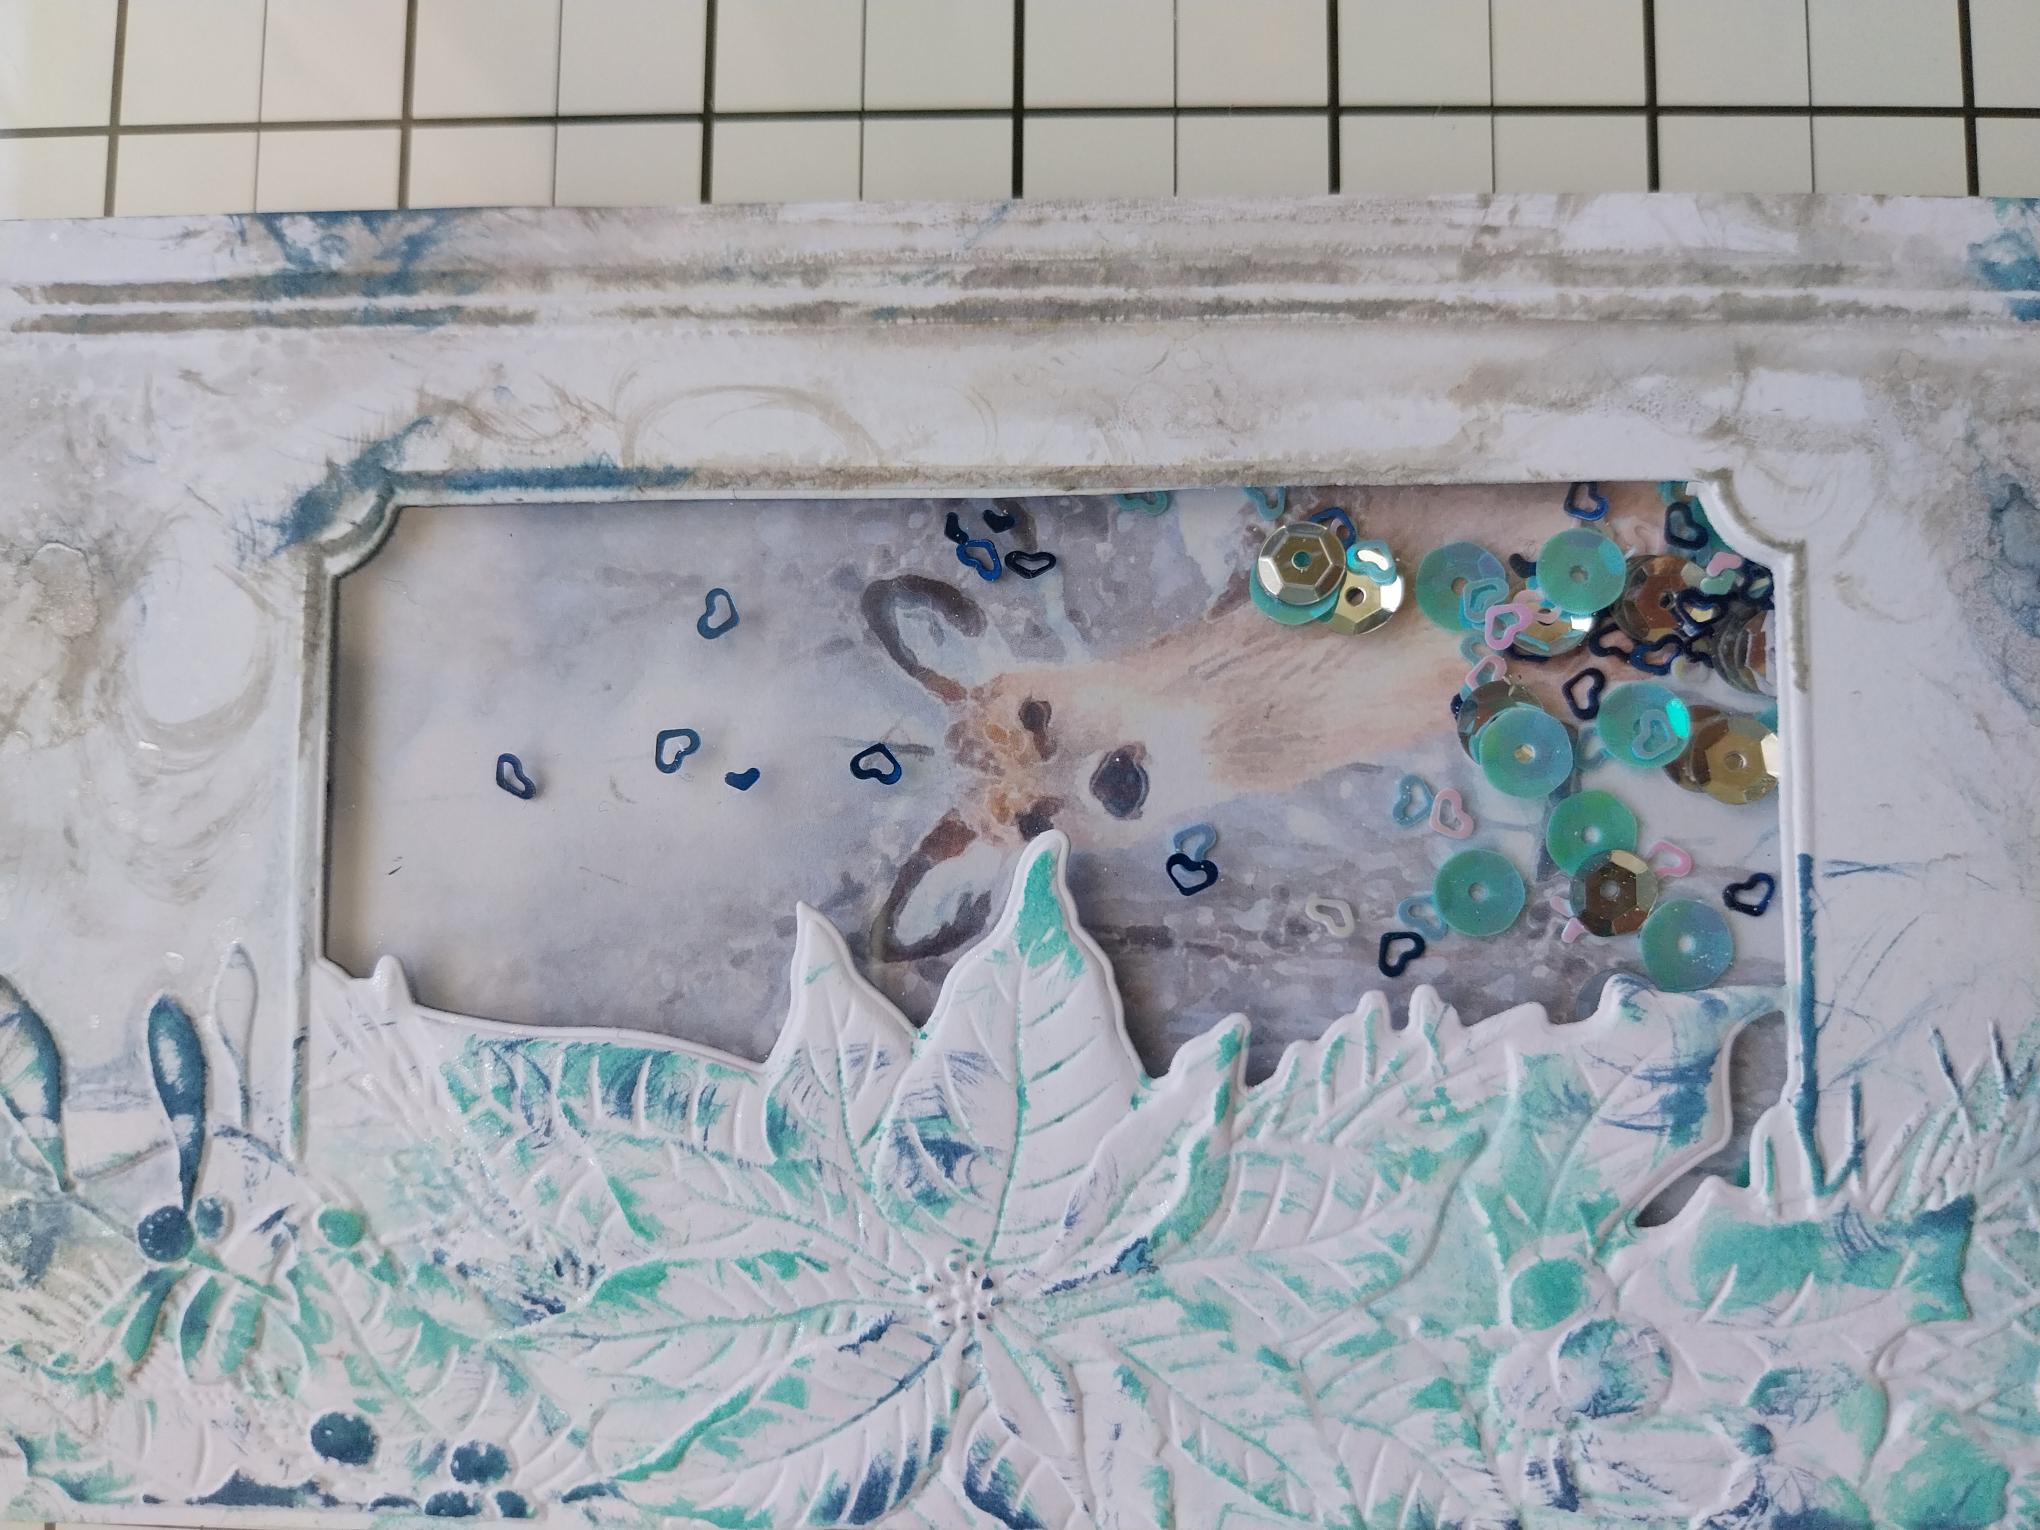
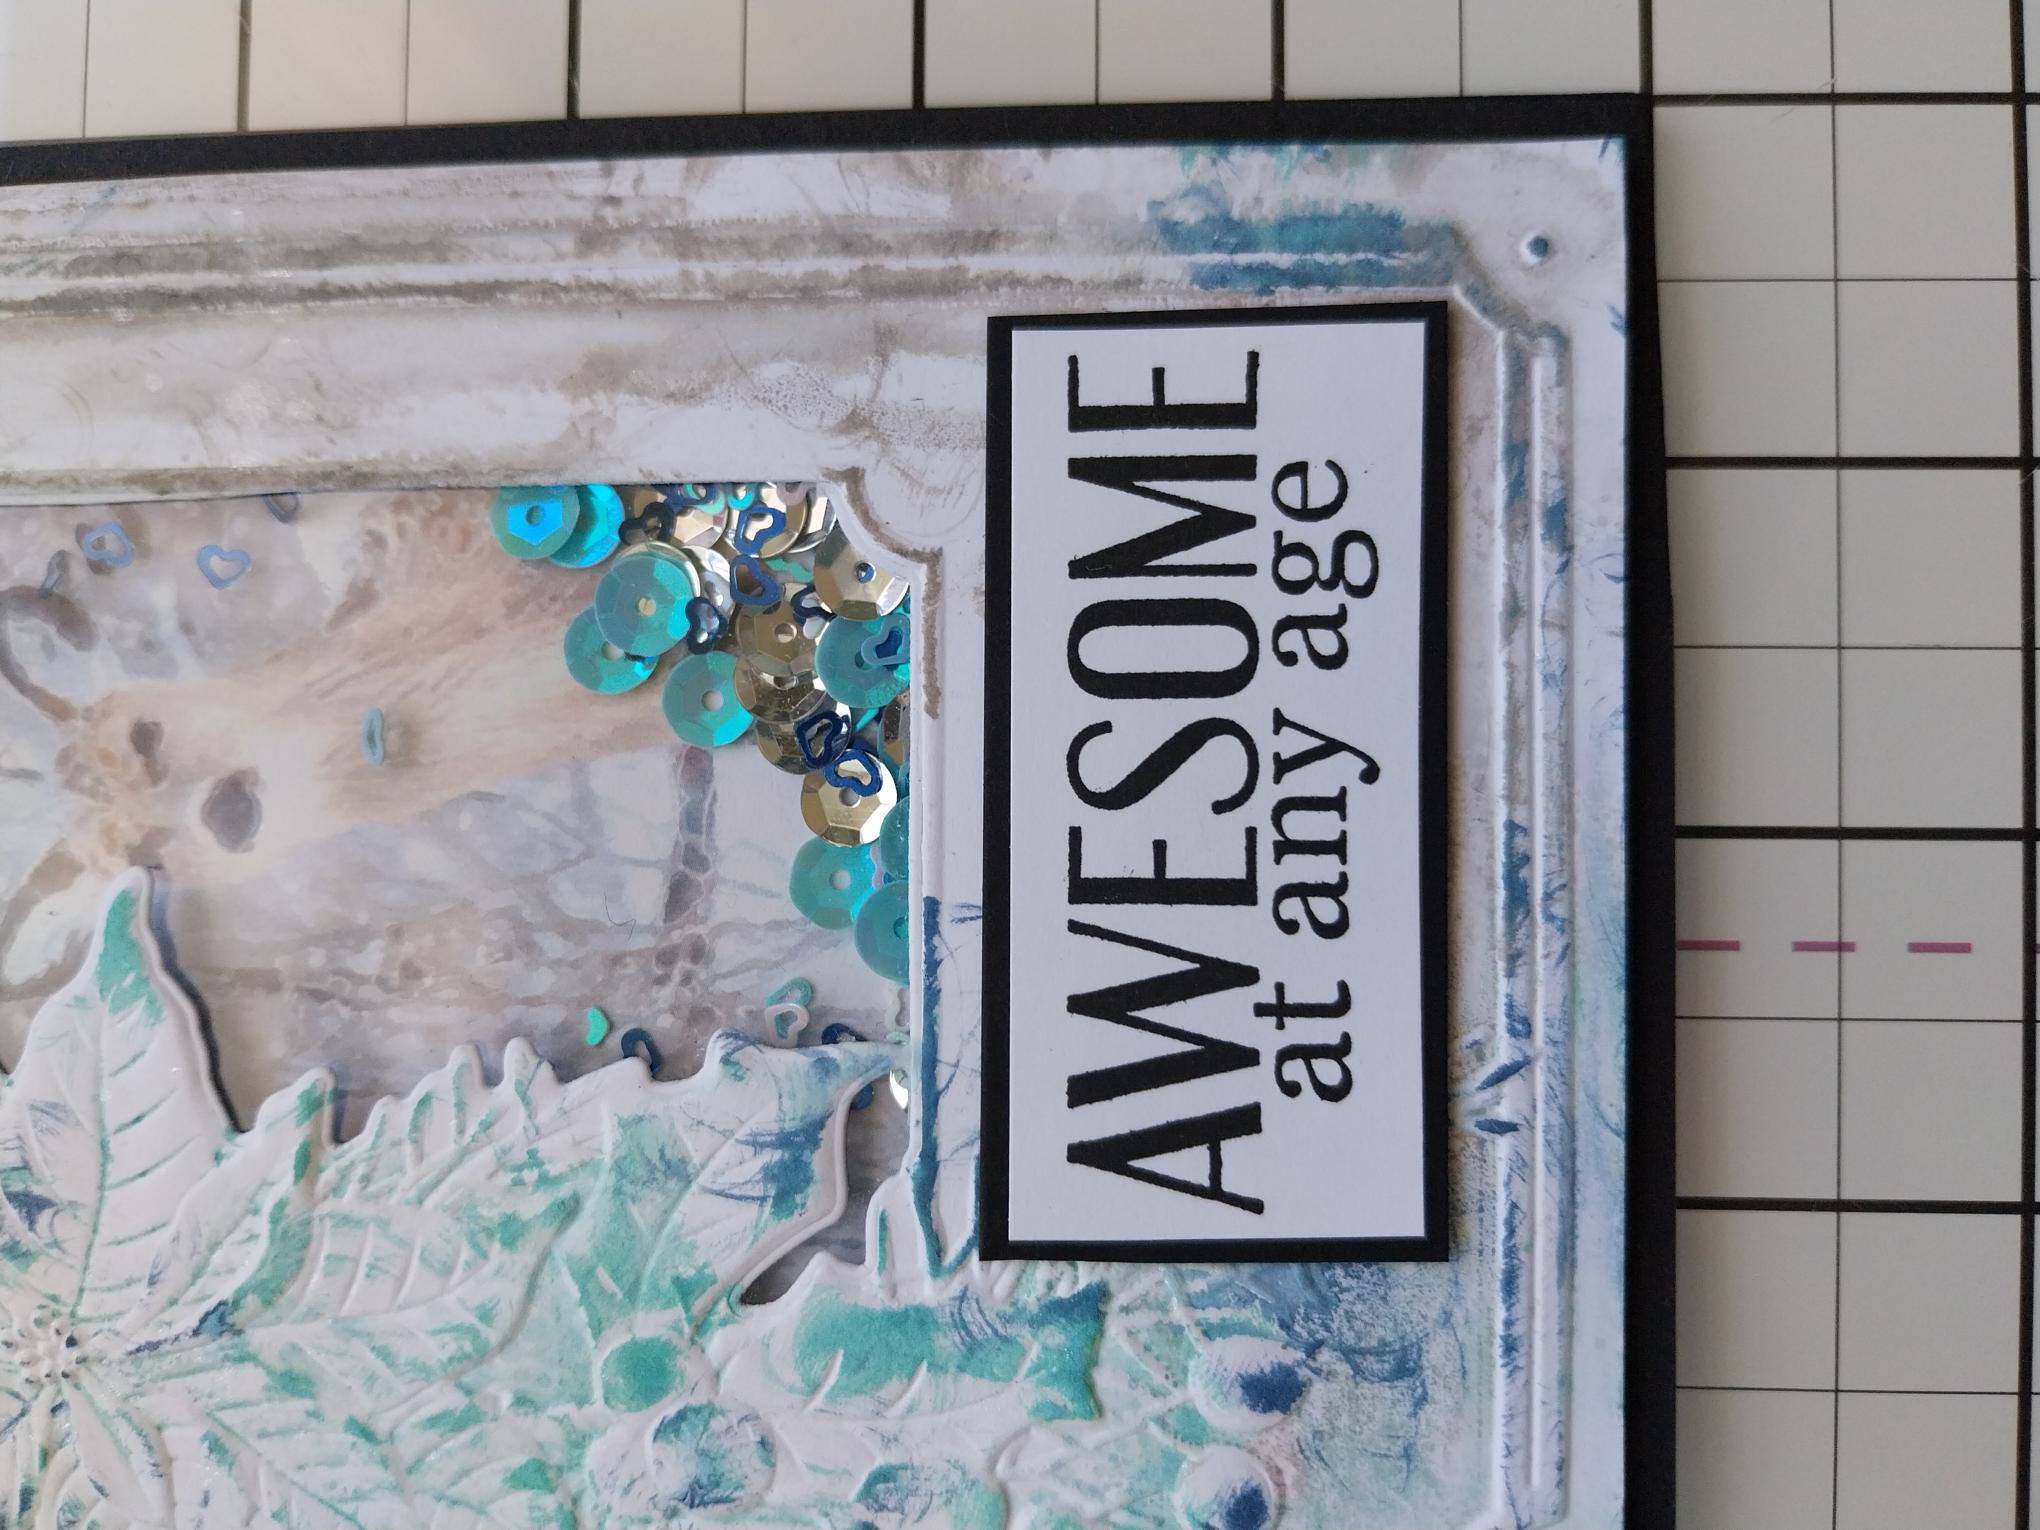
Take this decorative painted mount from the pack. Using the embossed card as a positional guide, add sequins where they will be visible through the aperture, then adhere the embossed card on top of the painted mount, ensuring you press down around the edges to prevent the sequins from falling out. |
|
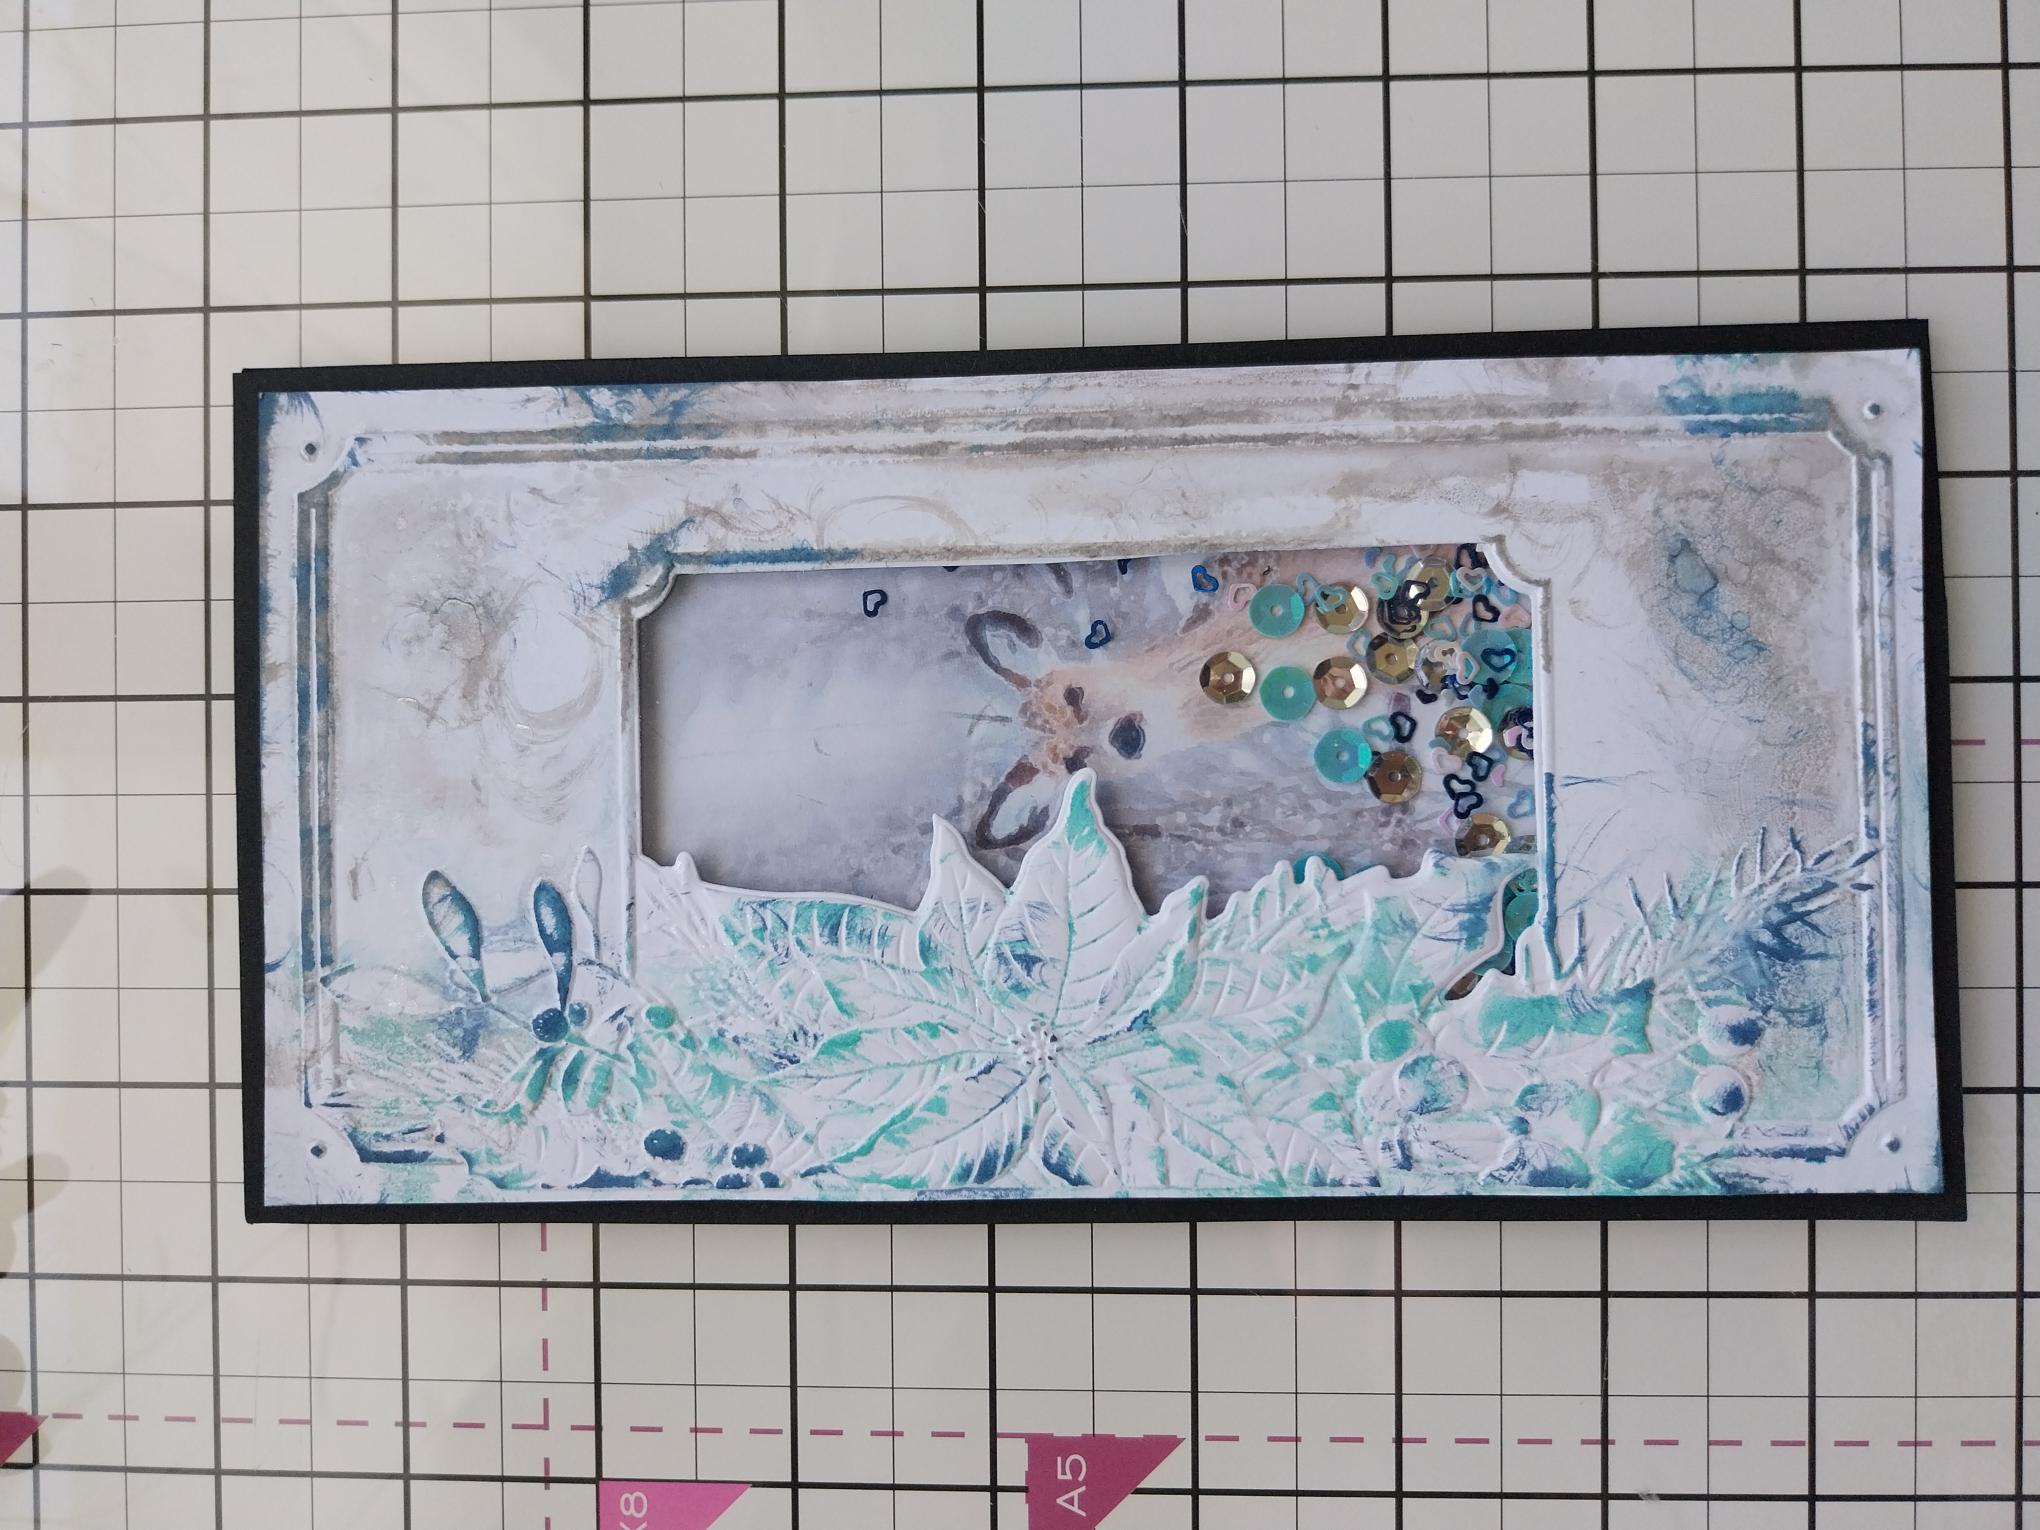
Adhere to your black card blank. |
|
Stamp the sentiment in Midnight on to a piece of white card and trim to size. Adhere on to black card, trim to size then glue in place in the bottom right corner of your card. |