Give your friends $10 off their first order!
Refer a FRIEND


WHAT YOU WILL NEED:
Kraft card blank 6 x 8"
Black/white cardstock
Snowflake Kisses A6 Creative Words
Woodland Wildlife 5 x 7" Paper Collection
SBM Hybrid Ink Pad: Midnight
Stickles: Star Dust
Eureka 101 Watercolour Tablet
SBM A3 Magnetic glass mat
Paper Trimmer
Glue
Foam pads
Die Cutting machine
[click image to enlarge] 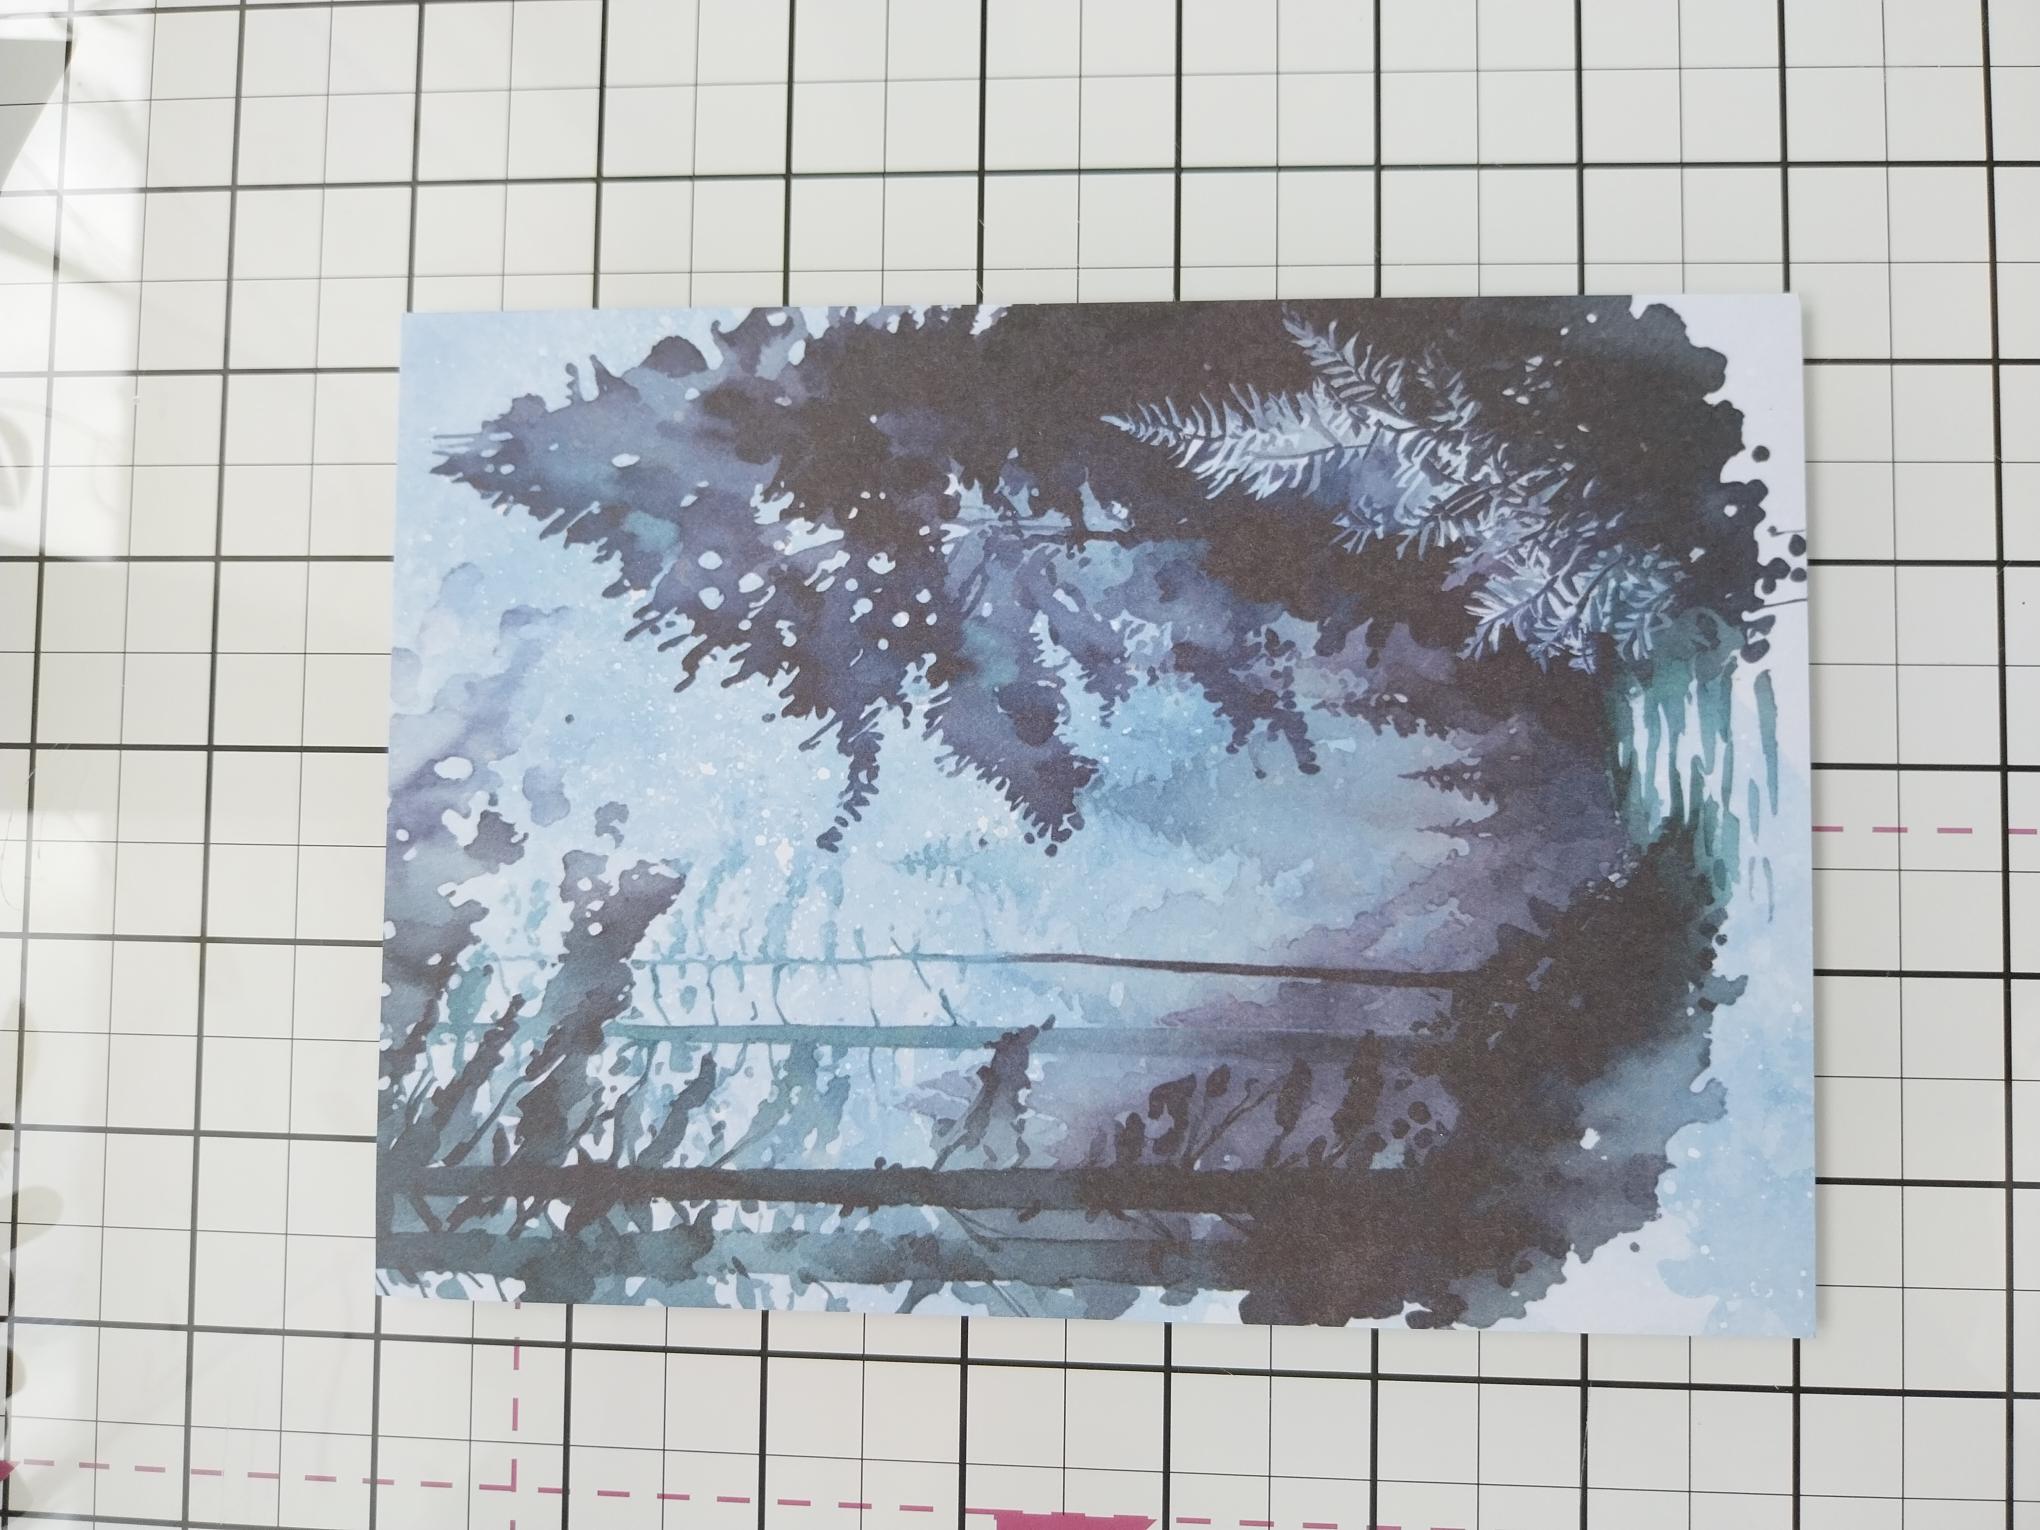
|
Remove your chosen paper from the Woodland Wildlife paper pack. |
|
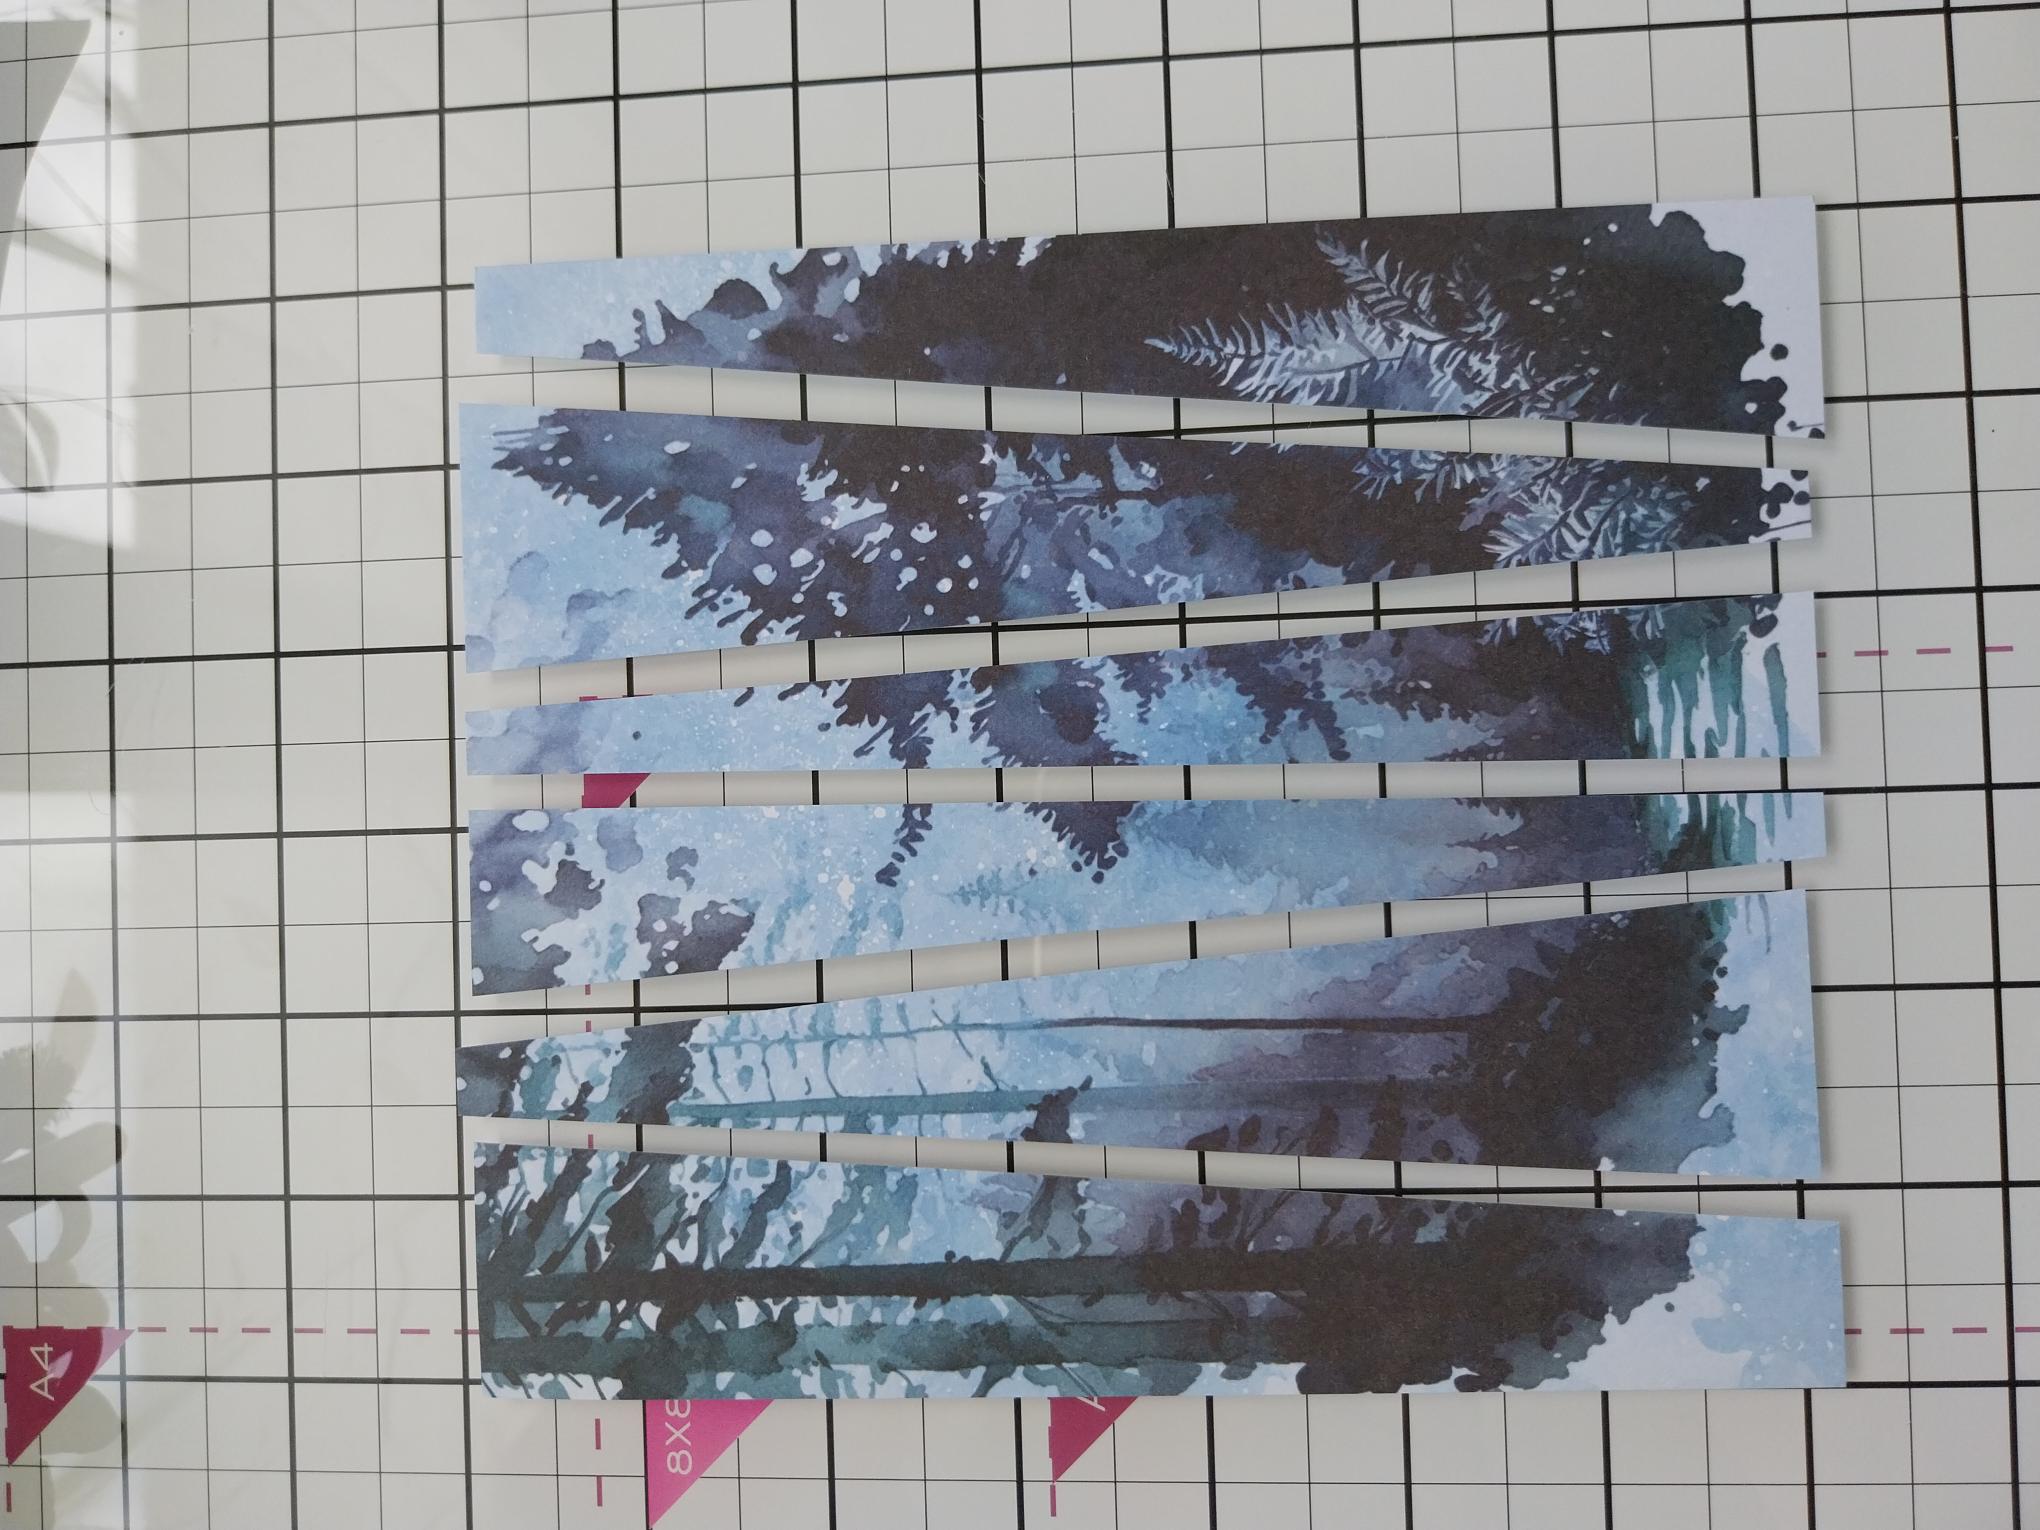
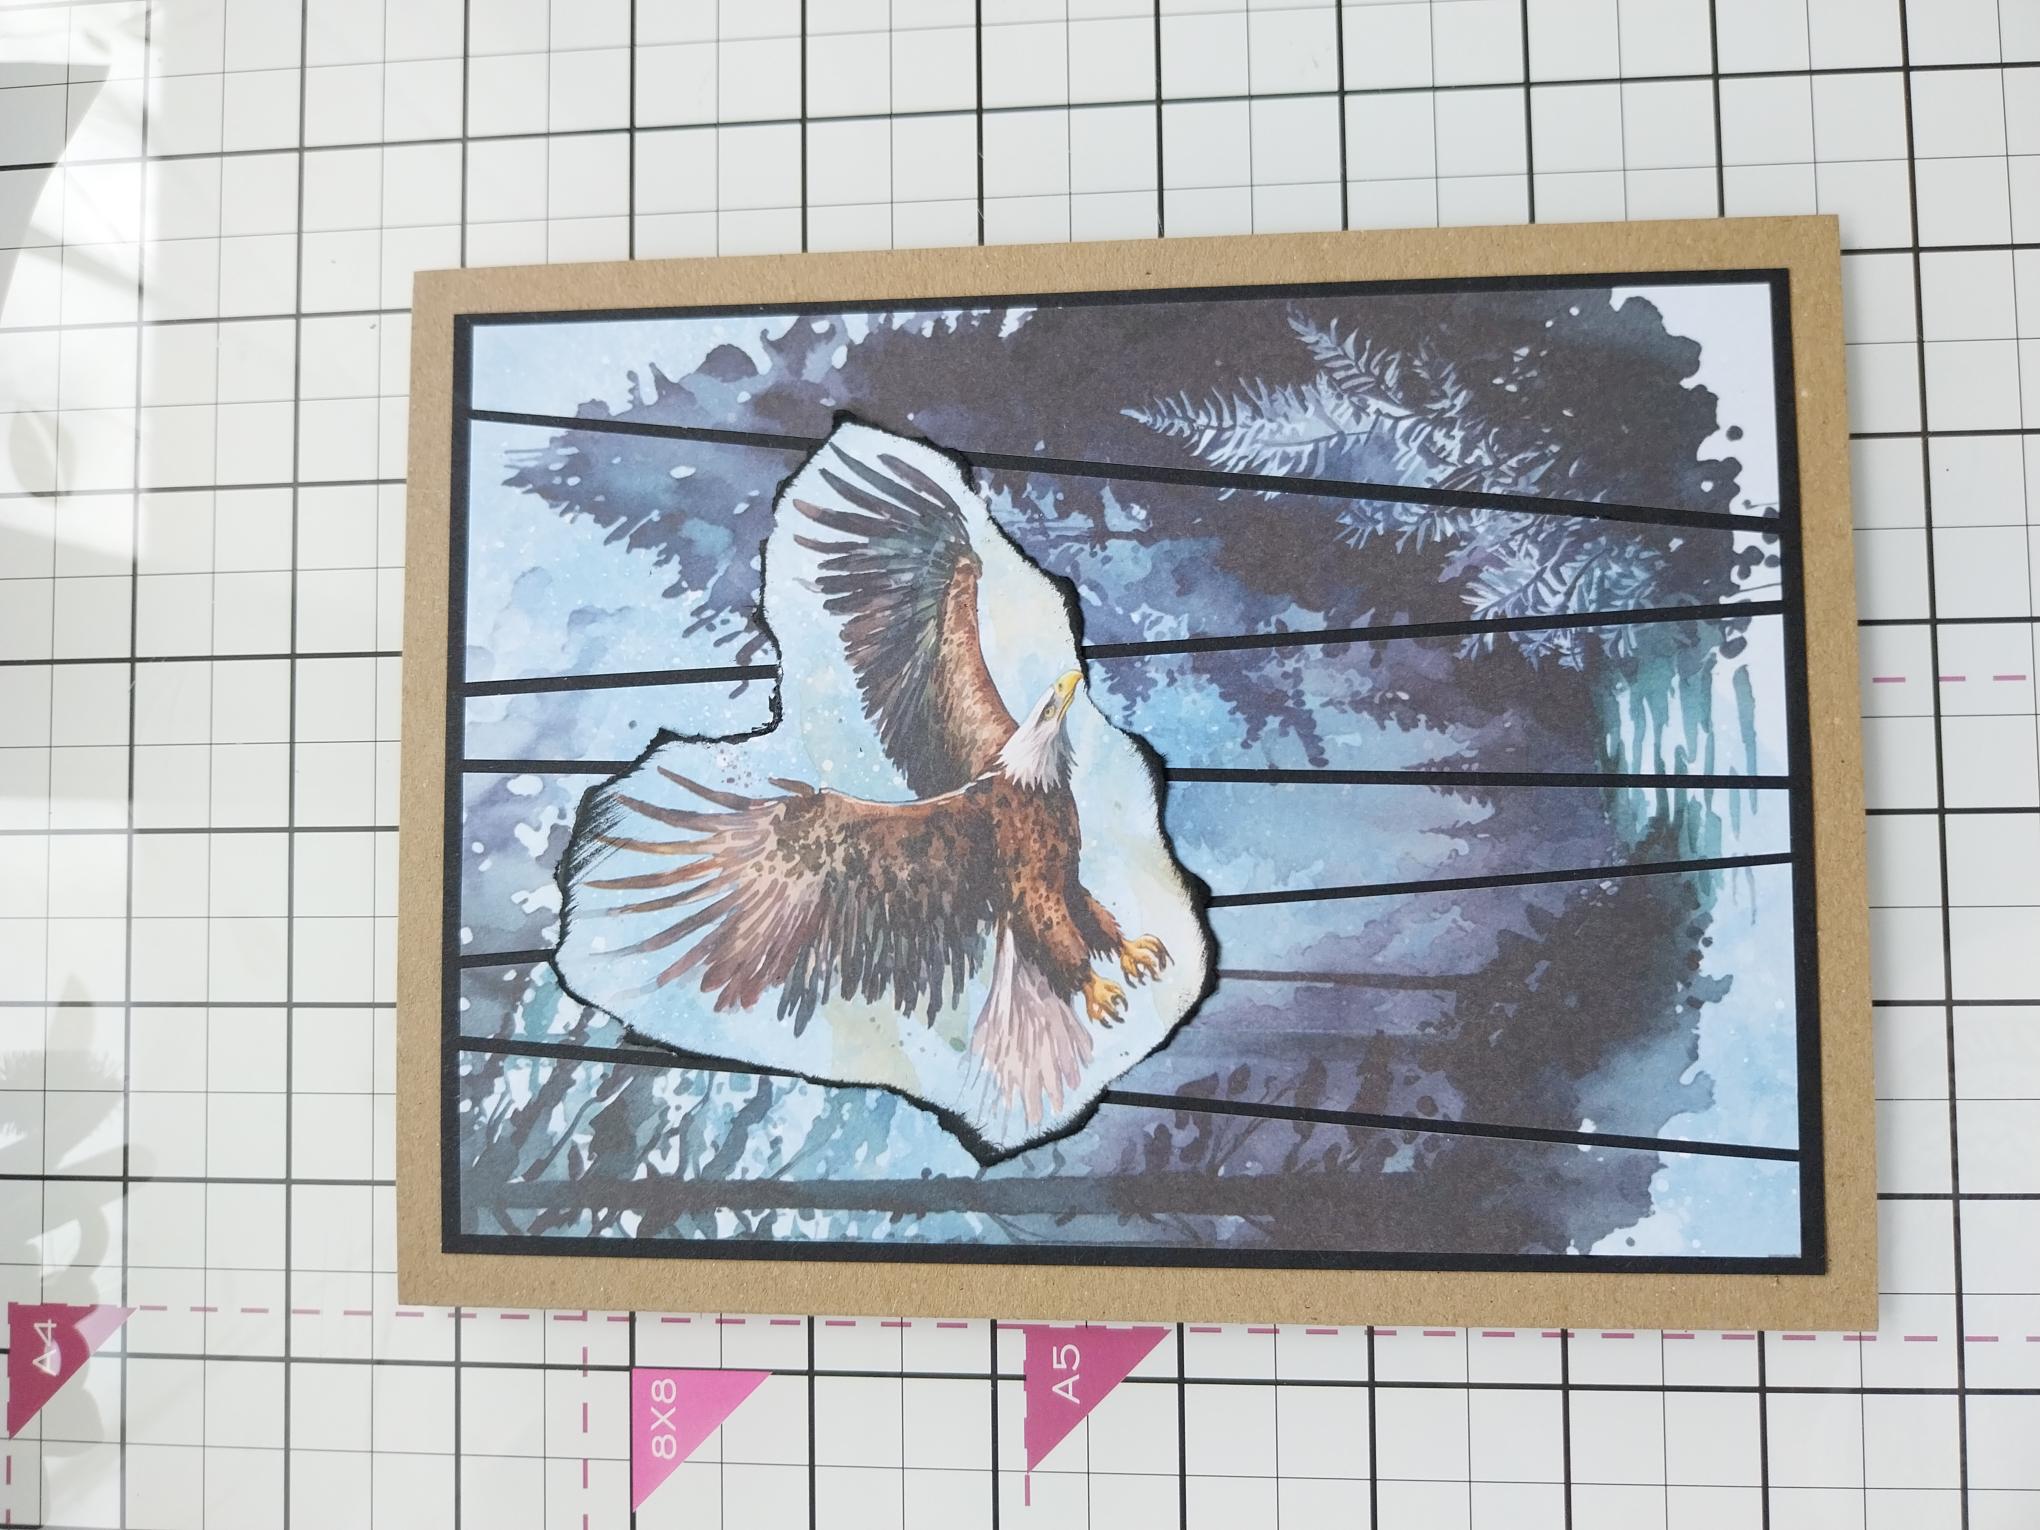
Trim the paper to create random slanted vertical panels as shown here, keeping them in order. |

|
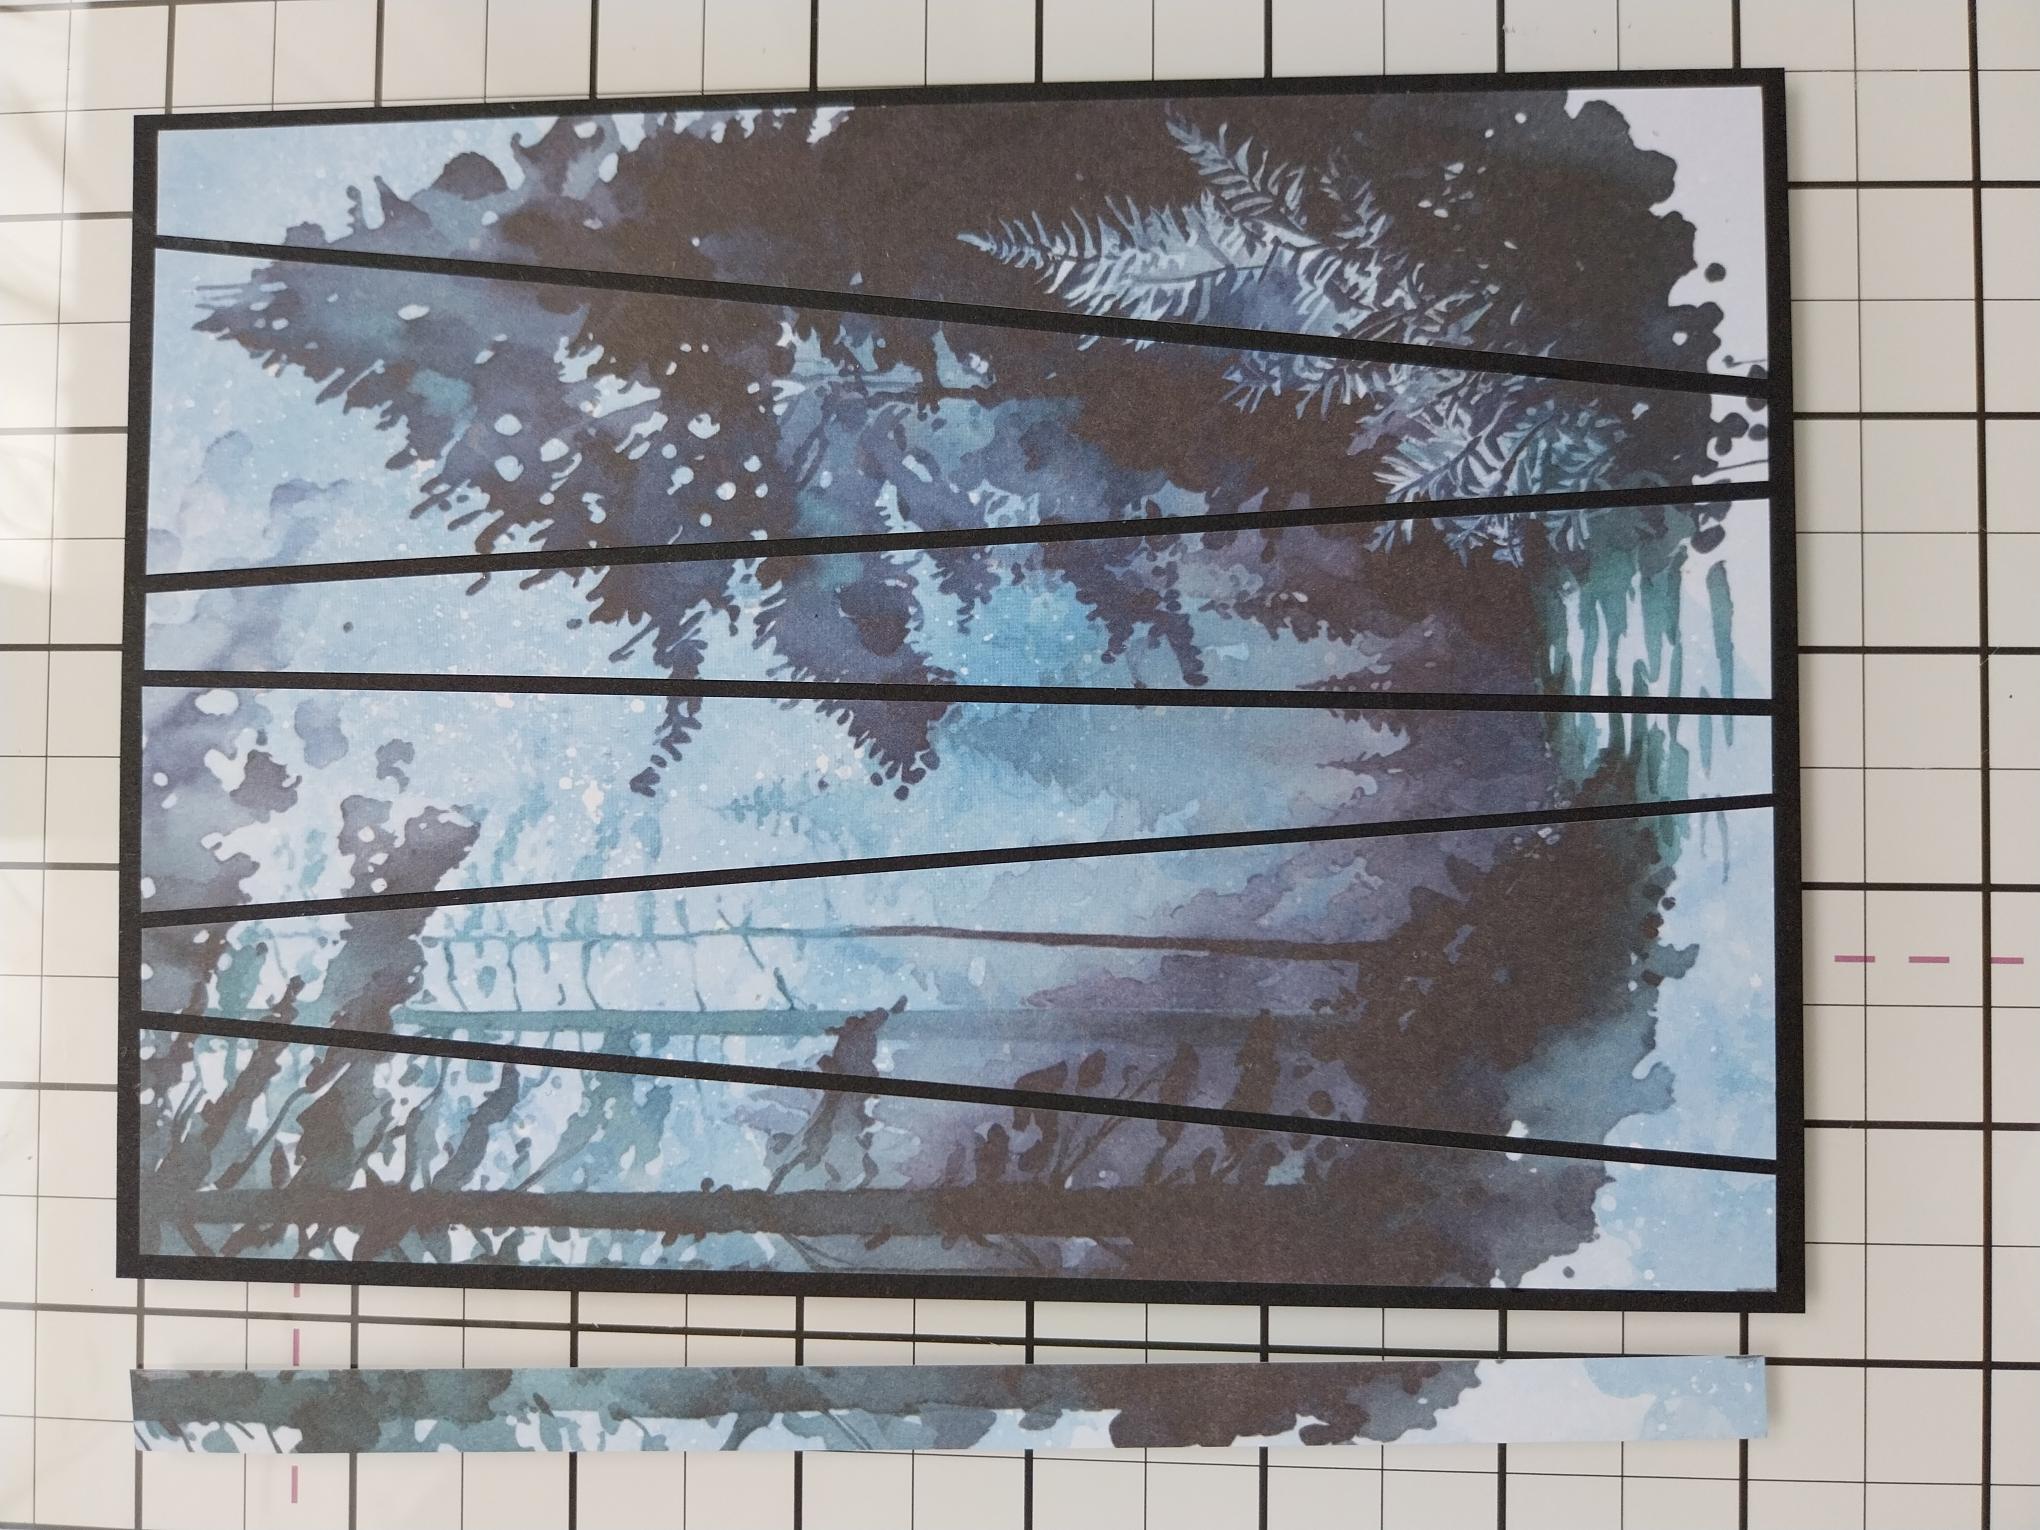
Trim a piece of black cardstock to 5 1/4 x 7 1/4". Trim a sliver off the right edge of the far right panel and adhere to the right of the black card, as shown here, |
|
Adhere the remaining panels in place, keeping the top and bottom in a straight line and an equal gap in between in each panel. You may need to trim a sliver off the left edge of the last panel, to make it fit on to your black card. Pop to one side. |
|
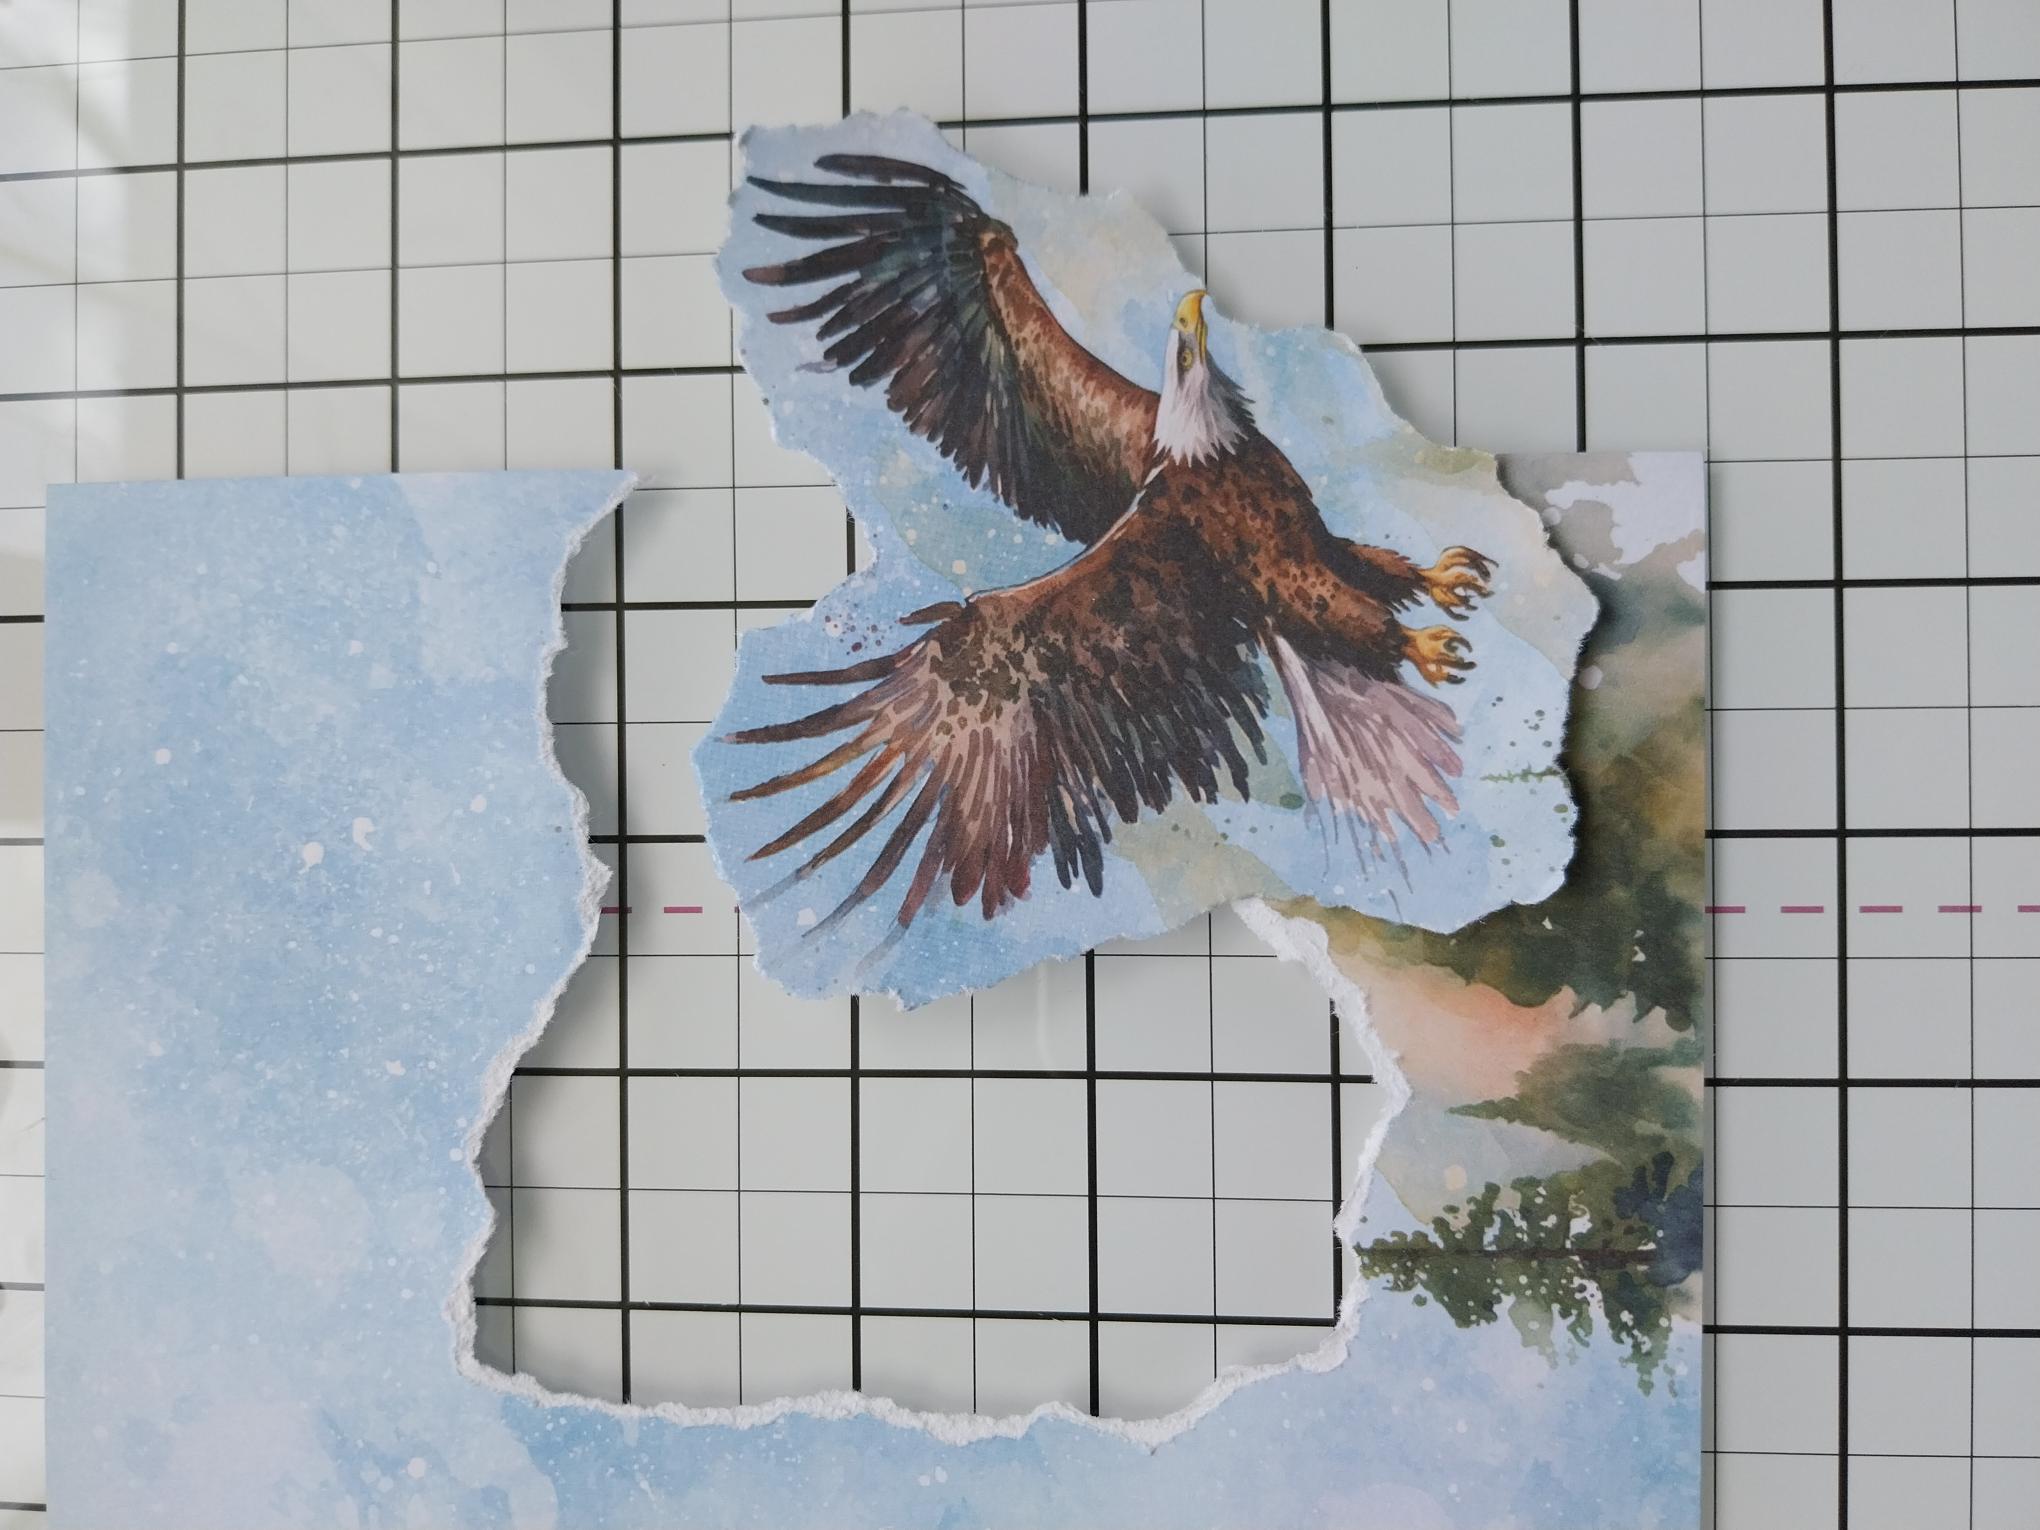
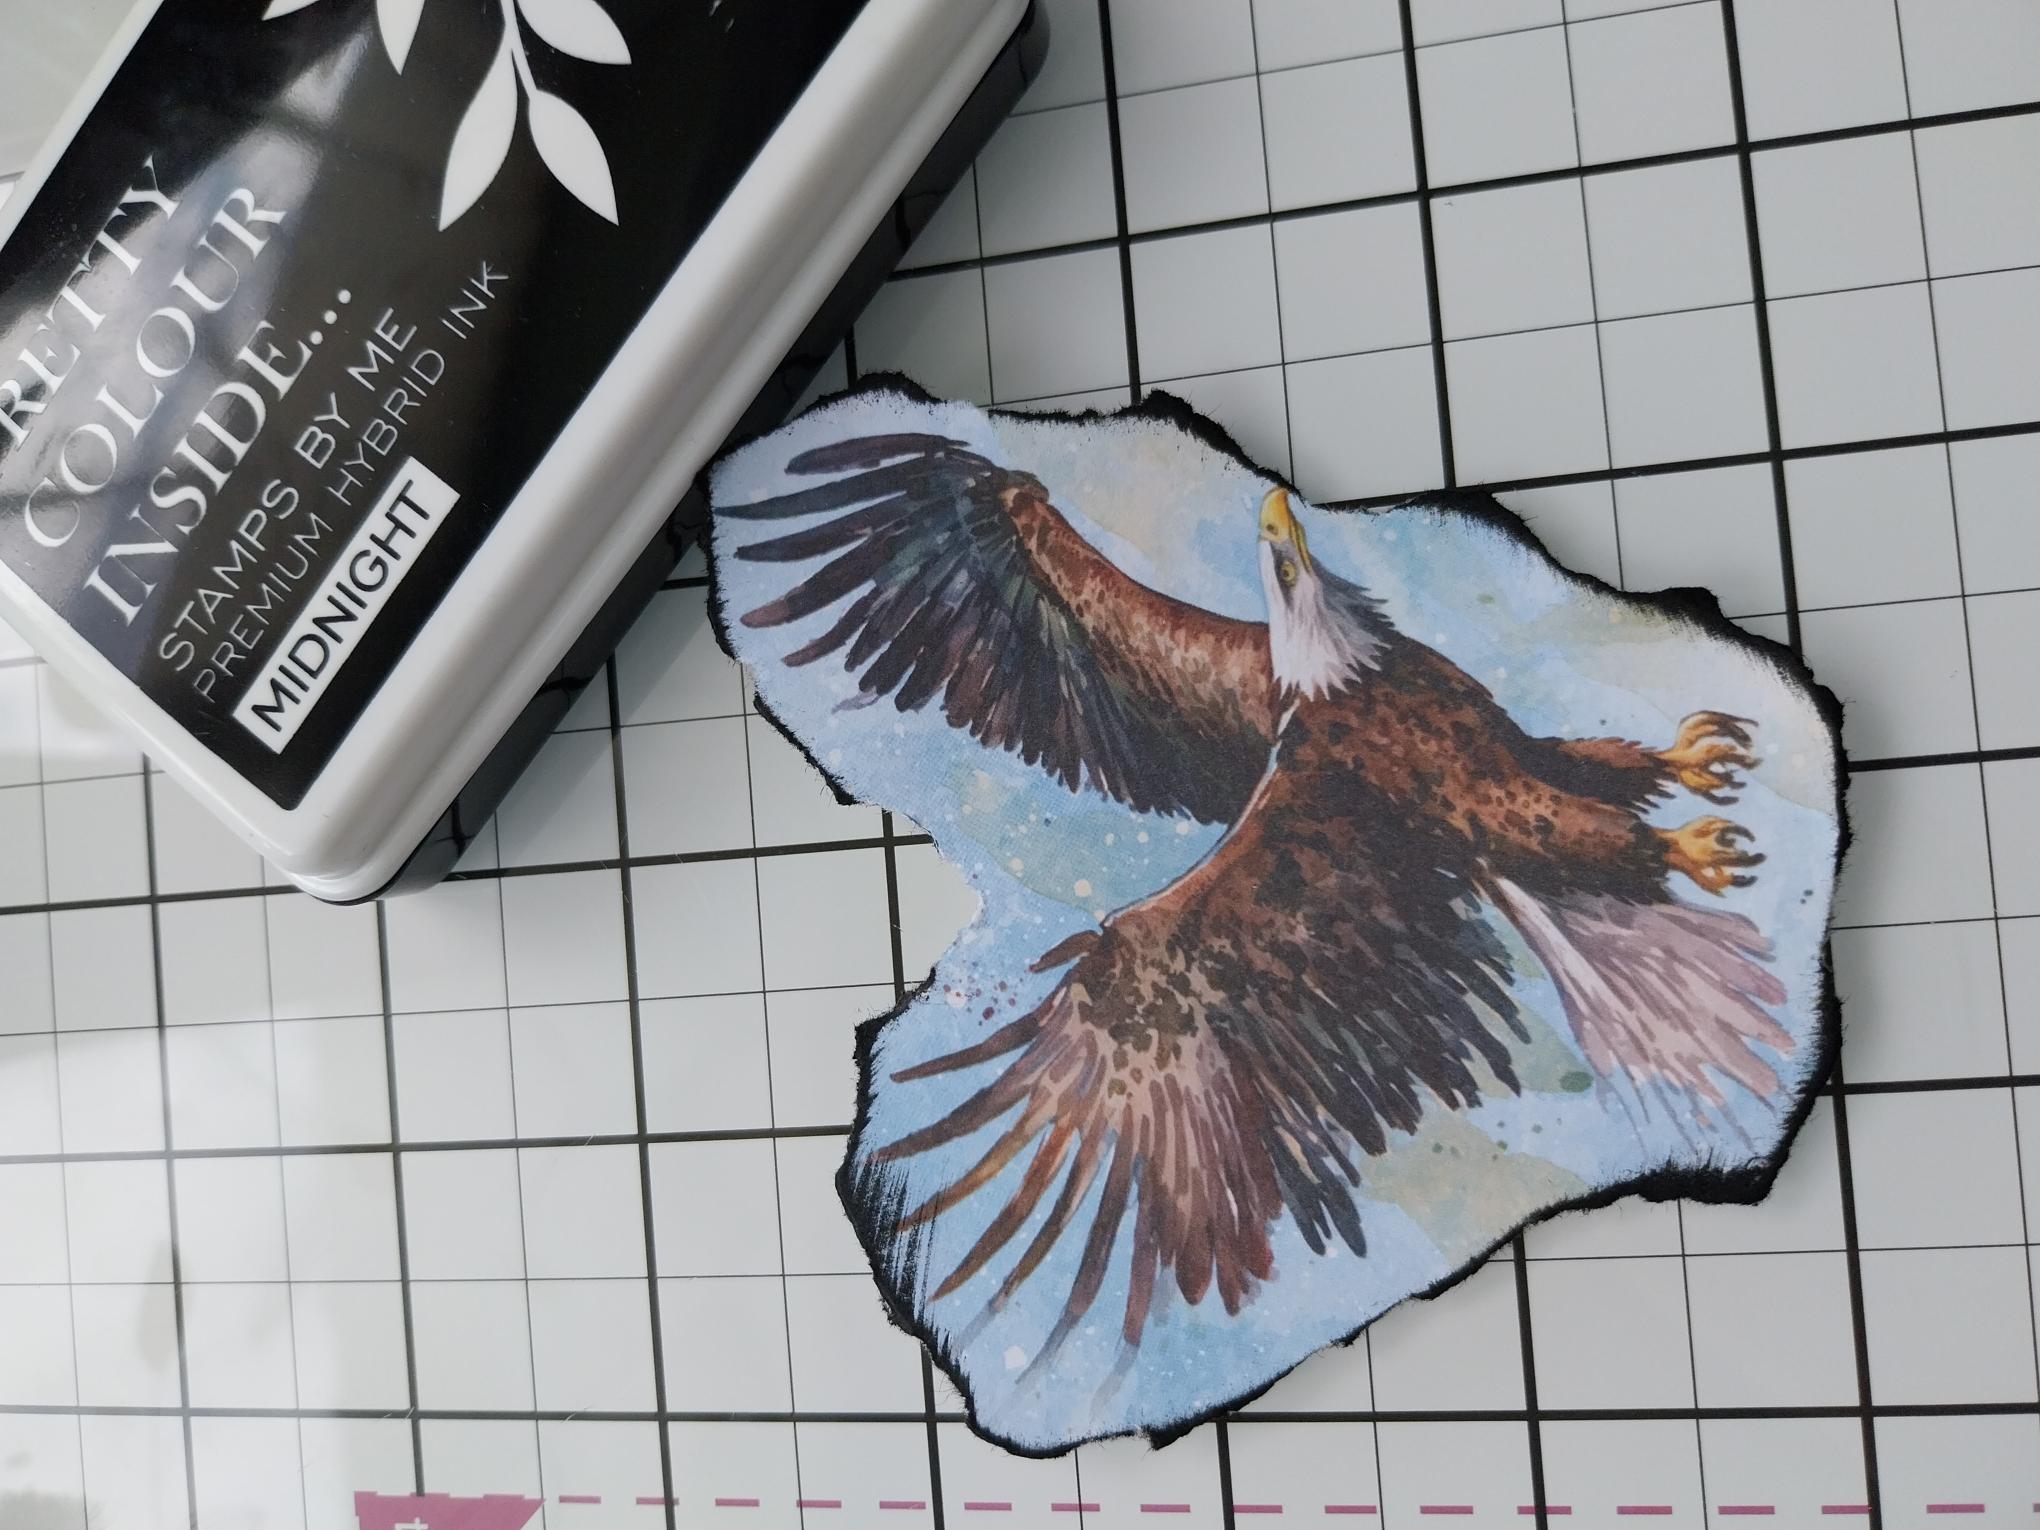
Tear around this Eagle from the decorative paper. Set aside the leftover paper for the die cut fir trees. |
|
Ink around the edges with your Midnight ink pad. |
|
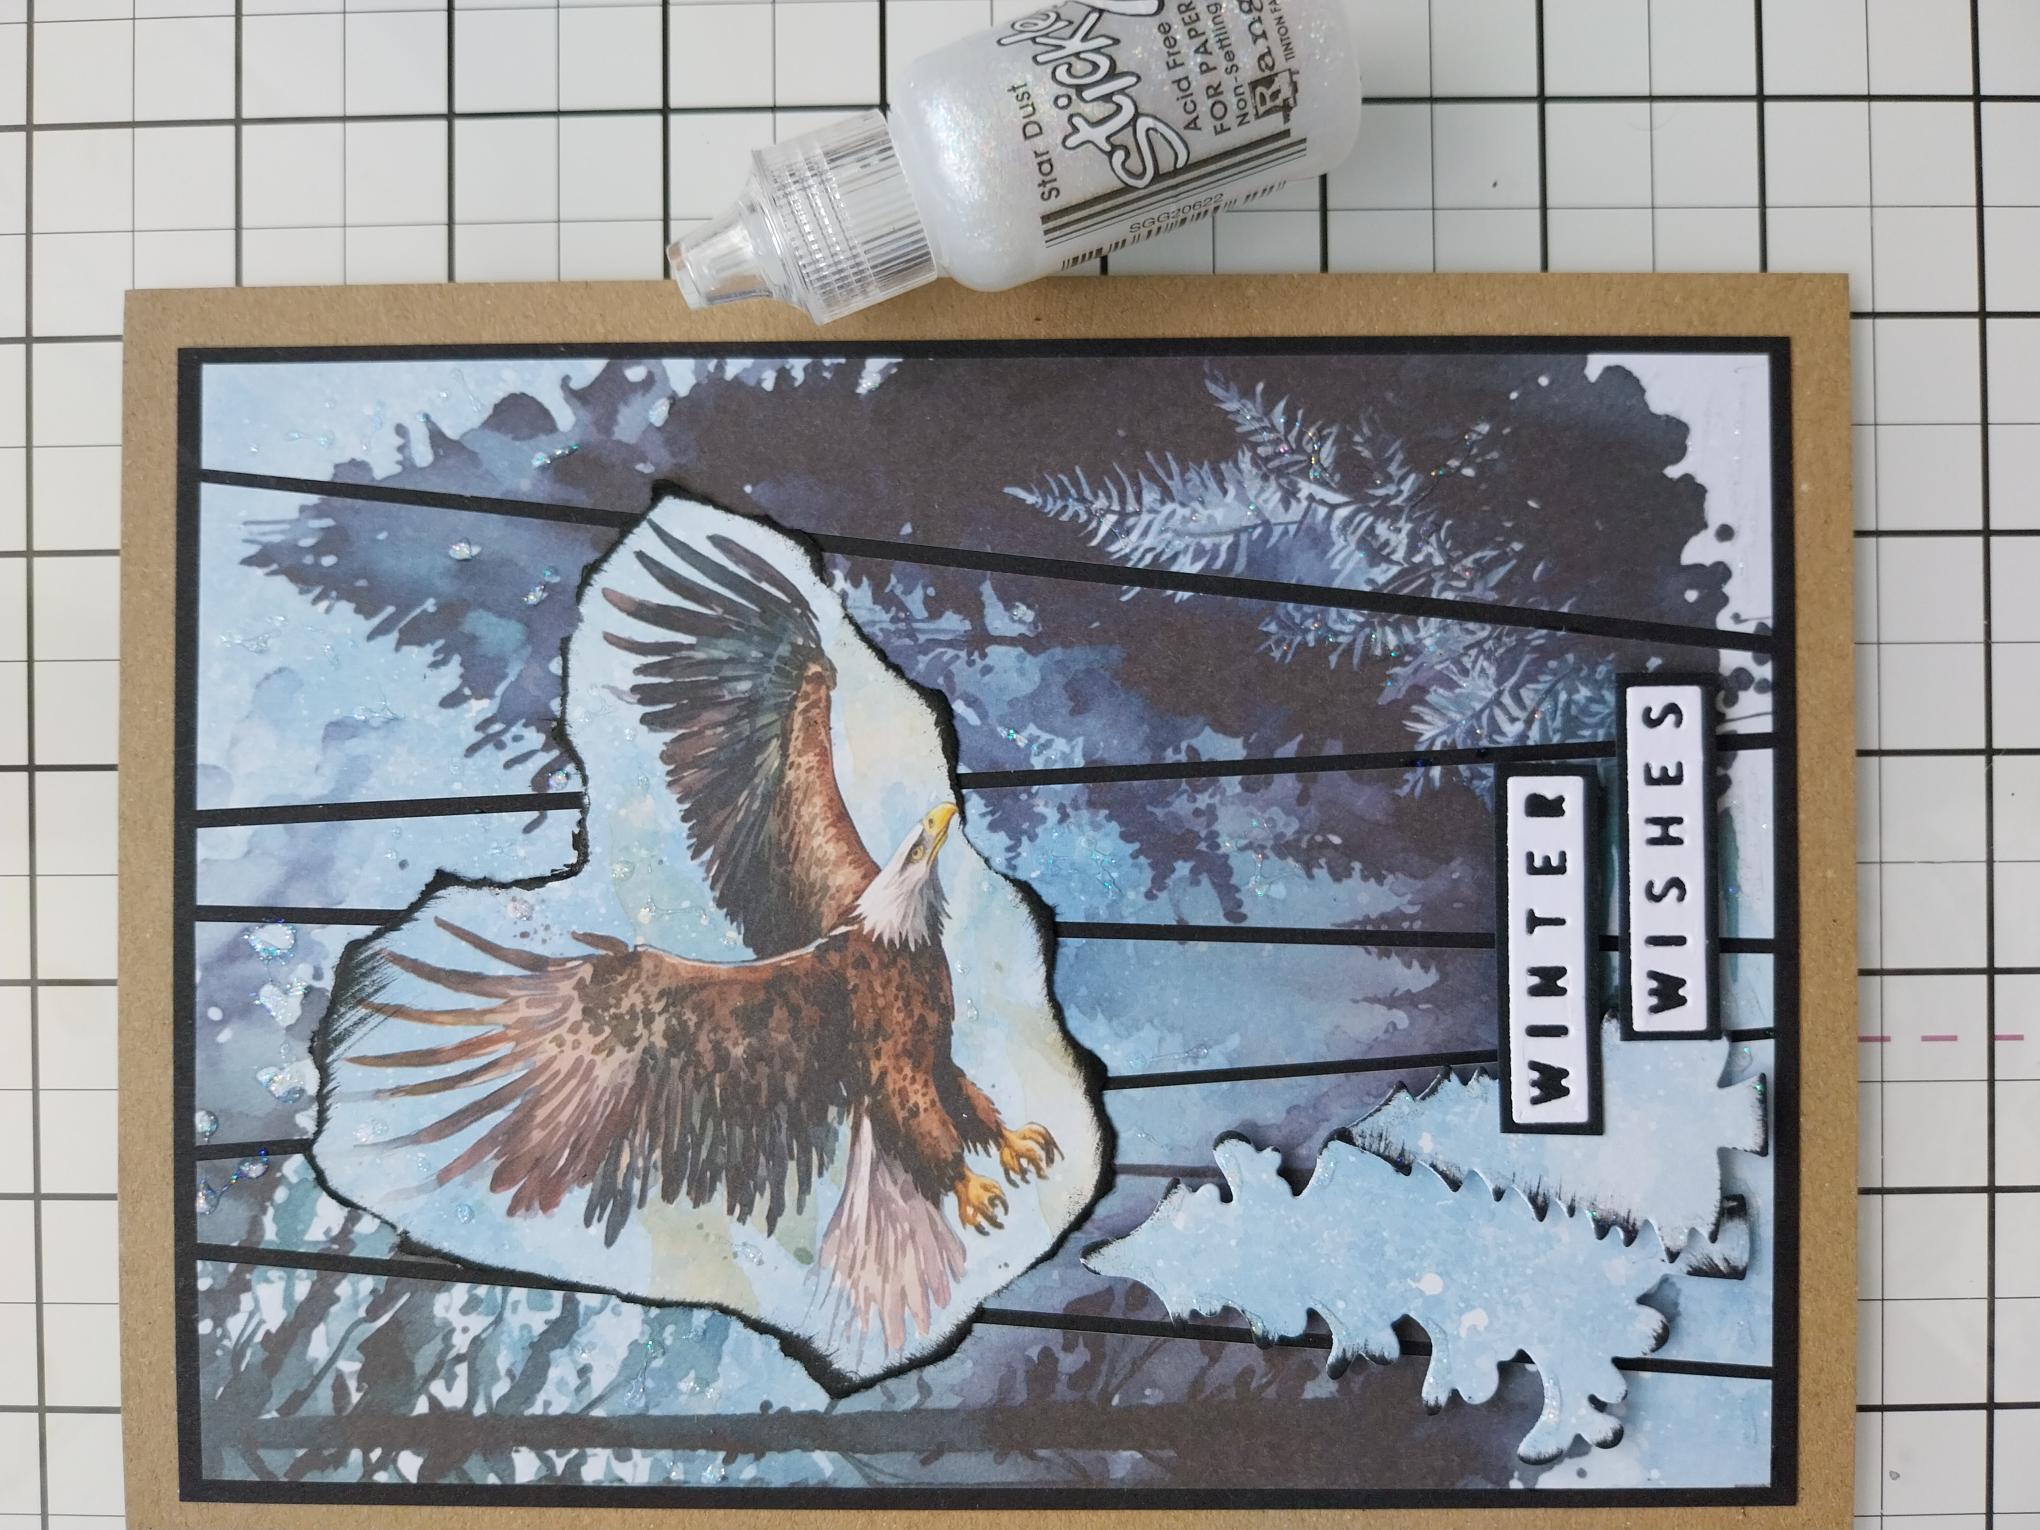
Adhere your "soaring" eagle to your decorative paper before adhering it to the front of your kraft card blank. |
|
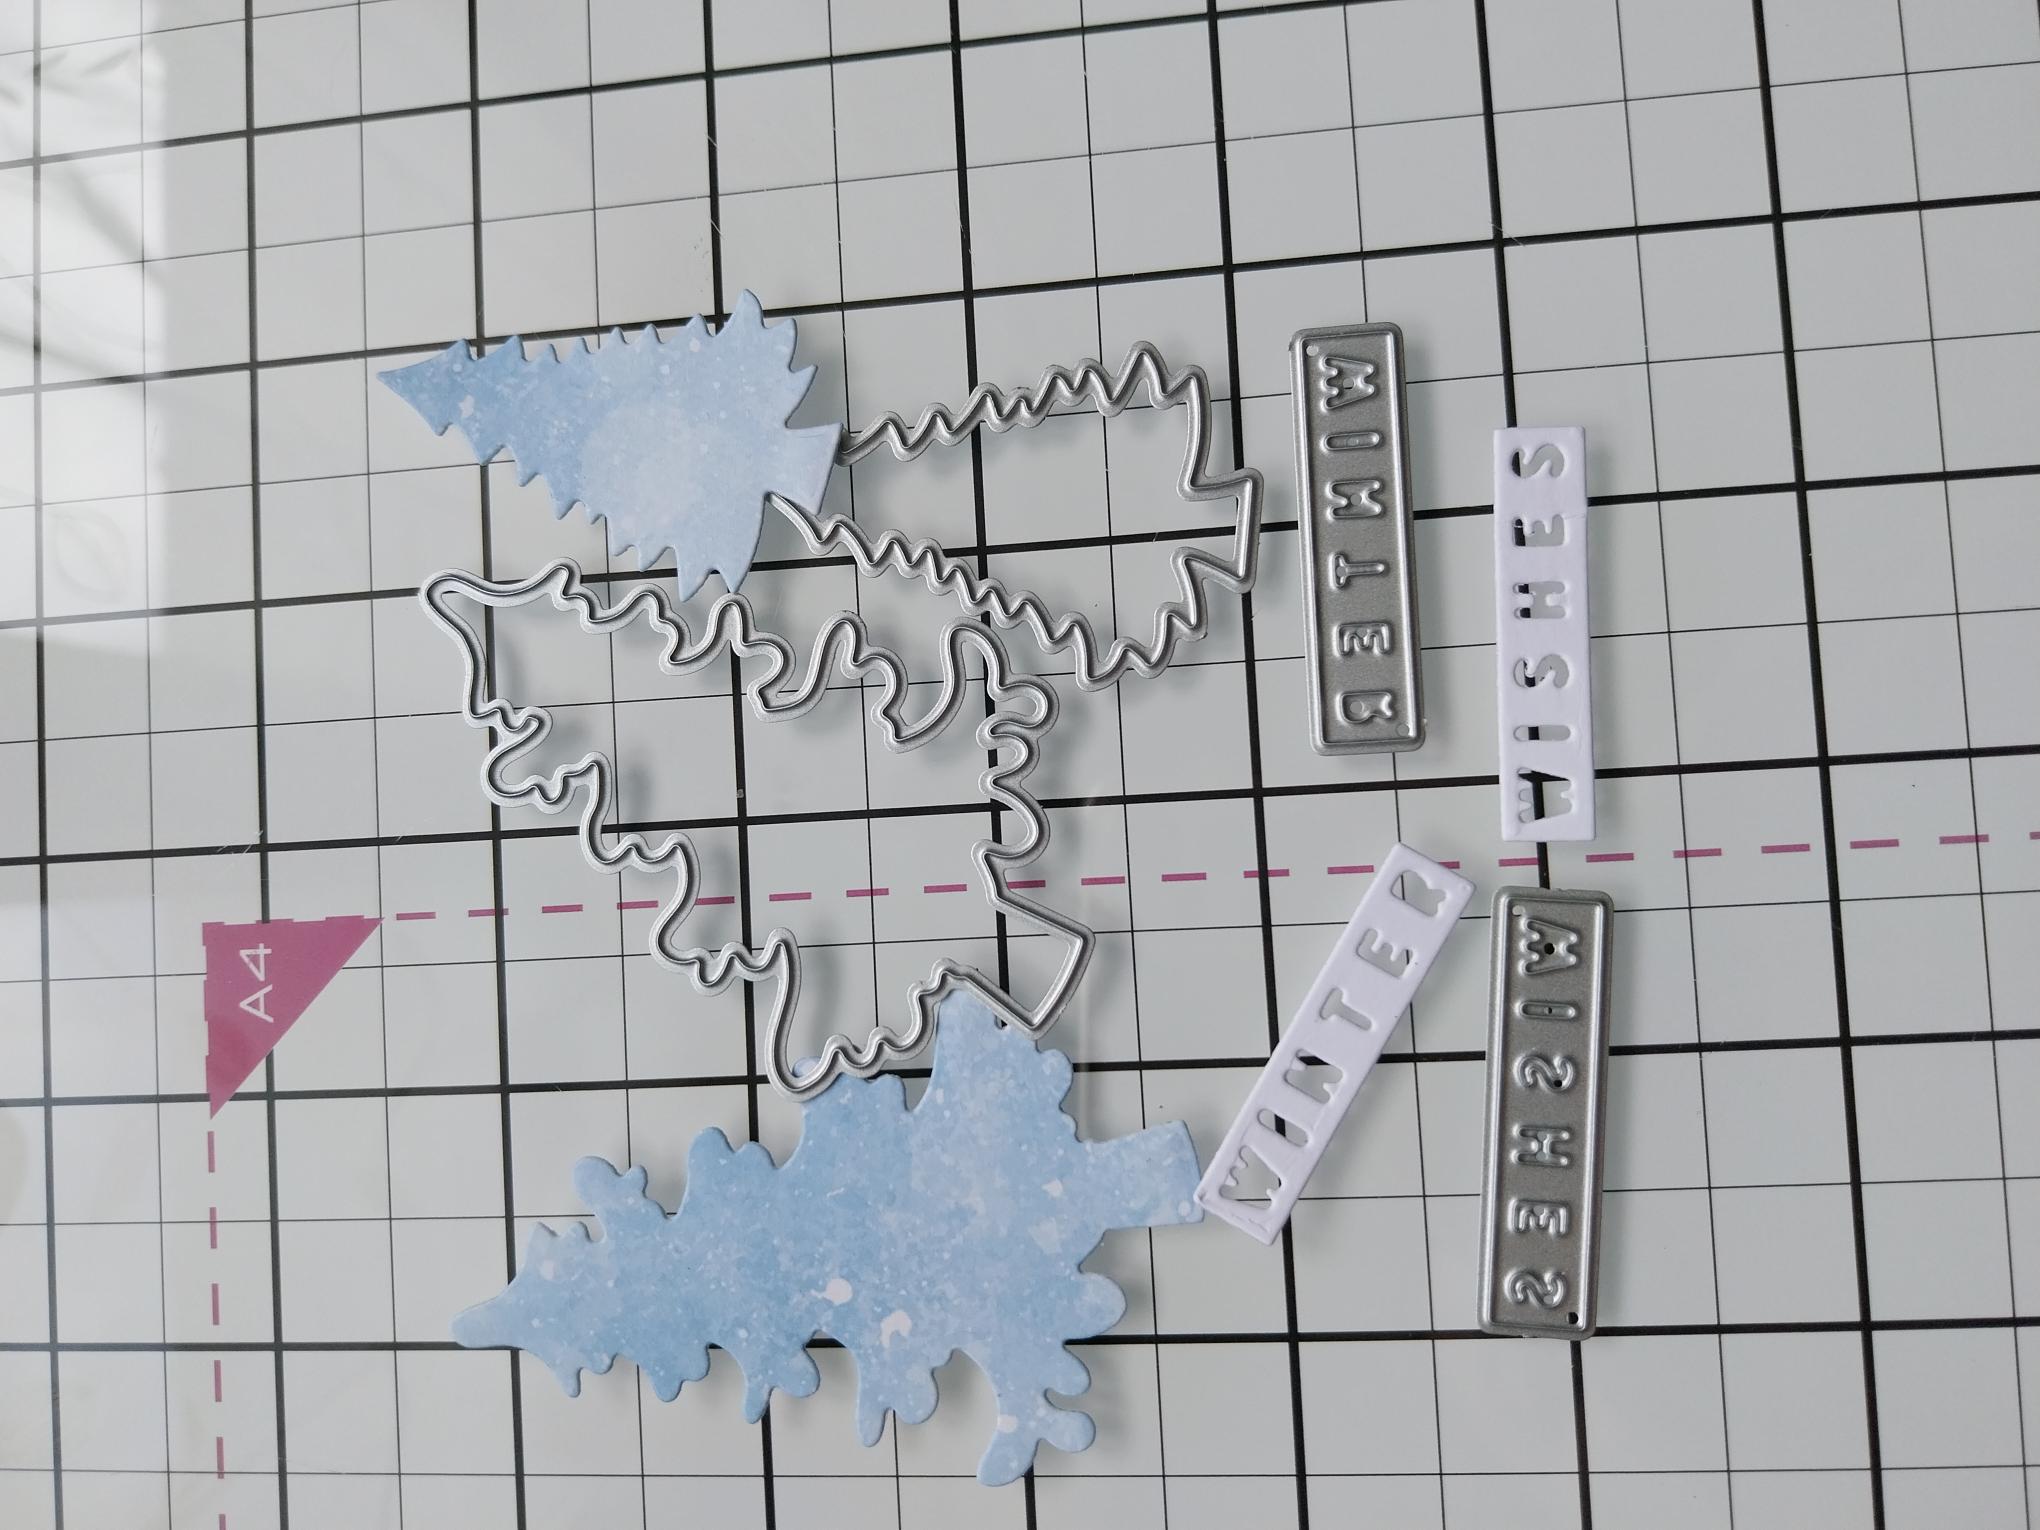
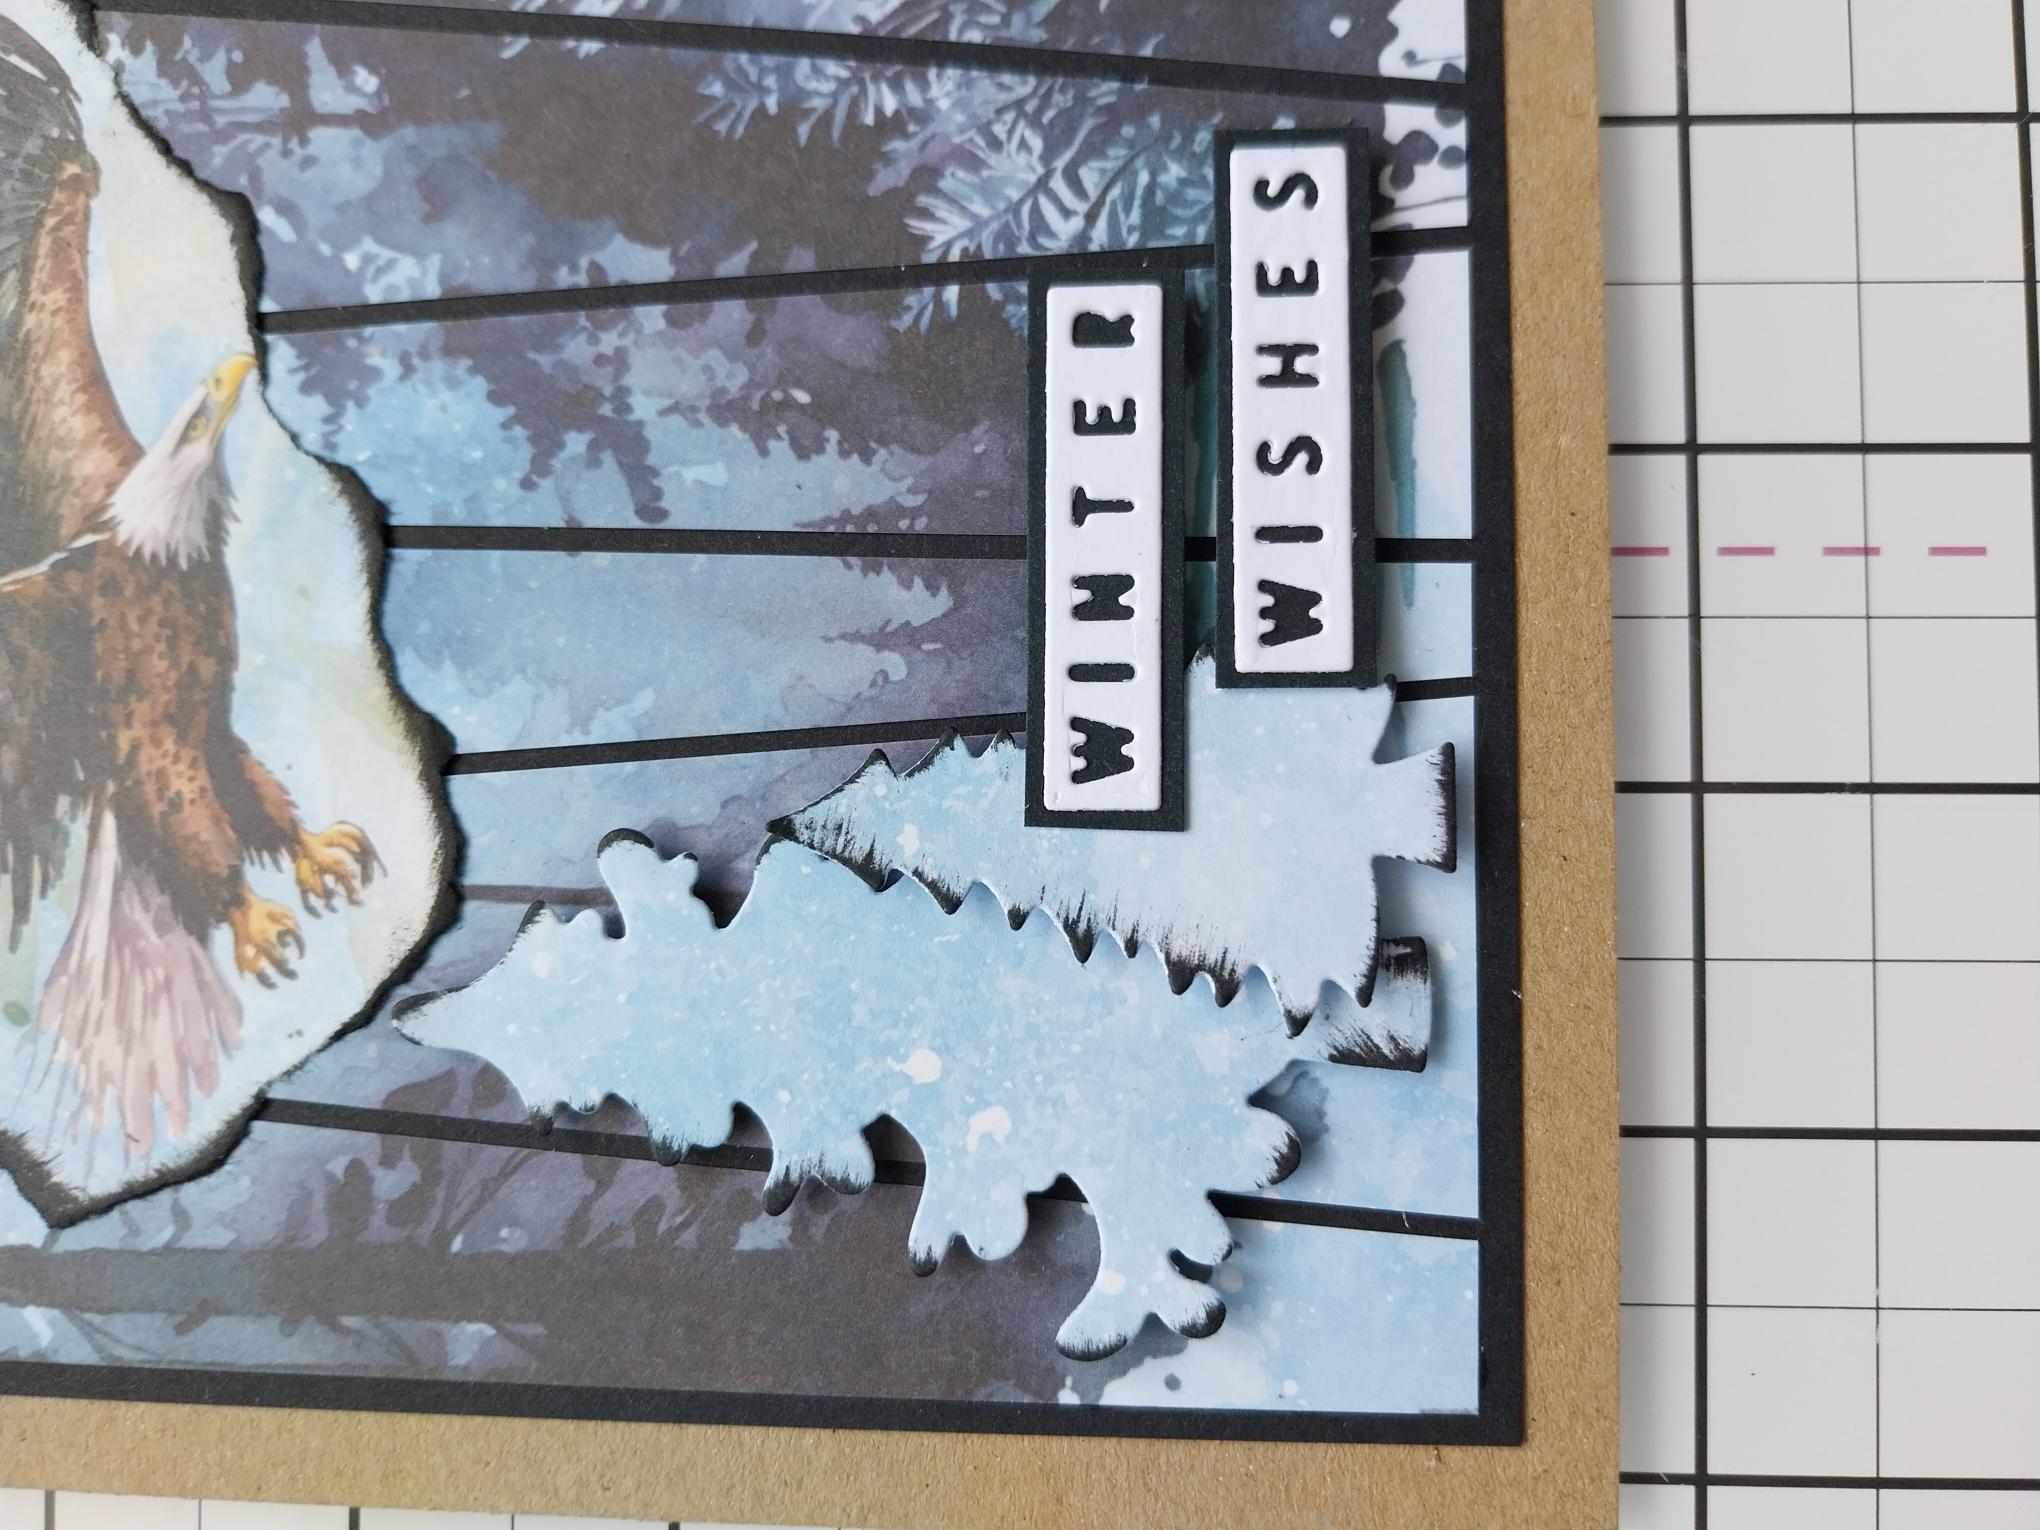
Die cut TWO fir trees from the decorative paper you set aside earlier. Die cut the "Winter Wishes" from white card. |
|
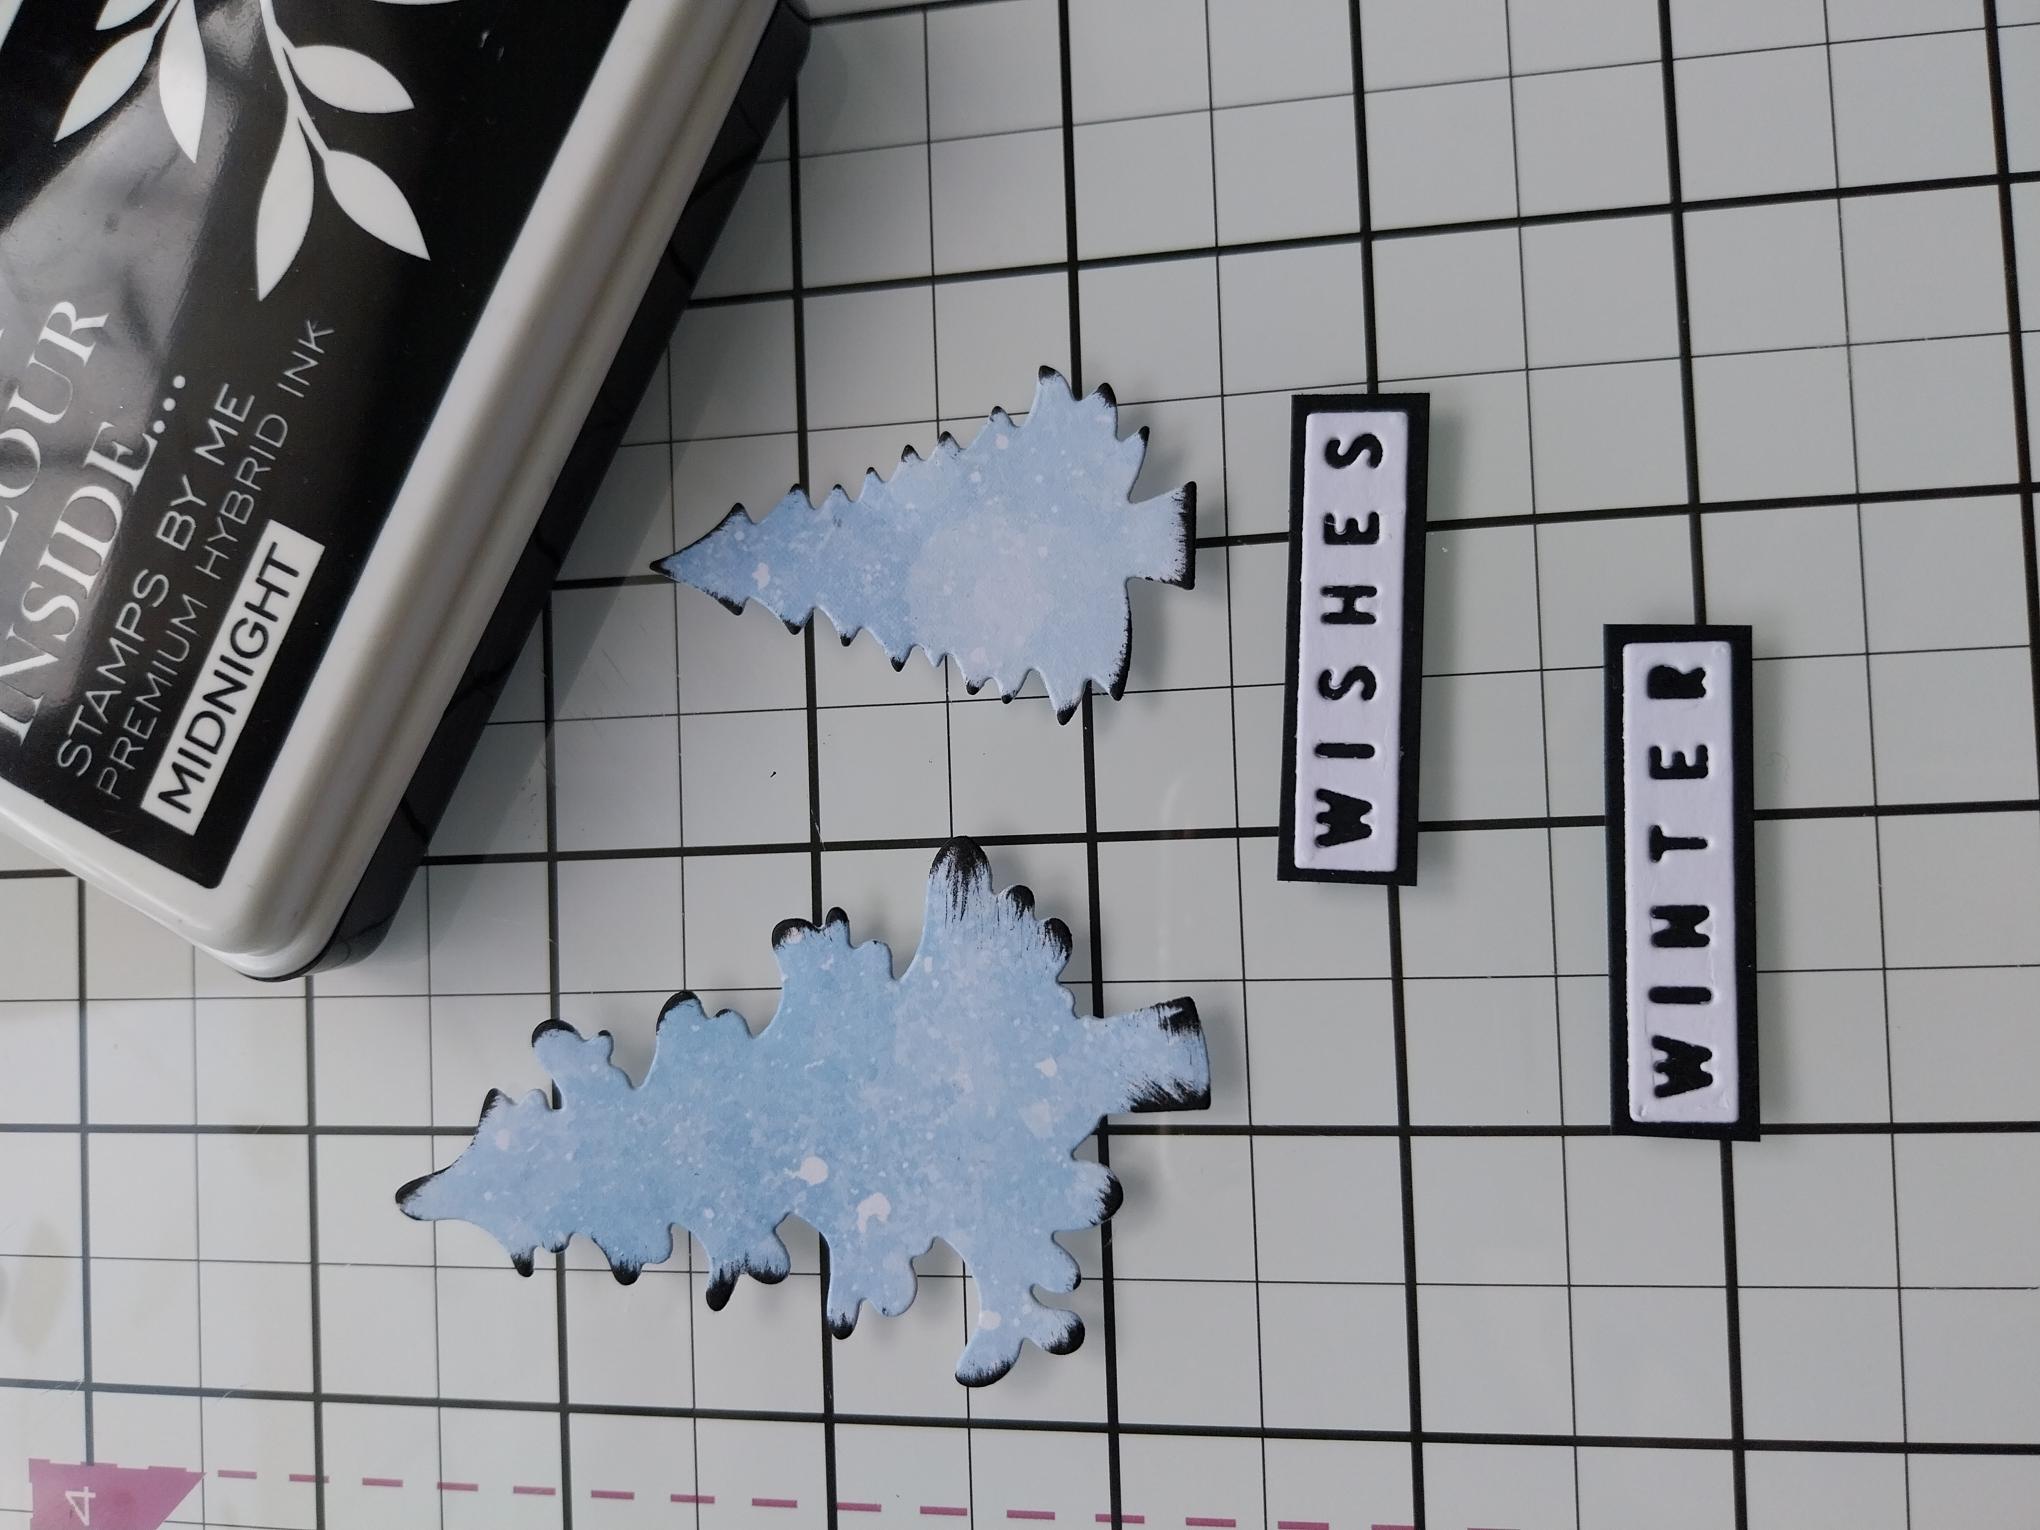
Mat the die cut words on to black card and trim to size. Ink around the edges of the die cut trees with your Midnight ink pad. |
|
Adhere the trees and sentiments to the bottom right of your card, using wet glue and foam pads, to create perspective and dimension. |
|
Finally, use the Stickles to add a touch of winter sparkle to your artwork. |