Give your friends $10 off their first order!
Refer a FRIEND


WHAT YOU WILL NEED:
IMALA Just Passing By A5 Stamp
SBM Magical Elegance Foundation paper pad
Typewriter Washi Tape and Die Collection
Purple card blank measuring 5 3/4 x 7 x 3/4’
White Stamping card
Black card
Purple Ribbon
SBM Premium Hybrid Ink Pad: Midnight
SBM Premium Dye Ink Pad: Surfboard
Distress Ink Pad: Tea Dye
Funky Fossil Blending Brushes
HIMI Oil pencils
Eureka 101 Watercolour Tablet
SBM A3 Magnetic Glass Mat
SBM trimmer/ Cut and Score Tool
Foam pads
Tape runner
Glue
[click image to enlarge] 
|
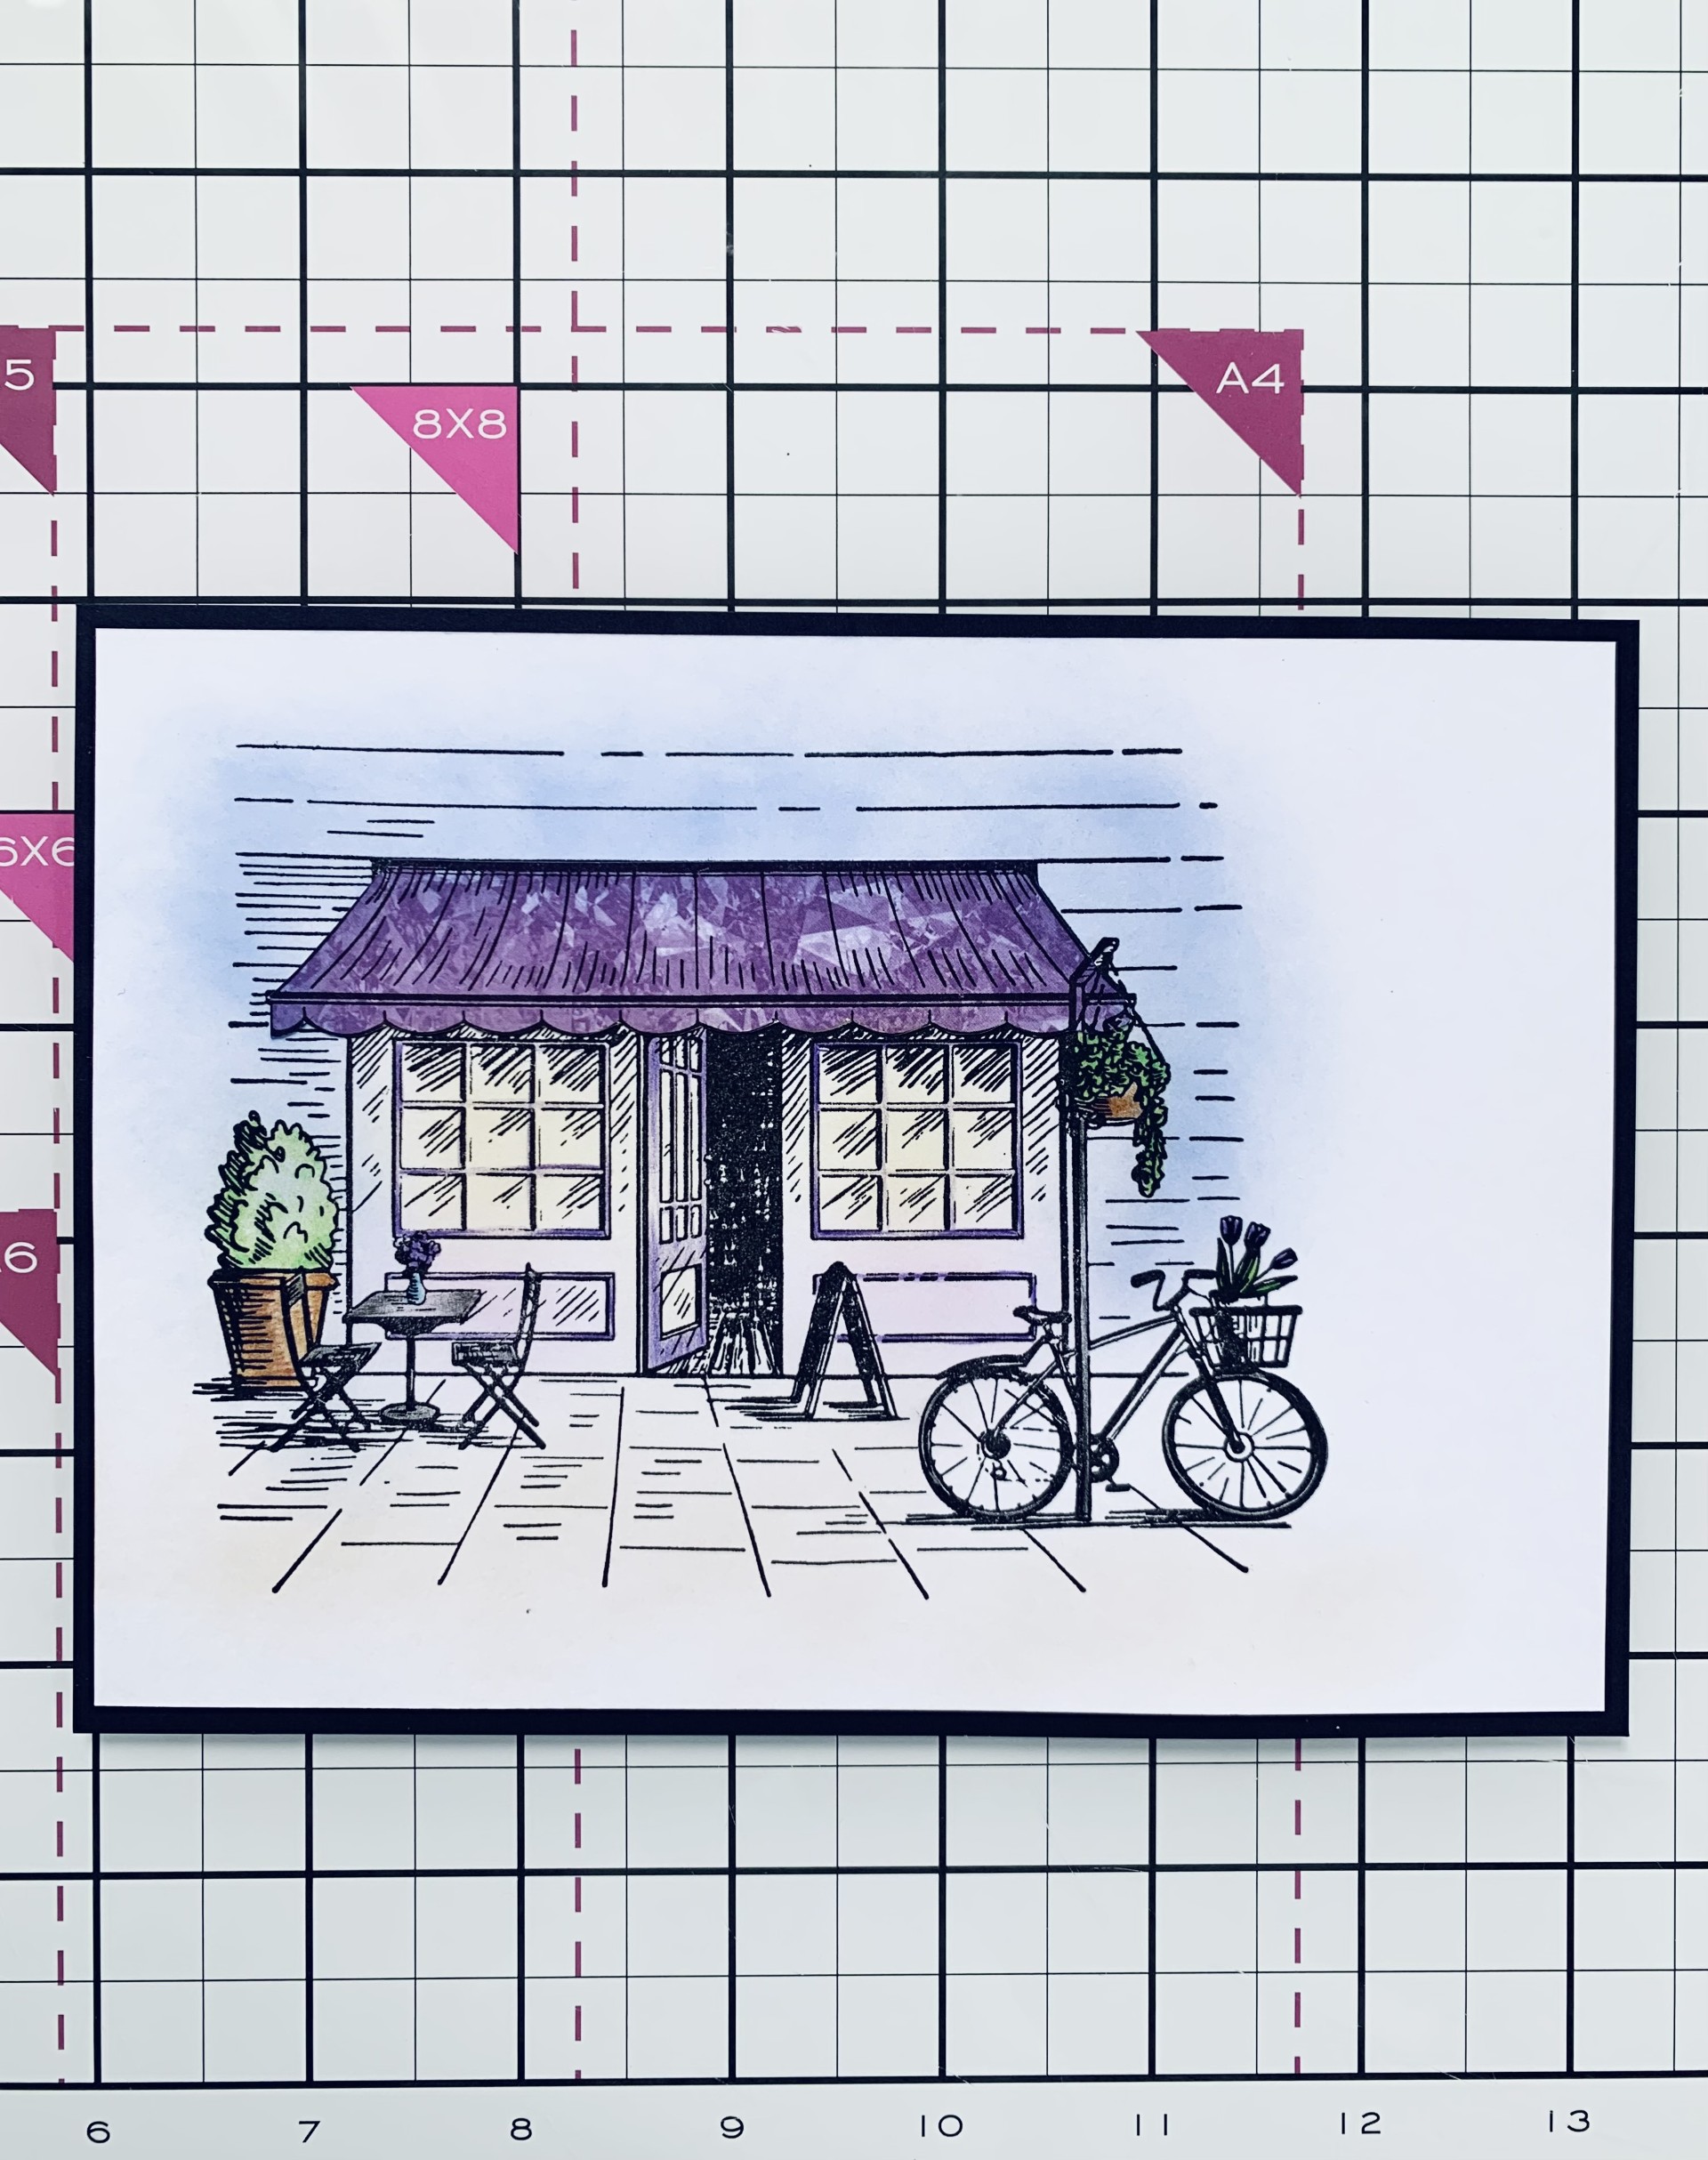
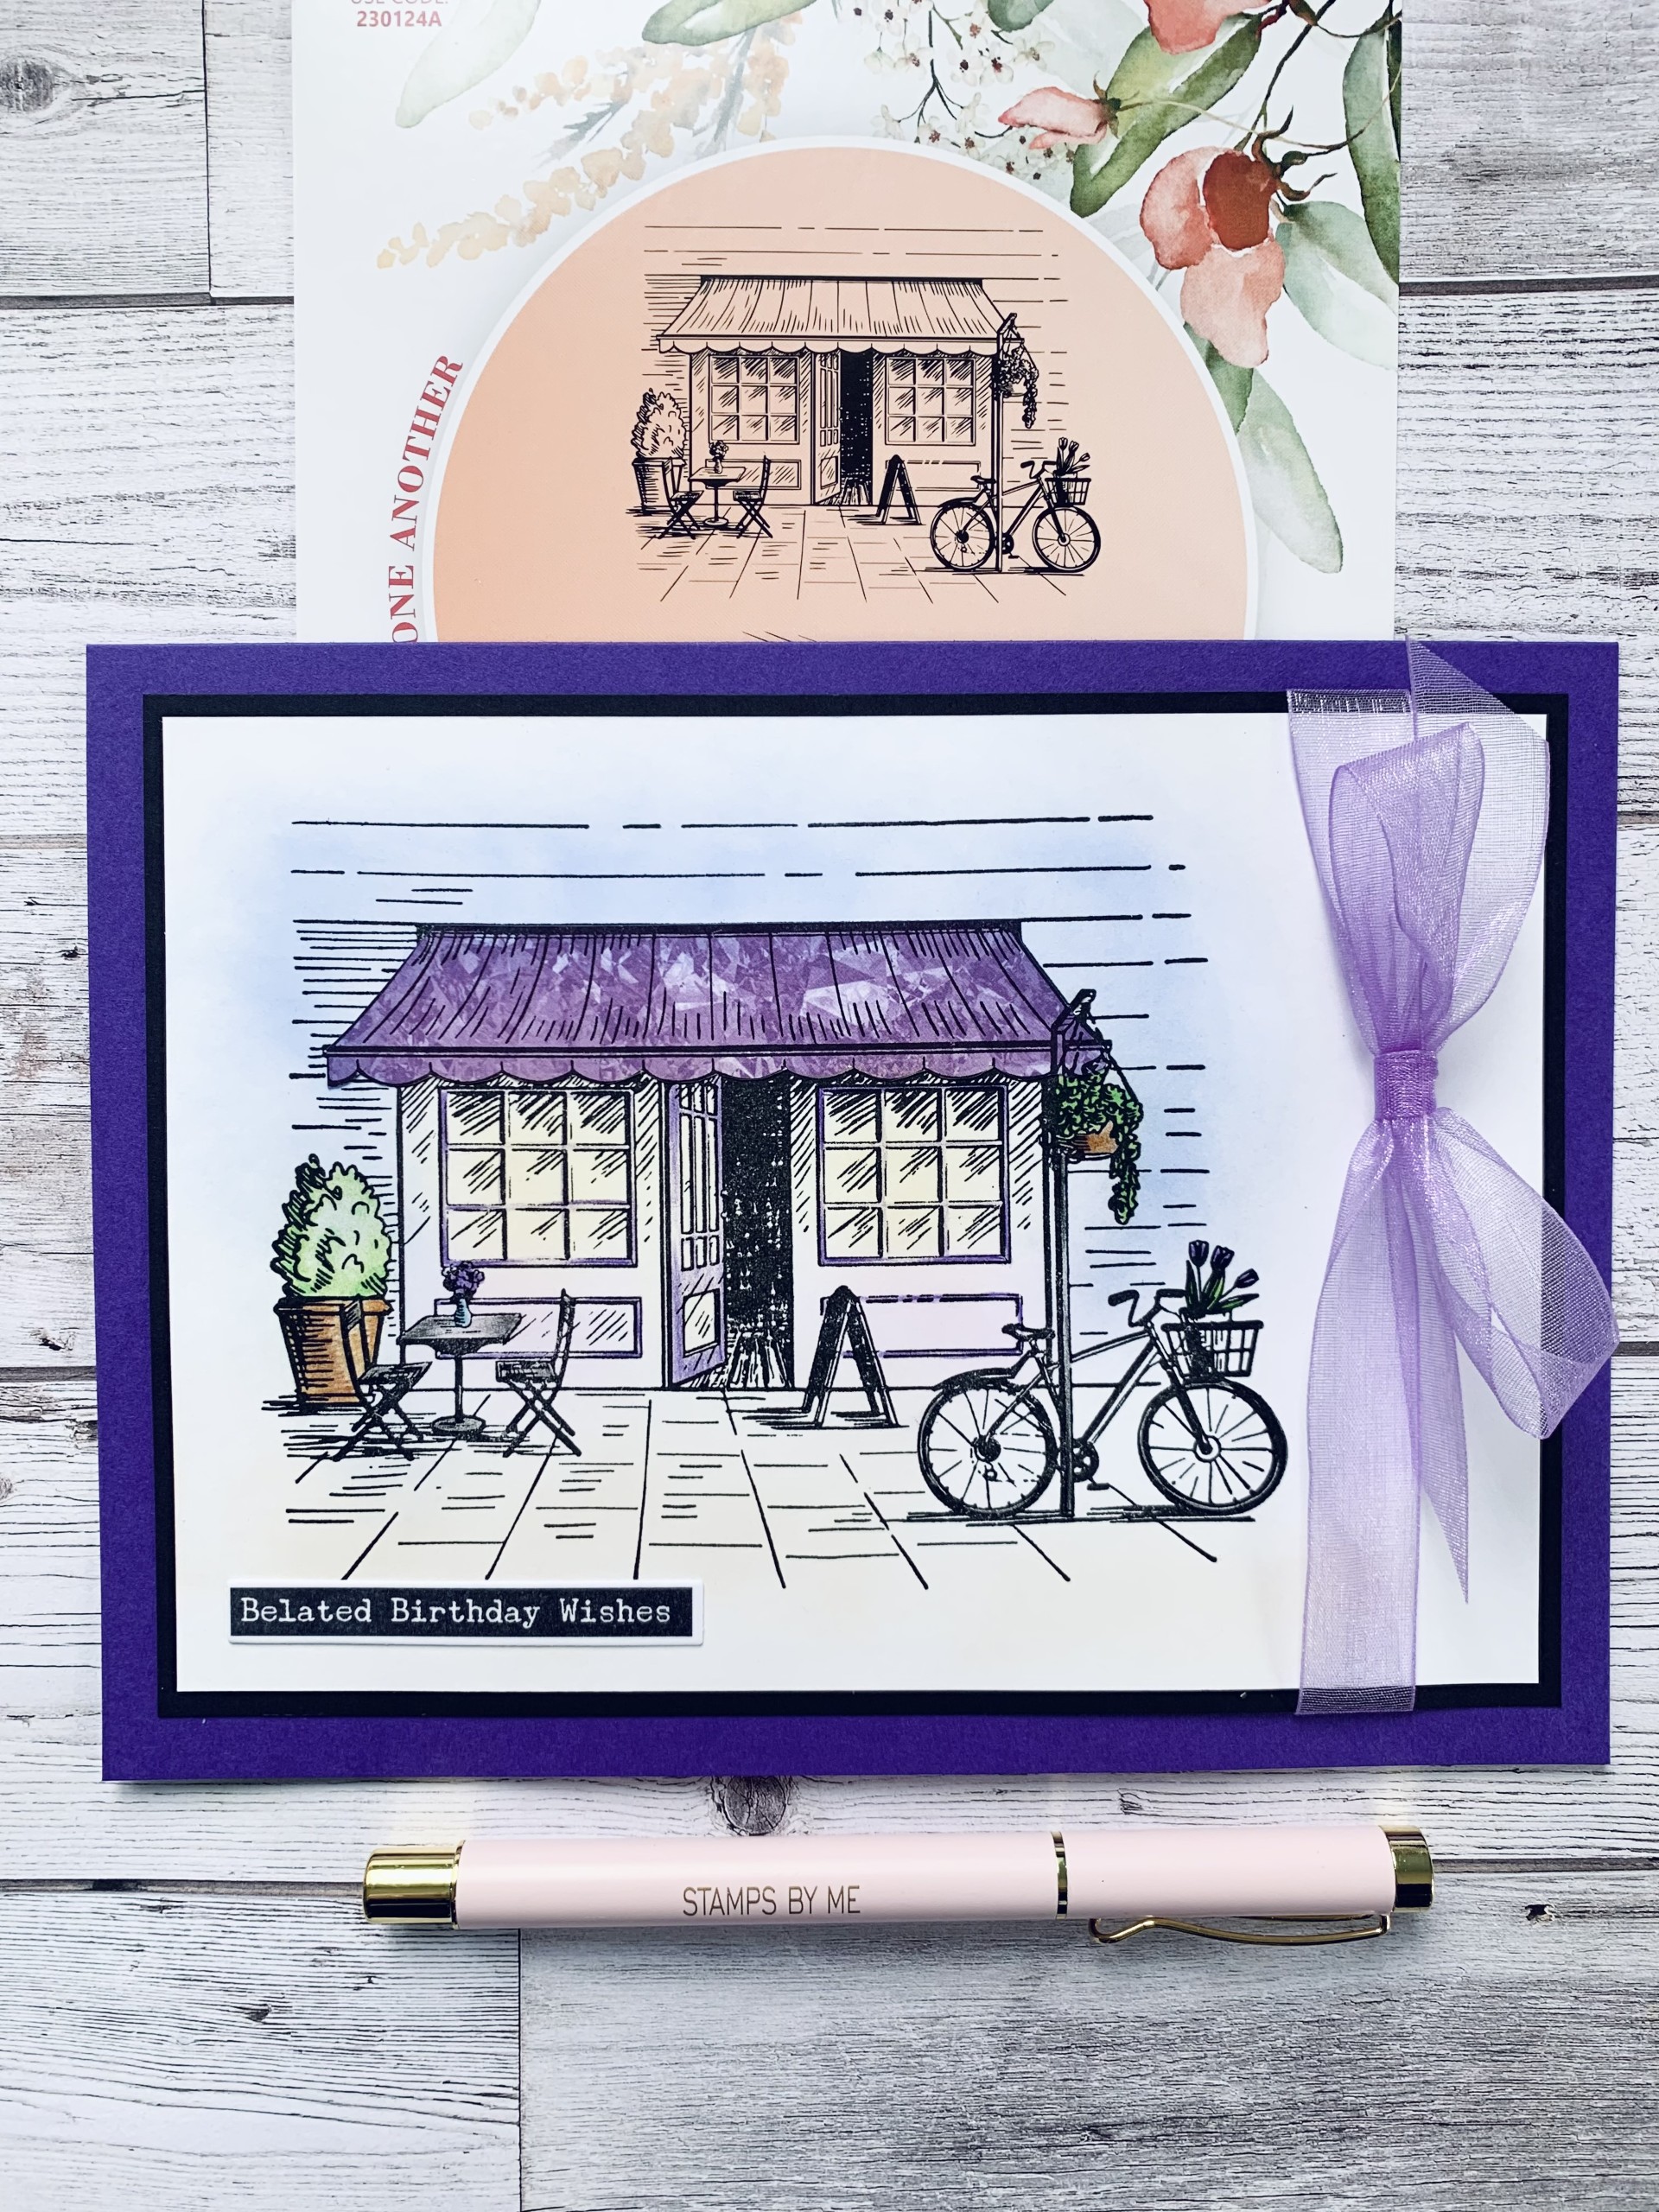
Take a piece of white stamping card measuring 5 x 7’ and stamp the image on the left side using the Midnight Ink. Leave space on the right for the ribbon.
|
|
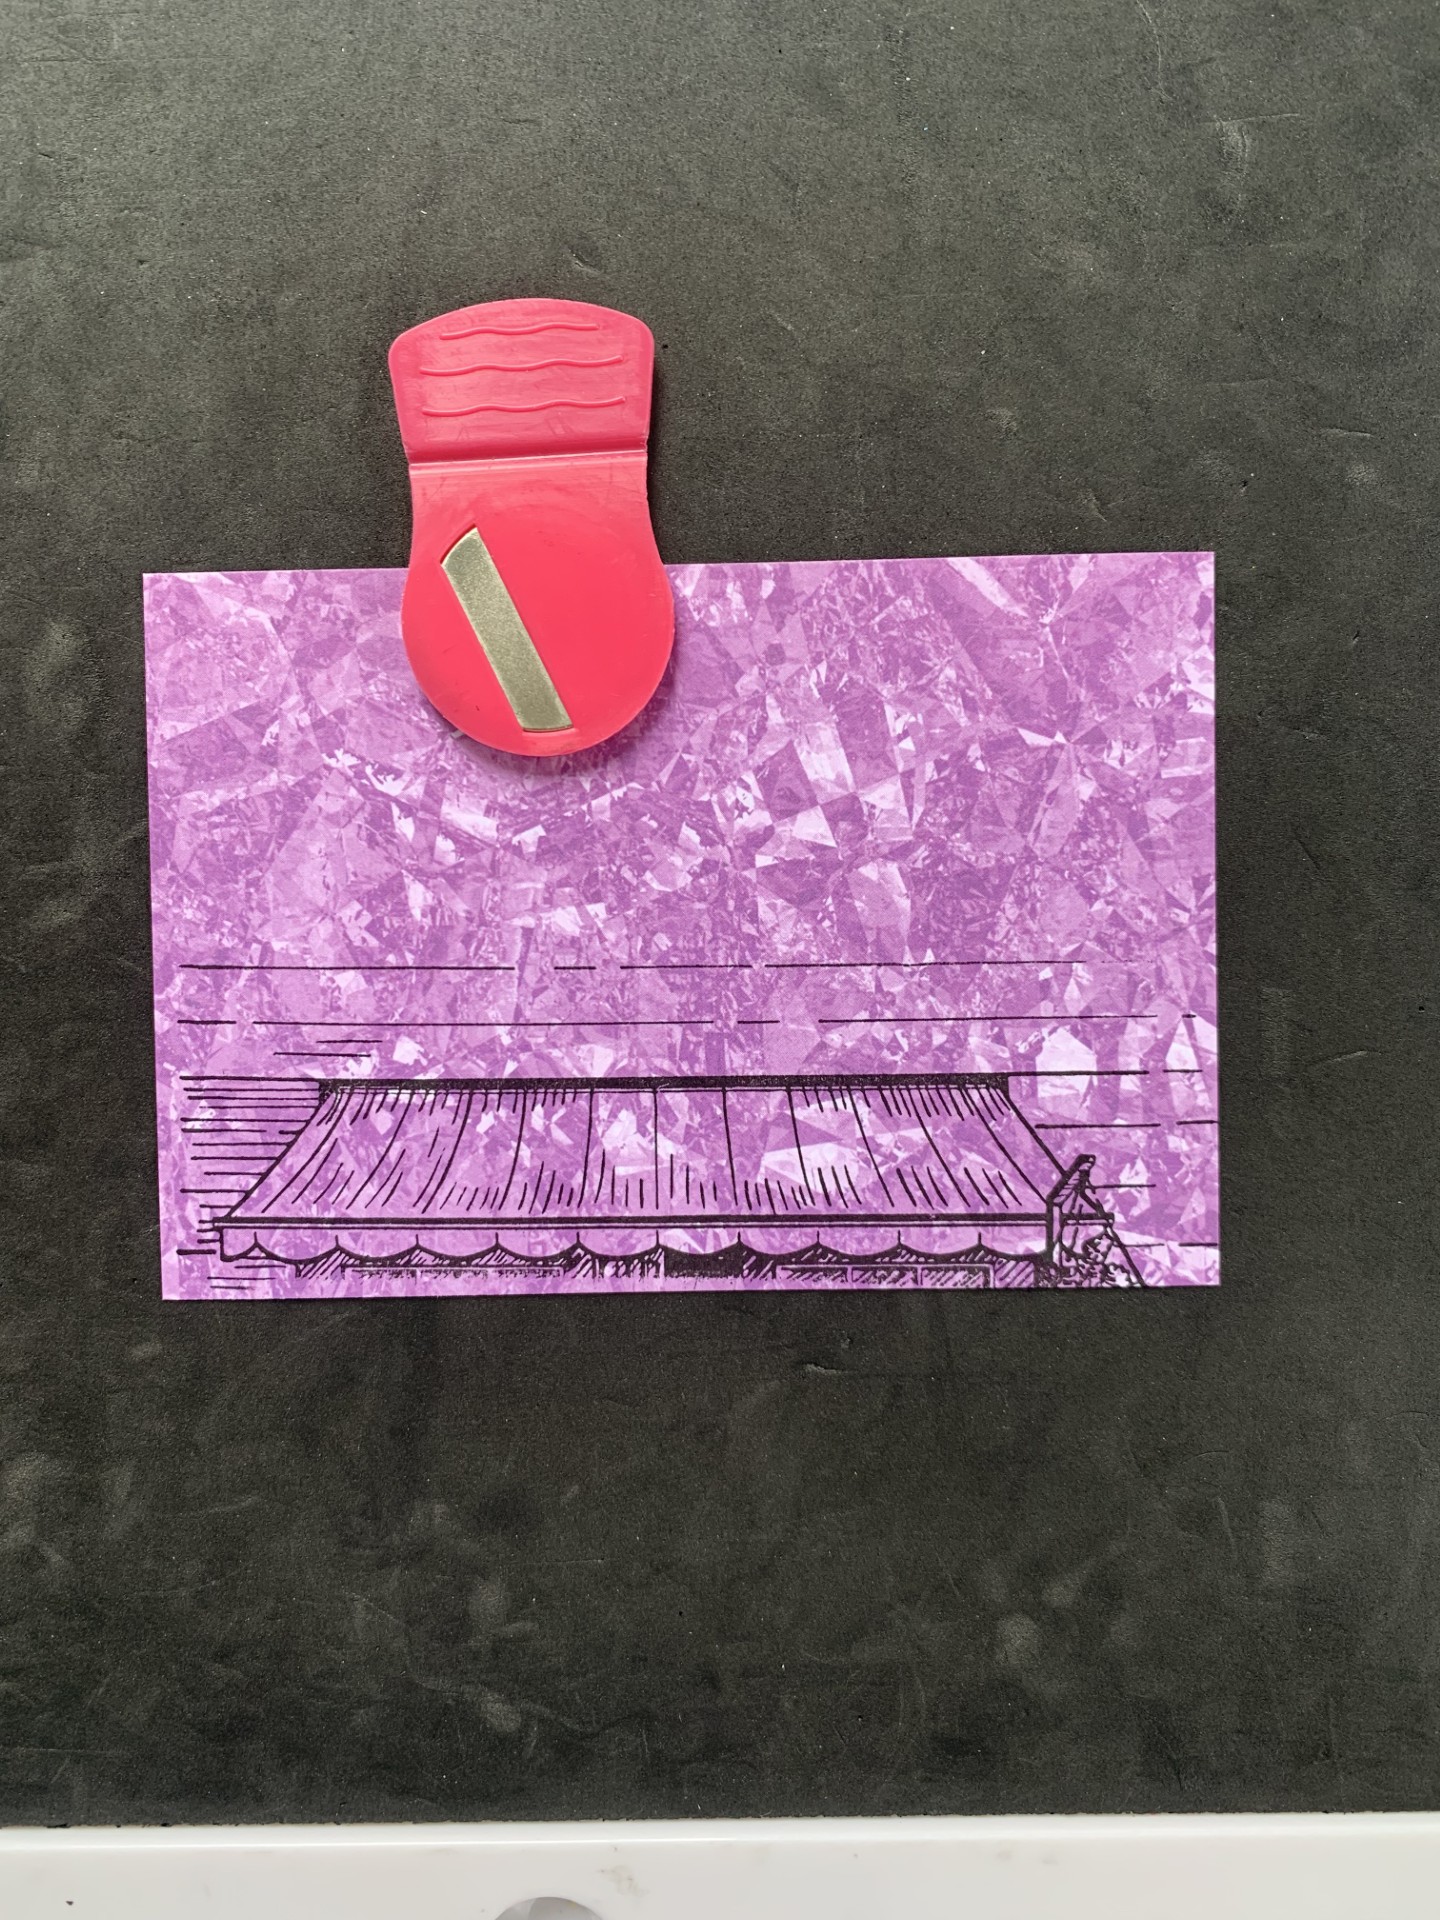
Stamp the canopy onto a piece of purple paper from the Magical Elegance paper pad, cut out and adhere in place on your stamped image. |
|
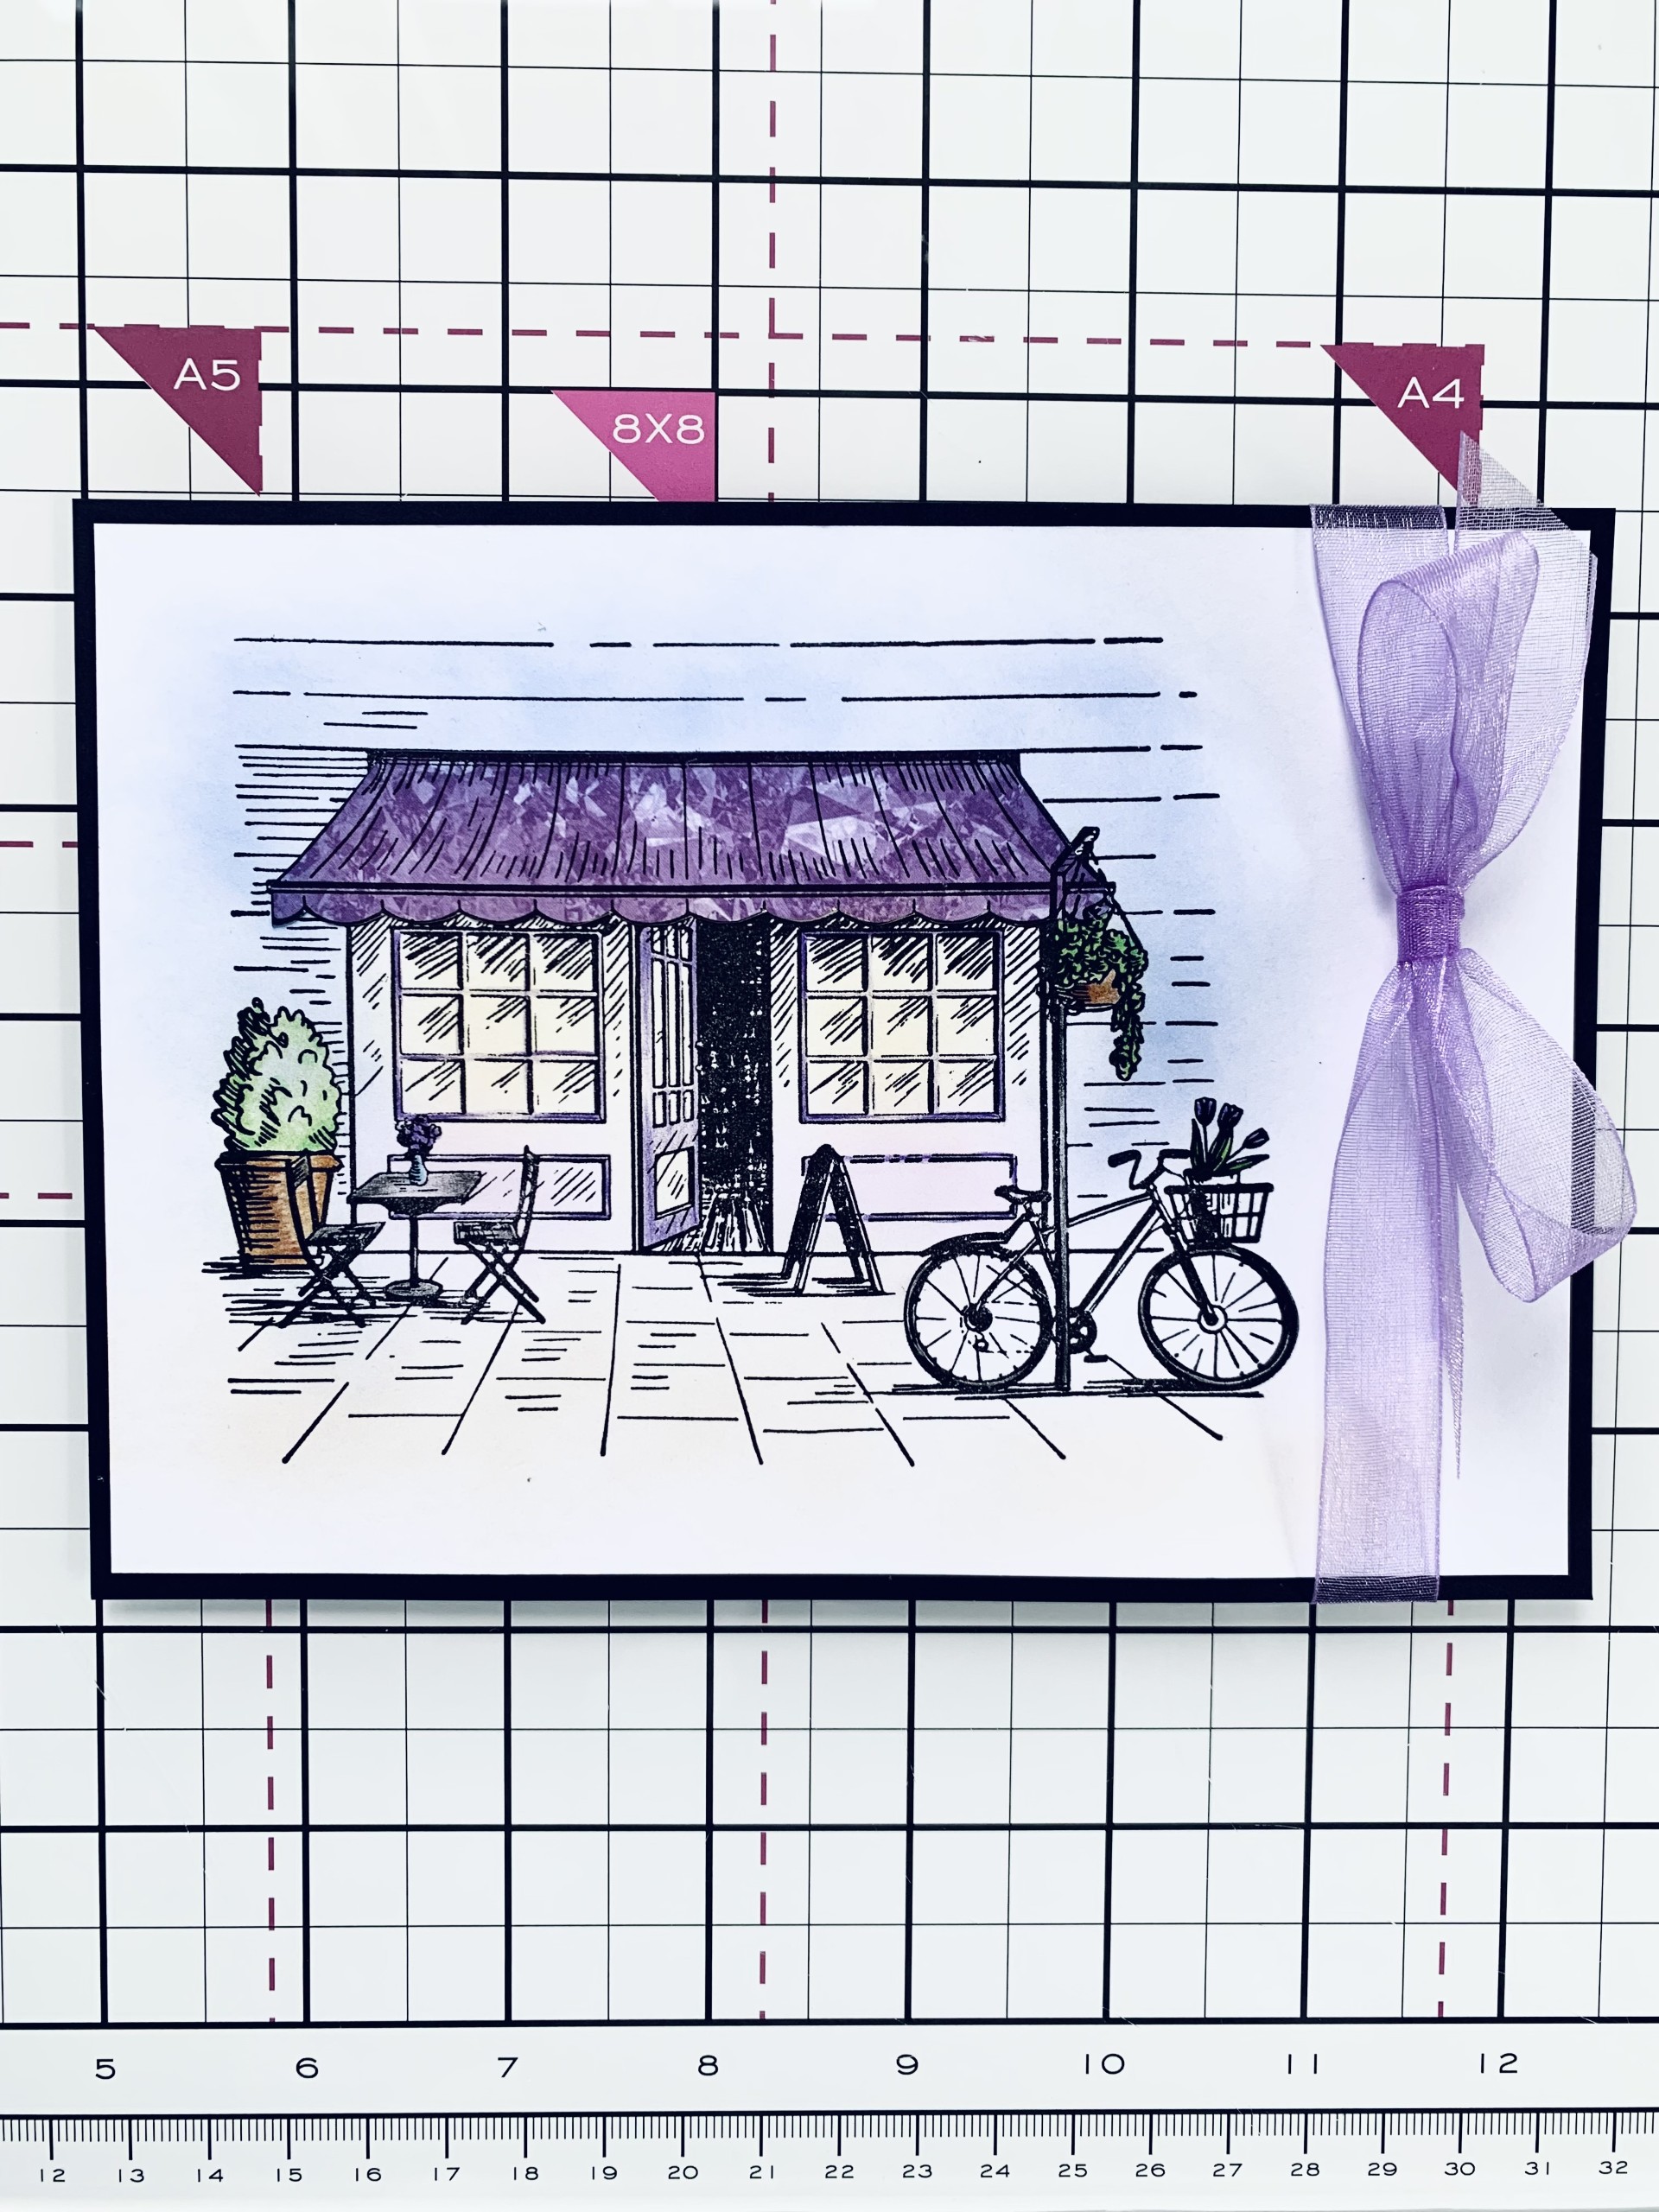
Using your blending brush, apply a small amount of Surfboard on the background to represent sky. Then the same with the Tea Dye Distress Ink along the bottom area, under the Cafe. Adhere the image to a piece of black card measuring 5 1/4 x 7 1/4’ . |
|
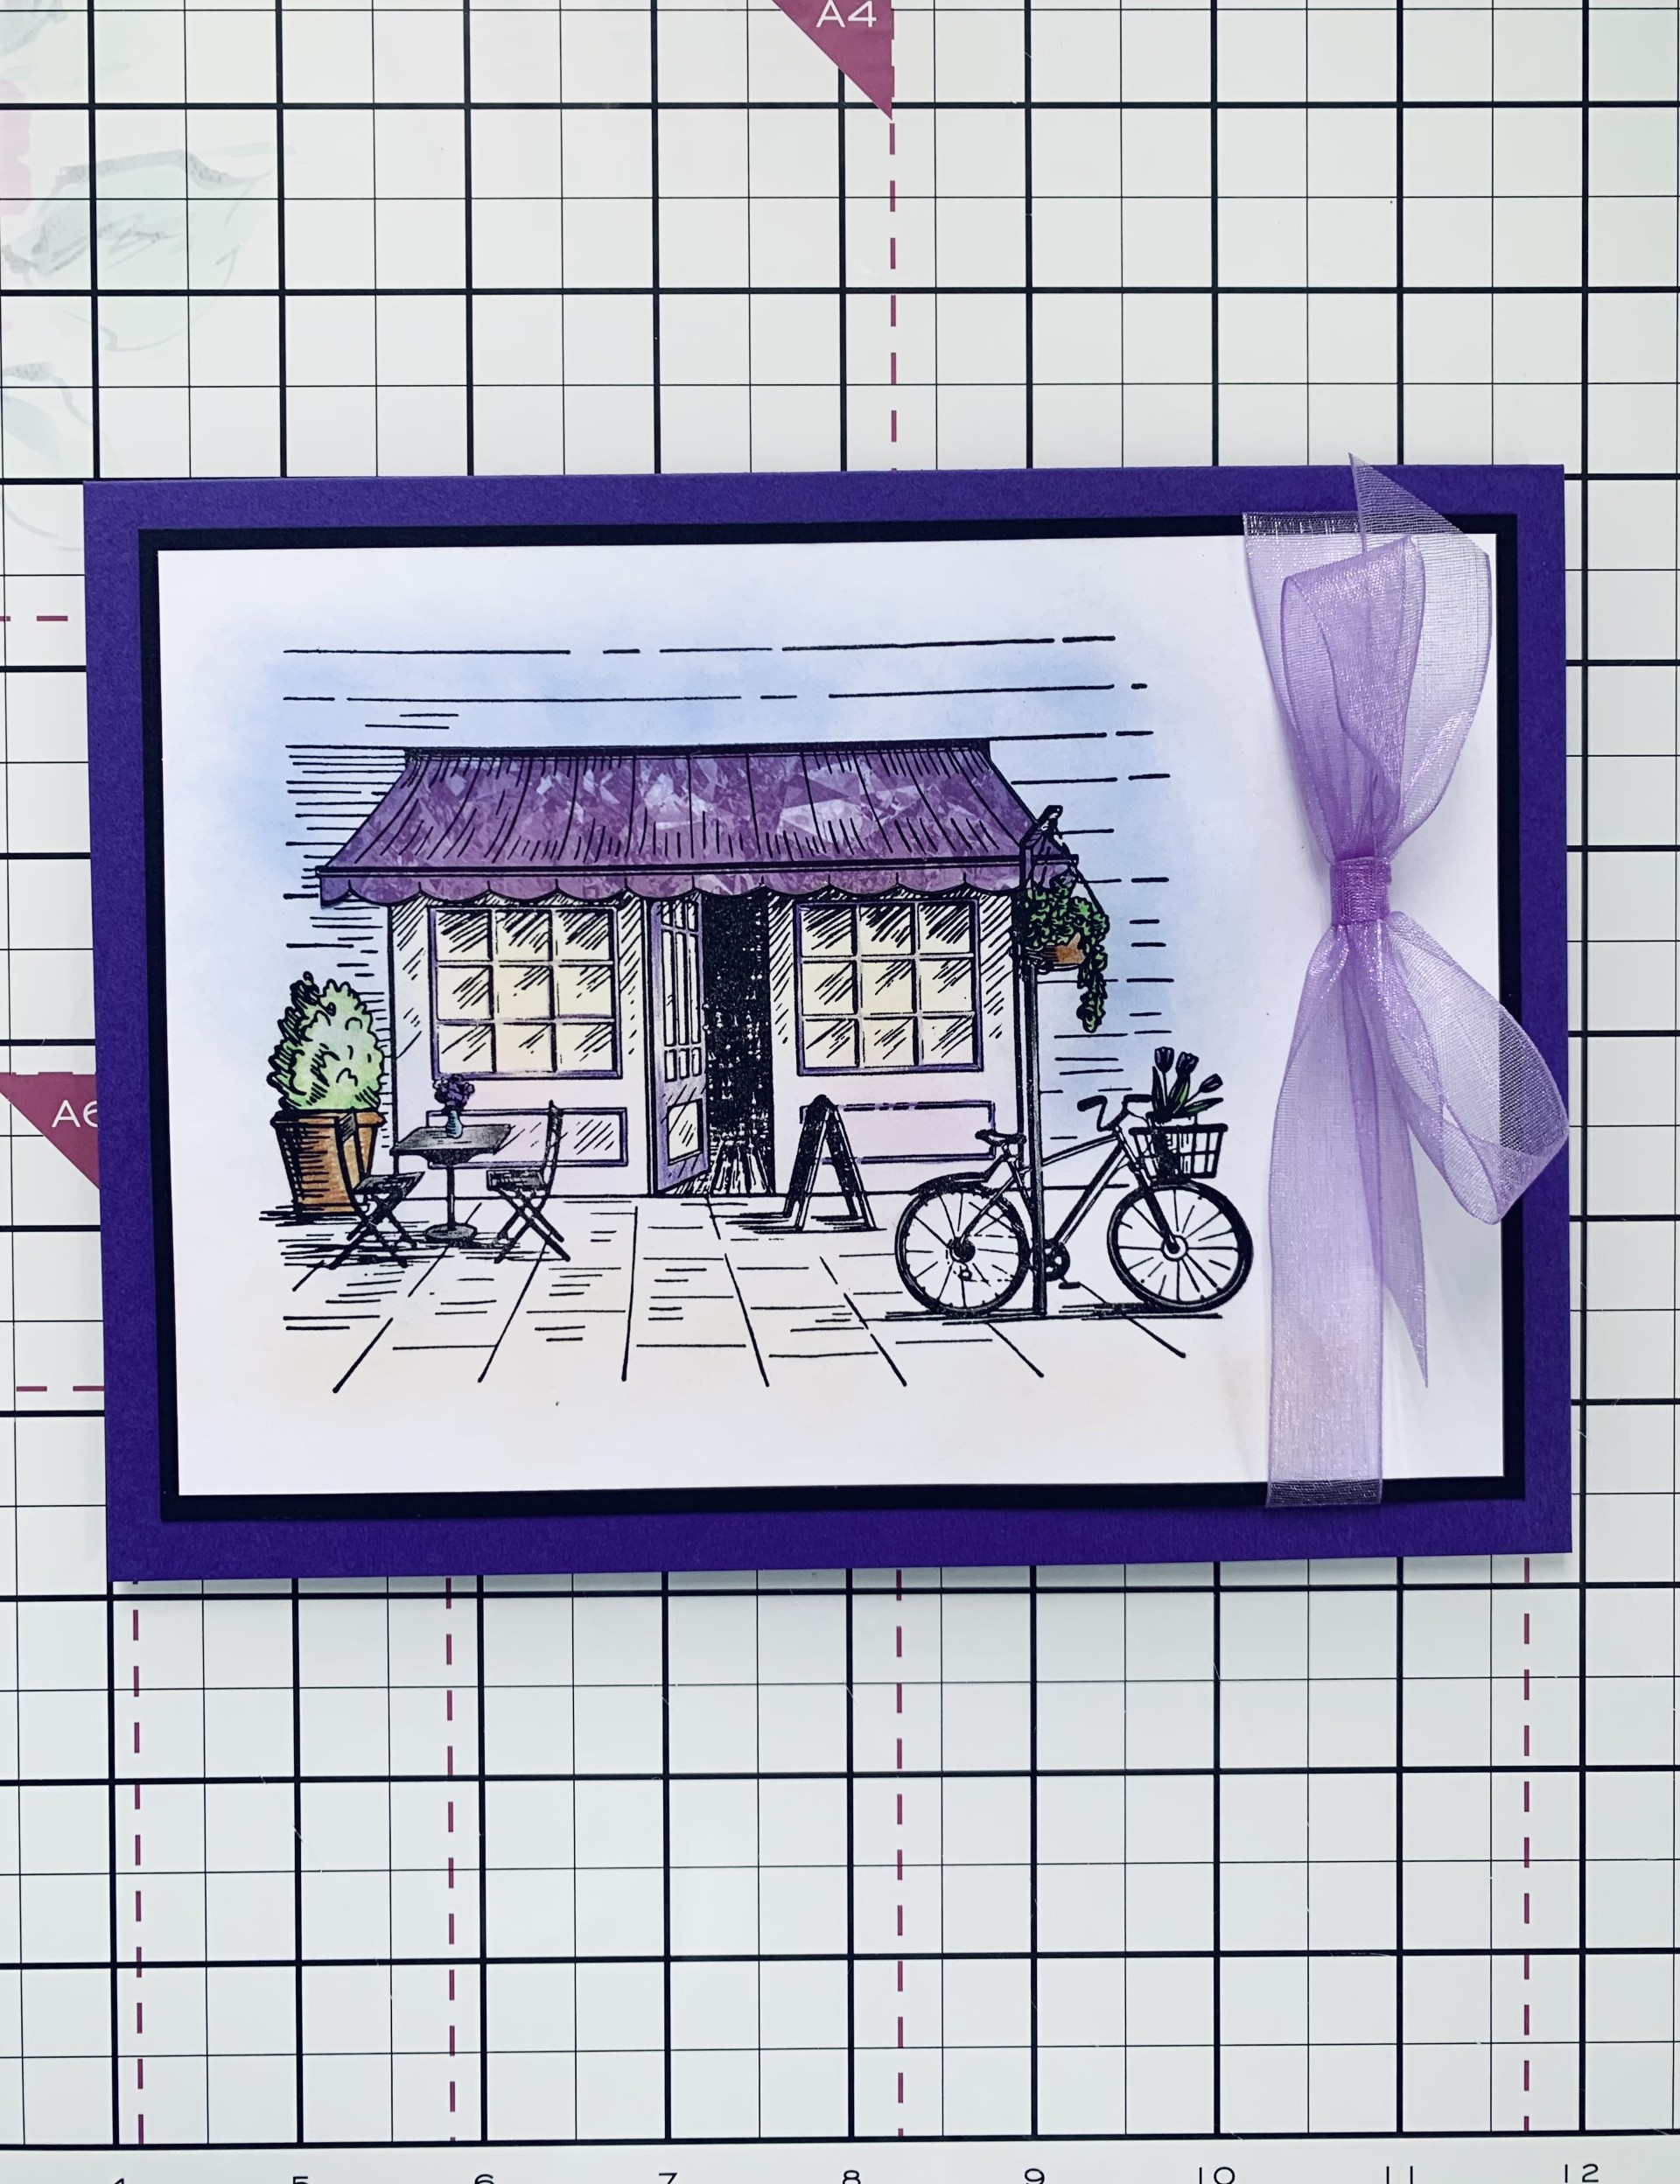
Take a length of purple ribbon and tie a bow on the right side of the stamped image. |
|
Adhere the image to the front of the card blank using foam pads. |
|
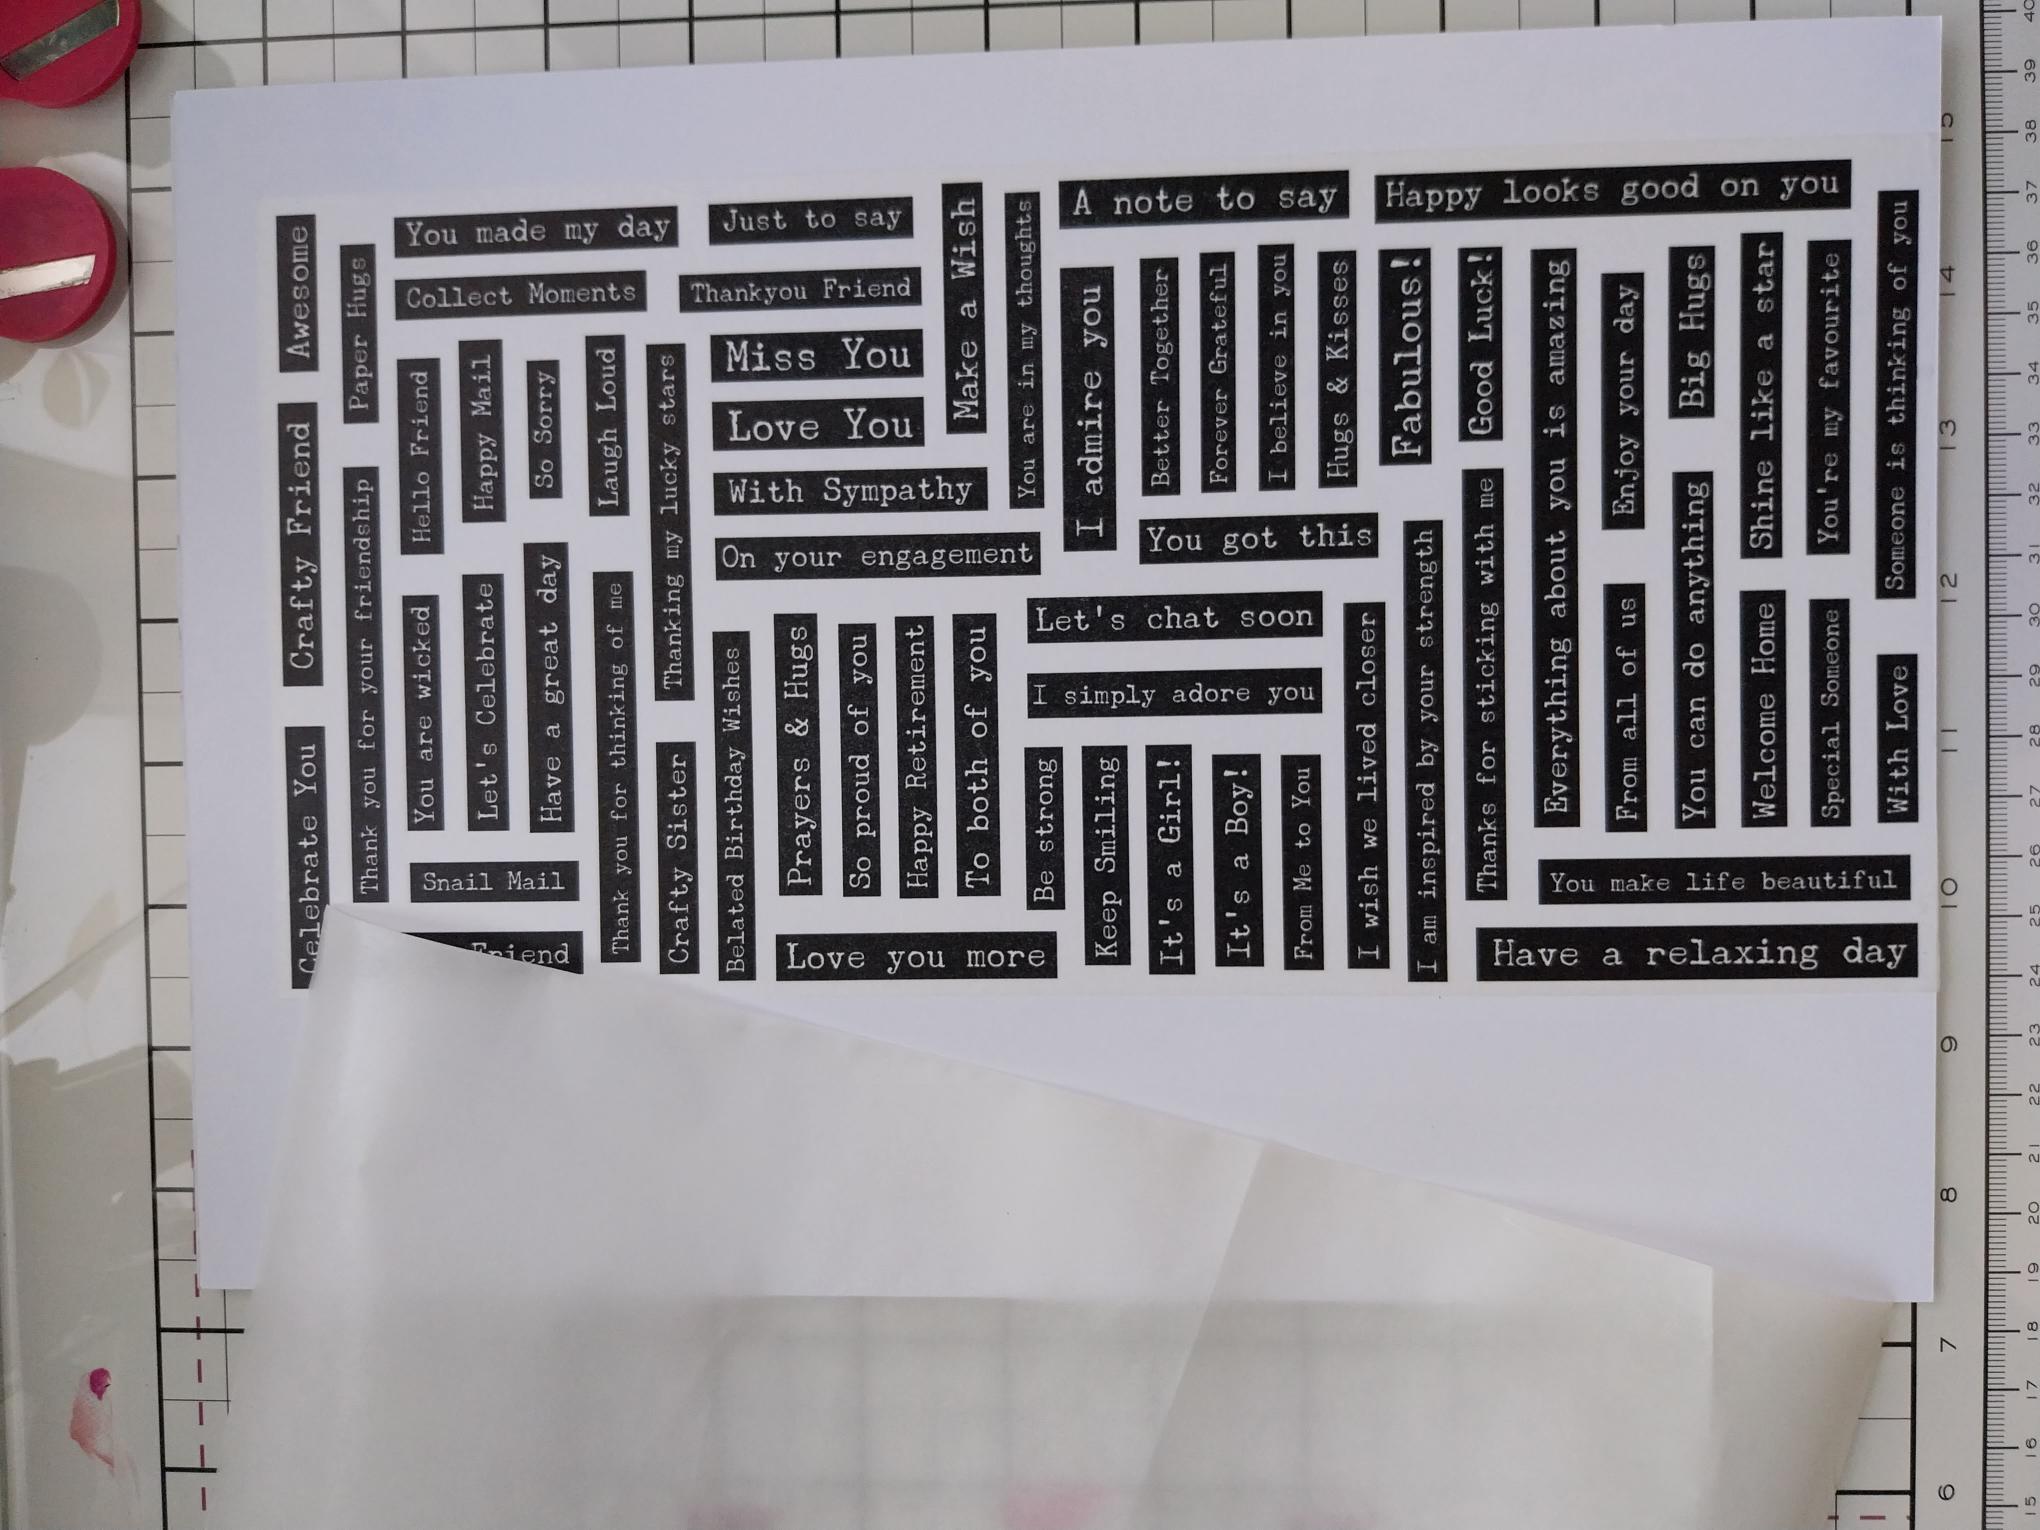
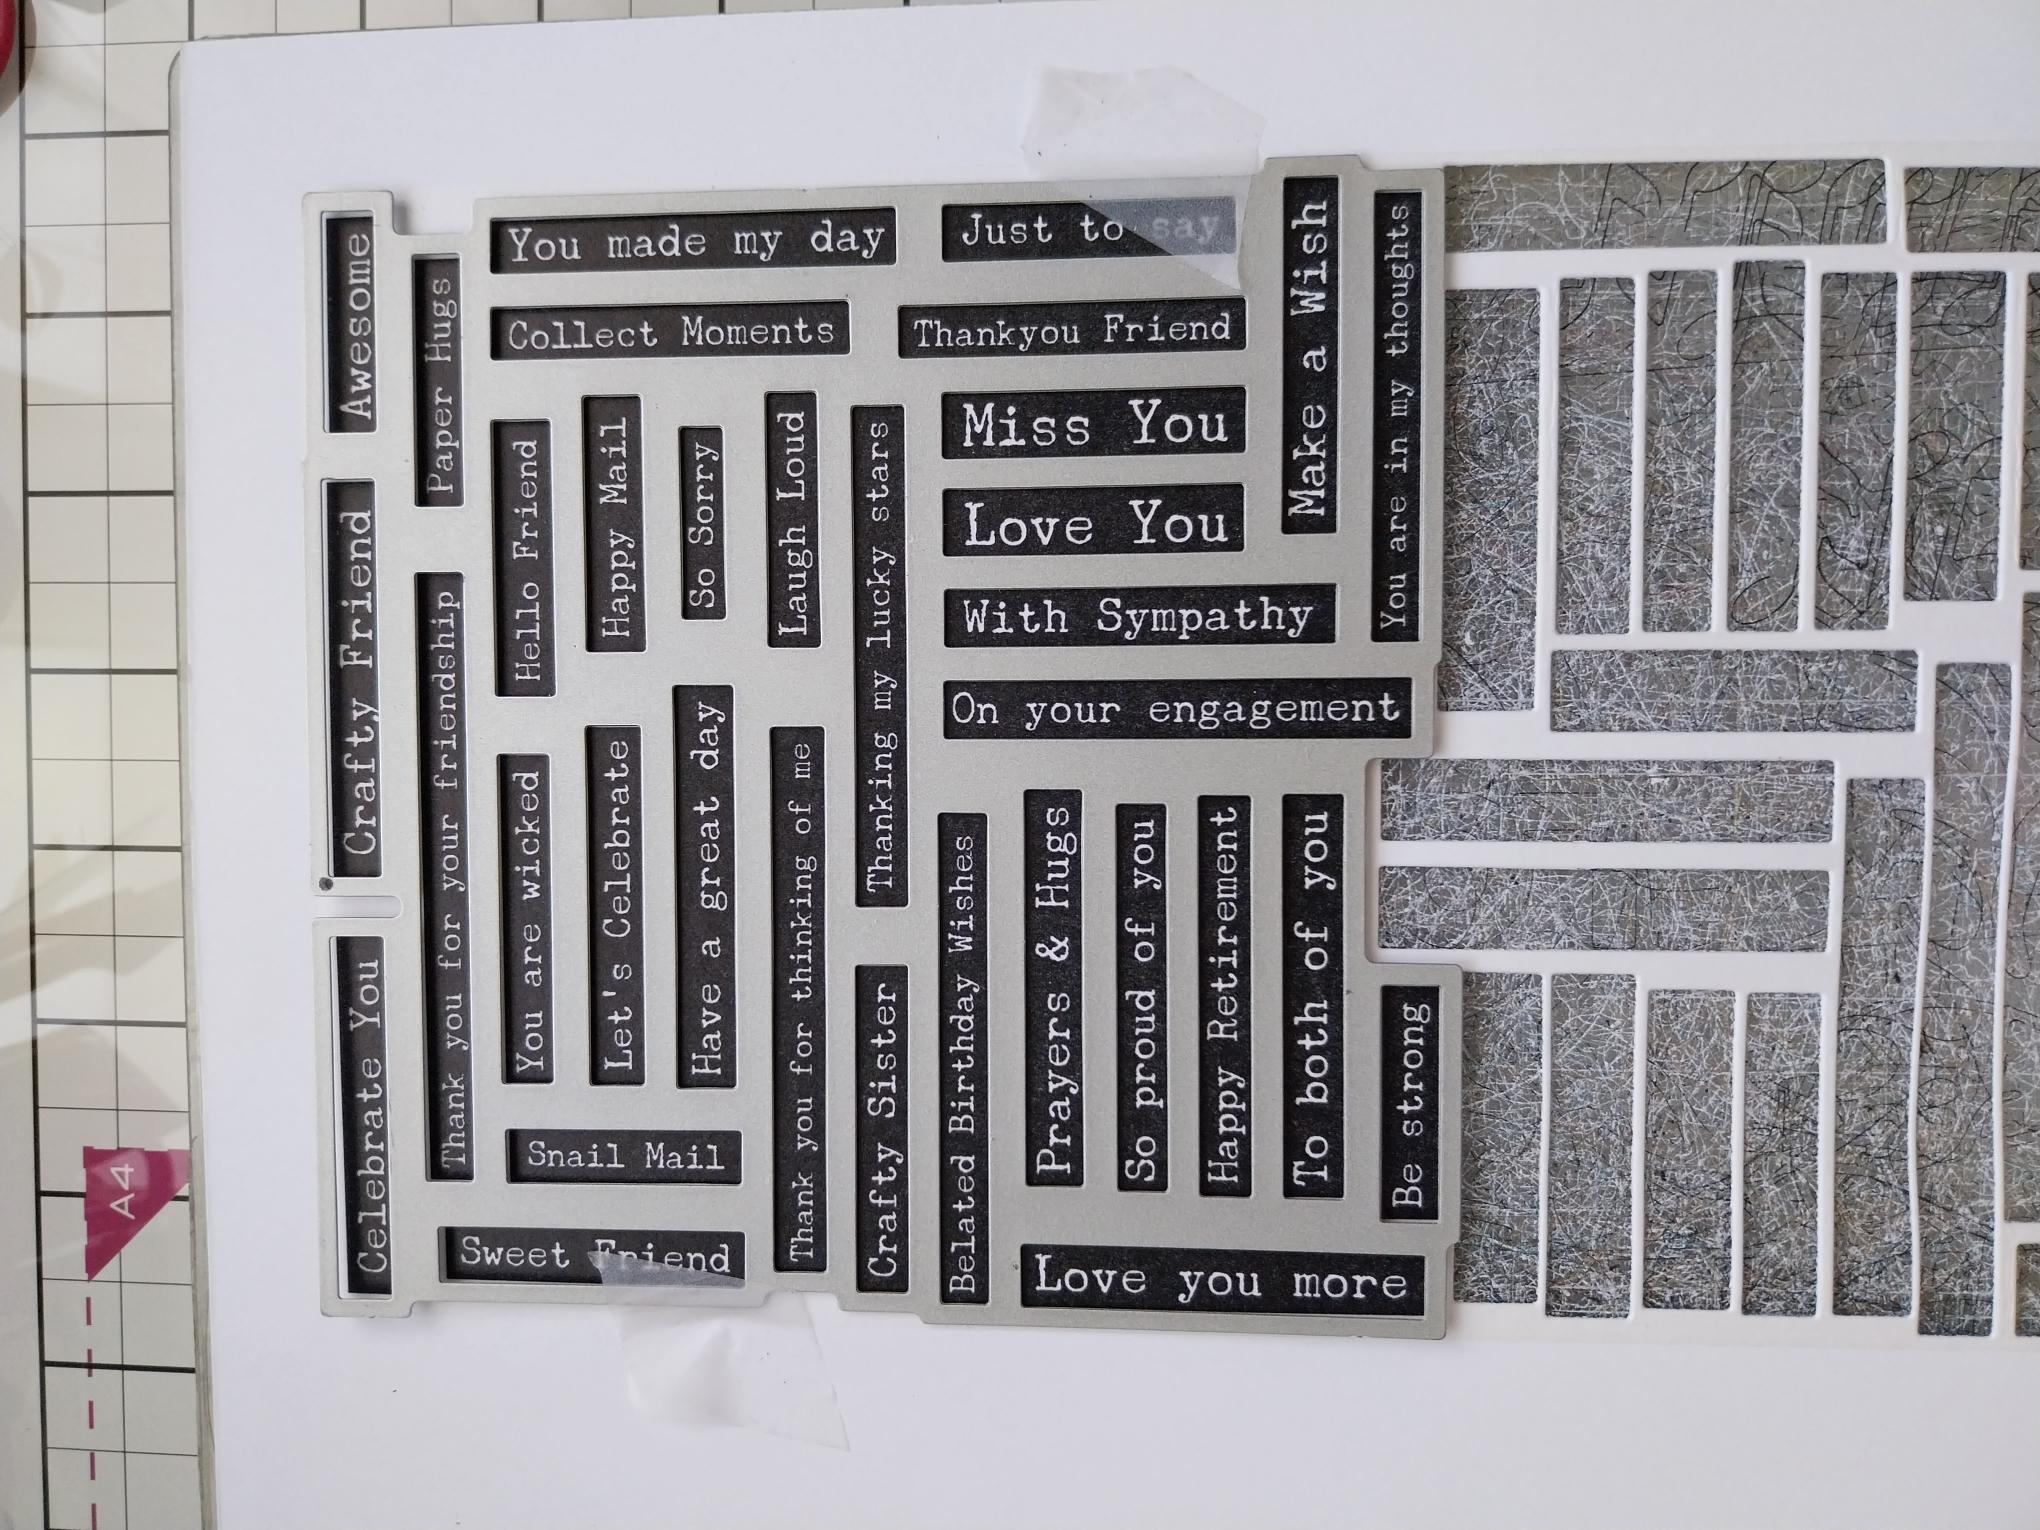
Using the dies as a guide, cut ONE drop from the Typewriter washi roll. Lift up the backing sheet along one end of the tape and adhere across the top of an A4 sheet of white card. Slowly peel away the backing, as you use your hand to smooth the washi tape down on to the card. Once the backing has been fully removed, you can burnish the washi to ensure there are no air bubbles or creases. |

|
Line up the first die and secure with low tack tape before running it through your machine. |
|
Line up the second die and run it through your machine. Pop out all the sentiments, pick out the one you are using for this project and keep the rest in a tub for future projects. |
|
Lastly, add your chosen washi sentiment to the bottom left corner of the card. |