

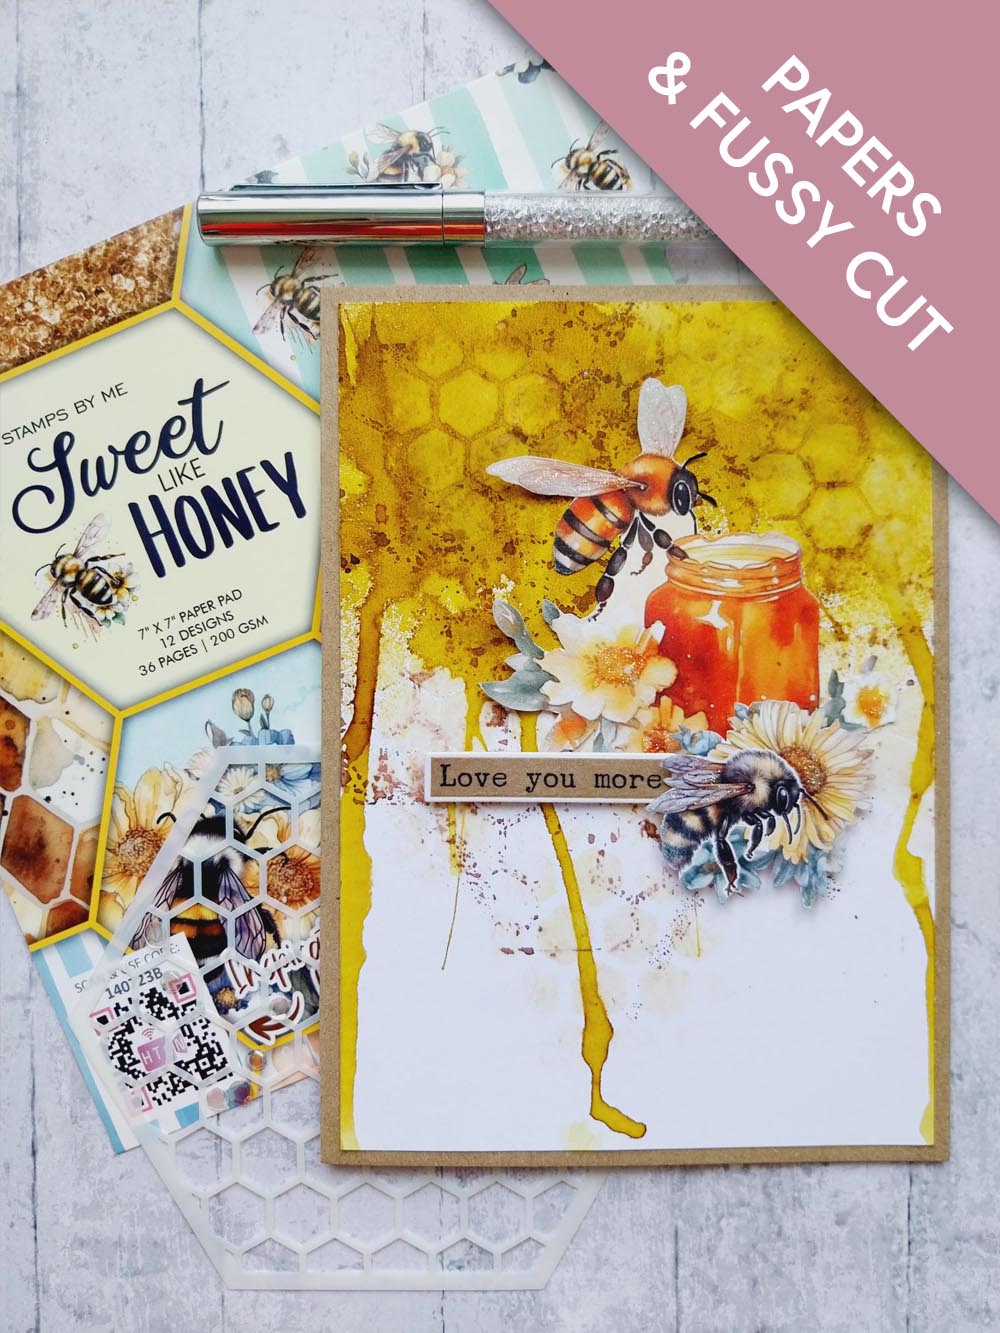
WHAT YOU WILL NEED:
Kraft card blank 5 x 7"
White cardstock
Sweet Like Honey Paper, Stencil and Stamp Bundle
Sepia Washi Tape and Die Sentiment Tabs
IZINK Dye Spray: Butterscotch, Coffee (Marron)
Water spray bottle
Ranger Stickles: Diamond
Wet wipes
WOW heat tool
SBM A3 Magnetic glass mat
Glue
Foam pads
[click image to enlarge] 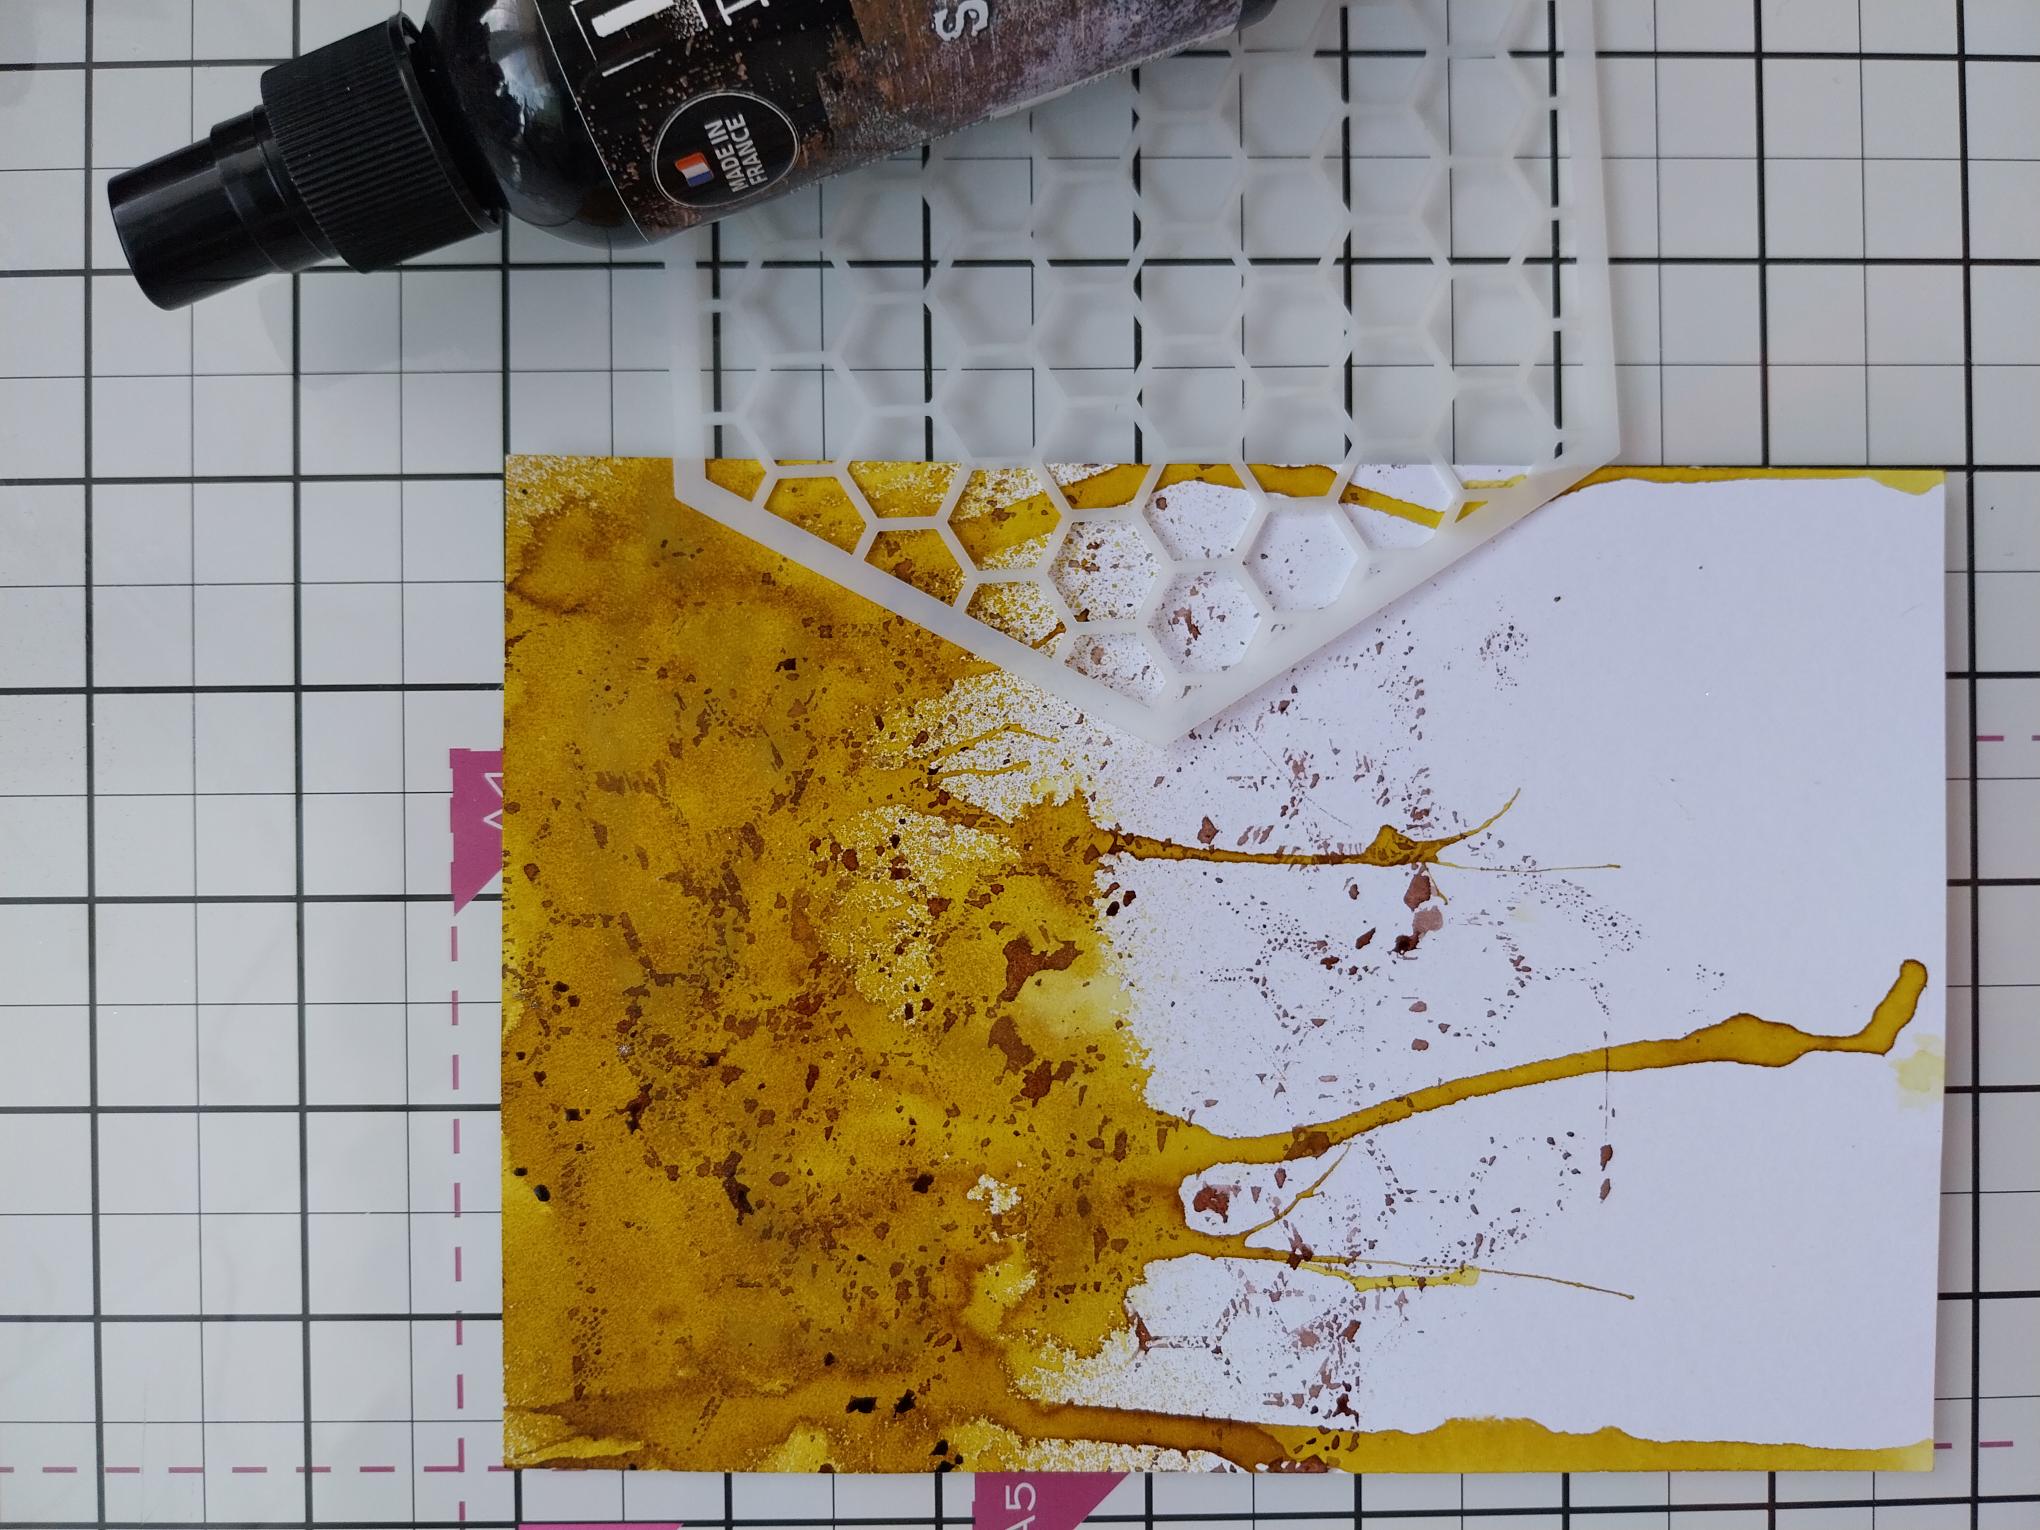
|
Trim a piece of white card to 4 3/4 x 6 3/4". Hold the card upright and spray the IZINK Butterscotch across the top of the card. Allow the ink to drip down, as required. Spritz the IZINK Coffee directly on to the Honeycomb stencil, then randomly press areas of the inked side on to your background, creating added texture. |
|
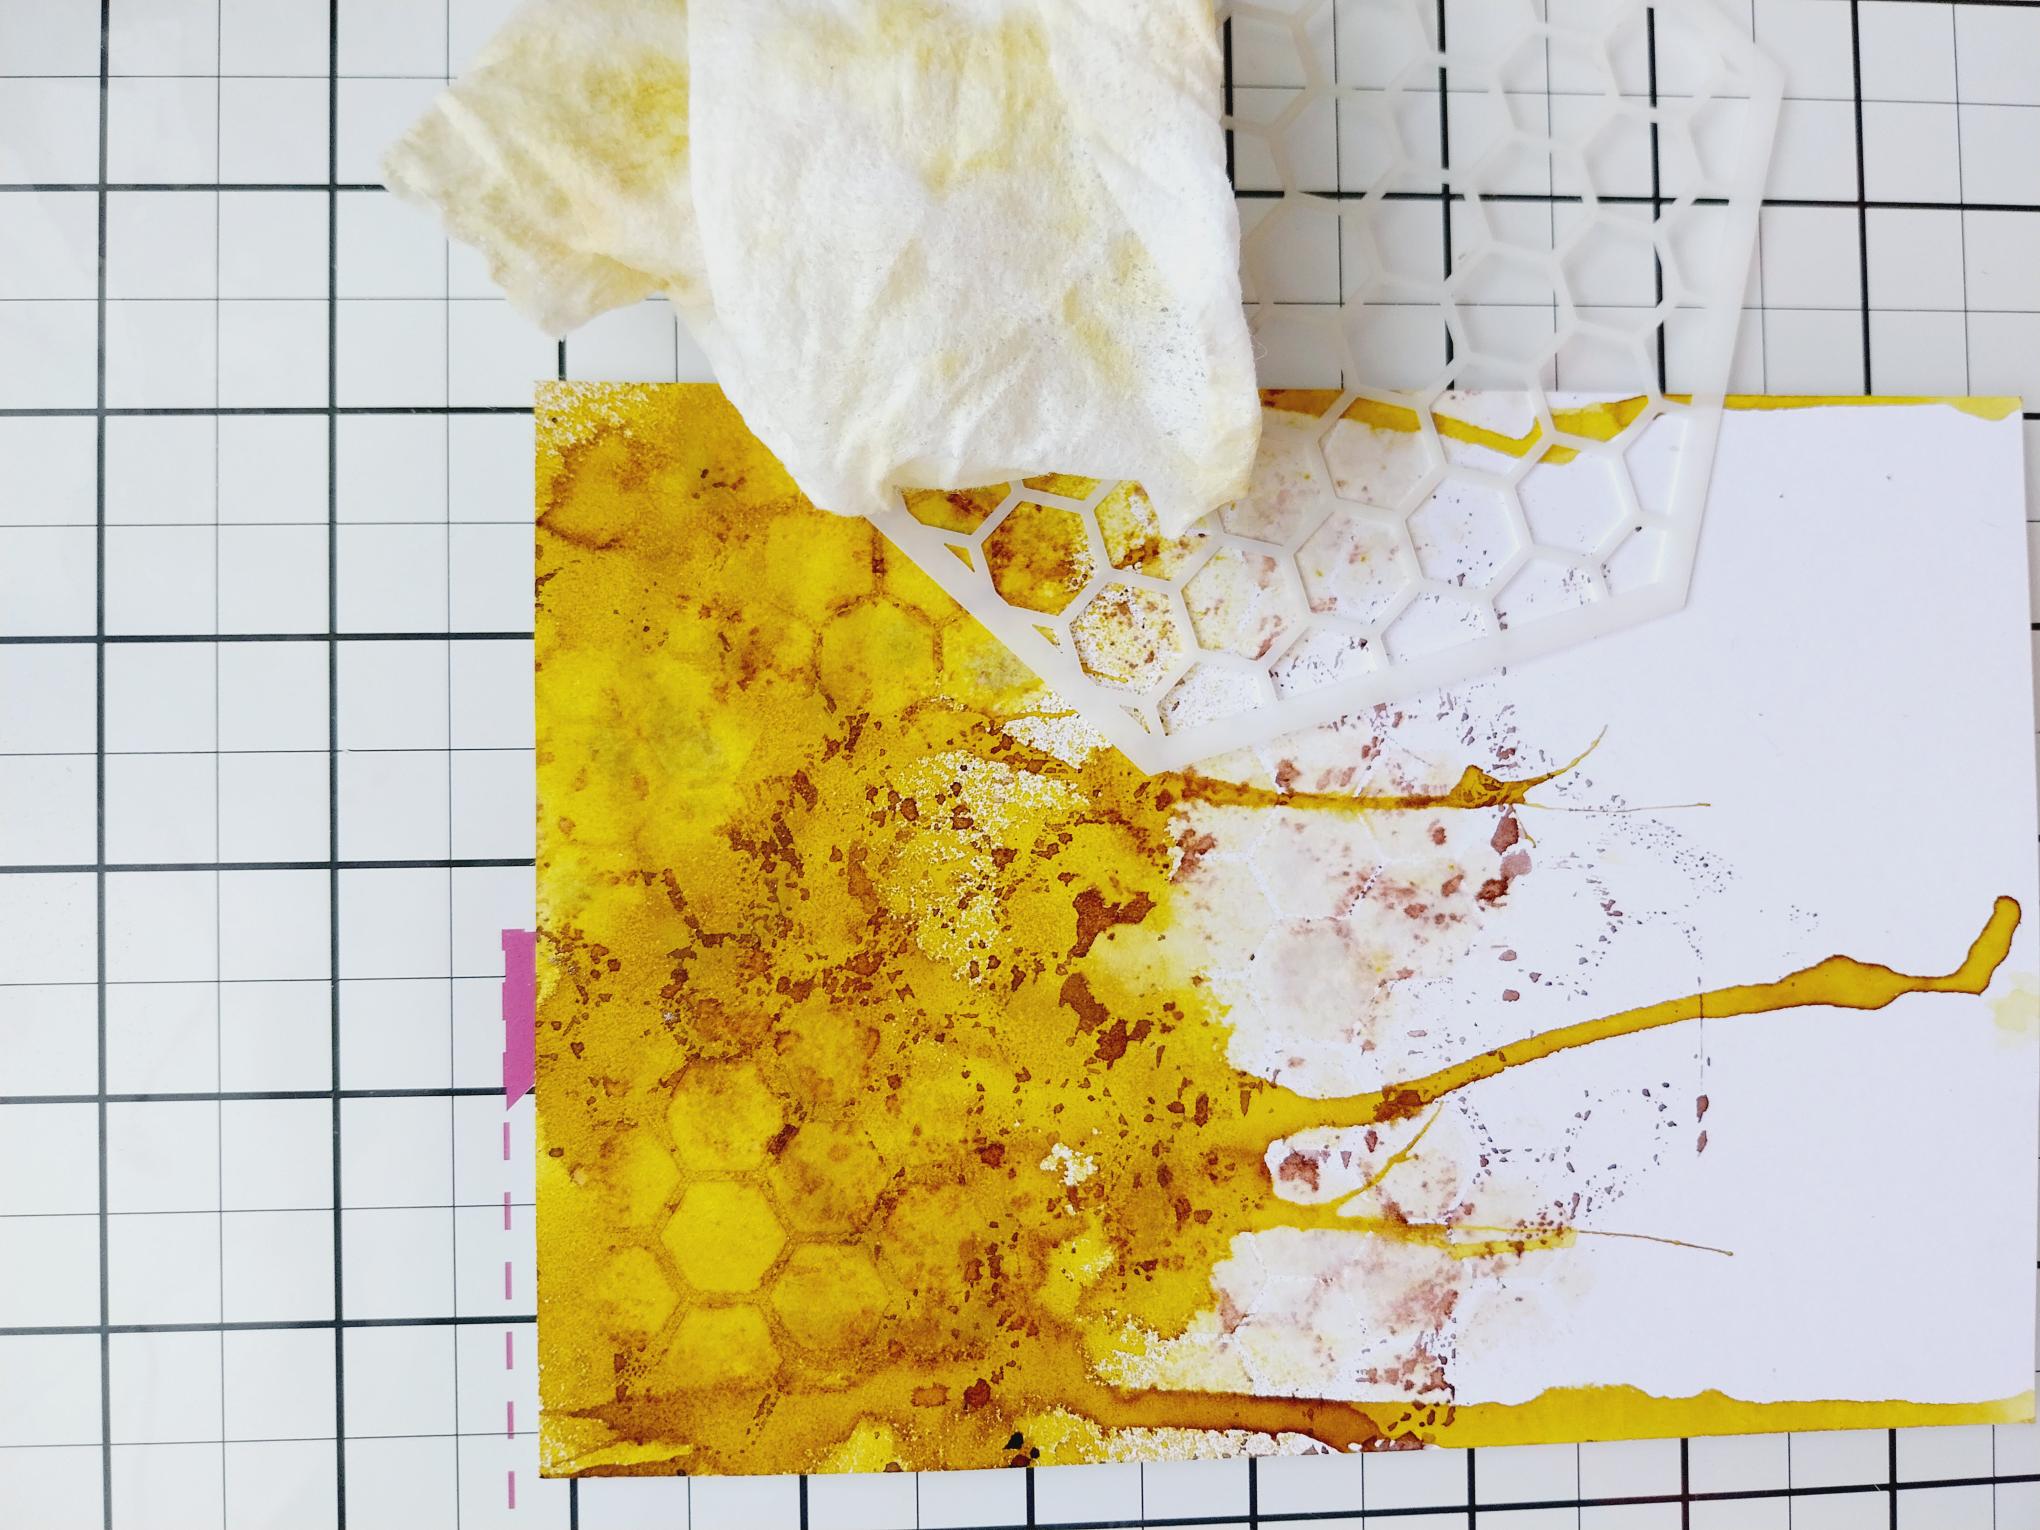
Place the cleaned stencil back over your artwork. Take a wet wipe and randomly dab through areas of the stencil, "lifting" the ink back out. Blast dry with your heat tool to lift the colour even more. |
|
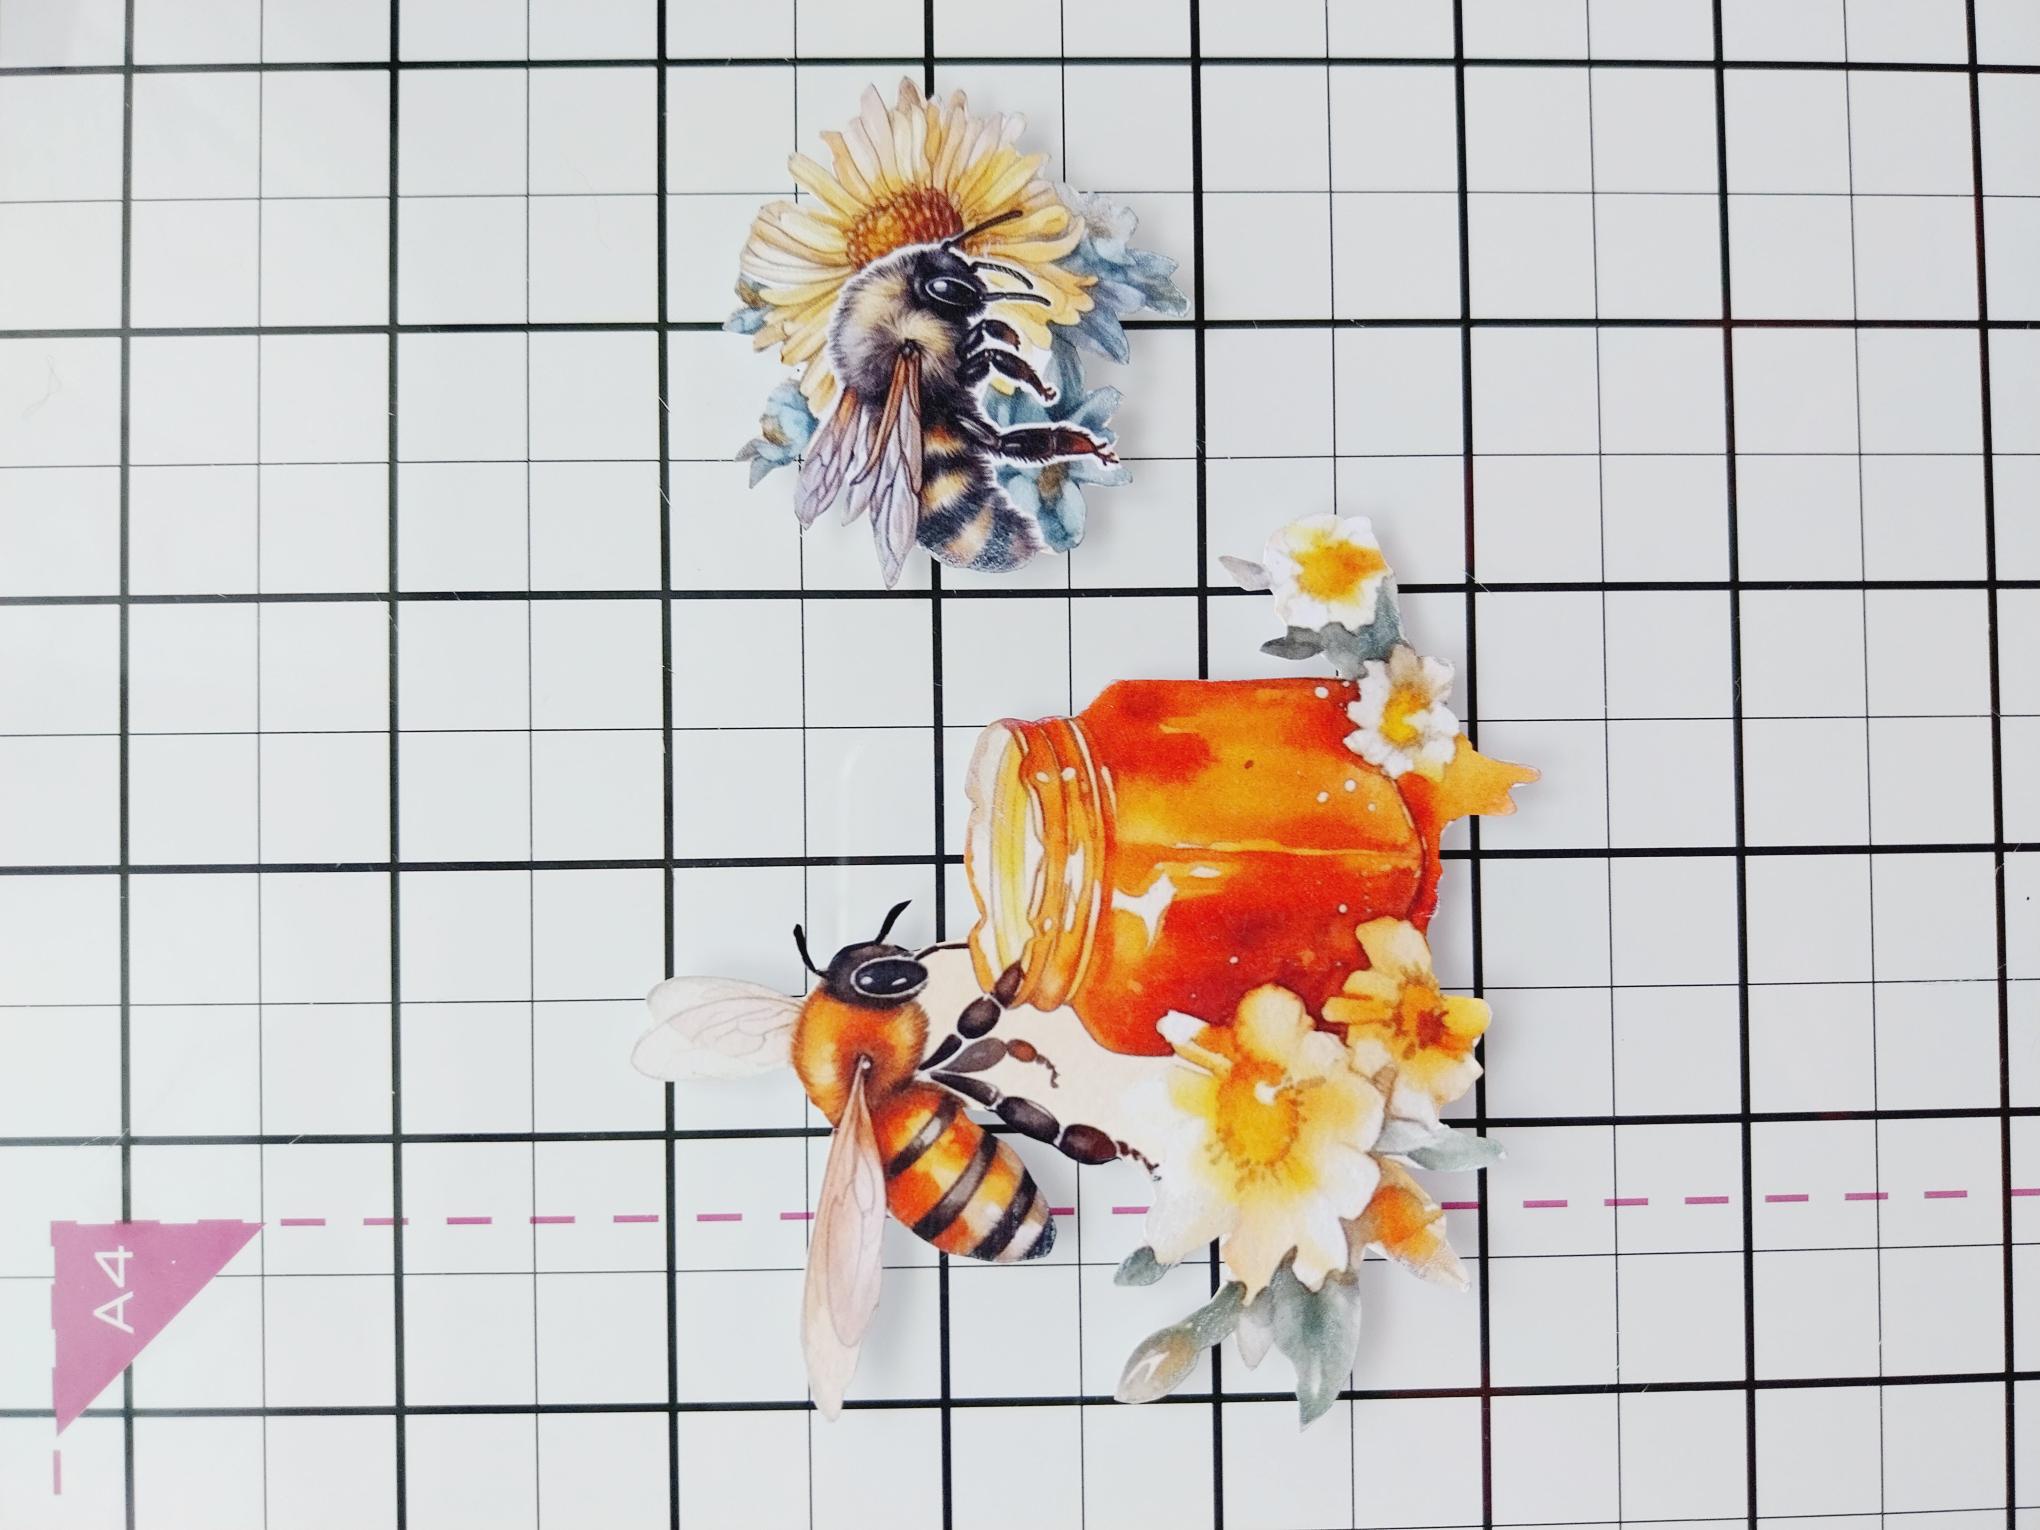
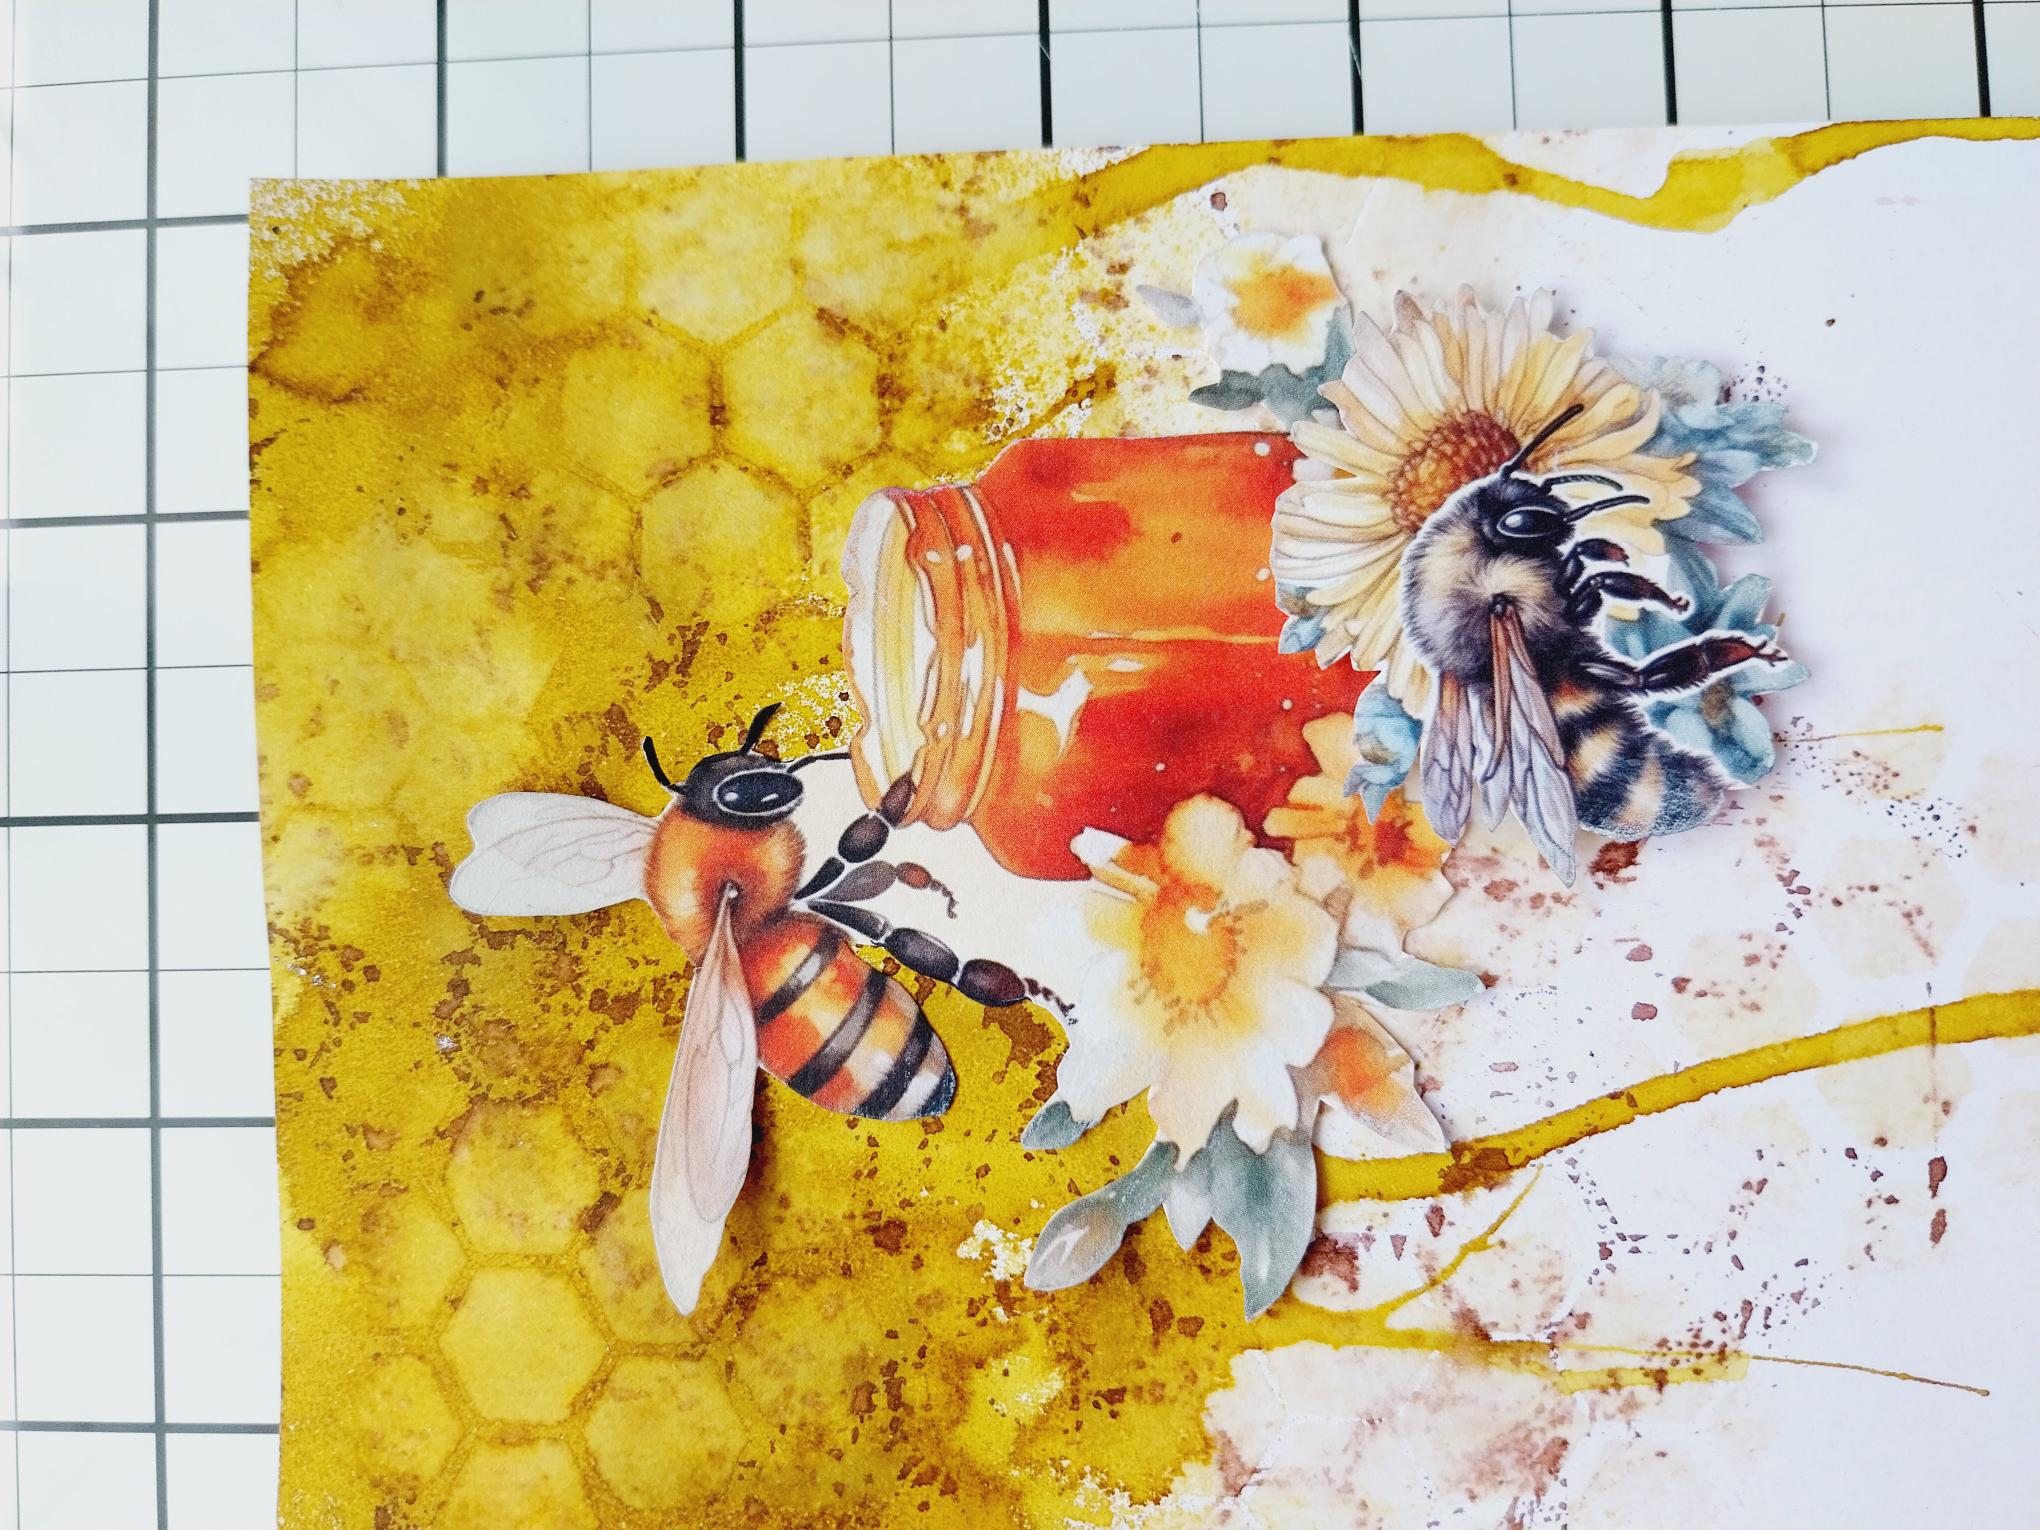
Fussy cut the honey jar and other elements from the papers, as required. |
|
Arrange and secure to the right of your background, using a combination of wet glue and foam pads, to create dimension. |
|
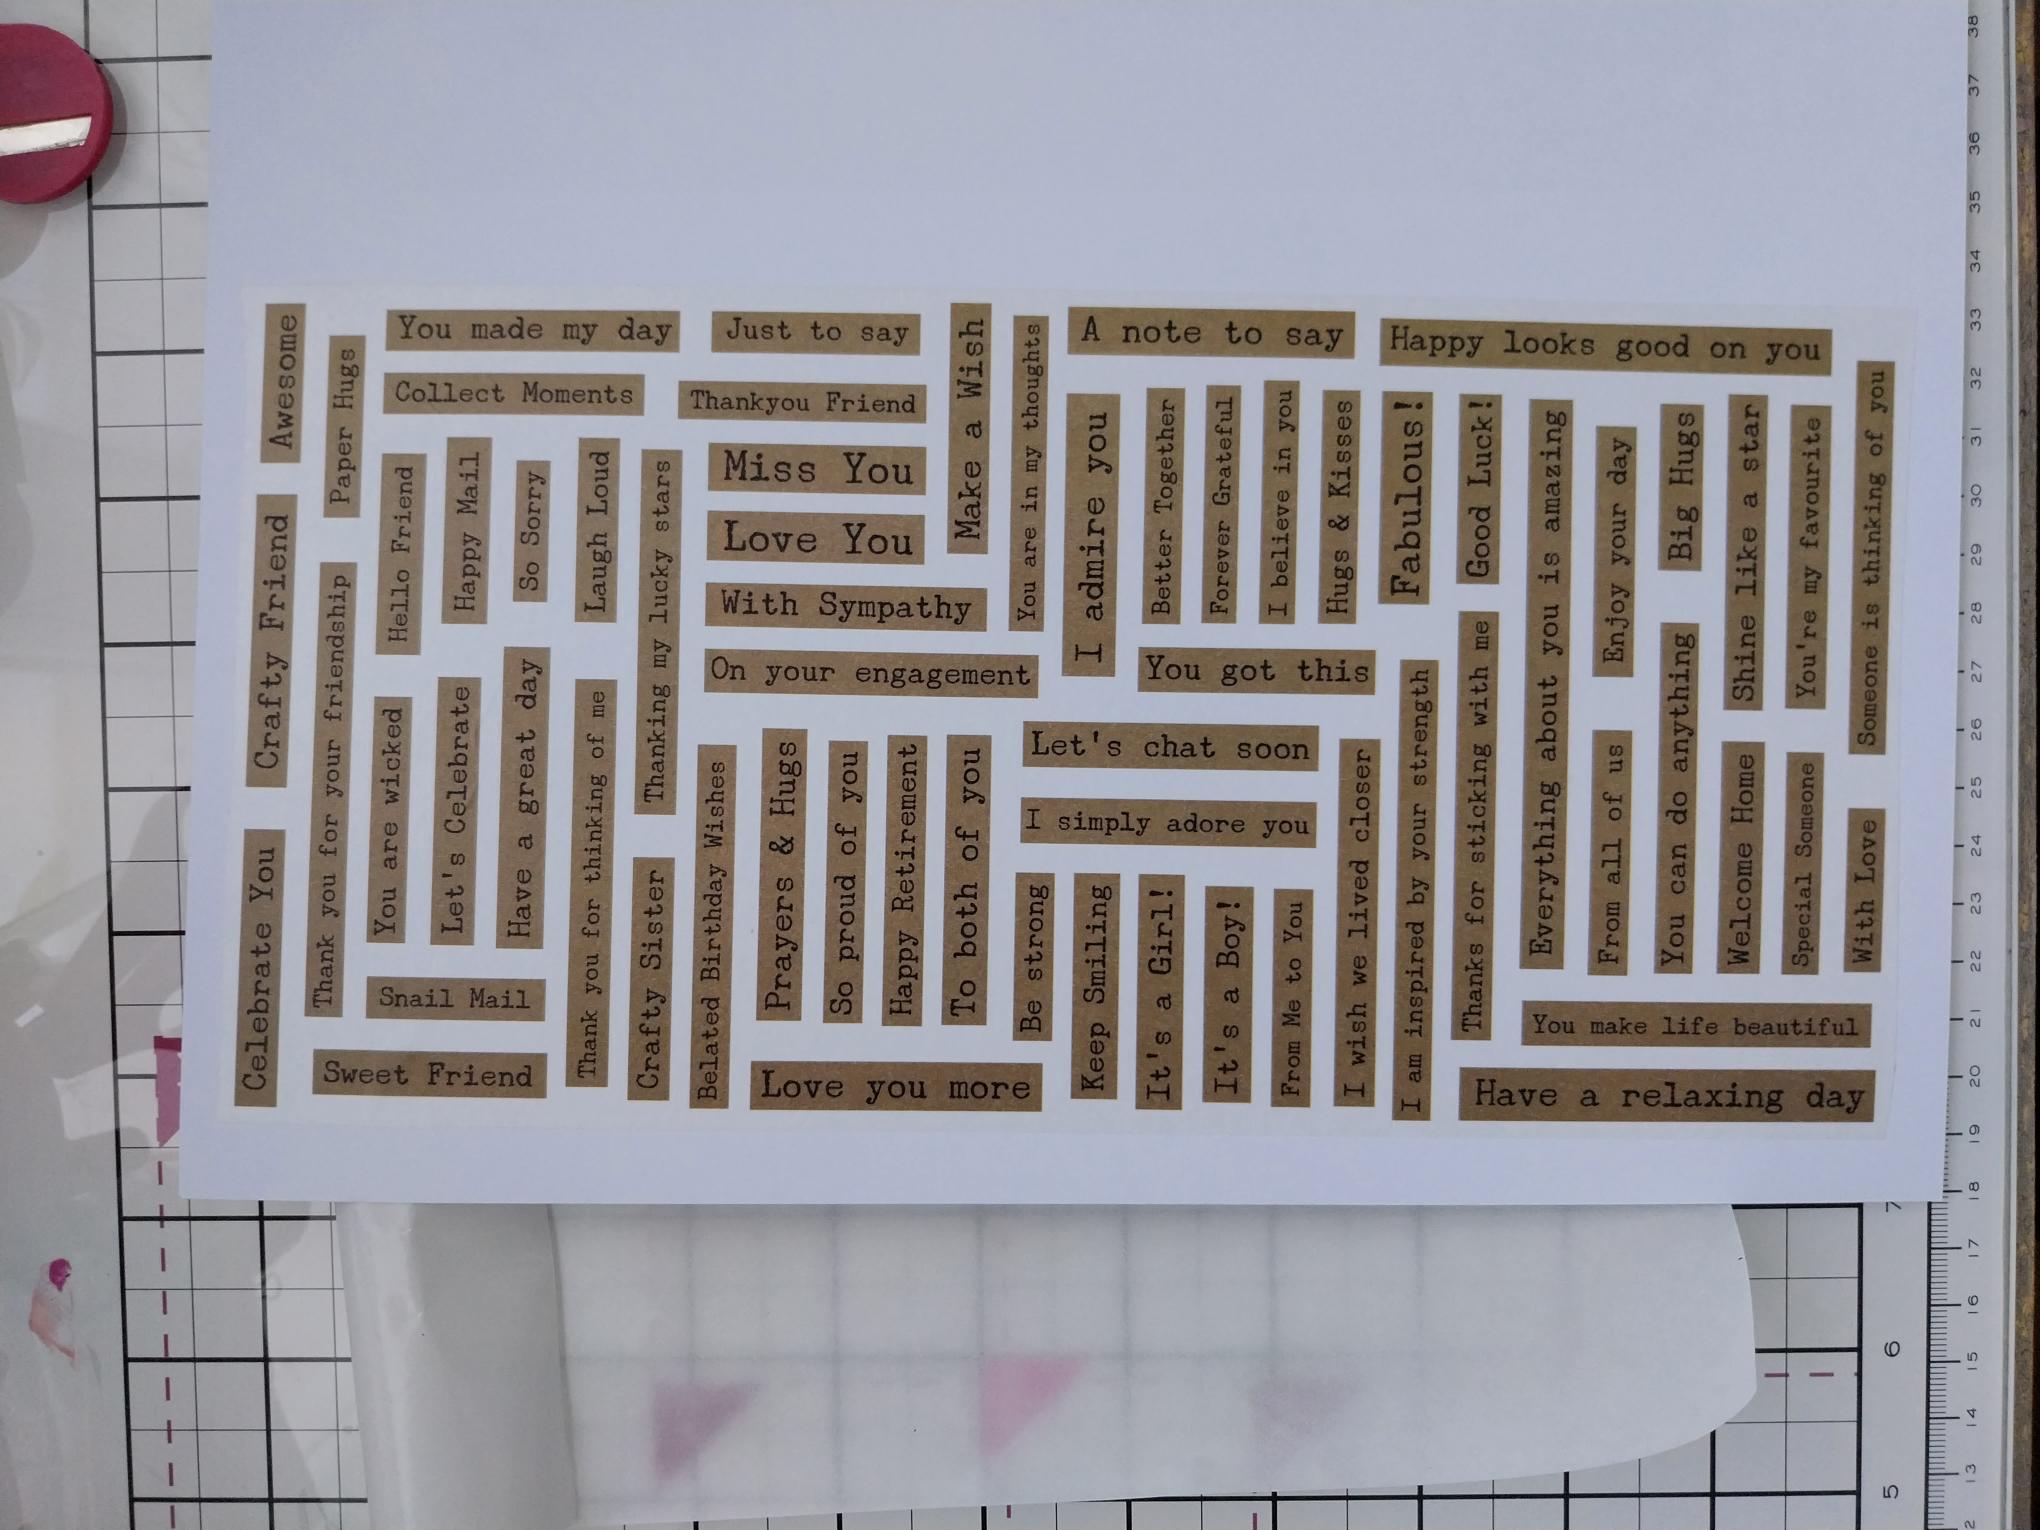
Using the dies as a guide, cut ONE drop from the sepia washi roll. Lift up the backing sheet along one end of the tape and adhere across the top of an A4 sheet of white card. Slowly peel away the backing, as you use your hand to smooth the washi tape down on to the card. Once the backing has been fully removed, you can burnish the washi to ensure there are no air bubbles or creases. |
|
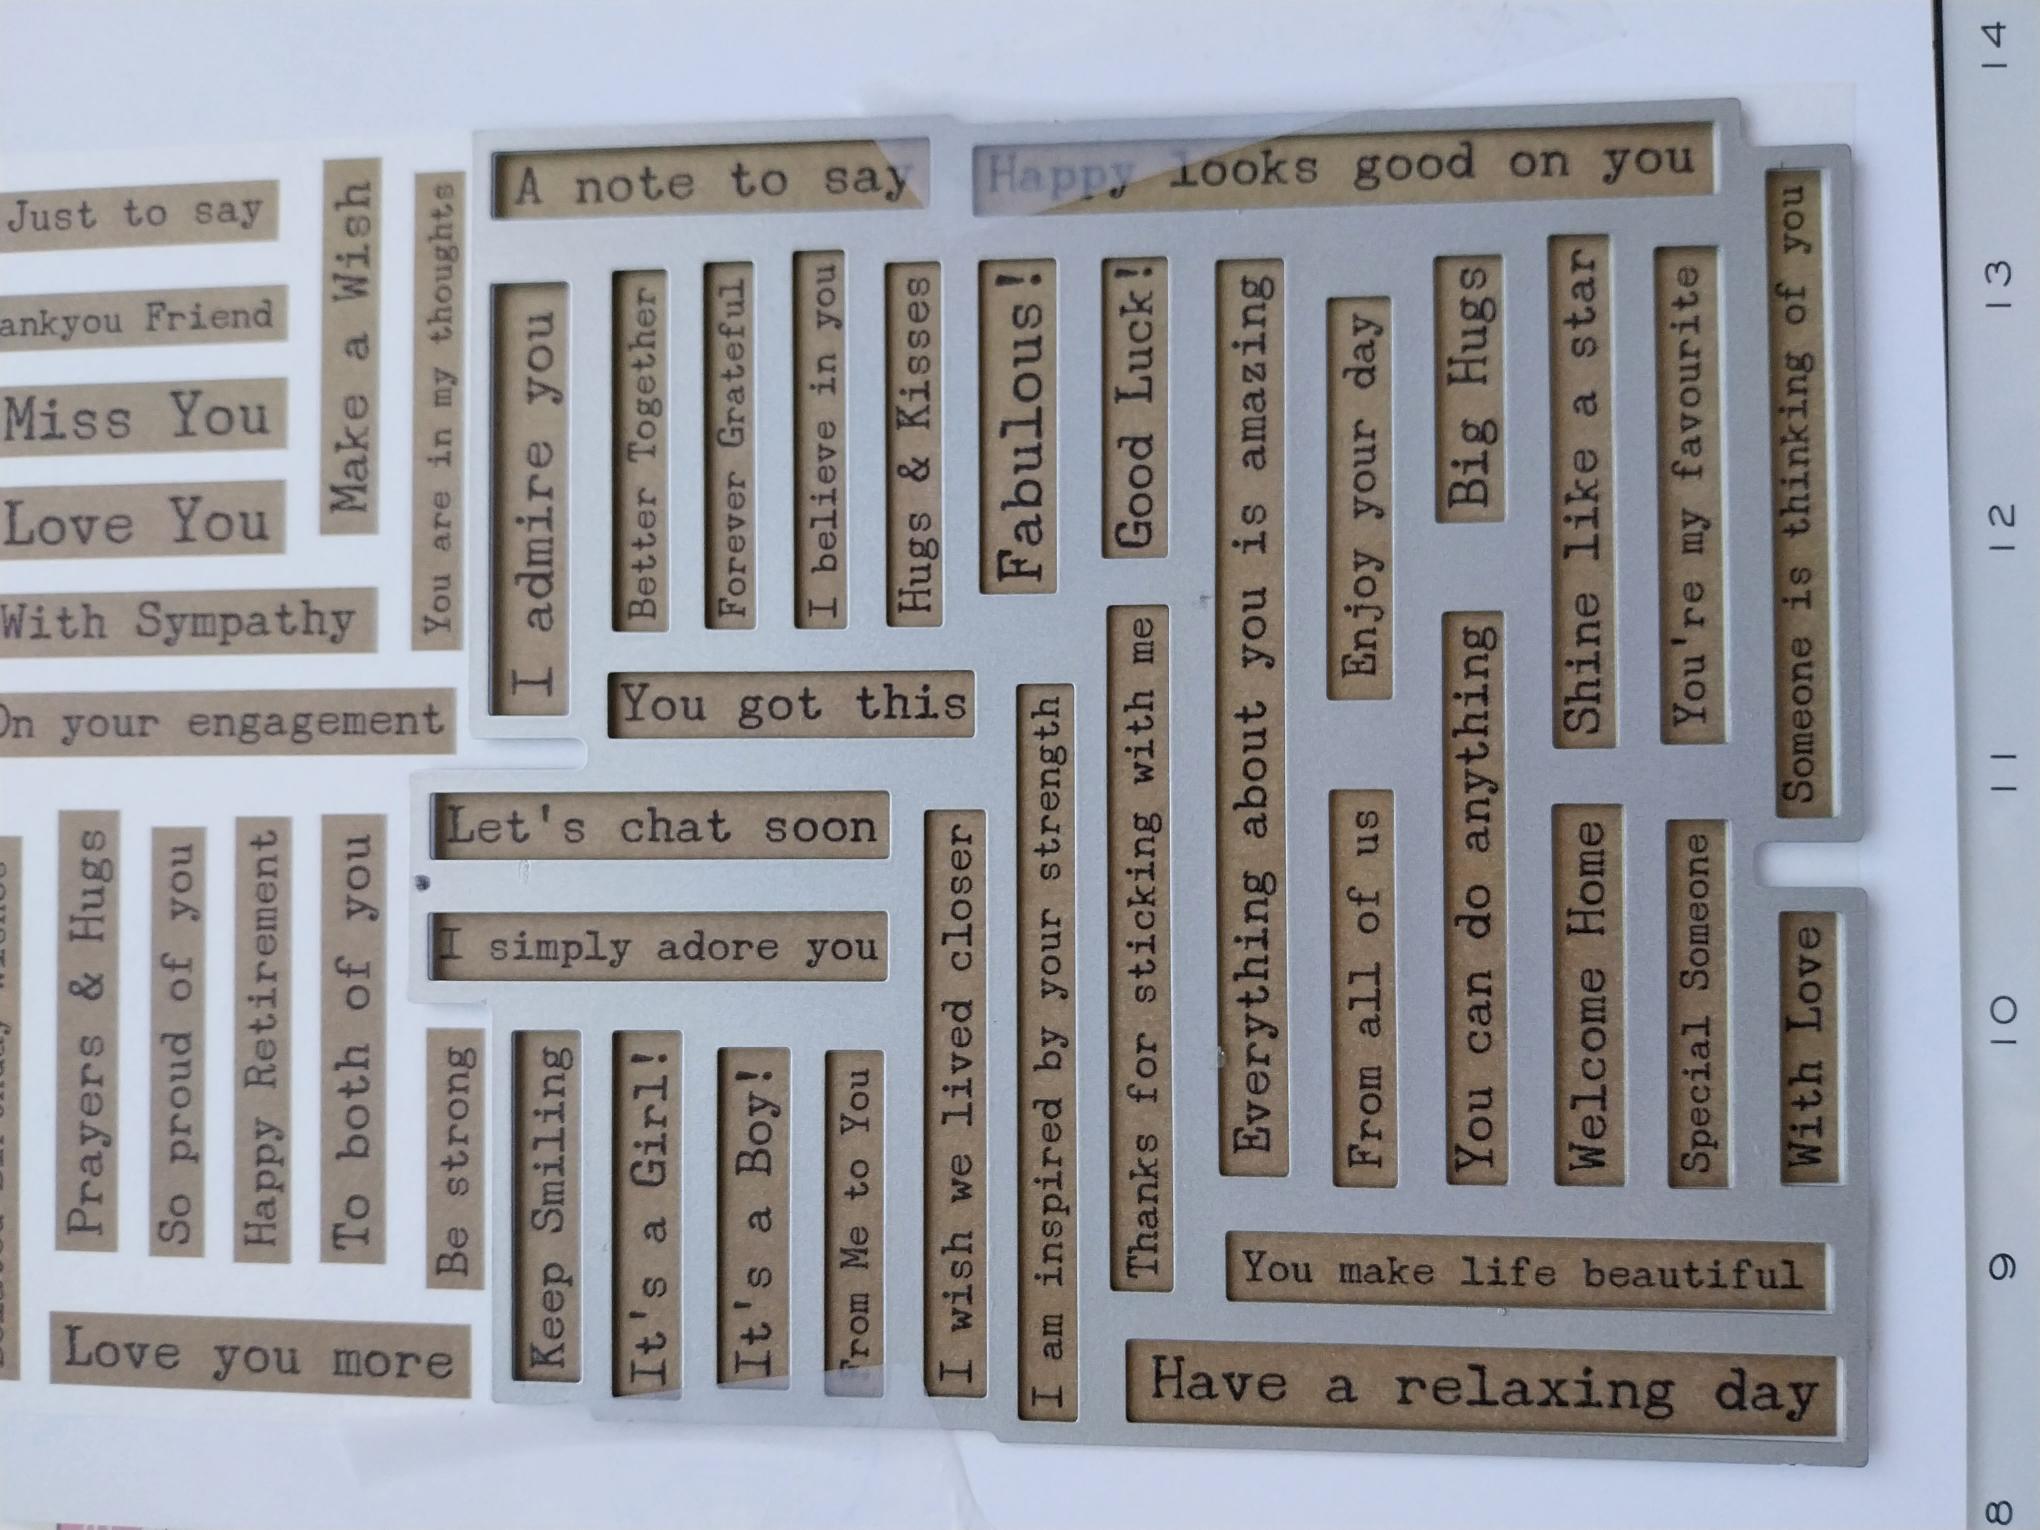
Secure the first die with low-tack tape before running it through your machine. |
|
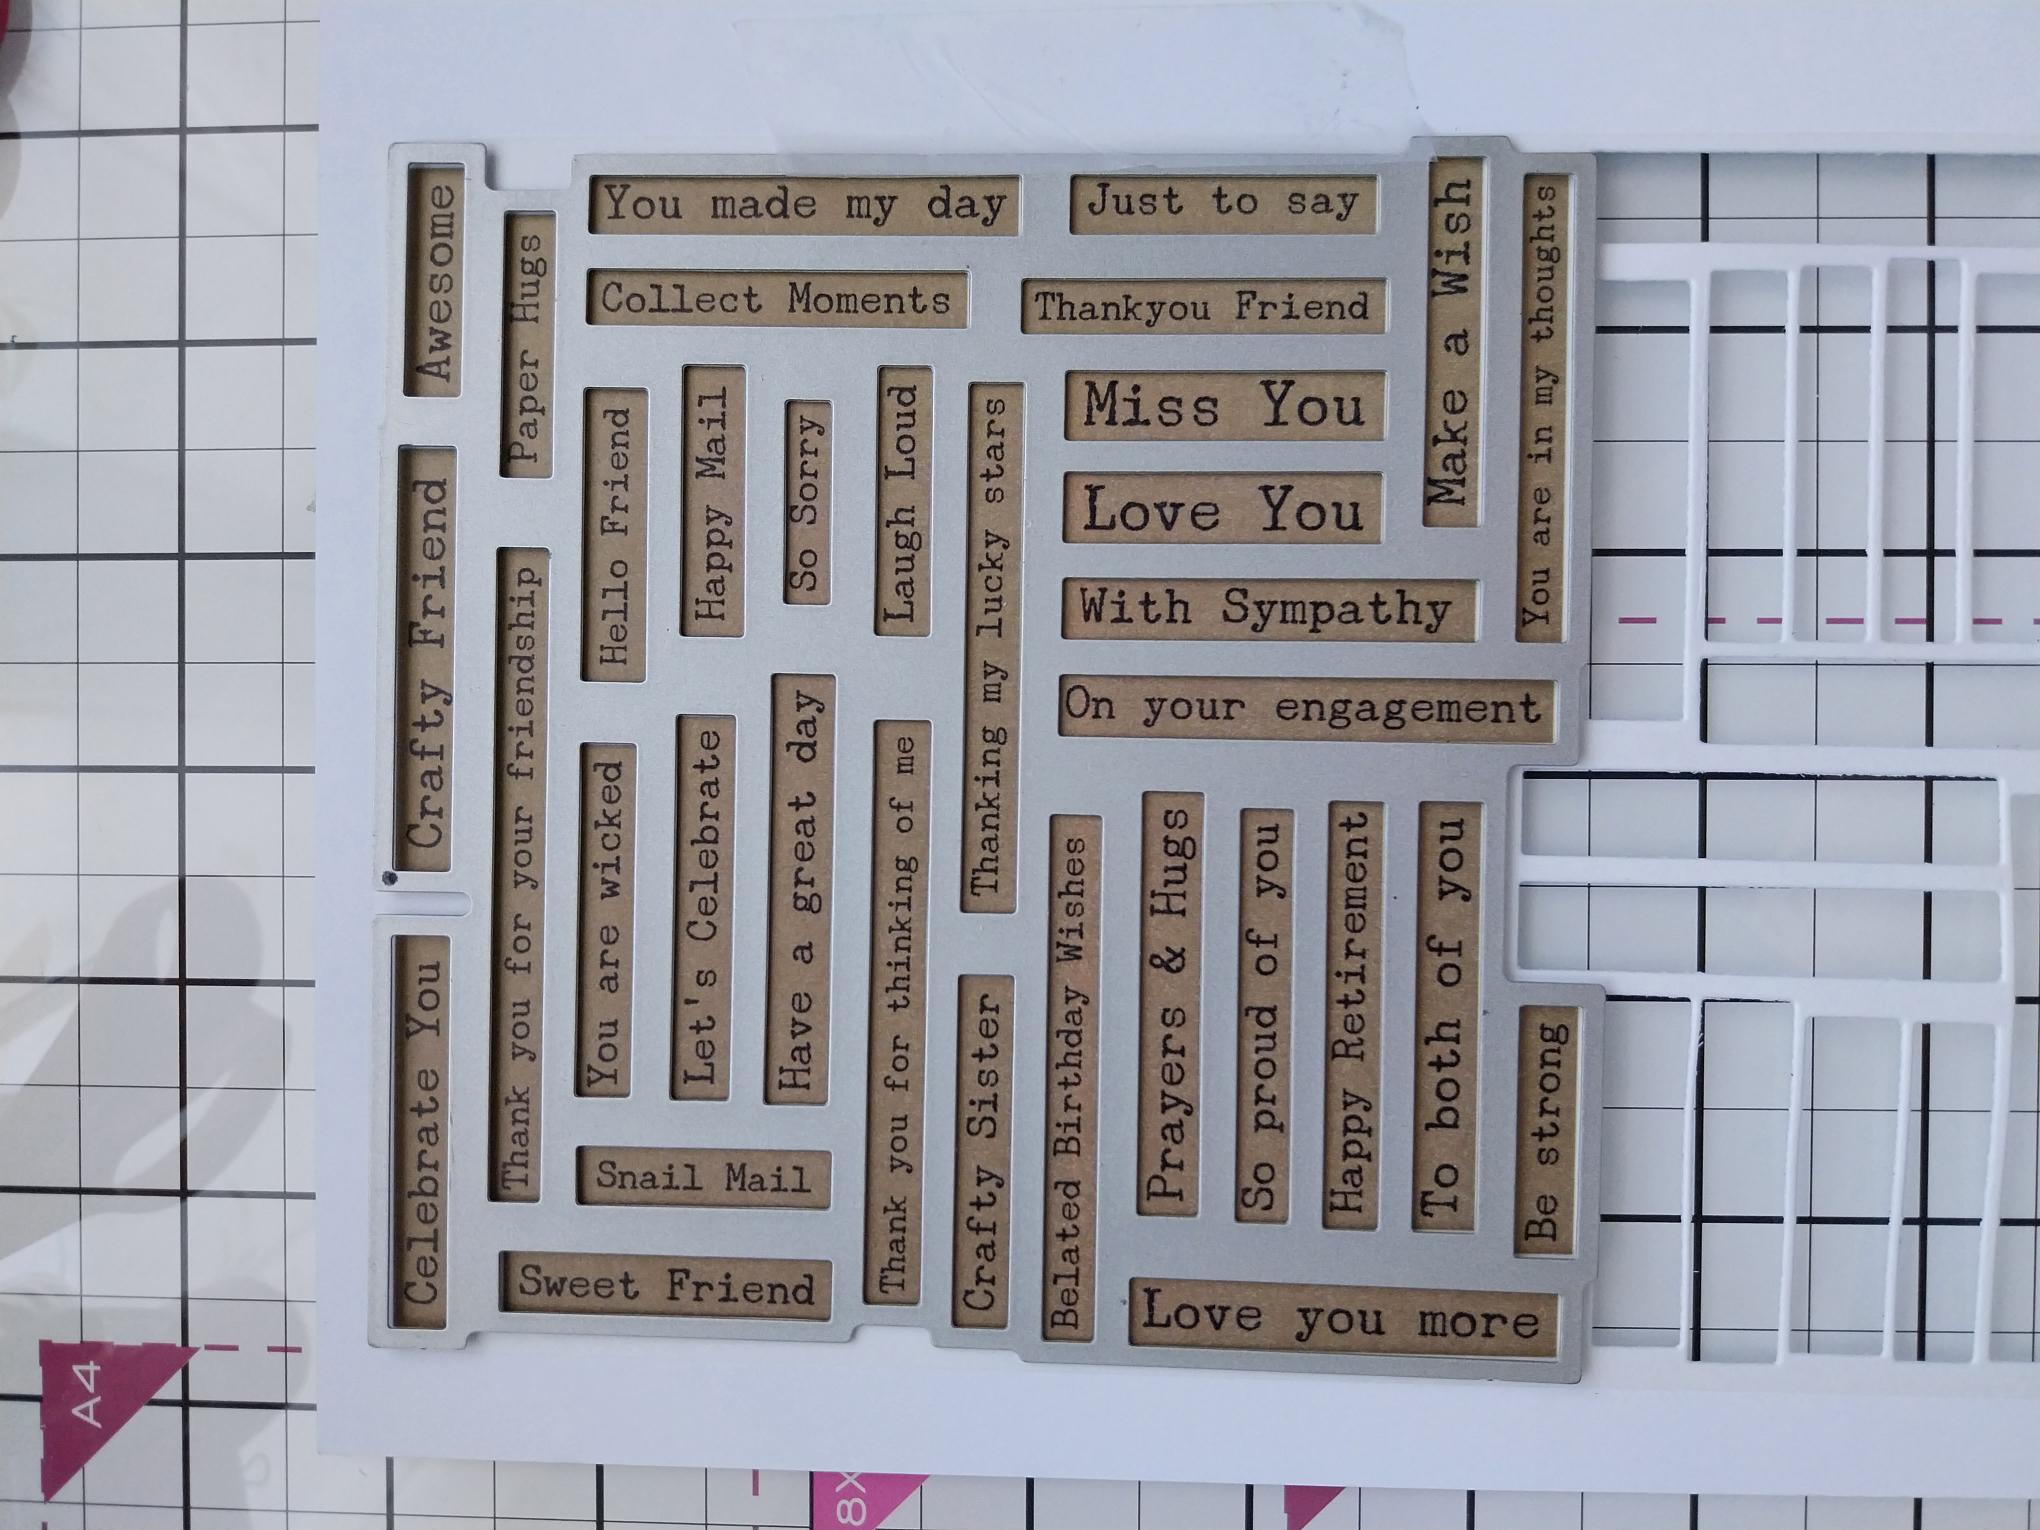
Line up the second die and run it through your machine. Pop out all the sentiments, pick out the one you are using for this project and keep the rest in a tub for future projects. |
|
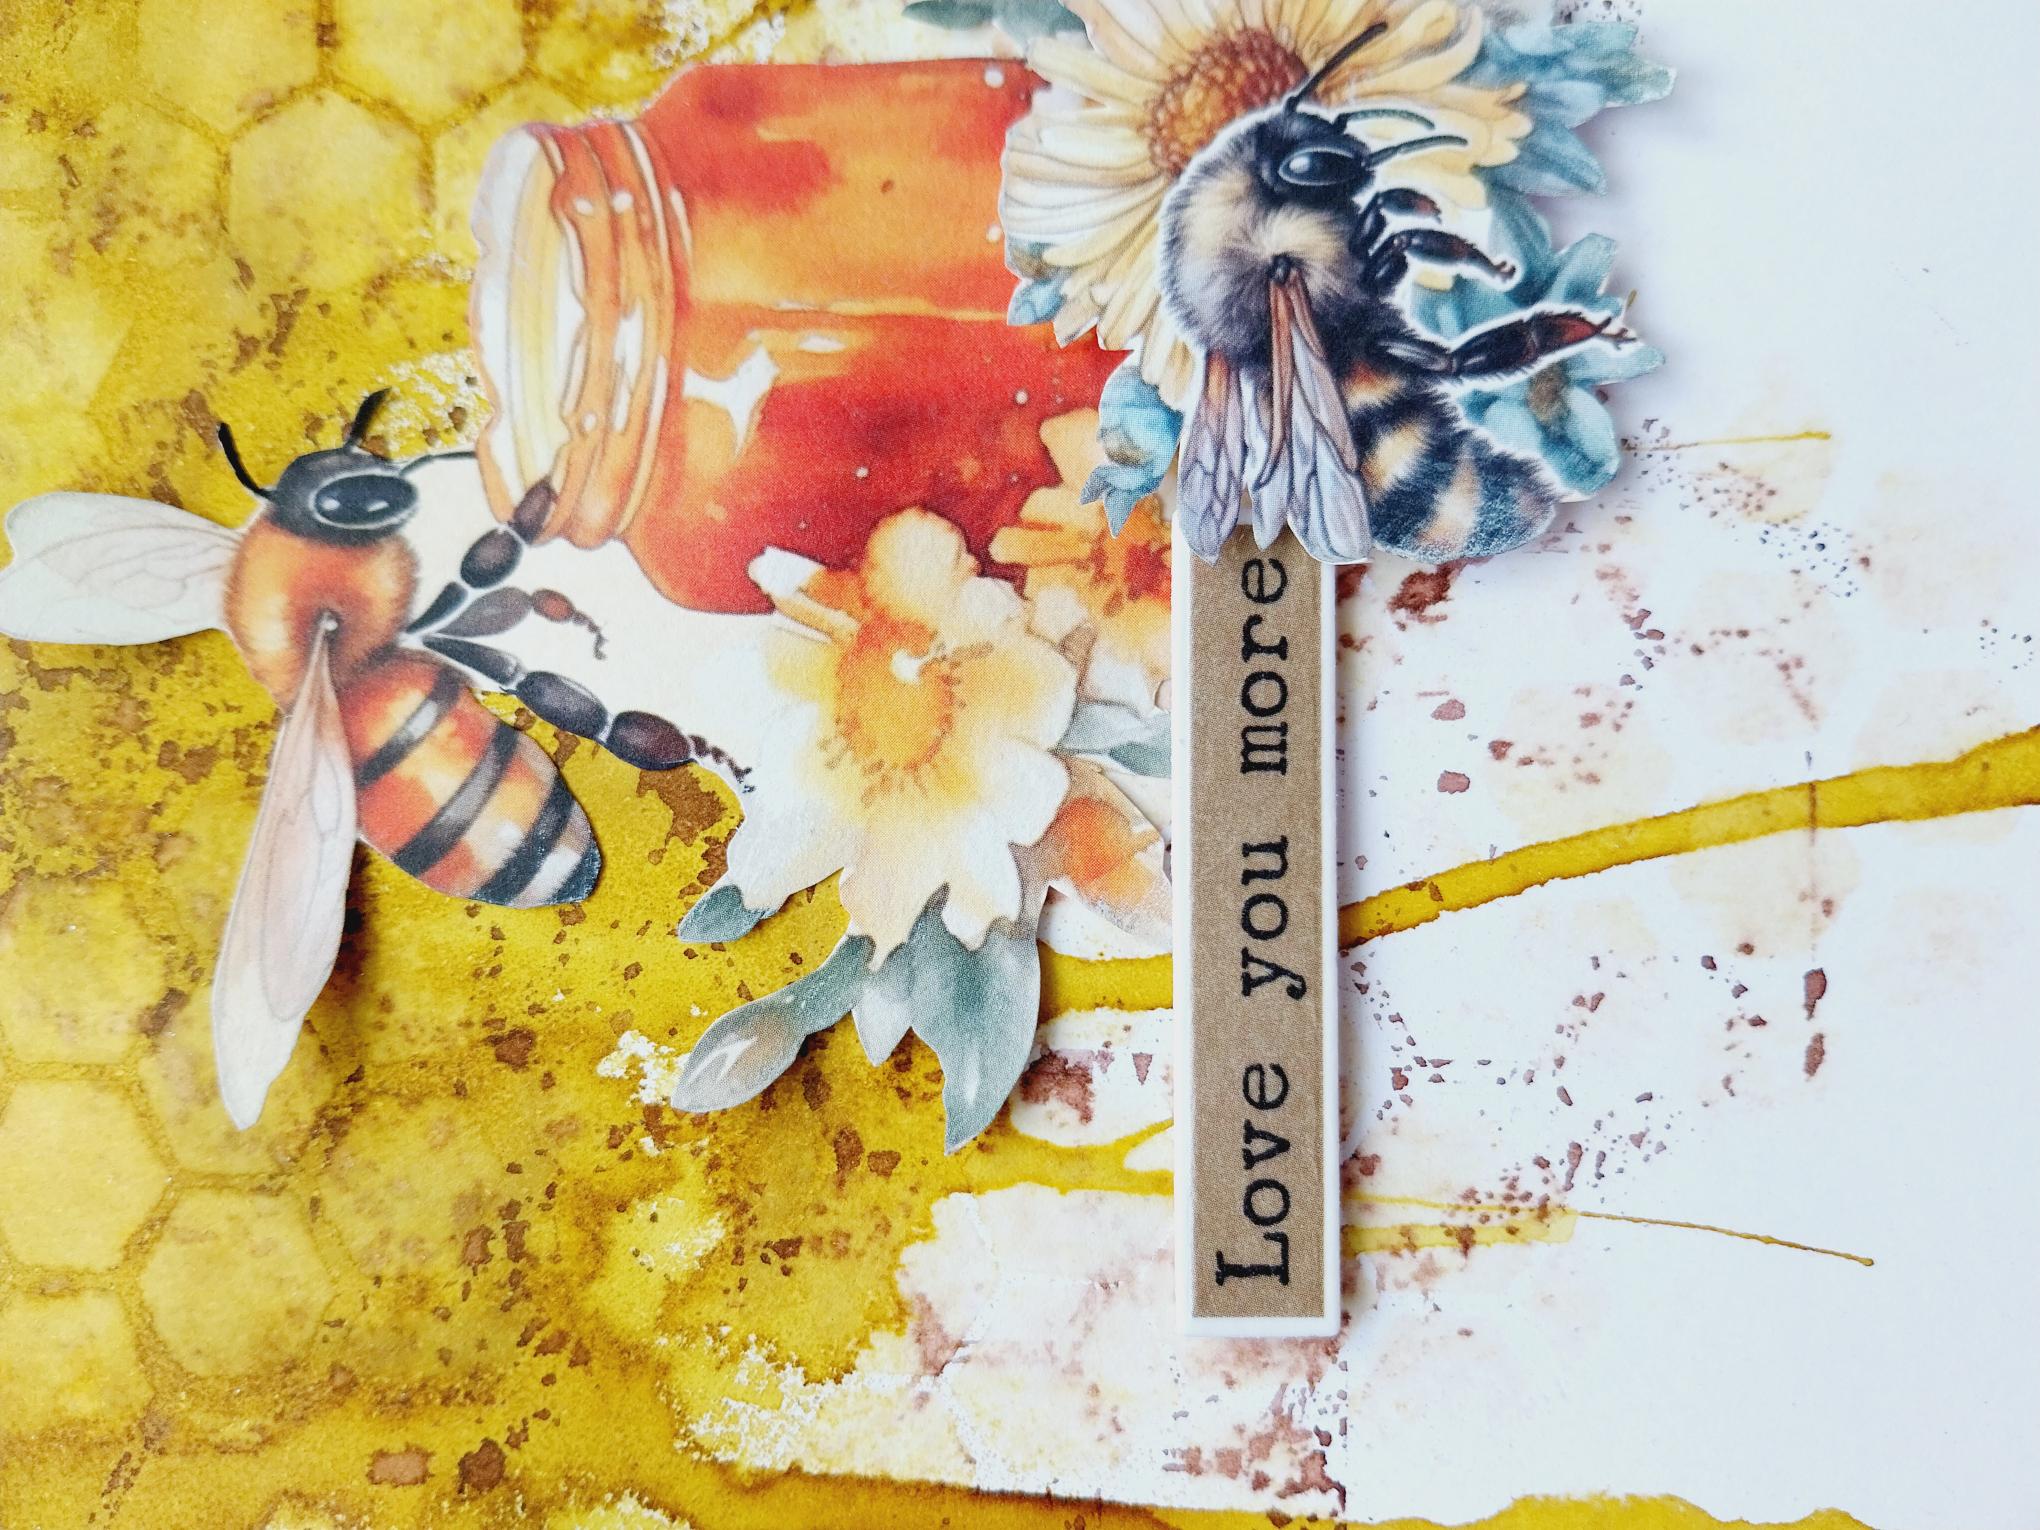
Secure your chosen washi tab in place, with foam pads. |
|
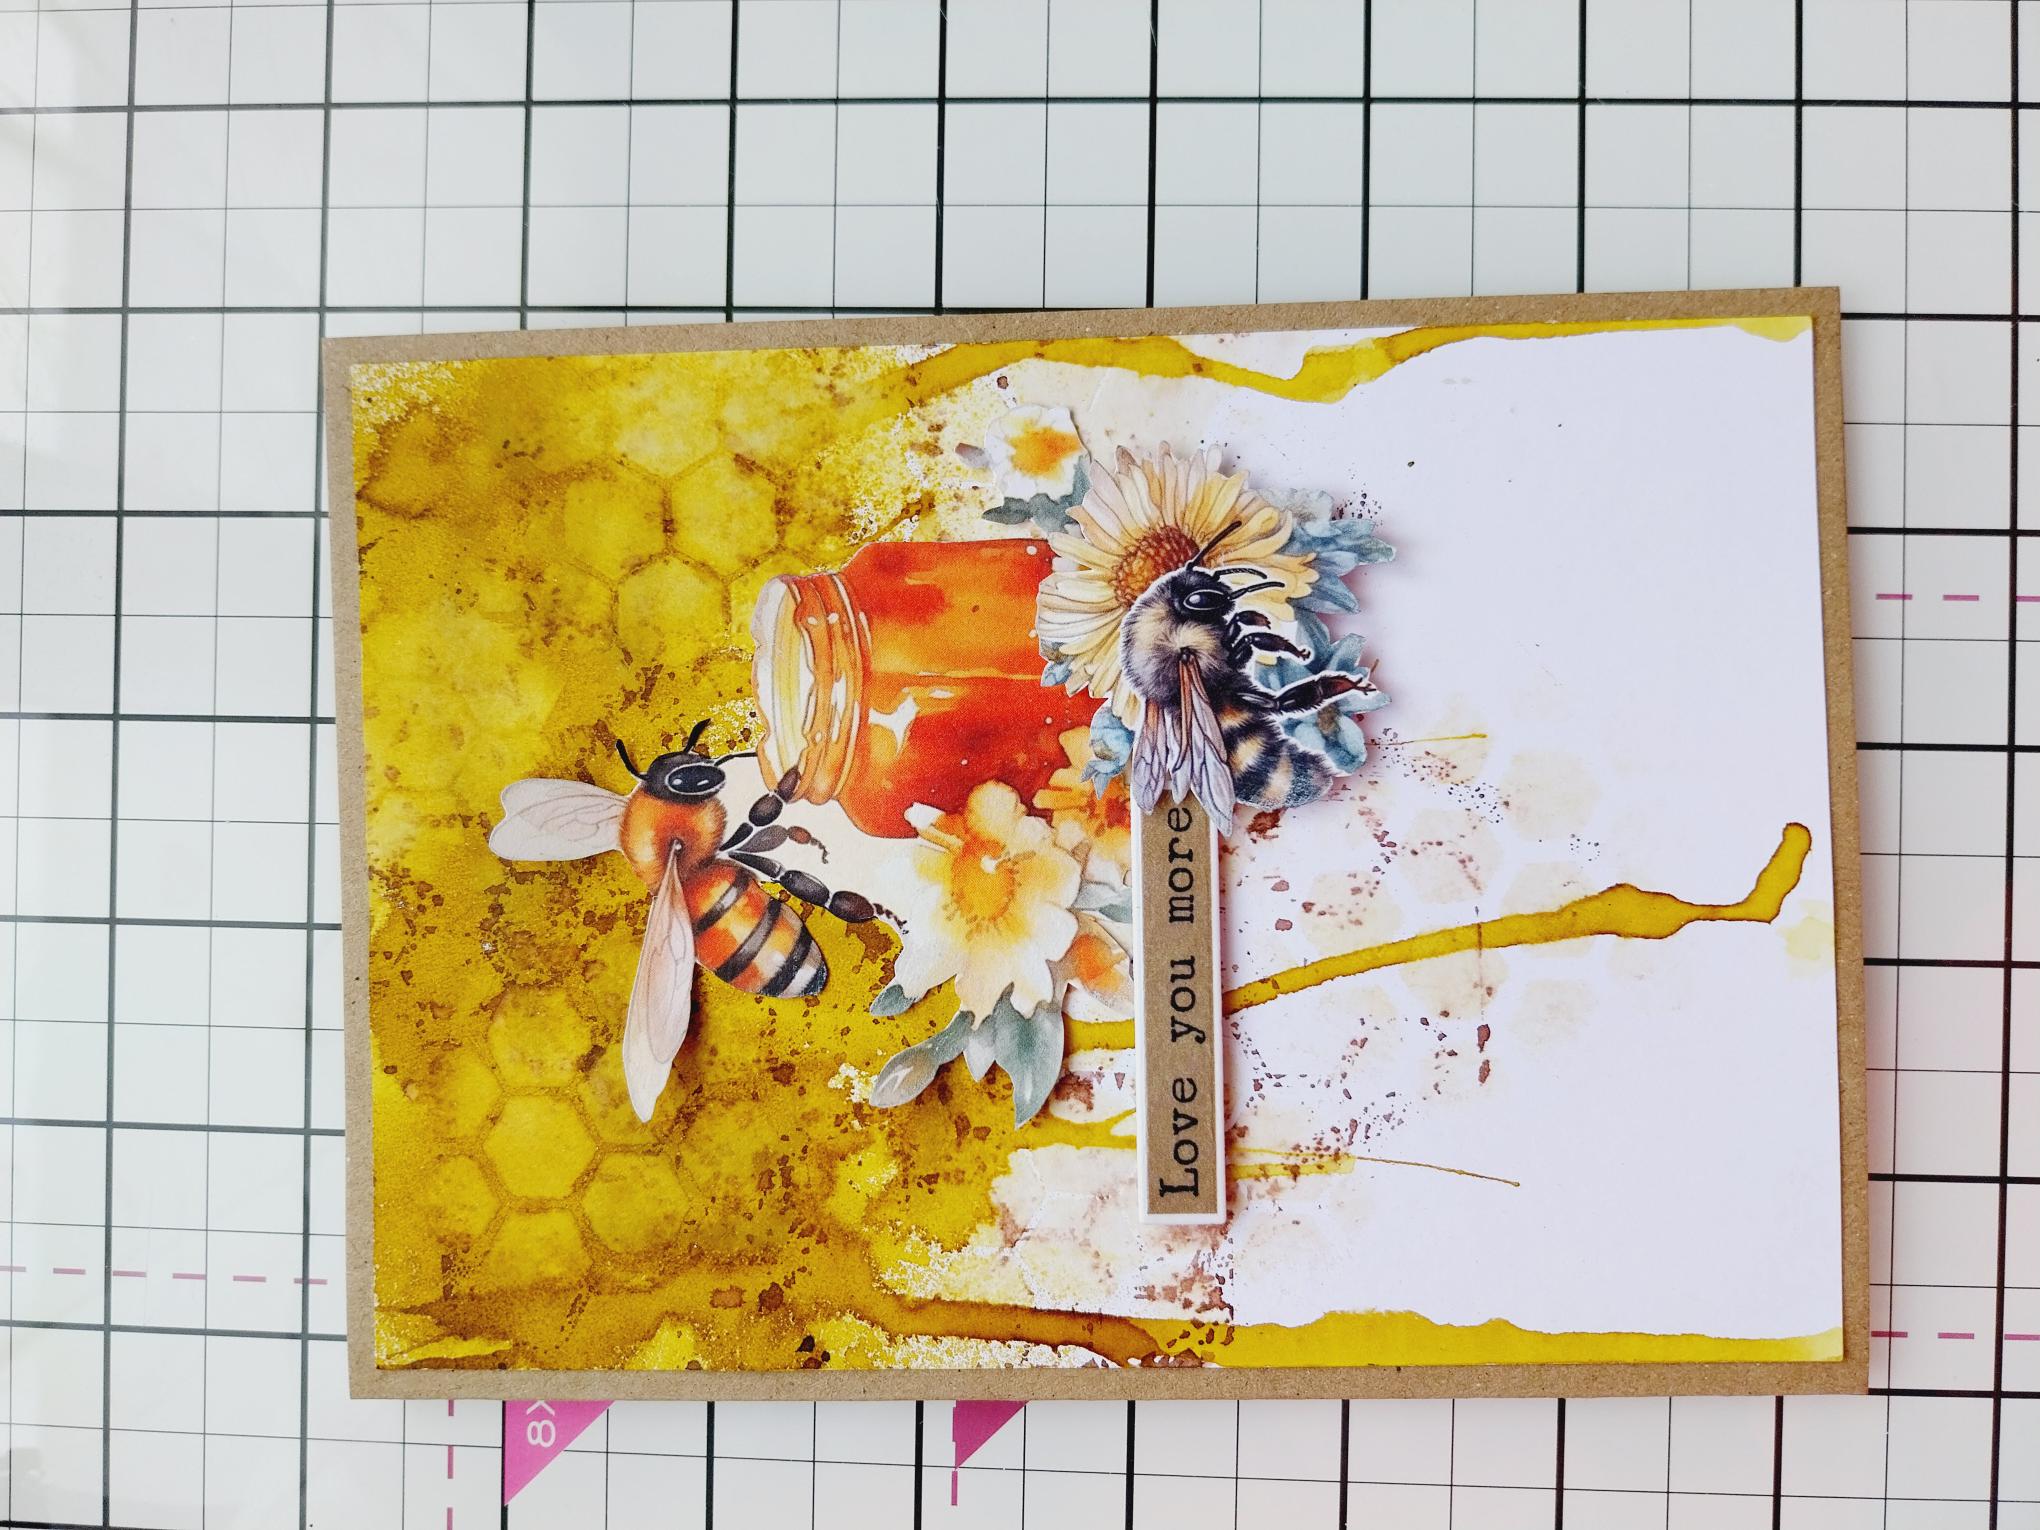
Adhere your artwork on to your kraft card blank. |
|
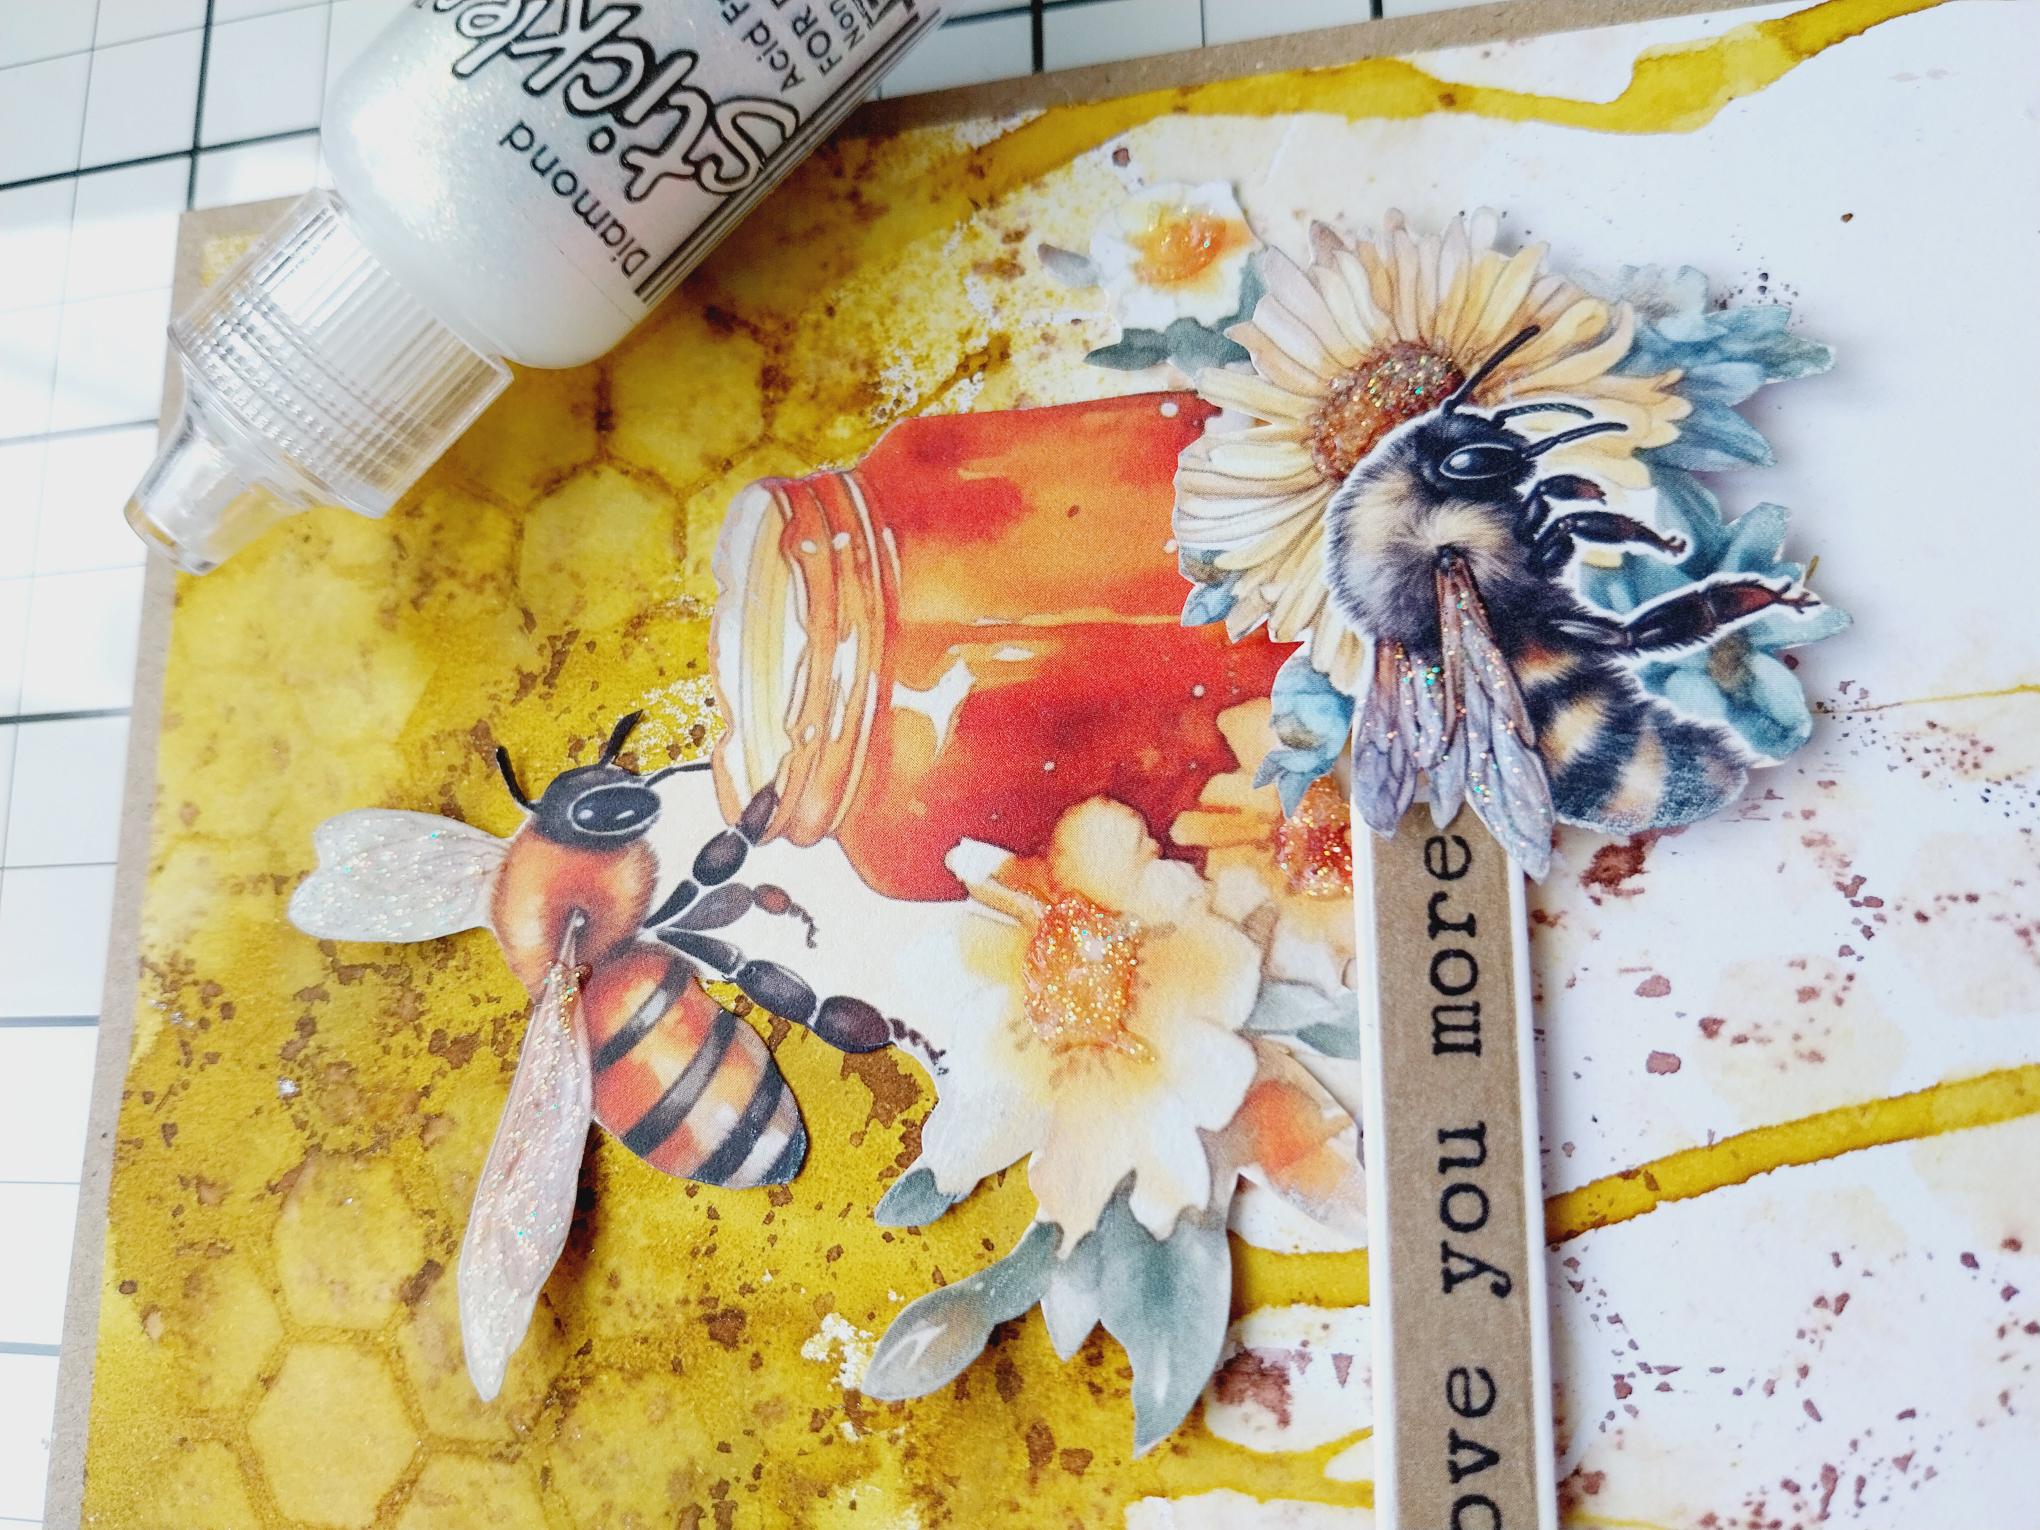
Finally, use your Stickles to add a touch of sparkle to your finished project. |