

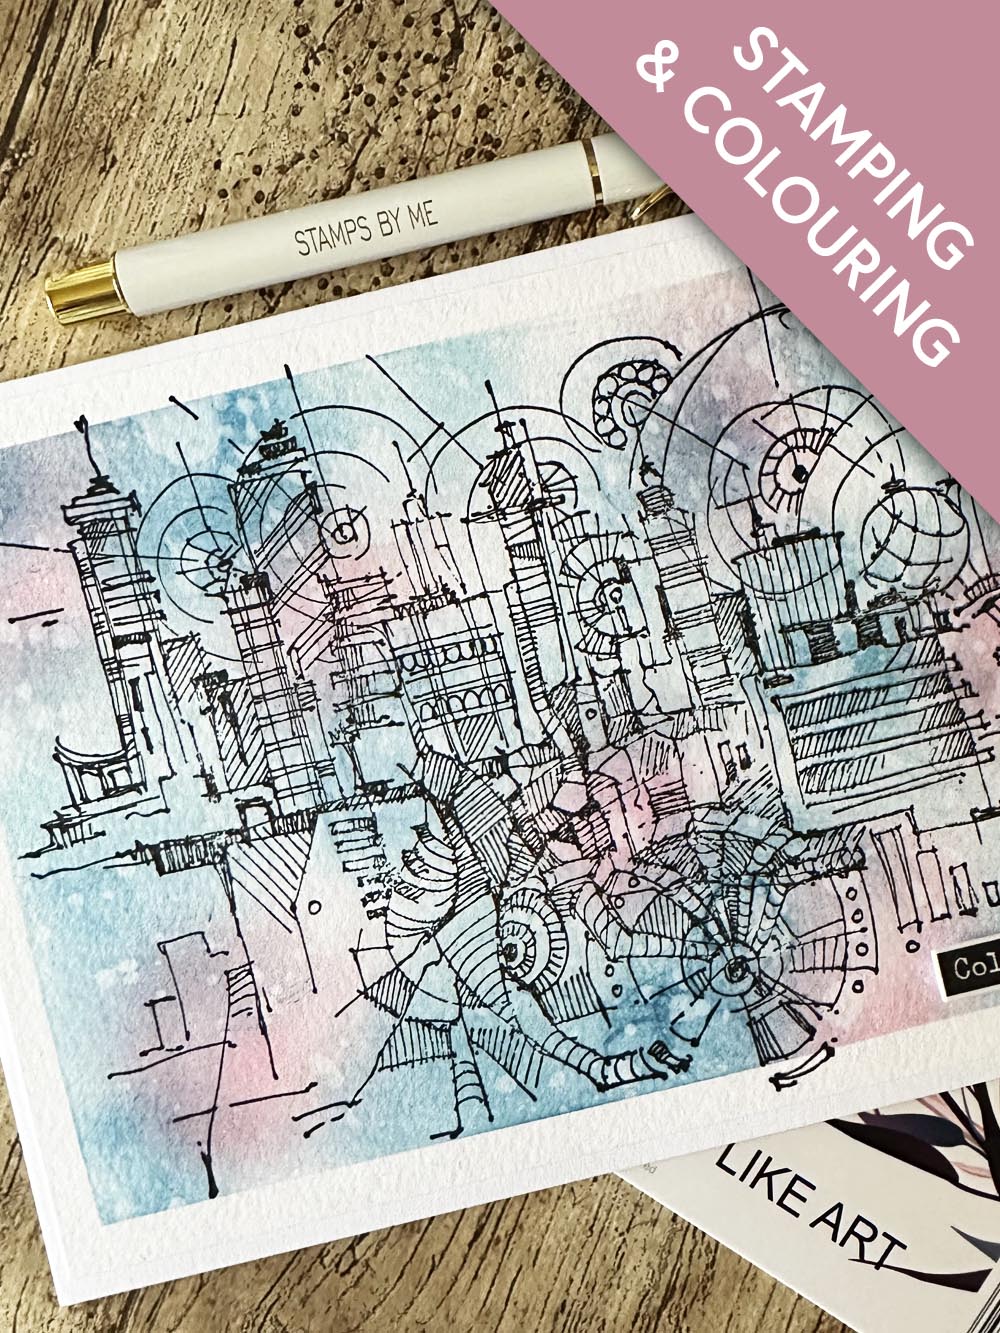
IMALA Mastermind Stamp Set
A5 Card Blank
Carta Watercolour cardstock
Blending Brushes
Distress Ink Pad: Kitch Flamingo
Pretty Colours Inside Ink Pad: Tiffan
Pretty Colours Inside Ink Pad: Ocean
Versafine Ink Pad: Onyx Black
Washi Tape or Low Tack Tape
Washi Tape Sentiments
Eureka 101 Stamping Platform
Stamps By Me A3 Magnetic Glass Mat
Foam Pads
Glue
Paper Trimmer
[click image to enlarge] 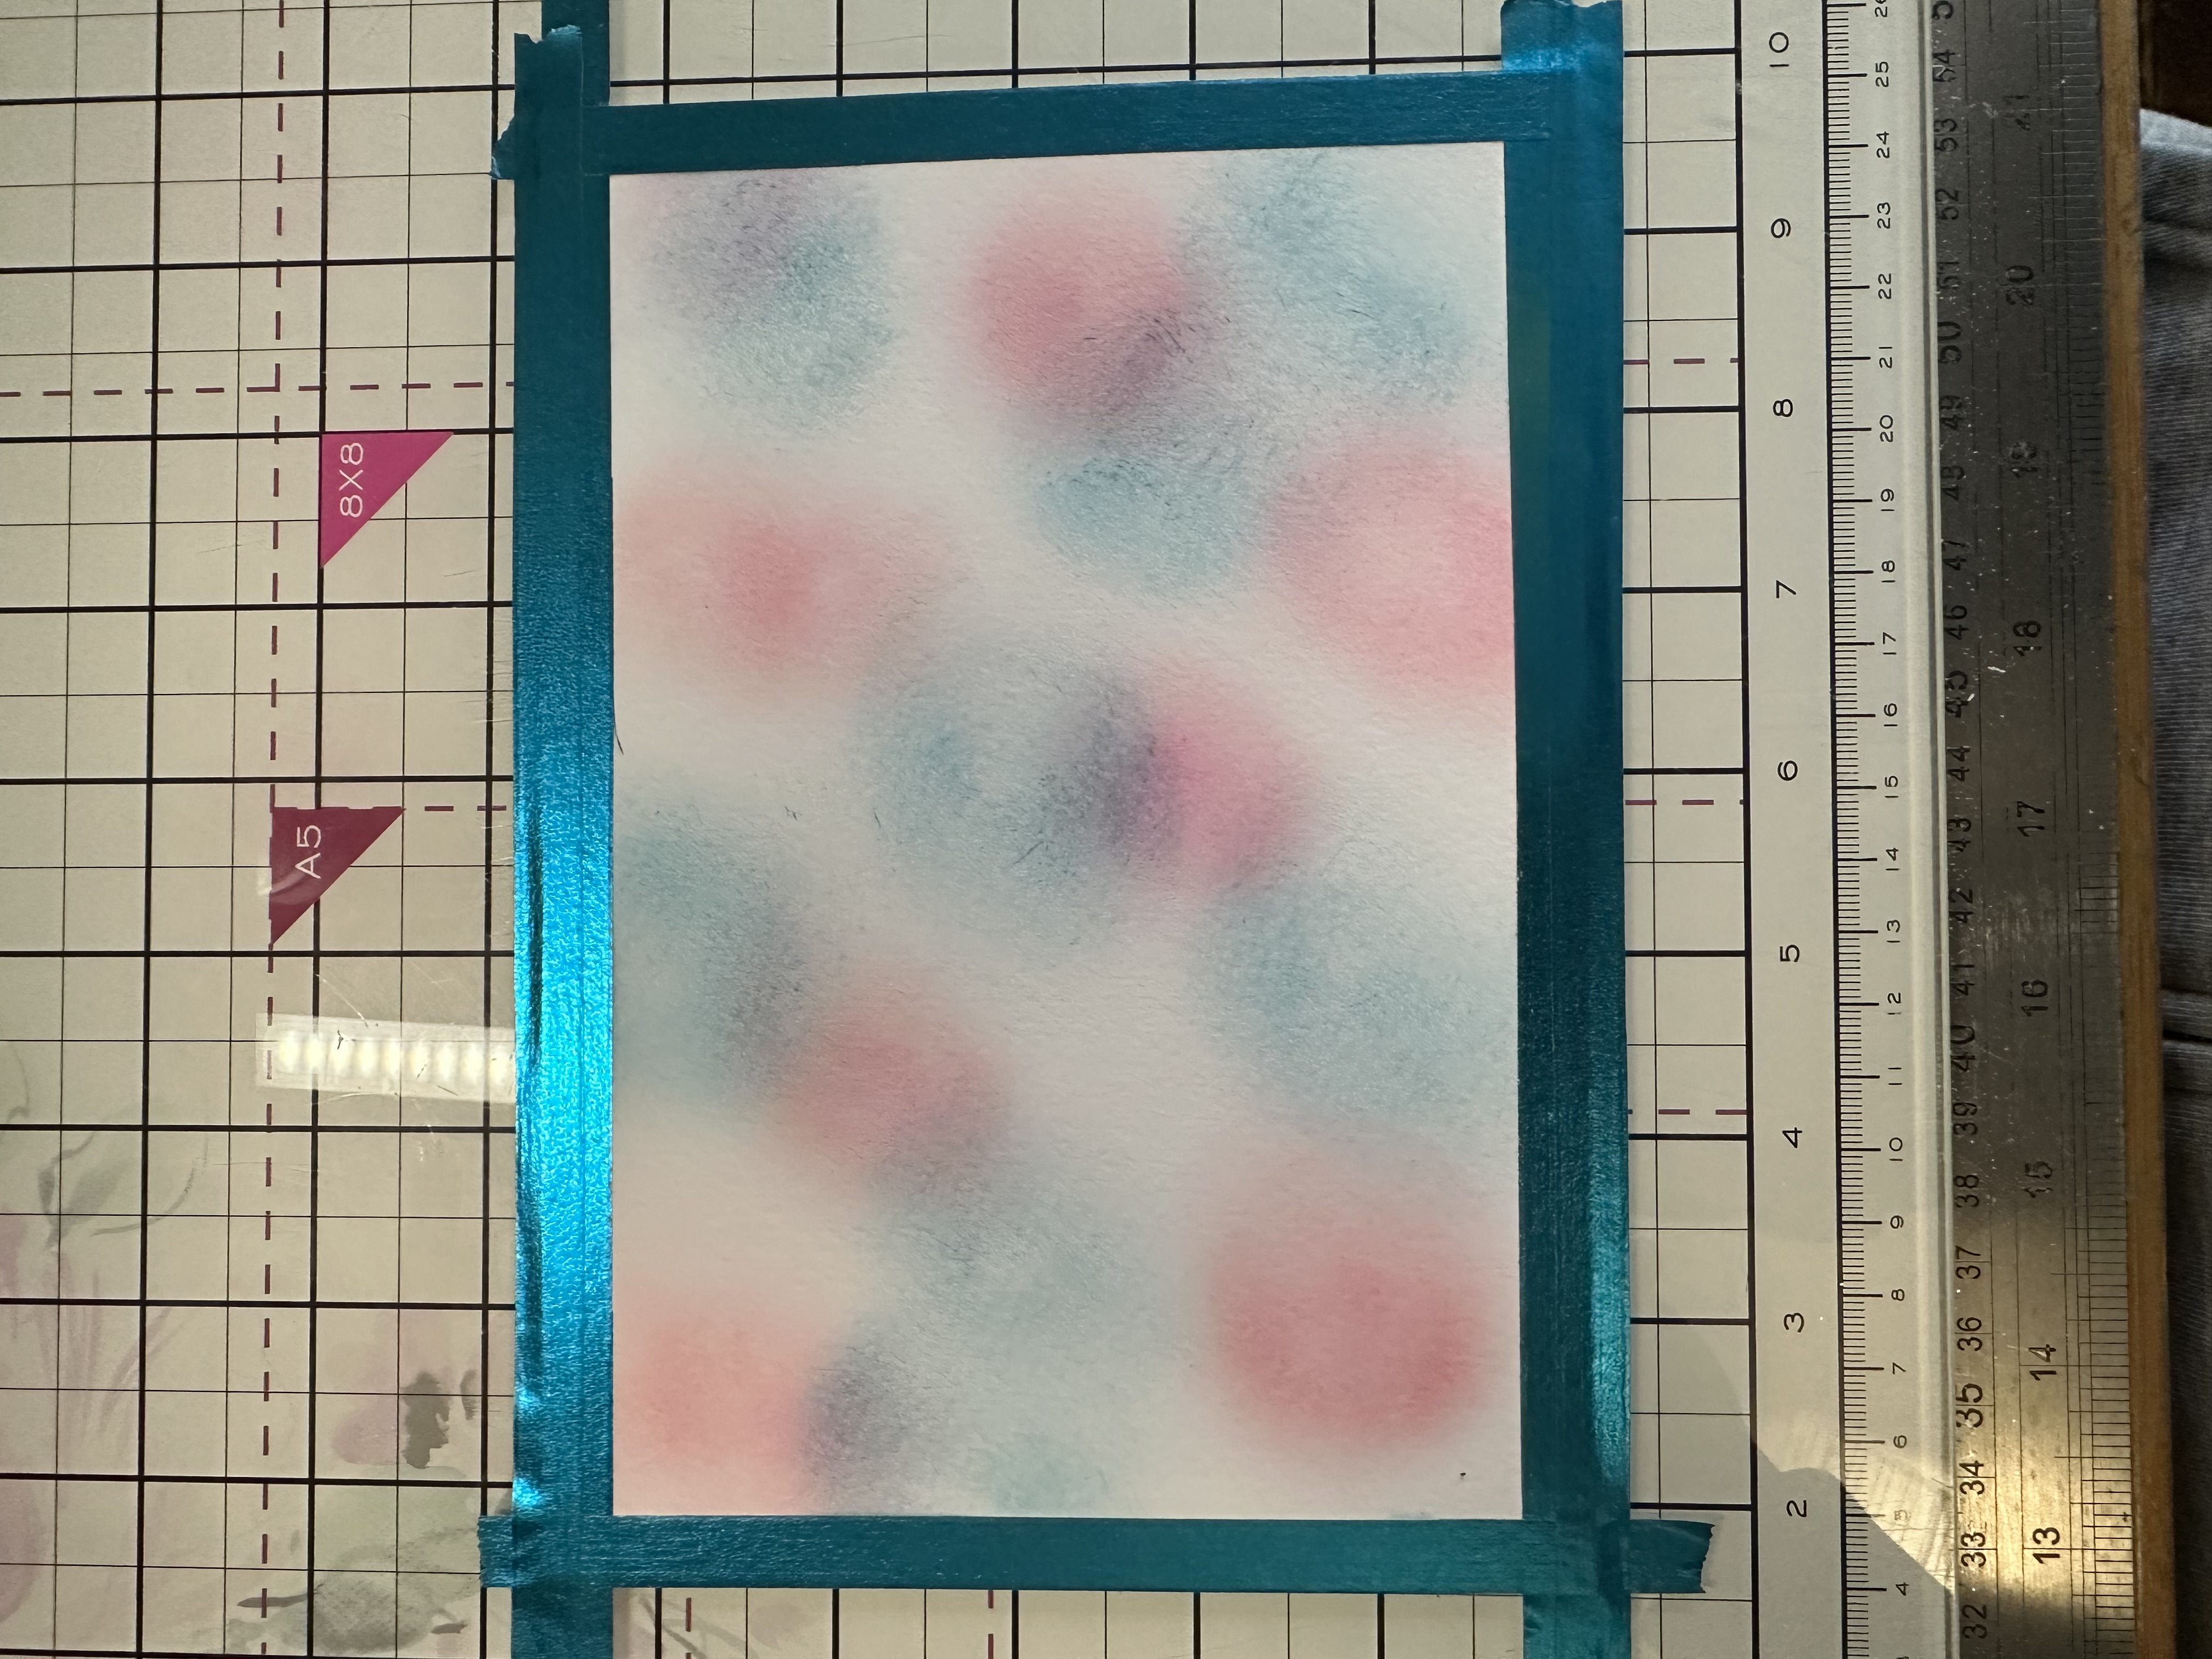
|
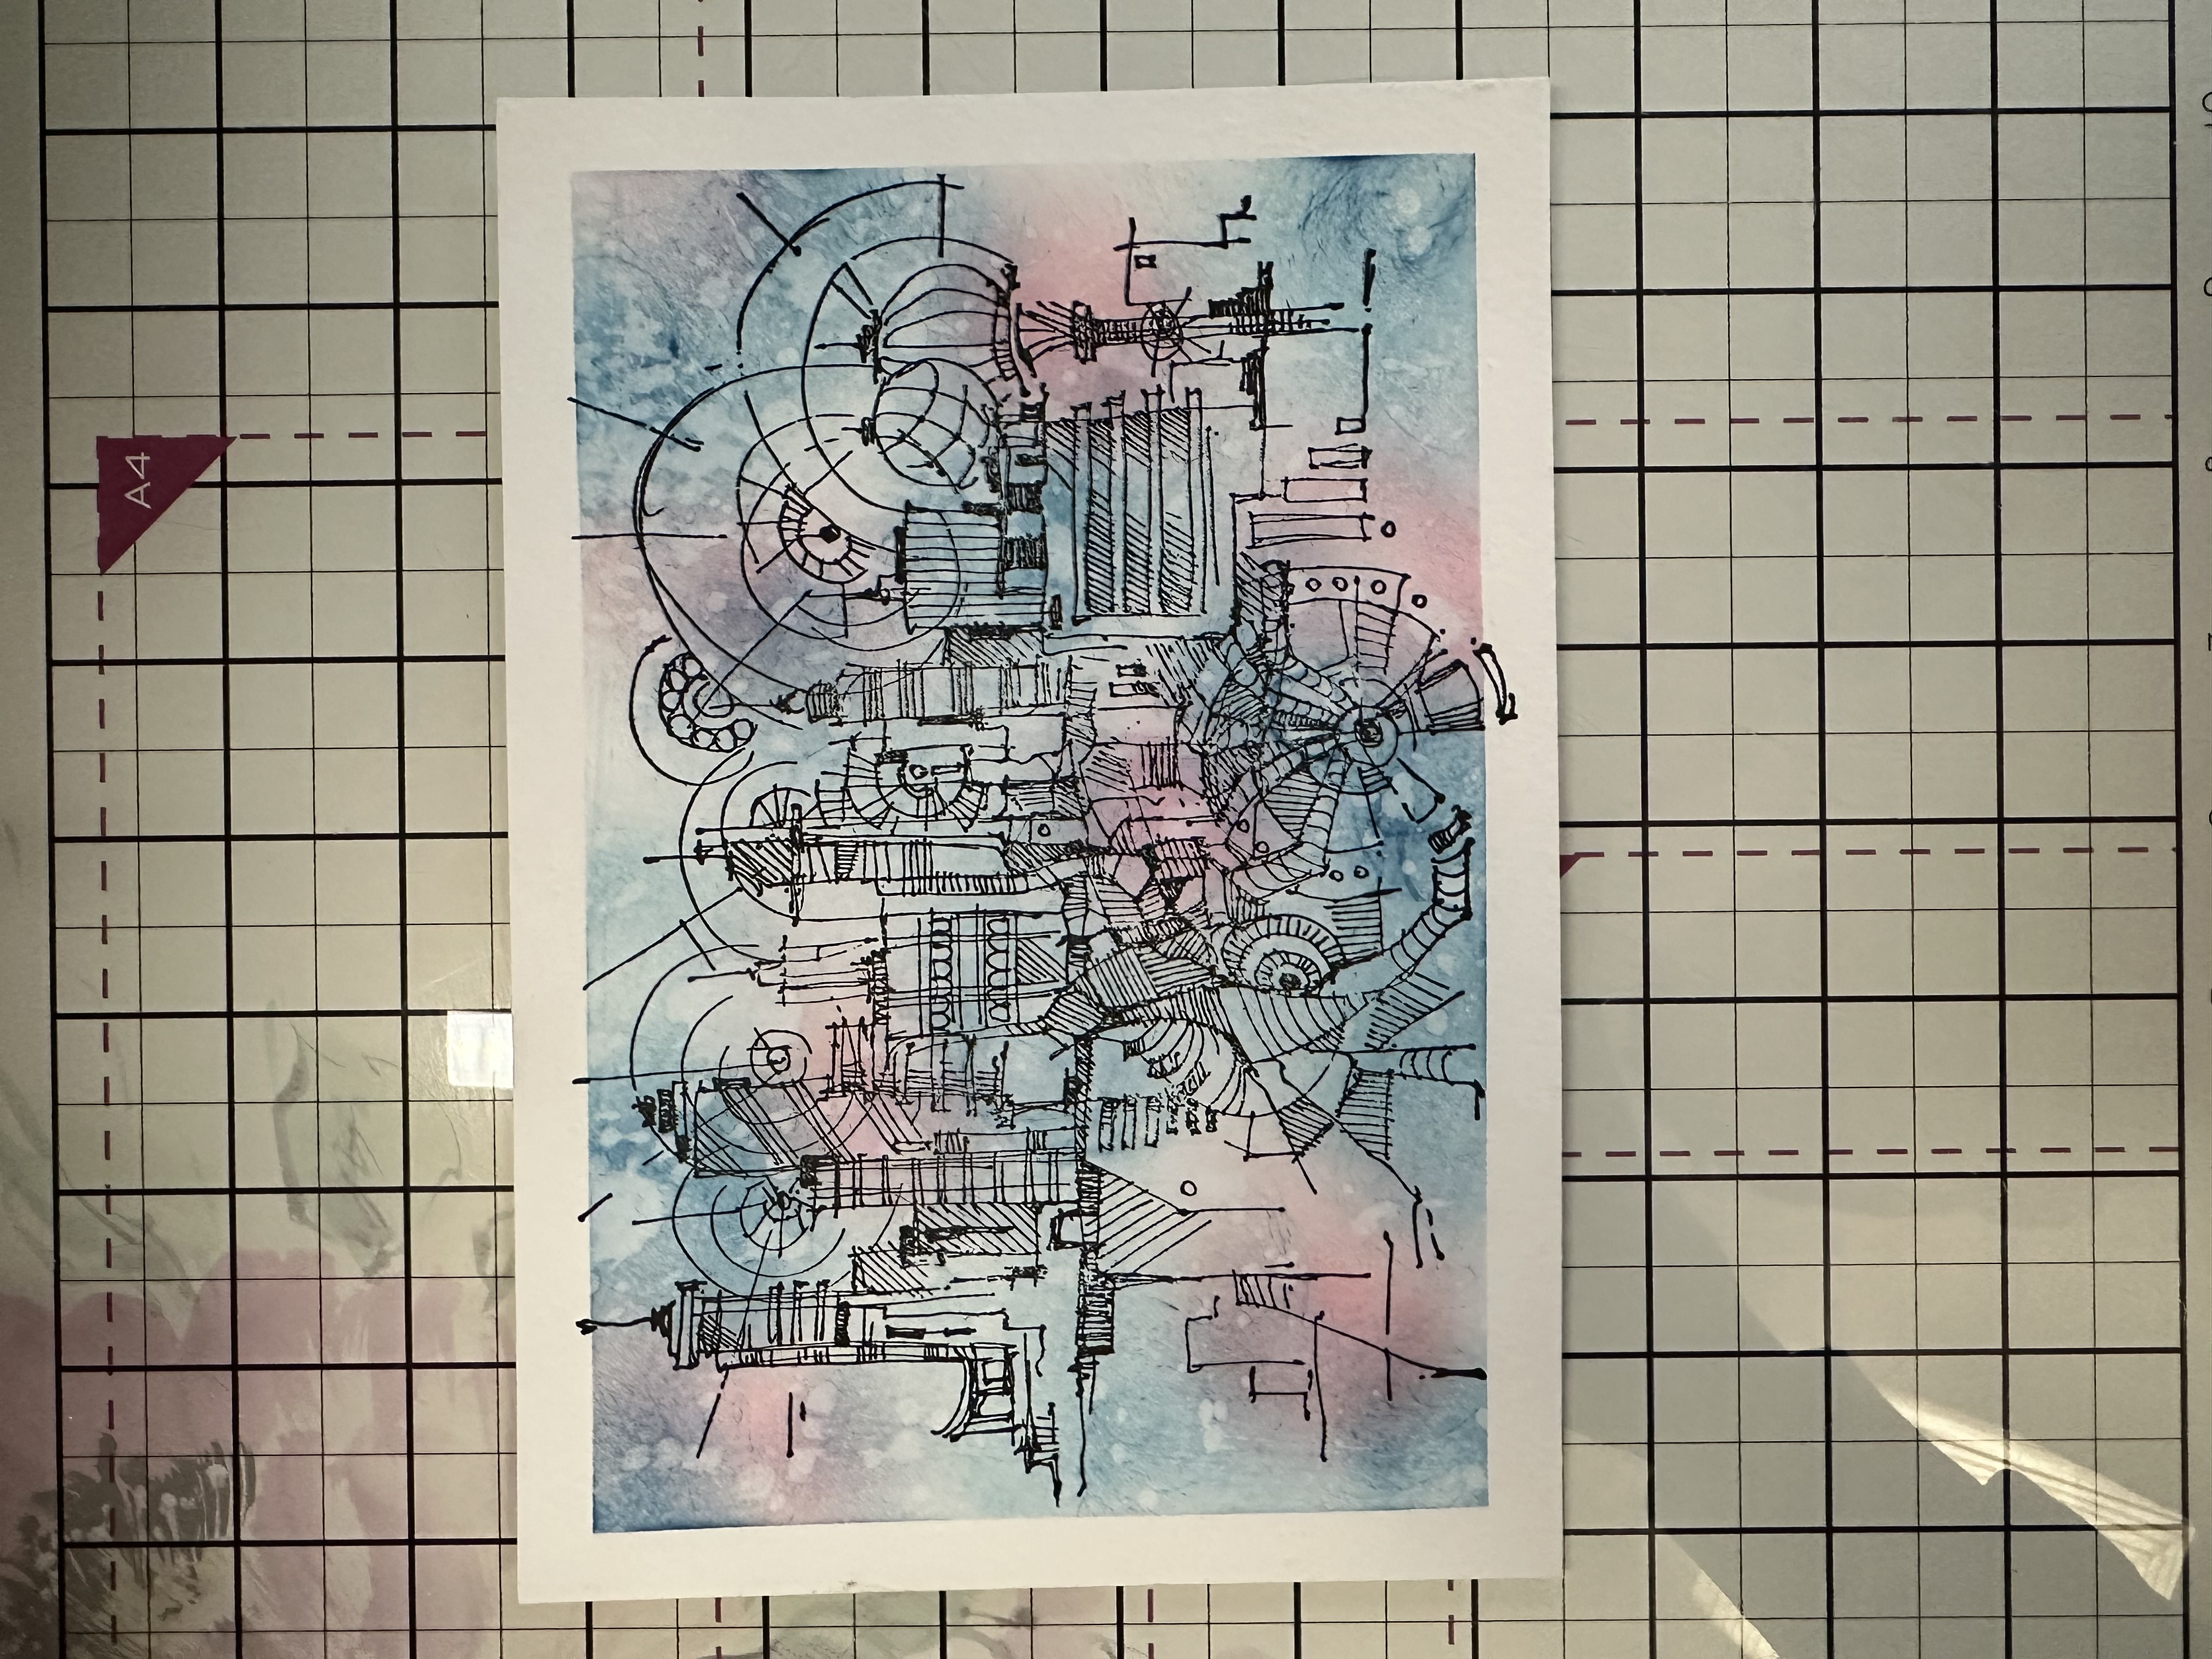
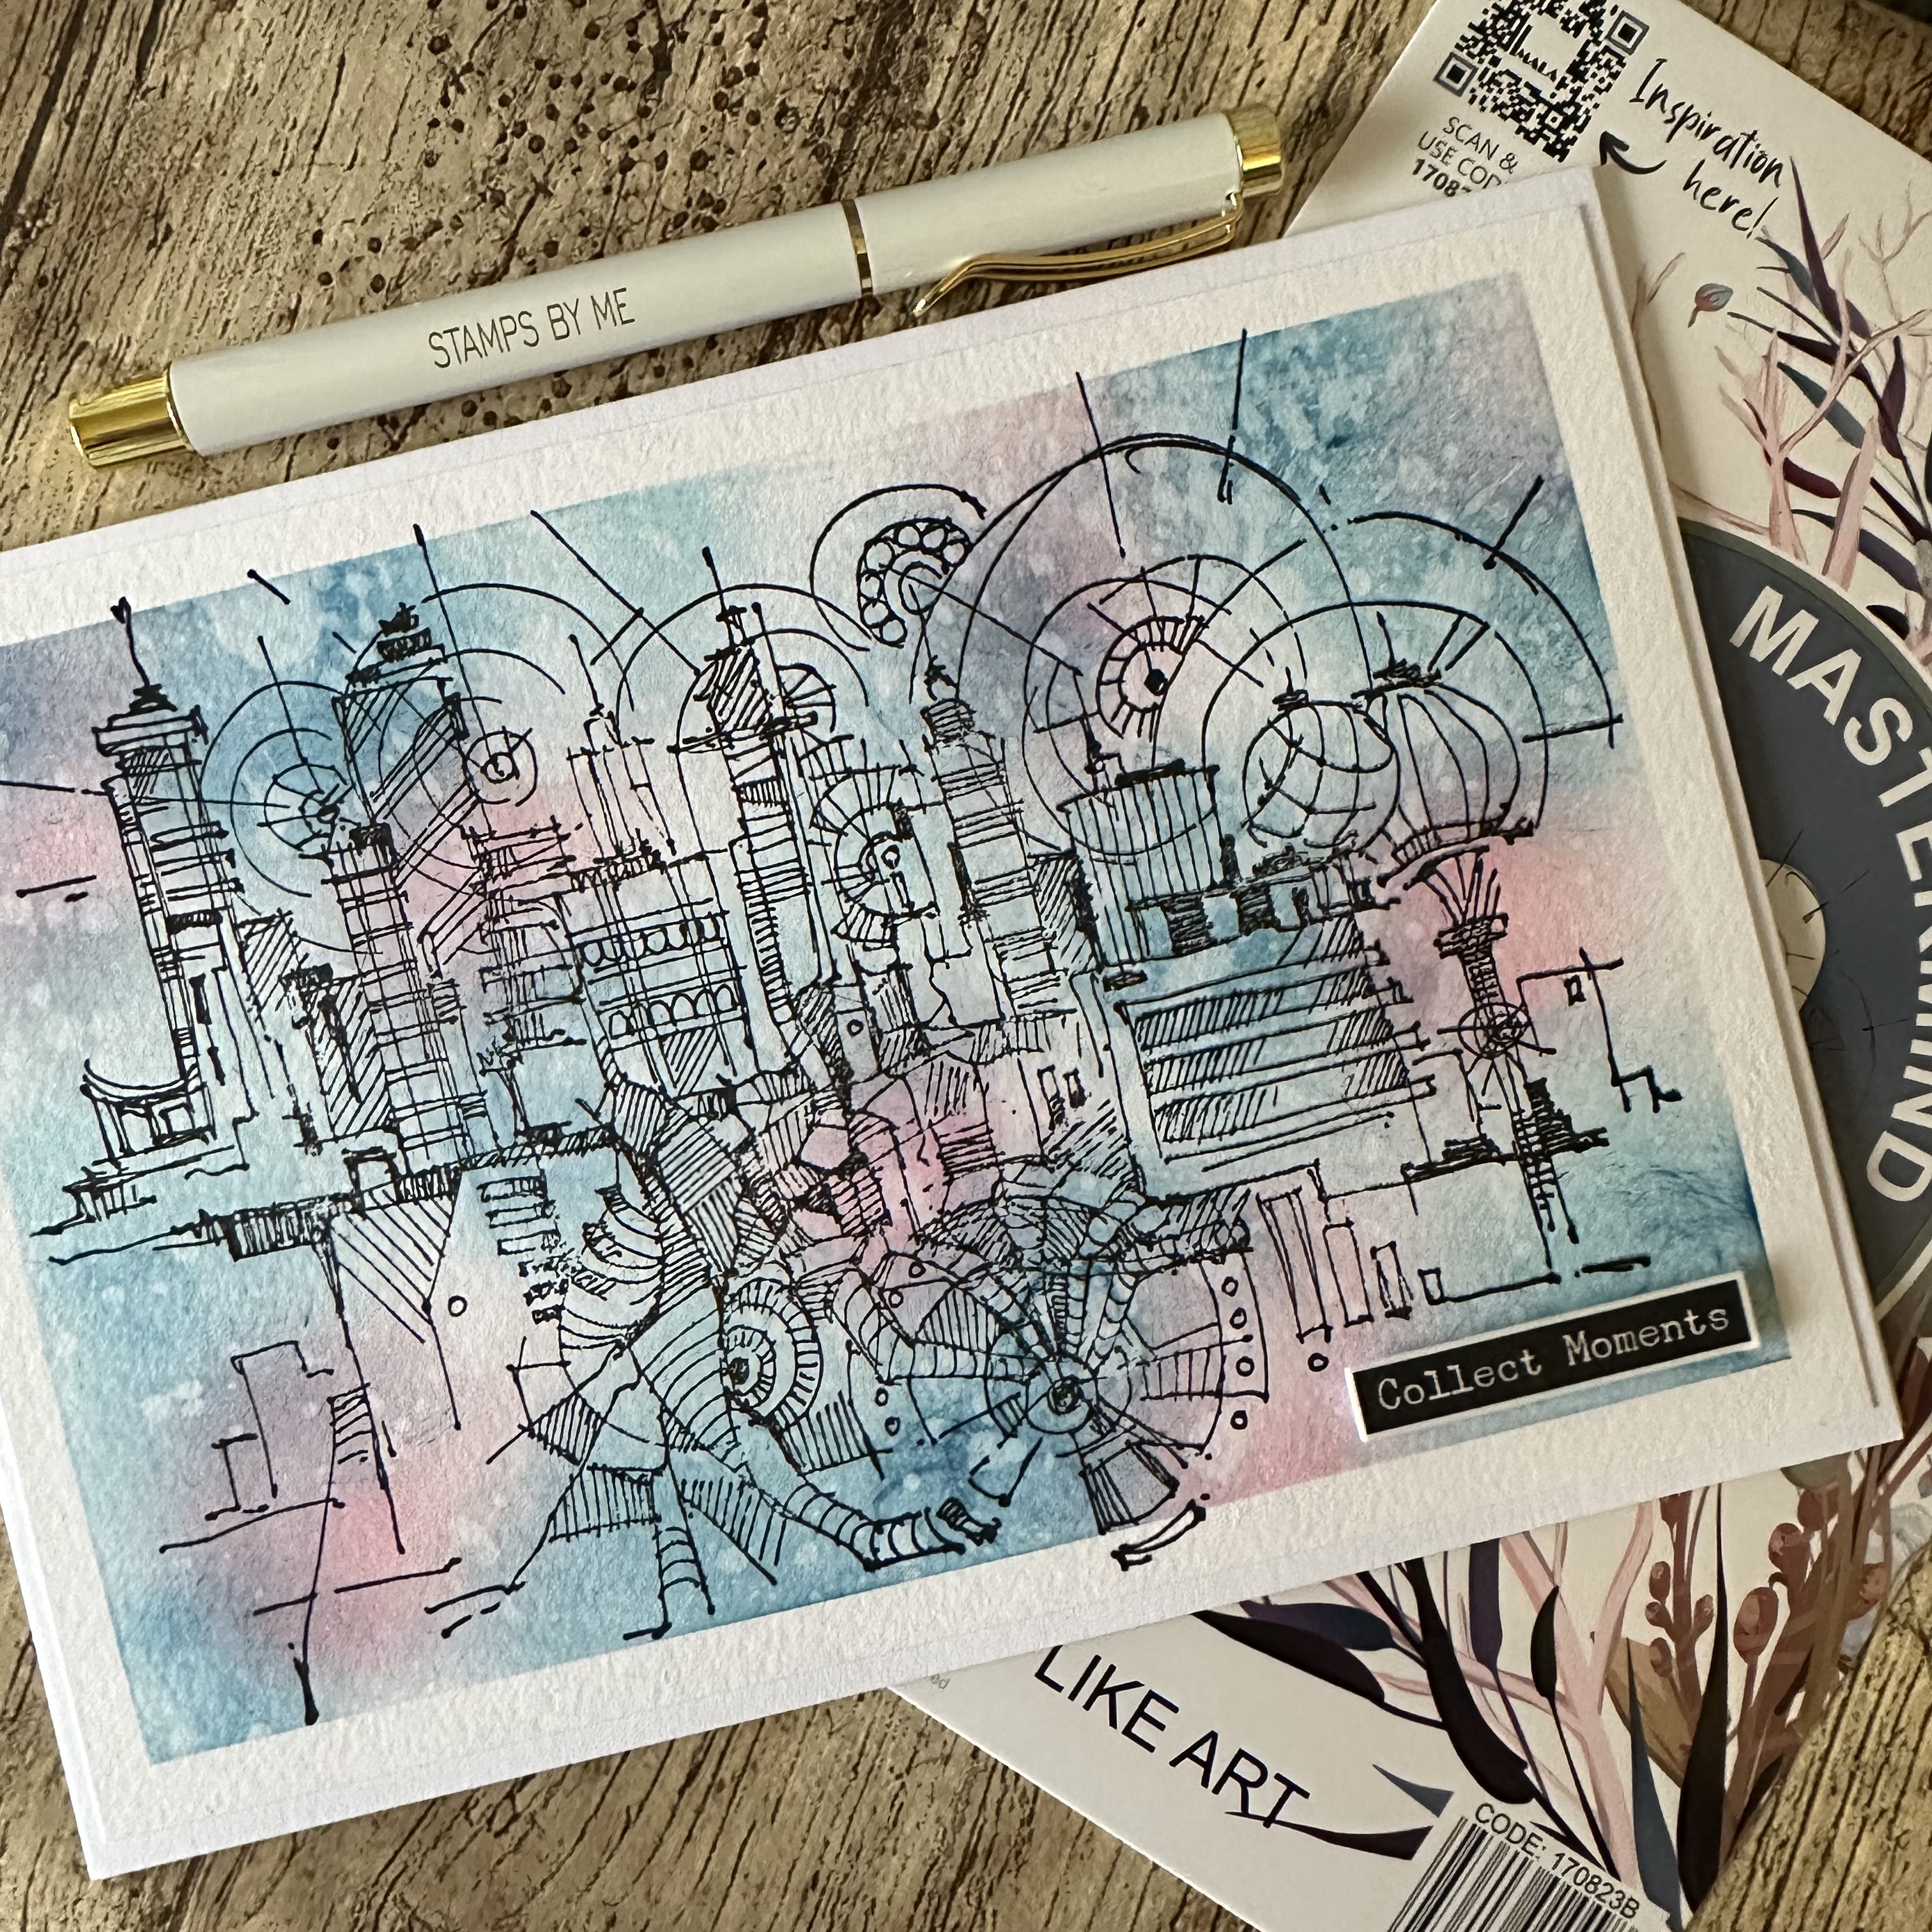
Mask a border around a piece of 7 ¾ x 5 ½ watercolour cardstock using your washi or low tack tape. Using your blending brush, blend areas of colour randomly around the cardstock (I did a colour at a time starting from lightest to darkest). Leave a little white space, it's not important to cover the whole area. |
|
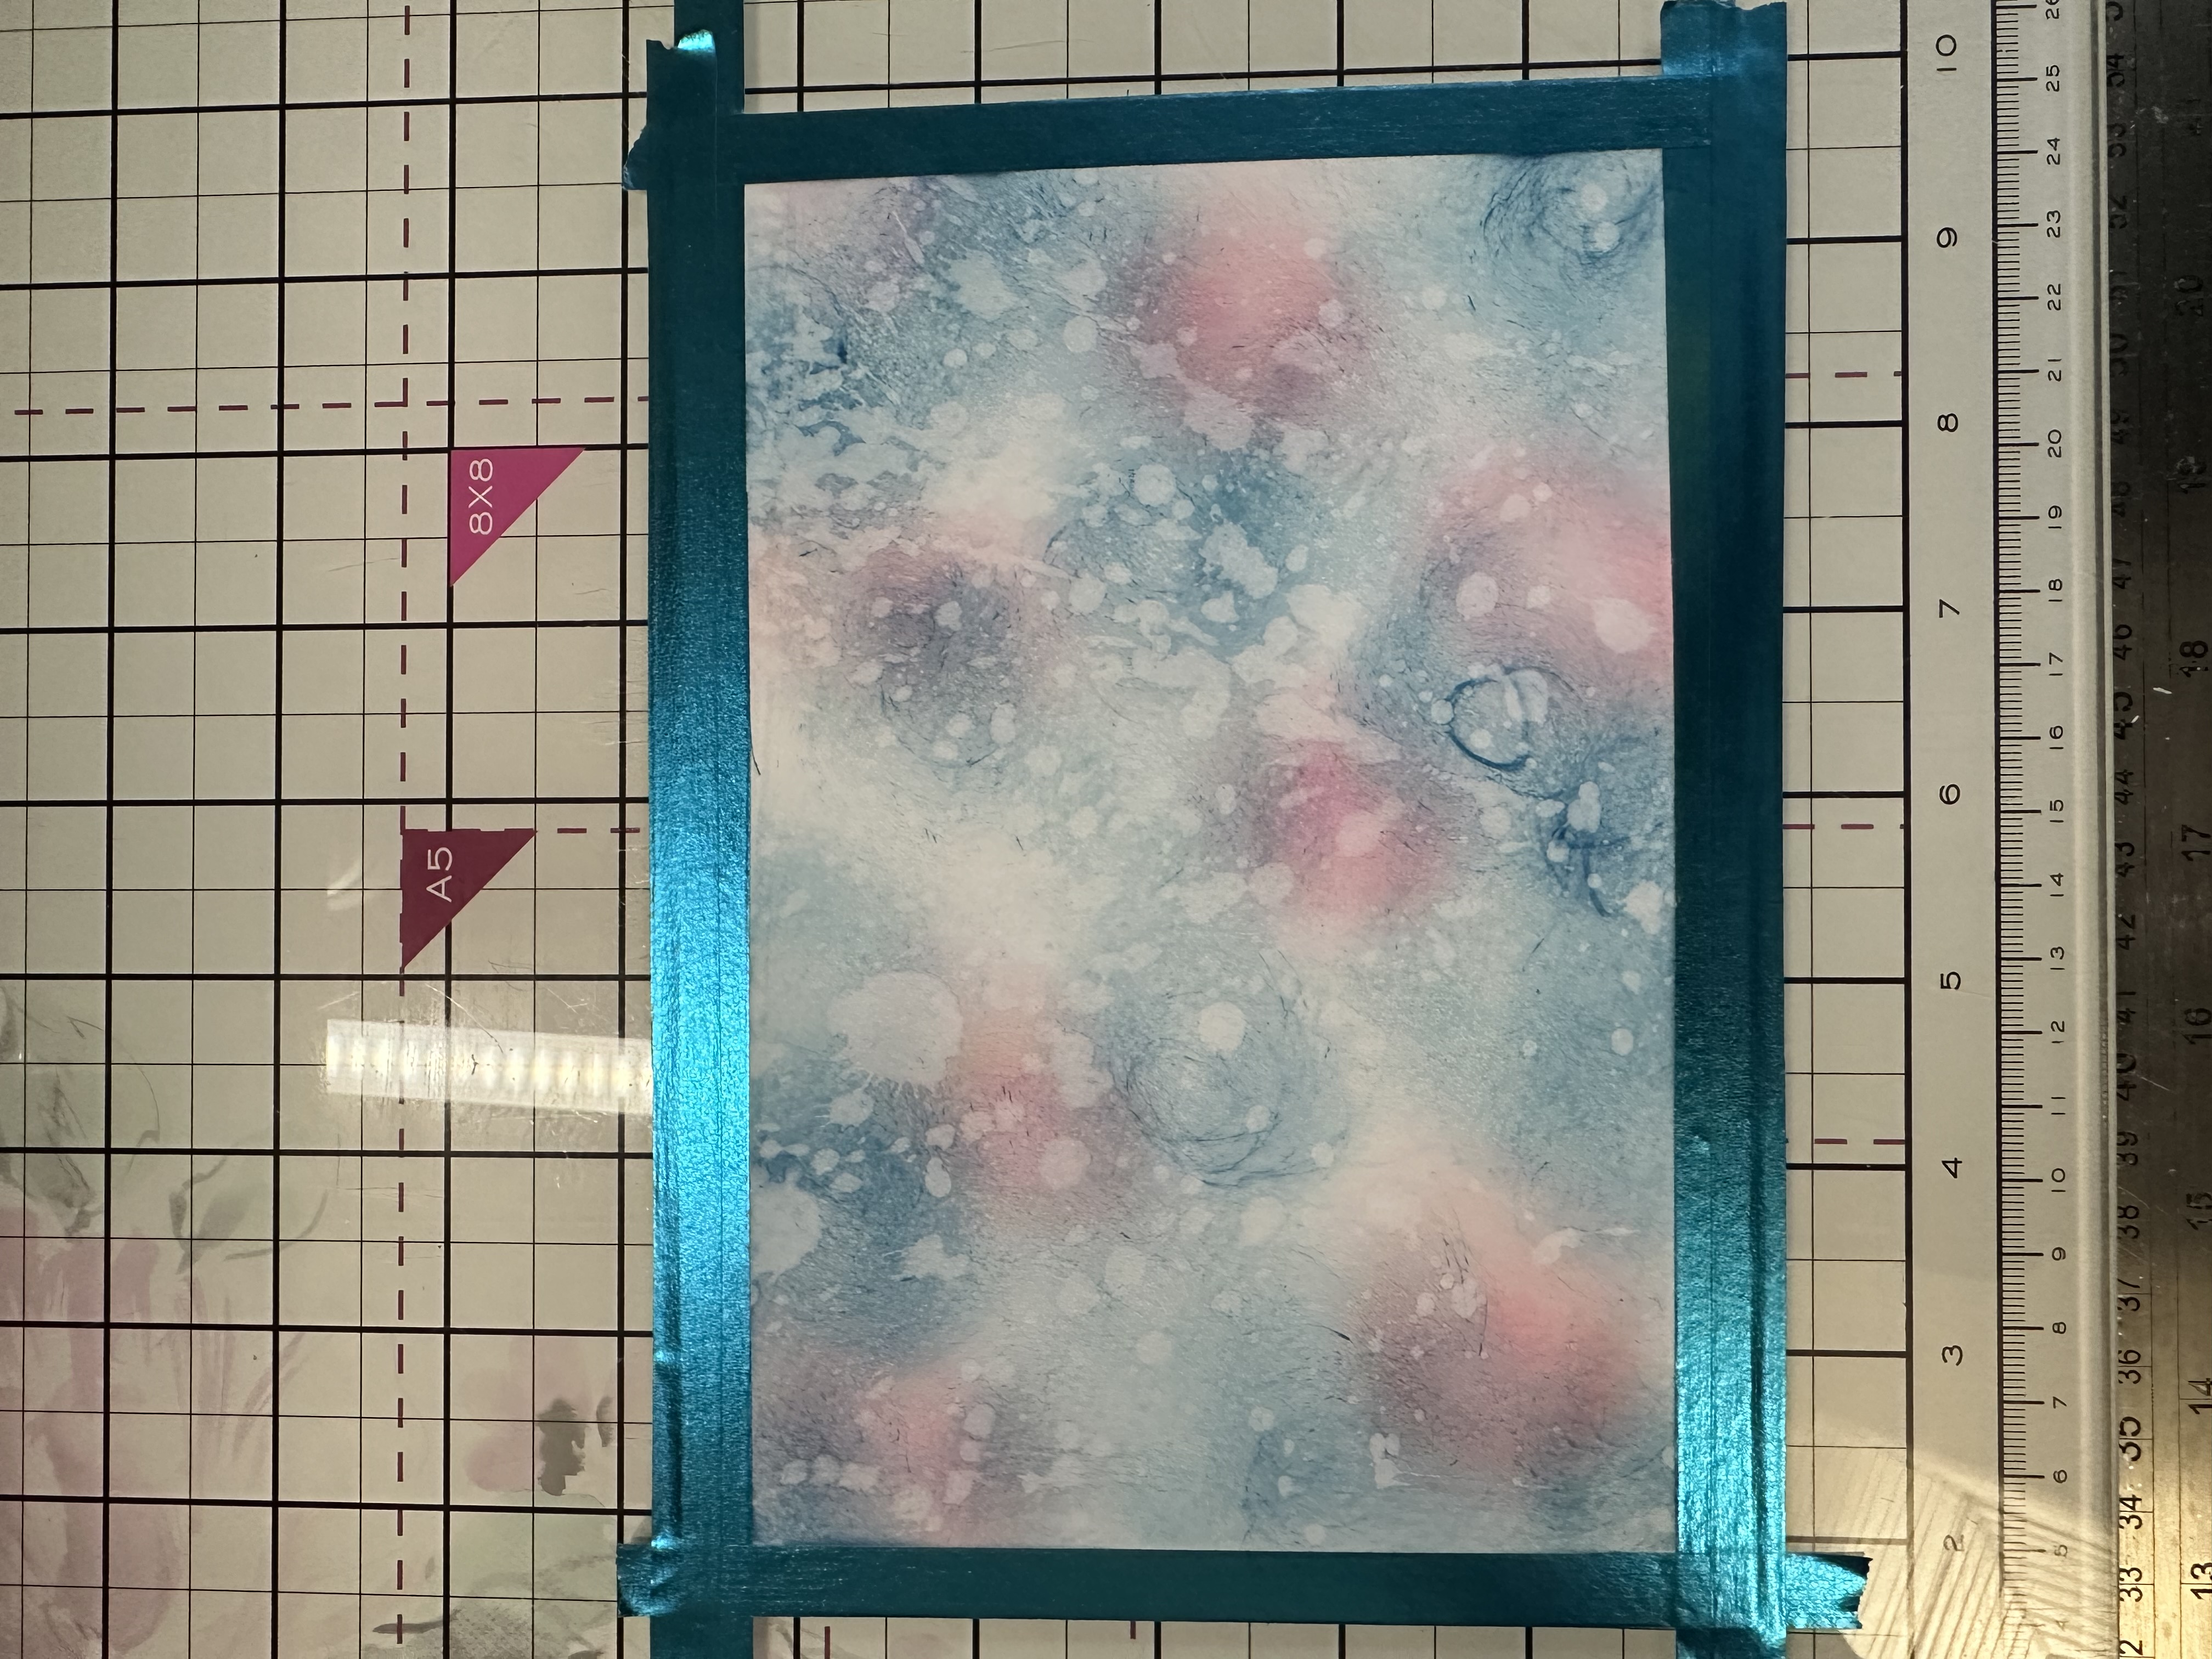
Take some clean clear water in your hand and flick randomly across your back ground. Apply a paper towel to soak up the water and bleach some of the areas out. |
|
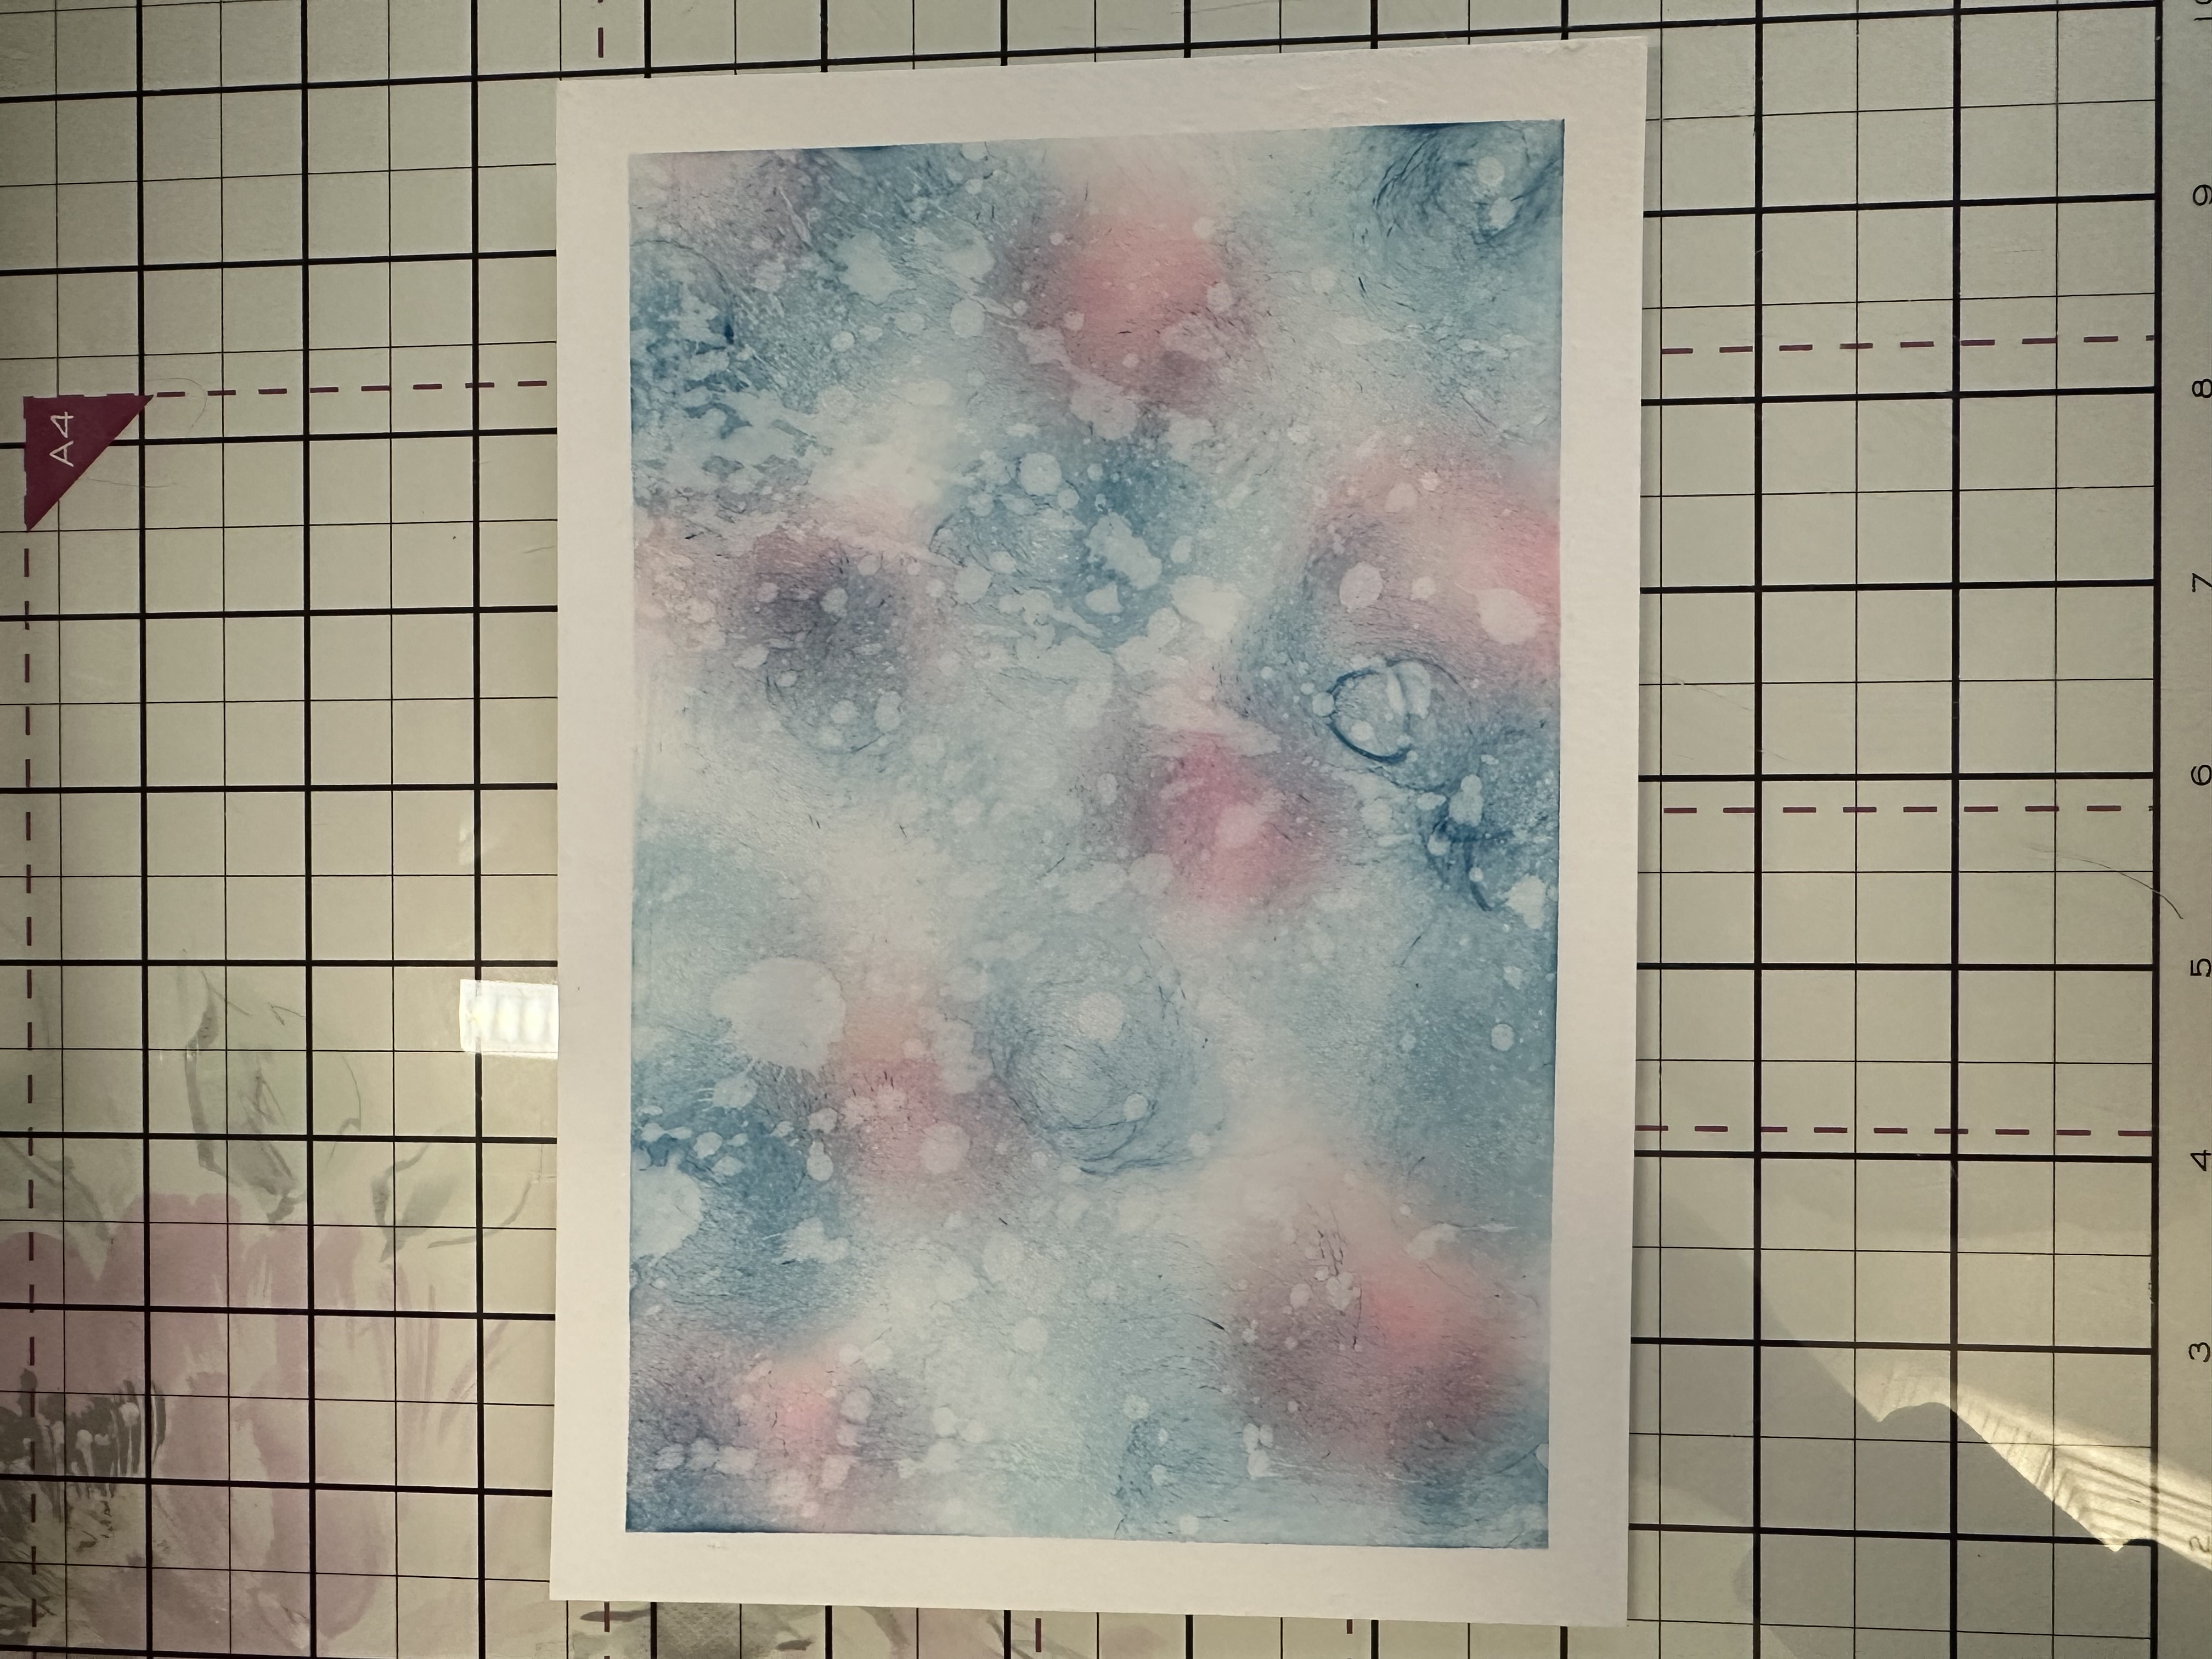
Once dry carefully remove your low tack/washi tape. |
|
Stamp your image with a black inkpad. |
|
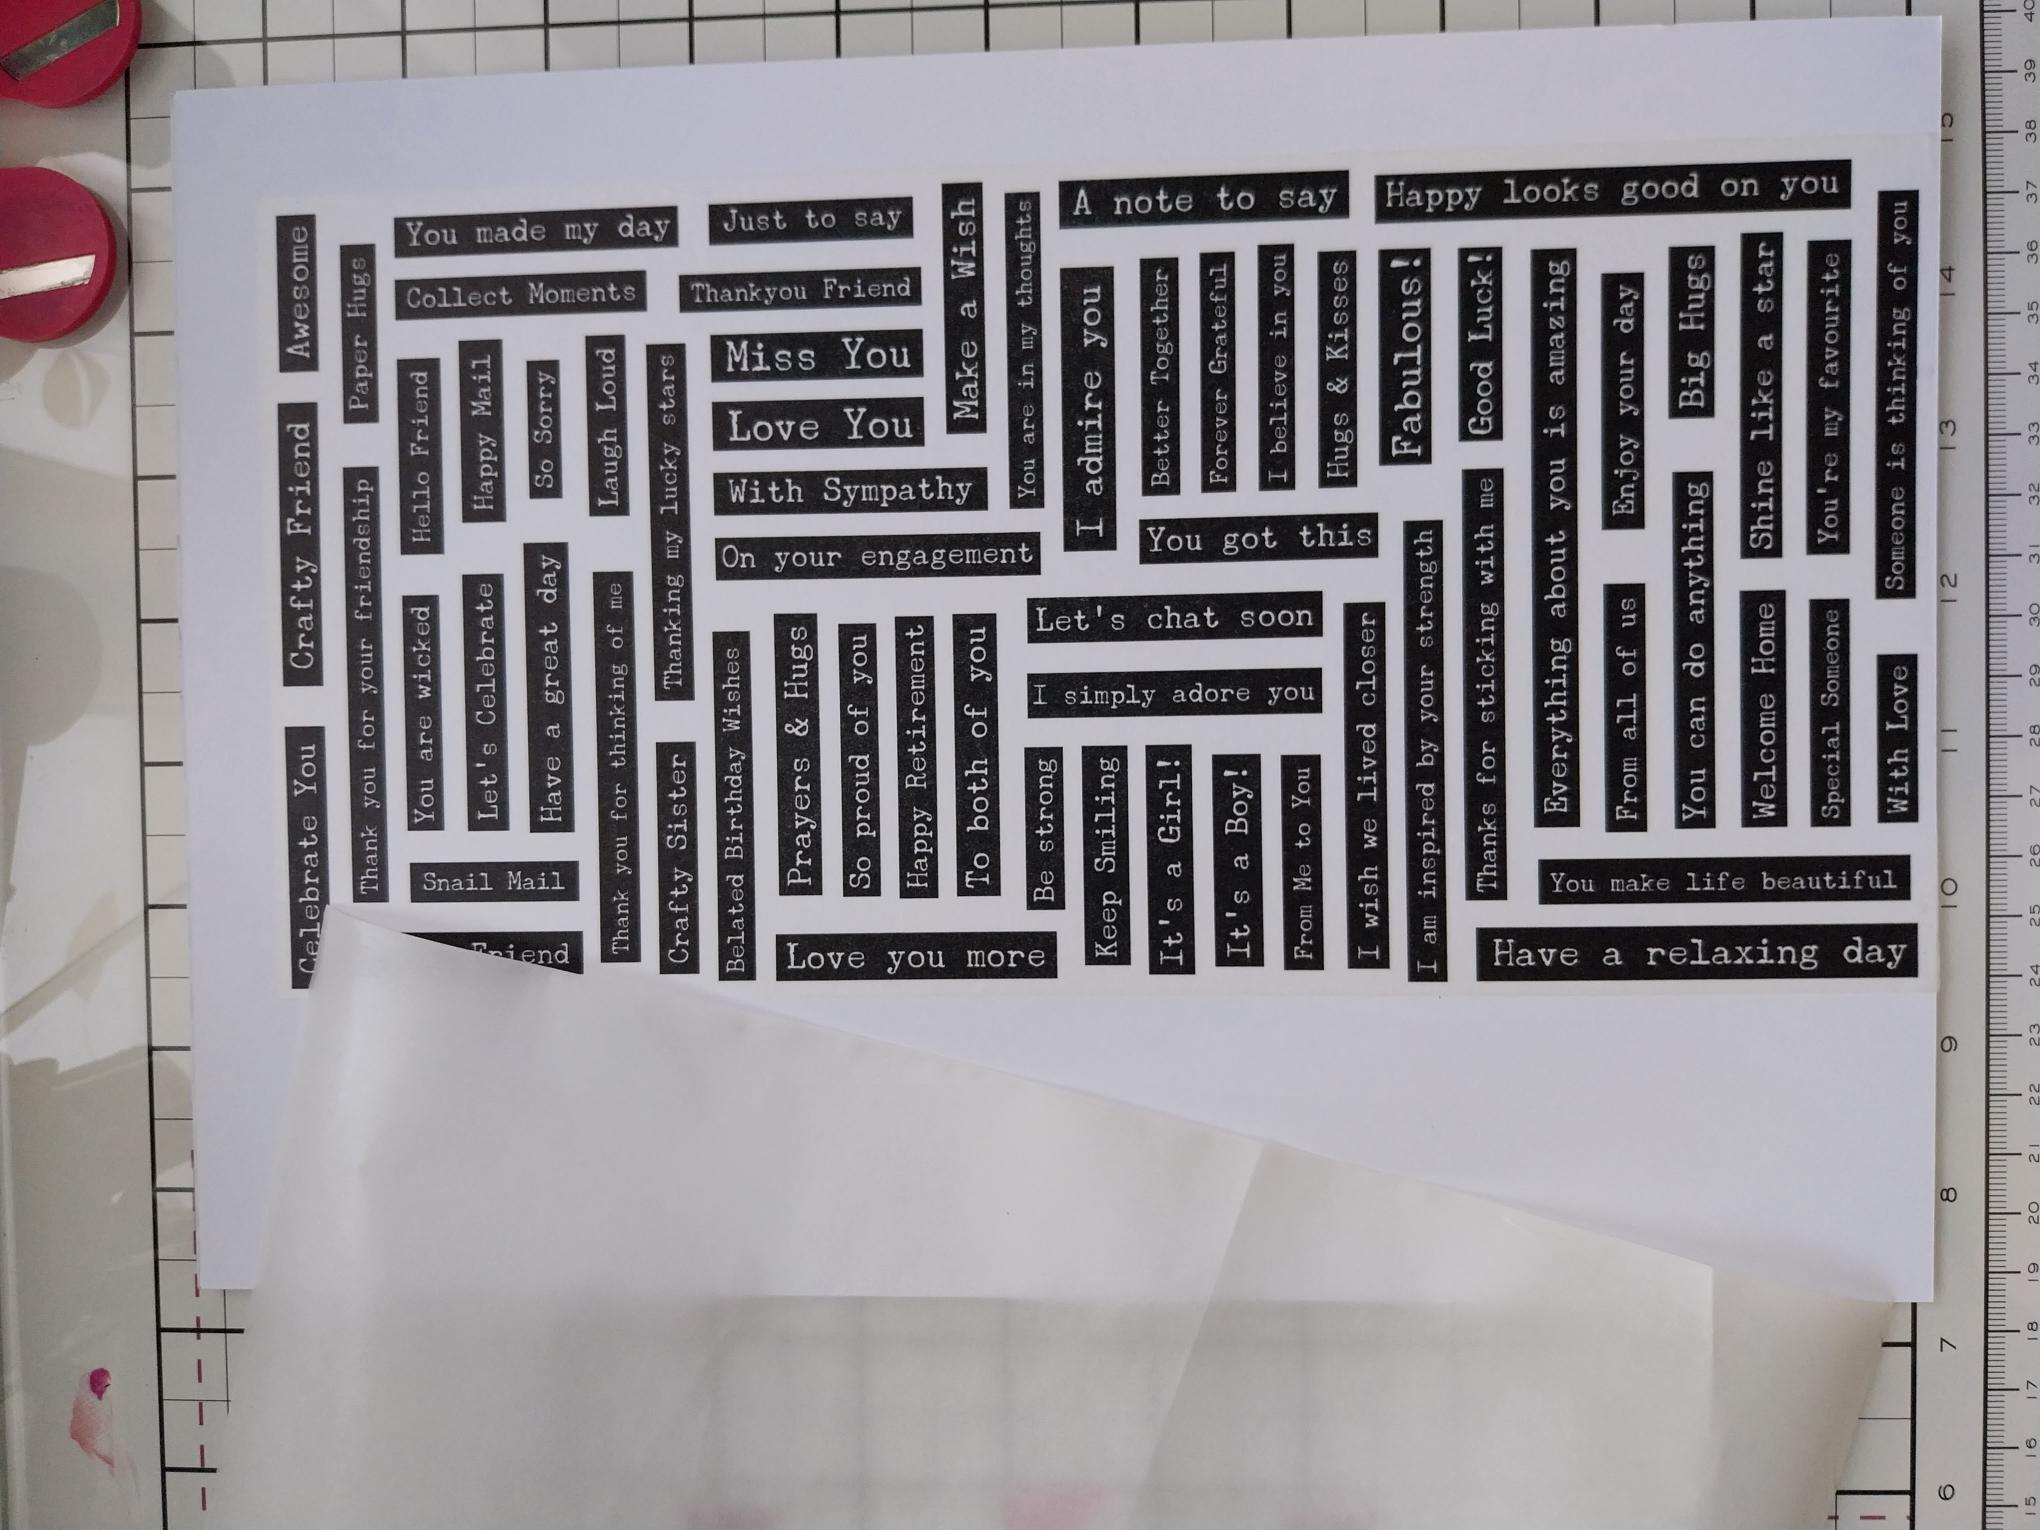
Using the dies as a guide, cut ONE drop from the typewriter washi roll. Lift up the backing sheet along one end of the tape and adhere across the top of an A4 sheet of white card. Slowly peel away the backing, as you use your hand to smooth the washi tape down on to the card. Once the backing has been fully removed, you can burnish the washi to ensure there are no air bubbles or creases. |
|
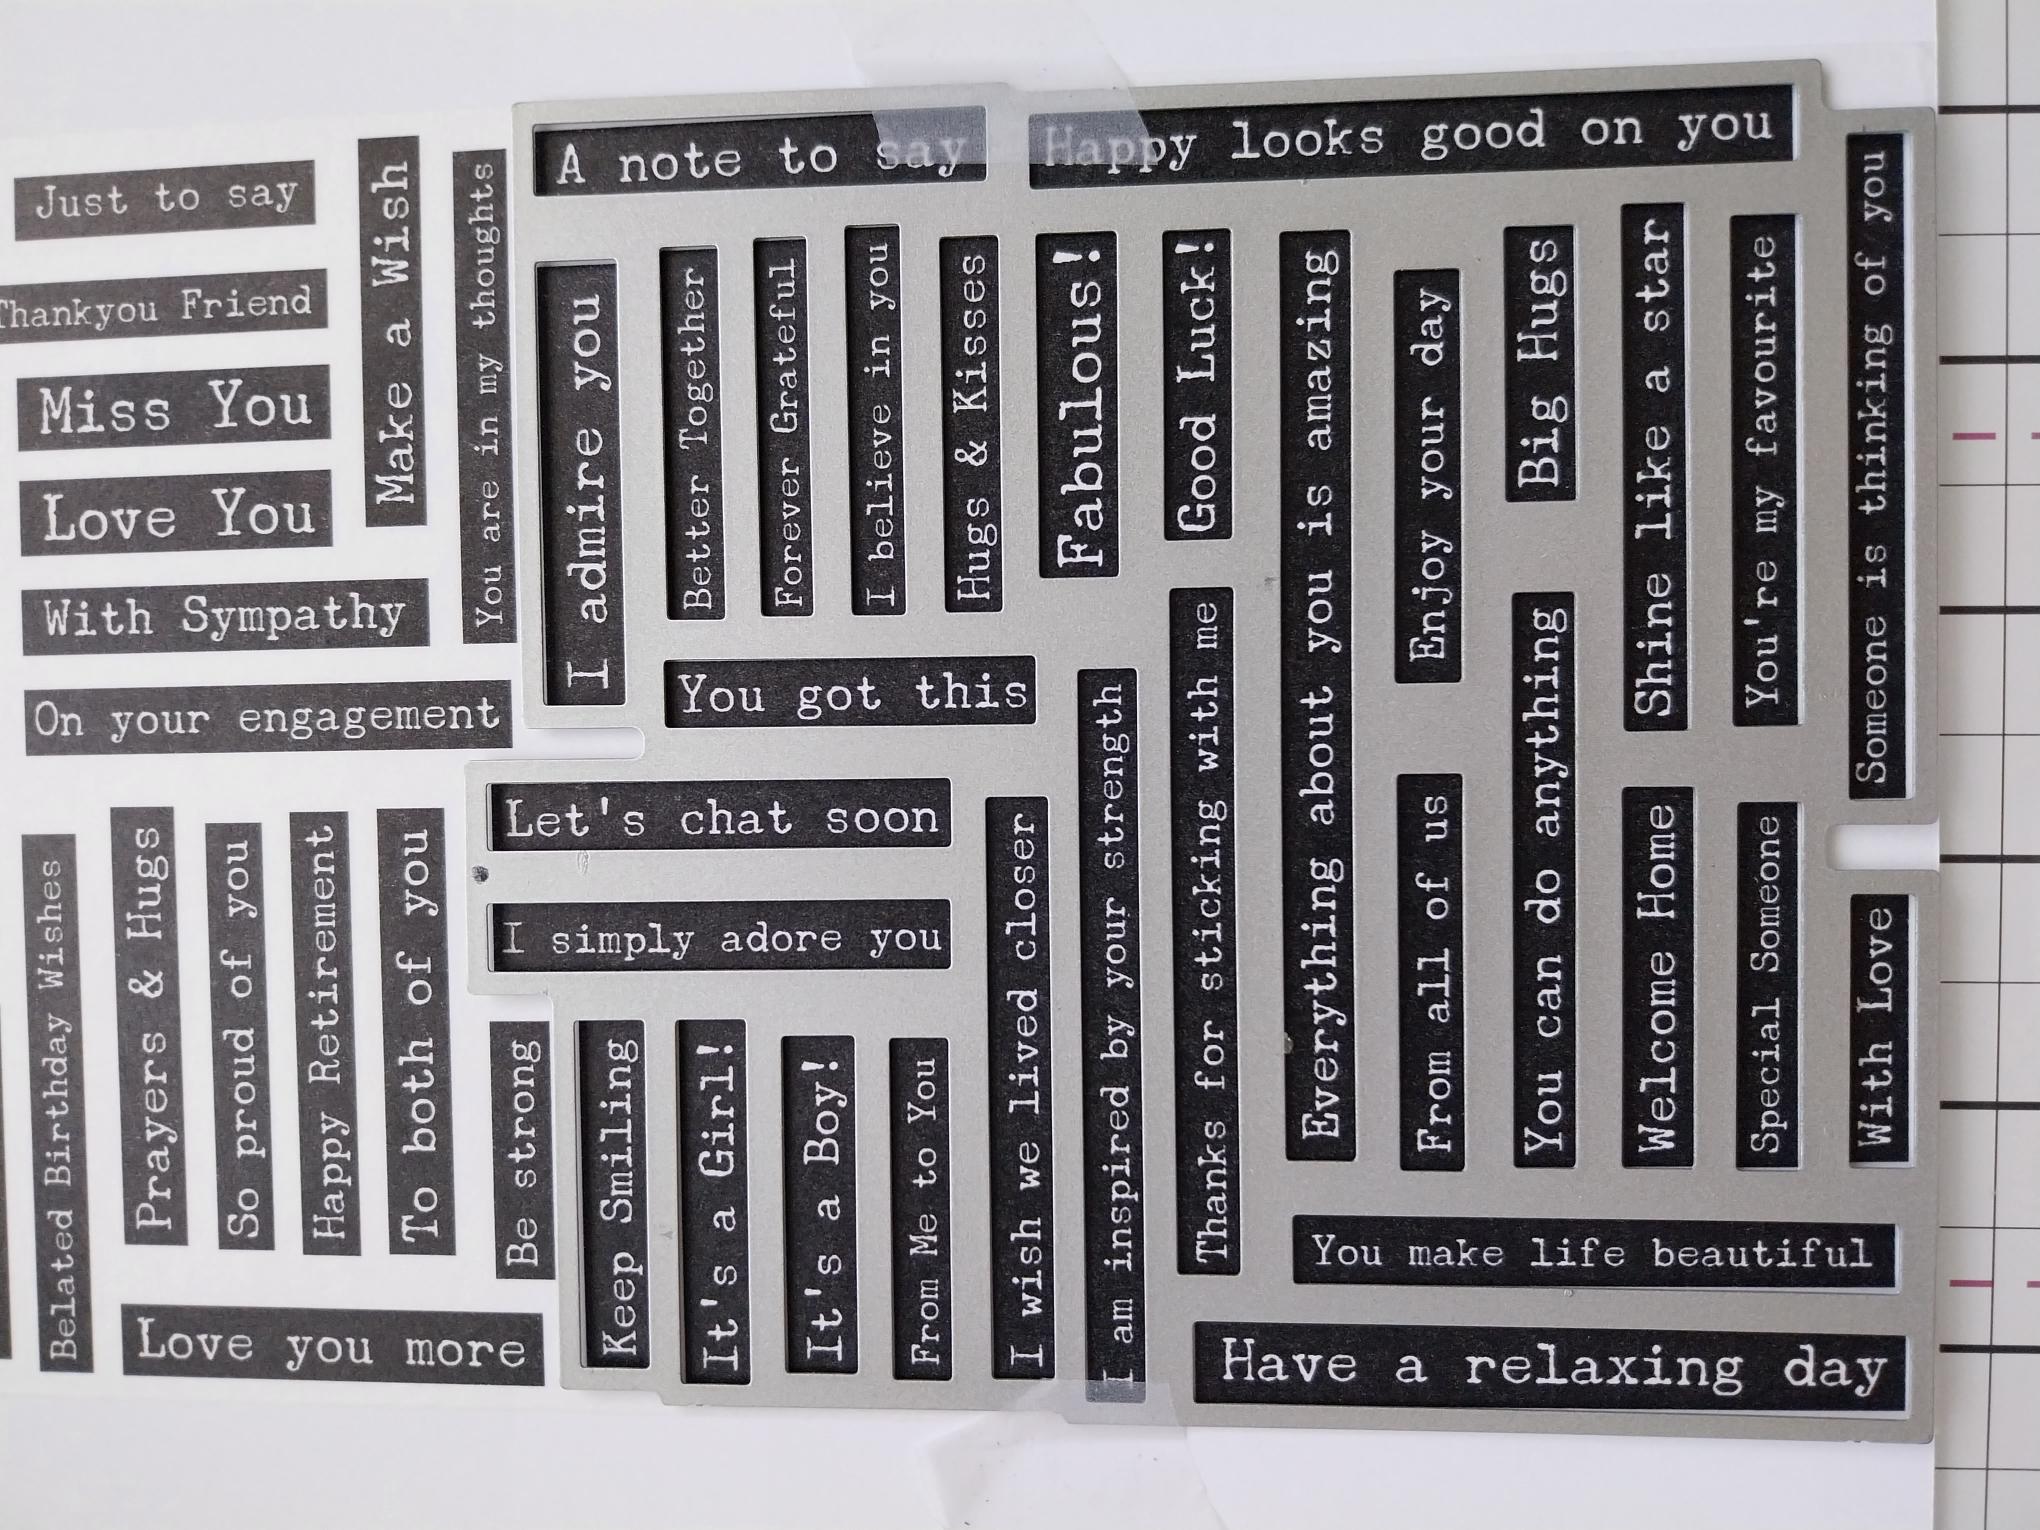
Line up the first die and secure with low tack tape before running it through your machine. |
|
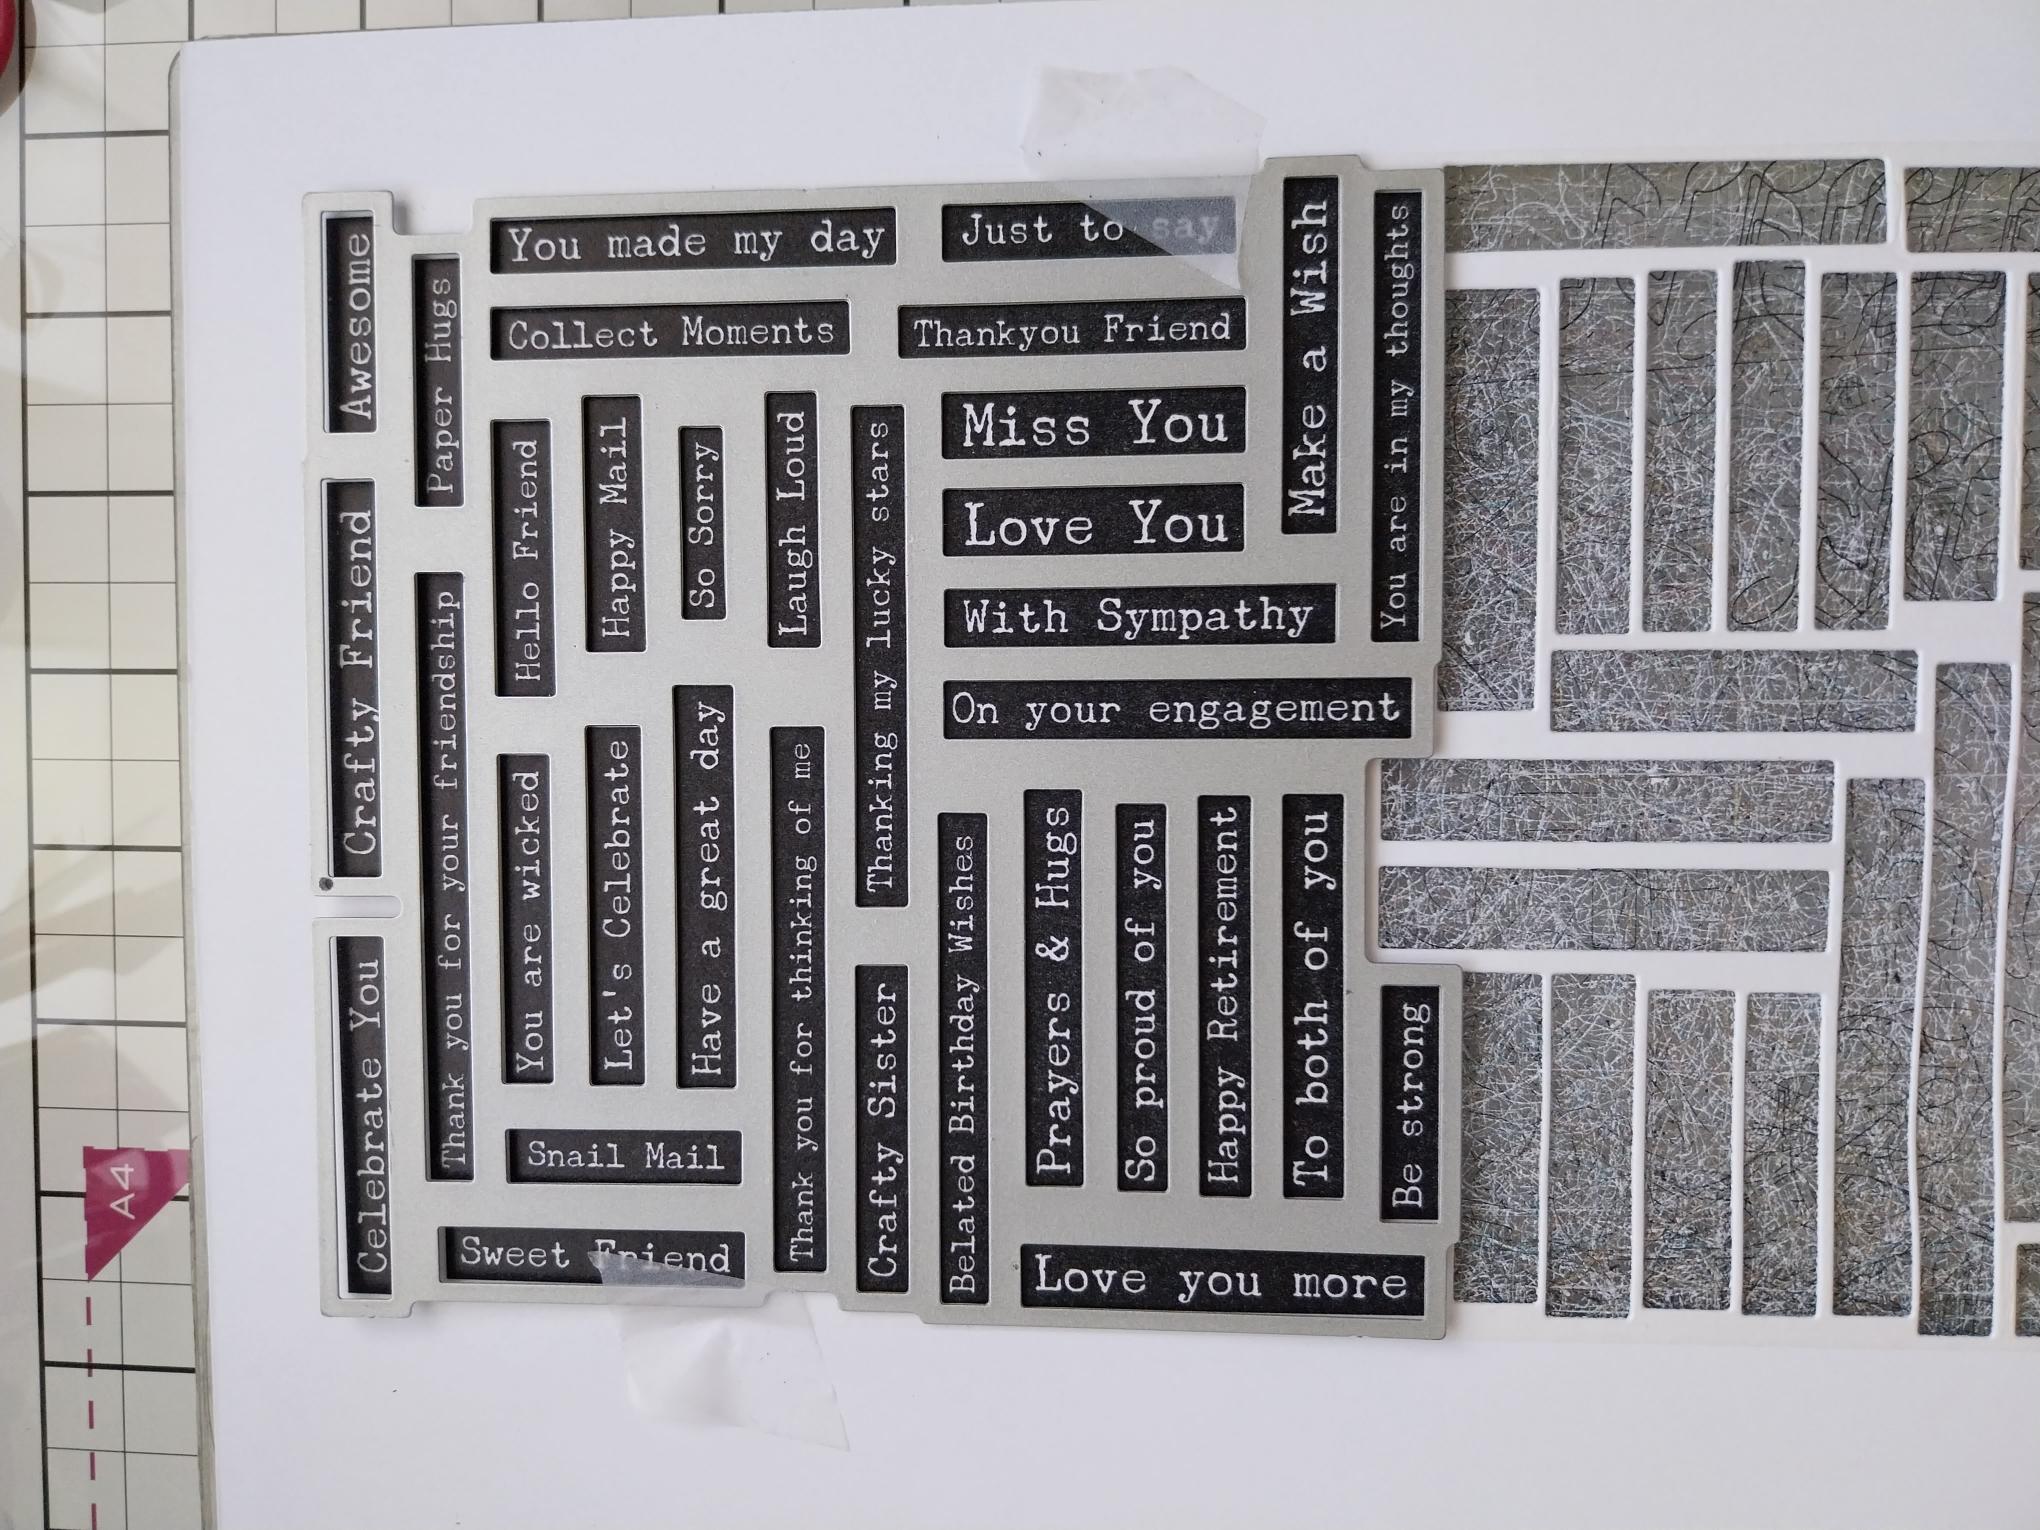
Line up the second die and run it through your machine. Pop out all the sentiments, pick out the one you are using for this project and keep the rest in a tub for future projects. |
|
Construct your card by gluing your artwork to your card blank and finishing with your washi tape sentiment raised on foam pads. |