

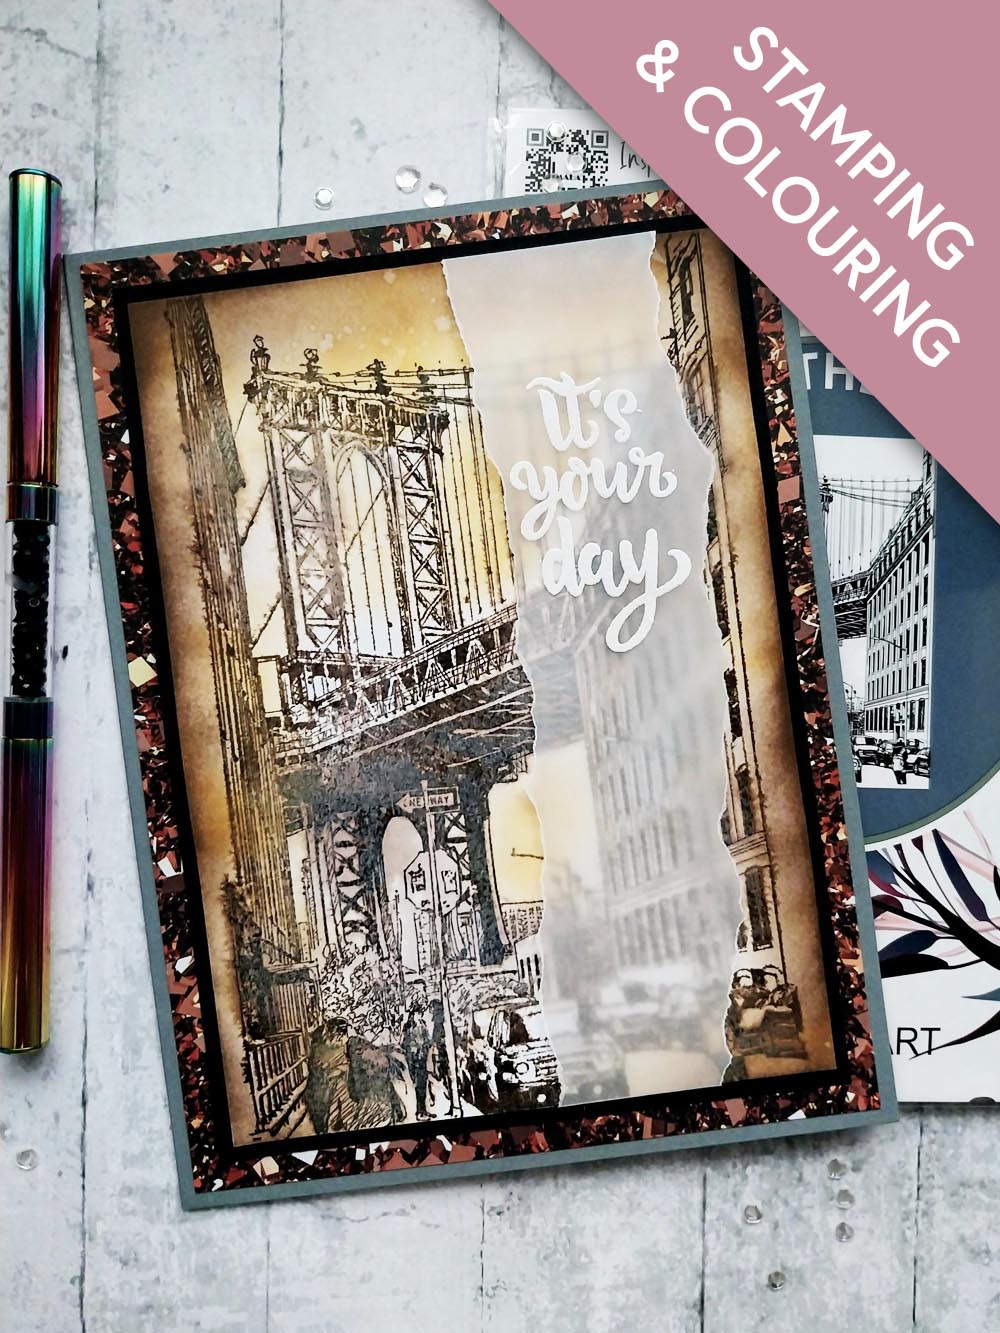
WHAT YOU WILL NEED:
Grey card blank 6 x 8"
Black/white cardstock
Vellum
Imala The Big Apple A5 Stamp
It's Your Day Lamination
All Surfaces Copper 8 x 8" Paper Pack
SBM Hybrid Ink Pad: Midnight
Versafine Ink Pad: Smoky Grey
Distress Ink/Oxide Ink Pad: Walnut Stain, Wild Honey
Blending Tool
Paint brush
Water spray bottle
WOW Embossing ink pad
WOW heat tool
WOW white embossing powder
Anti-static bag
Eureka 101 Watercolour Tablet
SBM A3 Magnetic glass mat
Paper Trimmer
Glue
Double-sided adhesive tape
[click image to enlarge] 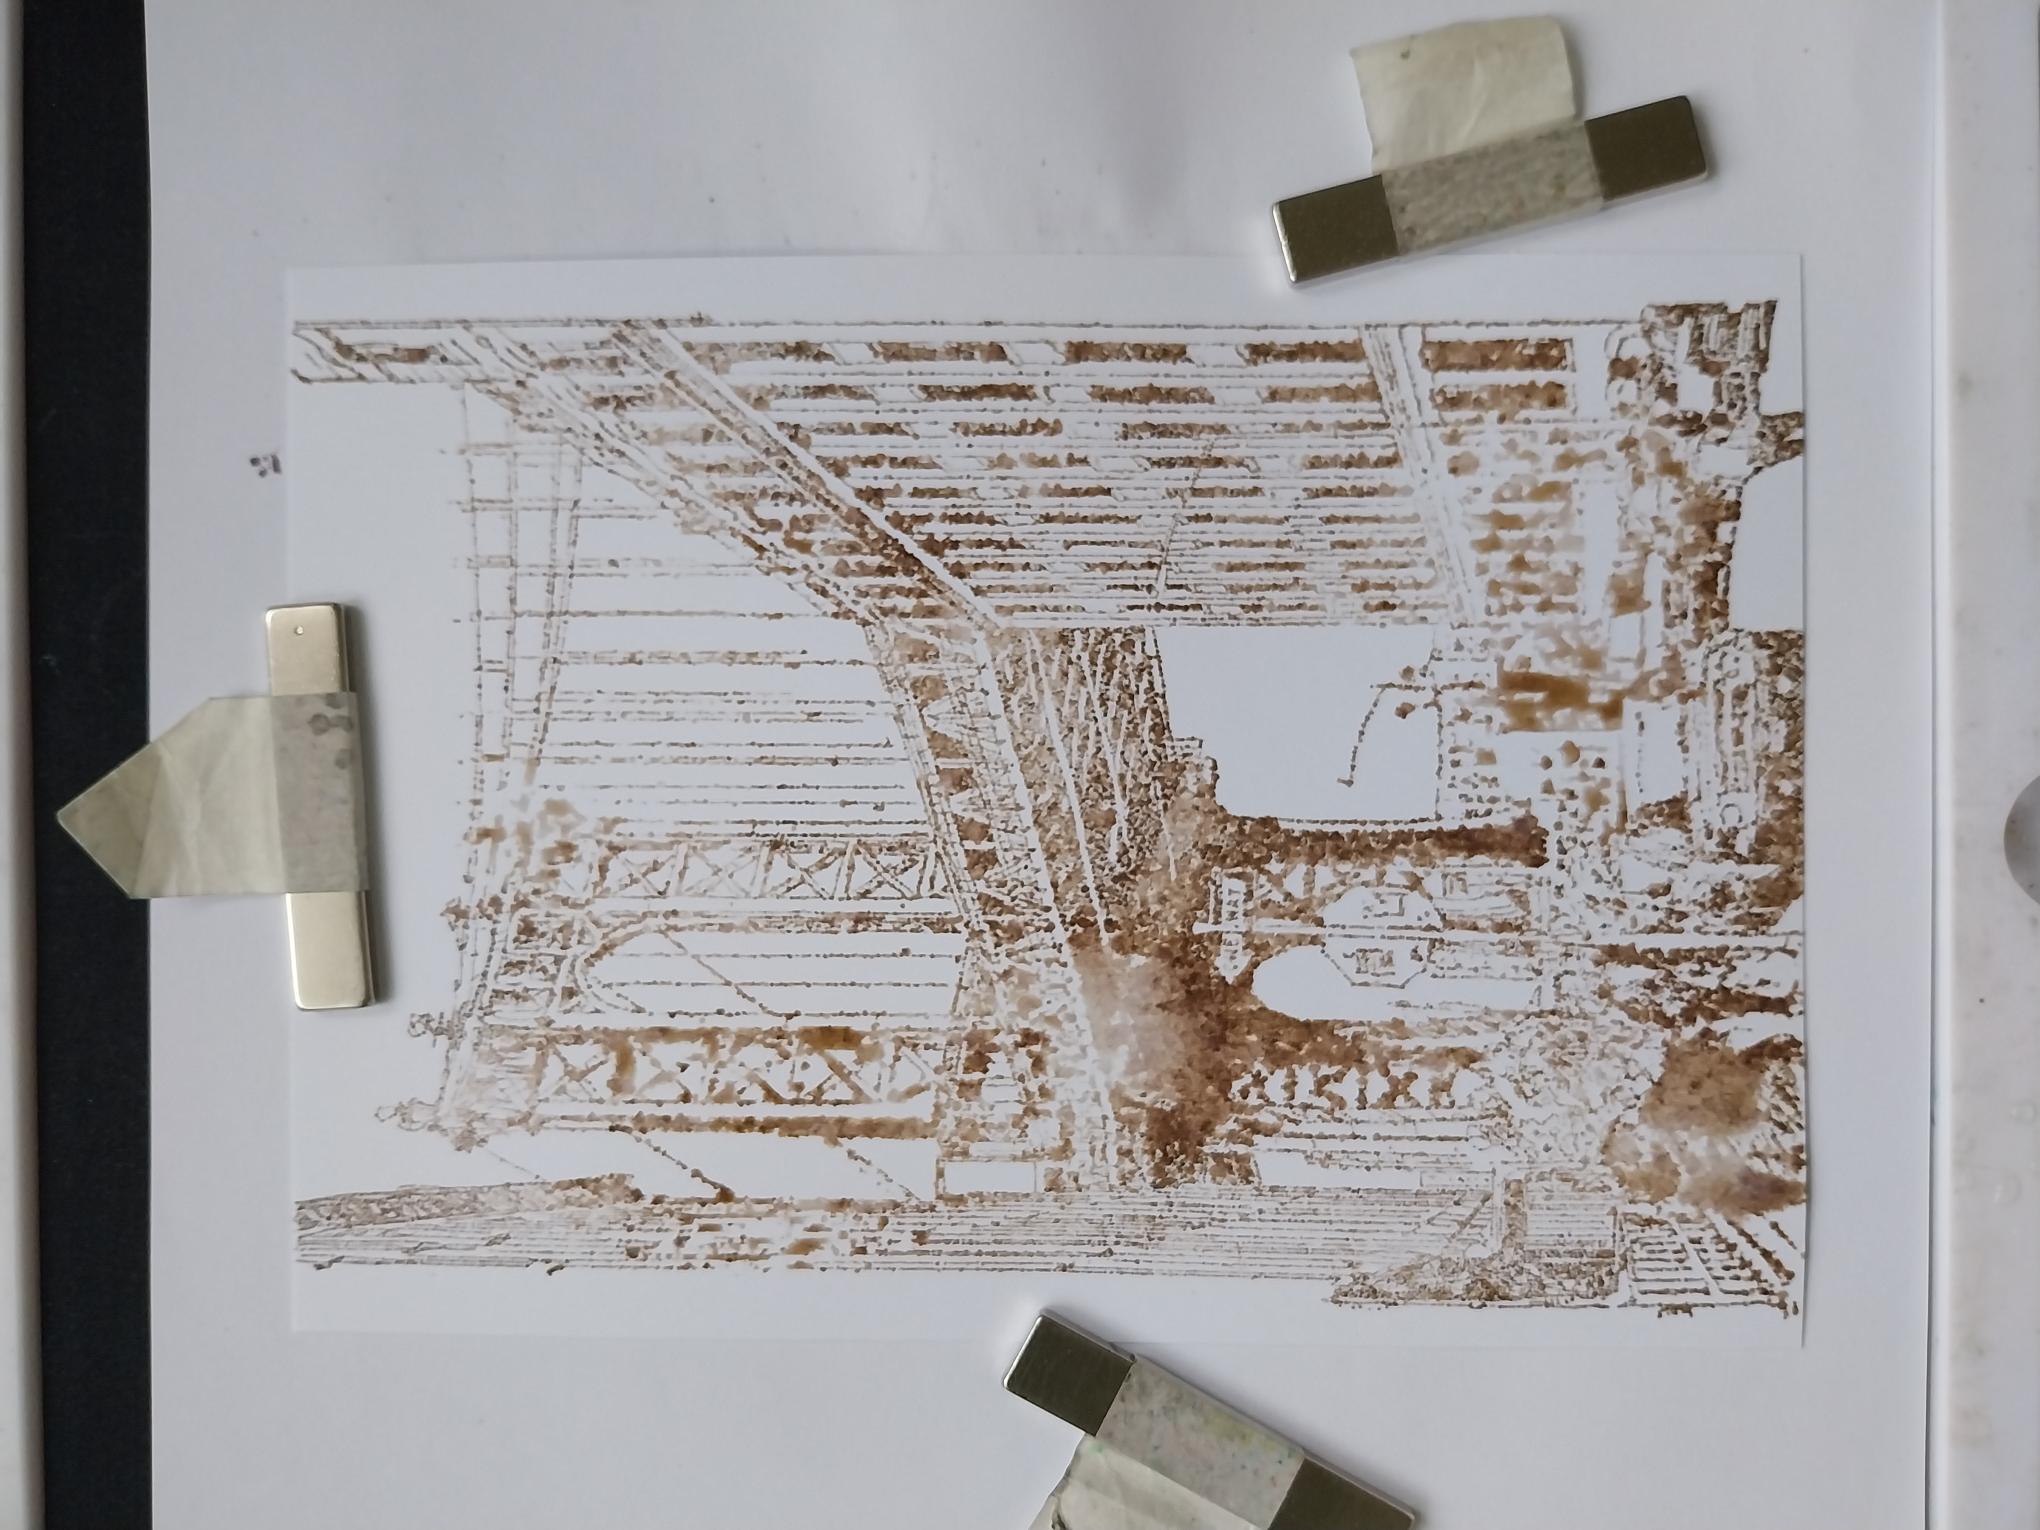
|
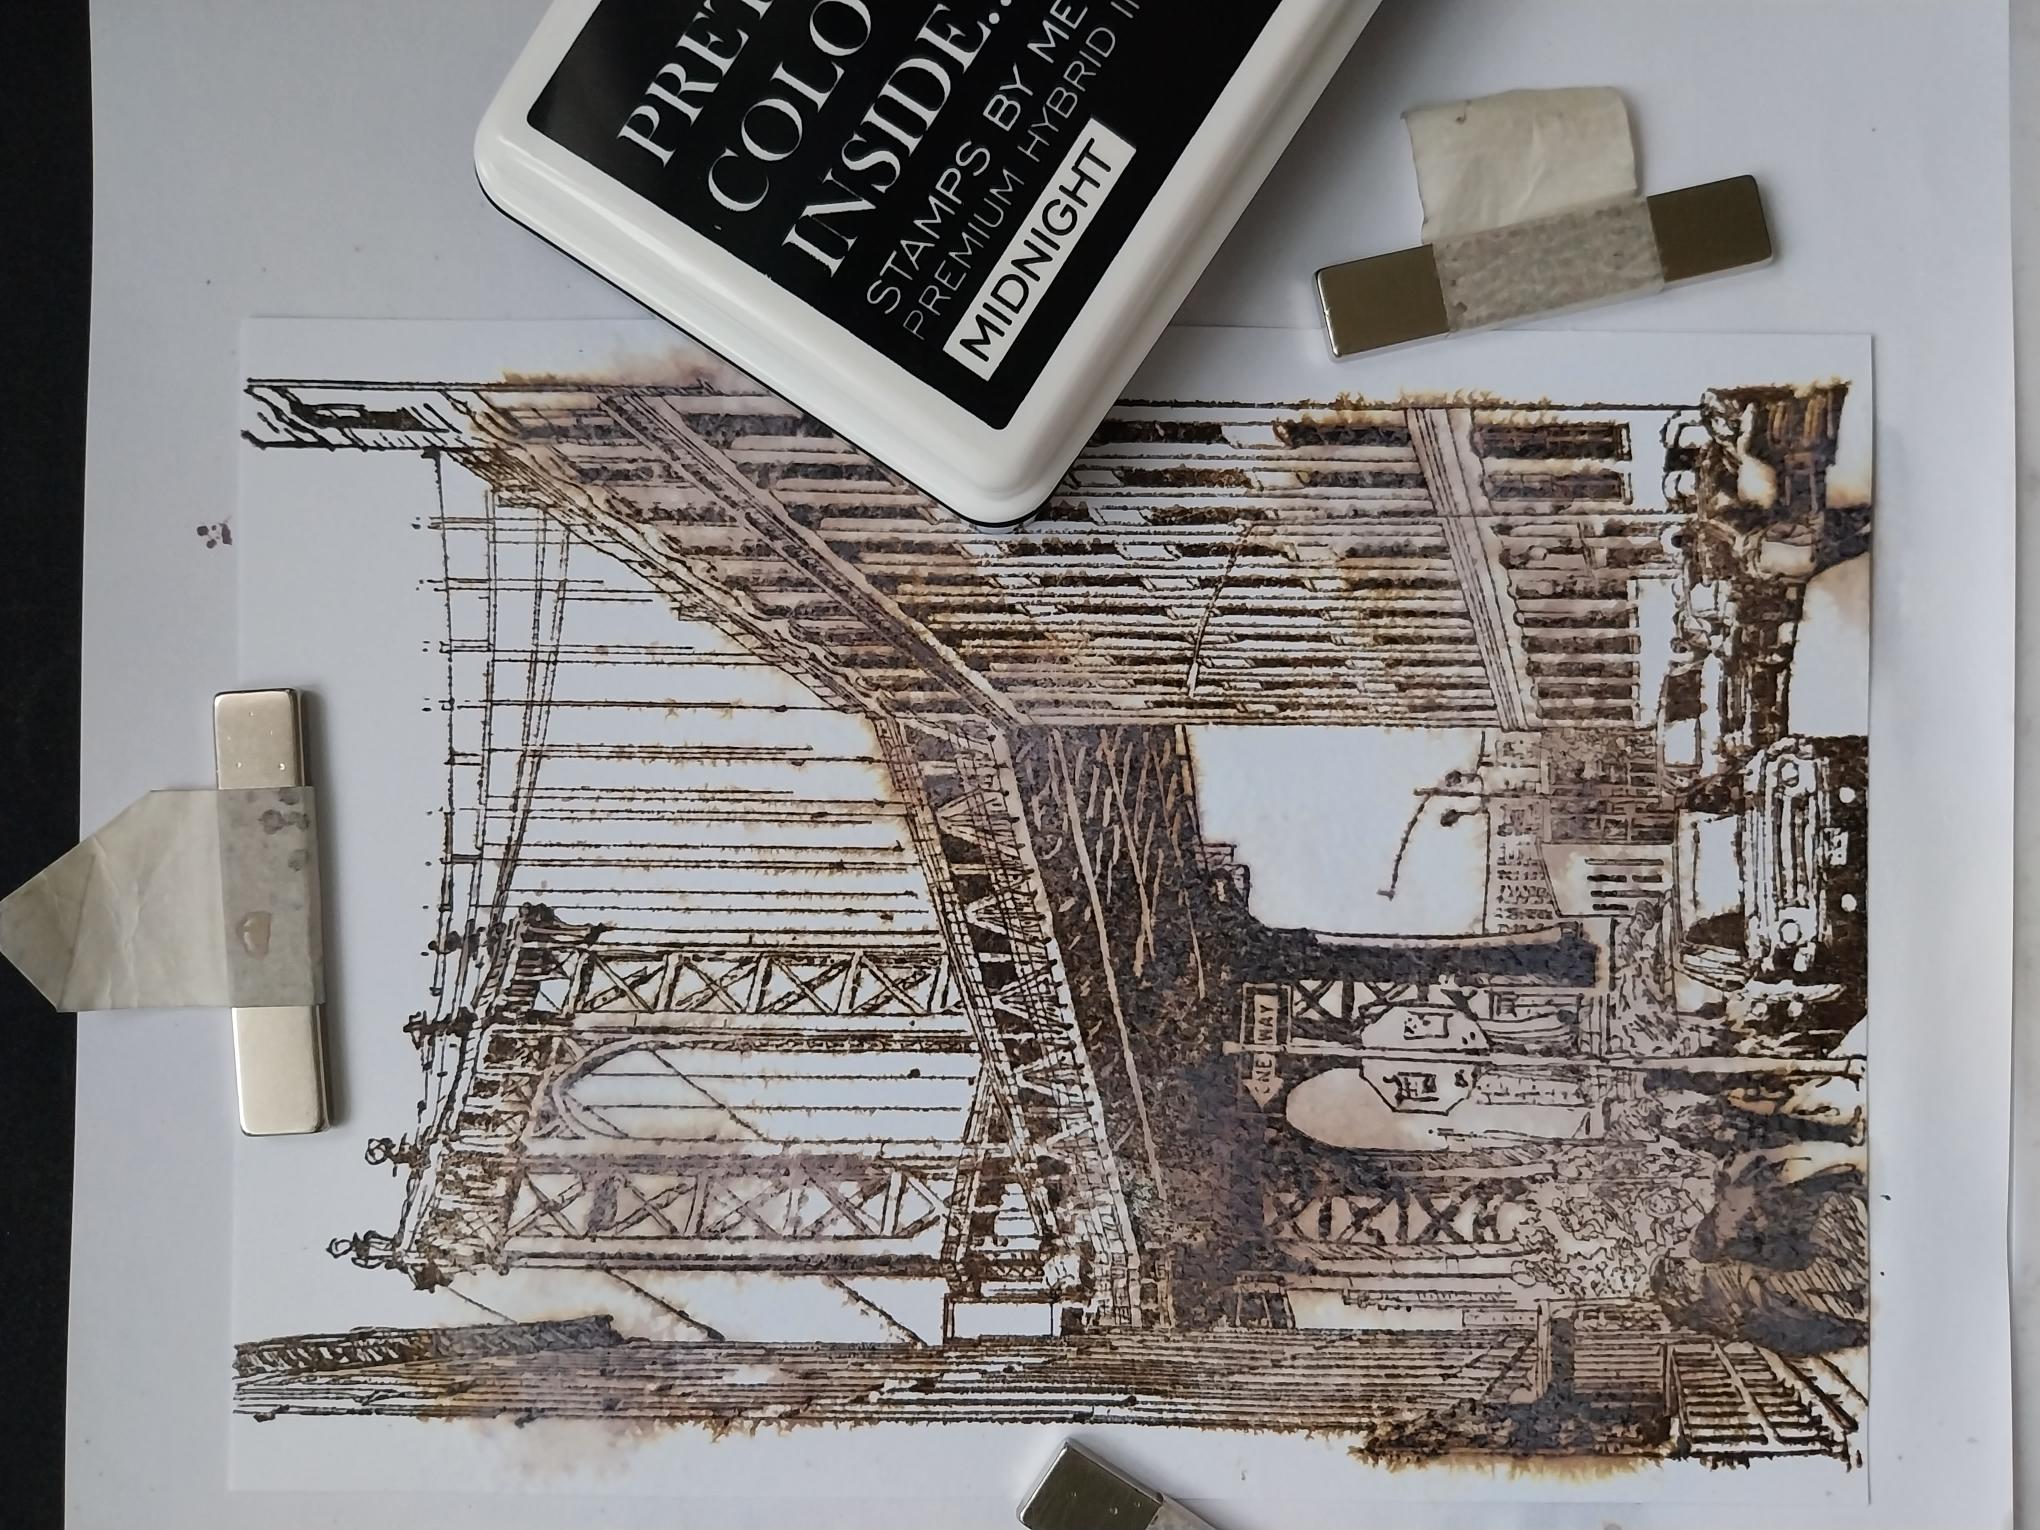
Cut a piece of white card 5 x 7". Secure your card inside your Eureka. Stamp your image with the Walnut Stain ink. If necessary, stamp several times as there is a lot of detail in the image. DO NOT MOVE THE STAMP OR CARD AT THIS STAGE!!
|
|
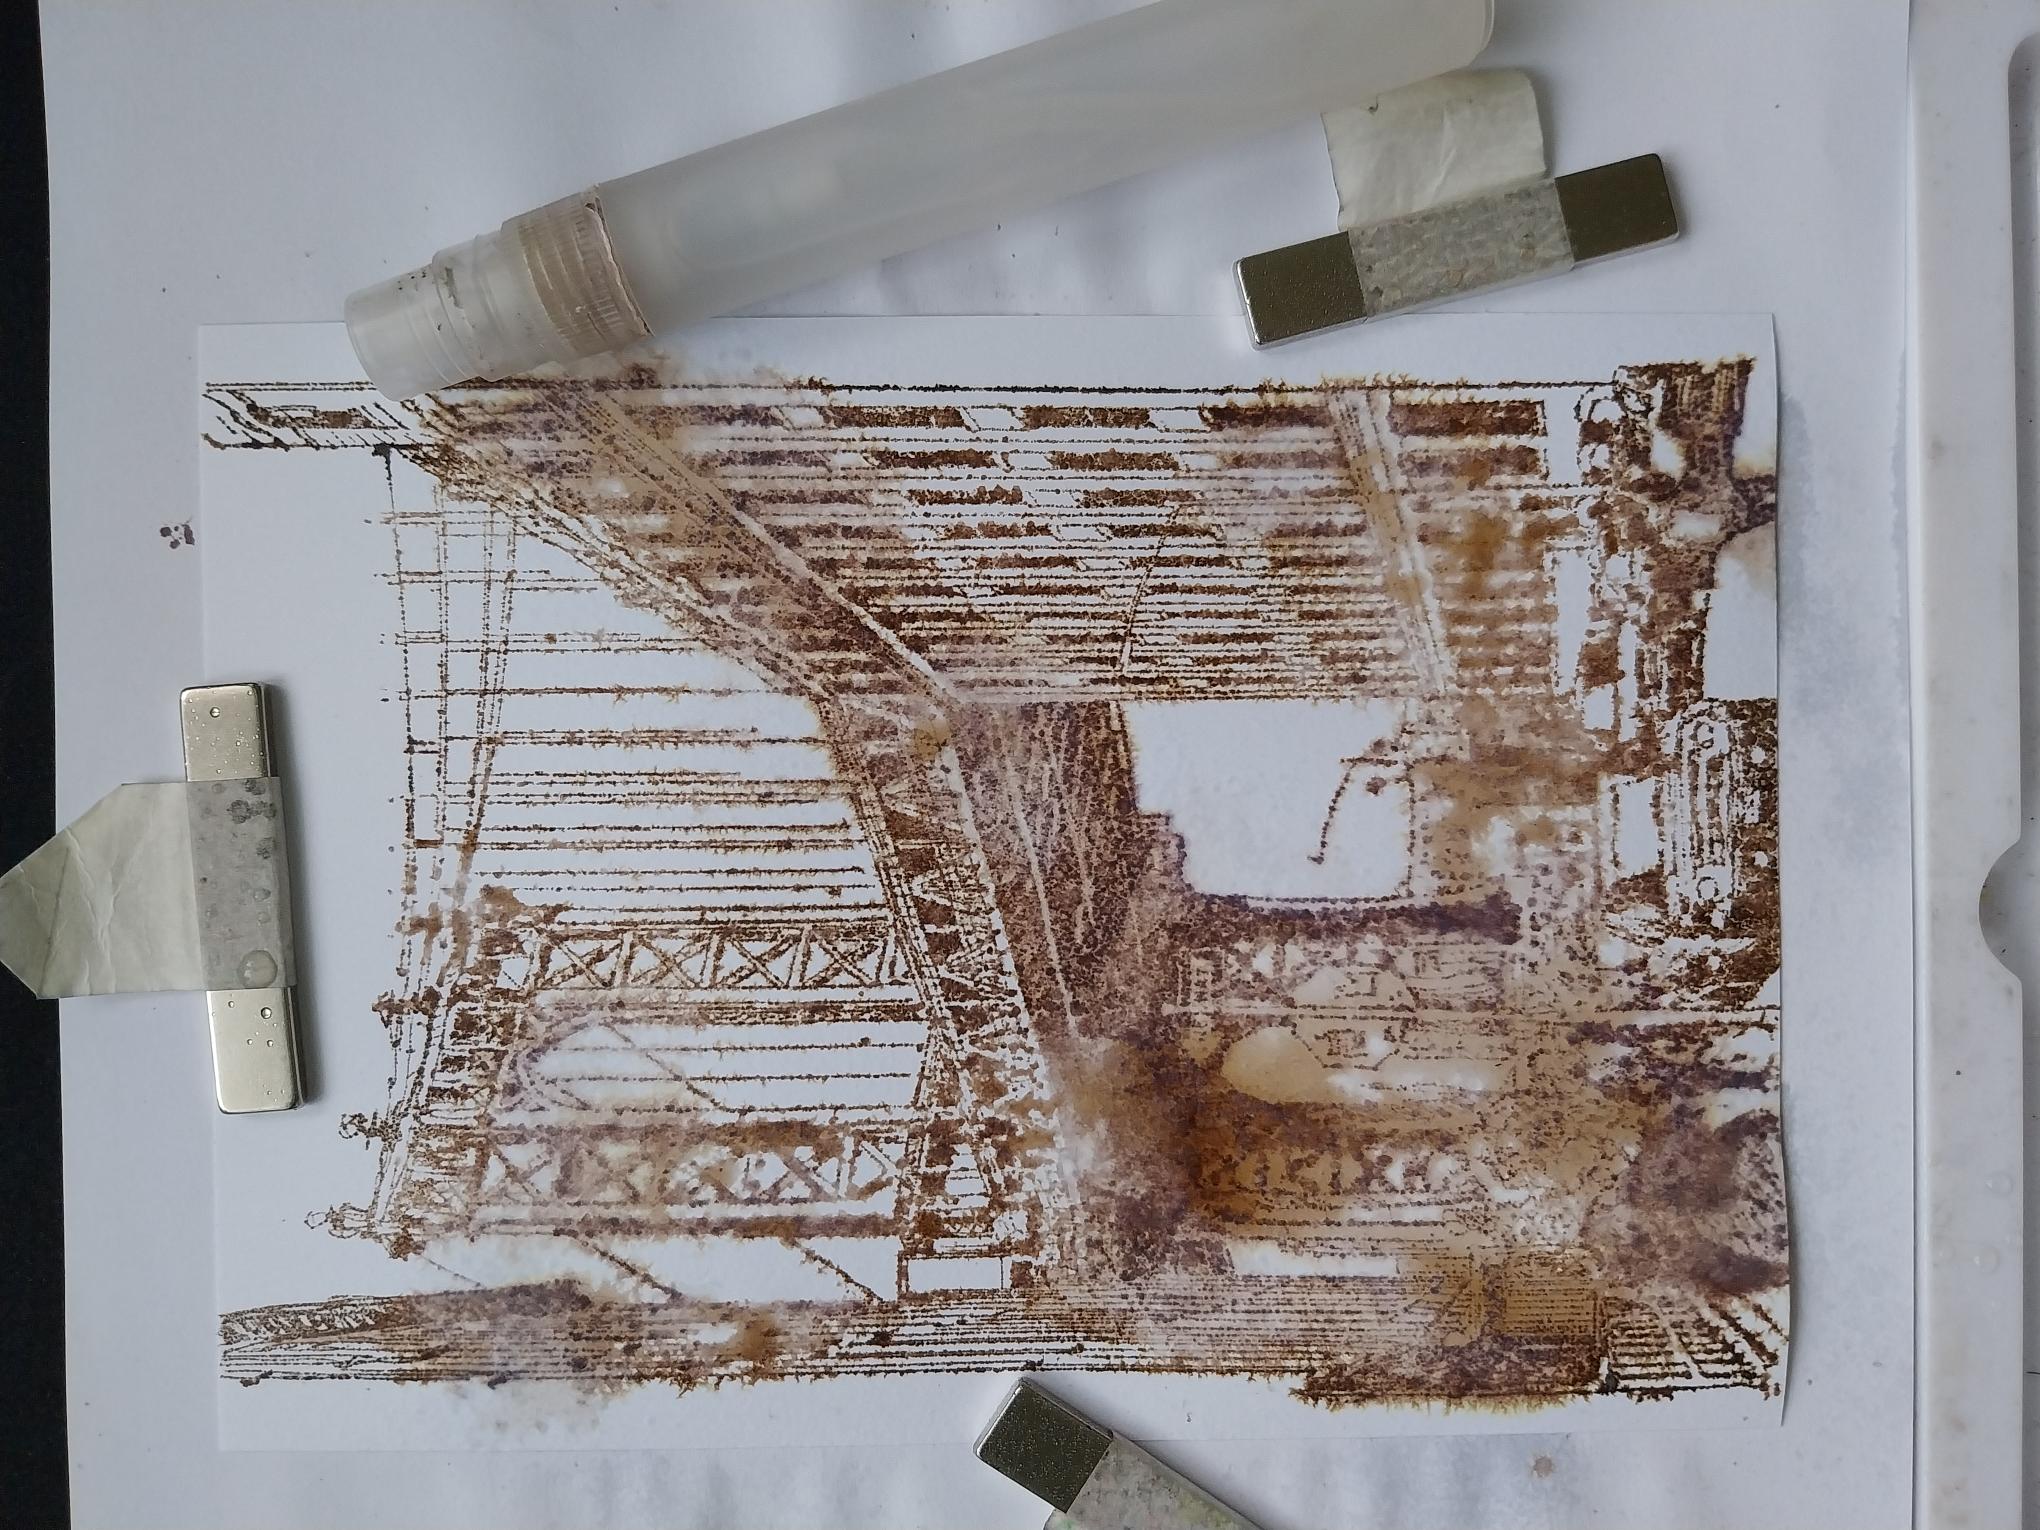
While everything is still in position, spray the stamped image with water and allow the ink to "bleed". How much you allow the image to "bleed" is personal preference. Mop up any excess water and blast dry with your heat tool, ensuring you do not move anything!! This is known as the "bleeding" technique. |
|
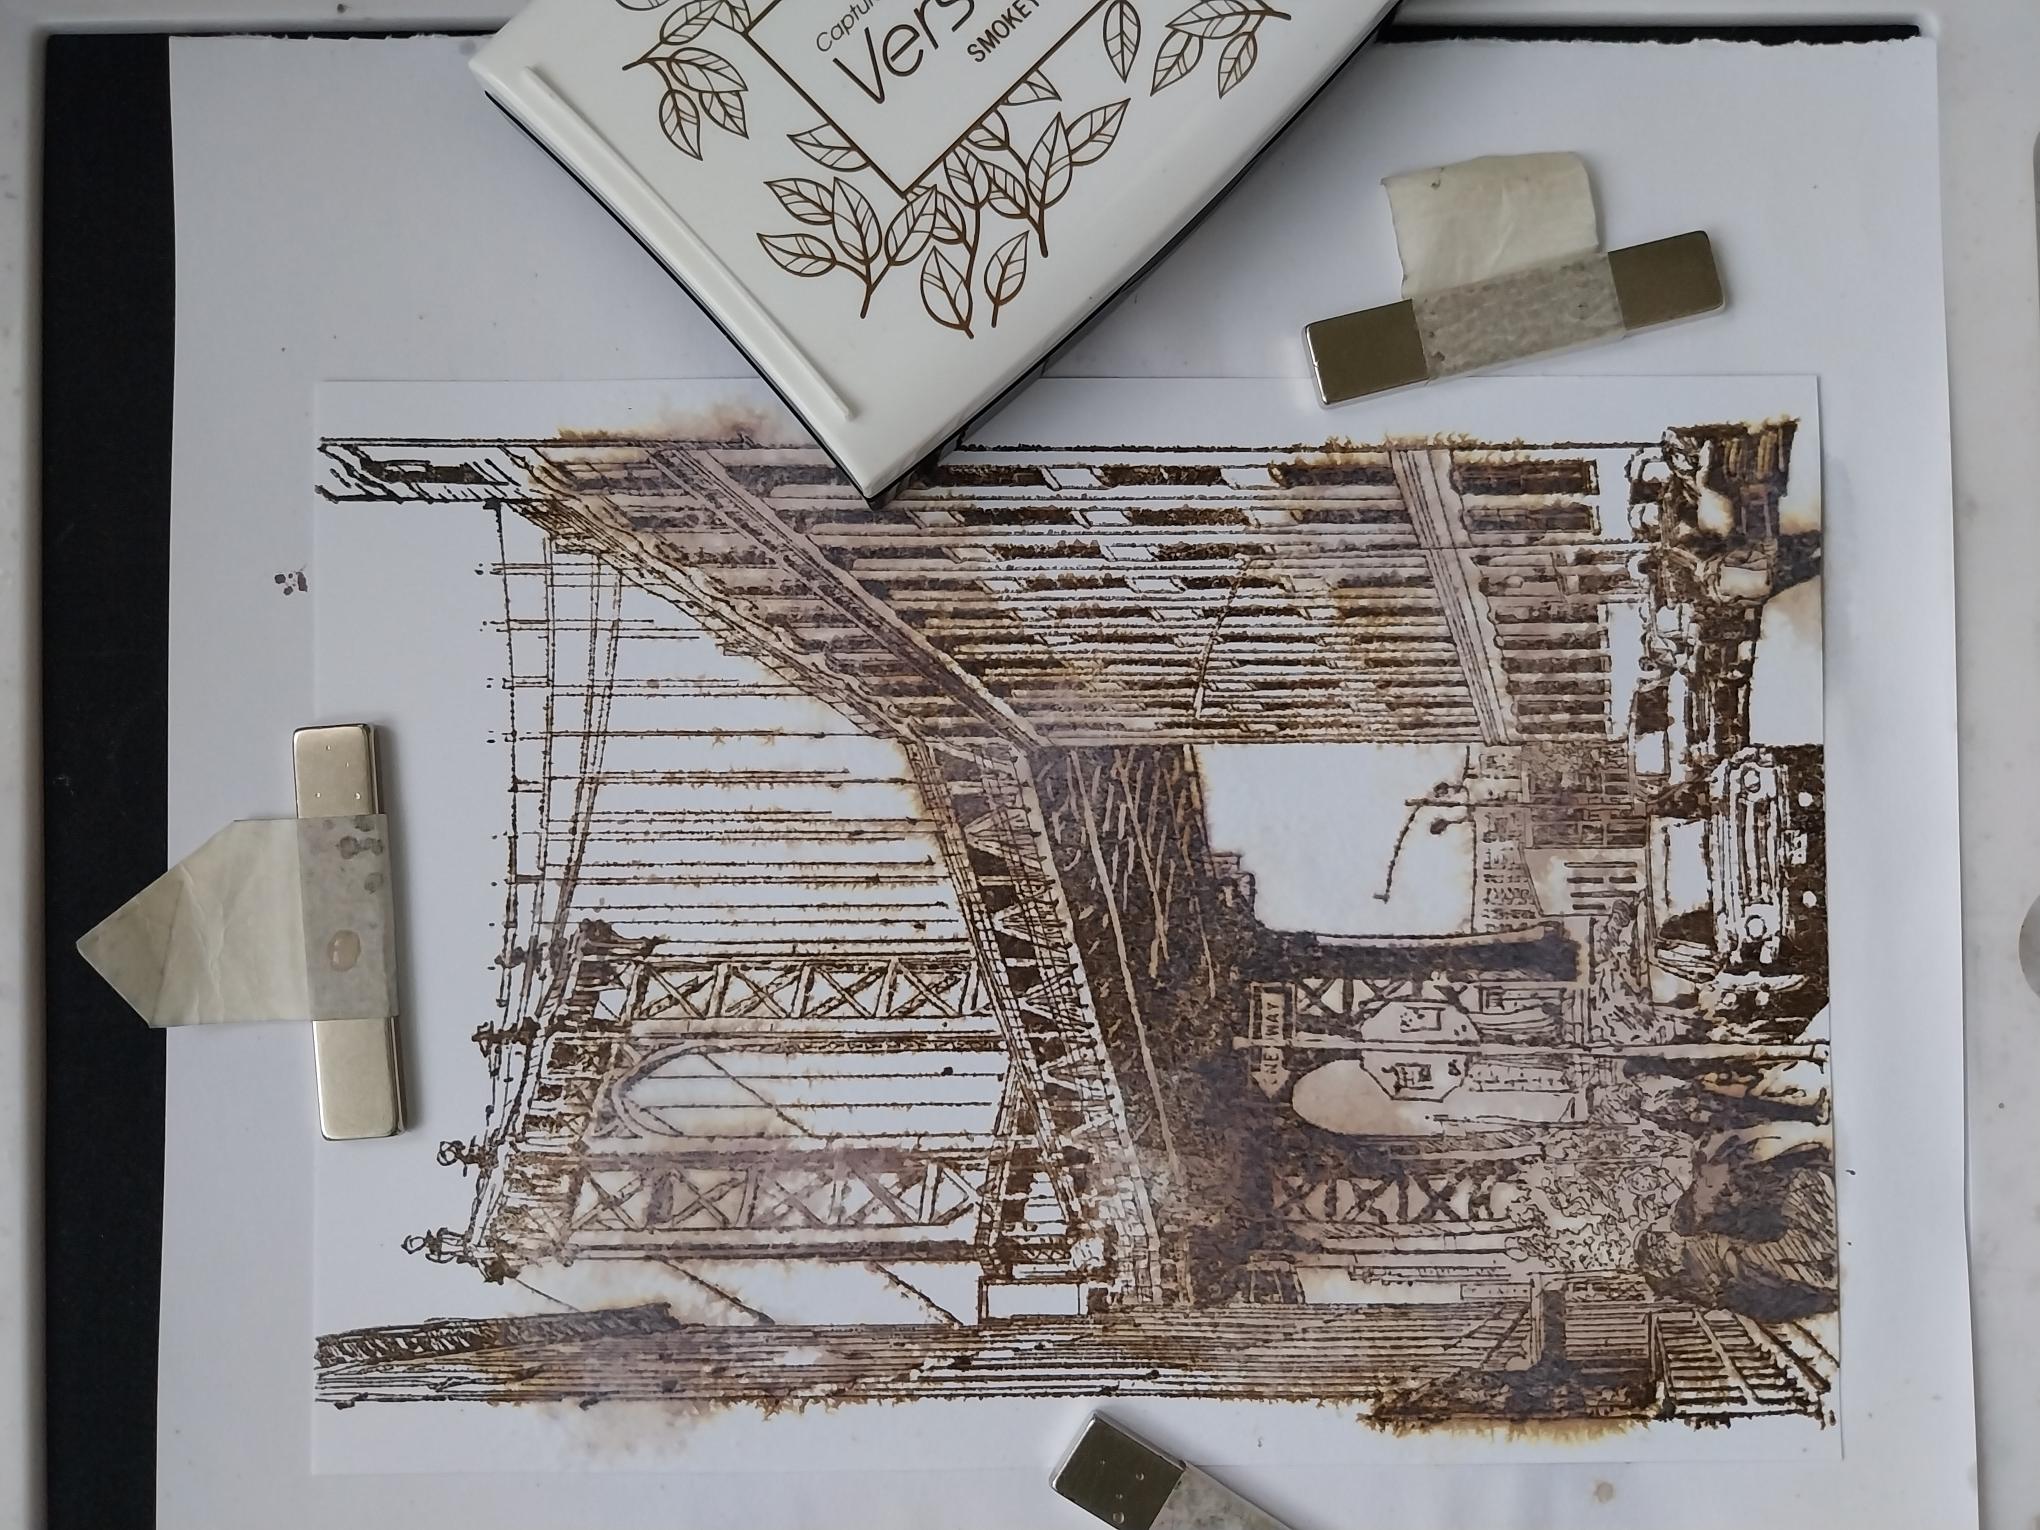
Re-ink the stamp with the Smoky Grey Versafine and stamp back over the image. This puts the finer details back in to your artwork. DO NOT MOVE ANYTHING!! |
|
RANDOMLY ink areas of the stamp that may be in shadow, with the Midnight ink and stamp back over your image. This adds depth and dimension to your artwork. You can now remove your artwork from your Eureka and dry it off with your heat tool. |
|
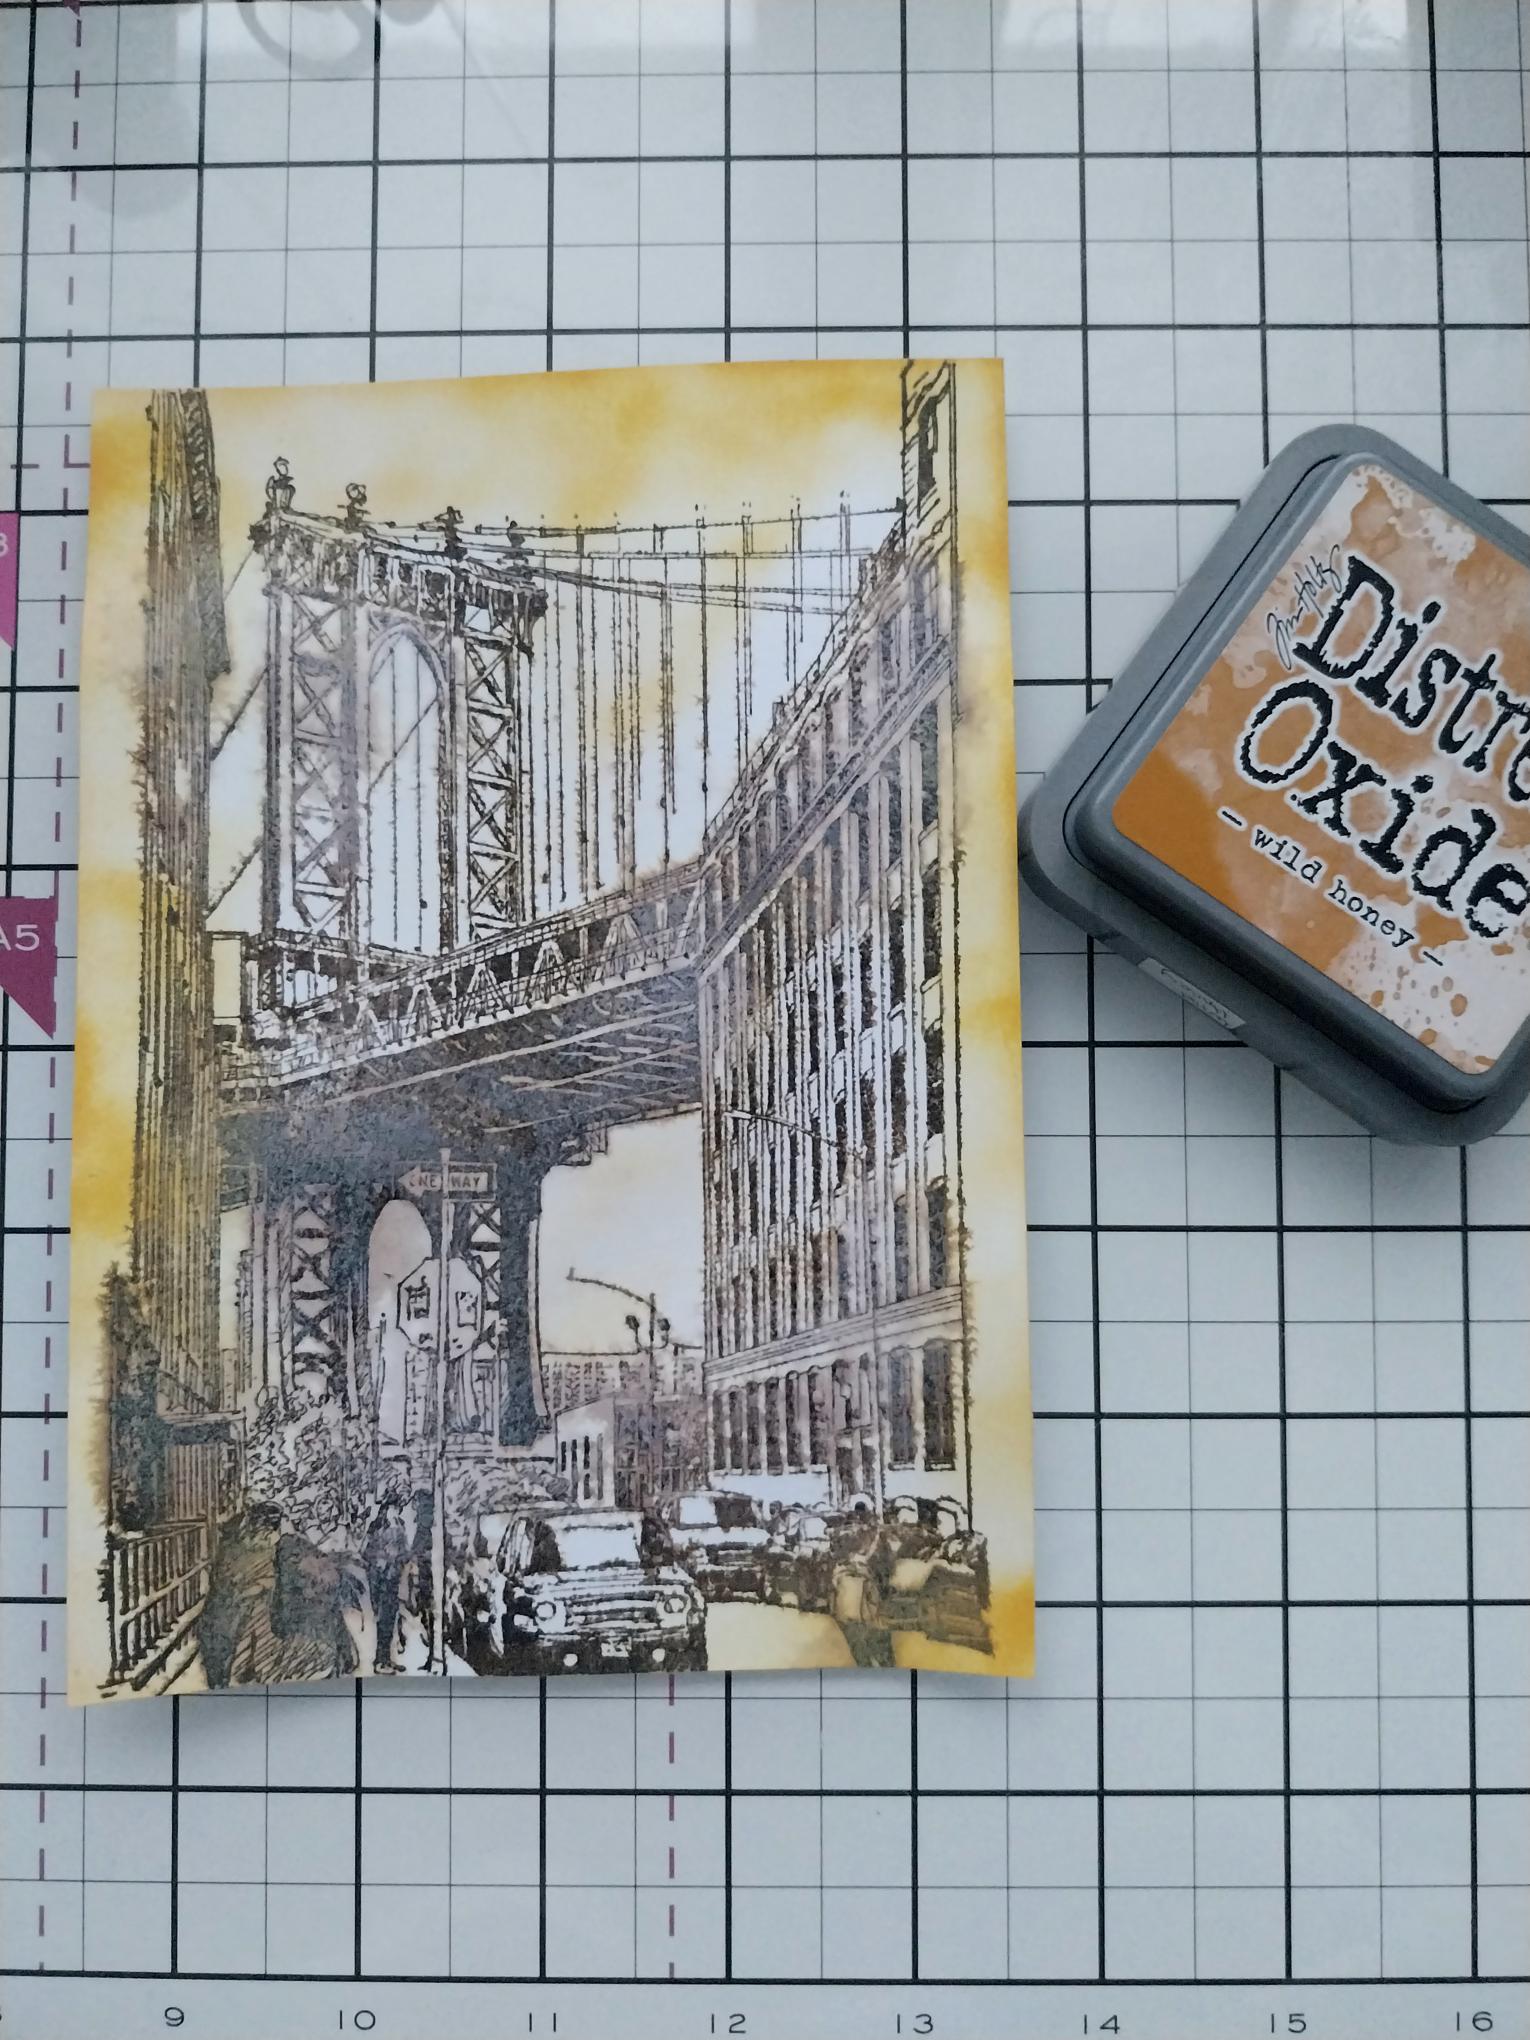
Blend the Wild Honey around your stamped artwork. |
|
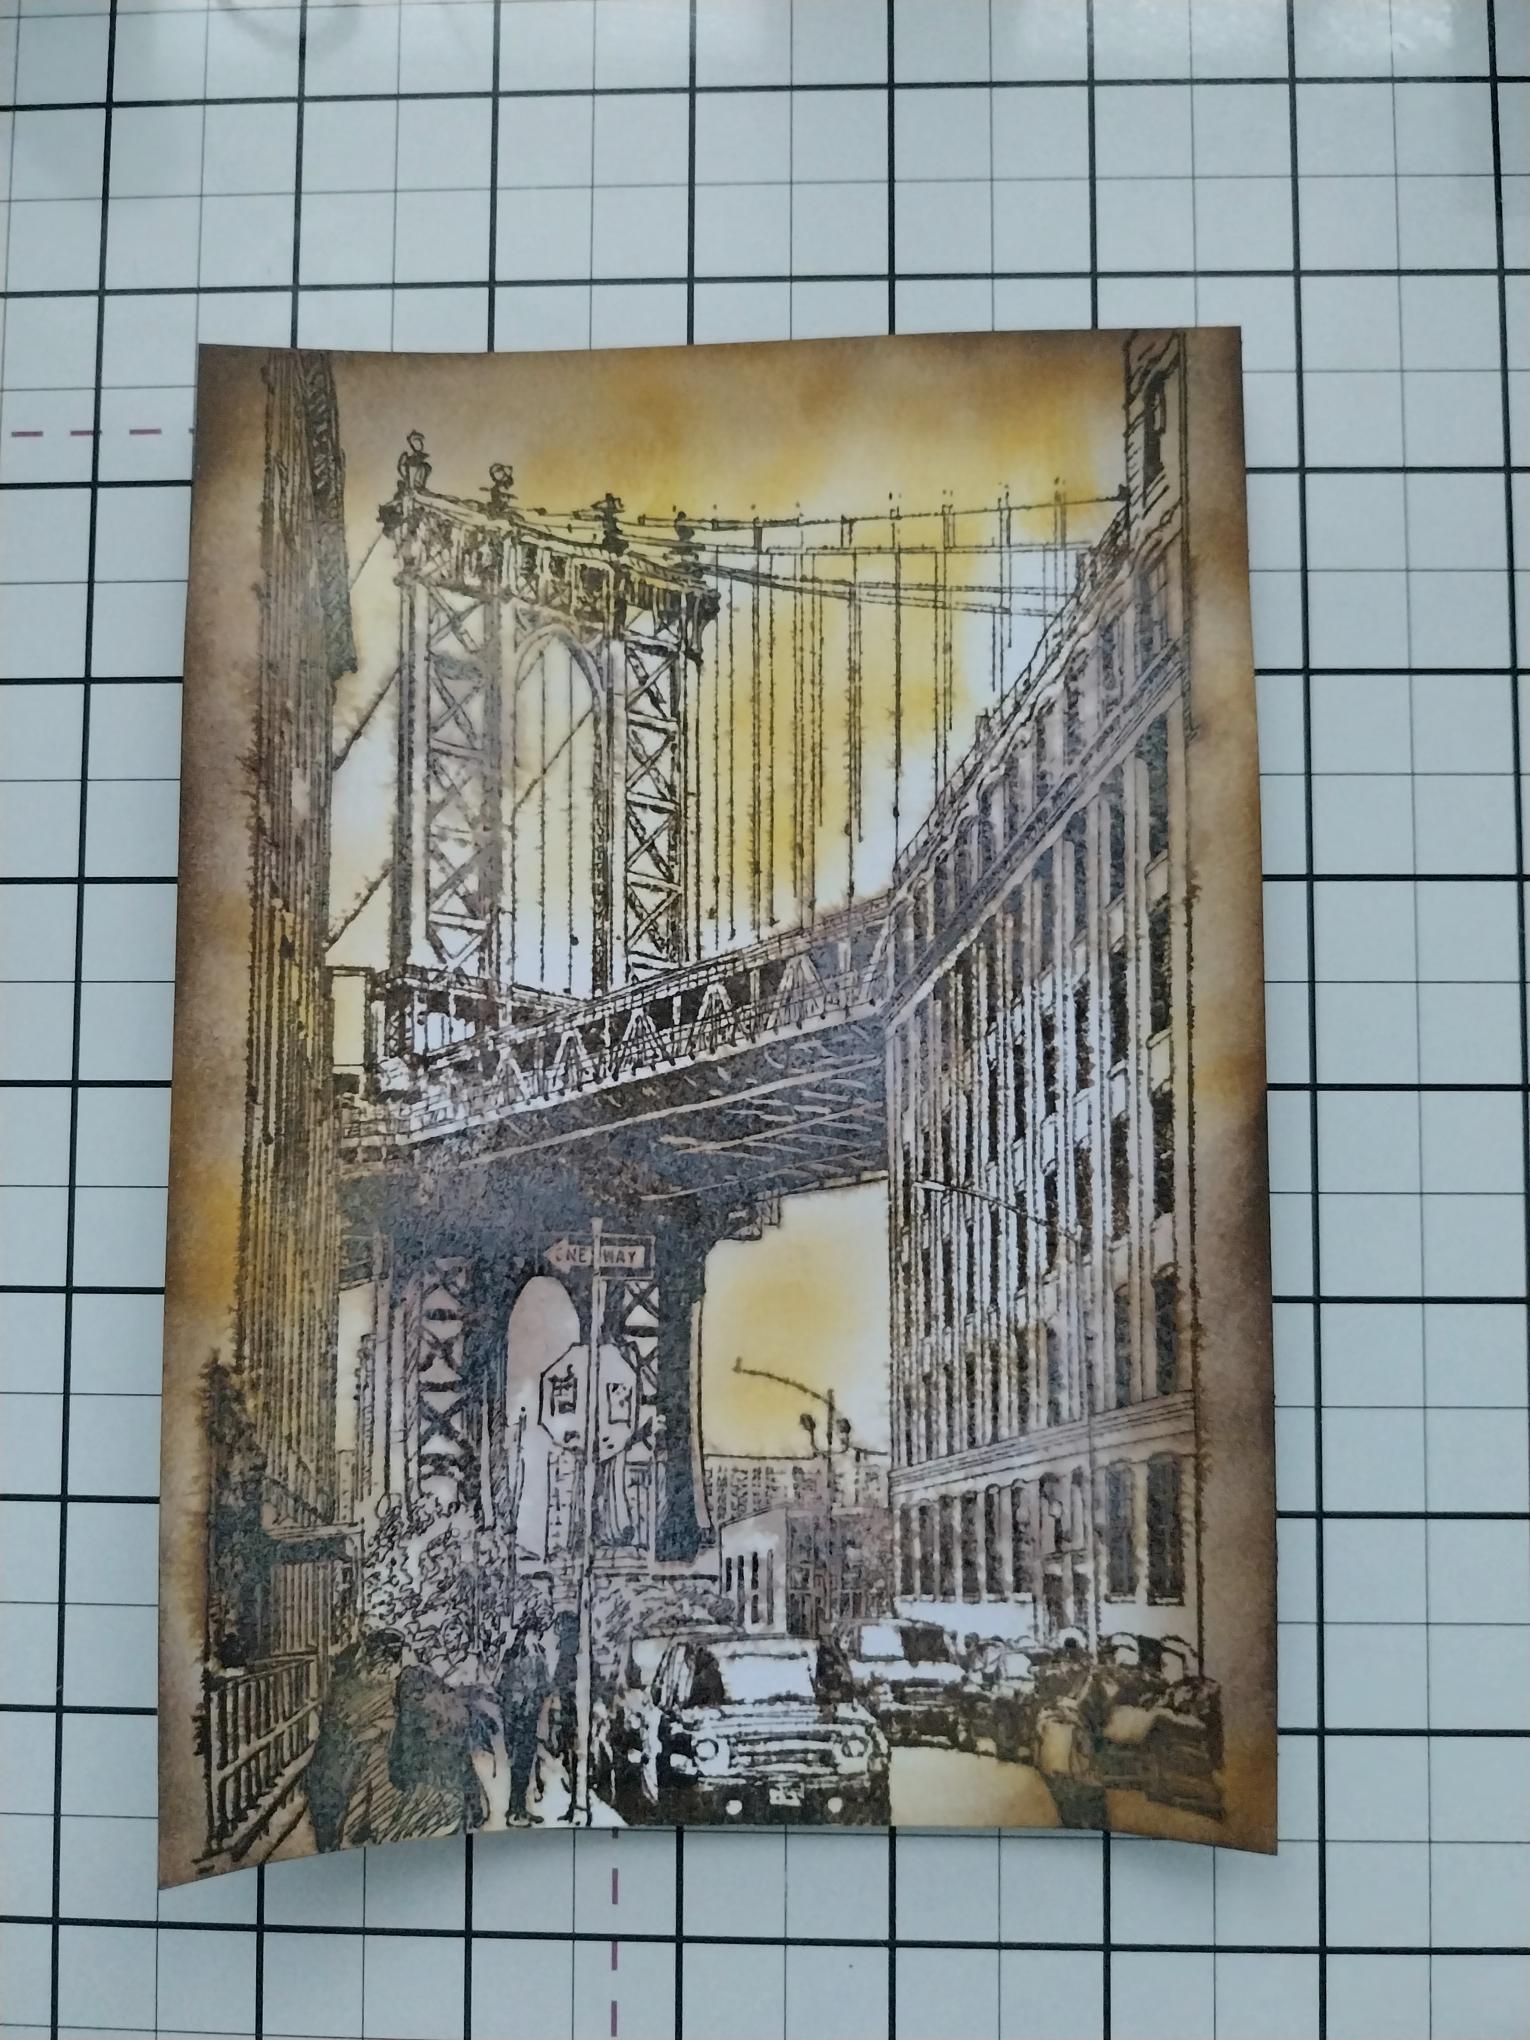
Blend Walnut Stain around the outer edges of the card. This will draw the eye in to the image. |
|
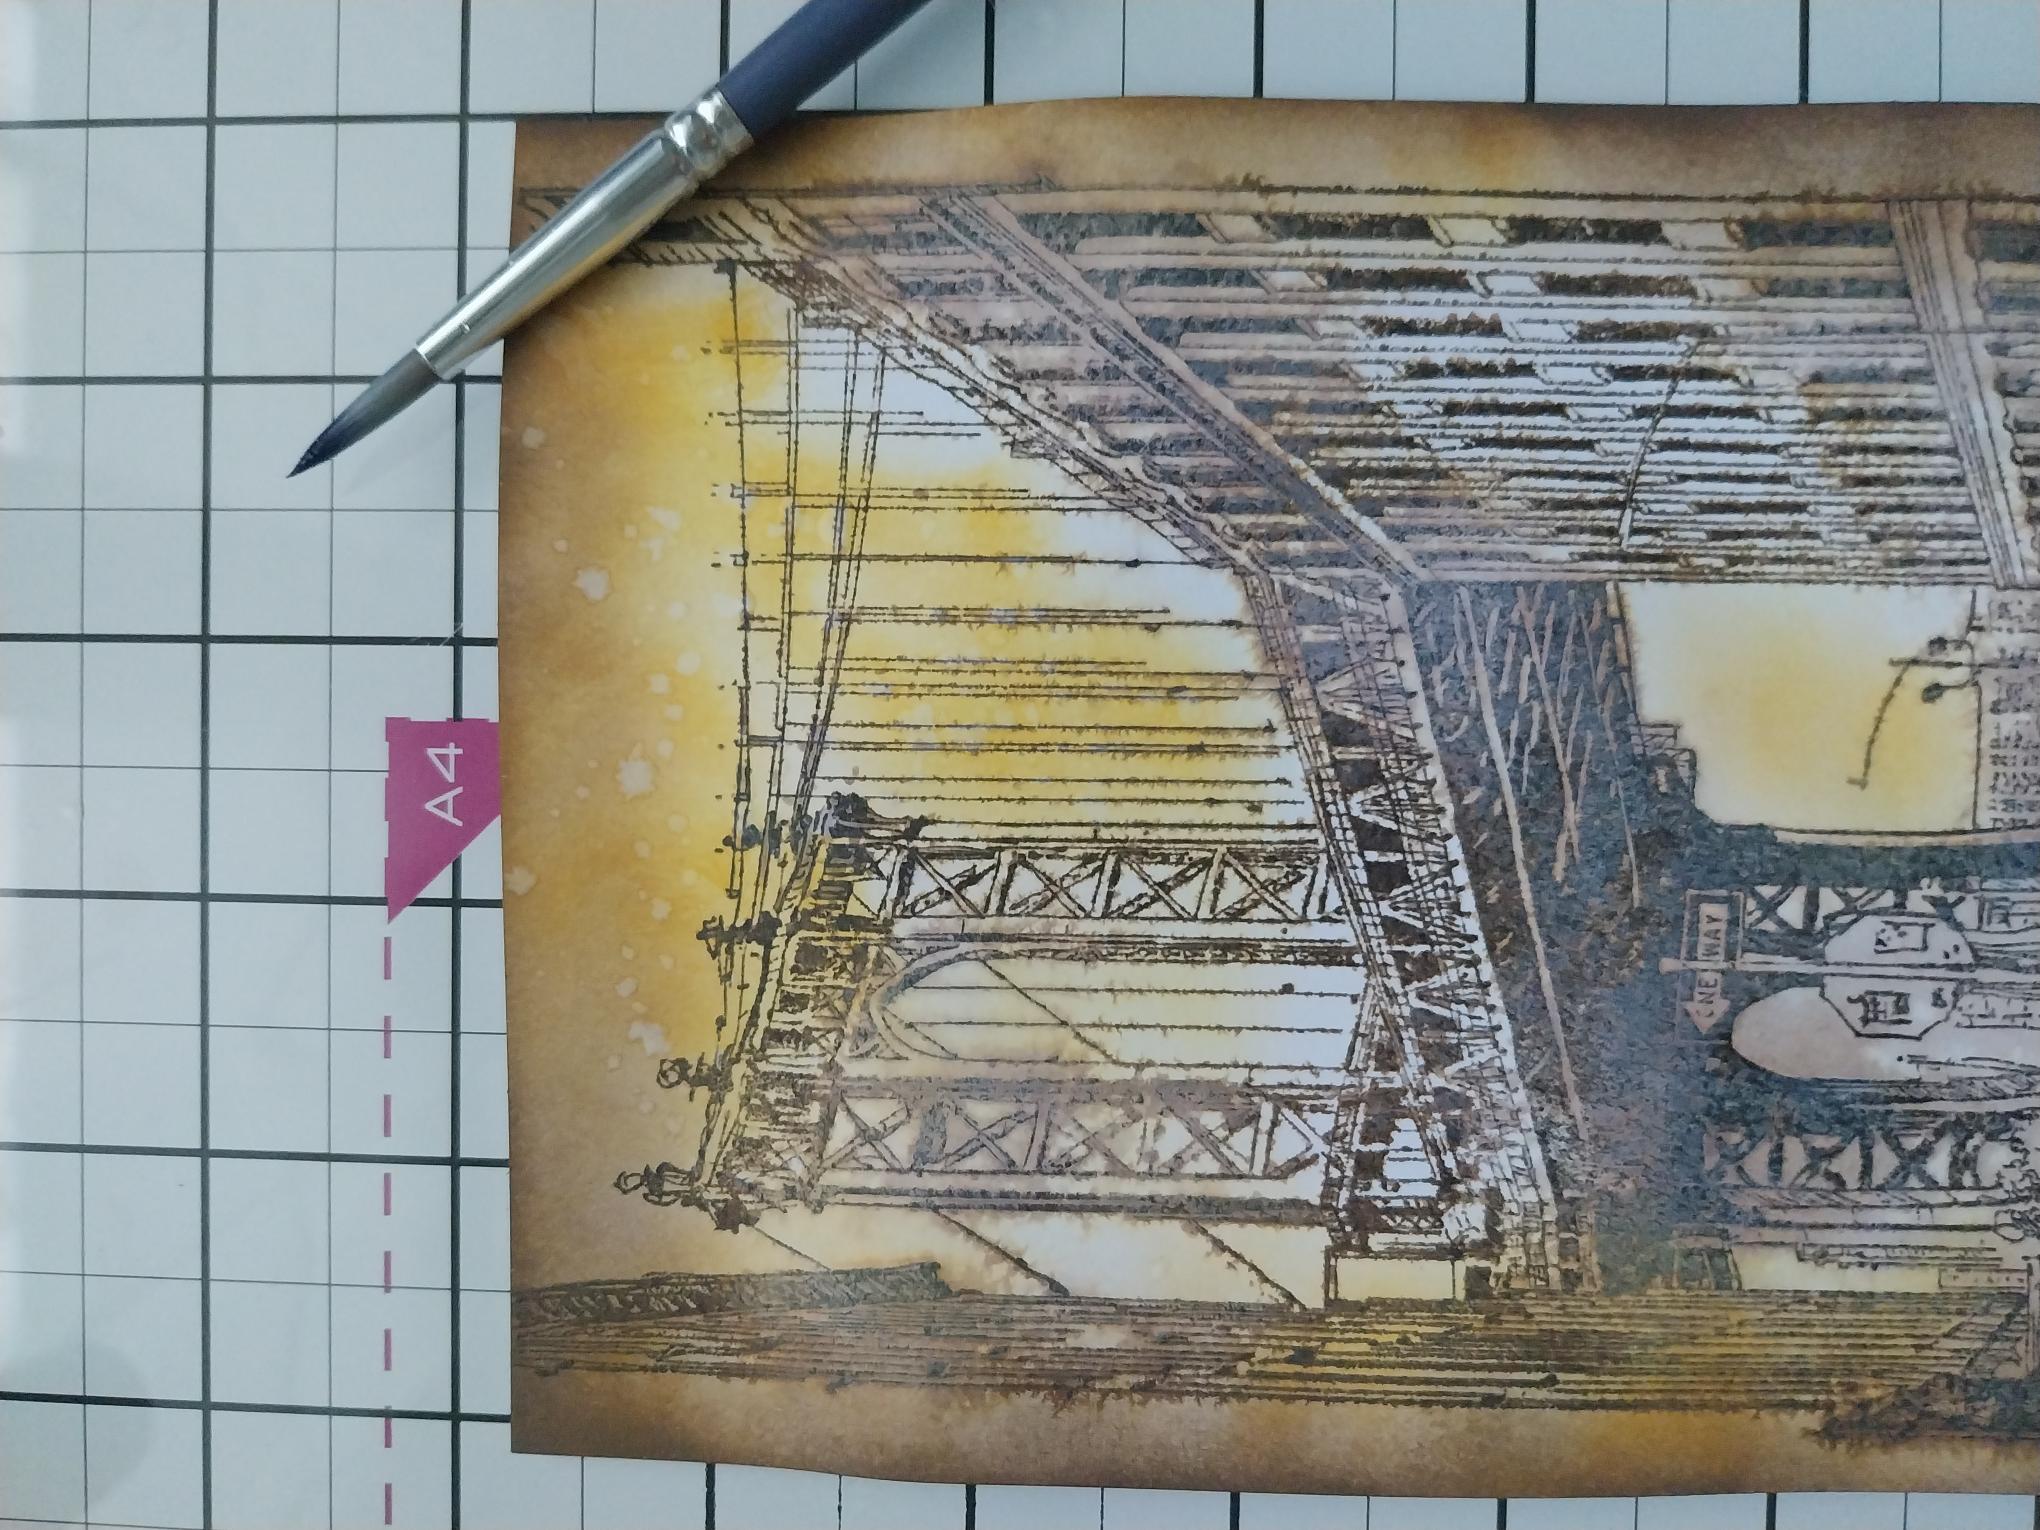
Splatter water onto your artwork and wait a few seconds for the ink to activate. Mop up the excess water with a paper towel before blasting it dry with your heat tool. Pop to one side. |
|
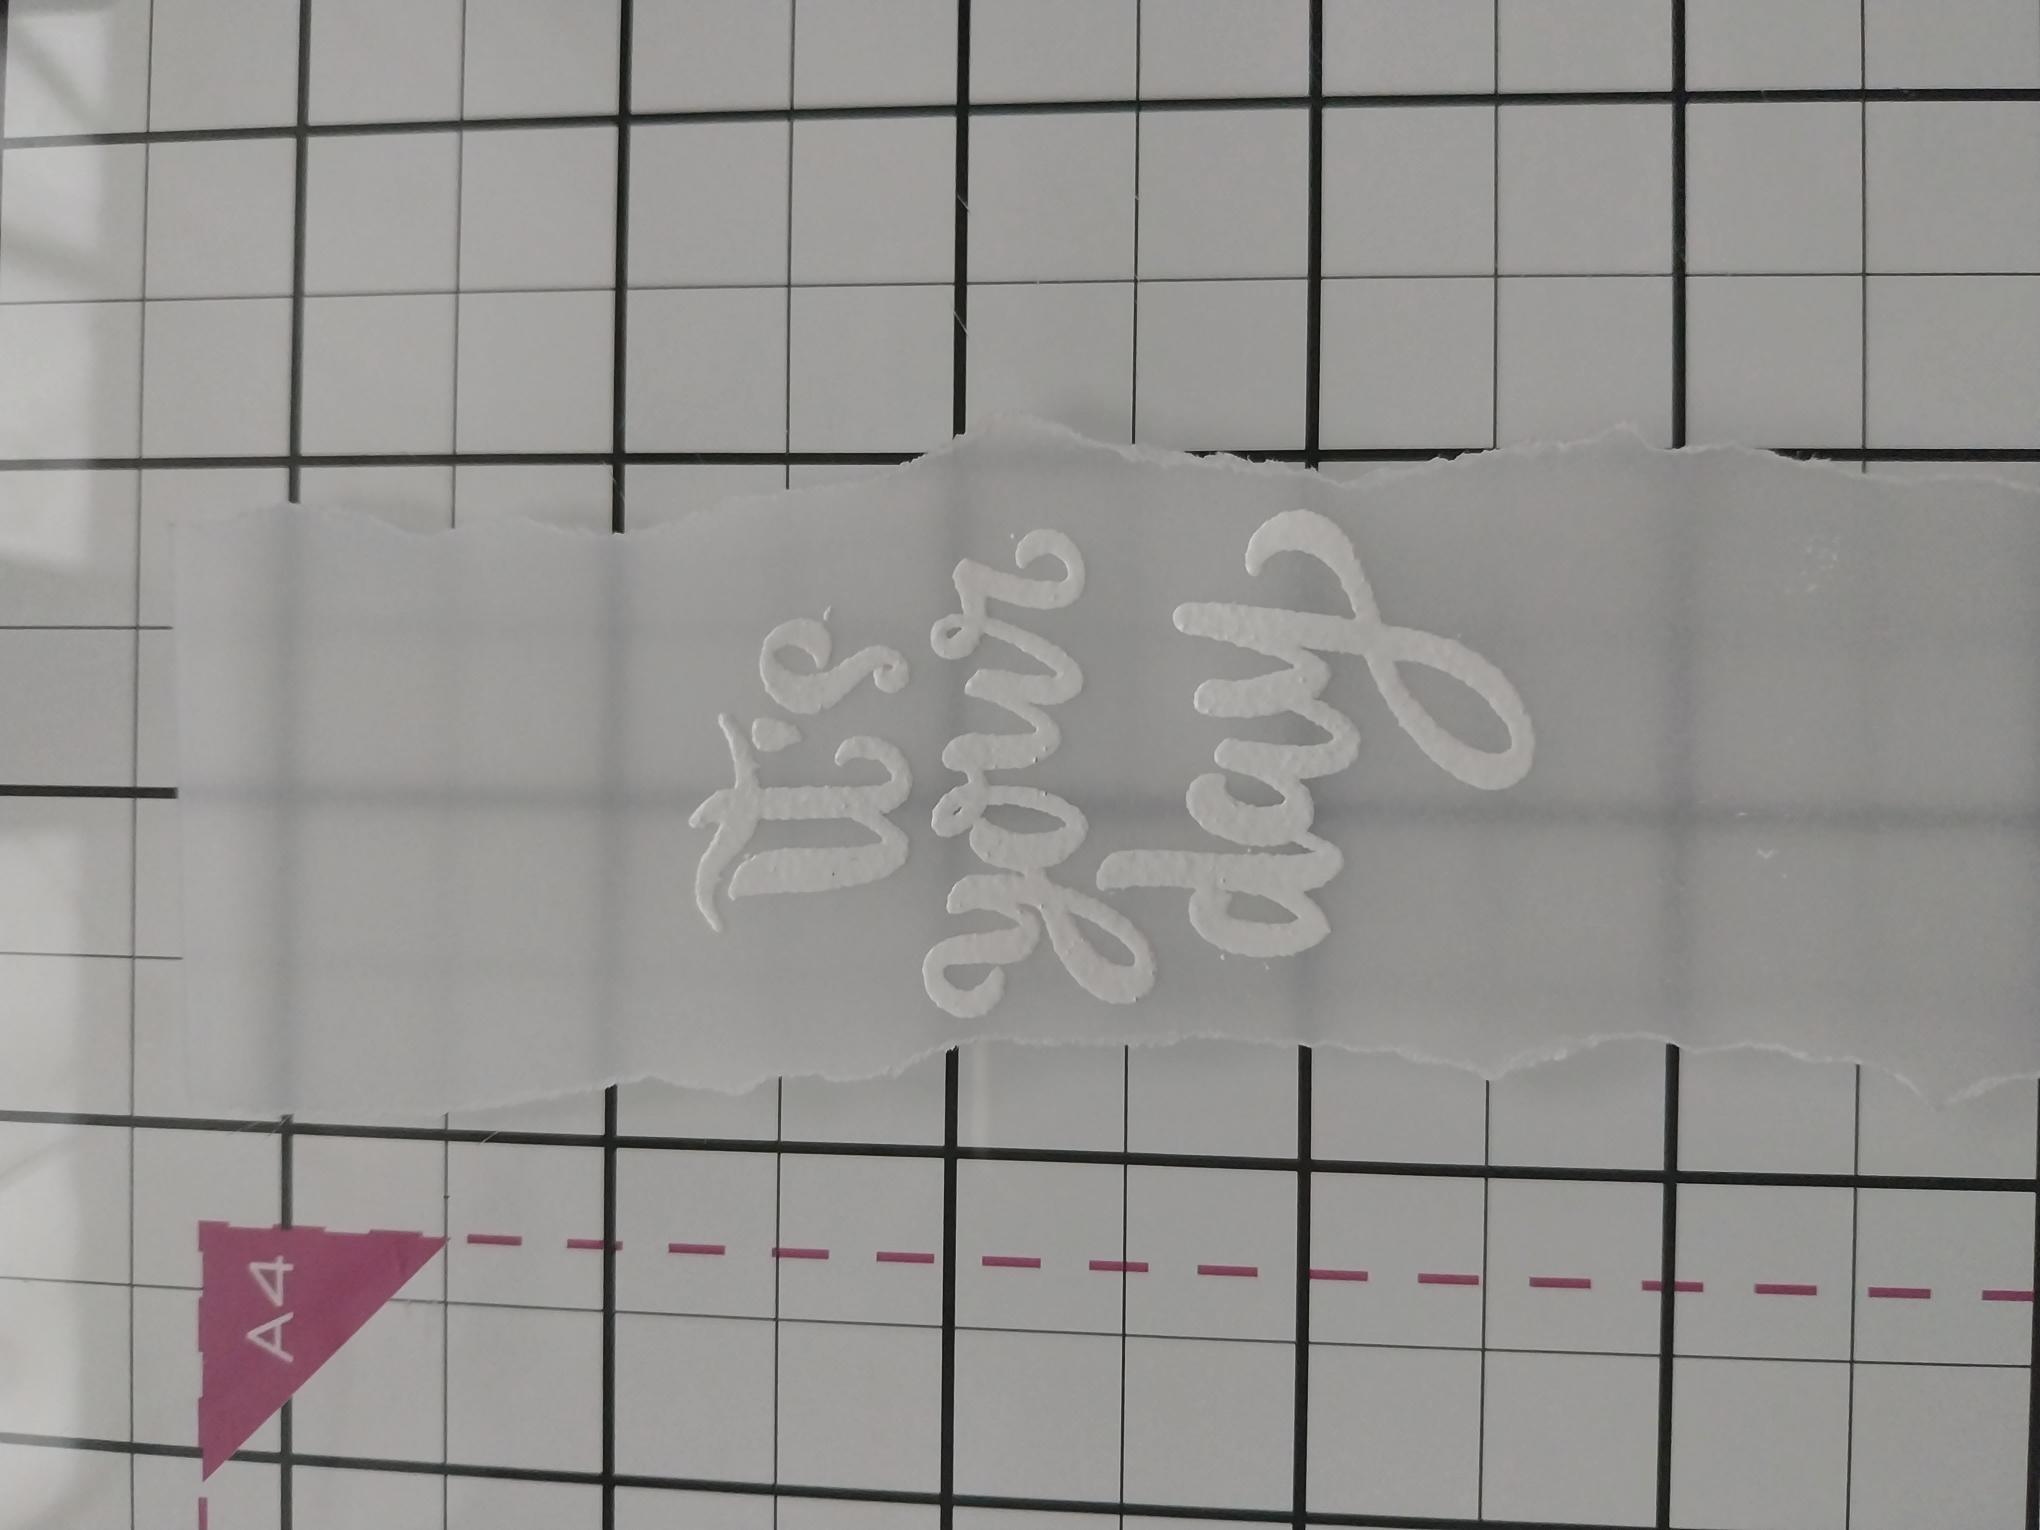
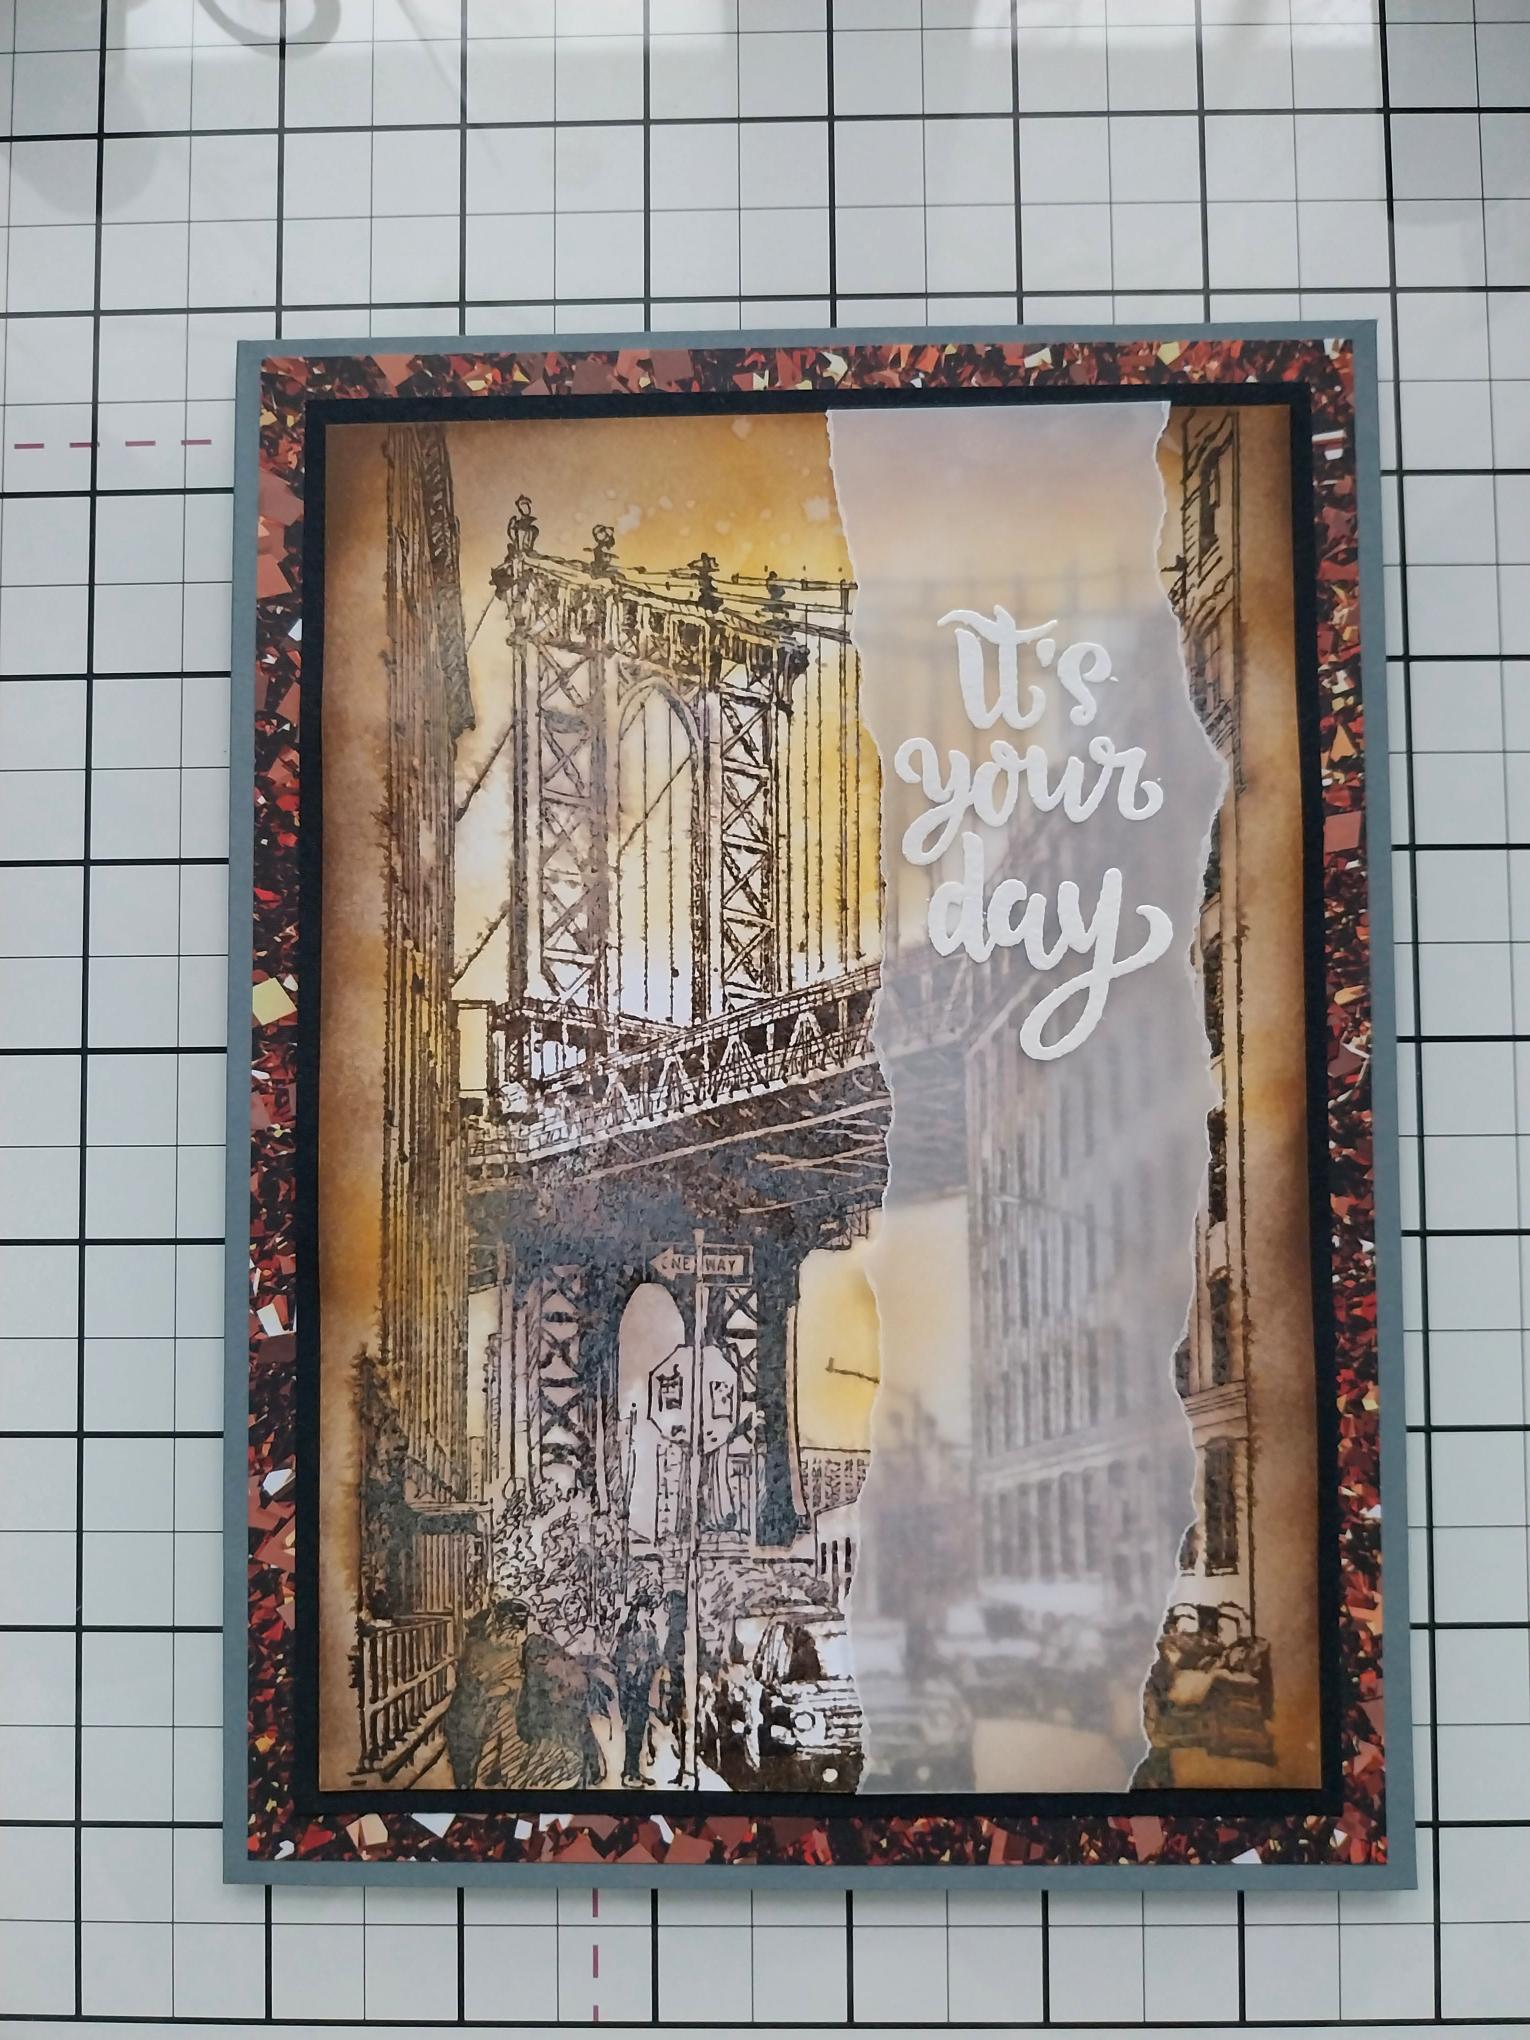
Tear a panel of vellum longer than your card and wide enough to fit the sentiment stamp on. Wipe over the vellum with your anti-static bag before stamping the sentiment, from the lamination set, with the WOW sticky embossing powder. Shake the white embossing powder over the sticky sentiment, decanting any excess powder back in to it's pot. Get your heat tool hot then heat set the powder, moving the heat tool as soon as the powder starts to turn. |
|
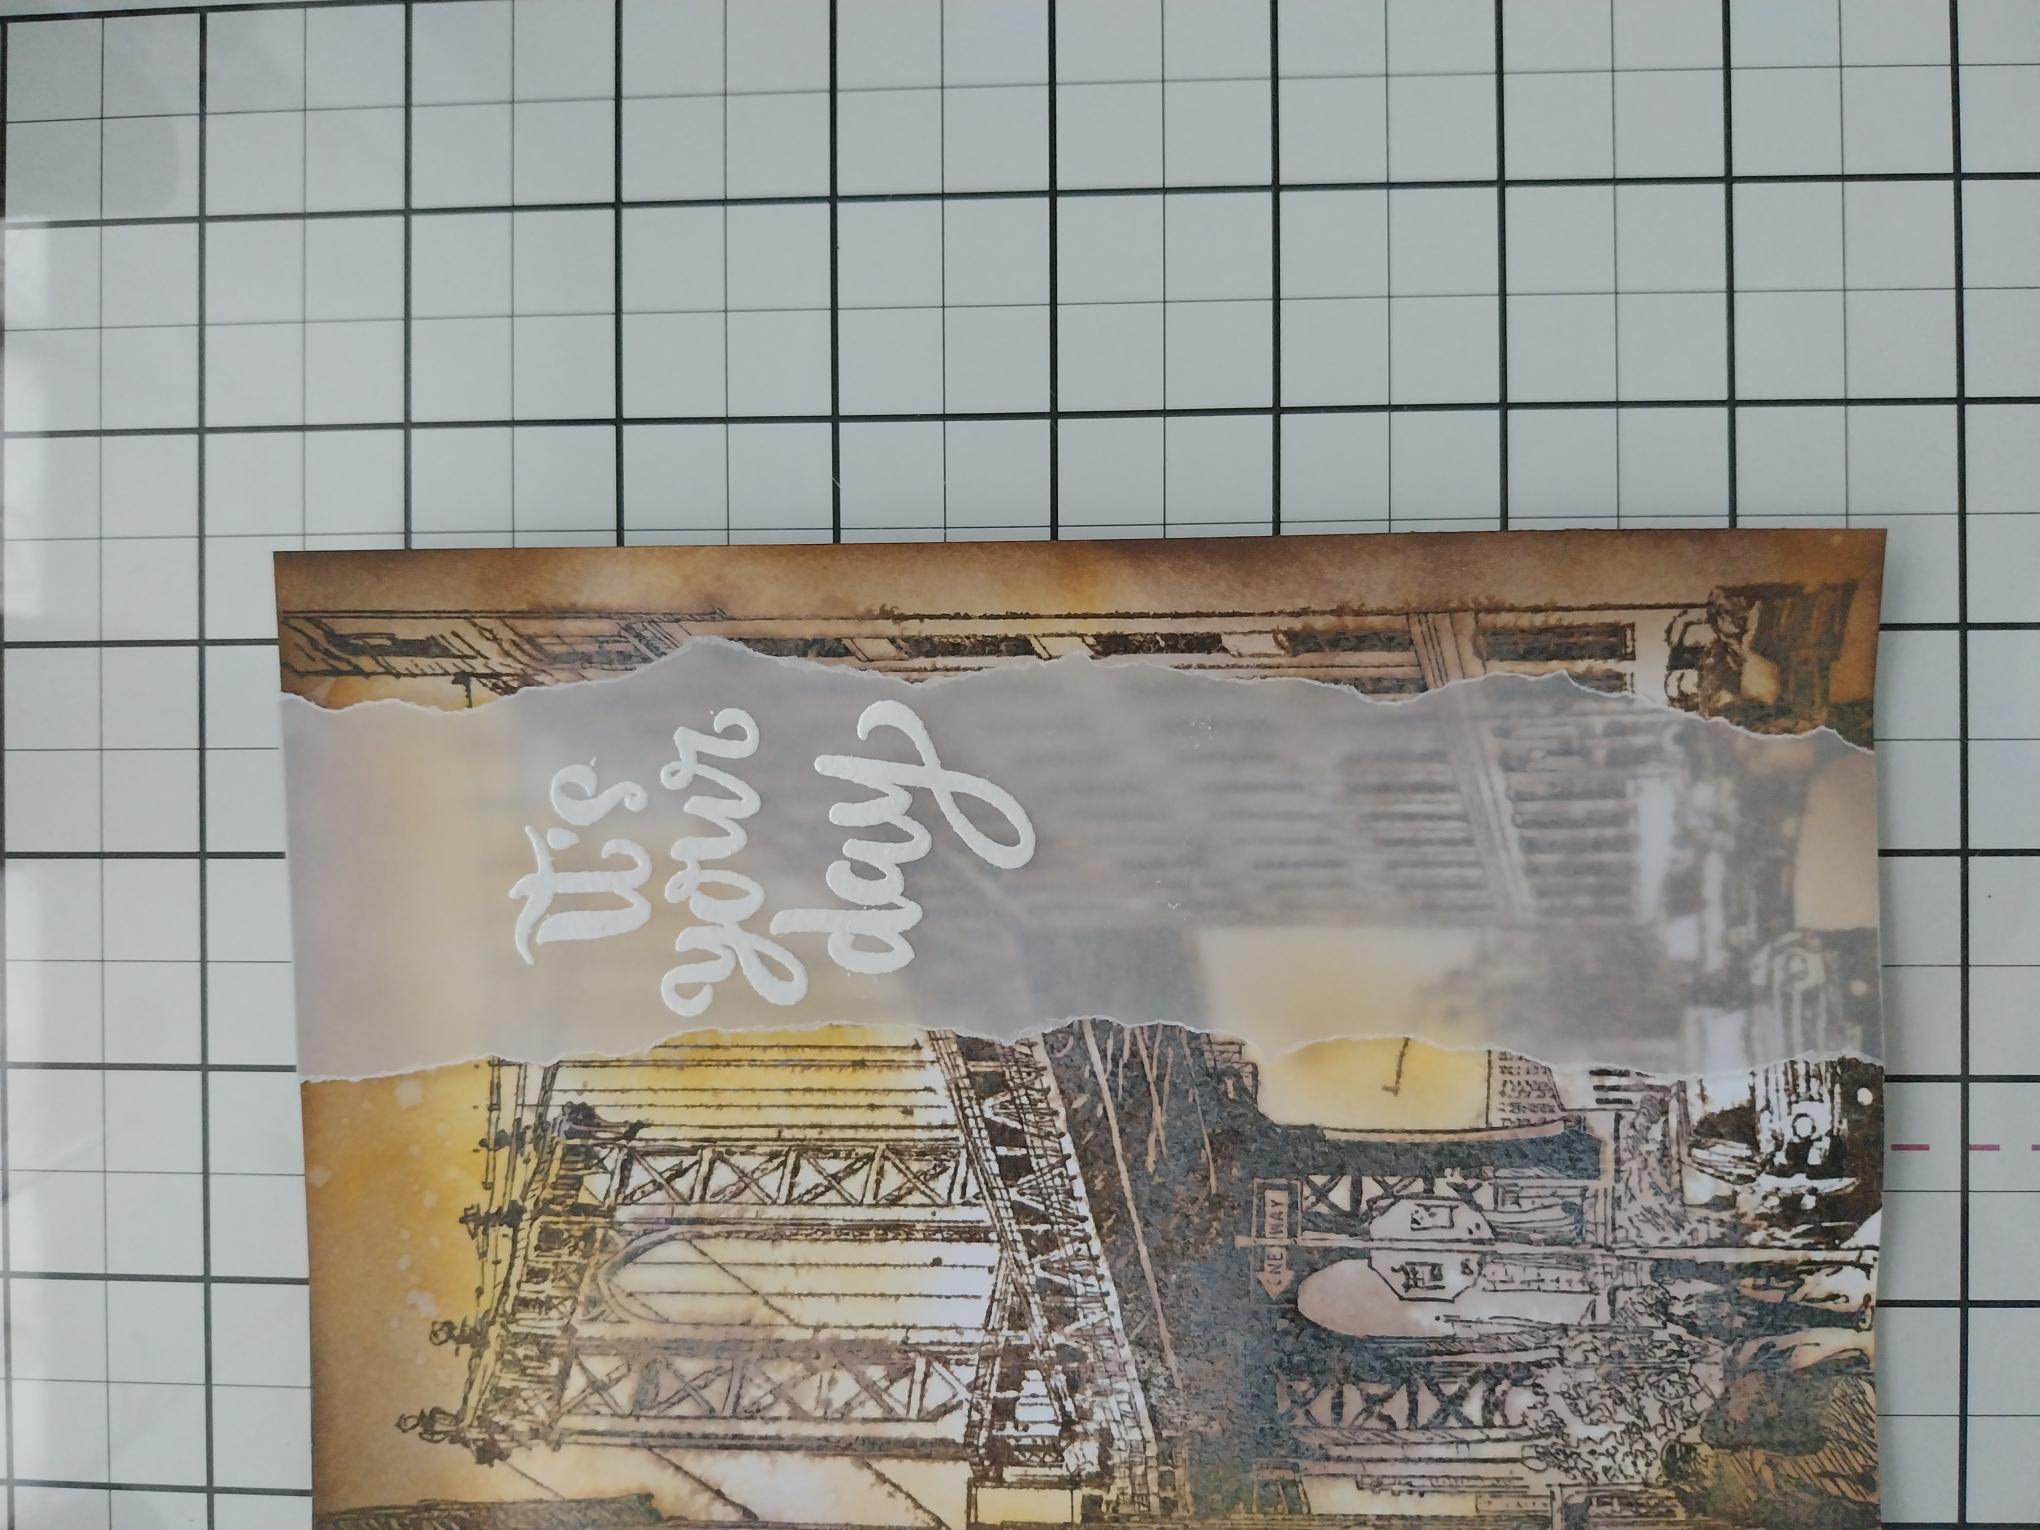
Lay the embossed vellum down the right side of your artwork. Tuck the ends of the vellum over the top and bottom of the card and secure on the reverse with double-sided tape. |
|
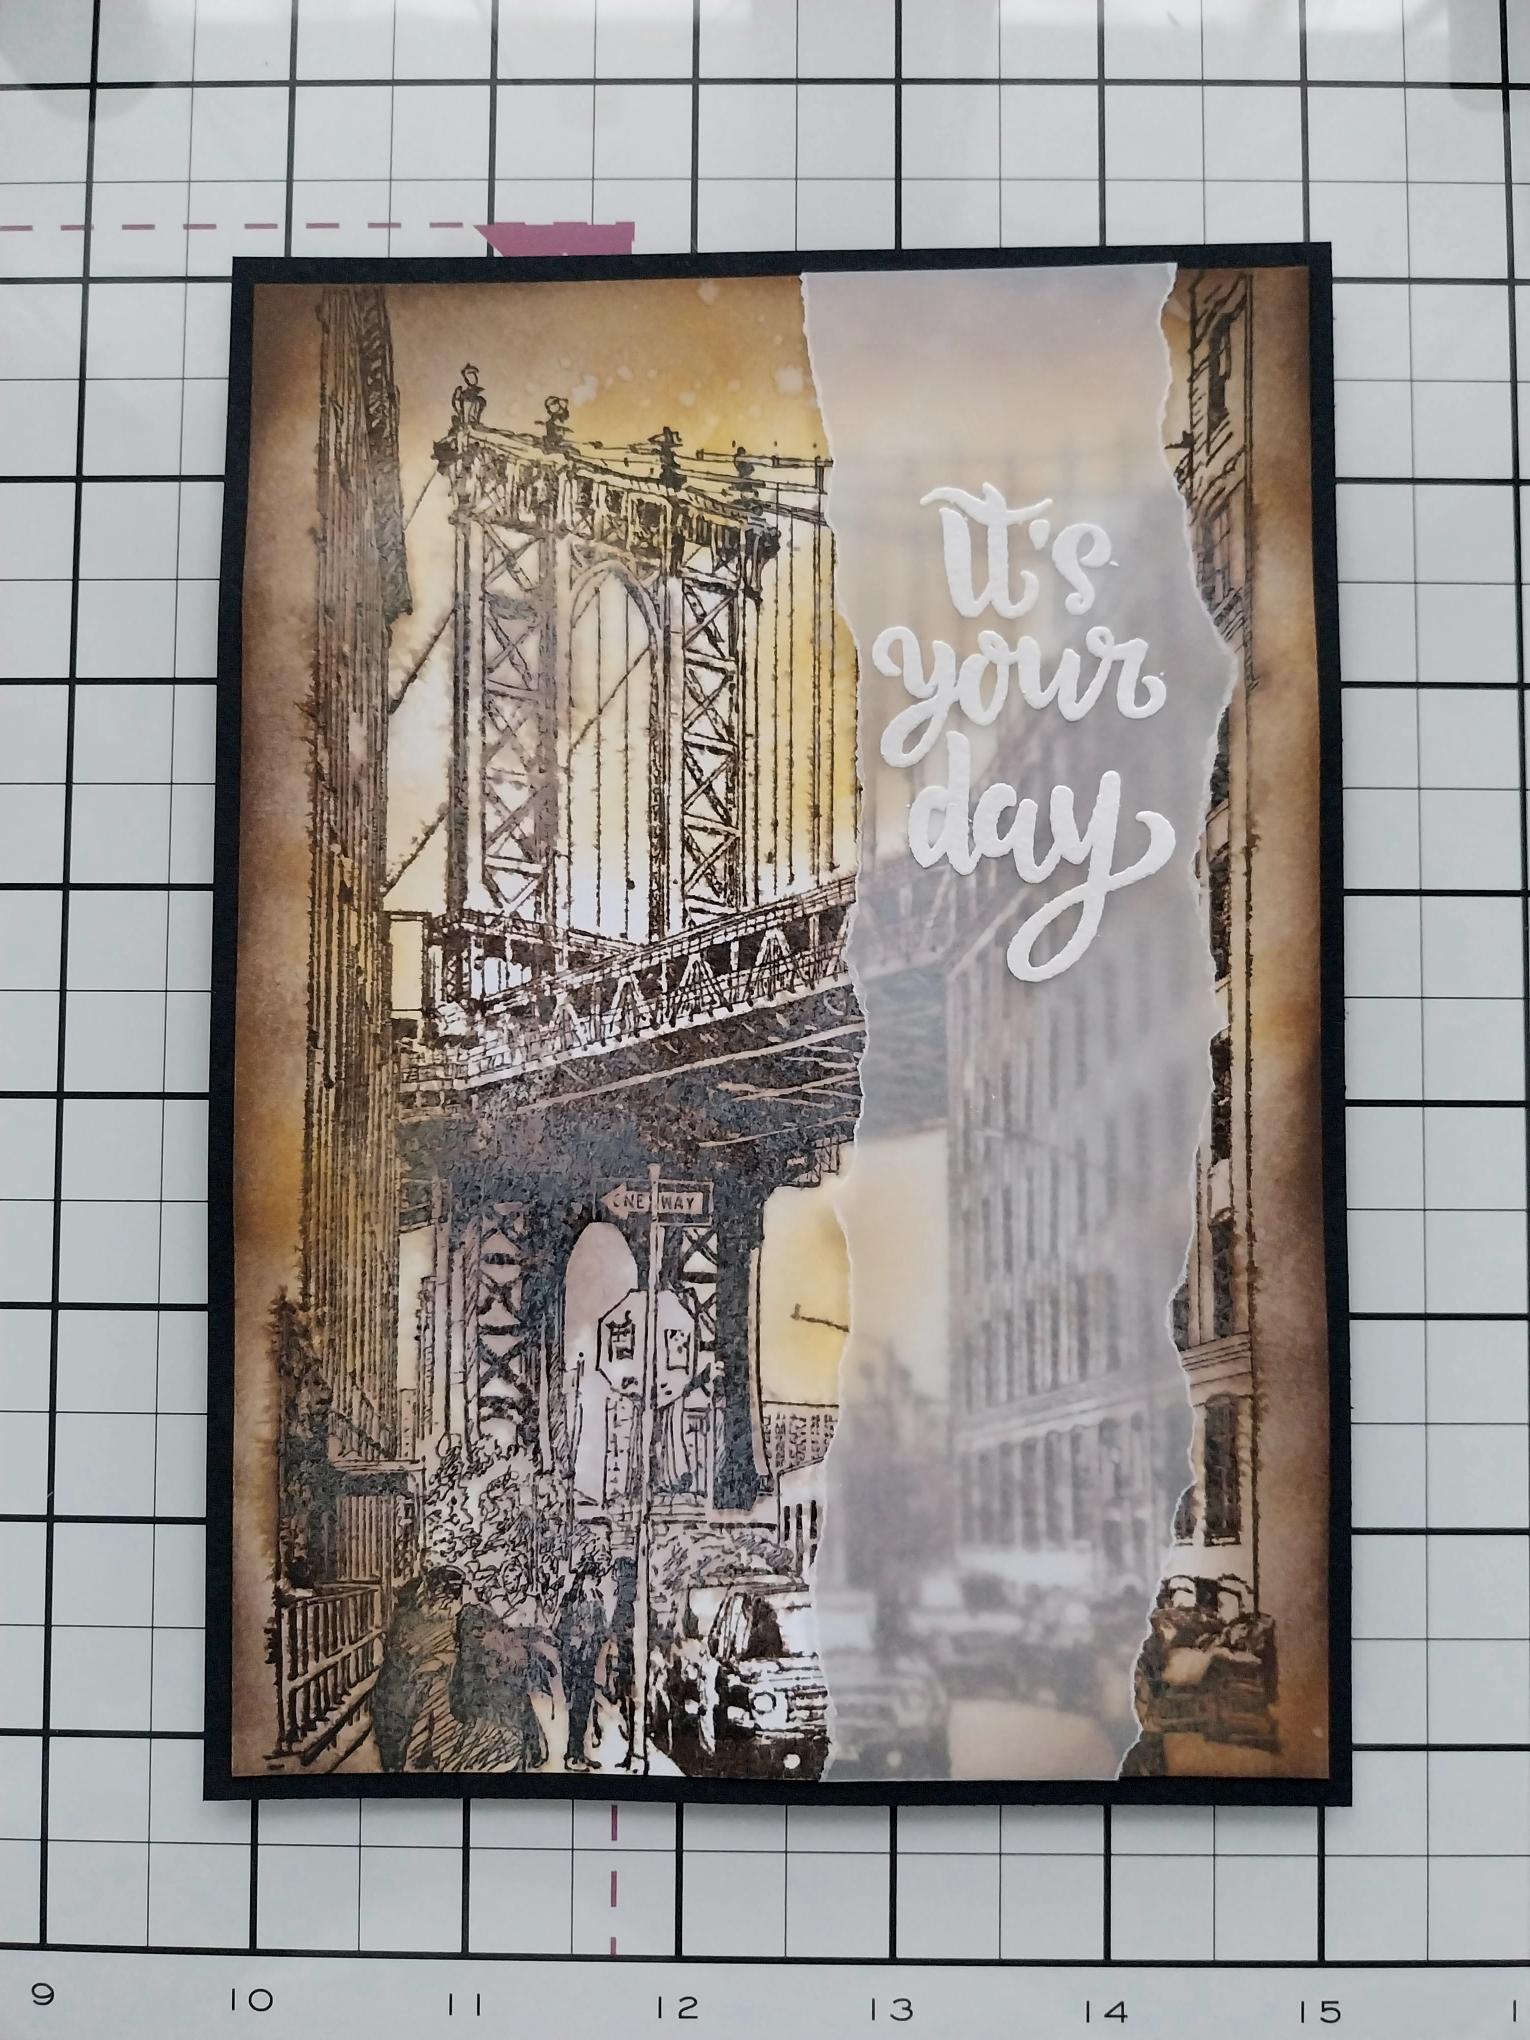
Adhere on to black card measuring 7 1/4 x 5 1/4". |
|
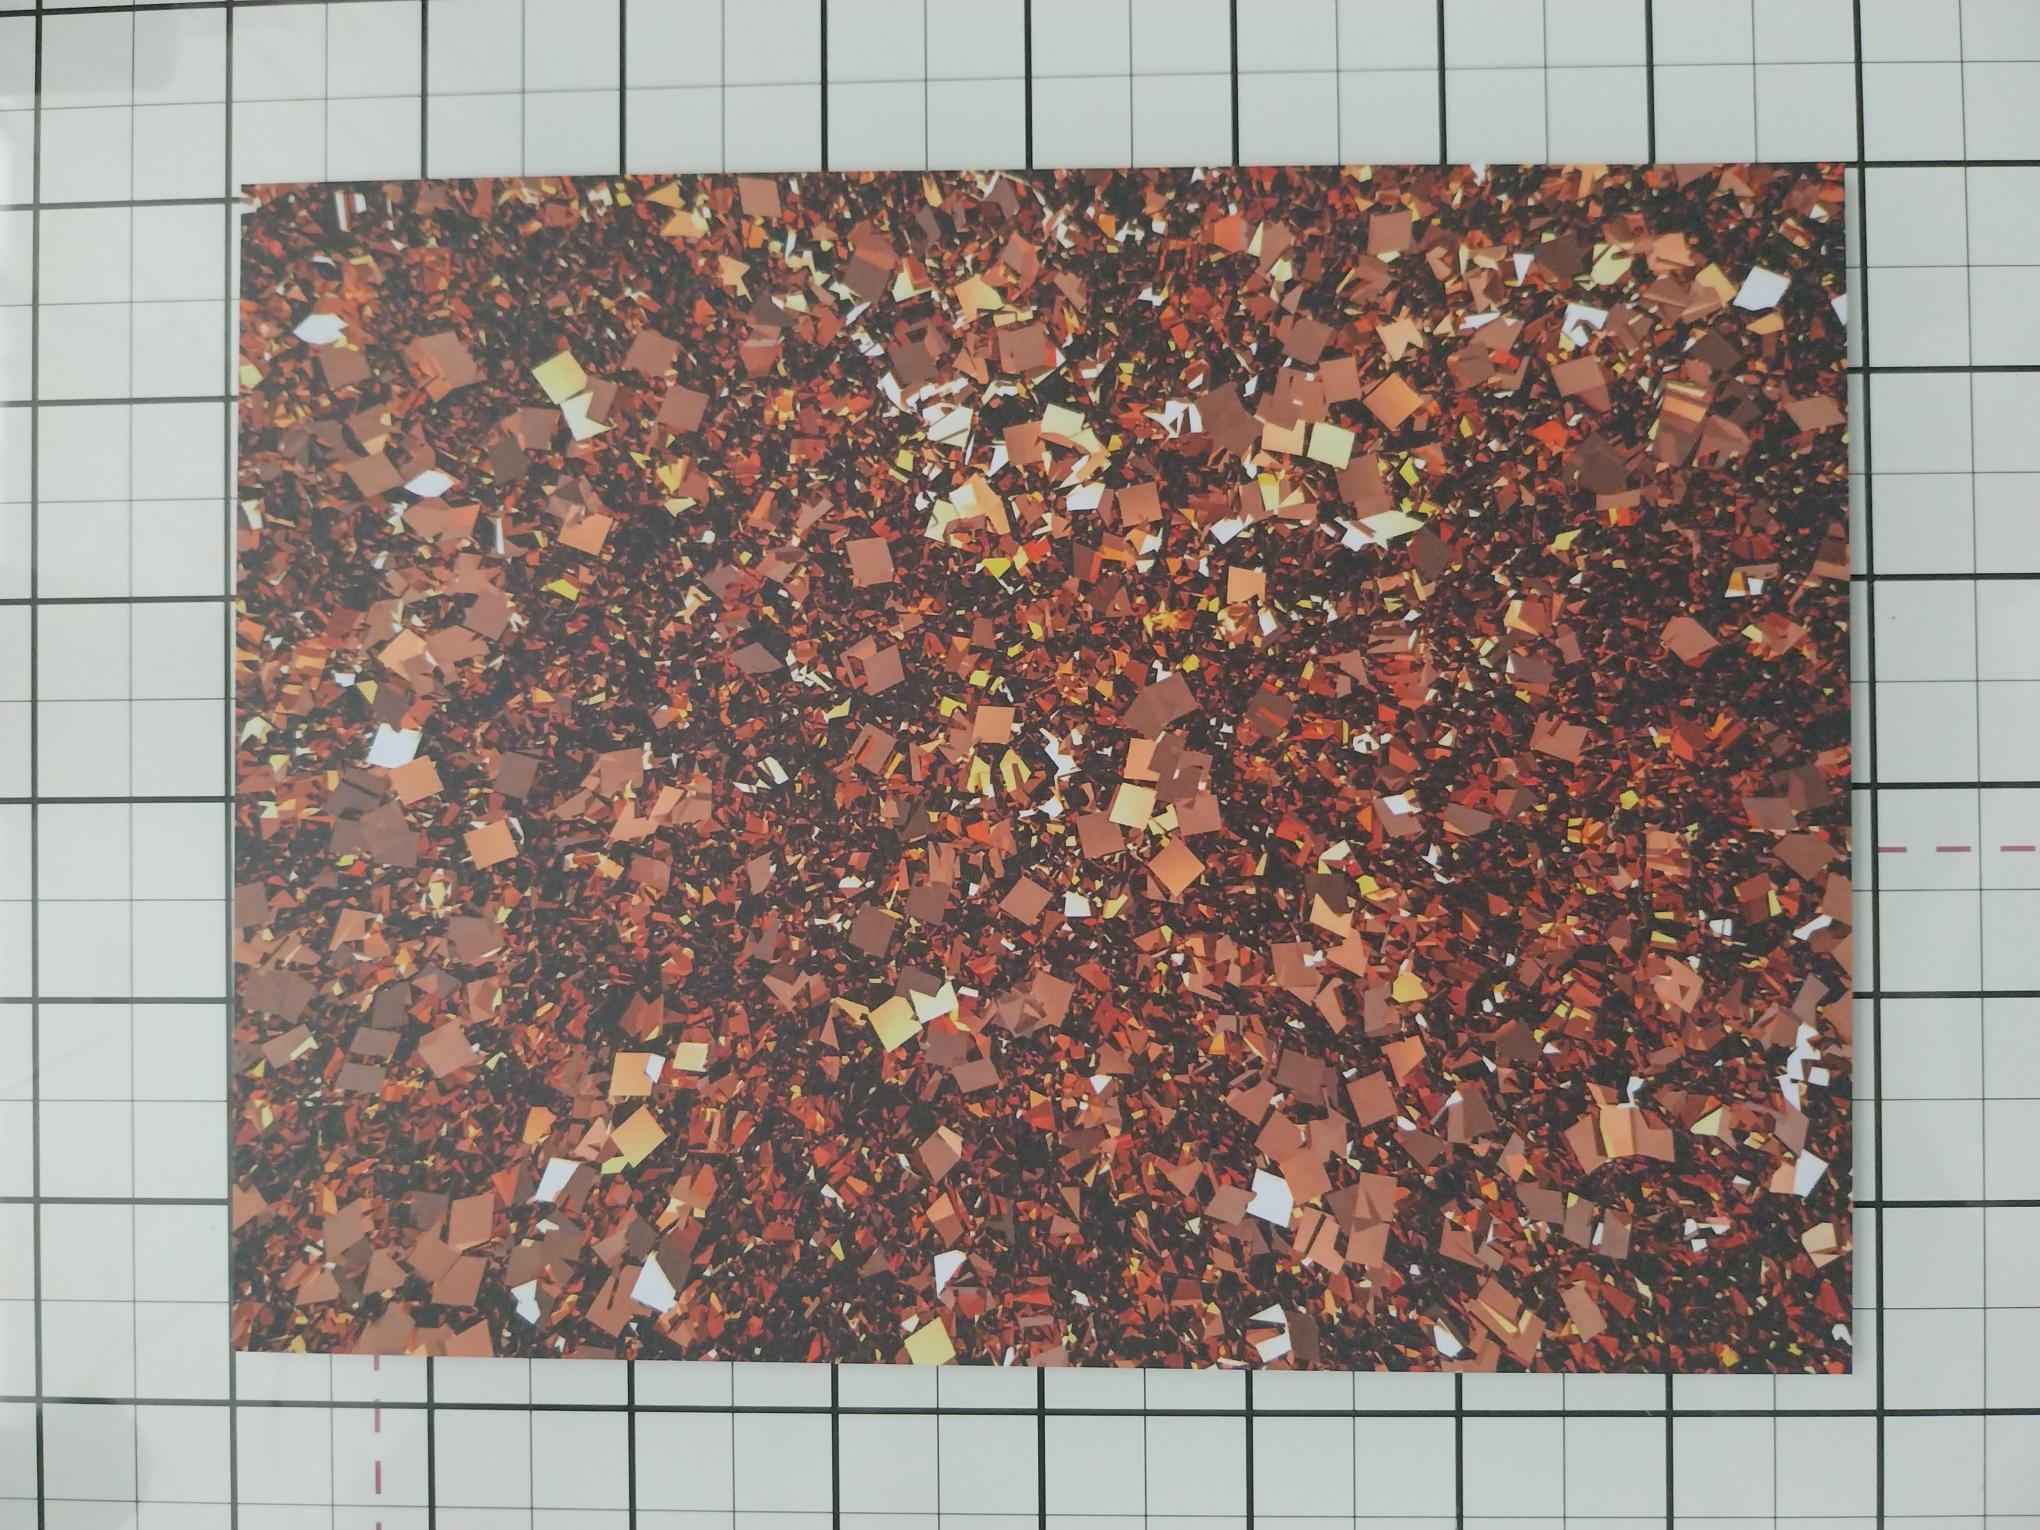
Trim this texture patterned paper, from the Copper All Surfaces paper pack, to 7 3/4 x 5 3/4". |
|
To finish, secure your artwork on to the texture paper and then on to the front of your grey card blank. |