

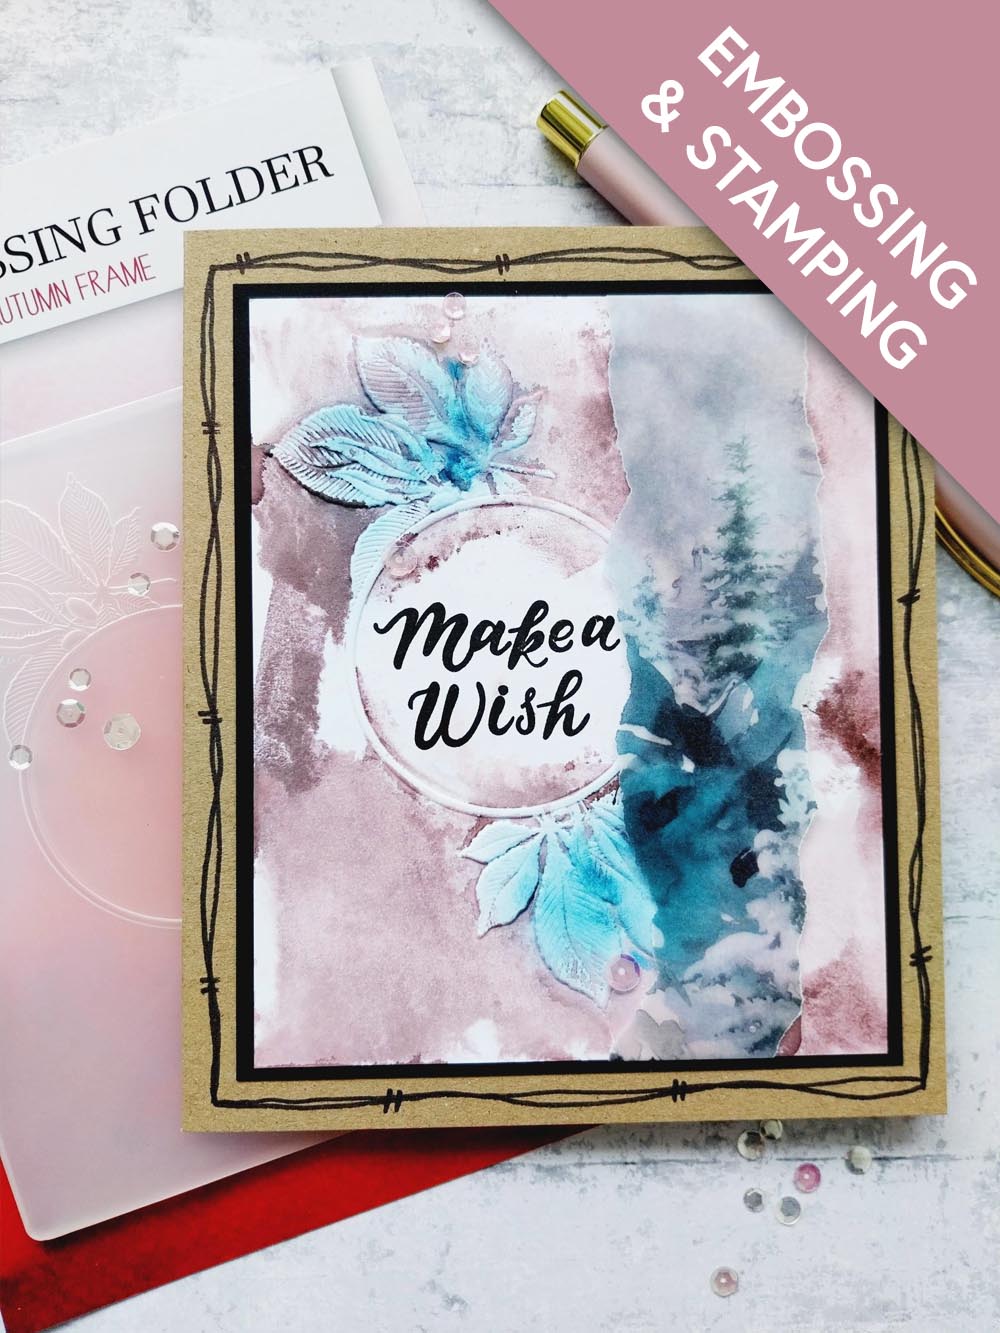
WHAT YOU WILL NEED:
Kraft card blank 6 1/2 x 5 1/2 (created from an A4 sheet of kraft card)
Black/white cardstock
Autumn Frame Embossing Folder
A Winter Story Vellum Pack
SBM Hybrid Ink Pad: Midnight
SBM Dye Ink Pad: Heather, Tiffany
Blending brush
Water spray bottle
Sequins: Periwinkle
Pick up gem and pokey tool
Black pen
Eureka 101 Watercolour Tablet
SBM A3 Magnetic glass mat
Paper Trimmer
Glue
Double-sided adhesive tape
Die Cutting machine
[click image to enlarge] 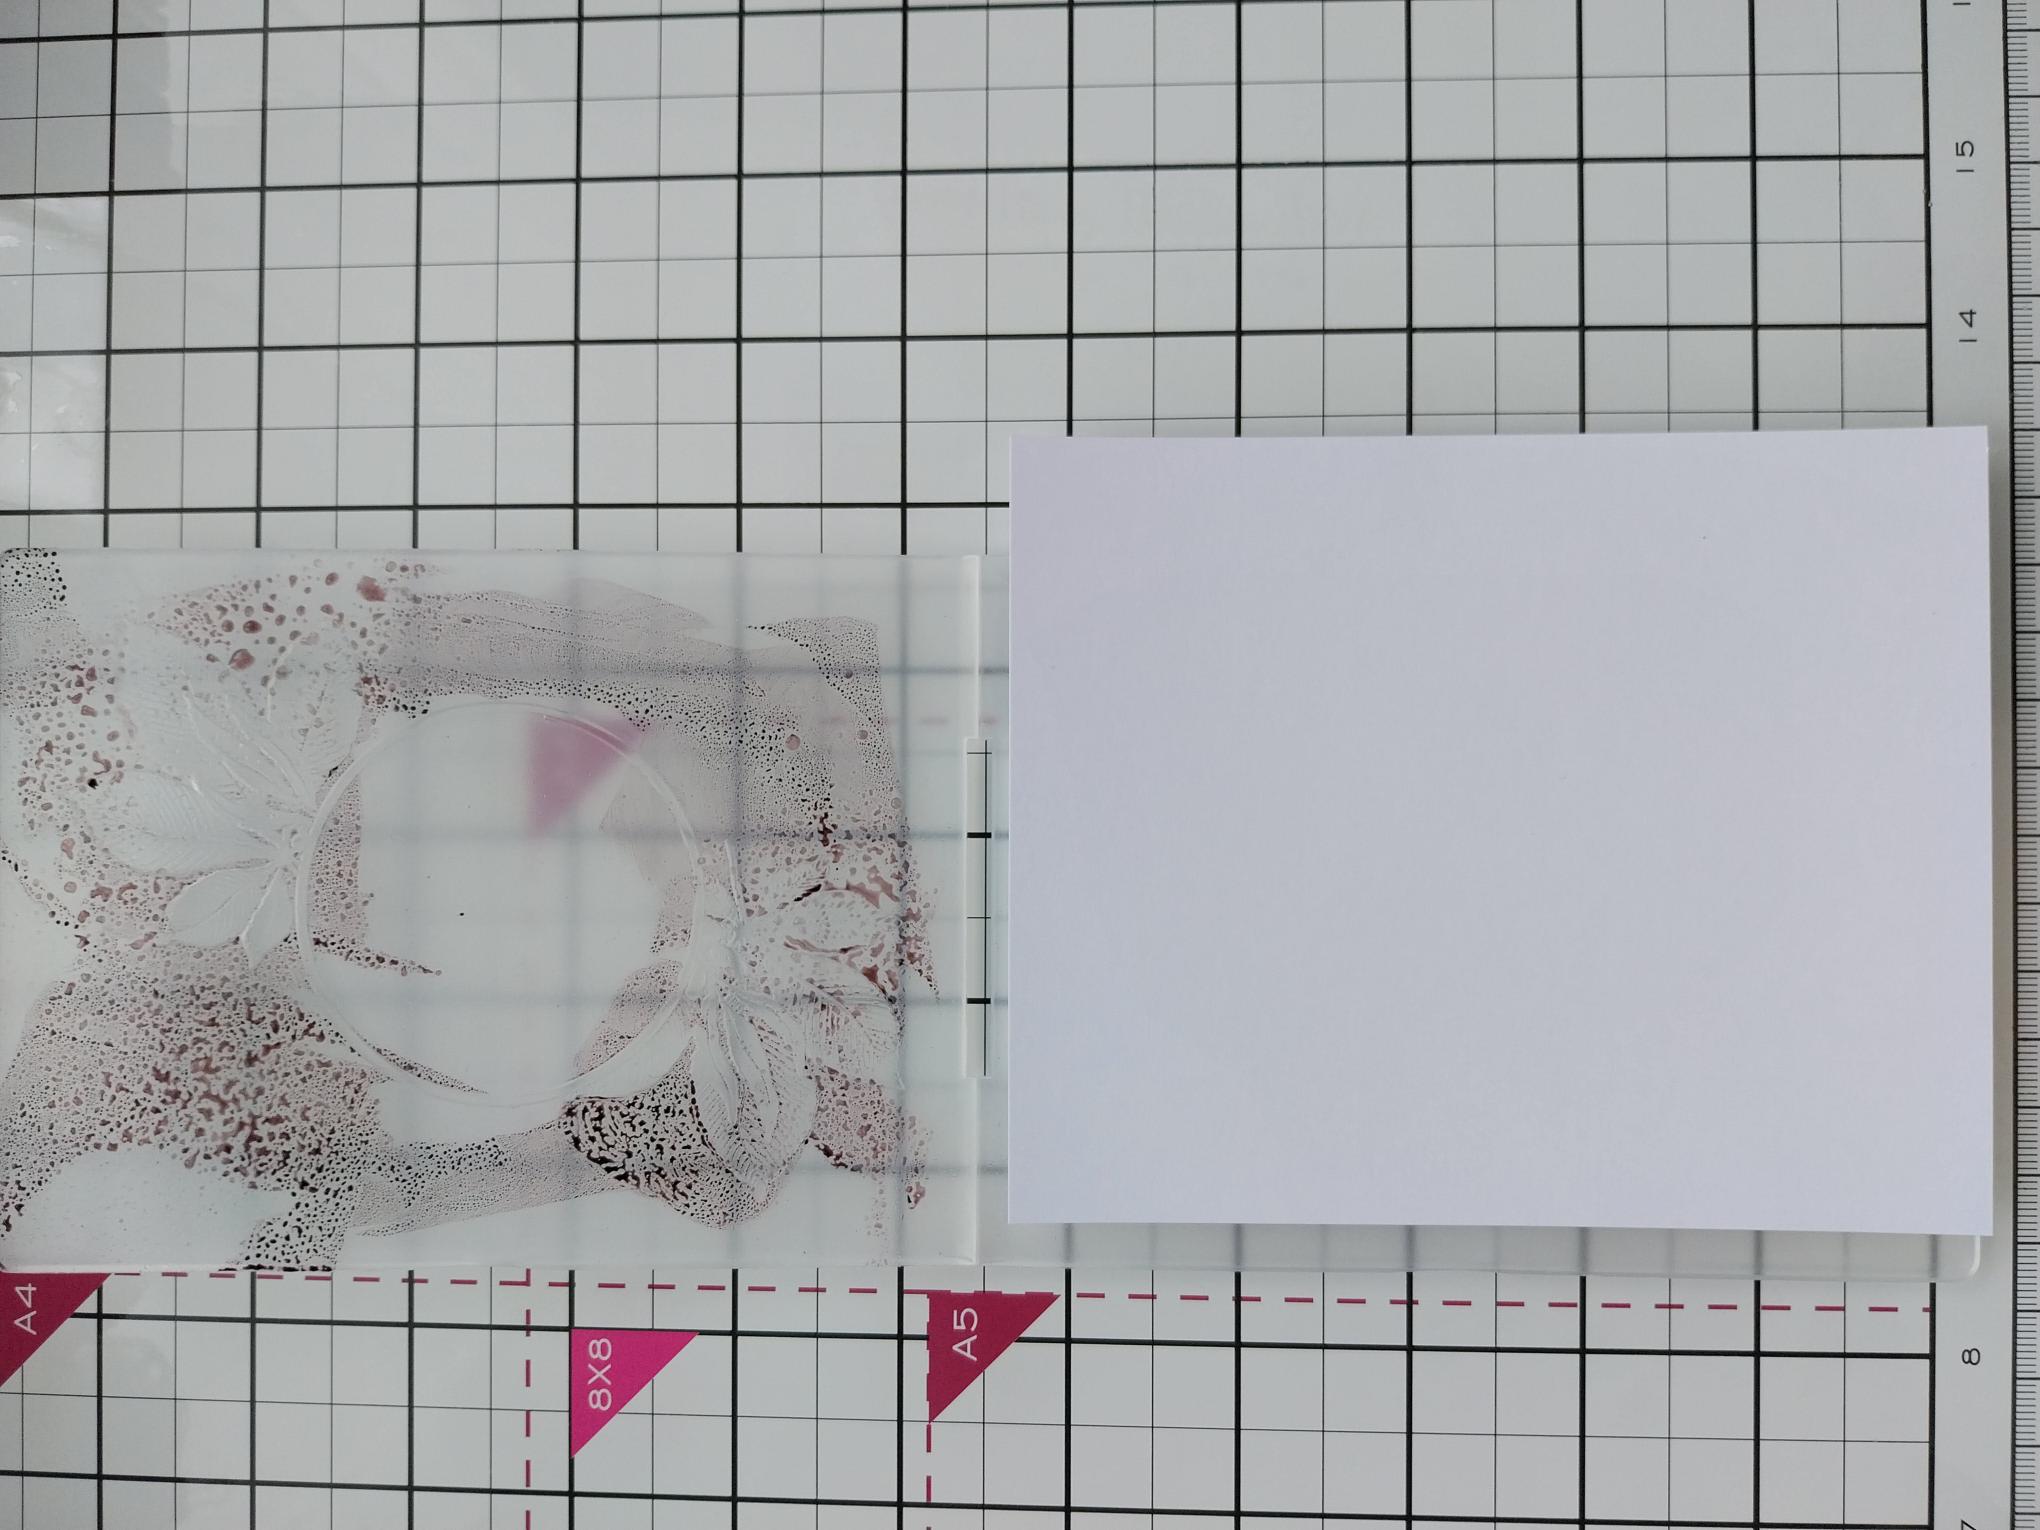
|
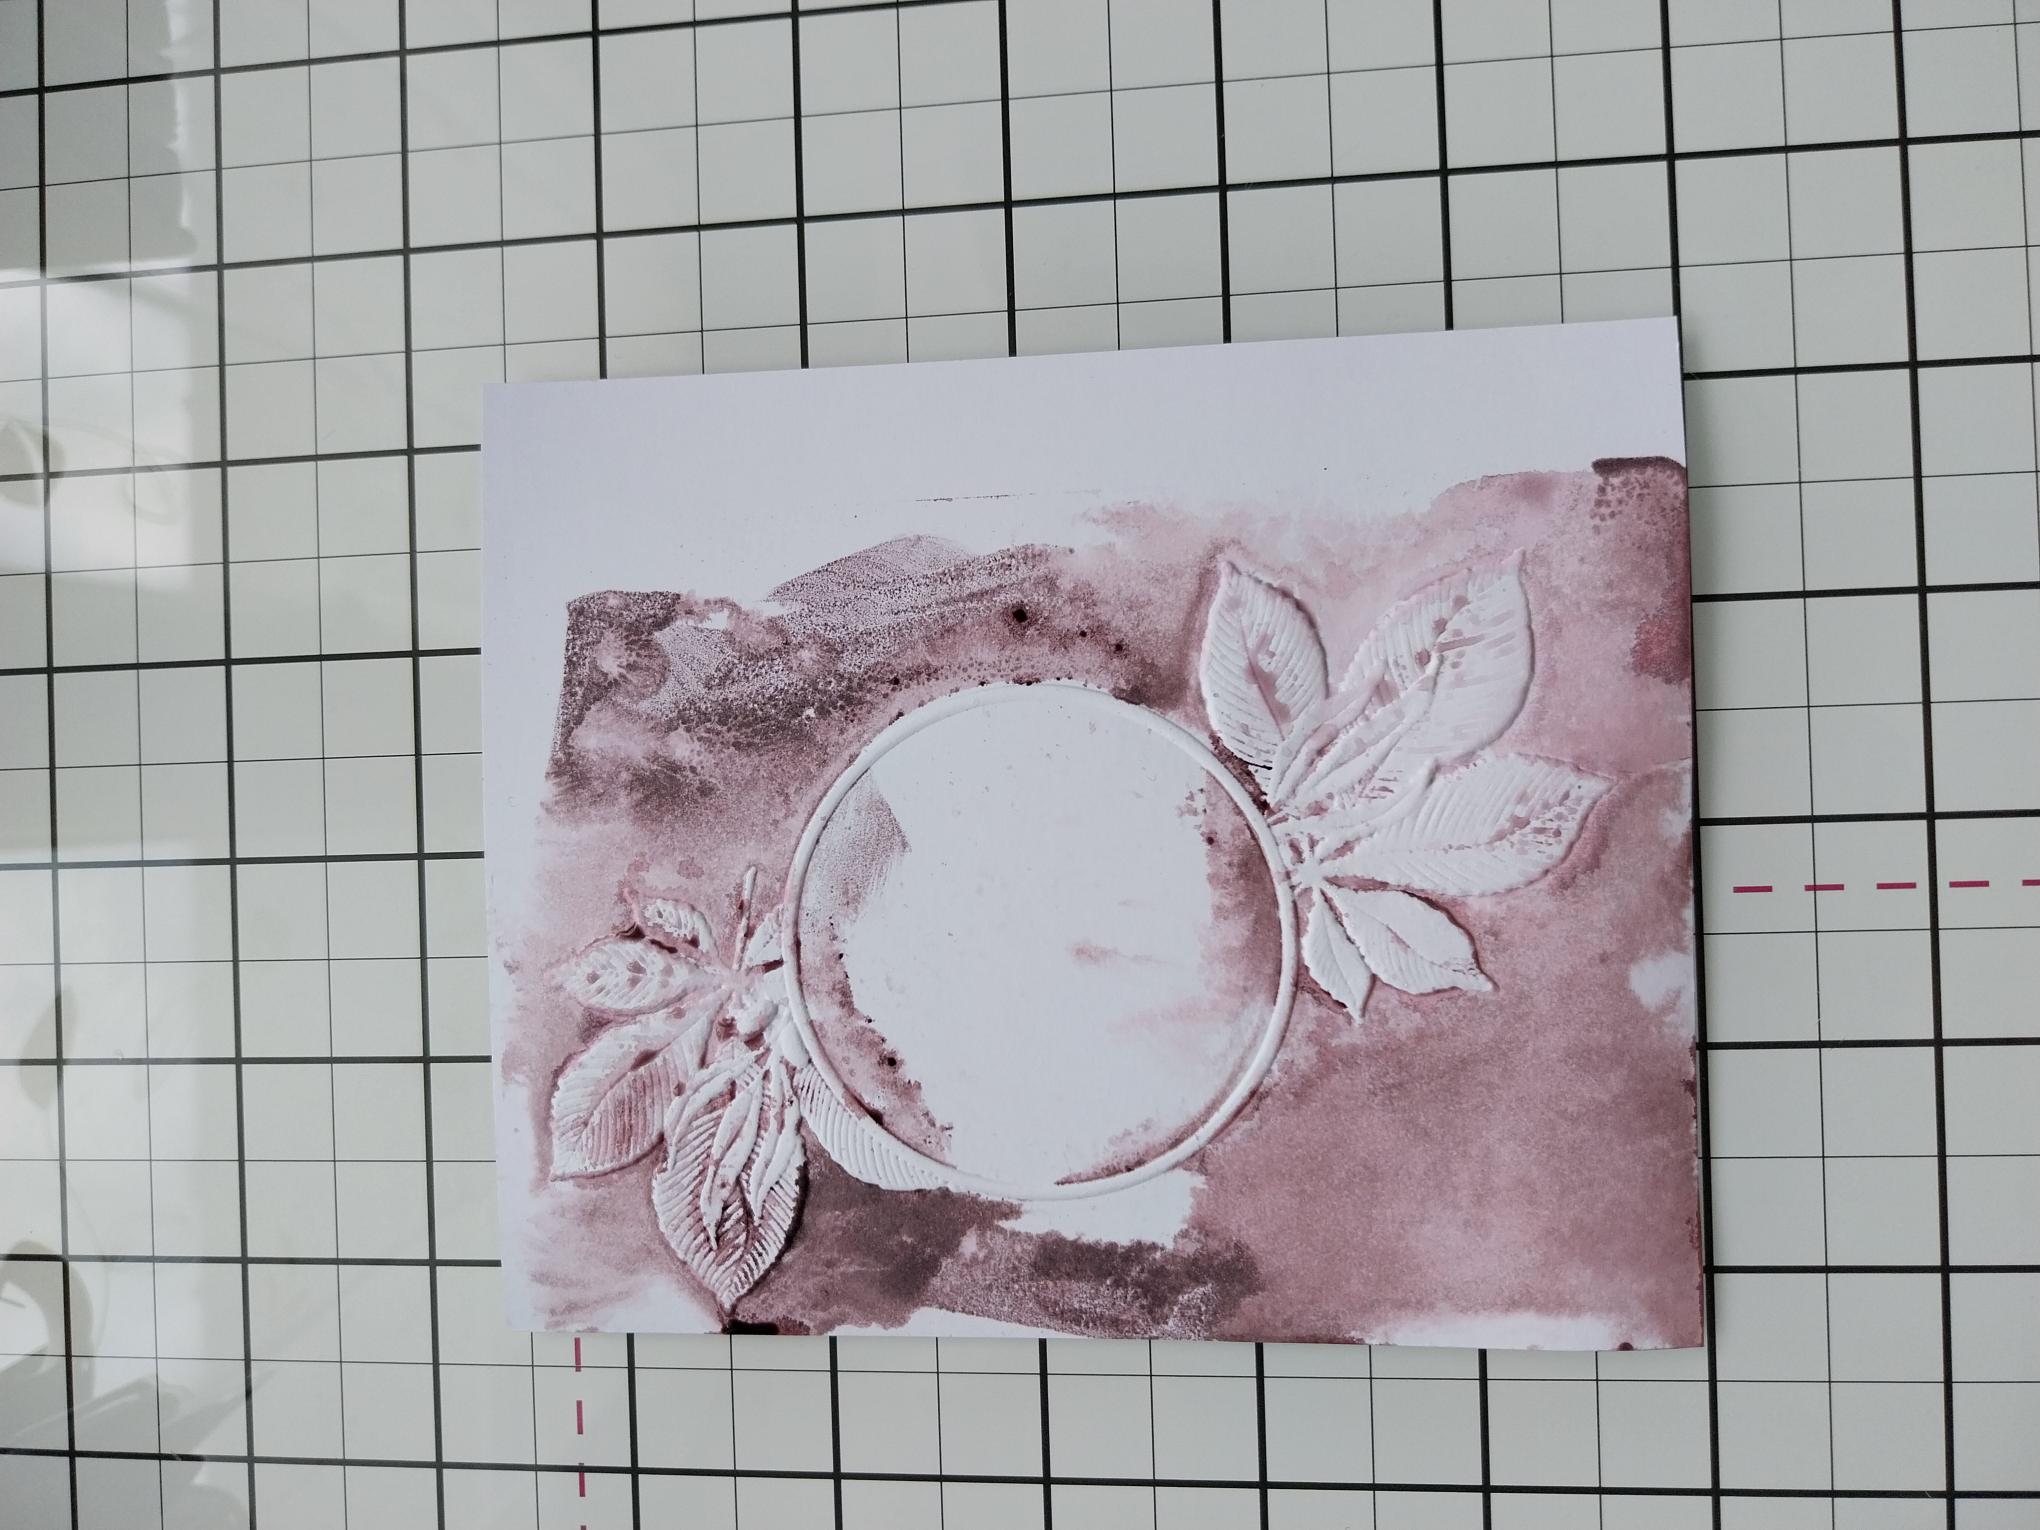
Trim a piece of white card to roughly 6 x 5". Randomly ink both sides of the folder with the Heather ink pad and lightly spritz with water. Place the card inside and run it through your machine.
|
|
Having inked both sides, you have the option to choose which side you prefer...for this project I chose to use the embossed image.
|
|
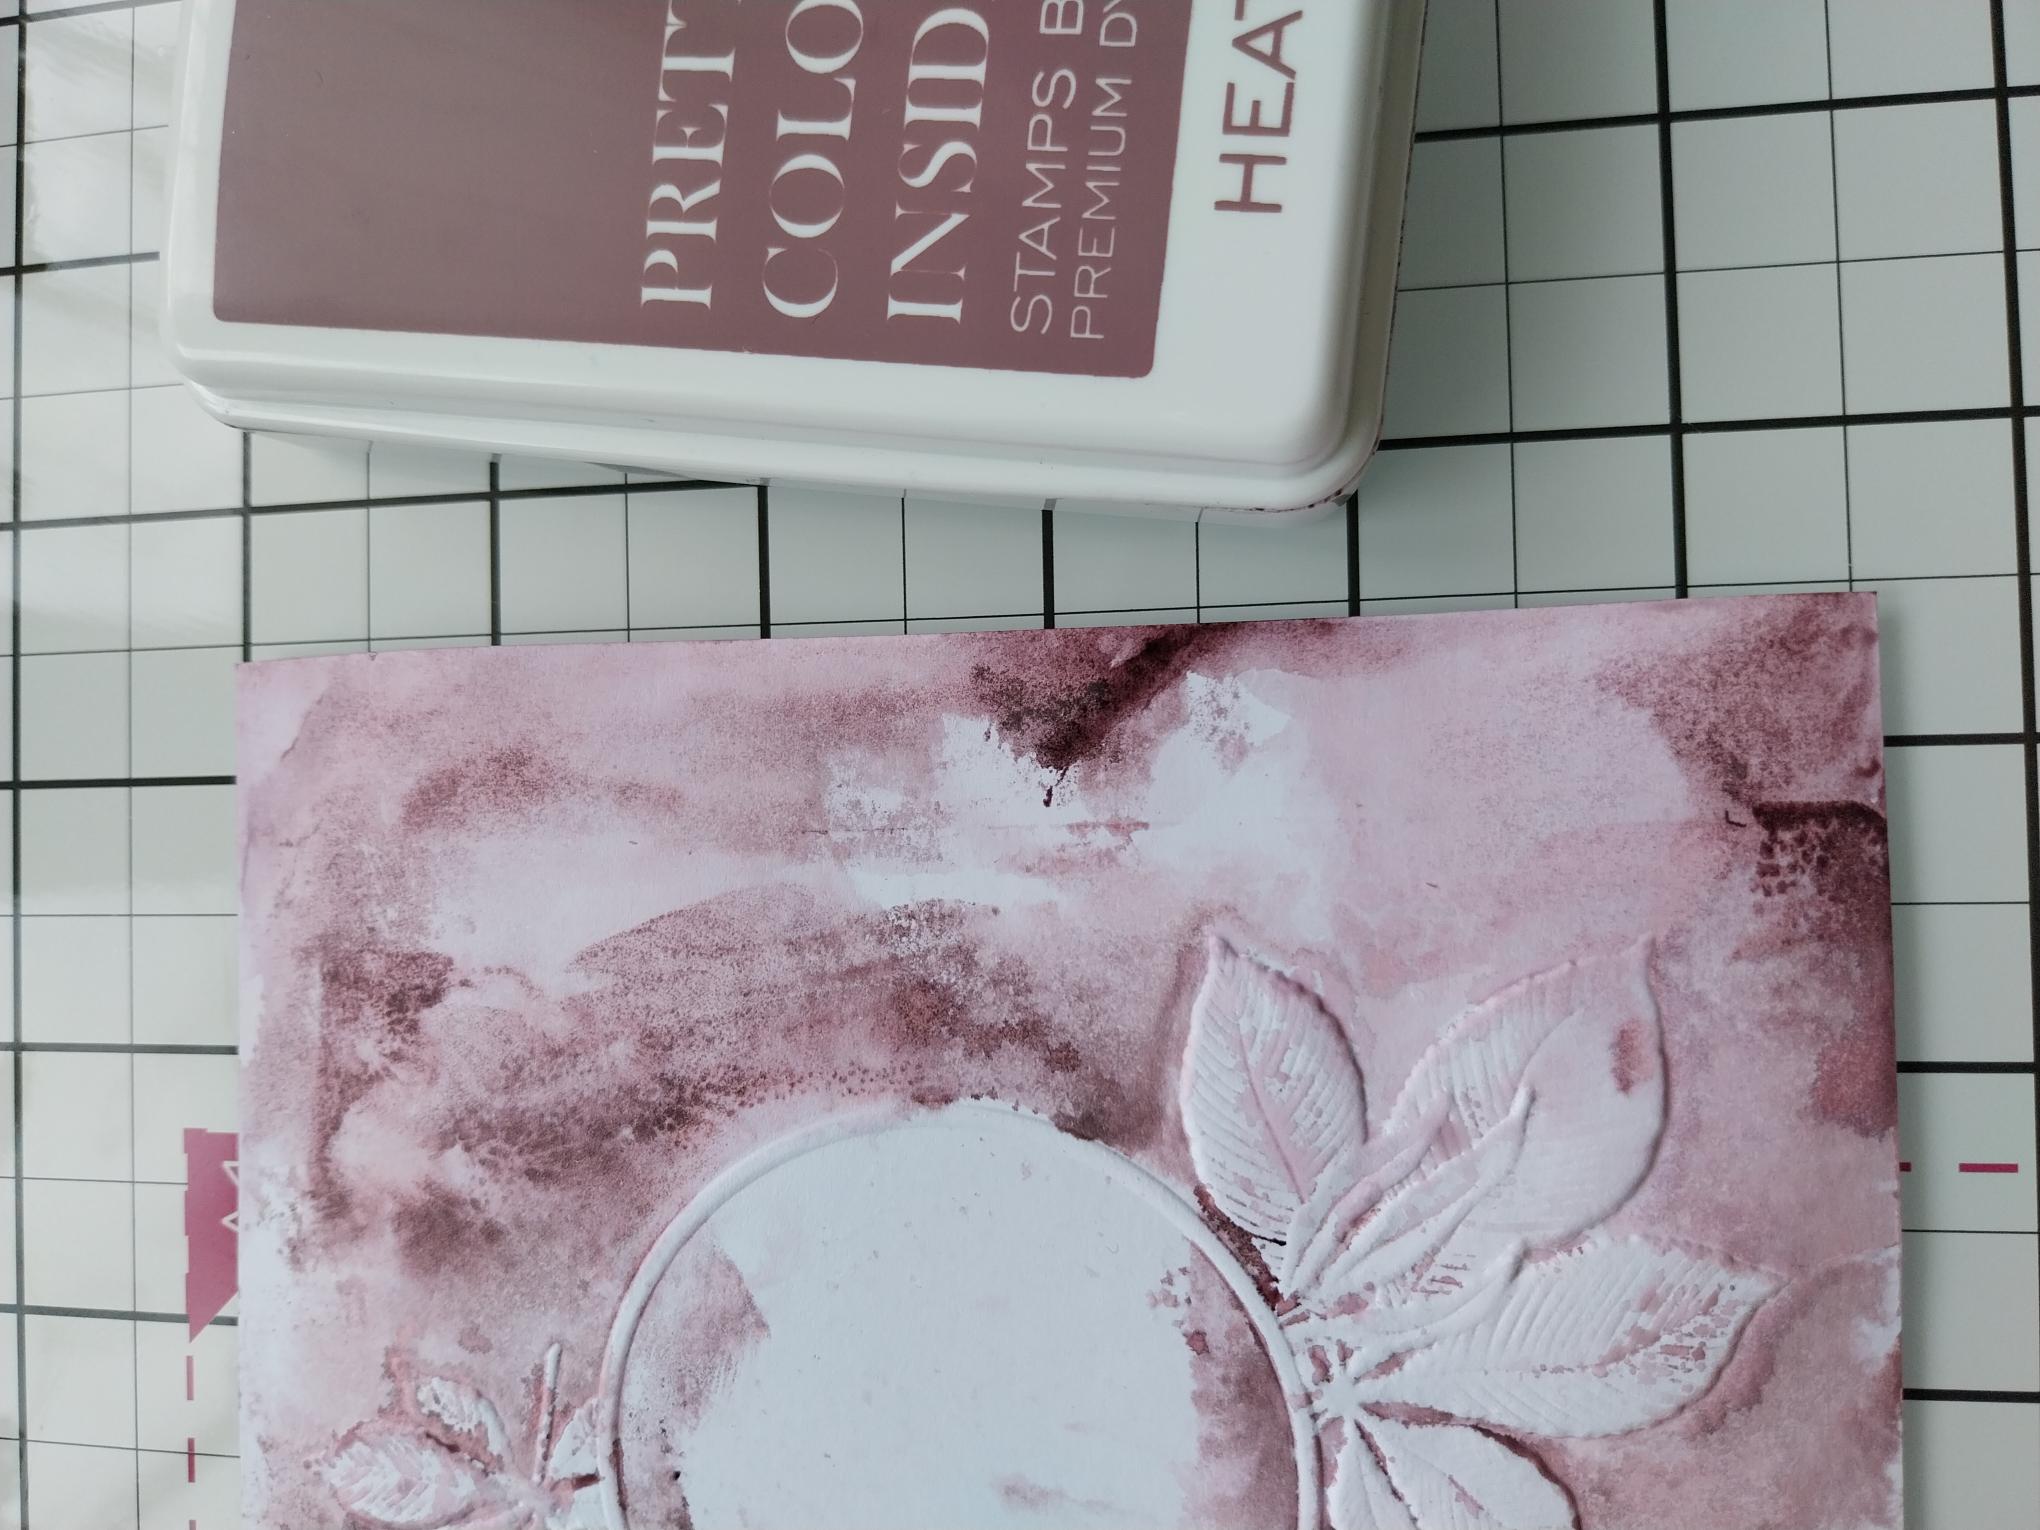
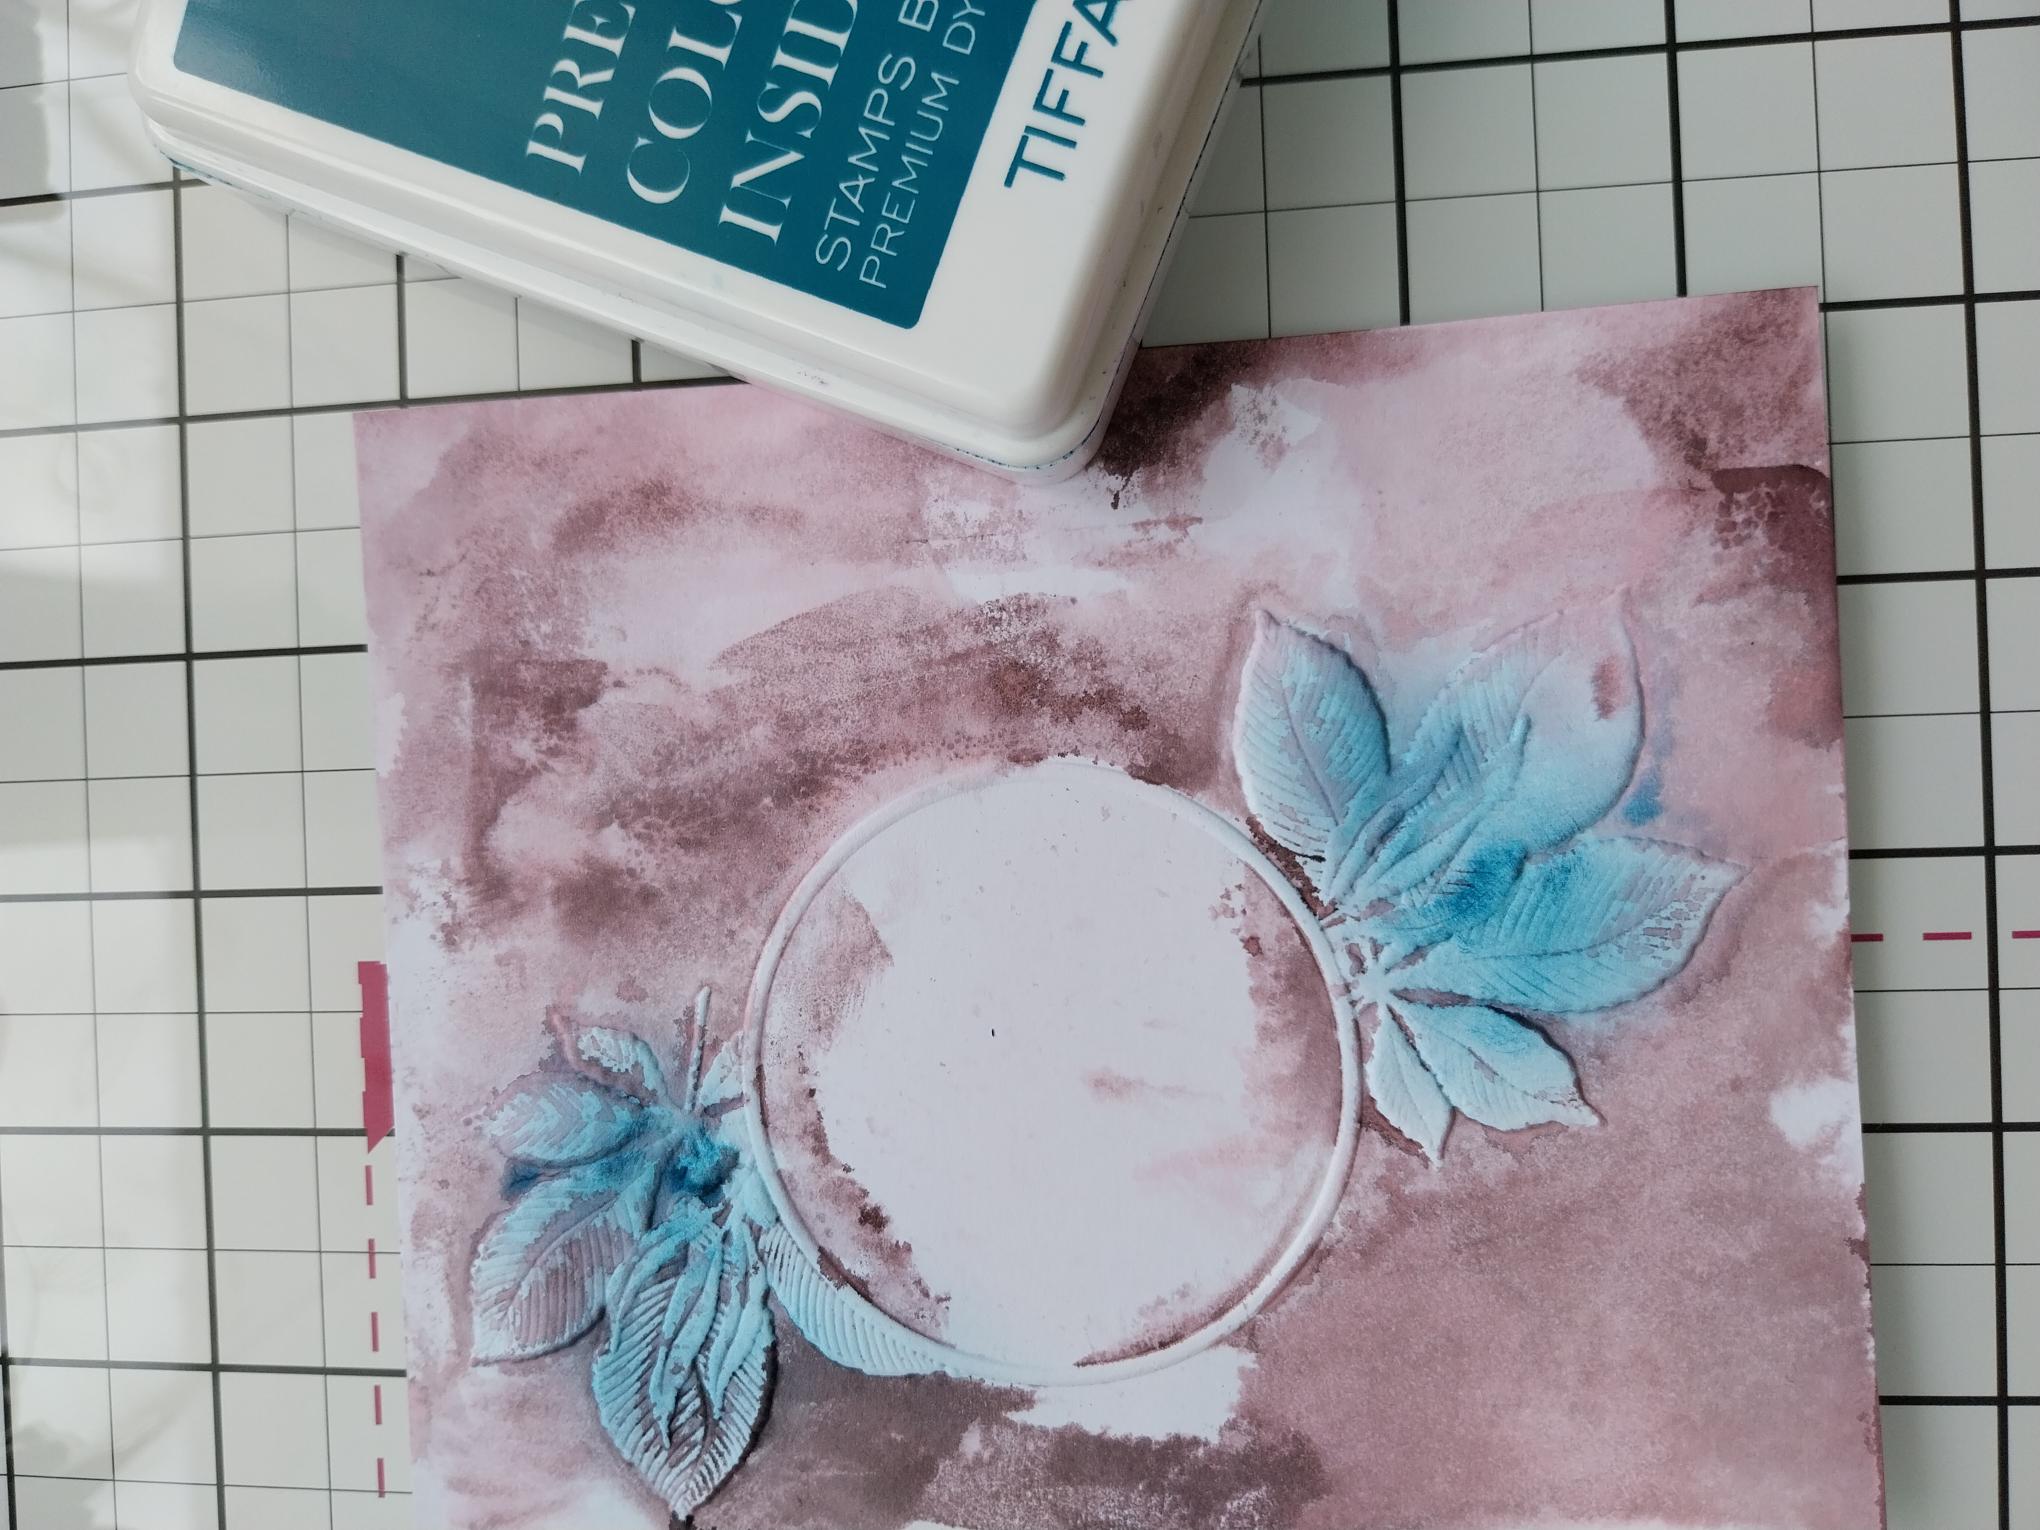
Trim your embossed artwork down to 5 1/2 x 4 1/2". Use your blending brush to apply Heather around the edges, randomly swiping the ink pad in from the edge of the card, thus creating texture to your artwork. |
|
Use your blending brush to apply Tiffany over the embossed leafy aspects, of the Autumn frame. Set to one side to dry. |
|
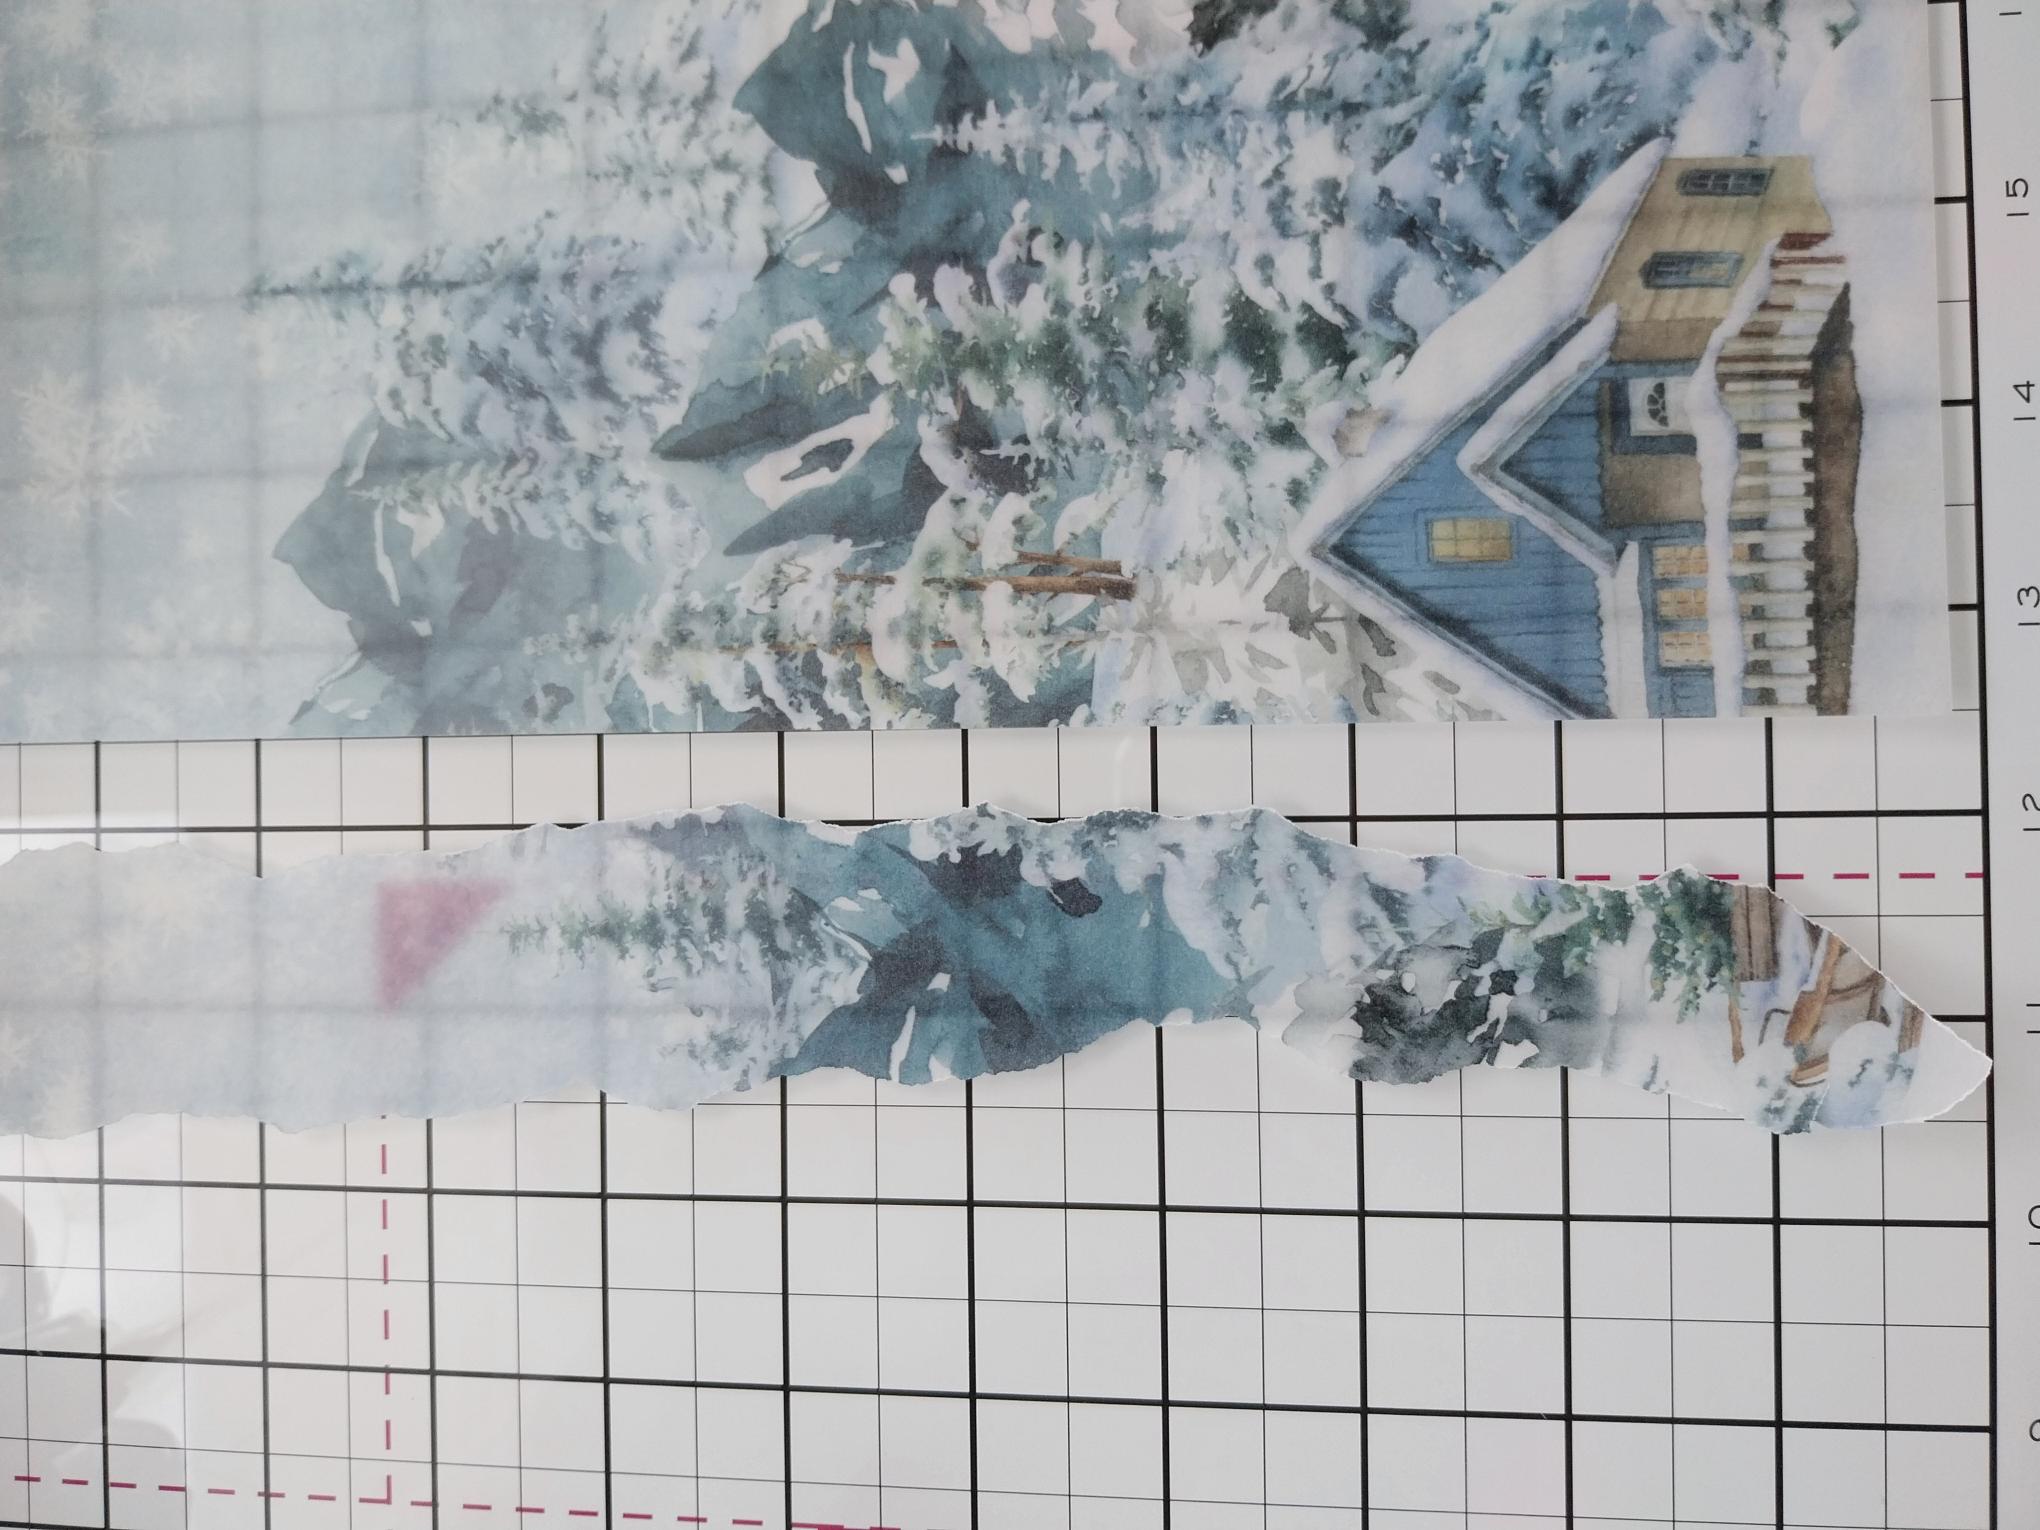
Tear a panel of vellum from A Winter Story roughly 6" in length and as wide as required, ensuring you leave the centre of the frame uncovered, as you will be stamping a sentiment here. I chose to include the printed Fir Trees within my torn panel. |
|
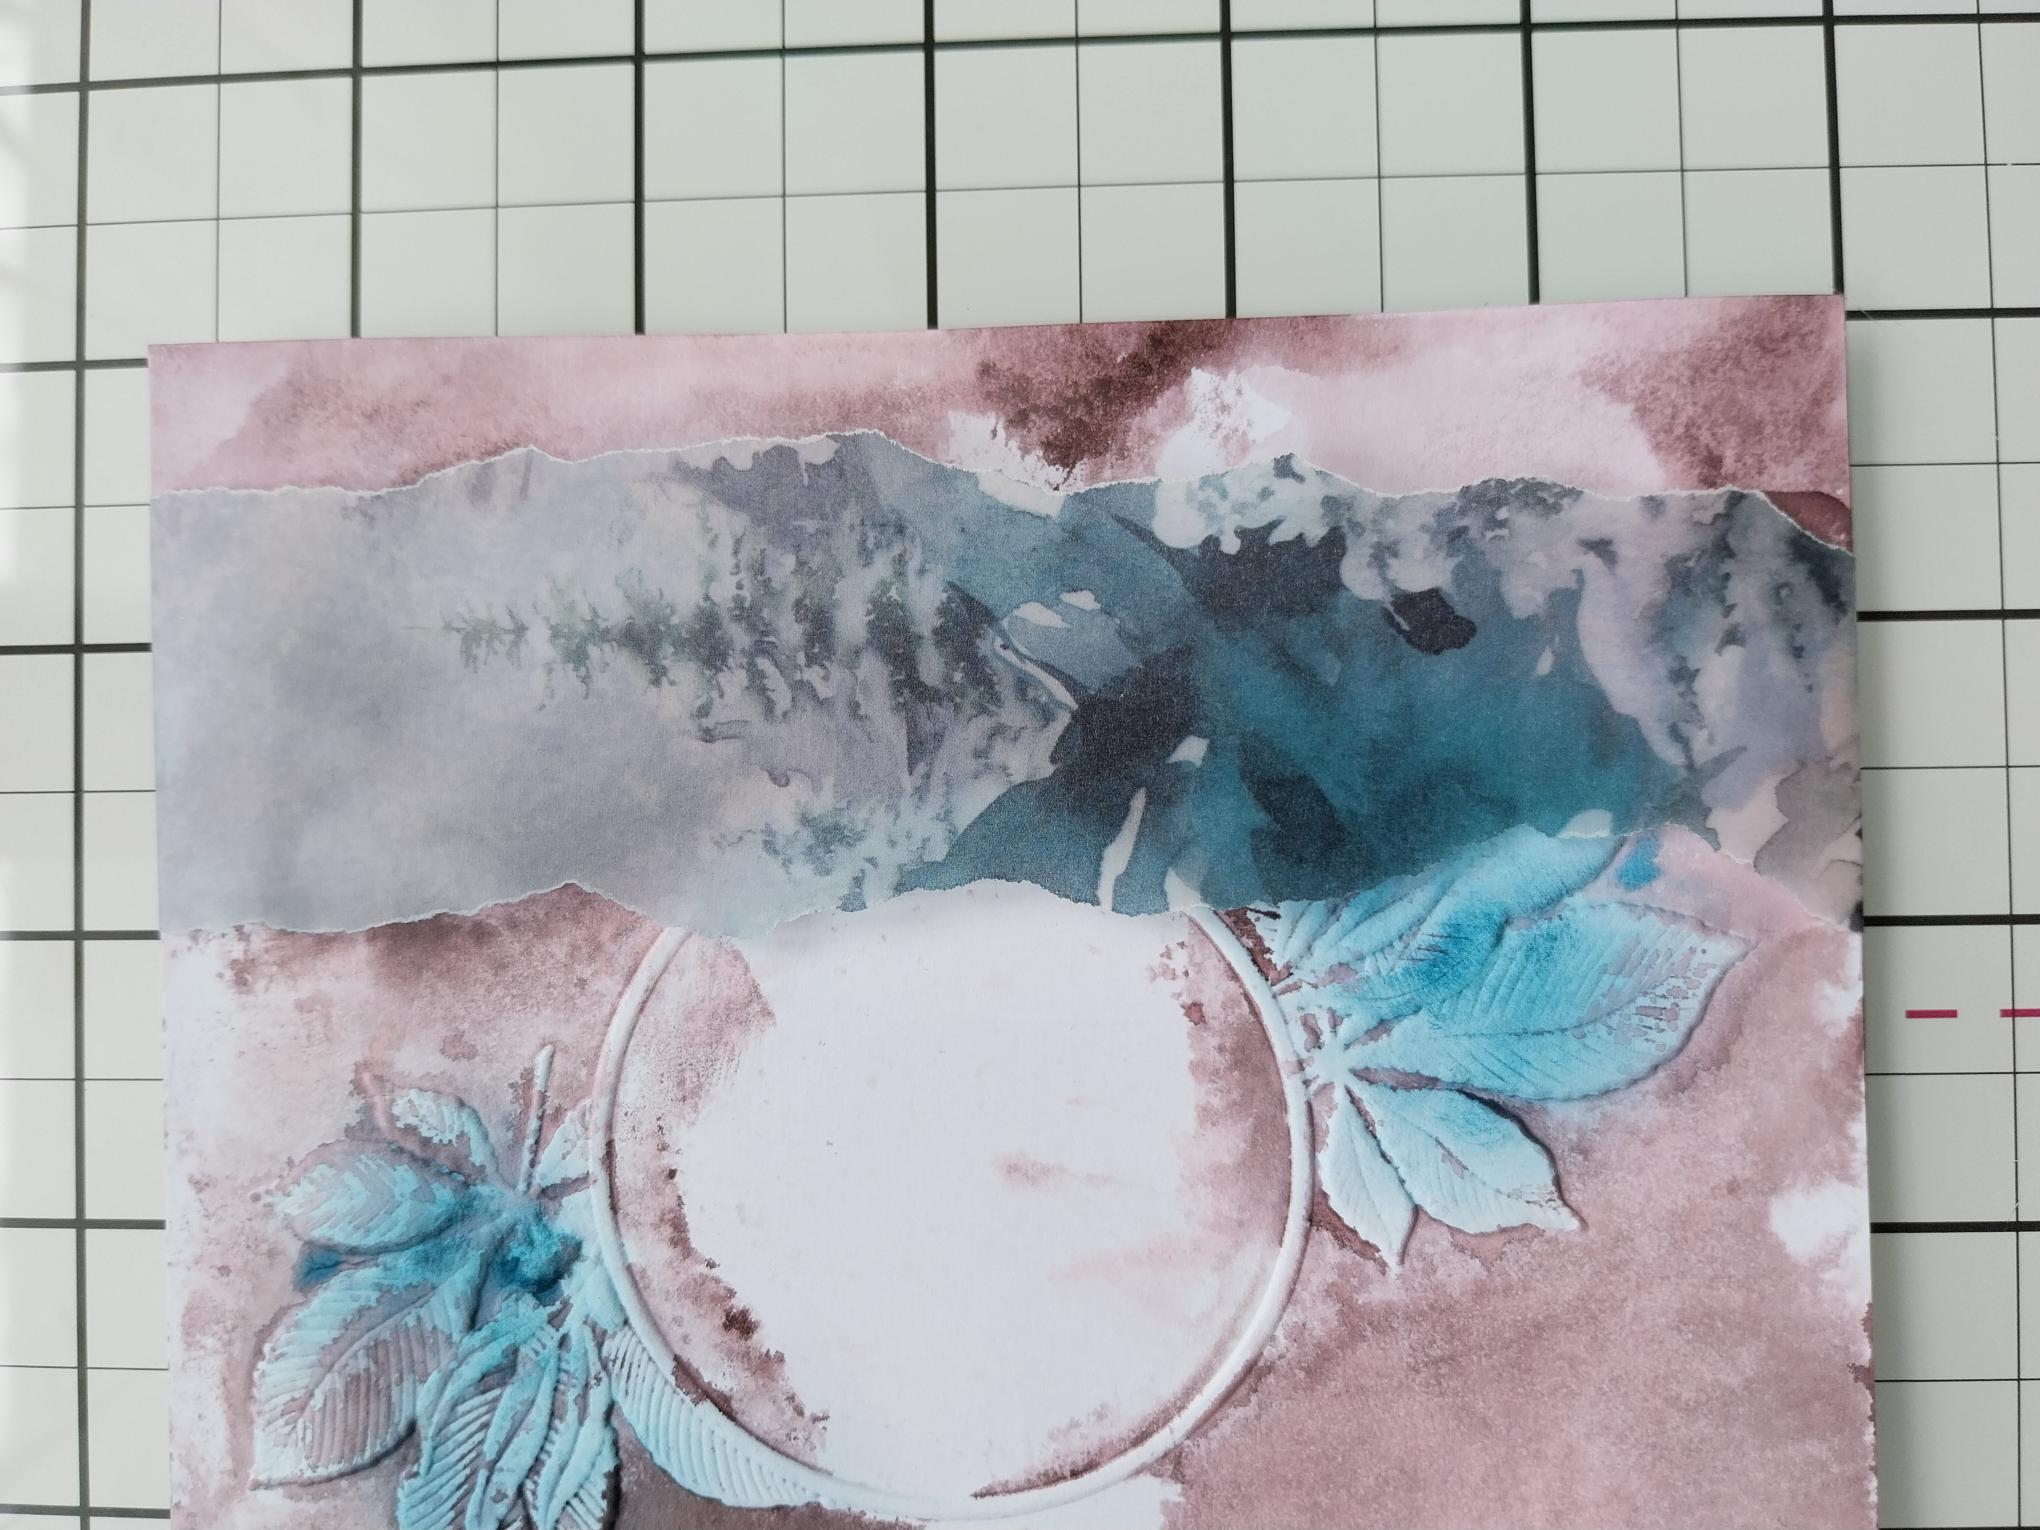
Lay your torn panel down the right side of your embossed card. Tuck the ends over the top and bottom and secure on the reverse of the card with double-sided tape. |
|
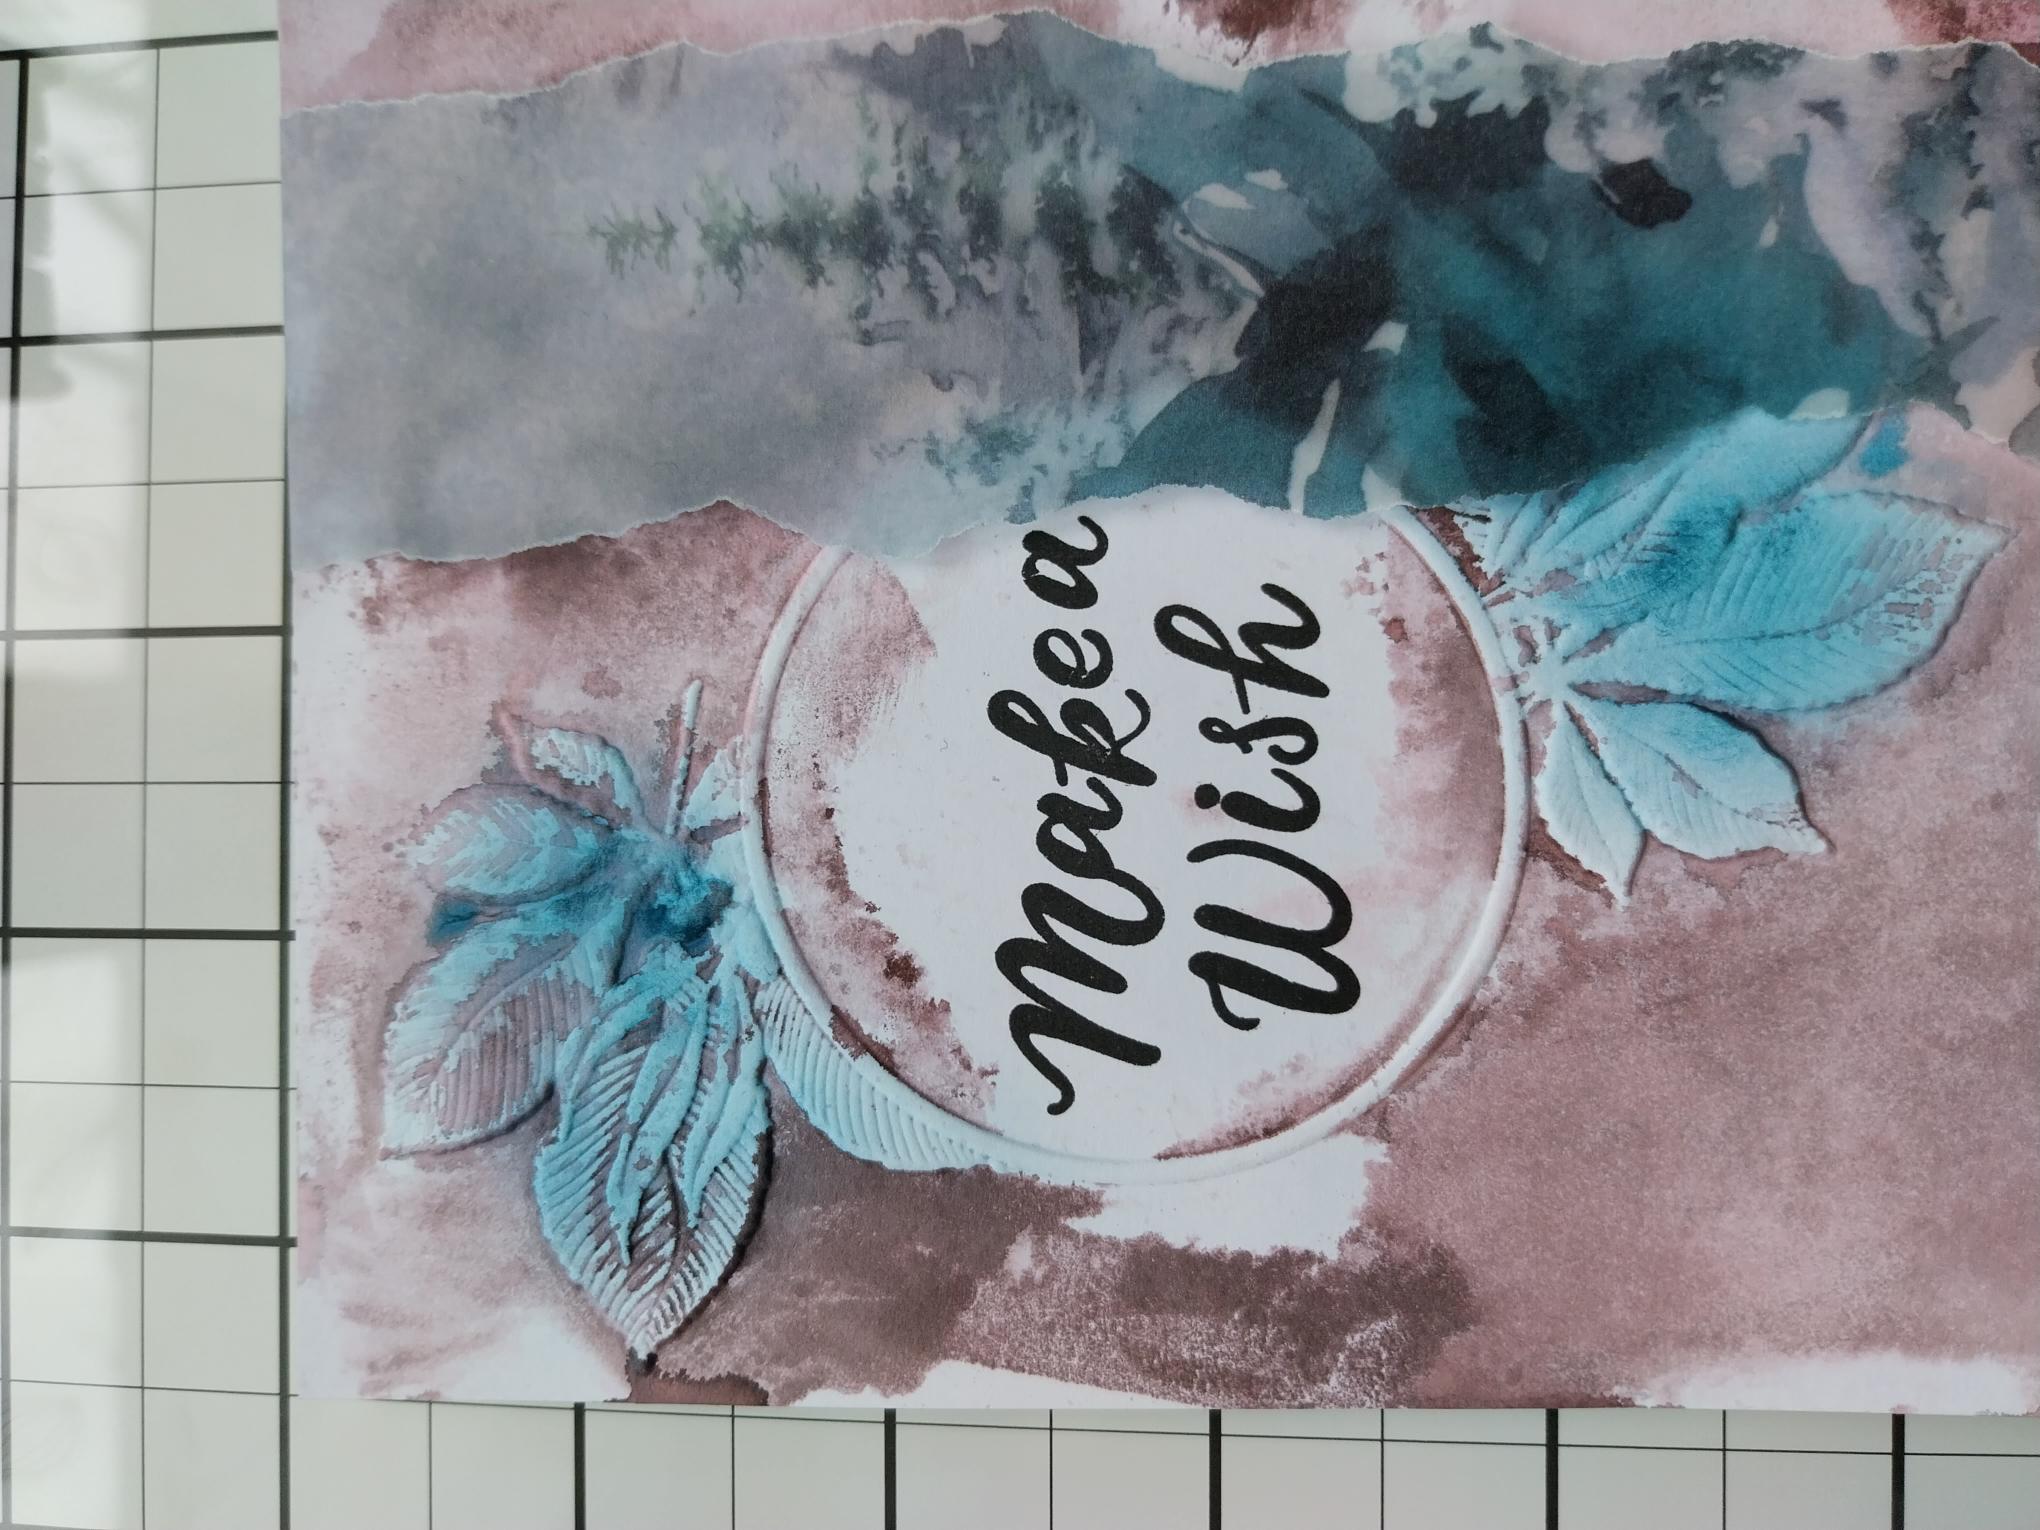
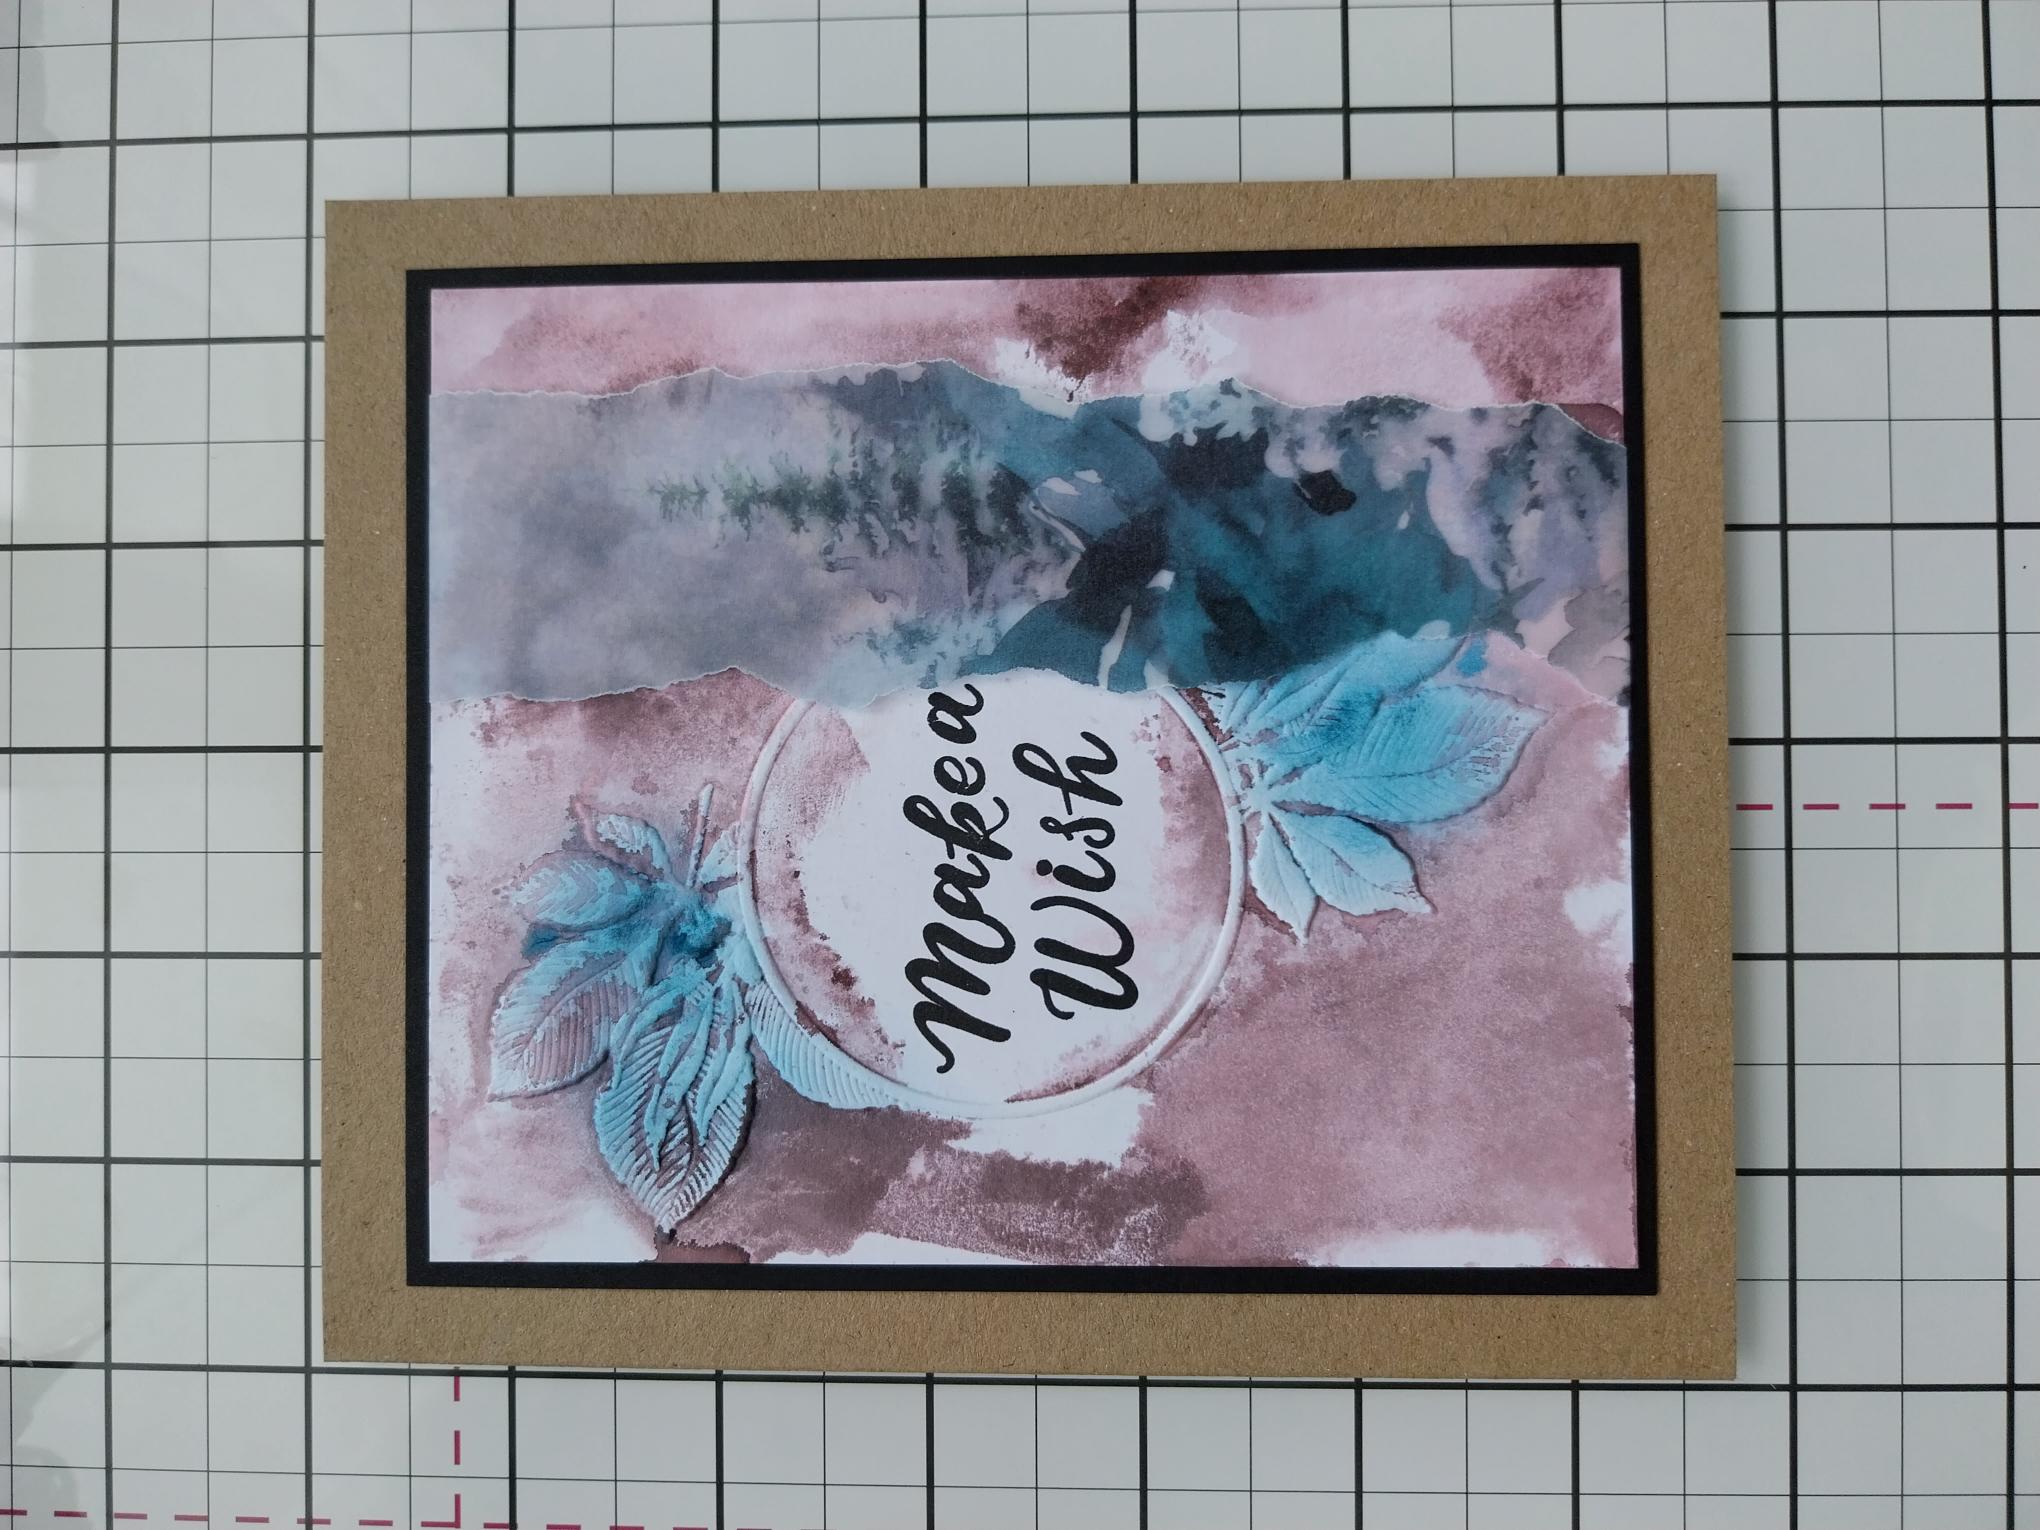
Stamp your chosen sentiment in the centre of the Autumn frame. |
|
Mat your embossed artwork on to black cardstock trimmed to 5 3/4 x 4 3/4" and then on to your kraft card blank. |
|
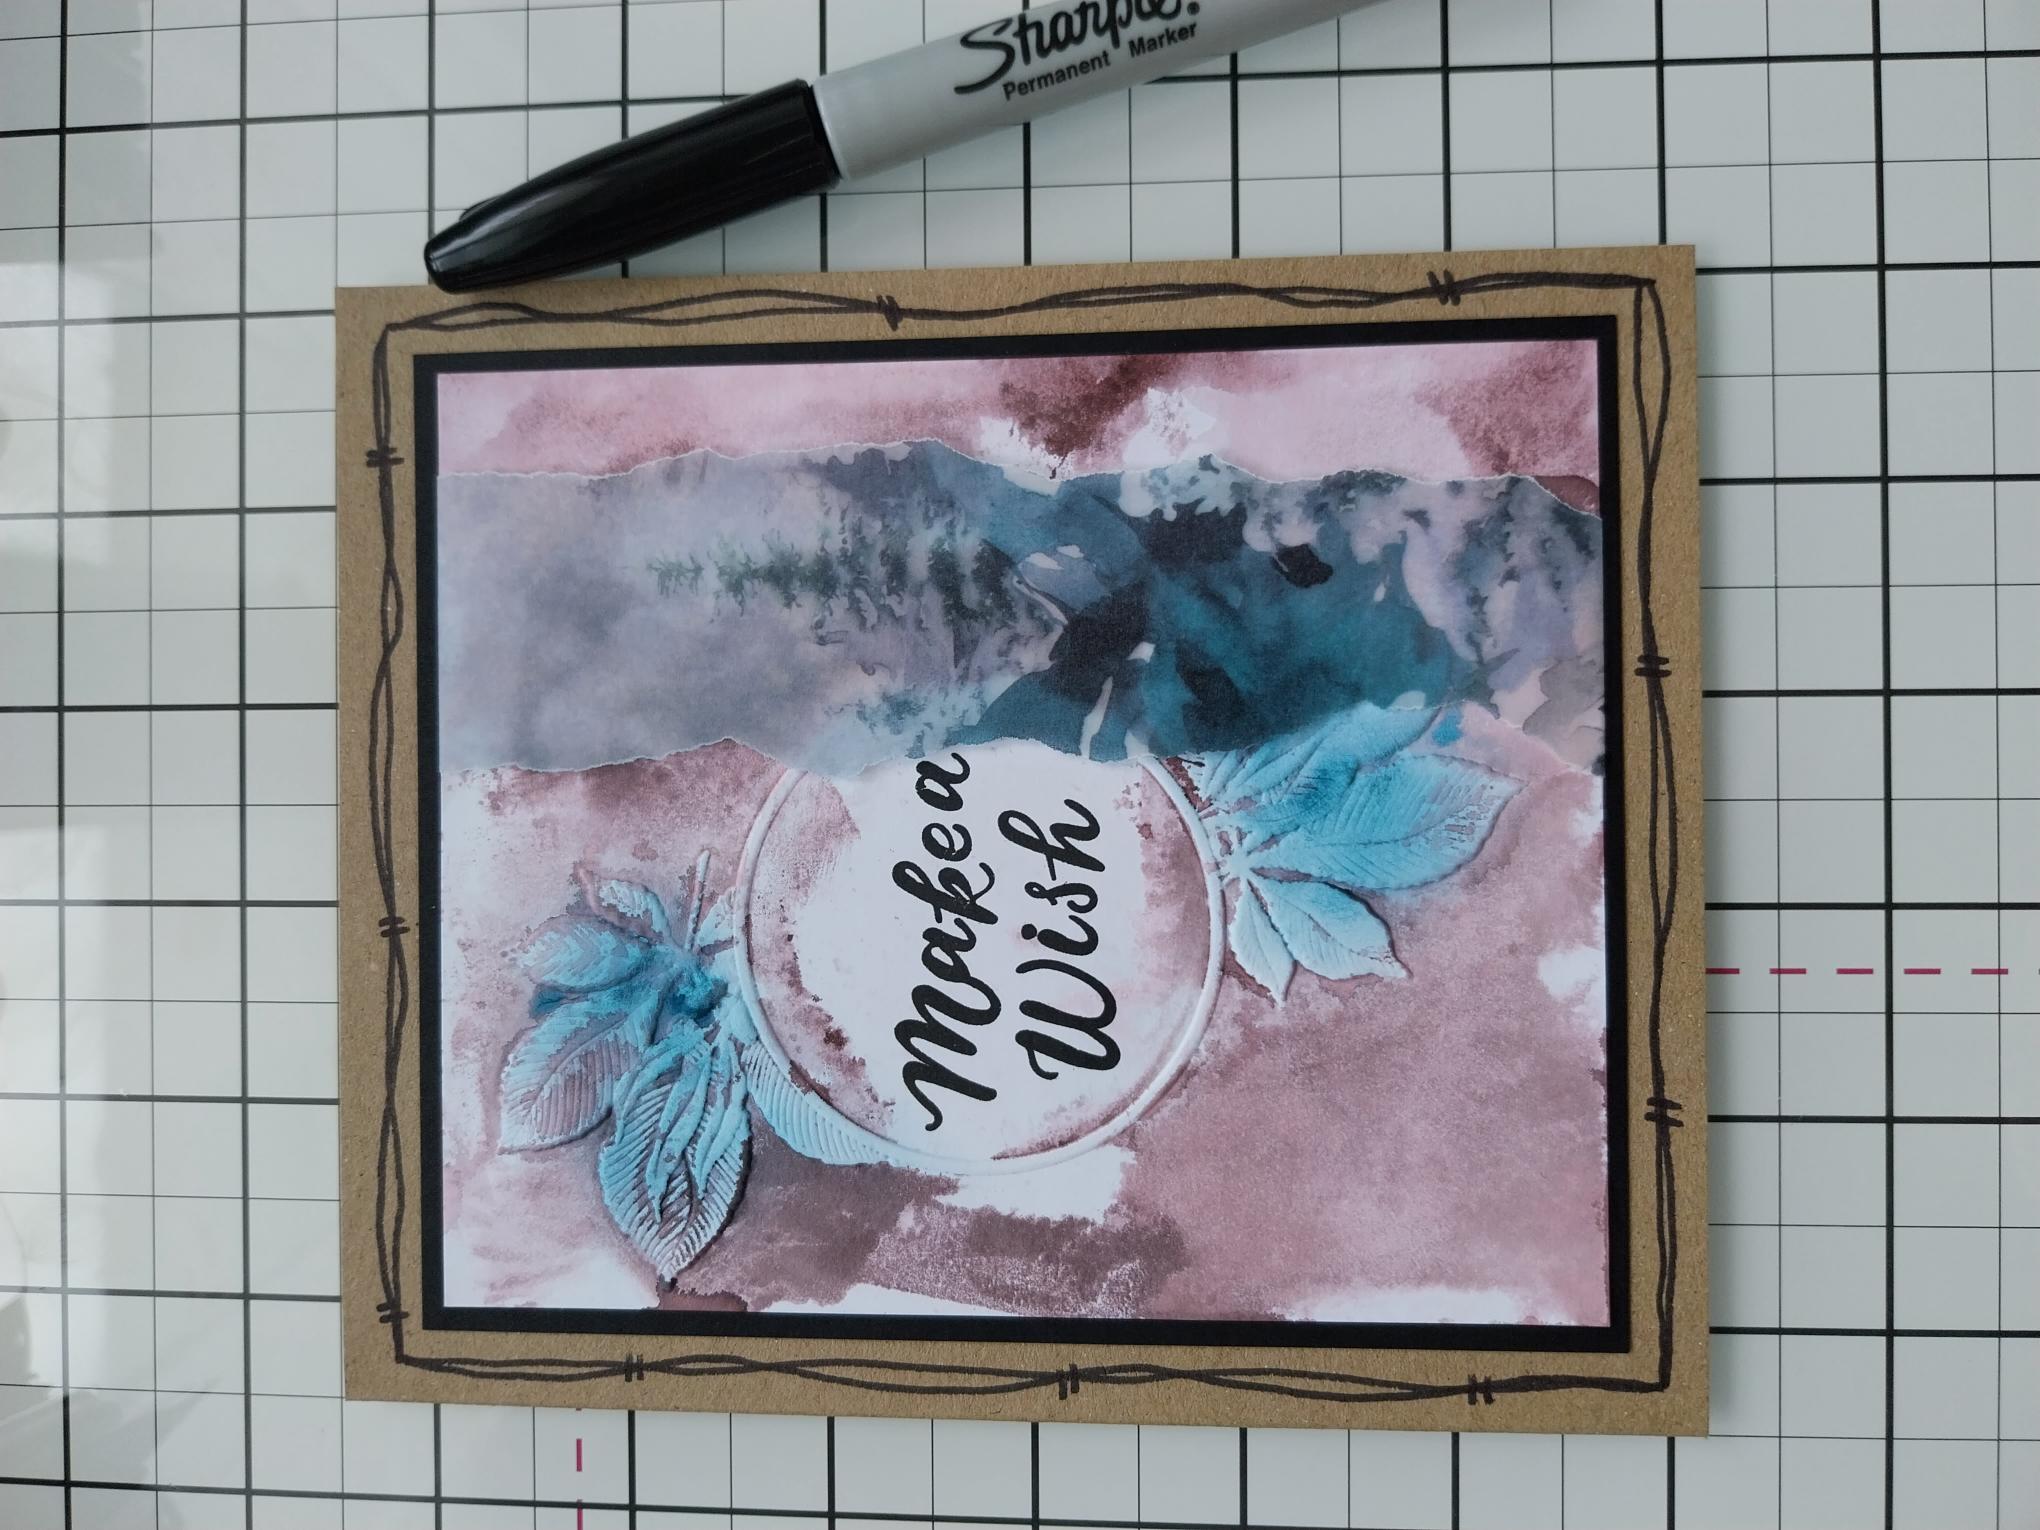
Use a black pen to draw your own decorative frame around the black card "mat". |
|
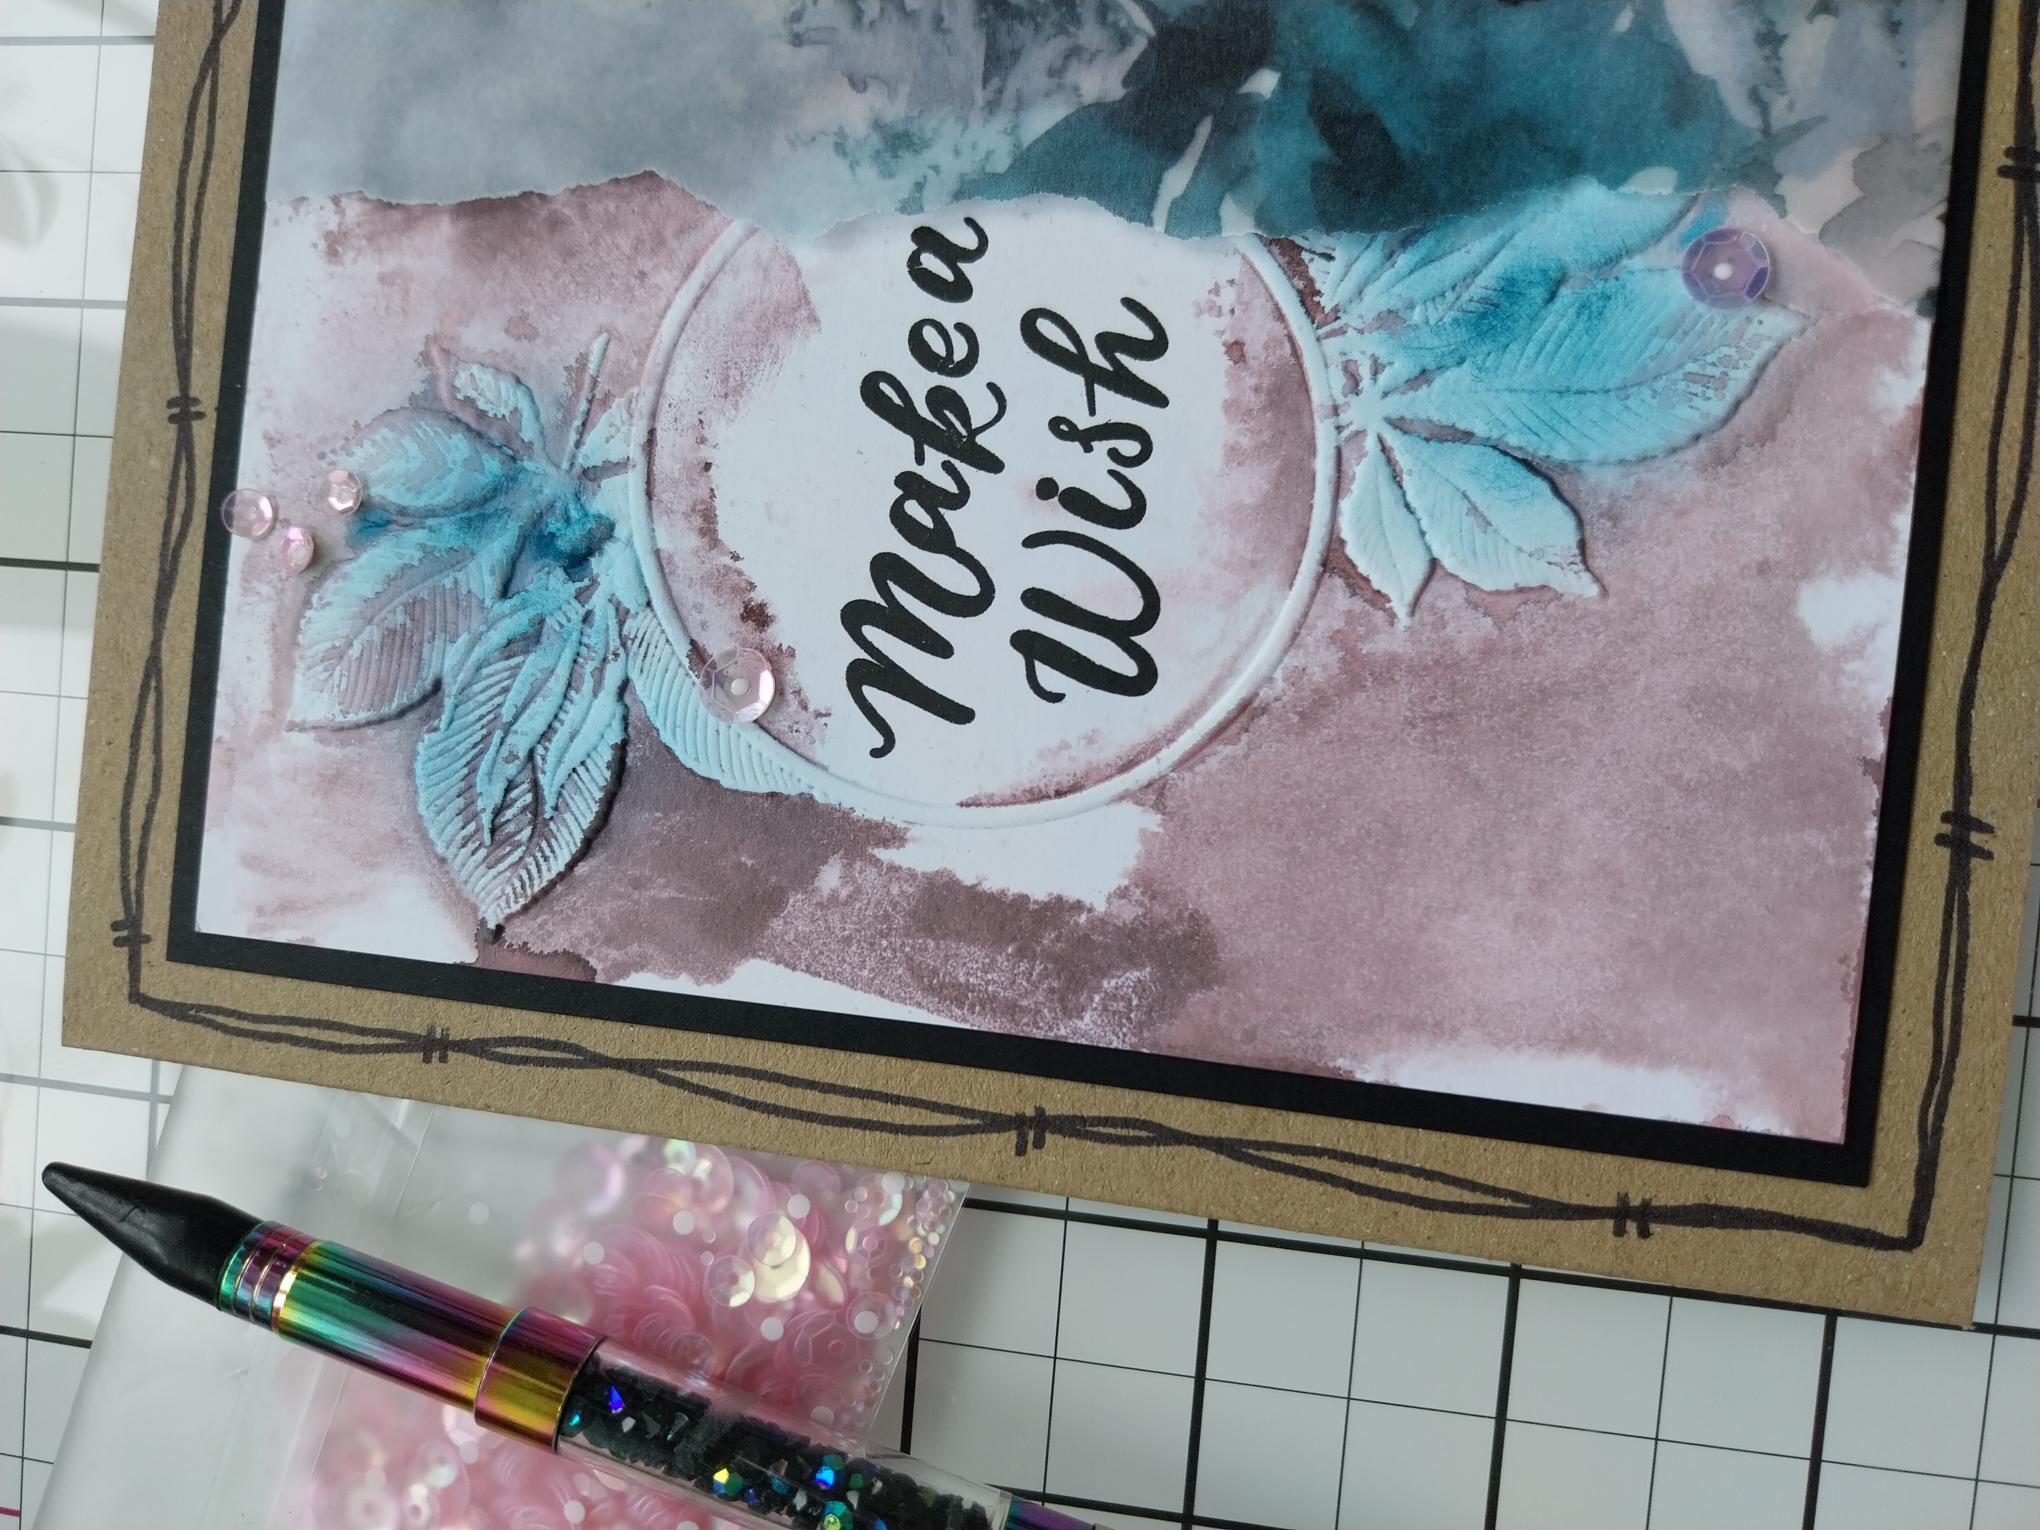
Randomly add a few sequins to your artwork, to complete your card. |