

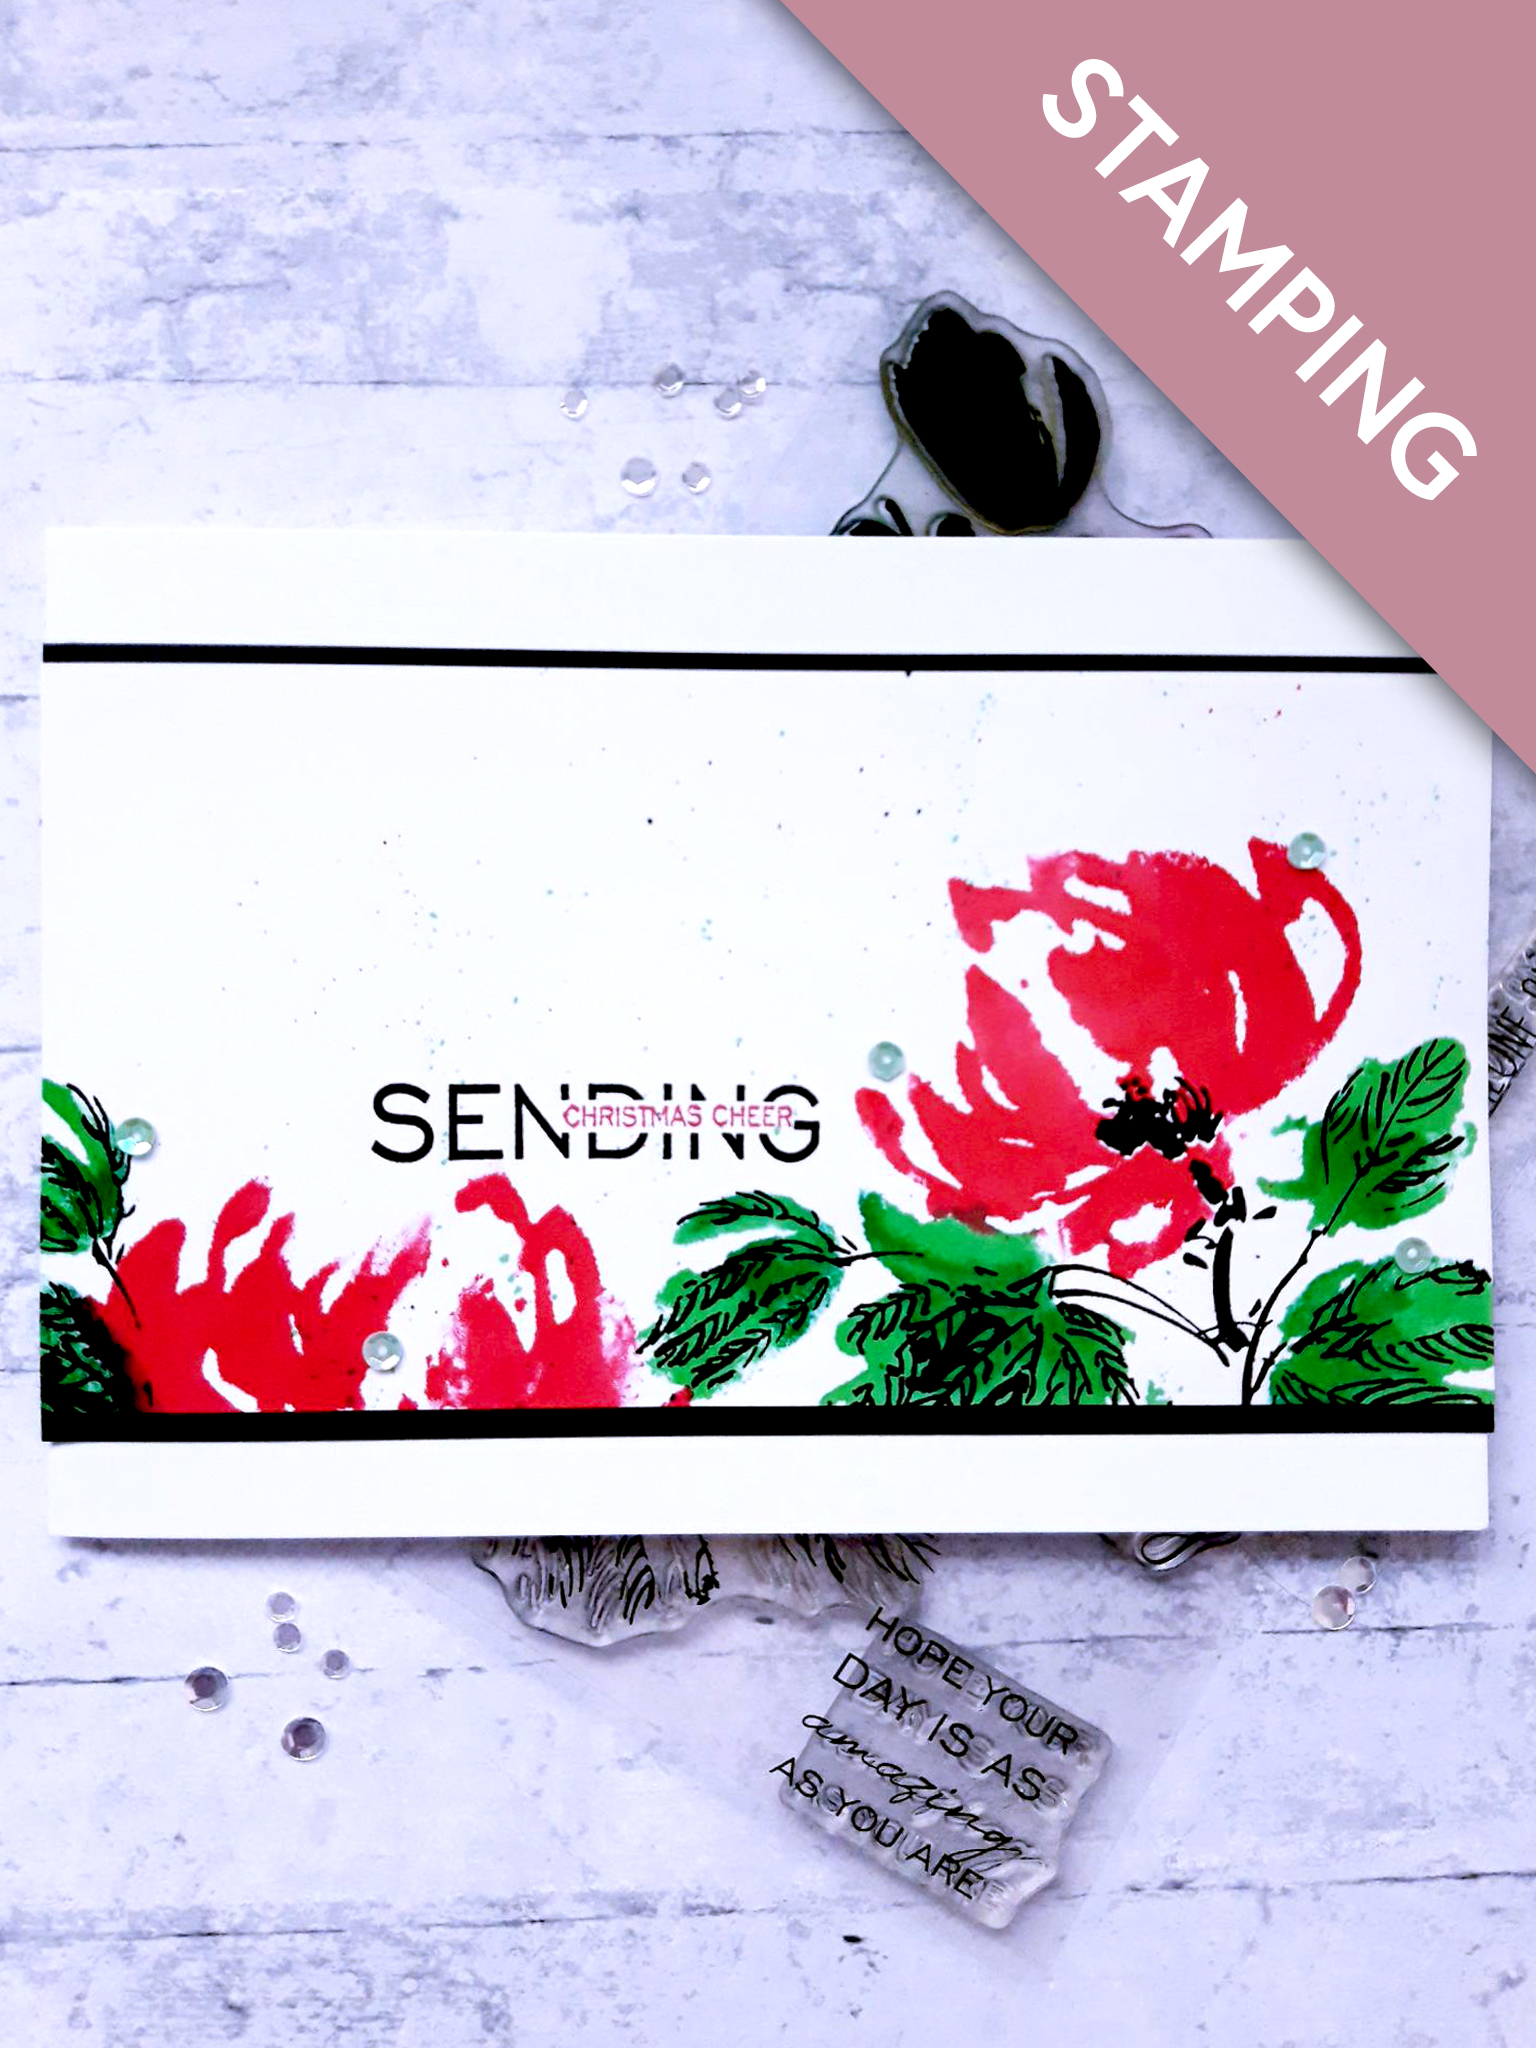
WHAT YOU WILL NEED:
White top folding card blank (8 1/4 x 5 3/4")
Black cardstock (8 1/4 x 4 1/2")
White cardstock (8 1/4 x 4 1/4")
Stamps from Choose Happy Lamination Stamp Collection
Sentiment from Sending Christmas Cheer Stamp Collection
Versafine Ink Pad: Onyx Black
Gossip Glitter Colouring Pens: Red, Aqua, Green
Izink Dye Ink Pad: Framboise
Sequins: Down The Bay
Spray water bottle
Eureka 101
Paper Trimmer
Perfect Together Glue
[click image to enlarge] 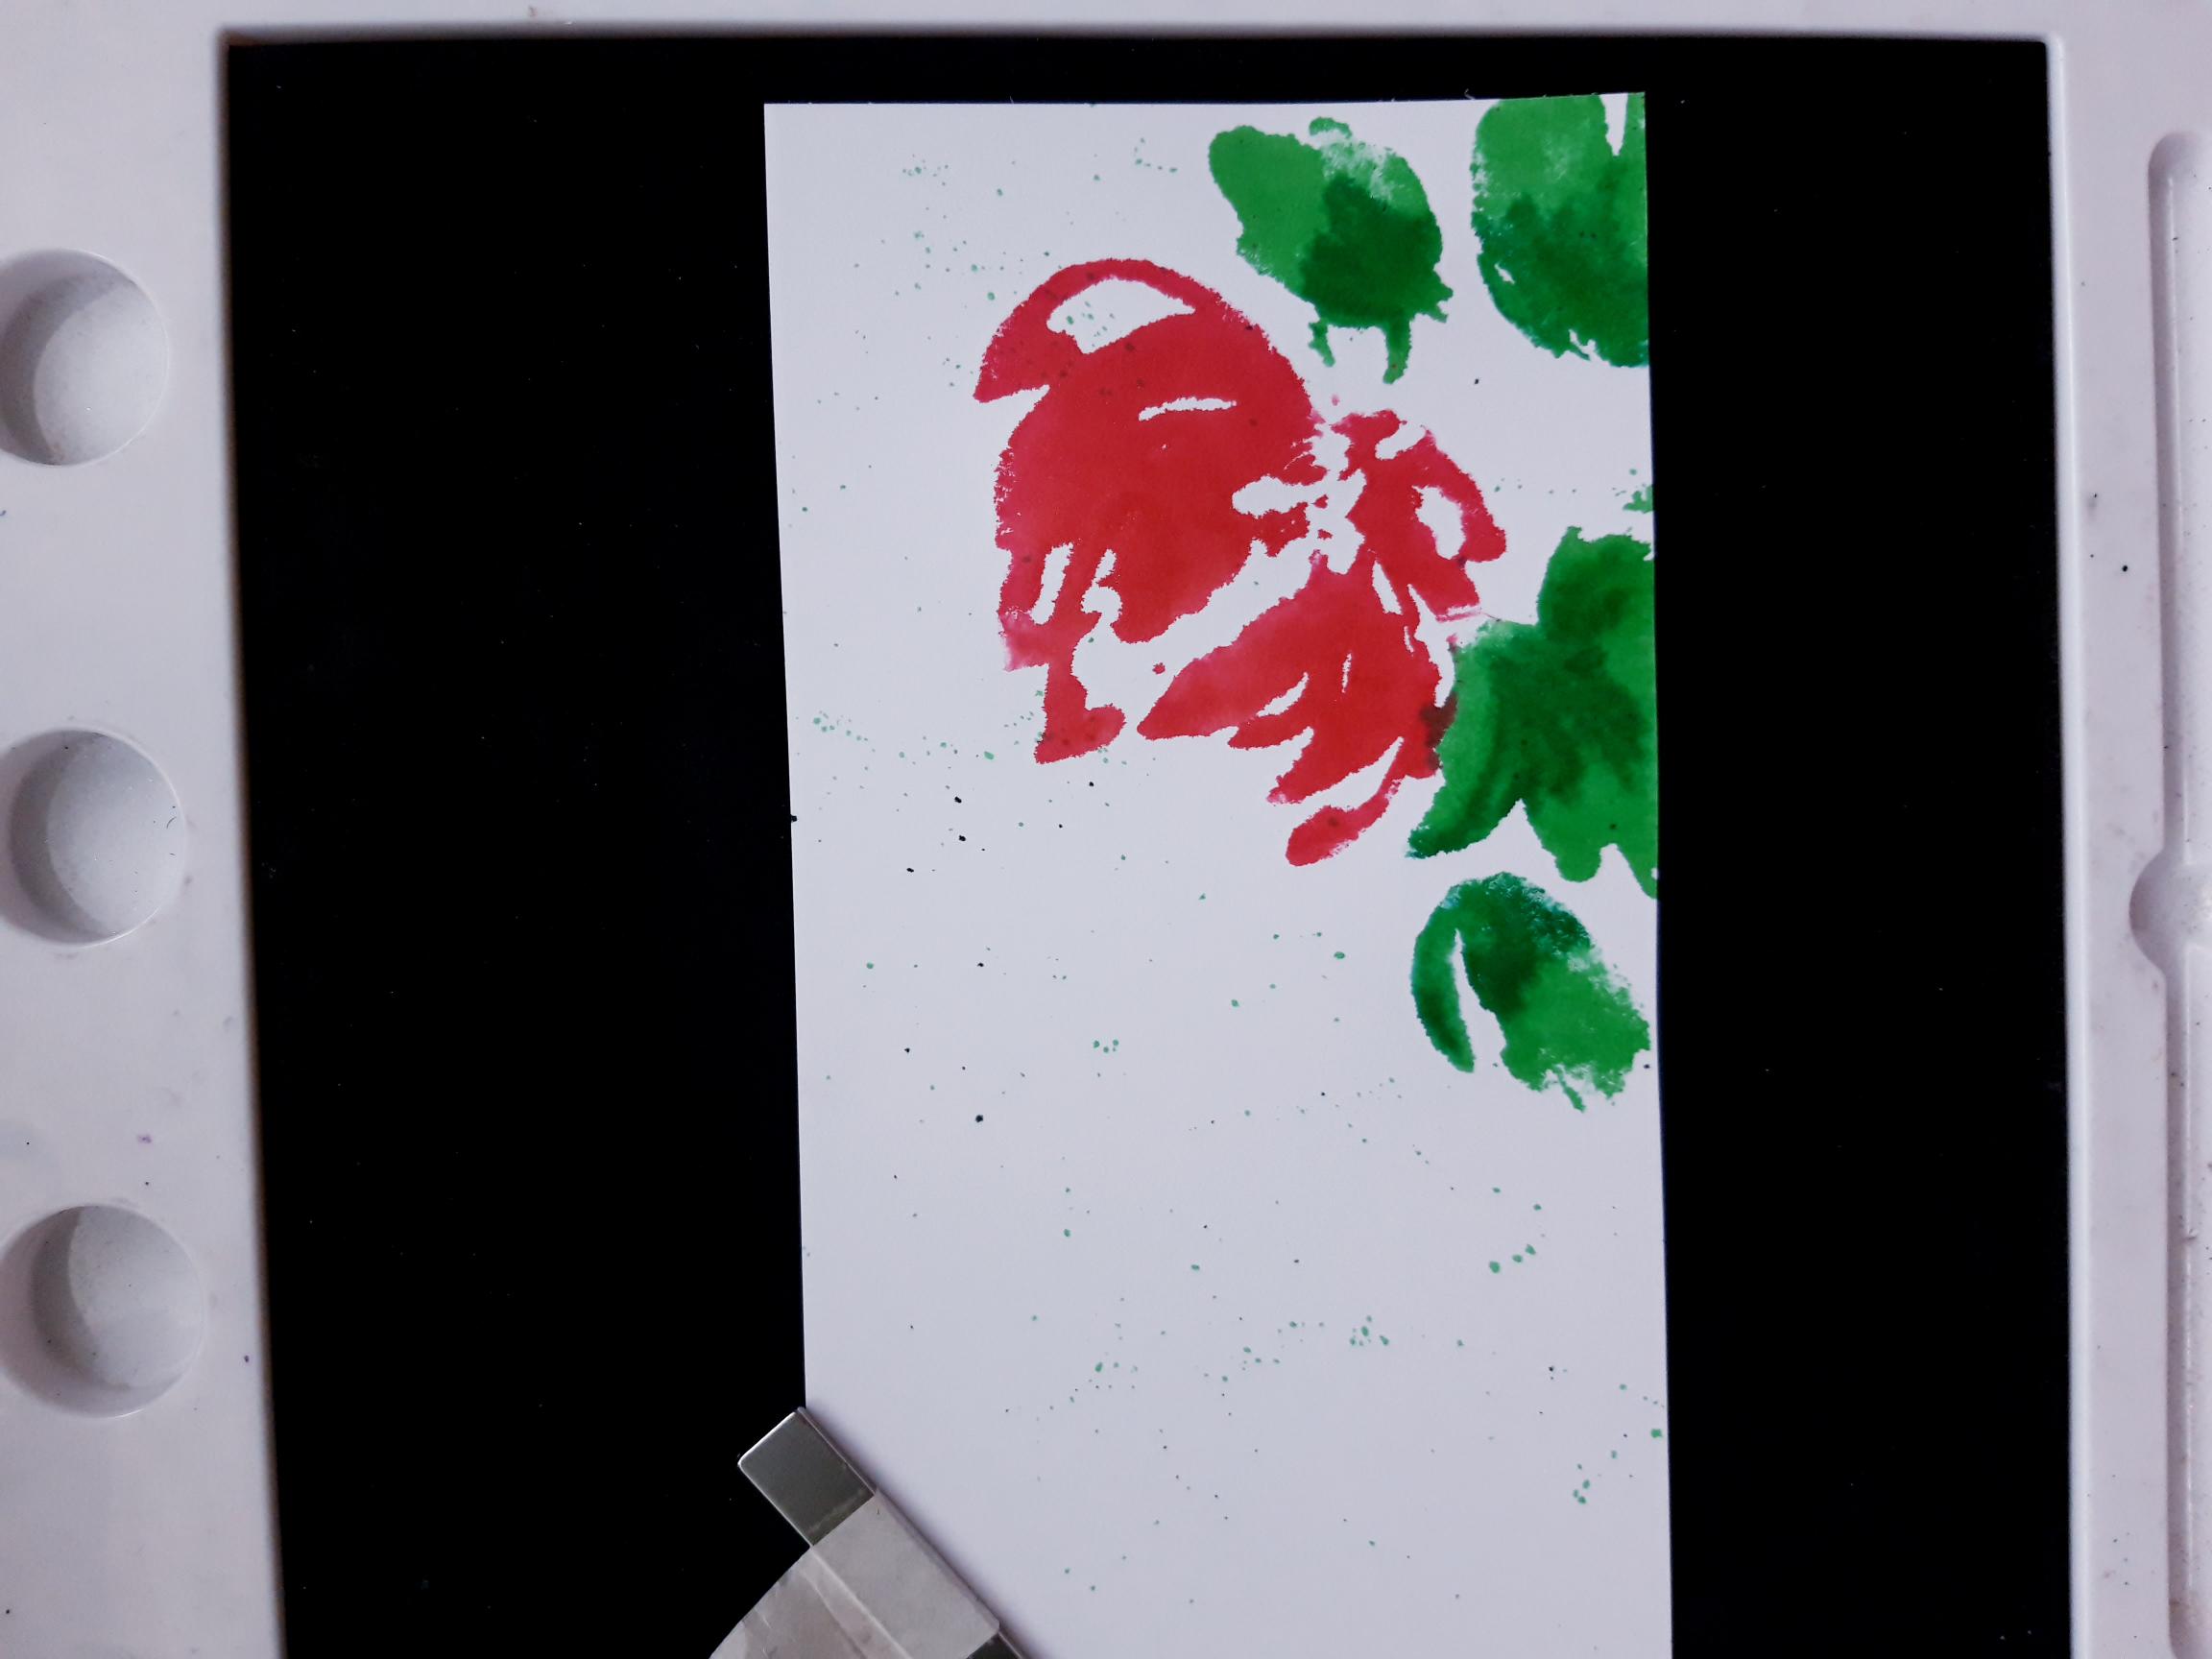
|
Apply the Gossip Glitter pens directly to the solid stamp, from the Choose Happy Stamp Collection. Spritz with water, and stamp coming up from the bottom right corner, of the white cardstock (in landscape view). You can reapply pens, adding more shade with the Green pen, until you are happy with the result. Add a little of the Aqua and Green pens to a craft or glass mat, and splatter over your artwork. Dry thoroughly. |
|
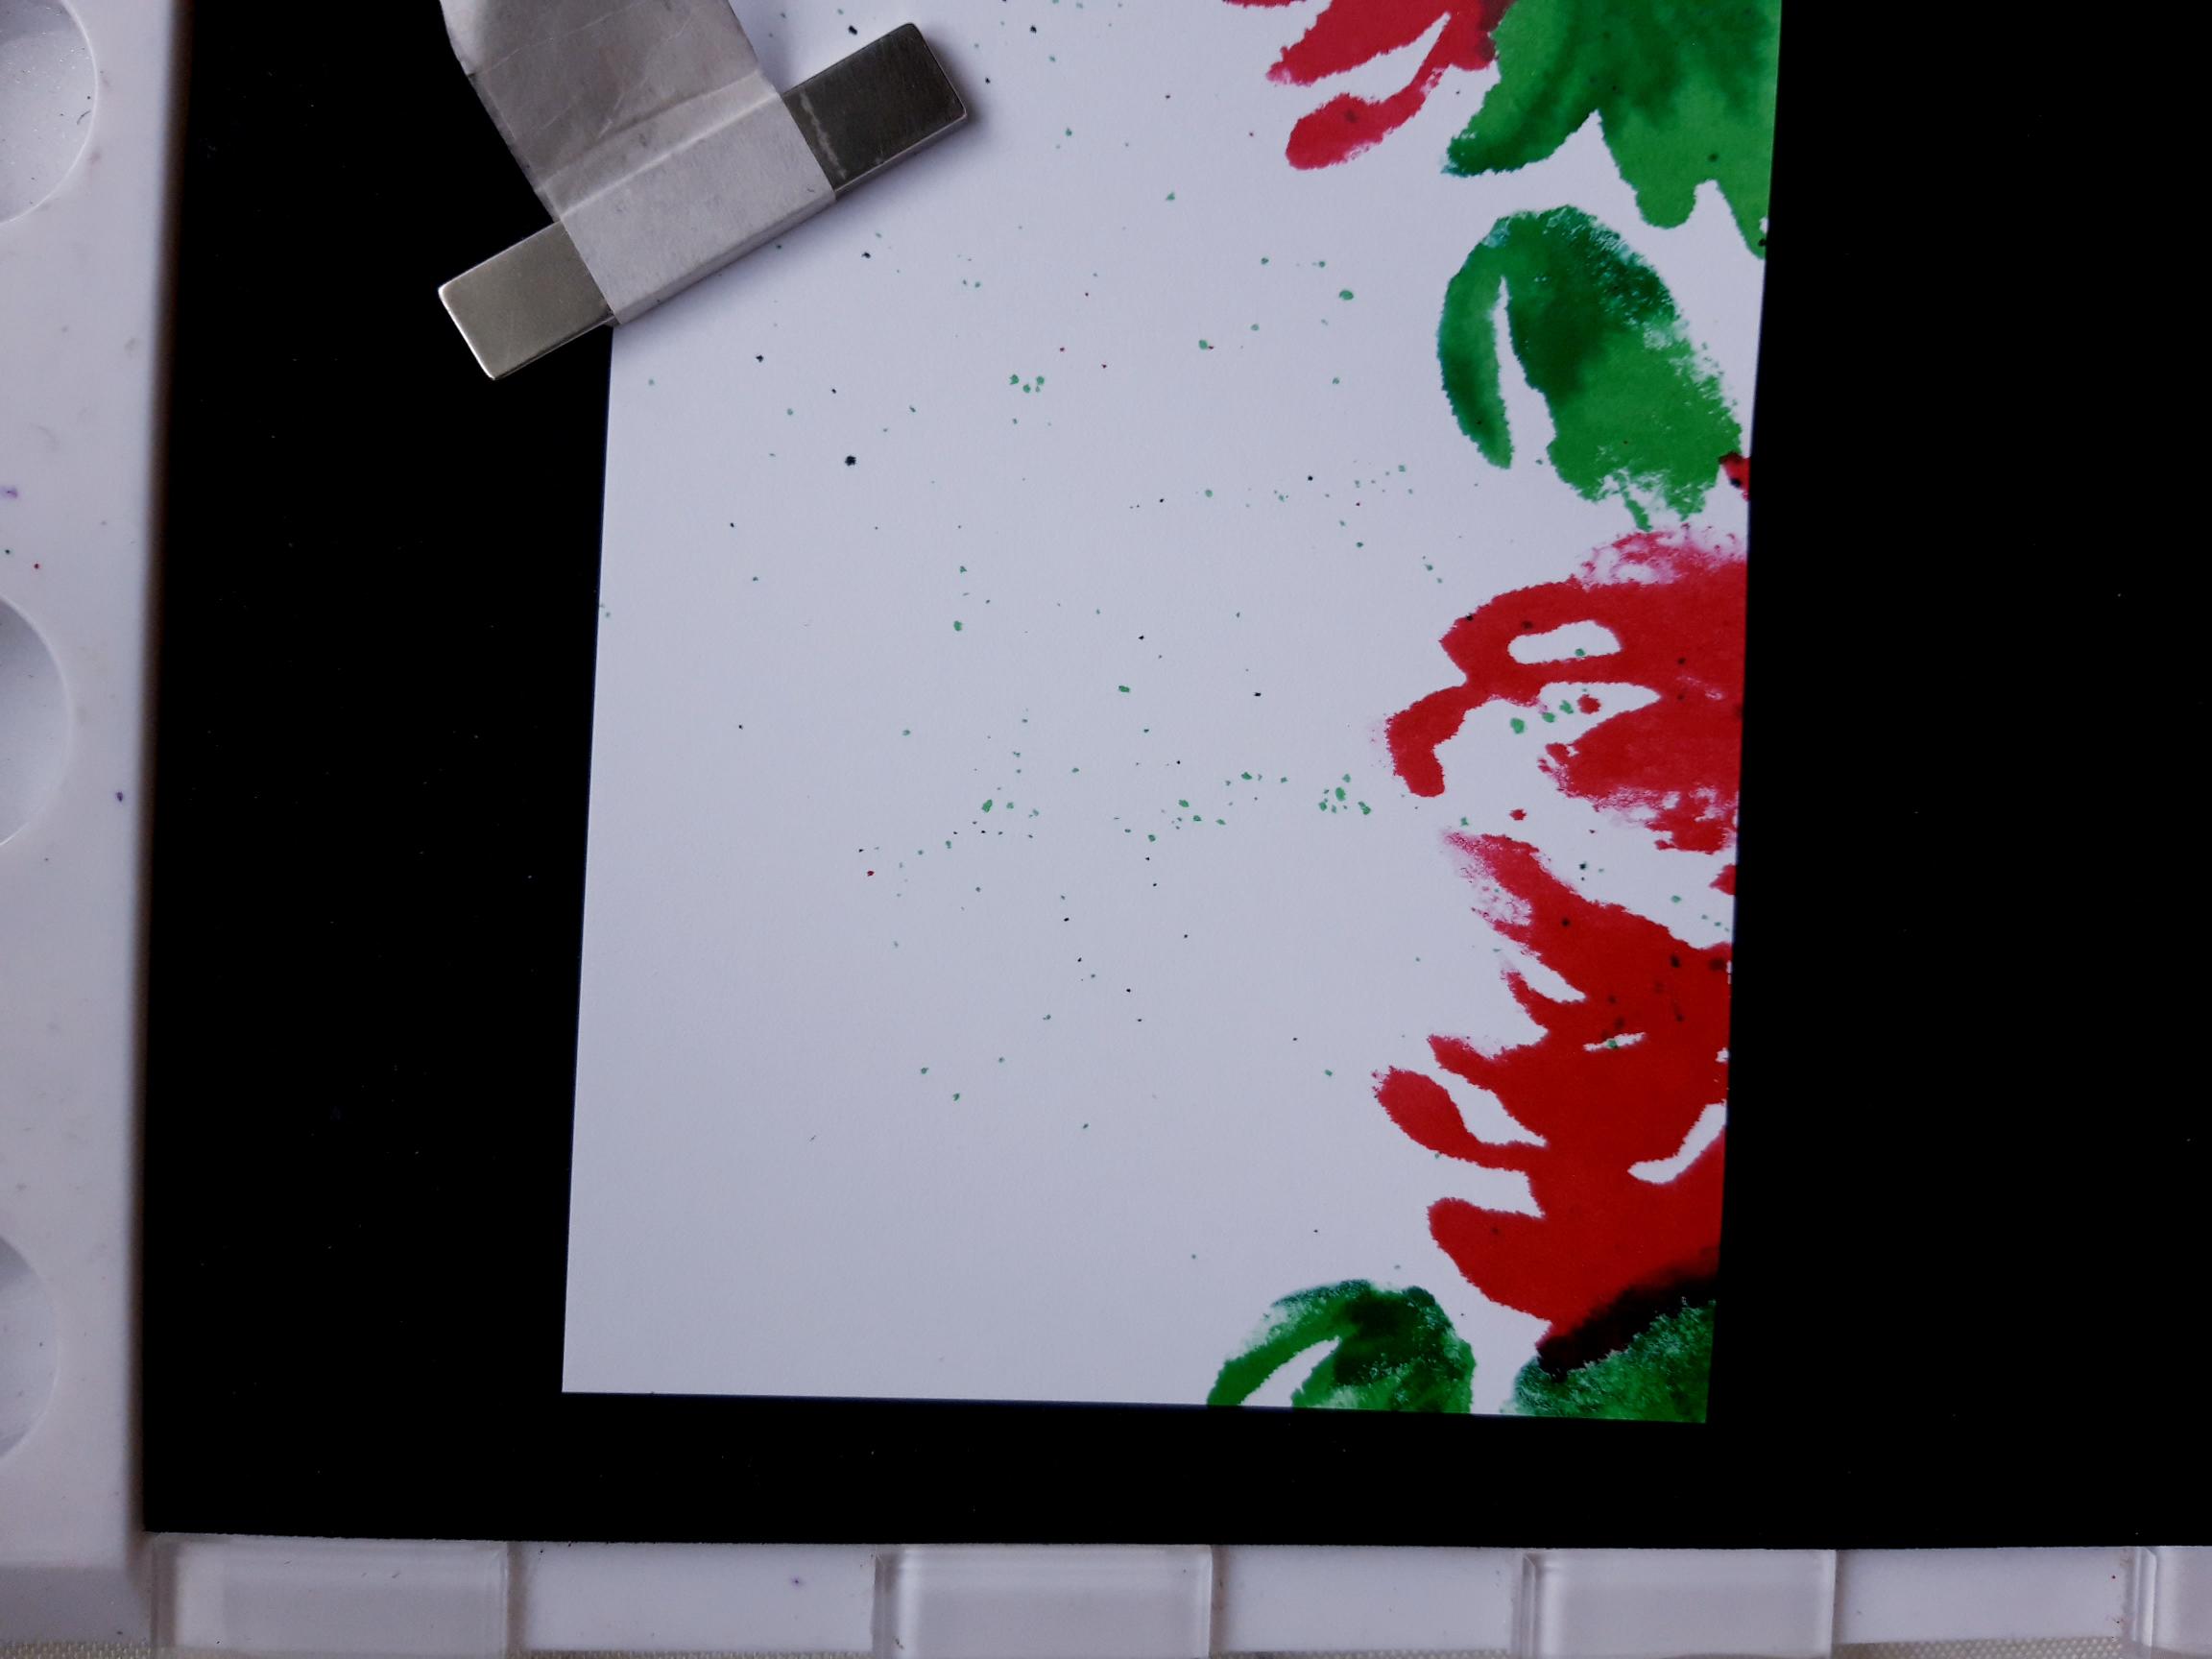
Repeating the previous steps, stamp the same image just peeking up from the bottom edge of the cardstock, to extend your stamped design. Dry the ink thoroughly. |
|
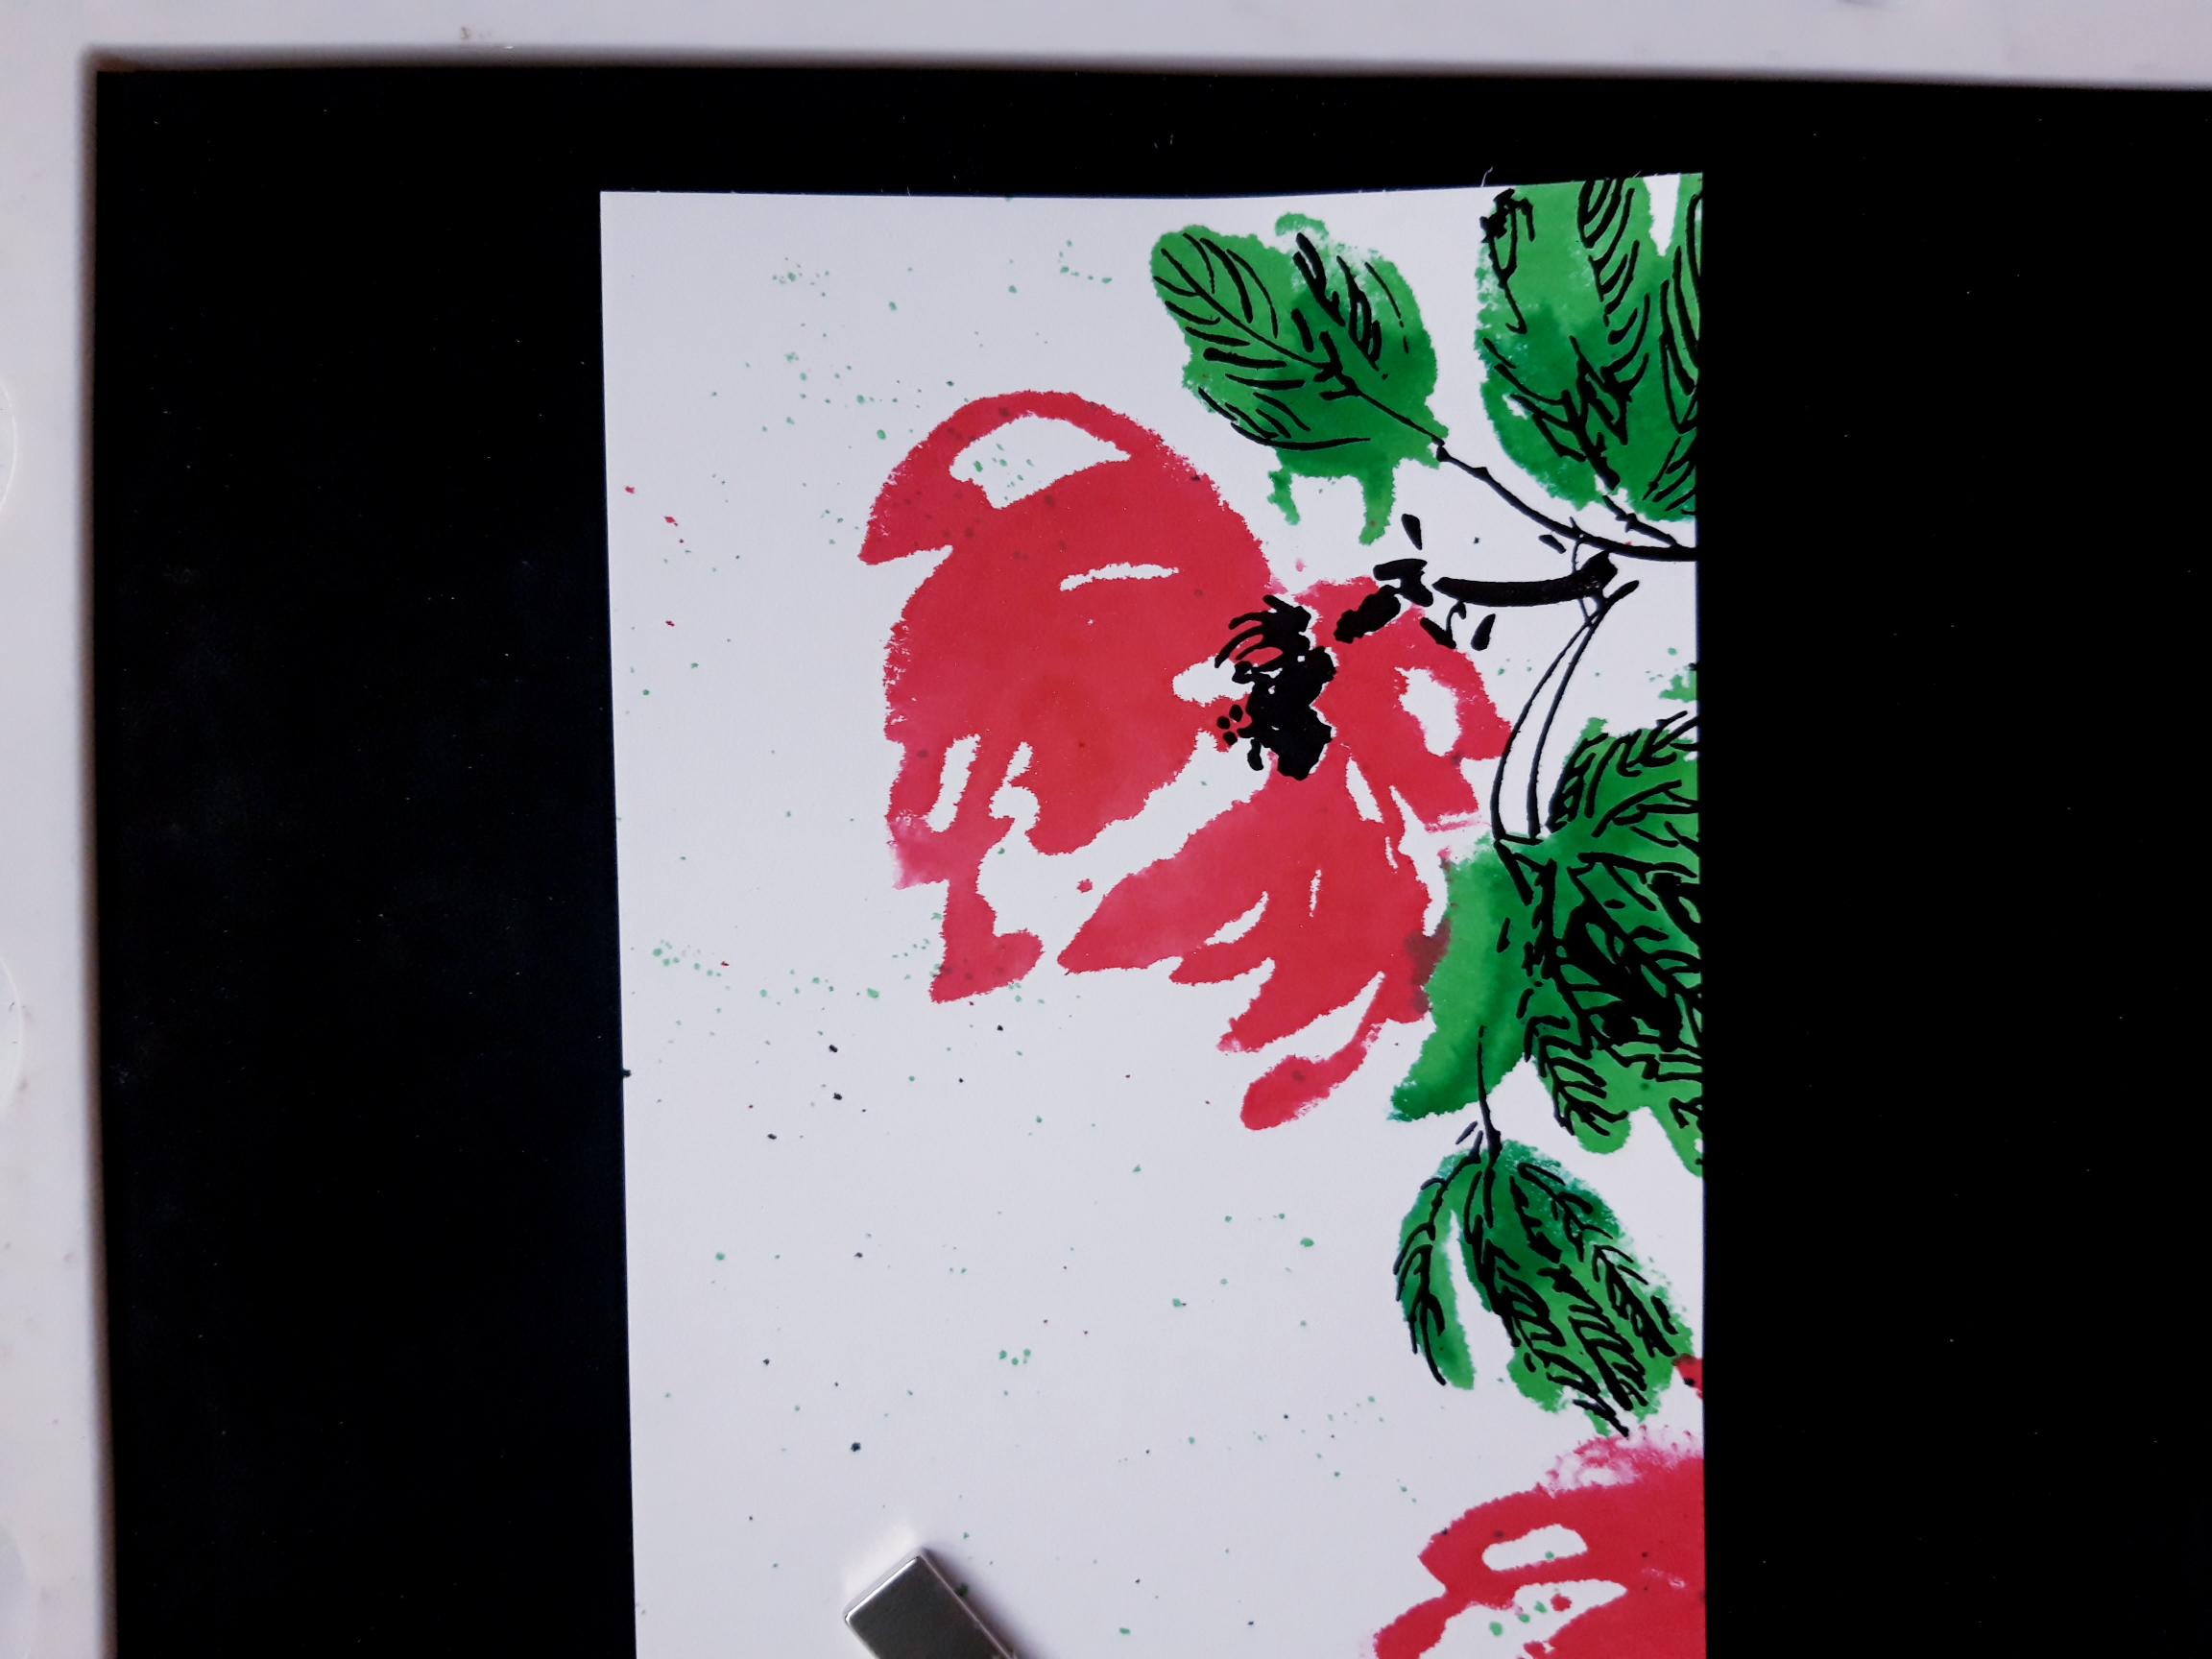
Ink up the coordinating, detailed stamp, with the Onyx Black Versafine. Line up and stamp over your first stamped image. Use the photos on the packaging, to help you line them up. However, these lamination designs are "loose", so do not worry about lining them up perfectly. You can always practice on a piece of copier paper first, to see how they work. |
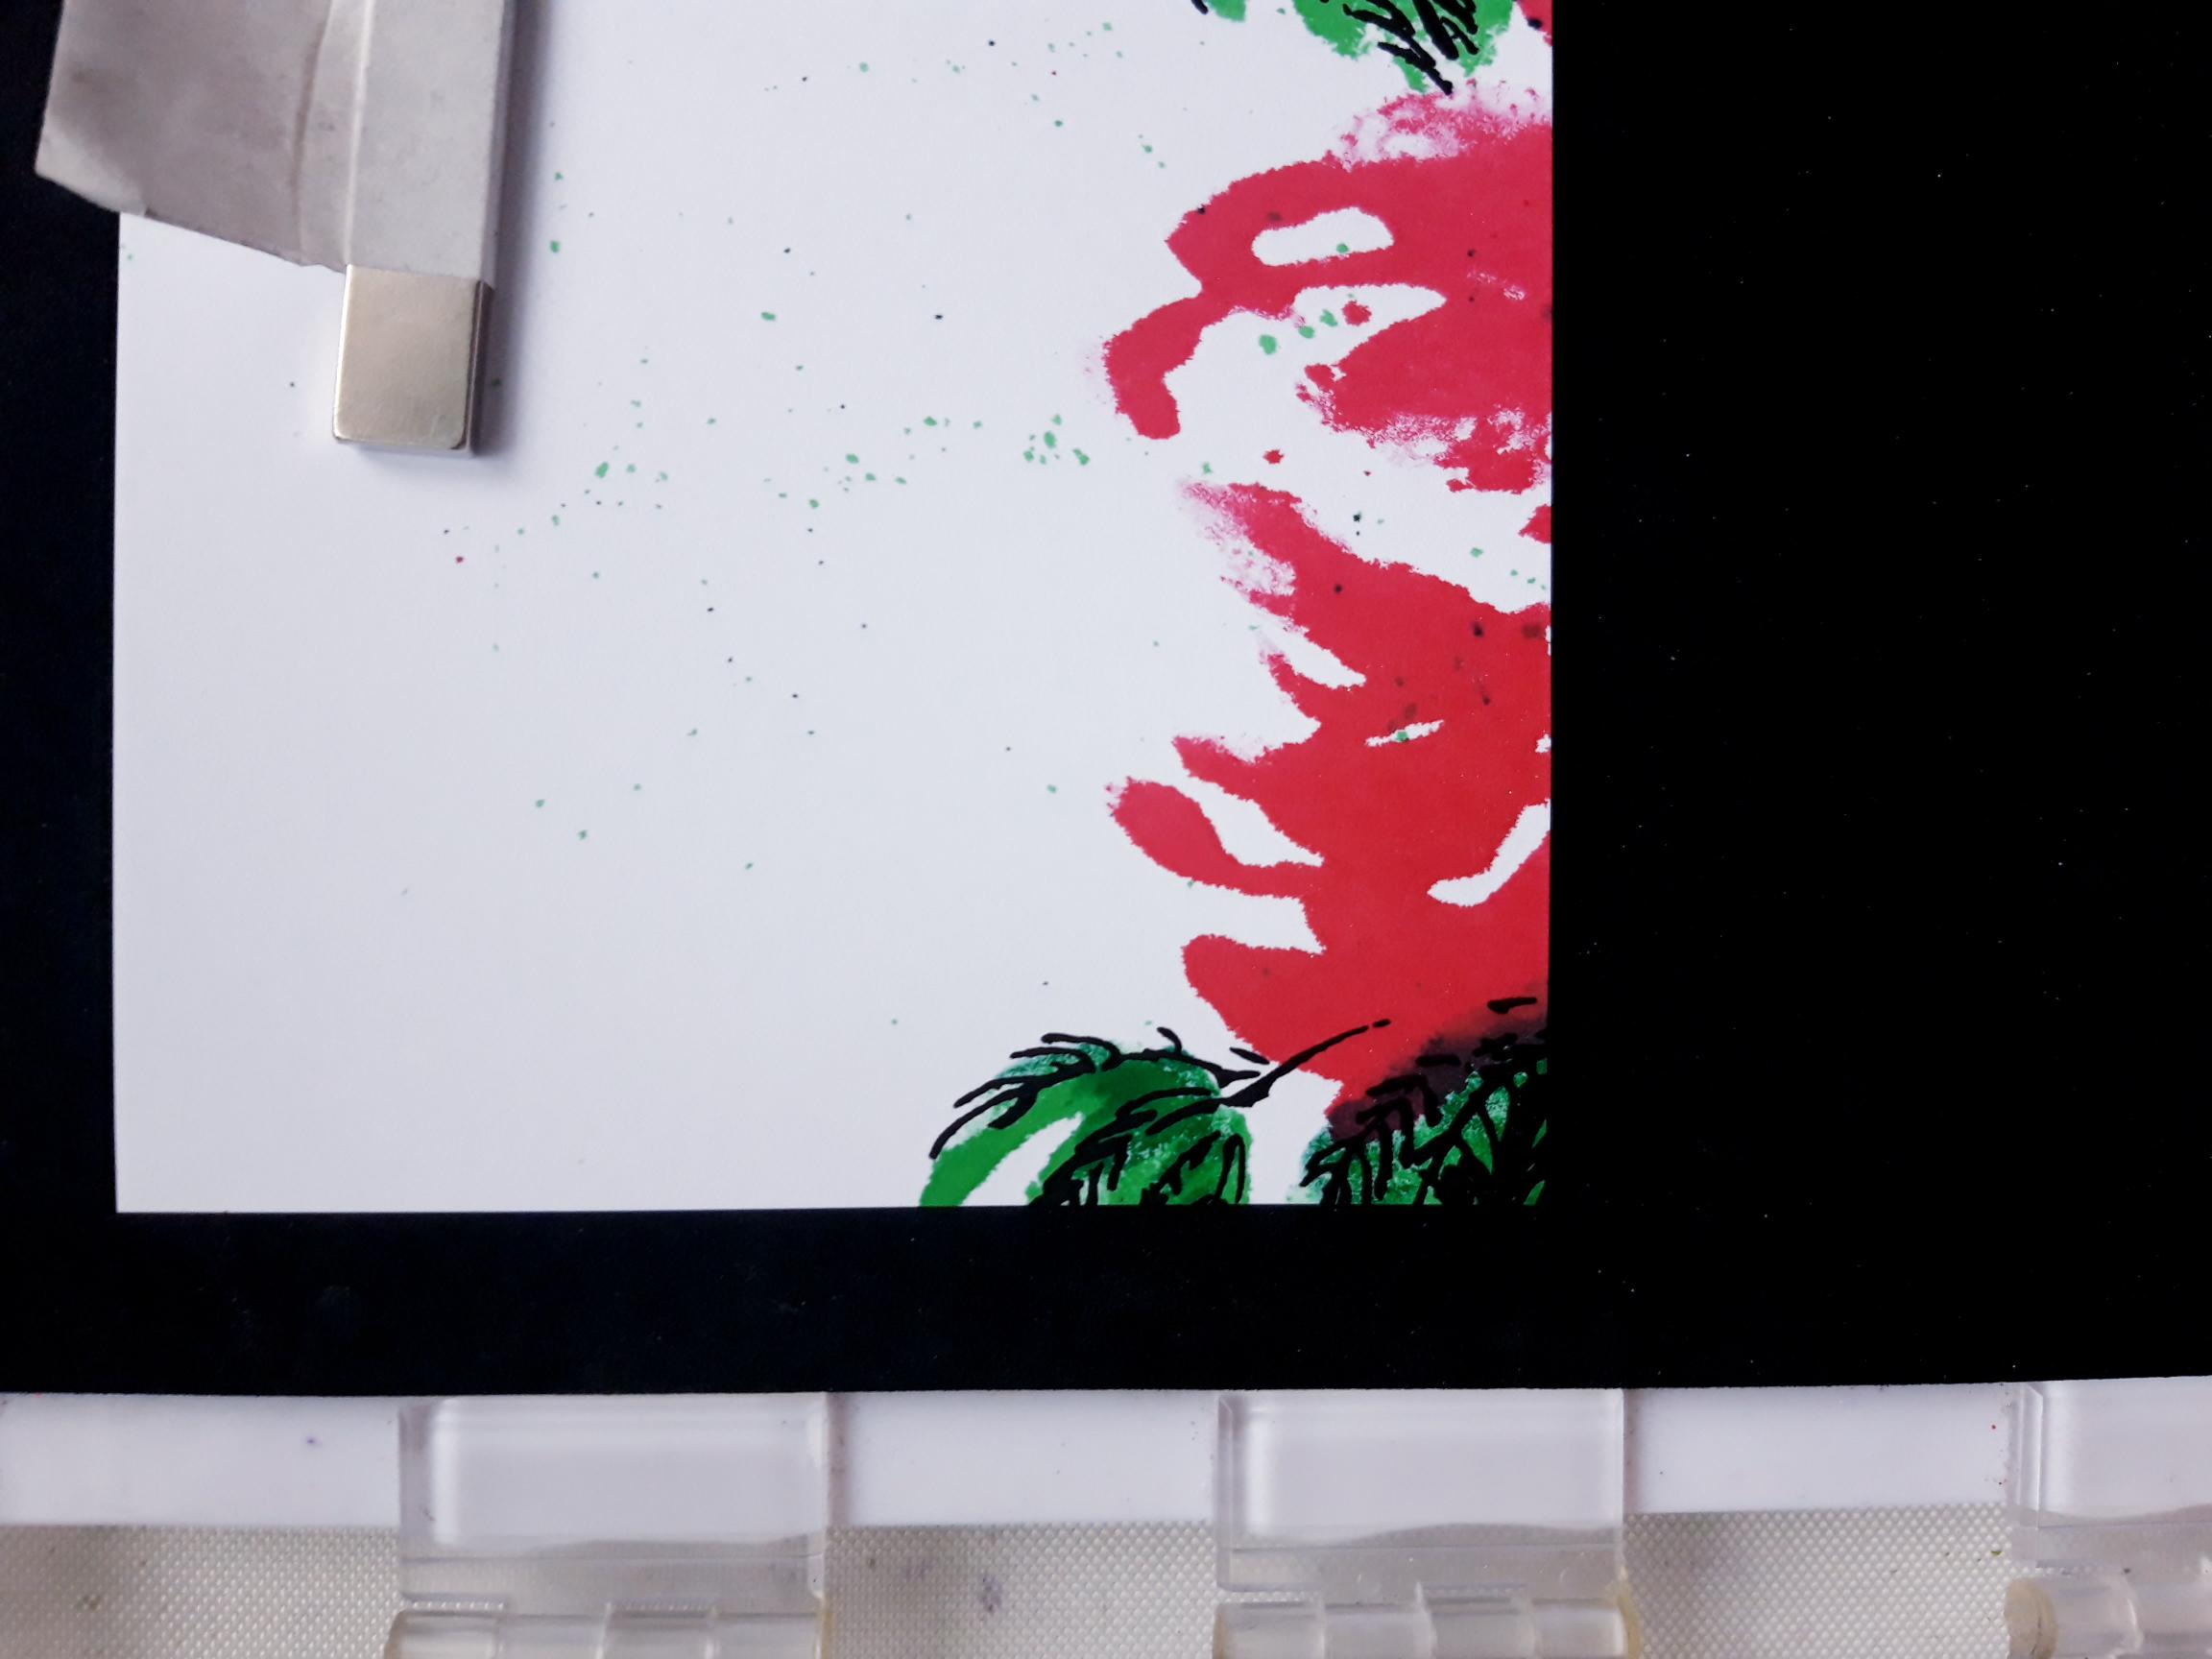
|
Ink up the same stamp again, in the Versafine, and stamp in place, over your second stamped flower (you may not need to do this, depending on how far up you stamped the second flower). |
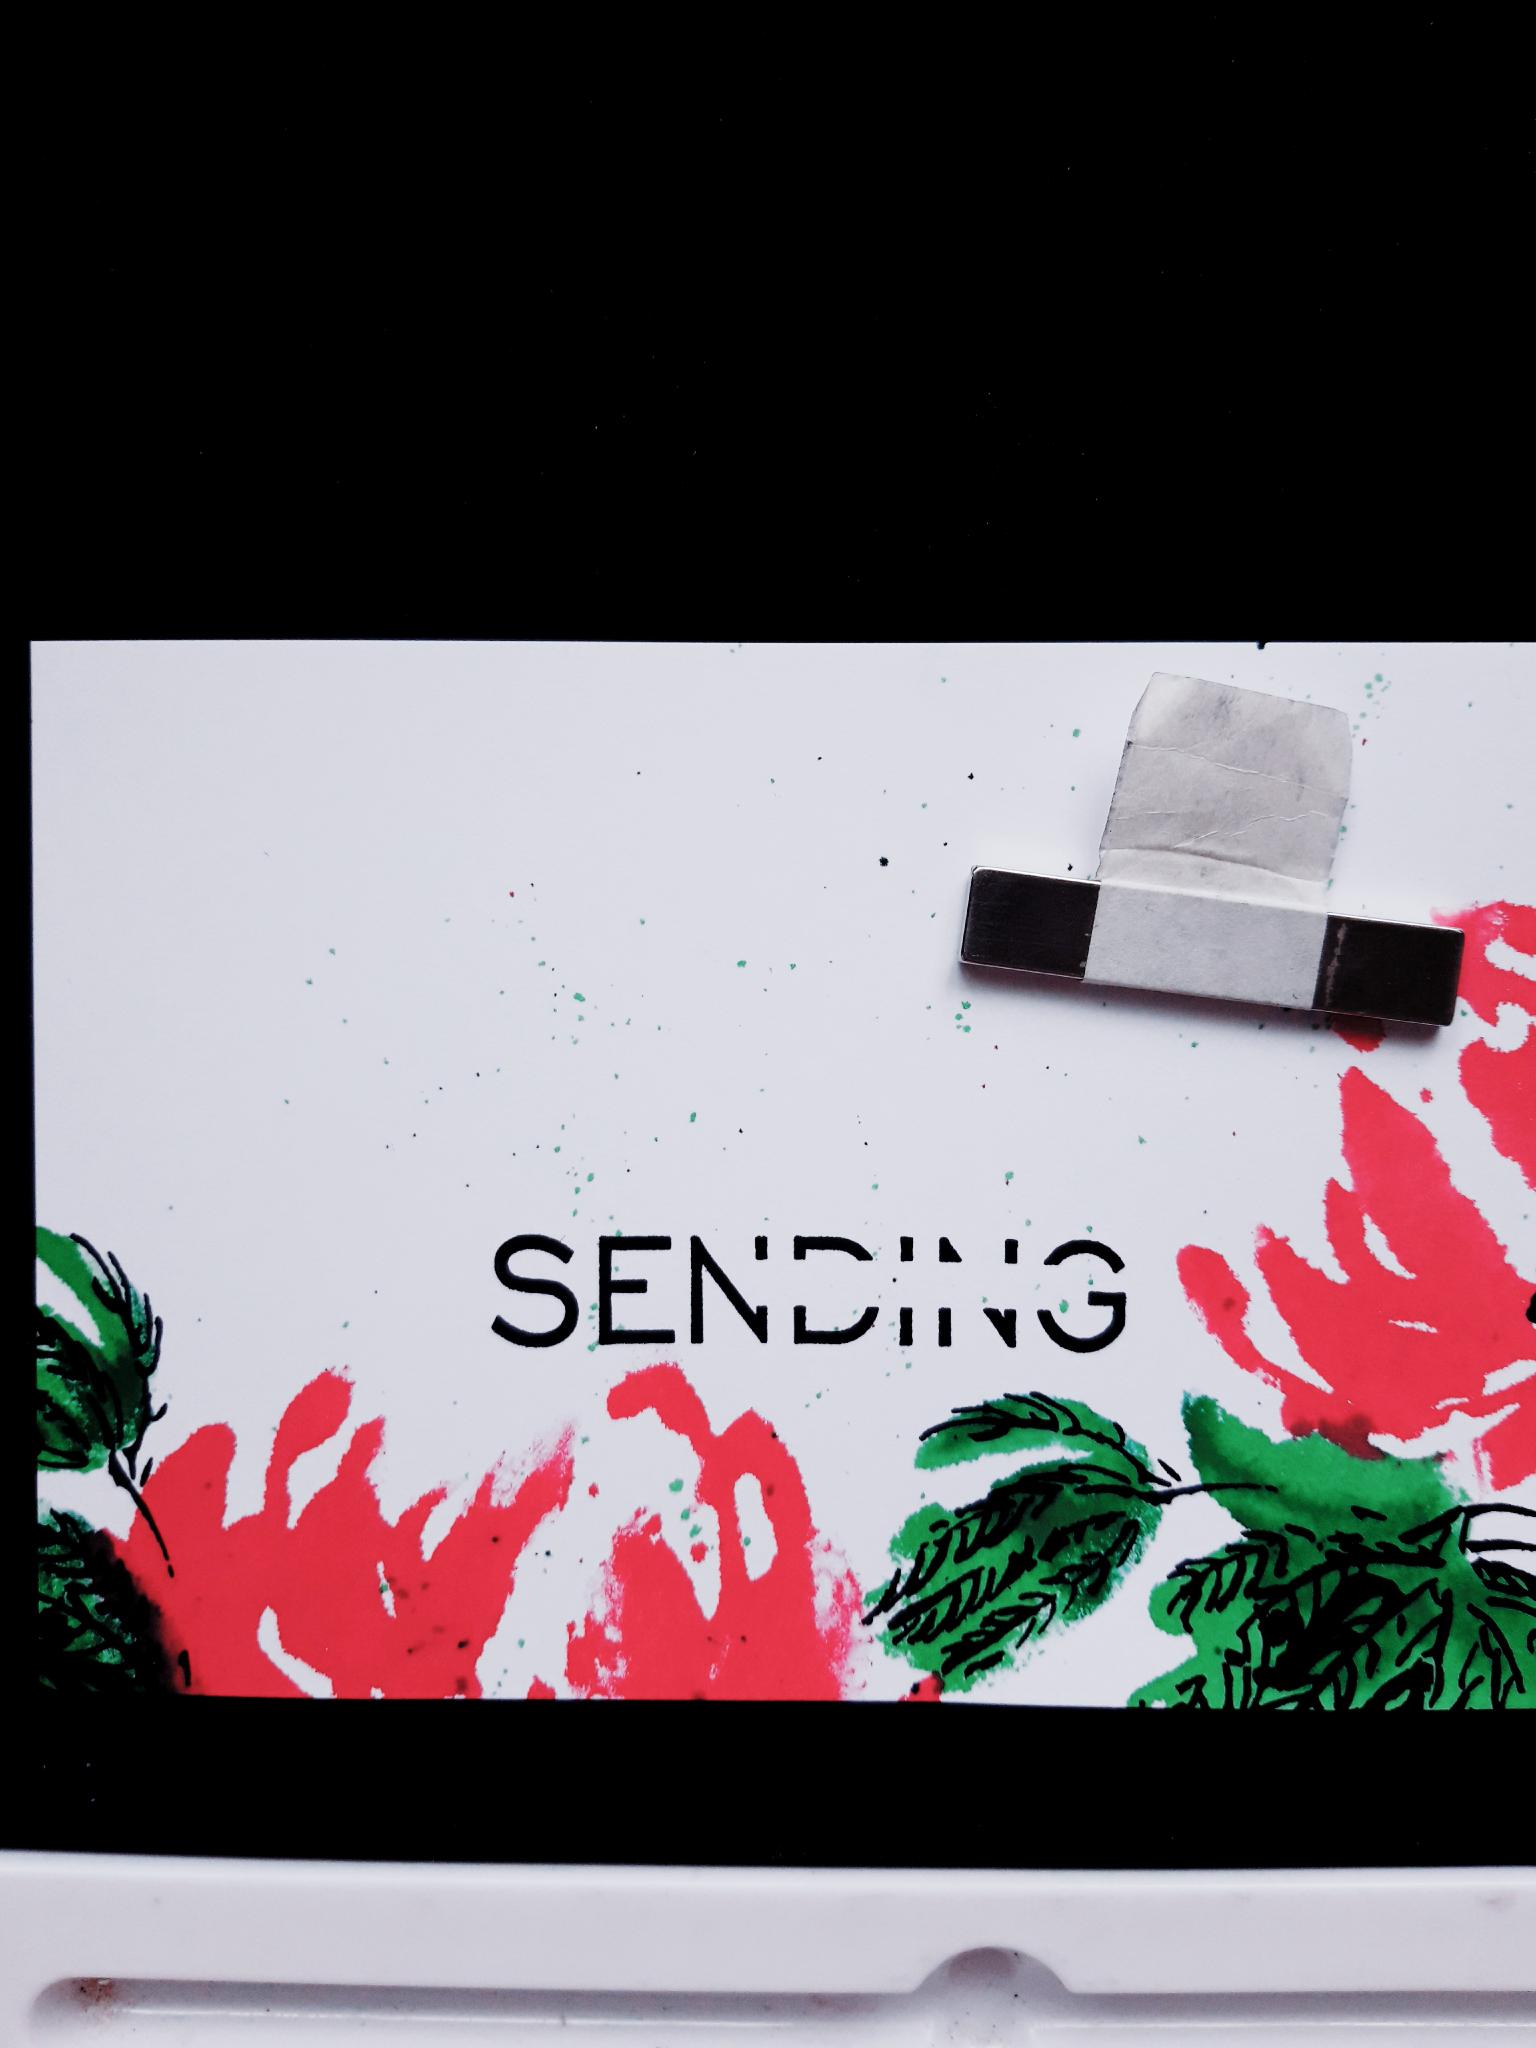
|
Ink up the "SENDING" word stamp, from the Sending Christmas Cheer Stamp Collection, with the Onyx Black Versafine. Stamp where required, on your artwork. |
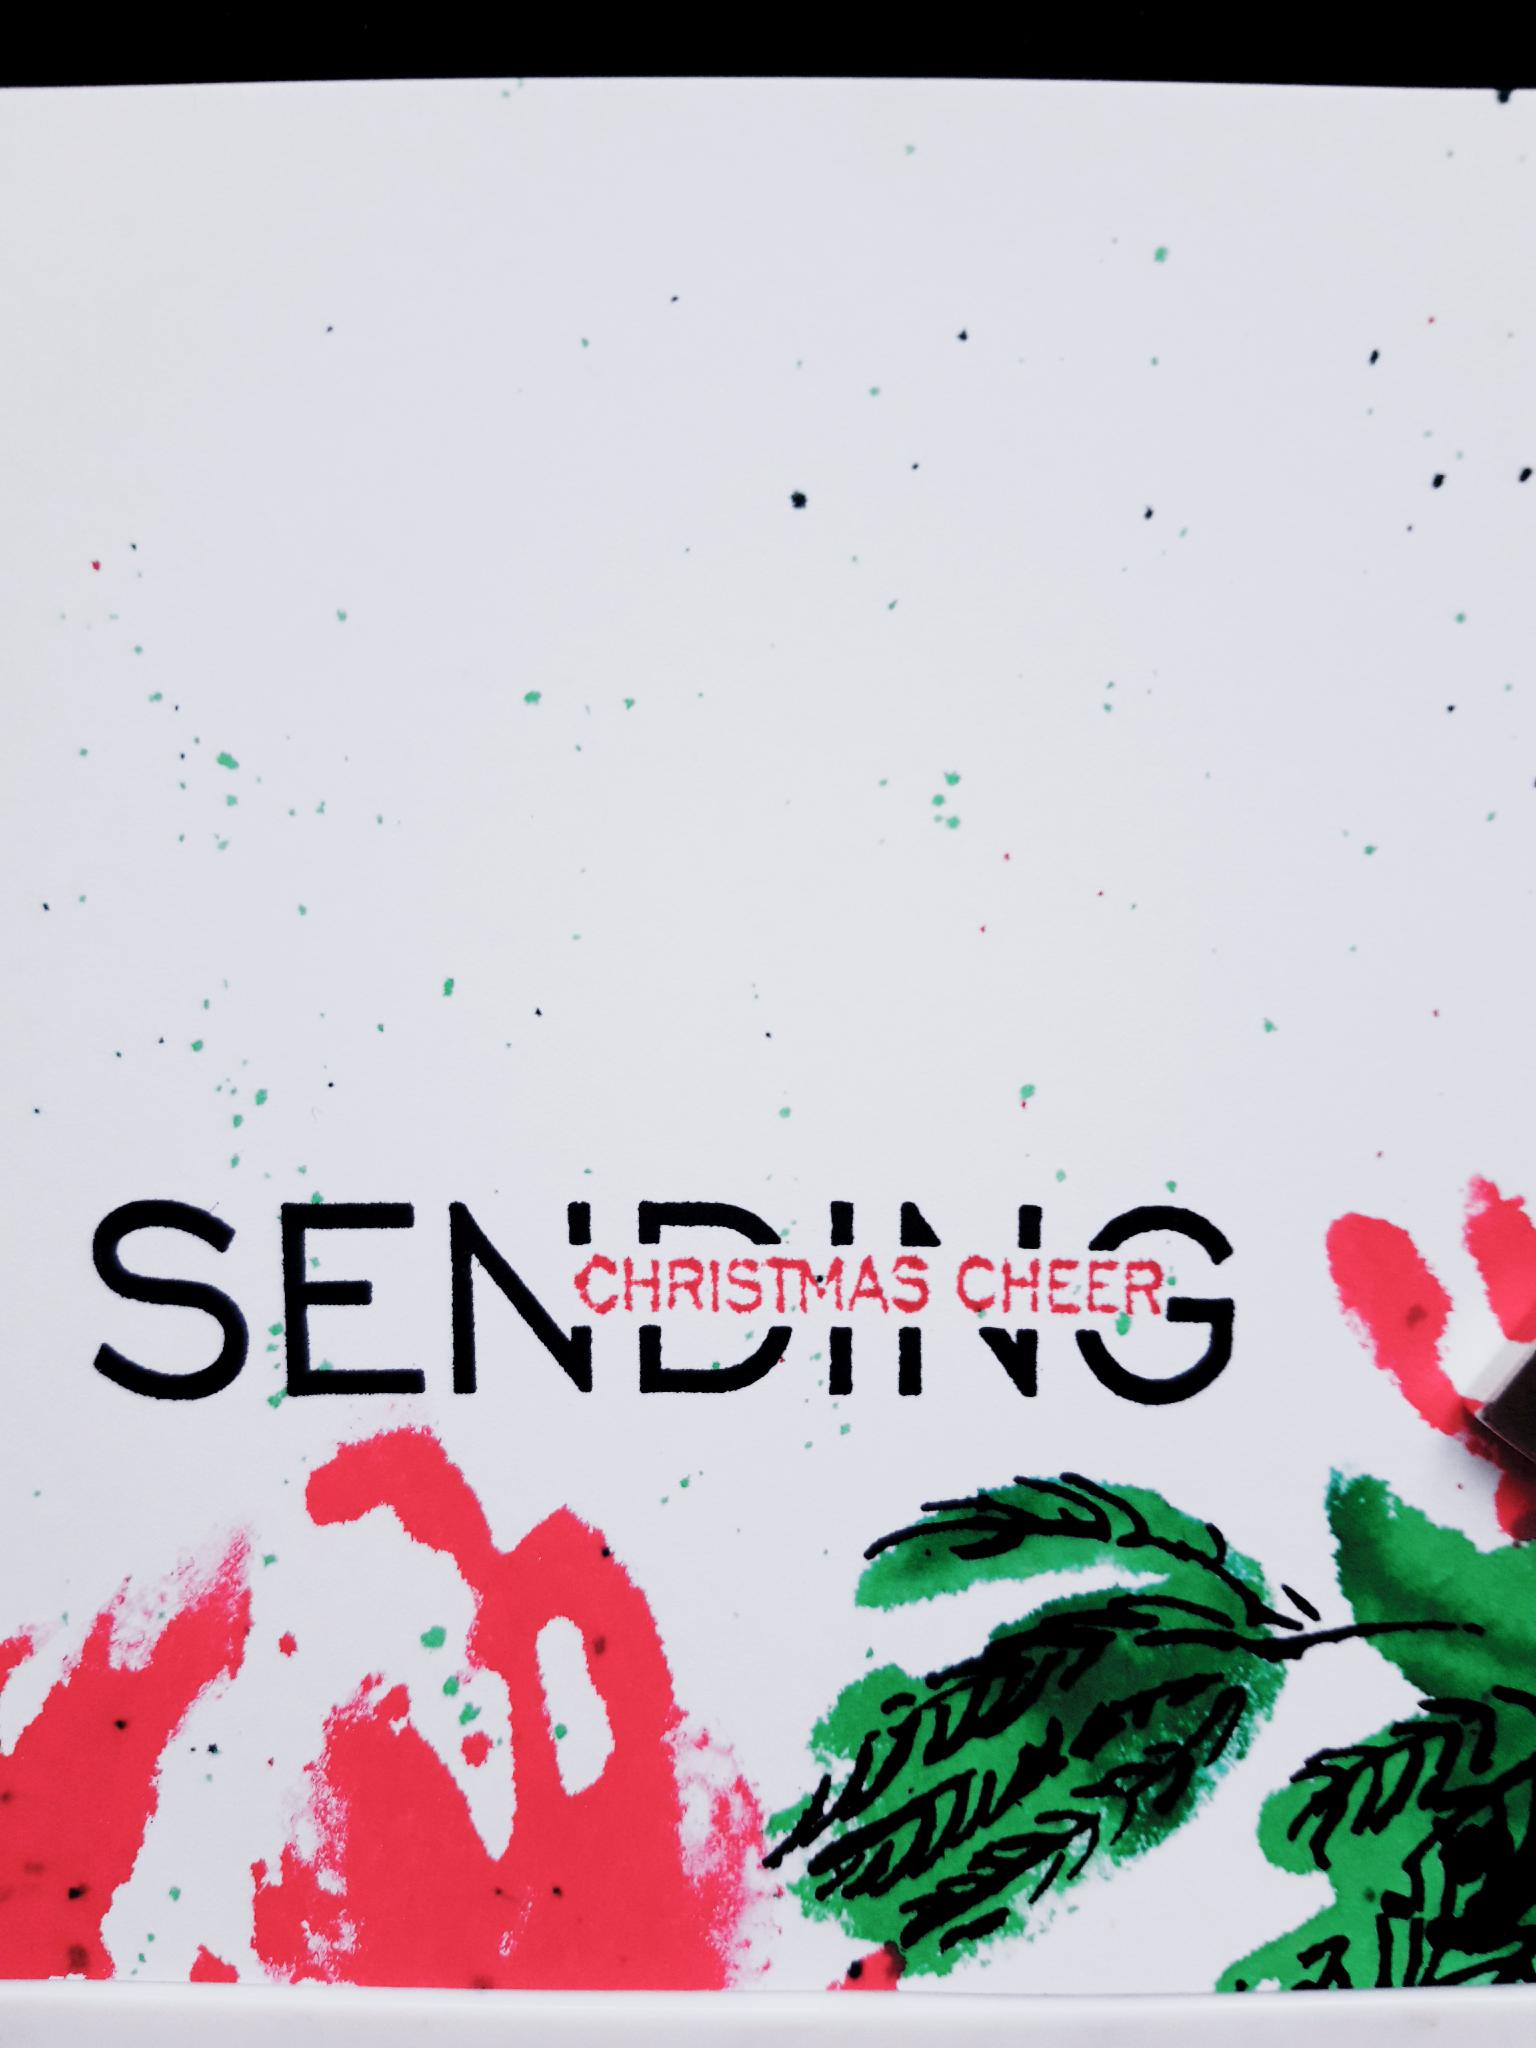
|
Ink up the "Christmas Cheer" word stamp, from the same set, with the Izink Framboise ink pad. Stamp in the gap, within the "SENDING" word stamp. |
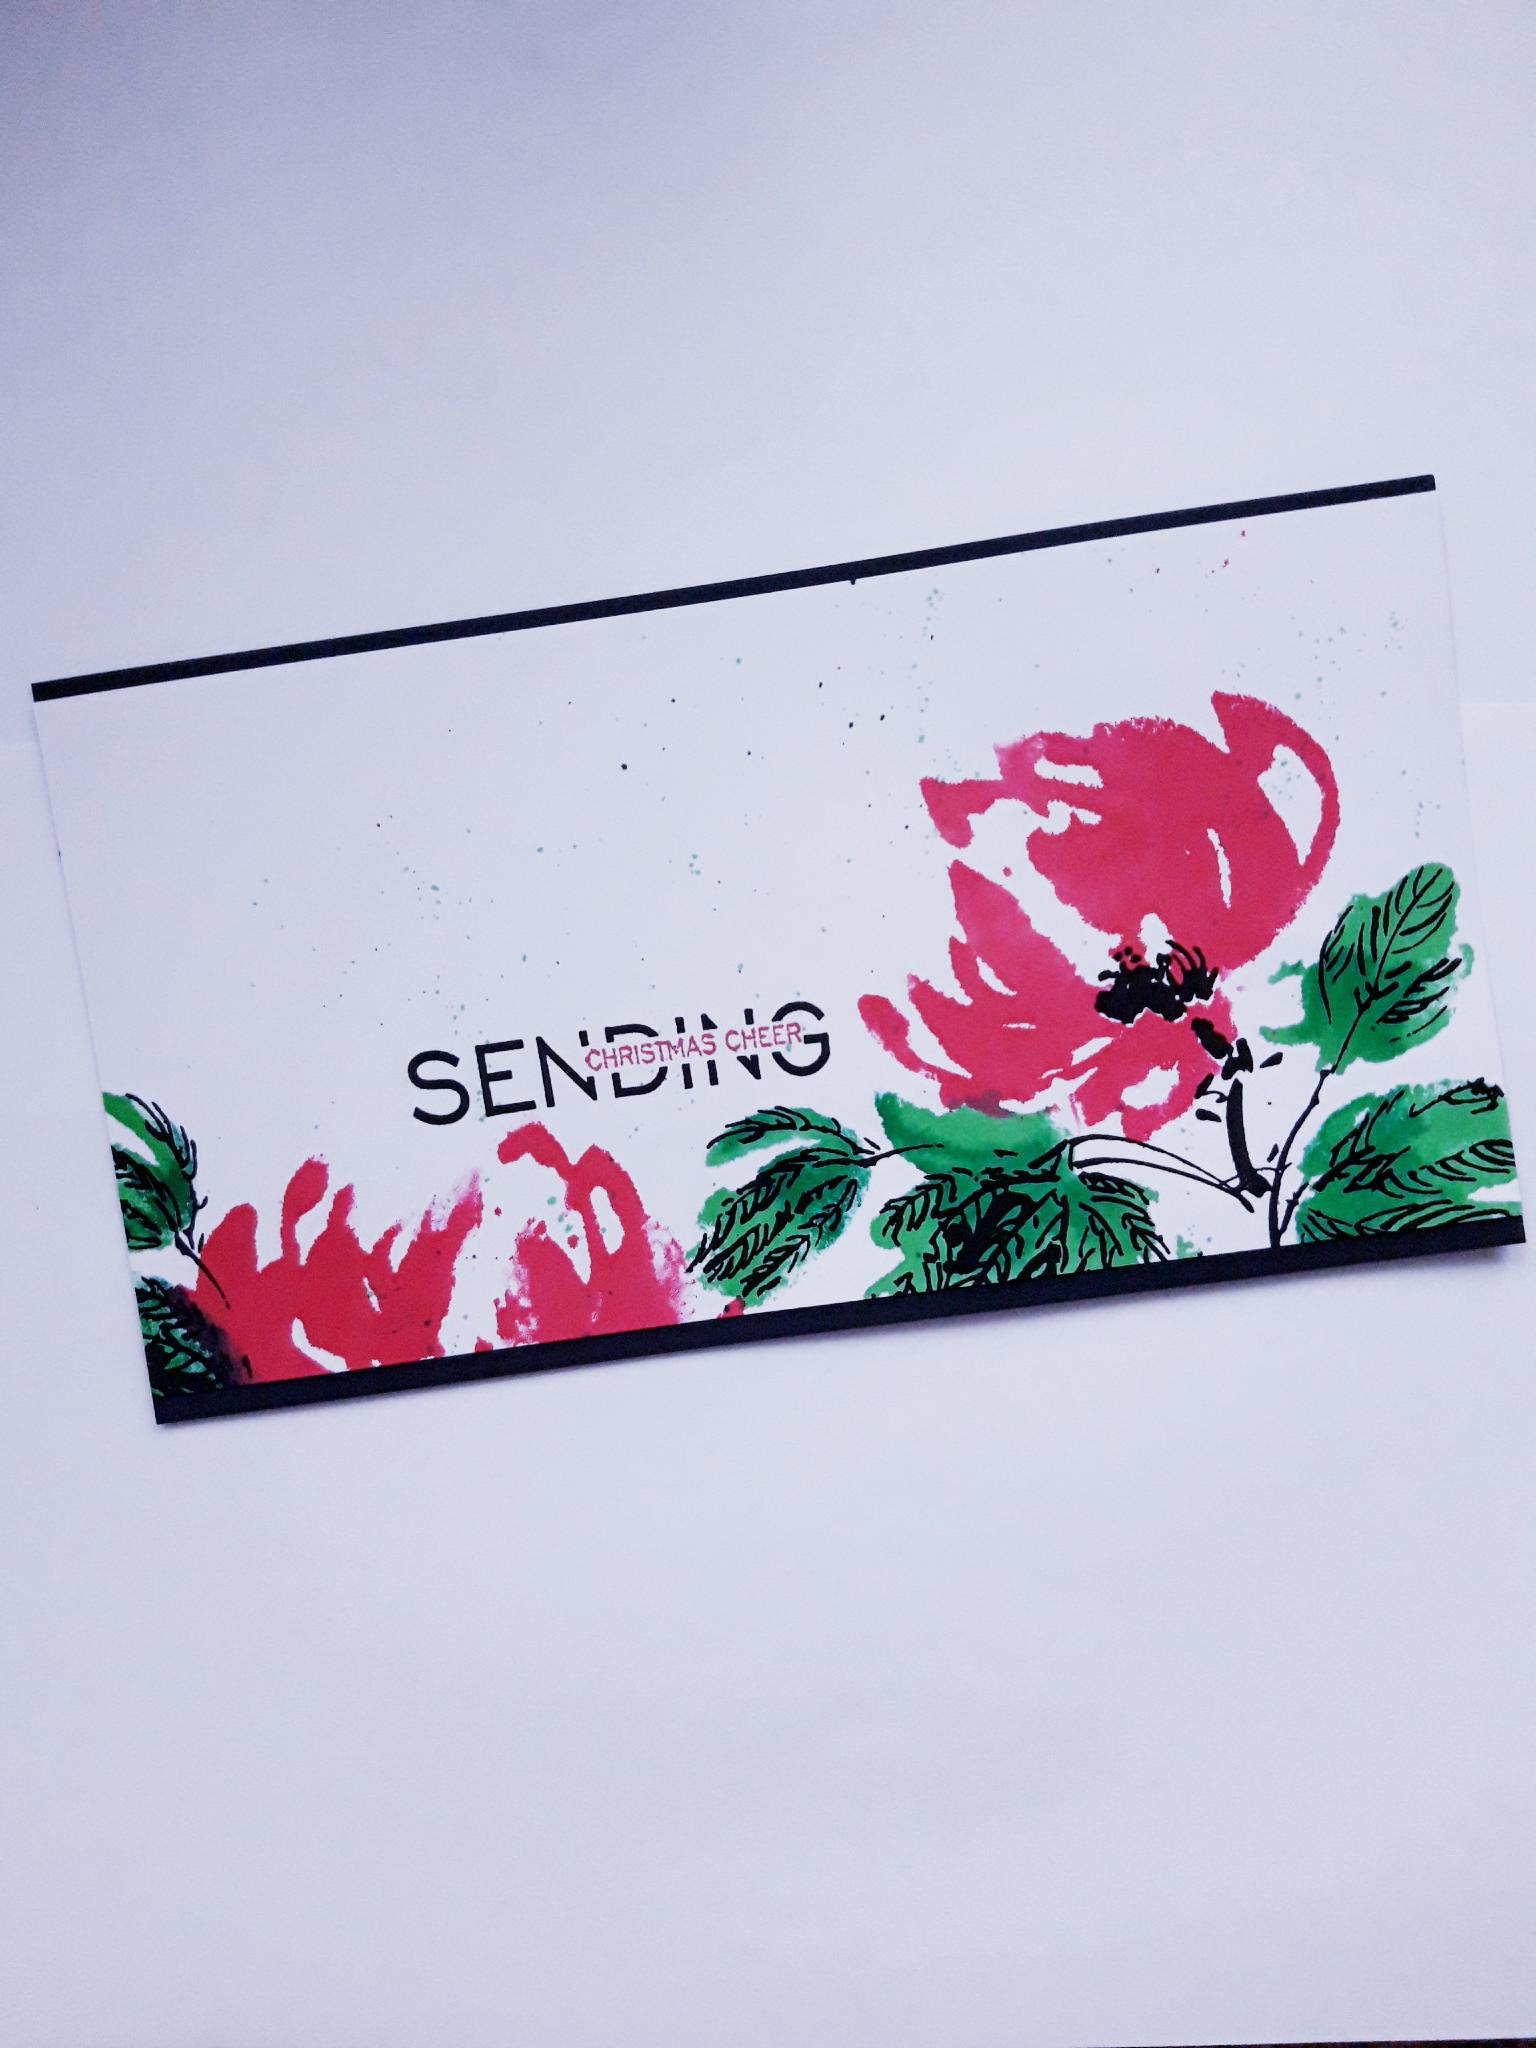
|
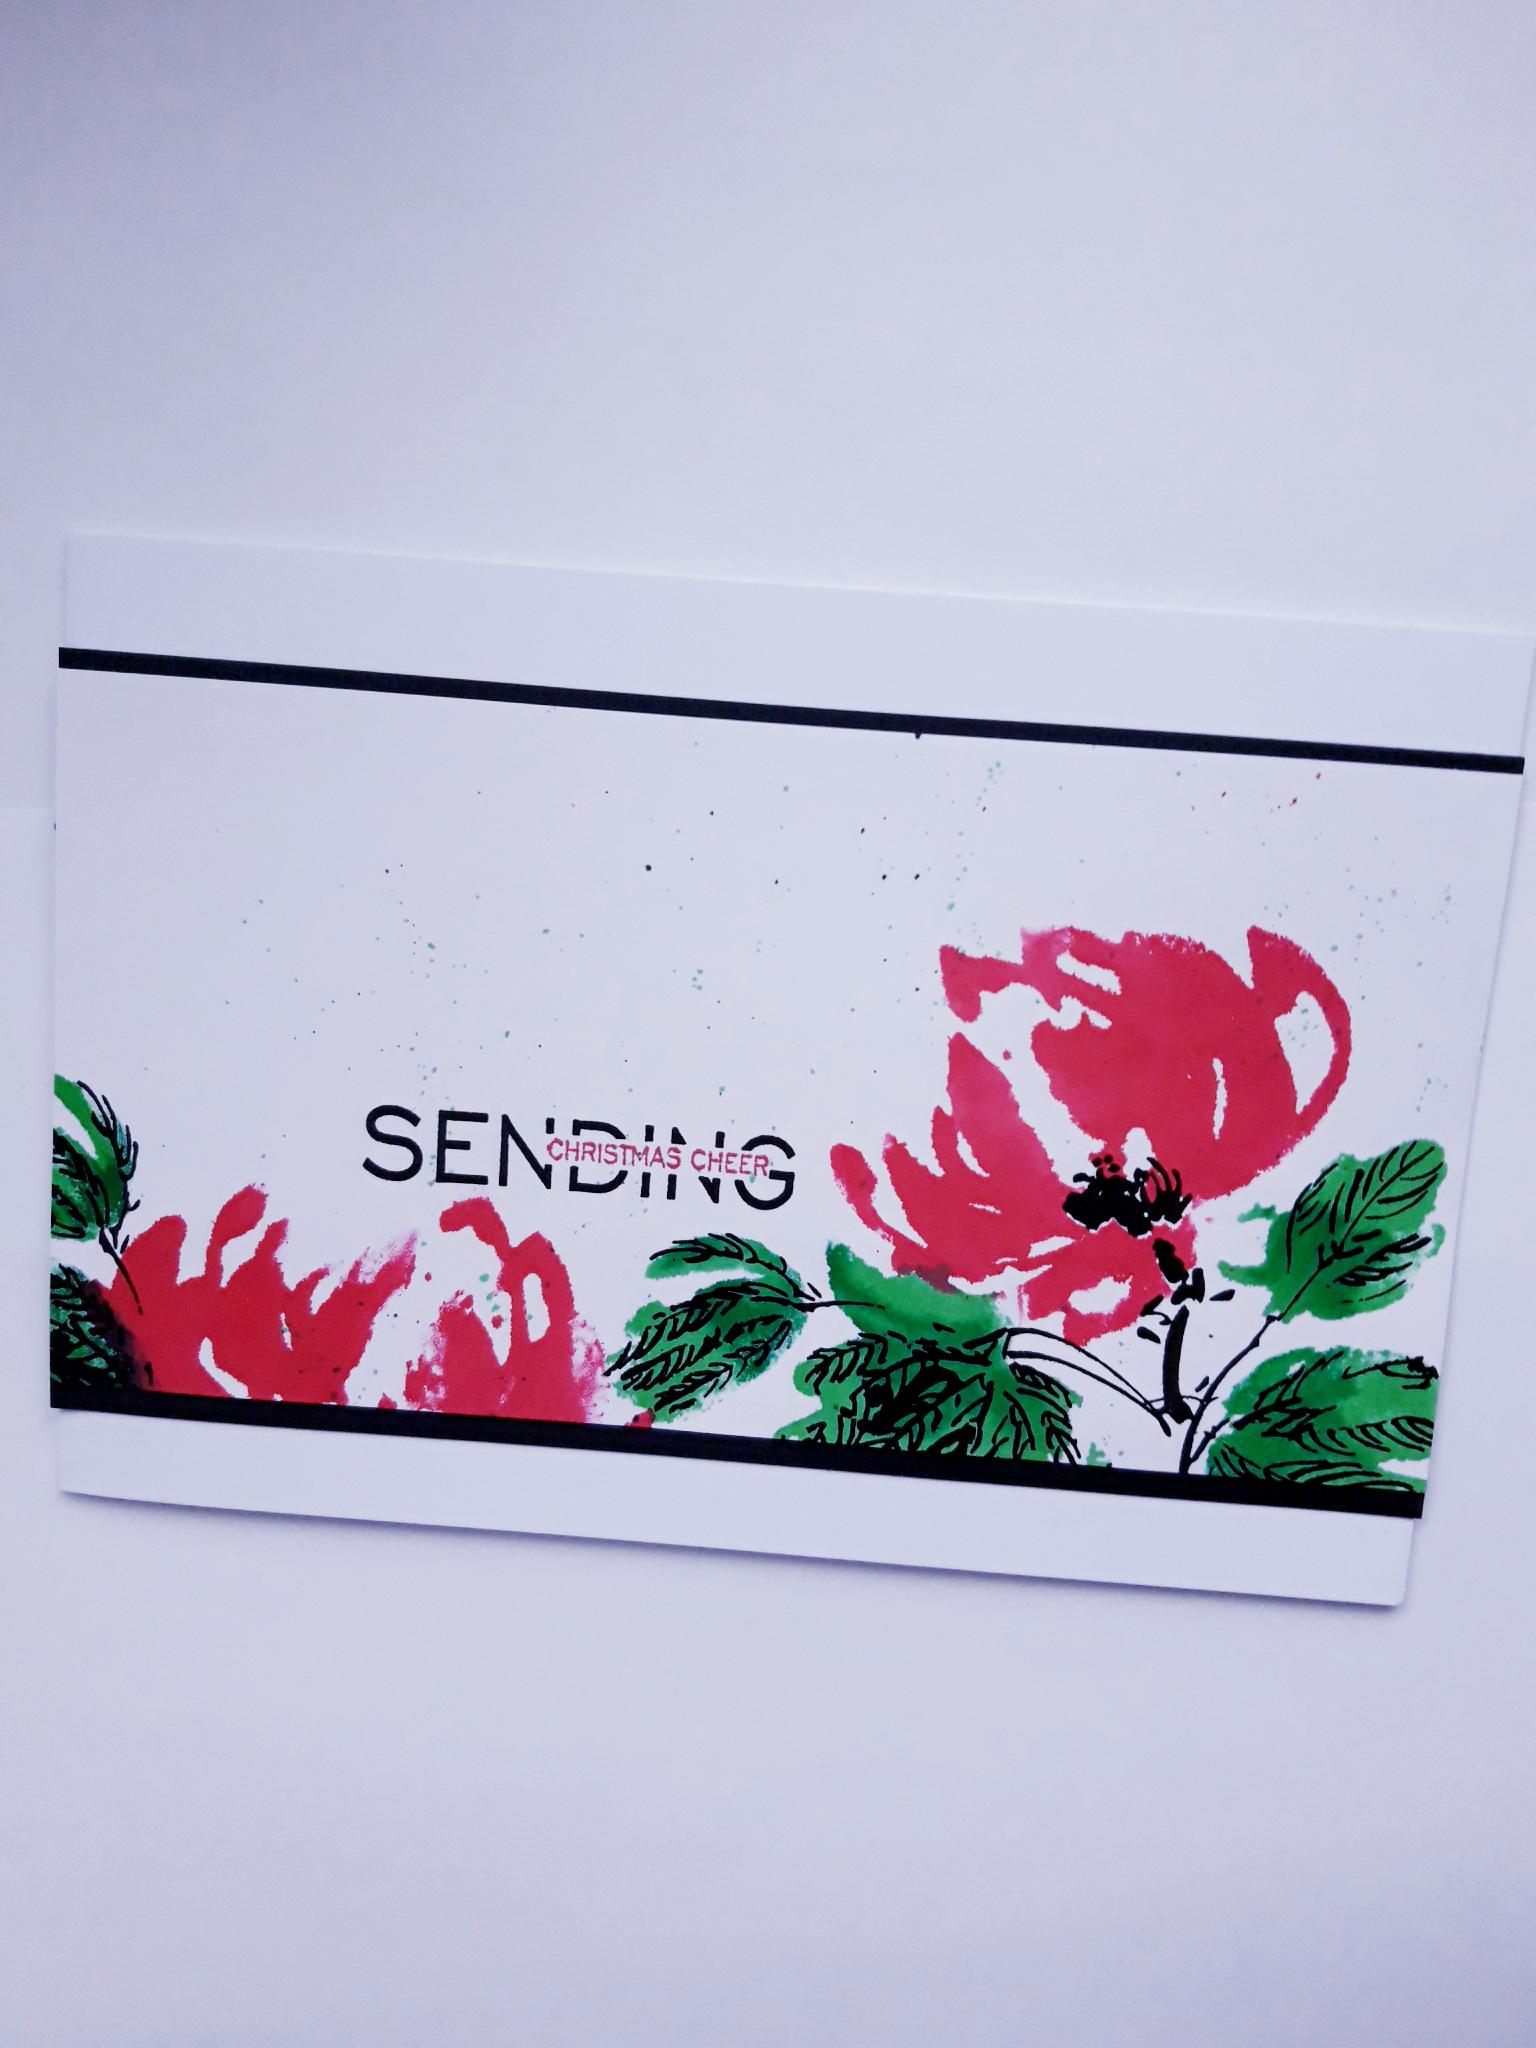
Once all the ink is dry, mat your artwork on to the black cardstock. Ensure the side edges are flush, and there is an equal gap of black card visible, top and bottom. |
|
Mat this on to your card blank, ensuring the side edges are flush, and there is an equal gap of white card blank visible, top and bottom. |
|
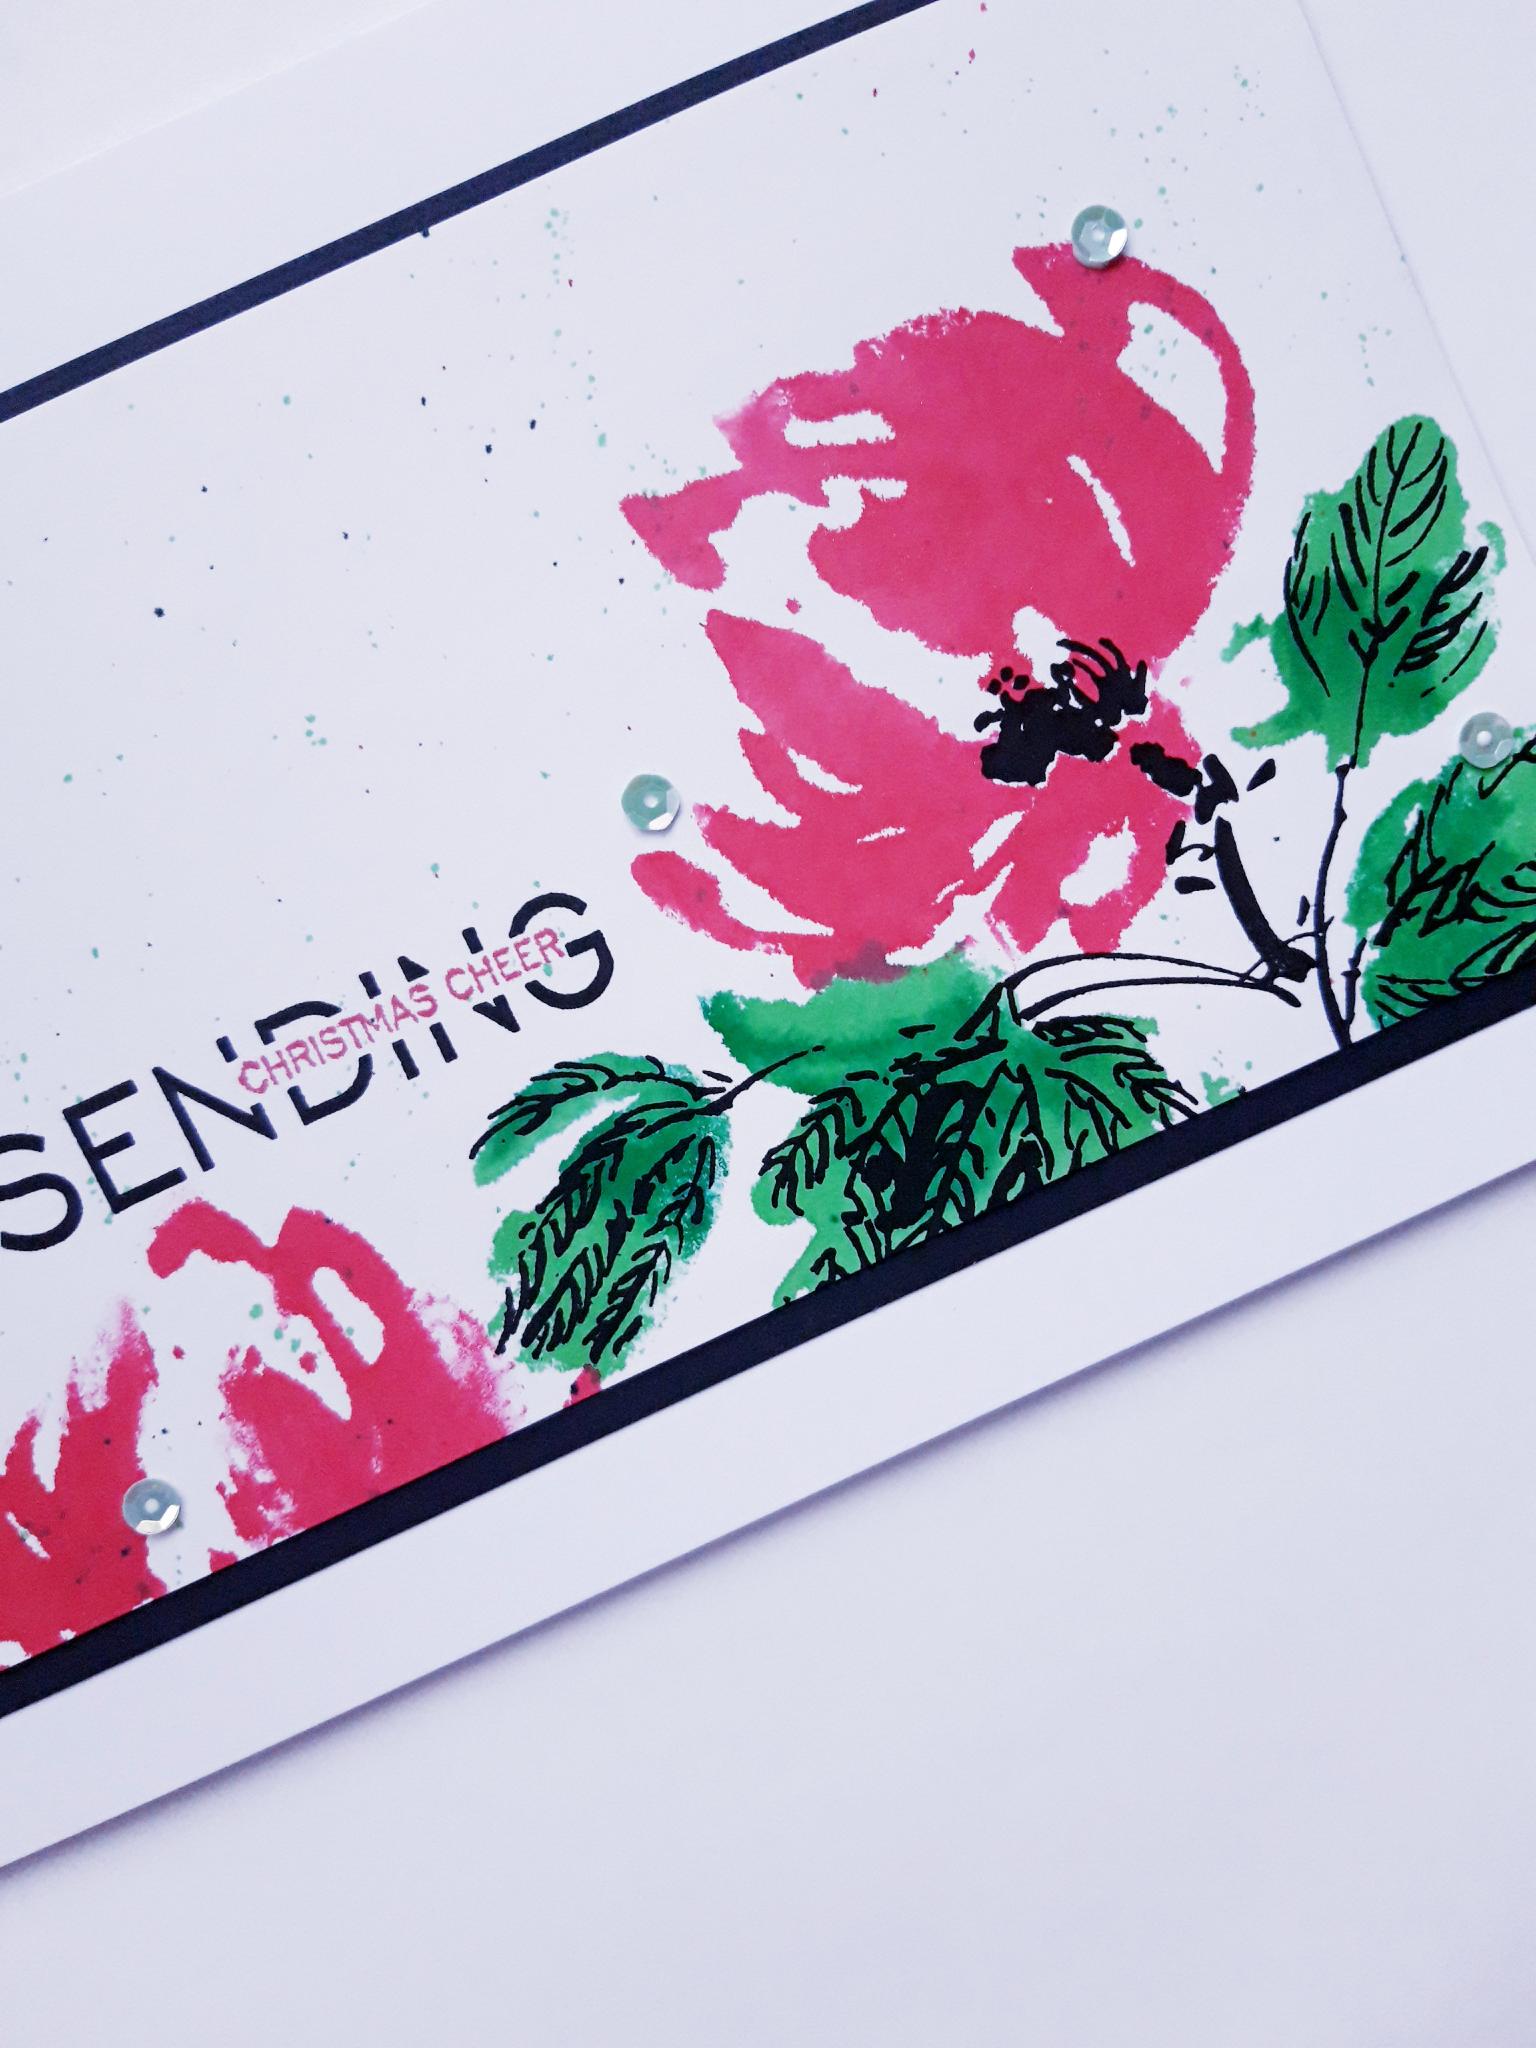
To finish off your festive card, add some sparkly sequins on, and around, your artwork. |