

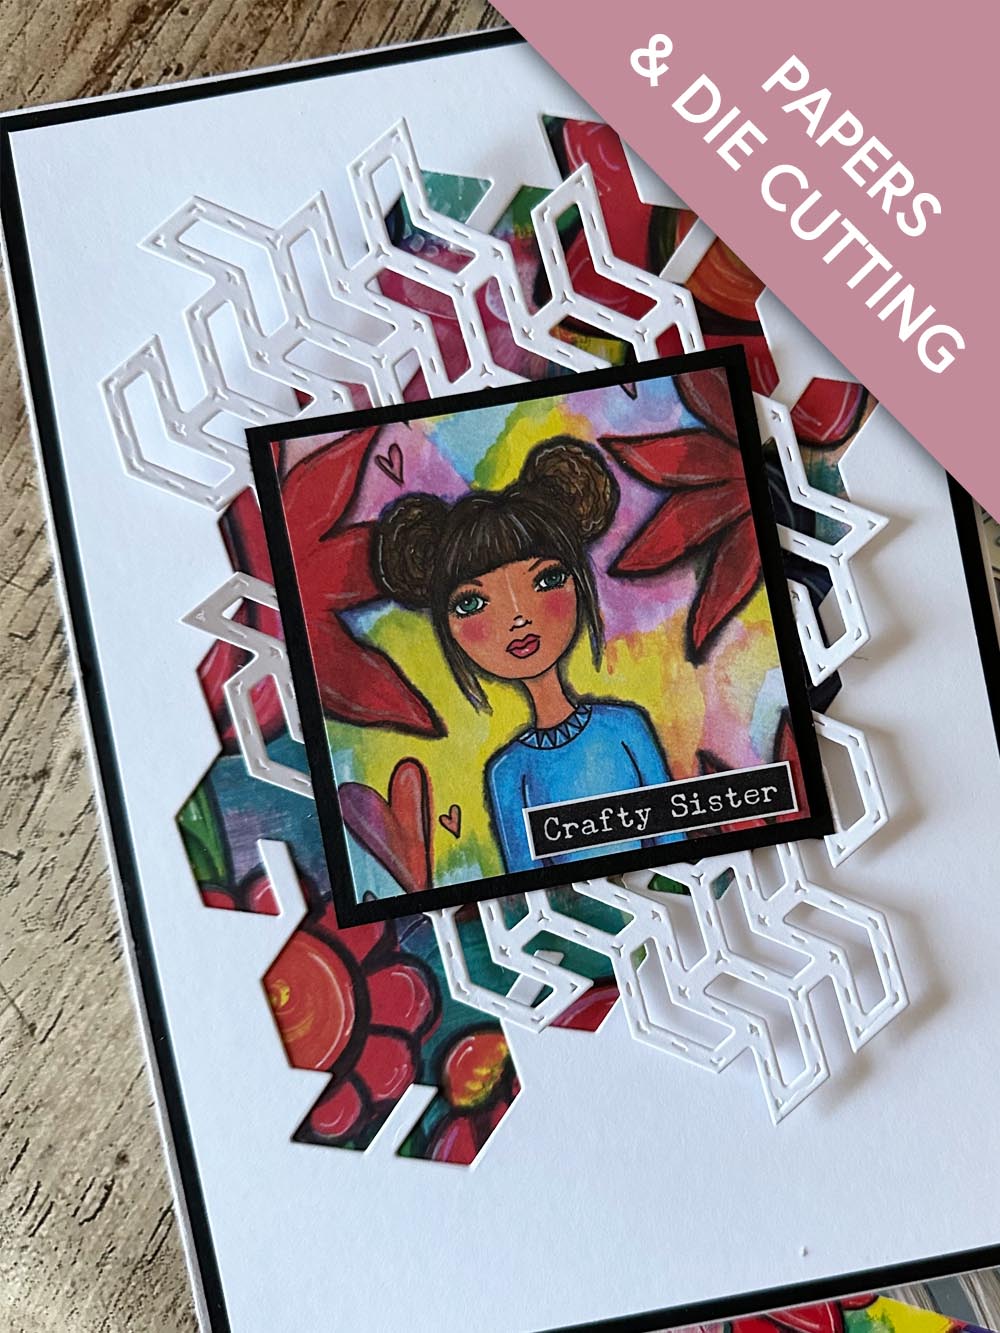
Stylish Chevron Die Set
Thirsty Brush UnLtd Life in Full Colour Collage Collection
A5 White Card Blank
White Card Stock
Black Card Stock
Die Cutting & Embossing Machine
Glue
Foam Pads
Typewriter Washi Tape Sentiment and Dies
Paper Trimmer
[click image to enlarge] 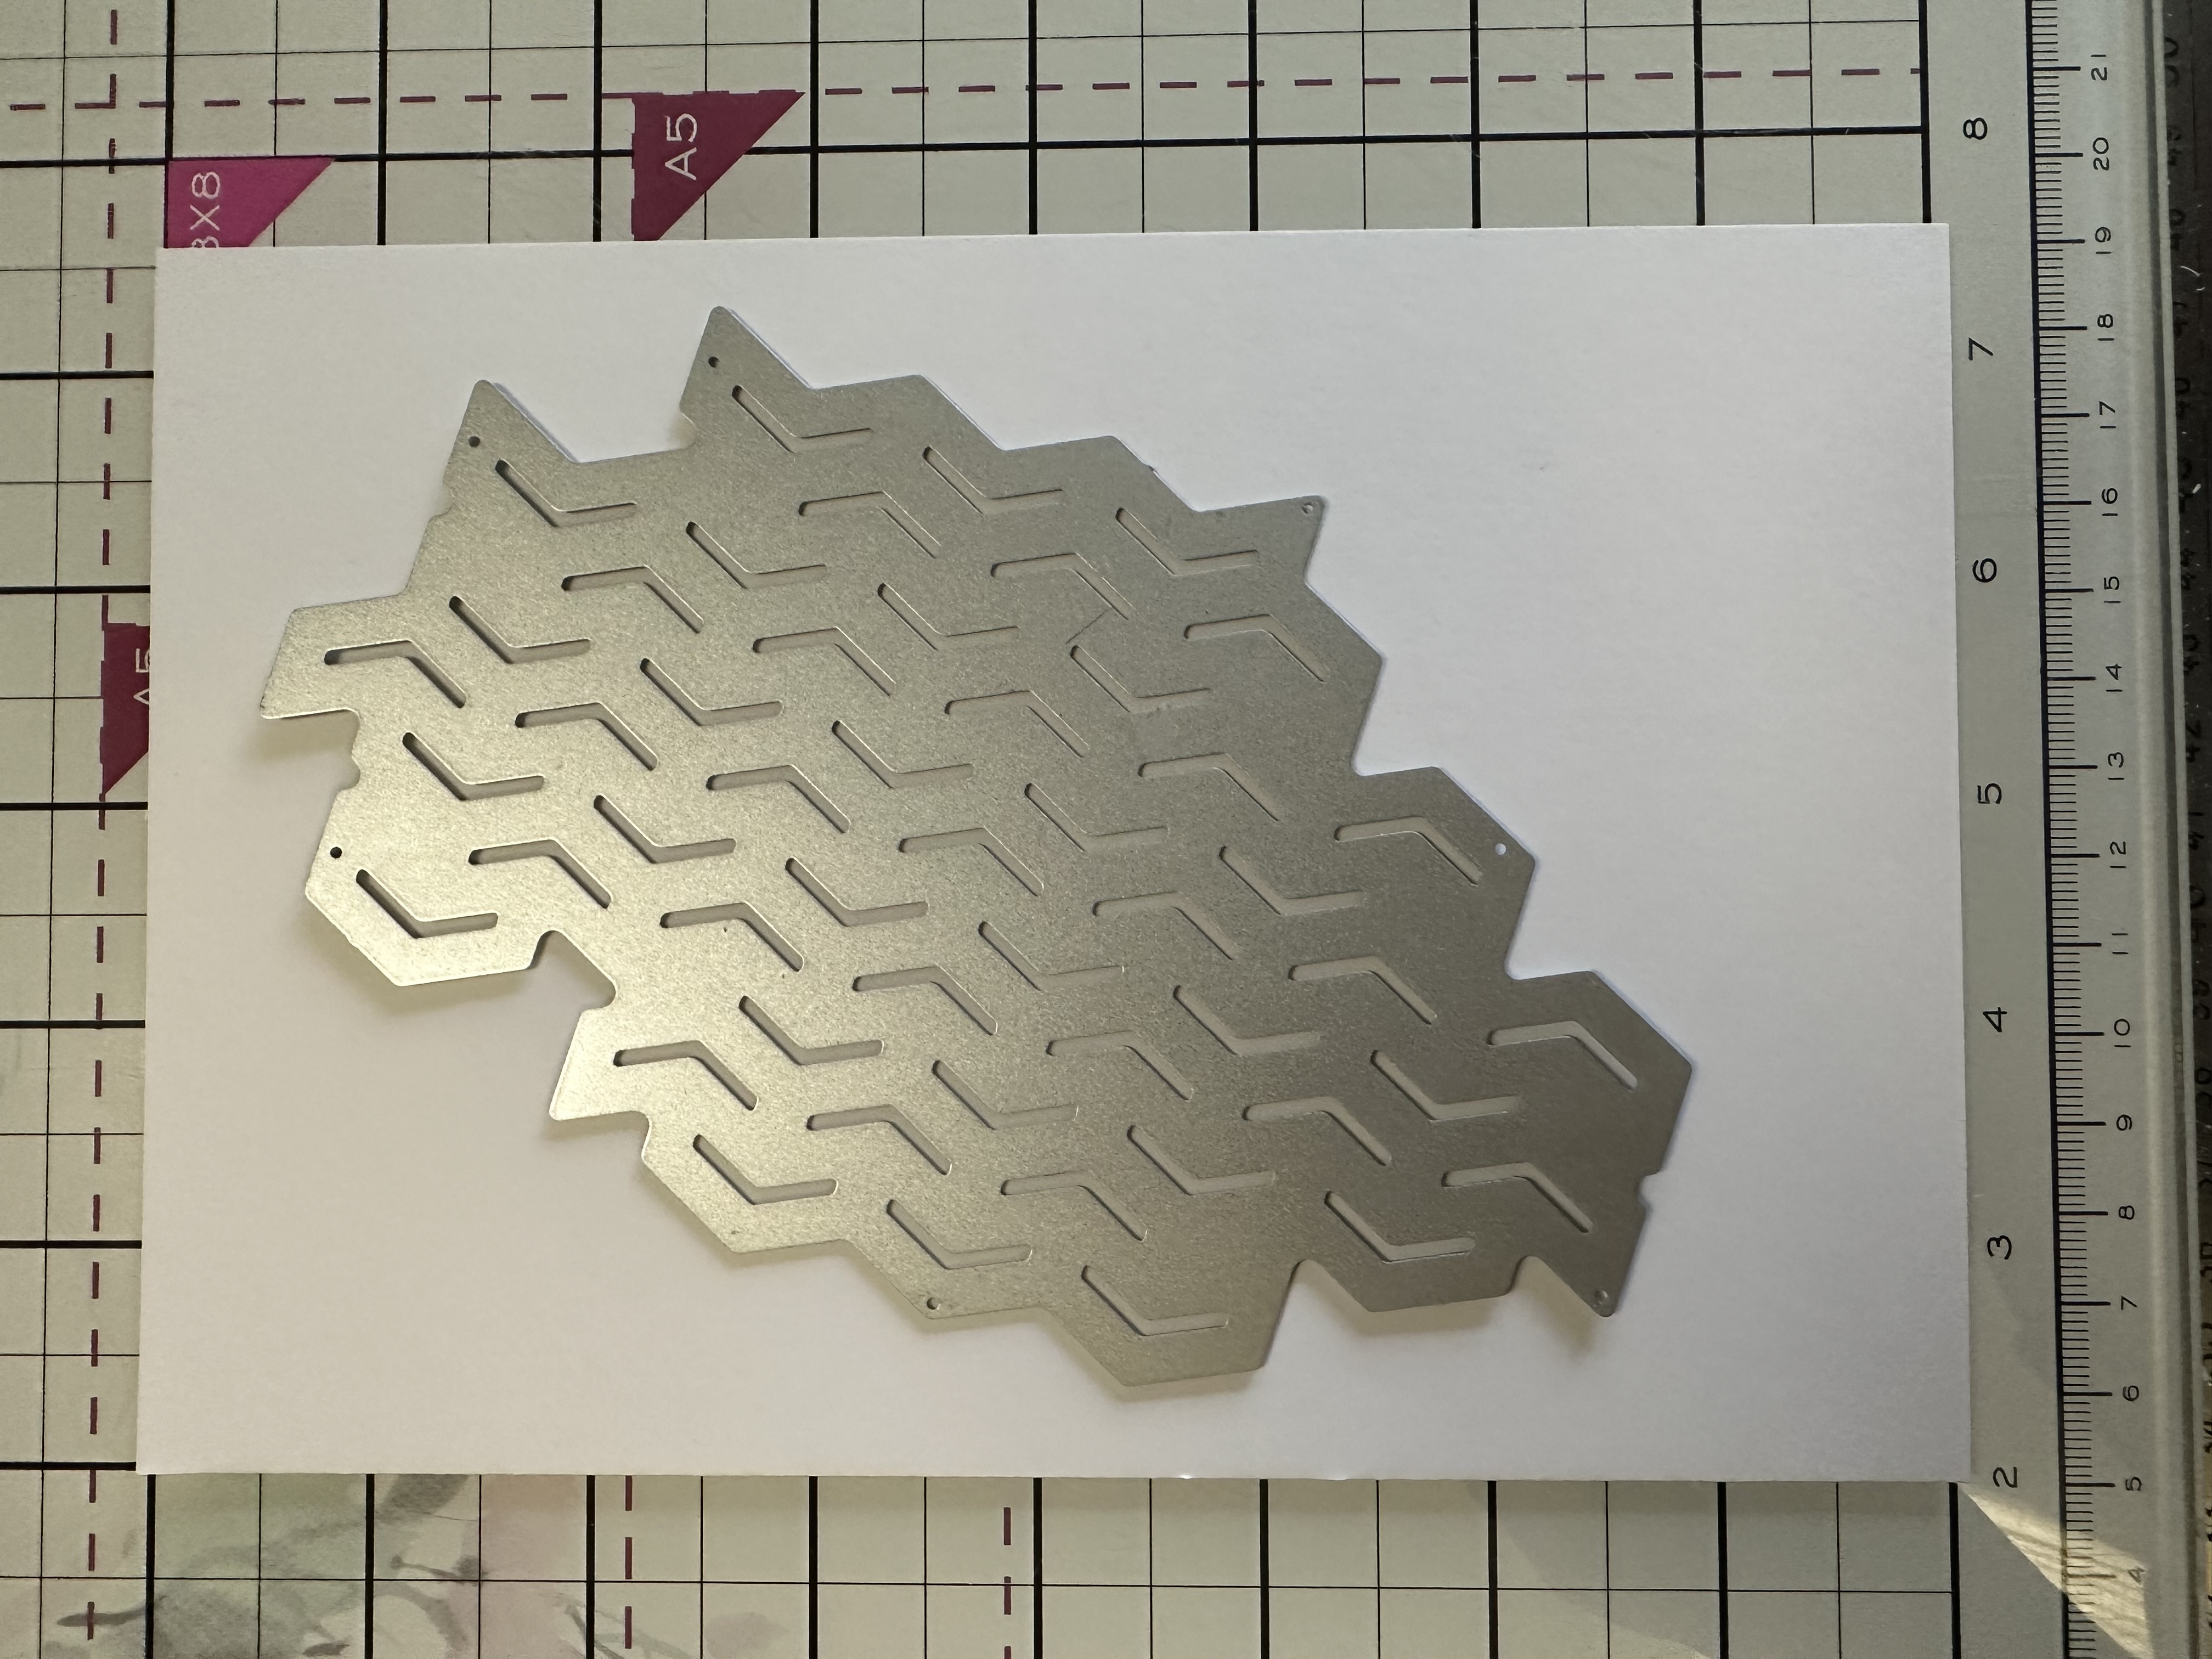
|
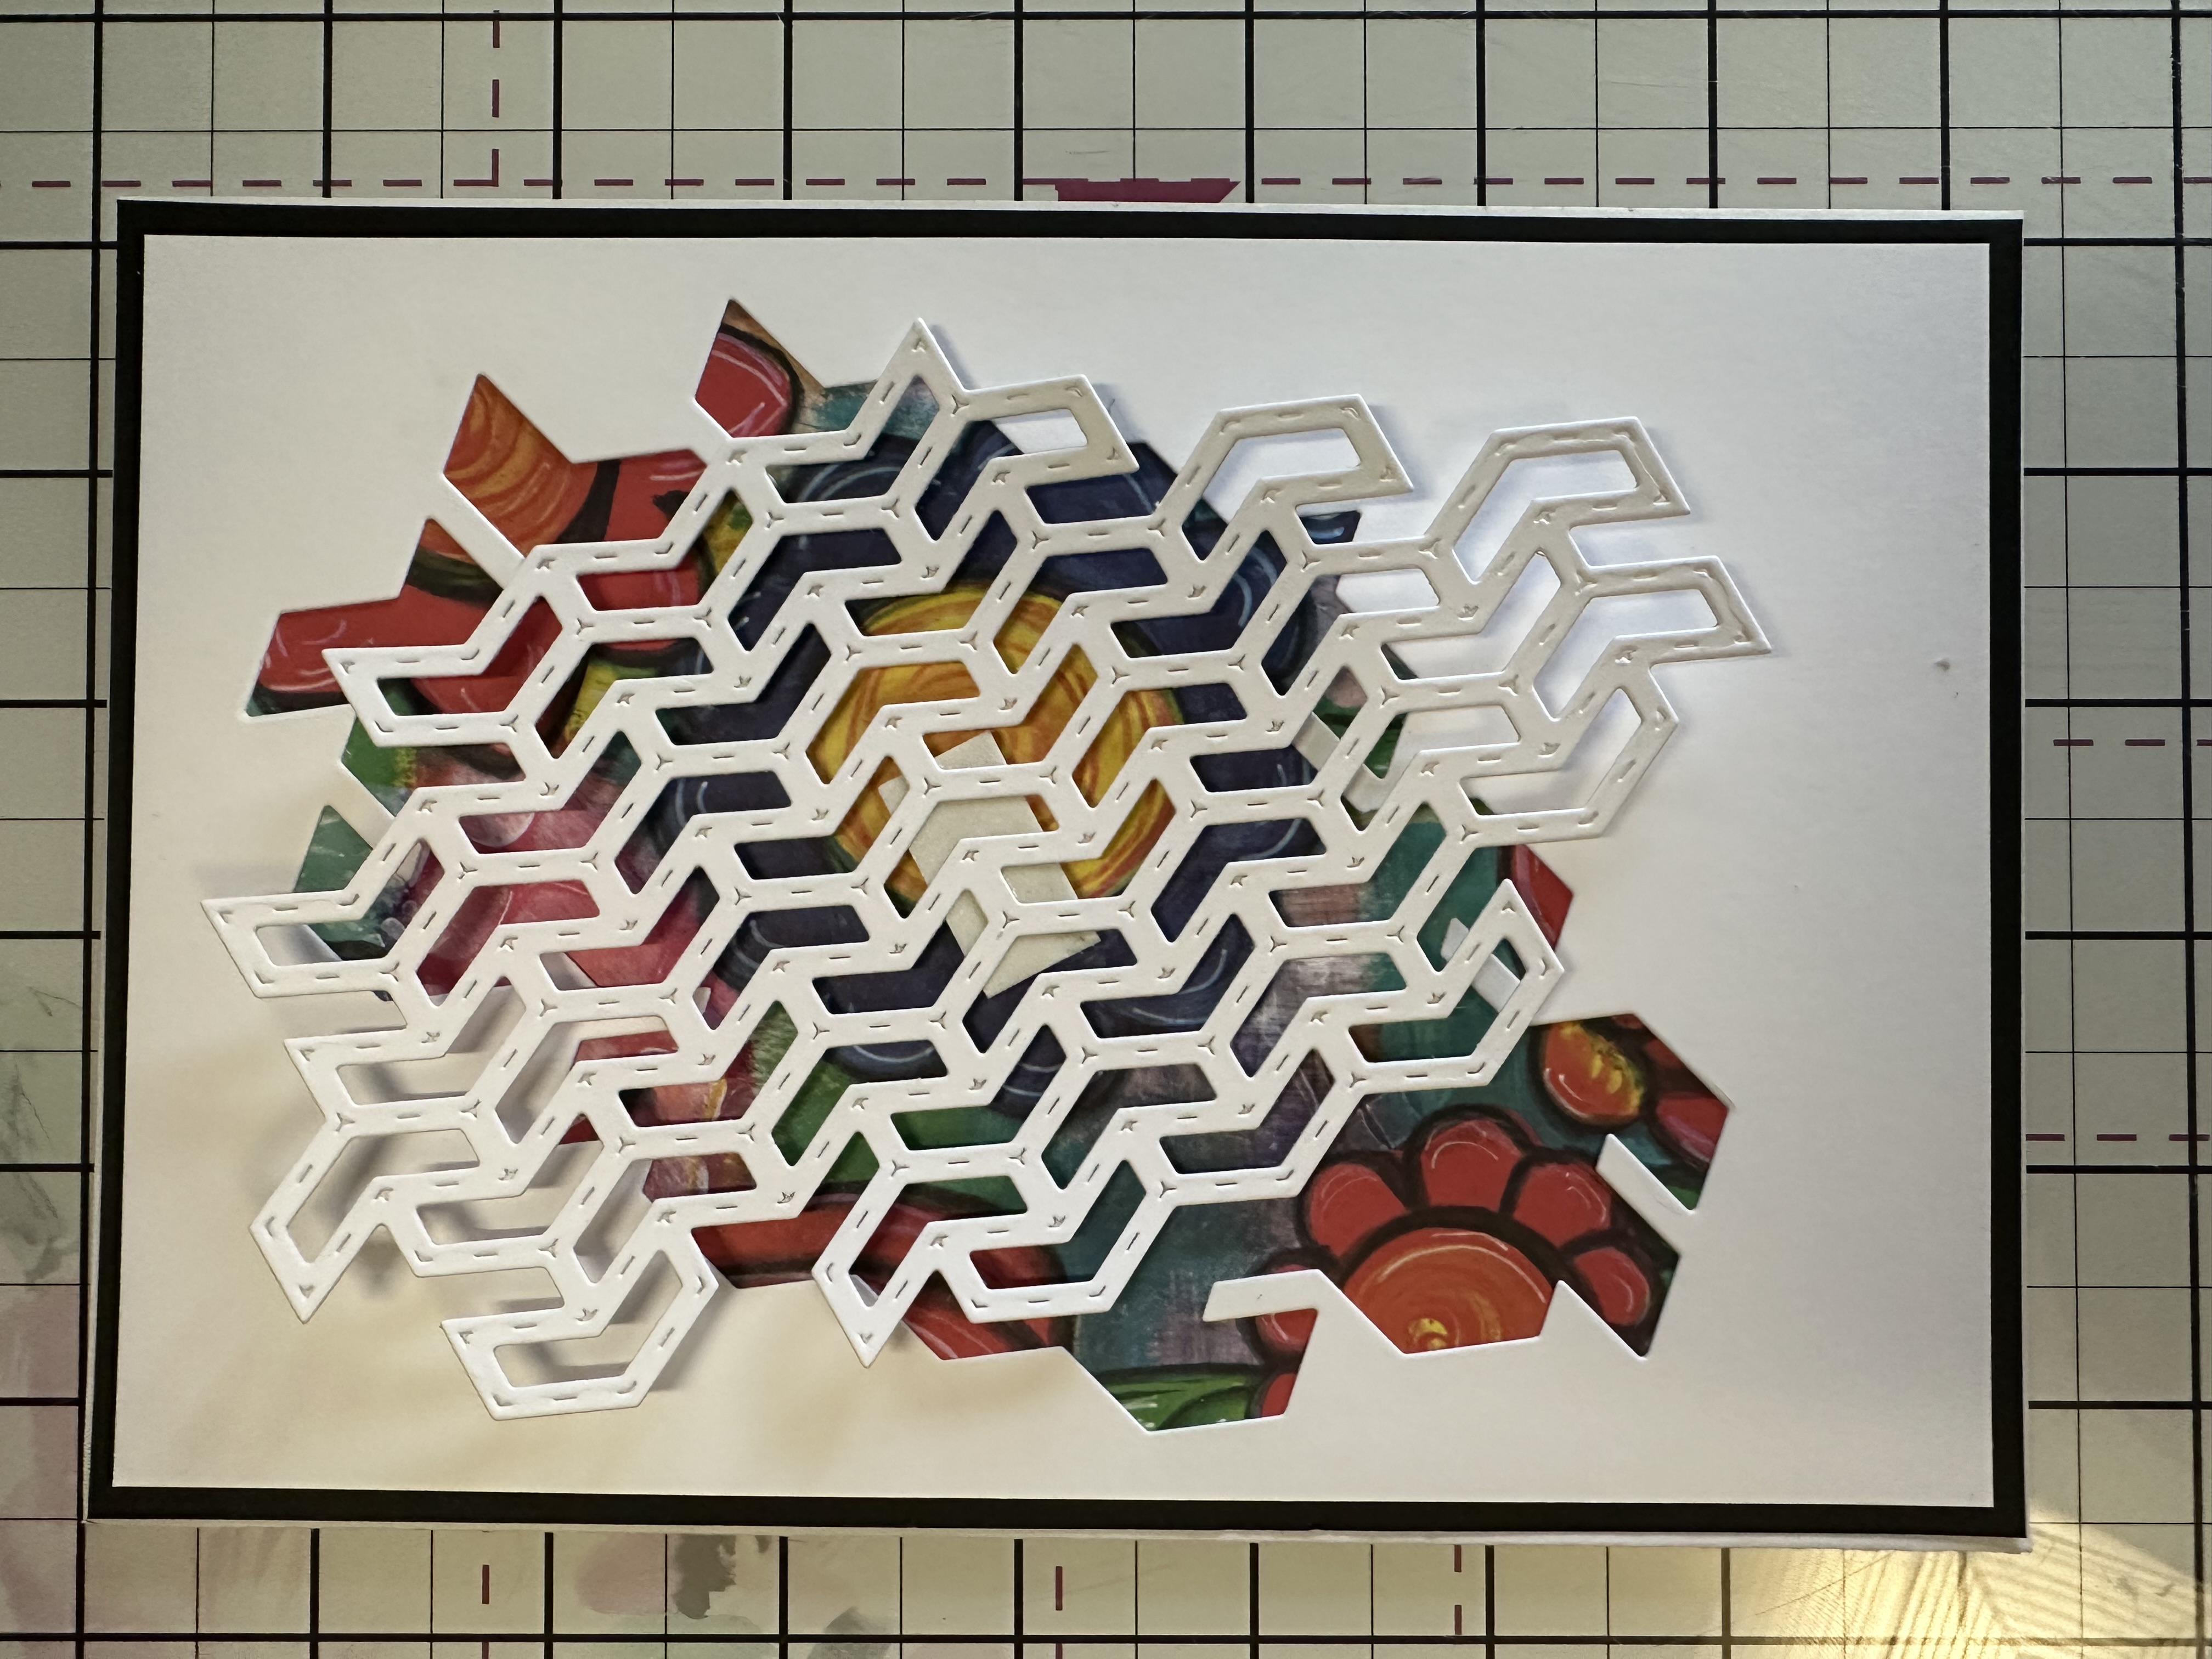
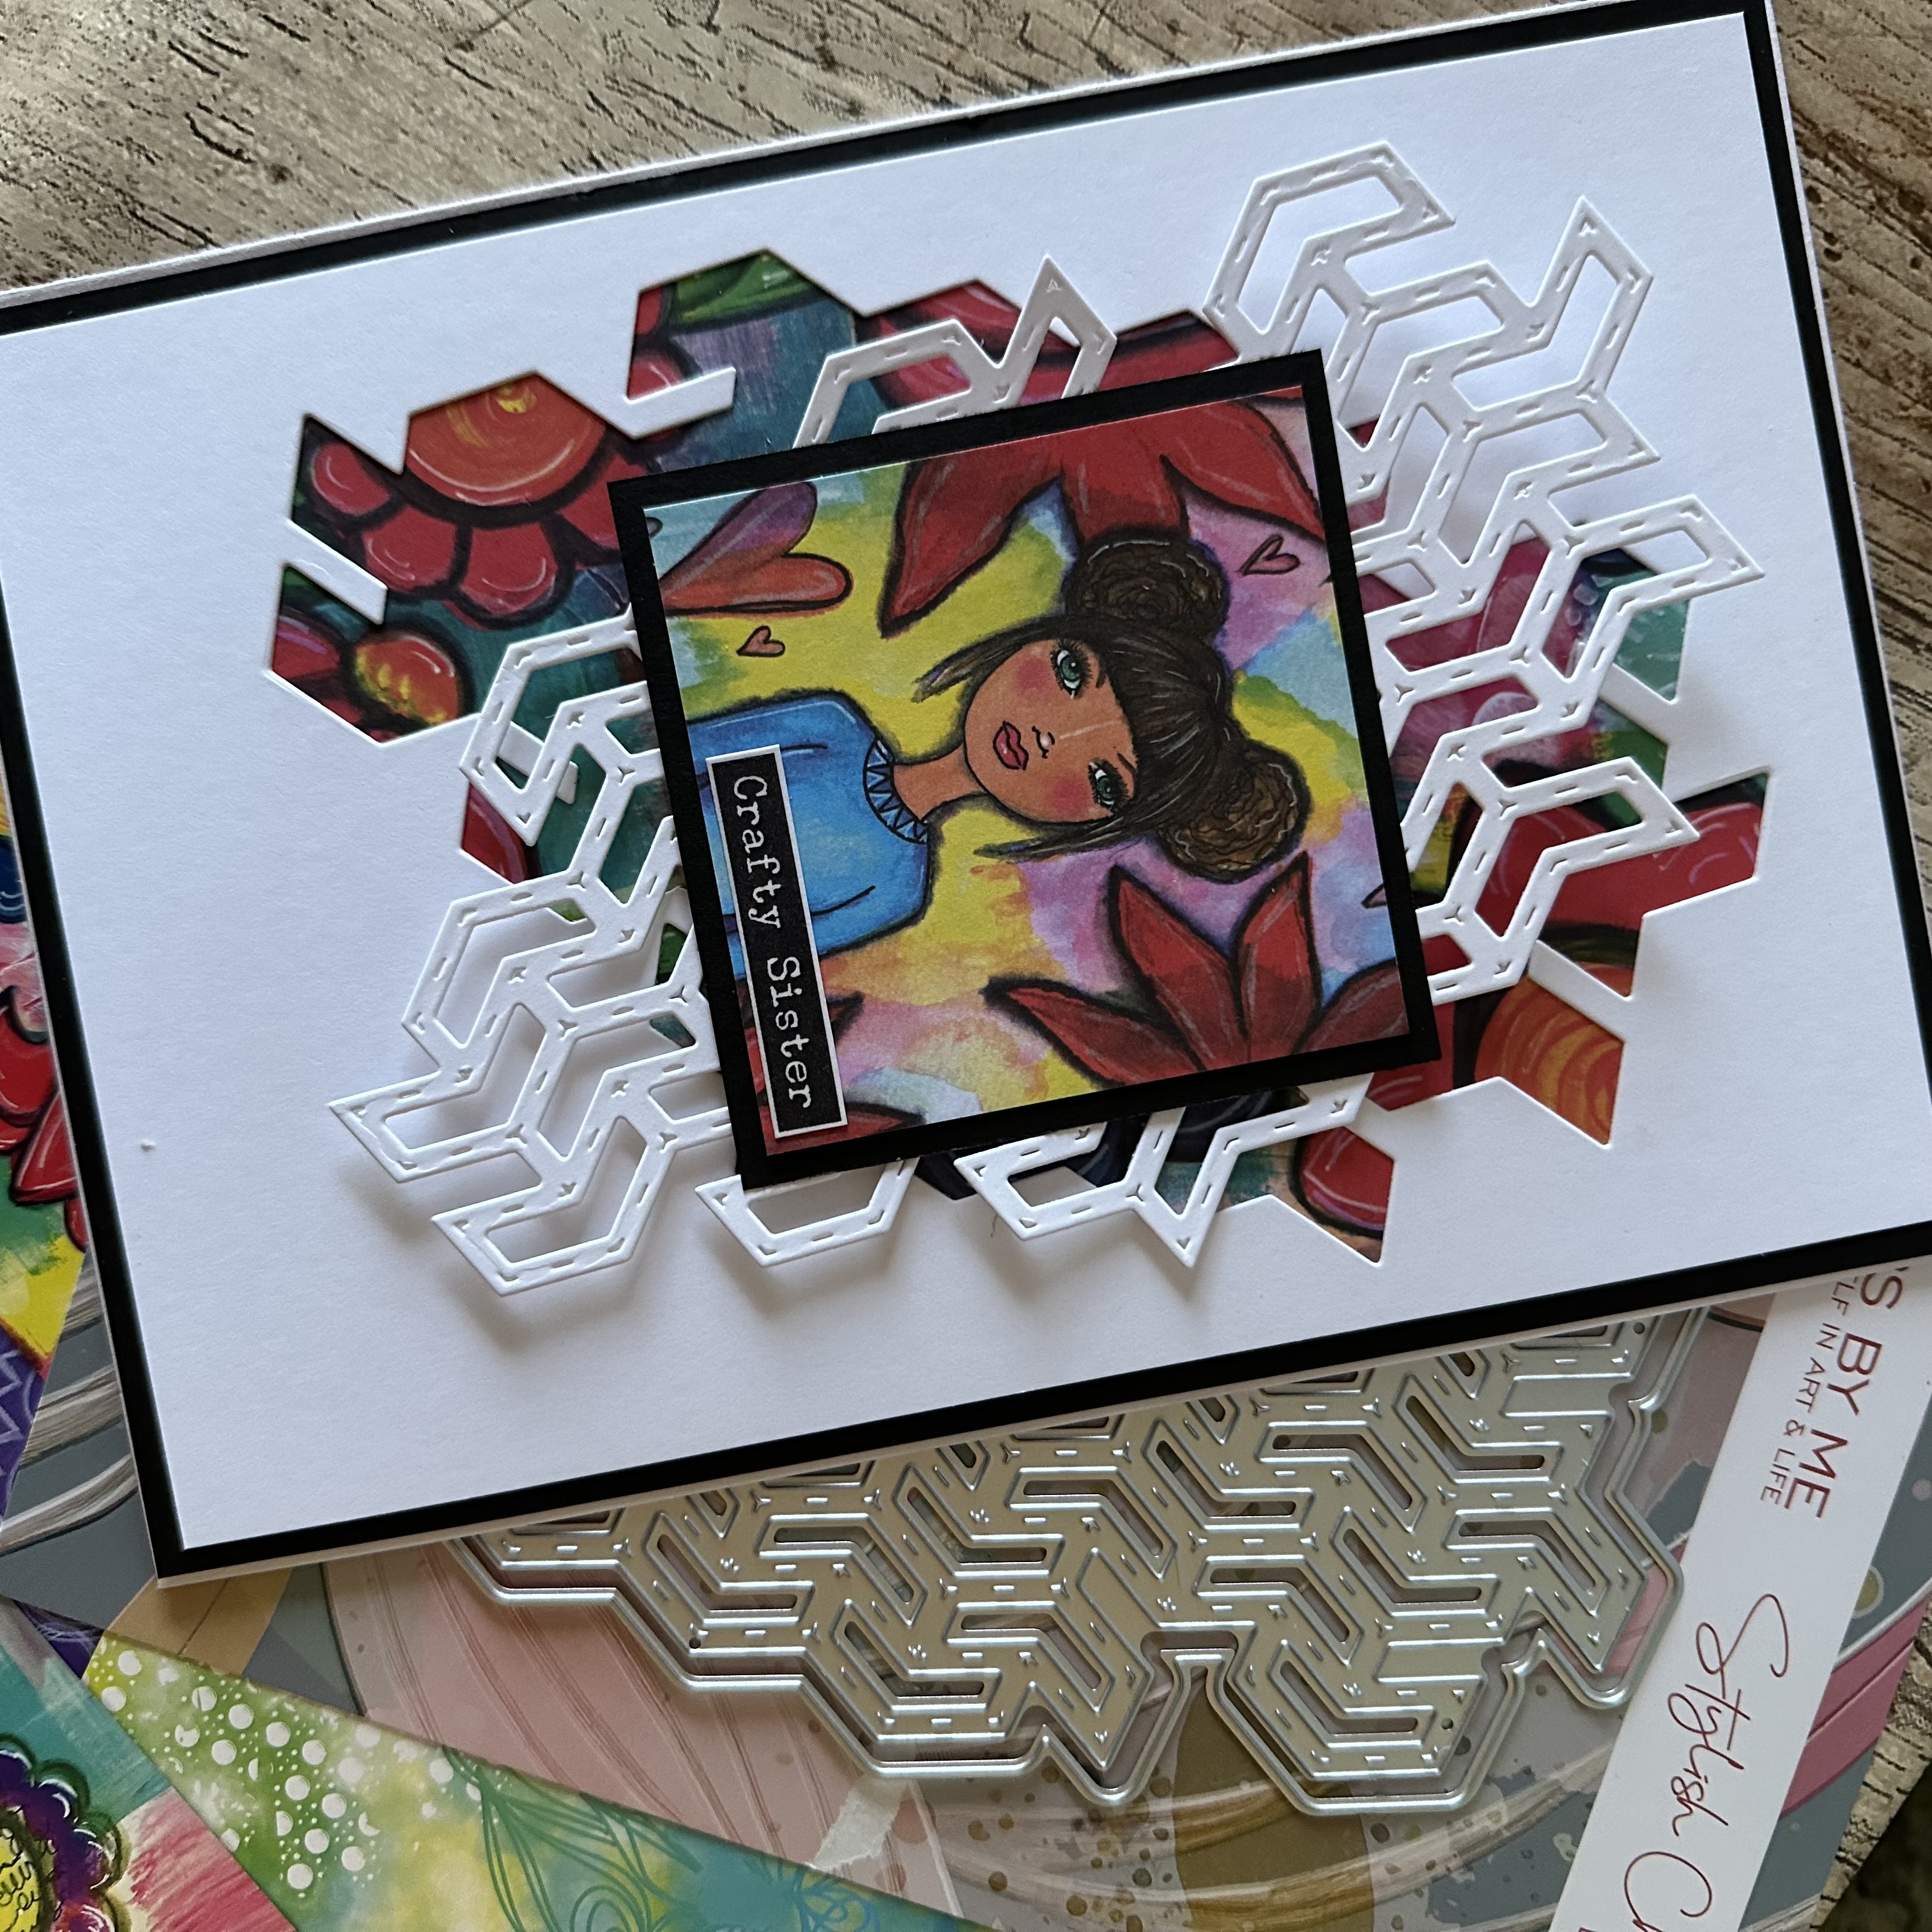
Using a piece of 5 1/4 x 7 3/4" white cardstock, line up and die cut your metal die ensuring you are leaving a roughly even gap either side and at a pleasing angle. You will be using both the waste and the die cut for this project. |
|
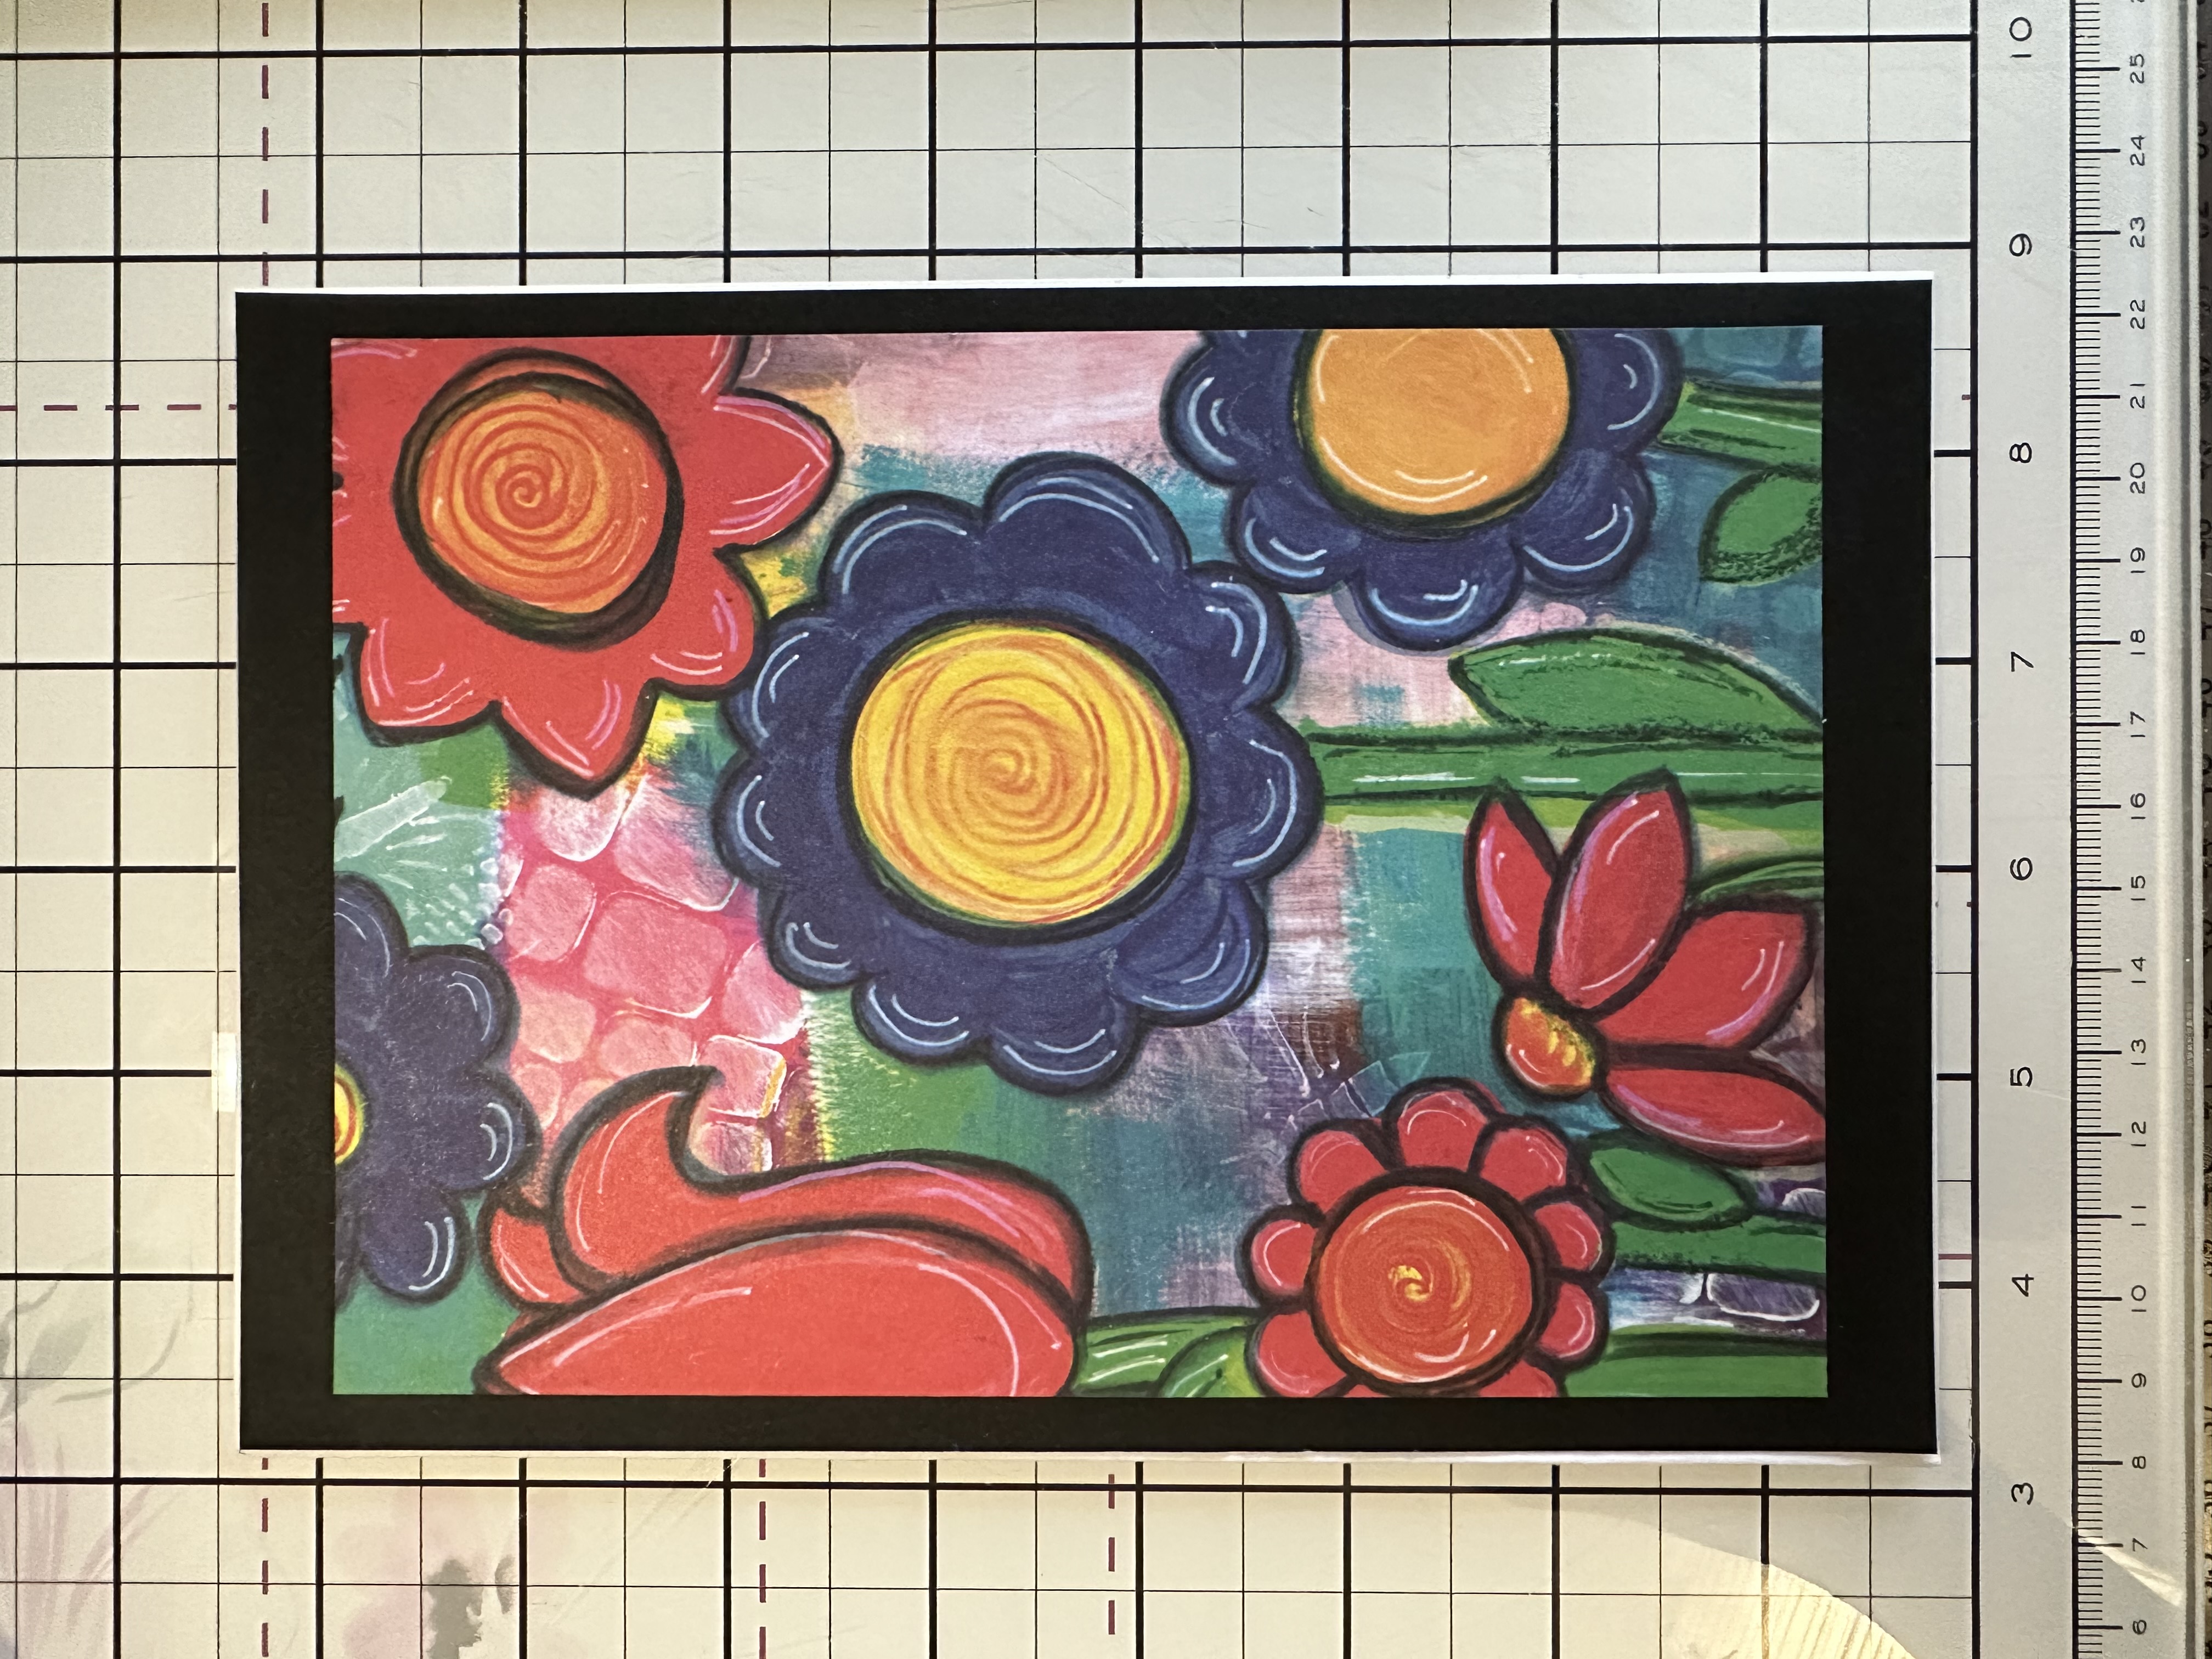
Trim a piece of patterned paper, from the Thirsty Brush paper pad, smaller than your white cardstock but large enough that it covers the recess in the waste just created. Glue together. |
|
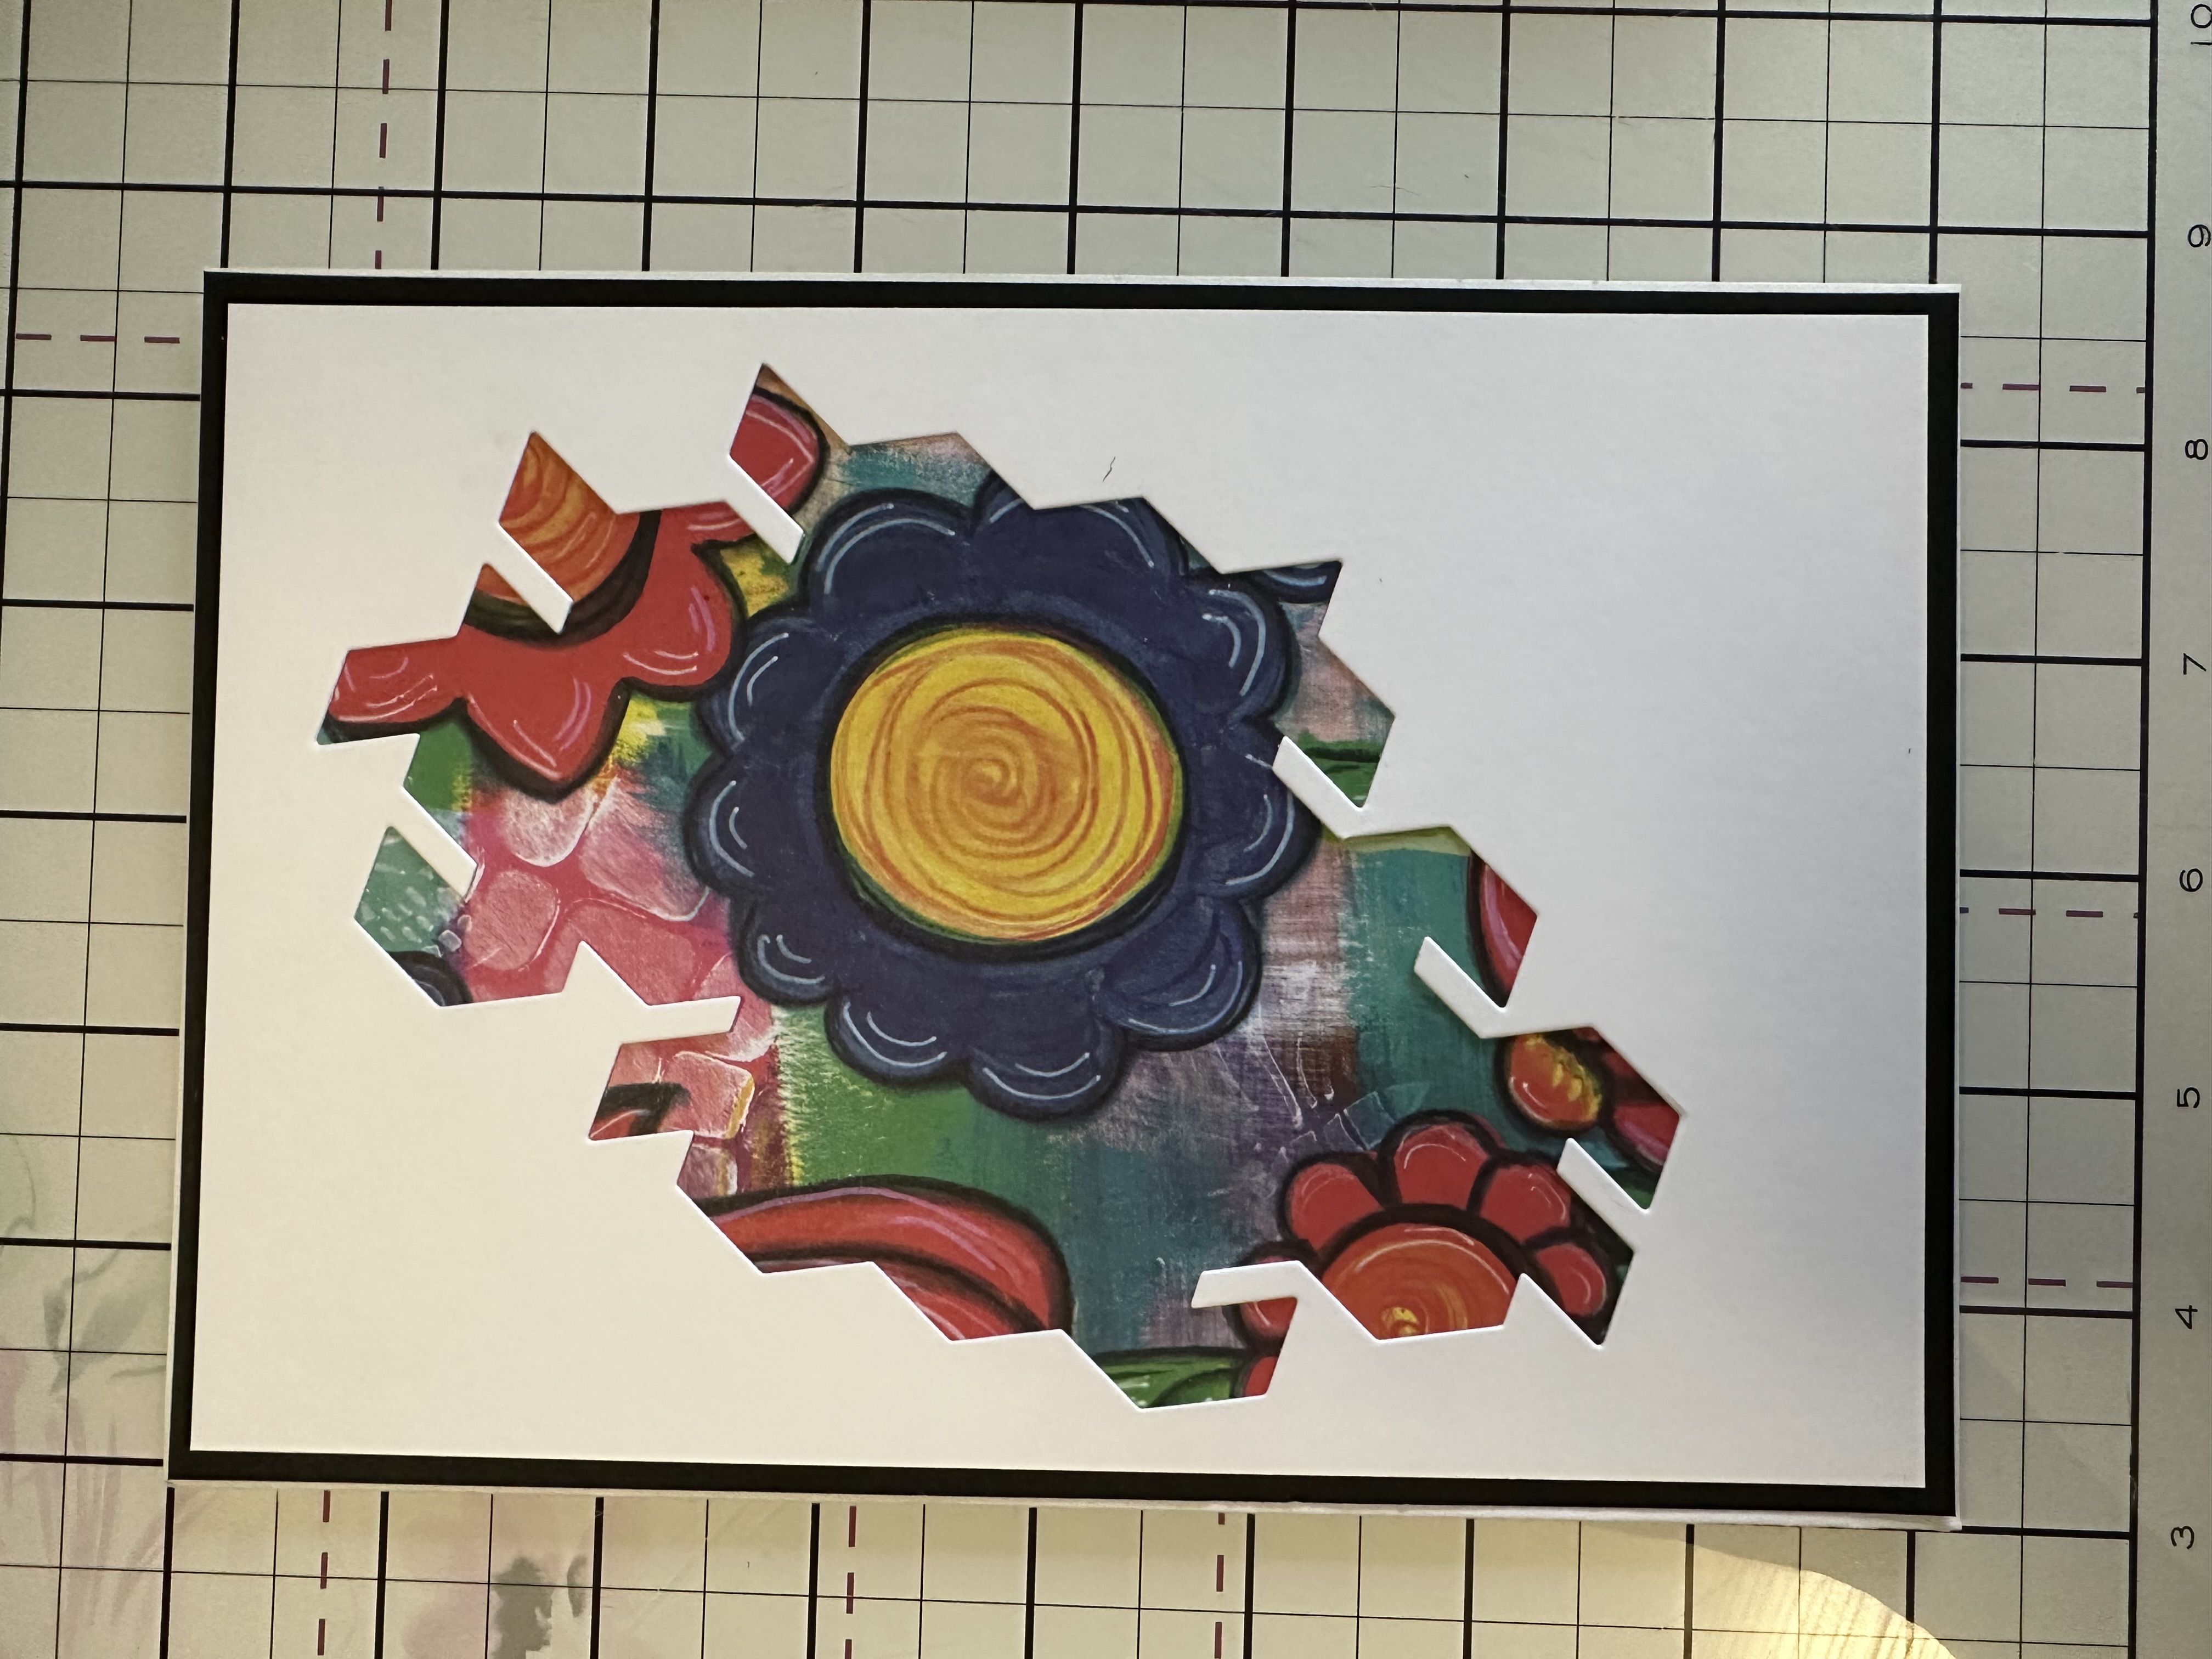
Matt these layers onto a piece of 5 ½ x 8” black card. |
|
Add a foam pad to the rear of your die cut roughly where you will apply your topper and fix to your card blank. Find a suitable piece of your paper pad to use as a topper (I opted for an image showing a girl), cut down to size (this is 2 ¾ square) and matt and layer onto a black piece of card ¼ of an inch larger.
|
|
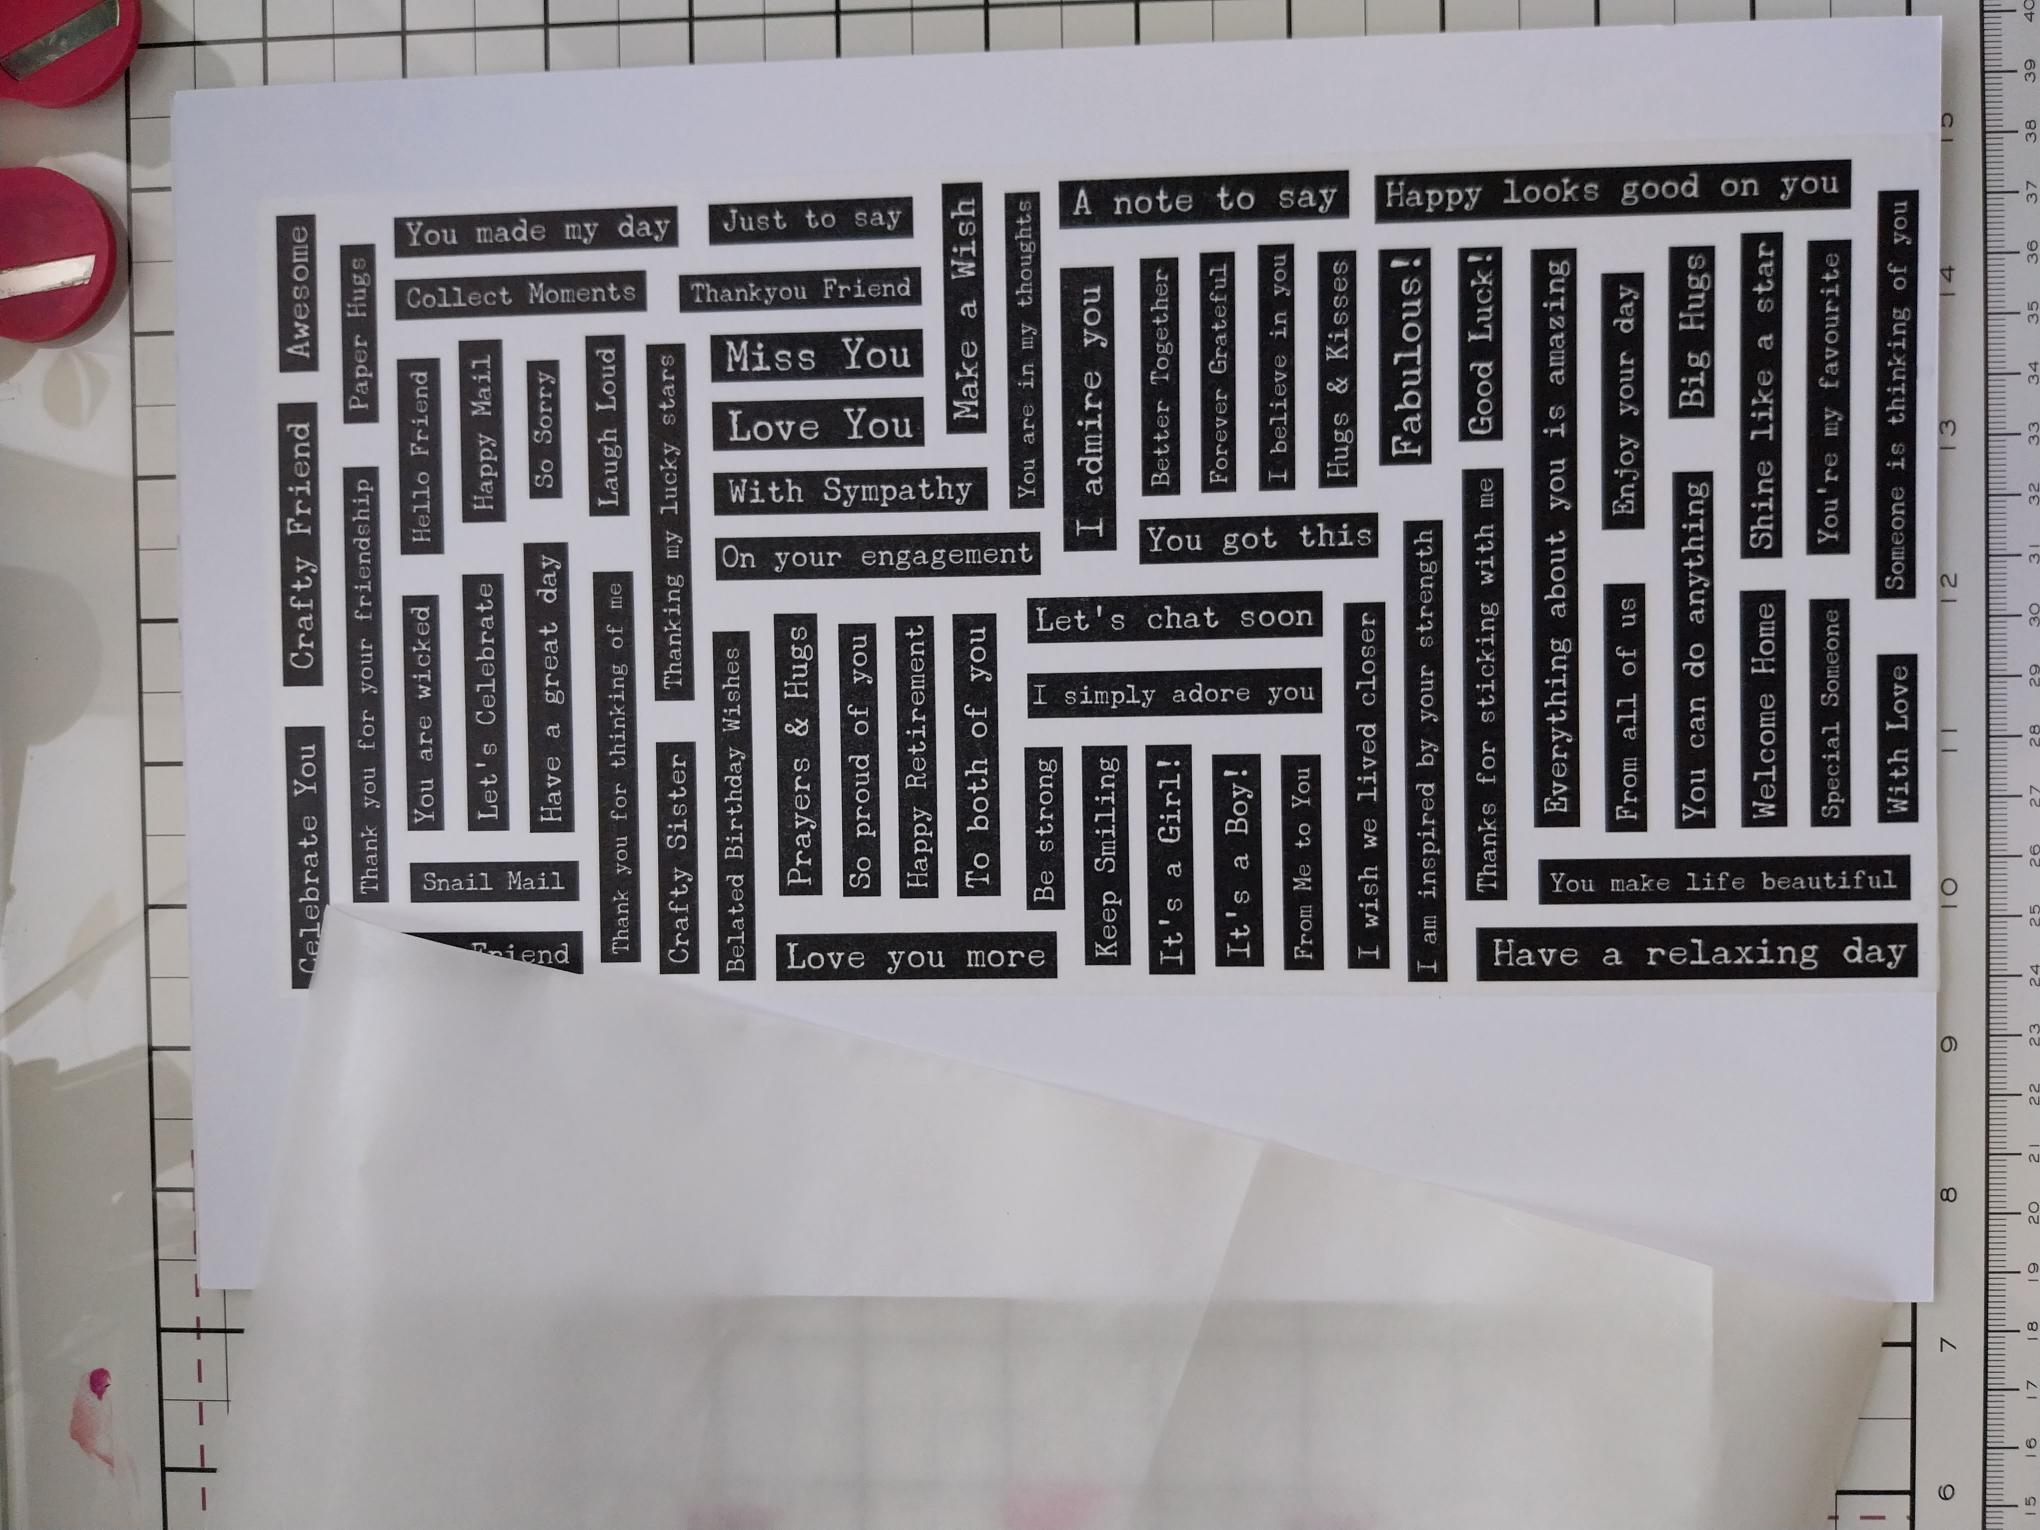
Using the dies as a guide, cut ONE drop from the typewriter washi roll. Lift up the backing sheet along one end of the tape and adhere across the top of an A4 sheet of white card. Slowly peel away the backing, as you use your hand to smooth the washi tape down on to the card. Once the backing has been fully removed, you can burnish the washi to ensure there are no air bubbles or creases. |
|
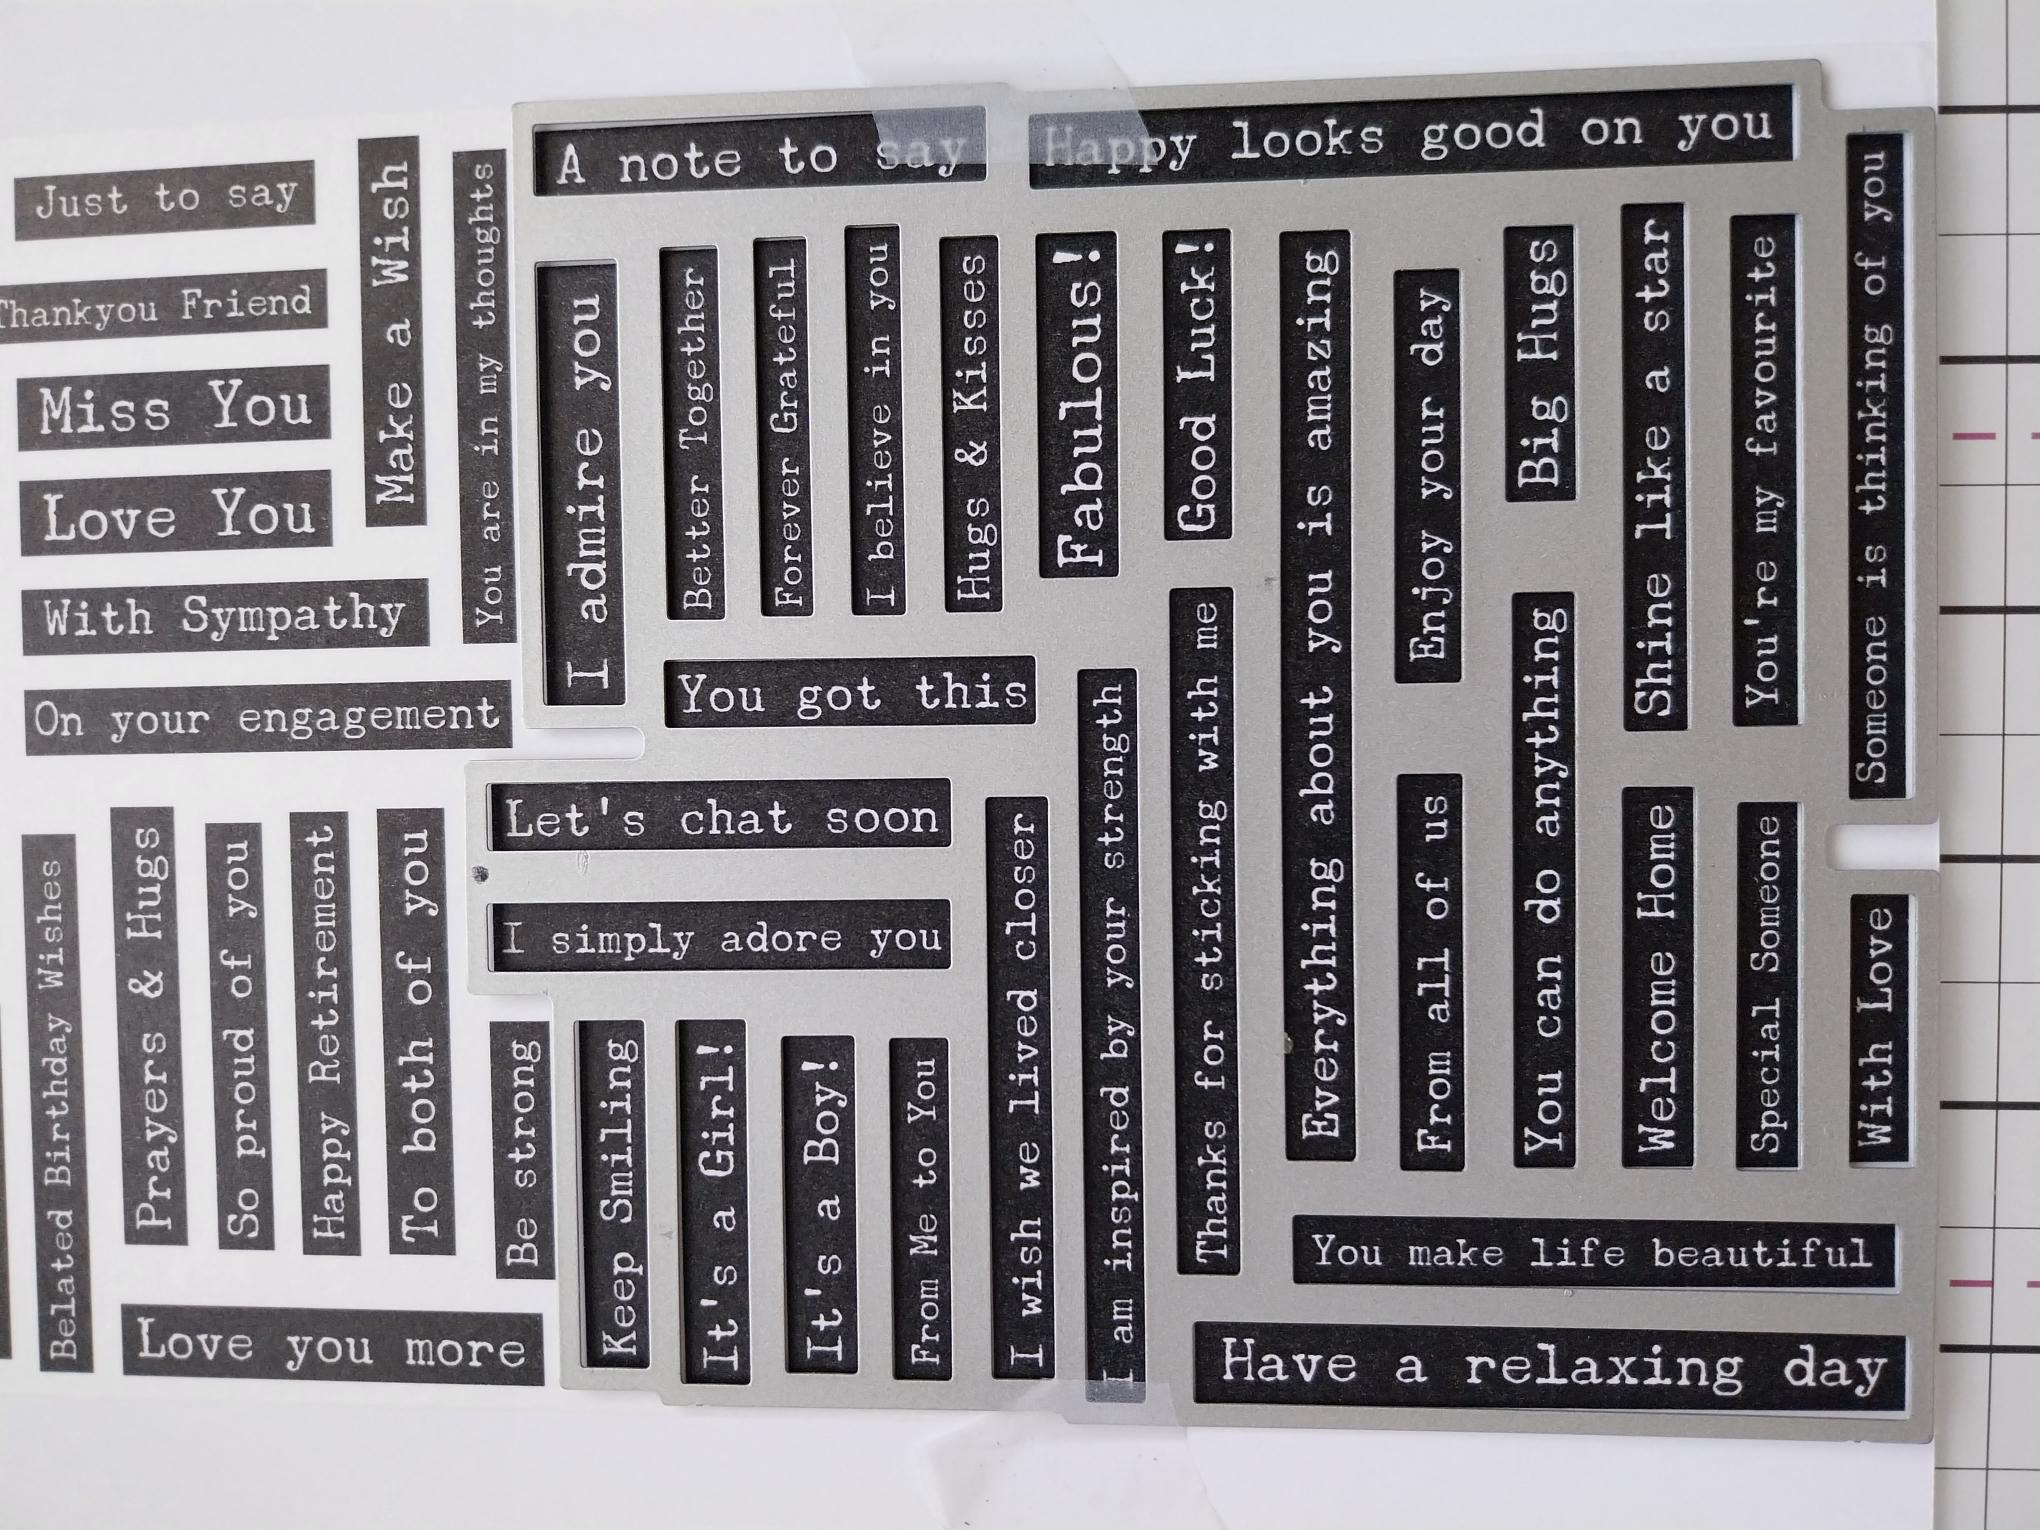
Line up the first die and secure with low tack tape, before running it through your machine. |
|
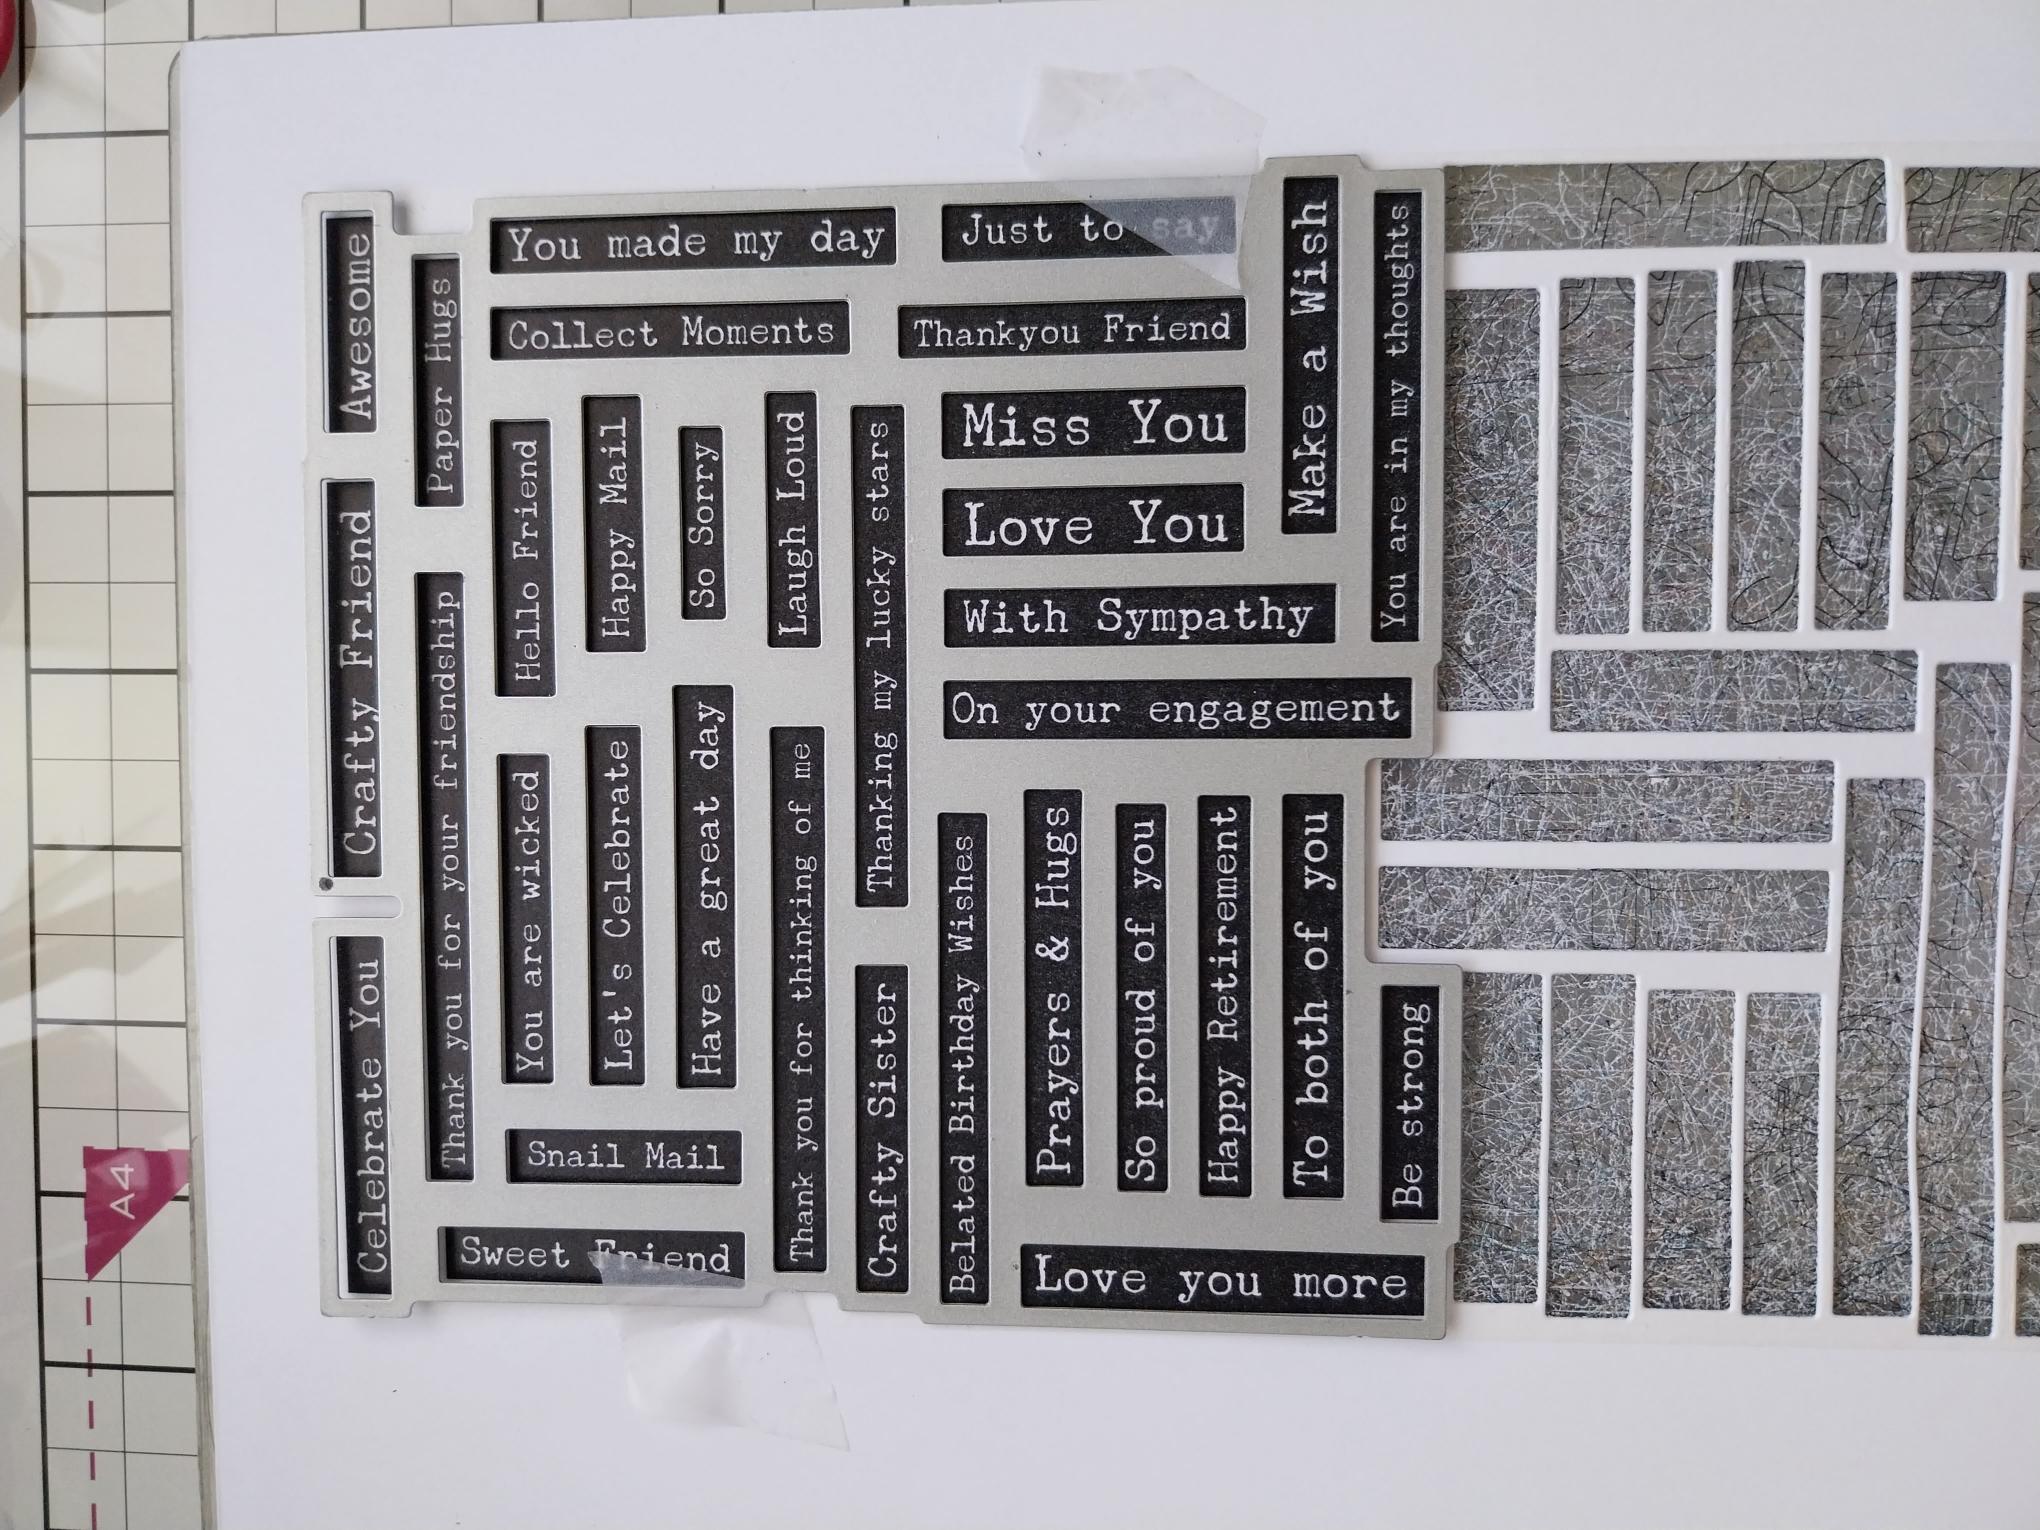
Line up the second die and run it through your machine. Pop out all the sentiments, pick out the one you are using for this project and keep the rest in a tub for future projects. |
|
Glue on your washi sentiment, to complete your project. |