

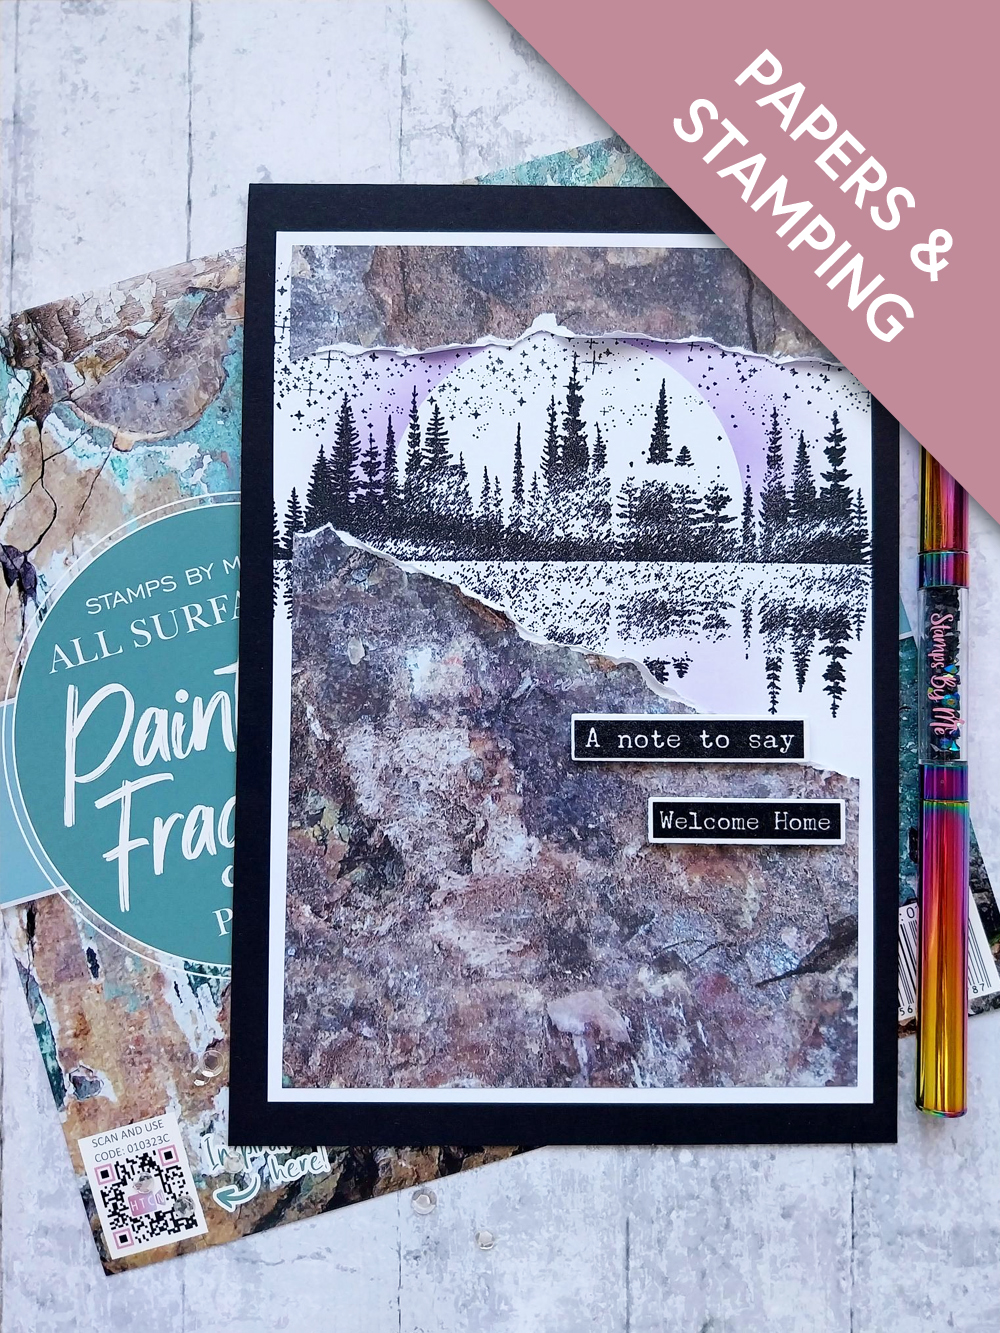
WHAT YOU WILL NEED:
Black card blank 8 x 5 1/2"
White card
All Surfaces Painted Fragments 8 x 8" Paper Pad
Reach For The Stars A5 Stamp
Typewriter Tabs Washi Tape and Dies
Circle mask
SBM Hybrid Ink Pad: Midnight
SBM Premium Dye Ink Pad: Indigo
Blending brush
Eureka 101 Watercolour Tablet
SBM A3 Magnetic glass mat
Paper Trimmer
Glue
Die Cutting machine
[click image to enlarge] 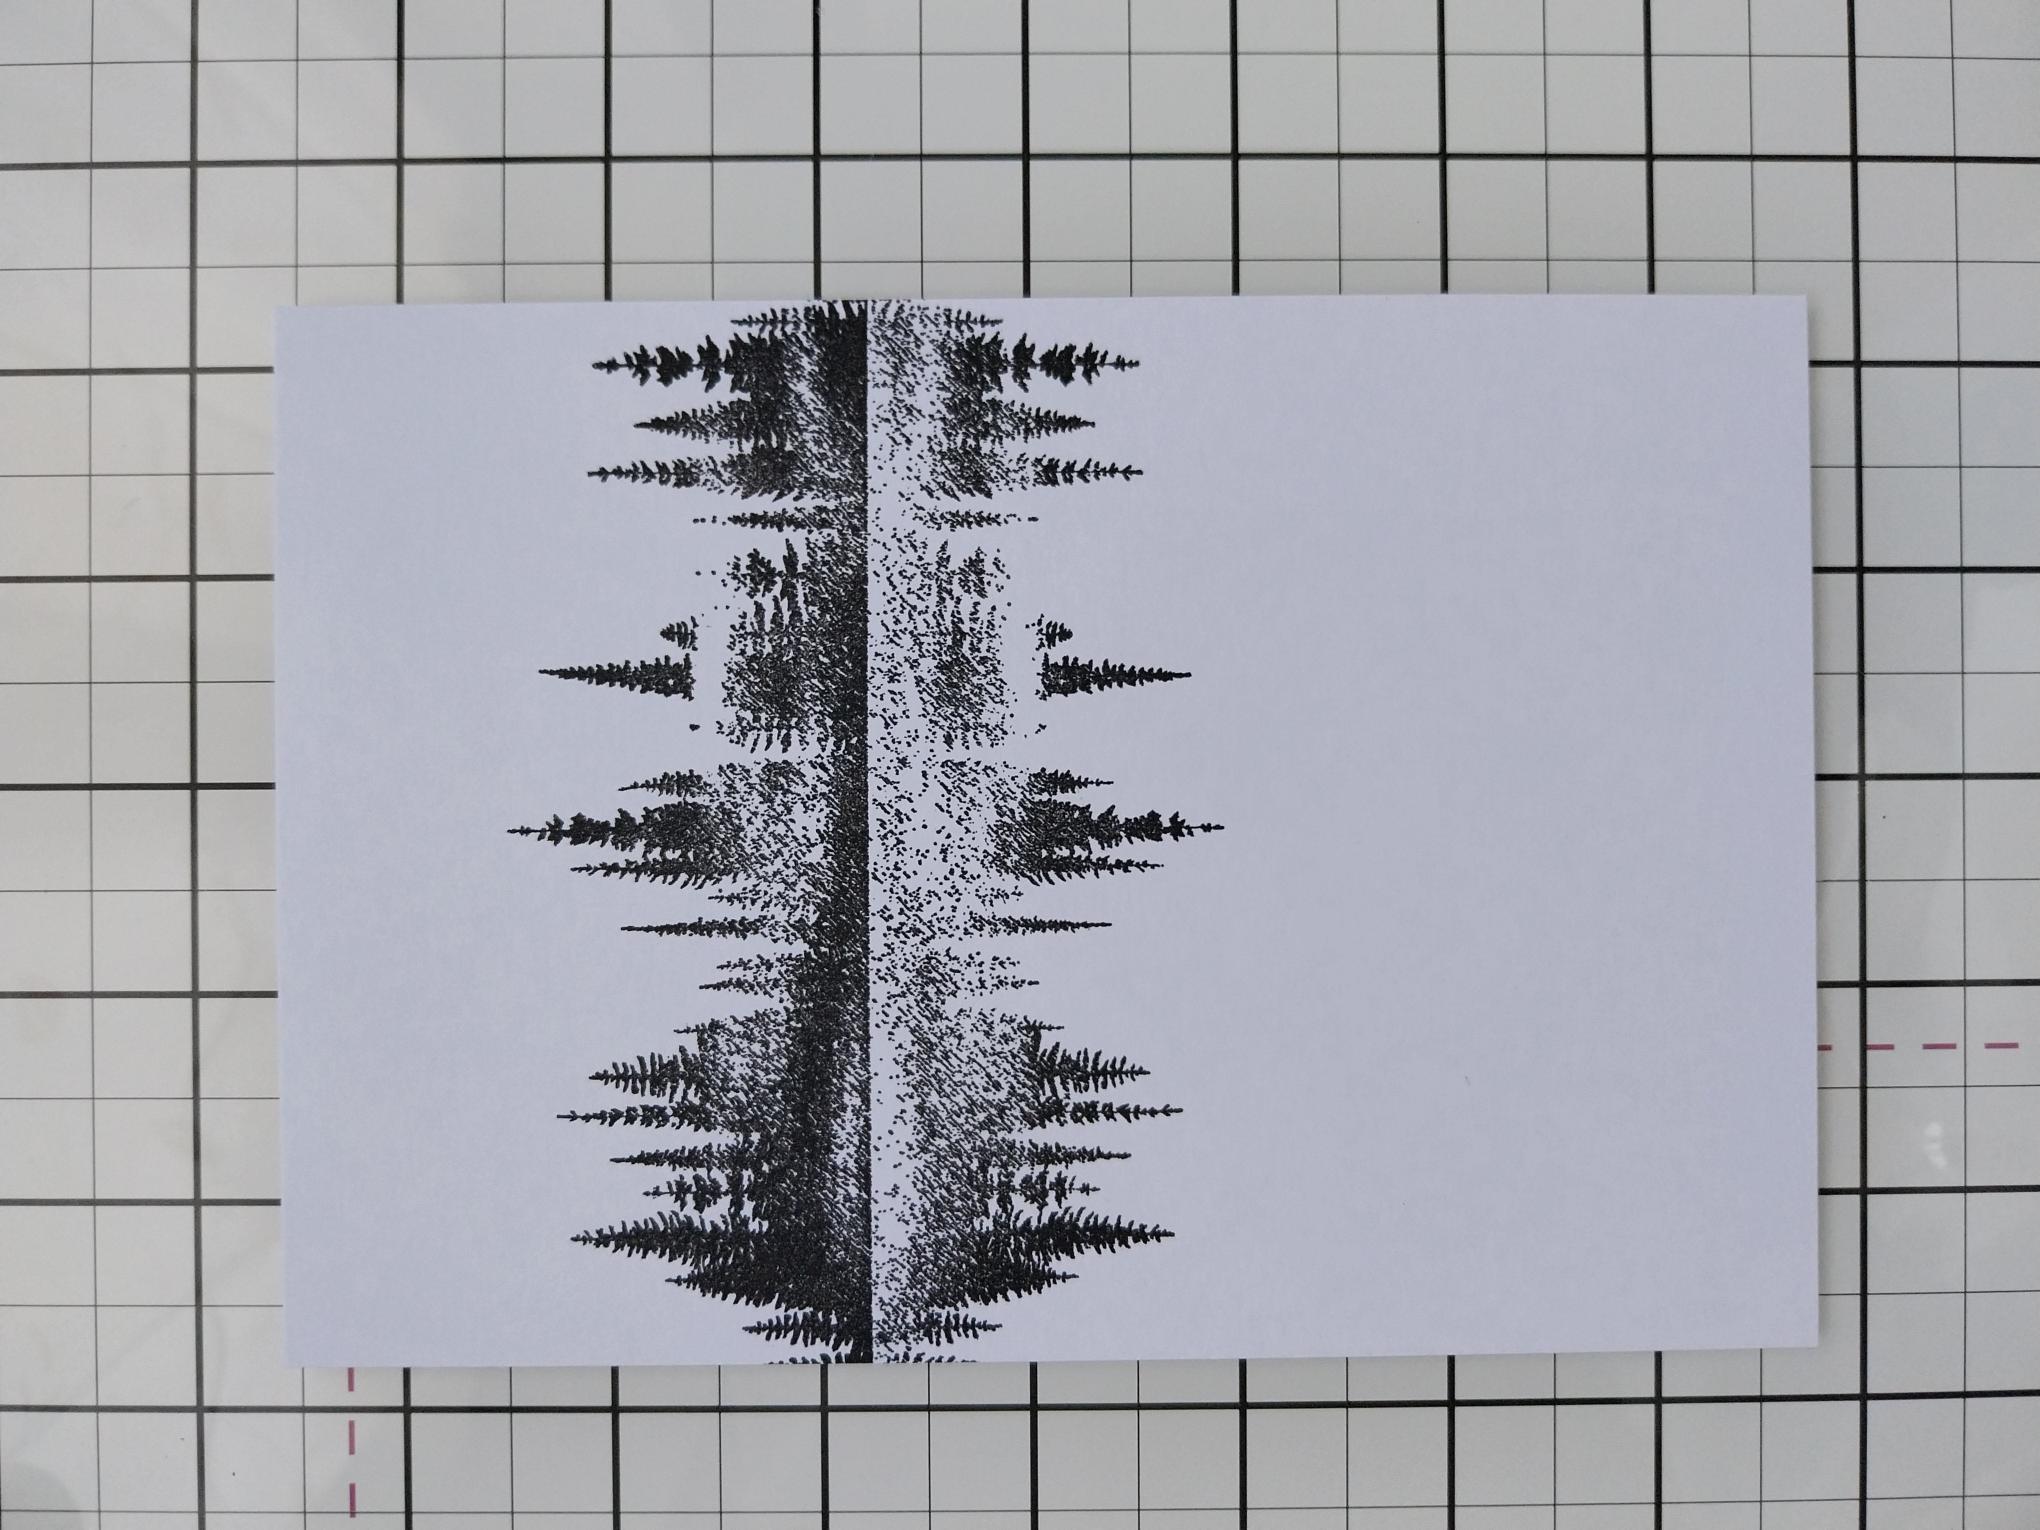
|
Stamp the beautiful skyline reflection stamp, from Reach For The Stars, in Midnight, on to white card cut to 7 x 4 3/4", as seen here. |
|
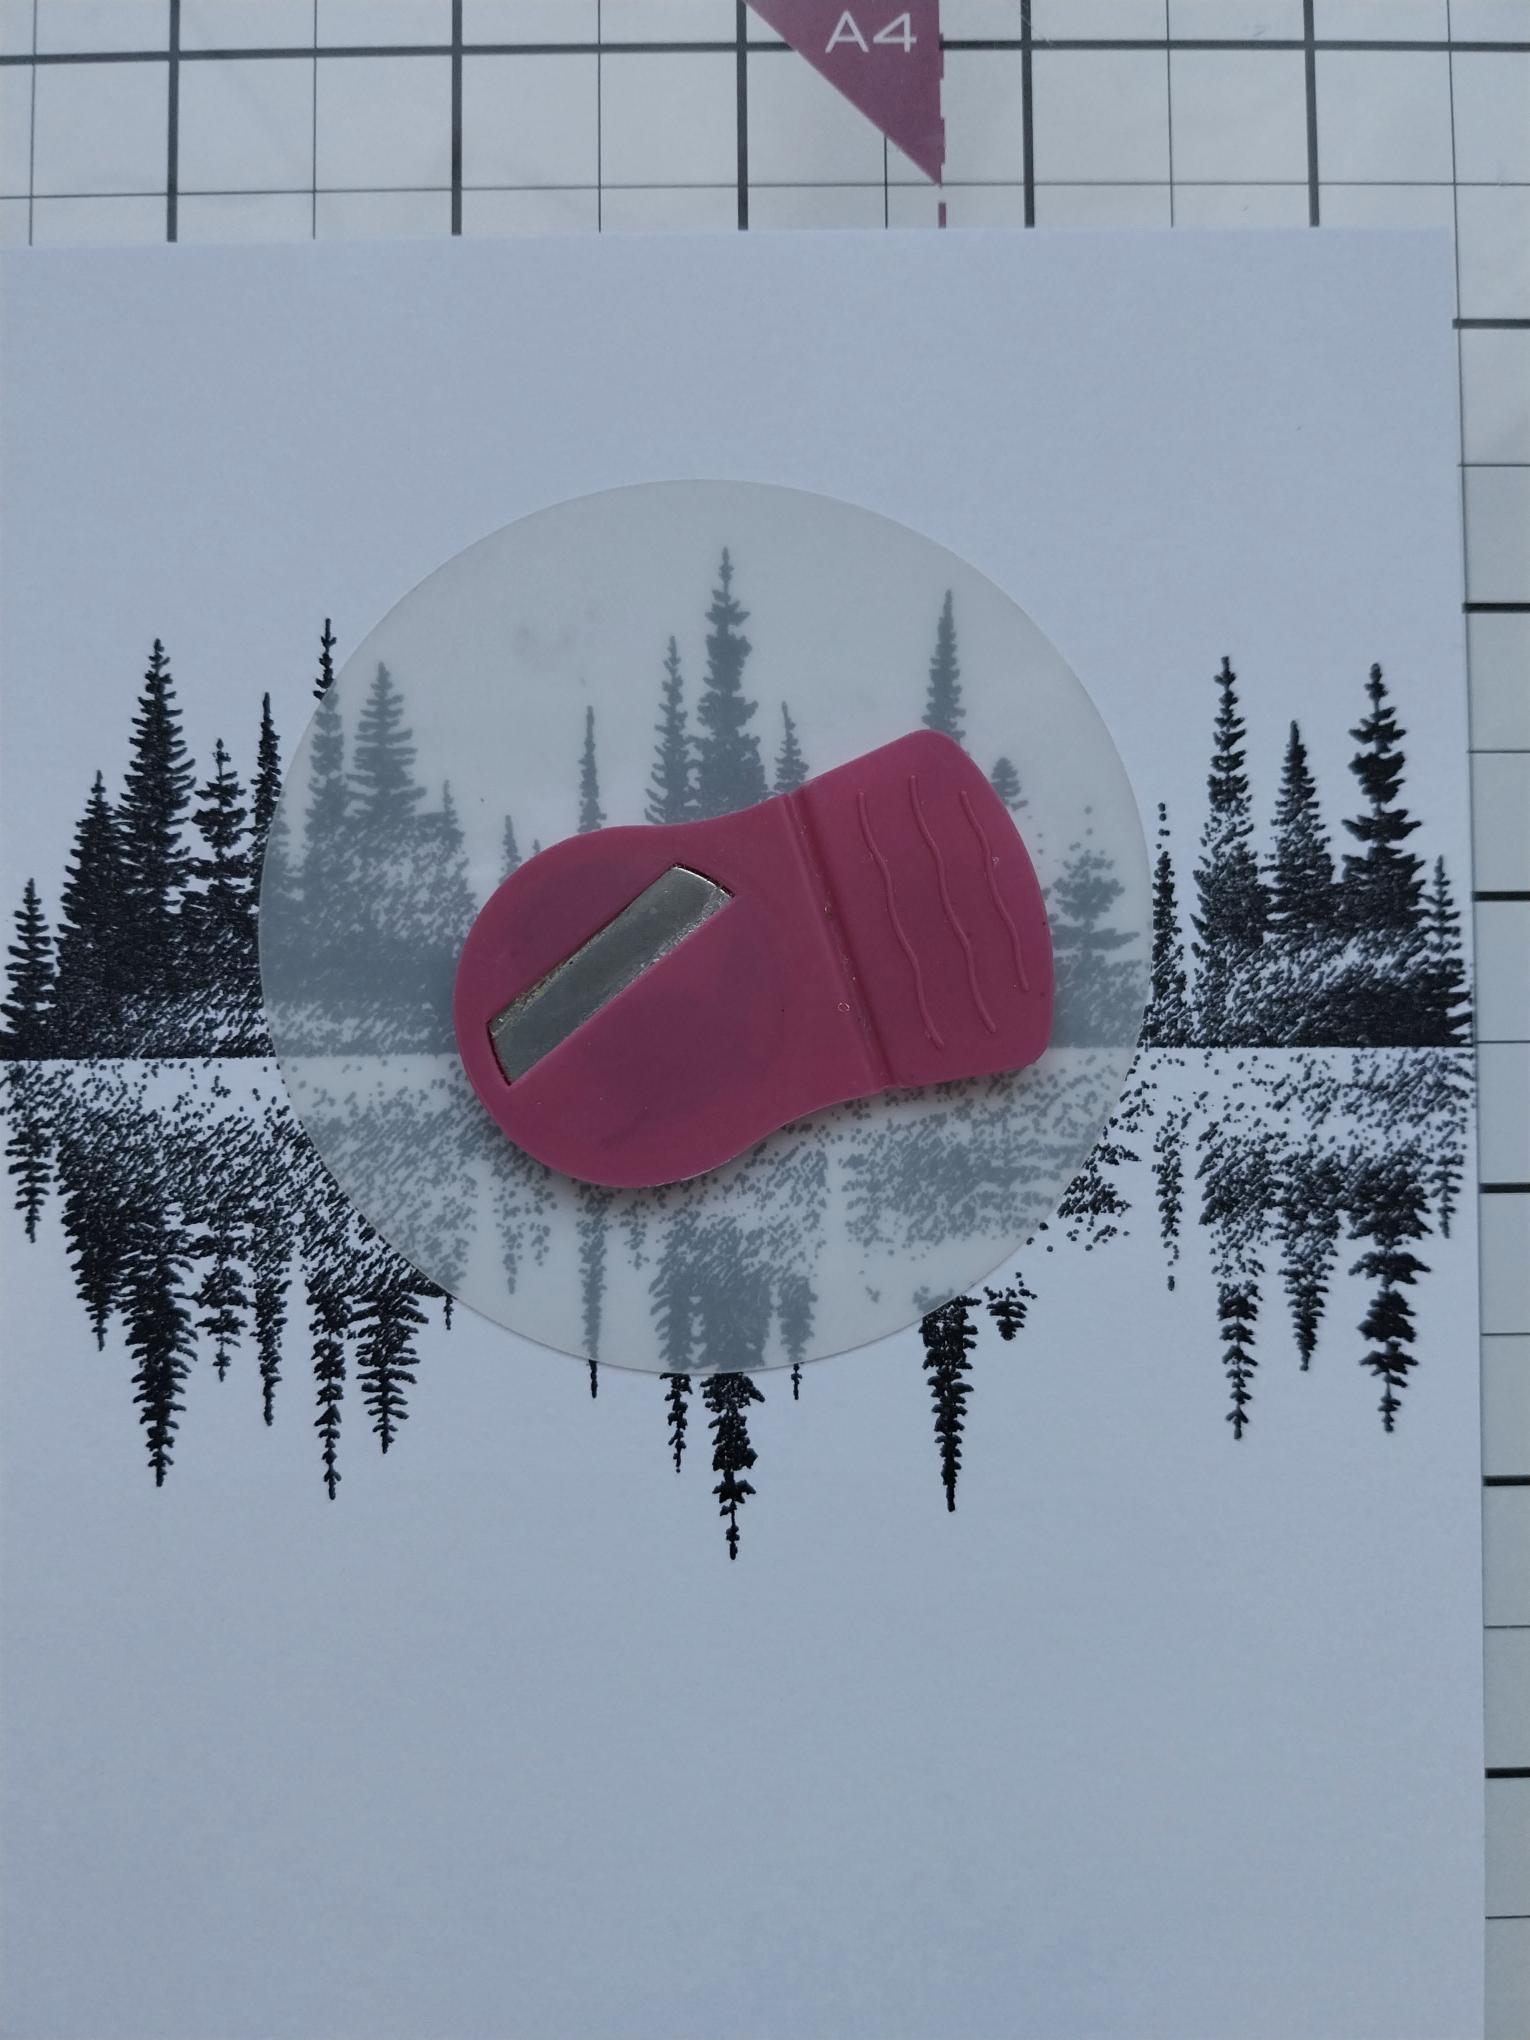
Secure a circle "mask" in place so the Moon will appear to "rise" up from behind the skyline. |
|
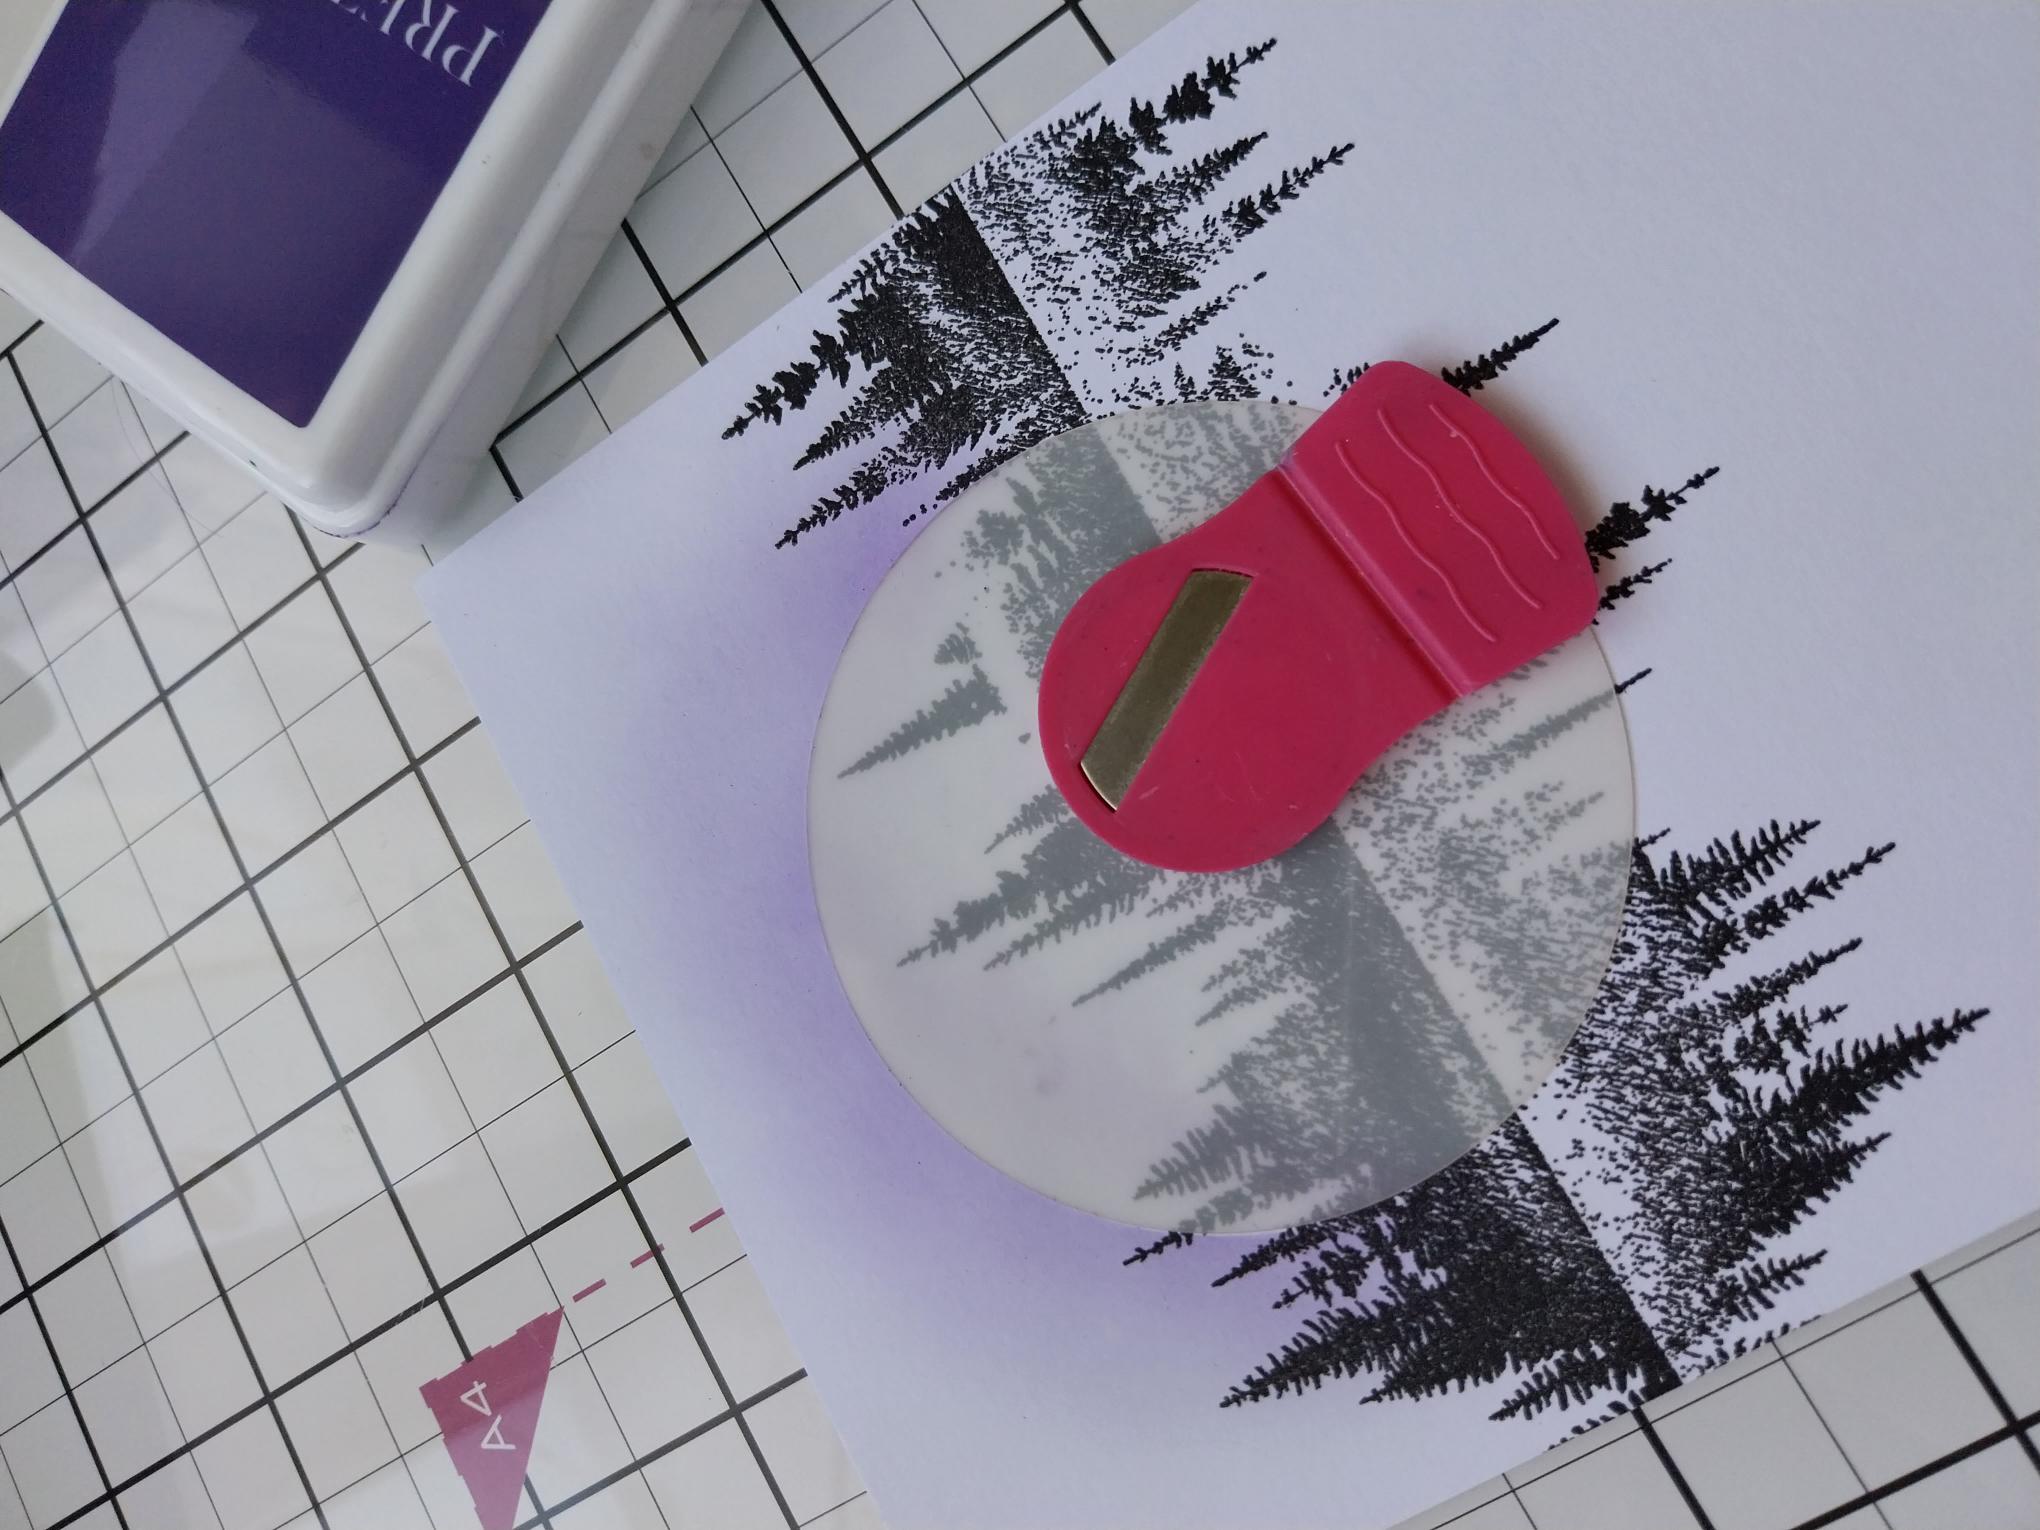
Blend the Indigo away from the circle "mask", fading out the colour as you move towards the edges of the card. |
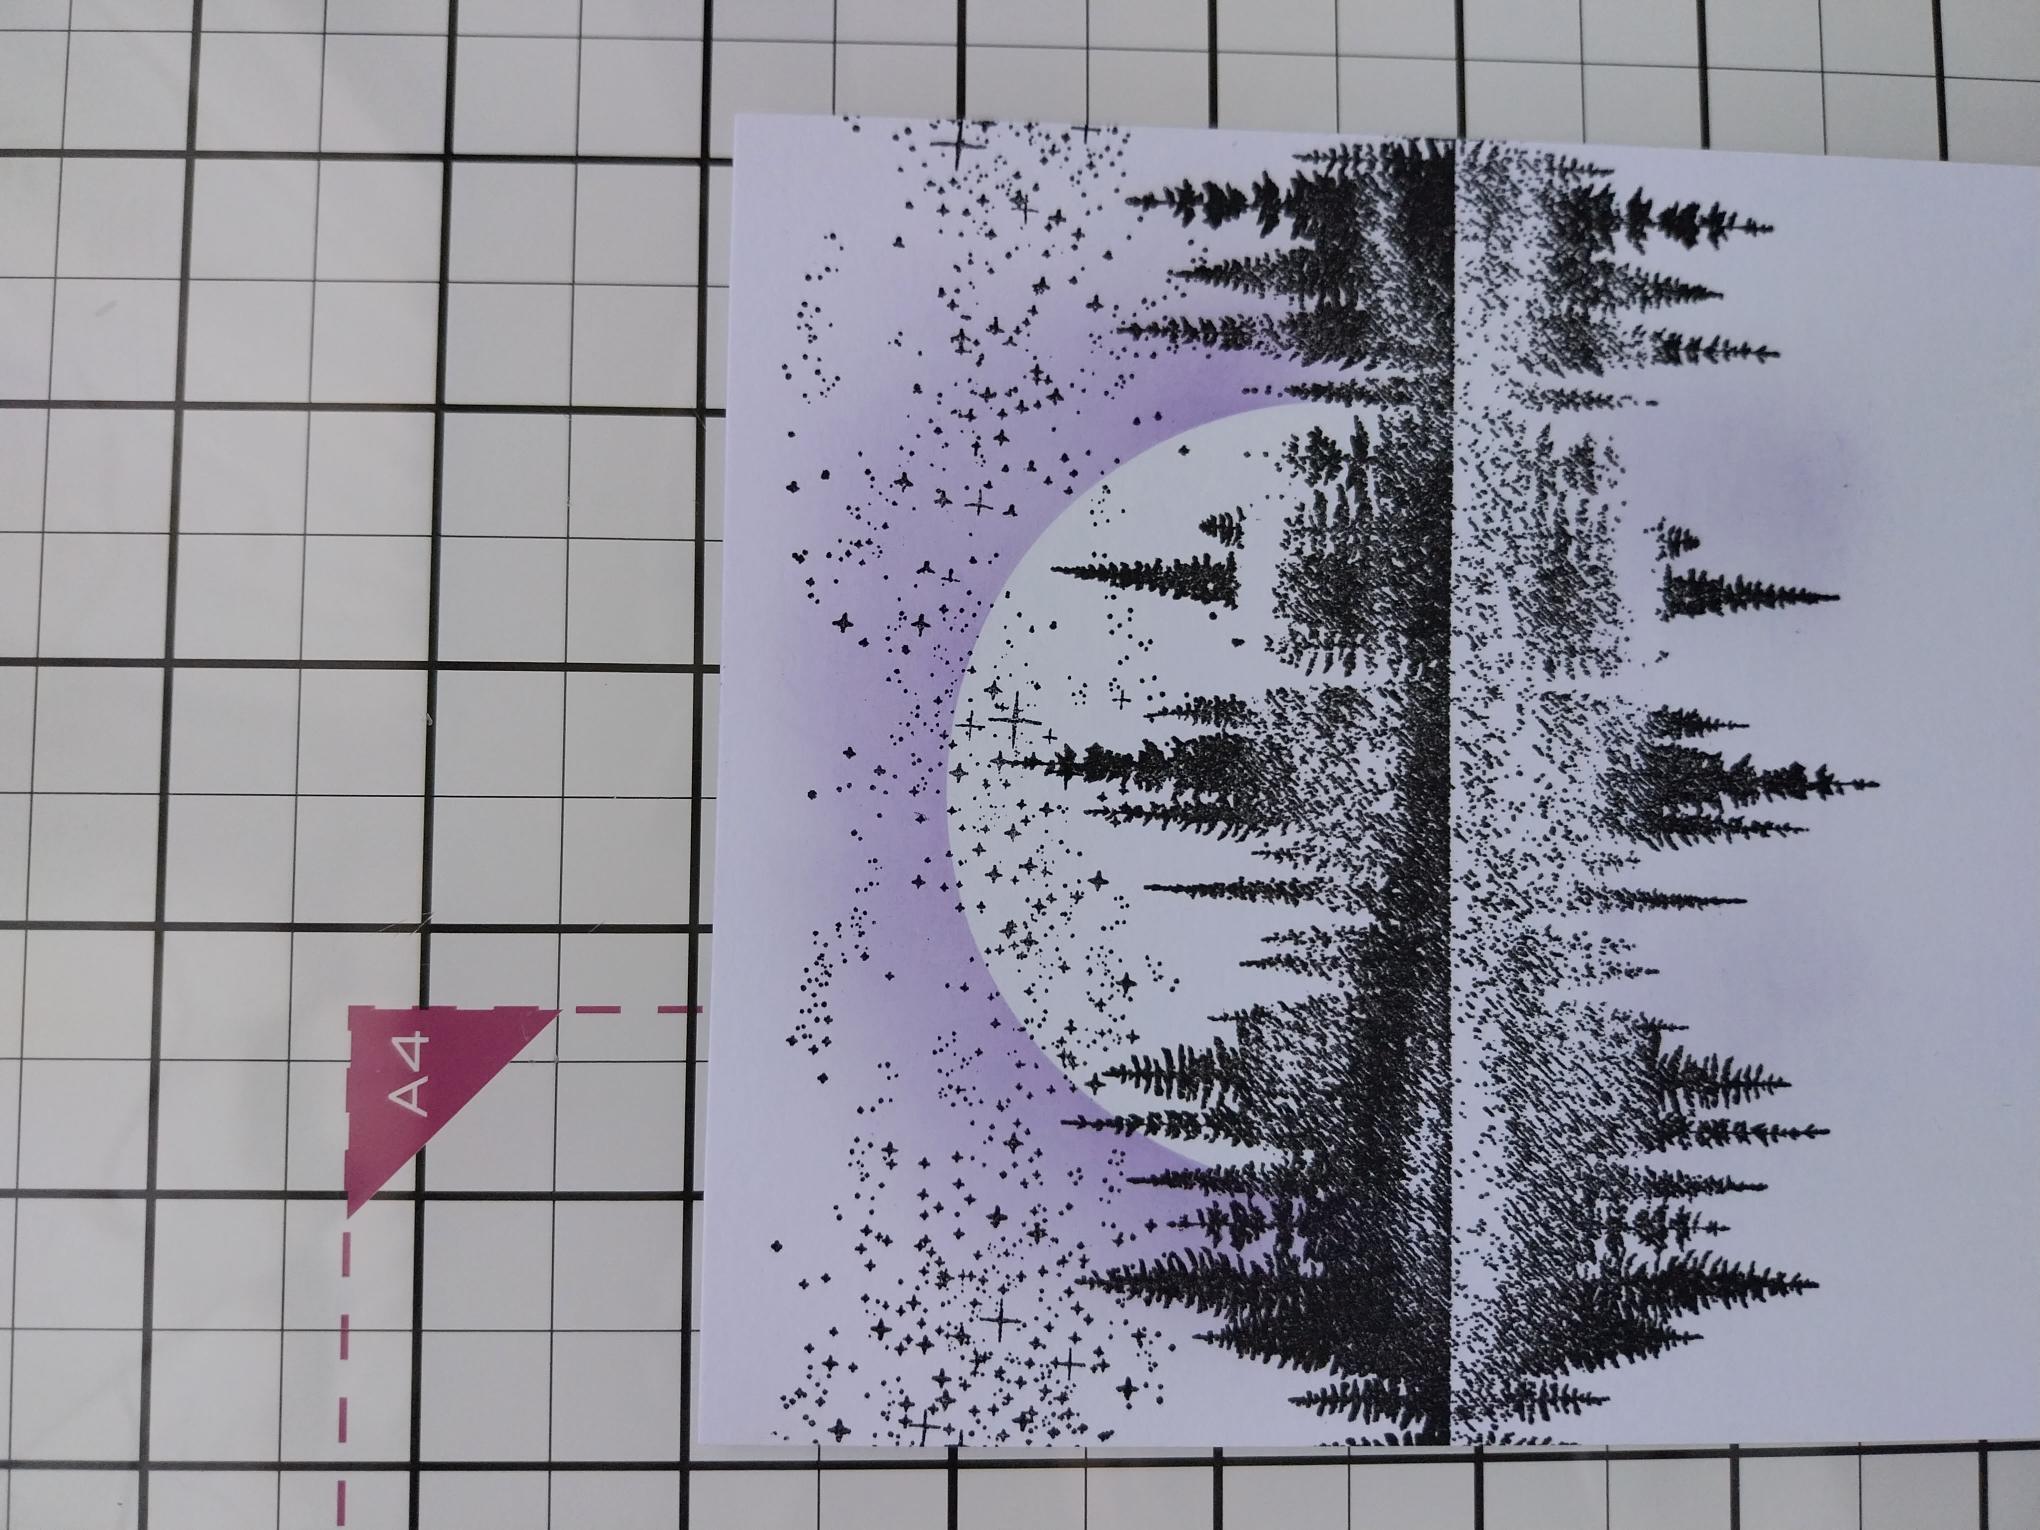
|
Stamp the "starry" texture stamp from the same set, in Midnight, above your skyline as required. |
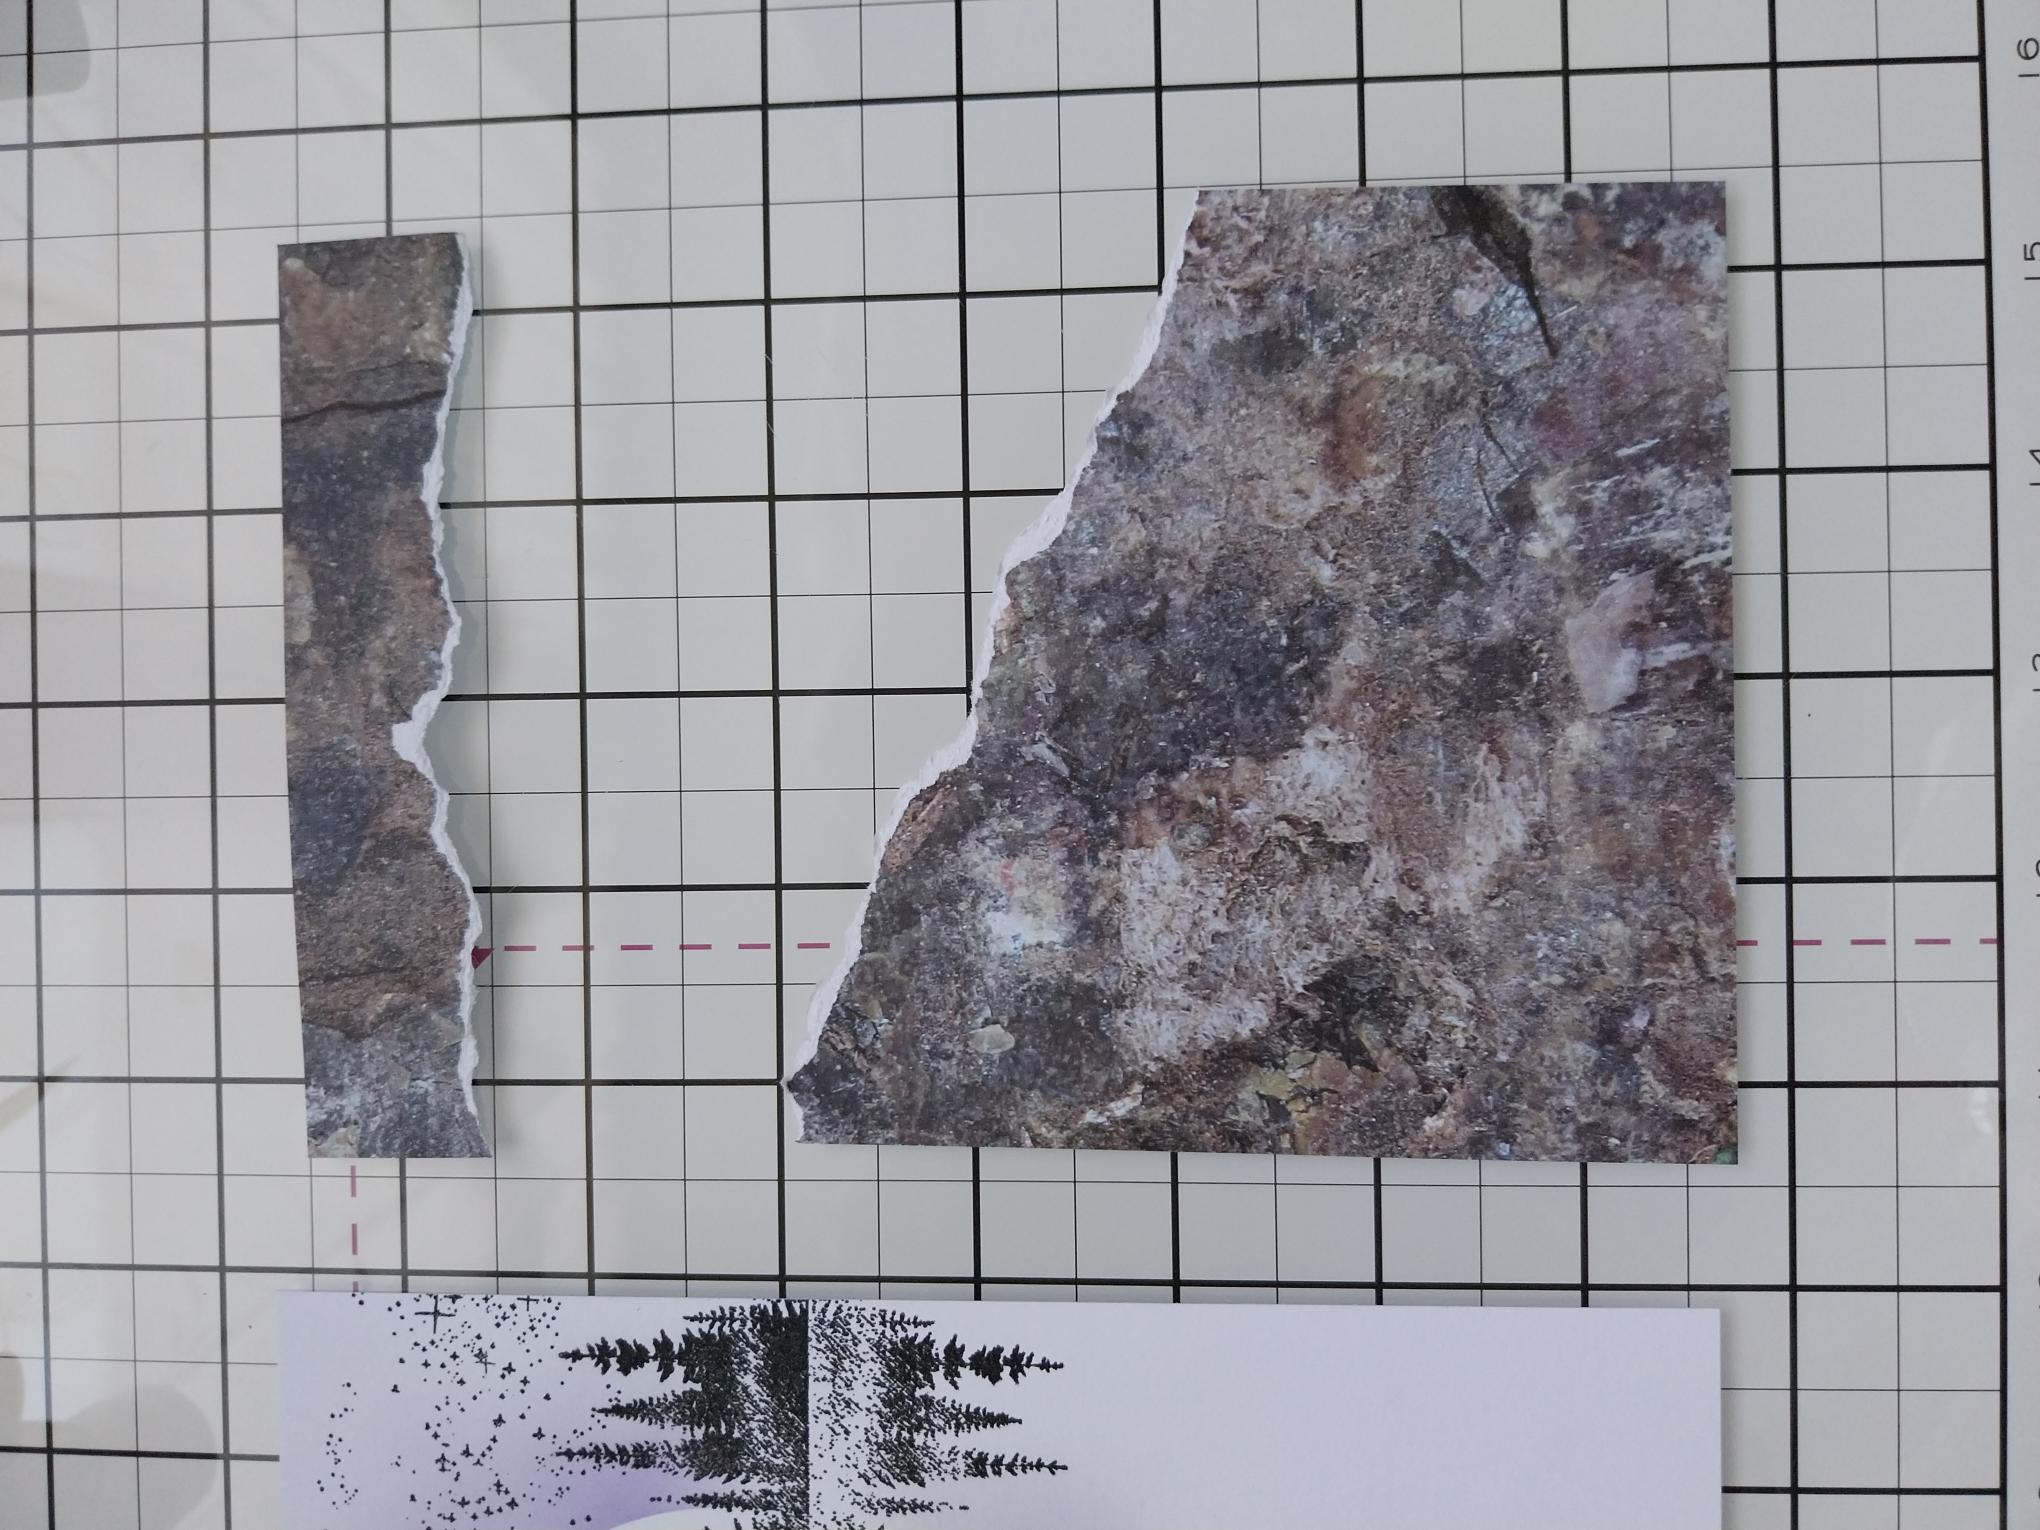
|
Choose a sheet from Painted Fragments and cut to 7" wide. Using your stamped image as a positional guide, tear the sheet so you have one panel that will sit across the top of the card and the other will be angled below your image (see final photo for inspiration). |
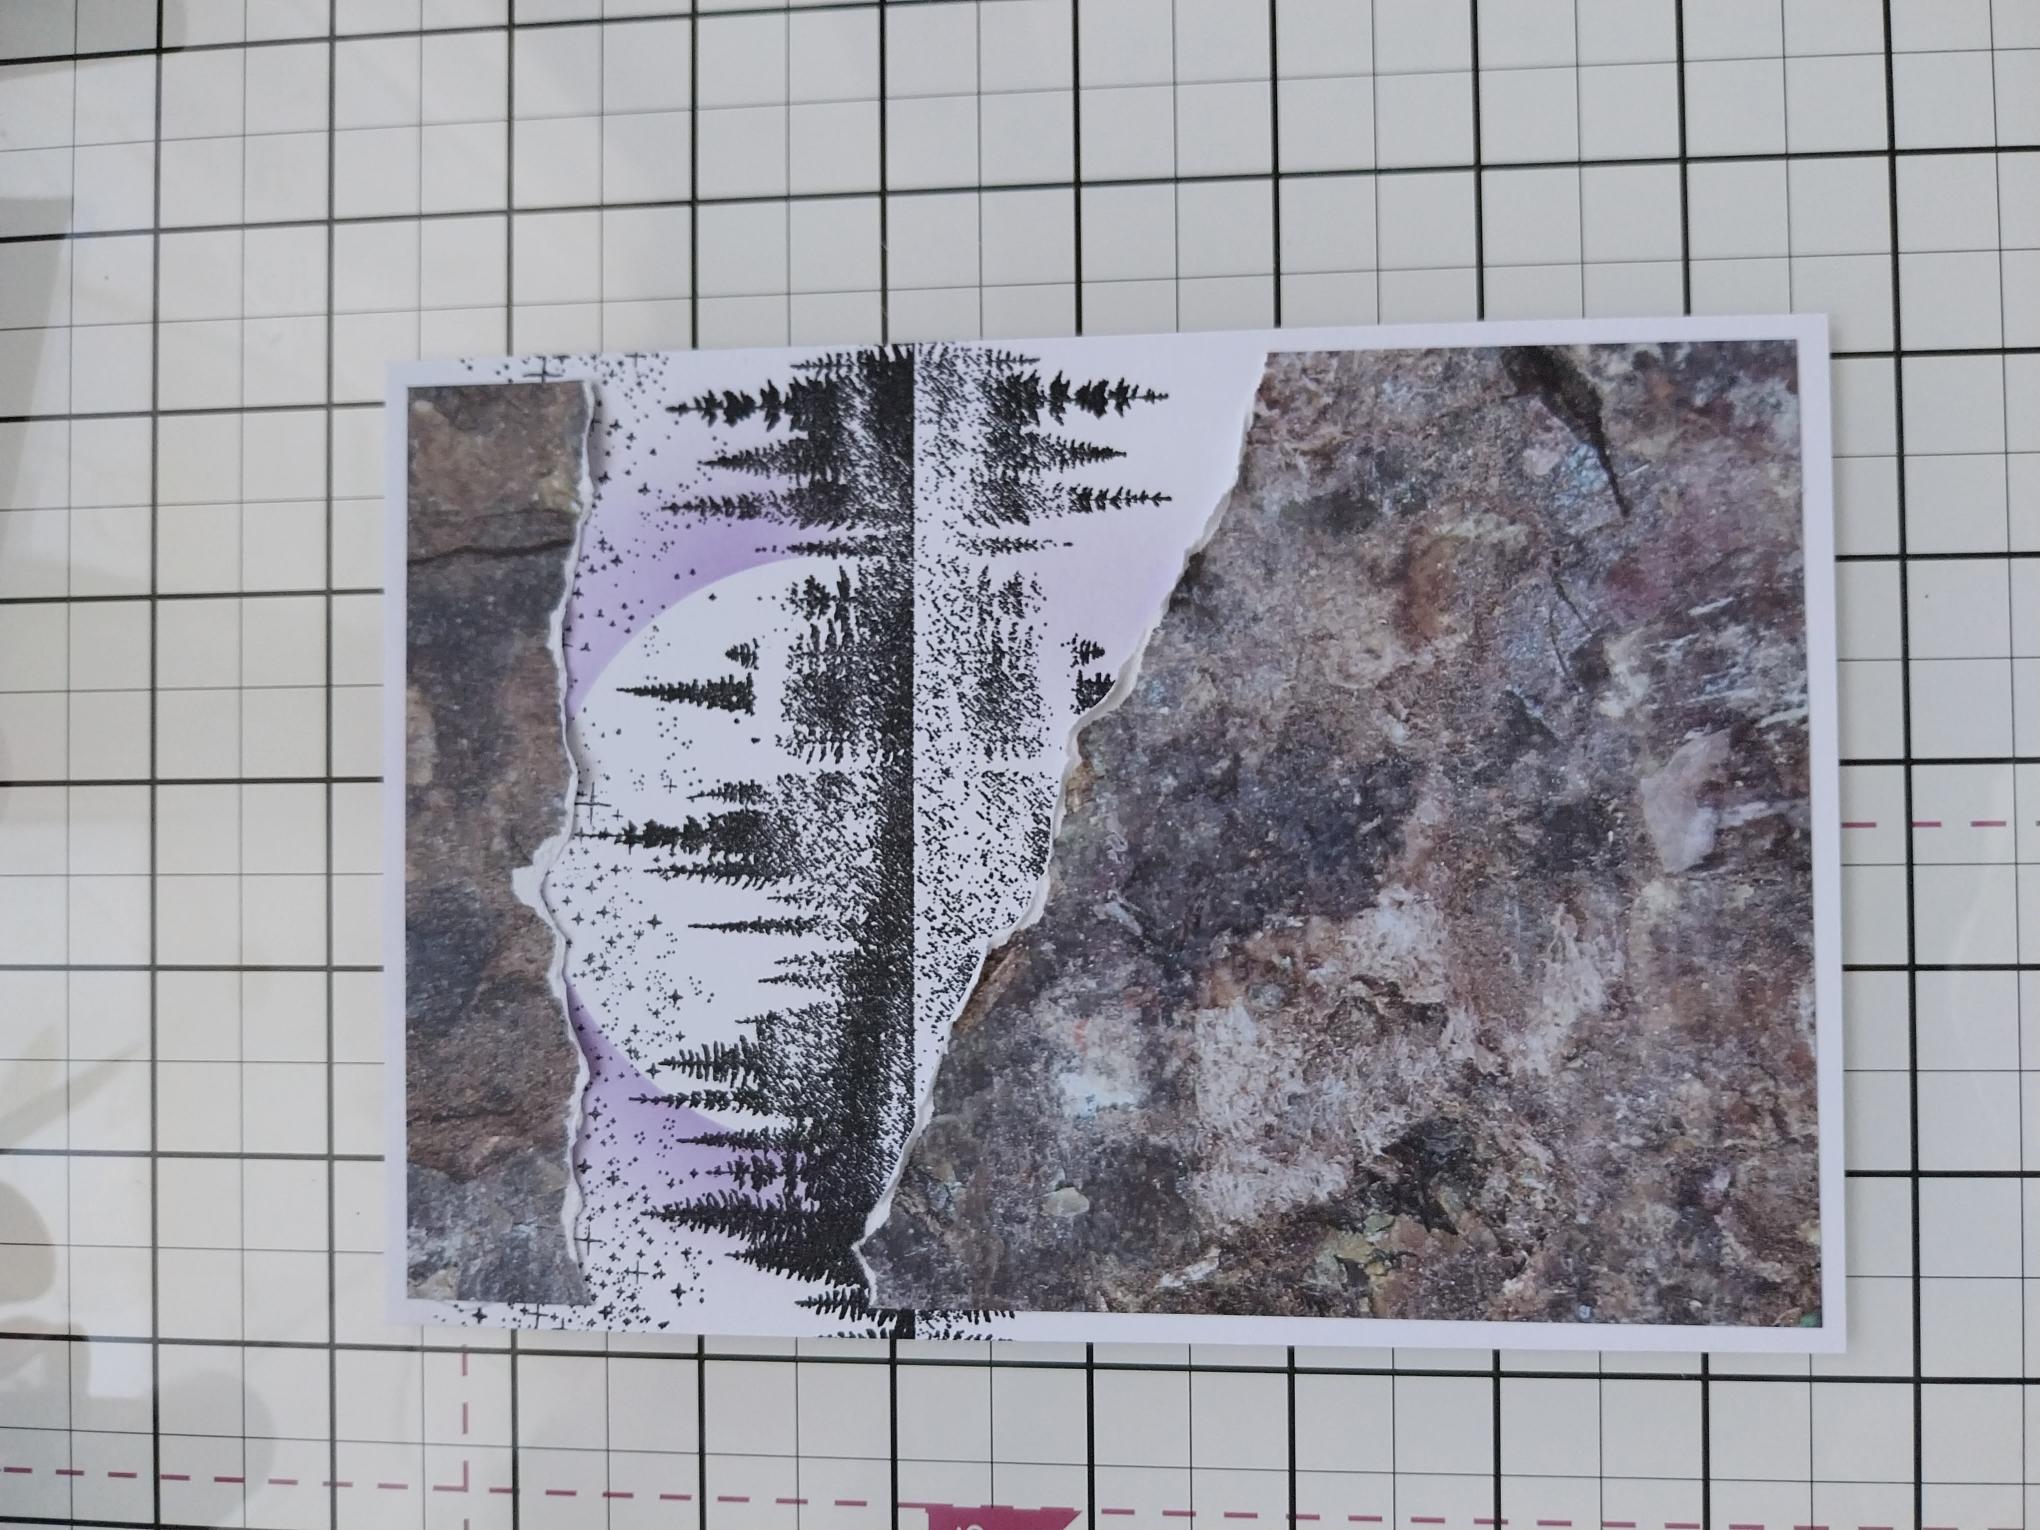
|
Scrunch the torn edges before securing in place. Mat your artwork on to white card cut to 7 1/4 x 5" |
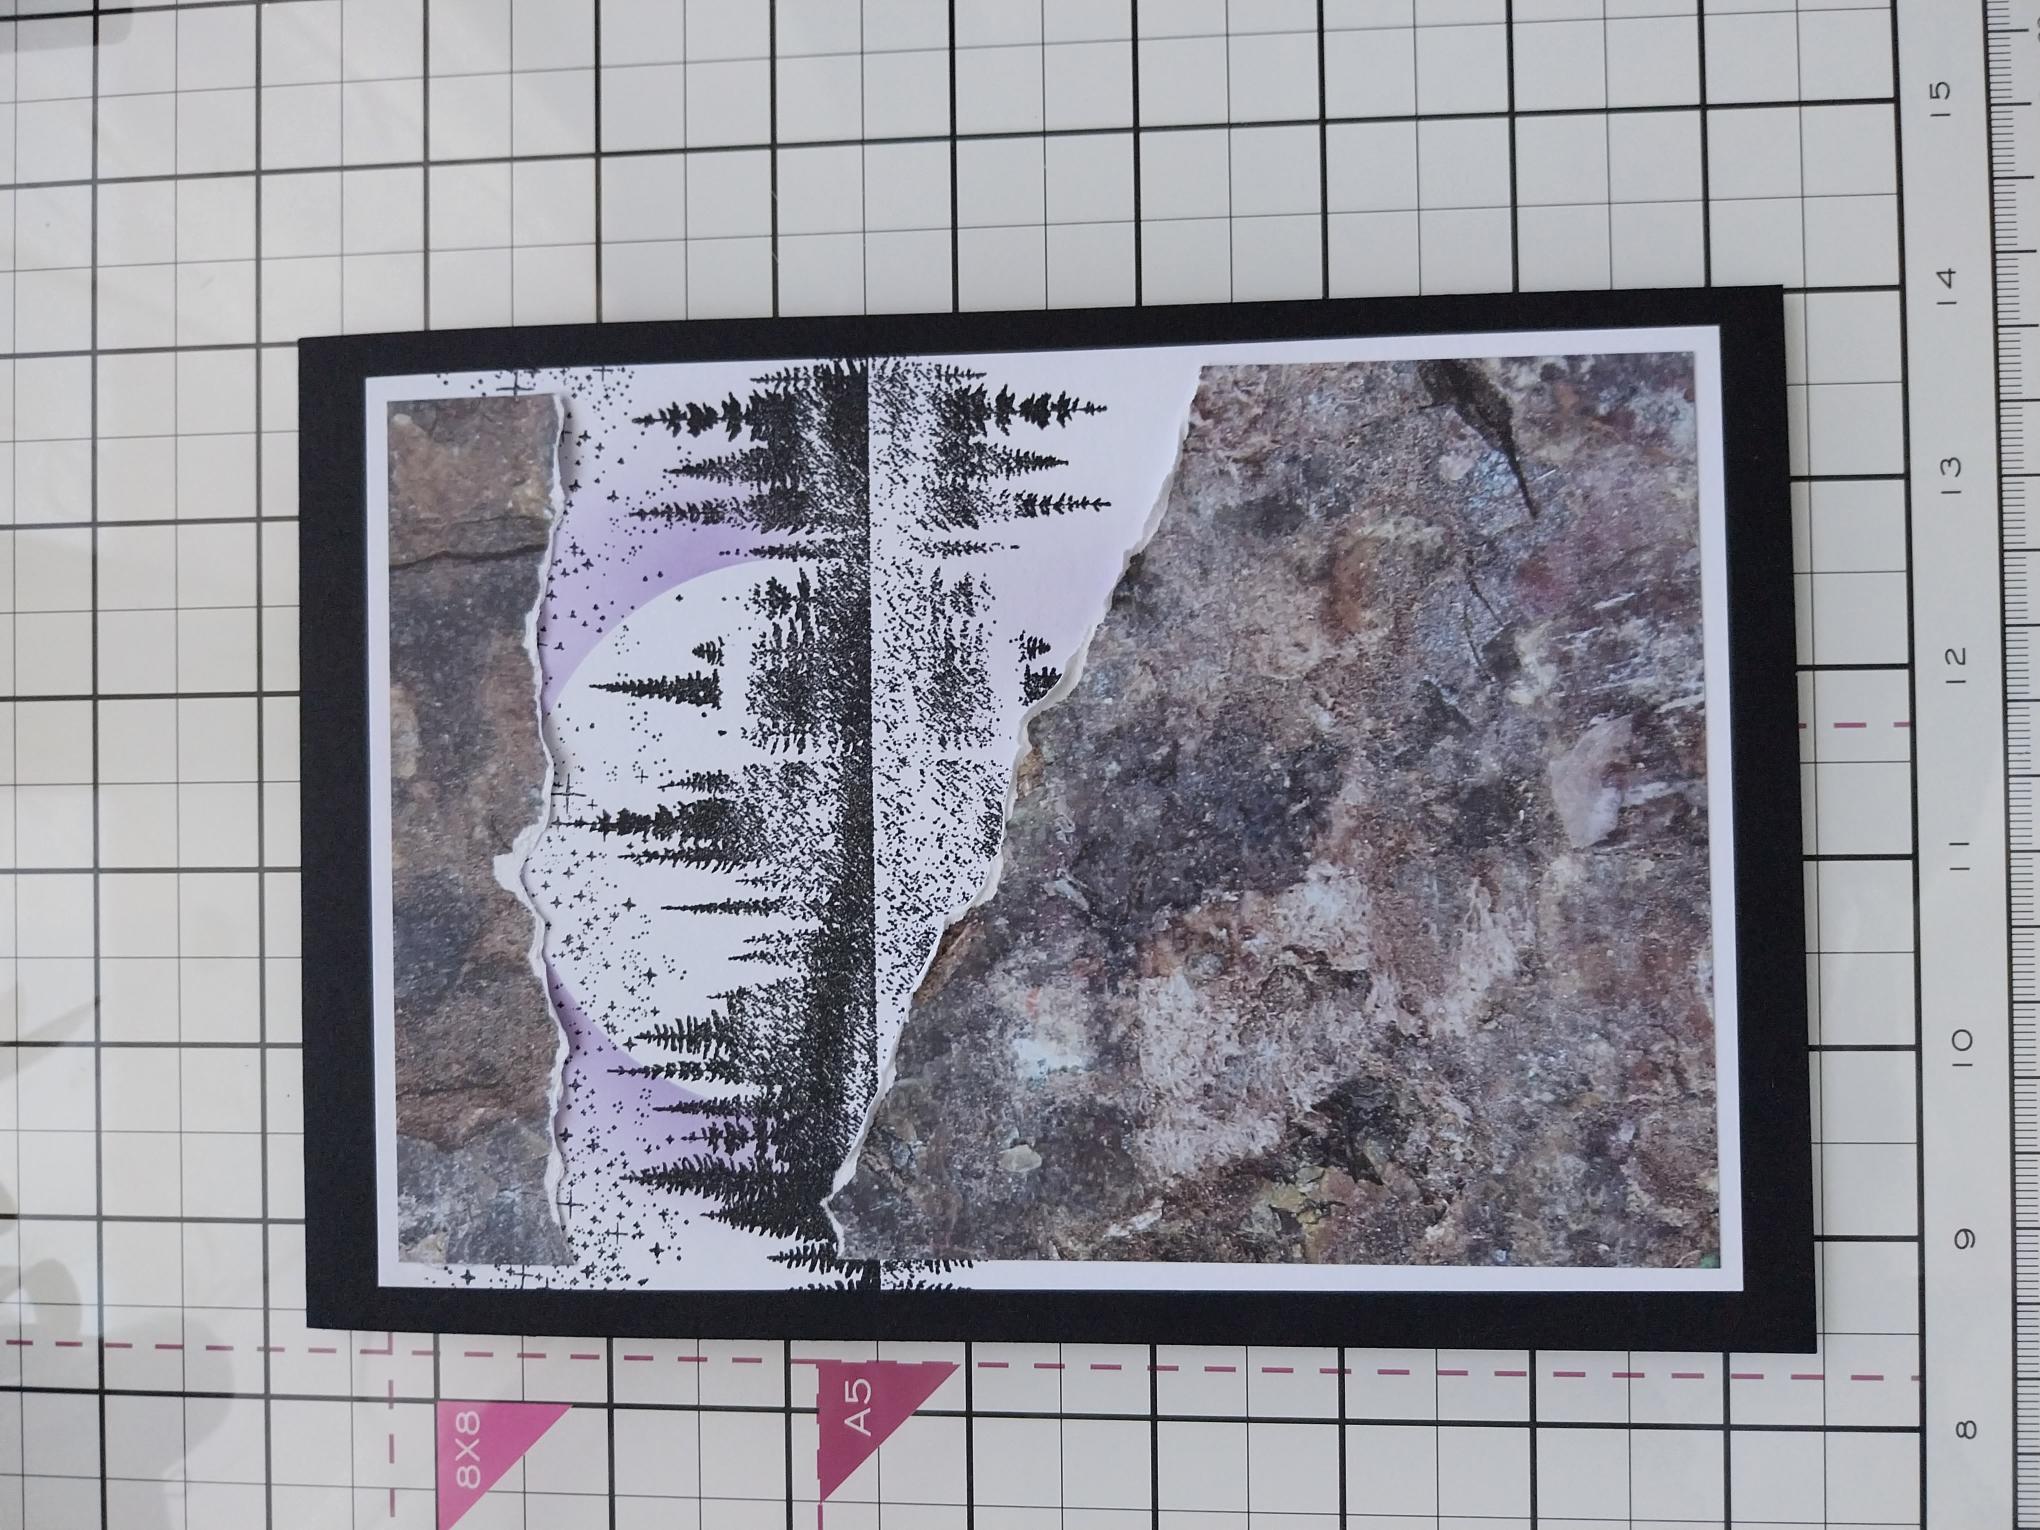
|
Adhere to the front of your black card blank and pop to one side. |
|
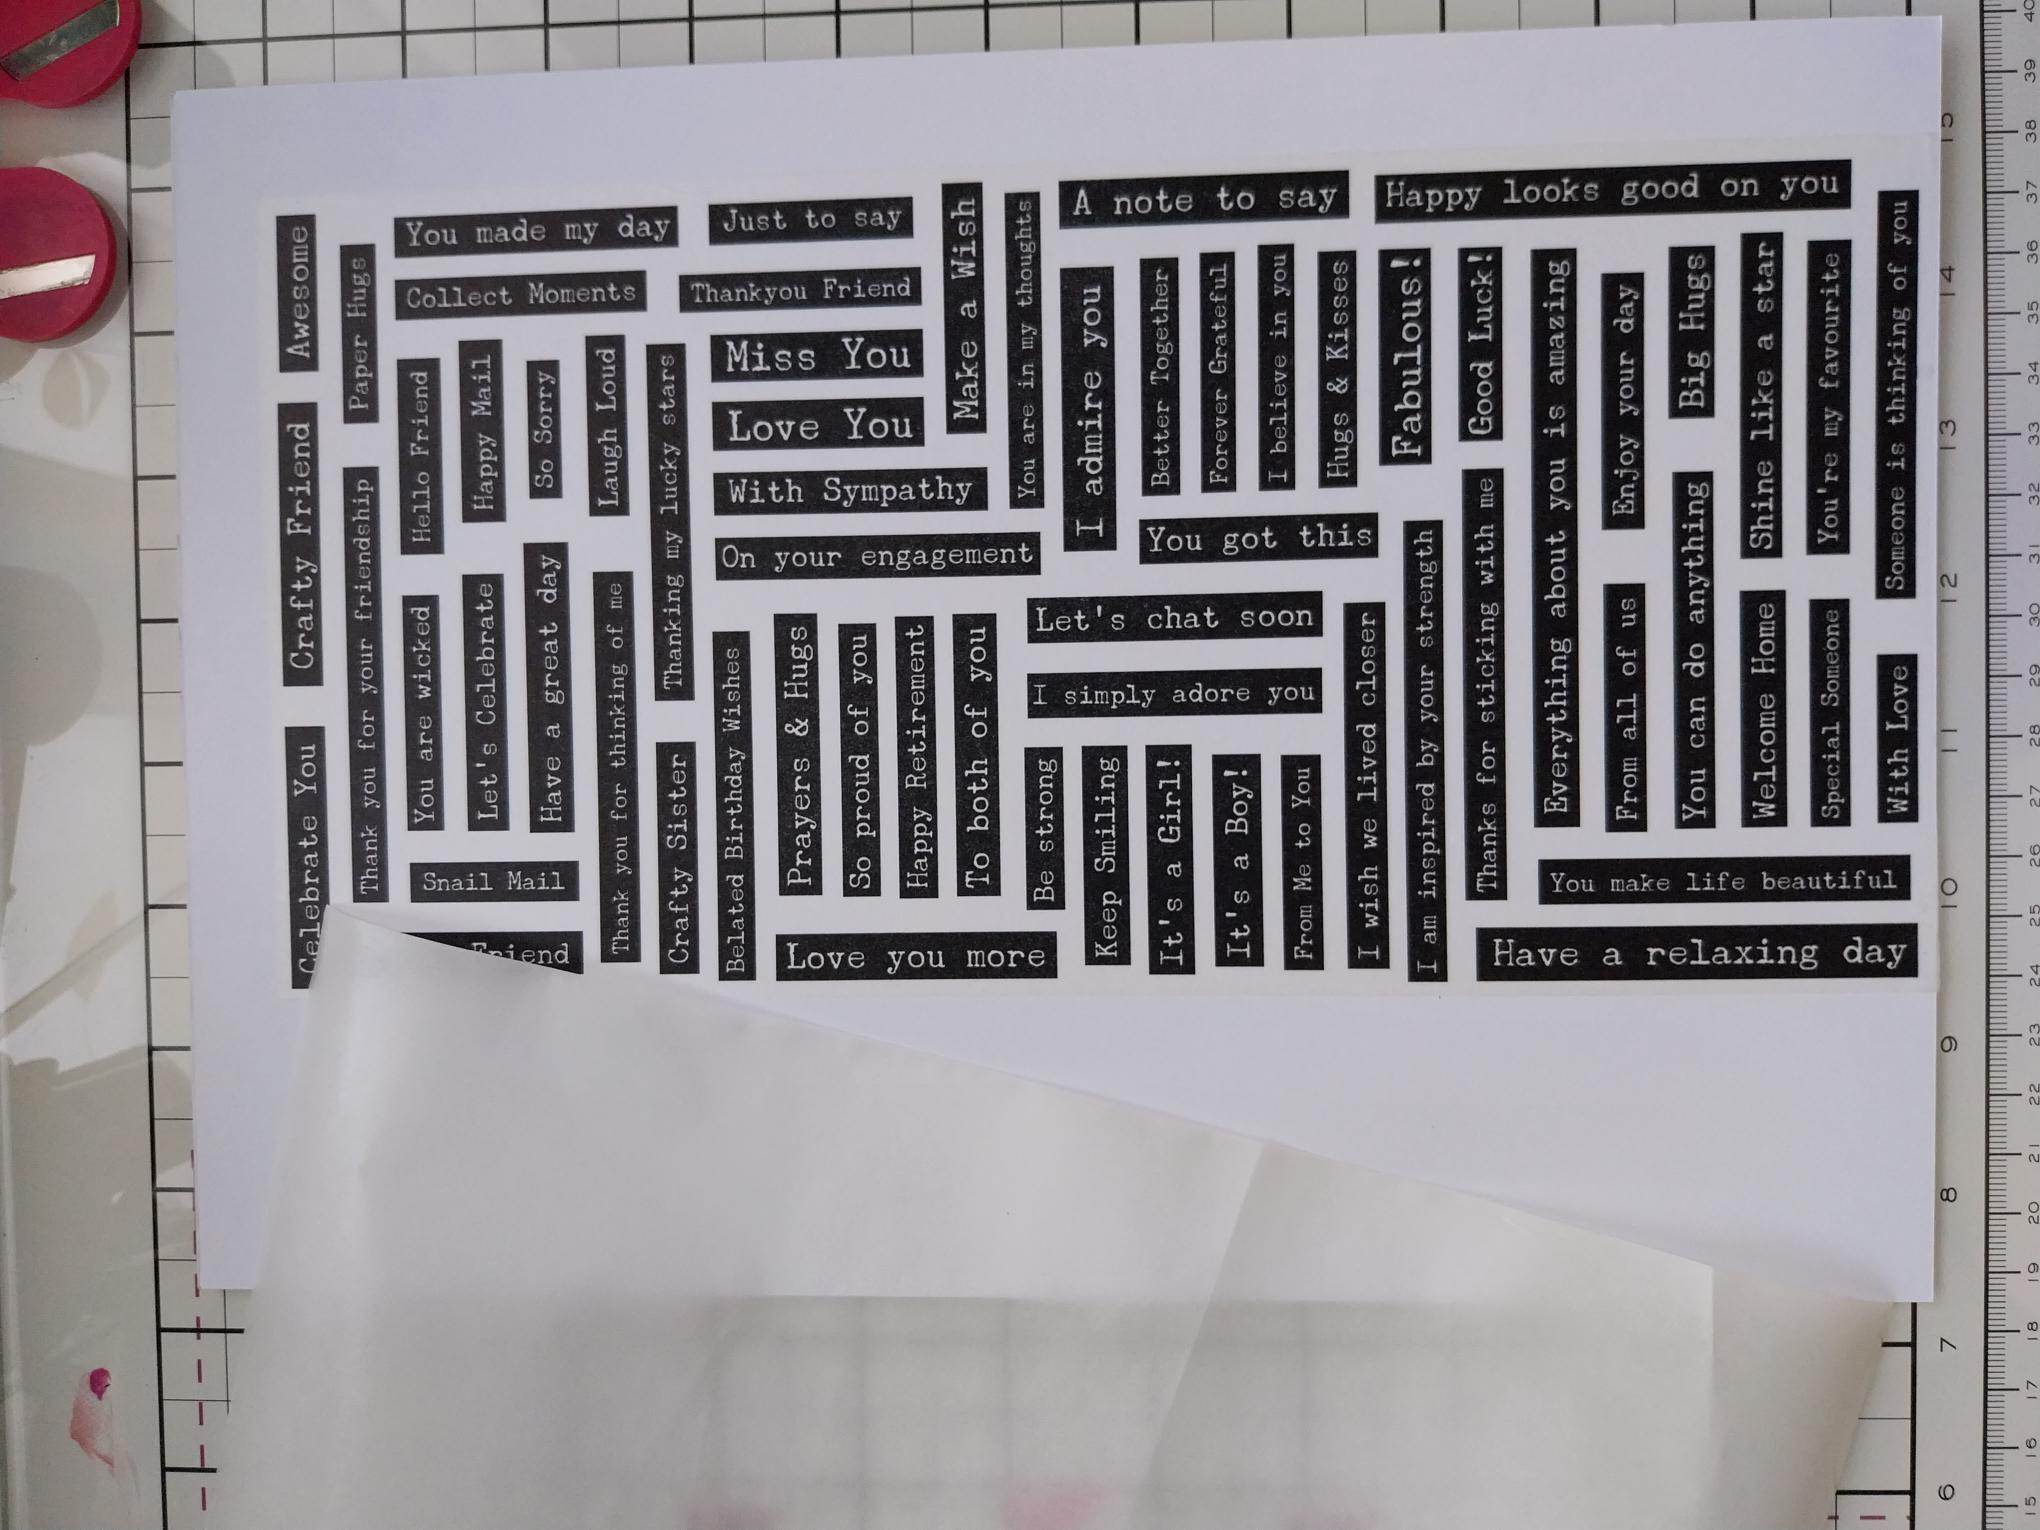
Using the dies as a guide, cut ONE drop from the typewriter washi roll. Lift up the backing sheet along one end of the tape and adhere across the top of an A4 sheet of white card. Slowly peel away the backing, as you use your hand to smooth the washi tape down on to the card. Once the backing has been fully removed, you can burnish the washi to ensure there are no air bubbles or creases. |
|
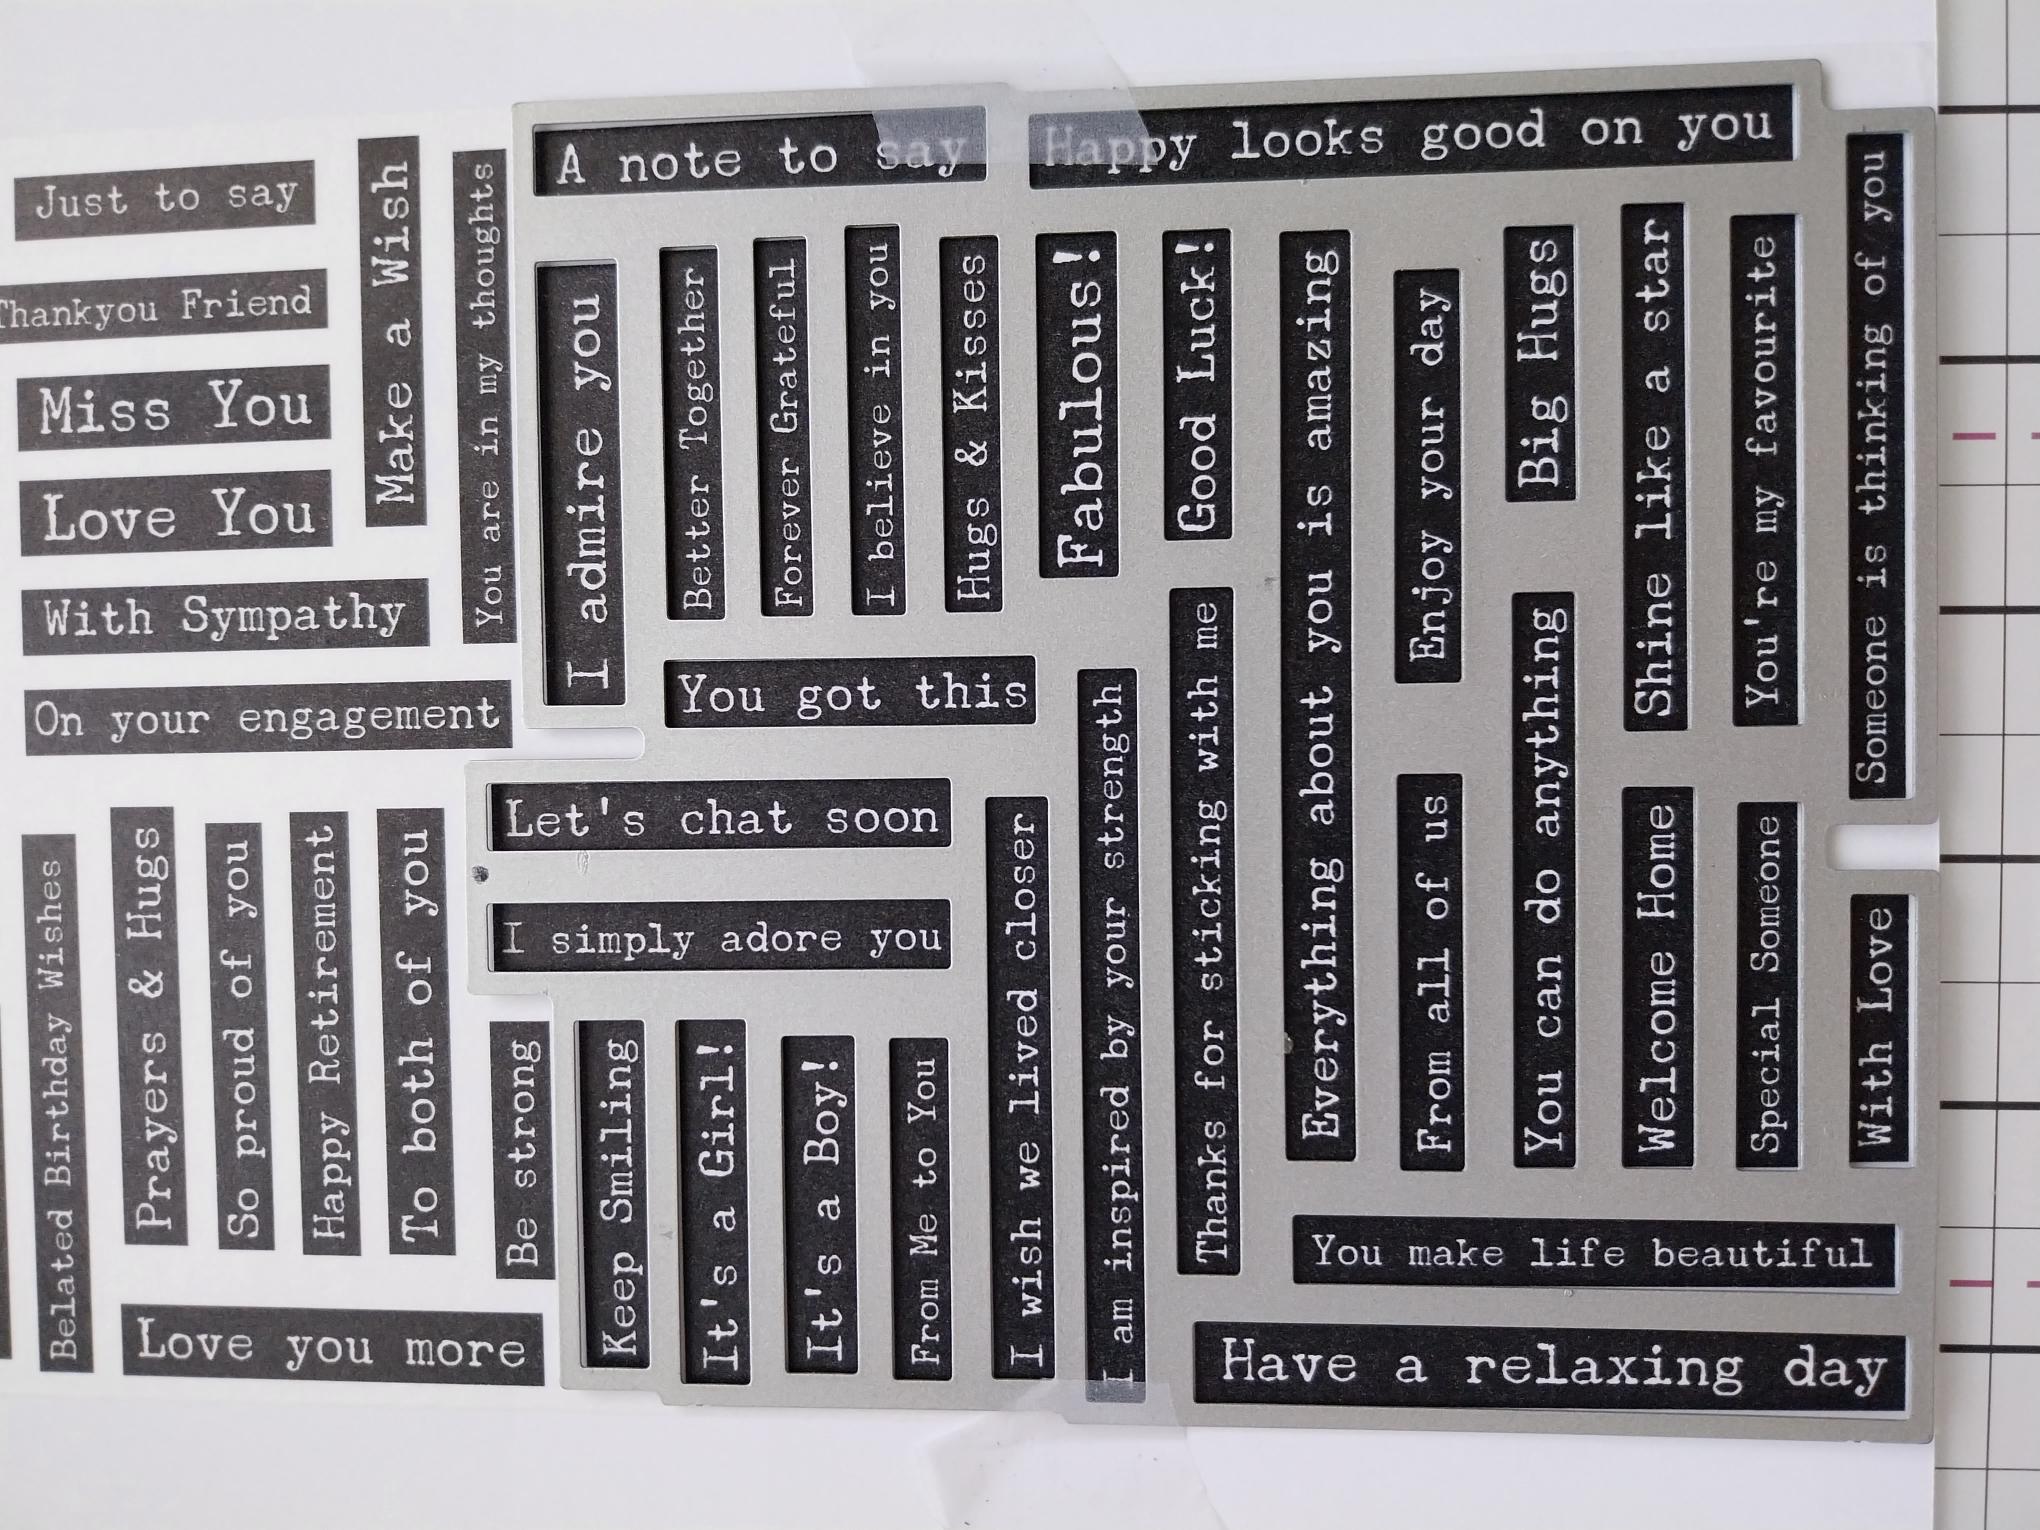
Line up the first die and secure with low tack tape before running it through your machine. |
|
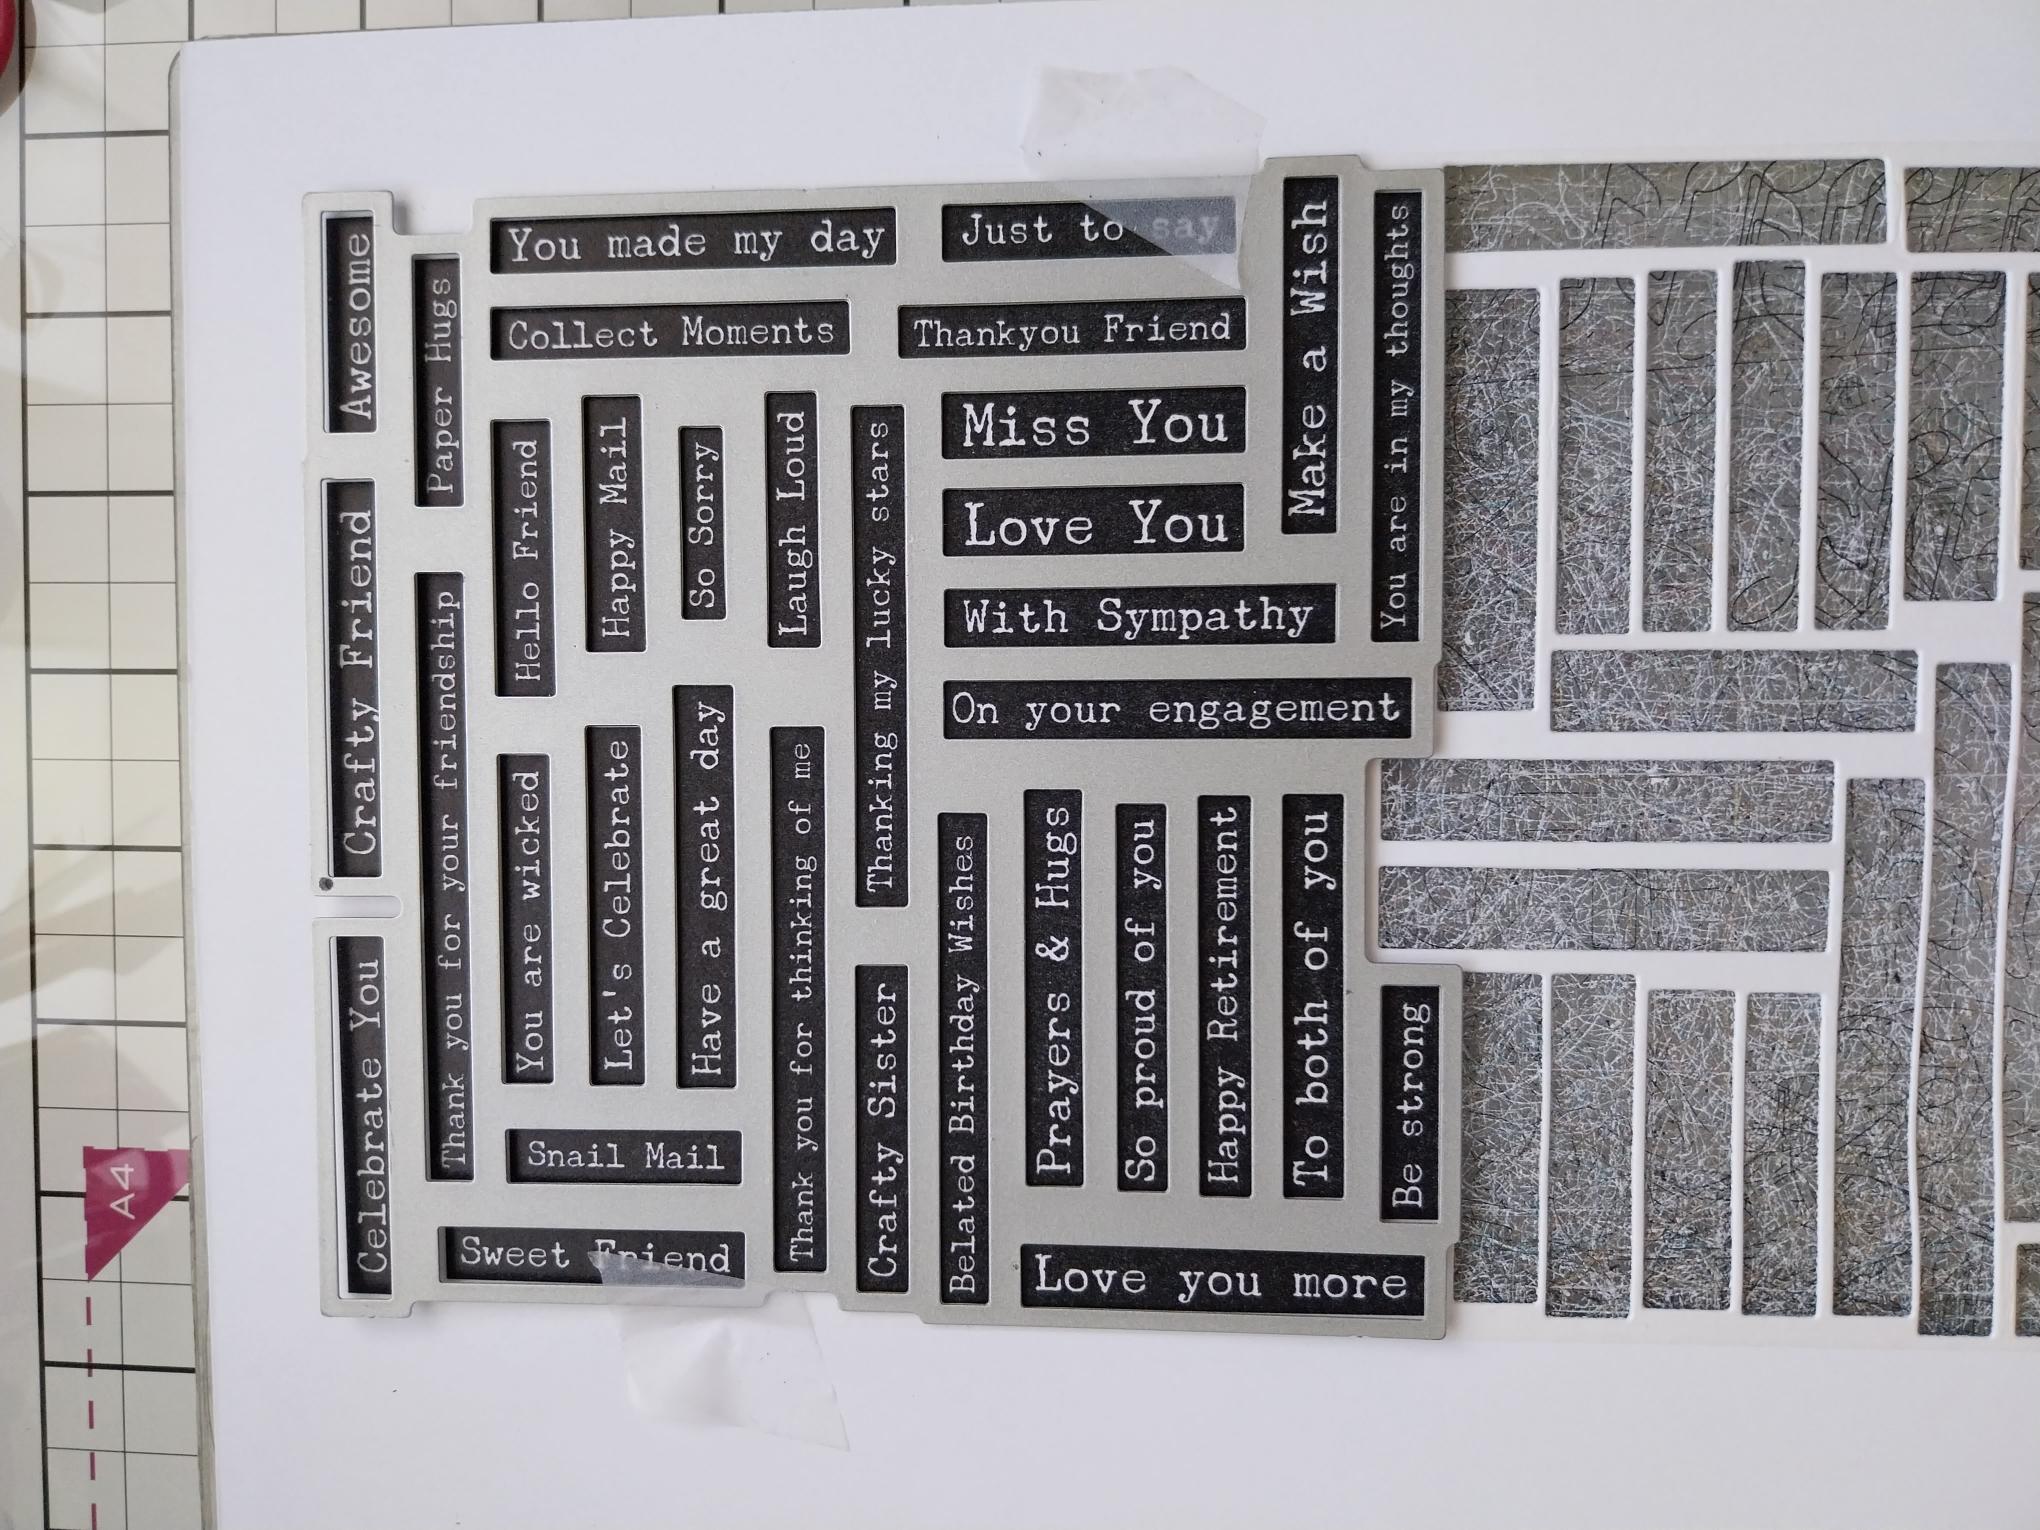
Line up the second die and run it through your machine. Pop out all the sentiments, pick out the one you are using for this project and keep the rest in a tub for future projects. |
|
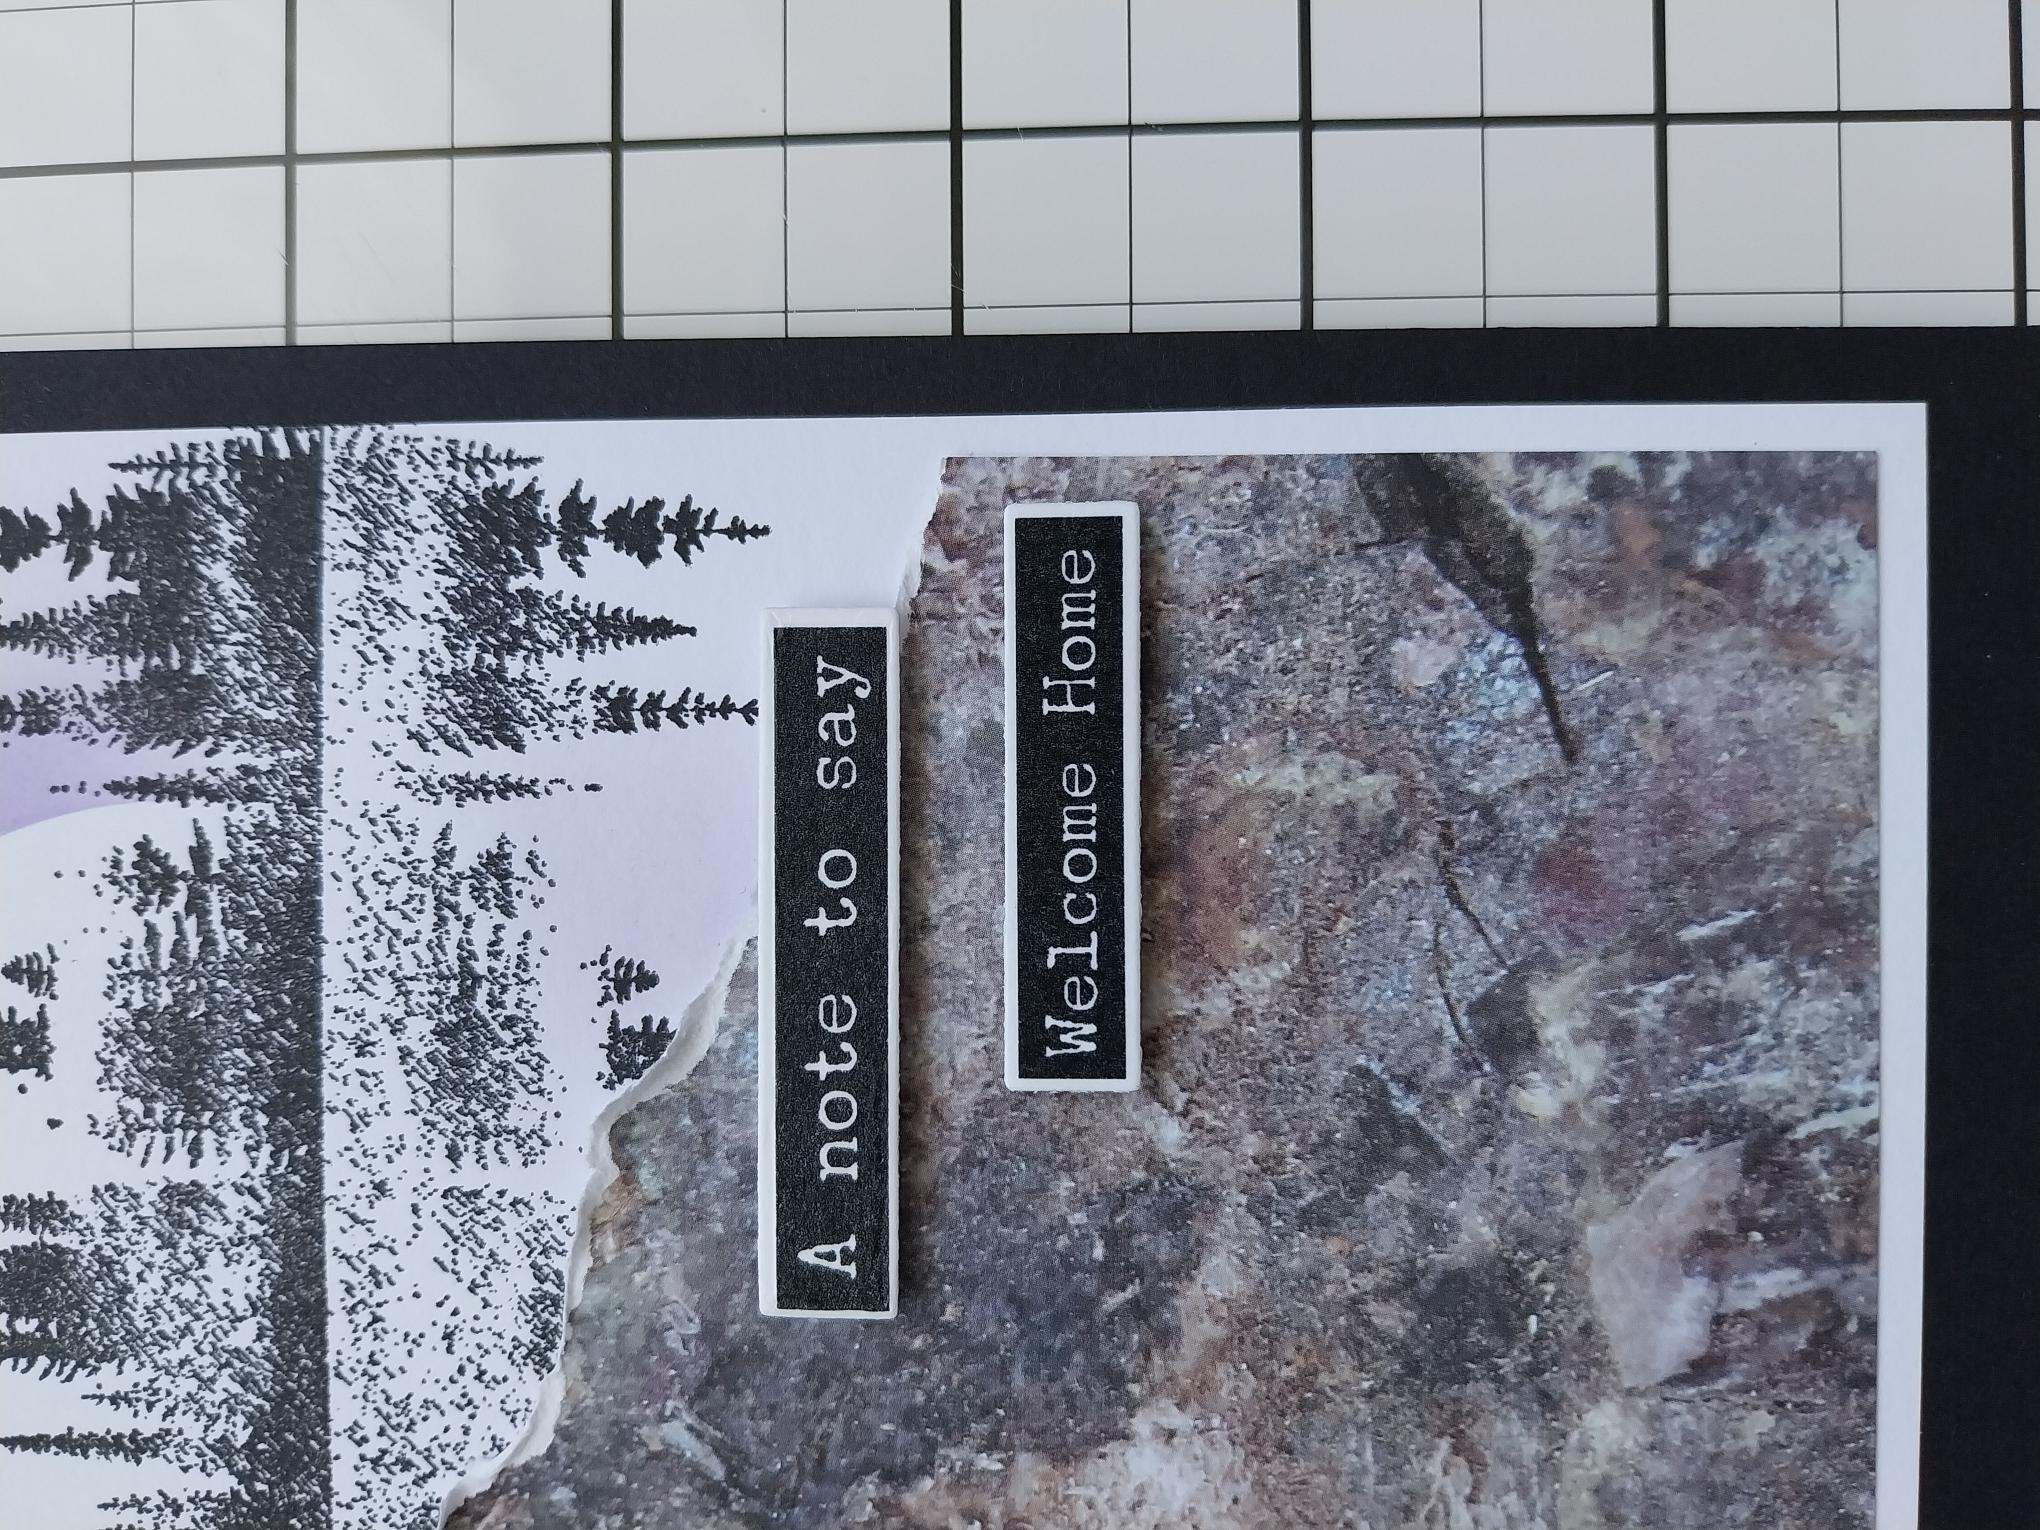
Finish by adhereing your washi sentiment tabs in place, with foam pads. |