

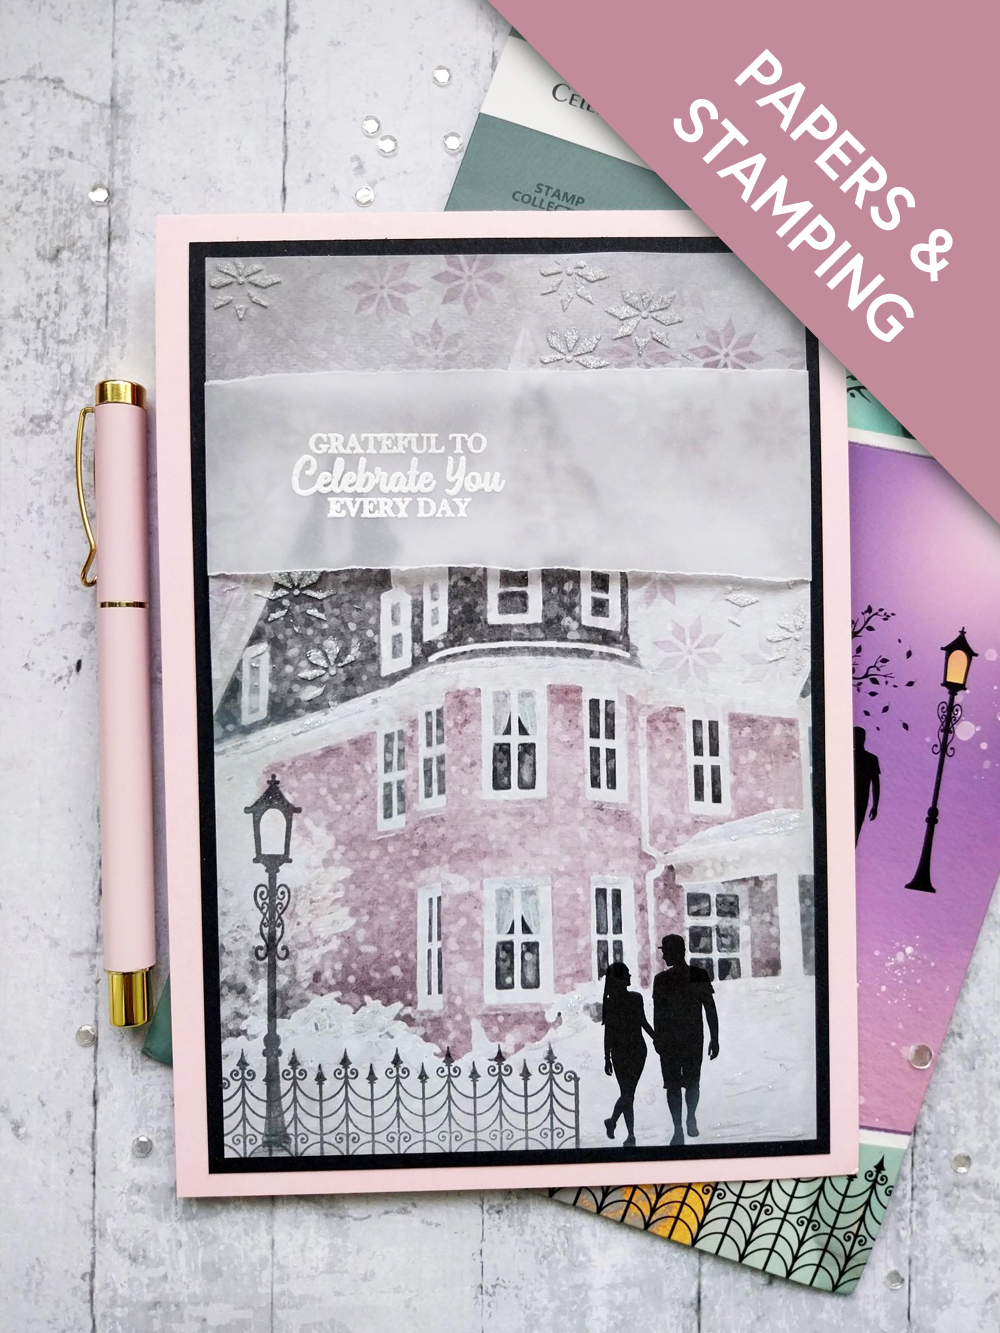
WHAT YOU WILL NEED:
Pink card blank 8 1/4 x 5 3/4"
Black card
Vellum
Celebrate You A5 Stamp
All Surfaces Perfect Day 8 x 8" Paper Pad
Funky Fossil Snowflake Stencil
SBM Hybrid Ink Pad: Midnight
SBM Dye Ink Pad: Heather
Distress Ink/Oxide Ink Pad: Lost Shadow
Versafine Ink Pad: Smoky Gray
Izink Glitter Paint: Nacre
Palette knife
Blending brush
Stickles: Star Dust
WOW embossing ink pad
WOW white embossing powder
WOW heat tool
Anti-static bag
Eureka 101 Watercolour Tablet
SBM A3 Magnetic glass mat
Paper Trimmer
Glue/double-sided adhesive tape
Die Cutting machine
[click image to enlarge] 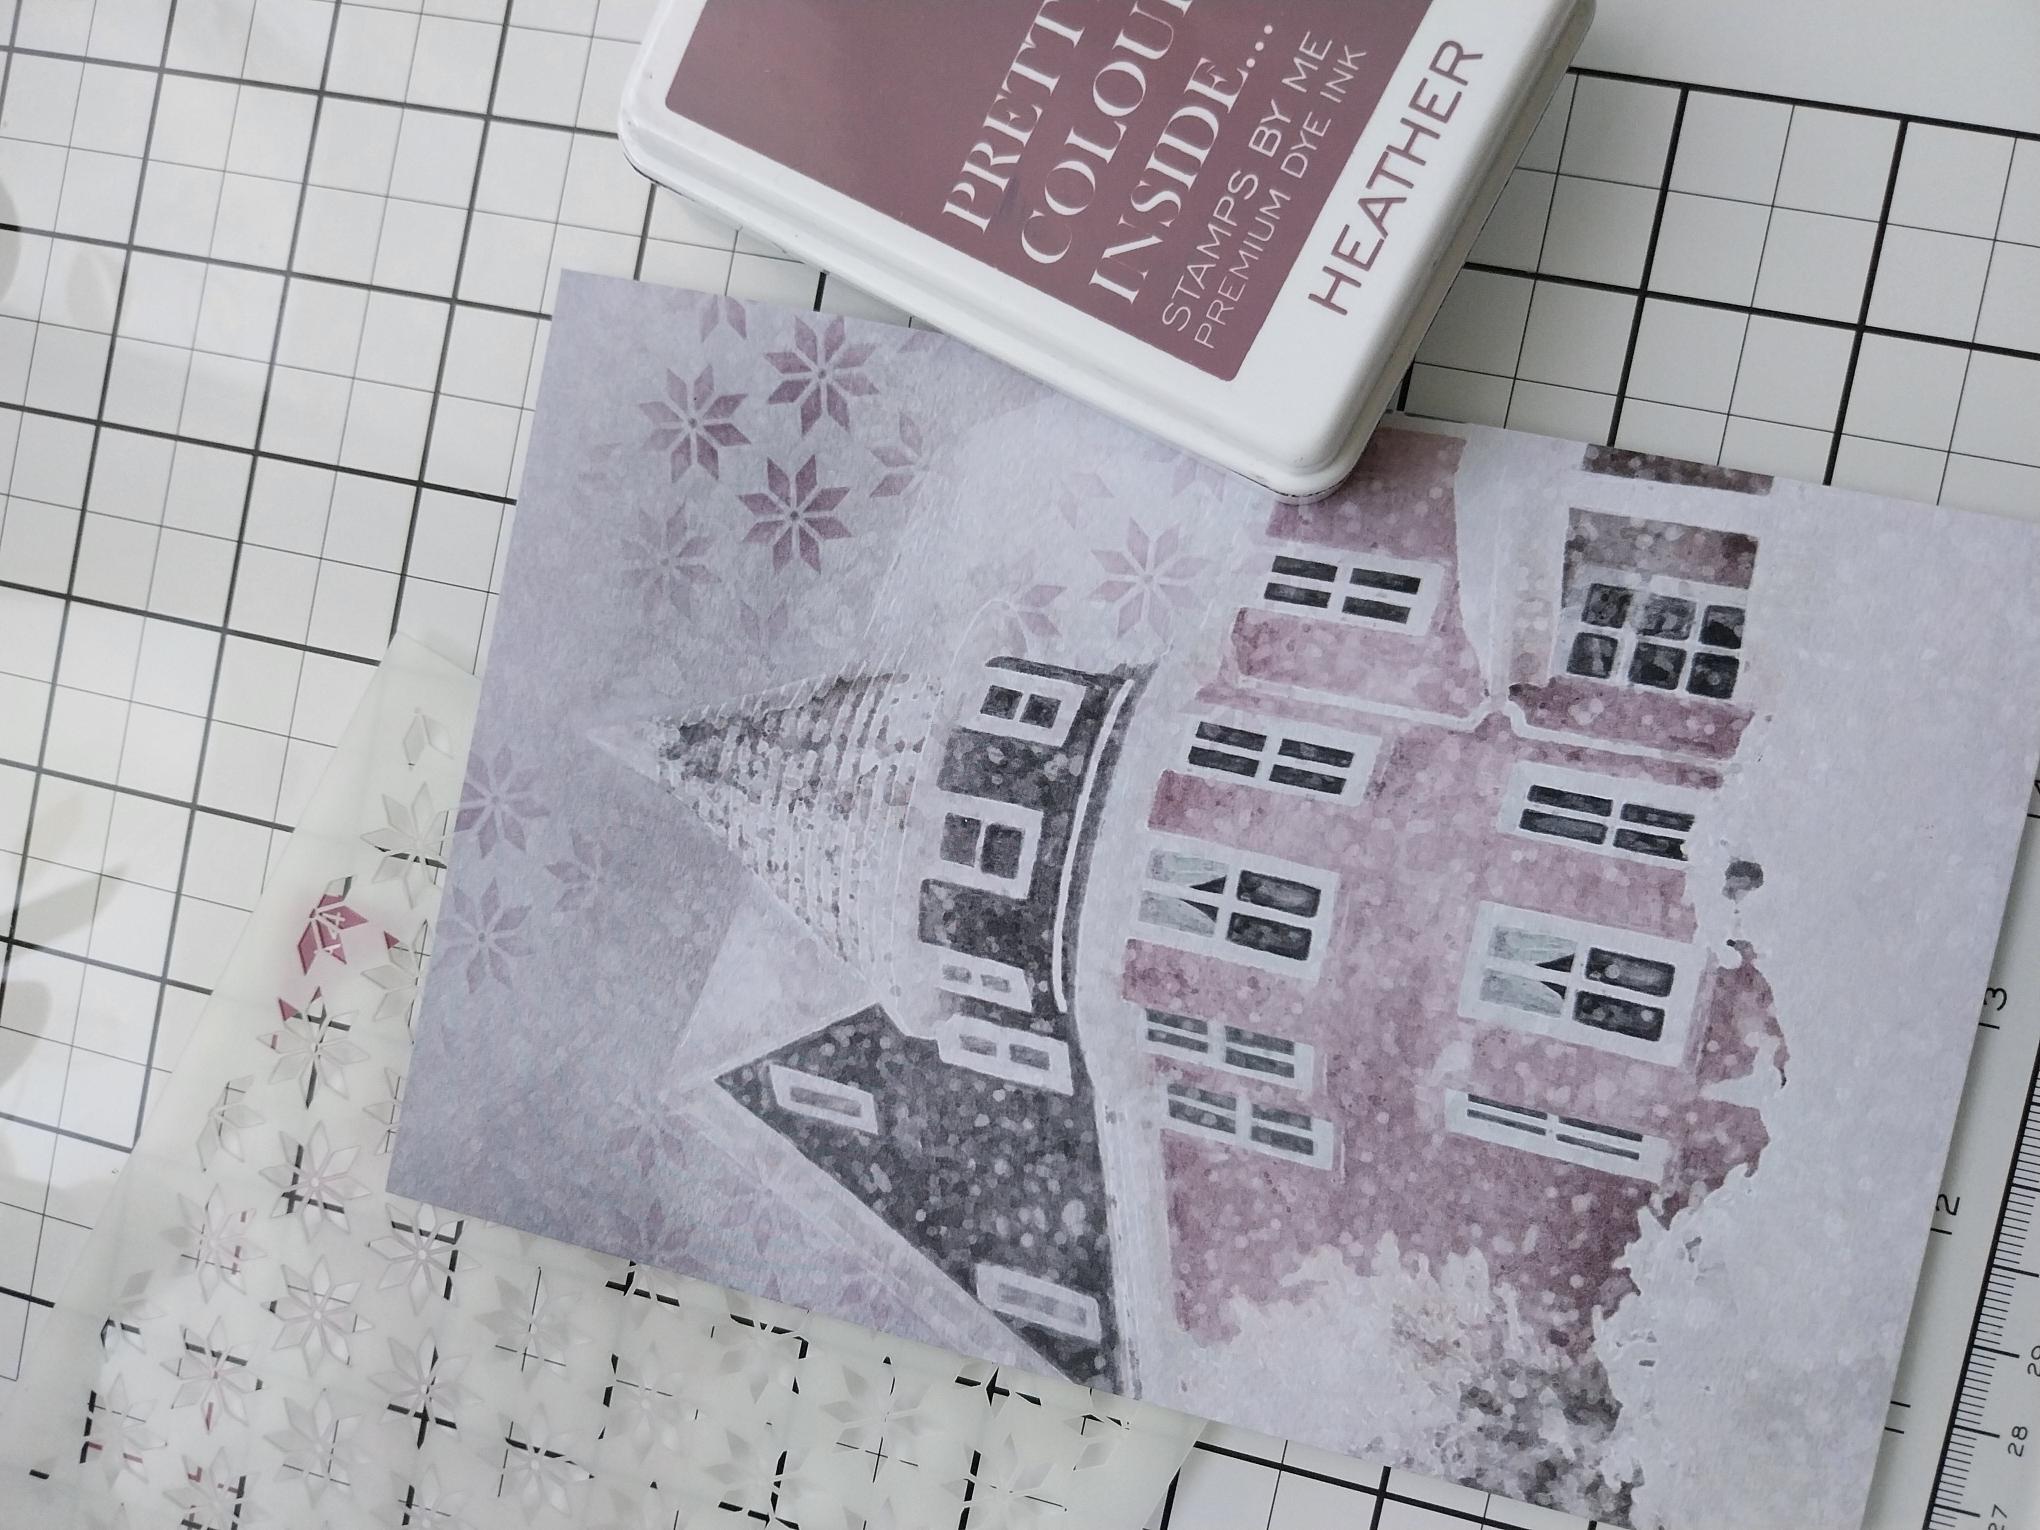
|
Trim this scenic paper, from the Perfect Day paper pack, to 7 1/2 x 5". Blend Heather randomly through the Snowflake stencil, around the top area of the decorative paper. |
|
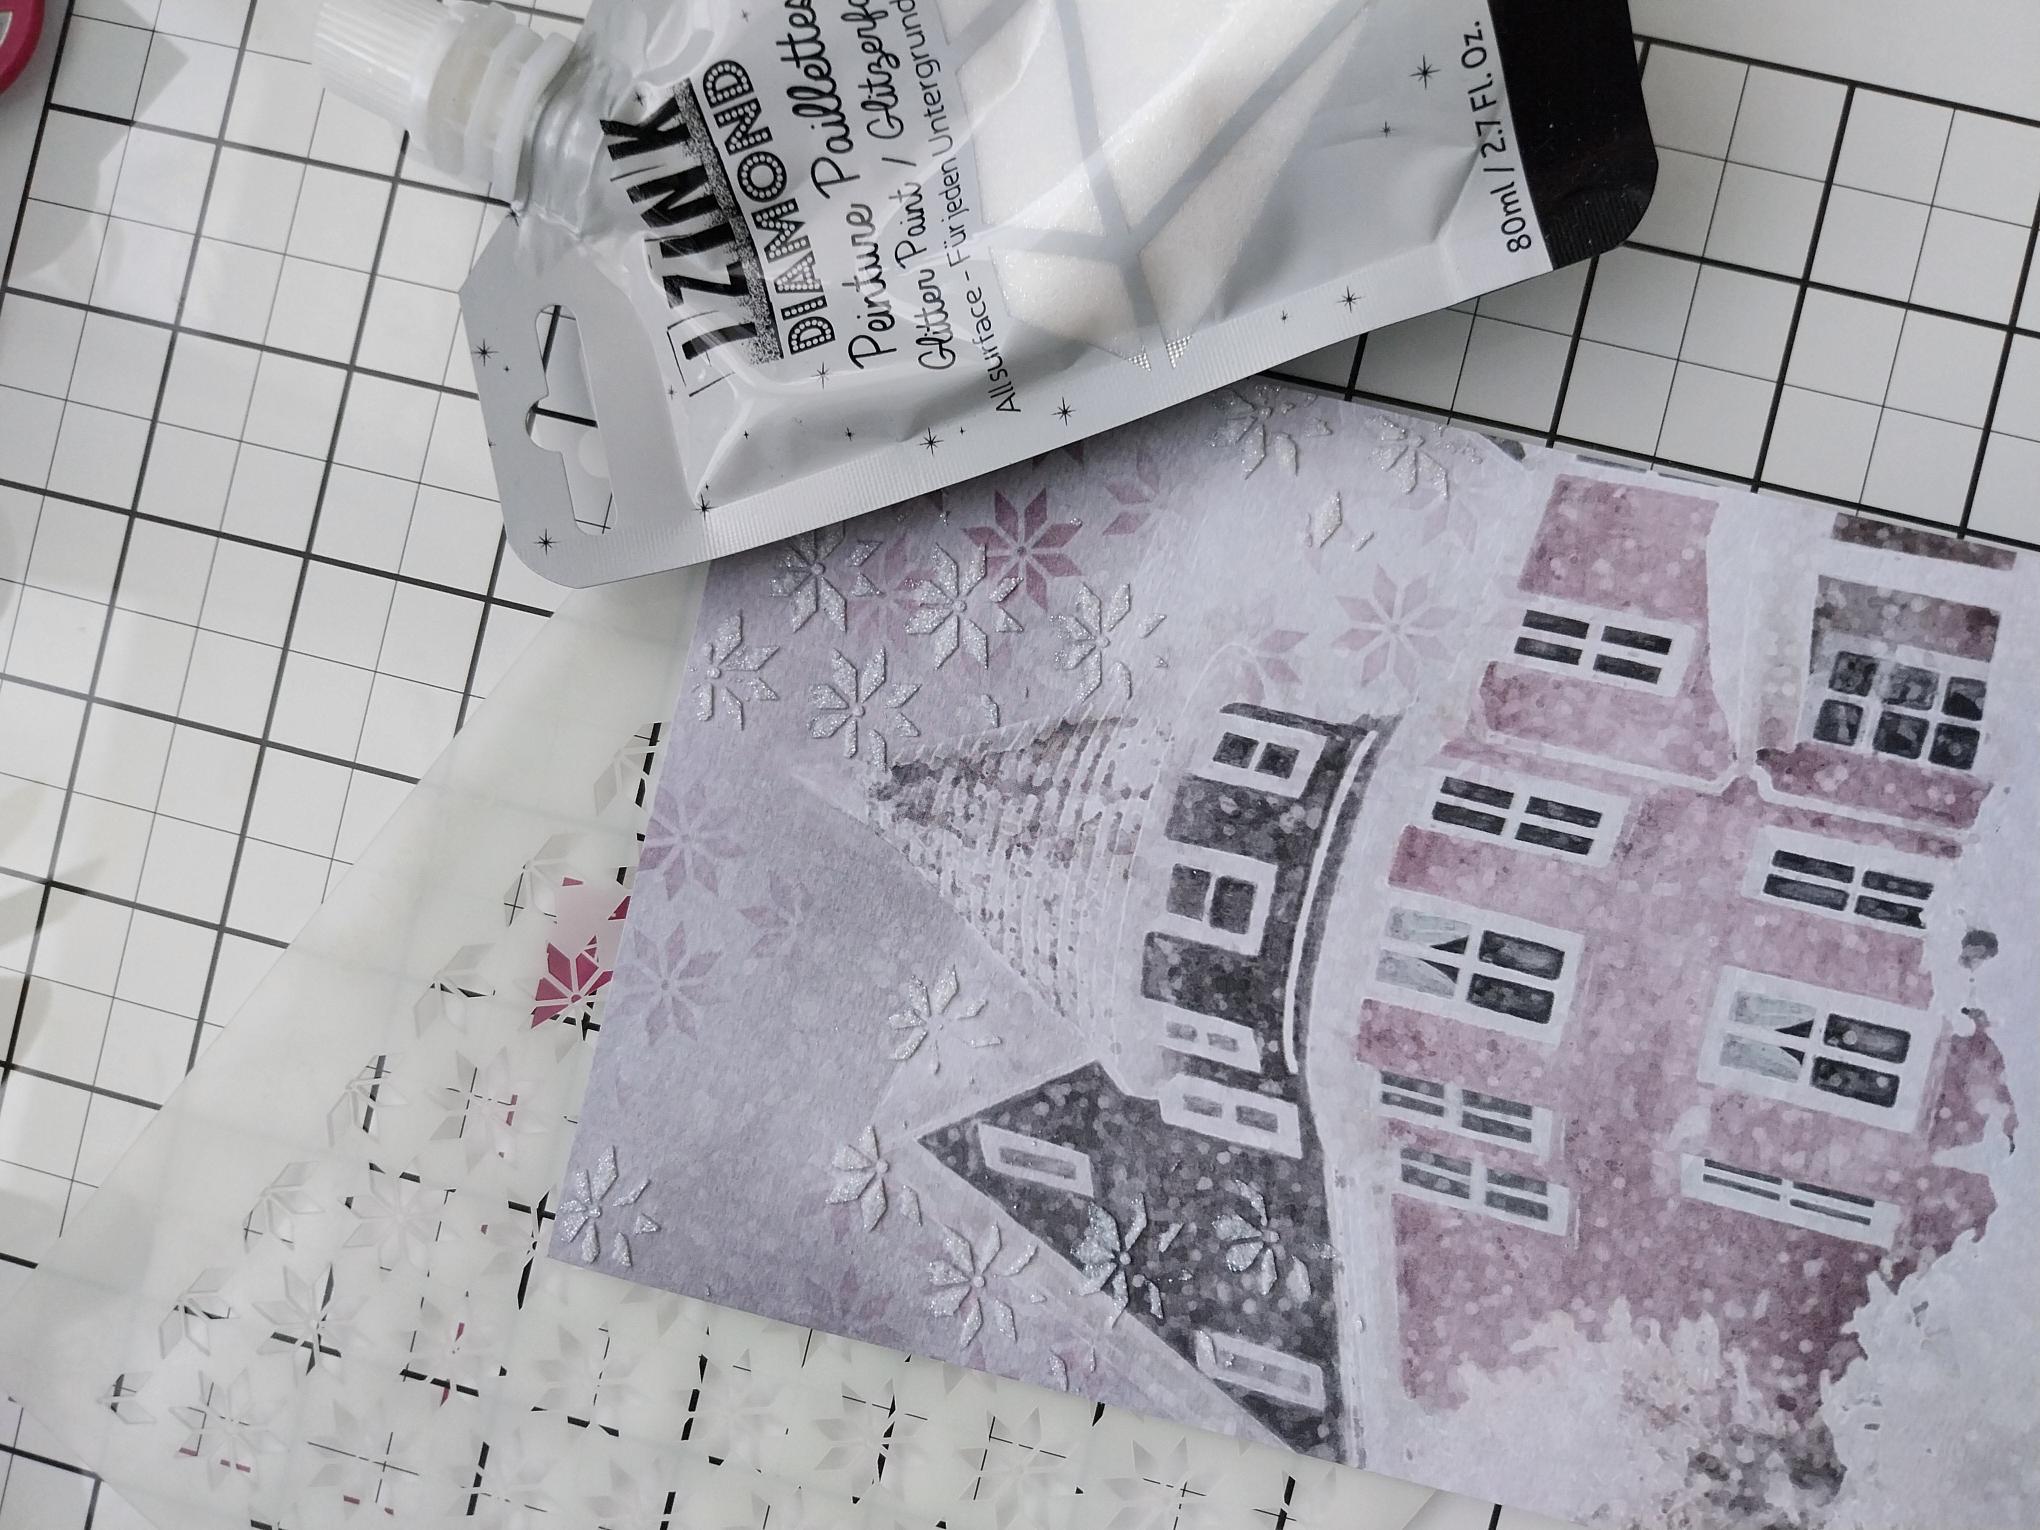
Use a palette knife to randomly blend the Nacre Izink Glitter Paint through the same stencil, adding a touch of sparkle to your snowy sky. Blast the paste dry with your heat tool. |
|
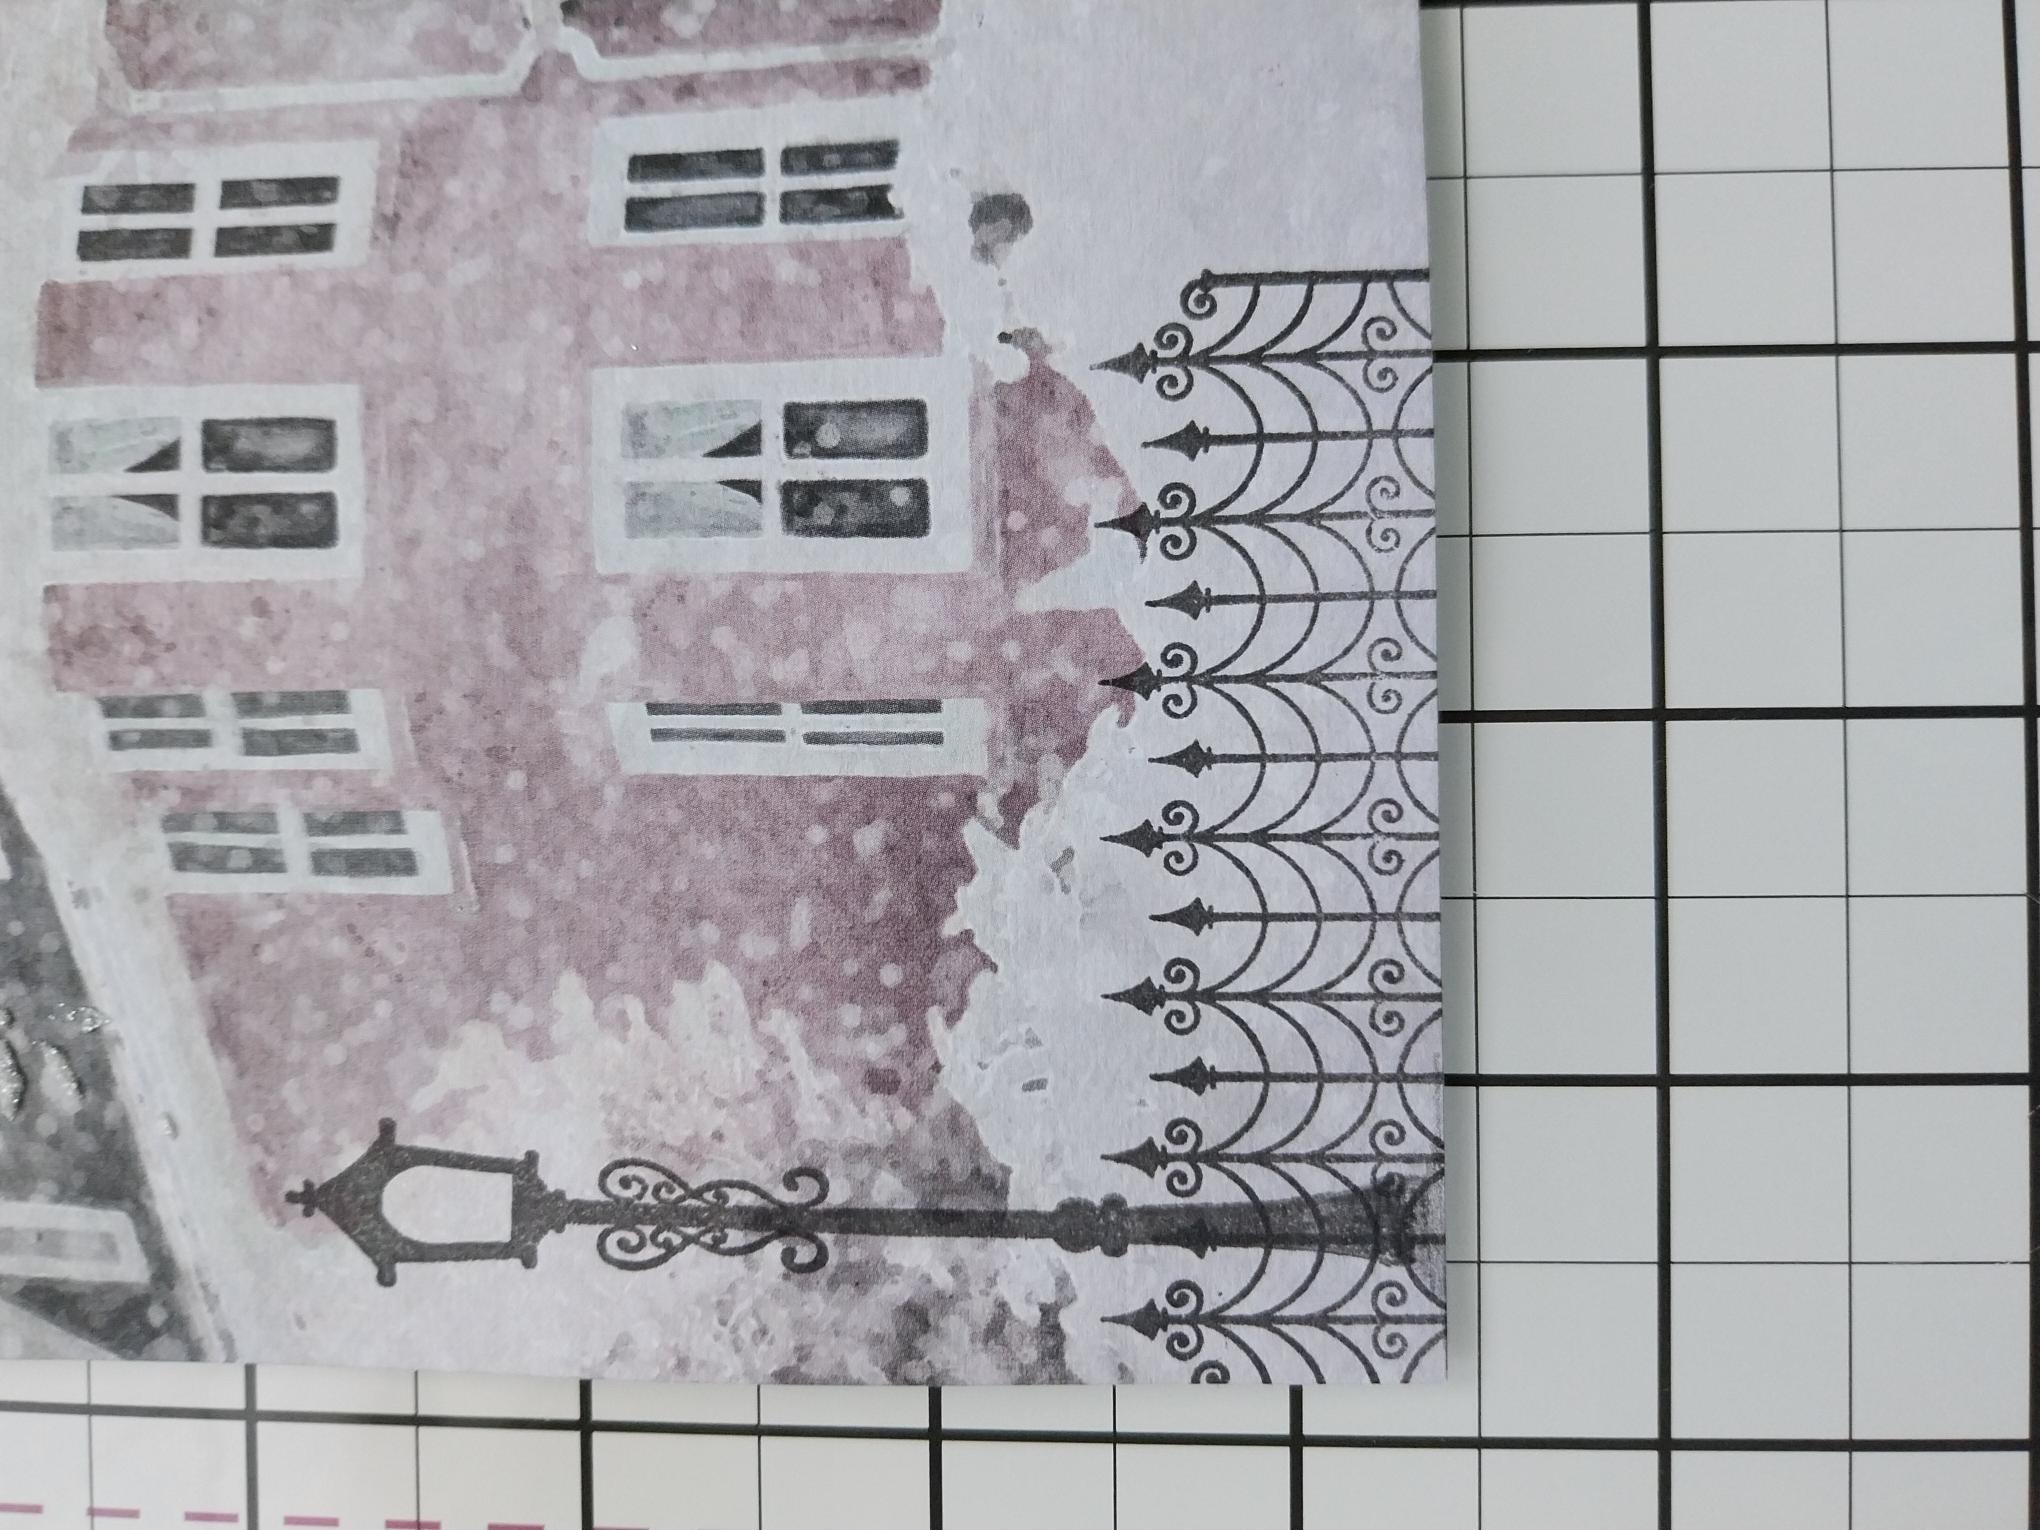
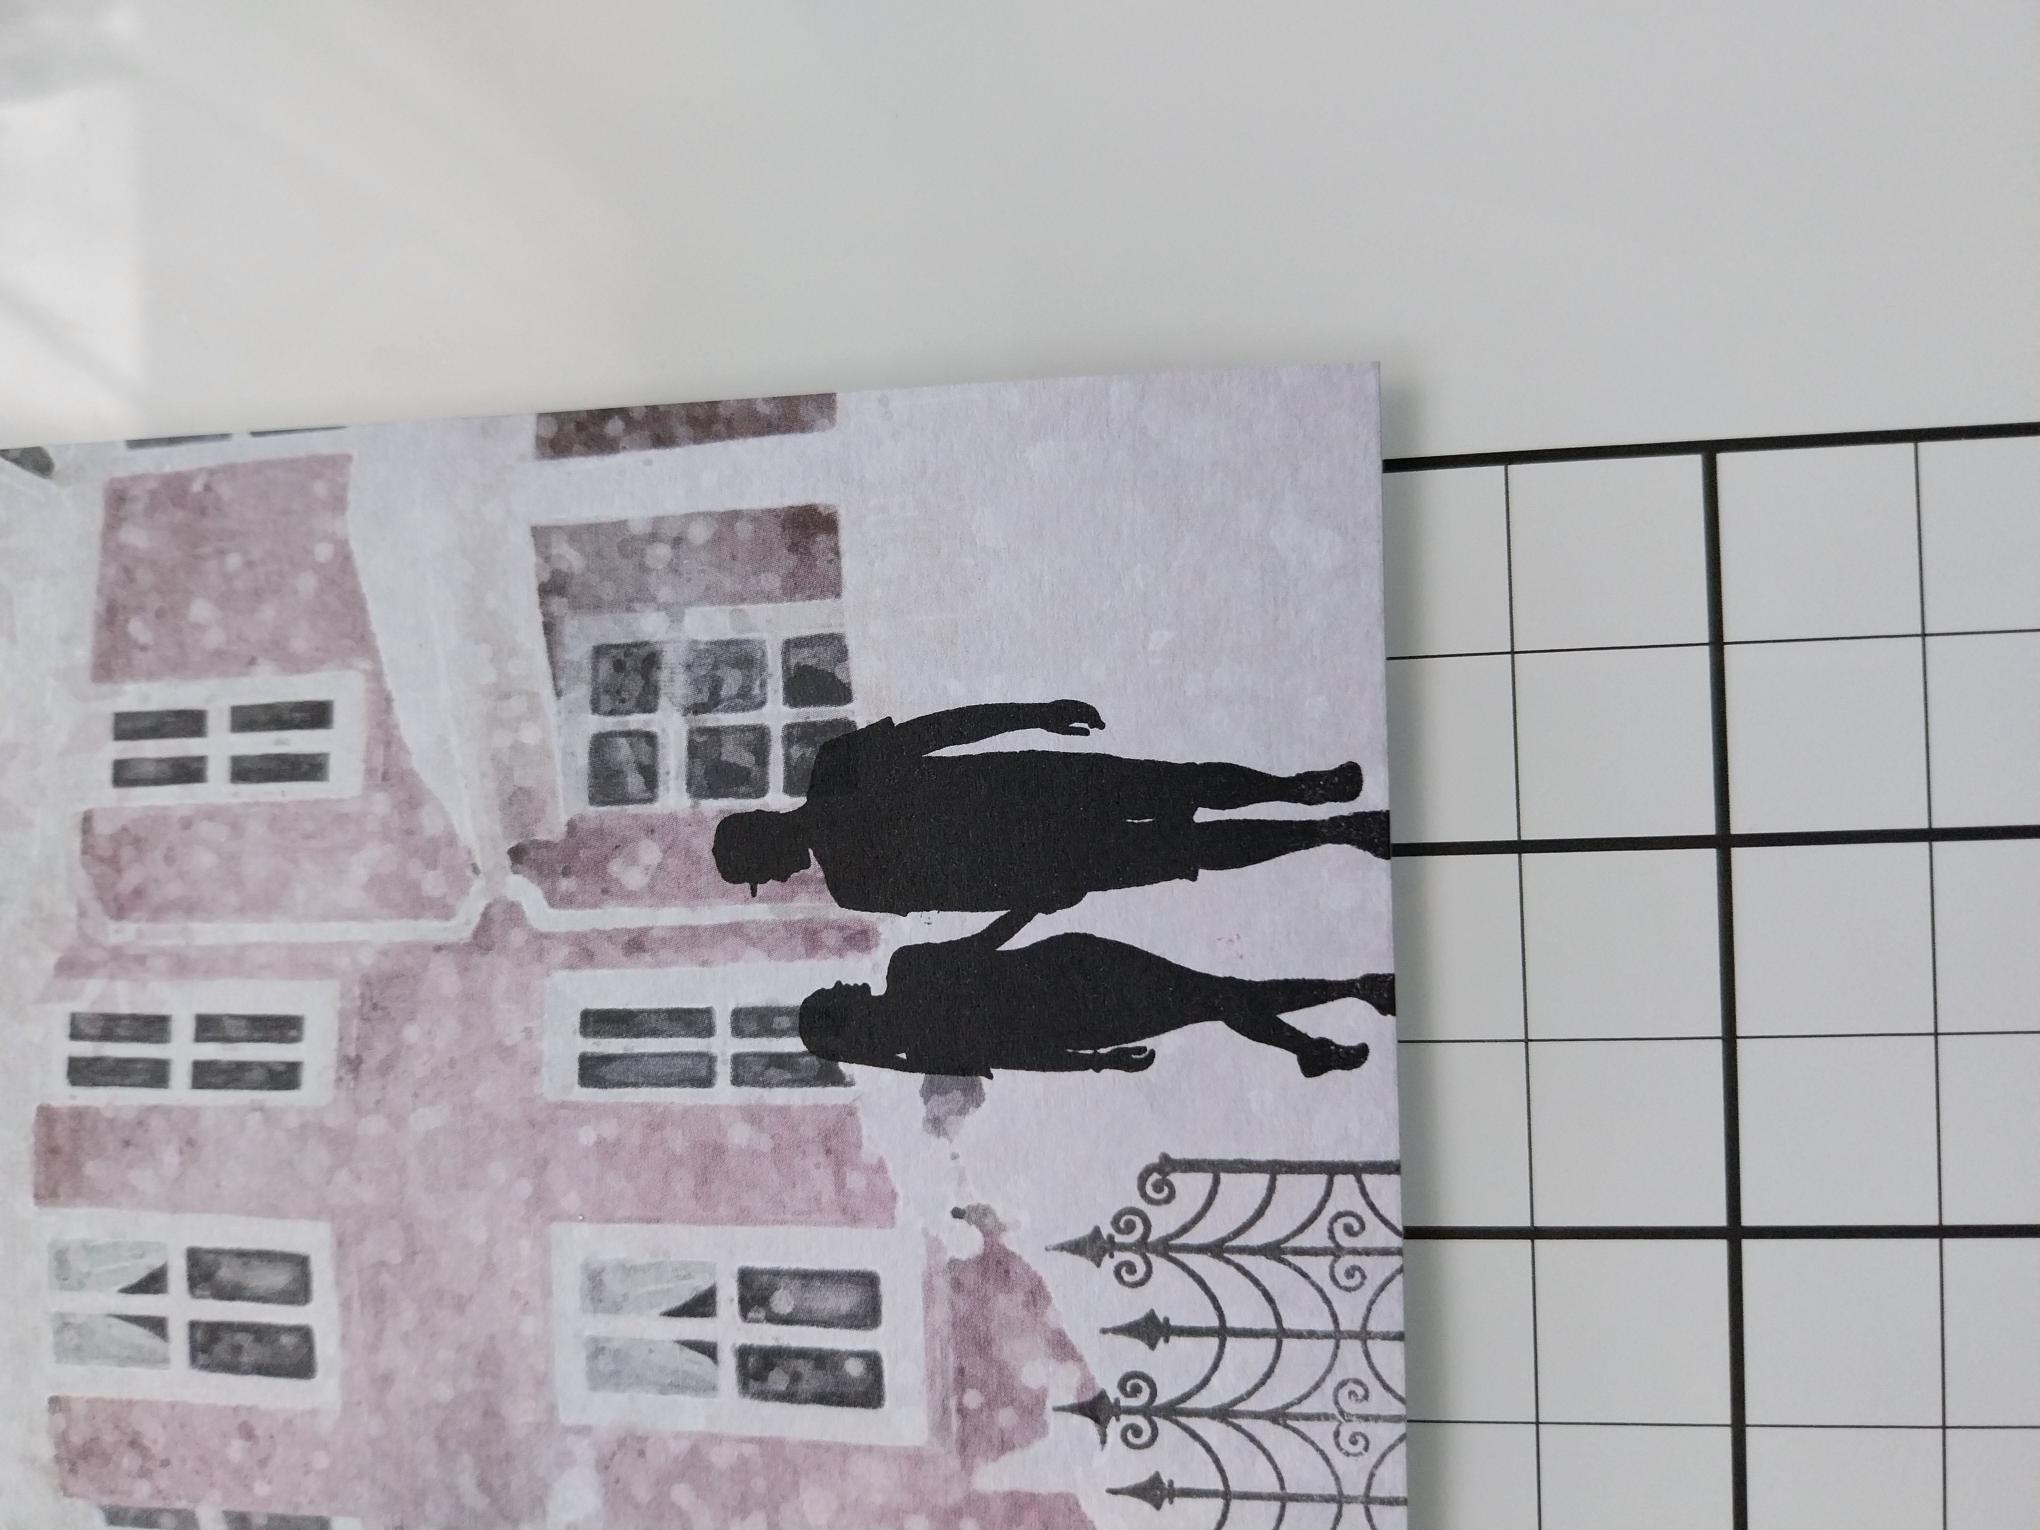
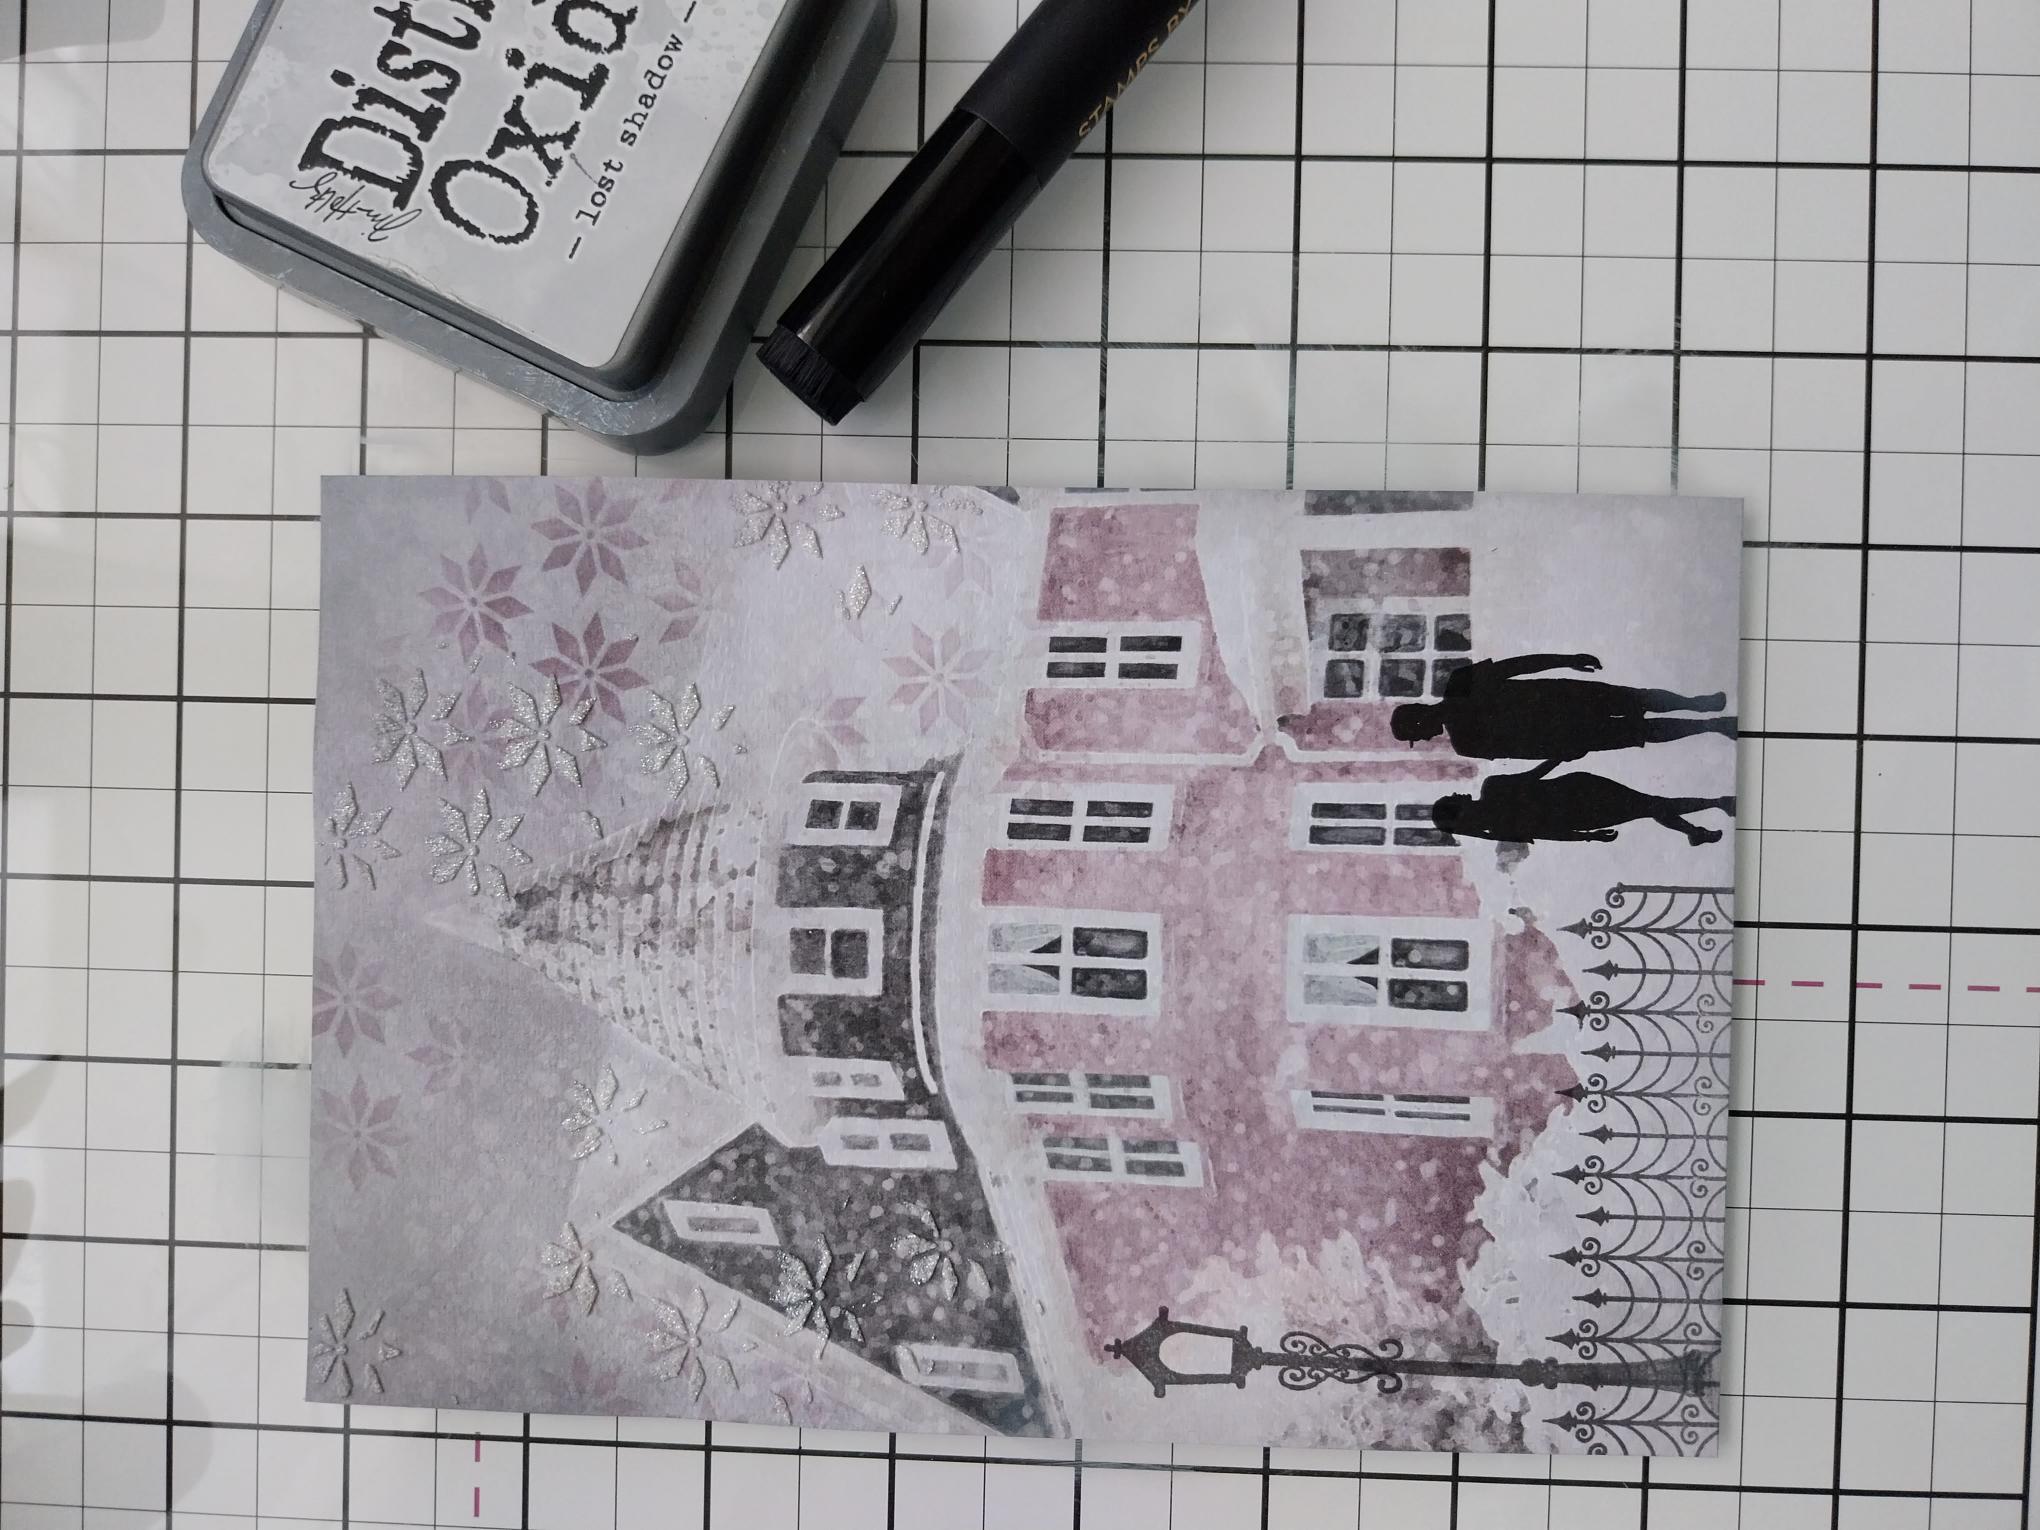
Stamp the fence railings and lamp post, in the Smoky Gray Versafine, to the left of your background. |
|
Stamp the couple in the Midnight hybrid ink, to the right of the fence. |
|
Blend the Lost Shadow around the edges of the paper, to draw your eye in to the artwork. |
|
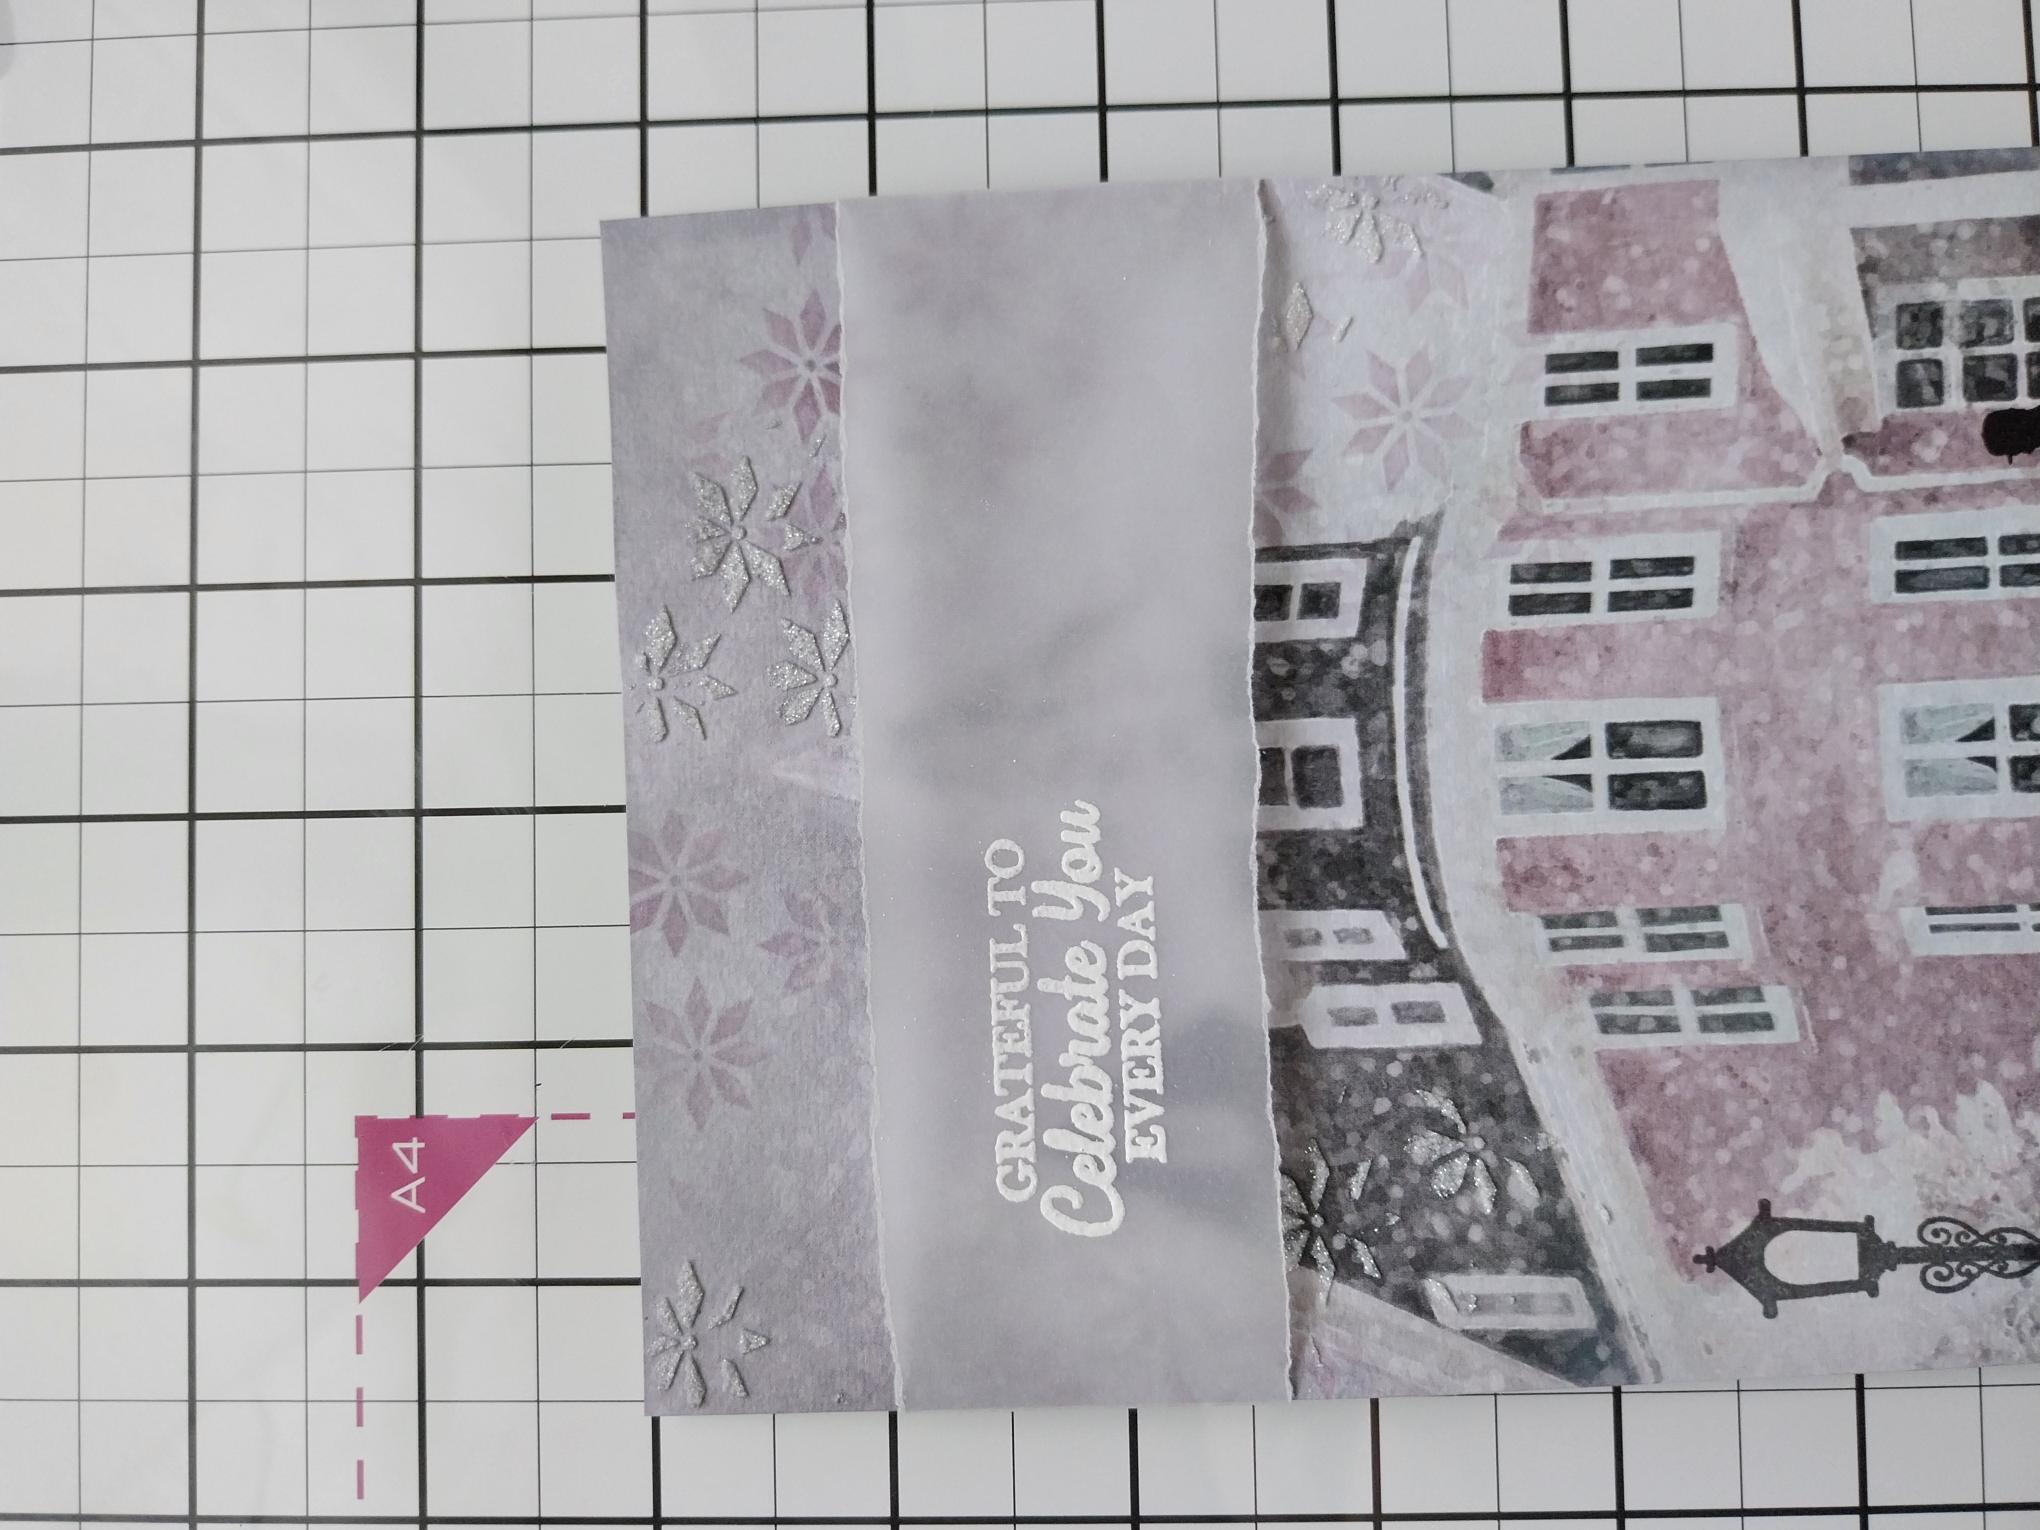
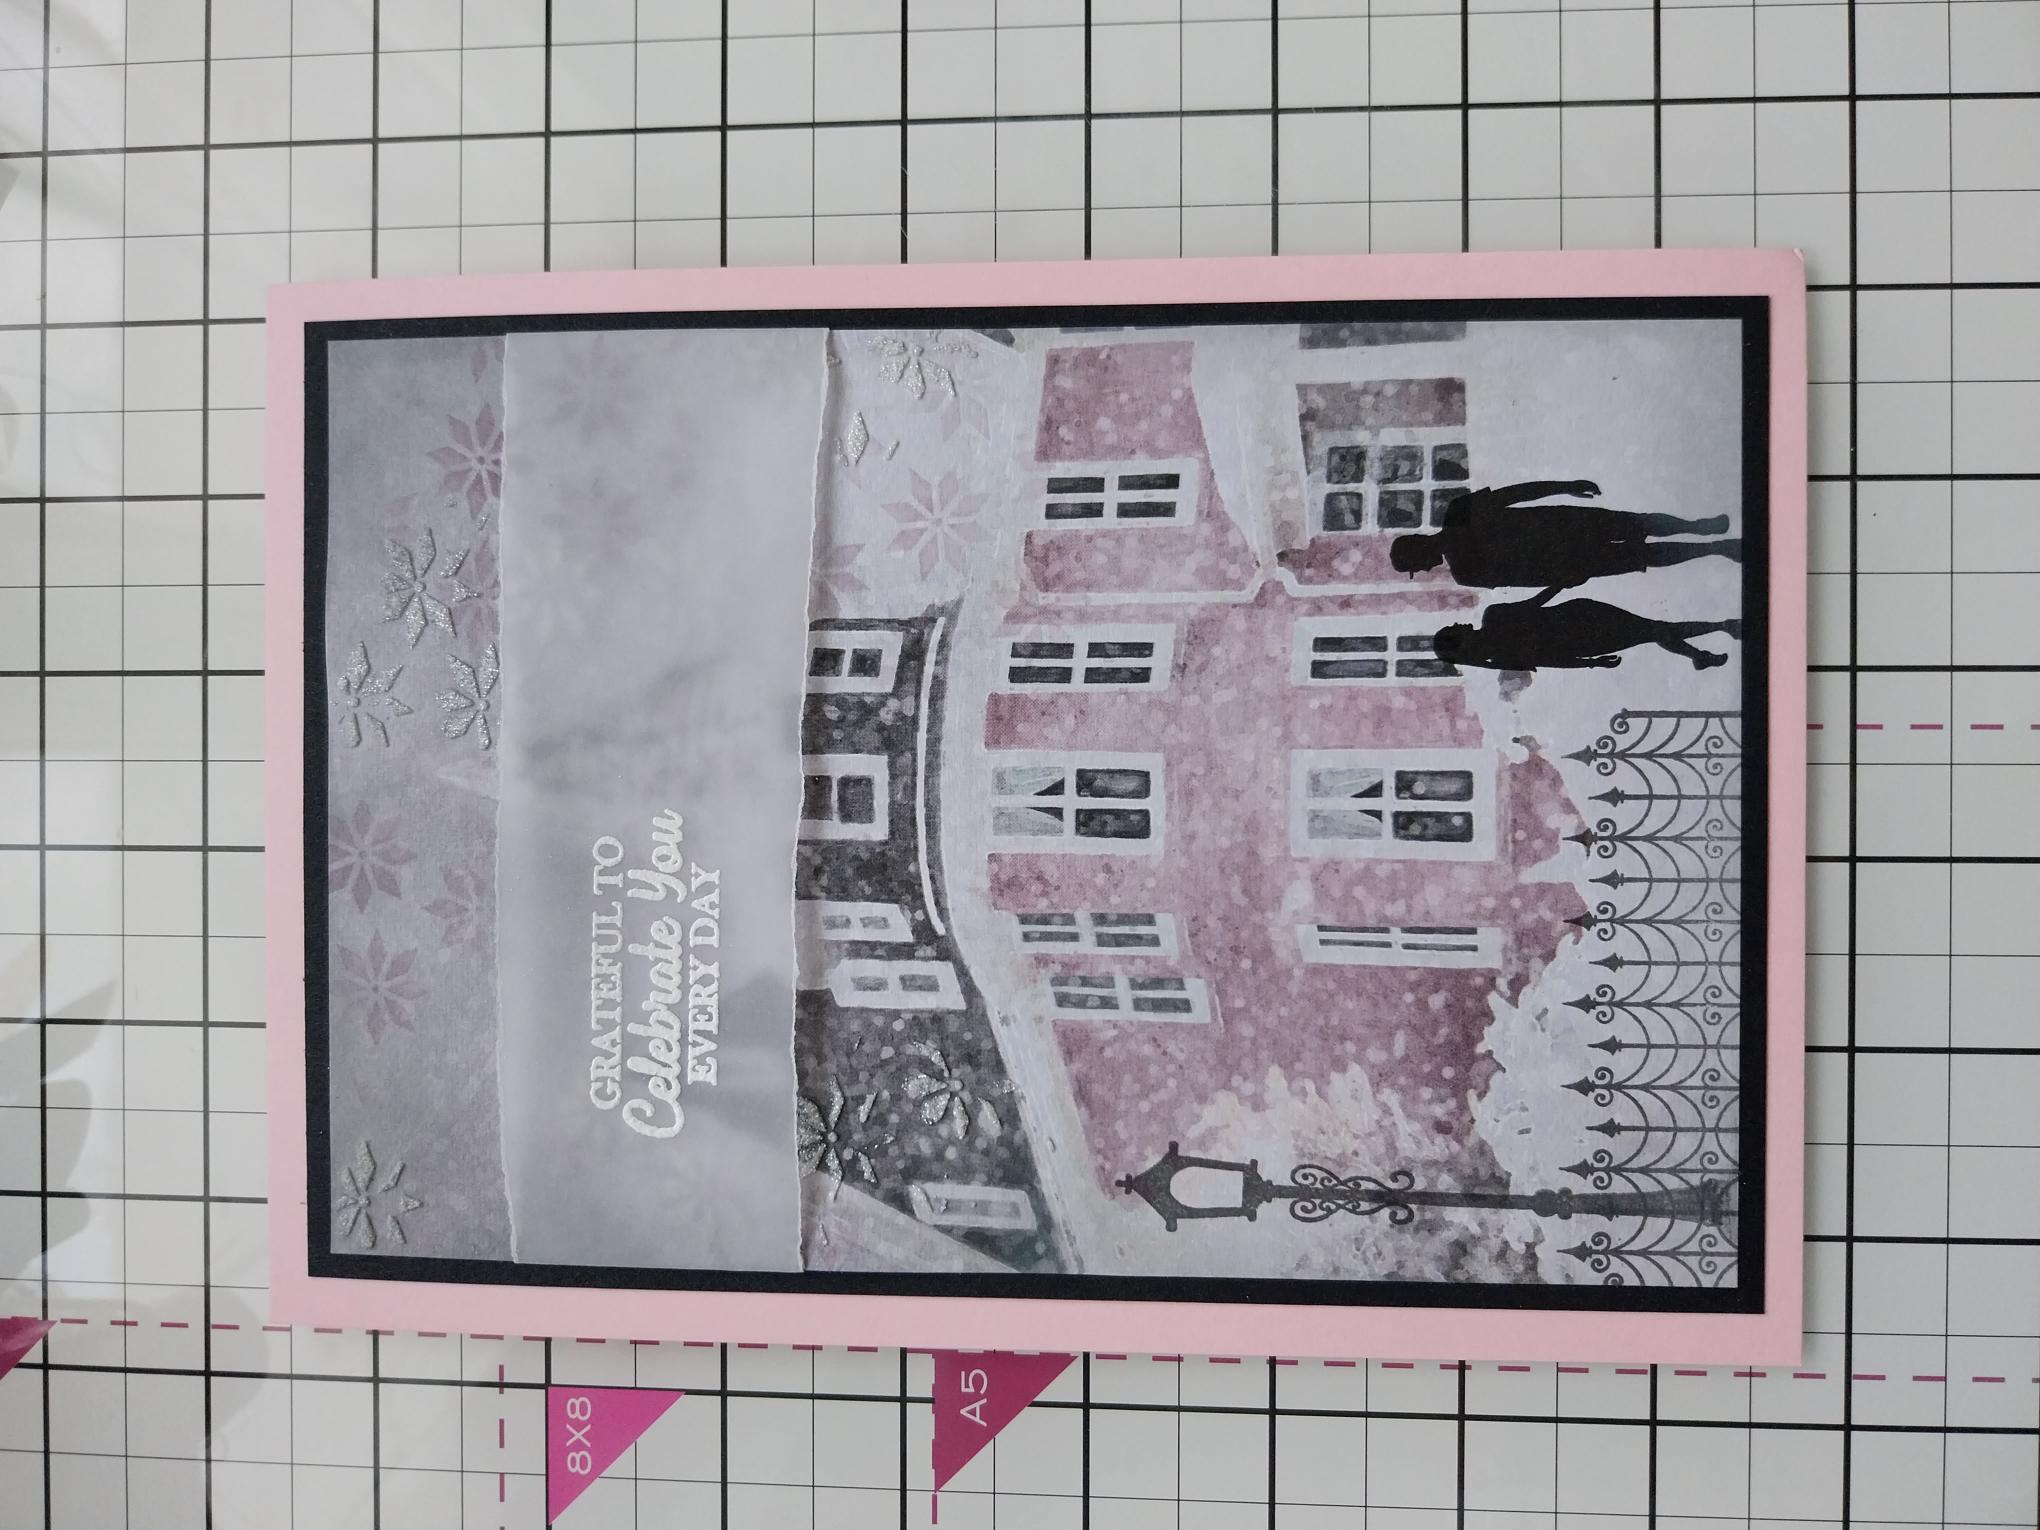
Tear a panel of vellum slightly wider than the paper and deep enough for your sentiment to fit. Wipe over the vellum with the anti-static bag before stamping the sentiment with the WOW sticky embossing ink. Apply the white embossing powder over the sticky ink, get your heat tool before heat setting the powder, moving the heat tool as soon as the powder starts to turn. Lay the stamped vellum across the top third of the paper, tuck the edges over the card and secure on the reverse with double-sided adhesive tape. |
|
Adhere your artwork on to black card, trimmed to 7 3/4 x 5 1/4" and then on to your pink card blank. |
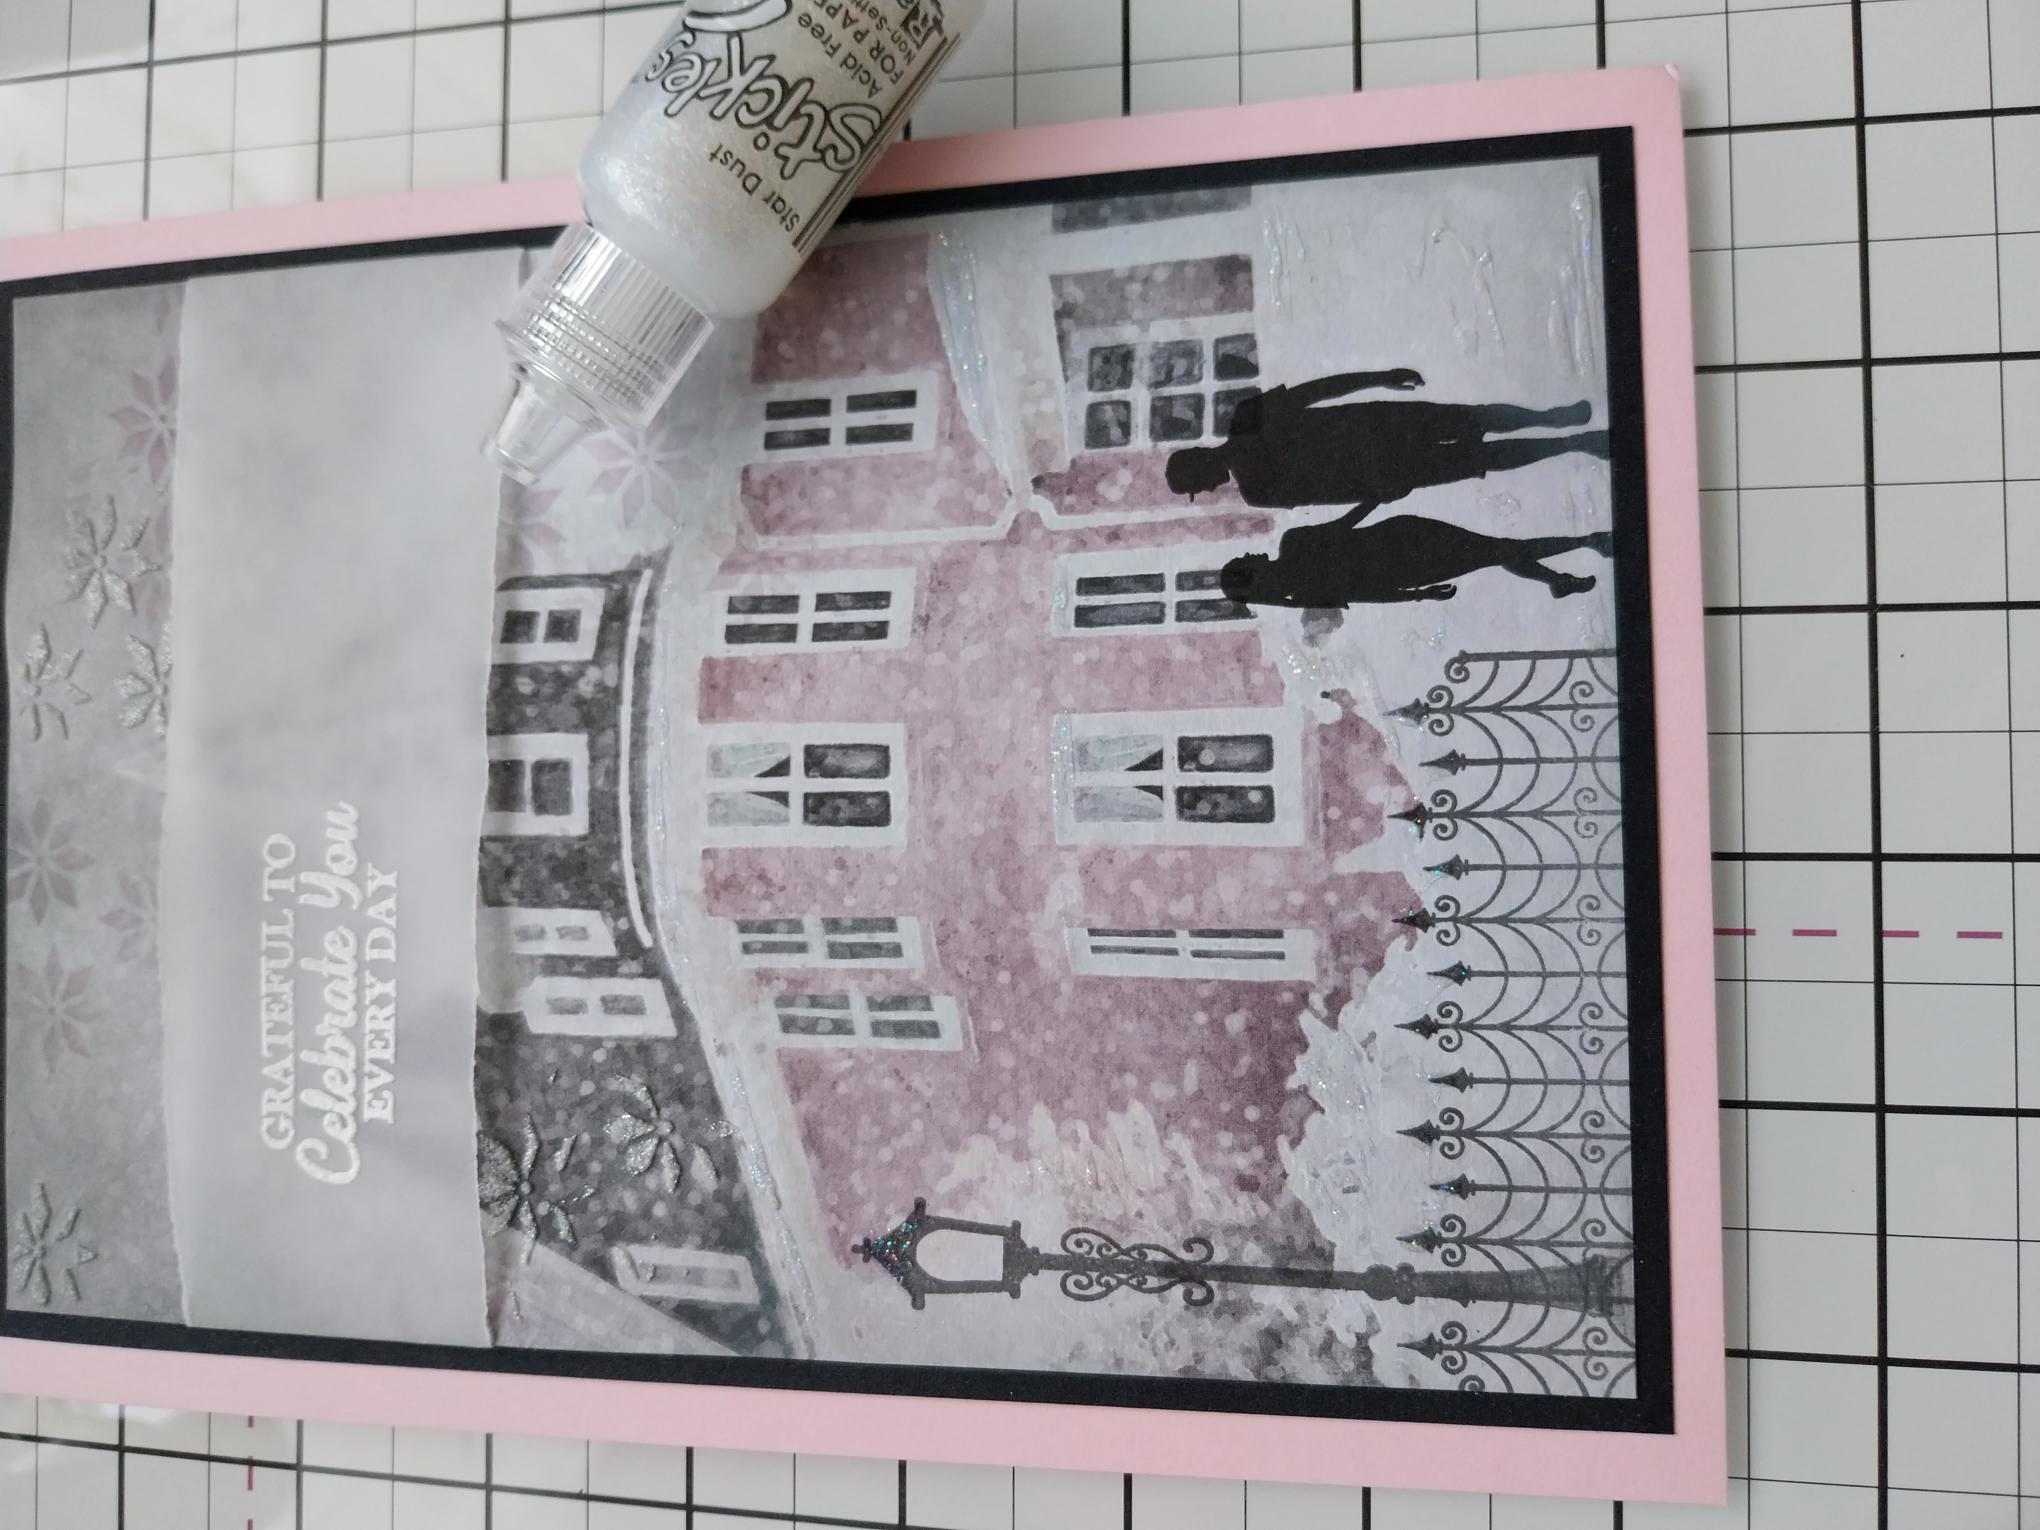
|
To finish, use your Stickles to add a touch of winter sparkle to your artwork. |