

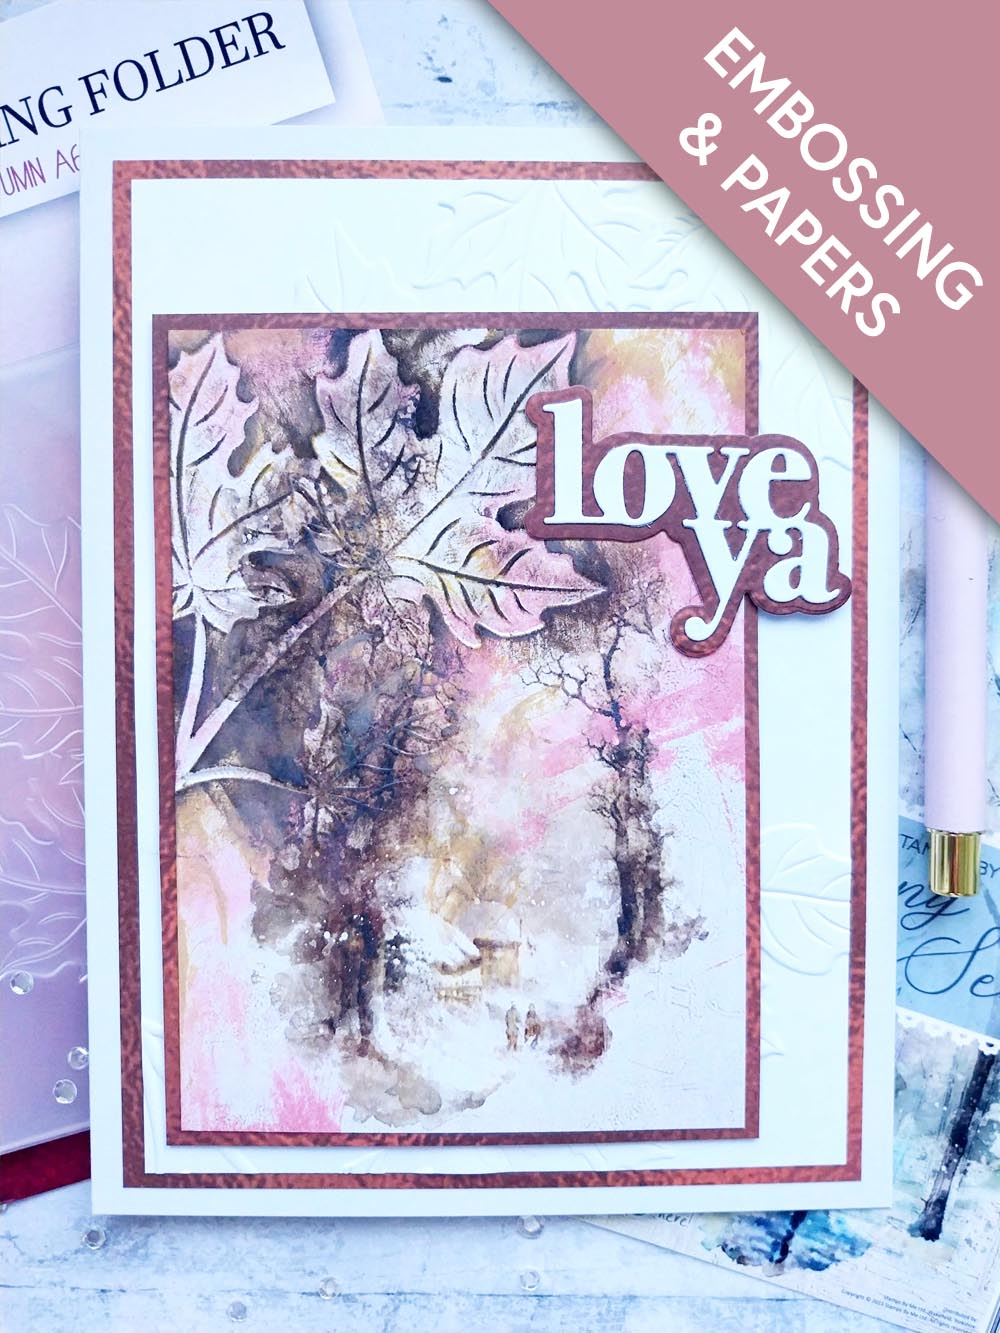
WHAT YOU WILL NEED:
White card blank 6 x 8"
White cardstock
Autumn A6 Embossing Folder
Changing Seasons A6 Painted Mounts
Creative Words A5 Die Set
All Surfaces Copper 8 x 8" Paper Pad
Water spray bottle
Blending brush
Distress Ink Pad: Worn Lipstick, Fossilized Amber, Walnut Stain
SBM A3 Magnetic glass mat
Paper Trimmer
Glue/Foam pads
Die Cutting machine
[click image to enlarge] 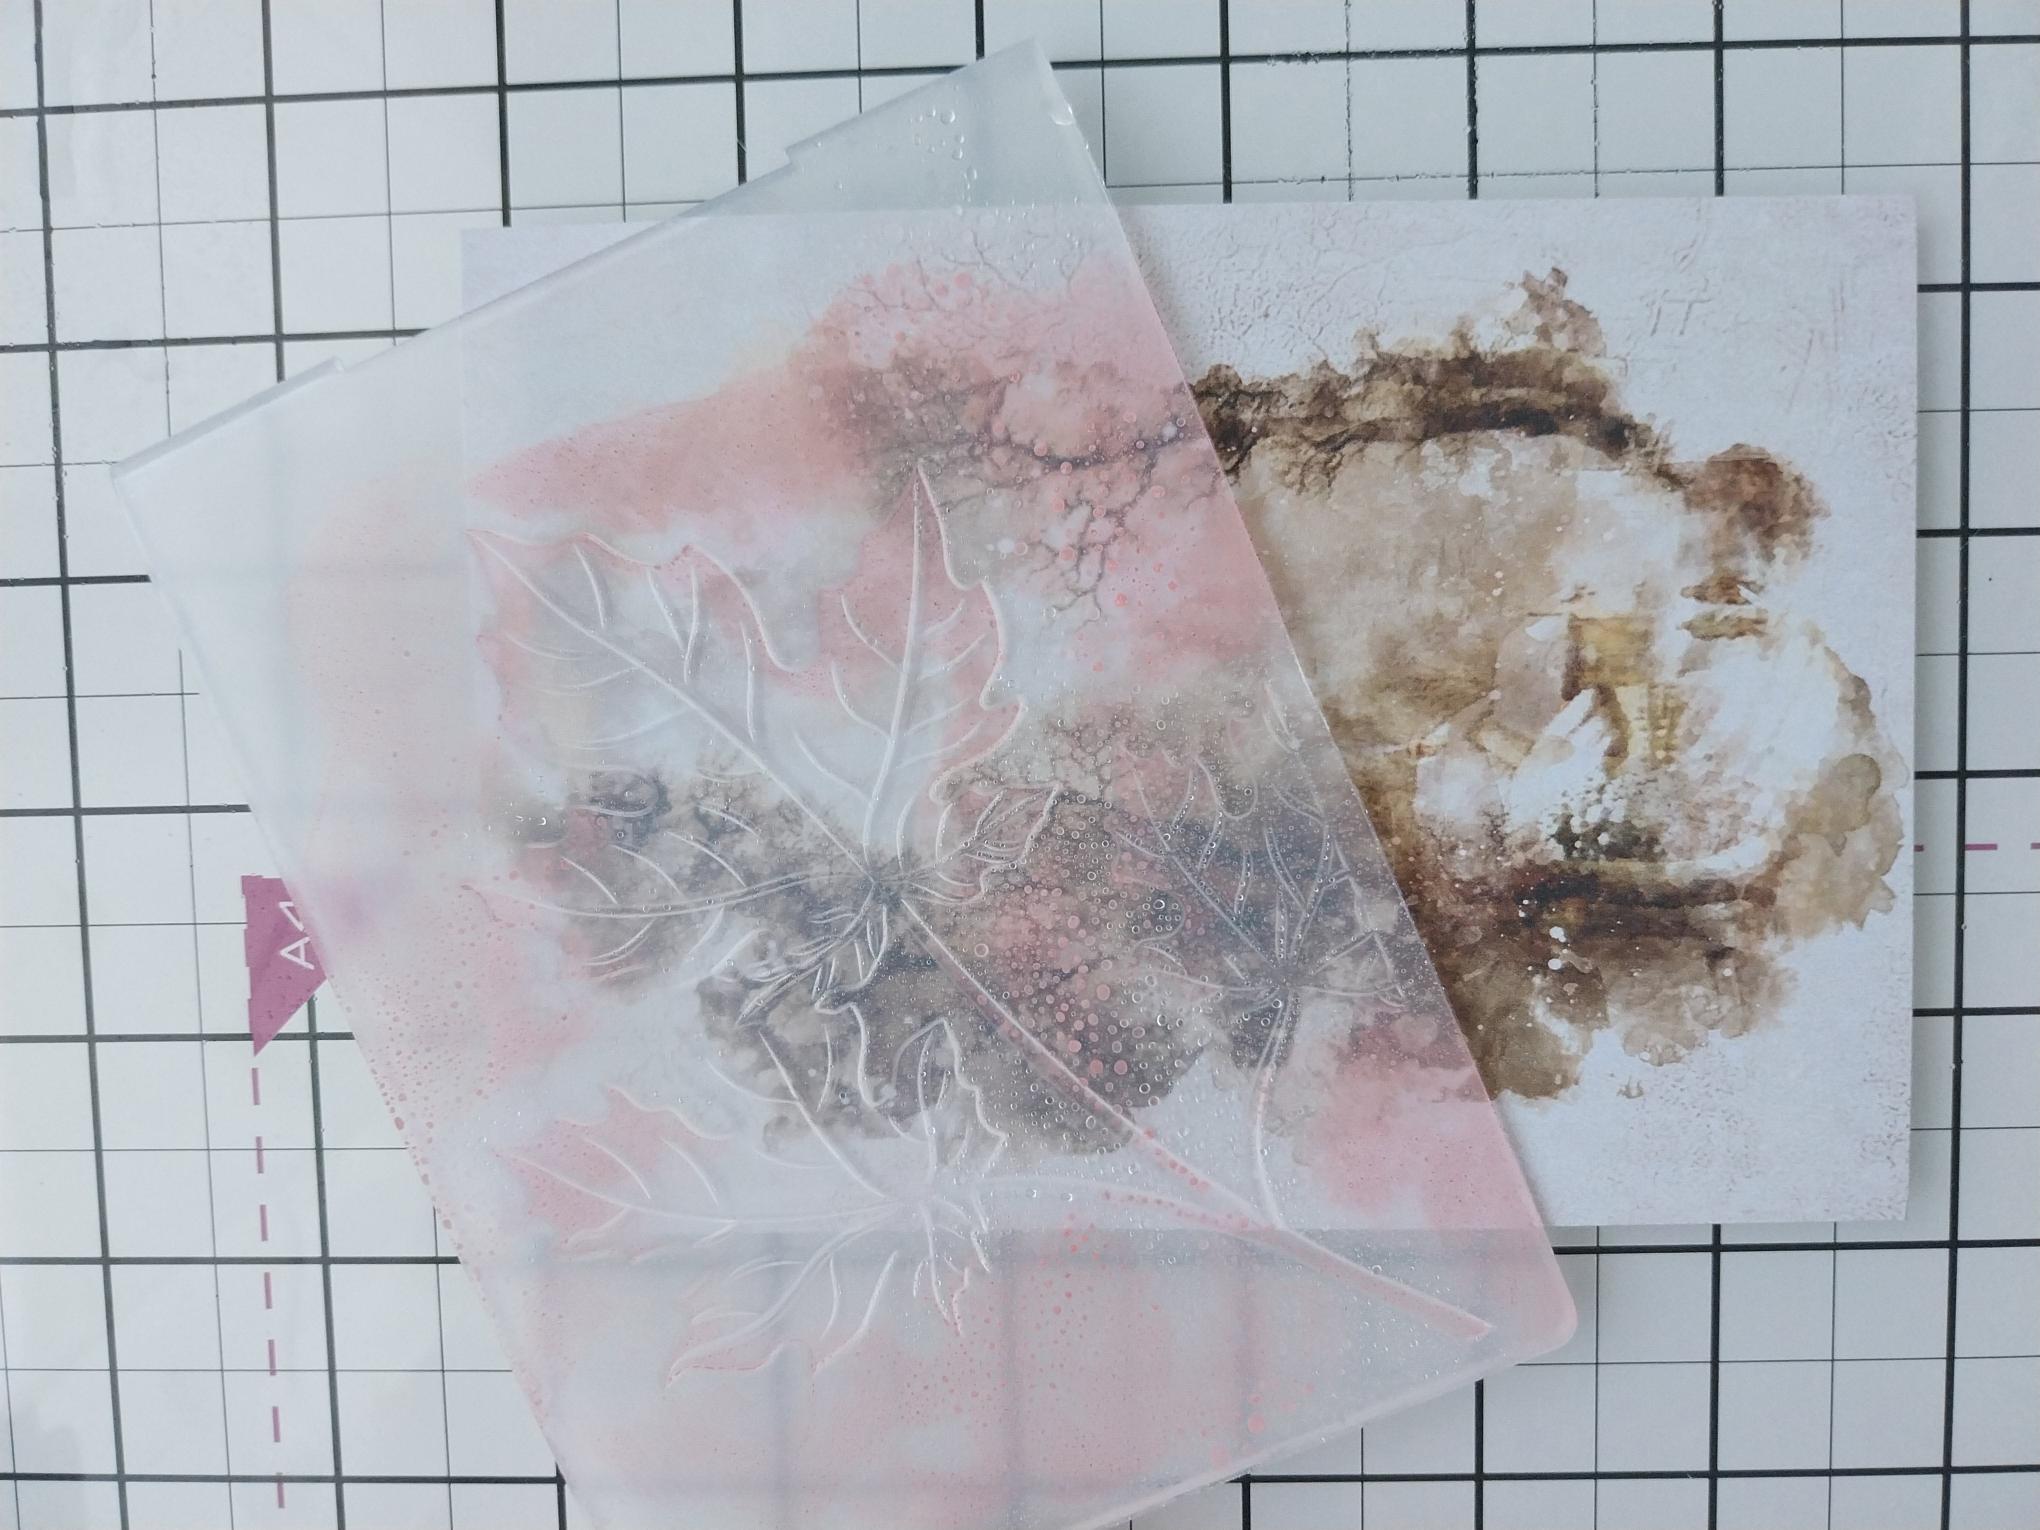
|
Swipe the Worn Lipstick ink pad over the DEBOSSED side of the Autumn embossing folder and spritz lightly with water. Place this beautiful painted mount, from the Changing Seasons pack, inside the folder so the leaves are coming down the top left side of the mount. |
|
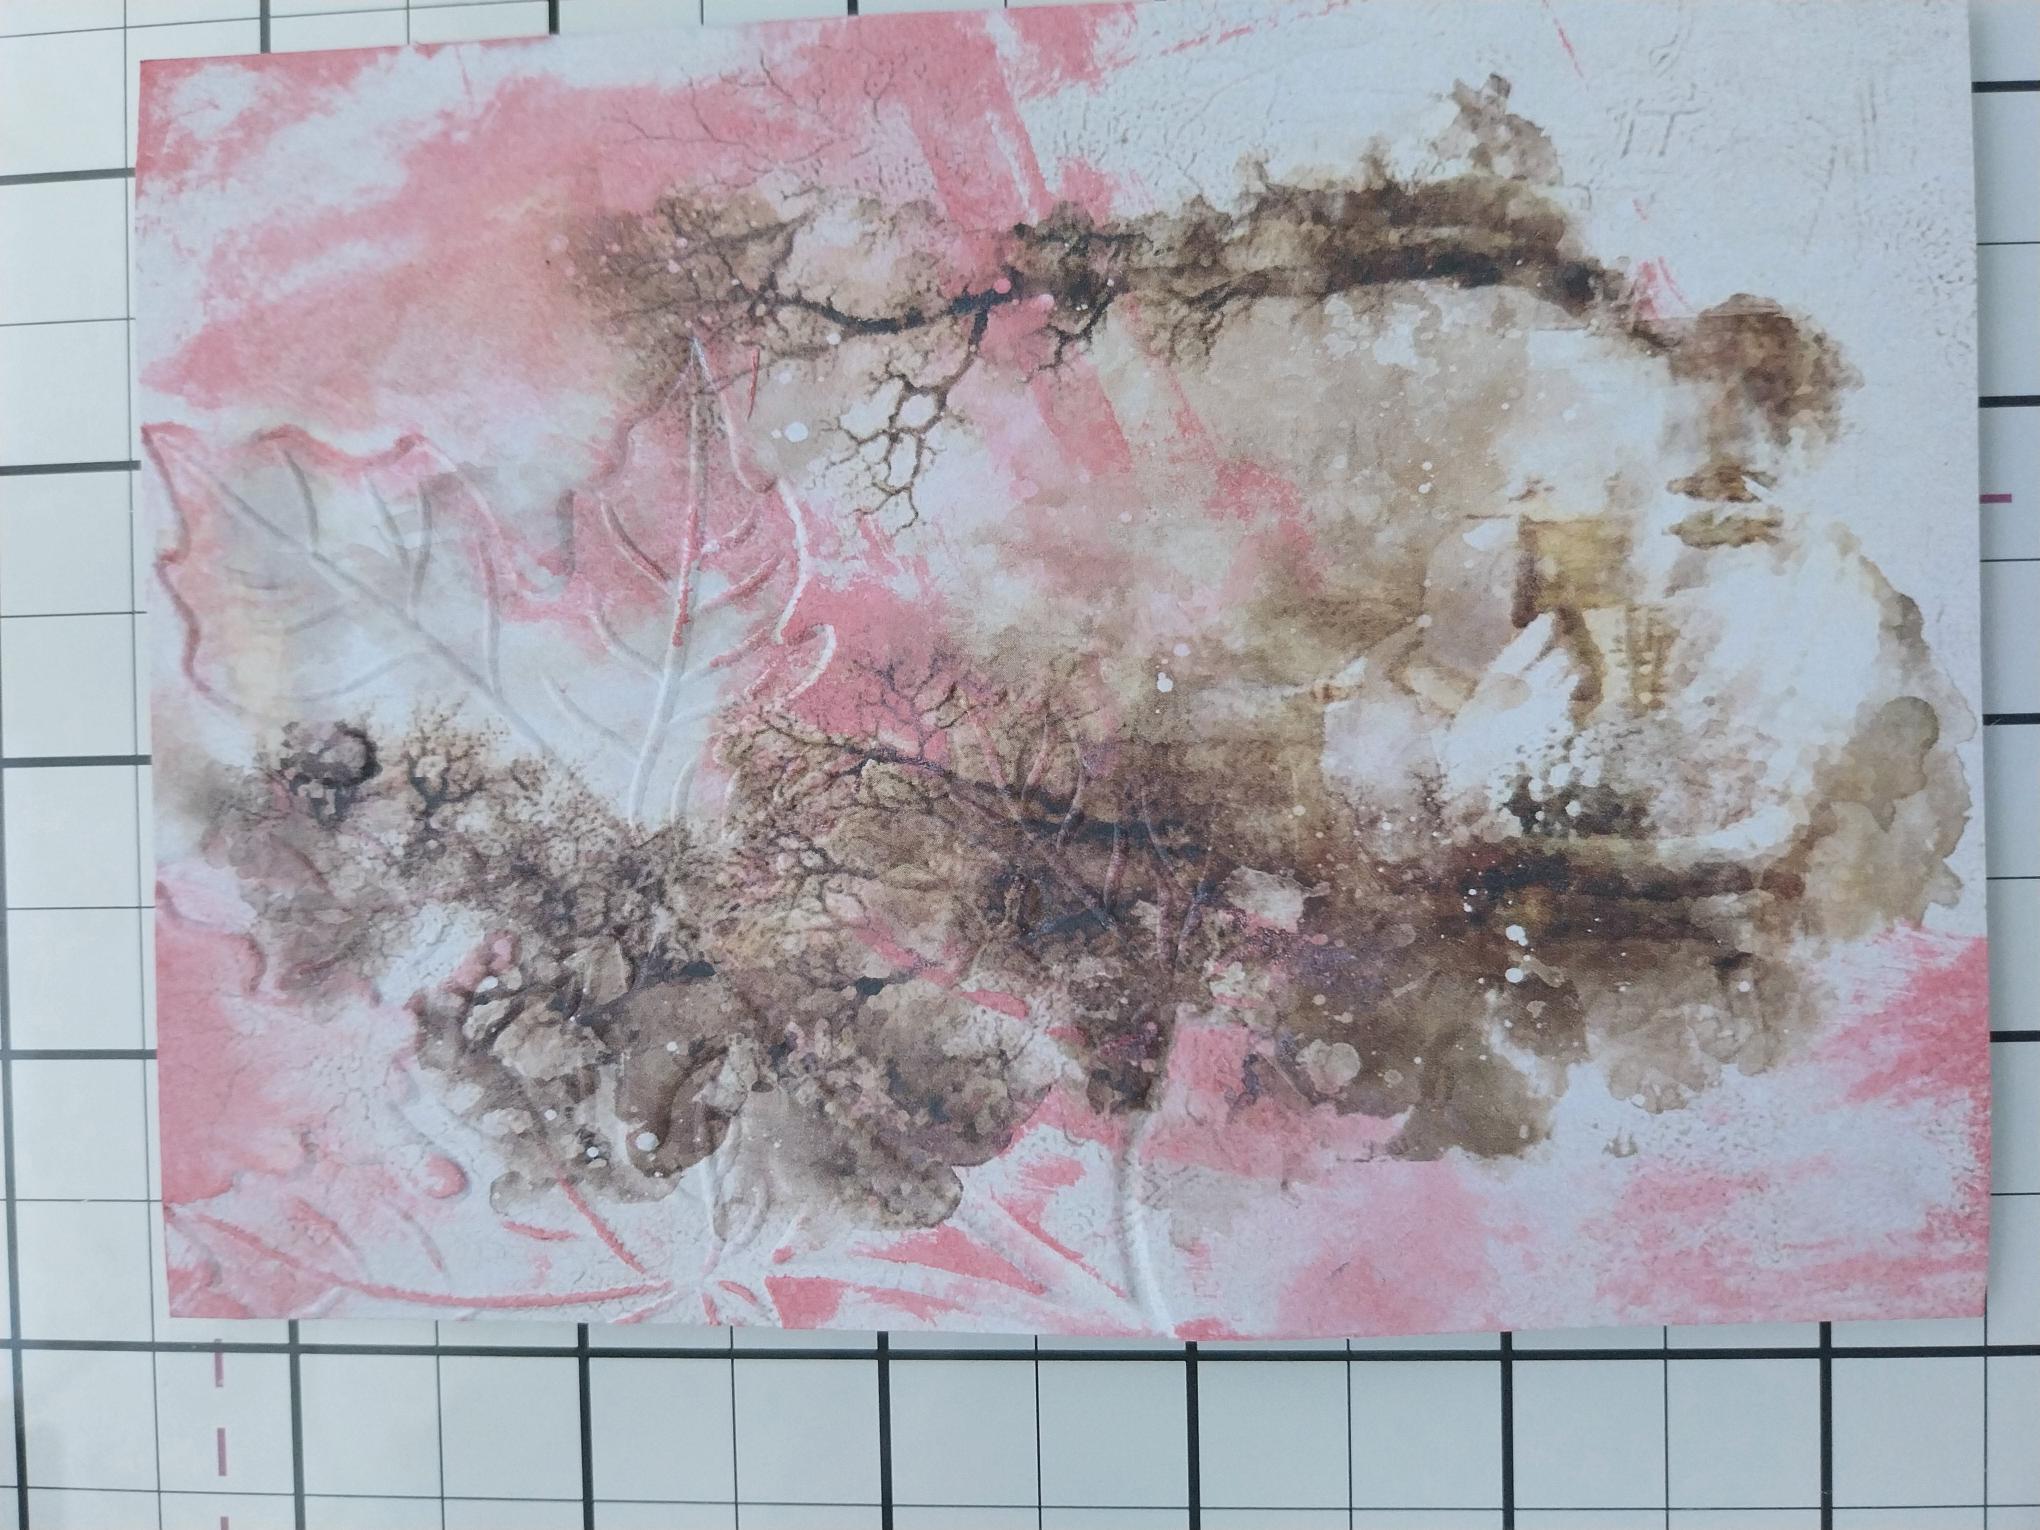
Run through your die machine. You can go in and blend more of the ink around the top edges of the card, as shown here. |
|
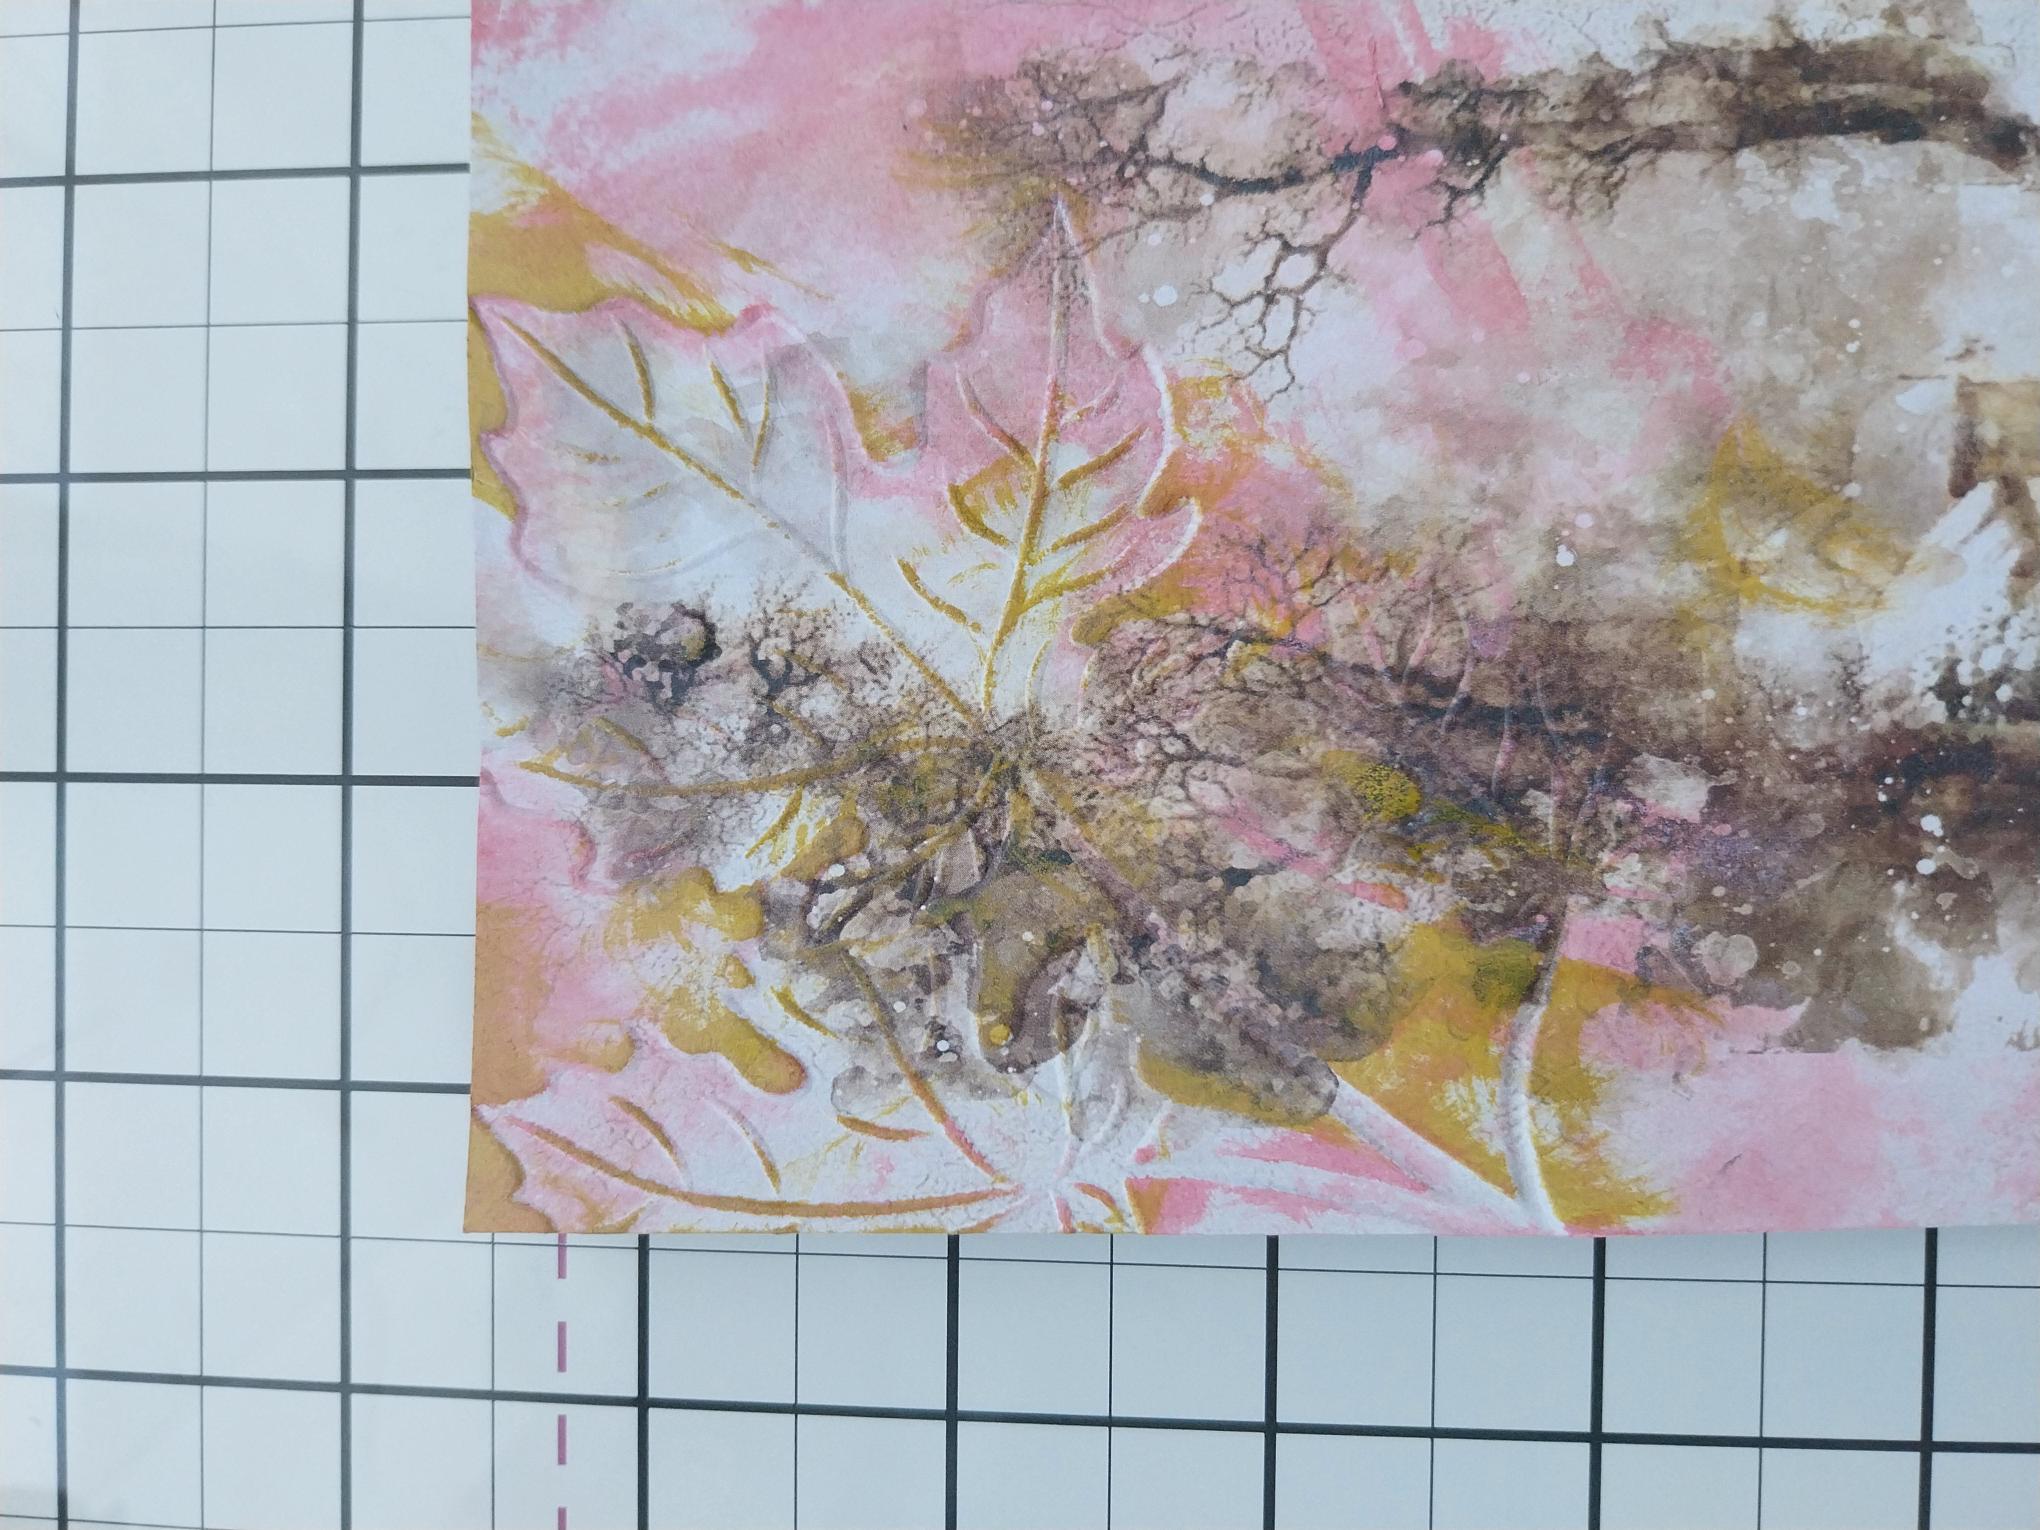
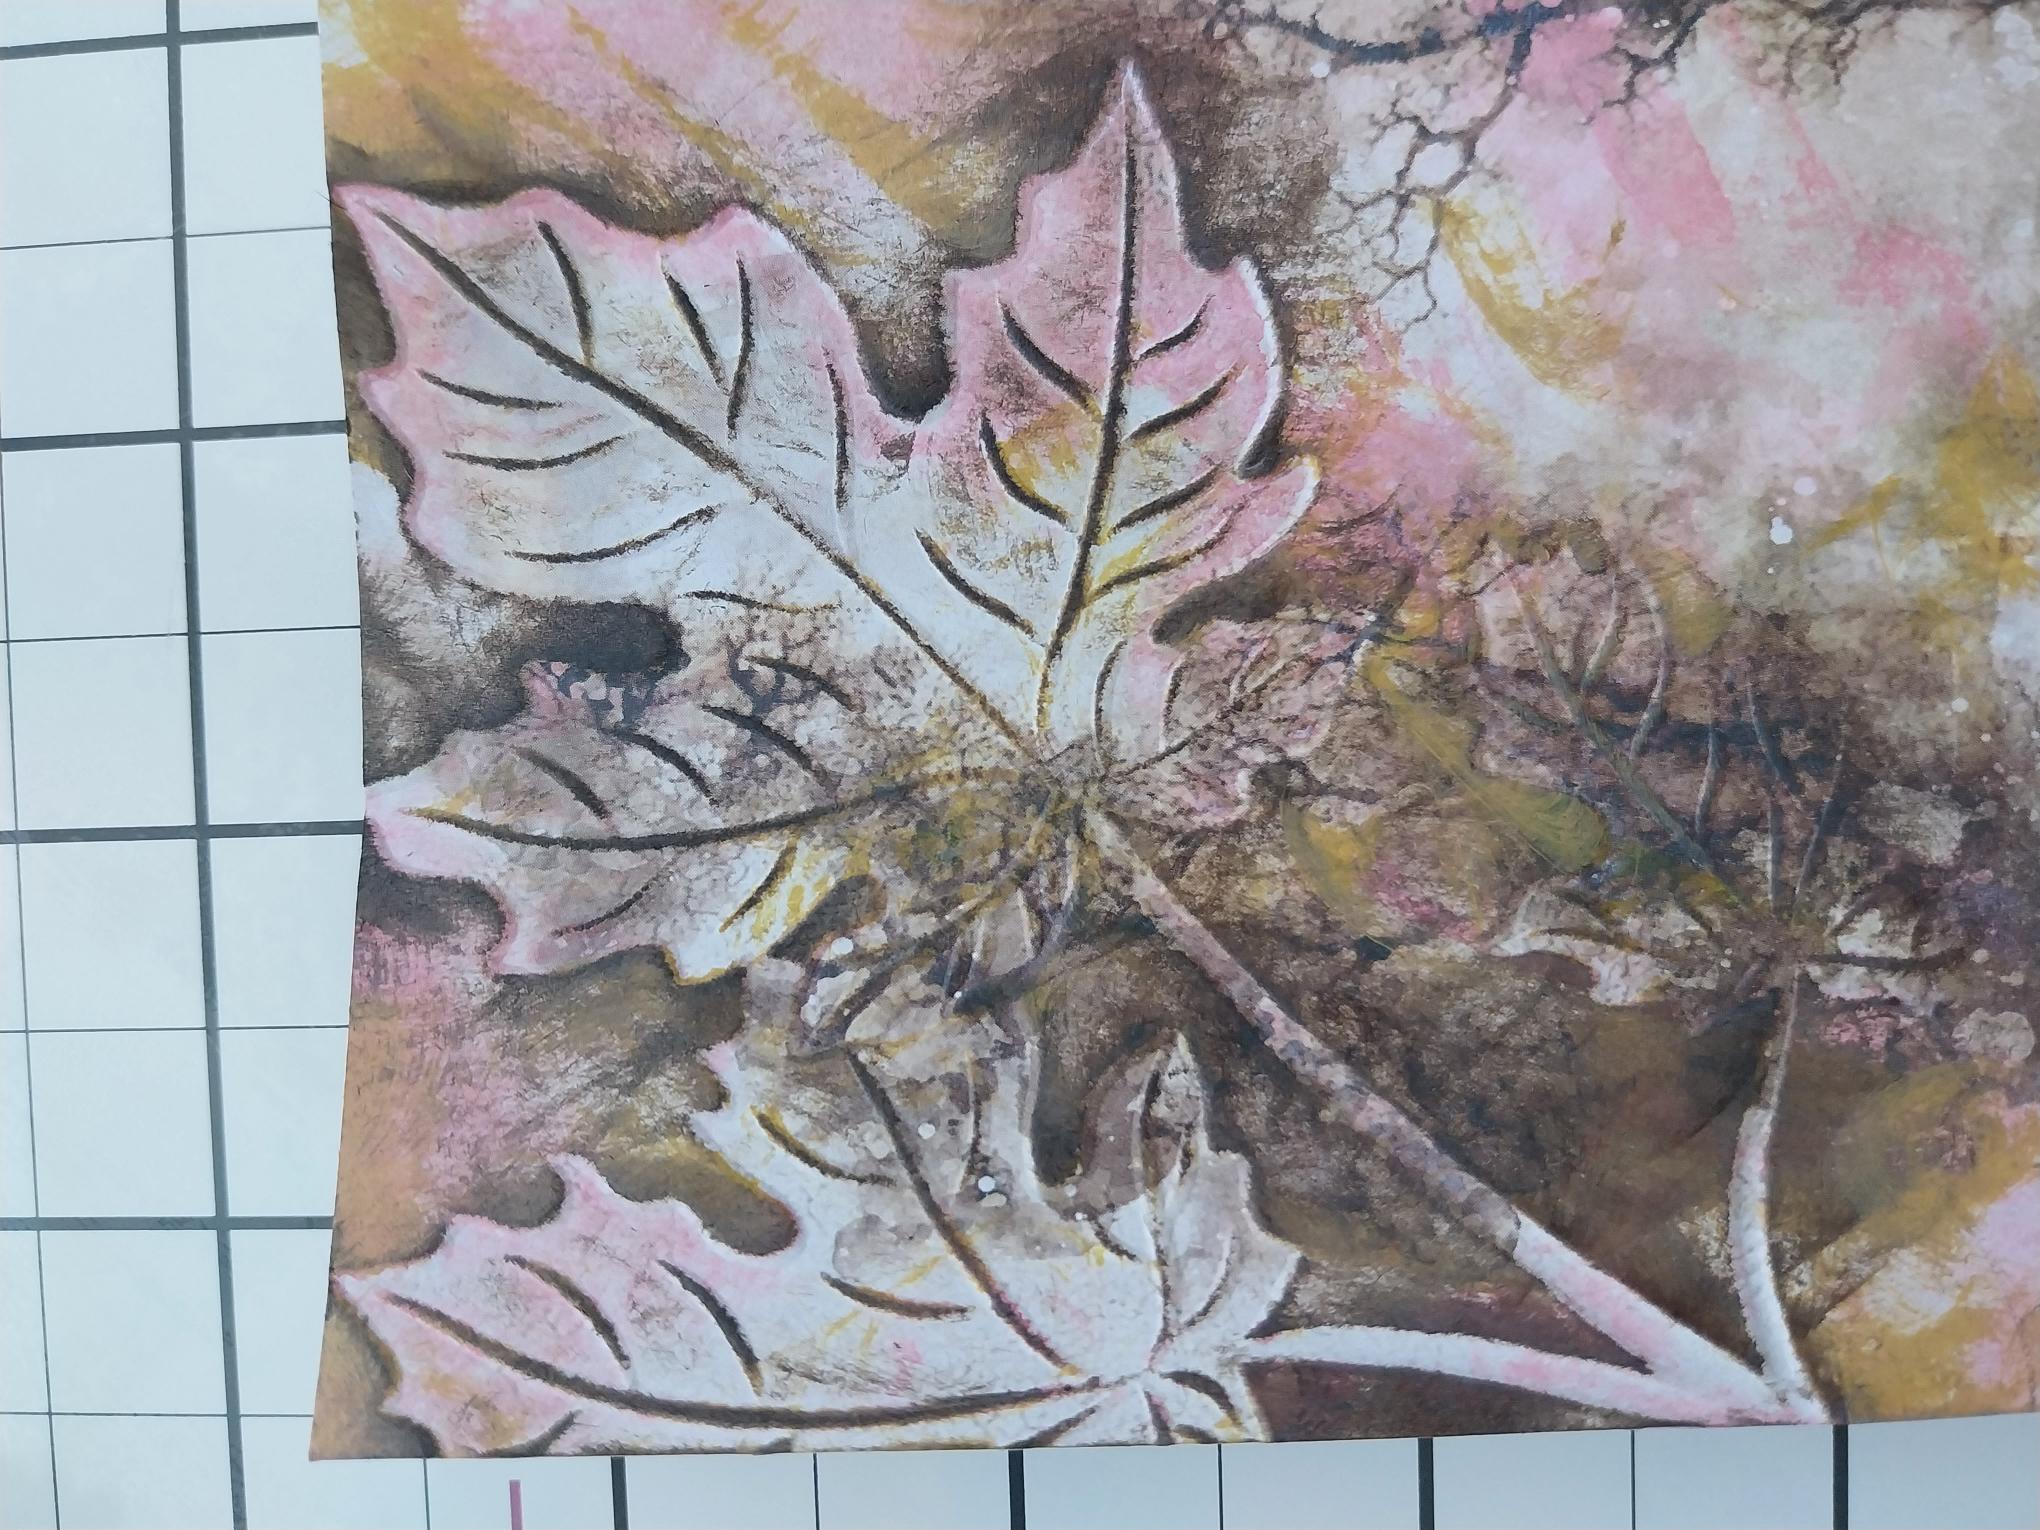
Randomly swipe the Fossilized Amber ink pad around areas of the debossed image. |
|
Go back in and randomly swipe the Walnut Stain ink pad around the image, making the debossed leaves "pop". Set to one side to dry. |
|
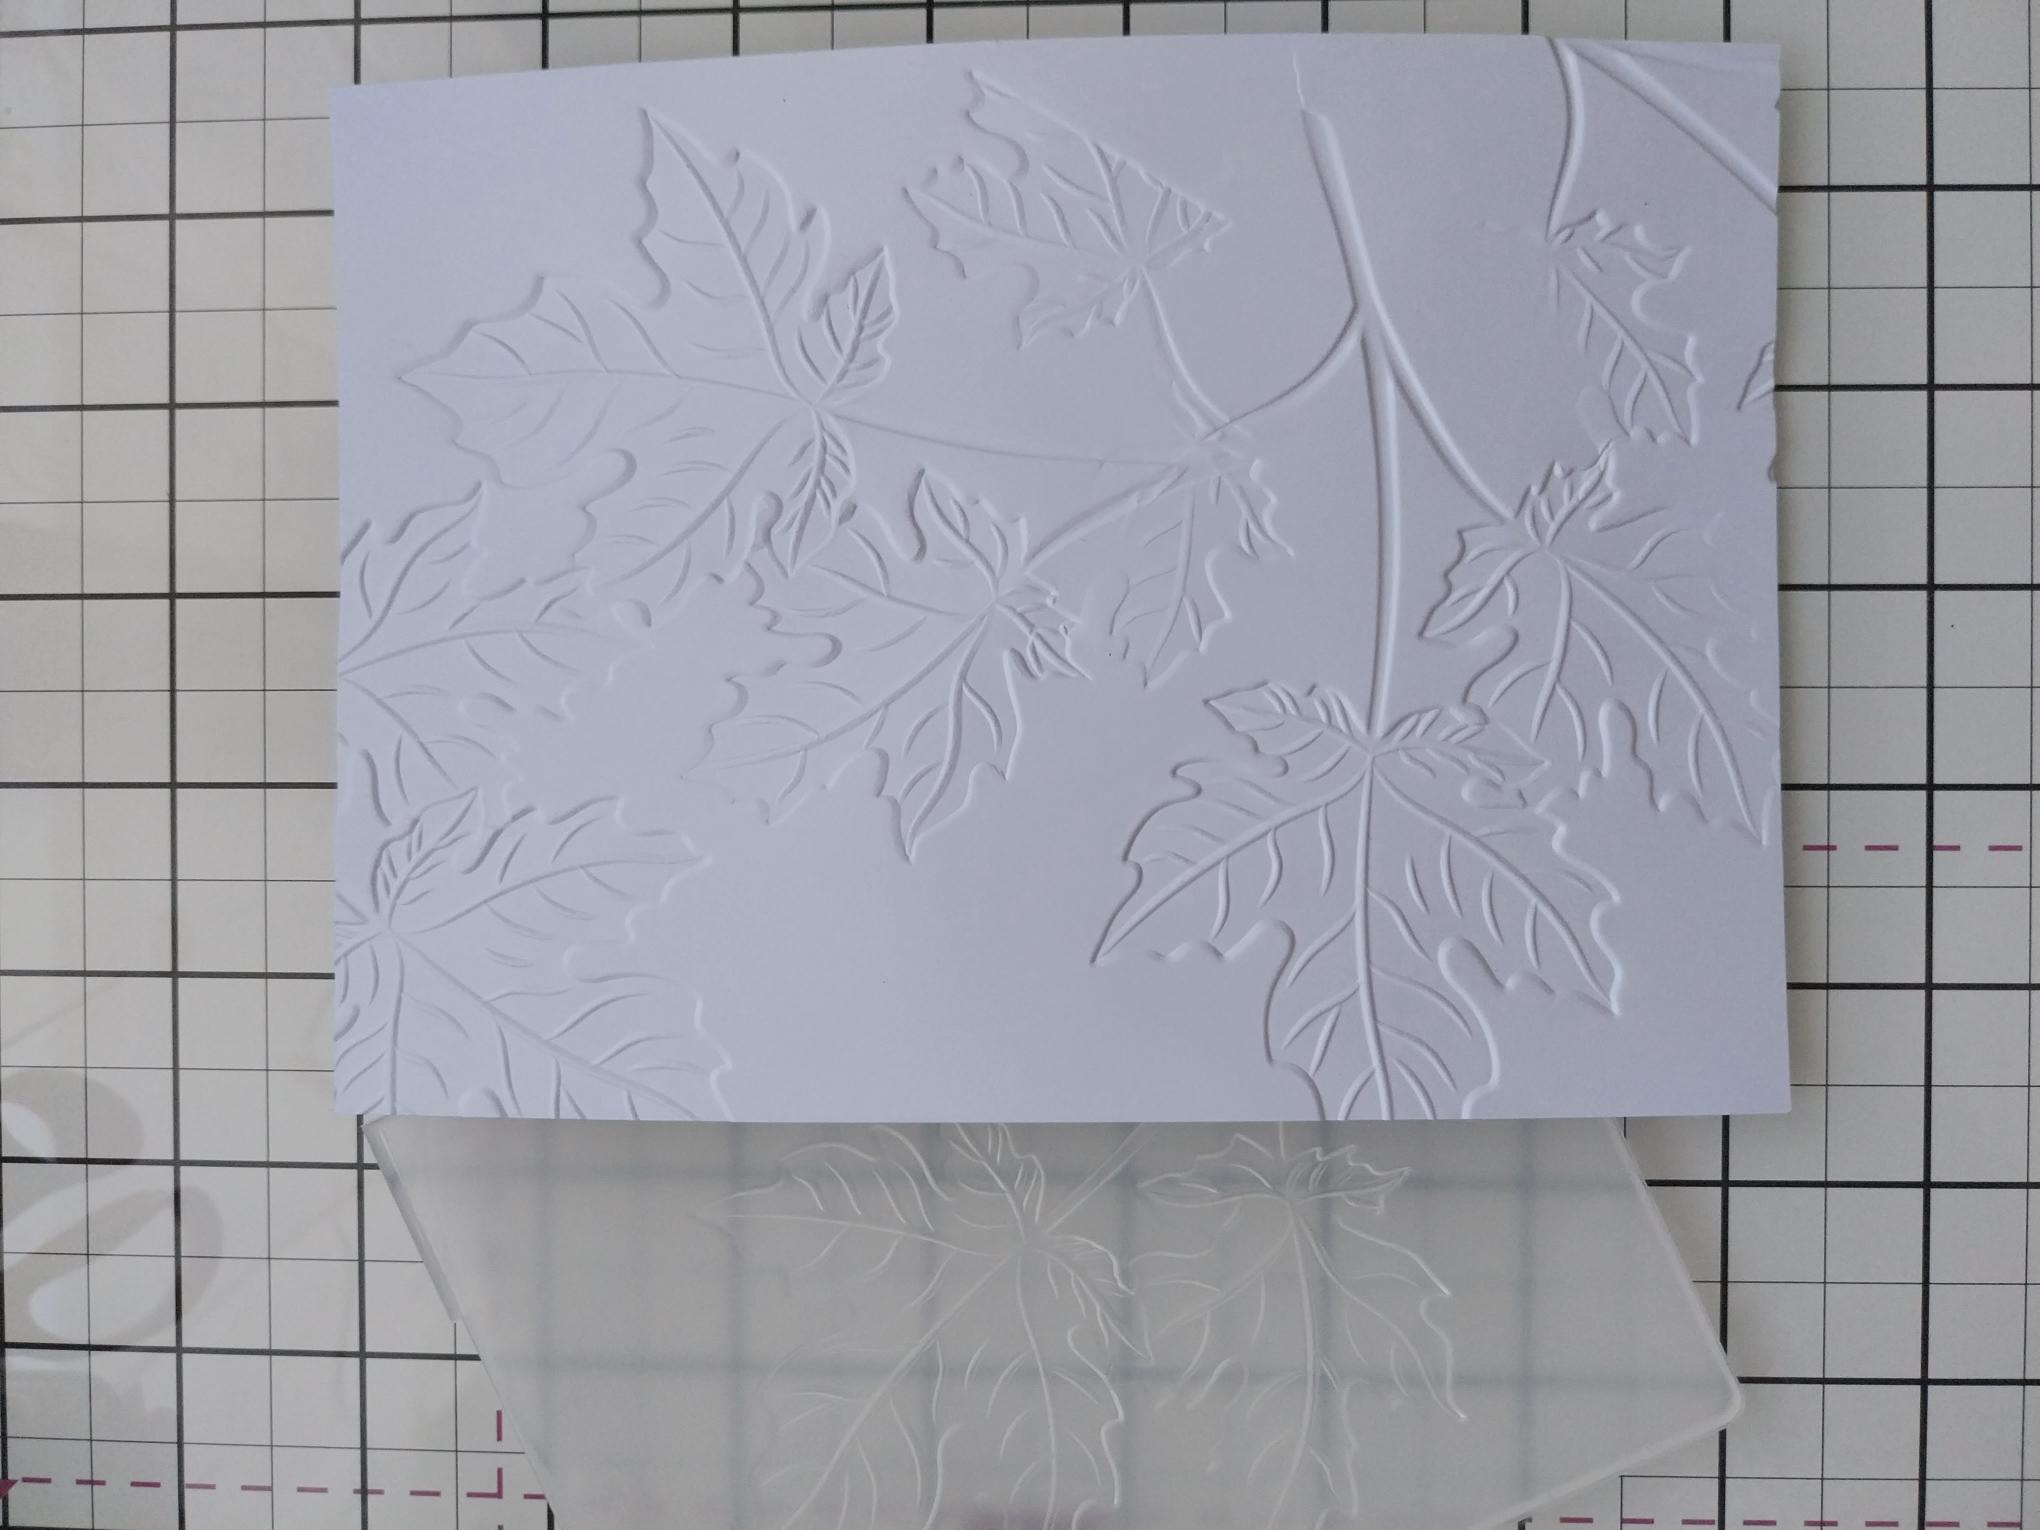
Trim white card to 7 1/4 x 5 1/4", place inside the embossing folder and run it through your machine. You can choose whether to use the embossed or debossed side, for your background. |
|
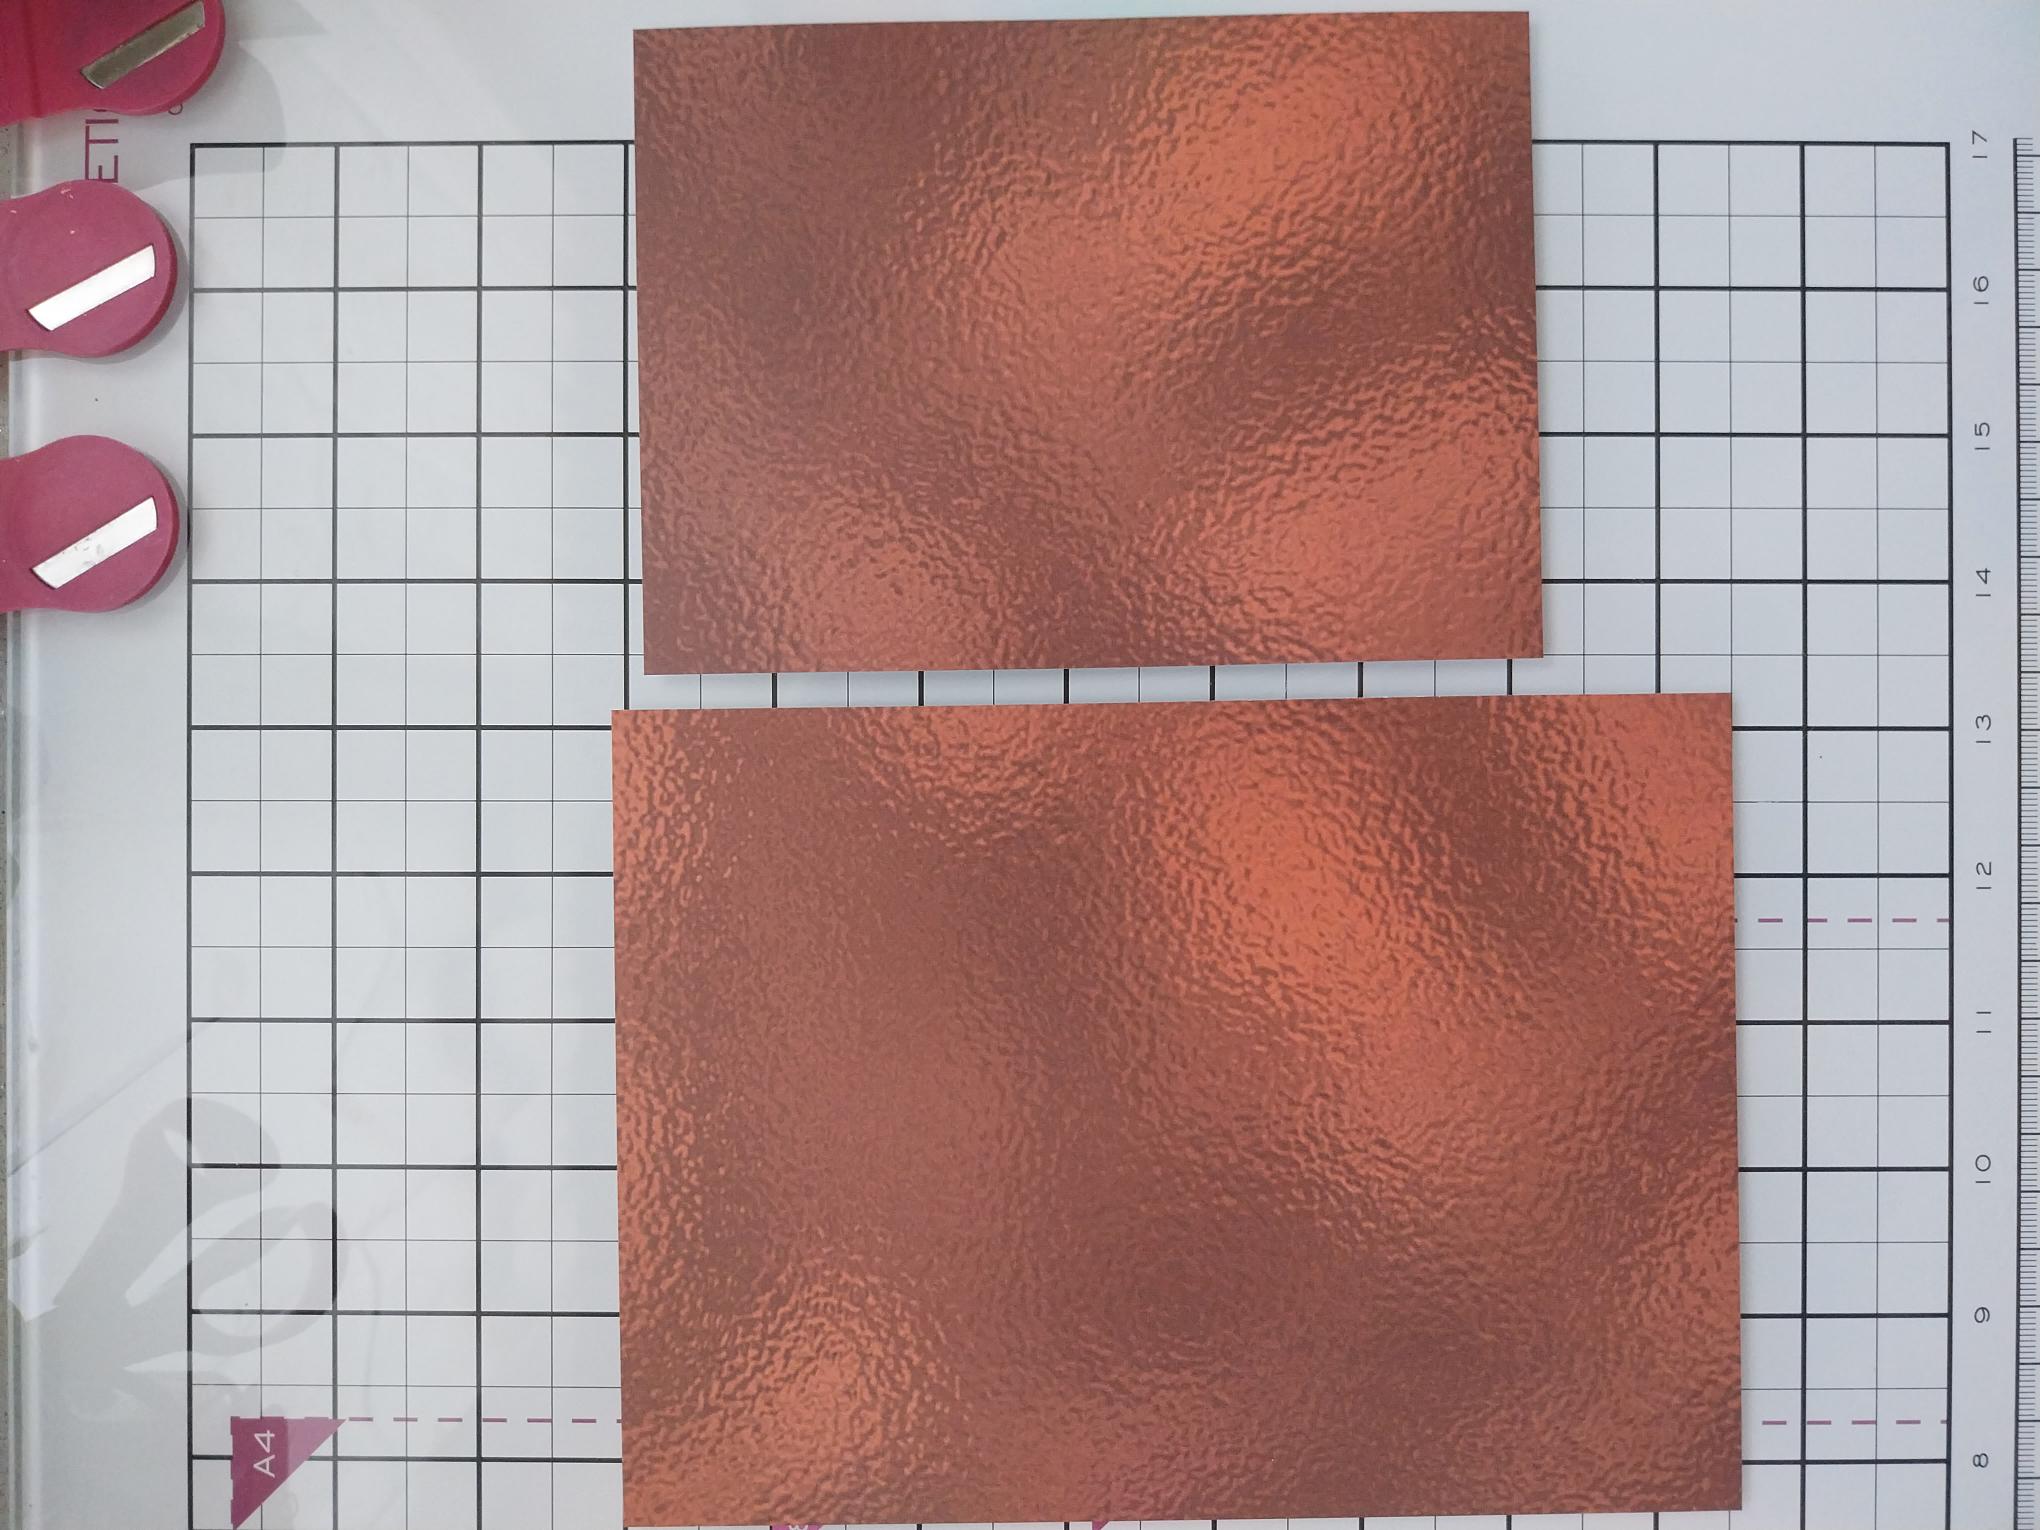
Remove TWO of these patterned sheets from the Copper paper pad. Trim one to 7 1/2 x 5 1/2"and one 6 x 4 1/4". |
|
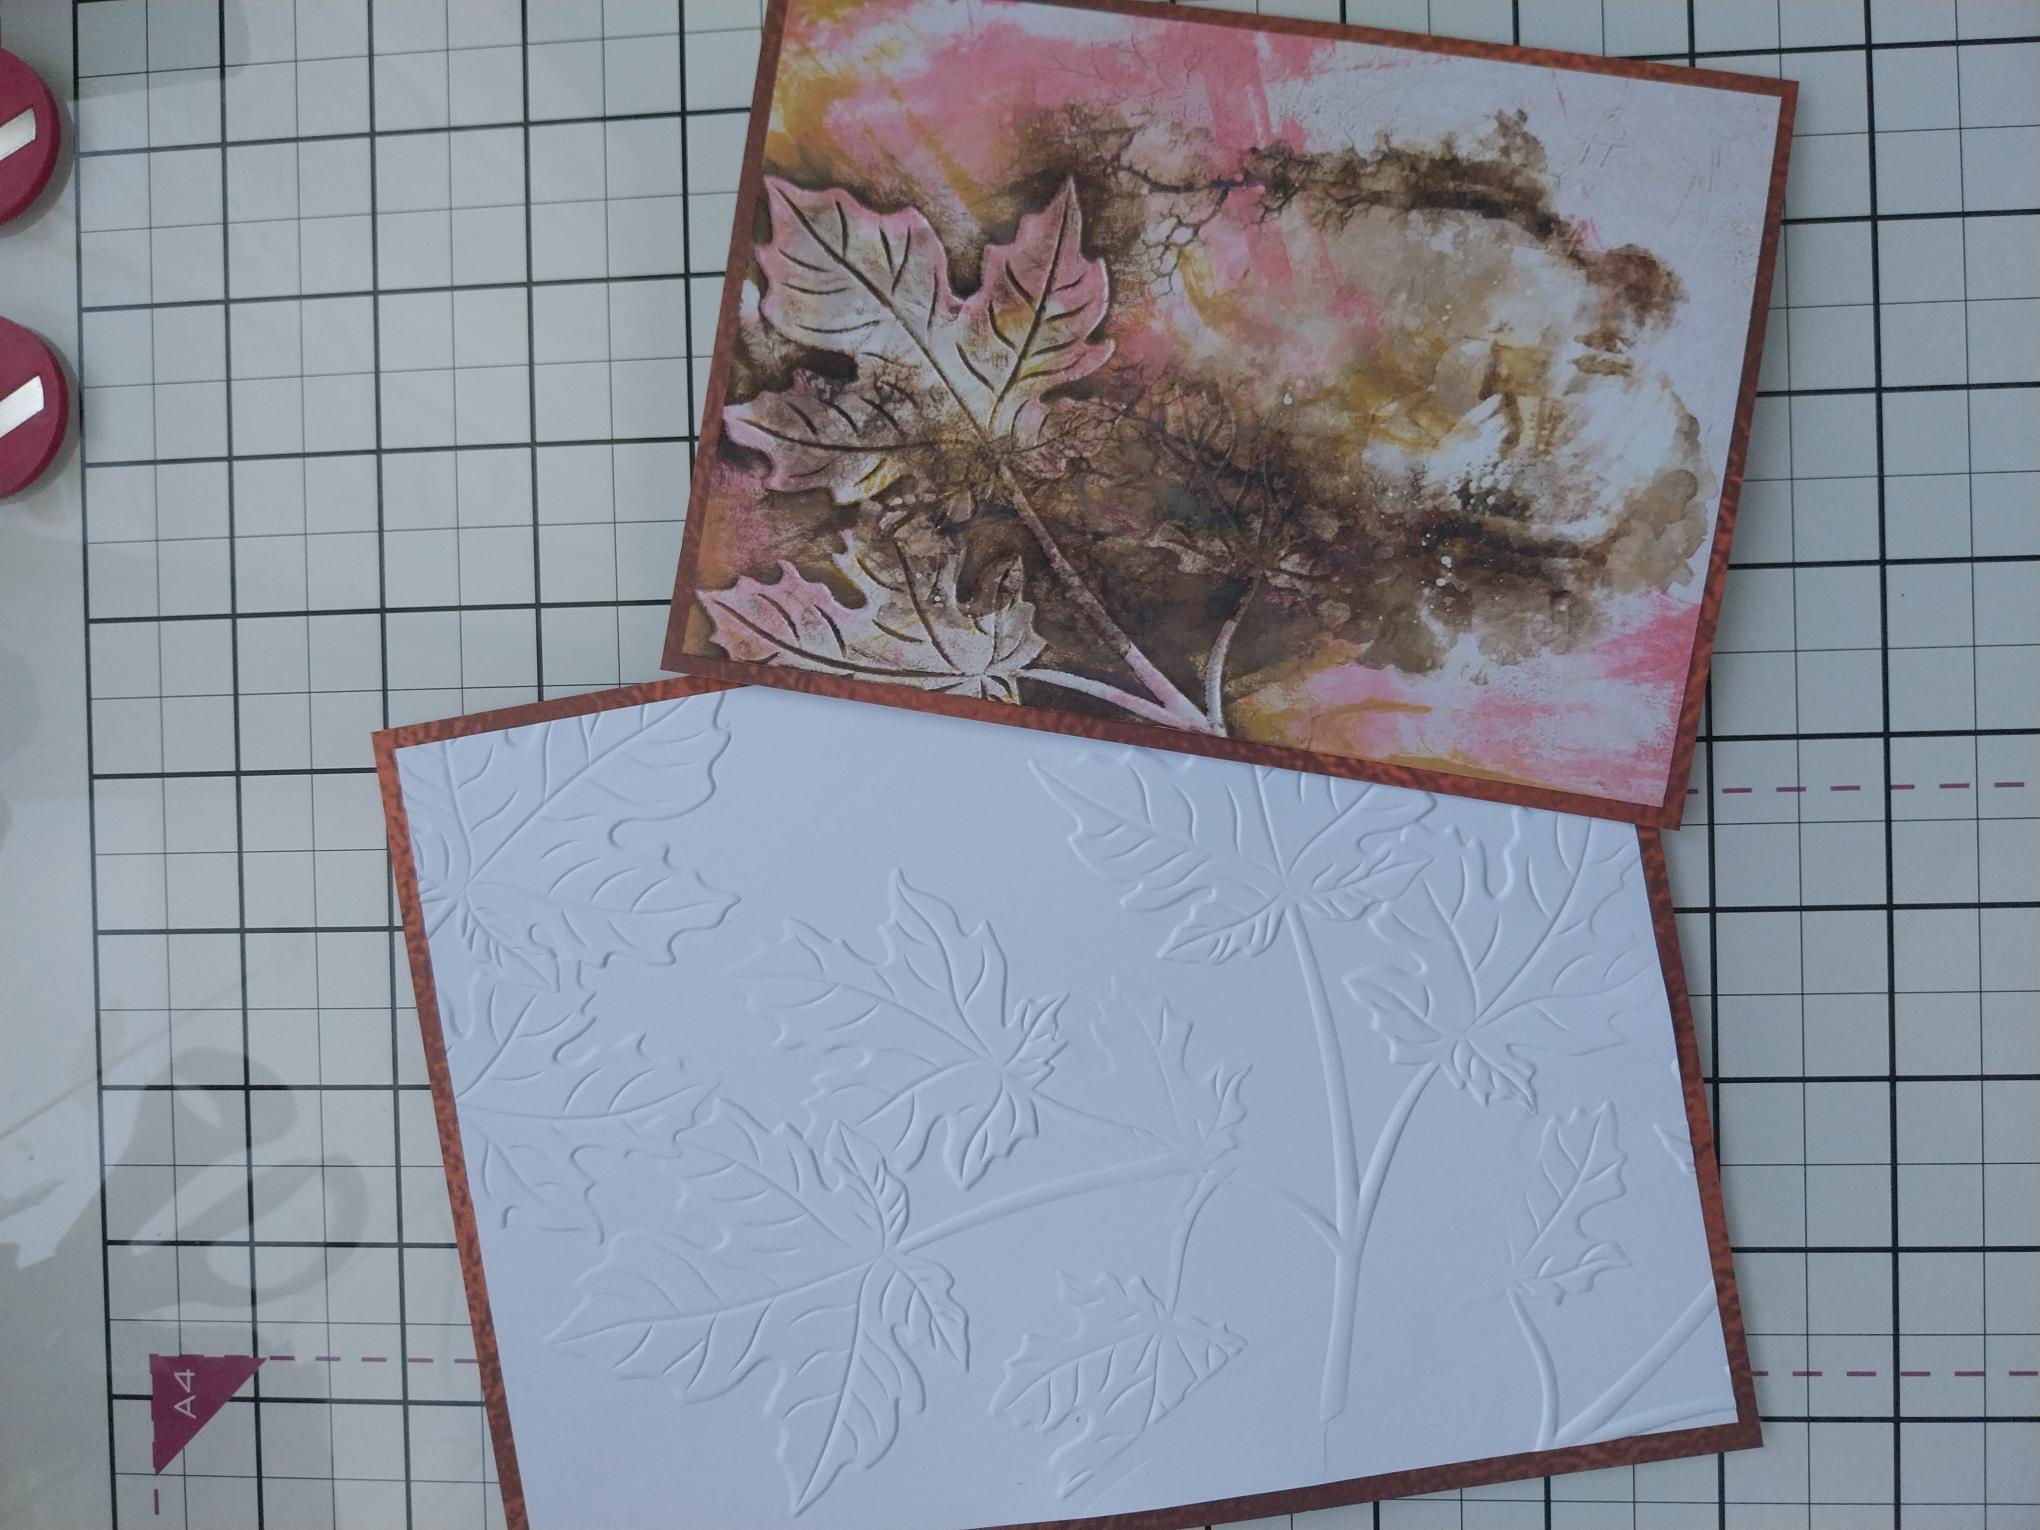
Adhere the embossed mount and embossed background on to their paper mats. |
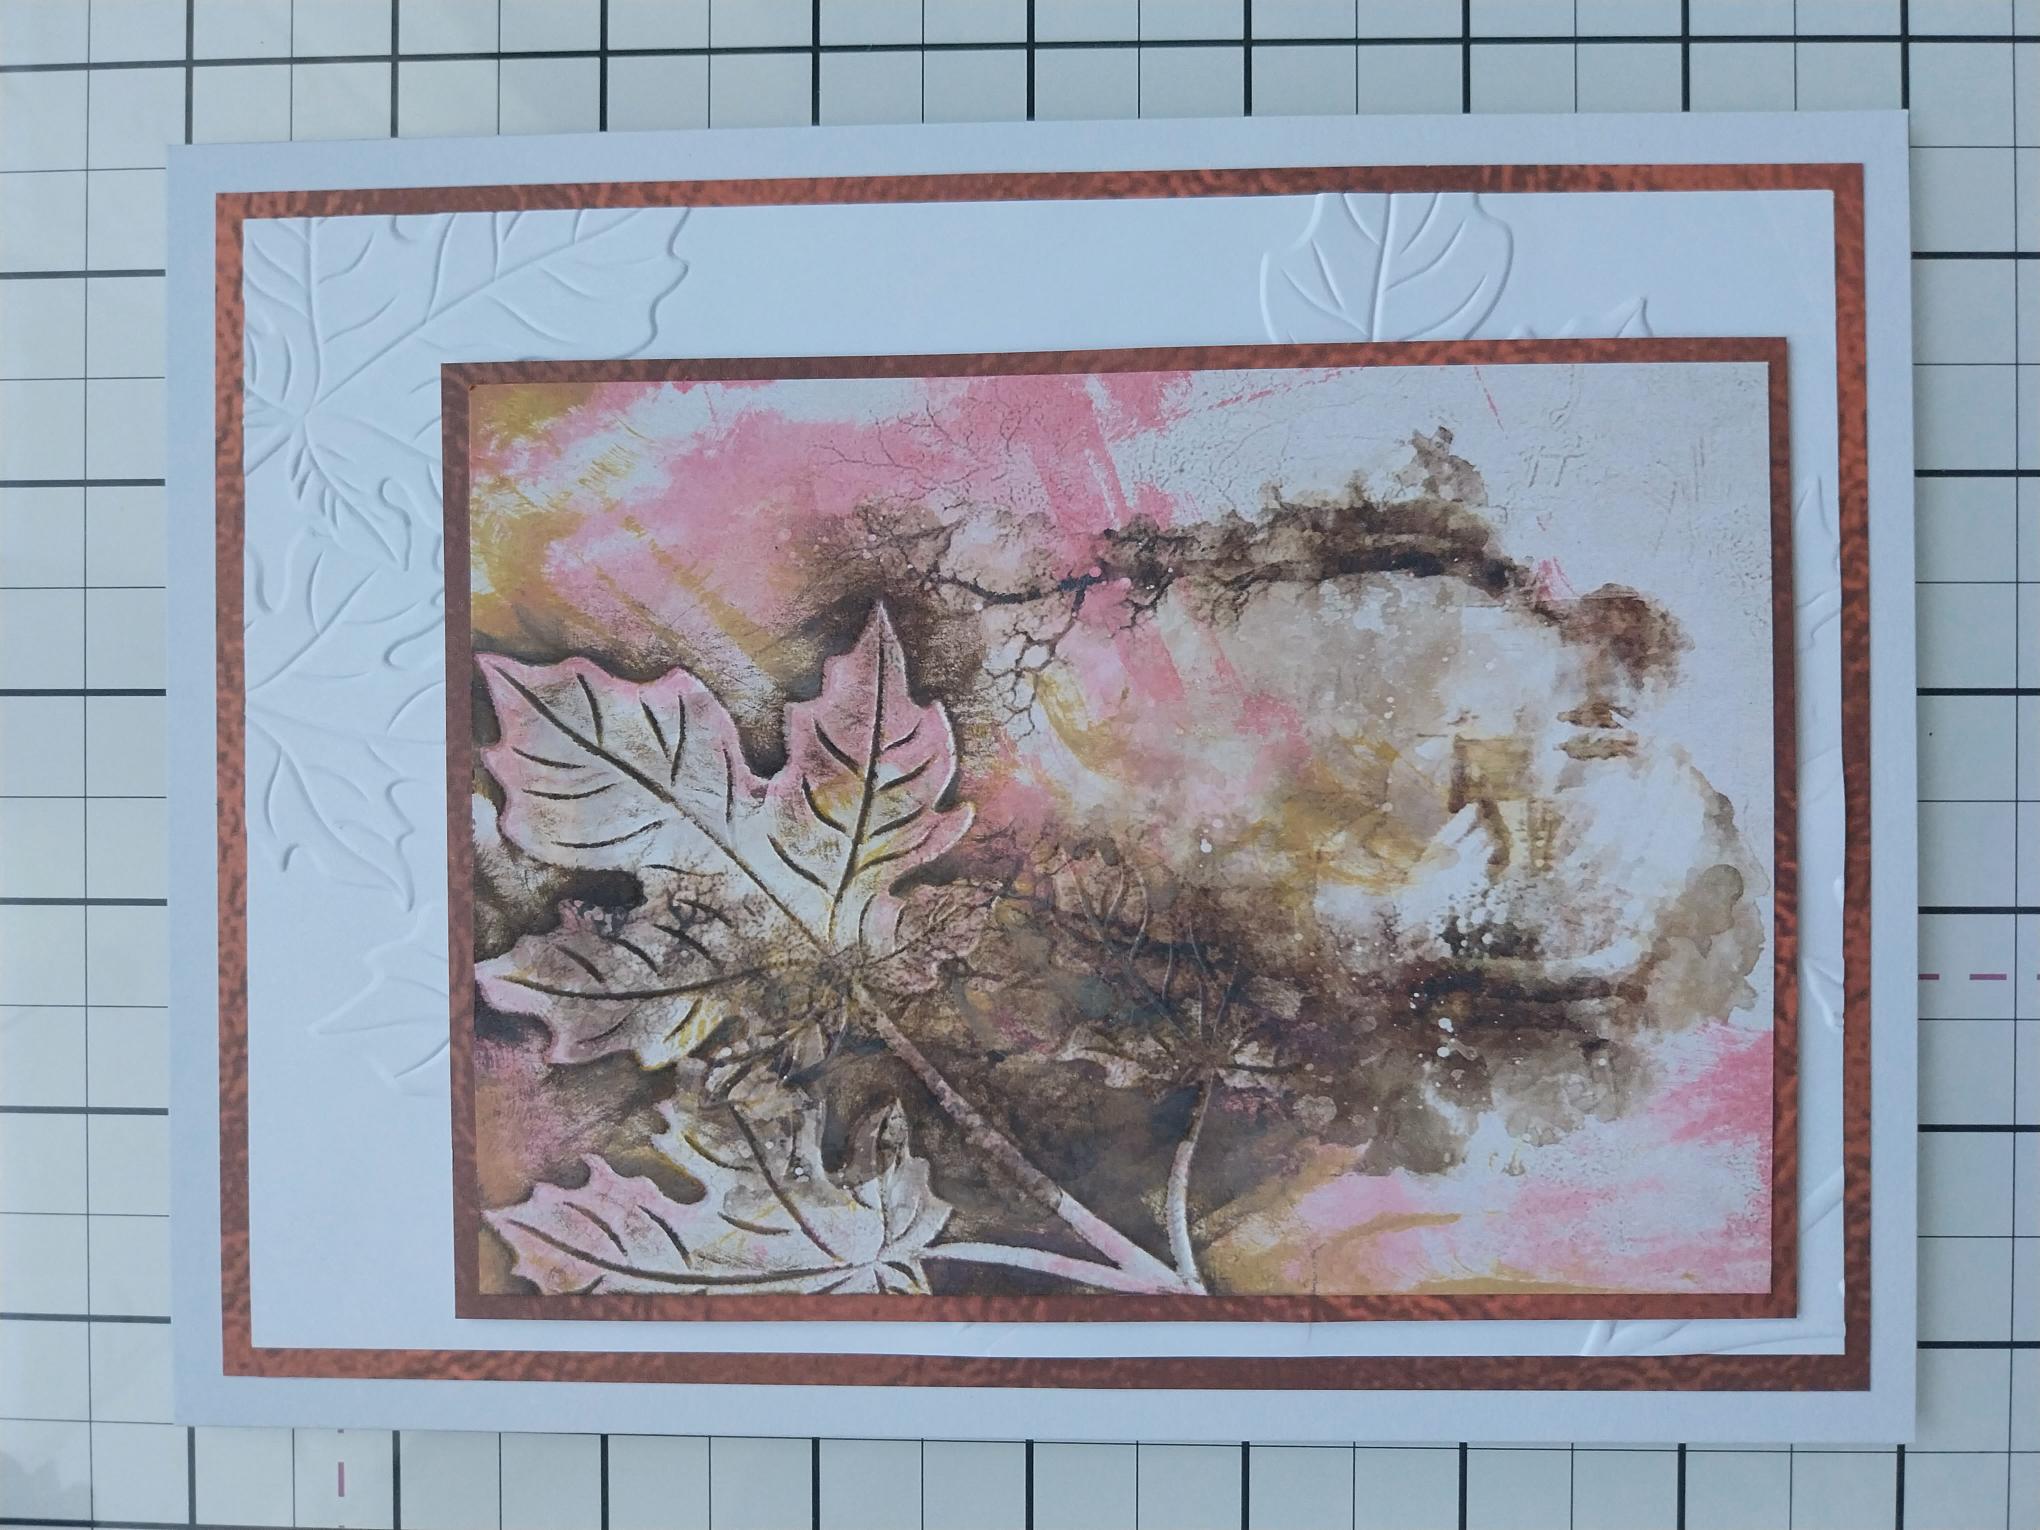
|
Adhere to the front of your card blank and pop to one side. |
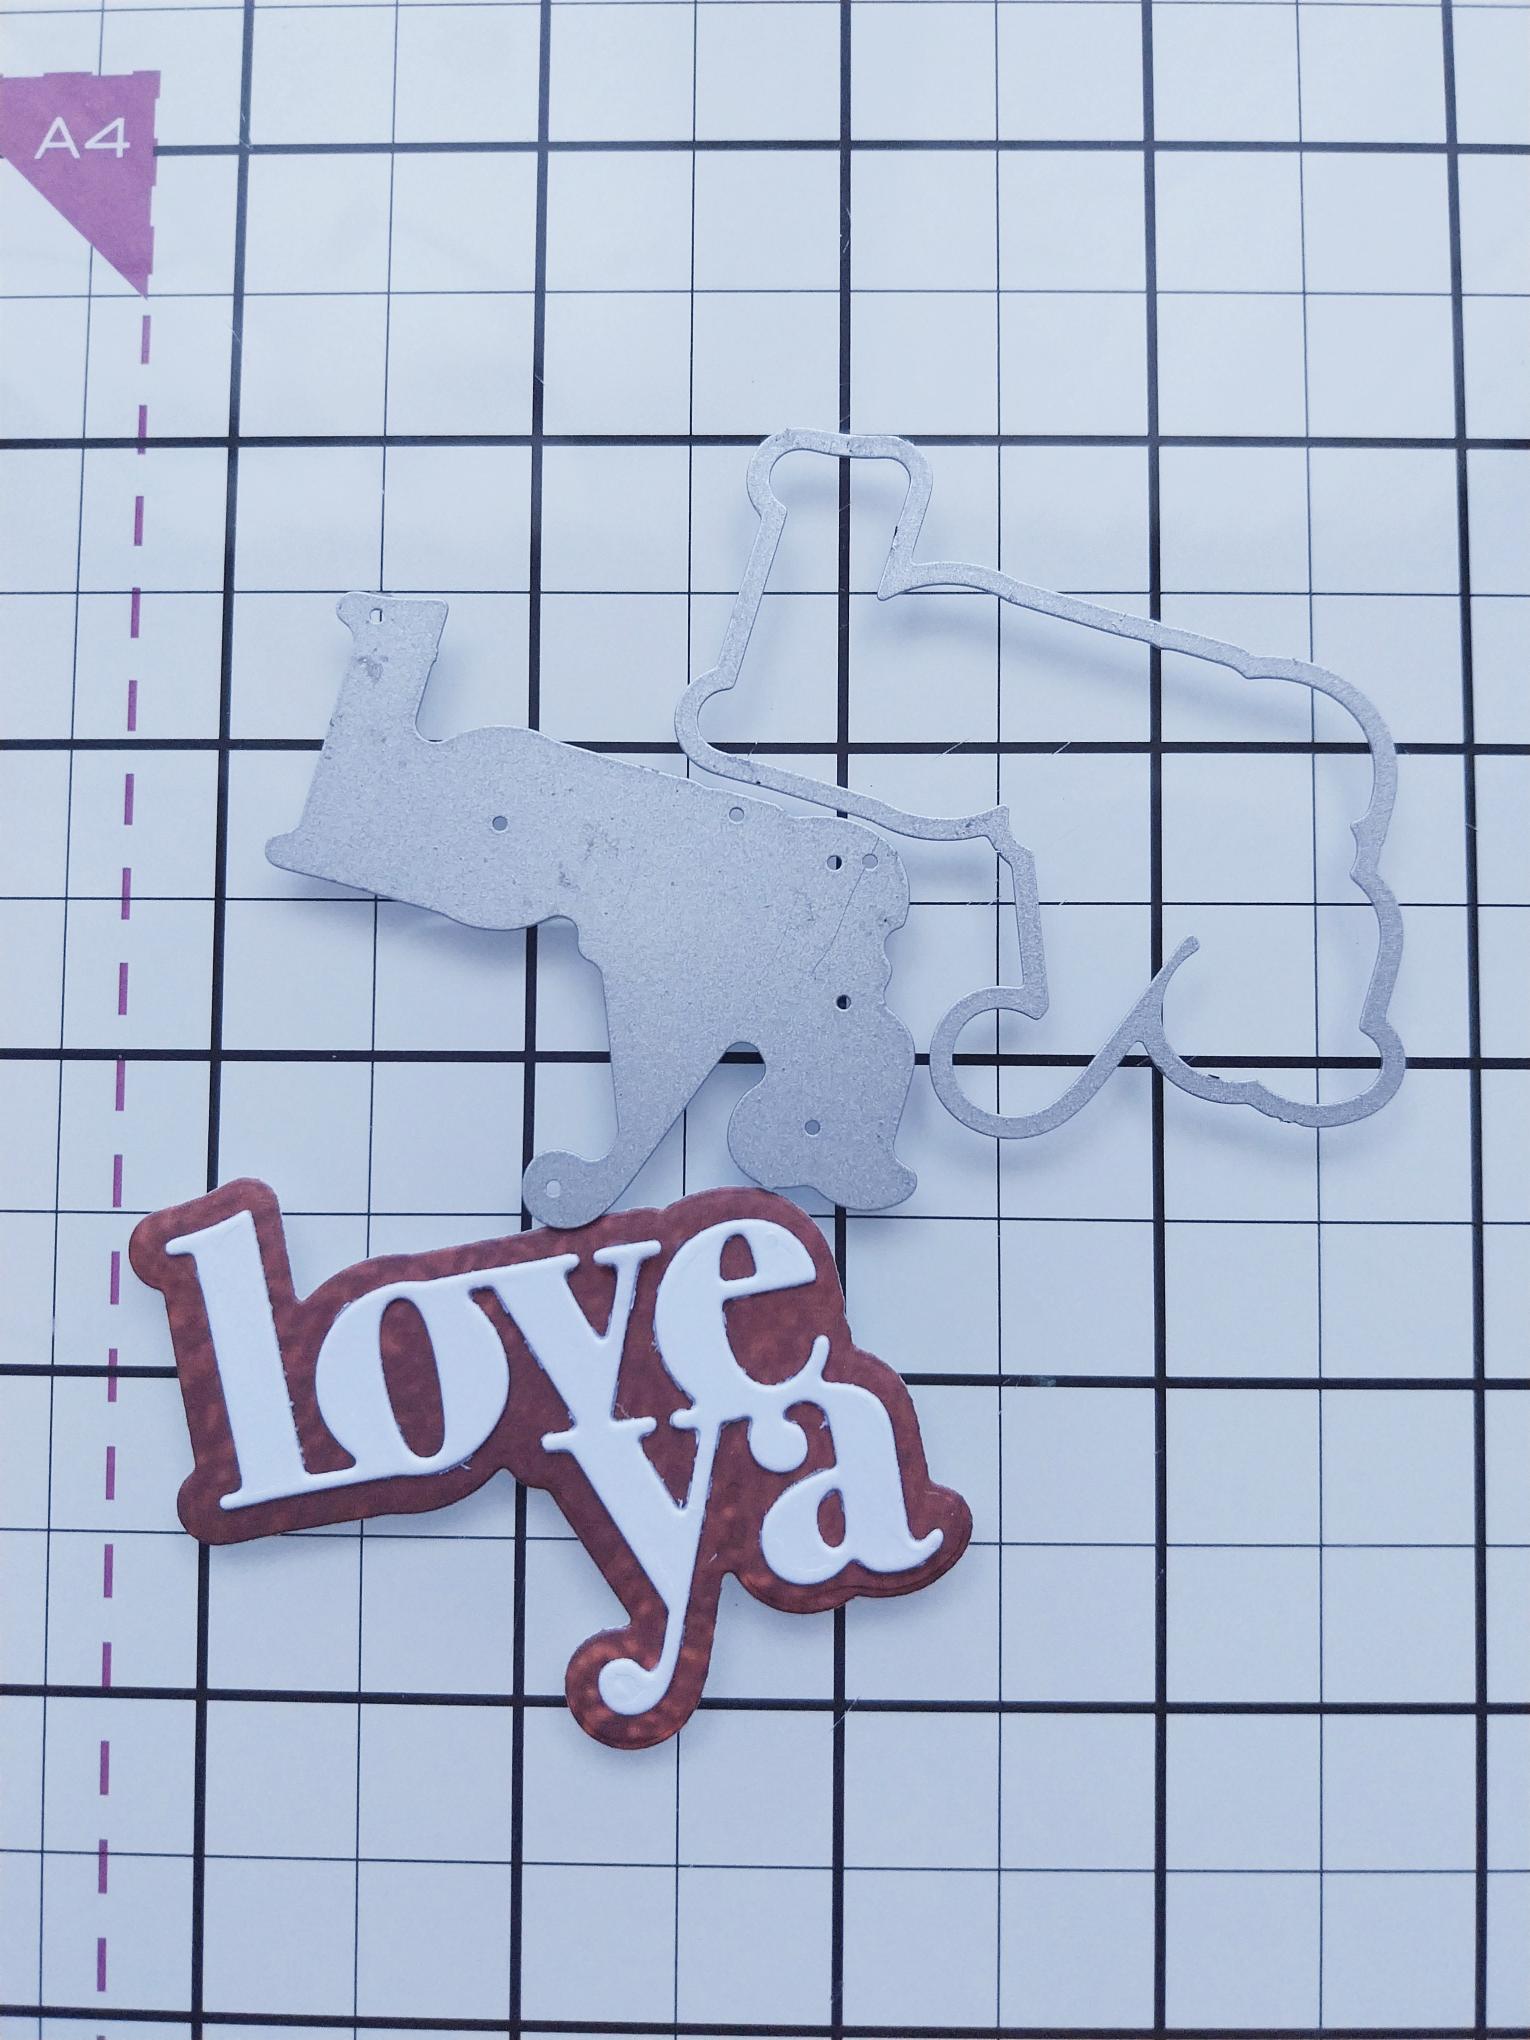
|
Using the "Love Ya" dies, cut the detailed die from white card and the outline die from the decorative paper left over earlier. |
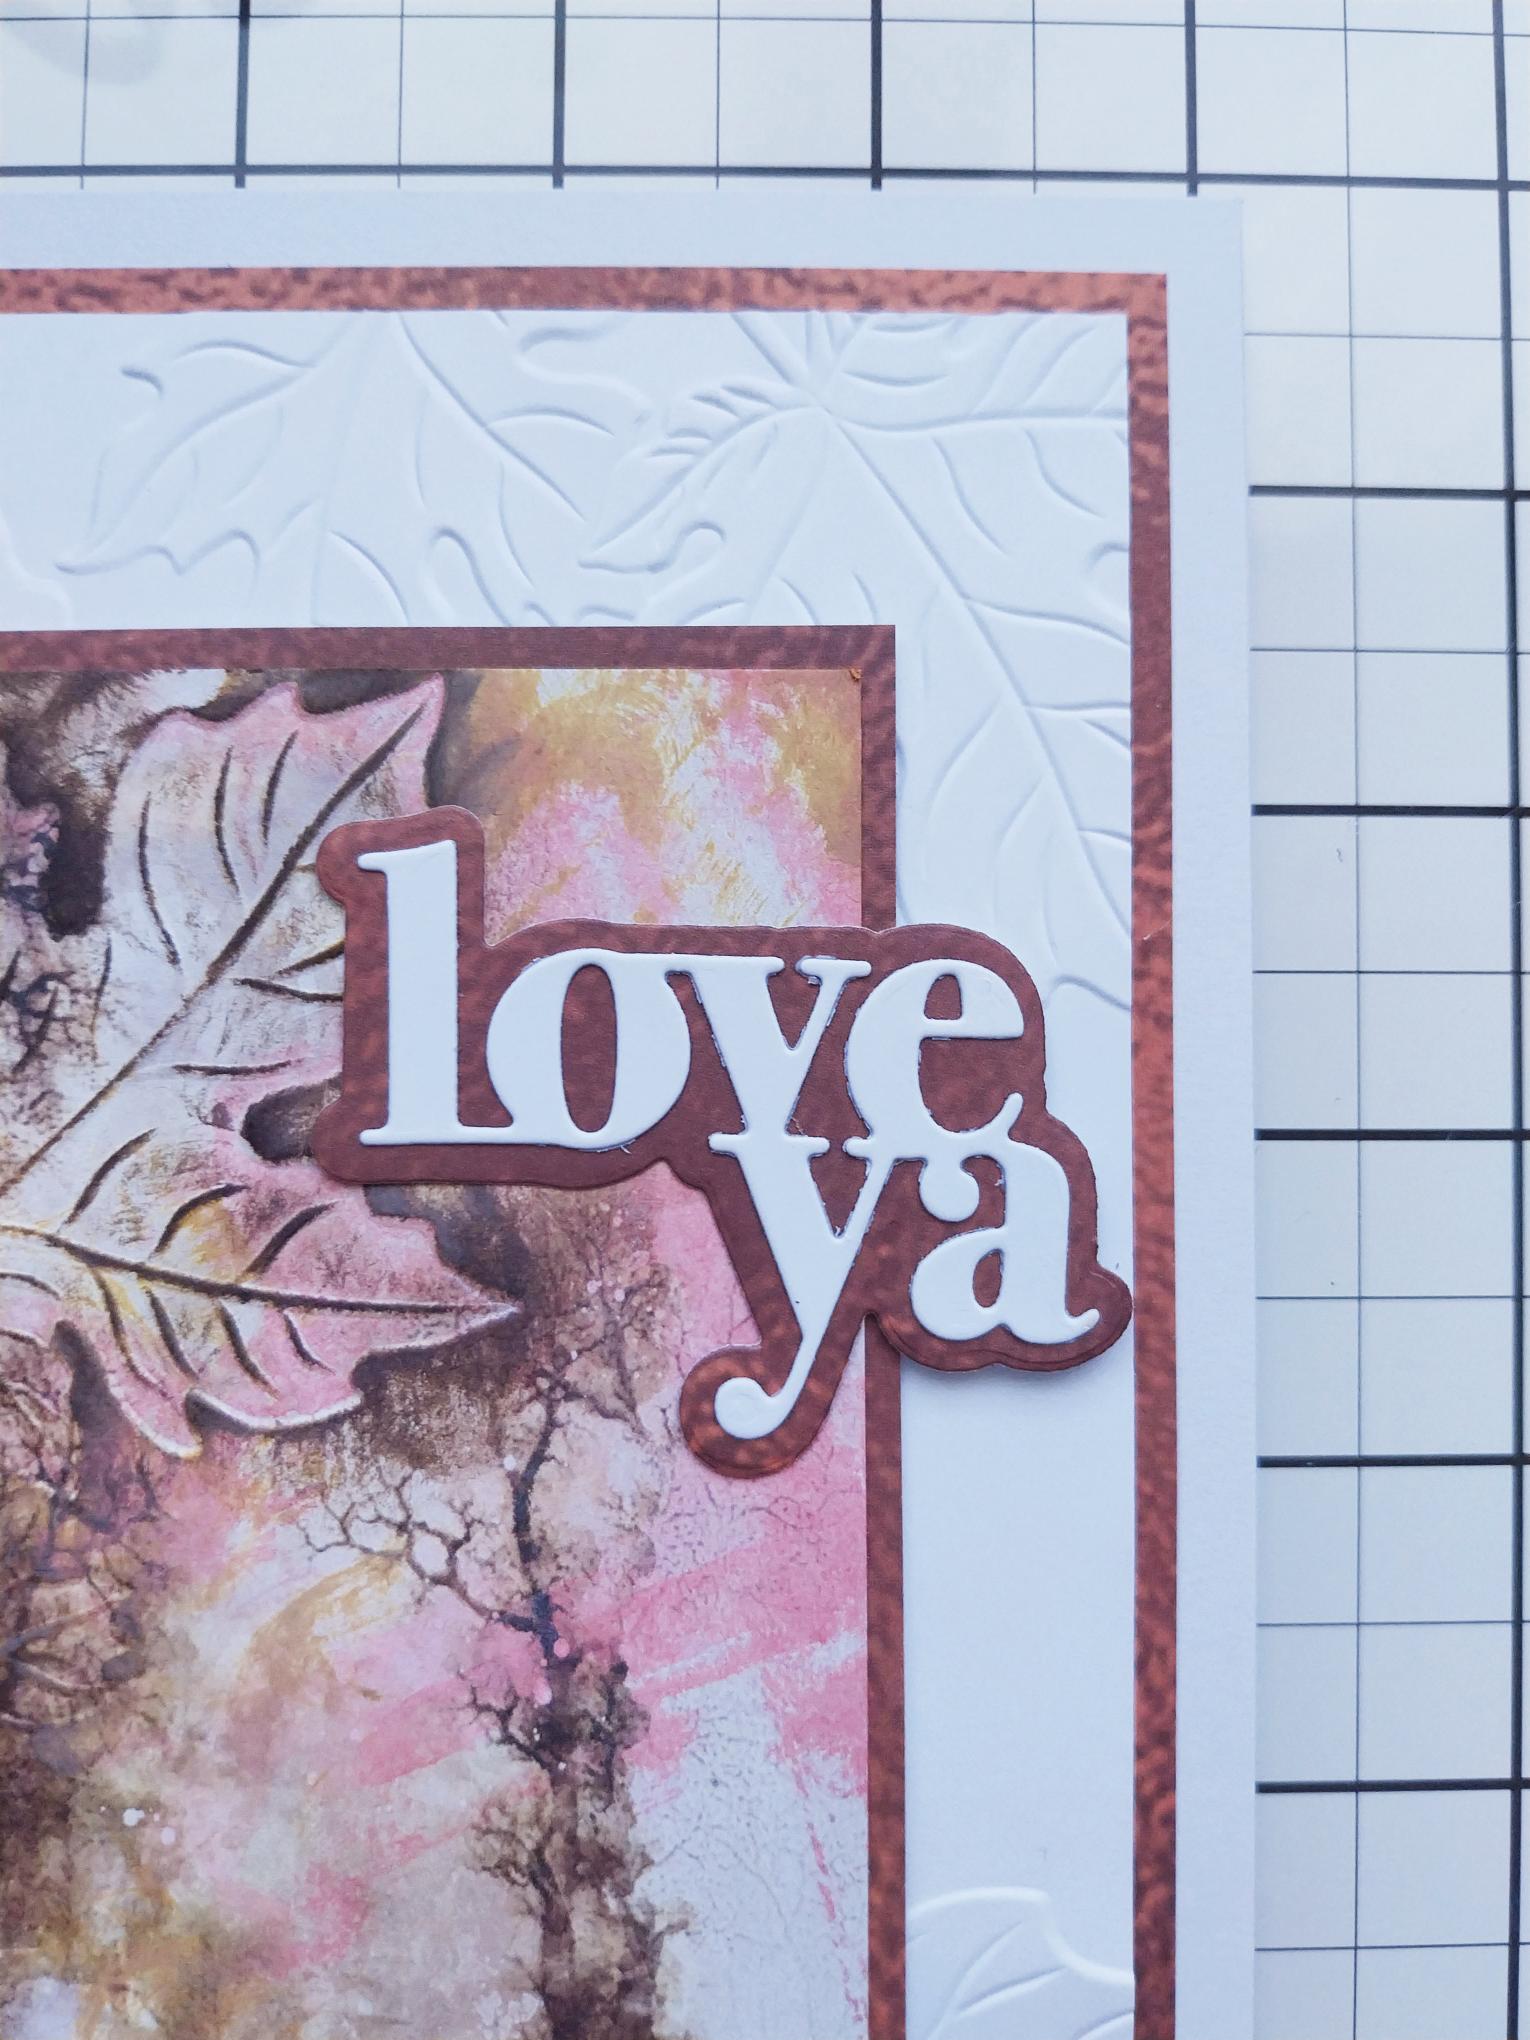
|
Adhere to the top right of your artwork, with foam pads. |
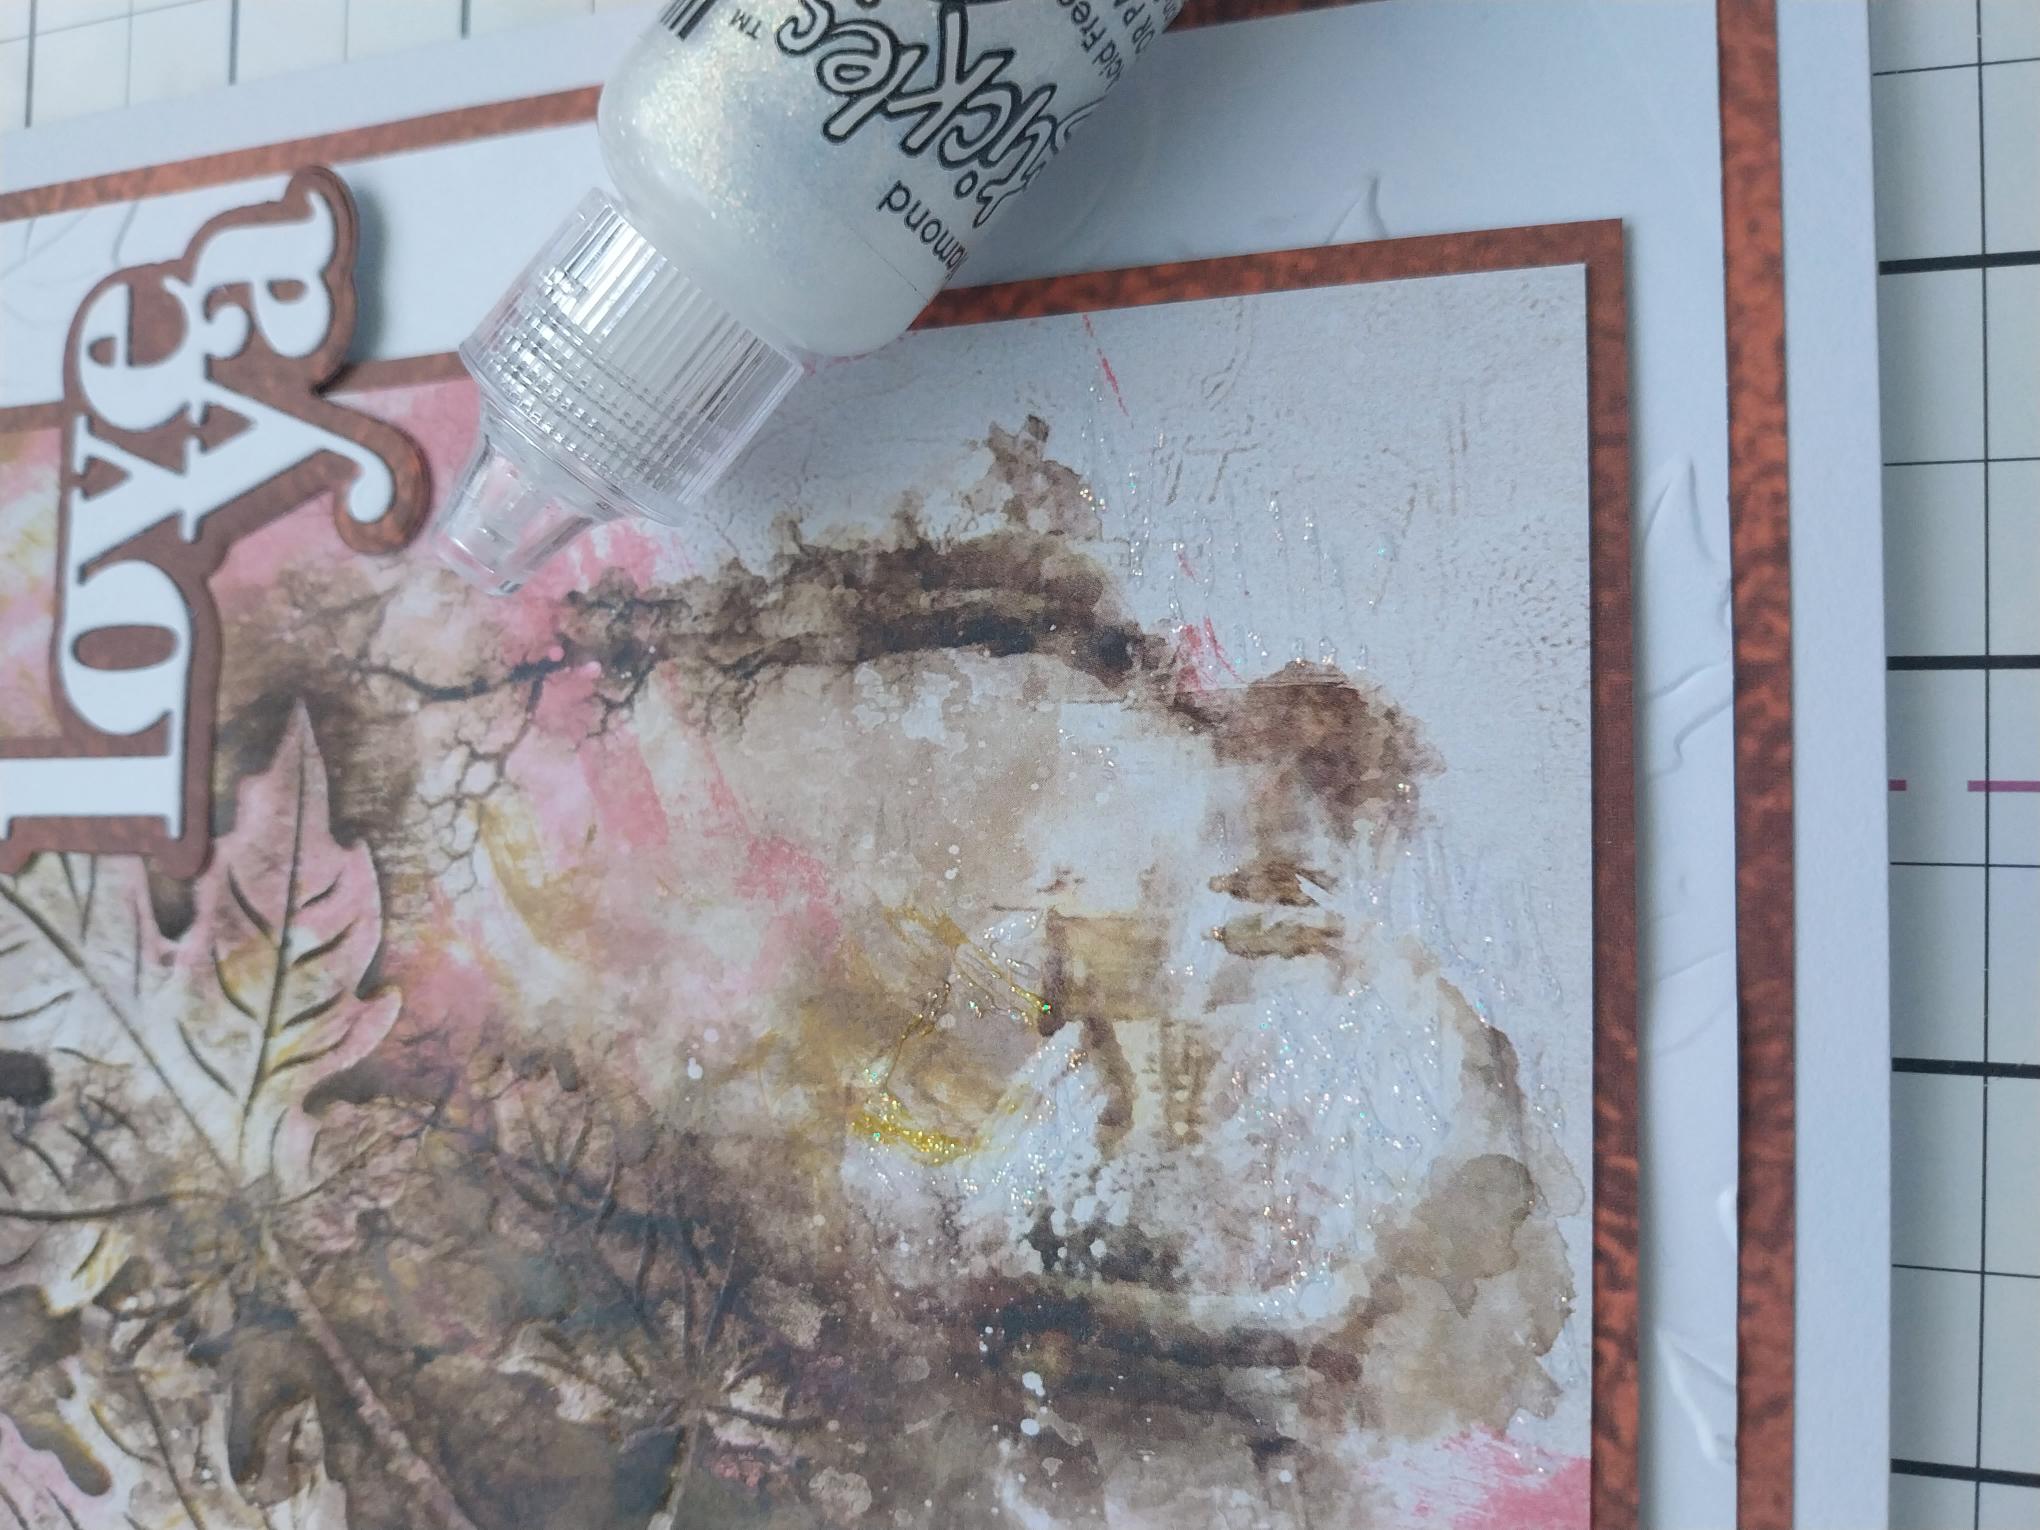
|
Use the Stickles to add a touch of sparkle to your artwork. |