

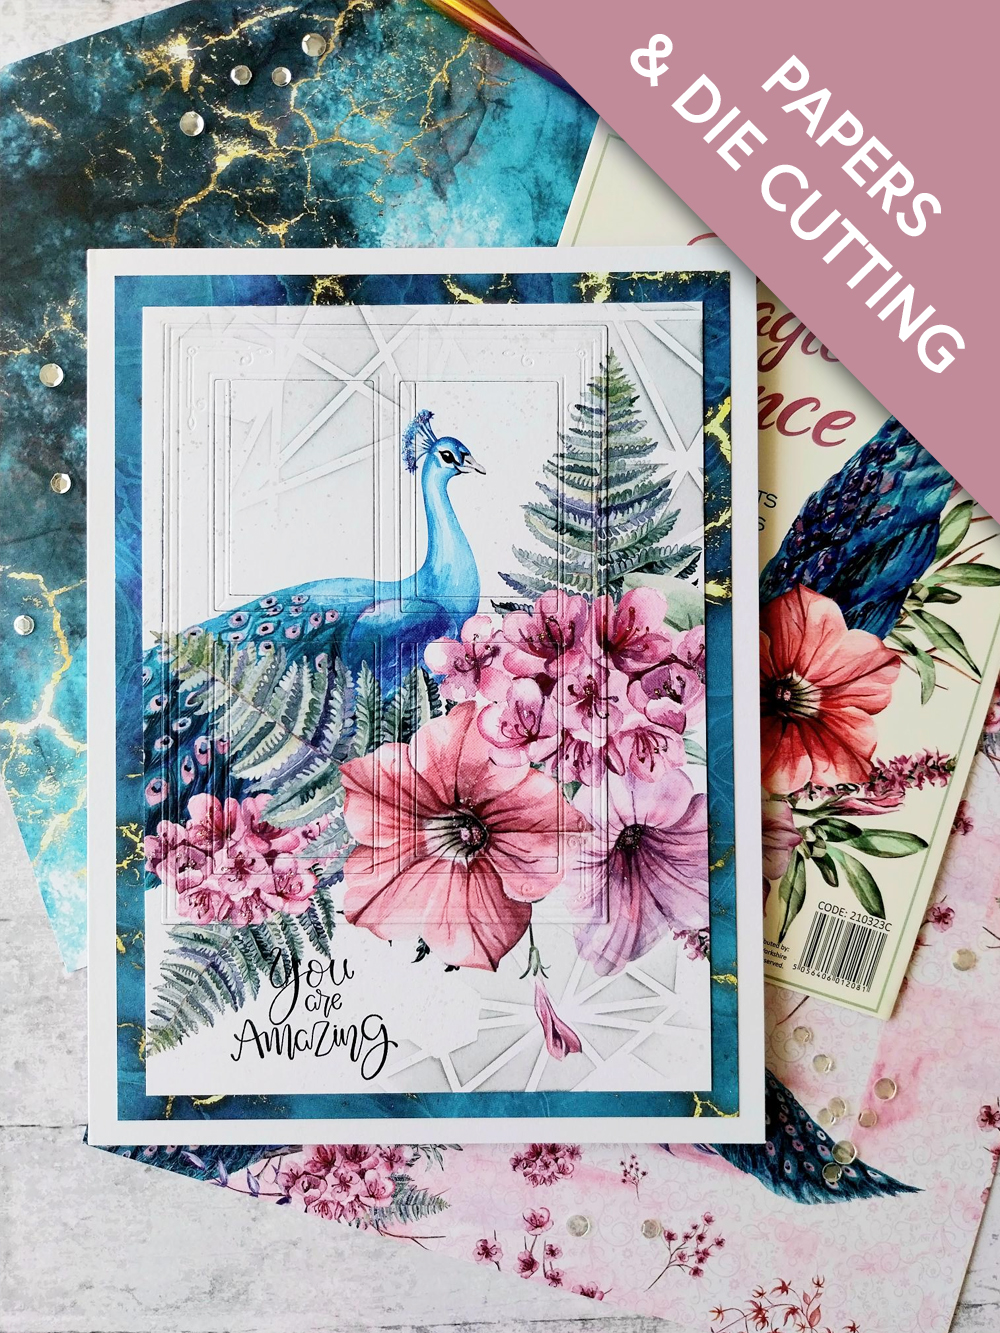
WHAT YOU WILL NEED:
White card blank 6 x 8"
White card
Paperchain Magical Elegance 5 x 7" Painted Mounts
Paperchain Magical Elegance 8 x 8" Foundation Pack
Honeycomb 7 x 7" Stencil
Christmas Window Die Beautiful View
SBM Hybrid Ink Pad: Midnight
Distress Oxide: Lost Shadow
Blending brush
Paint brush
WOW heat tool
Stickles: Diamond
Eureka 101 Watercolour Tablet
SBM A3 Magnetic glass mat
Paper Trimmer
Glue
Double-sided adhesive tape
Die Cutting machine
[click image to enlarge] 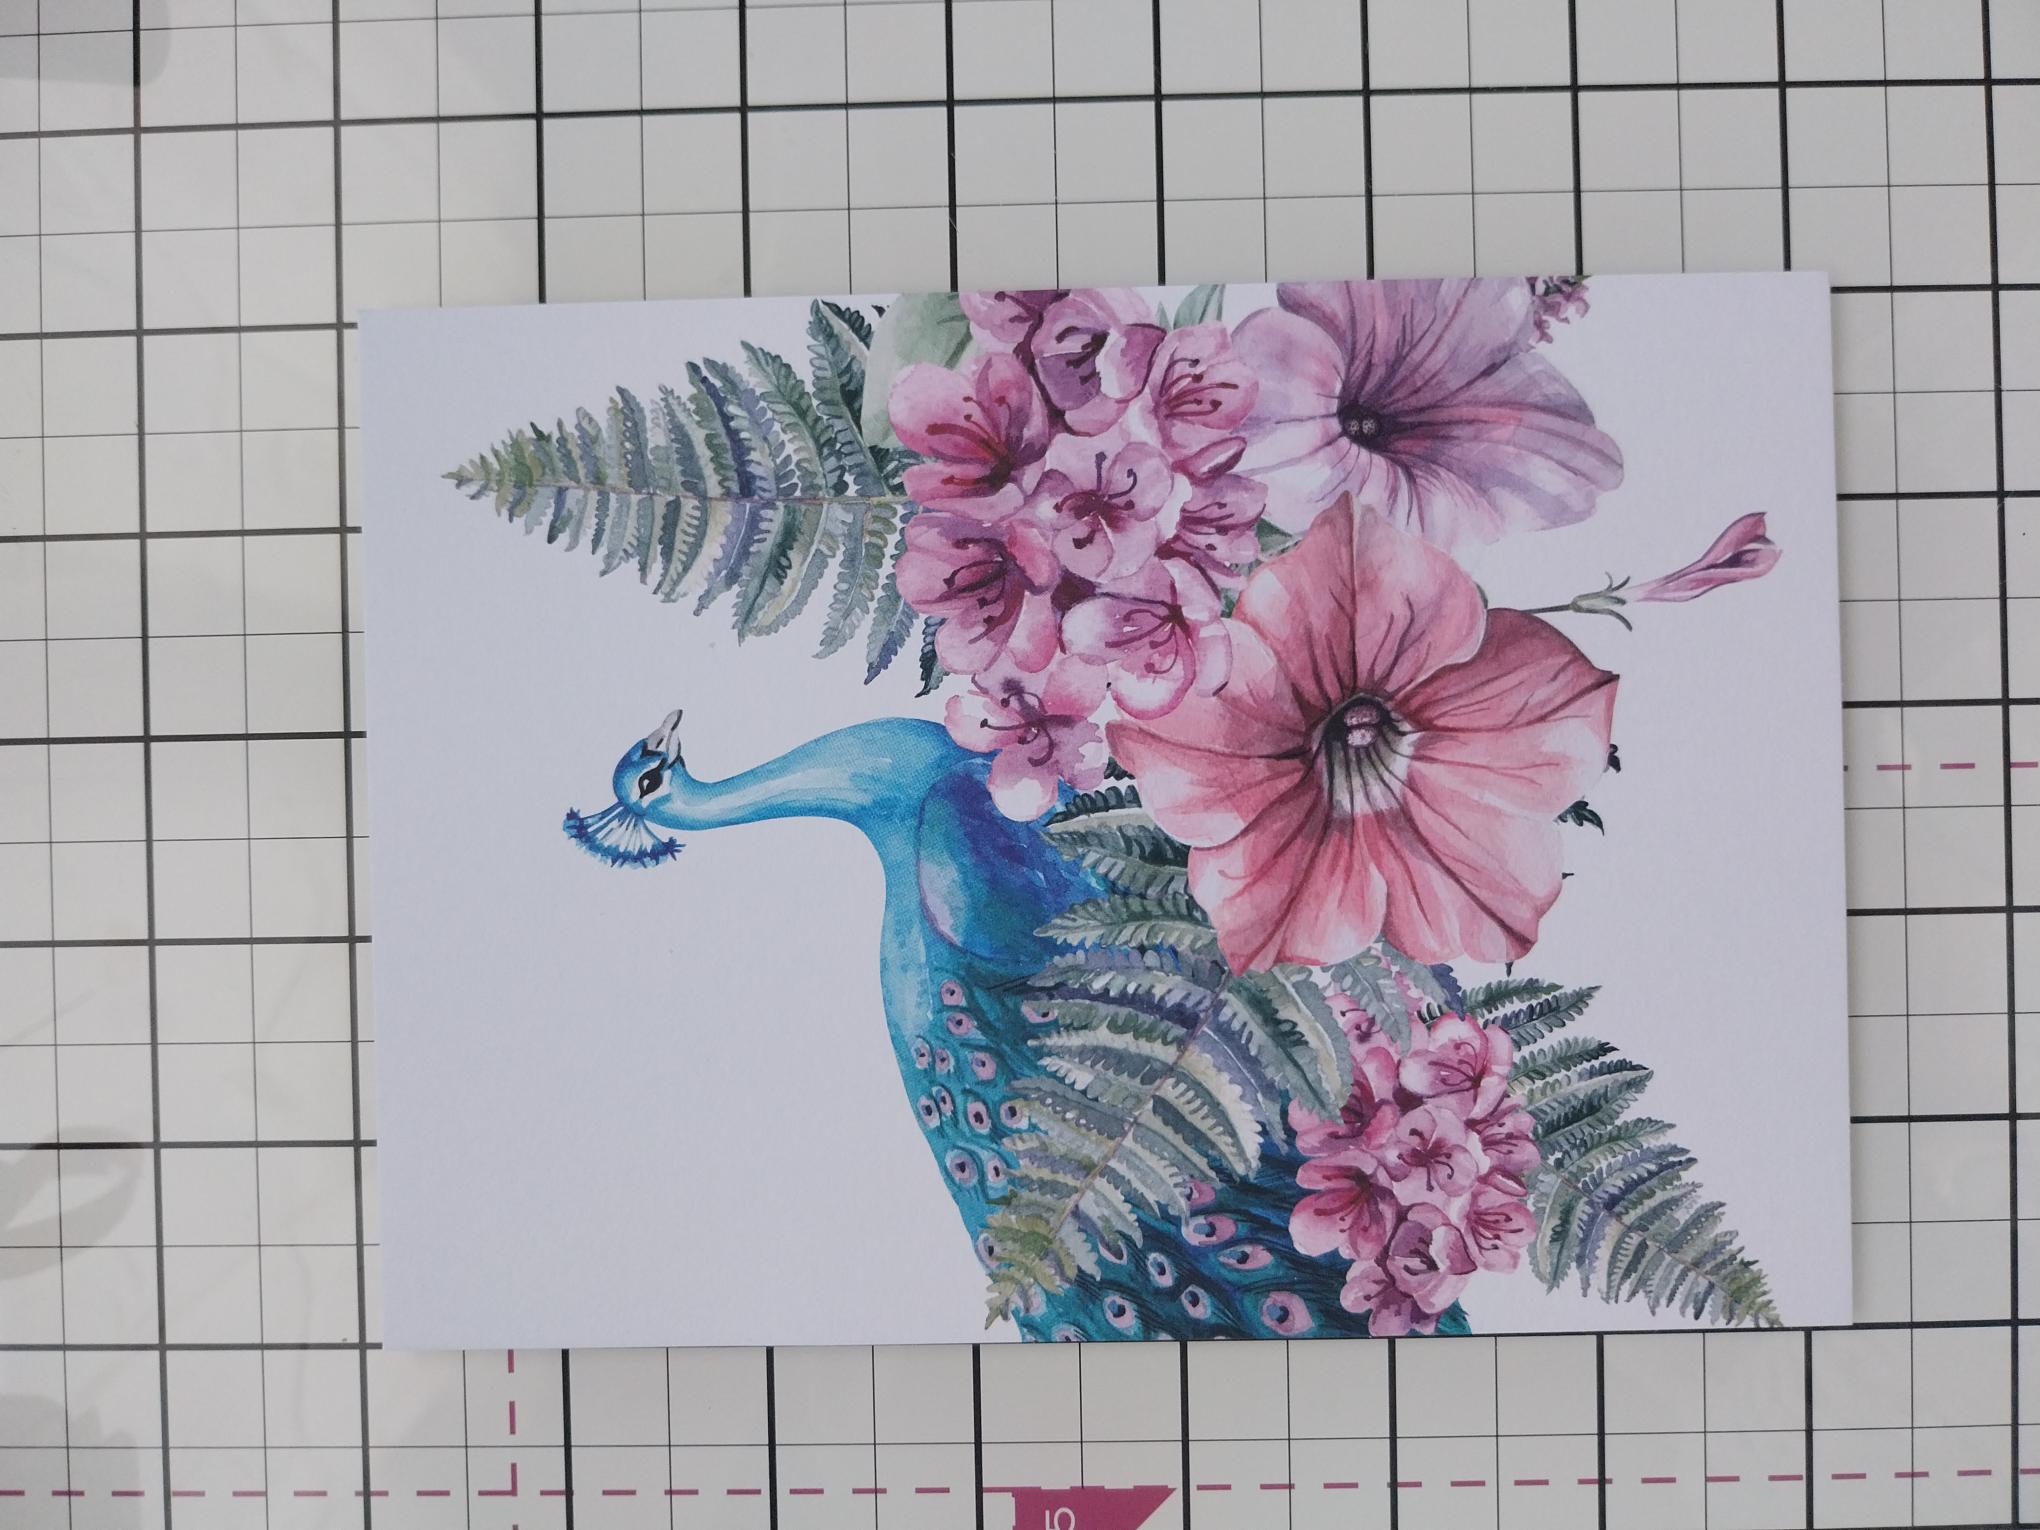
|
Remove this beautiful painted mount from the Magical Elegance pack. |
|
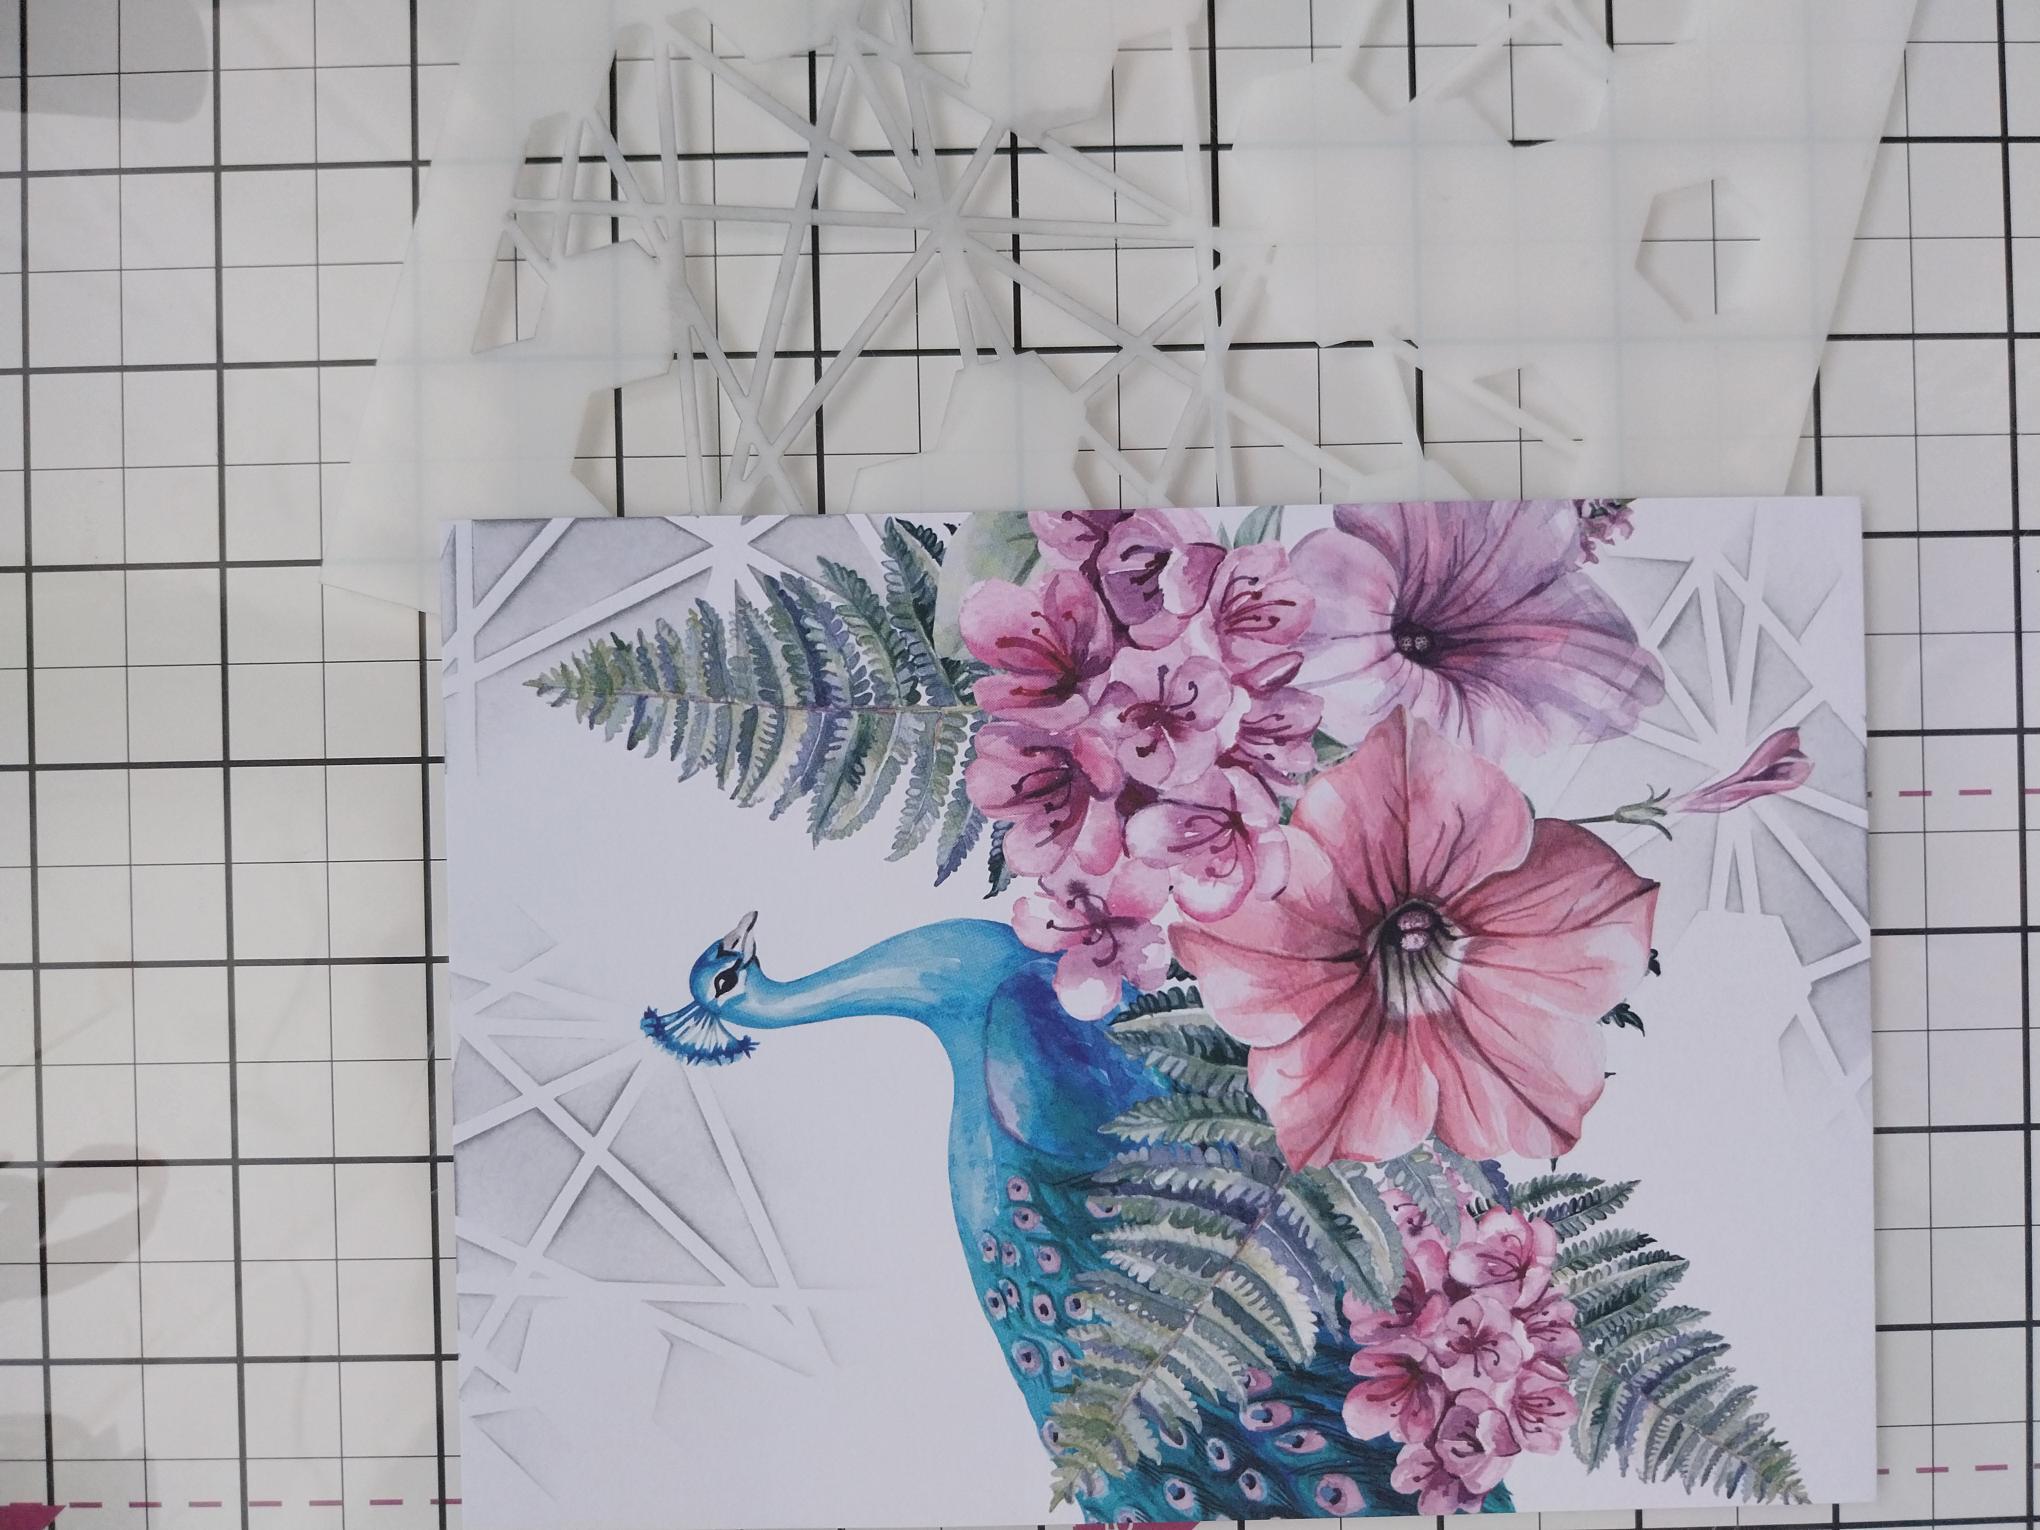
Use the Honeycomb stencil and Lost Shadow Oxide to randomly add stencilled elements to the mount. |
|
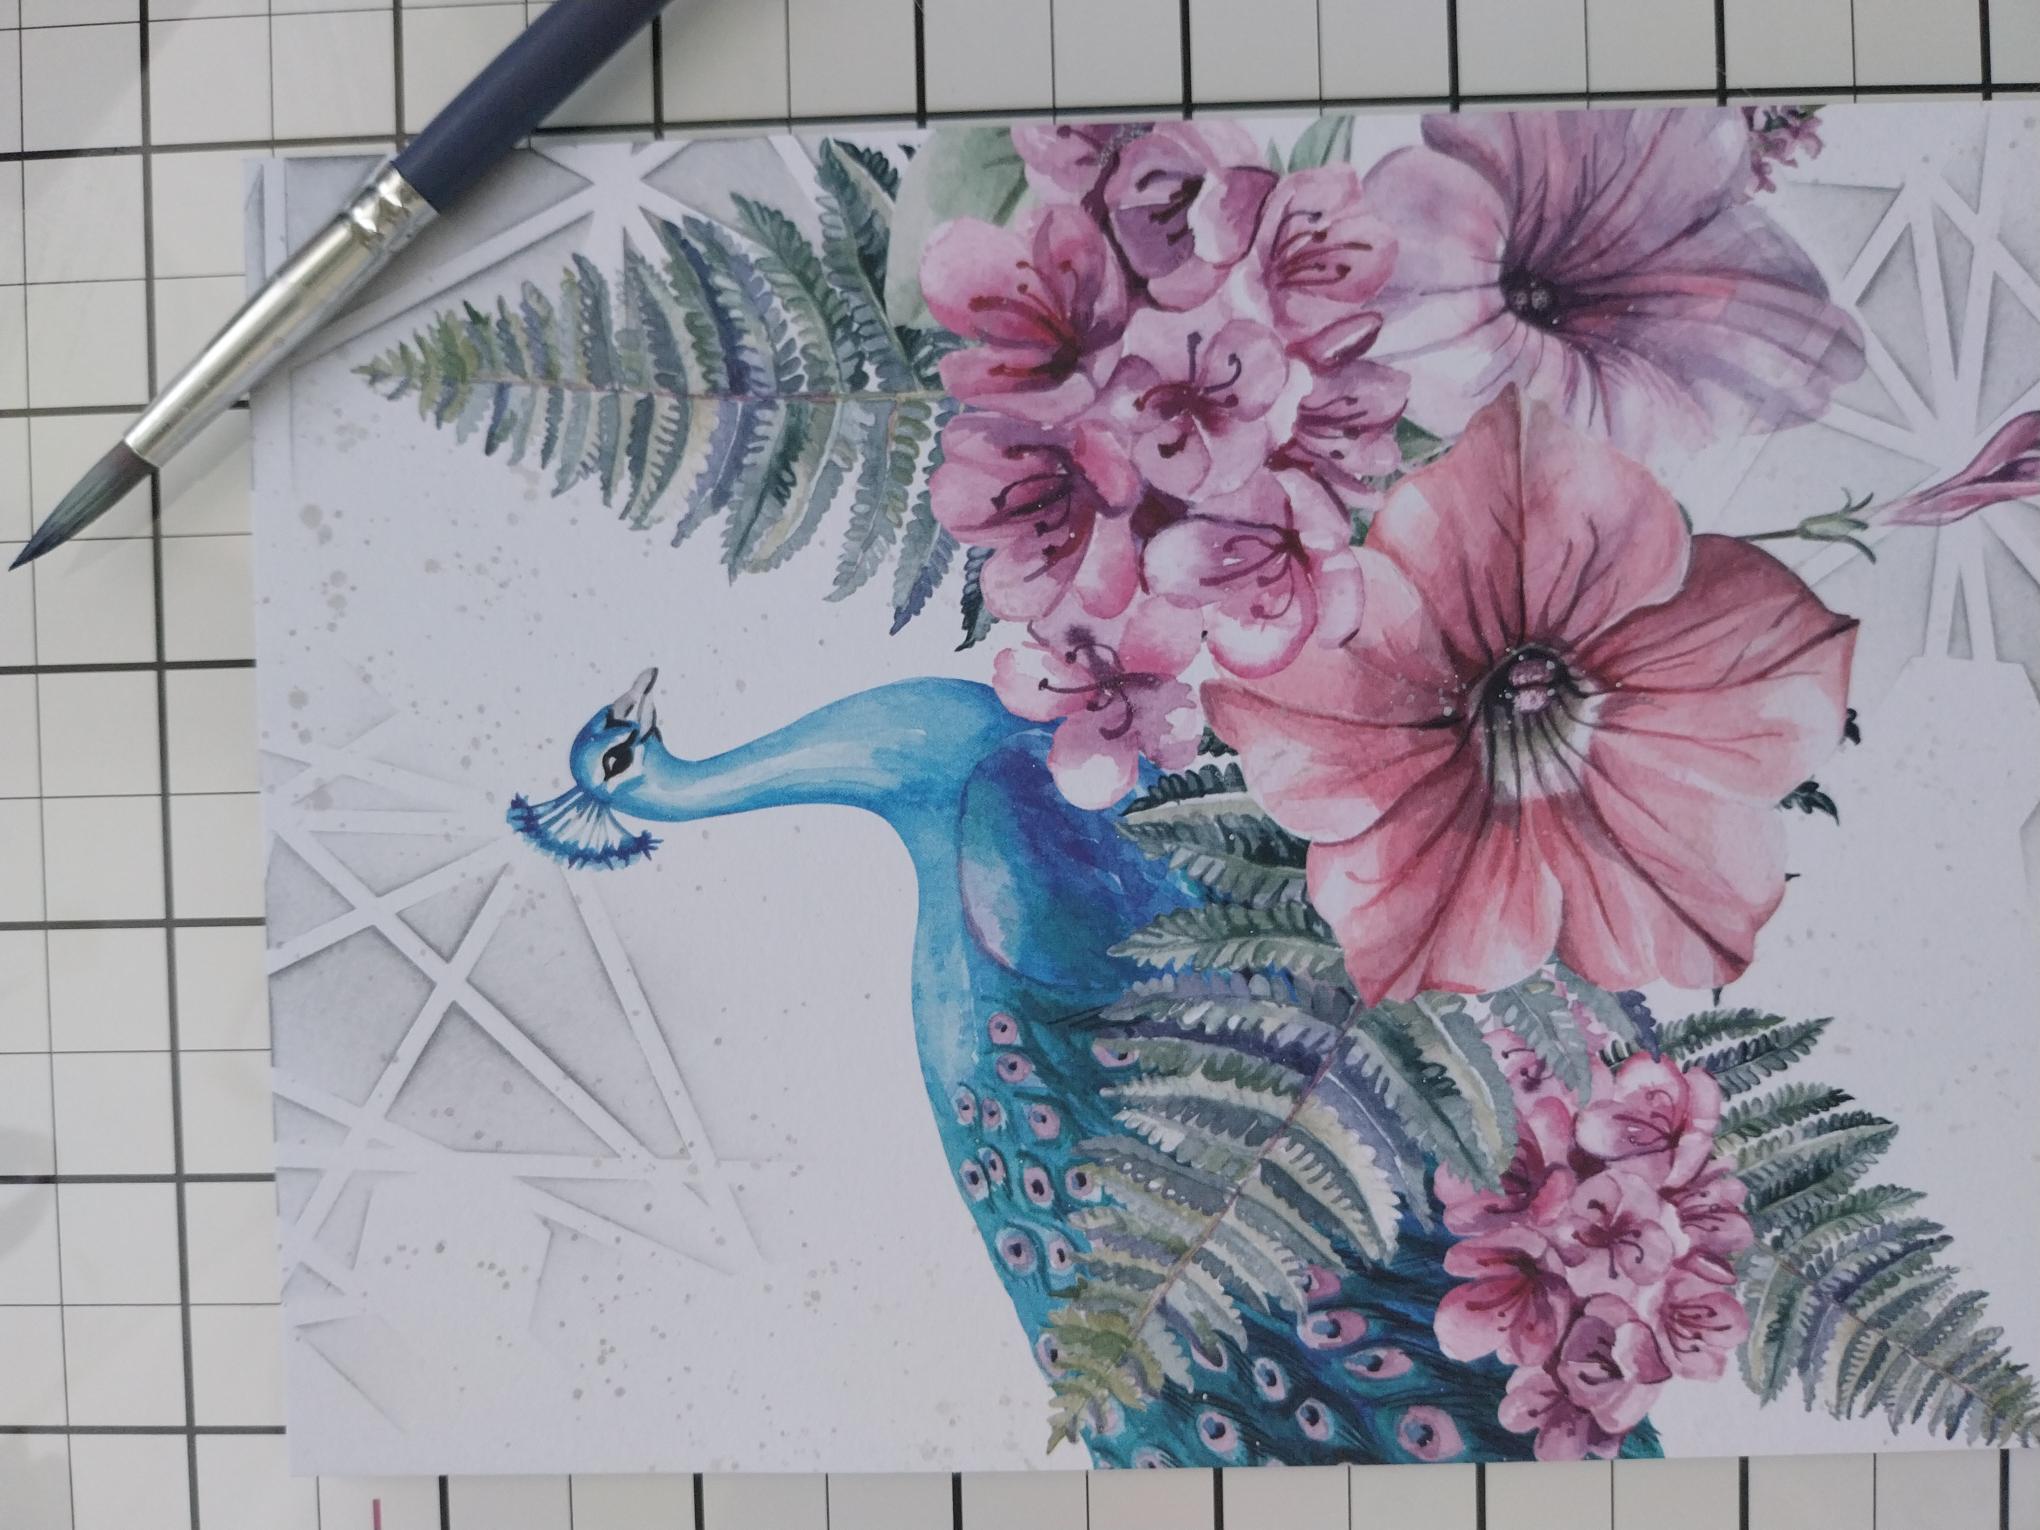
Apply the Oxide on to your glass mat, add a little water and splatter over your artwork, with a paint brush. Blast dry with your heat tool. |
|
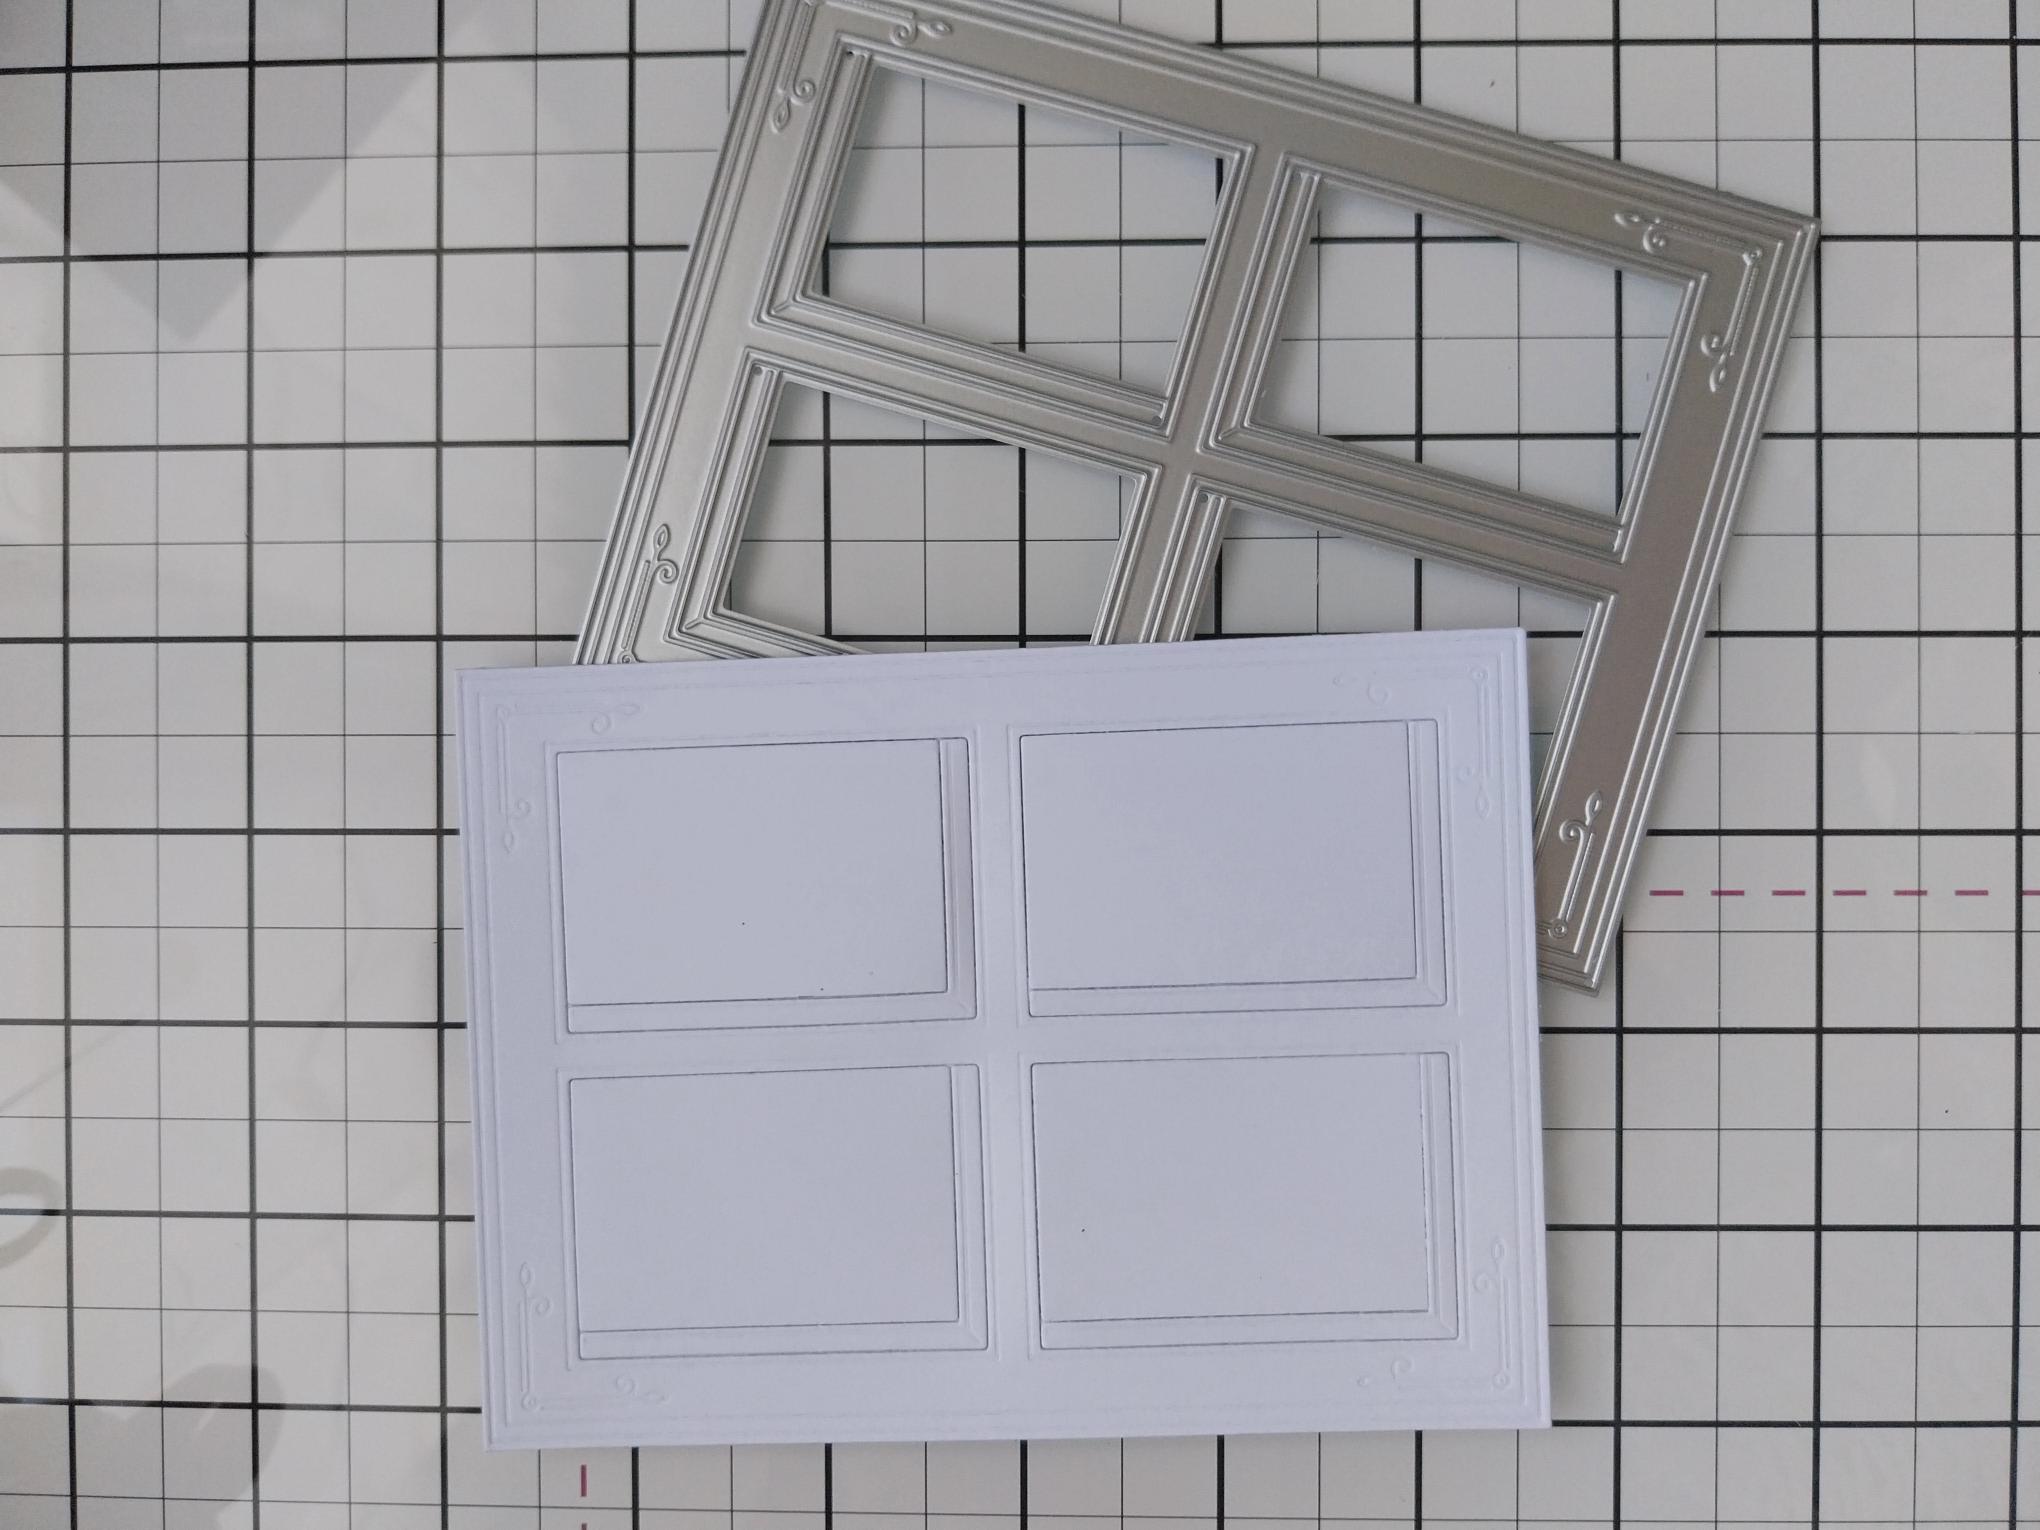
Die cut the Beautiful Window Die from white cardstock, keeping all pieces intact by applying double-side tape on the reverse. |
|
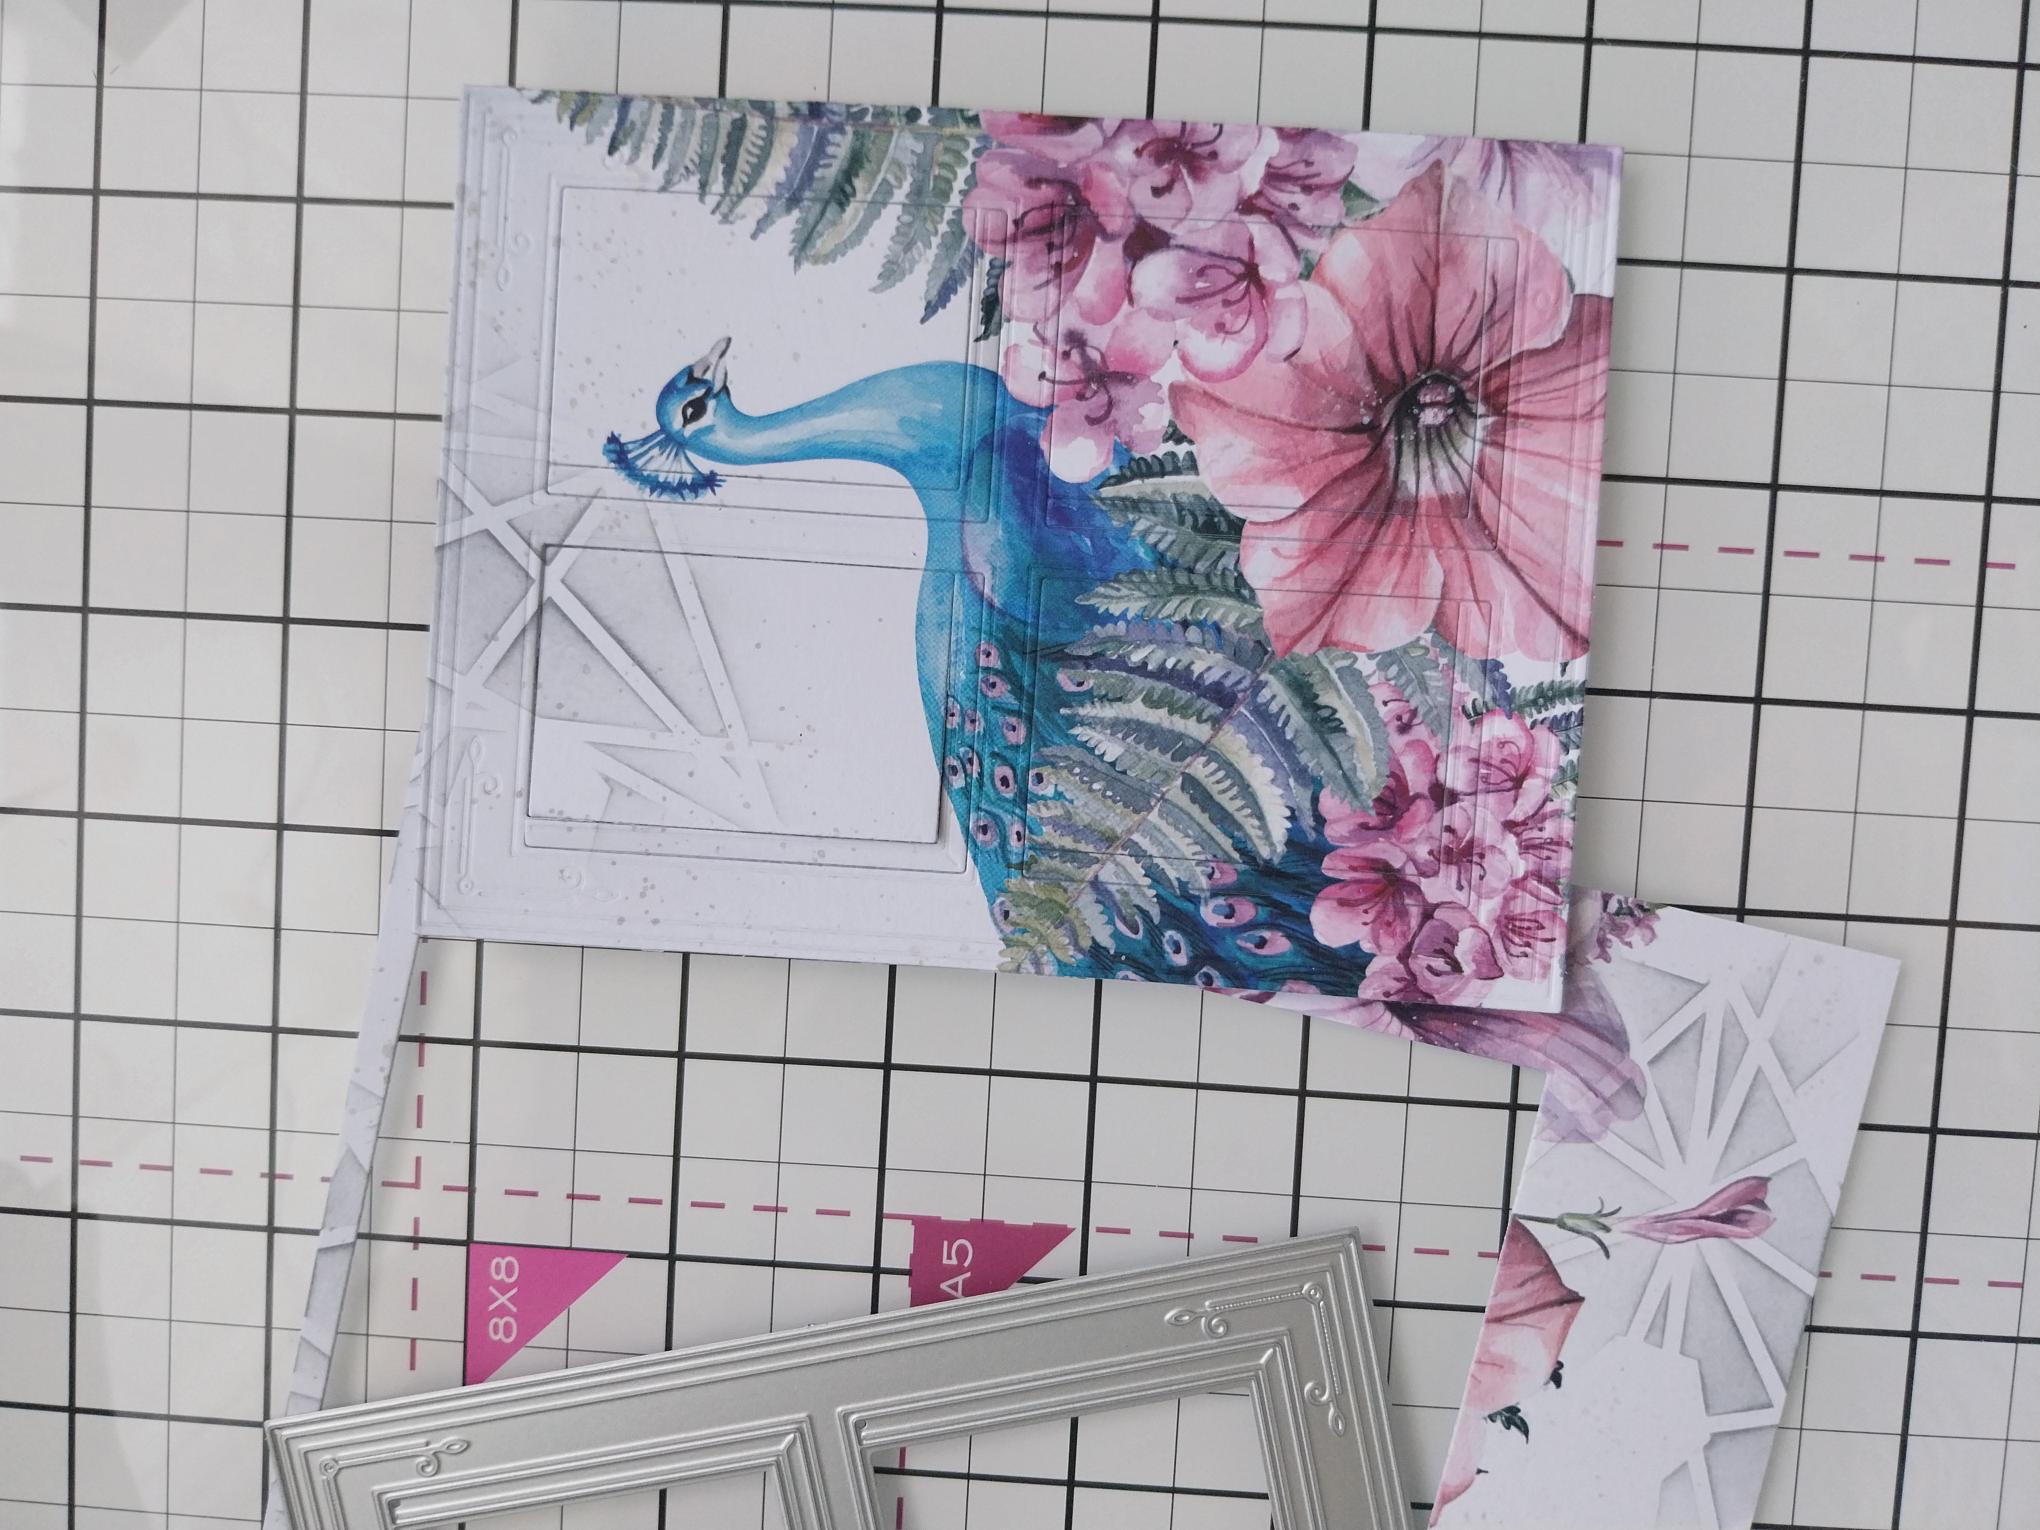
Die cut the window again, but this time out of the painted mount, keeping all elements intact as before. Set the aperture frame painted mount to one side. |
|
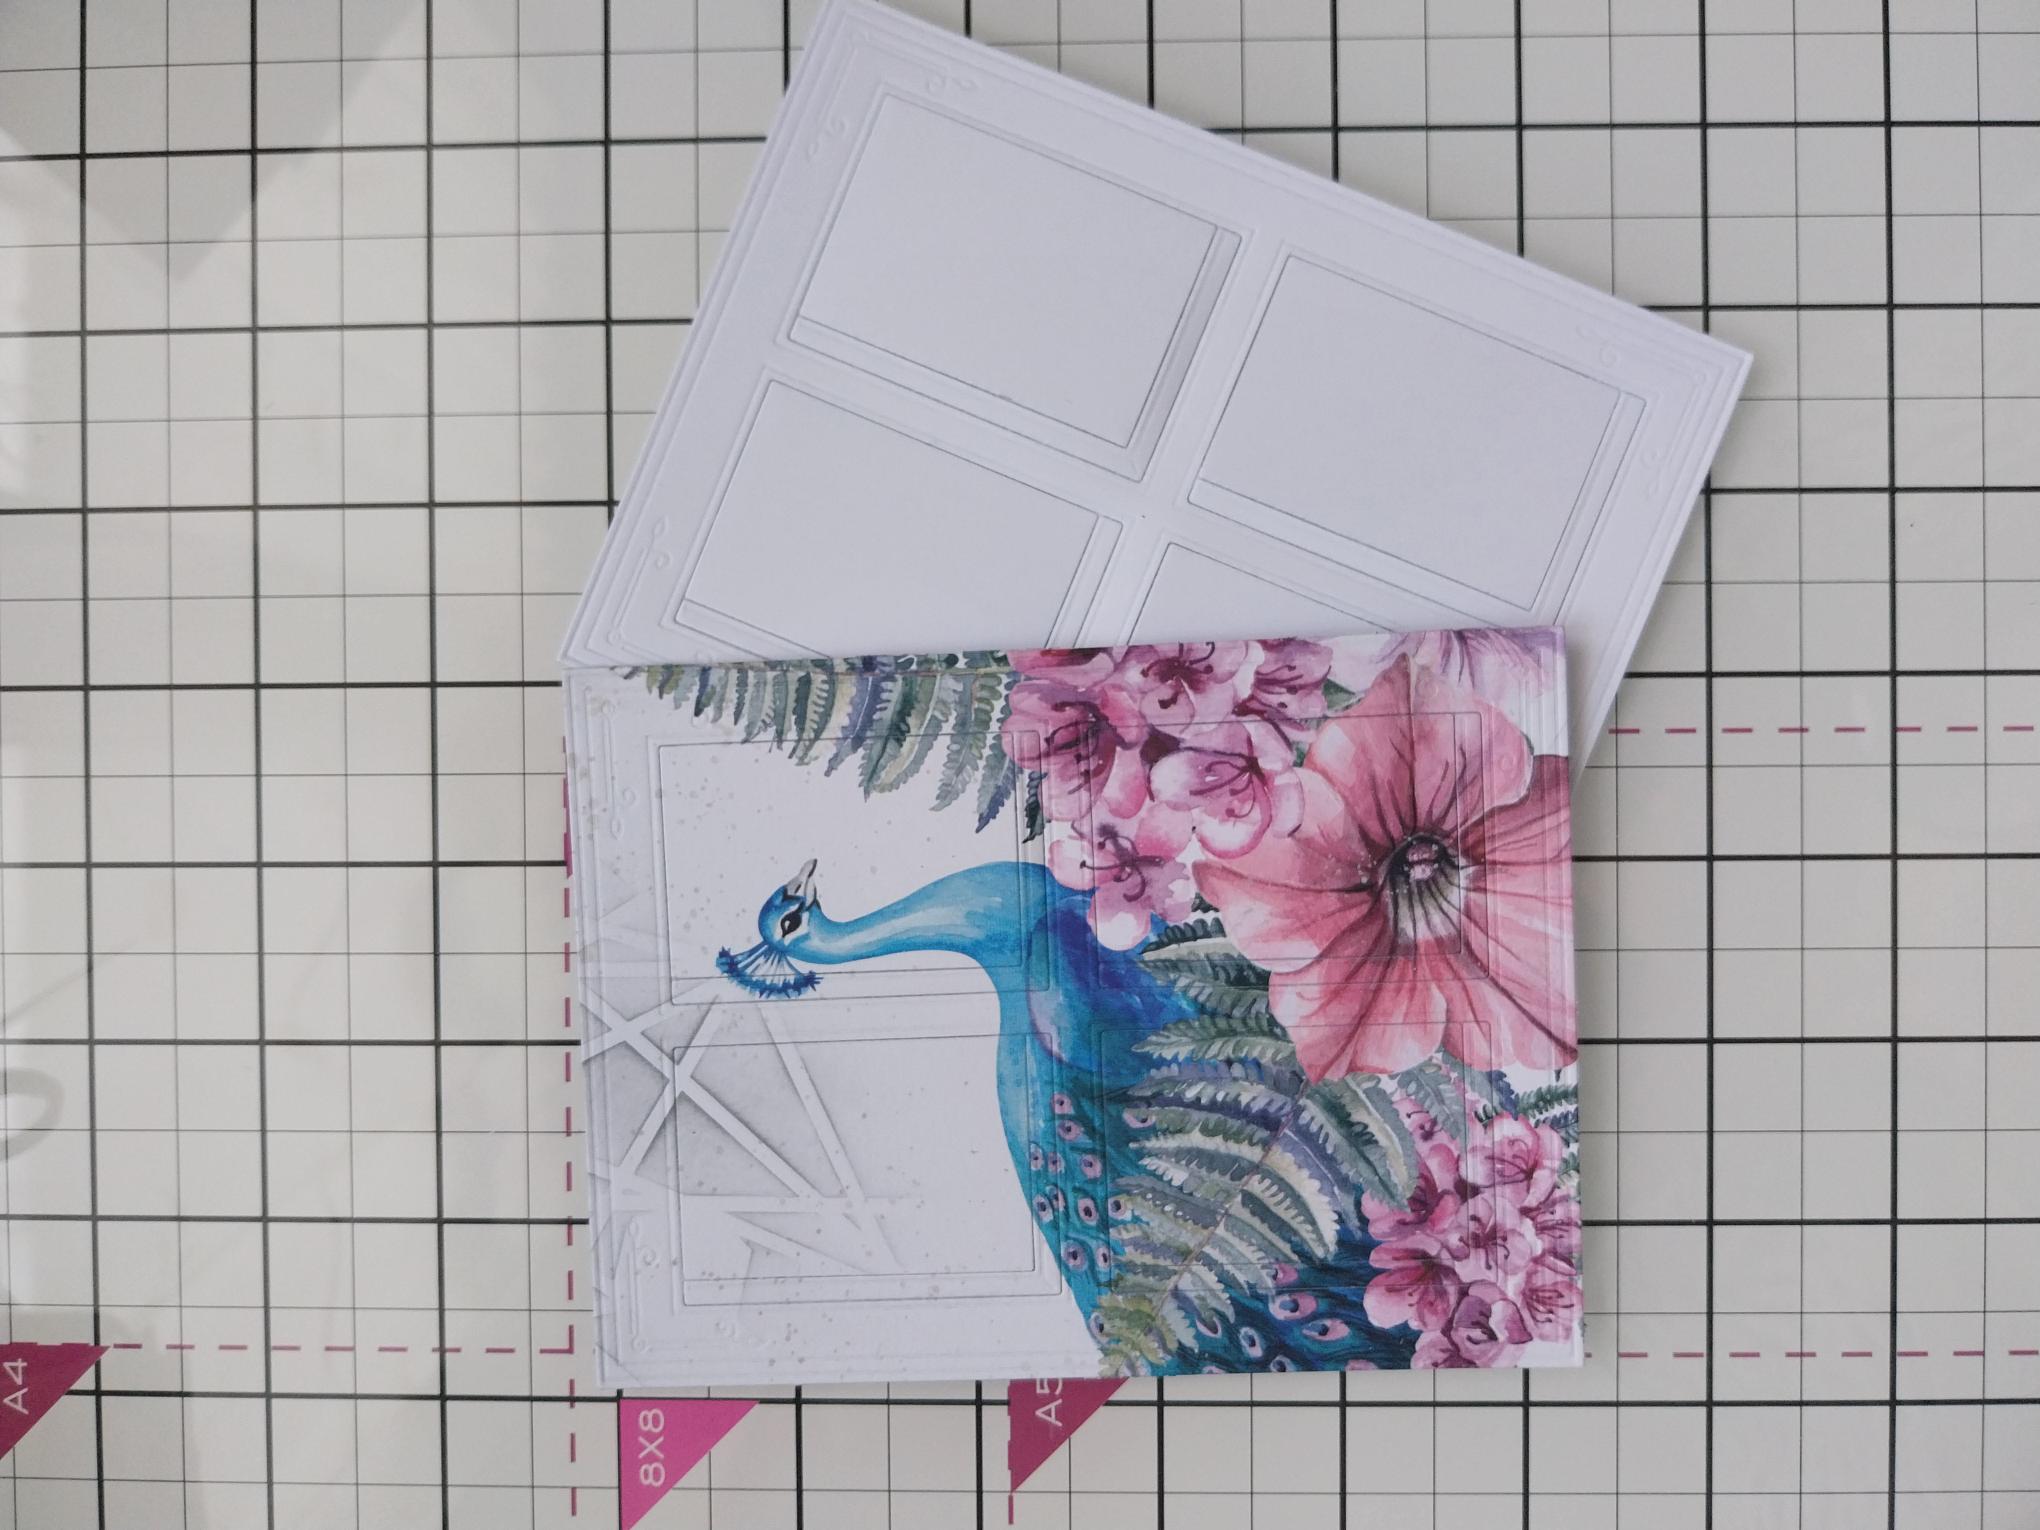
Adhere the painted mount die cut window on top of the white window, ensuring all edges are complaetely flush and neat. |
|
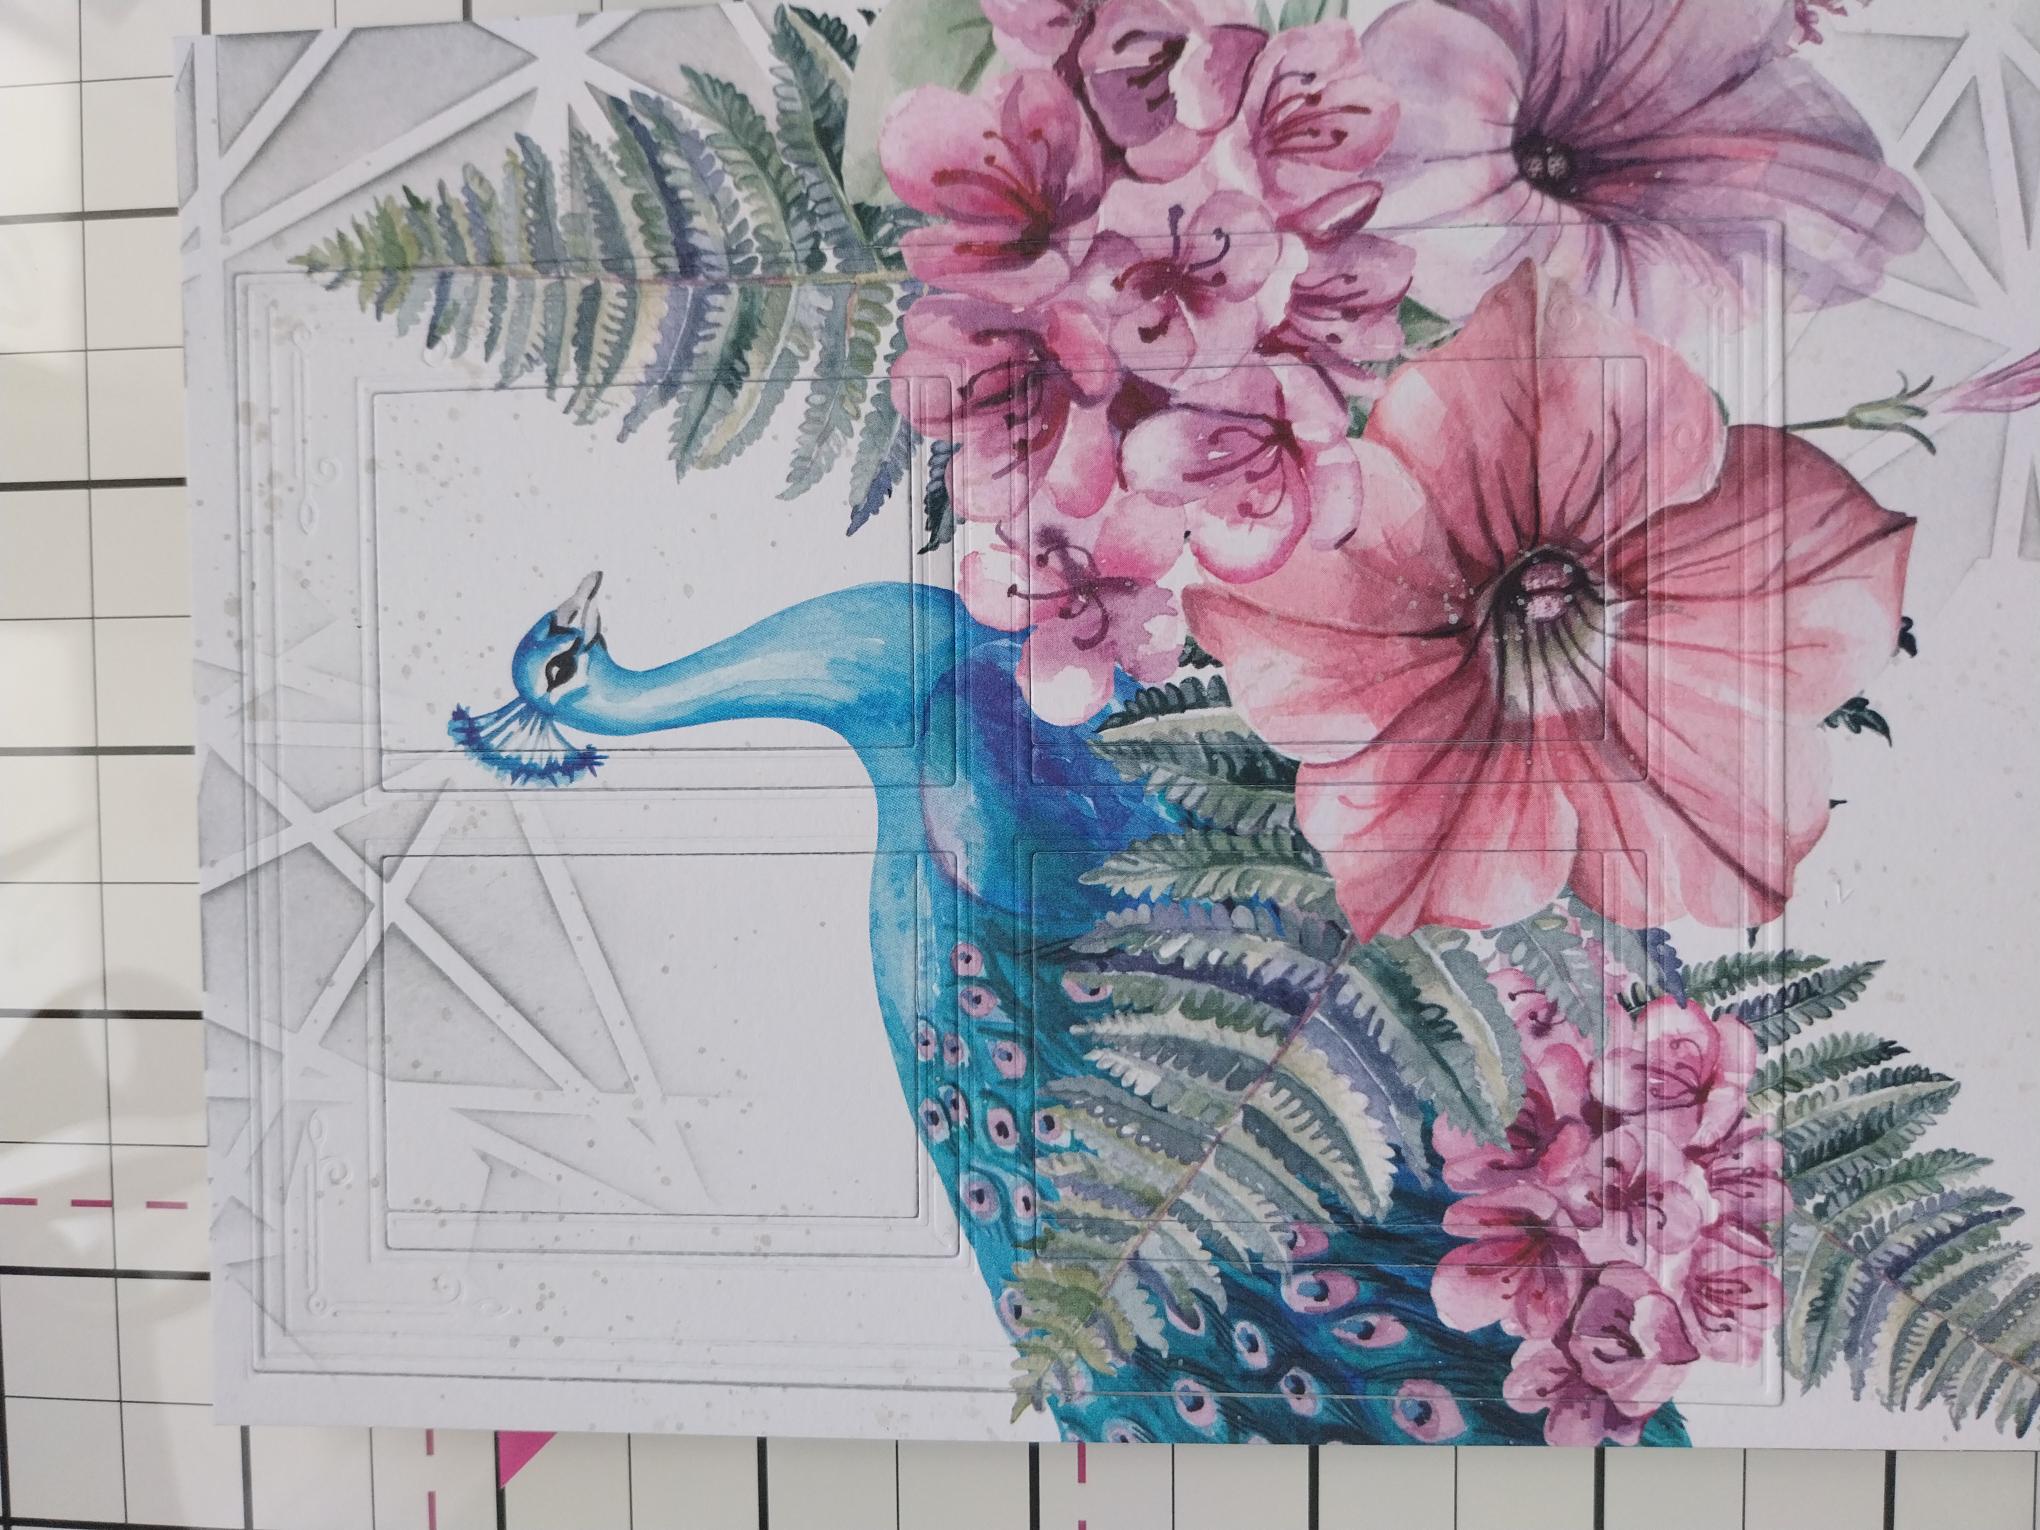
Place your 3D window back inside the painted mount aperture, set aside earlier. You can secure the elements on the reverse allowing your "eclipse" window to stand proud. Tip: If you want more dimension to your eclipse window, you can die cut several windows from white card, always ensuring that when adhered together, all edges must be flush and neat, enabling it to fit snugly back in to the aperture. |
|
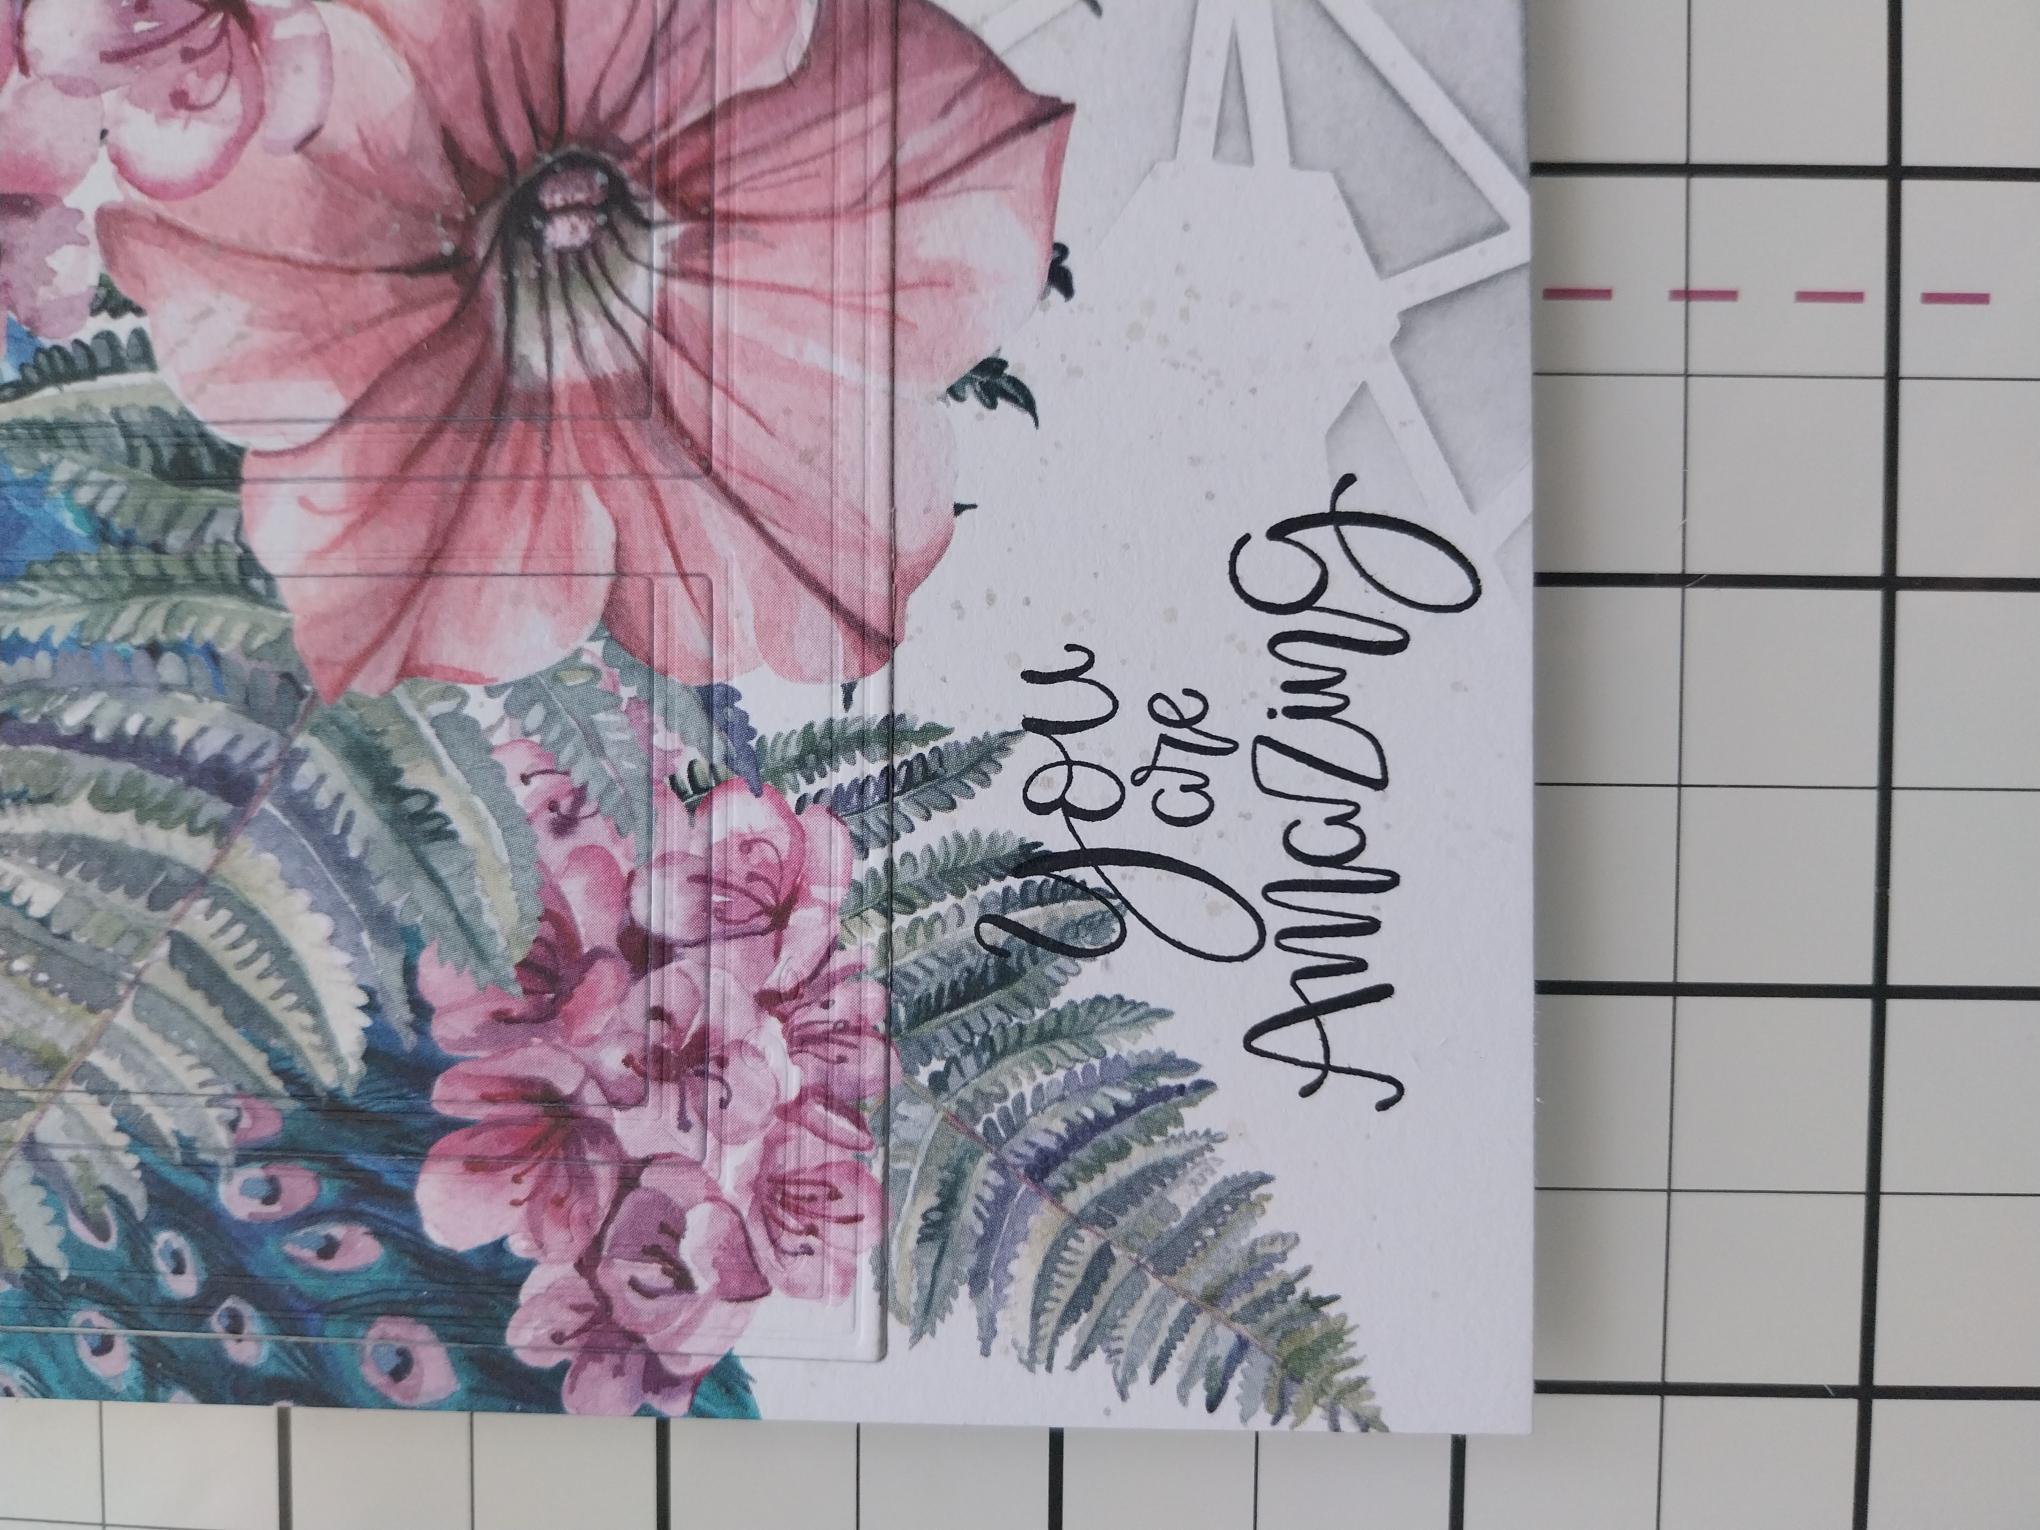
Stamp the sentiment to the left, below the window, in the Midnight ink. |
|
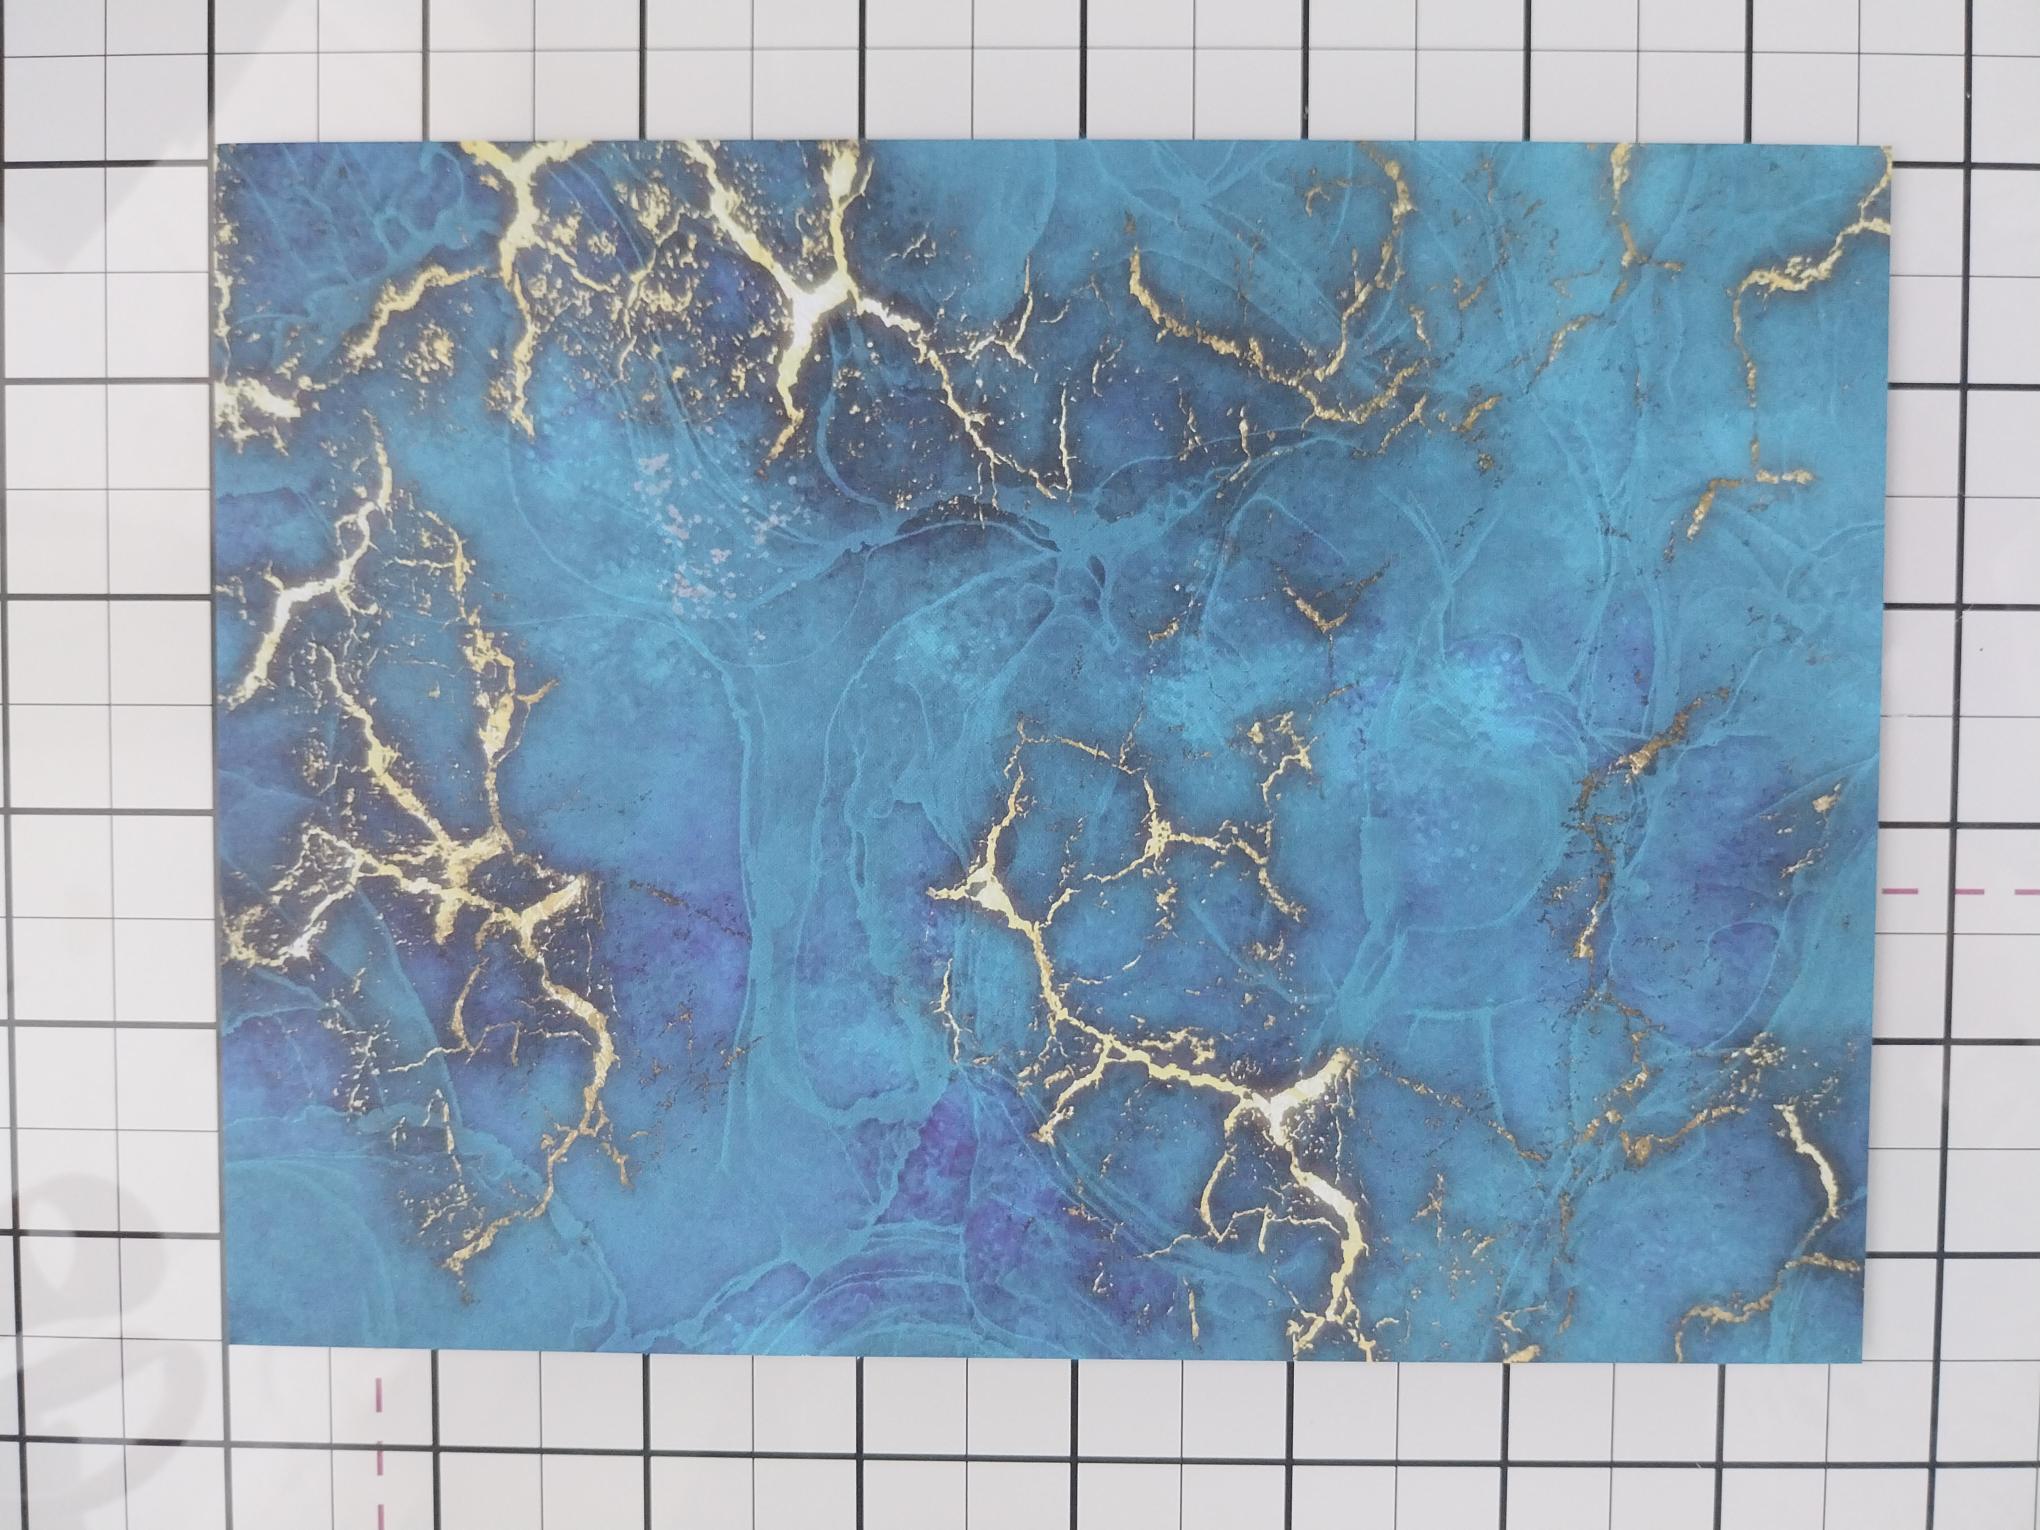
Trim this beautiful paper from the Magical Elegance foundation pack, to 7 1/2 x 5 1/2". |
|
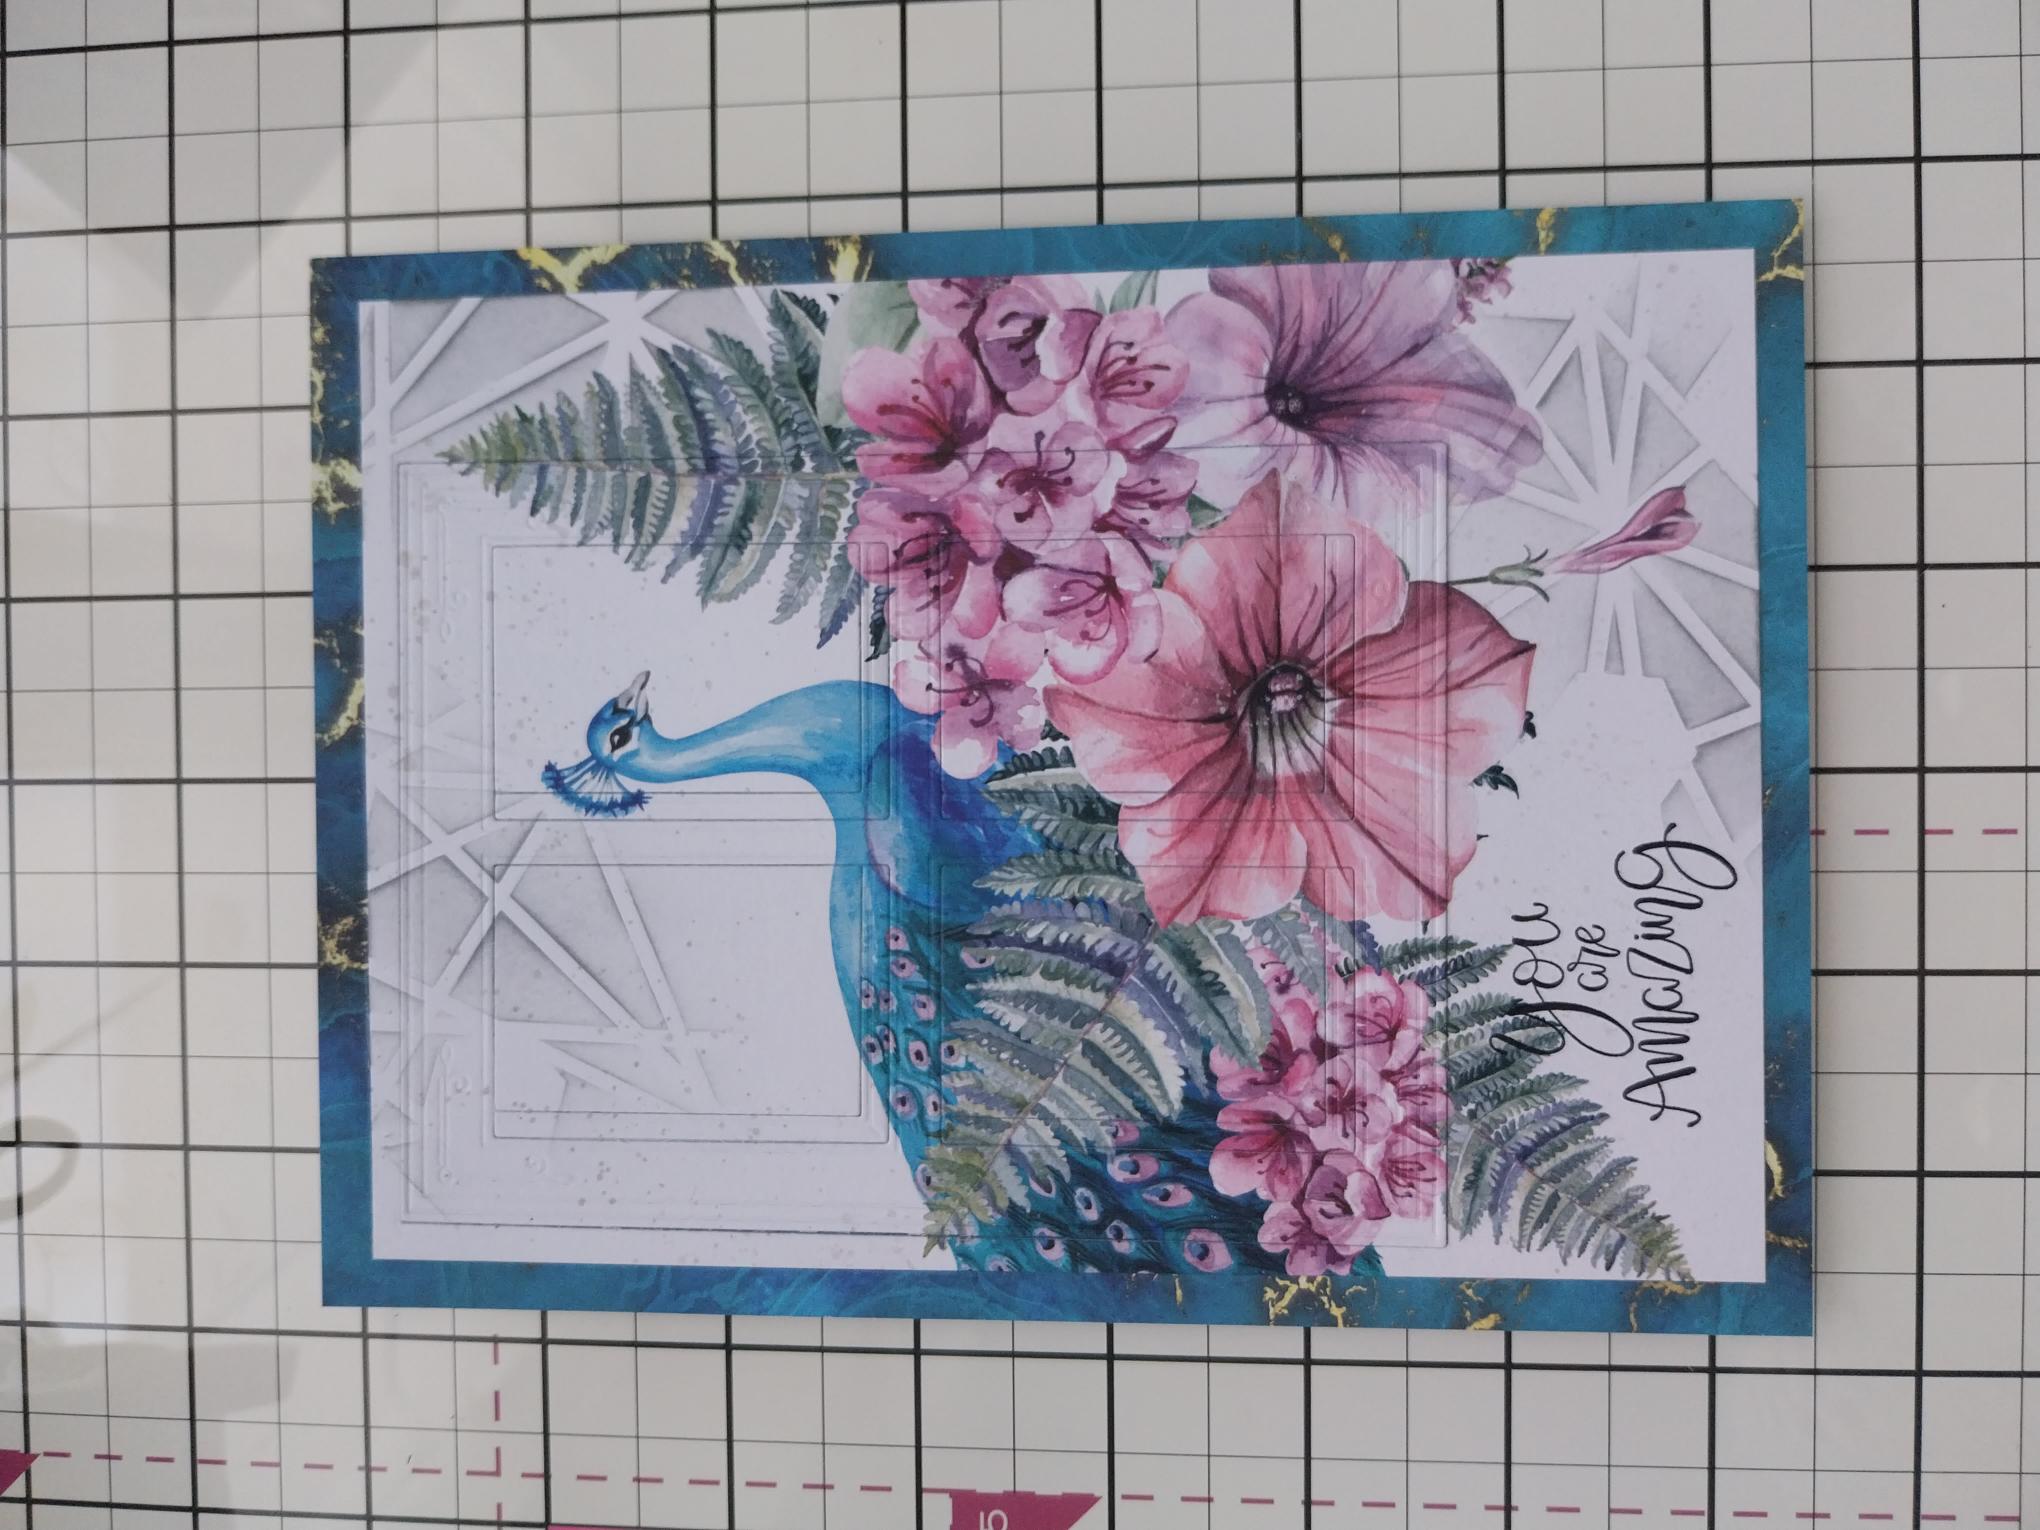
Adhere your artwork on to the decorative paper. |
|
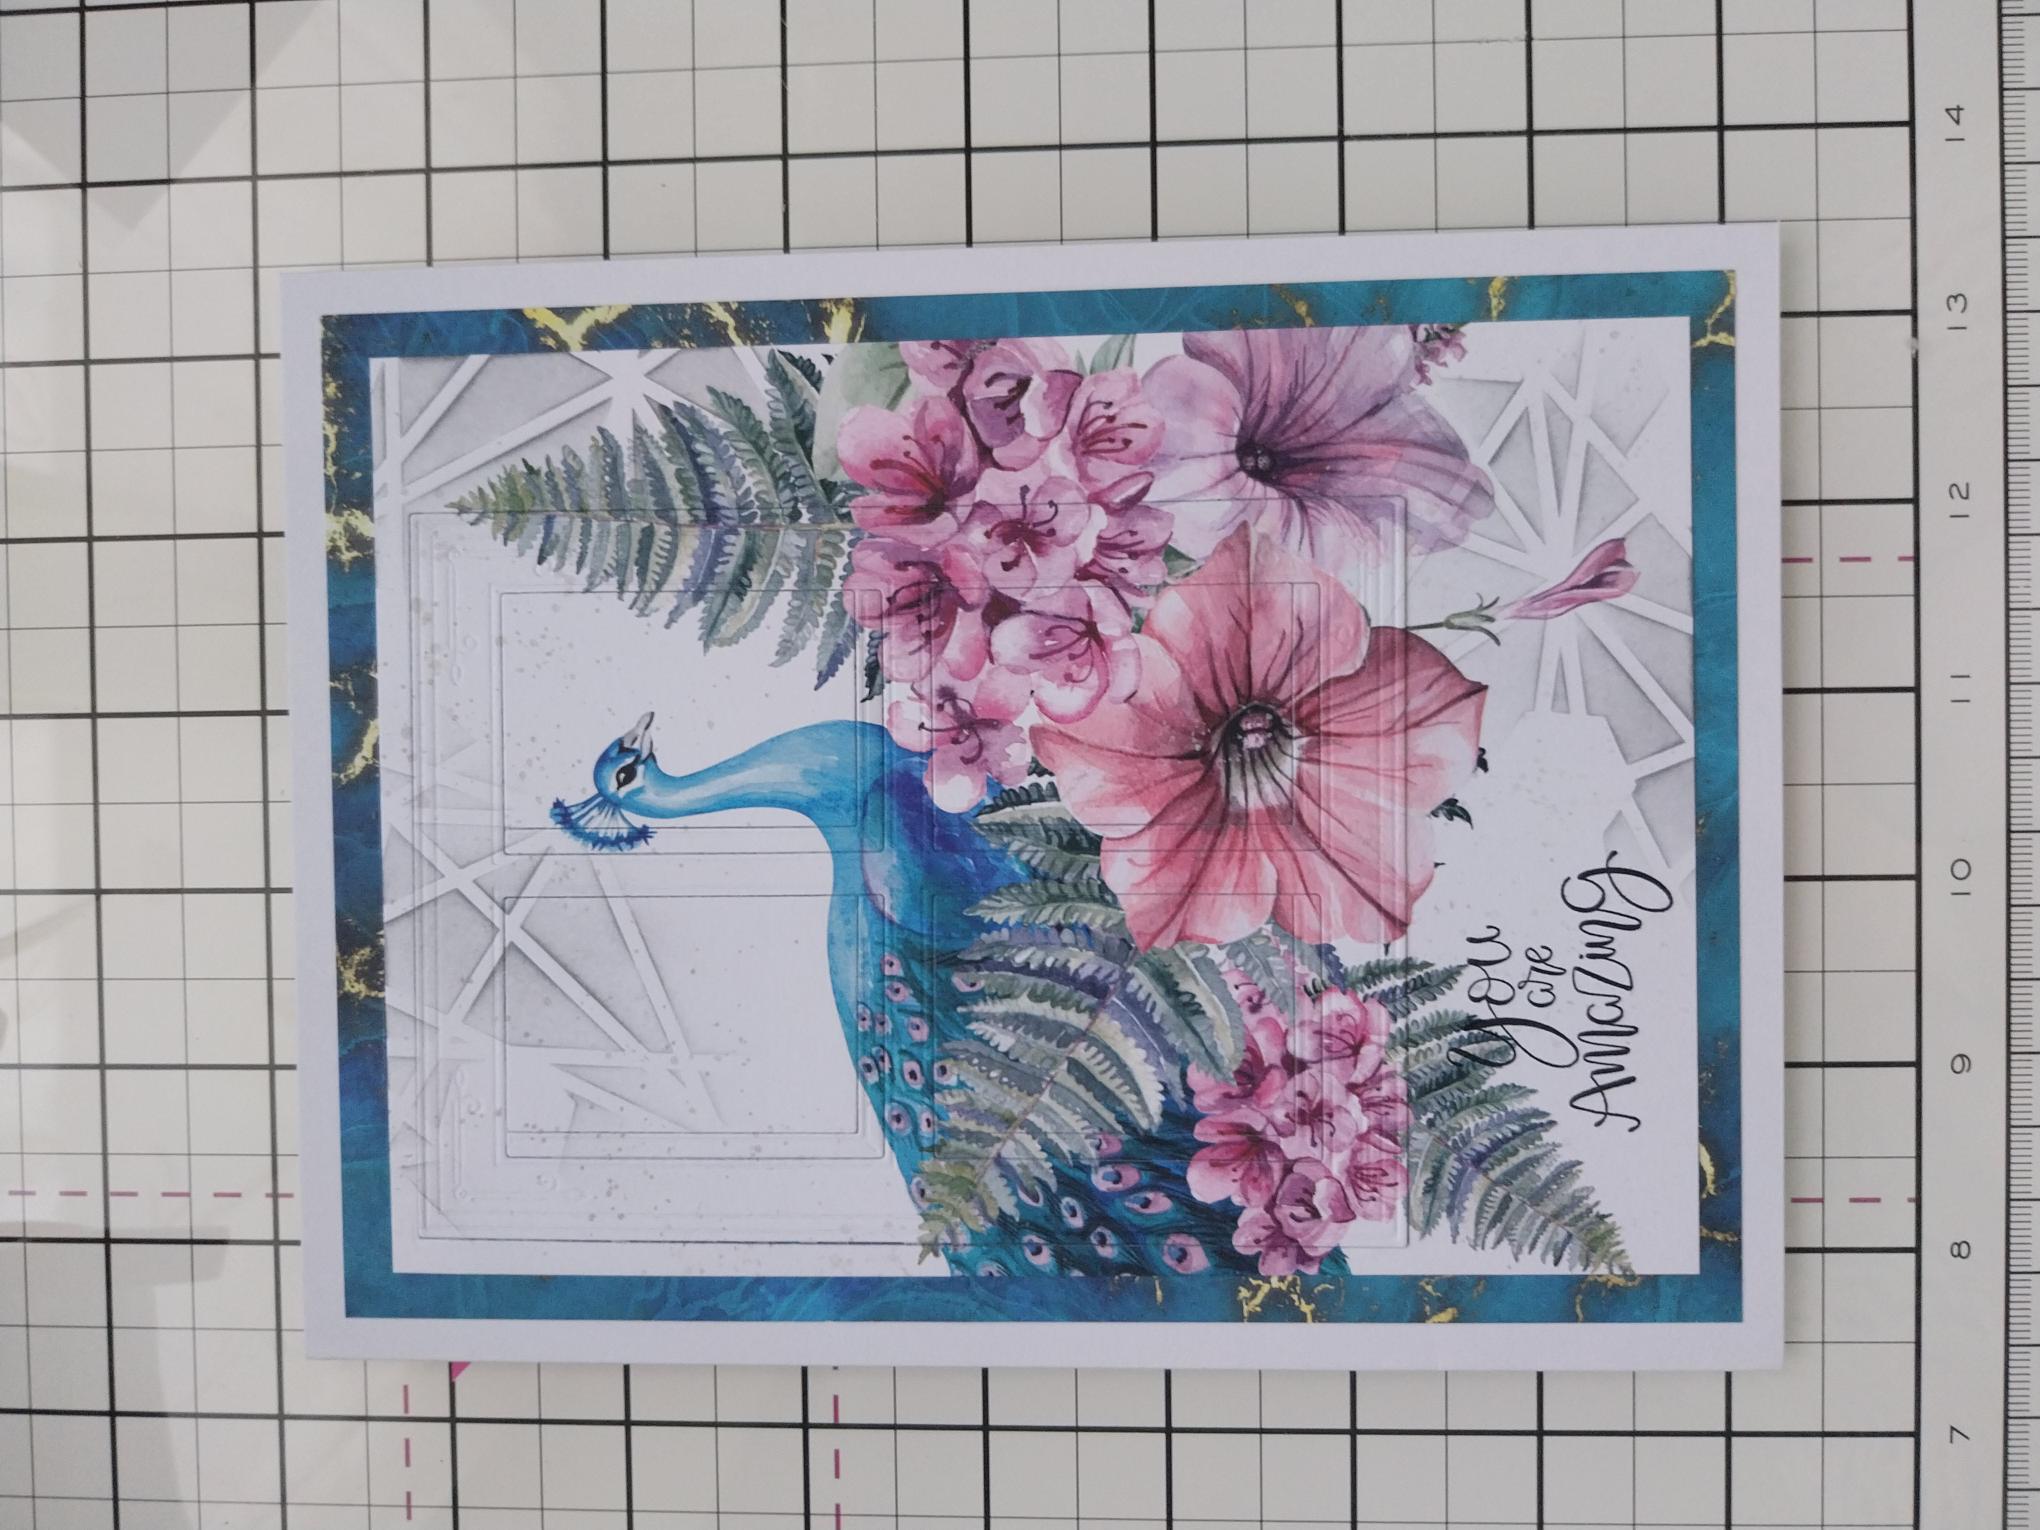
Adhere this on to the front of your white card blank. |
|
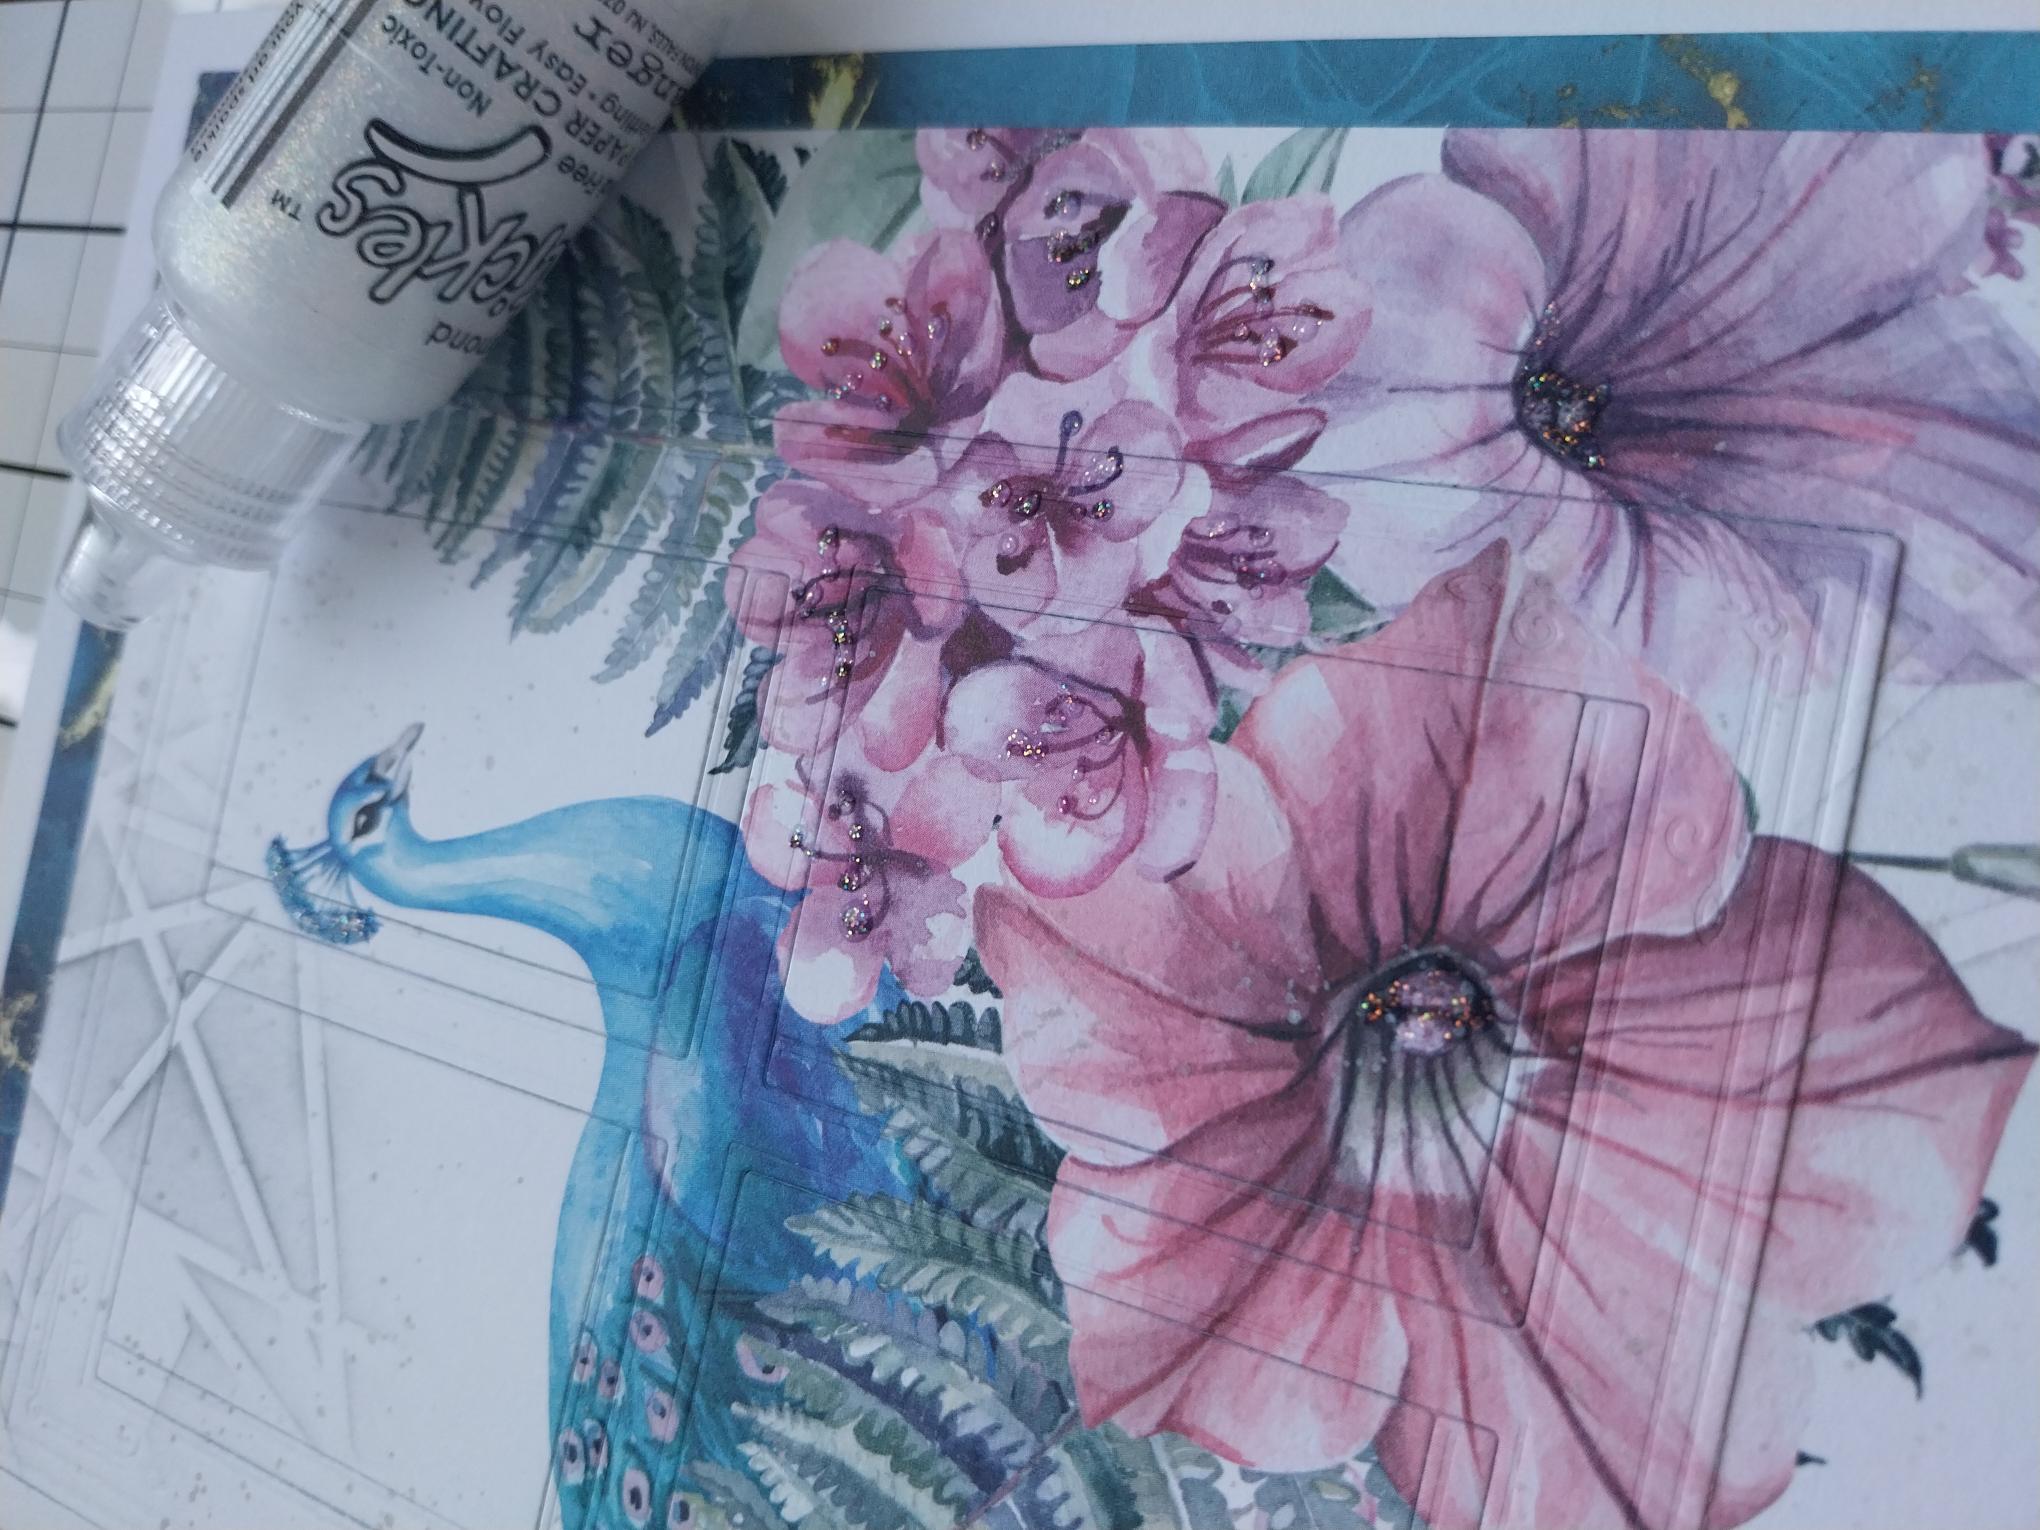
Use your Stickles to add a touch of sparkle and glitter to your artwork where required, to finish your project. |