

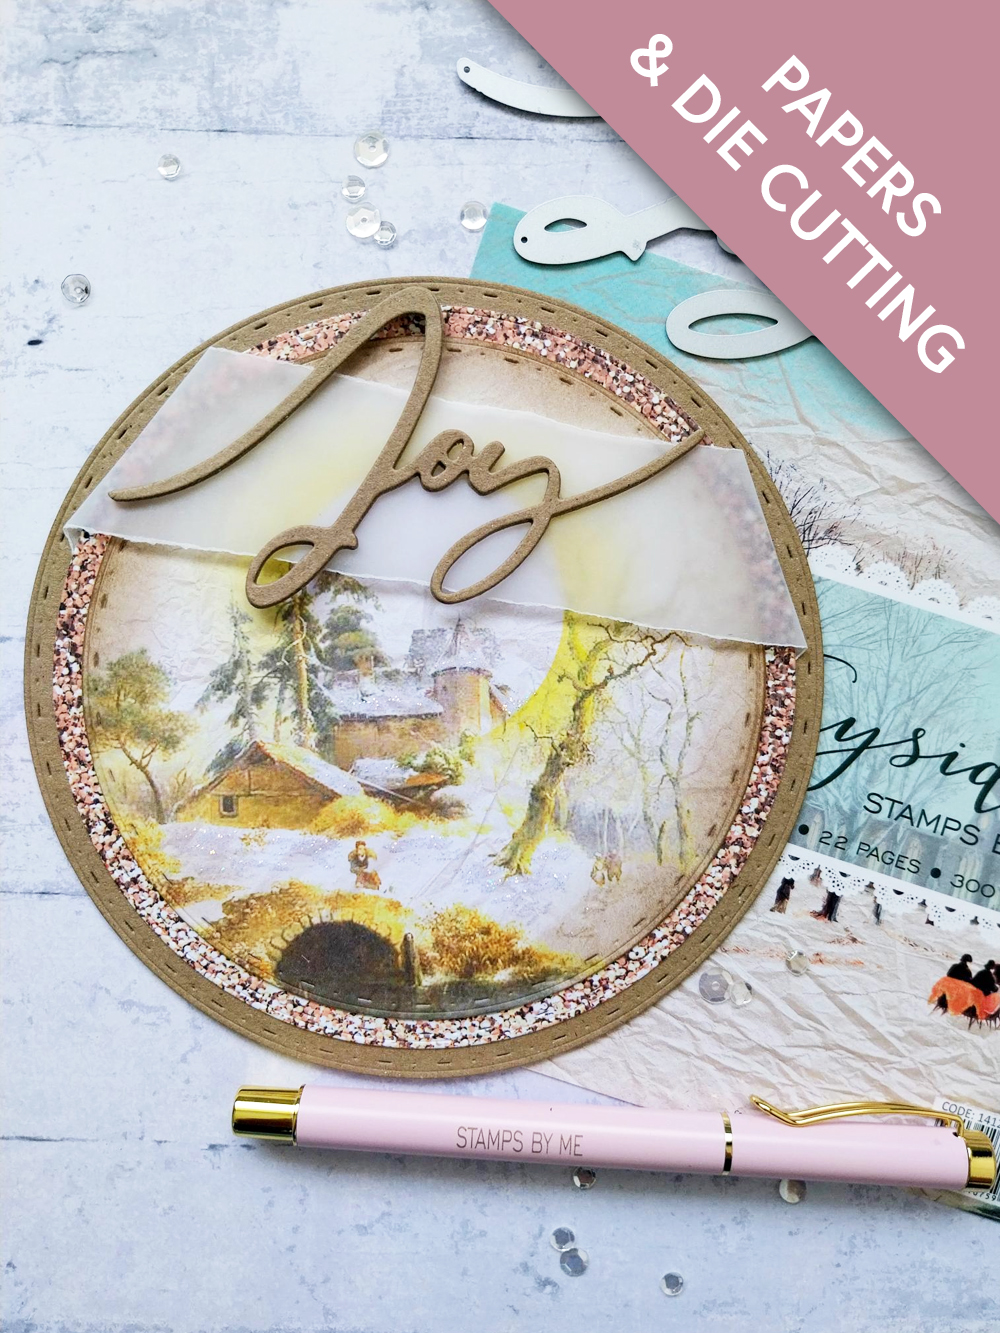
WHAT YOU WILL NEED:
Kraft card
Vellum
In The Countryside 6 x 6" Painted Mounts
All Surfaces 8 x 8" Paper Pack: Bronze
Joy Die Set
Circle nesting dies
Circle mask (Sun)
SBM Premium Dye Ink Pad: Sherbet
Distress Ink/Oxide Ink Pad: Walnut Stain
Blending Brush
Stickles: Diamond
Scoreboard/bone folder
SBM A3 Magnetic glass mat
Double-sided adhesive tape/tape runner
Glue
Die Cutting machine
[click image to enlarge] 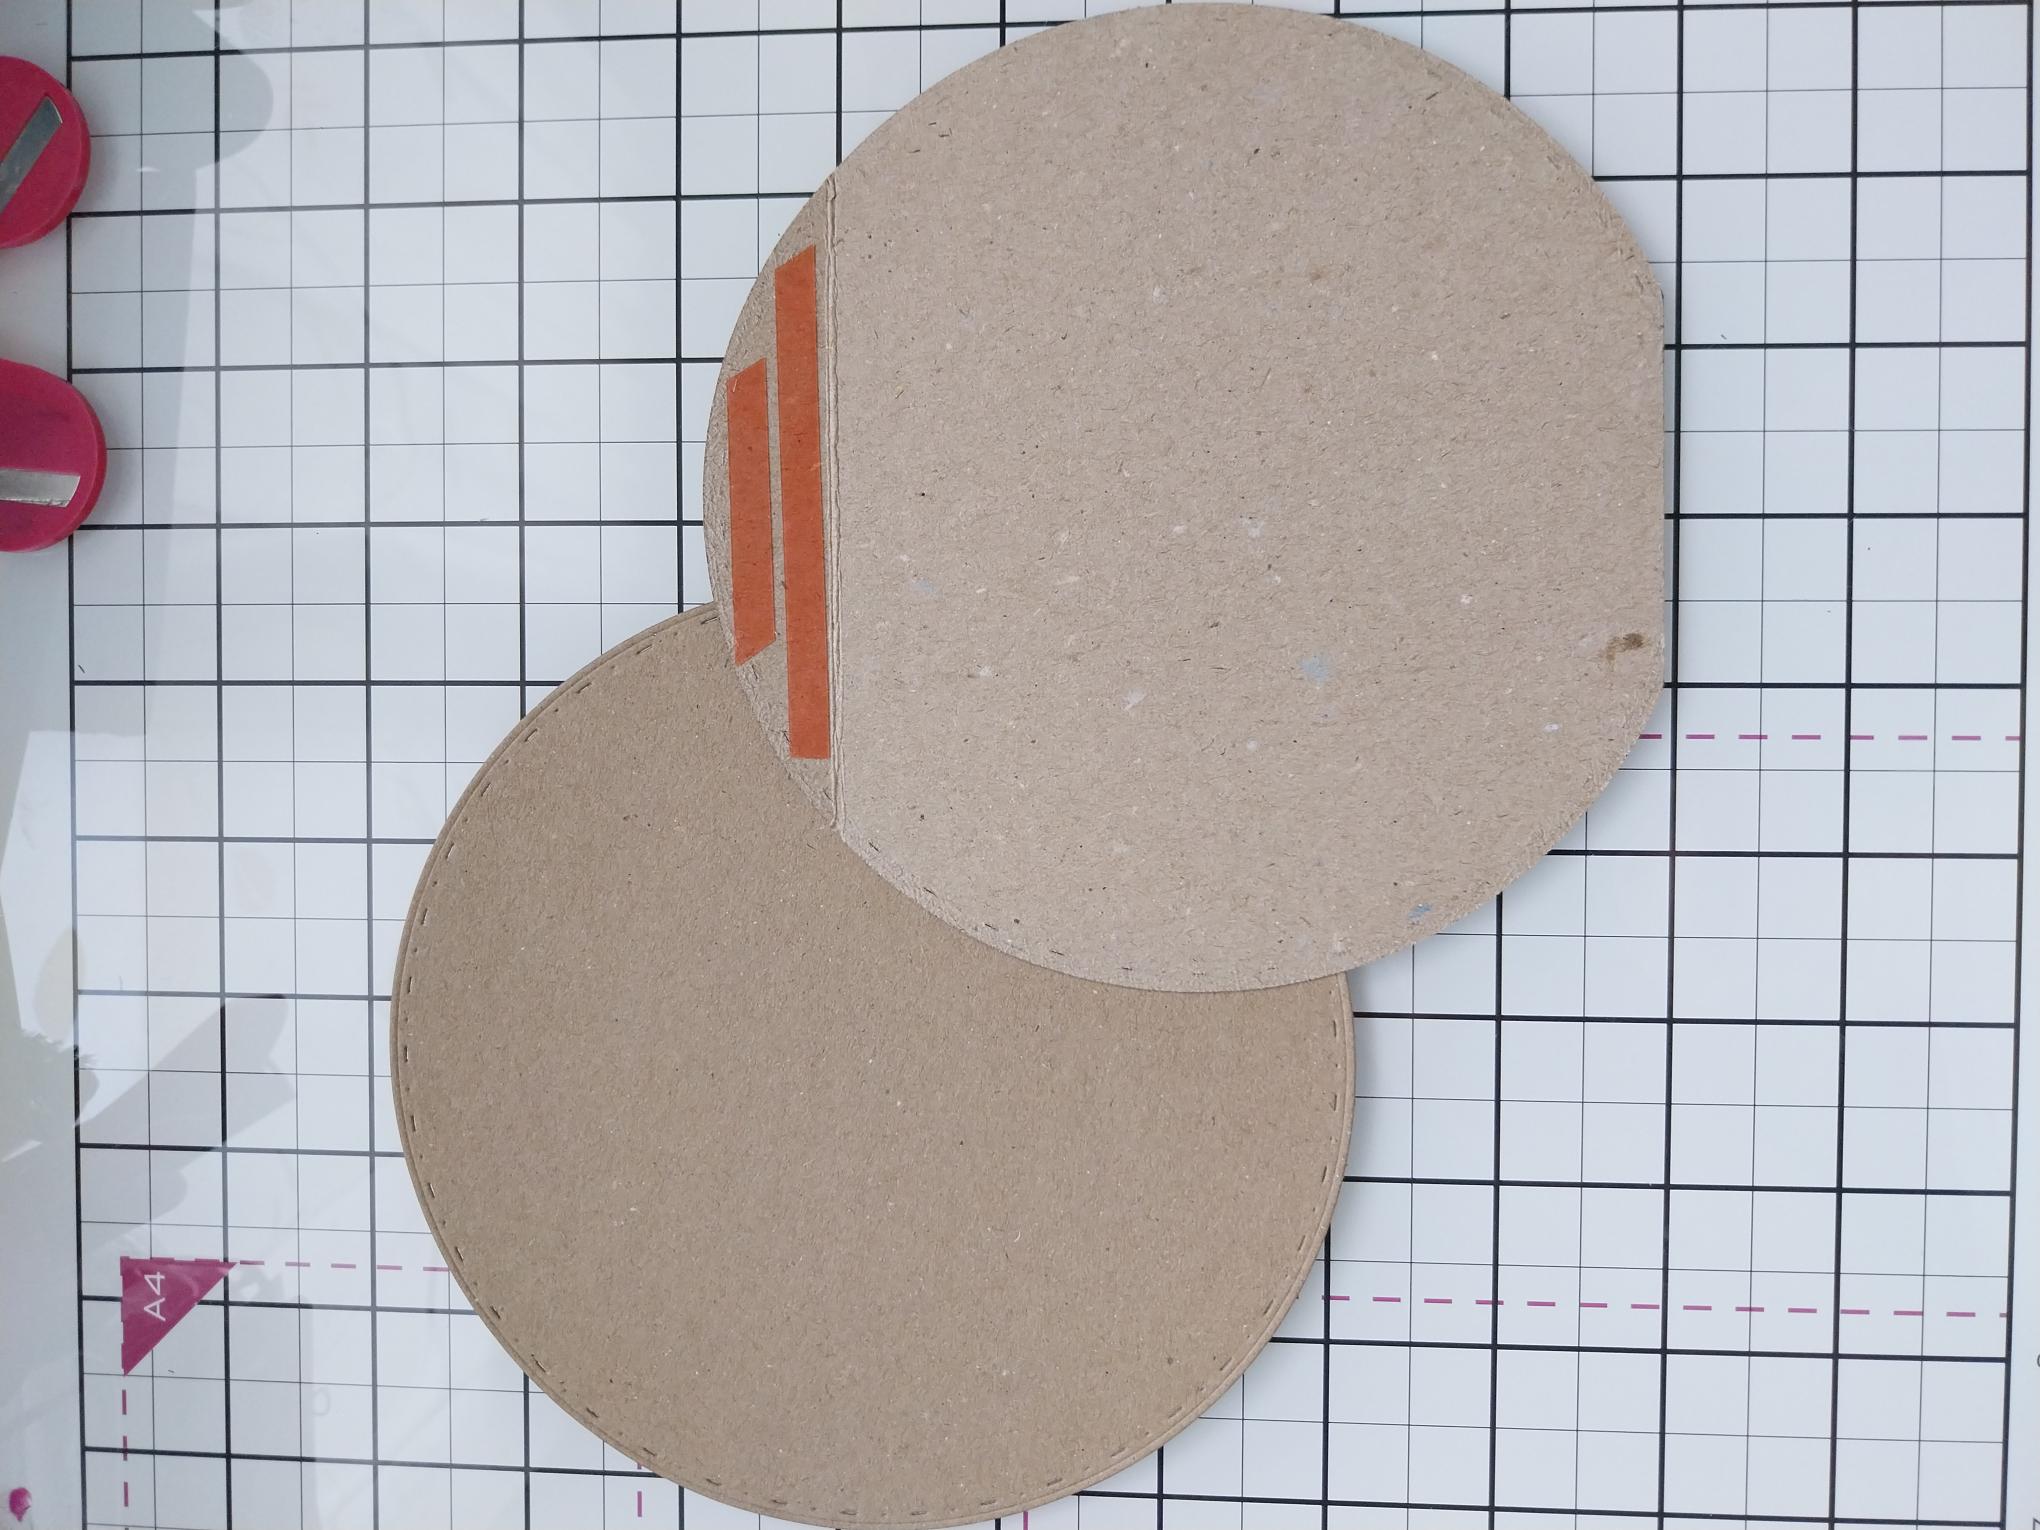
|
Die cut TWO 6" circles from kraft card. Score about 2cm down, on one of the circles and apply red liner tape above the score line. Trim a sliver off the bottom of the same circle, enabling your card blank to stand upright. |
|
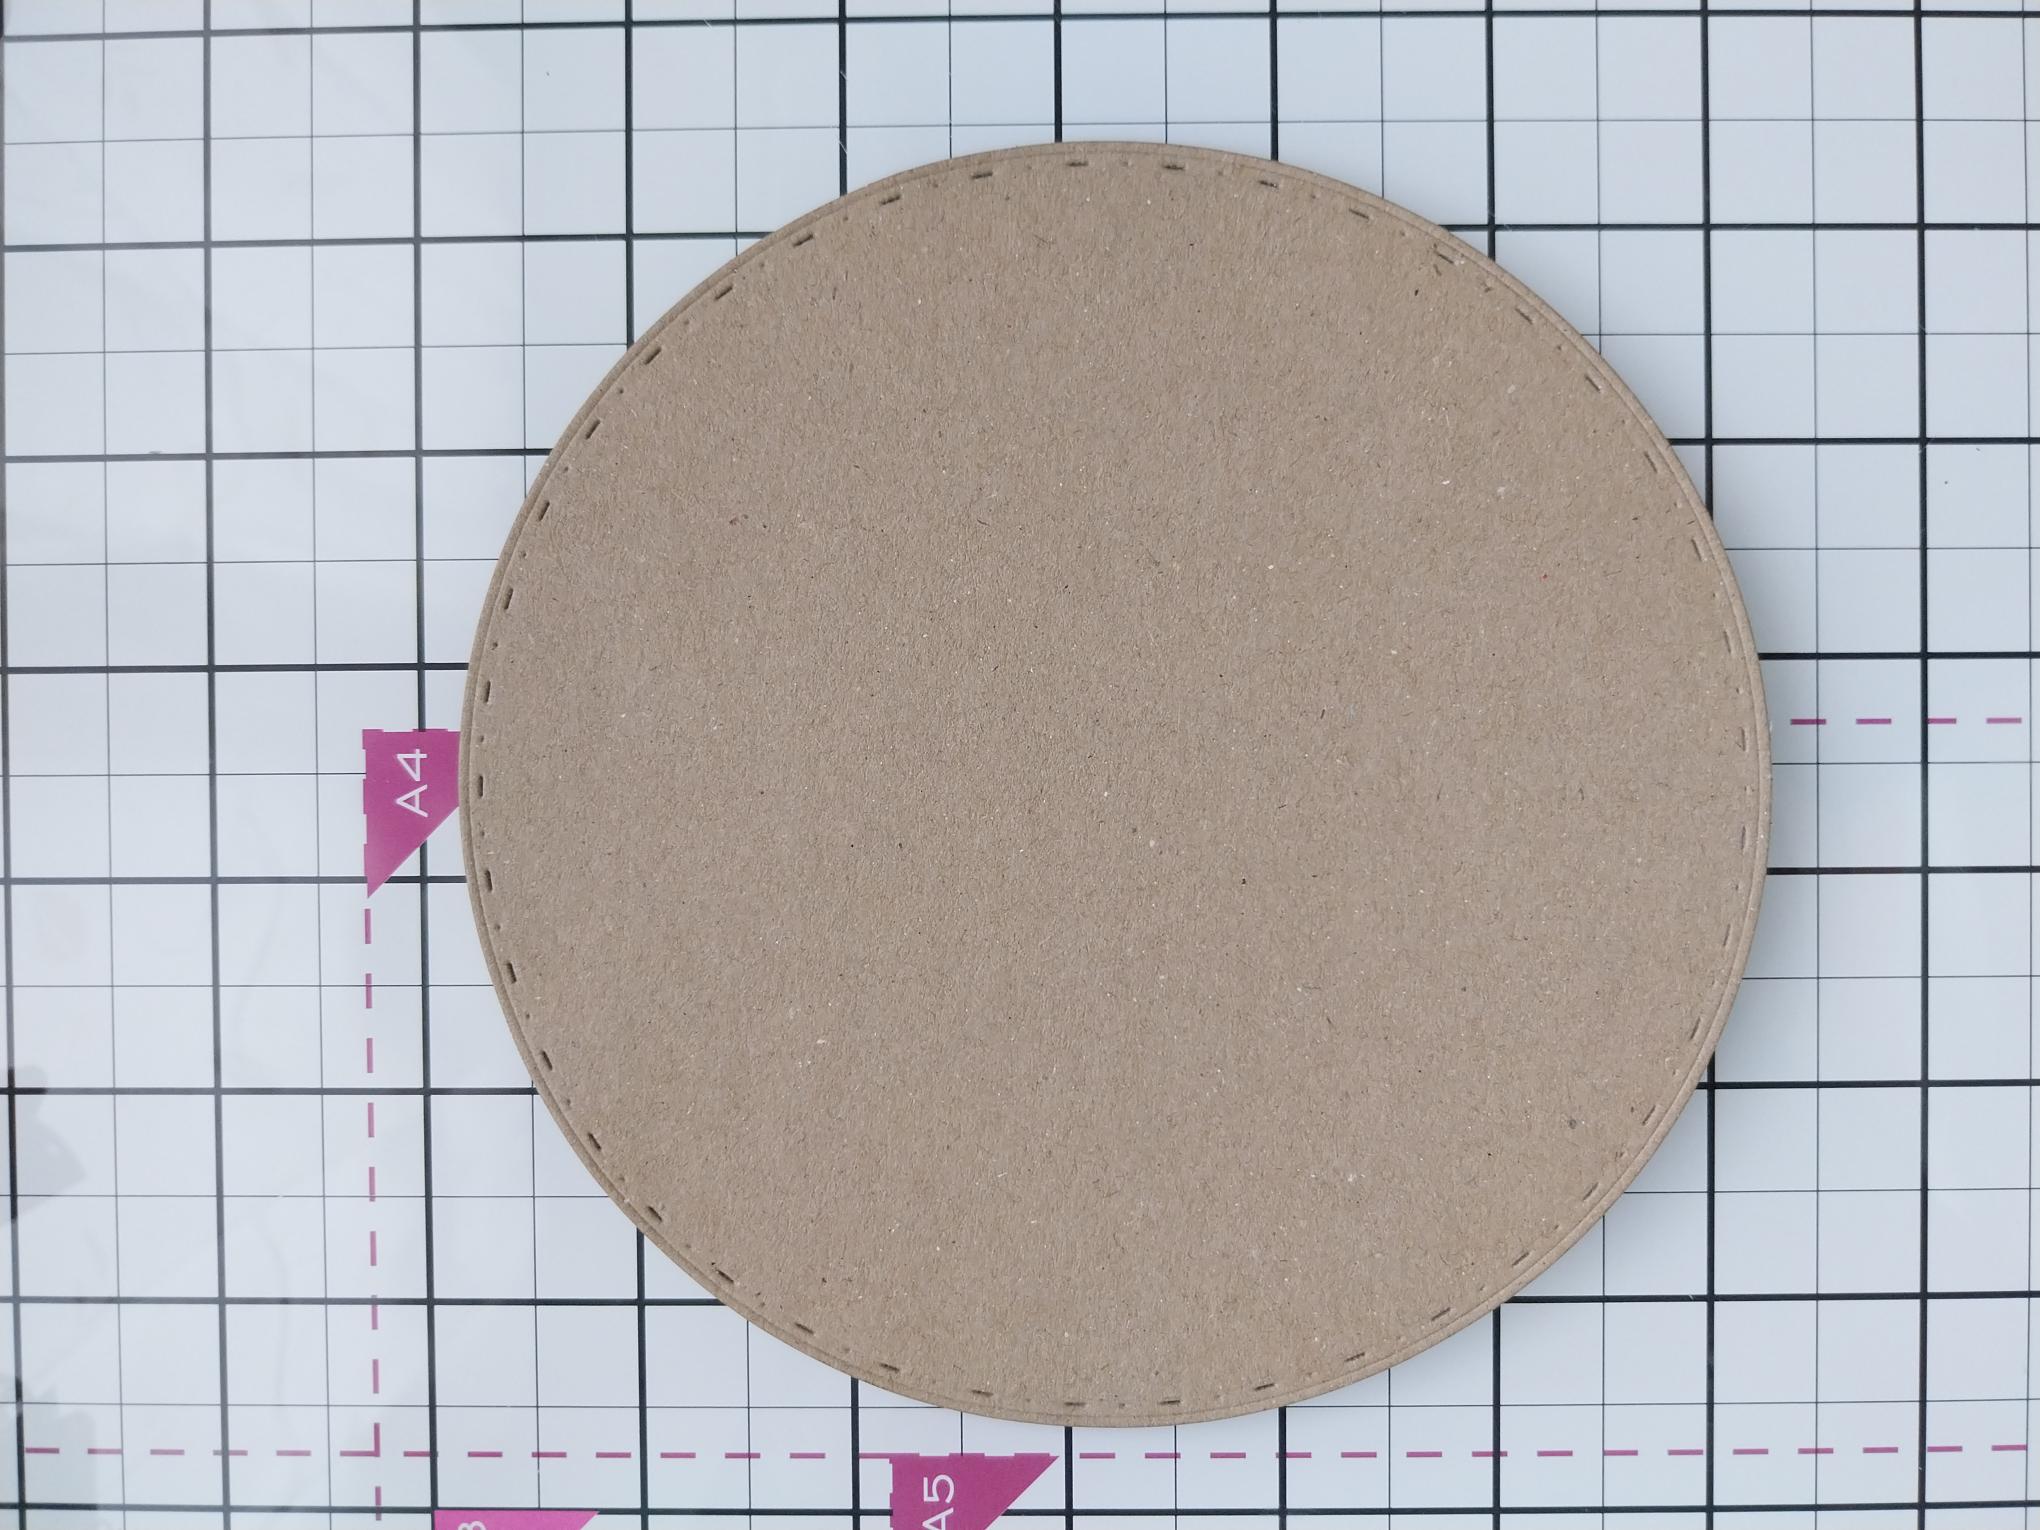
Peel off the tape backing and adhere your die cut circles together, to create your card blank. Pop to one side. |
|
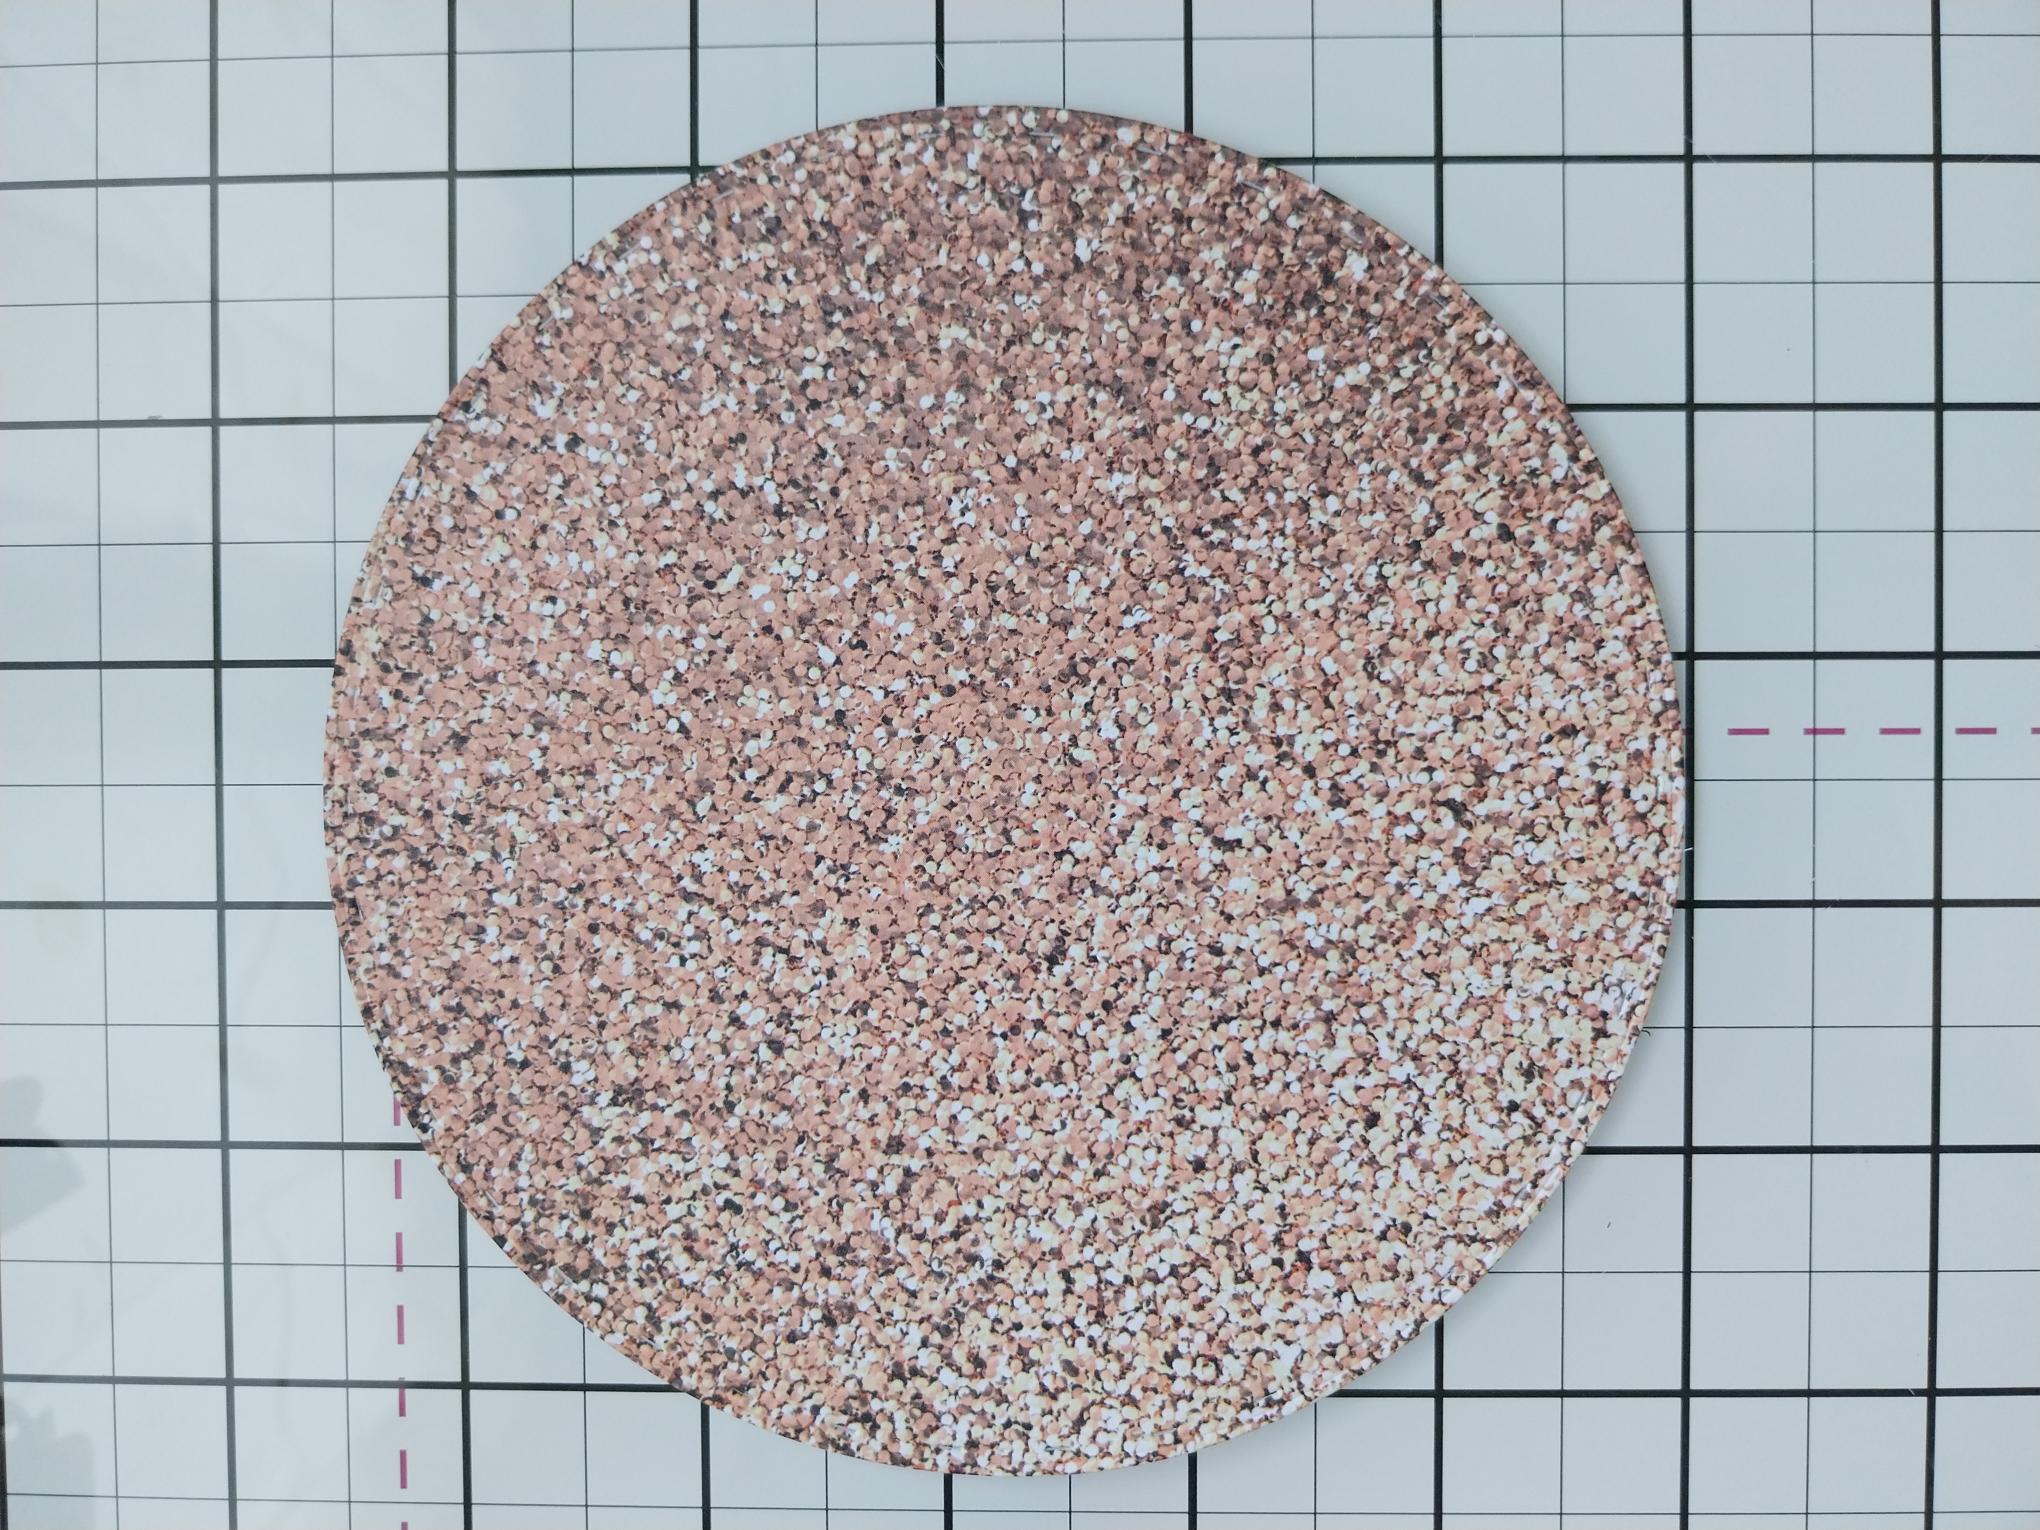
Choose a textured paper from the Bronze All Surfaces paper pack and die cut a 5 1/2" circle. |
|
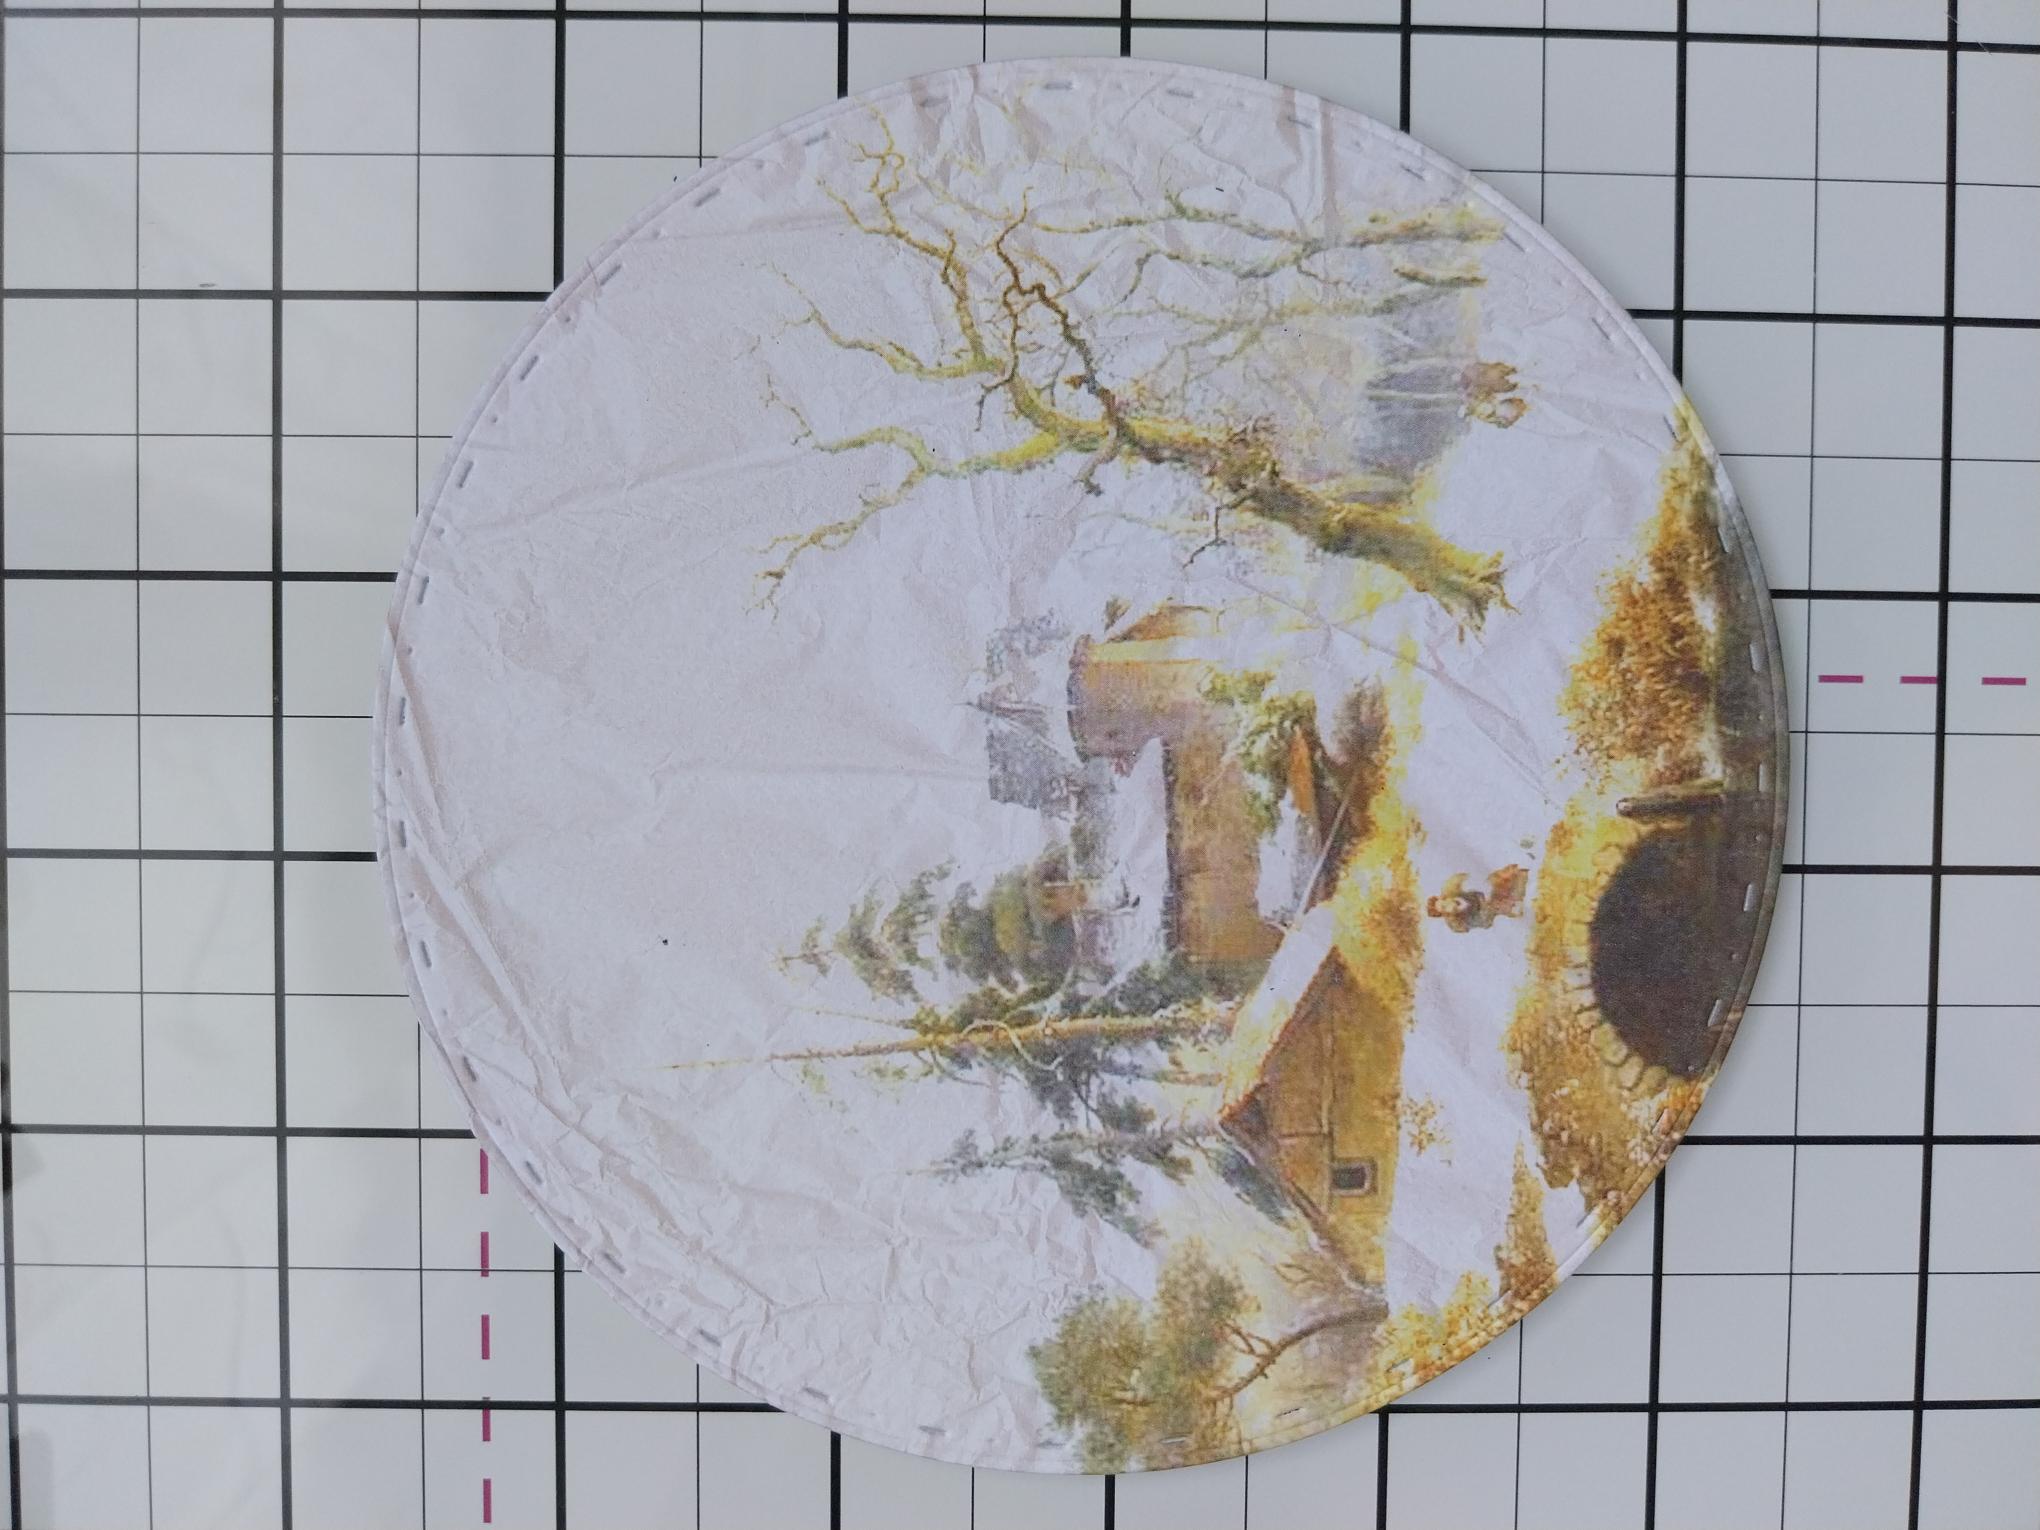
Die cut a 5" circle from one of the beautiful mounts, from In The Countryside. |
|
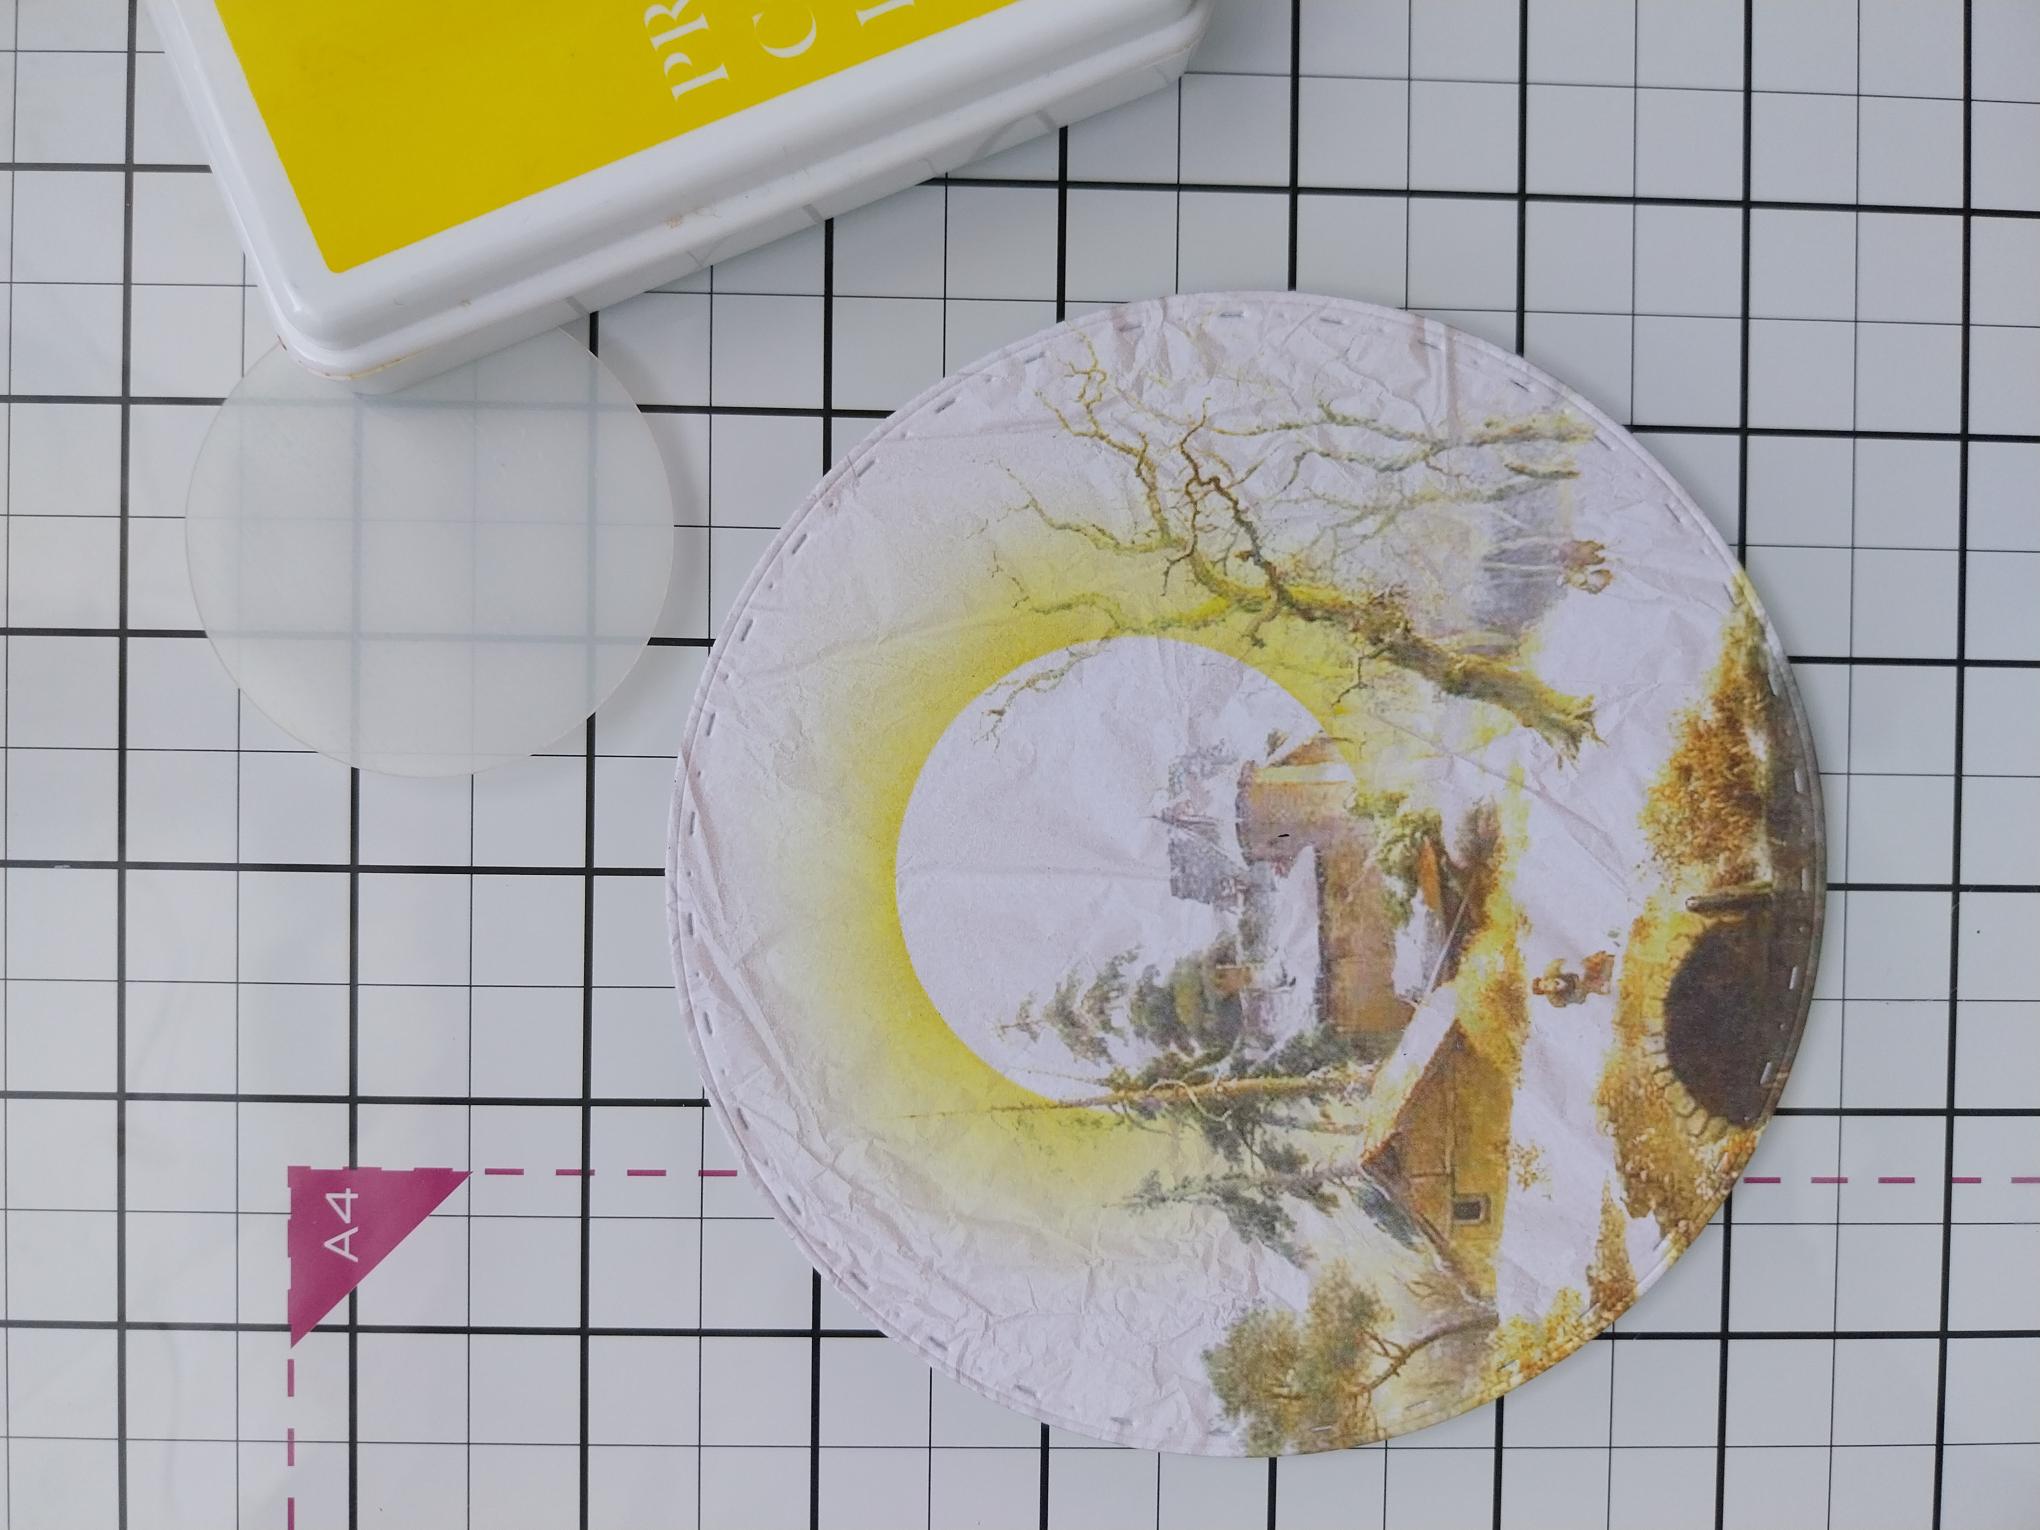
Place your circle mask over the horizon of your village scene and blend the Sherbet ink, moving away from the mask as you fade out the colour. |
|
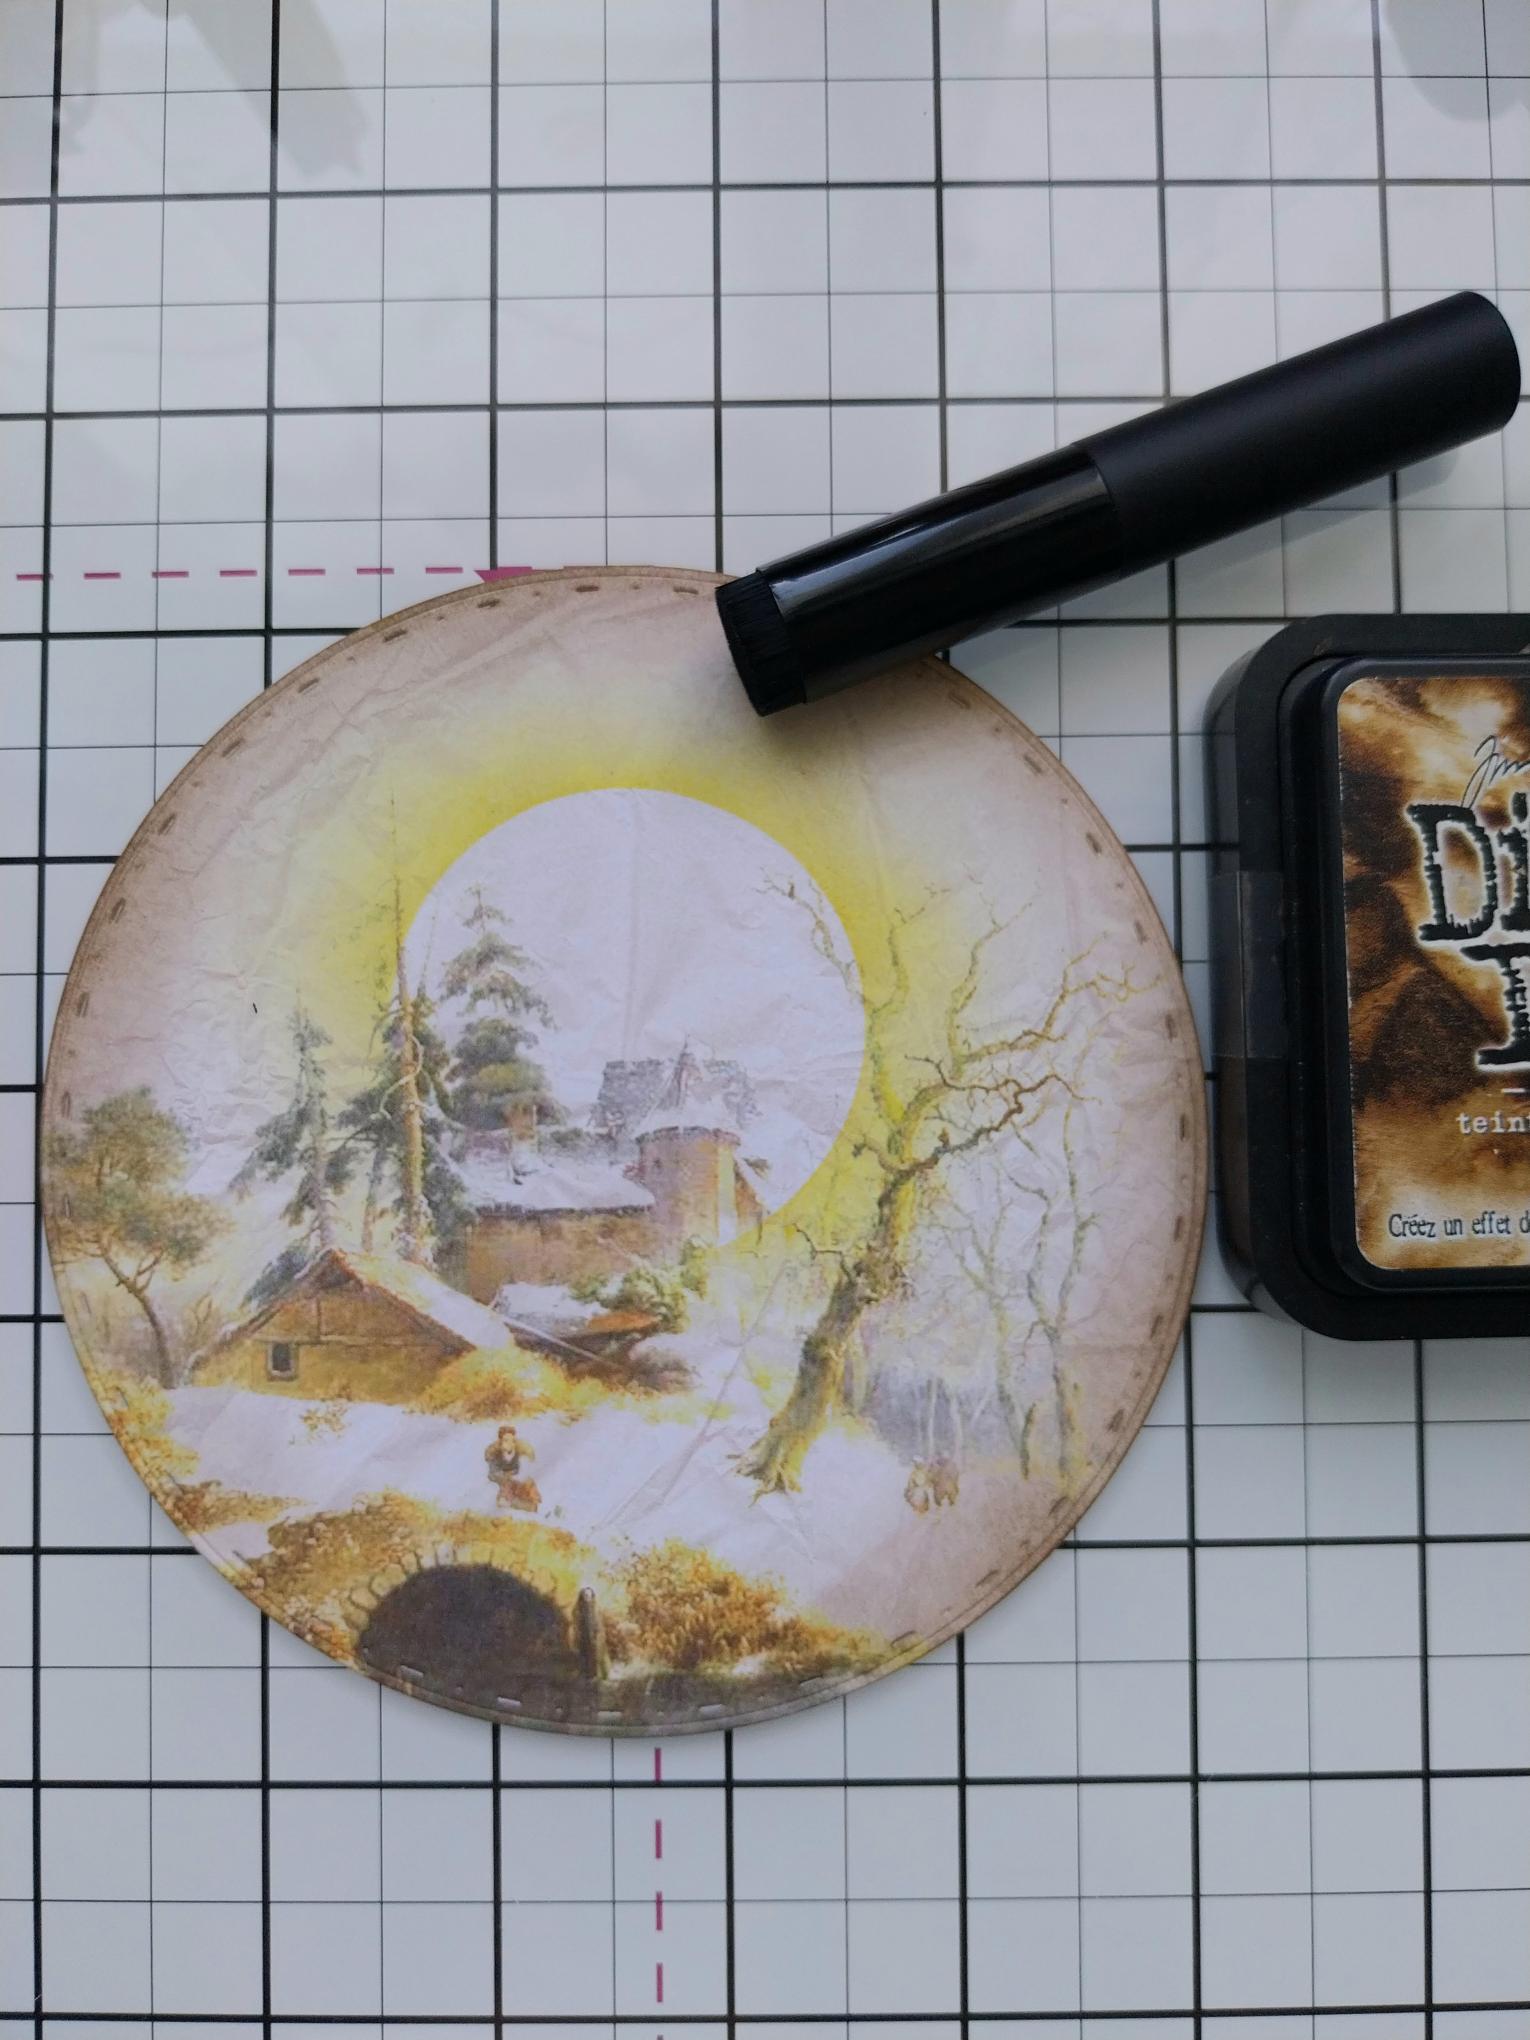
Blend the Walnut Stain Distress ink around the edge of your topper. |
|
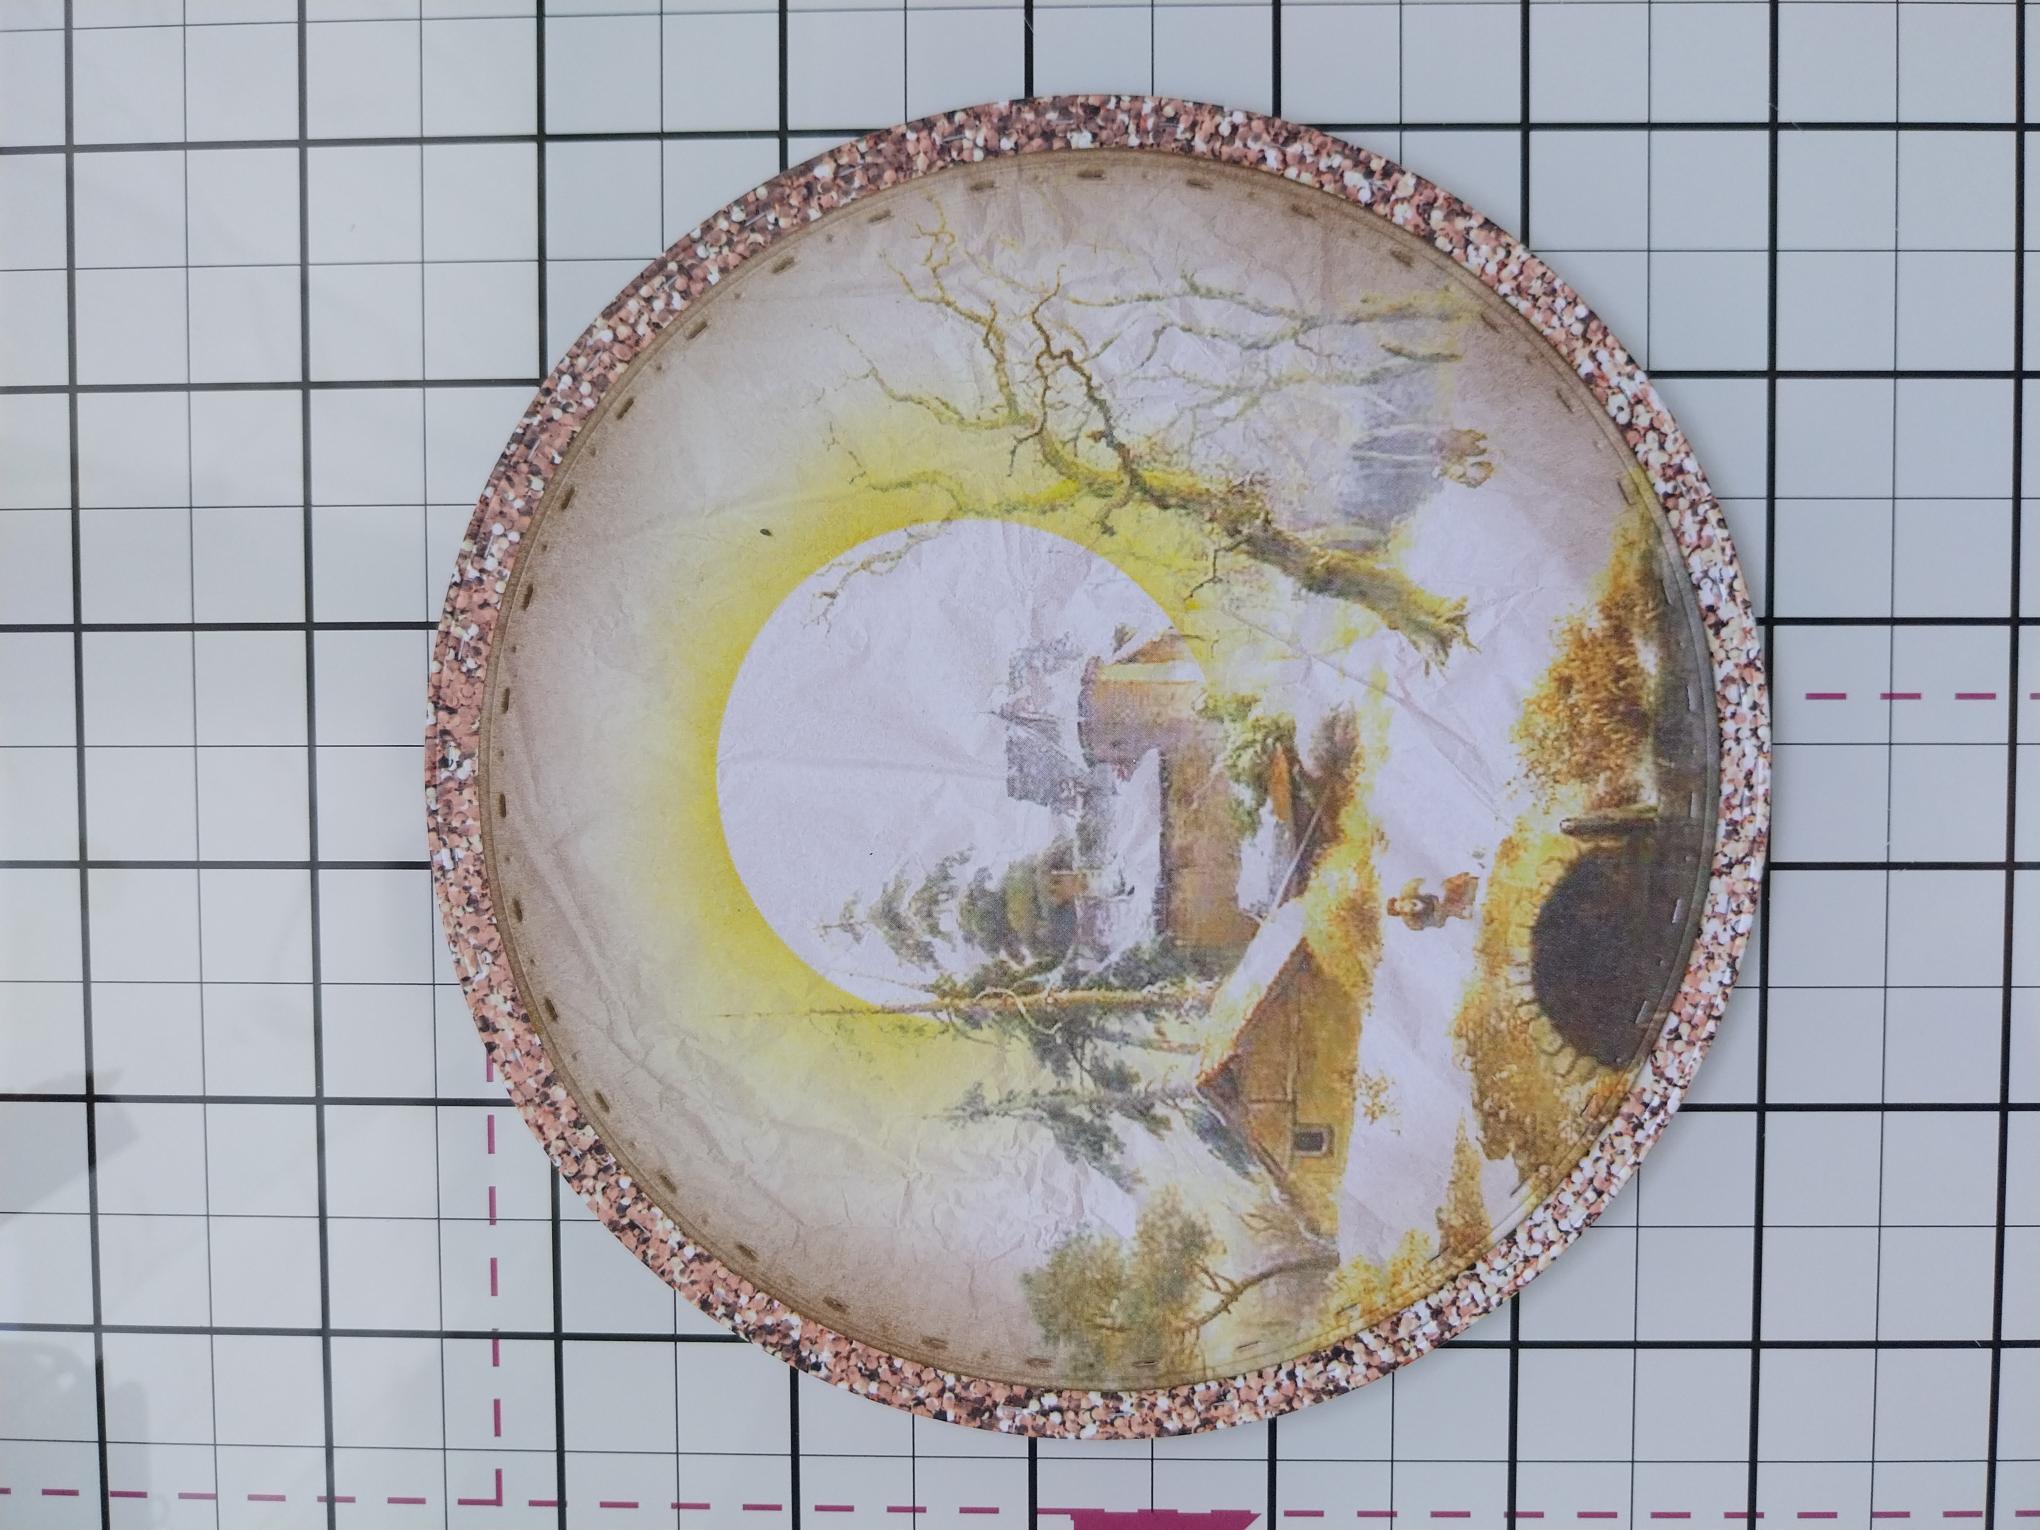
Adhere your topper to your die cut textured paper. |
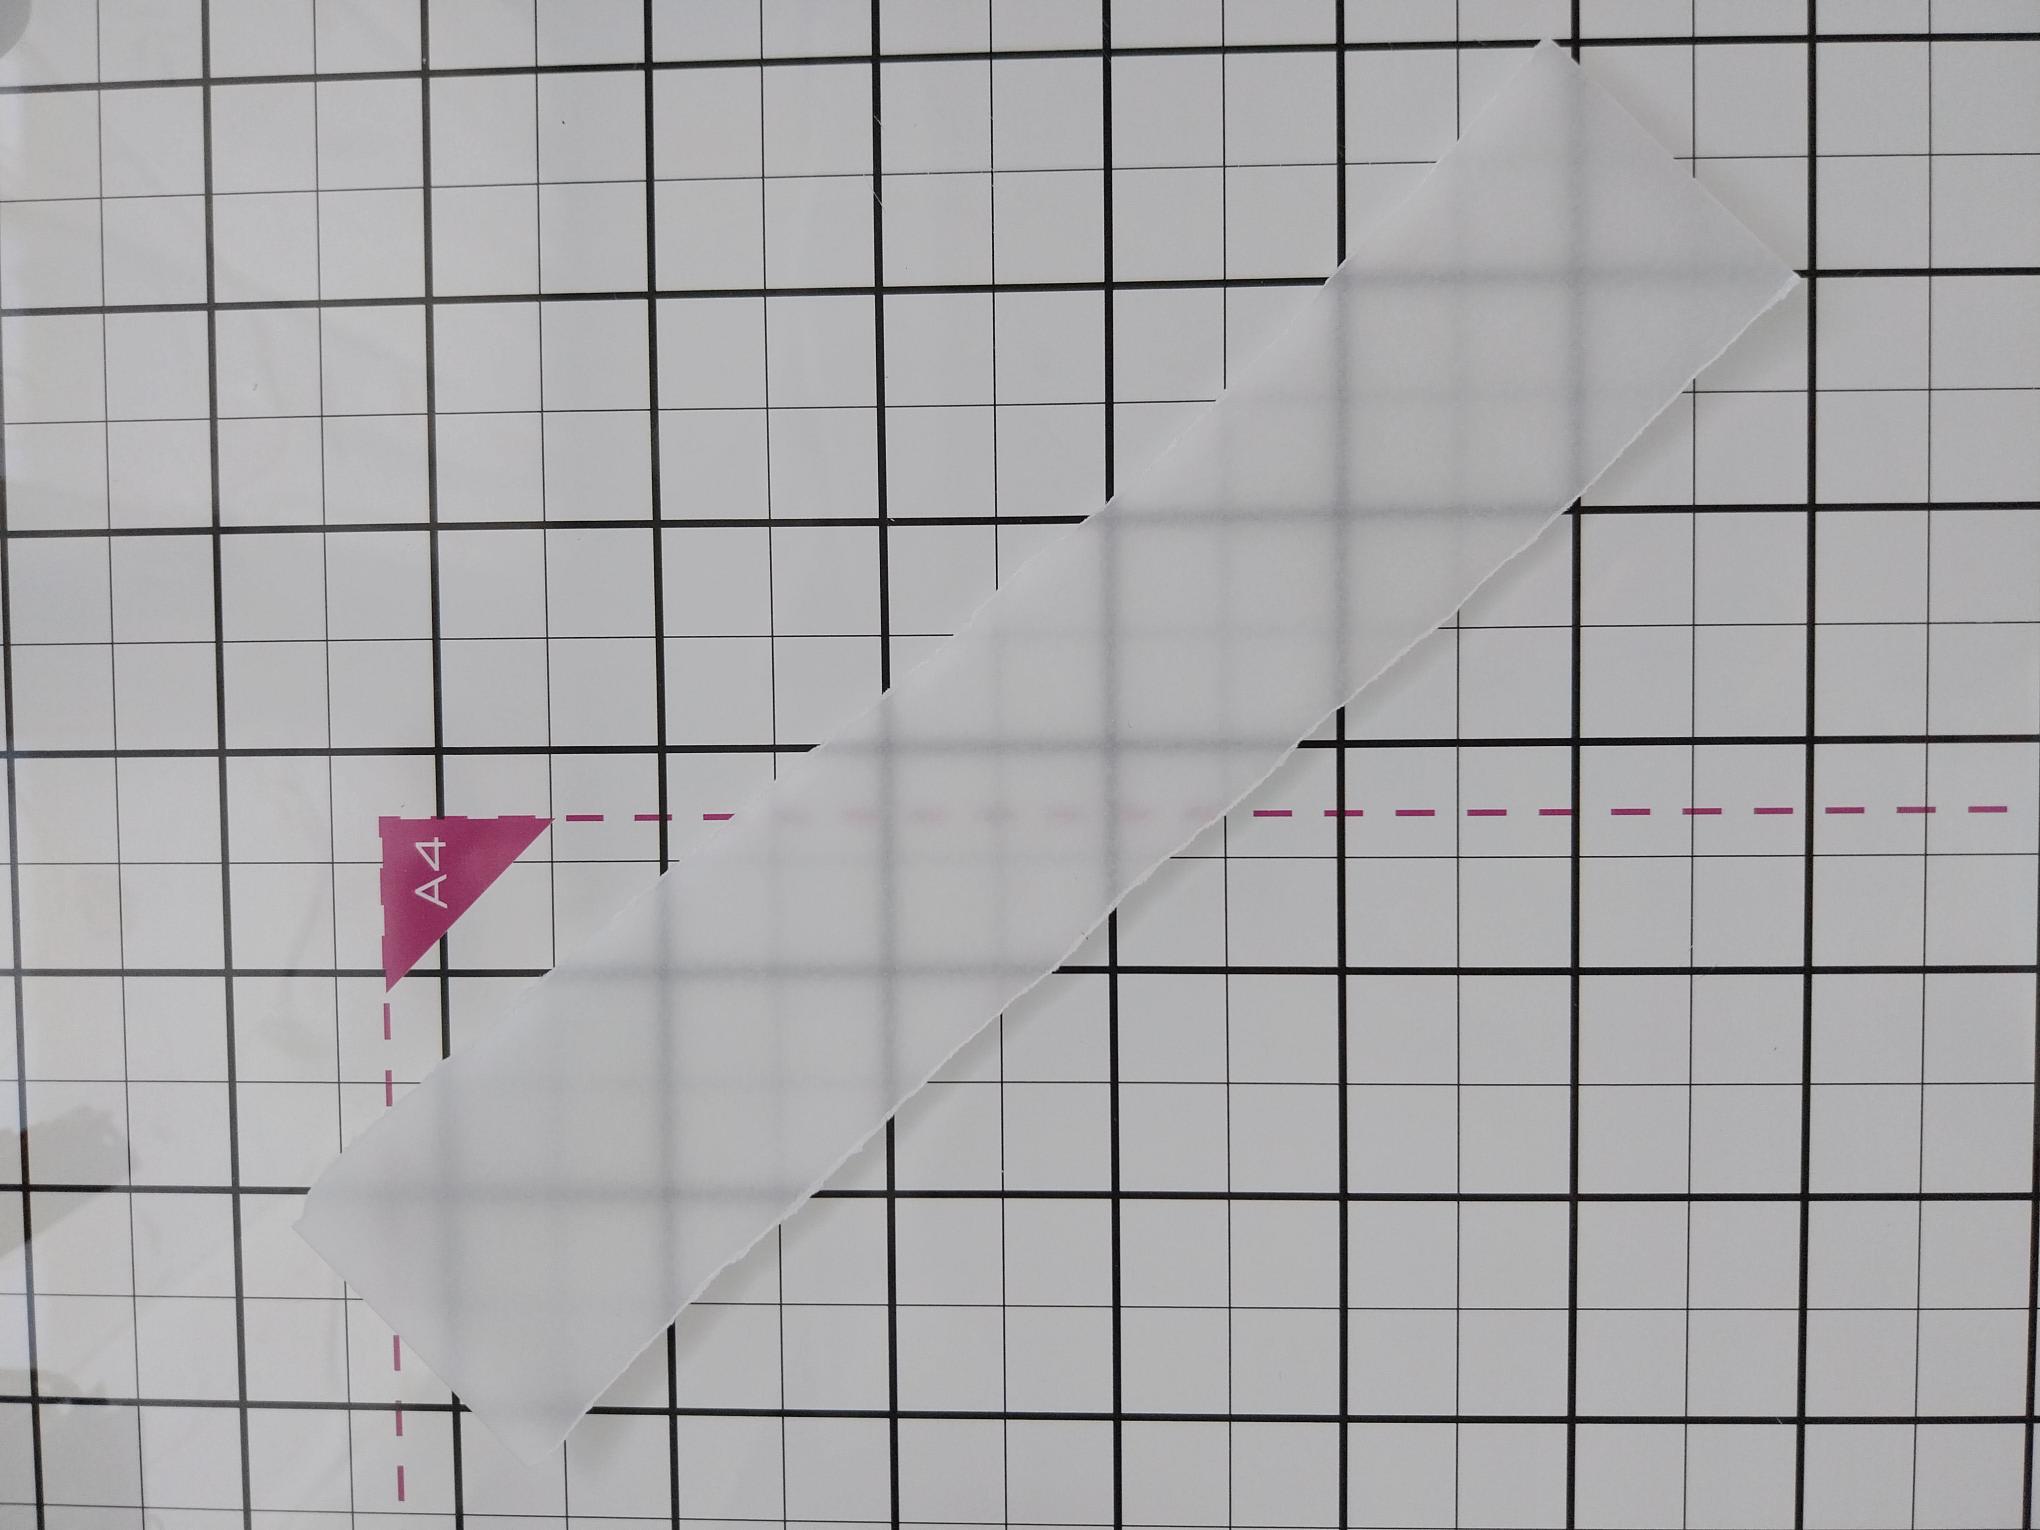
|
Tear a strip of vellum slightly wider than your layered topper. |
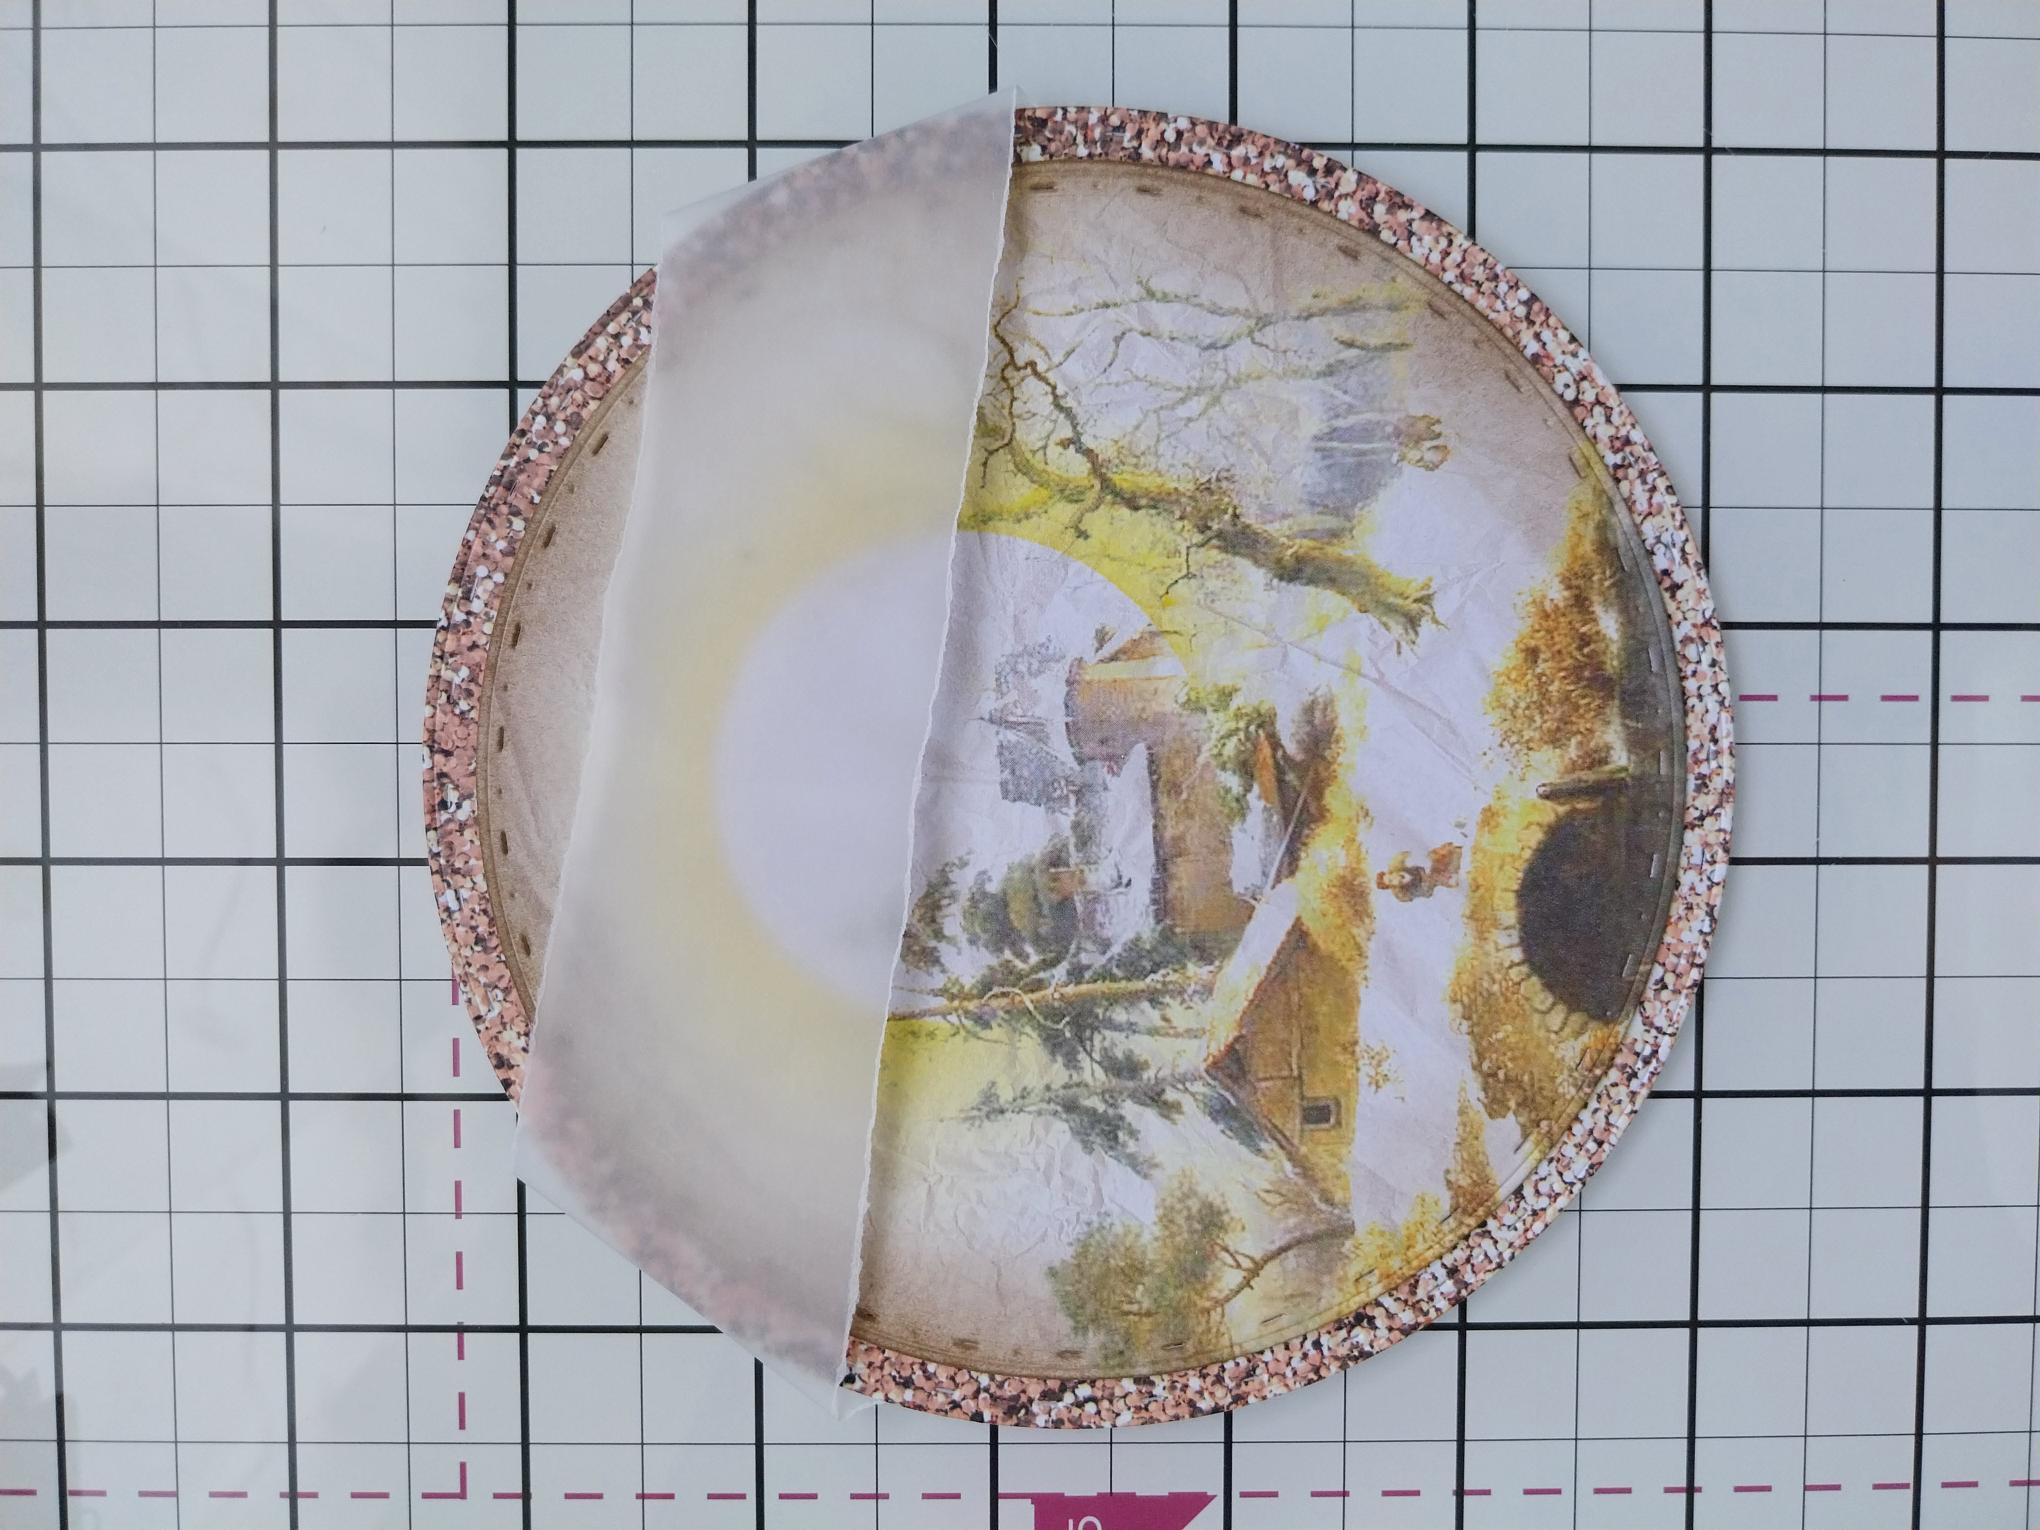
|
Adhere at an angle, across the top third of your topper. Tuck the vellum edges over and secure on the back, with your tape runner or double-sided adhesive tape. |
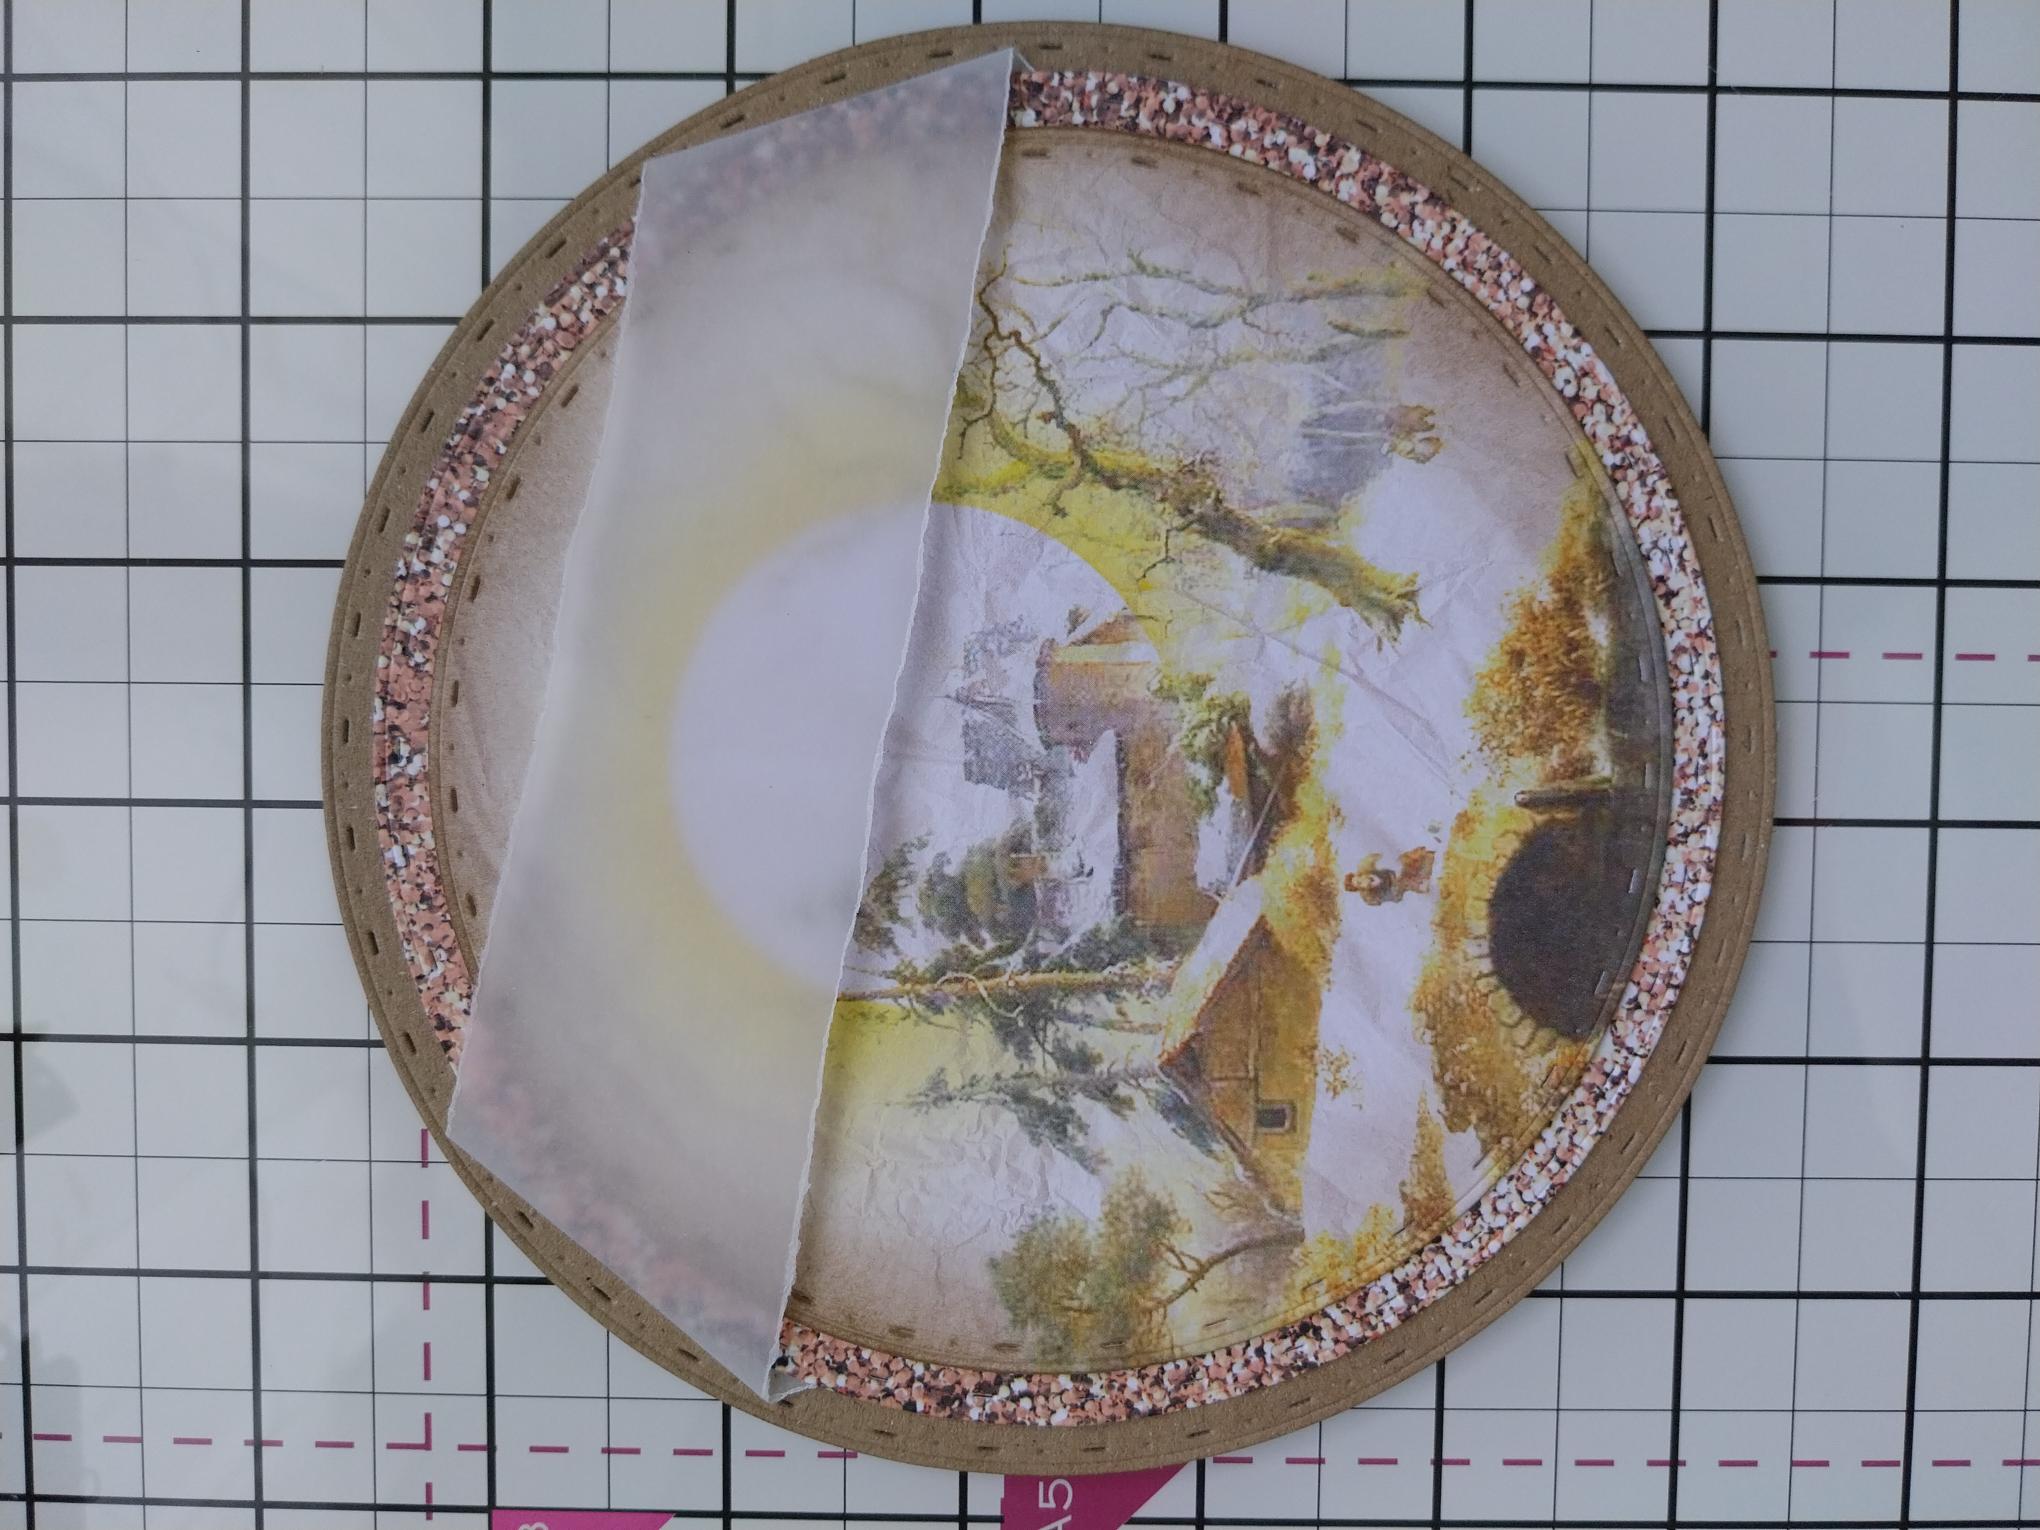
|
Adhere to the front of your kraft card blank. |
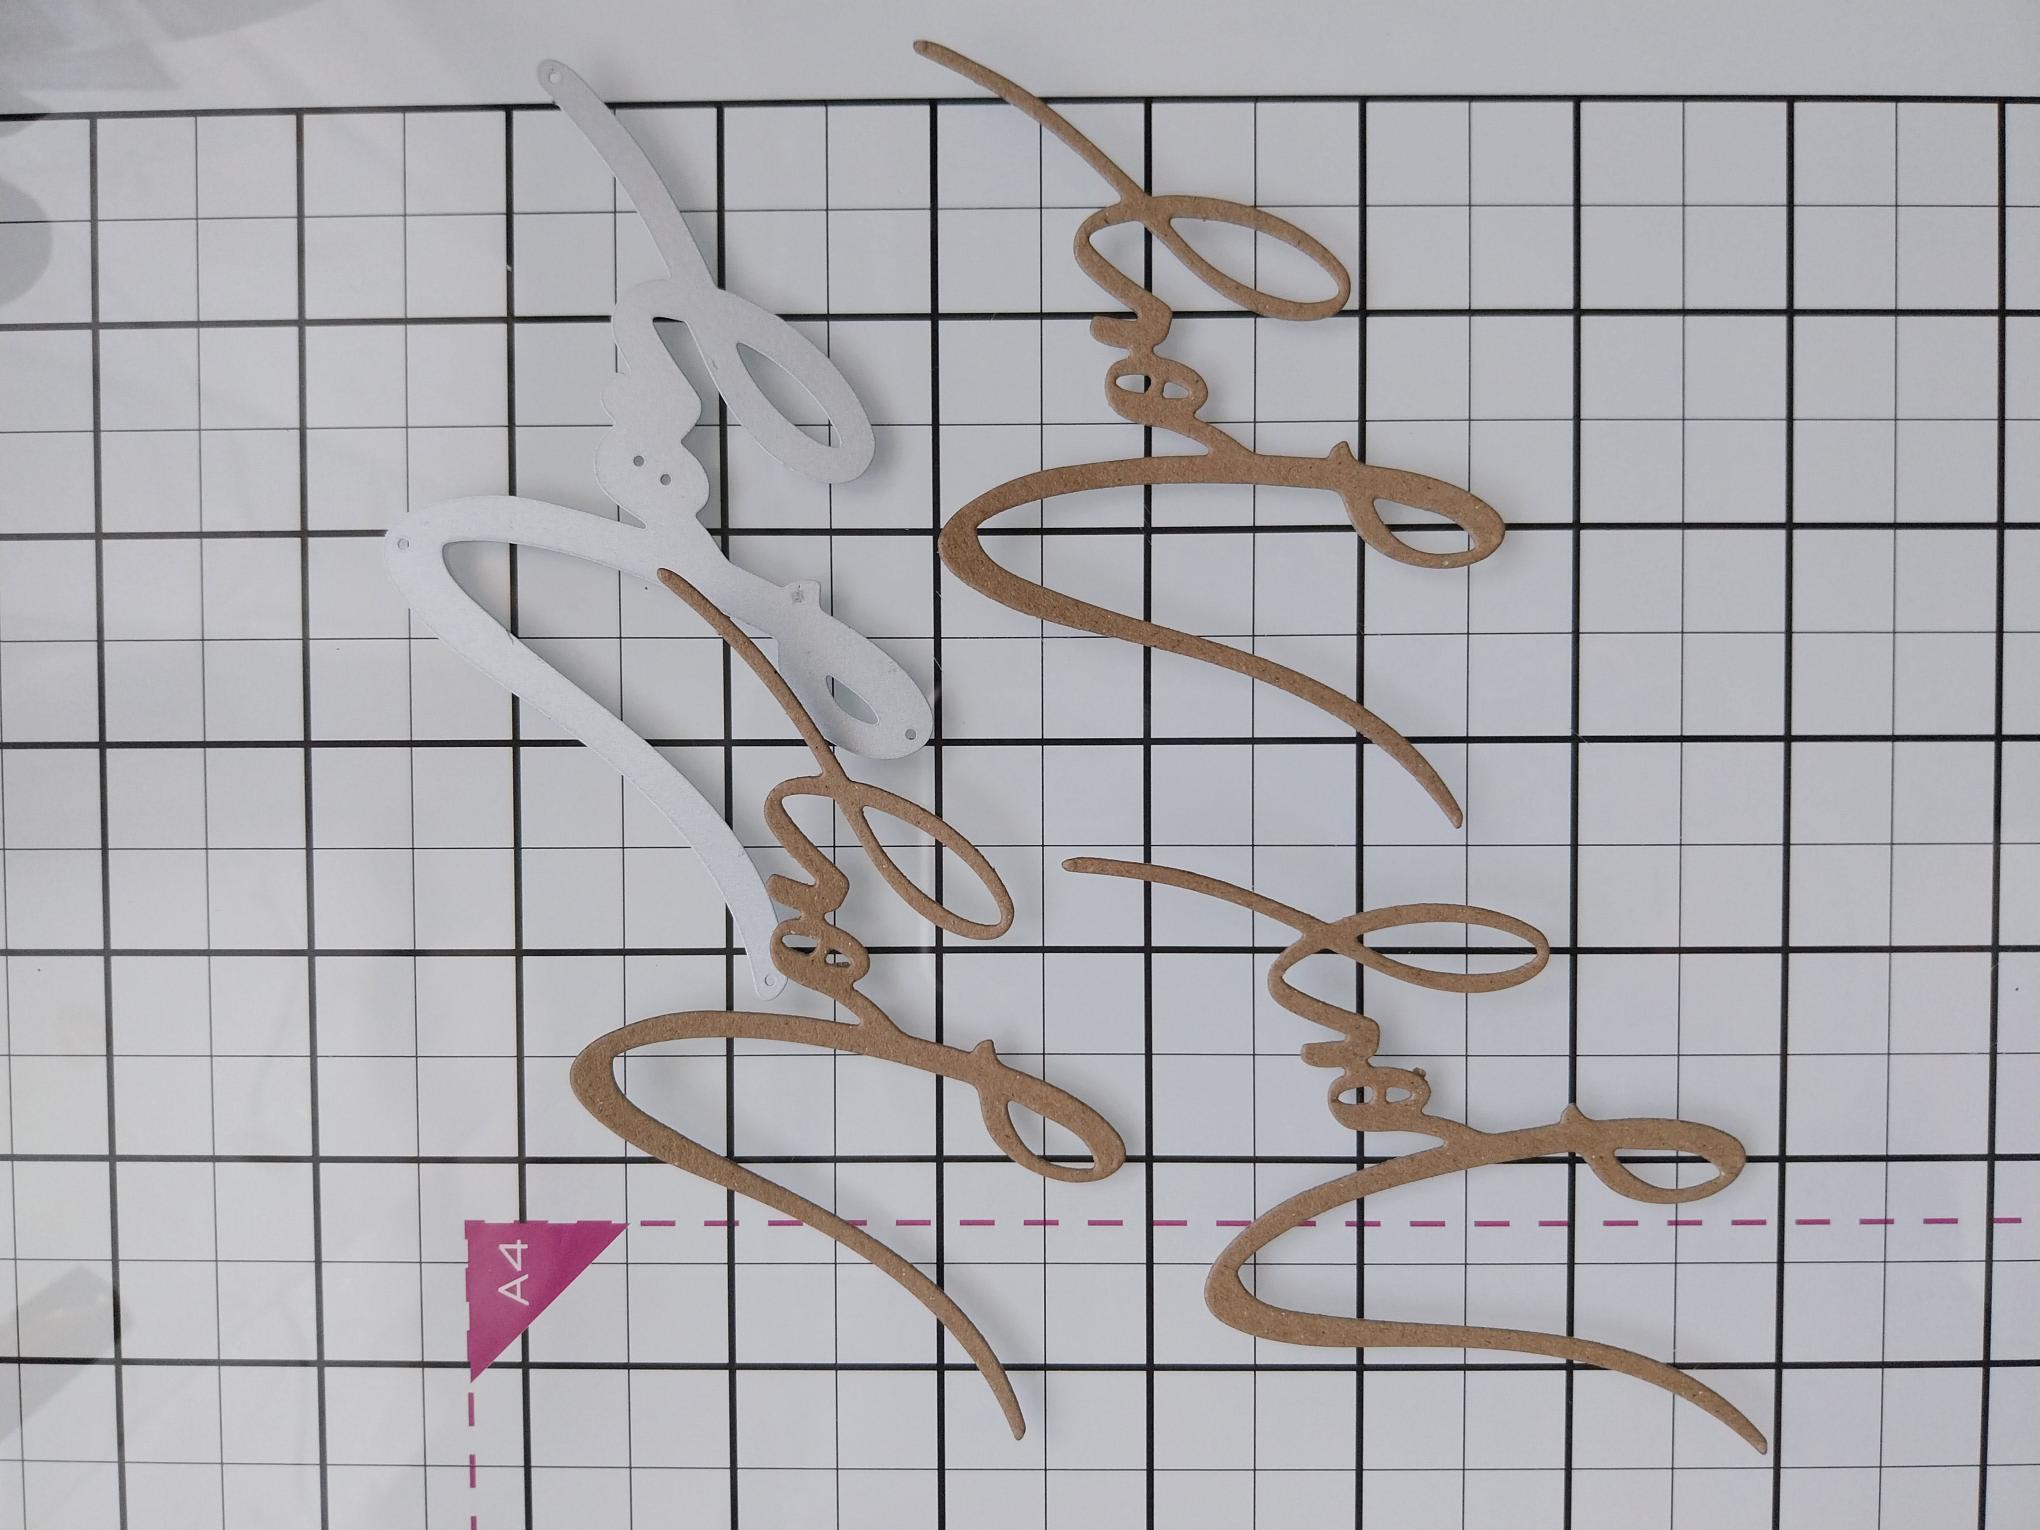
|
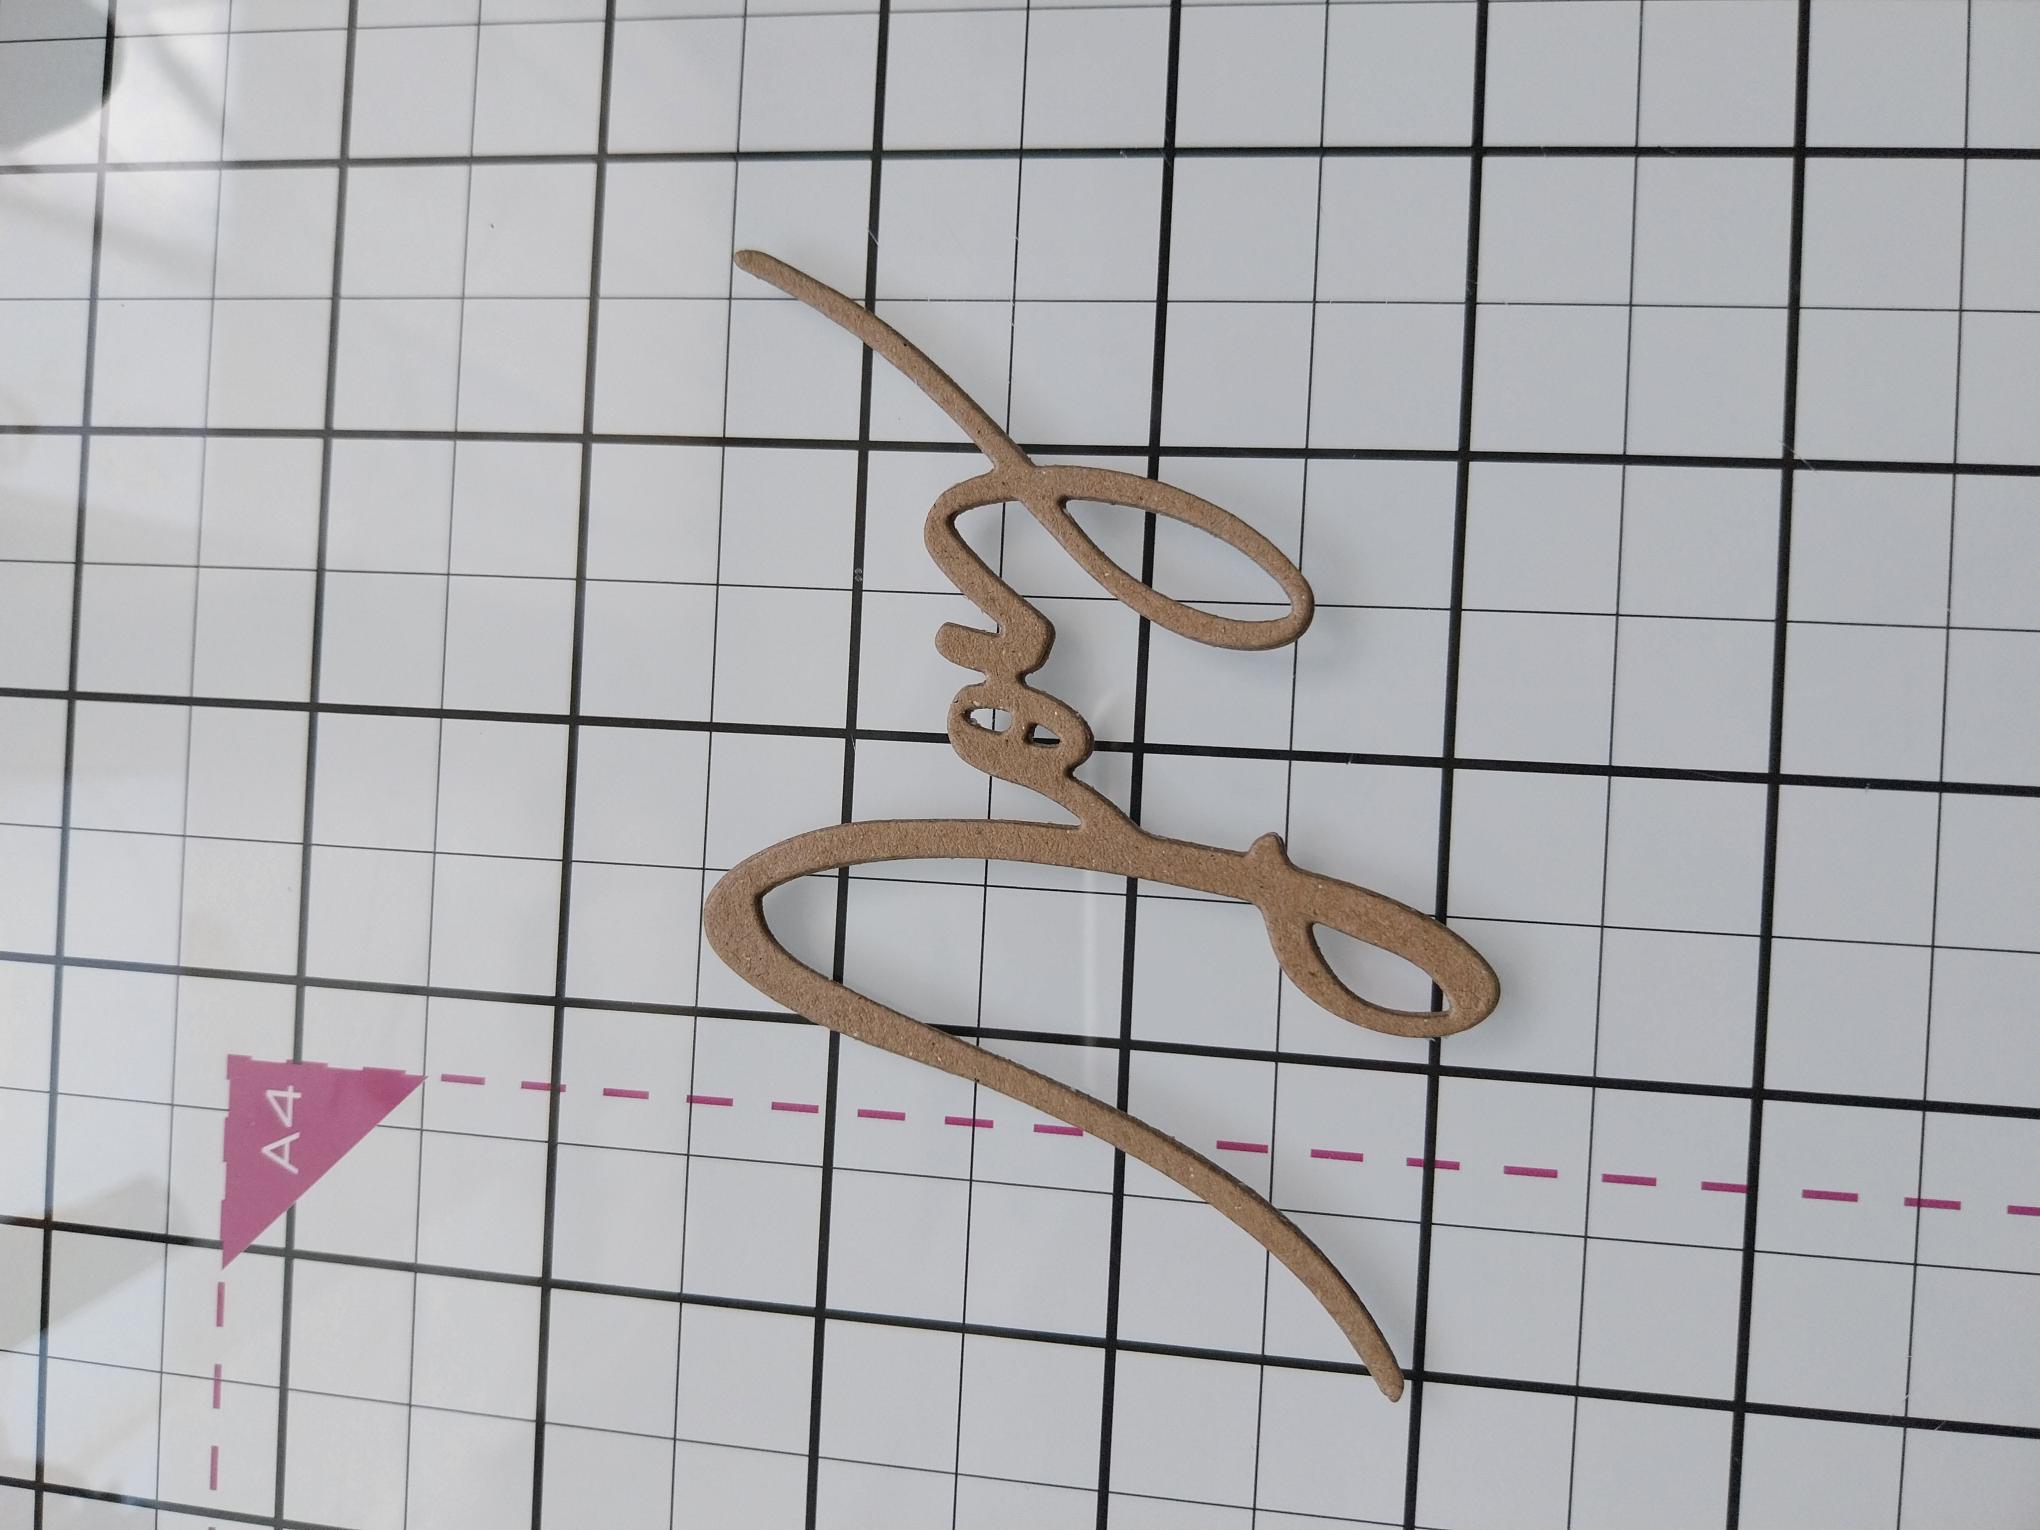
Die cut 3 "Joy" elements from kraft card. |
|
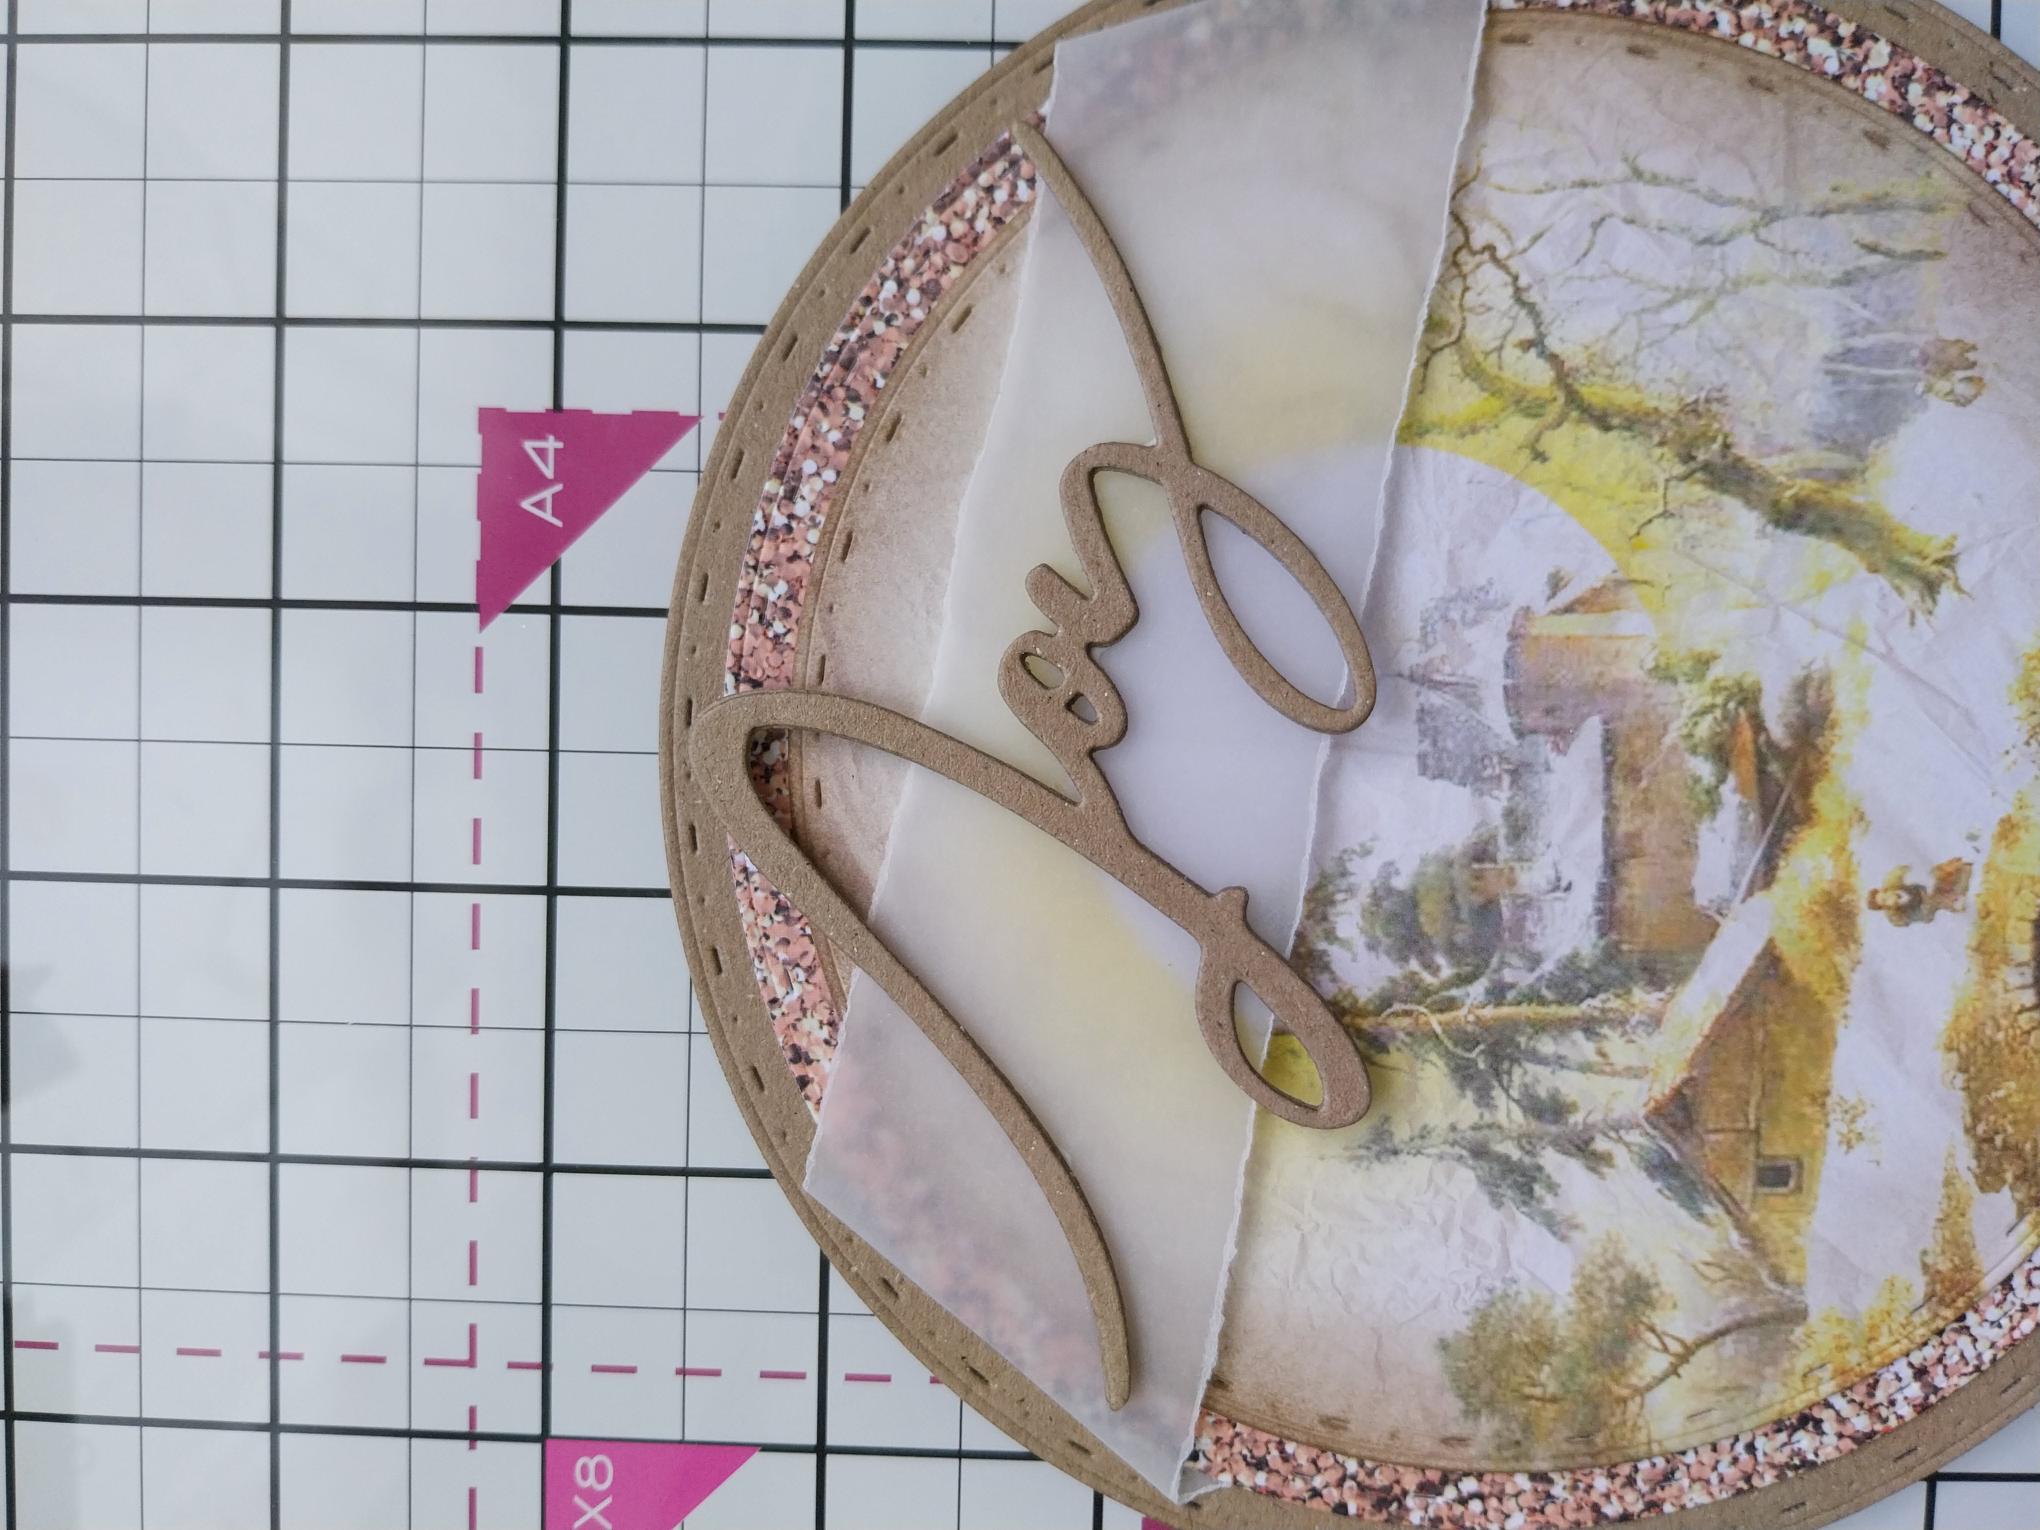
Adhere together to create a substantial 3D word. |
|
Adhere "Joy" along your torn vellum panel. |
|
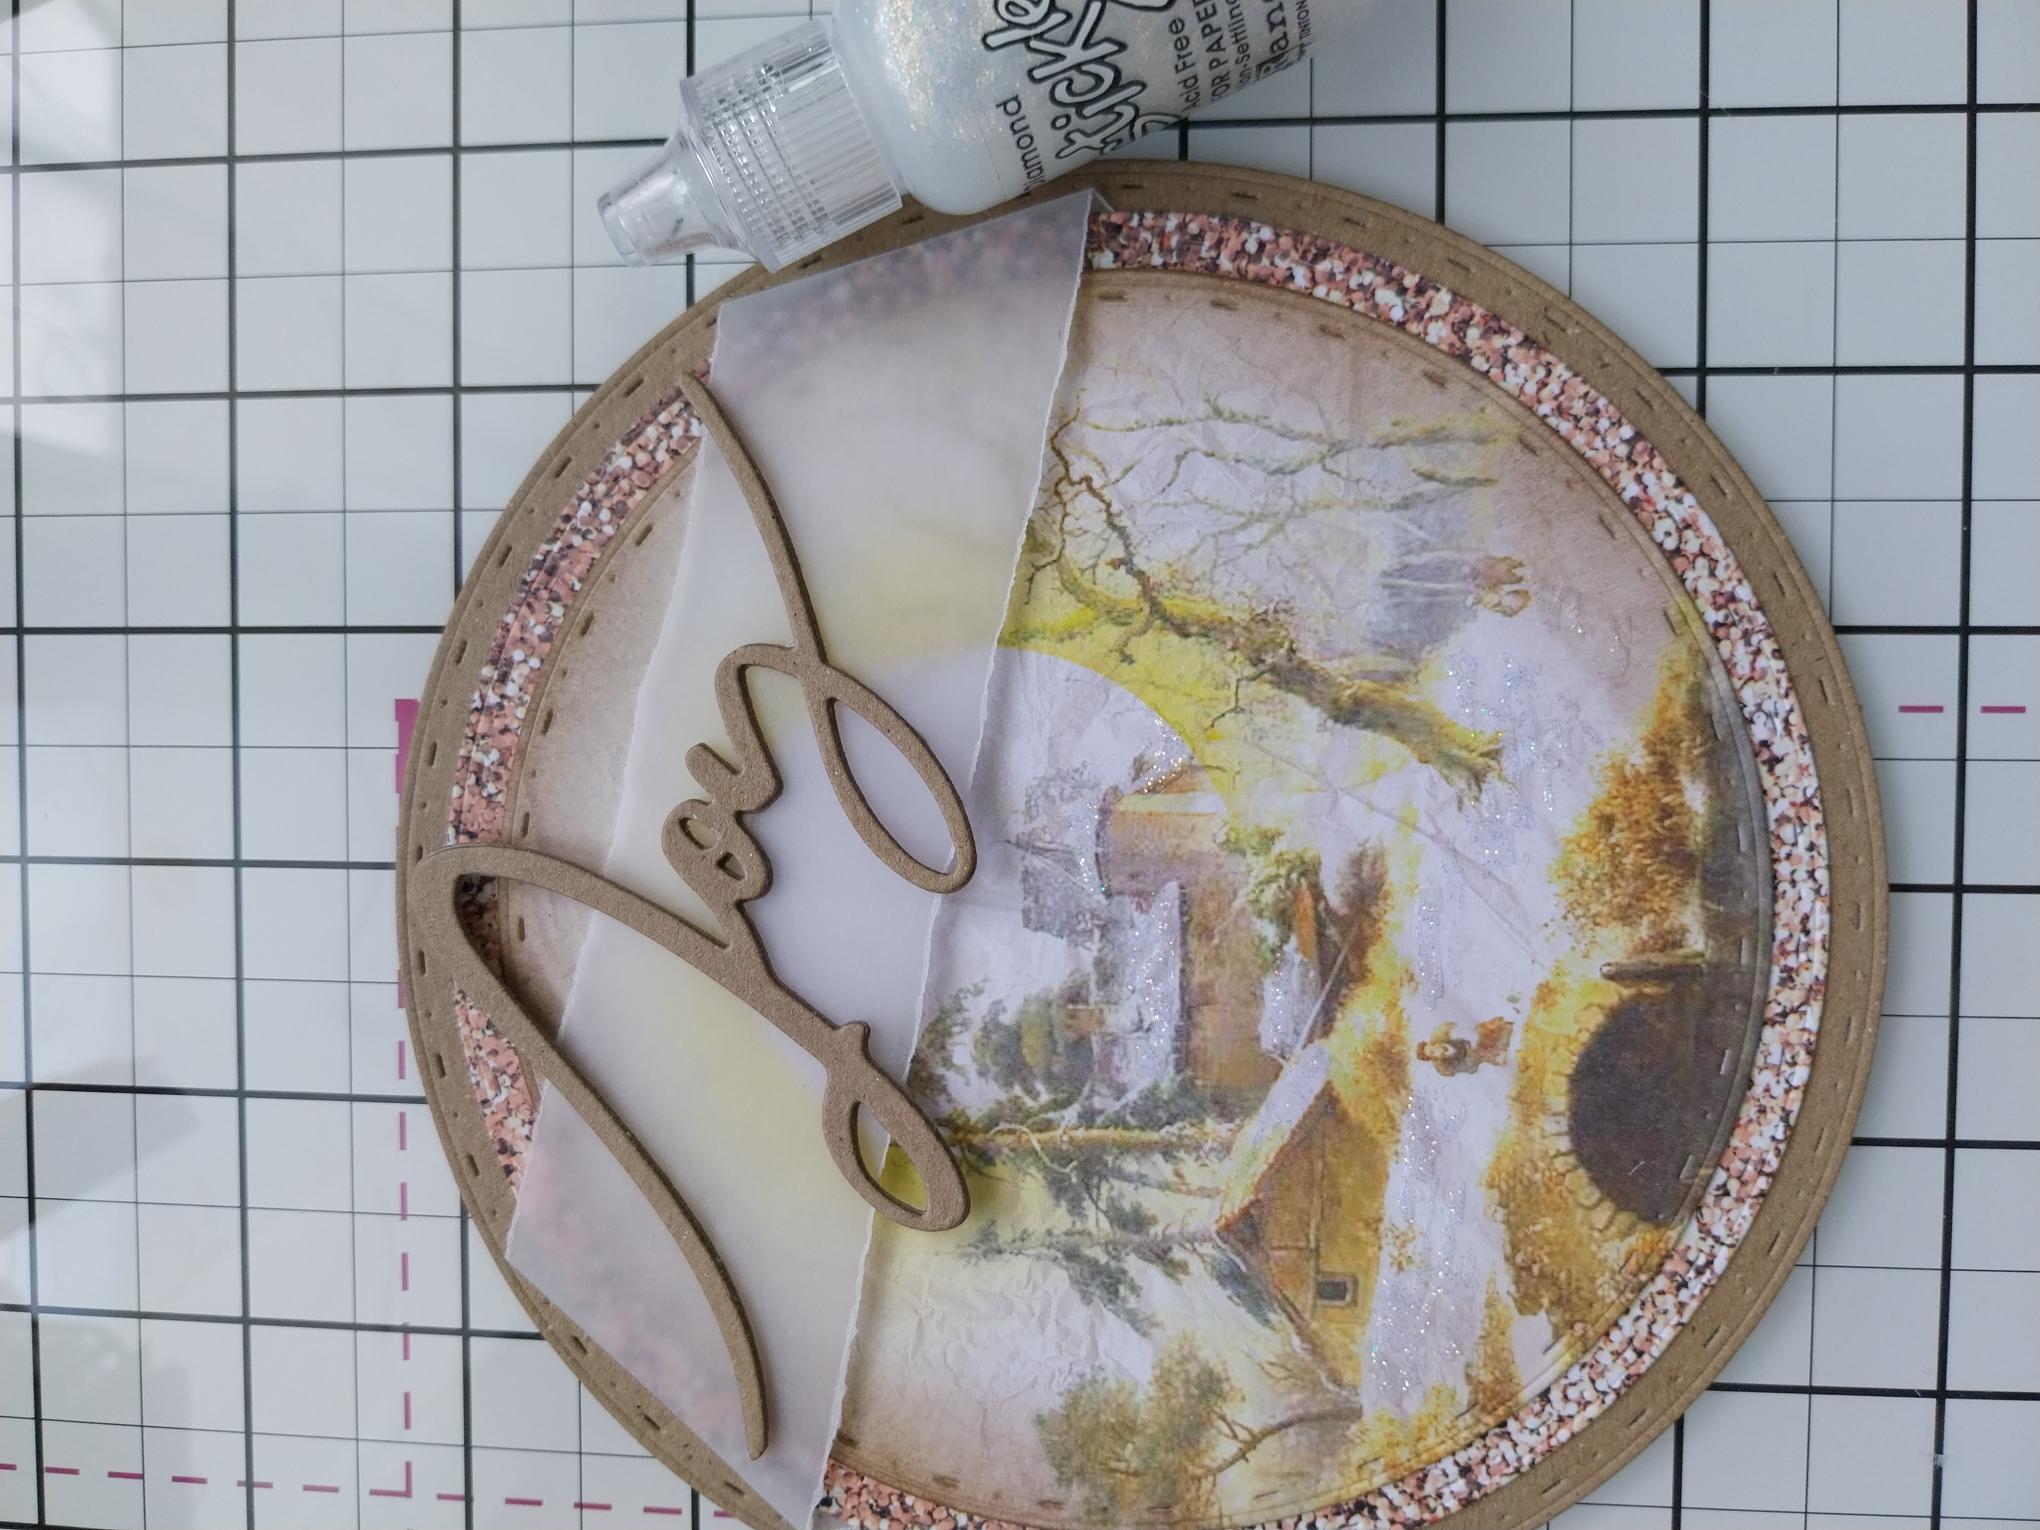
Use your Stickles to add a touch of winter, festive sparkle, to your artwork. |