

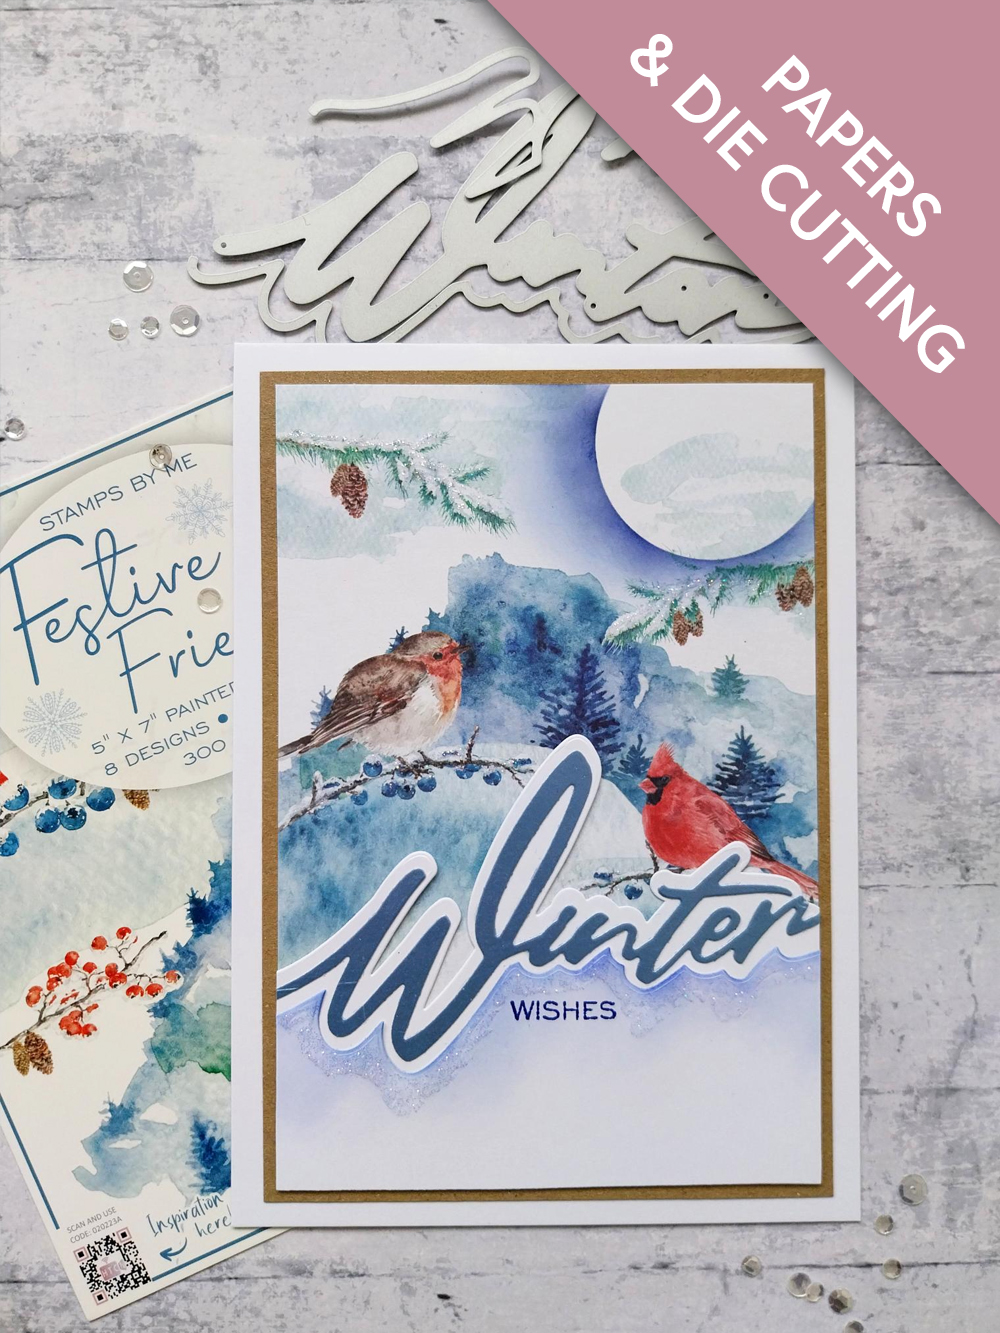
WHAT YOU WILL NEED:
White card blank 7 3/4 x 5 1/2"
Kraft/white/pearlescent blue cardstock
Christmas Snow Drift Die - Winter
Festive Friends 5 x 7" Painted Mounts
Special Wishes Stamp and Die Set
SBM Hybrid Ink Pad: Midnight
SBM Premium Dye Ink Pad: Surfboard
Blending brushes
Circle mask (Moon)
Stickles: Diamond
WOW Heat tool
Eureka 101 Watercolour Tablet
SBM A3 Magnetic glass mat
Paper Trimmer
Glue
Die Cutting machine
[click image to enlarge] 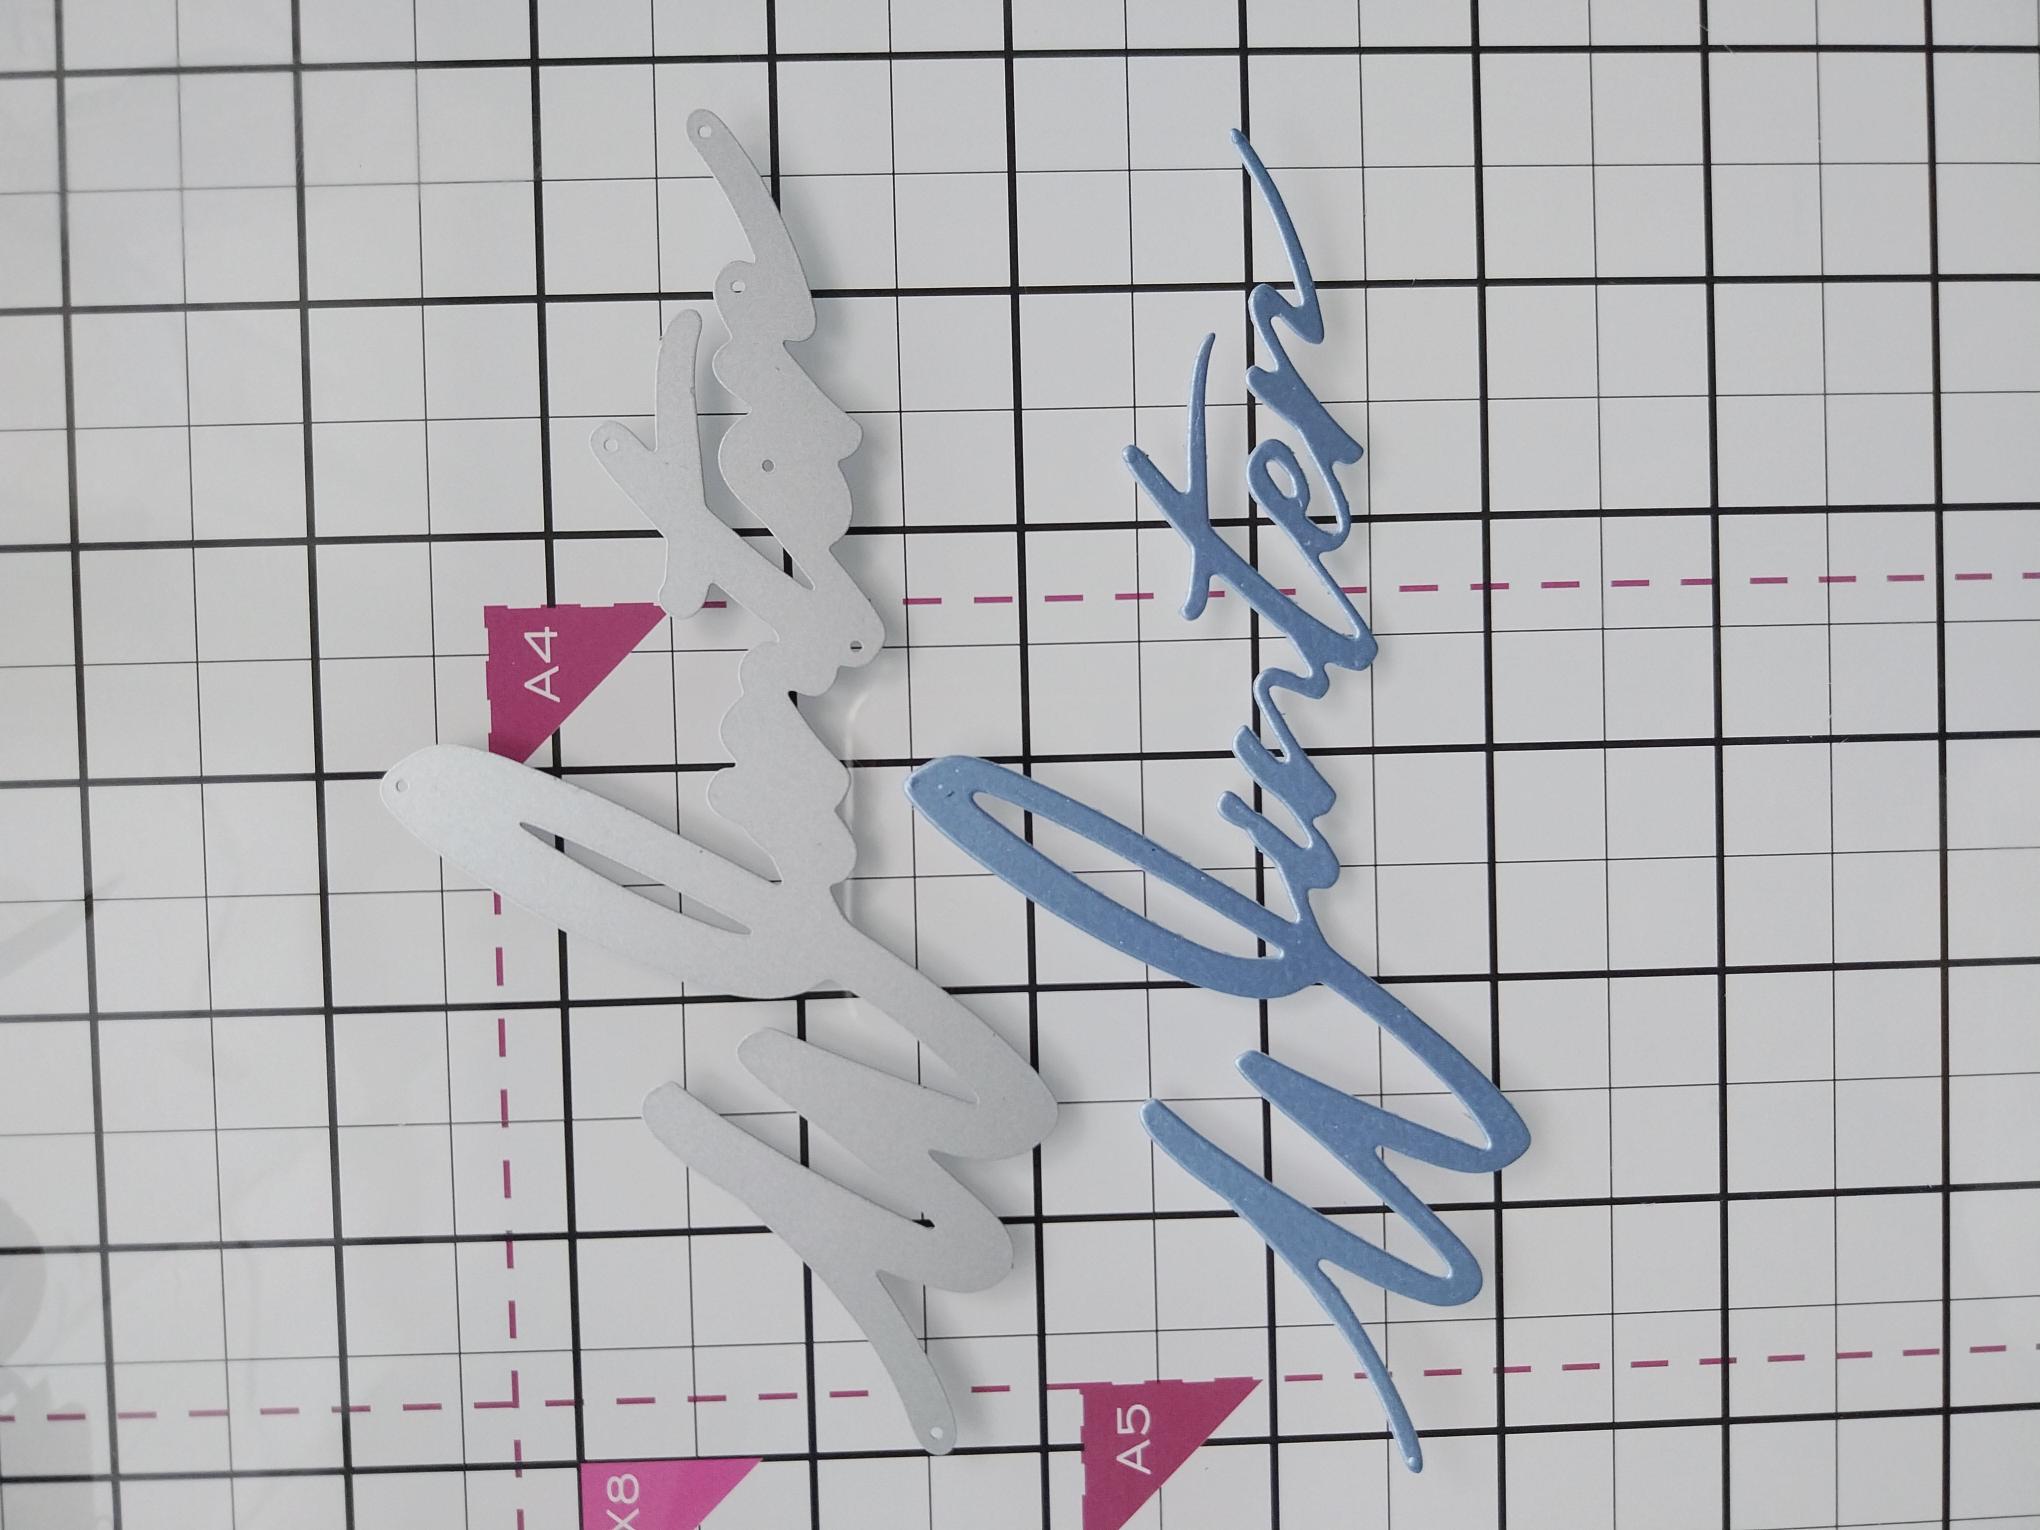
|
Die cut "Winter" from pearlescent blue card. For a more substantial element, die cut 2 or 3 and glue together. |
|
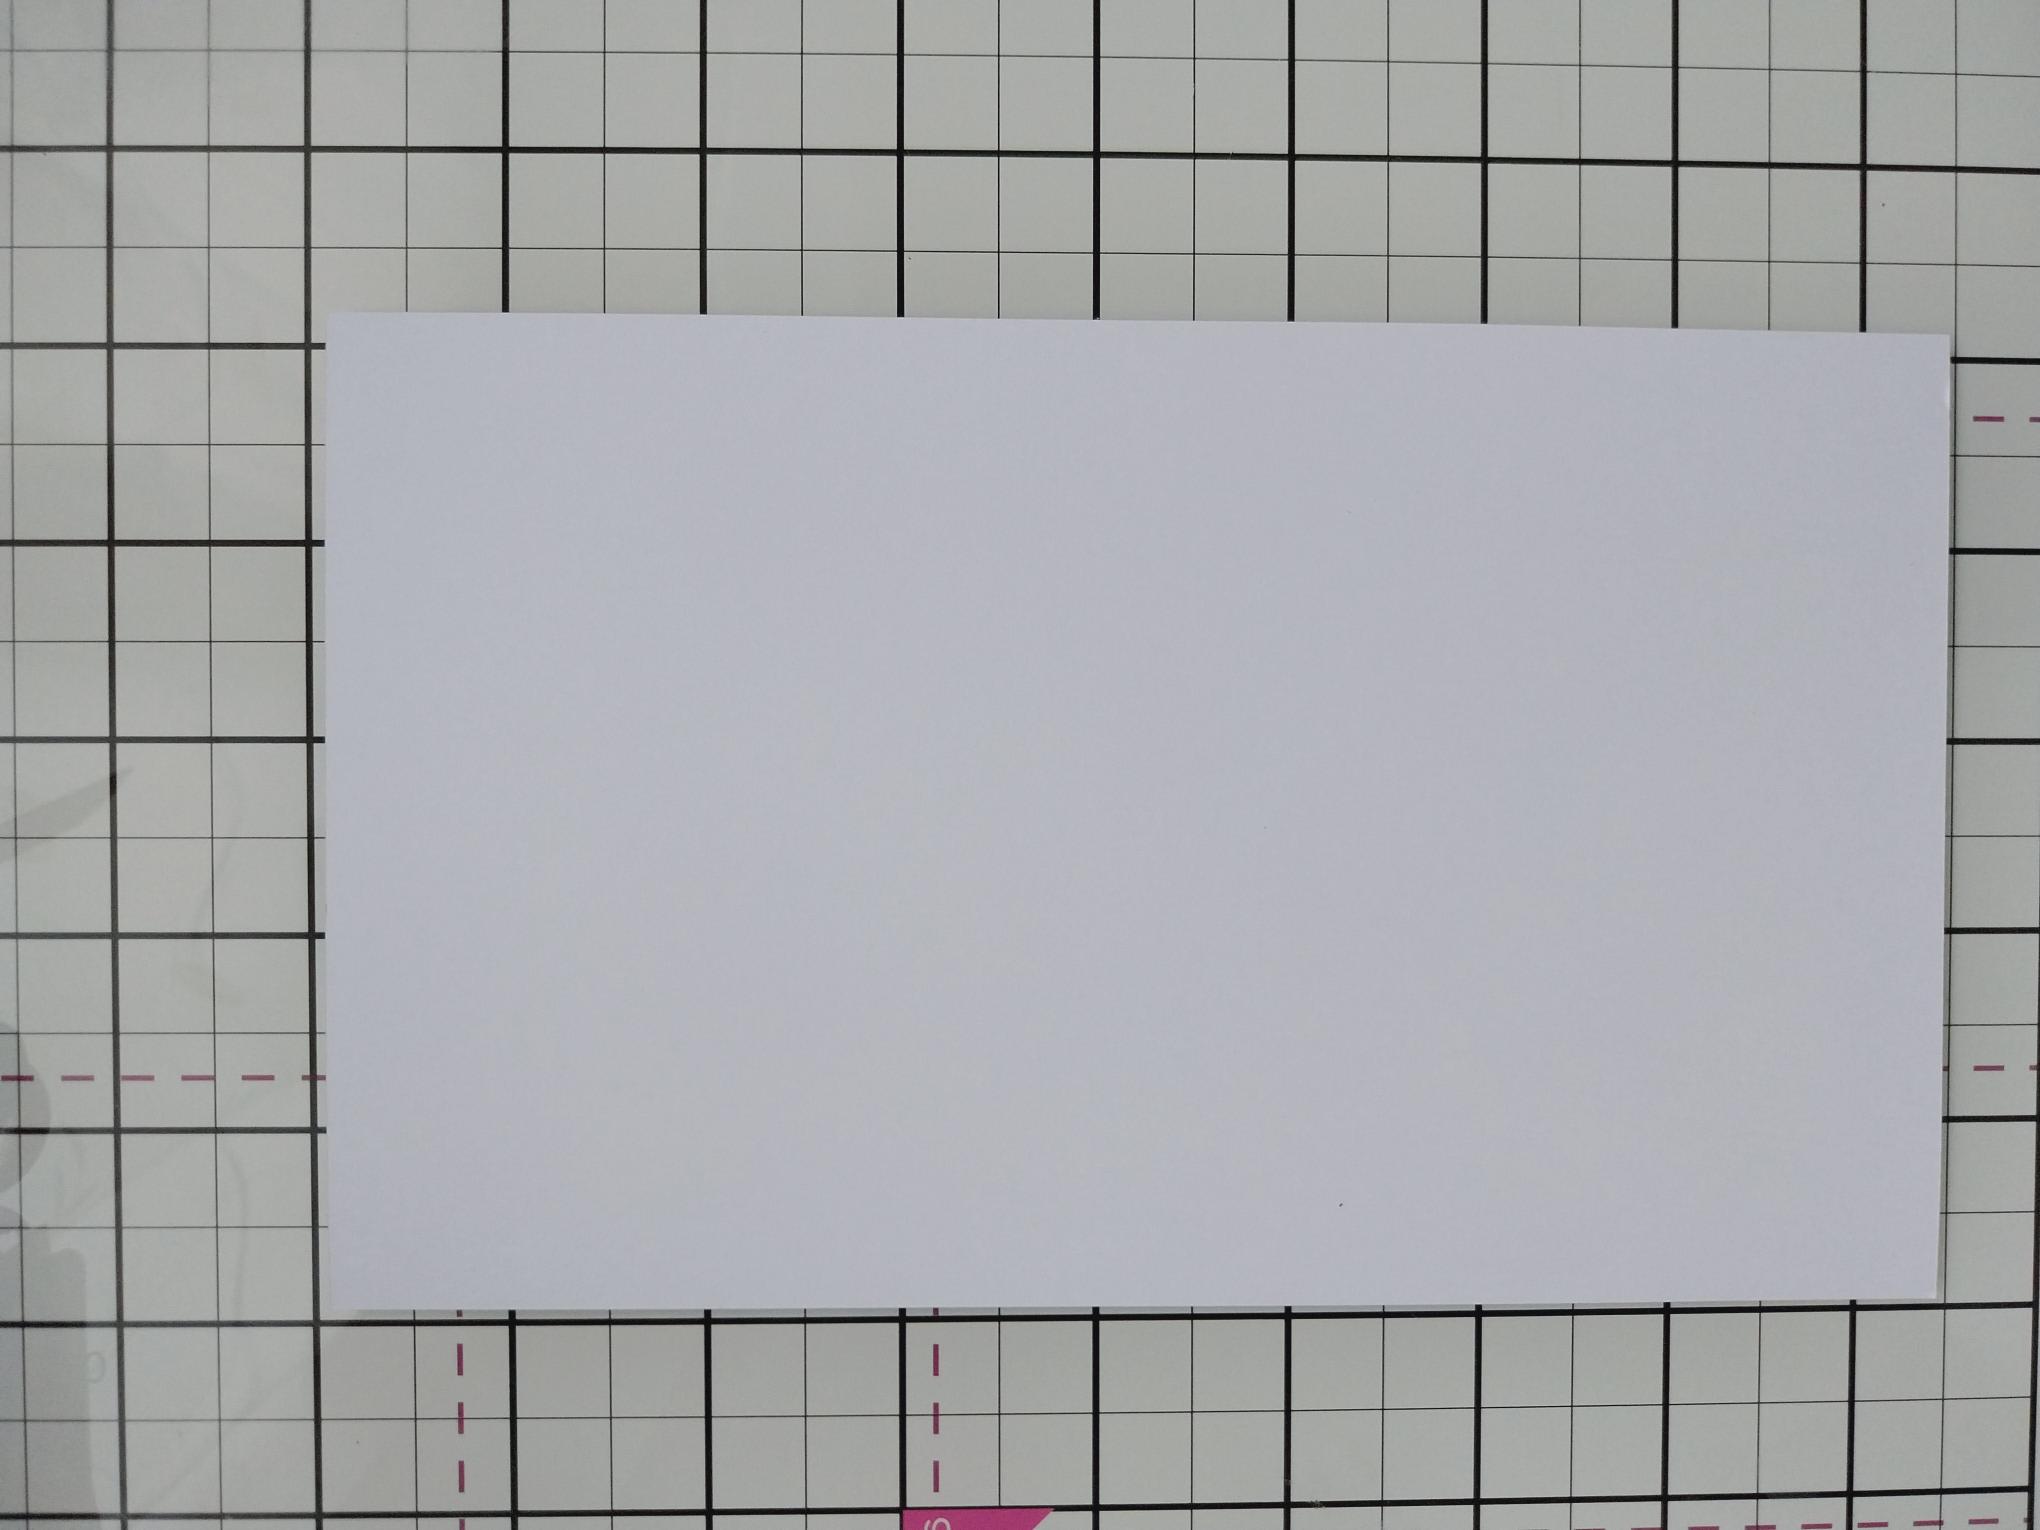
Cut a piece of white card 7 x 5". |
|
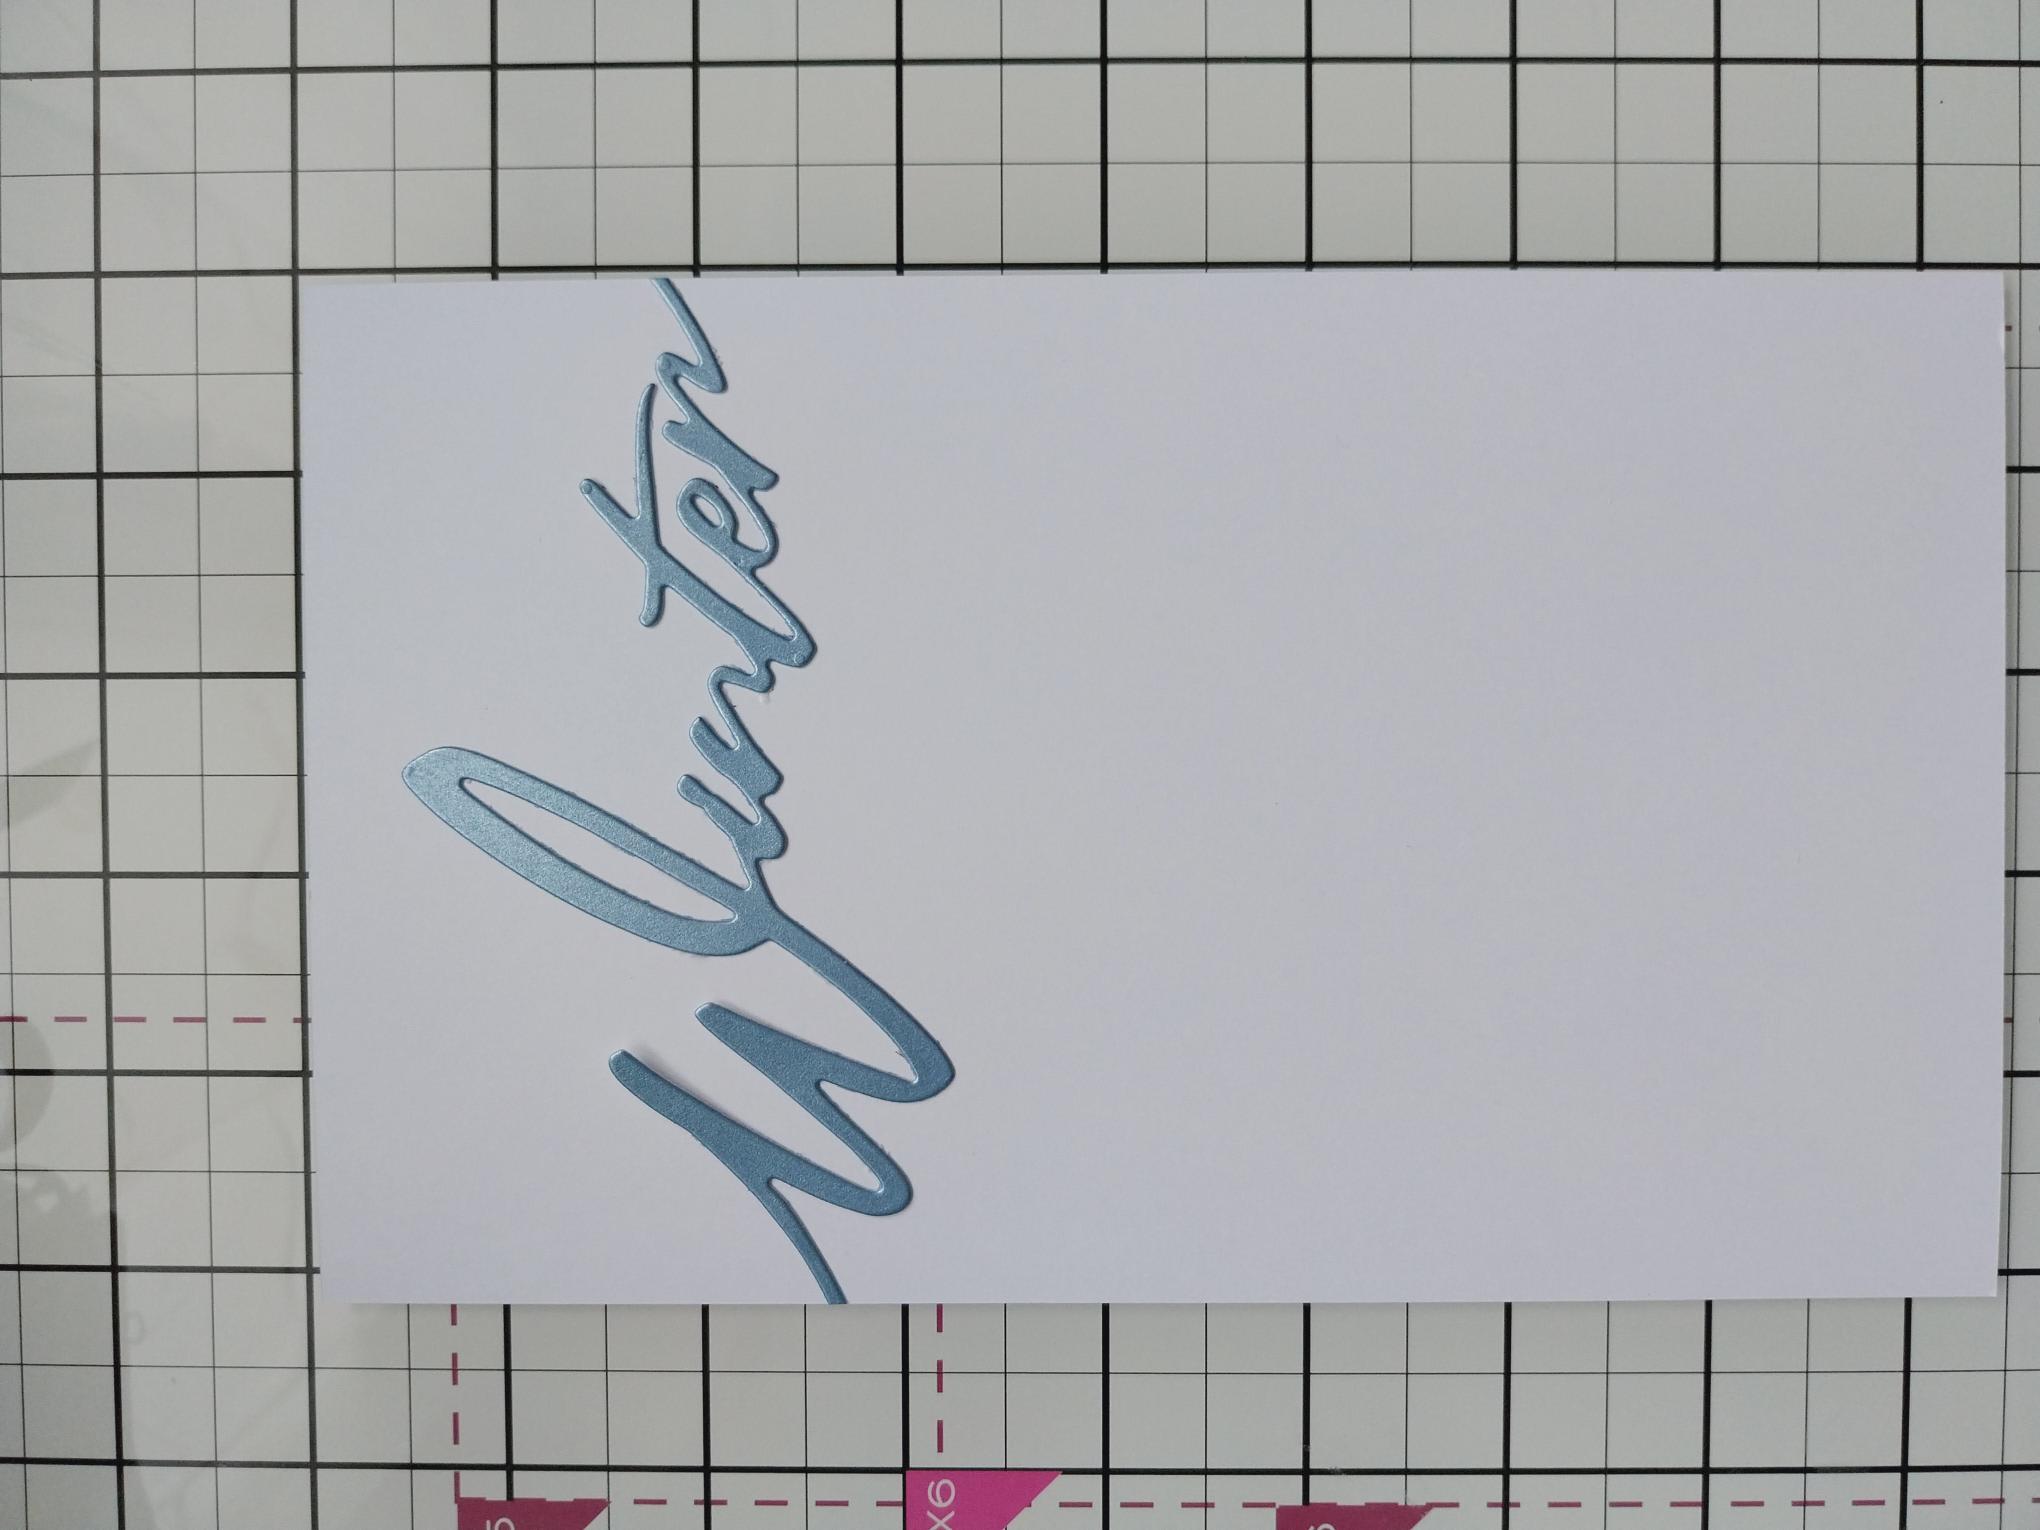
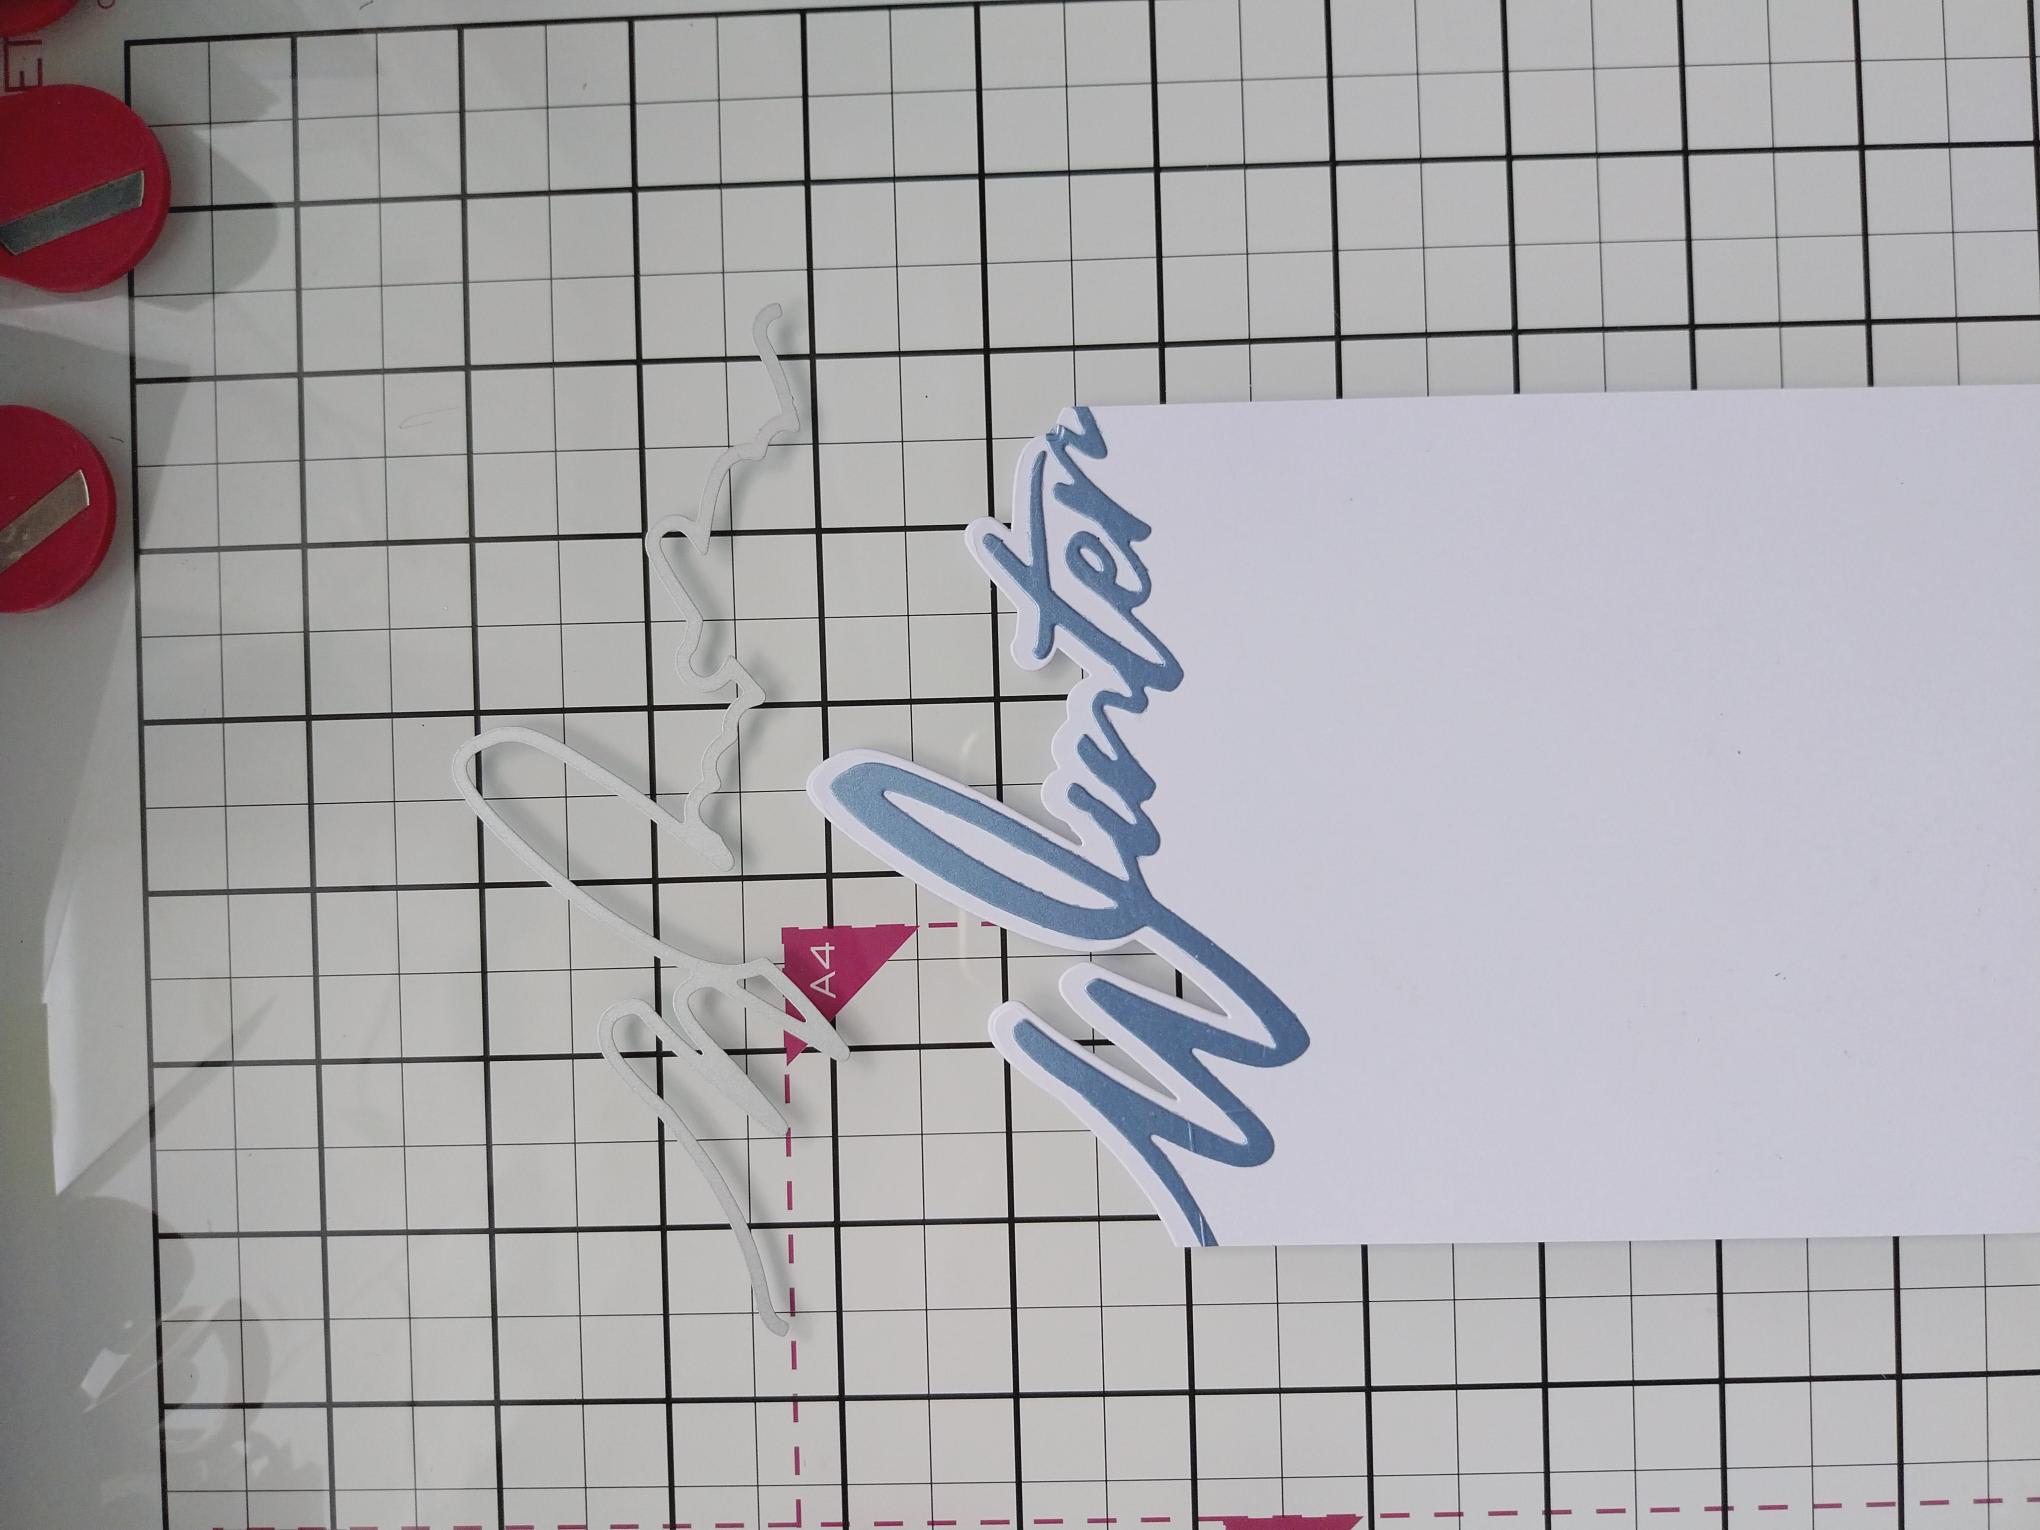
Adhere your die cut "Winter" near the top of the card but leaving space for the die to fit above the word. . |
|
Line up the top cutting die and run it through your machine. |
|
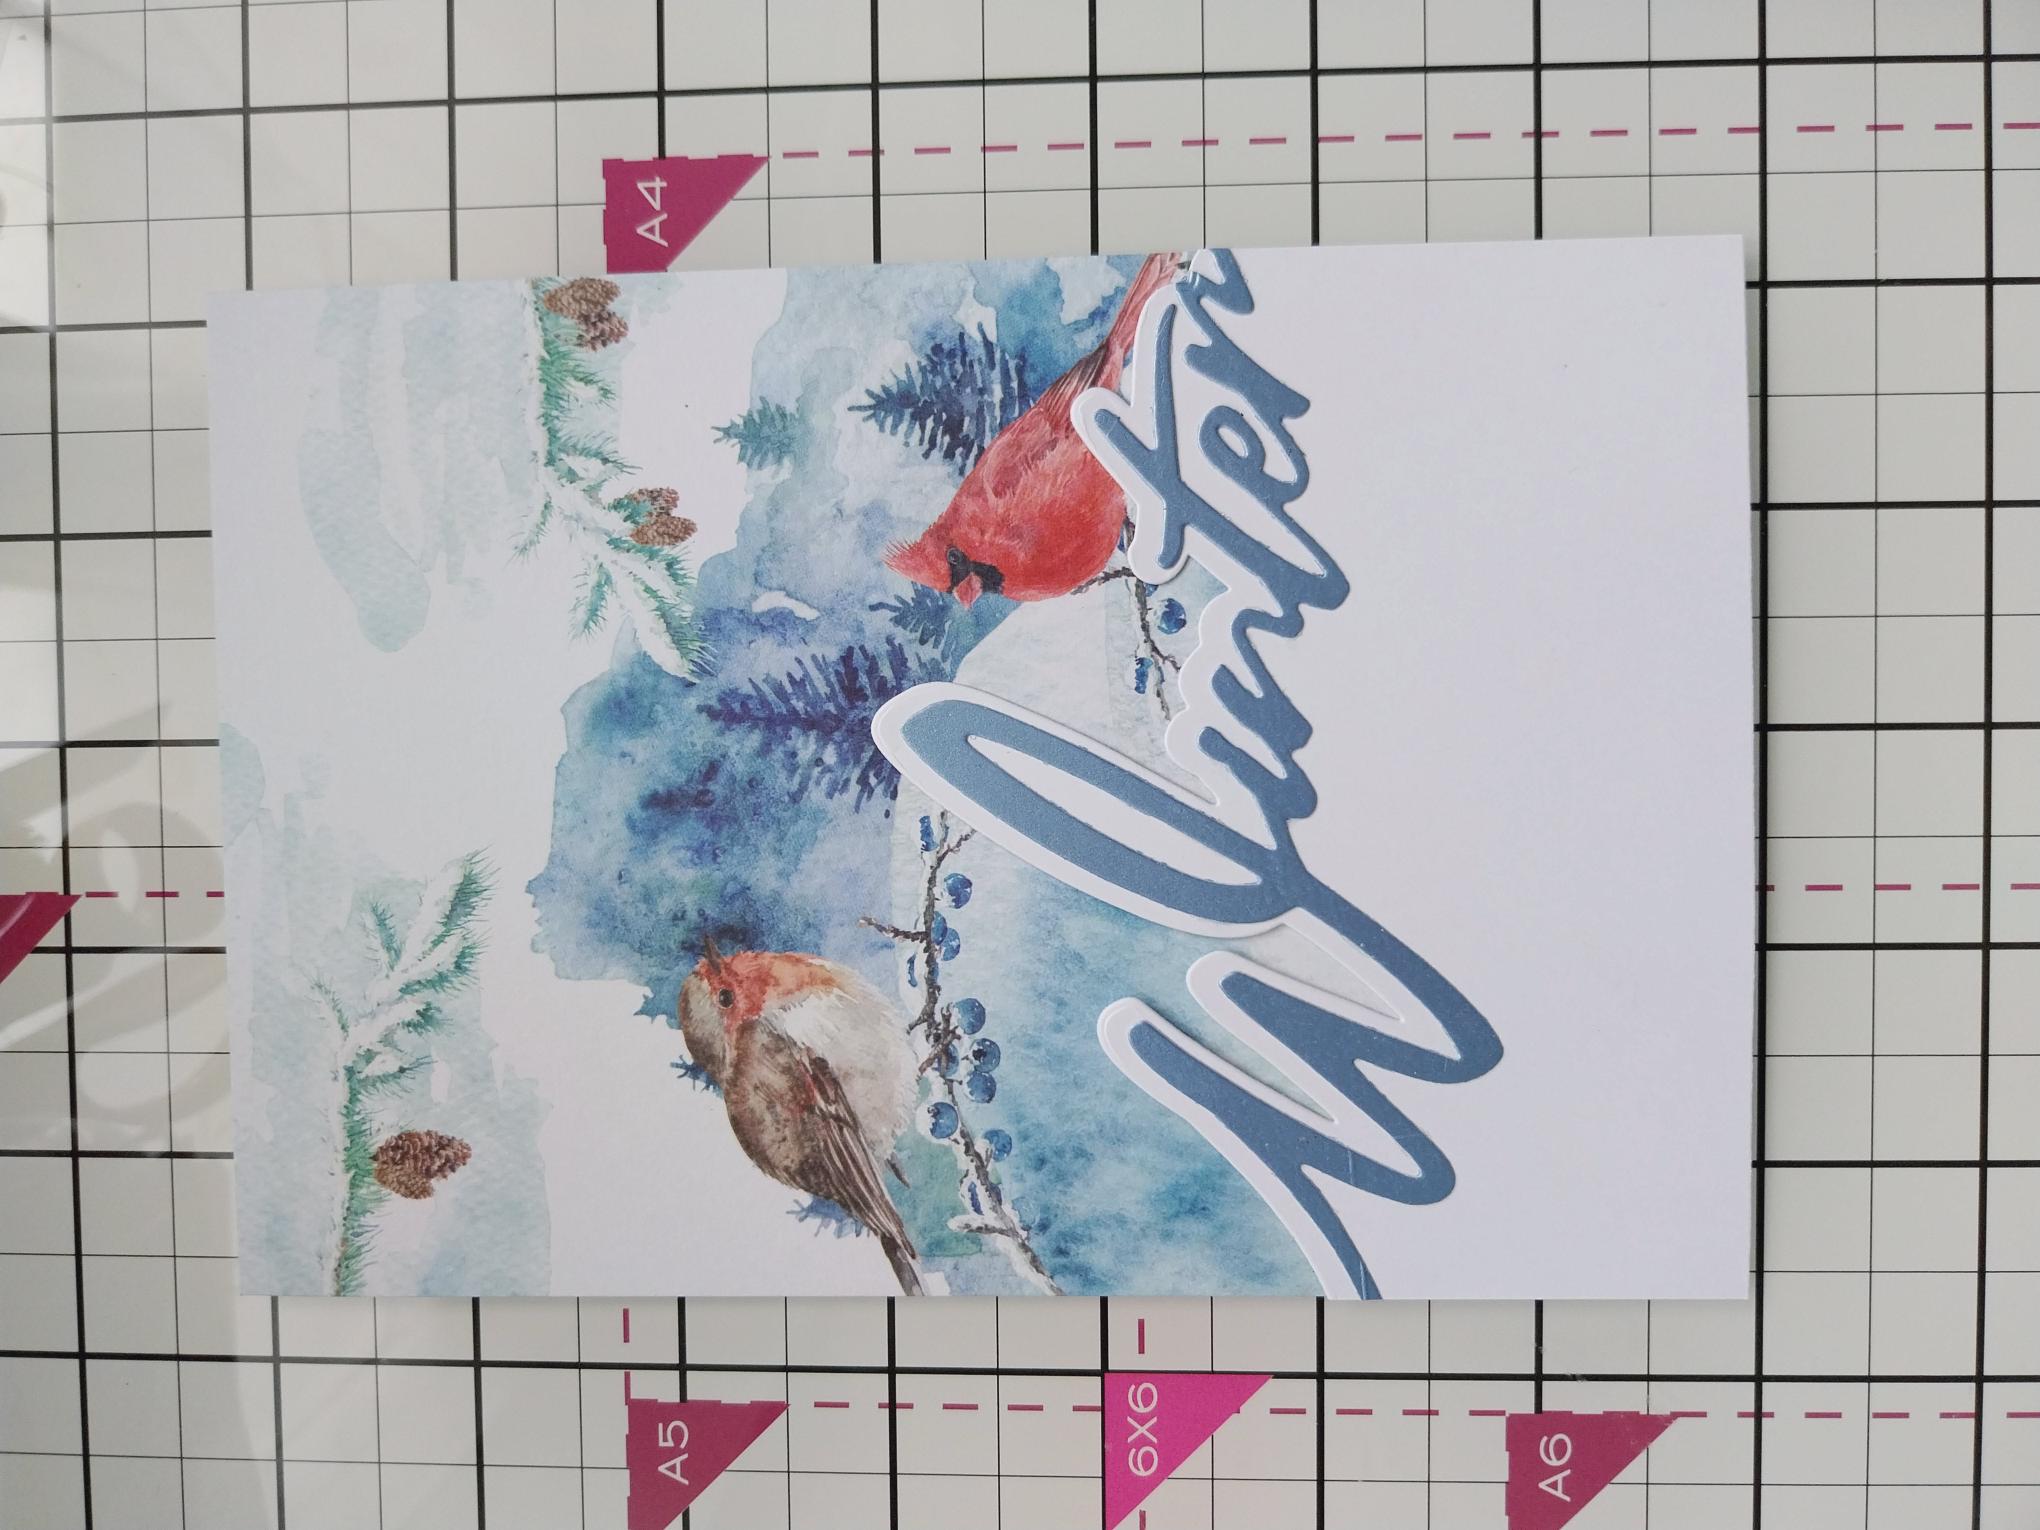
Trim this painted mount, from the Festive Friends pack, to 7 x 4 3/4". Decide where you want your "Winter" snow drift to sit, adhere to your painted mount, then trim off any excess card. |
|
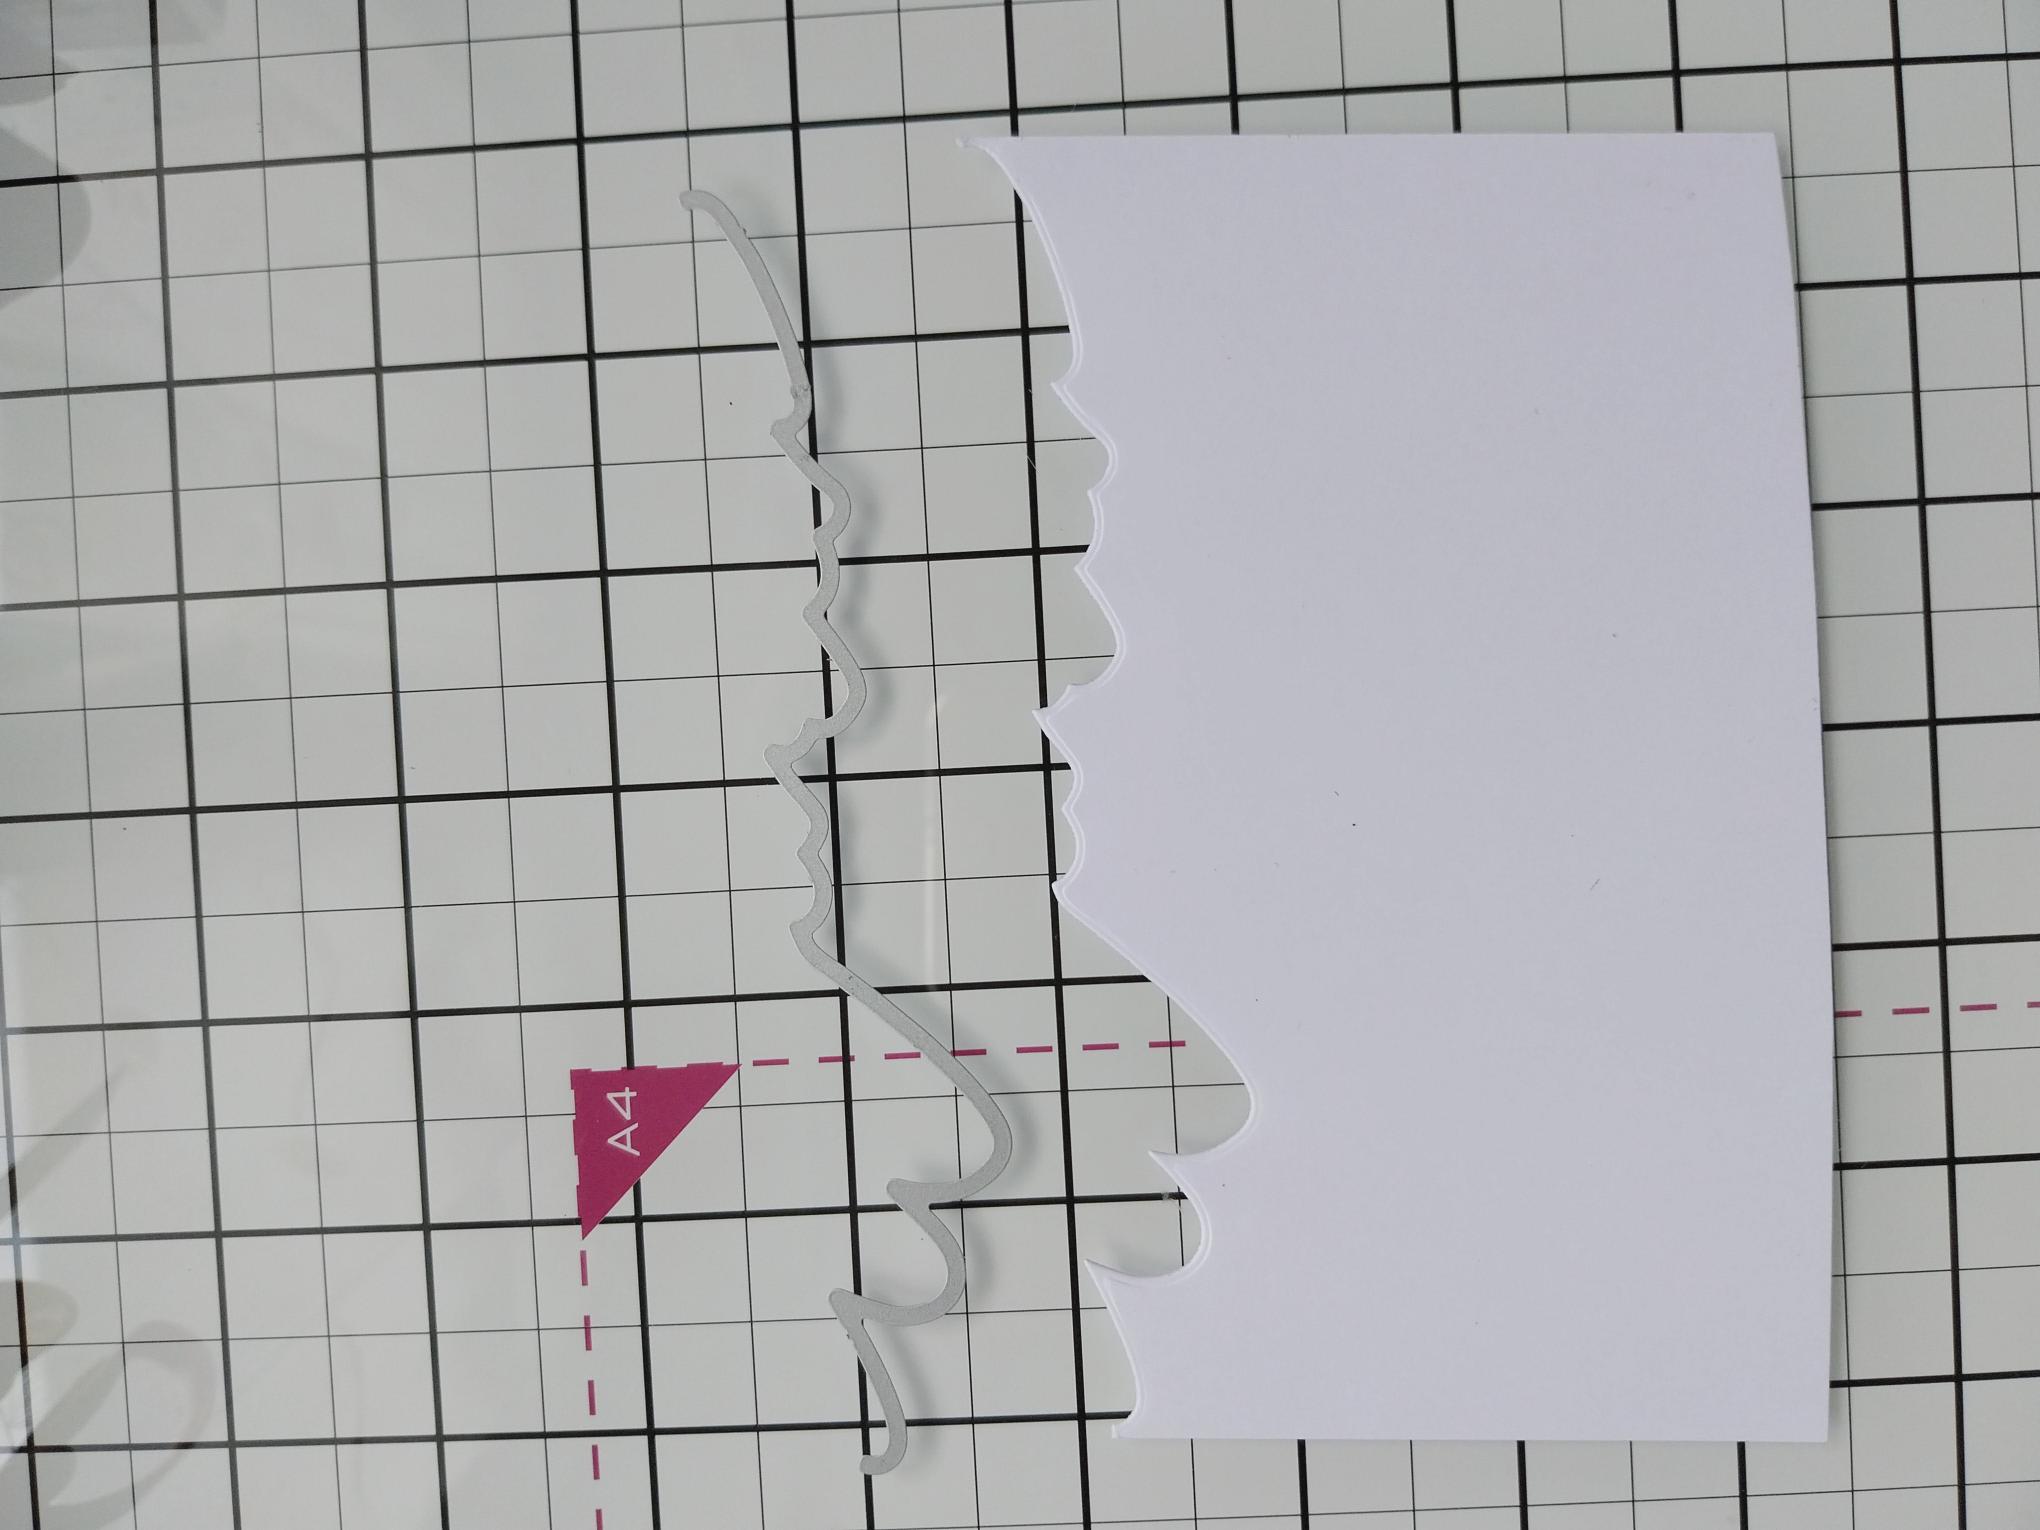
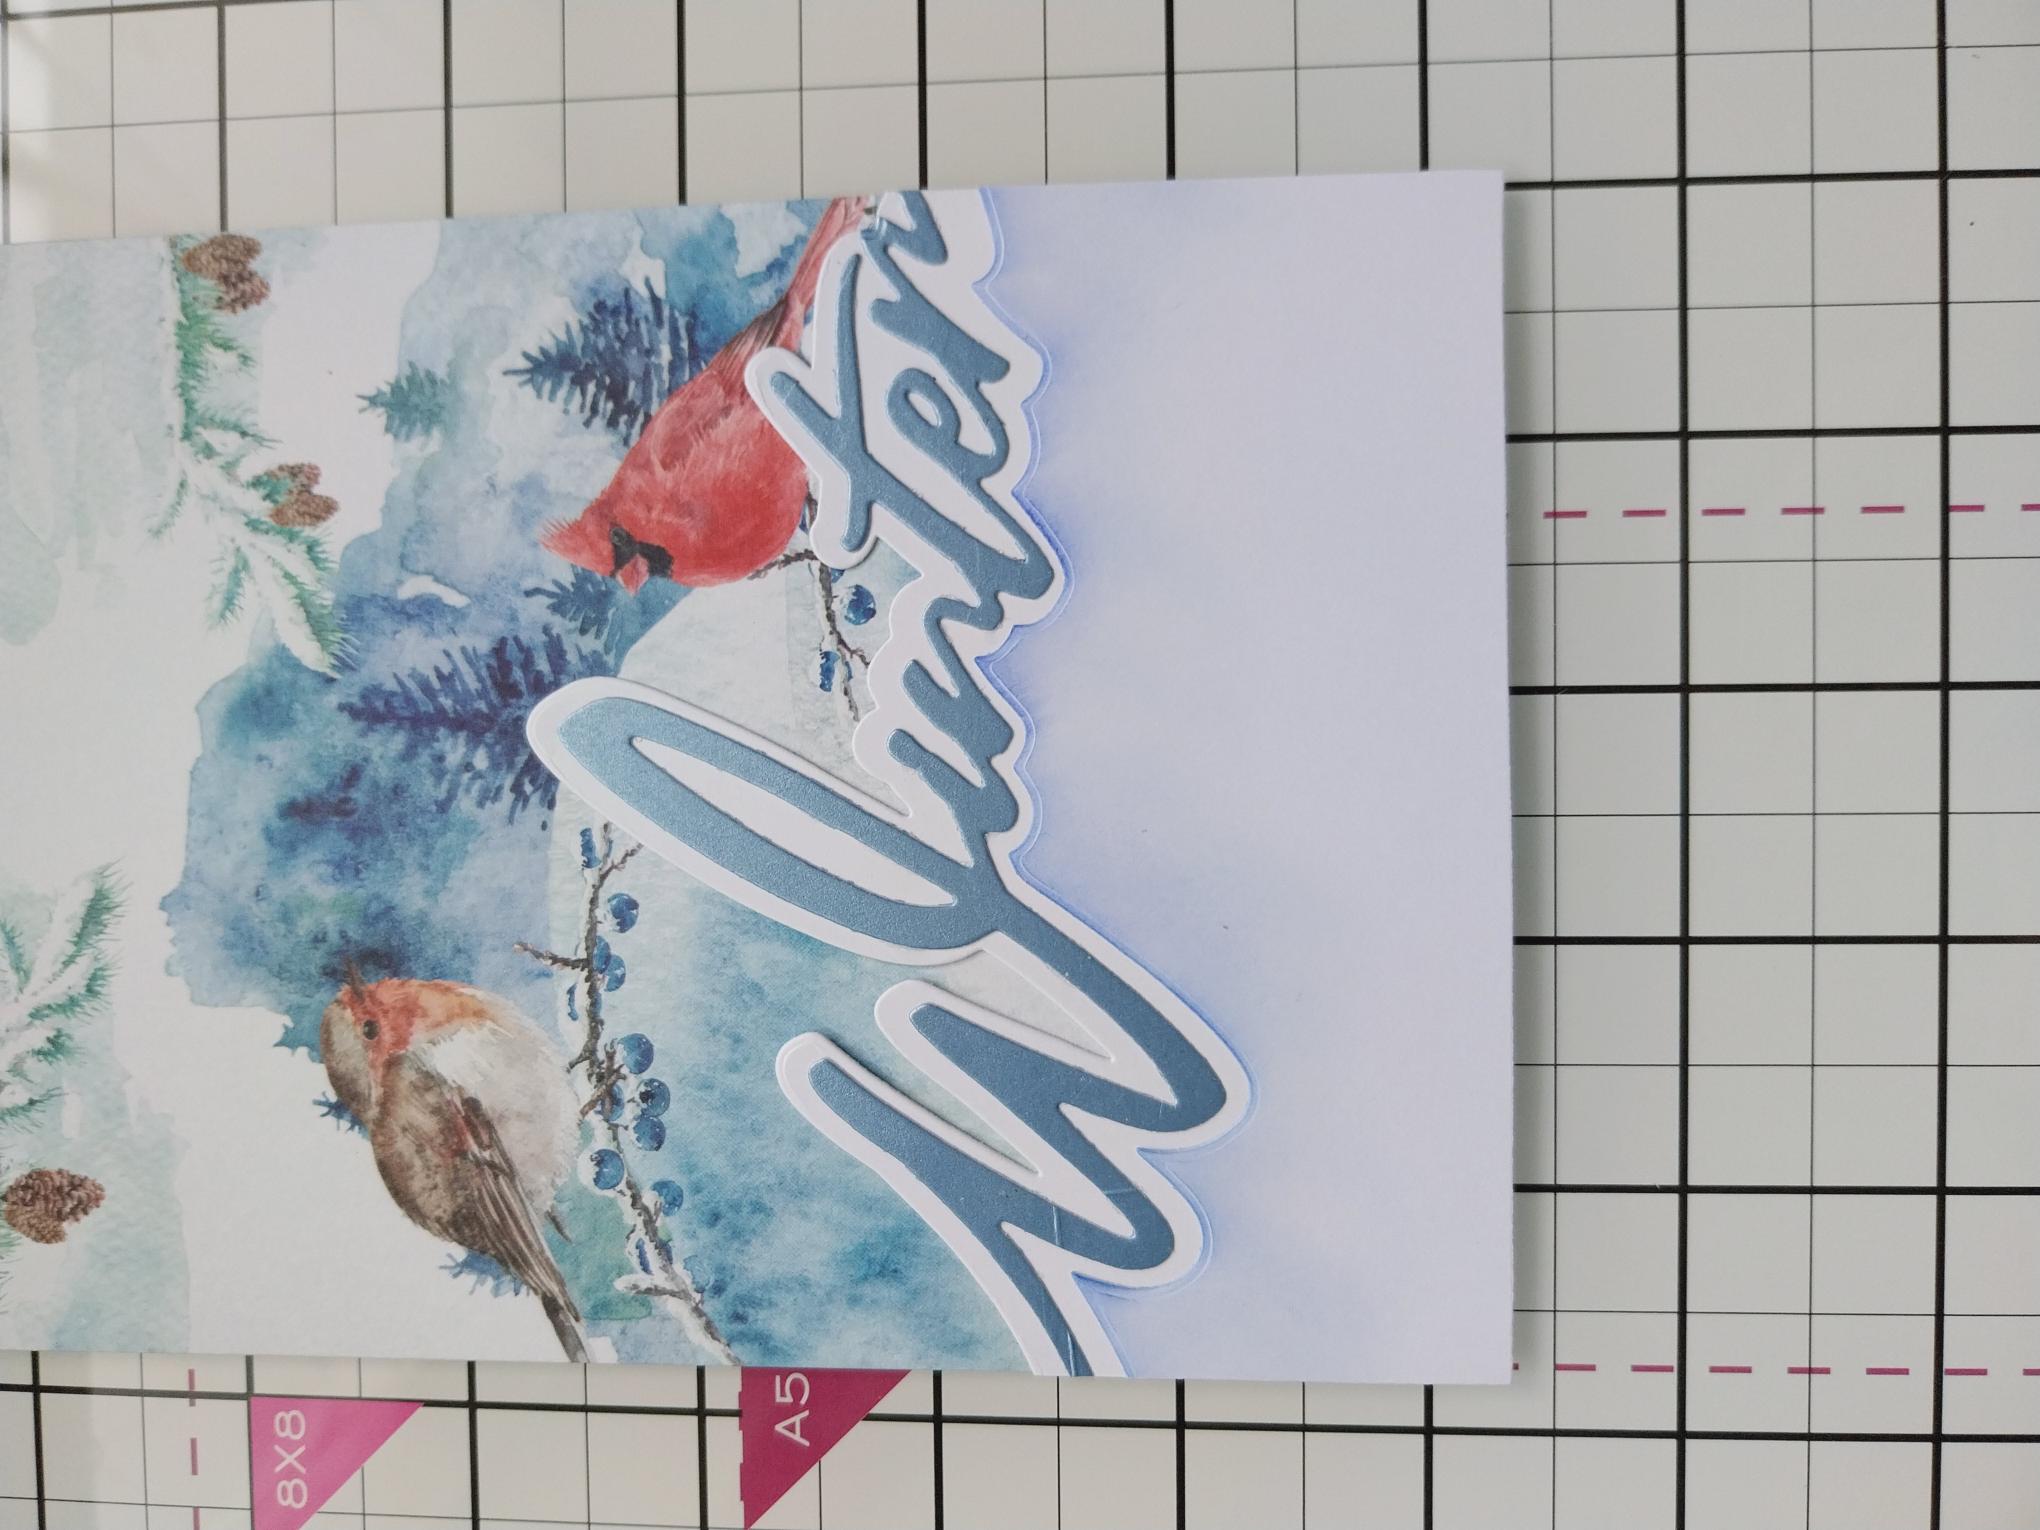
Cut a piece of white card about 5 x 5". Place the die that cuts UNDERNEATH the word "Winter", across the top of the white card and run it through your machine. |
|
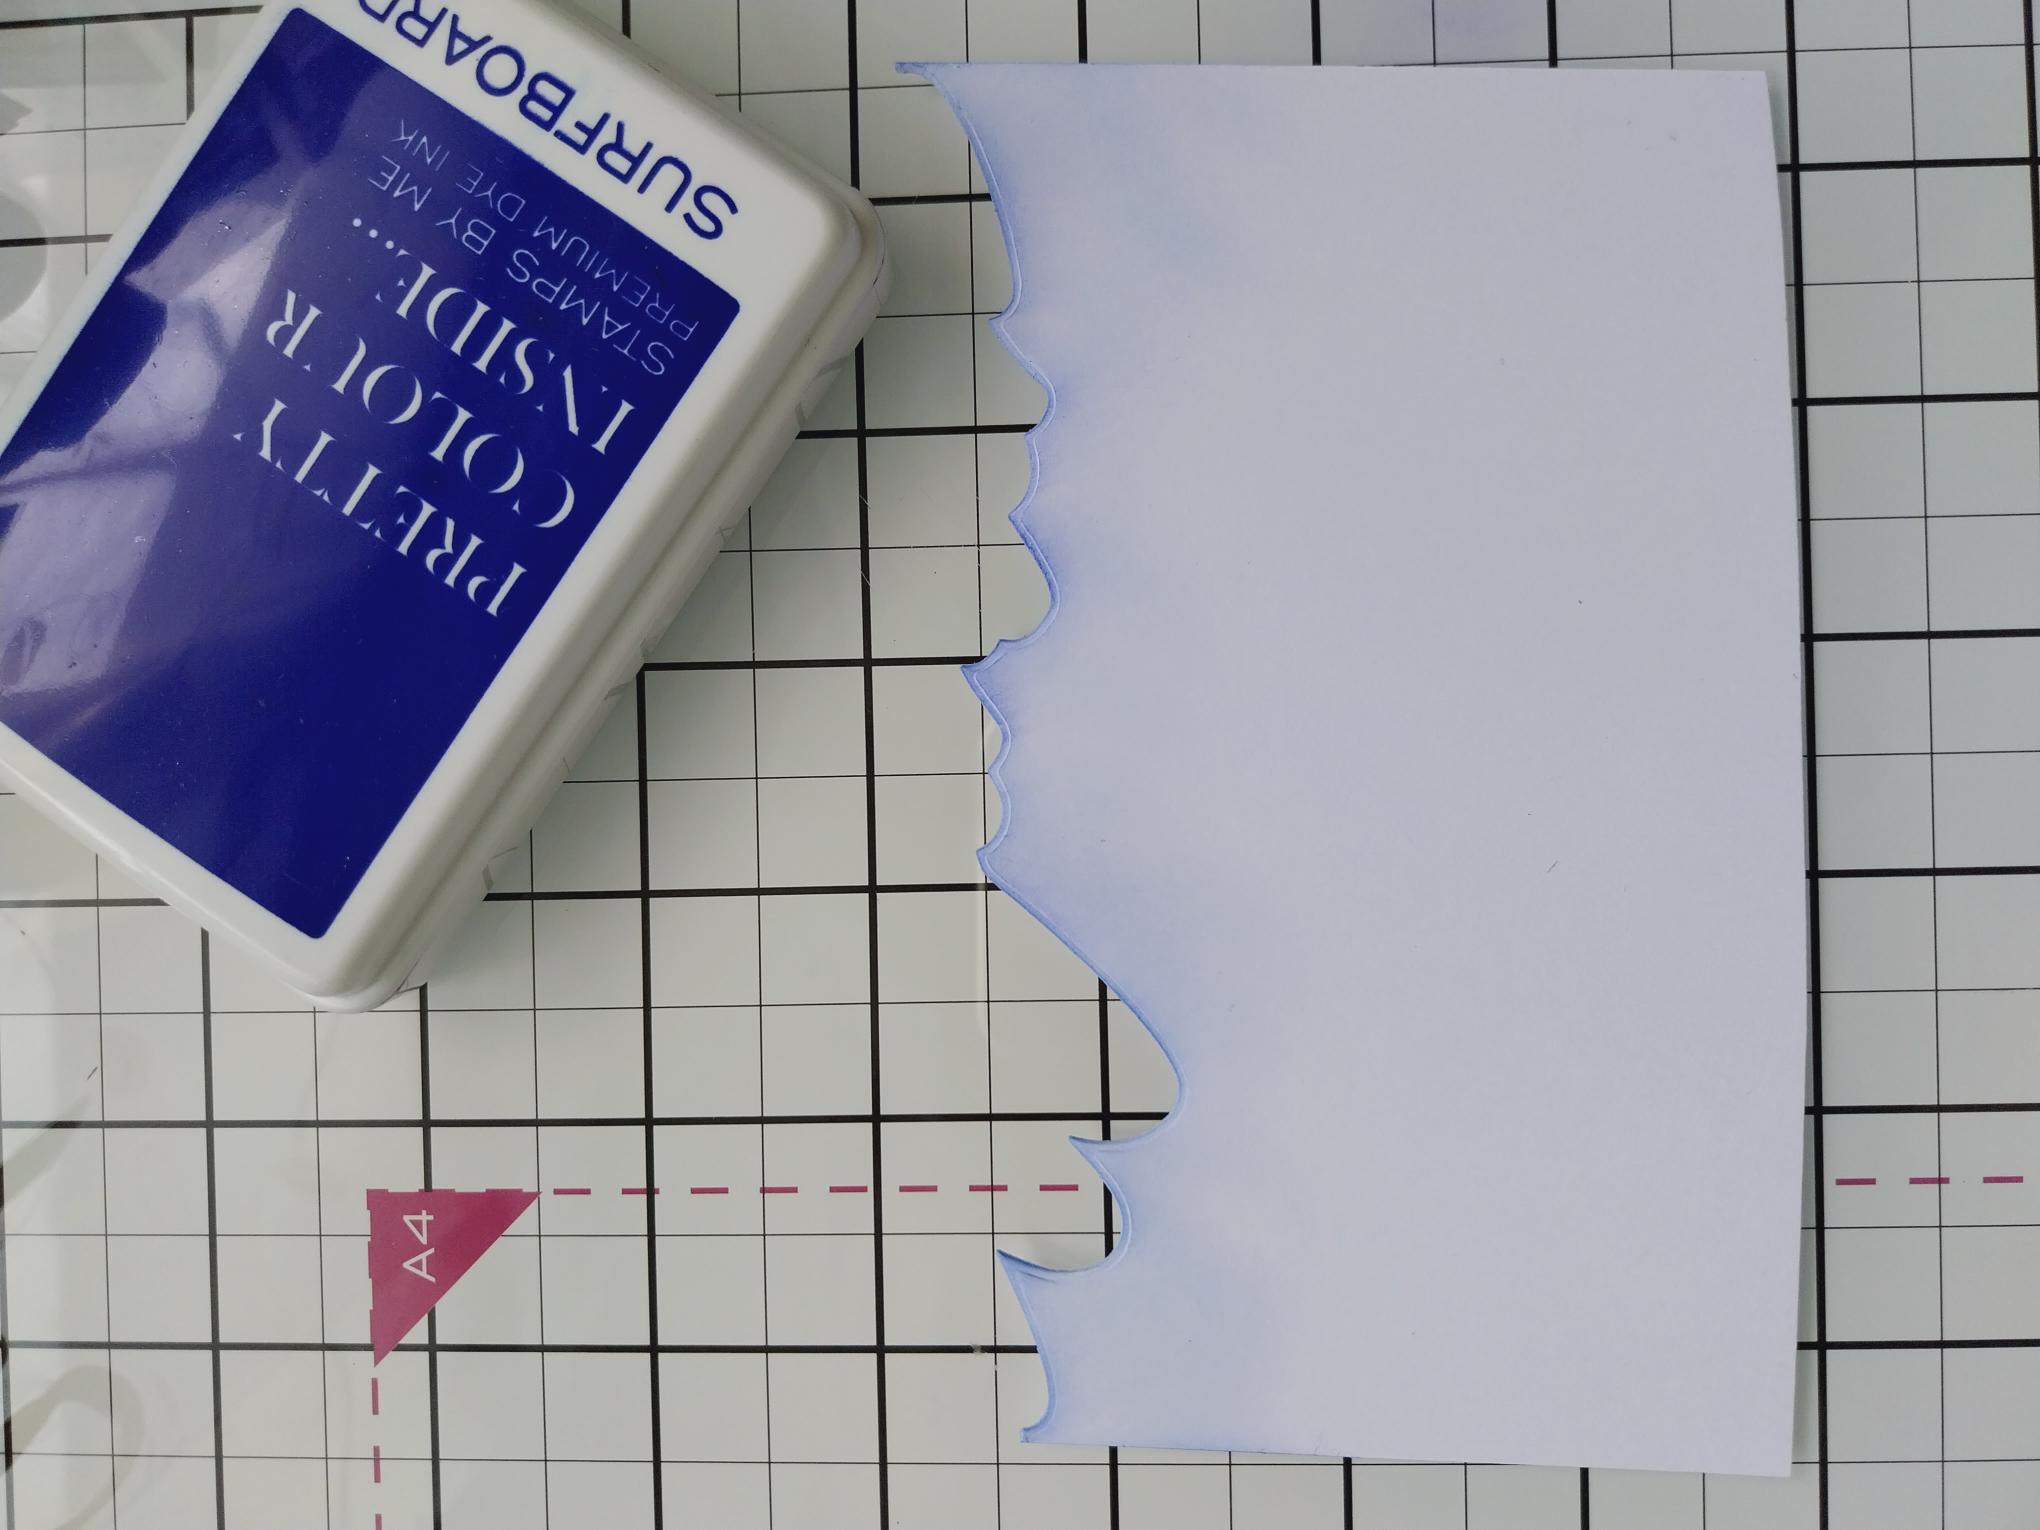
Use your blending tool to apply the Surfboard ink across the top of the die cut edge. Blast dry with your heat tool. |
|
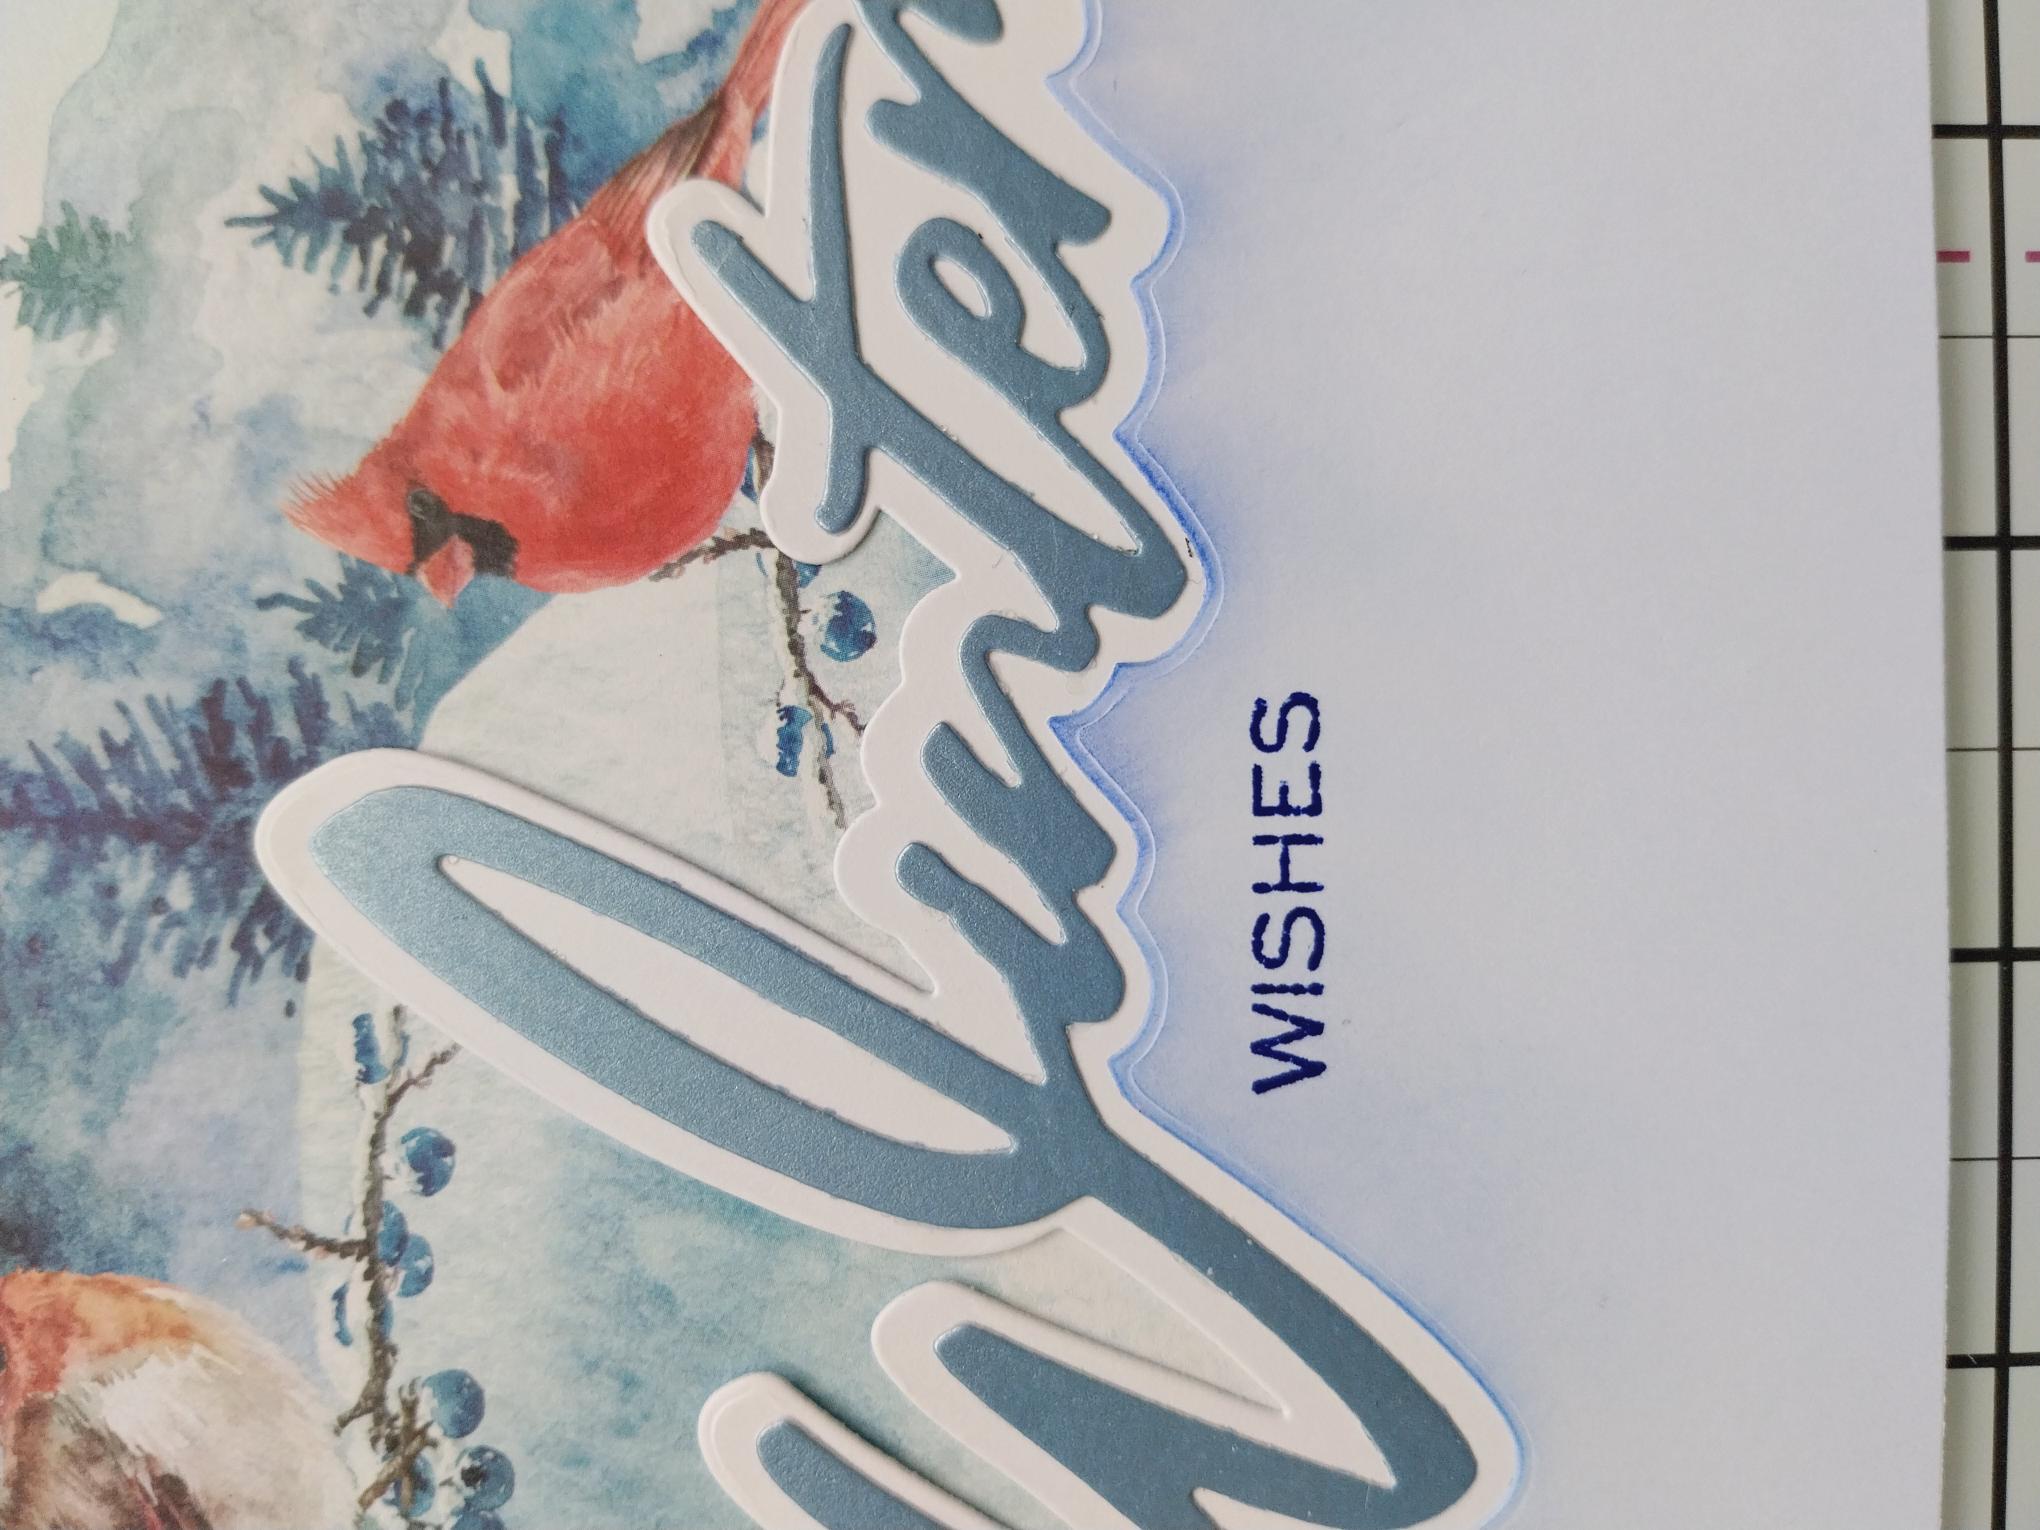
Line up and adhere in place, underneath "Winter", before trimming off any excess card. |
|
Ink up the add-on "Wishes" stamp, from the Special Wishes stamp and die set, in the Midnight ink and stamp below "Winter". |
|
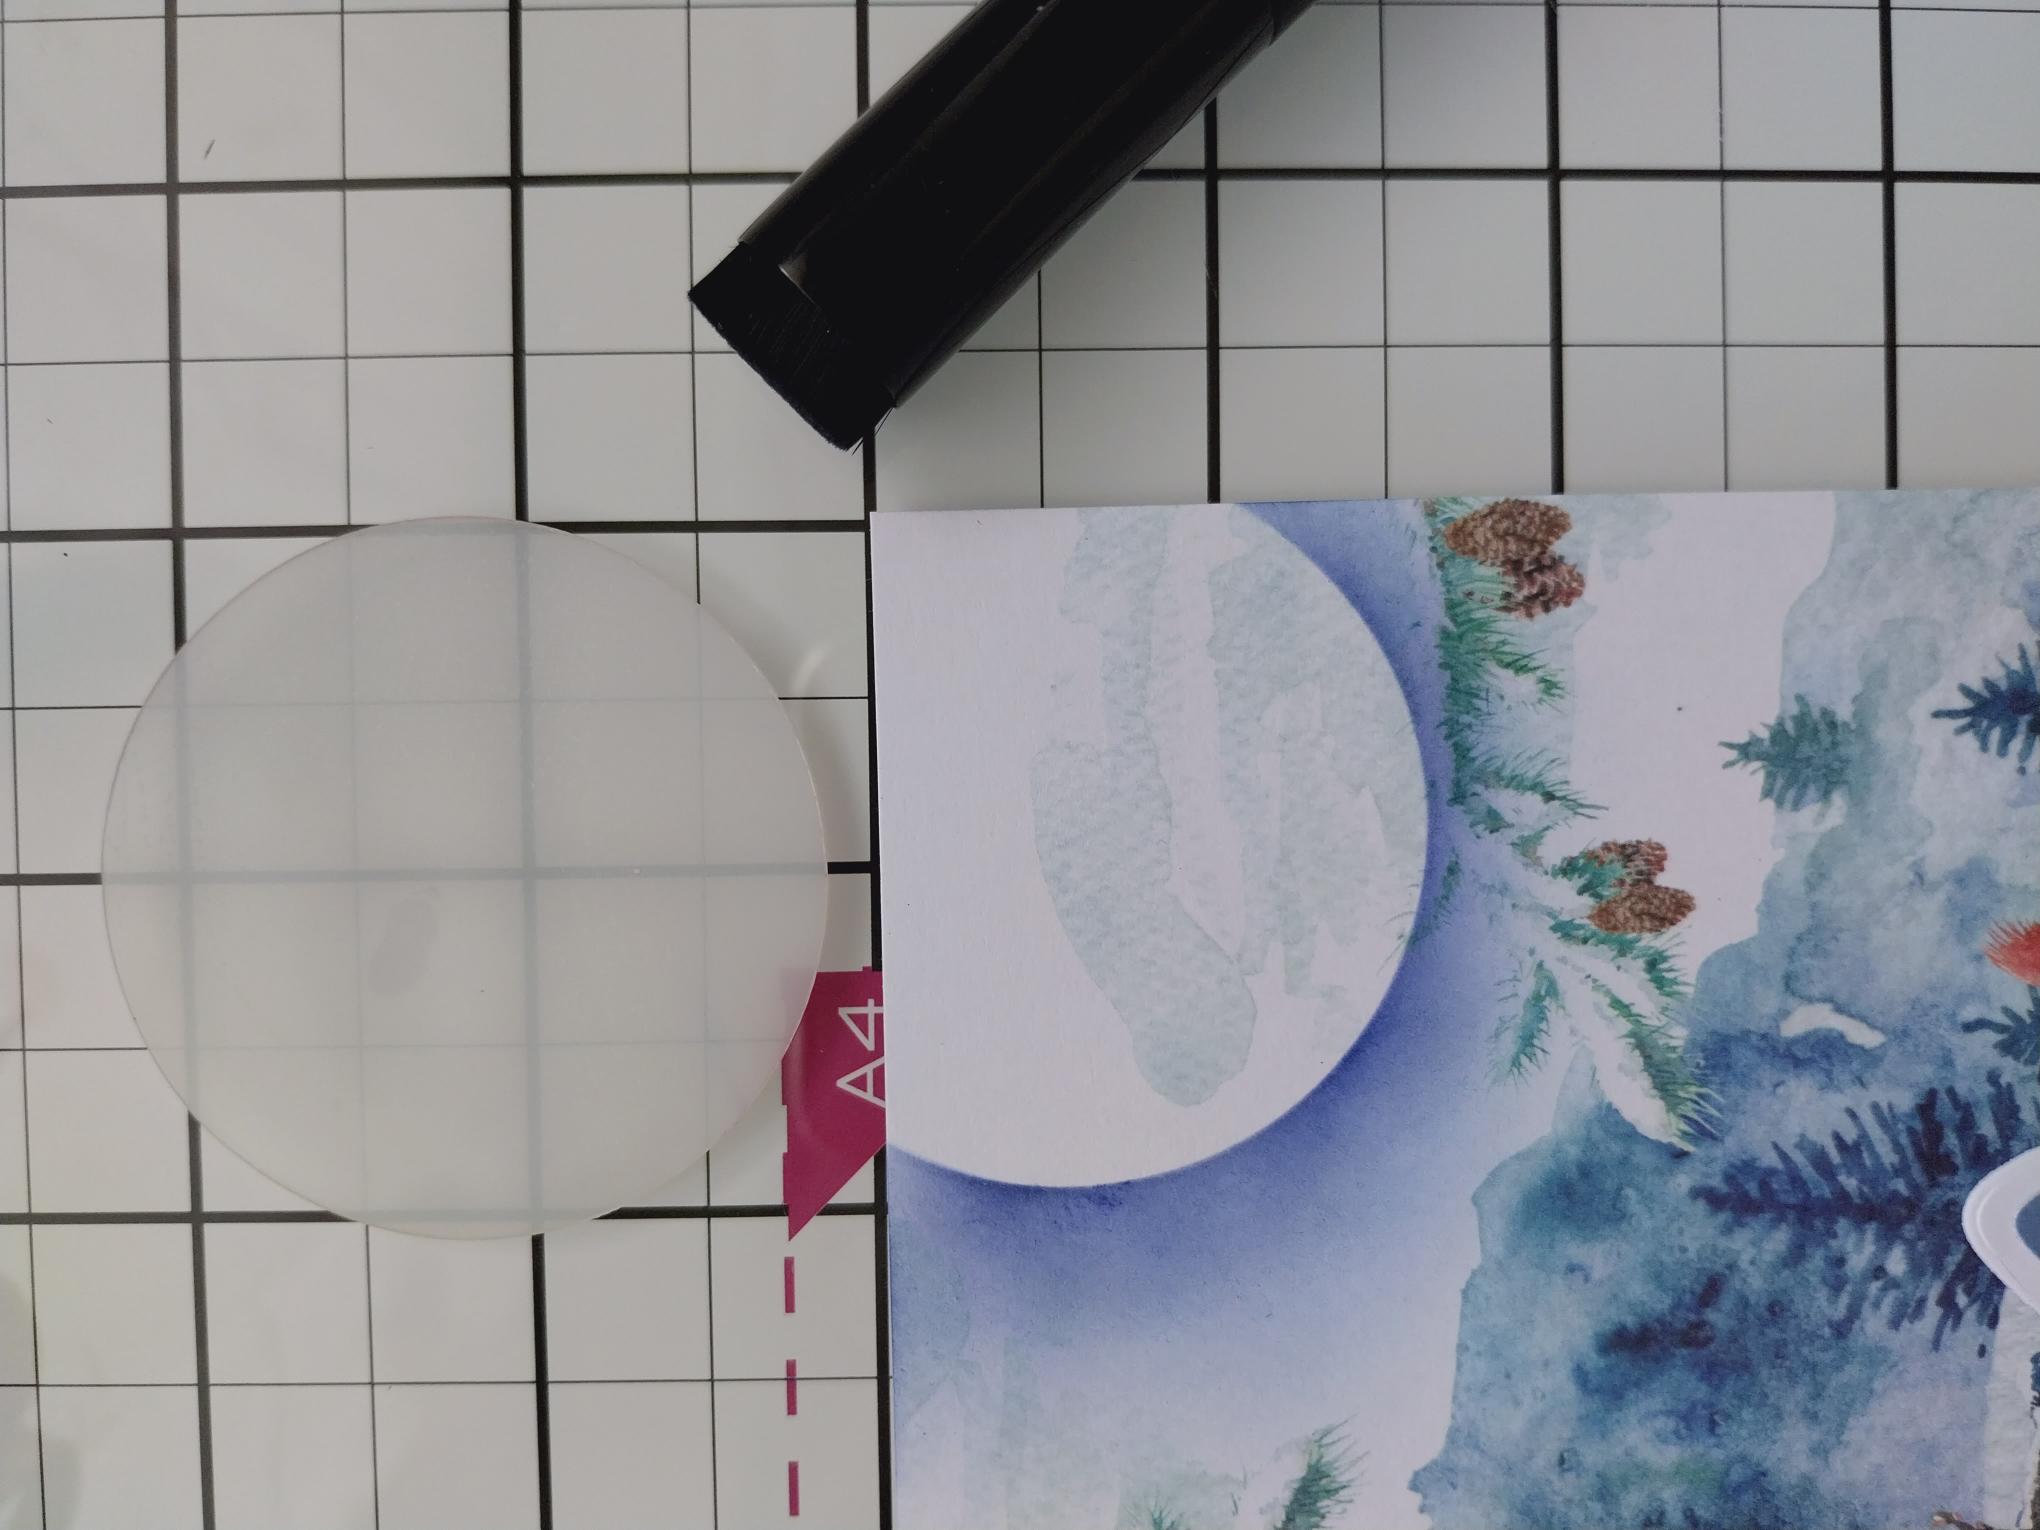
Place your circle mask in the top right corner and blend out with the Surfboard ink, creating a Moon. Blast dry with your heat gun. |
|
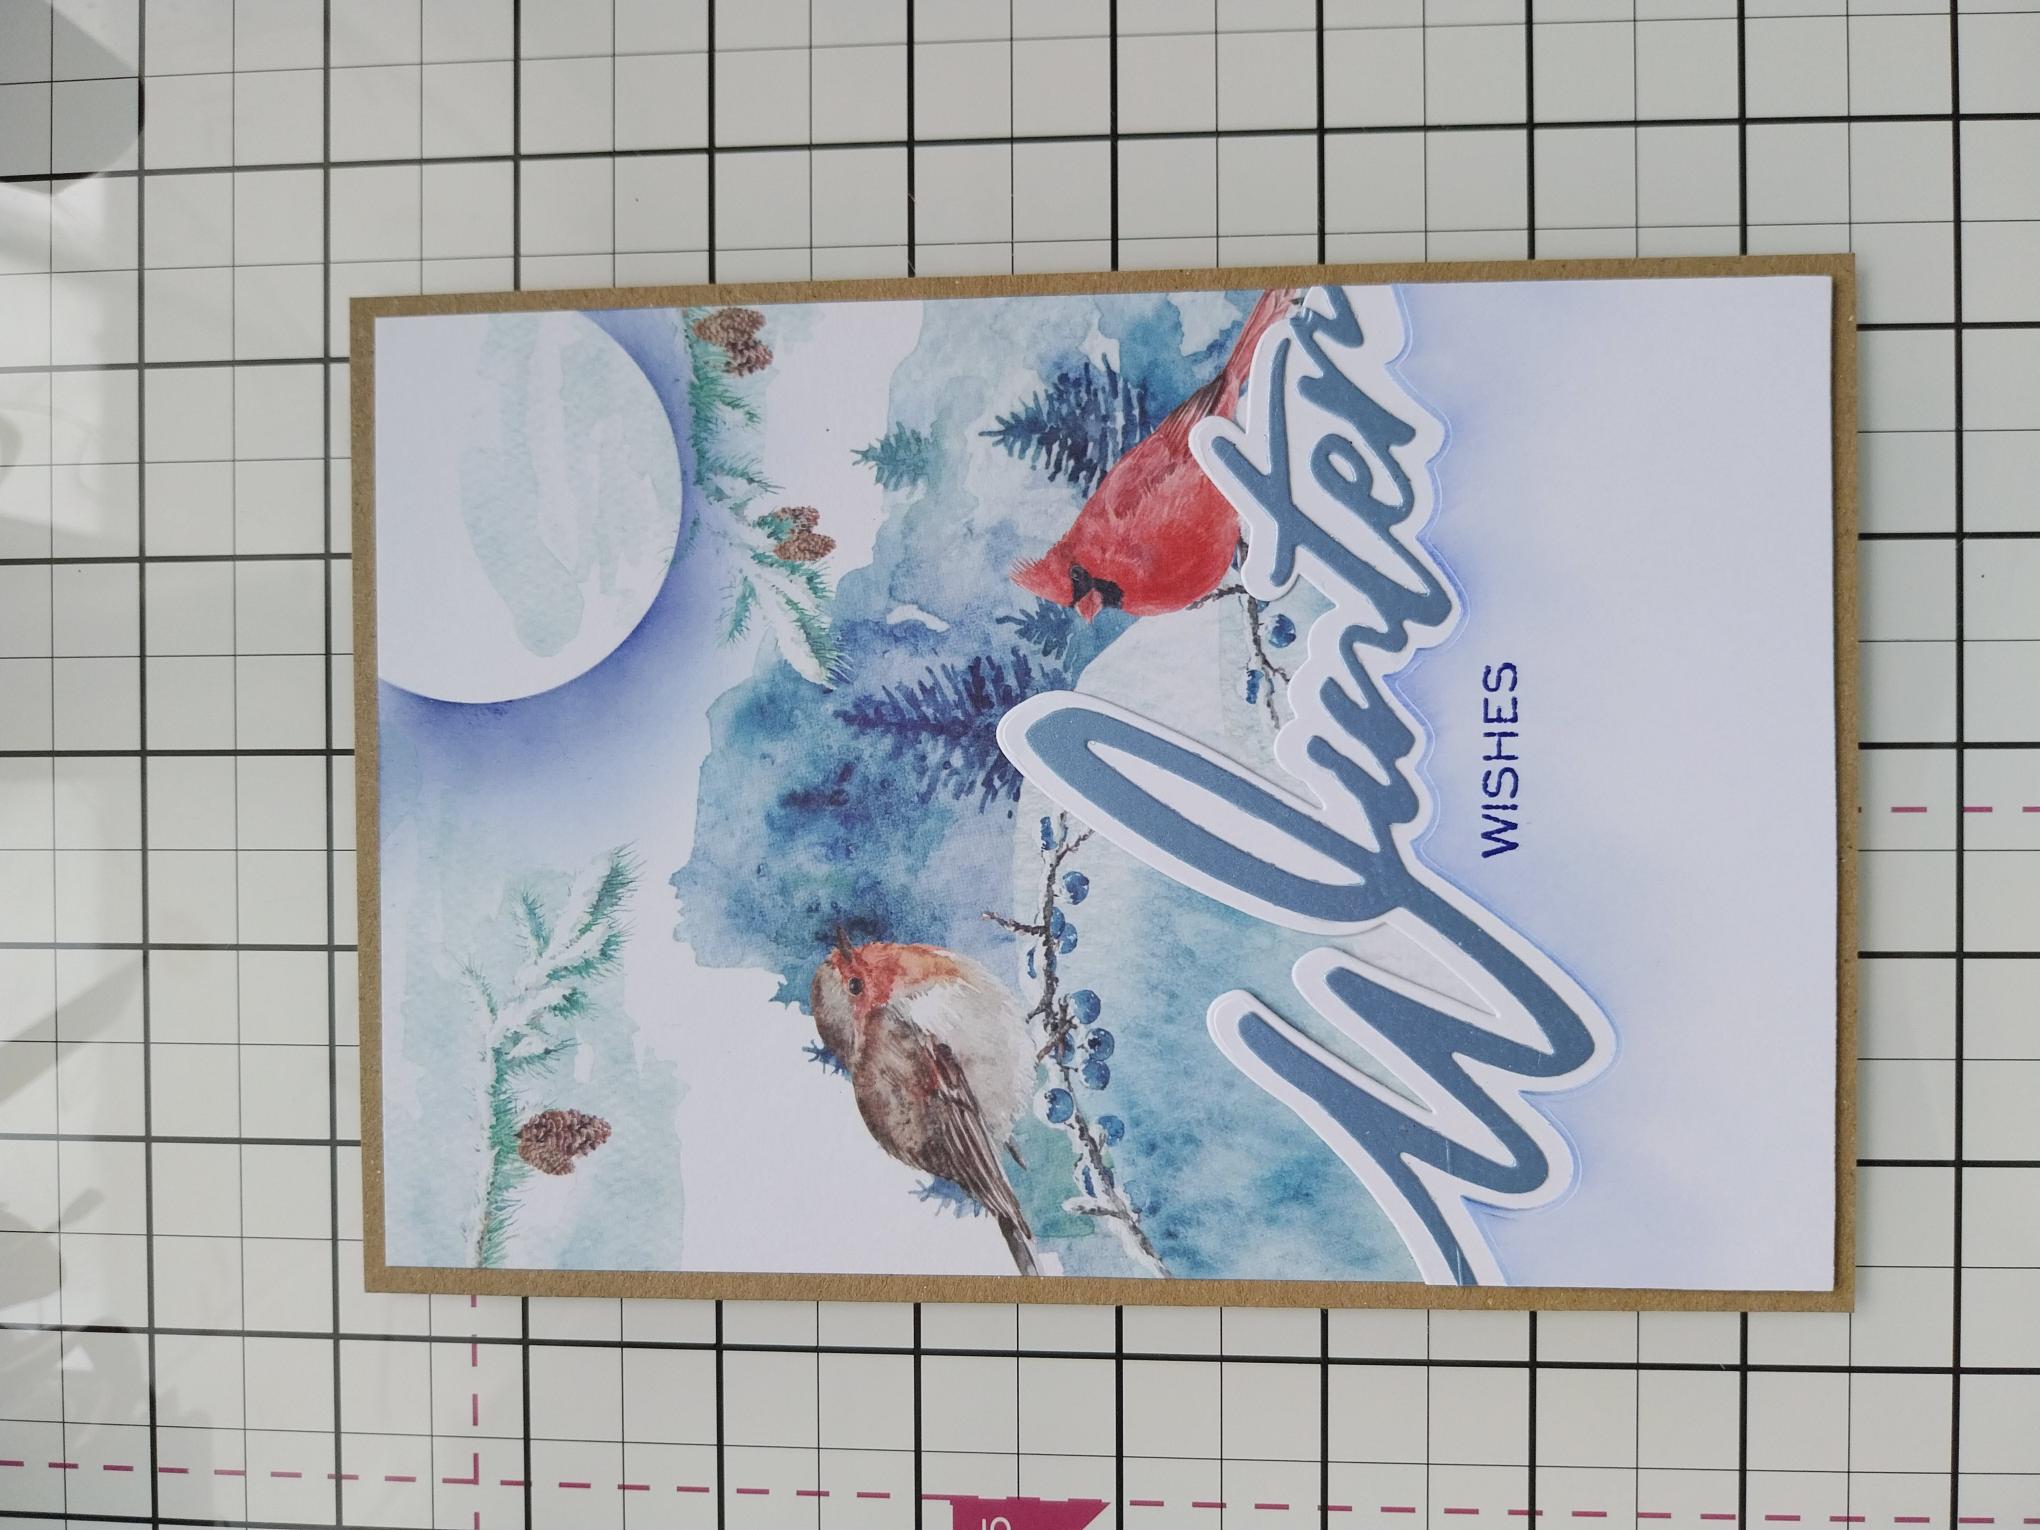
Adhere on to kraft card cut to 7 1/4 x 5". |
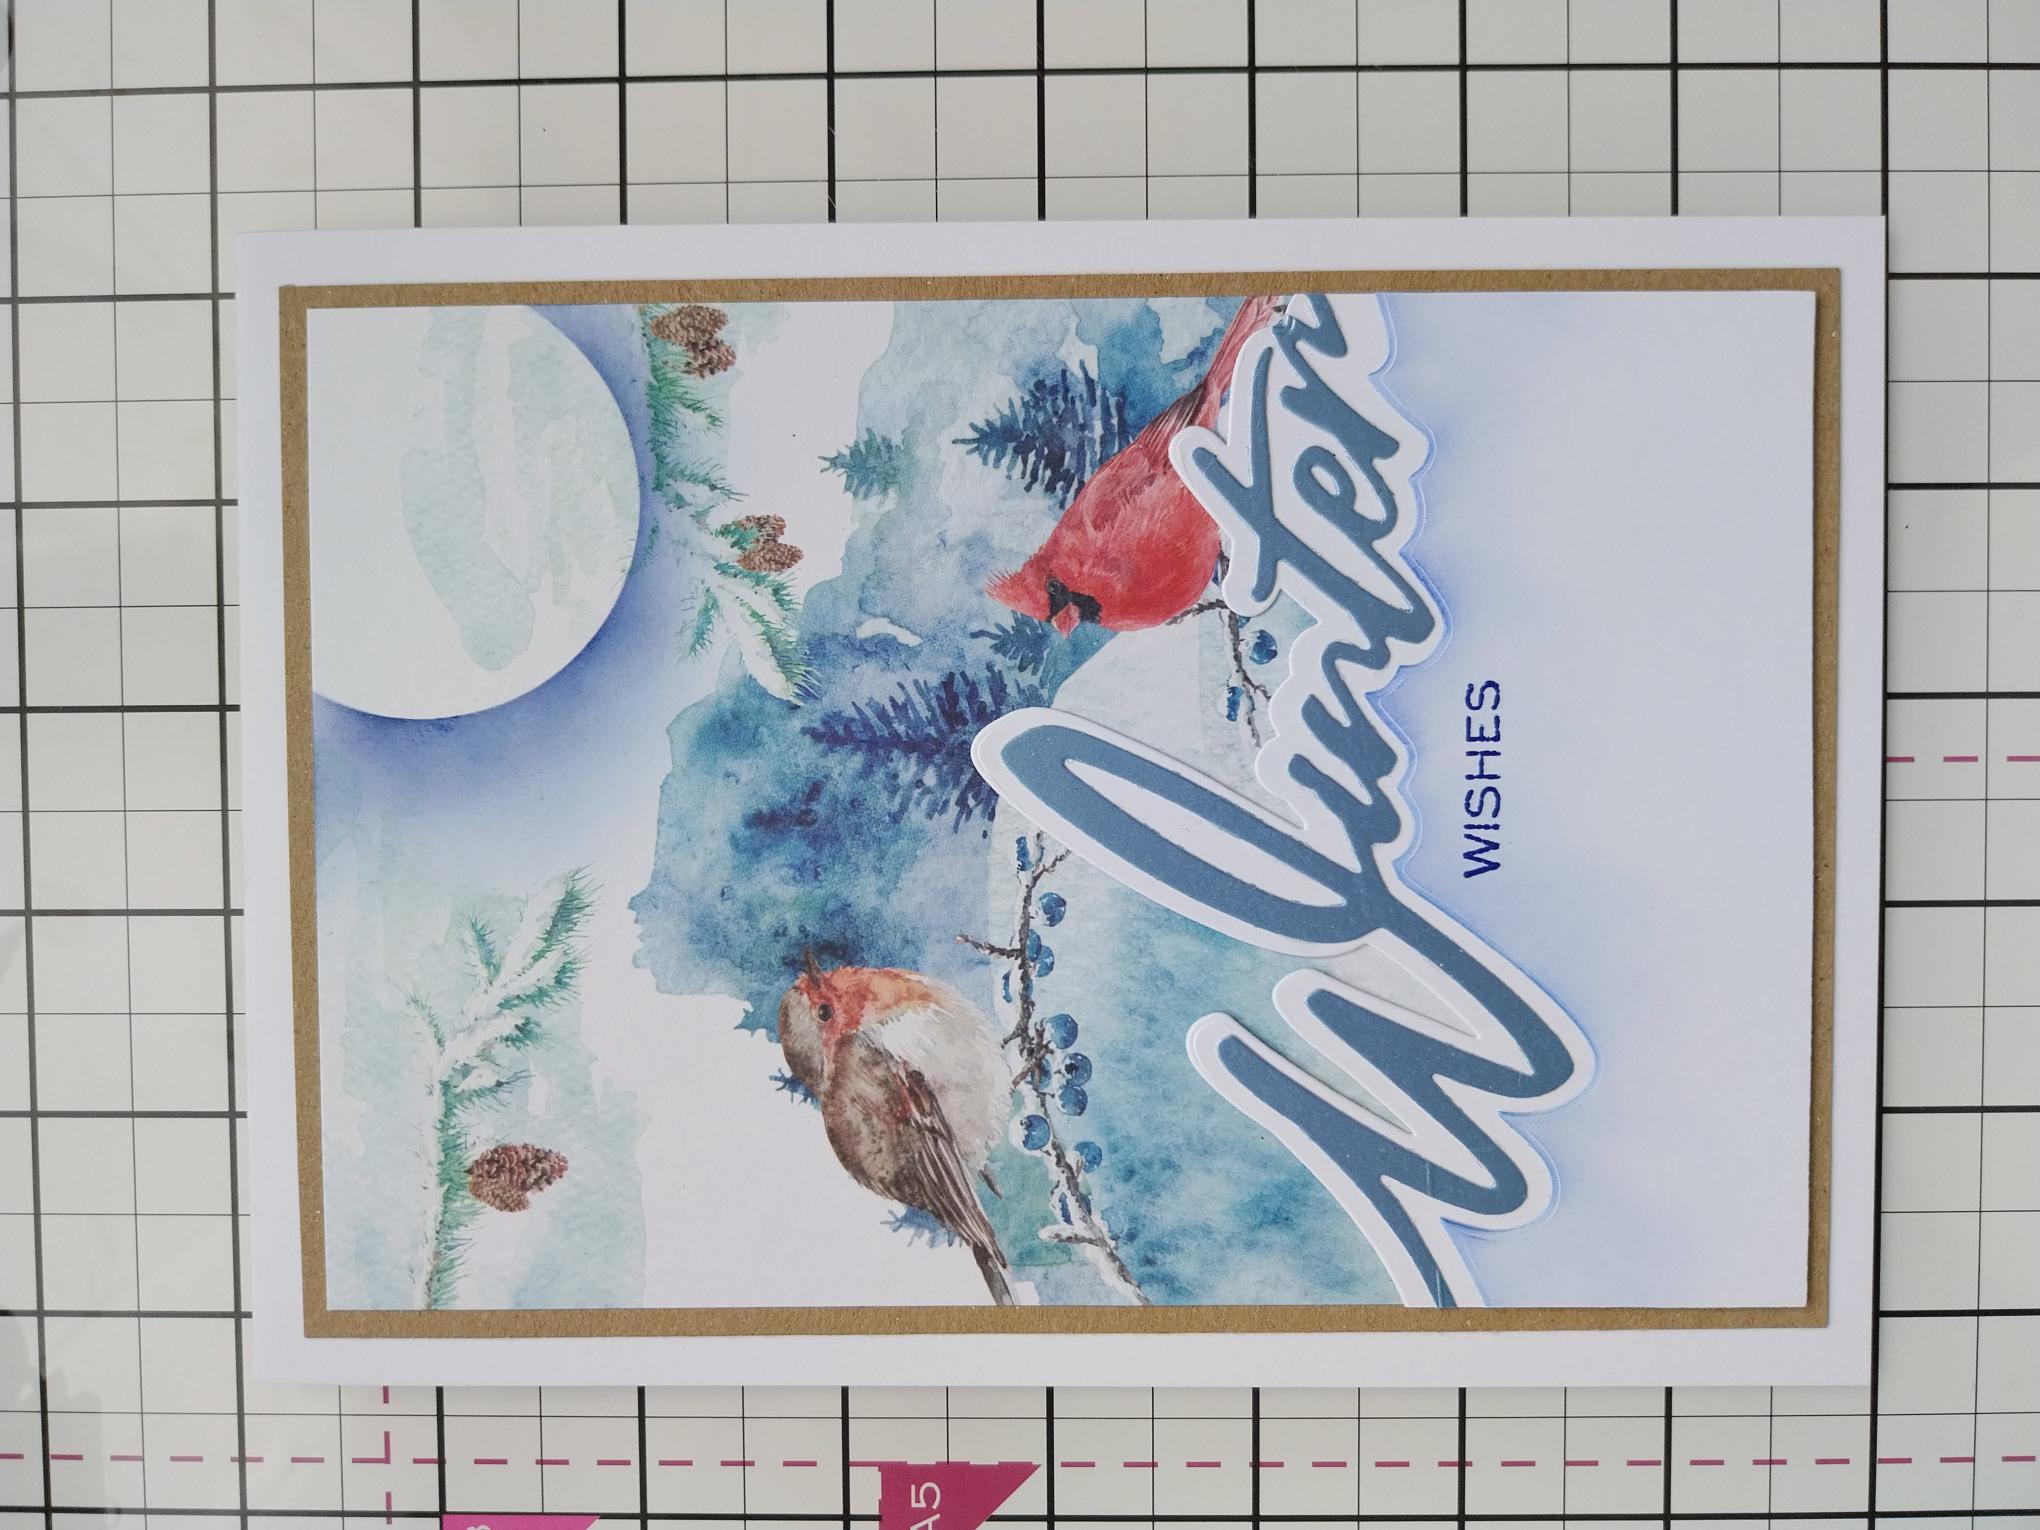
|
Adhere to the front of your white card blank. |
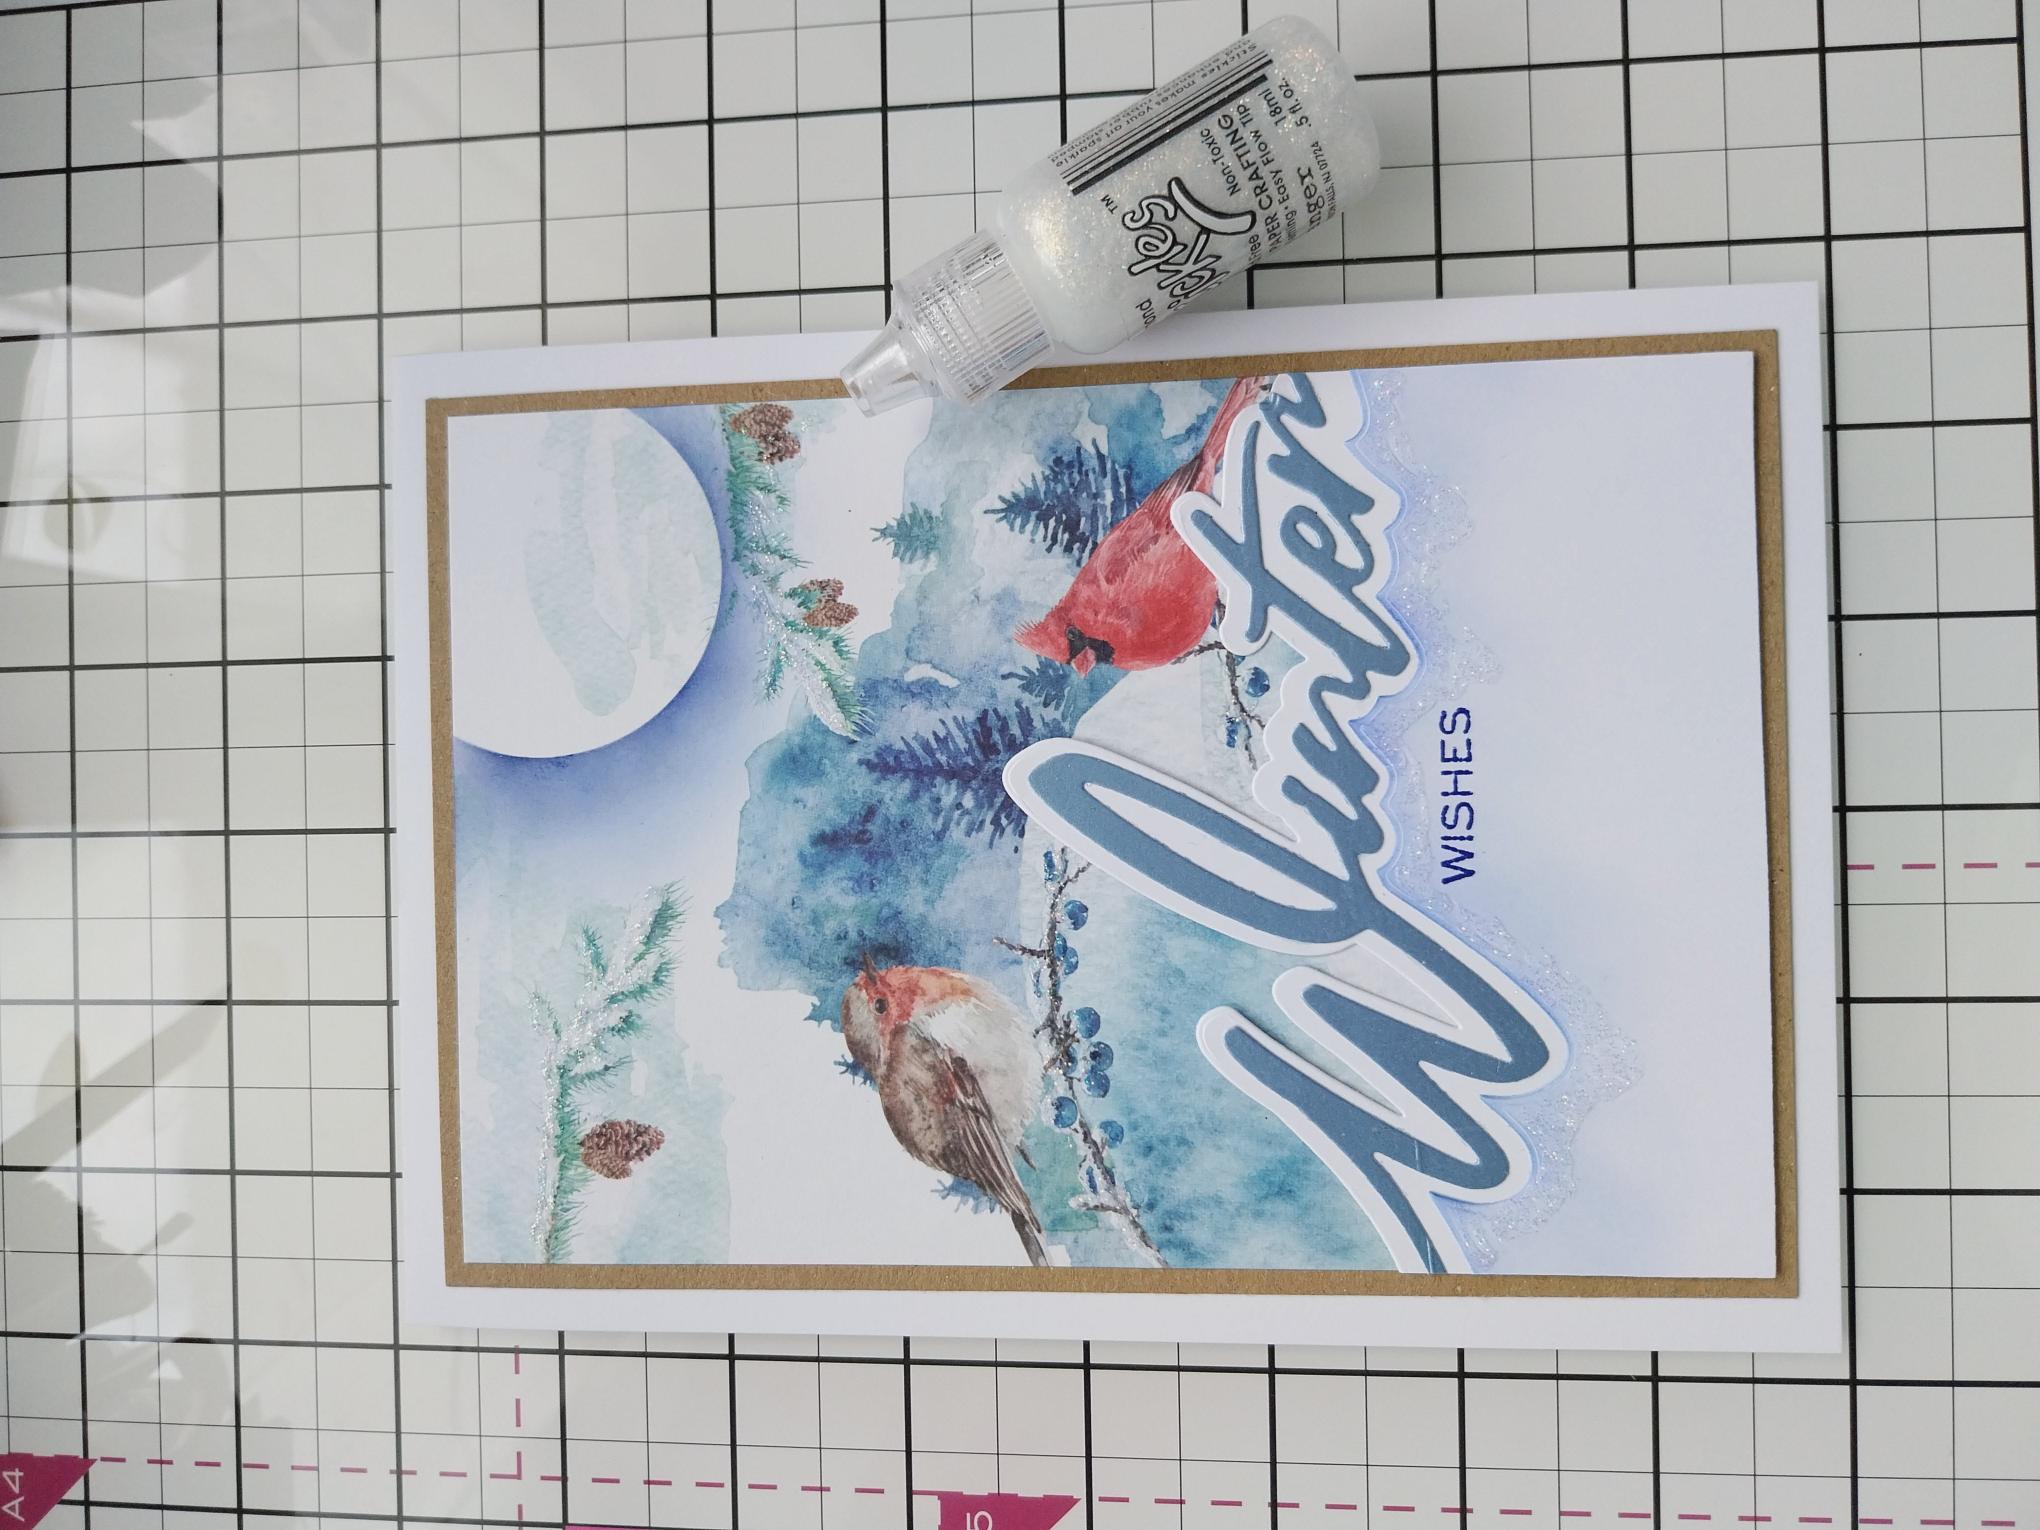
|
Use your Stickles to add a touch of festive sparkle to your finished card. |