

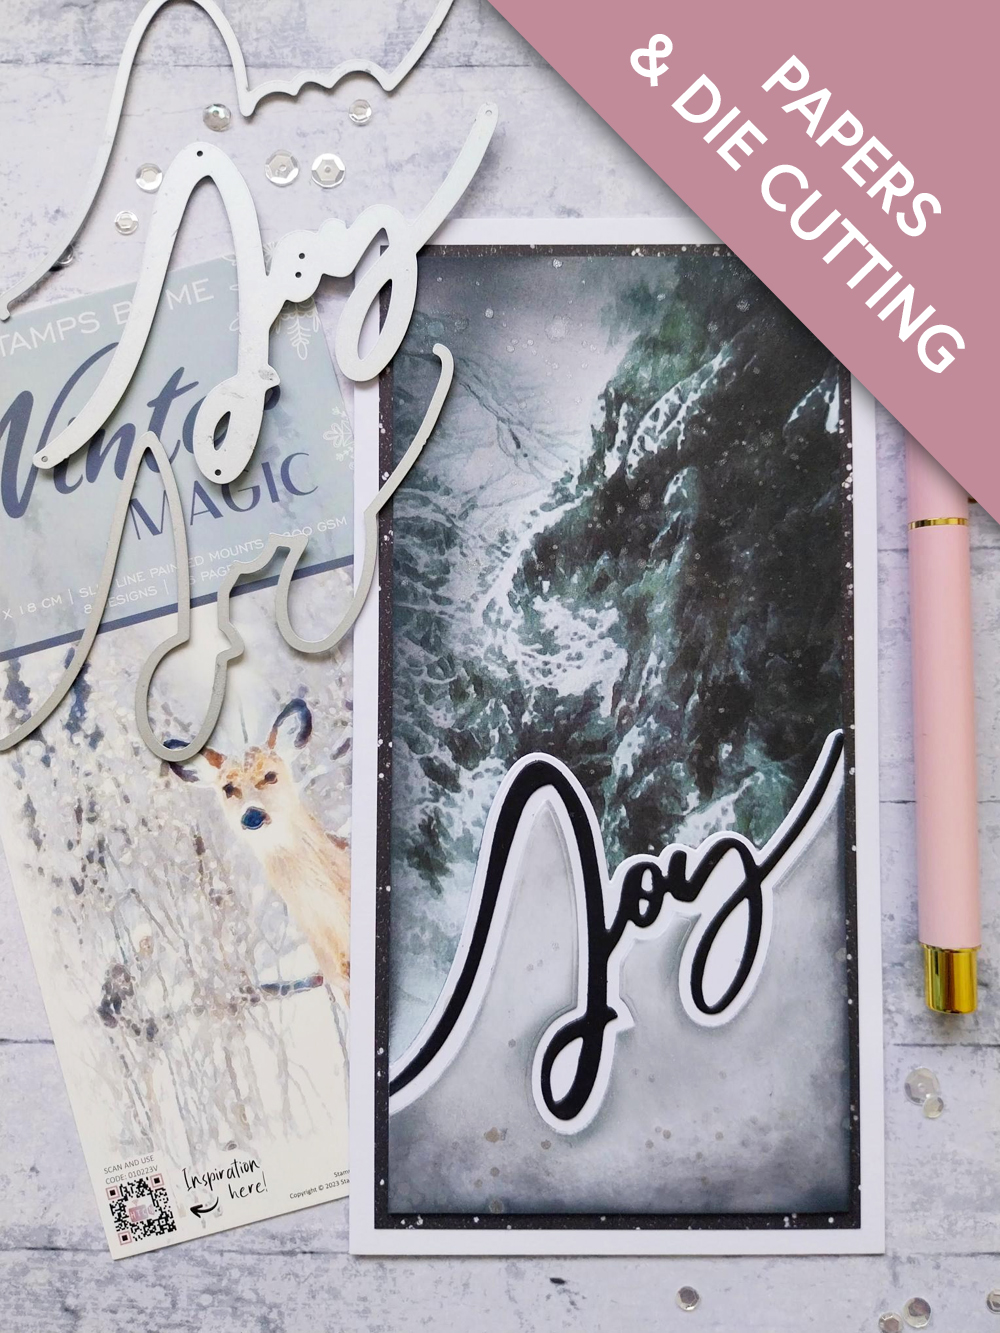
WHAT YOU WILL NEED:
DL White card blank (trim to 7 3/4 x 4")
Black/white cardstock
Christmas Snow Drift Joy Die Set
Winter Magic Slim Line Painted Mounts
All Surfaces 8 x 8" Paper Pack: Charcoal
Distress Ink/Oxide Ink Pad: Black Soot, Lost Shadow
Blending tool
Pearlywinks Pearl Mist: Glitter Pearl
Paint brush
WOW heat tool
SBM A3 Magnetic glass mat
Paper Trimmer
Glue
Die Cutting machine
[click image to enlarge] 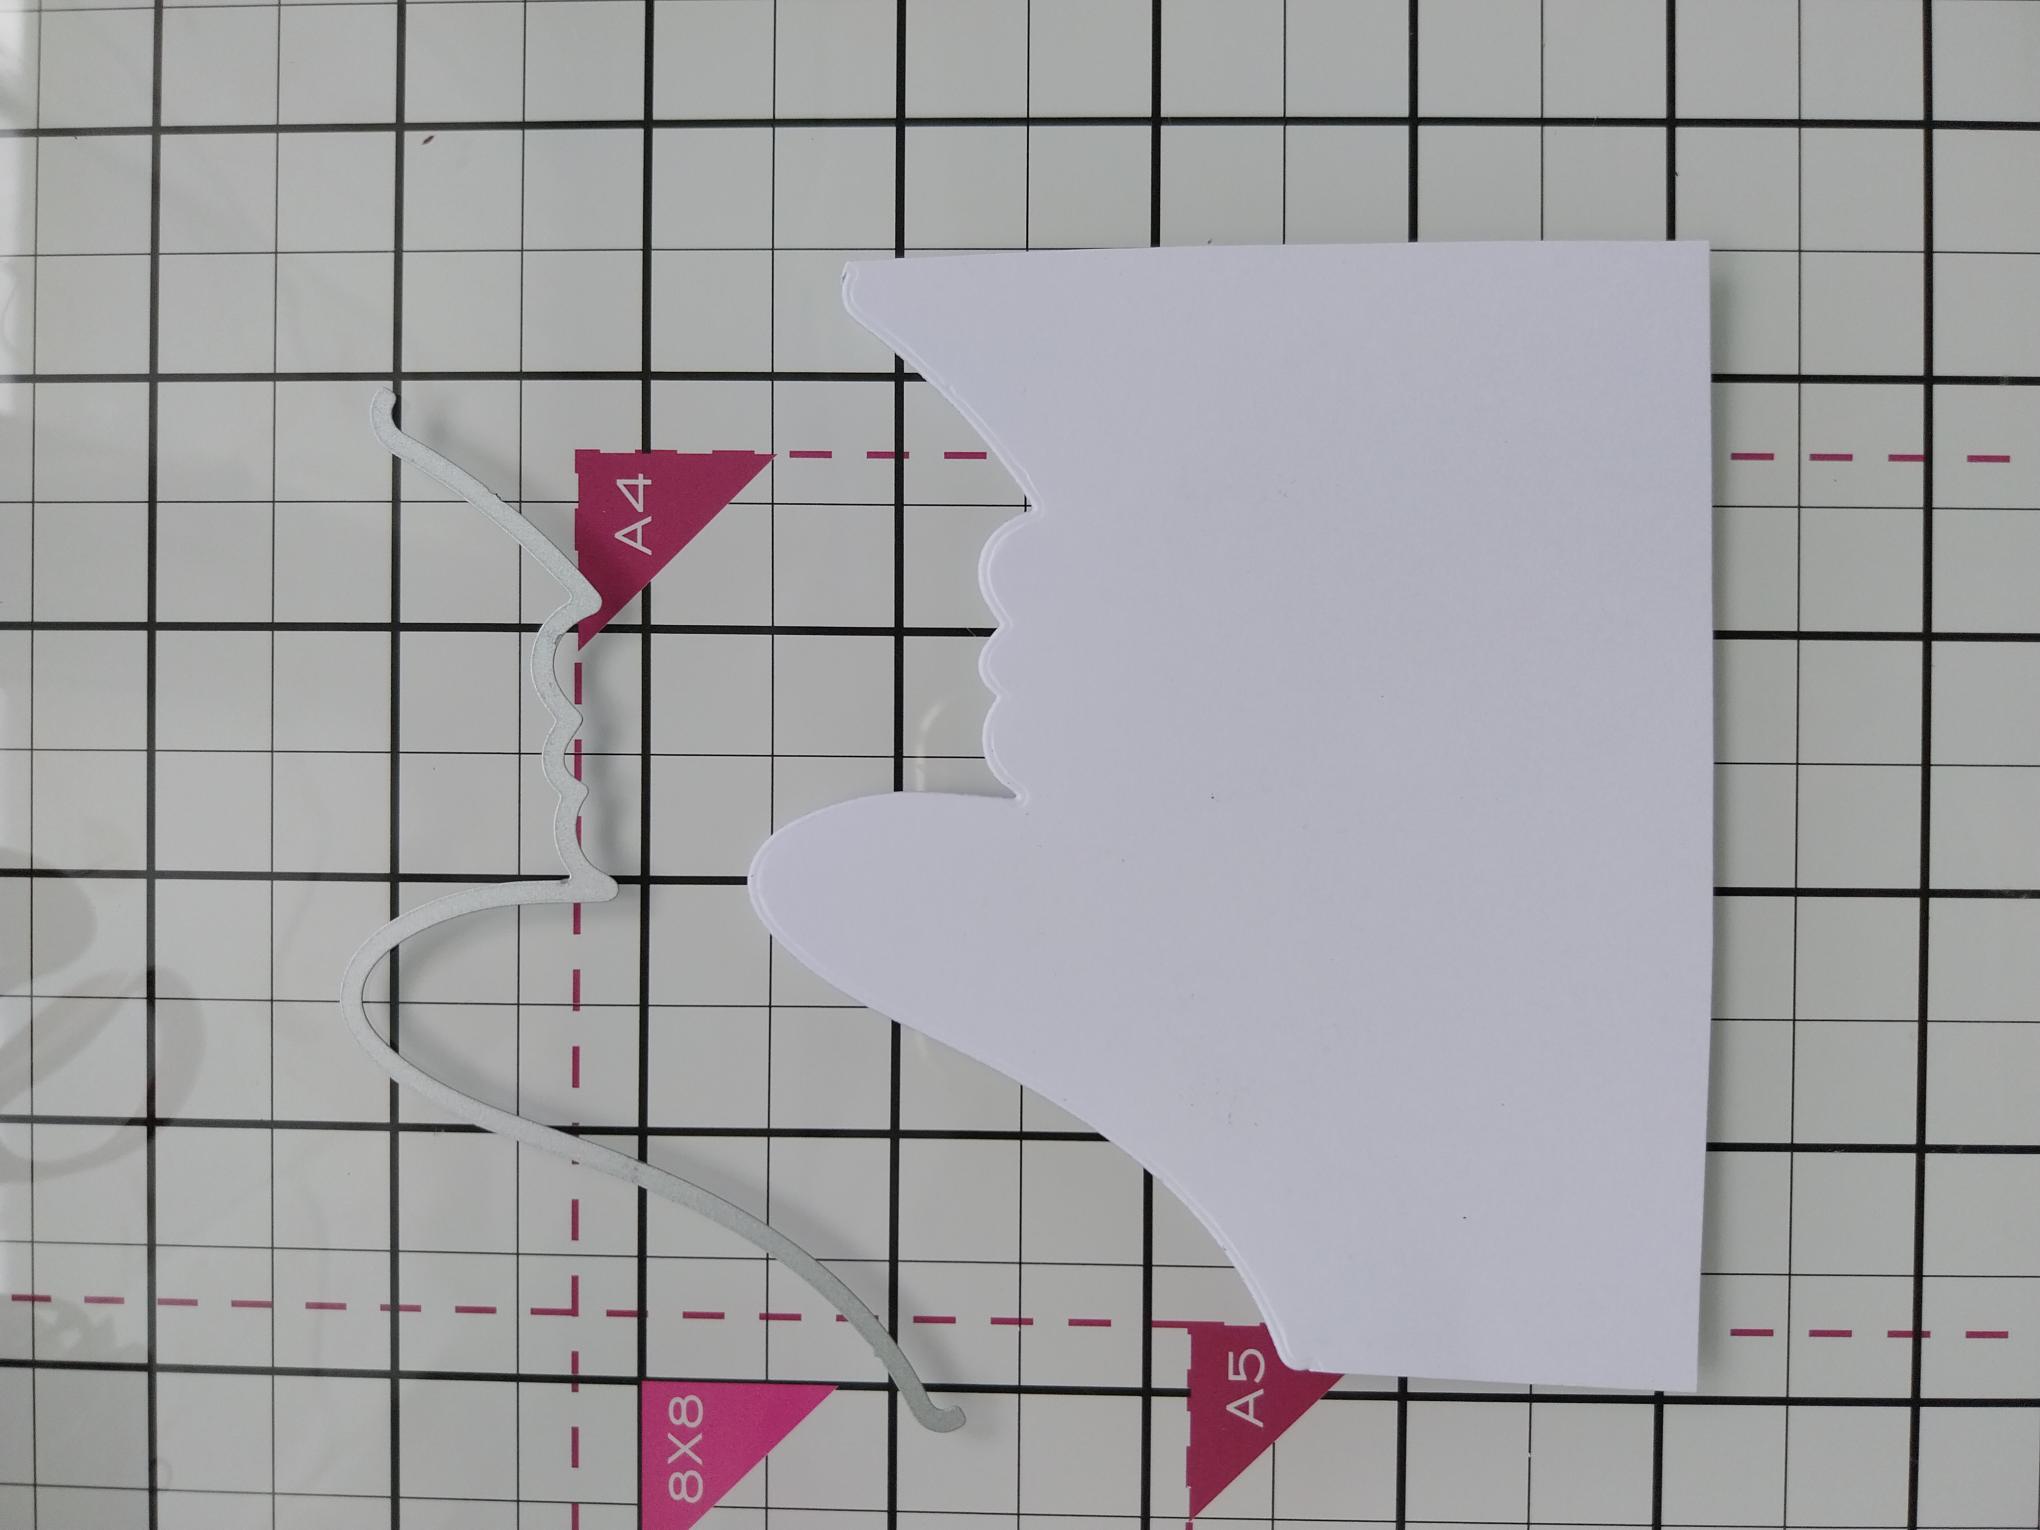
|
Remove your chosen painted mount from the Winter Magic Slim Line pack. Trim a piece of card the same width as the mount, place the die that cuts the TOP of the word Joy, towards the top of the card and run it through your machine. Now decide how far up the painted mount you wish your snow drift word to sit and trim to the required length. Alternatievly you can make the card bigger than required and trim everything to size, once you have completed the snow drift element. Try both ways and see which you prefer. |
|
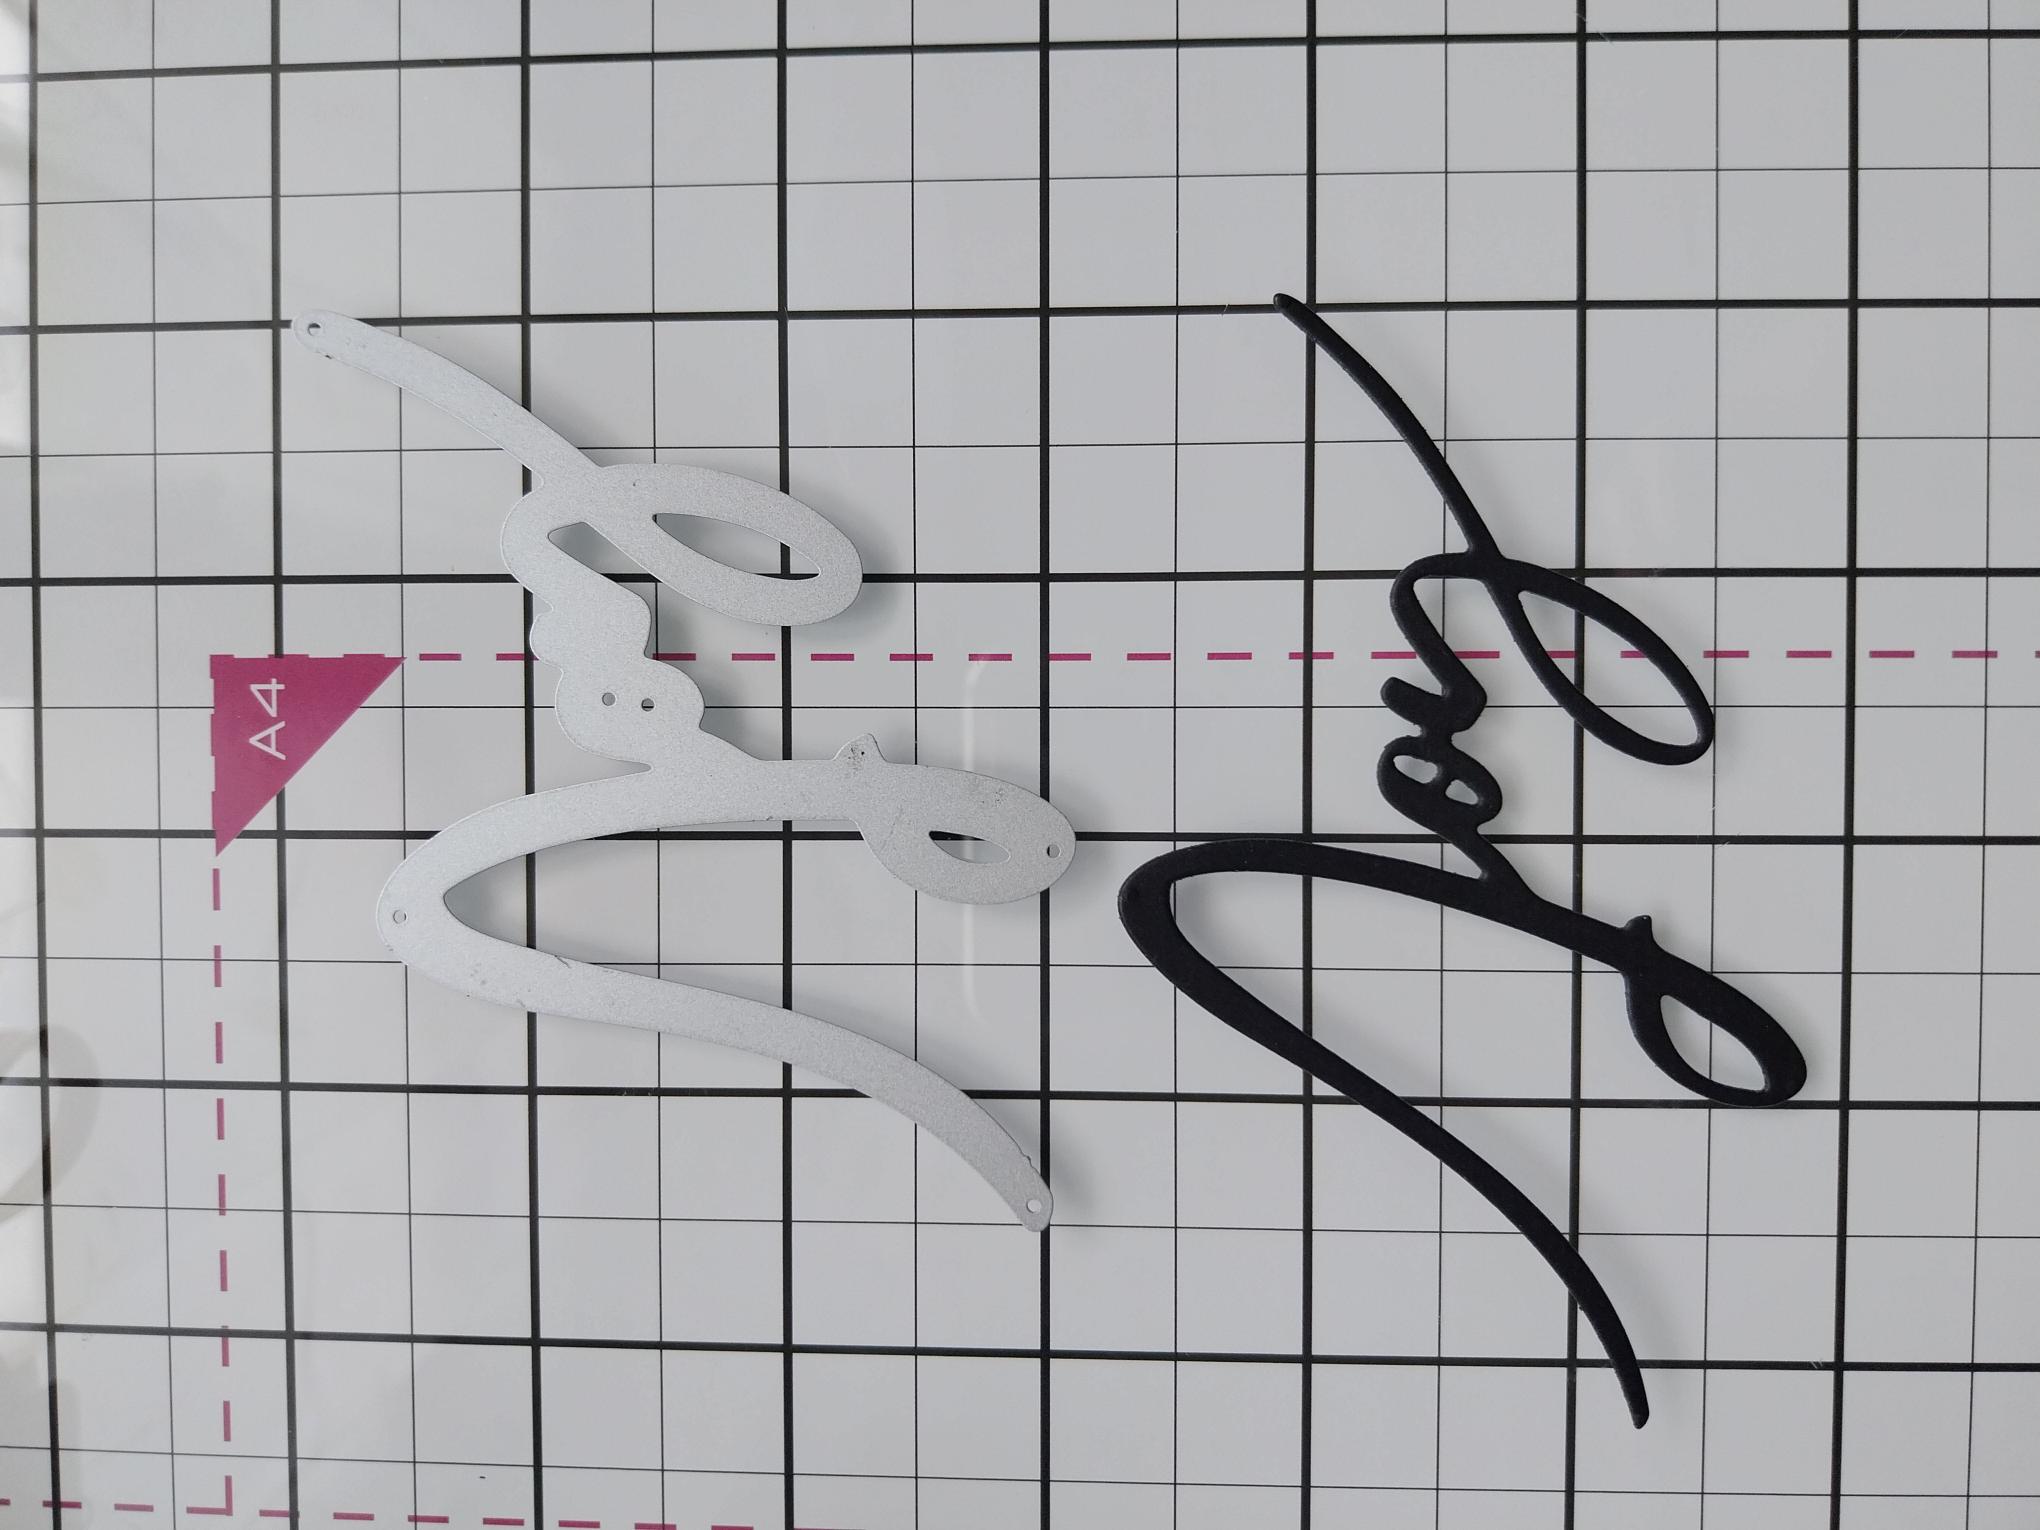
Die cut the word "Joy" from black card. If you wish to have a more prominent, substantial sentiment, then die cut it 3/4 times and adhere together. |
|
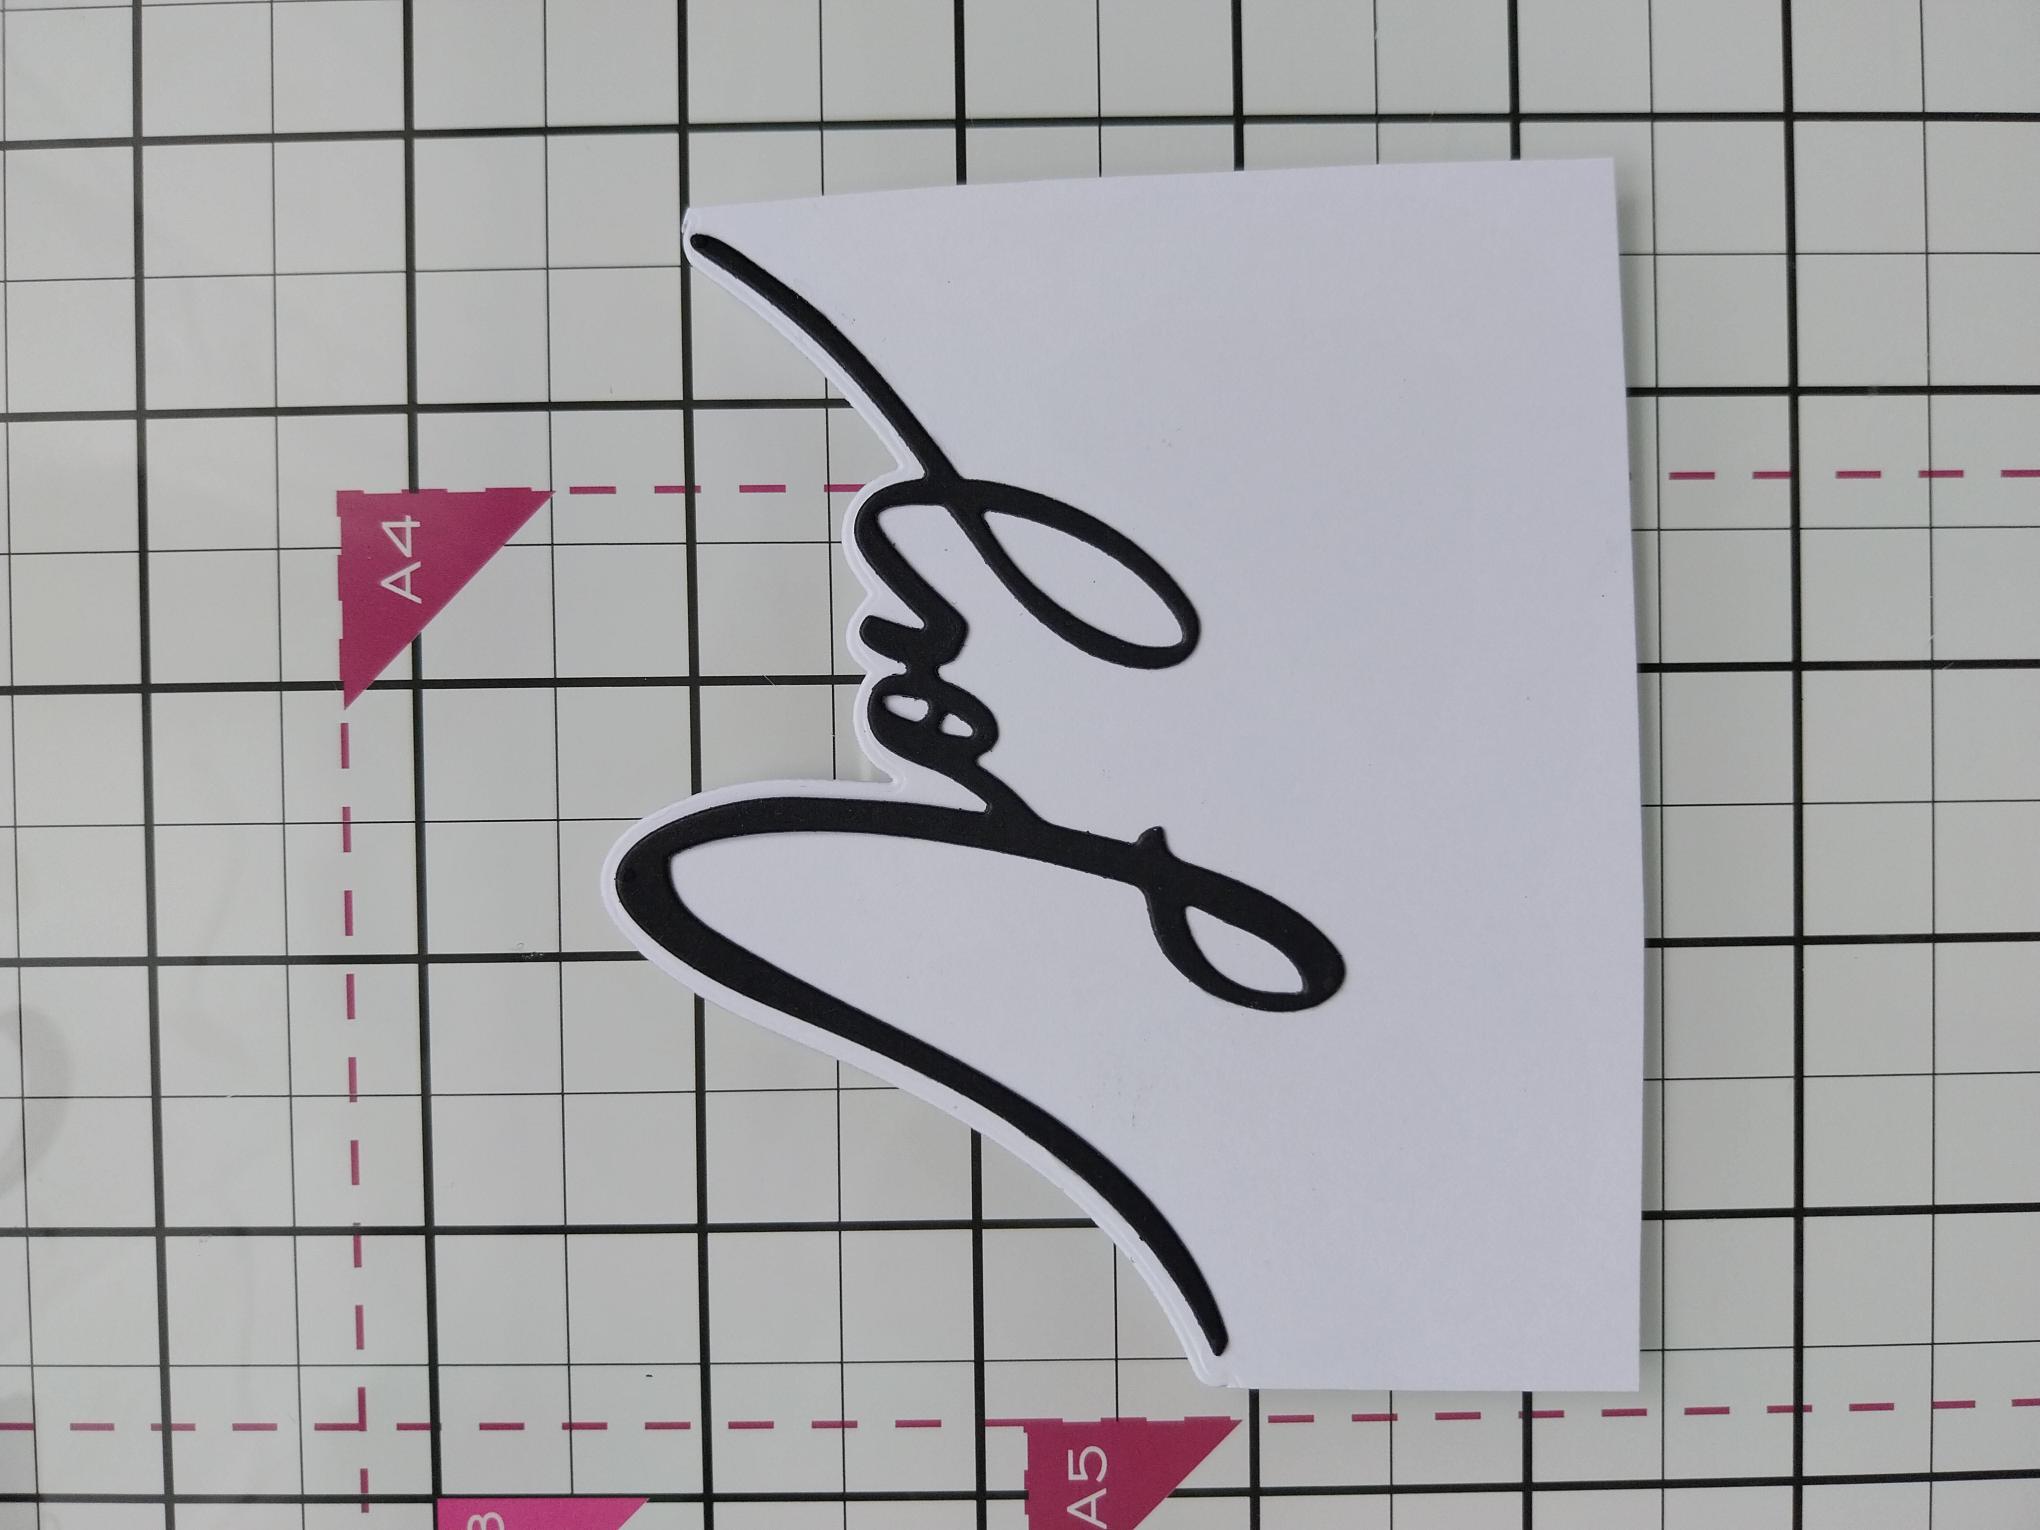
Adhere your die cut word in place, as seen here. |
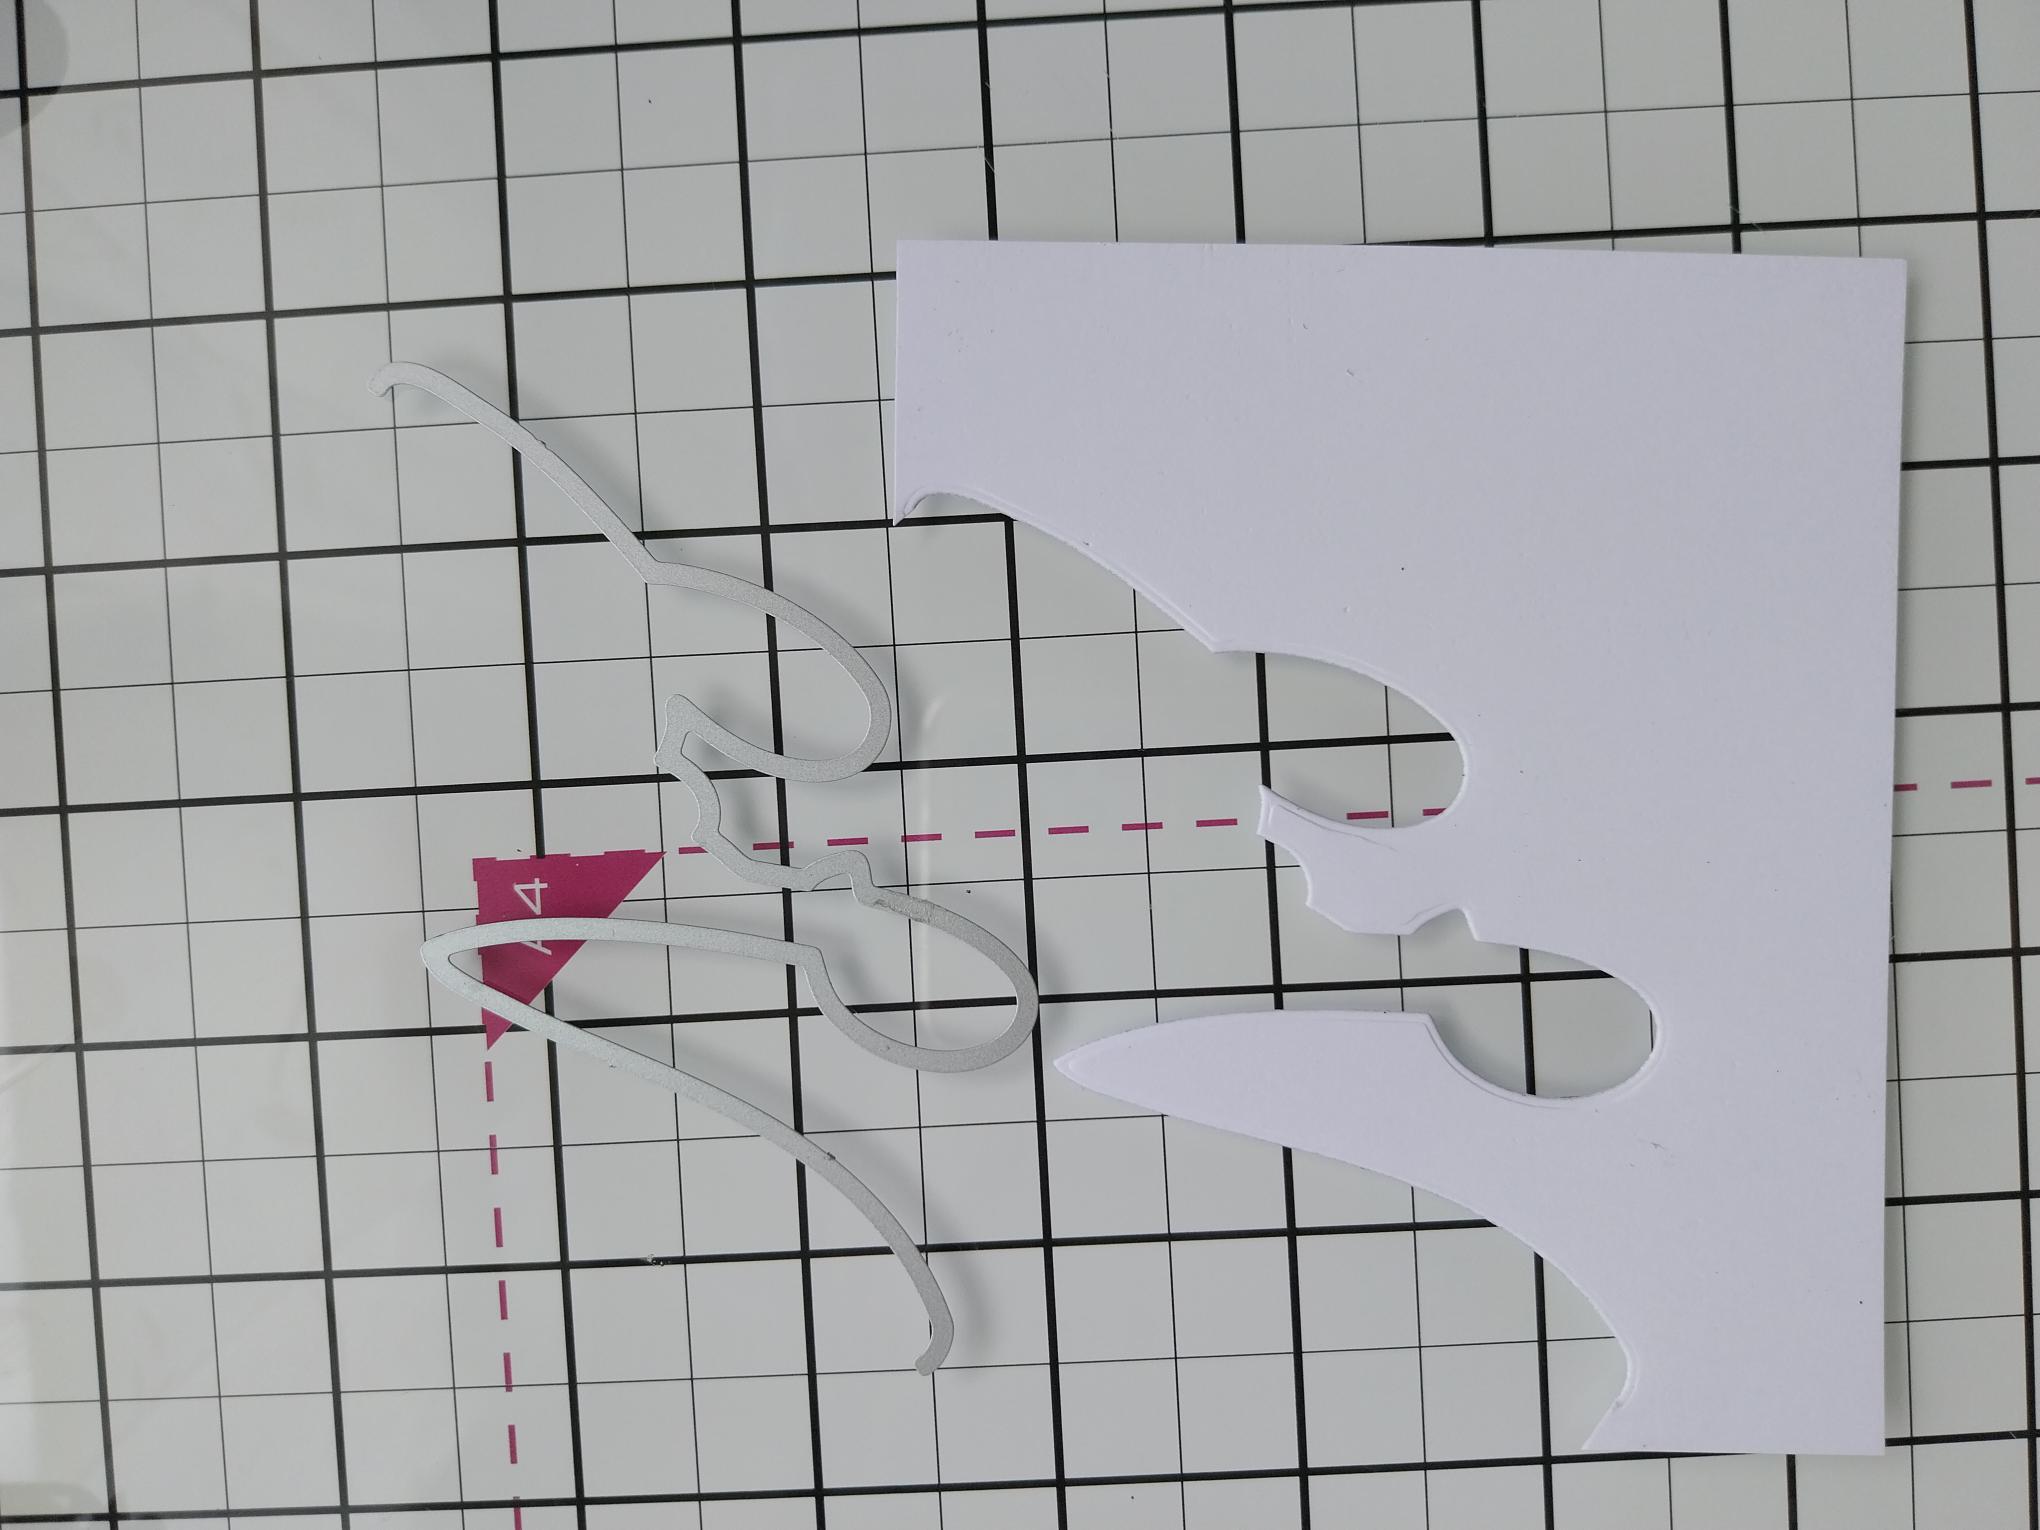
|
Cut another piece of white card the same width as before and place the die, that cuts underneath the word "Joy", across the top and run through your machine. |
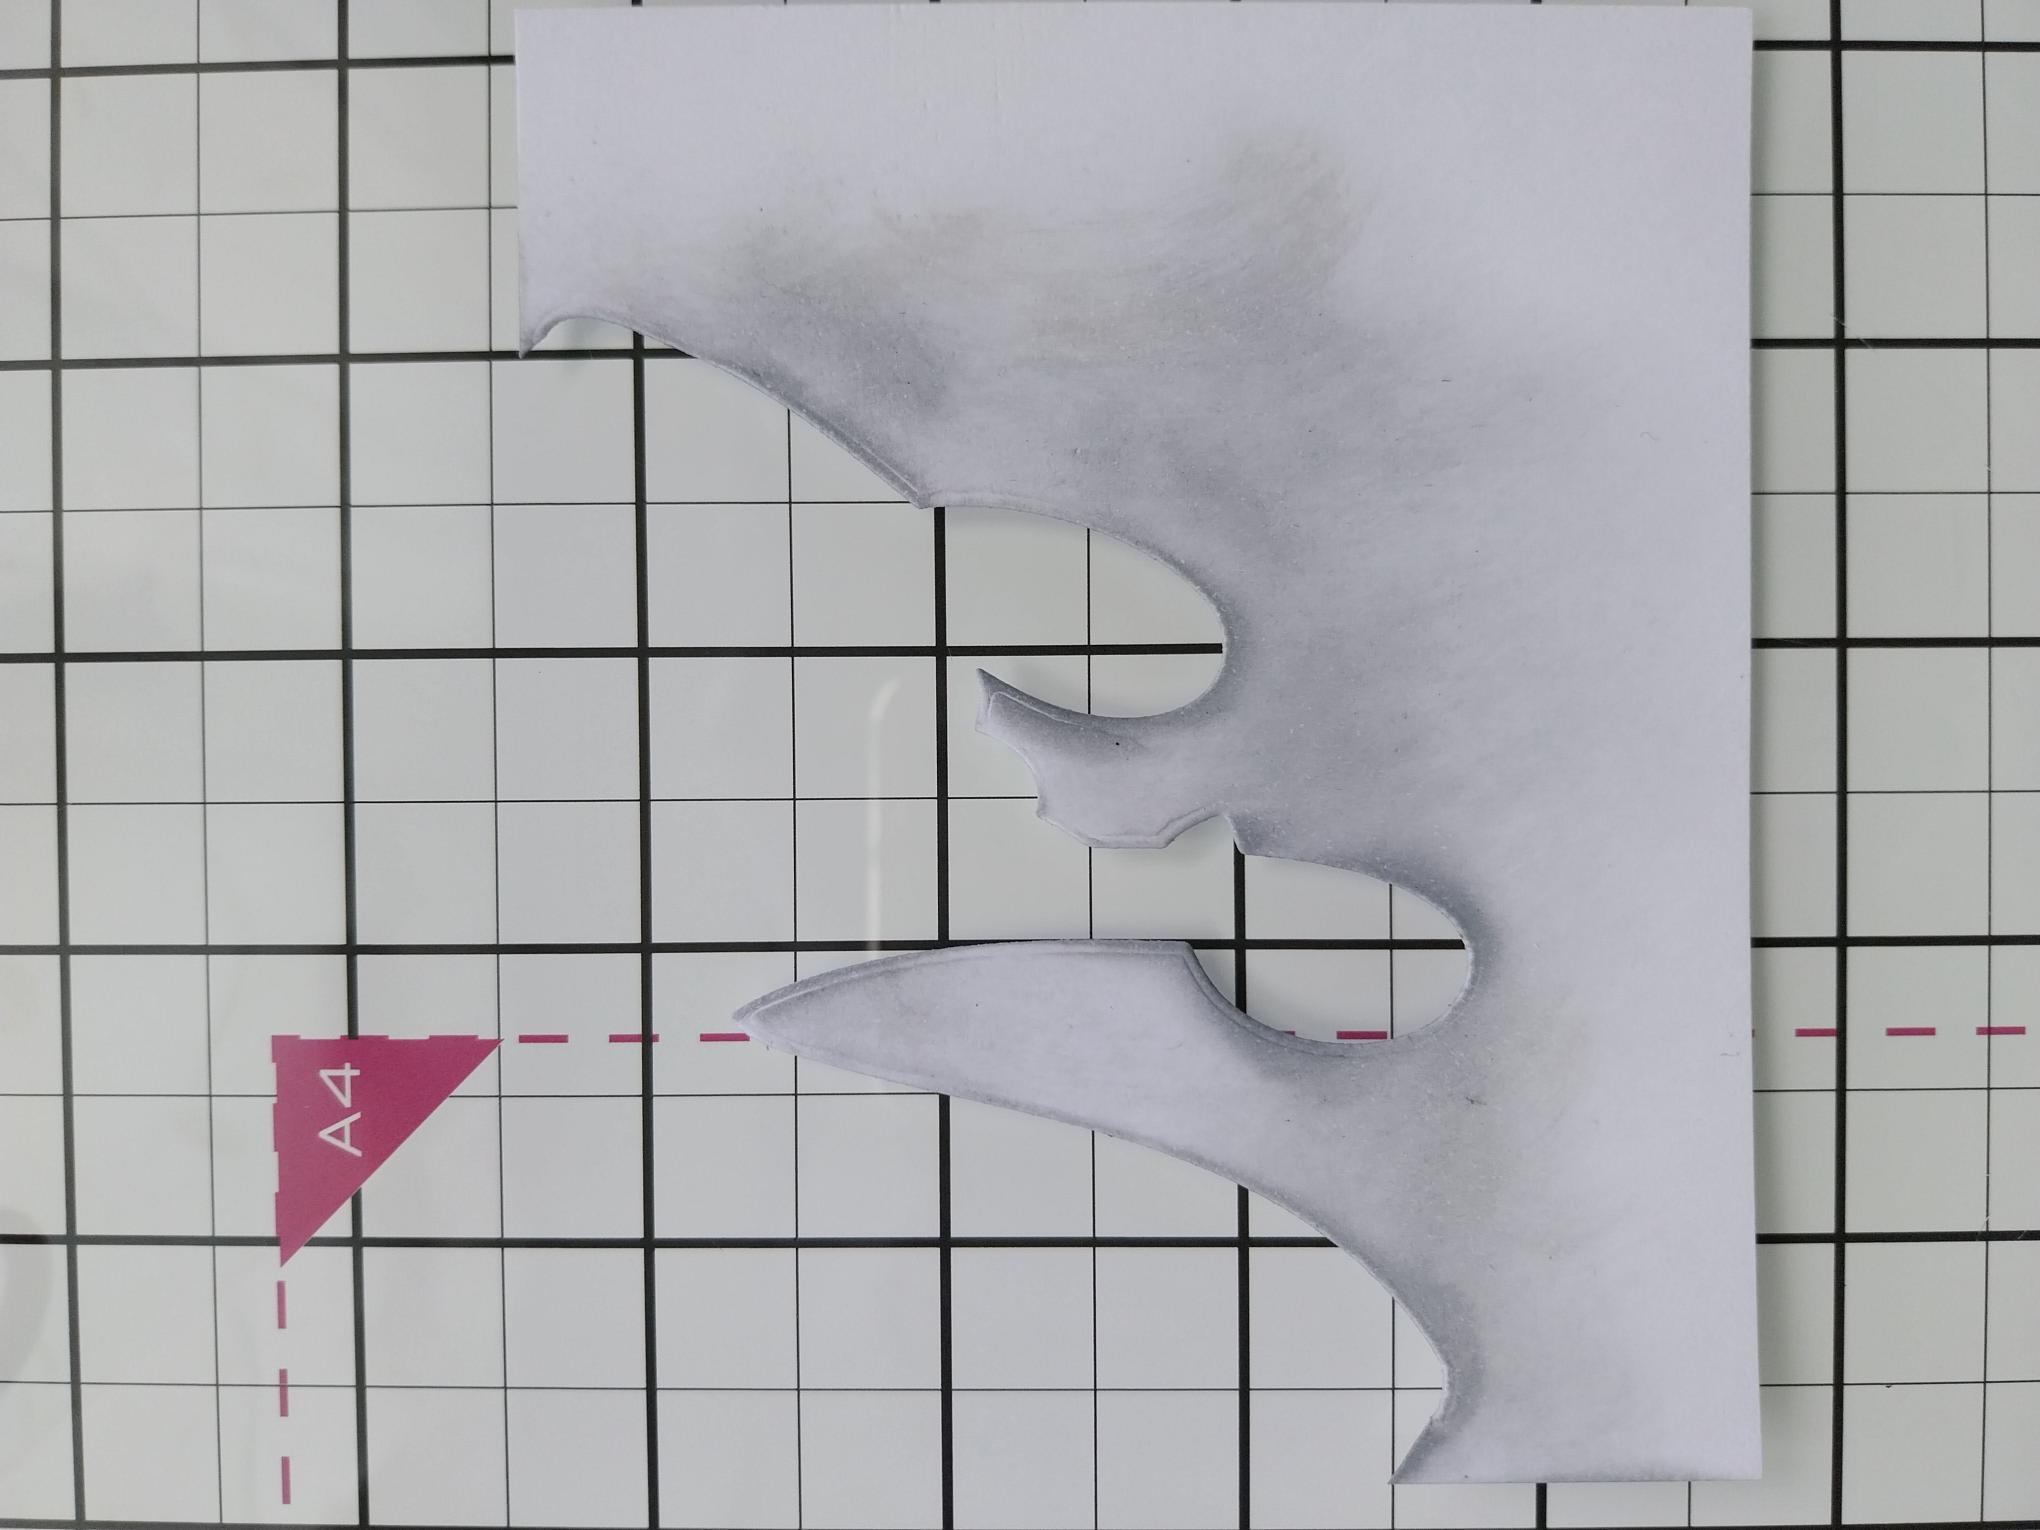
|
Blend the Lost Shadow Oxide along the top of the snow drift. |
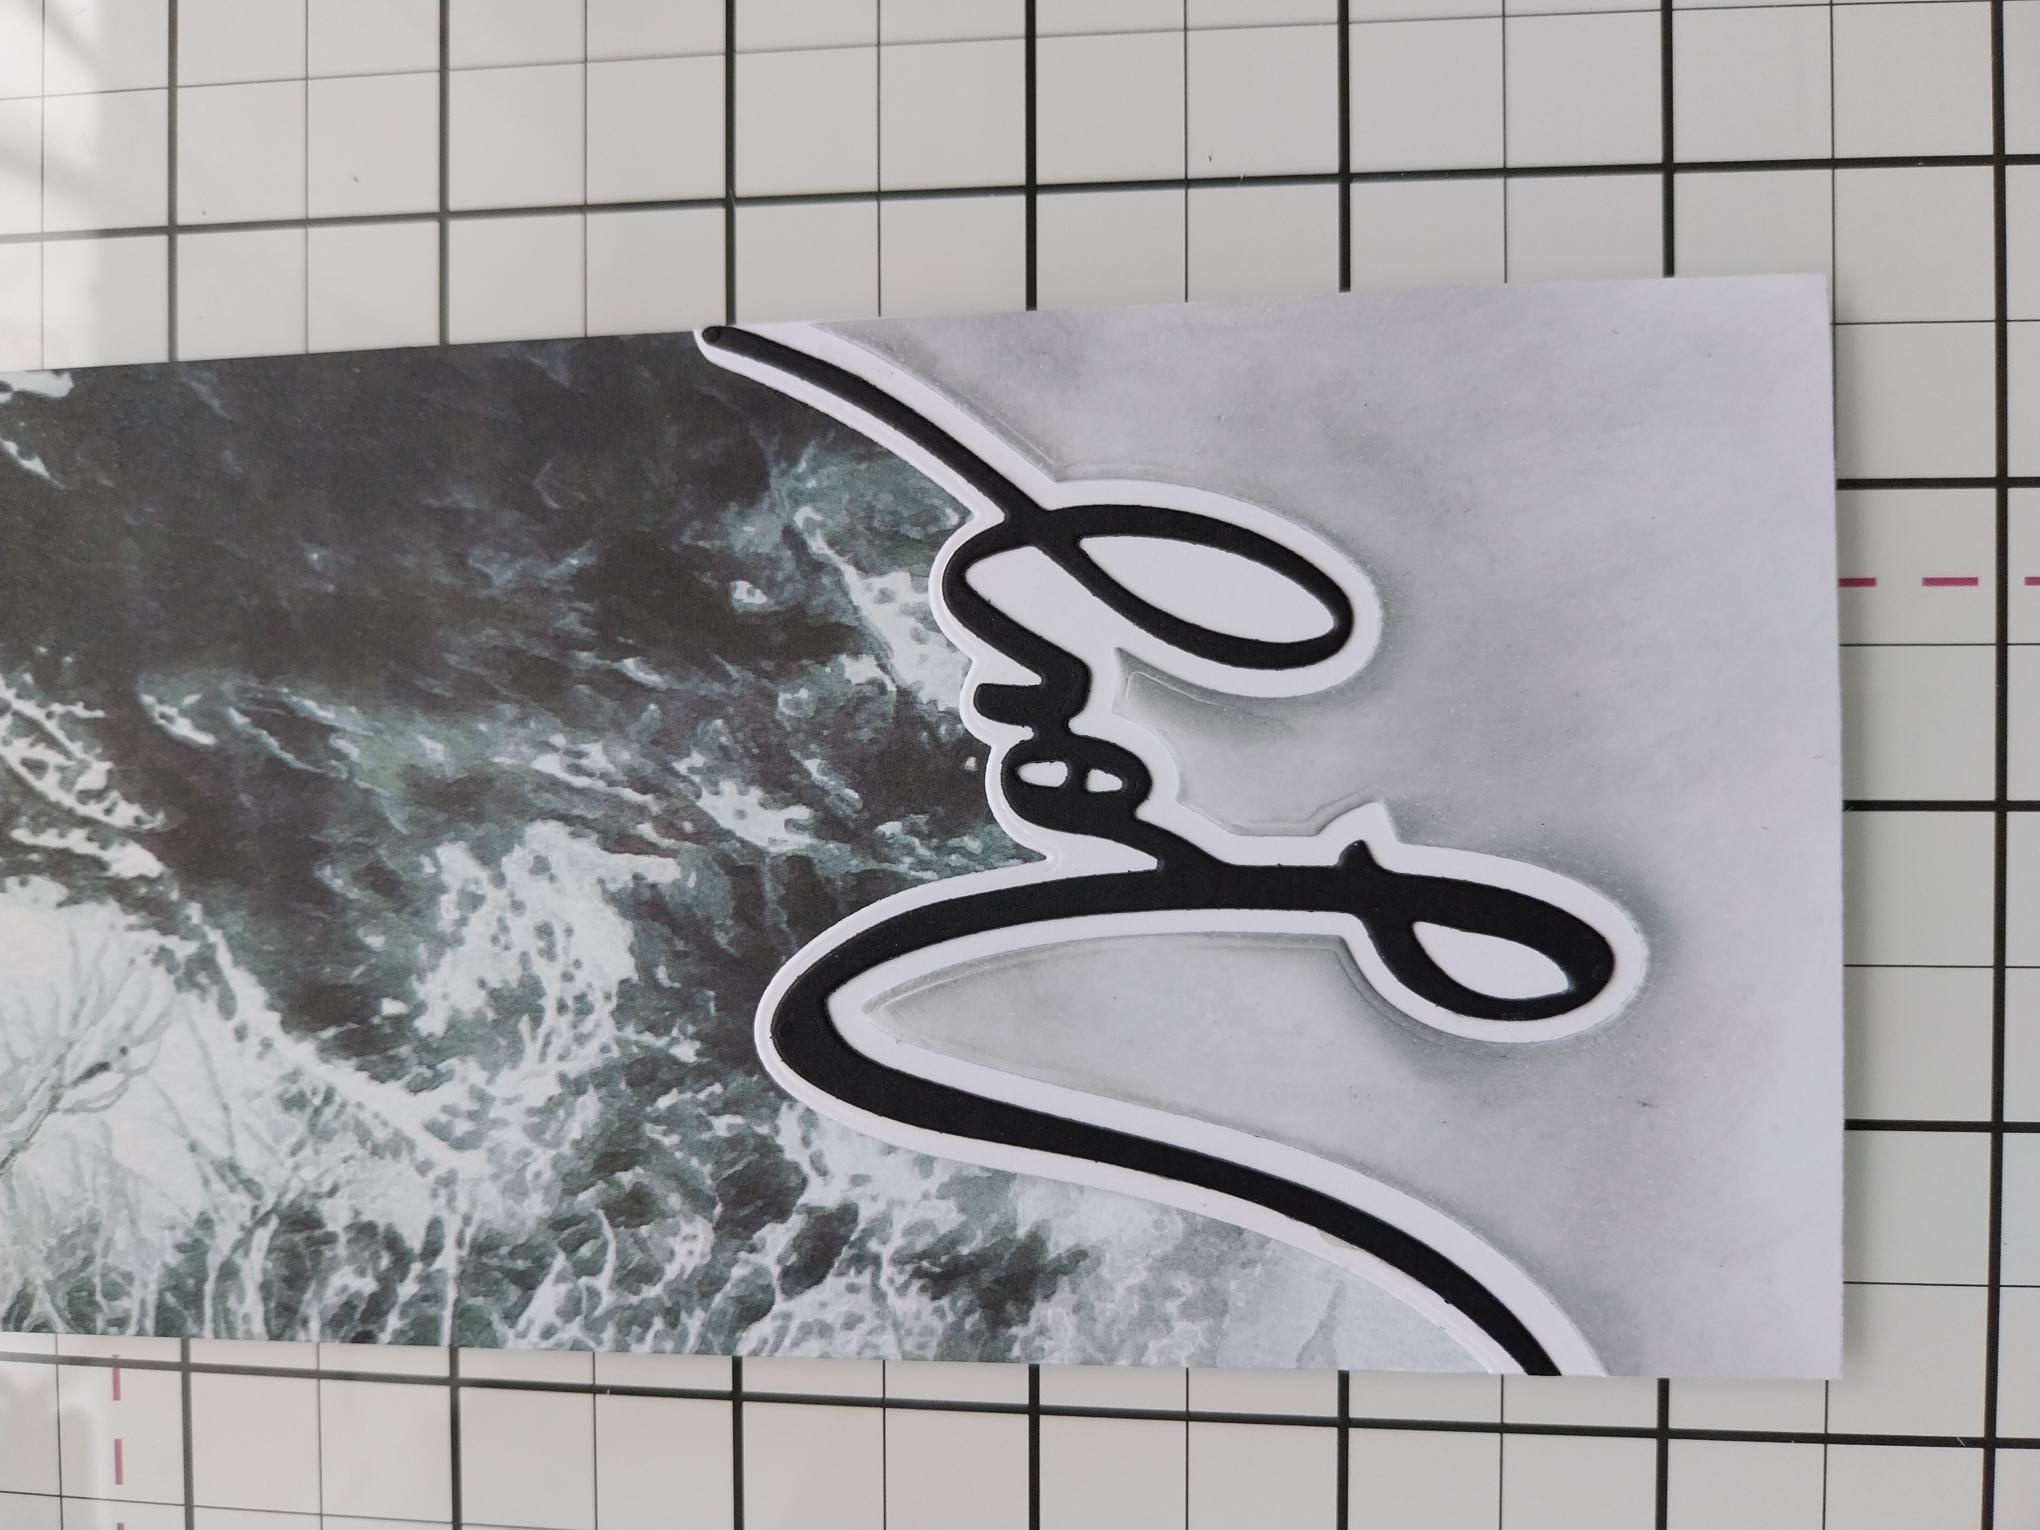
|
Adhere the inked snow drift element in place, underneath the die cut "Joy". Adhere to your painted mount and trim to size, as required. |
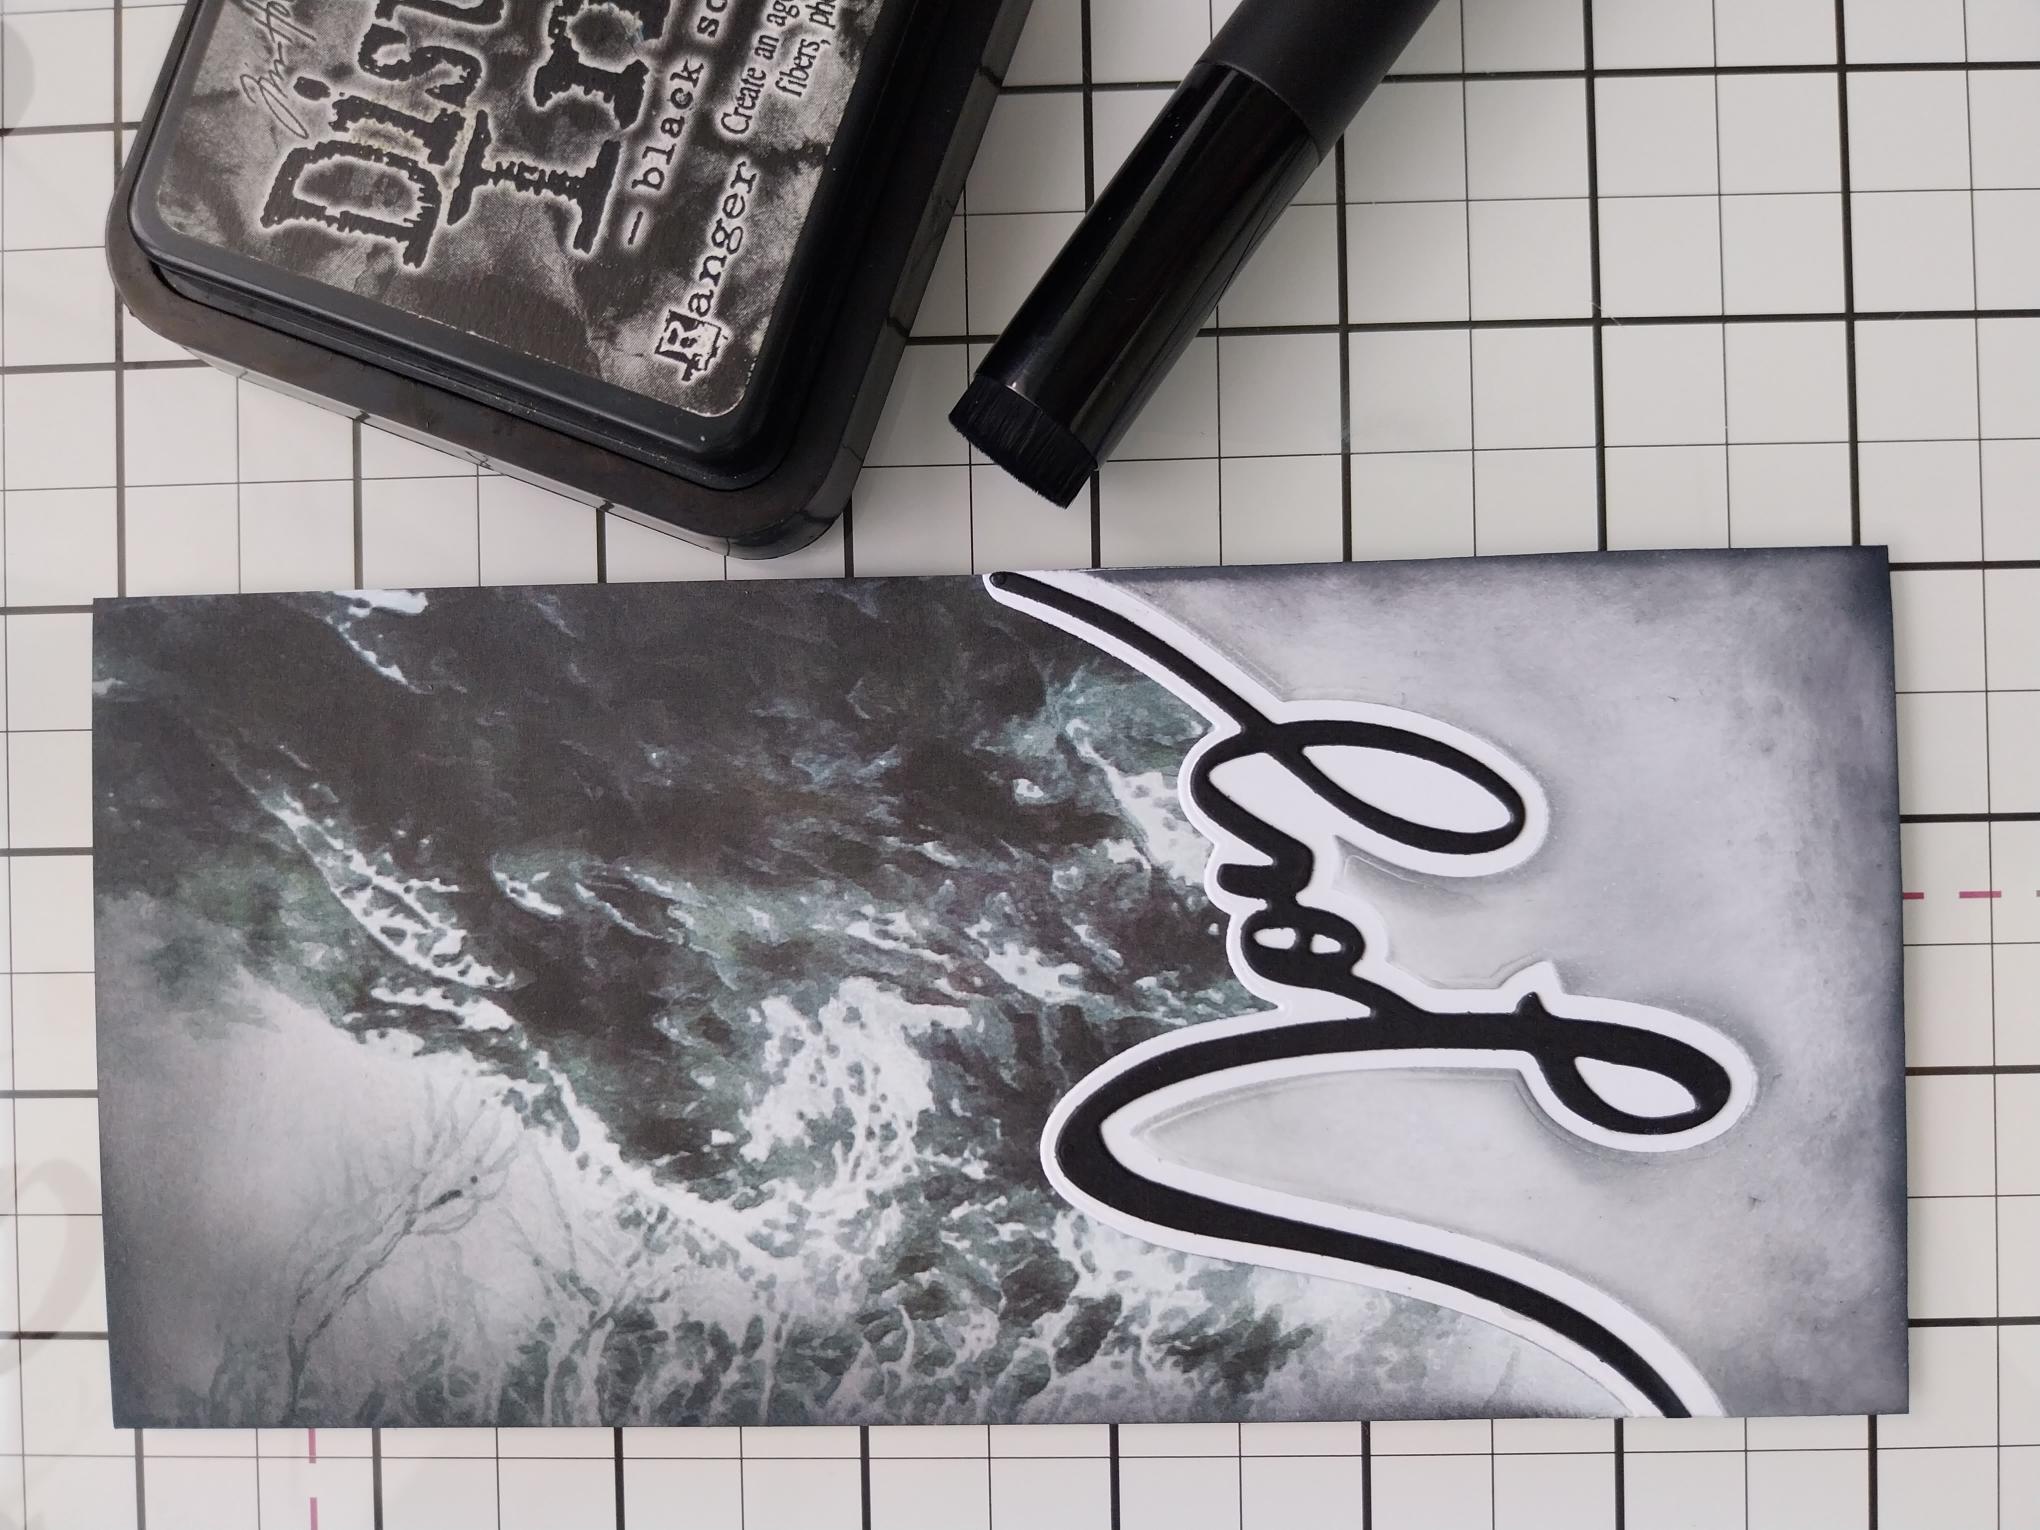
|
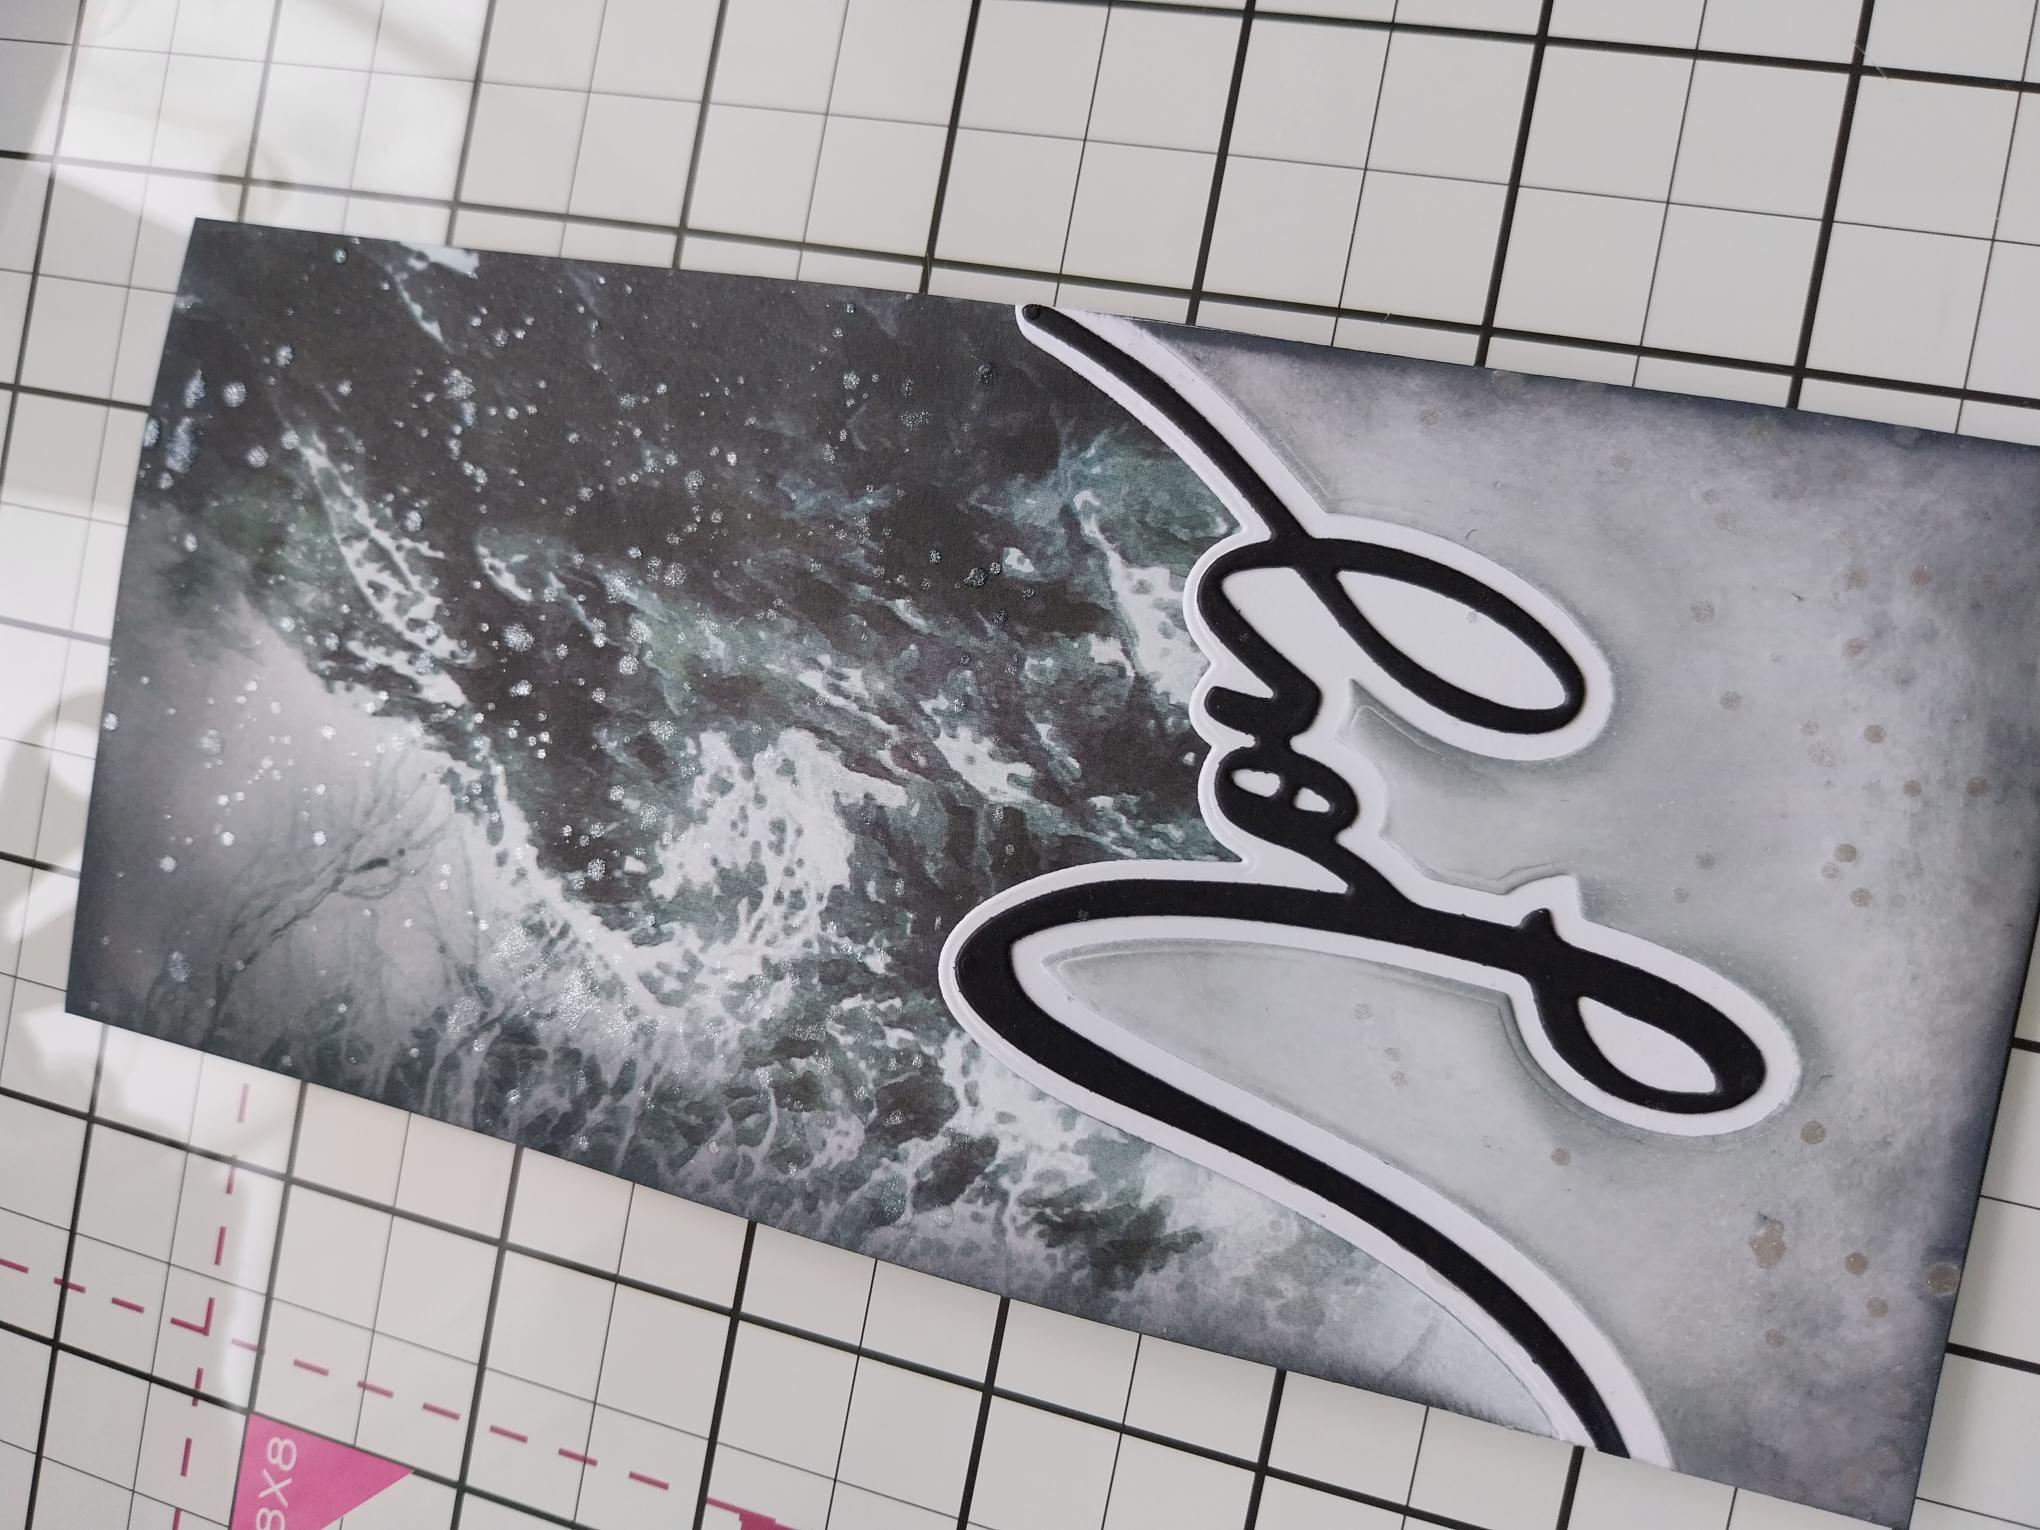
Use your blending tool to apply Black Soot around the edges of your painted mount and snow drift element, drawing everything together. |
|
Swirl the Pearlywinks Pearl Mist spray, to activate the mica and spray on to your glass mat. Use a paint brush to splatter on to your artwork, before drying it with a heat tool. |
|
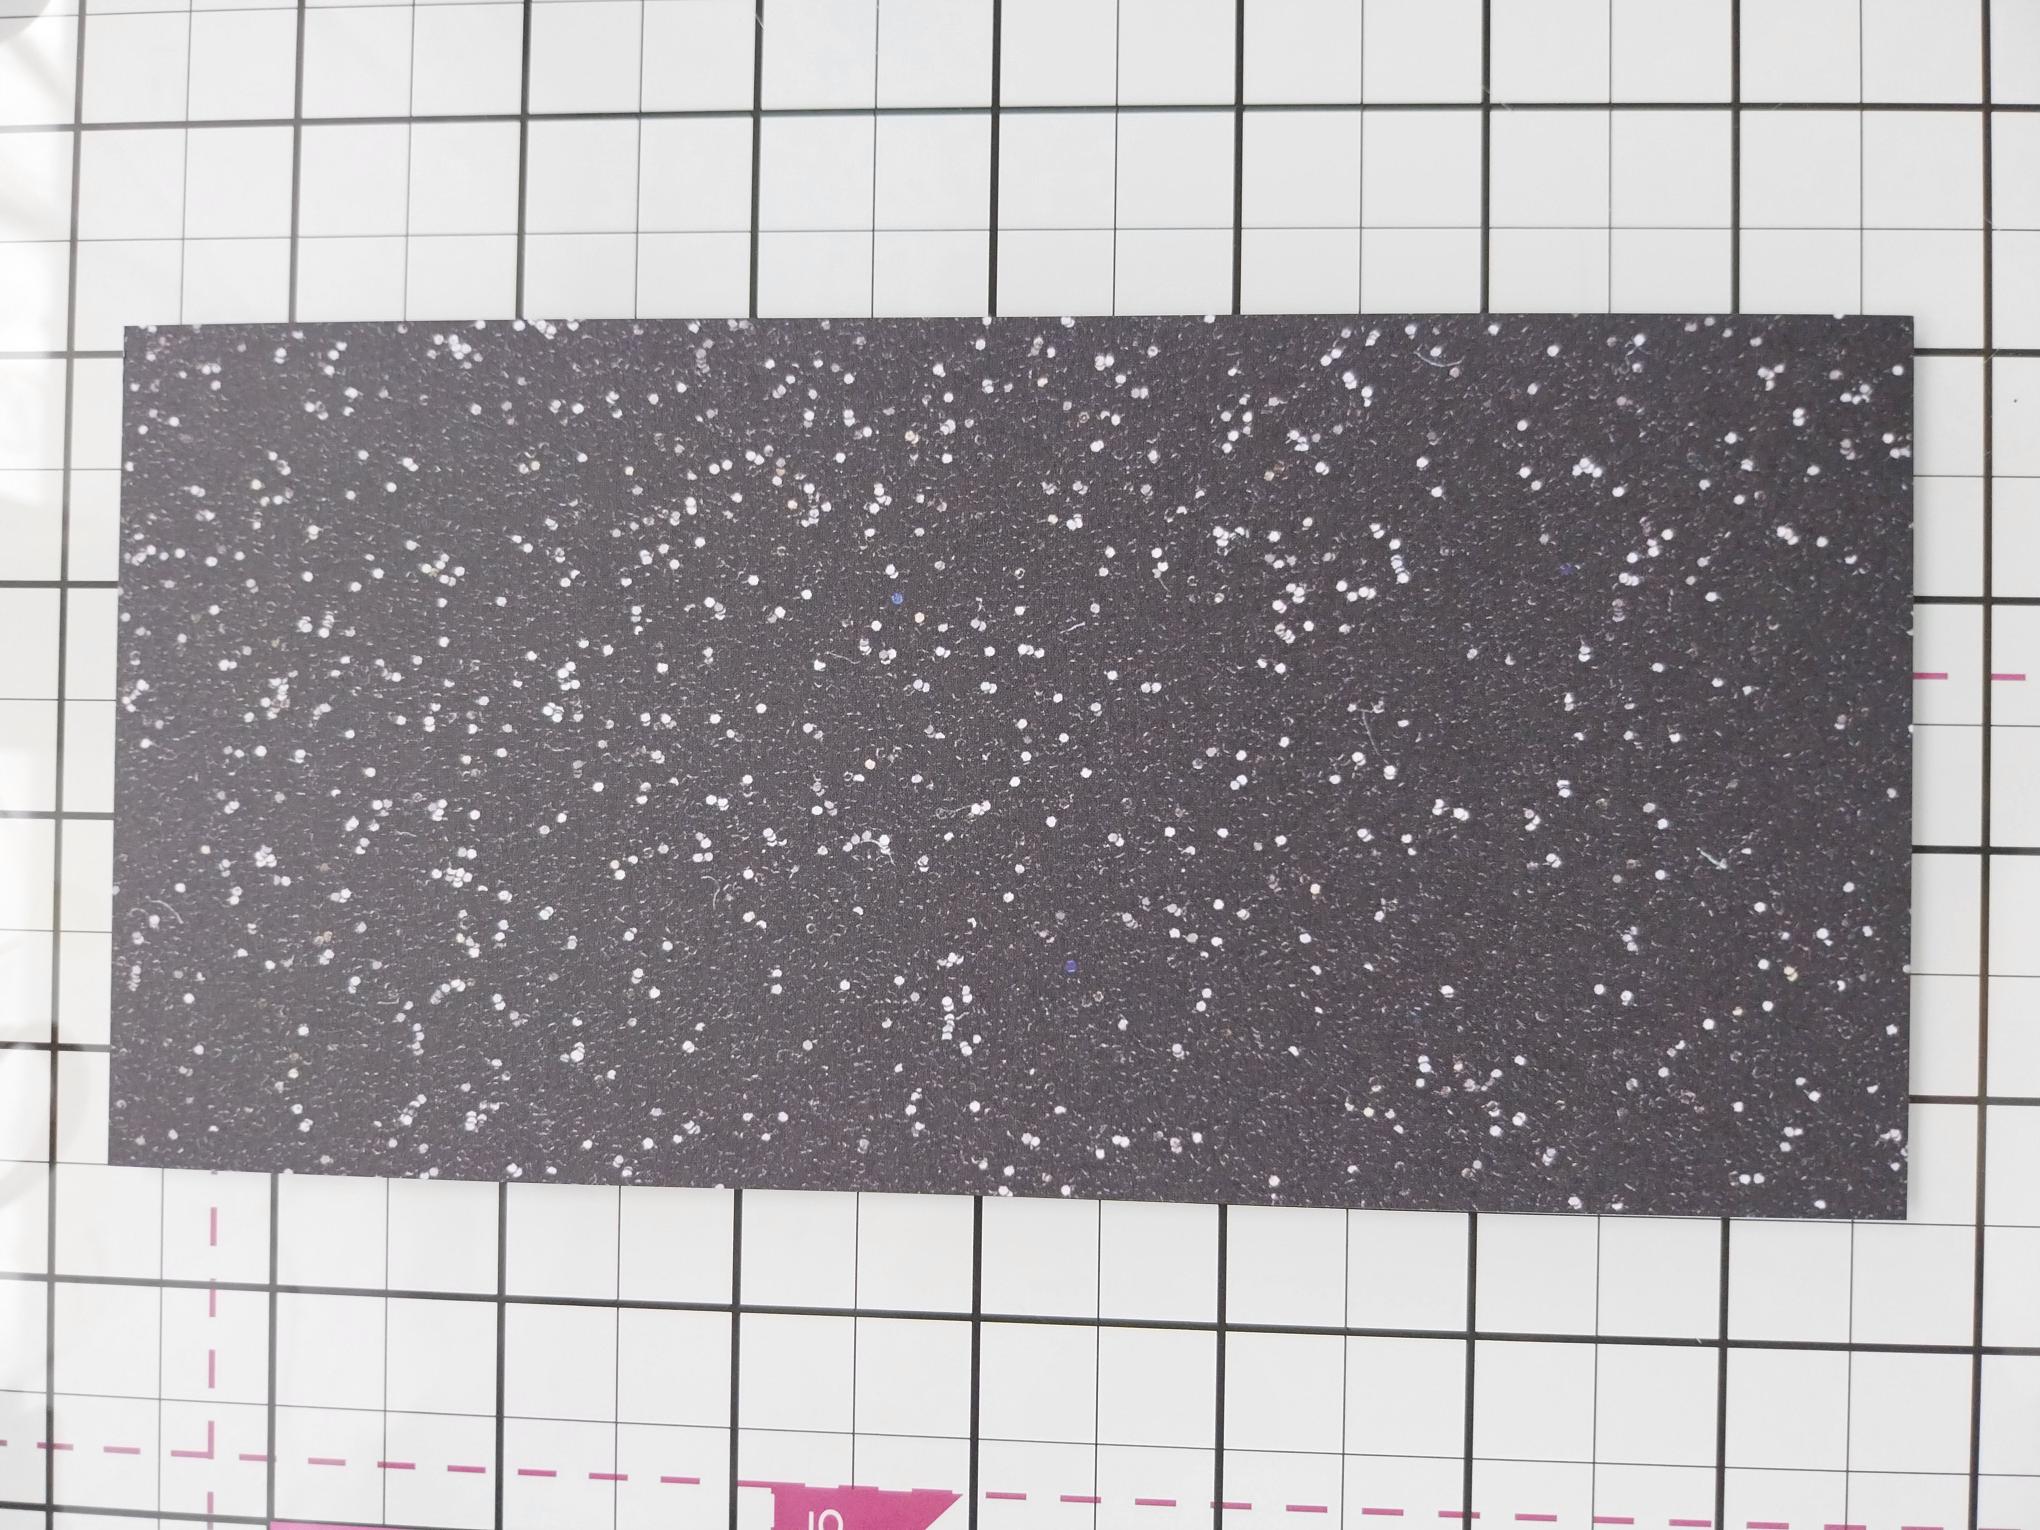
Trim this decorative sheet, from the Charcoal All Surfaces pack, 1/4" bigger than your painted mount. |
|
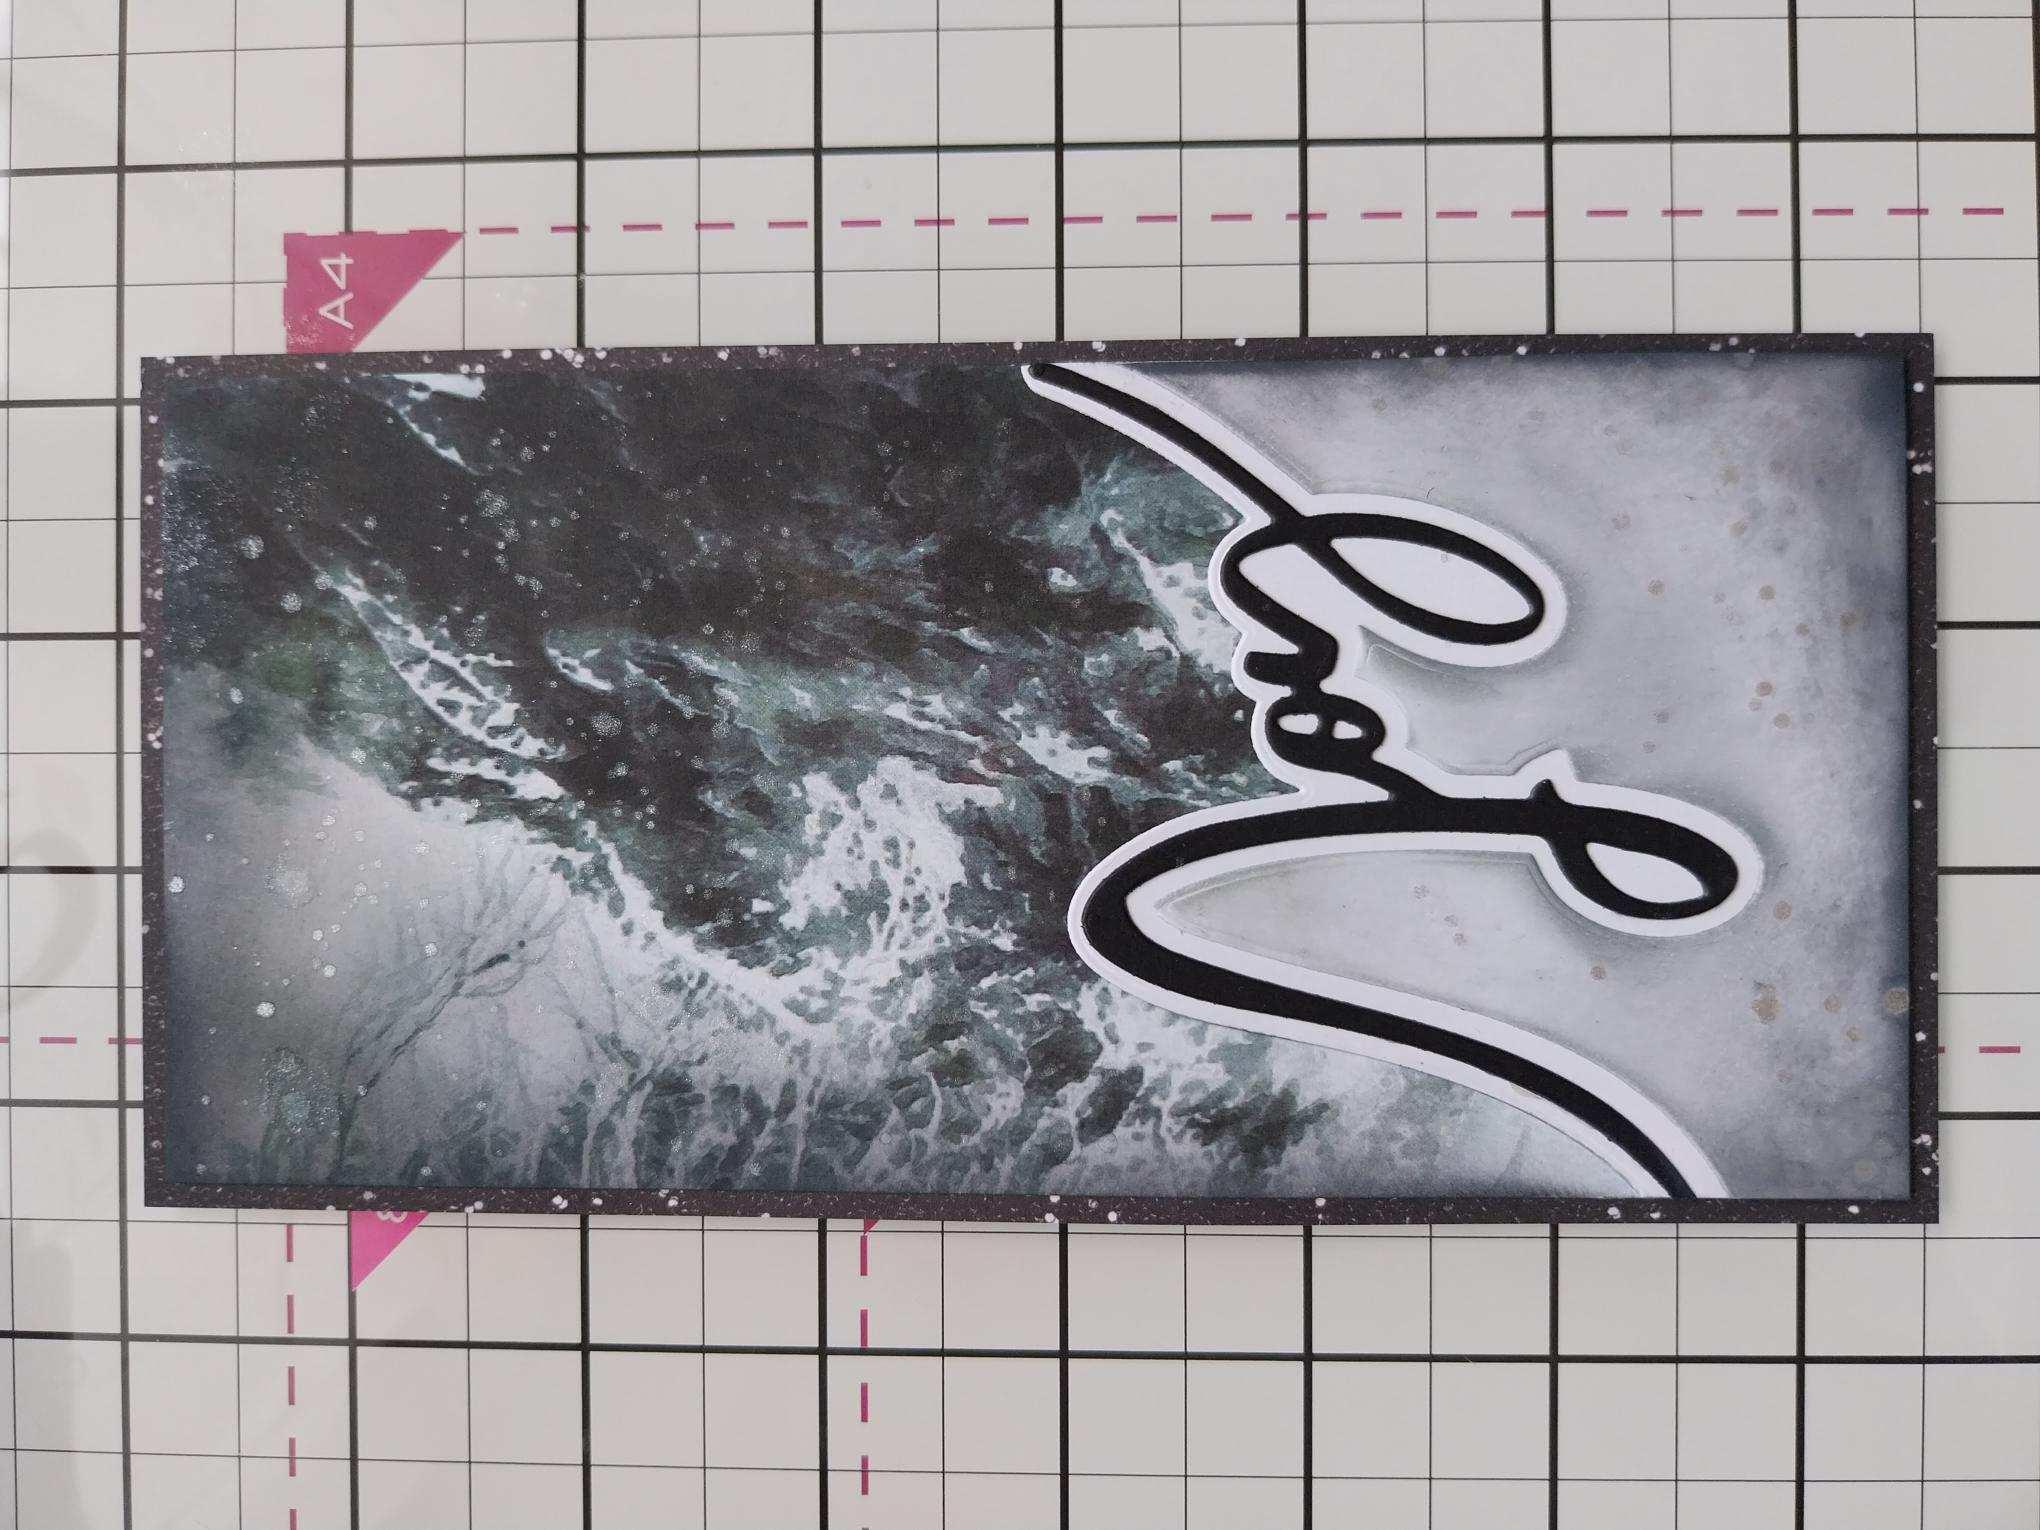
Adhere your mount on to the decorative paper. |
|
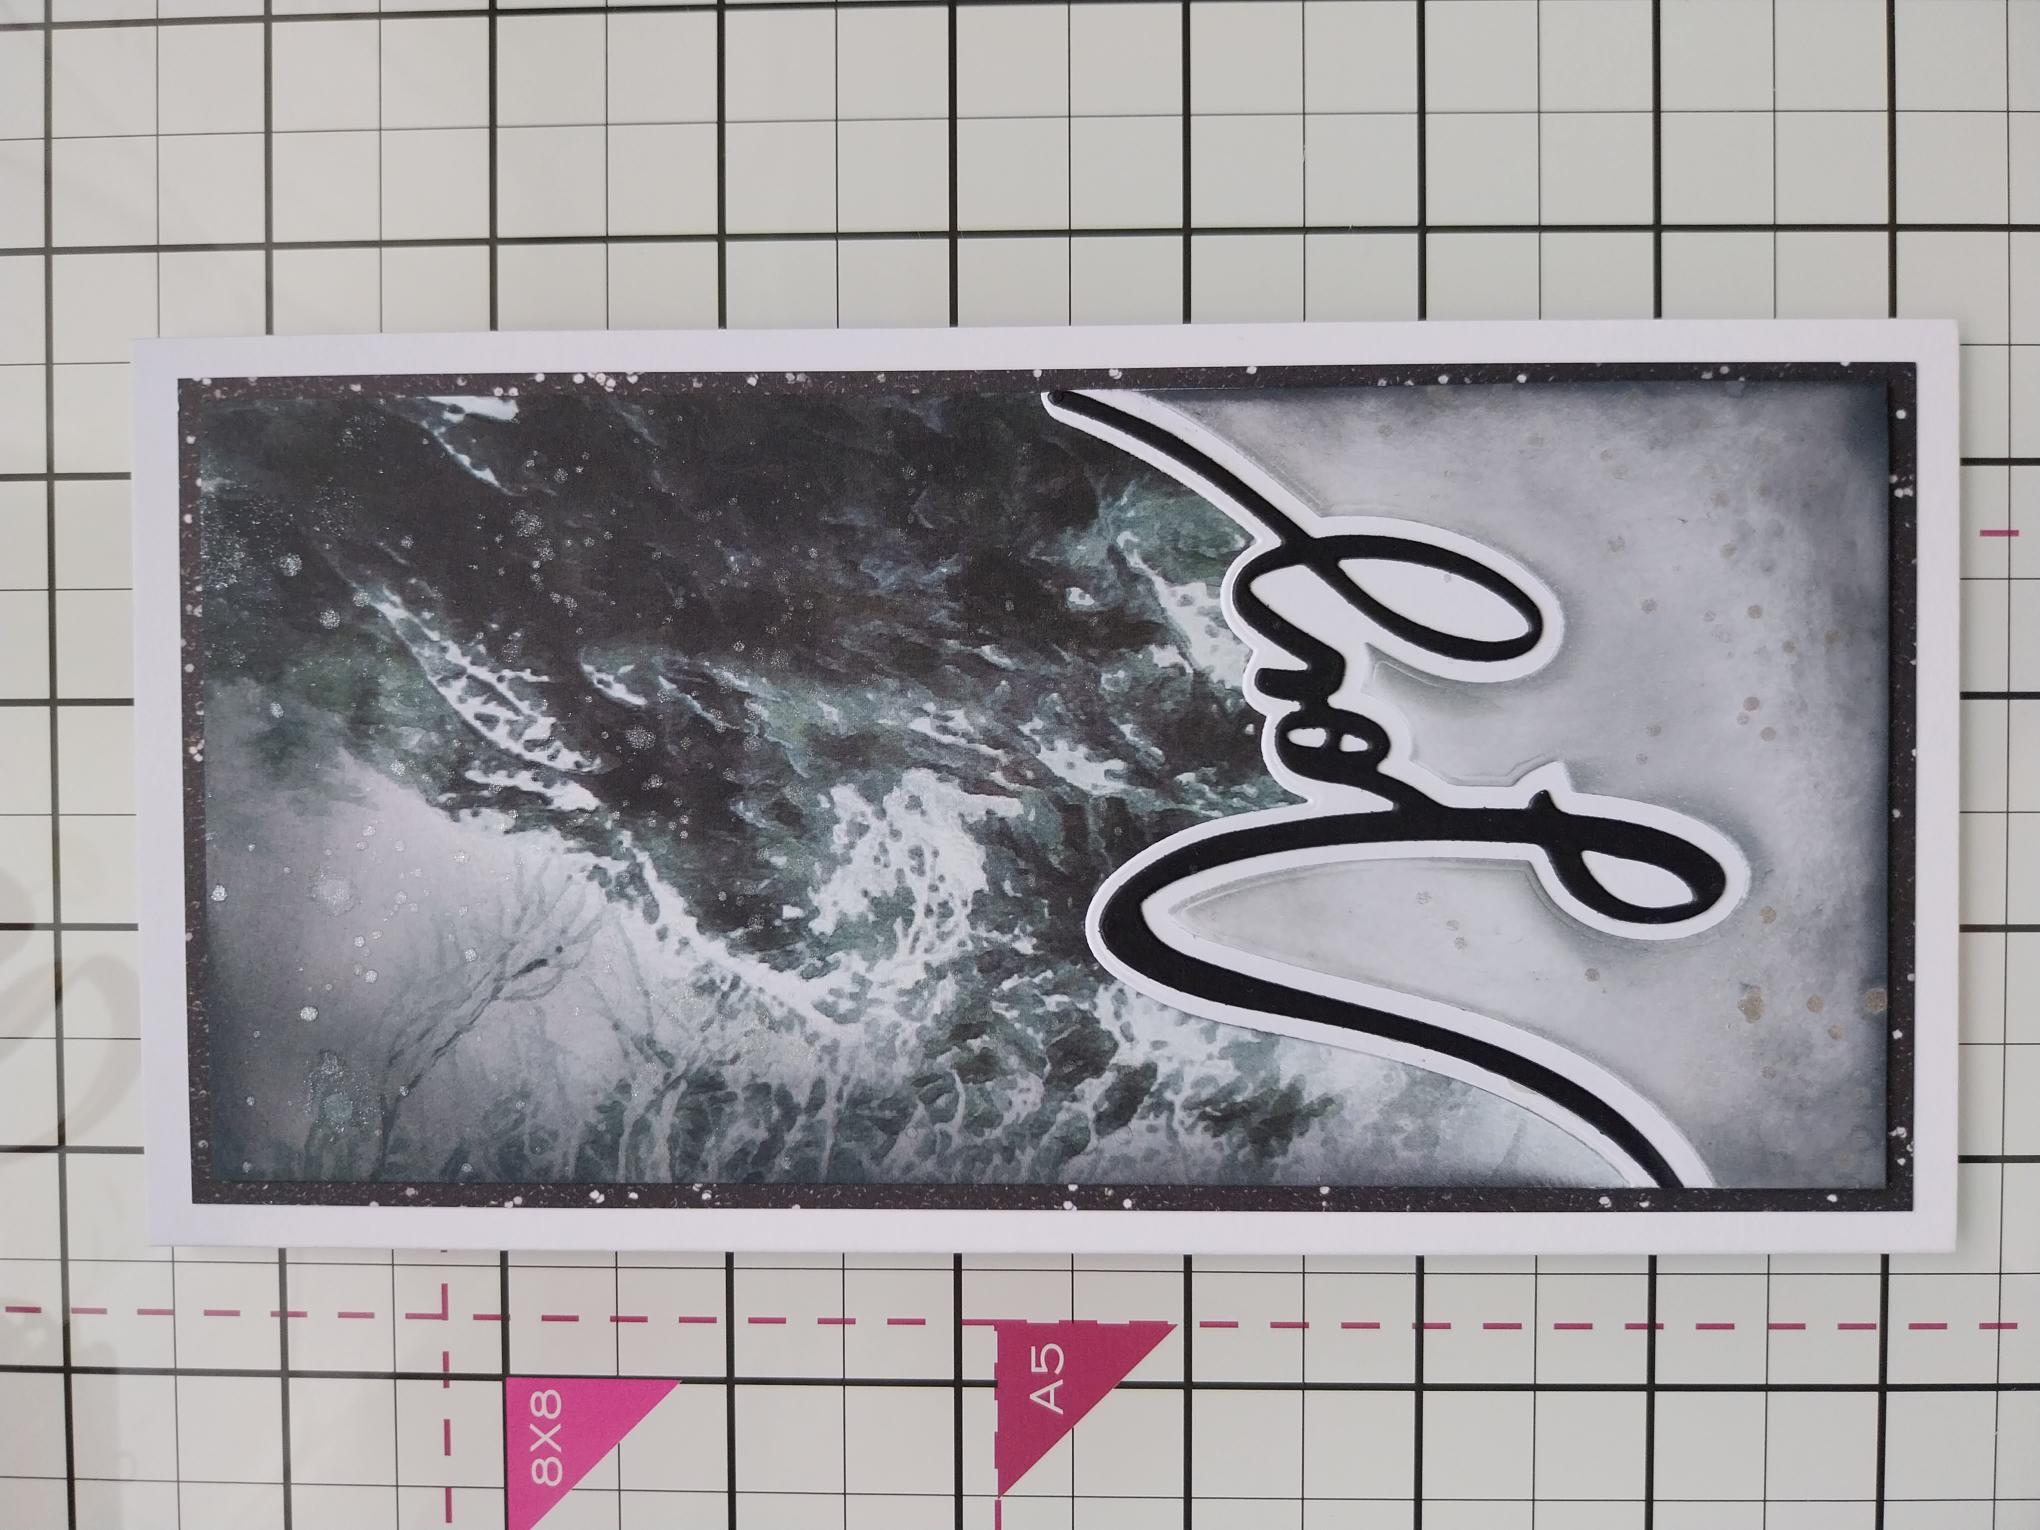
Adhere to your card blank, to complete your snow drift project. |