

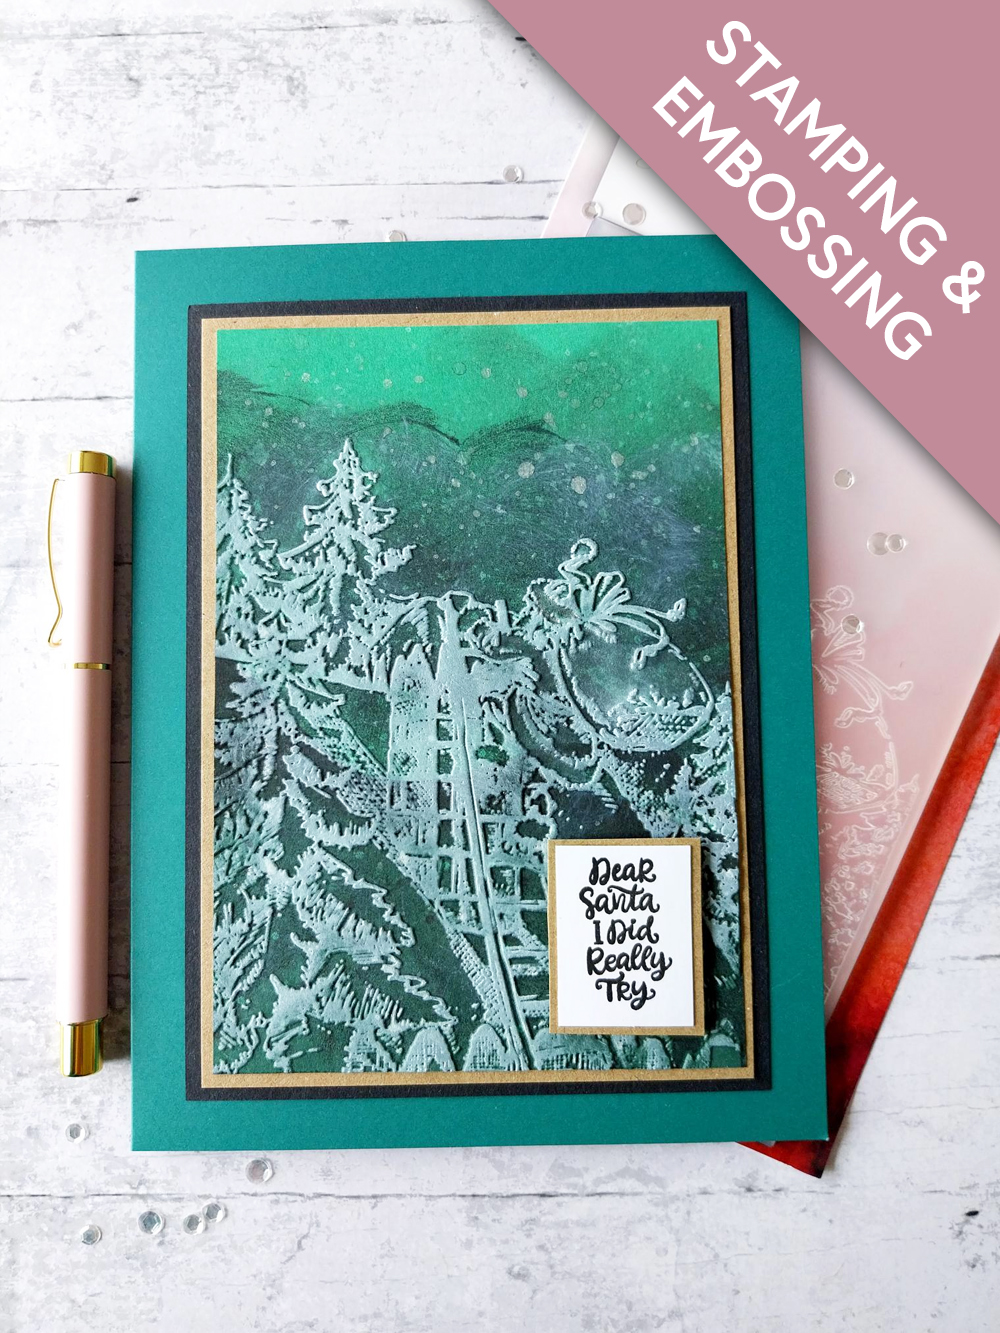
WHAT YOU WILL NEED:
Teal card blank 6 x 8"
Black/white/kraft cardstock
Naughty or Nice 5 x 7" Embossing Folder
Christmas Blessings Stamp Set
Cotton Pines 7 x 7" Foundation Pack
SBM Hybrid Ink Pad: Midnight
SBM Pigment Ink Pad: Cotton
Distress Ink Pad: Black Soot
Pearlywinks Pearl Mist Spray: Glitter Pearl
Gossip Clear Overlay Sparkle Pen
Paint brush
Eureka 101 Watercolour Tablet
SBM A3 Magnetic glass mat
Paper Trimmer
Glue
Foam pads
Die Cutting machine
[click image to enlarge] 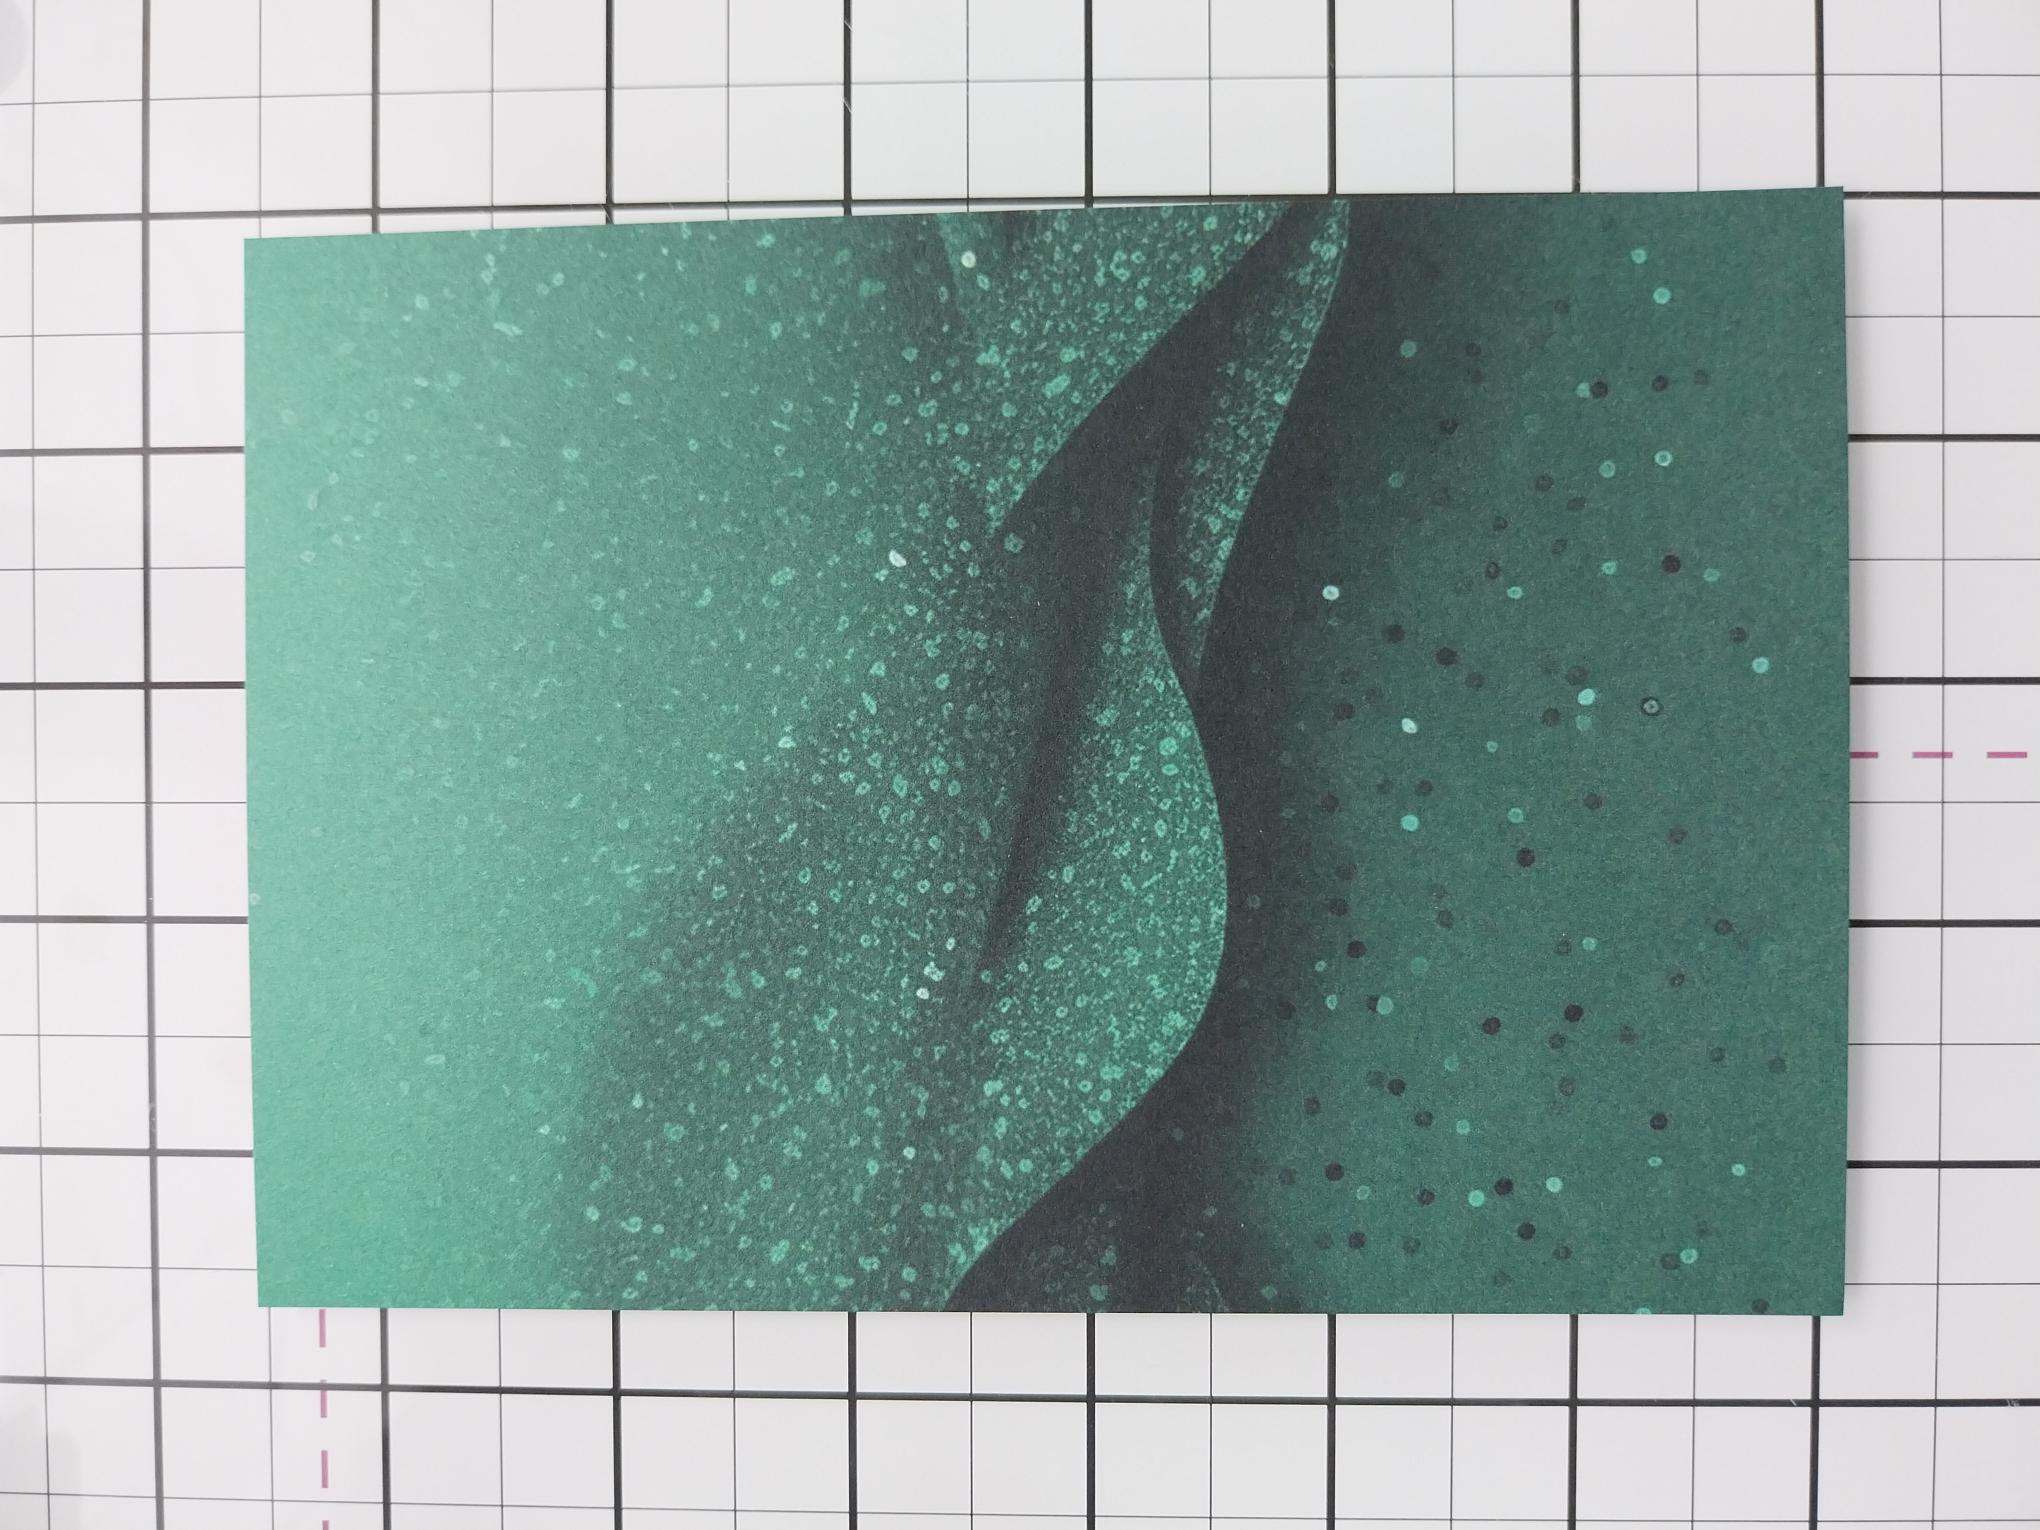
|
Trim this paper, from the Cotton Pines paper pack, to 6 1/2 x 4 1/2". |
|
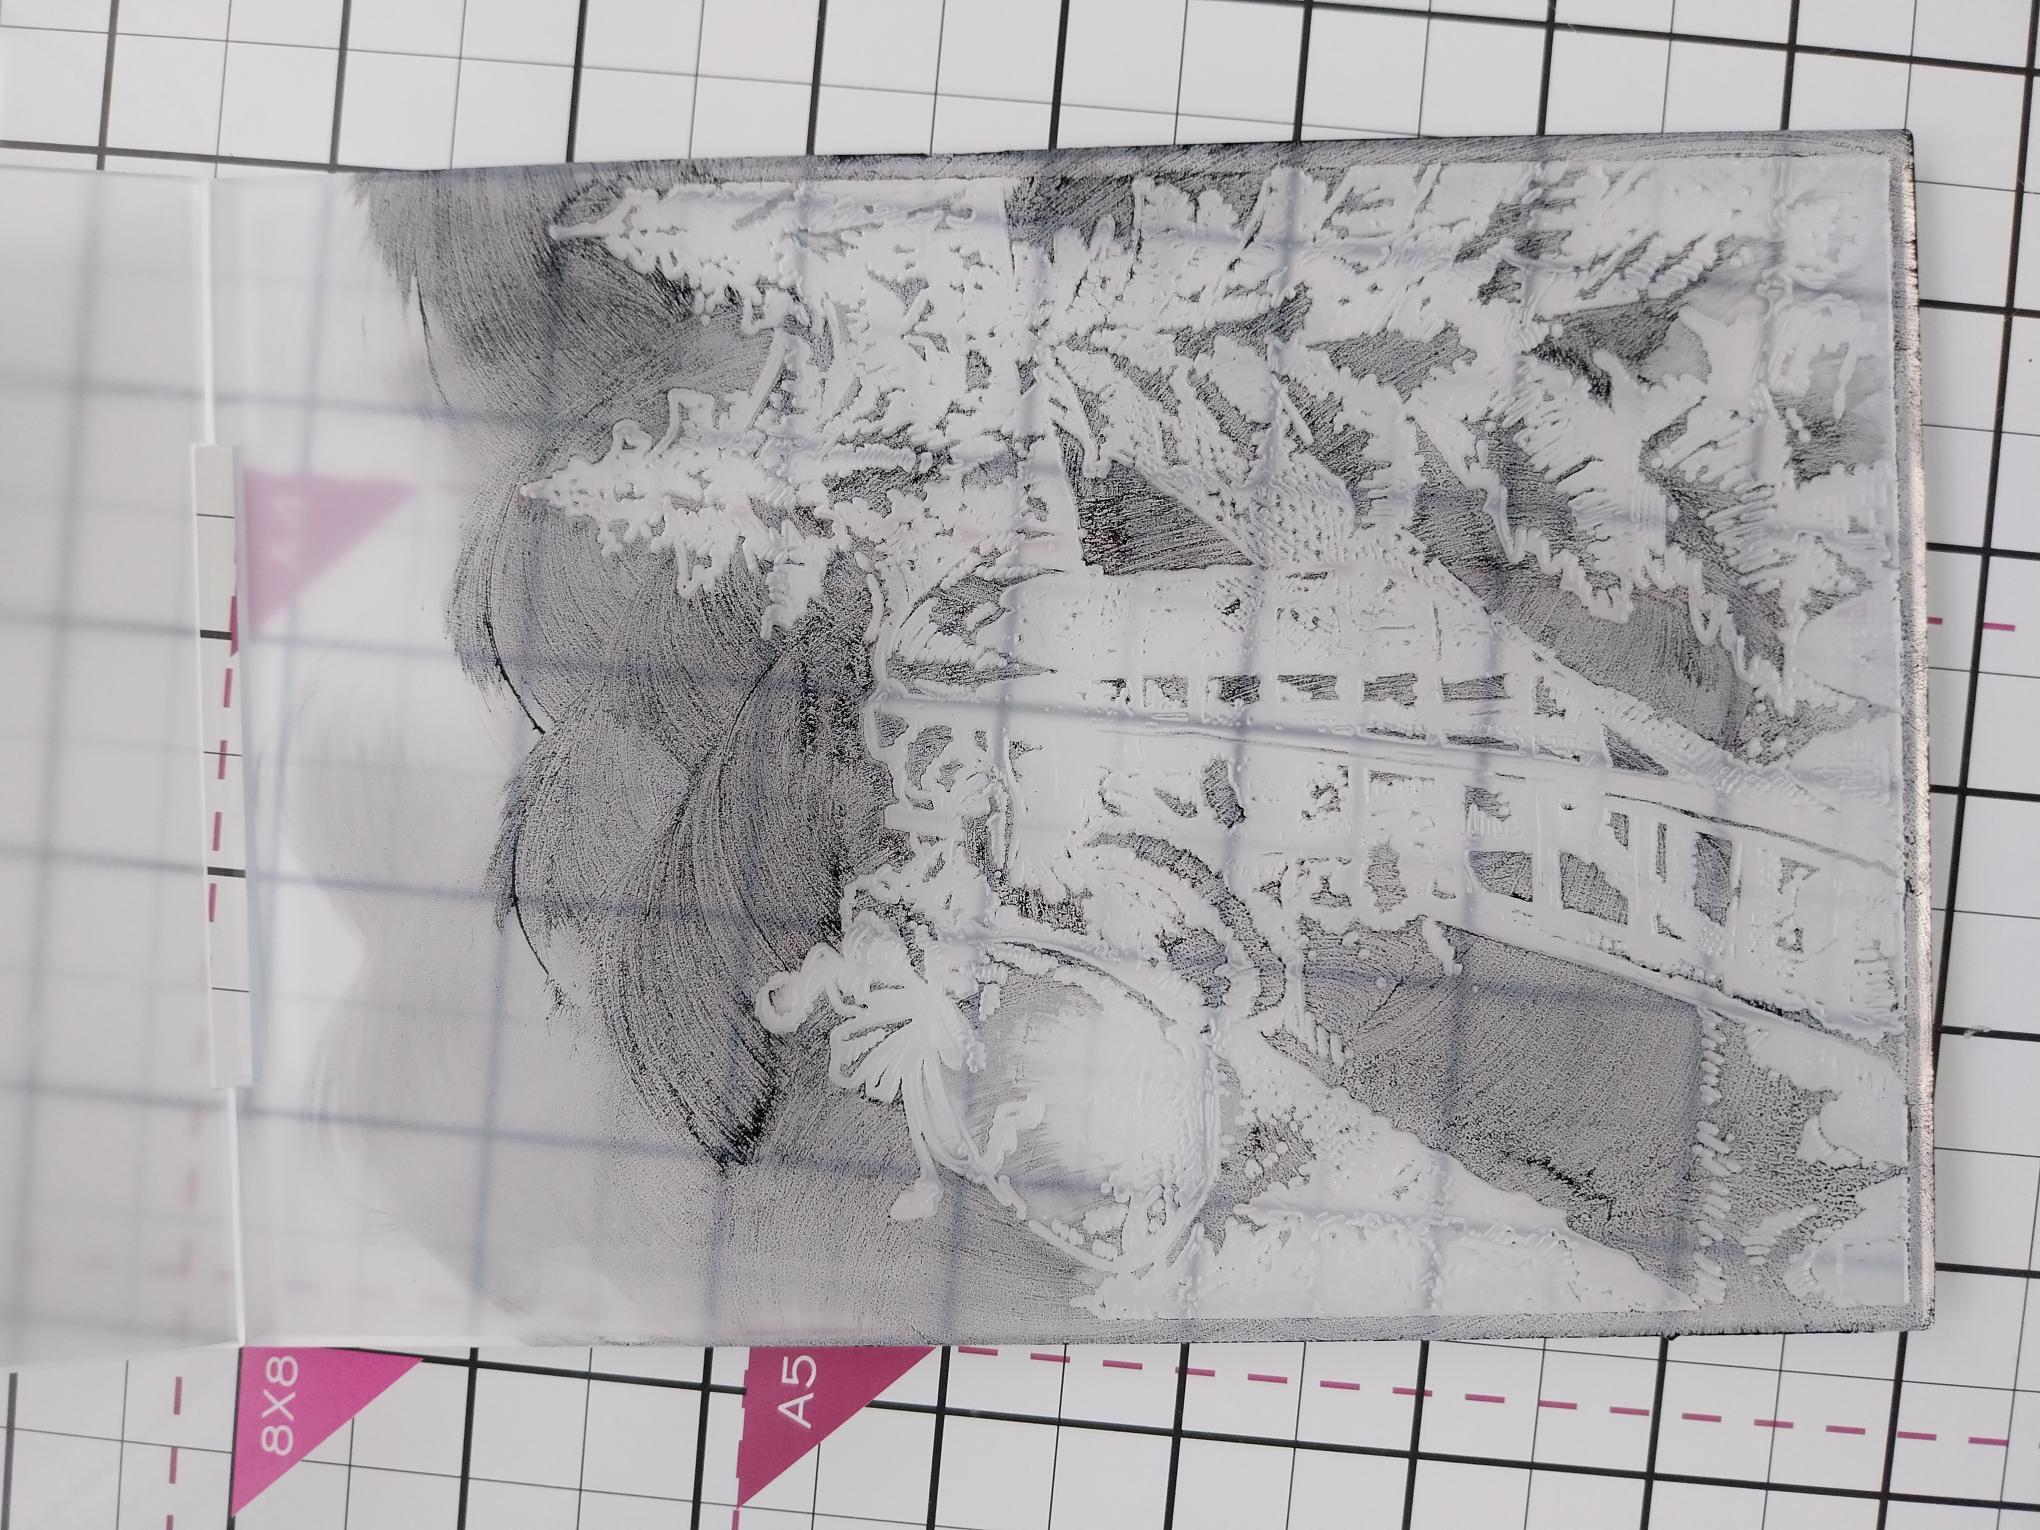
Ink on to your embossing folder using the Black Soot ink pad and give it a light spritz with water. |
|
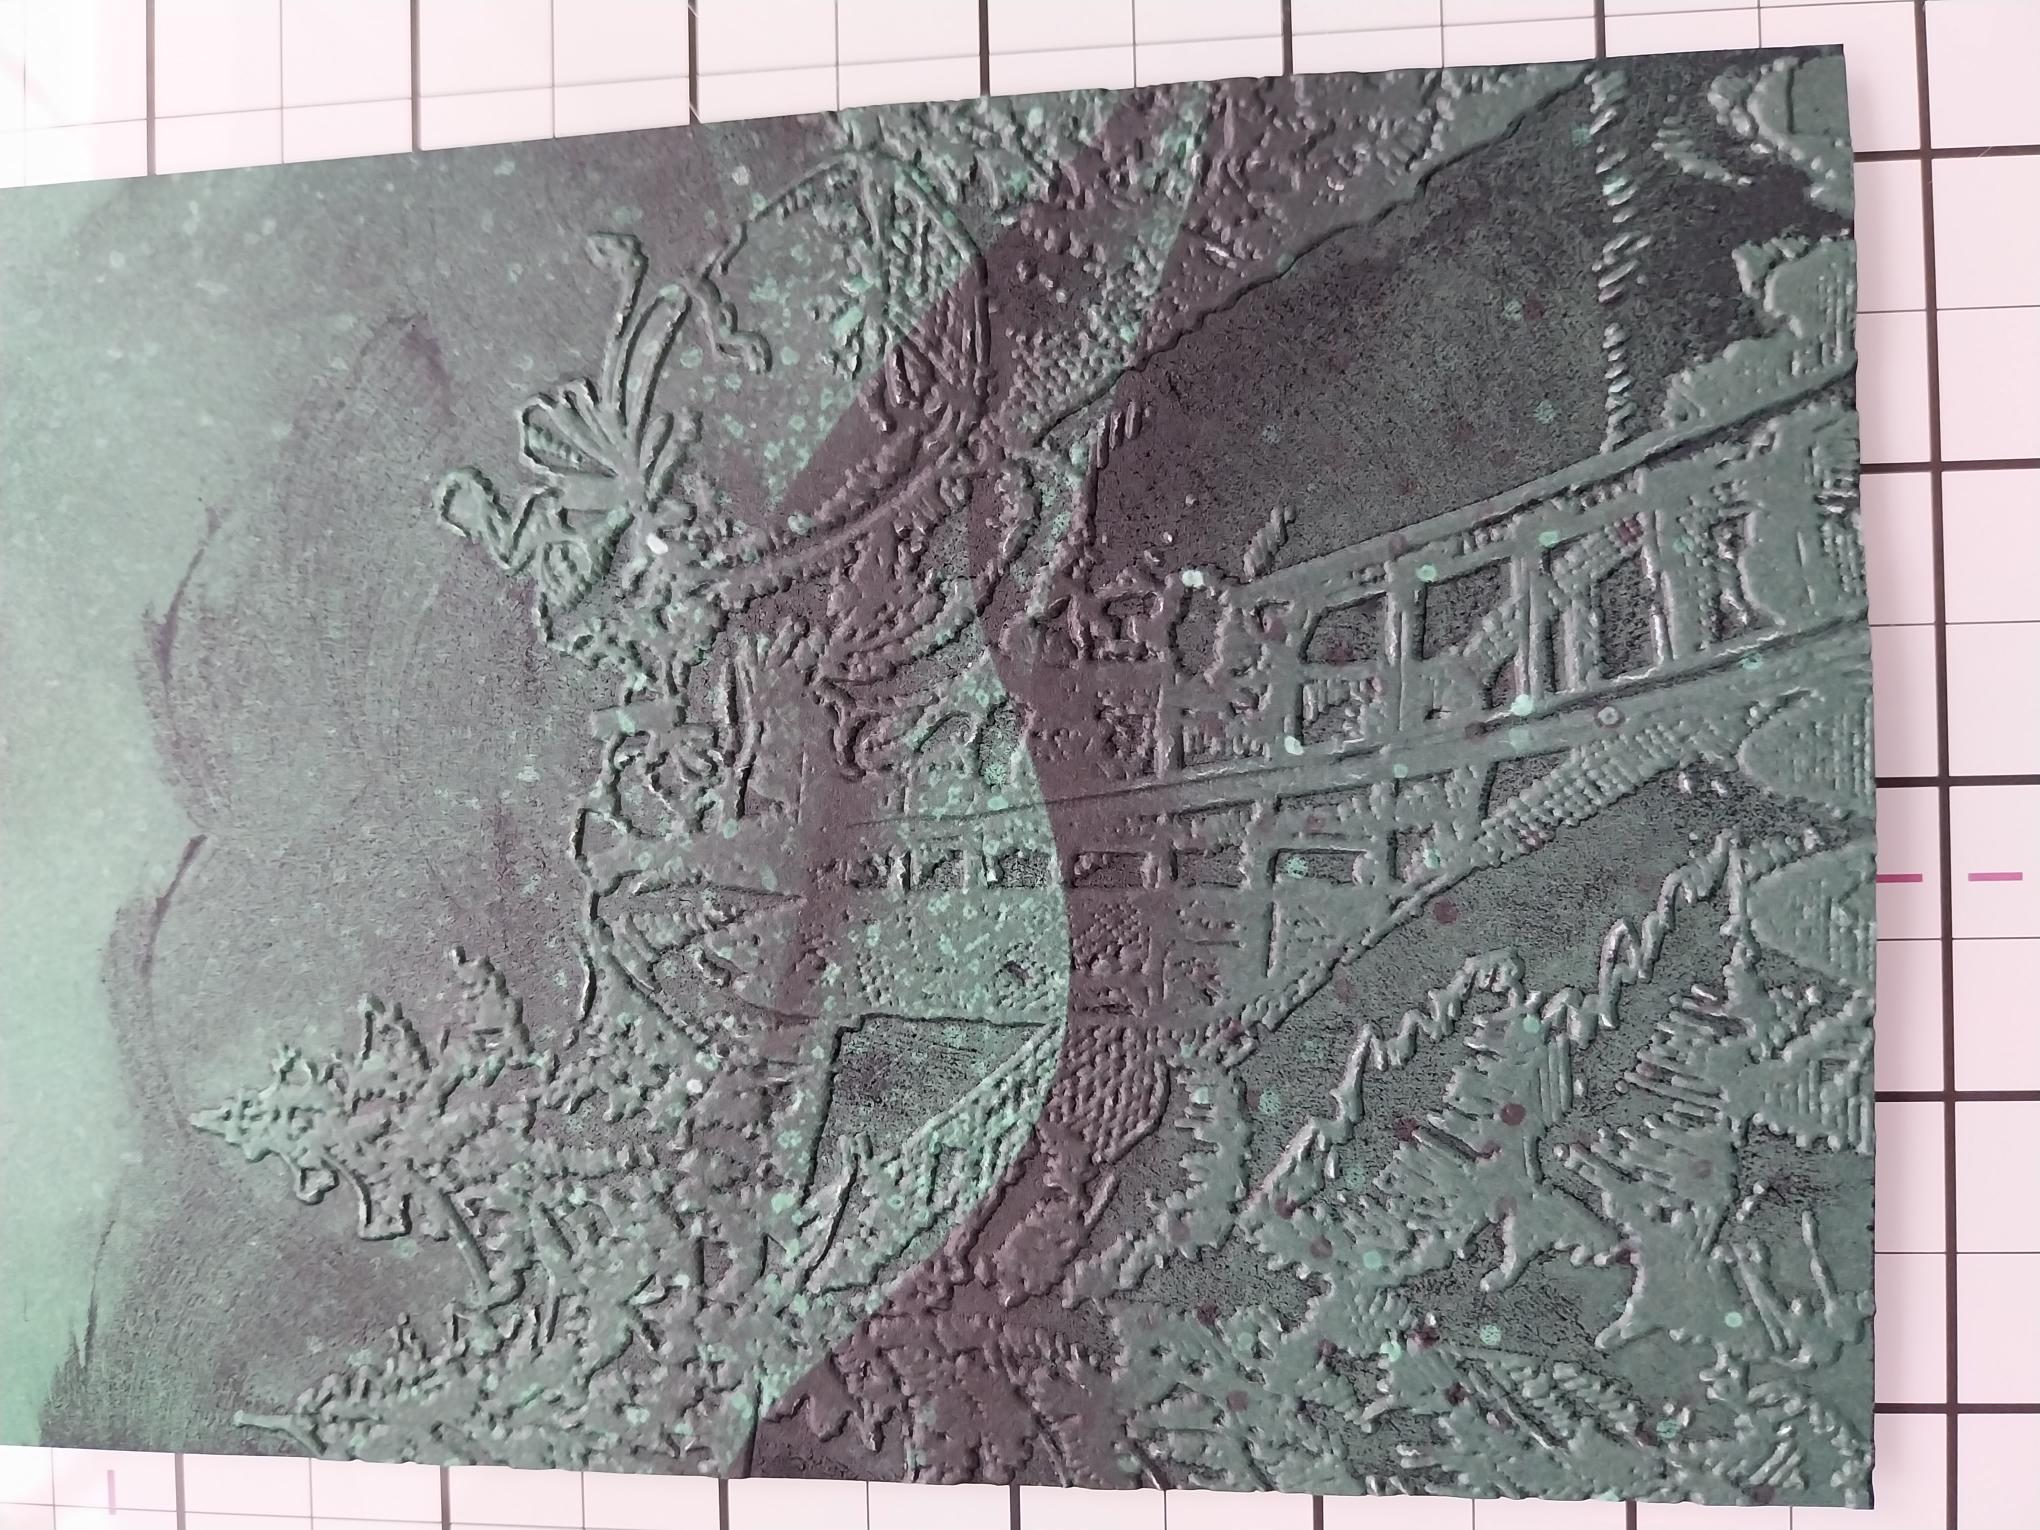
Place the decorative paper inside and run it through your machine. Dry the ink completely, with your heat tool. |
|
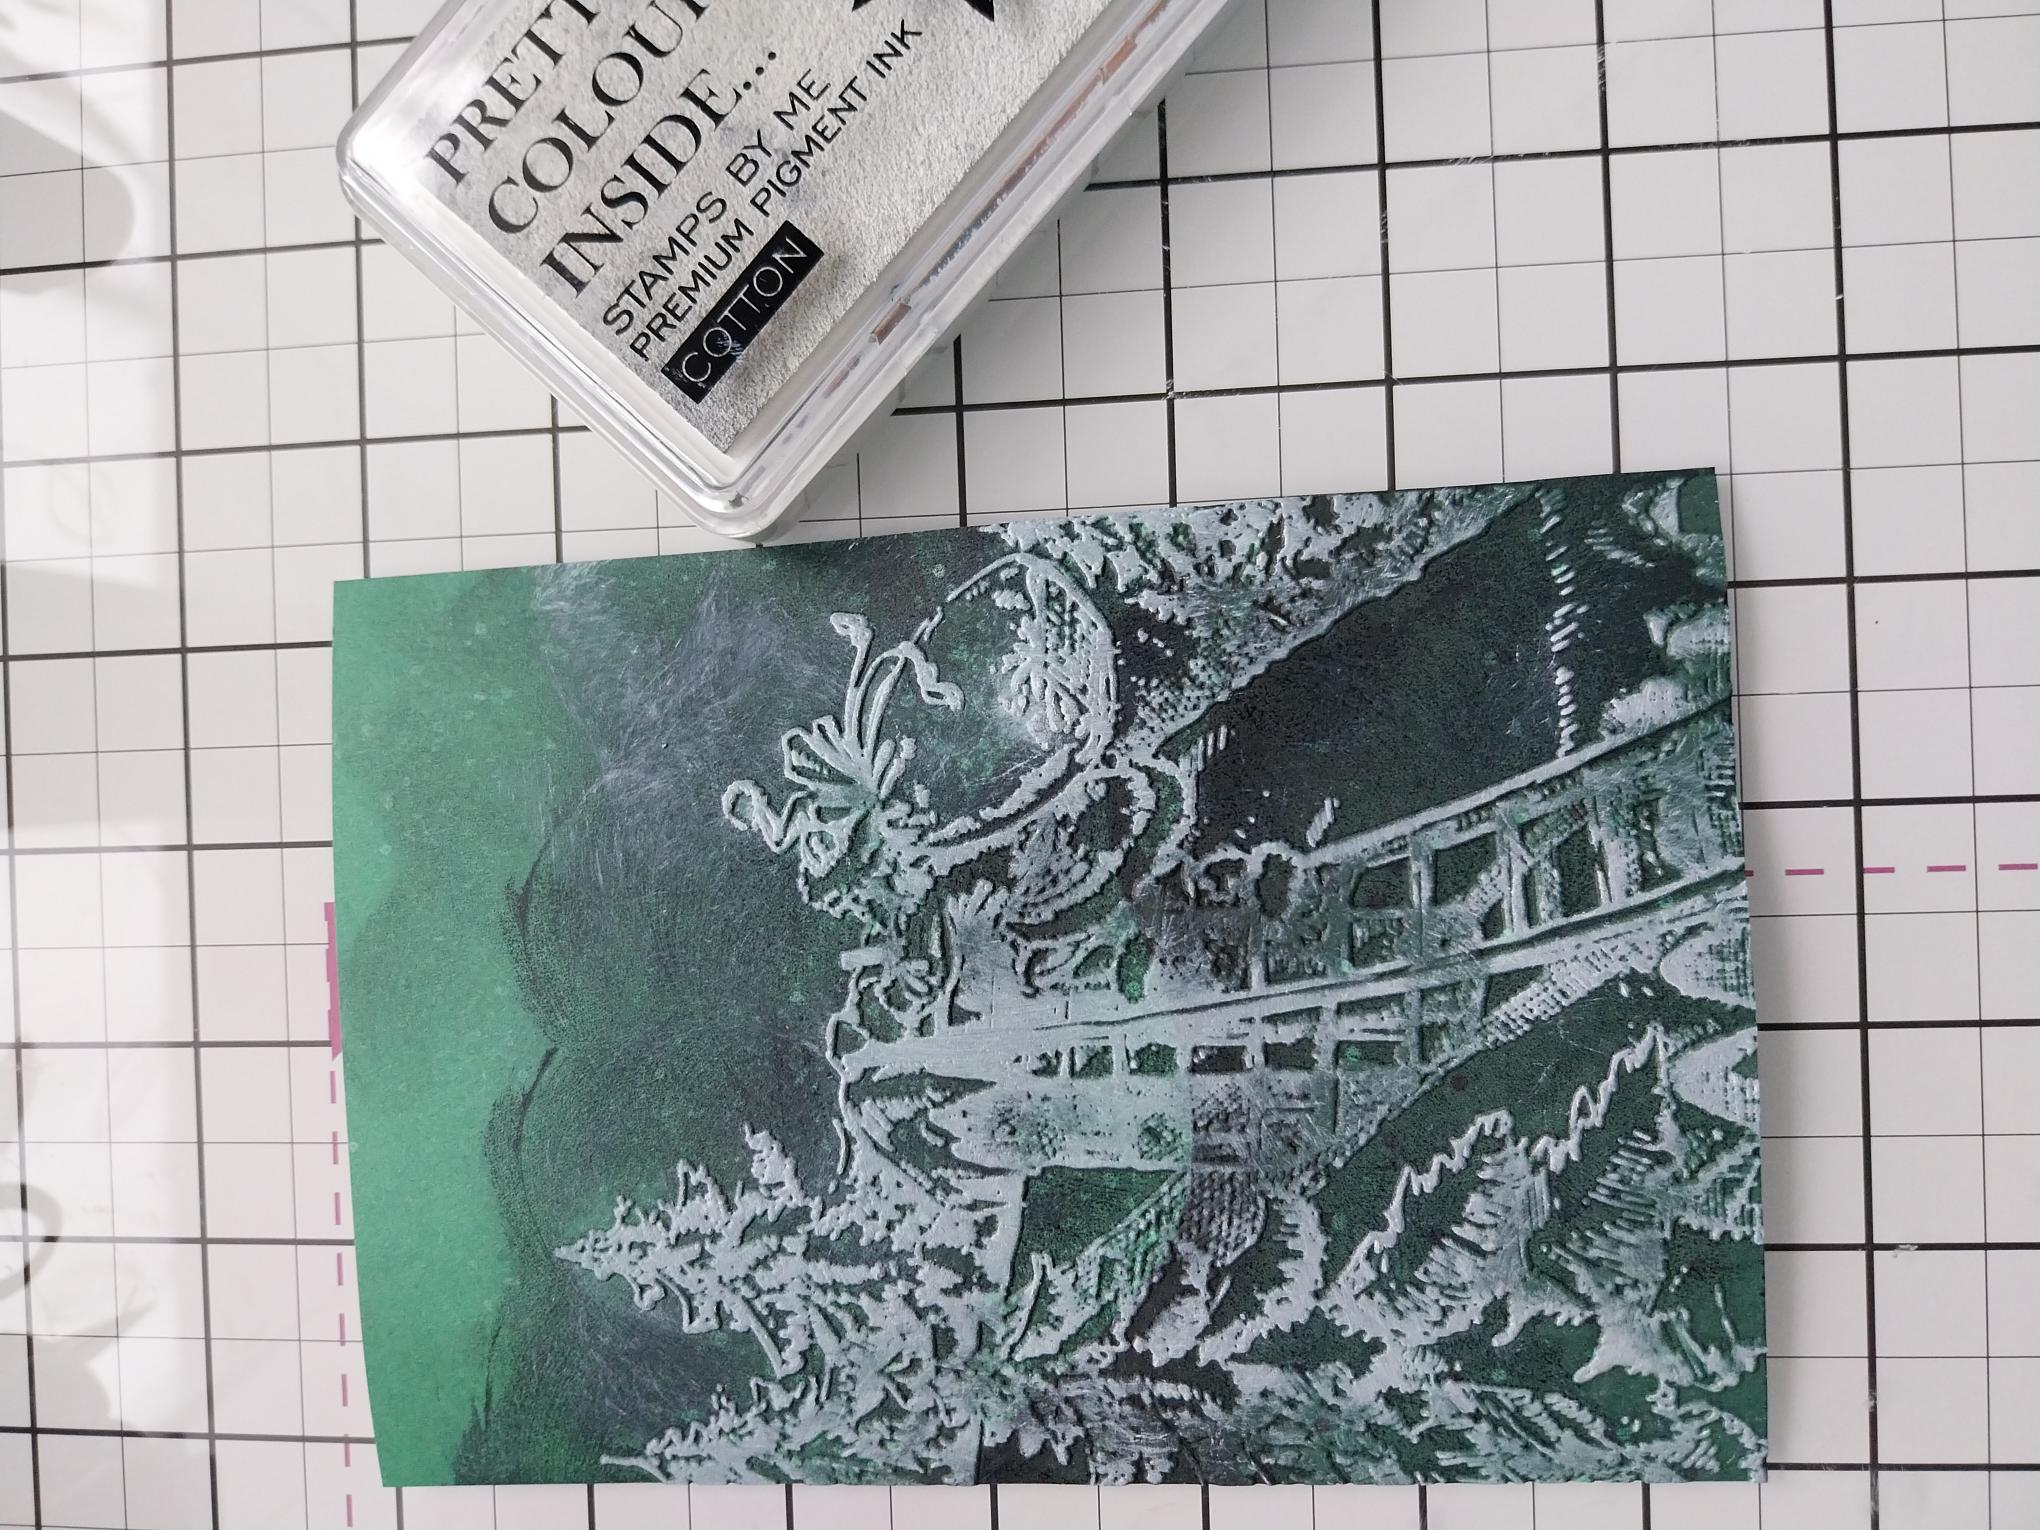
Gently rub your Cotton ink pad over the embossed image, being careful as you do so, as the ink does smudge! Dry completely with your heat tool, as pigment ink is very slow drying. You can go back over with more ink and re-dry, until you are happy with the effect achieved. |
|
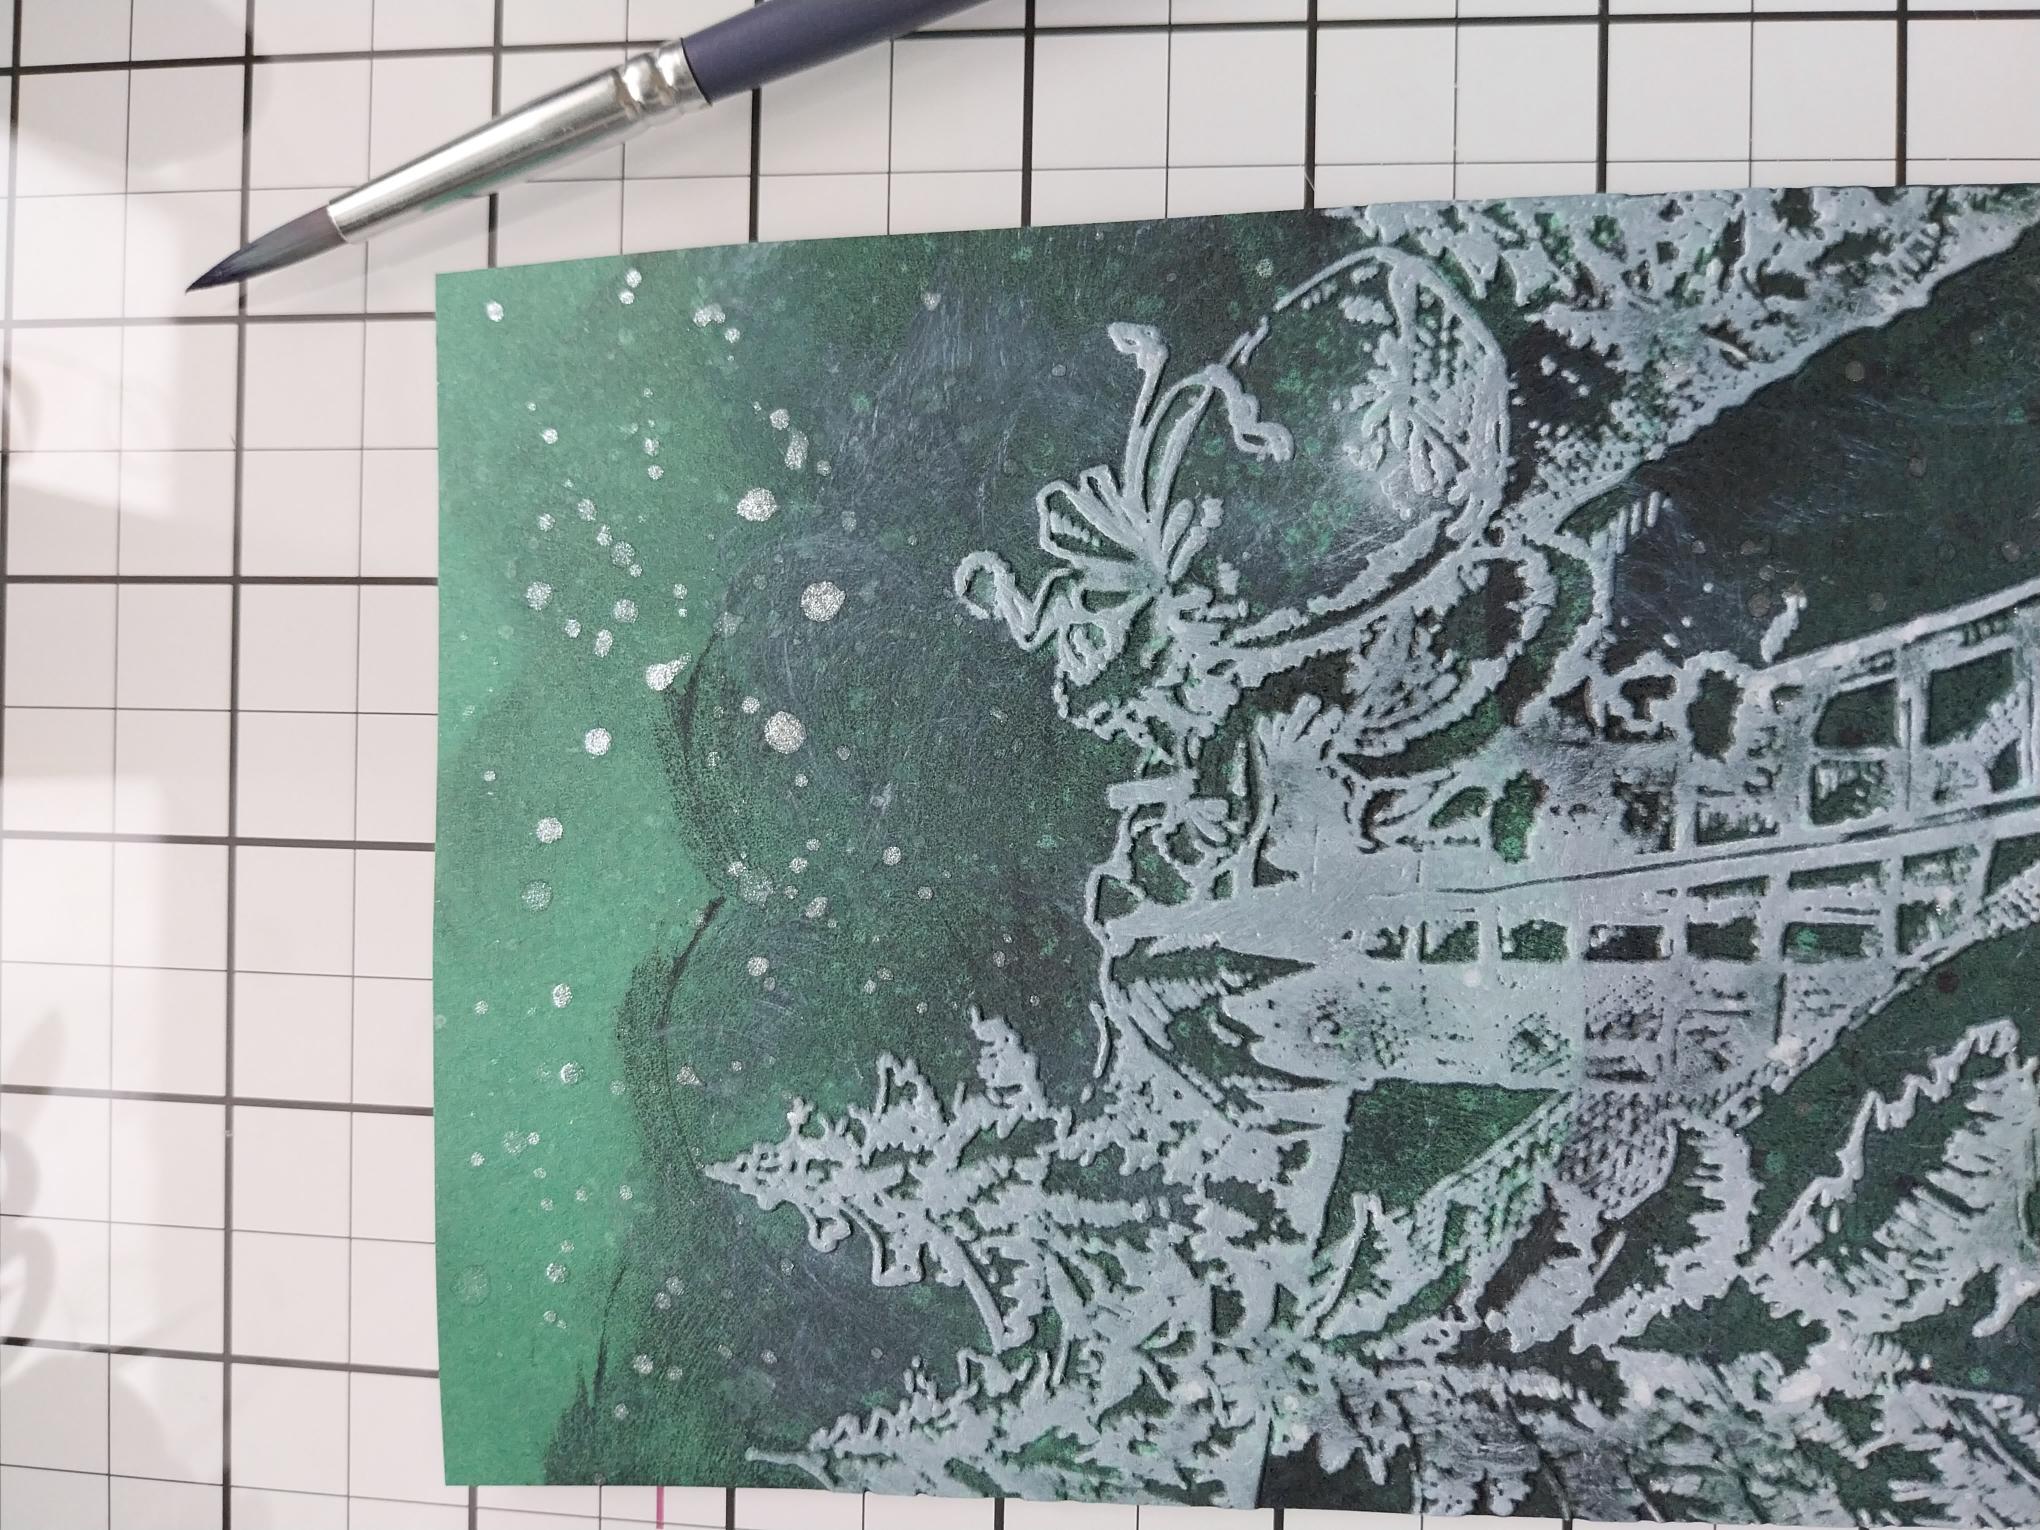
Swirl the Pearlywinks Pearl Mist, to activate the mica, spray on to your glass mat and splatter over your artwork, with a paint brush. Blast dry with your heat gun and pop to one side. |
|
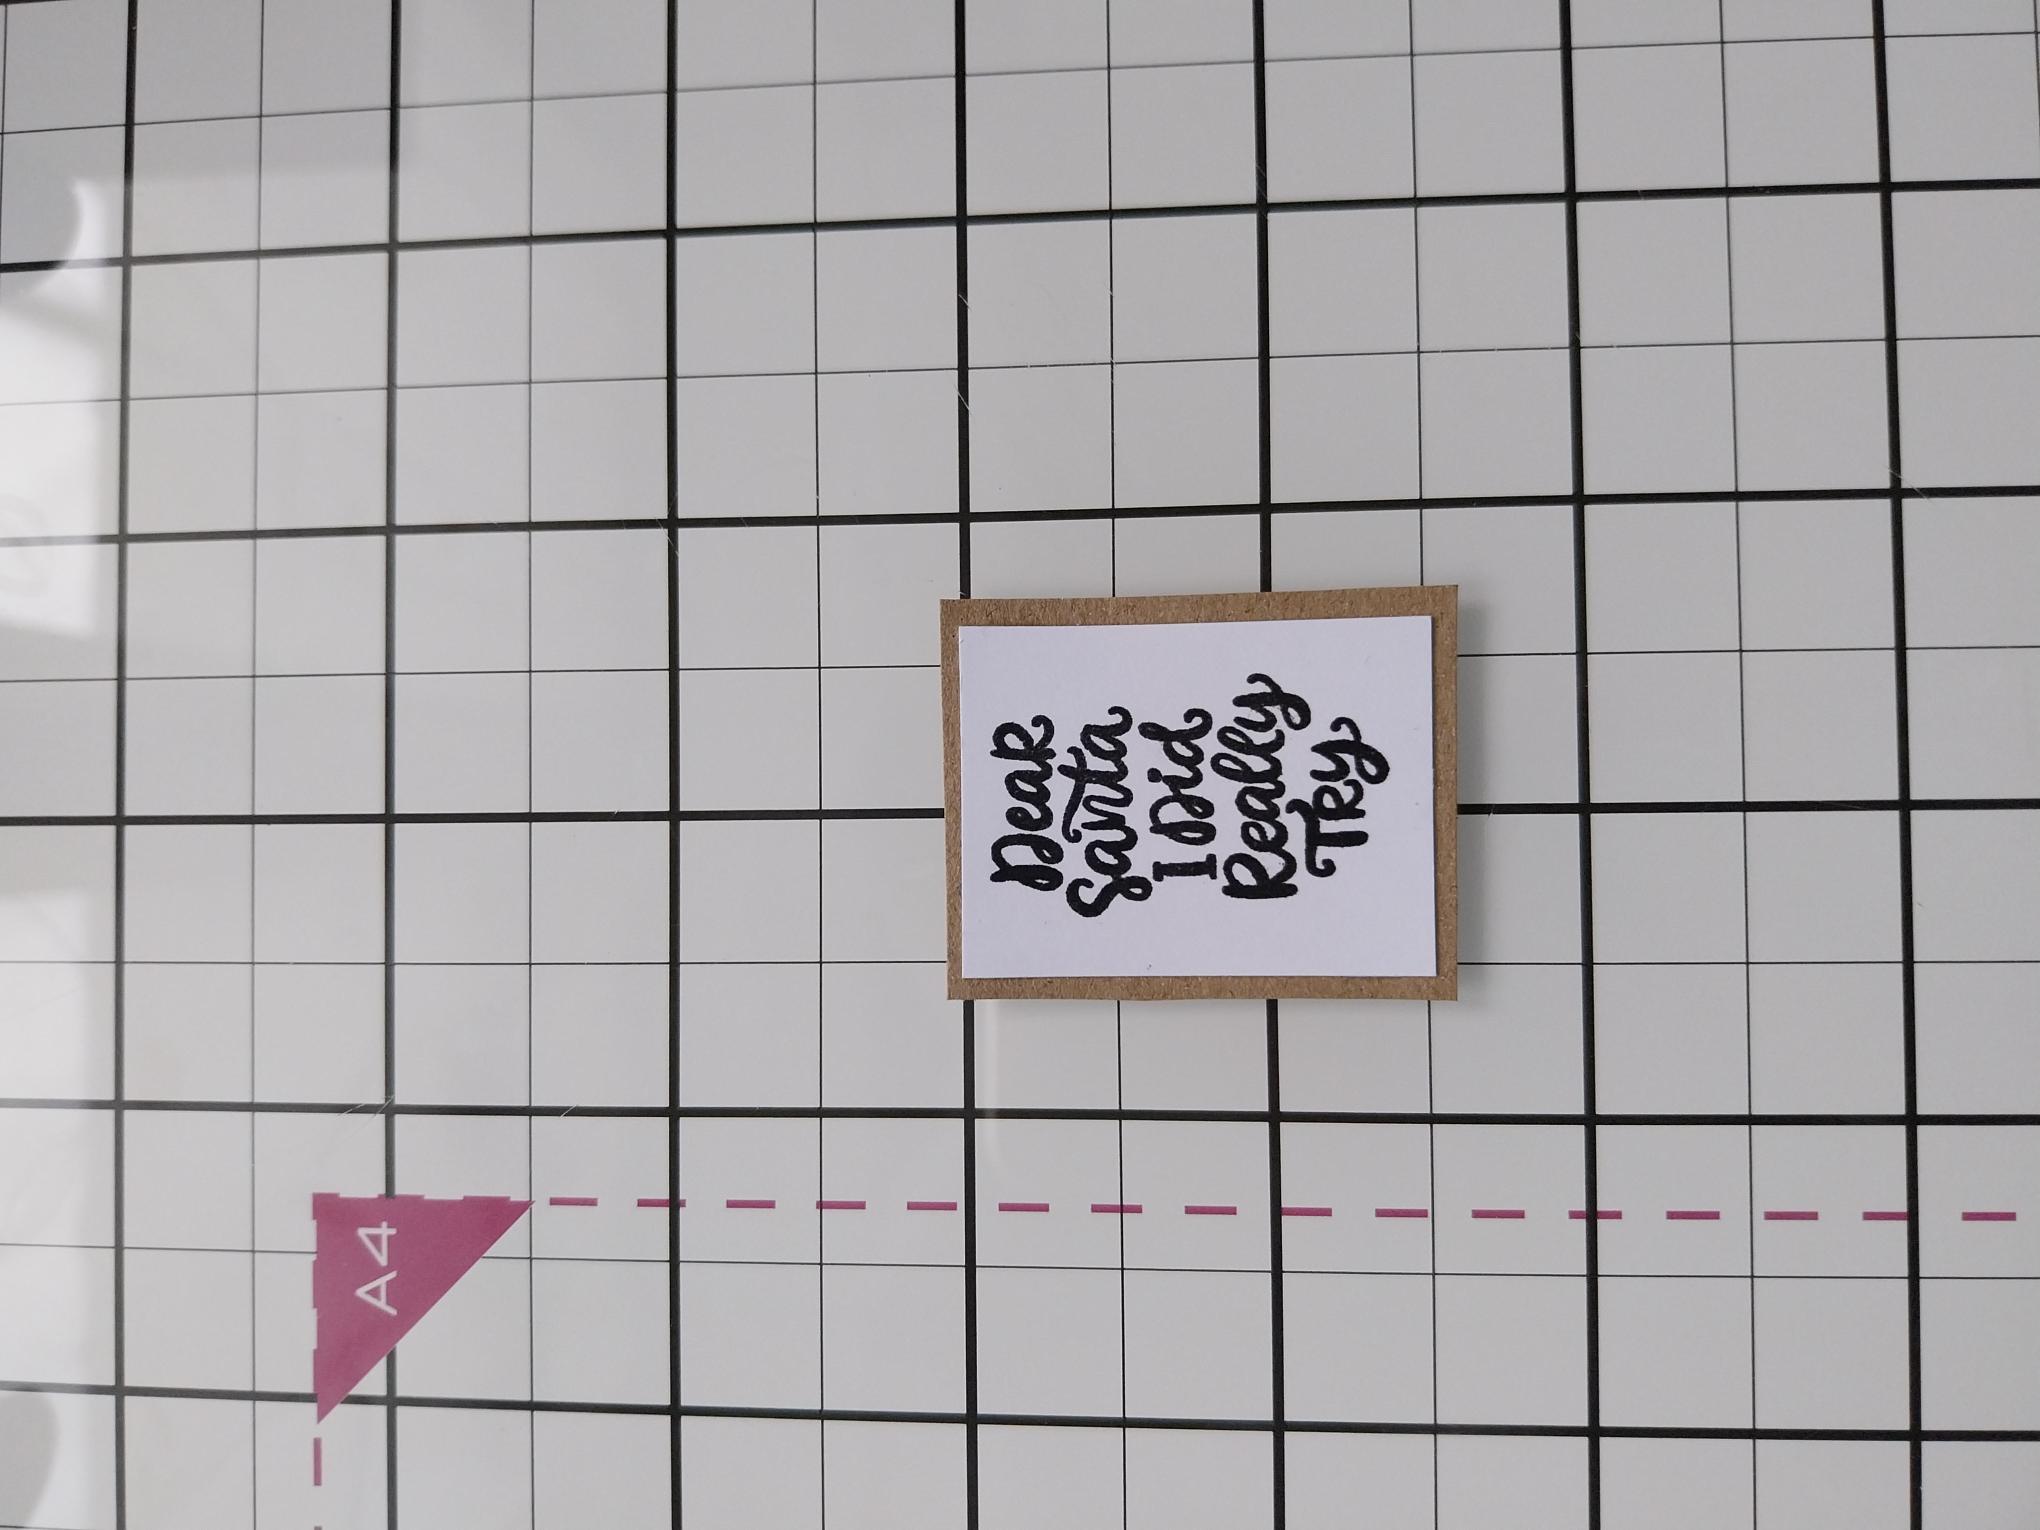
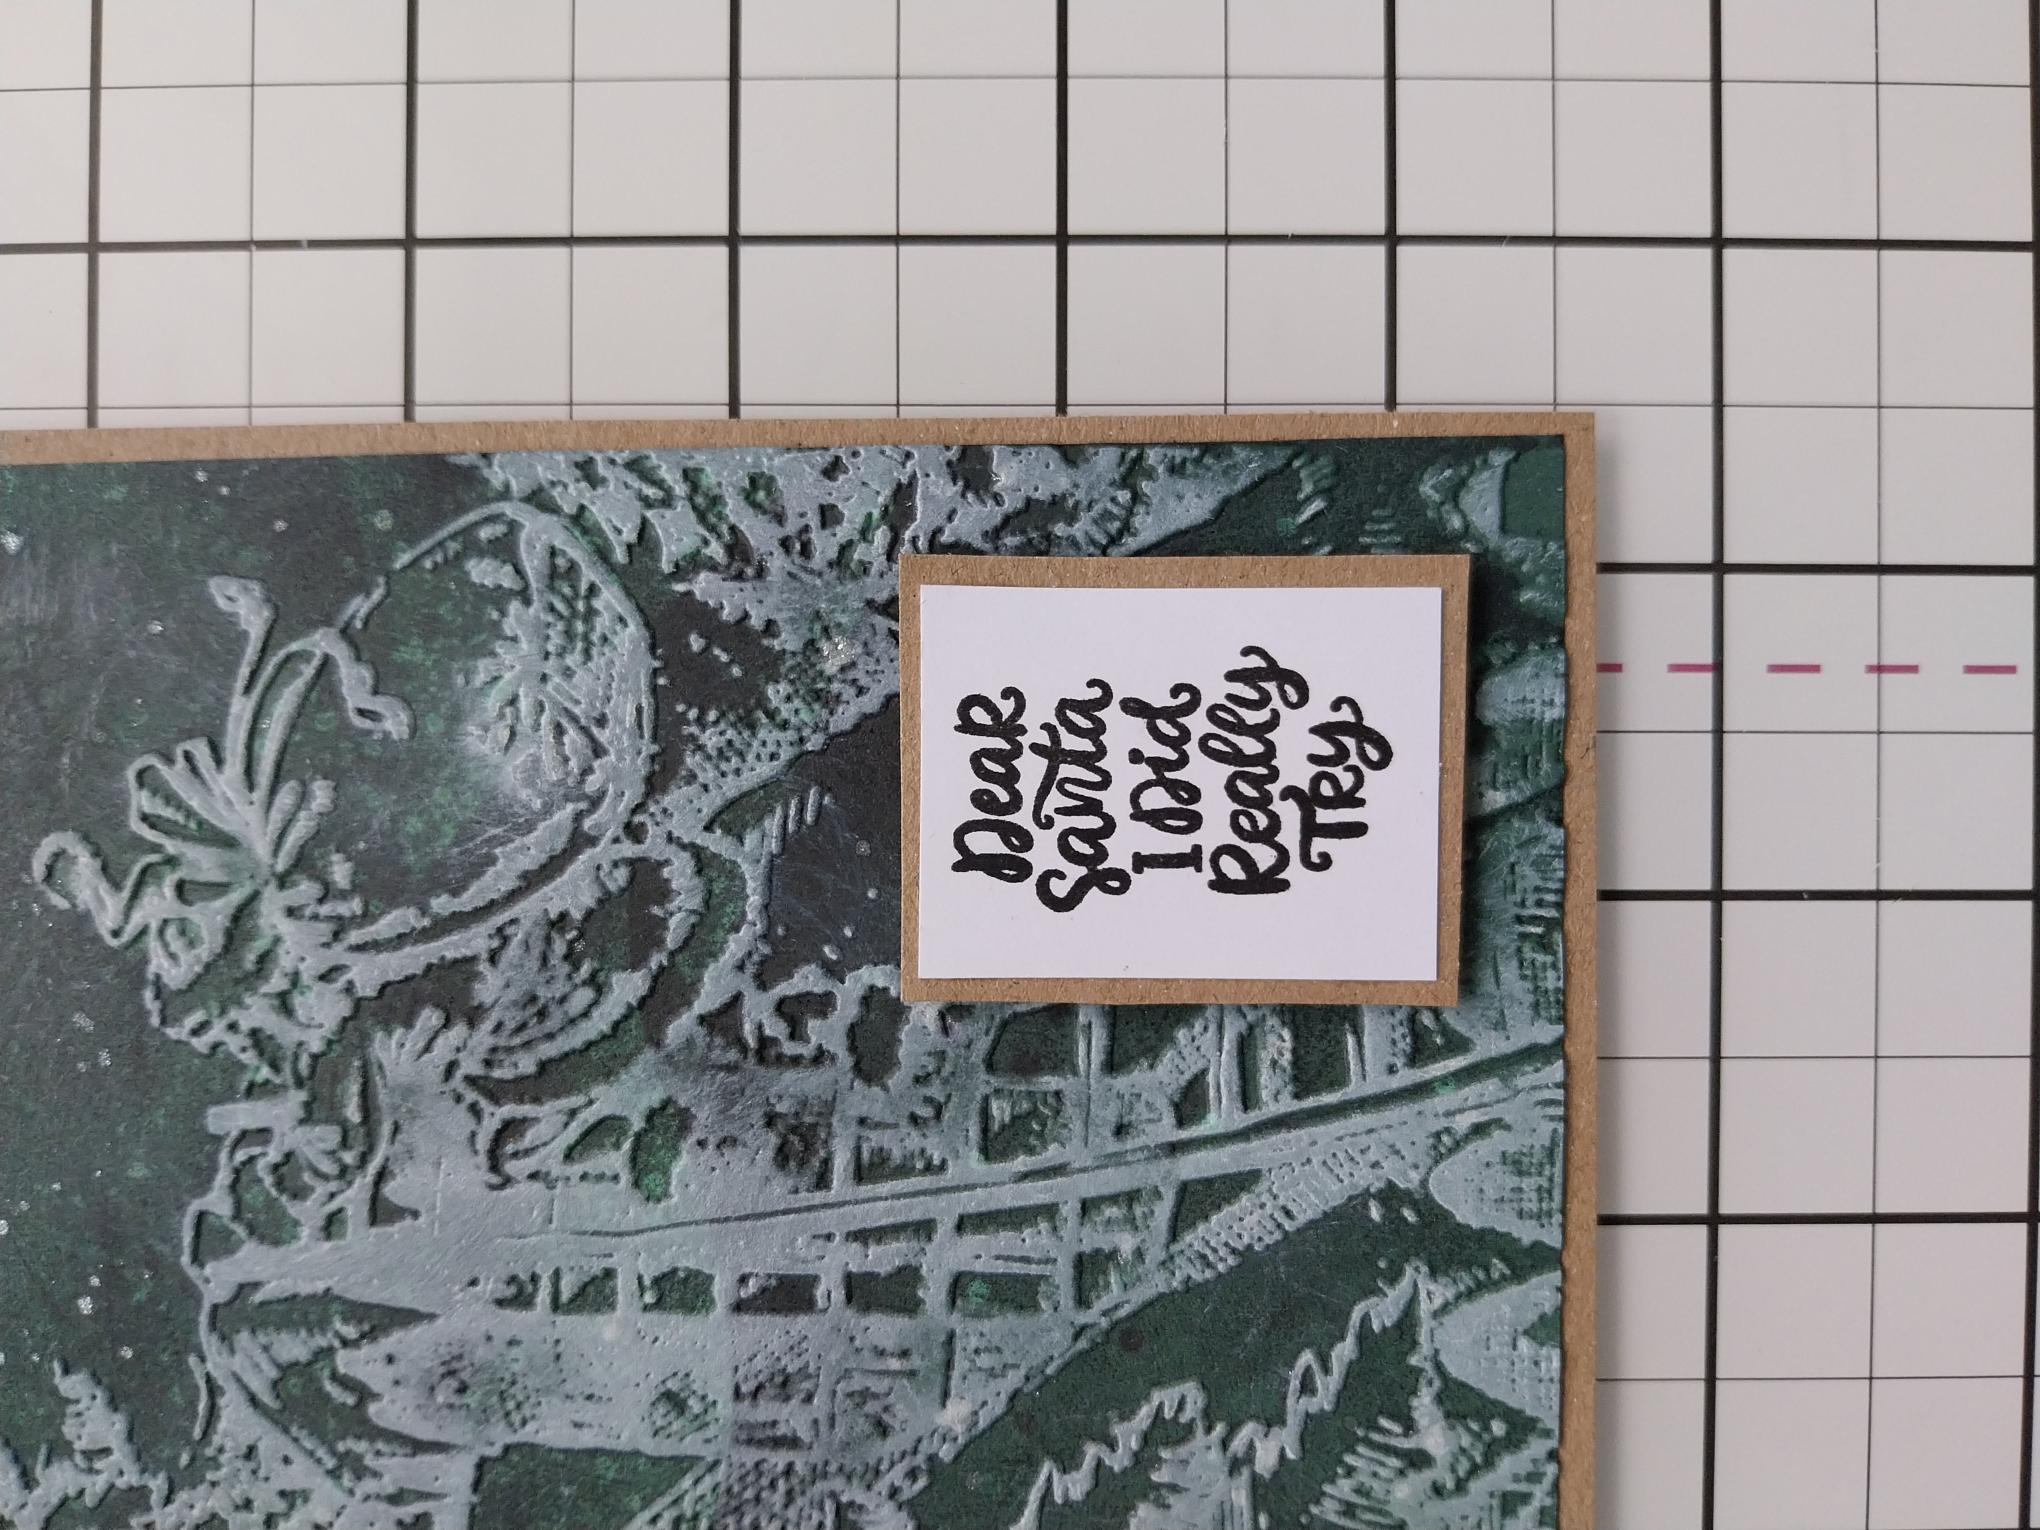
Stamp the sentiment on to a piece of white card, using the Midnight ink and trim to size. Adhere to a piece of kraft card and trim to create a "mat". |
|
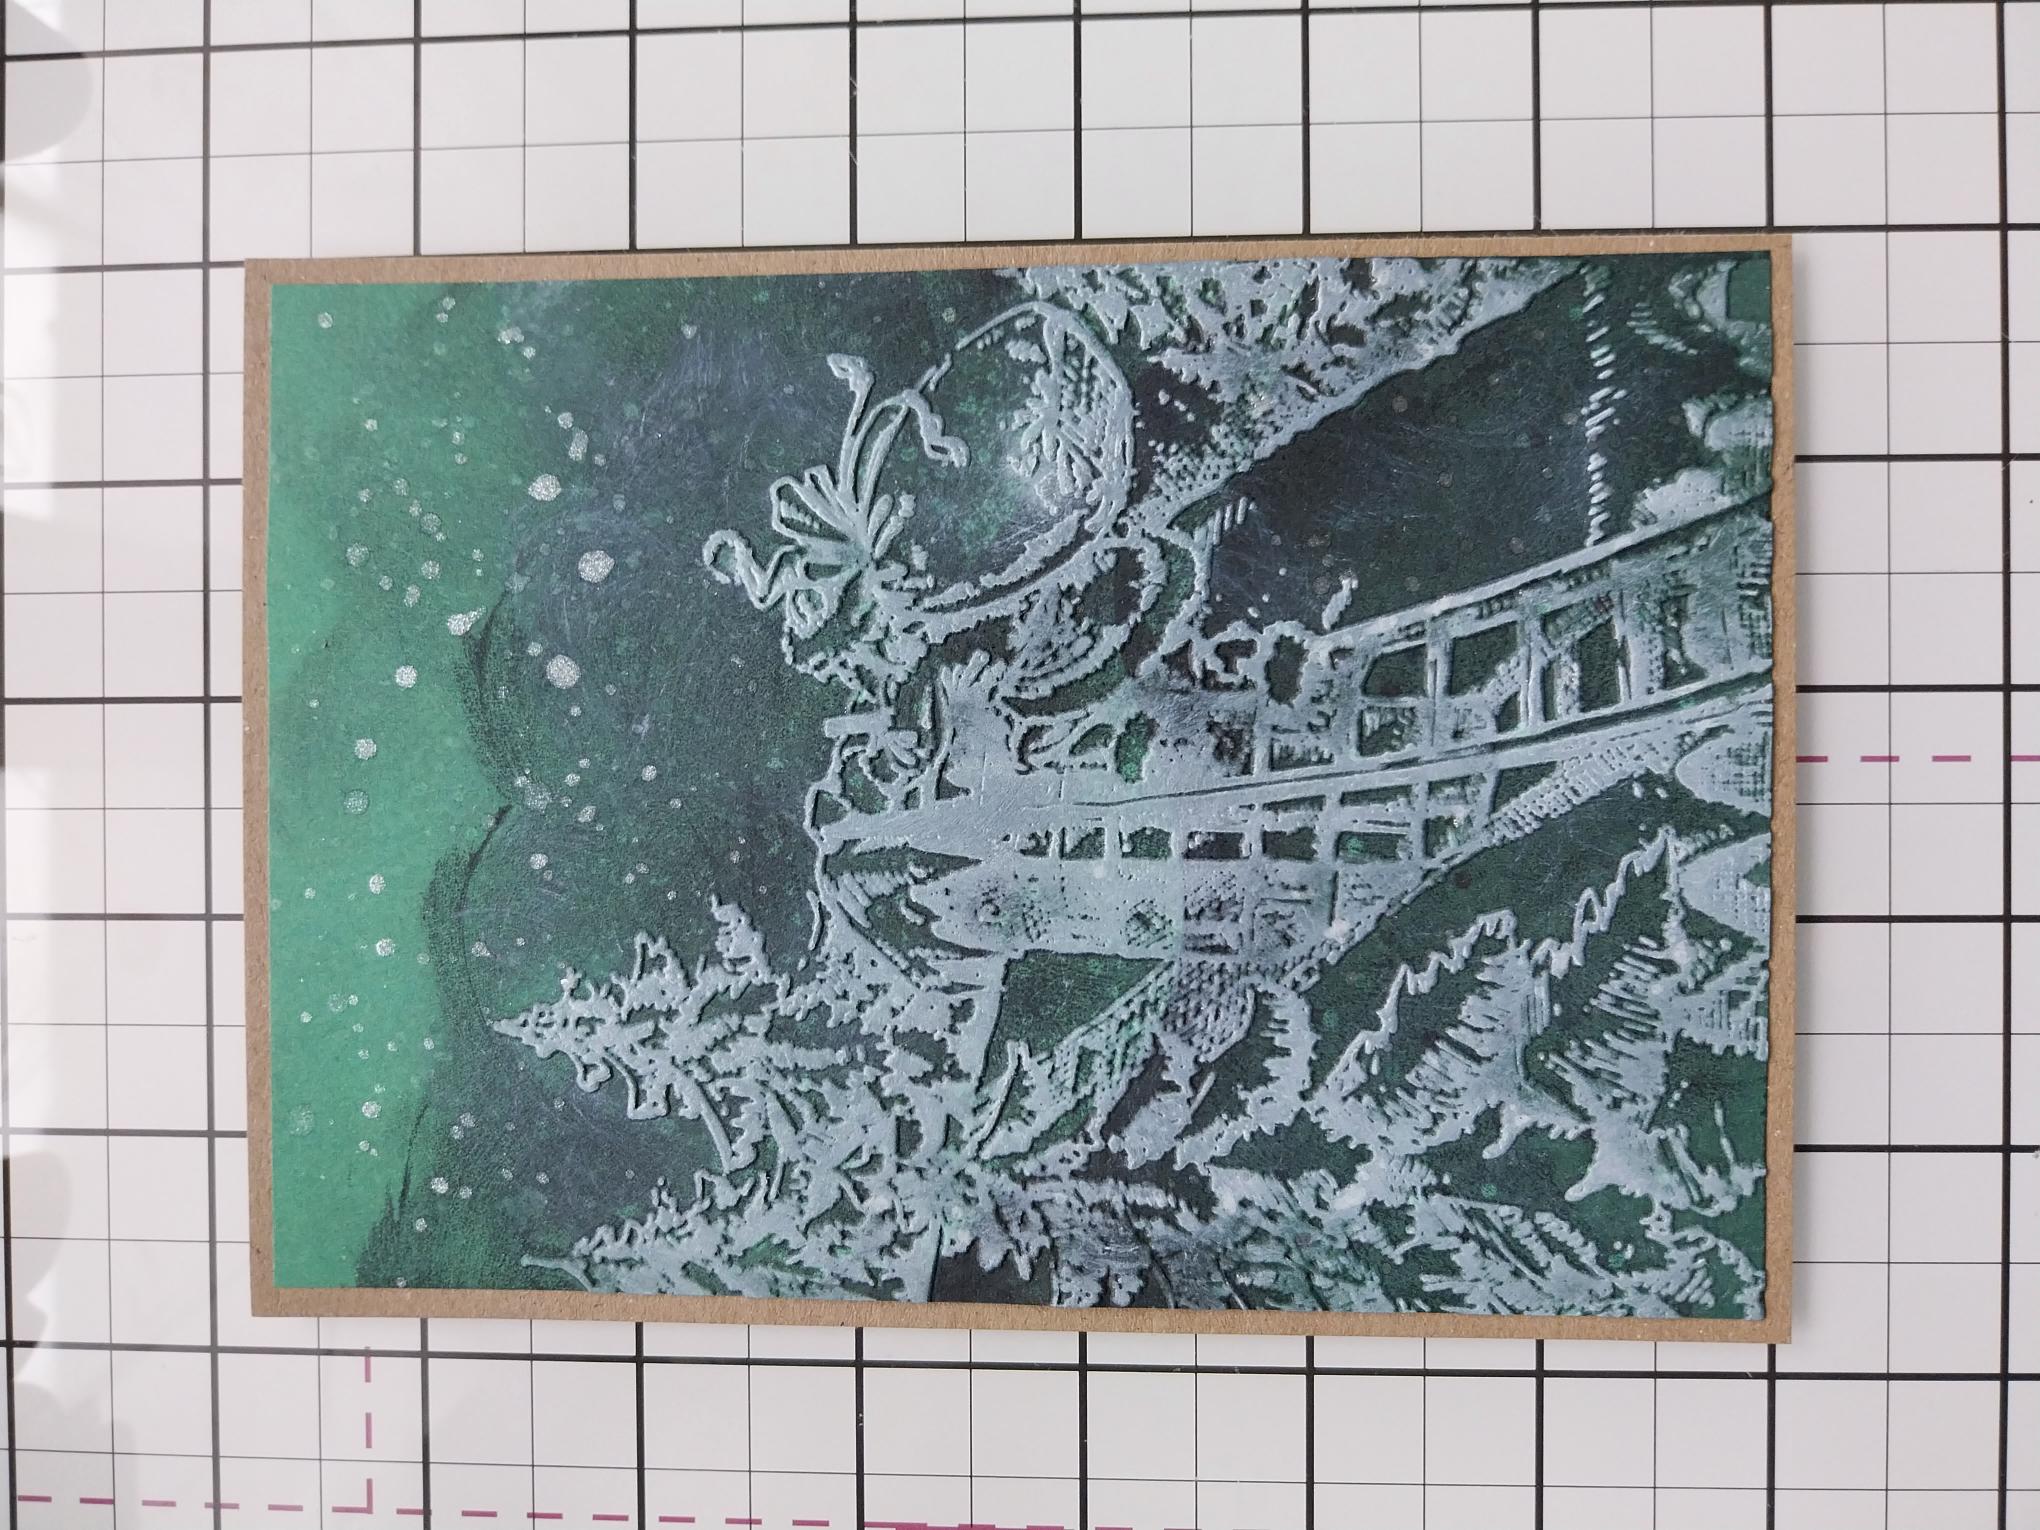
Once completely dry, adhere your artwork on to kraft card cut to 6 3/4 x 4 3/4". |
|
Use foam pads to add your sentiment in the bottom right corner. |
|
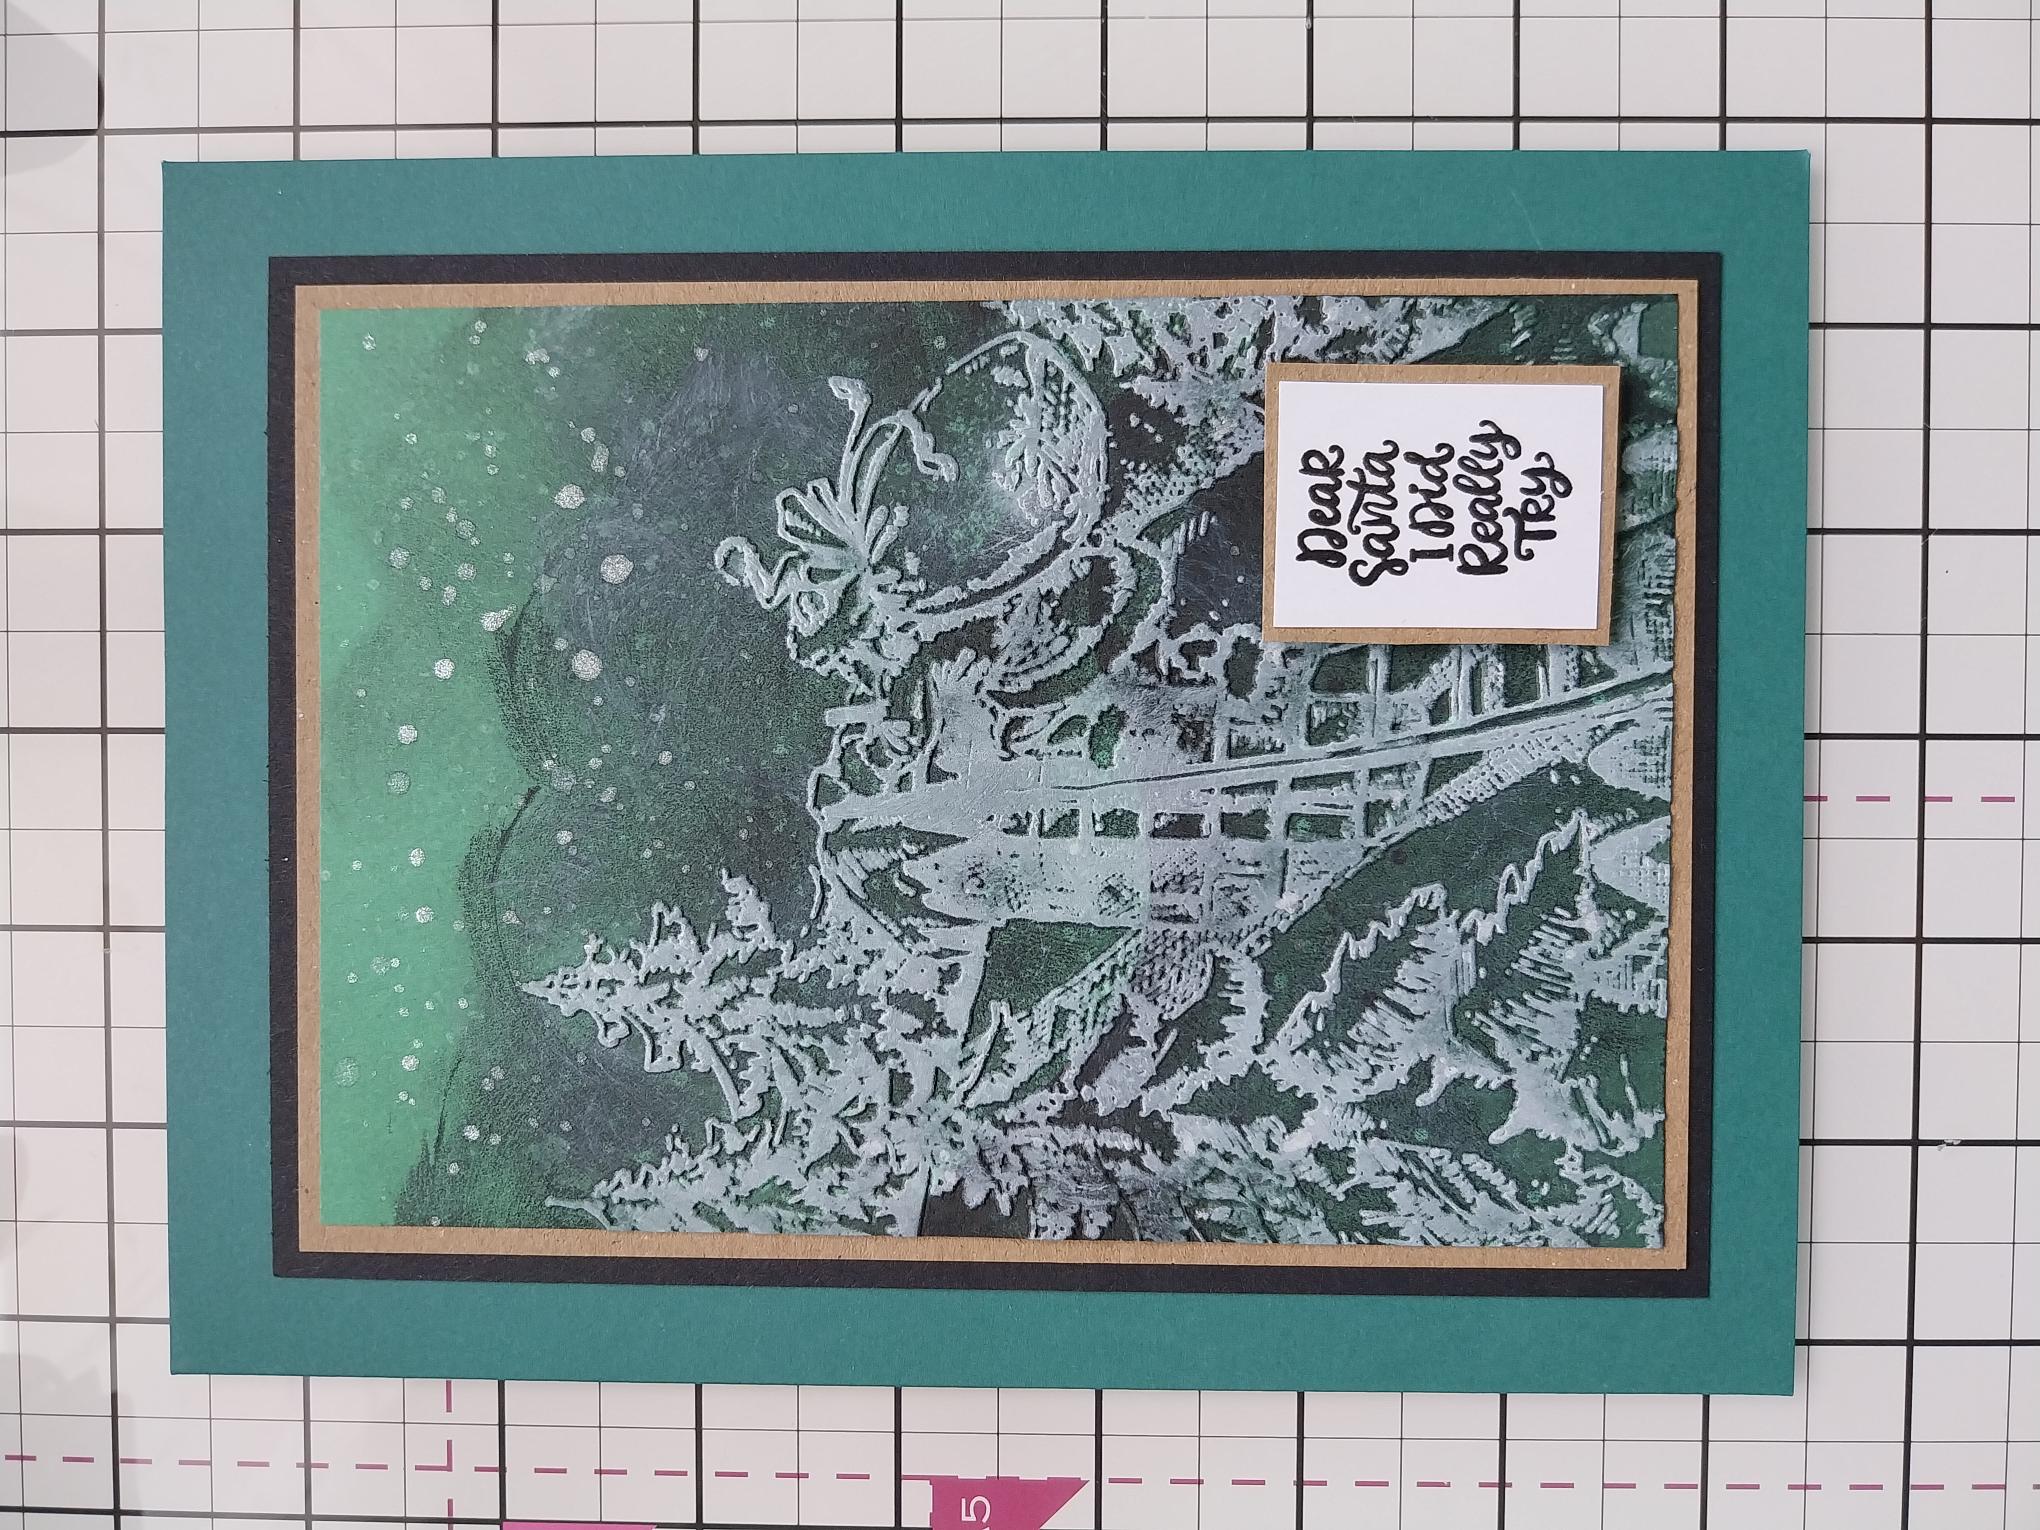
Adhere your artwork on to black card, trimmed to 7 x 5" and then on to your teal card blank. |
|
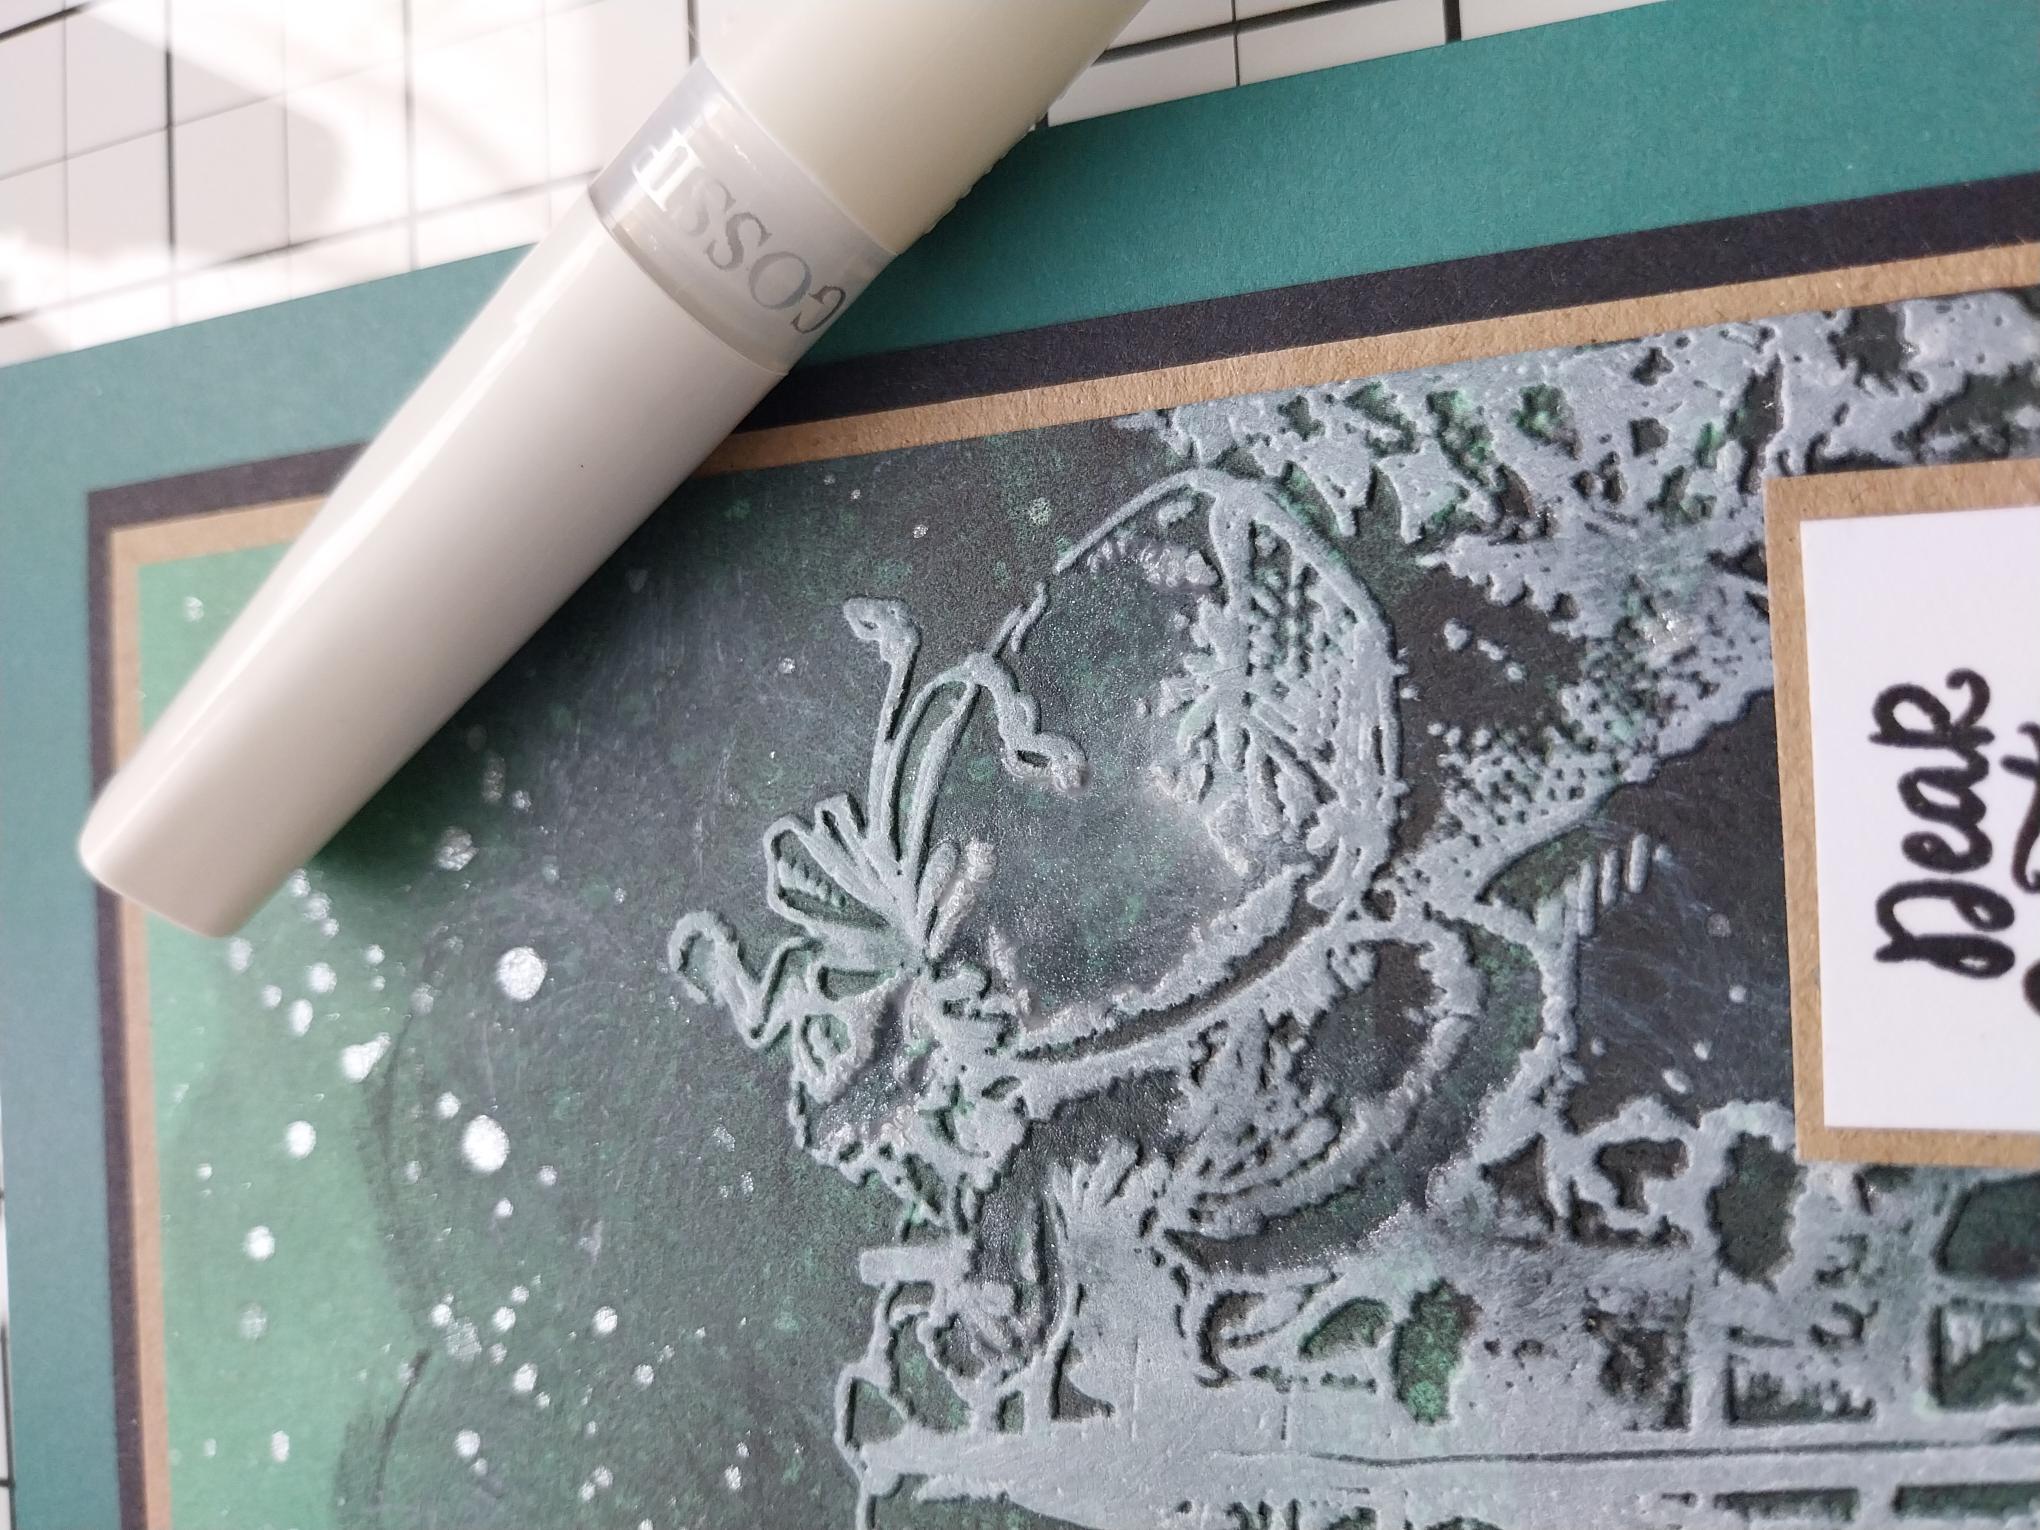
Add a touch of sparkle to your embossed image, using the Gossip clear sparkle pen and voila!!! |