

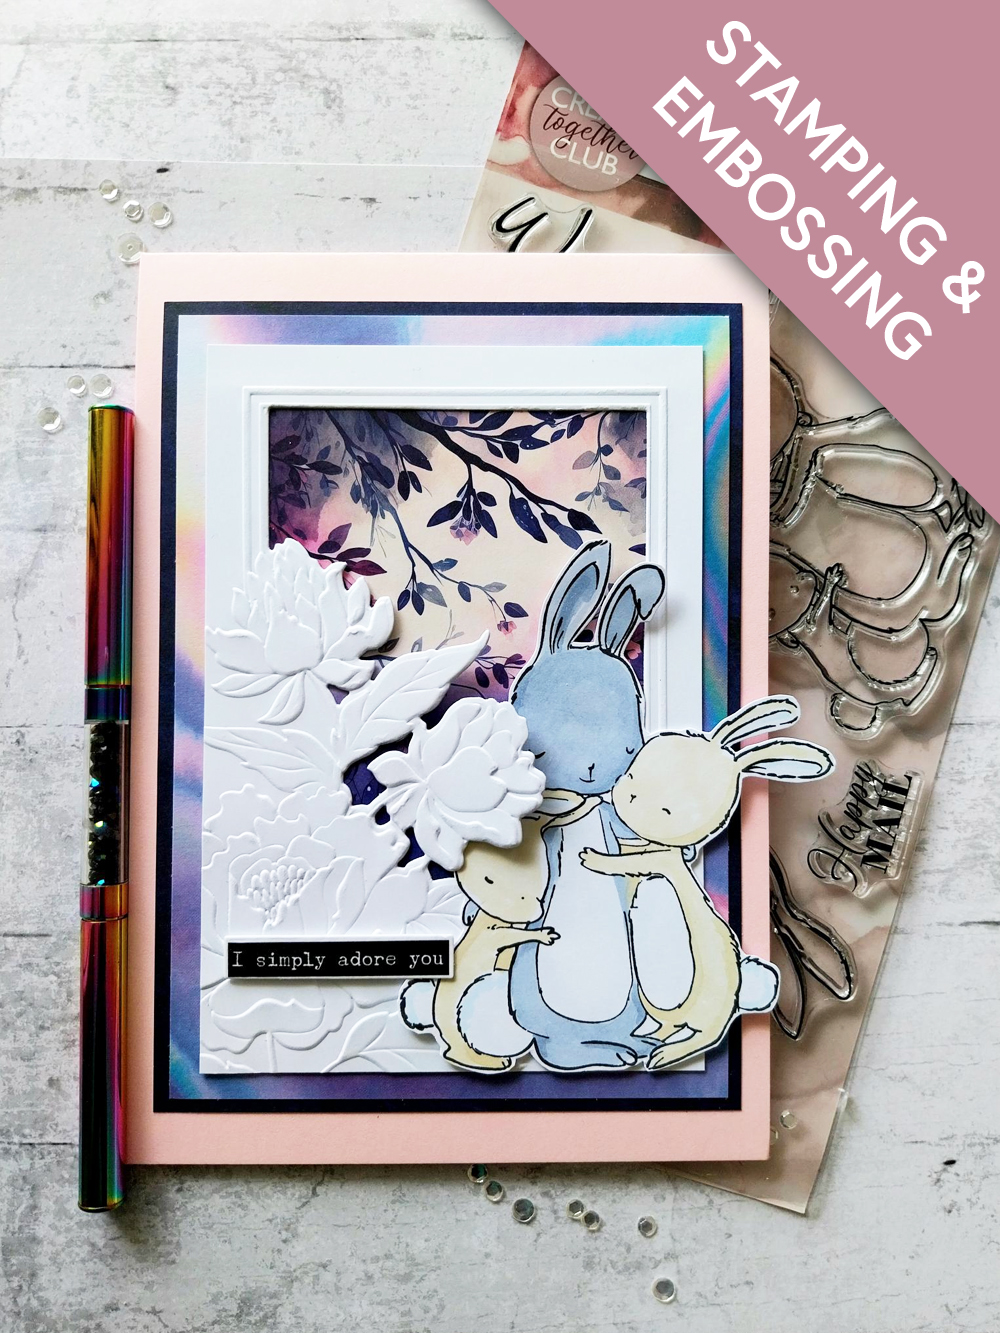
WHAT YOU WILL NEED:
Pink top folding card blank 8 1/4 x 5 3/4"
White card
Create Together Club Somebunny Loves You A5 Stamp
All Surfaces Paper Pack: Royal Blue, Holographic
Happy Haunting 5 x 7" Paper Collection
Positivity Embossing Folder and Die Collection
Typewriter Tabs Washi Tape and Die Set
SBM Hybrid Ink Pad: Midnight
Gossip alcohol pens
Eureka 101 Watercolour Tablet
SBM Magnetic glass mat
Paper Trimmer
Perfect Together Glue
Foam pads
Die Cutting machine
[click image to enlarge] 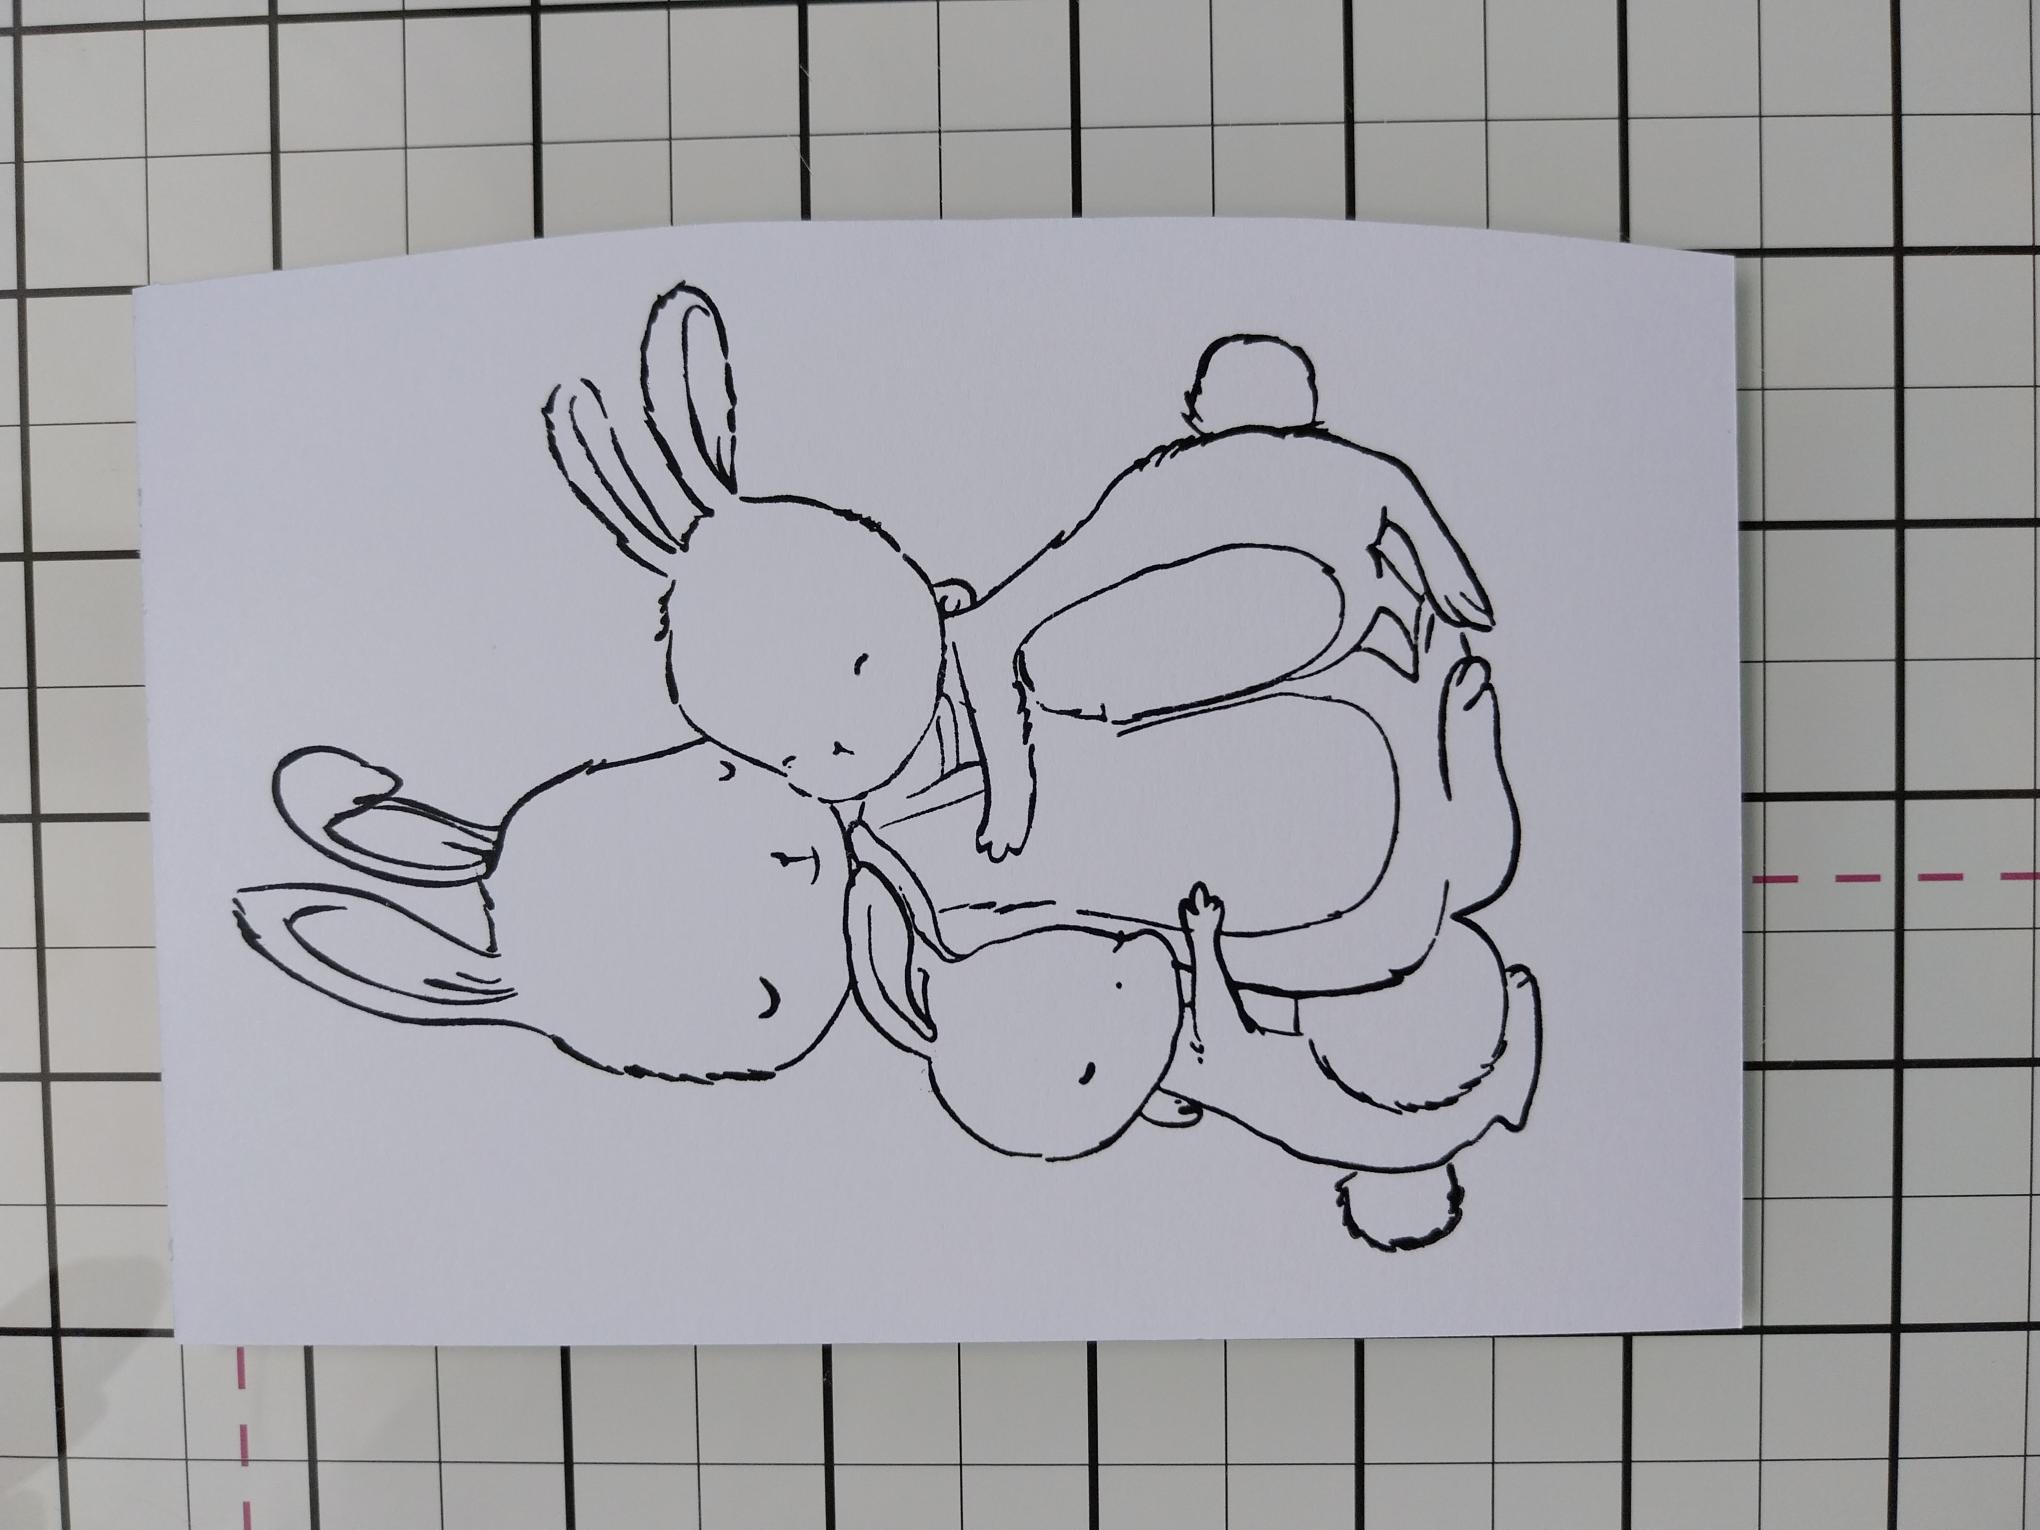
|
Stamp our beautiful bunnies in the Midnight hybrid ink, on to a piece of smooth white card. |
|
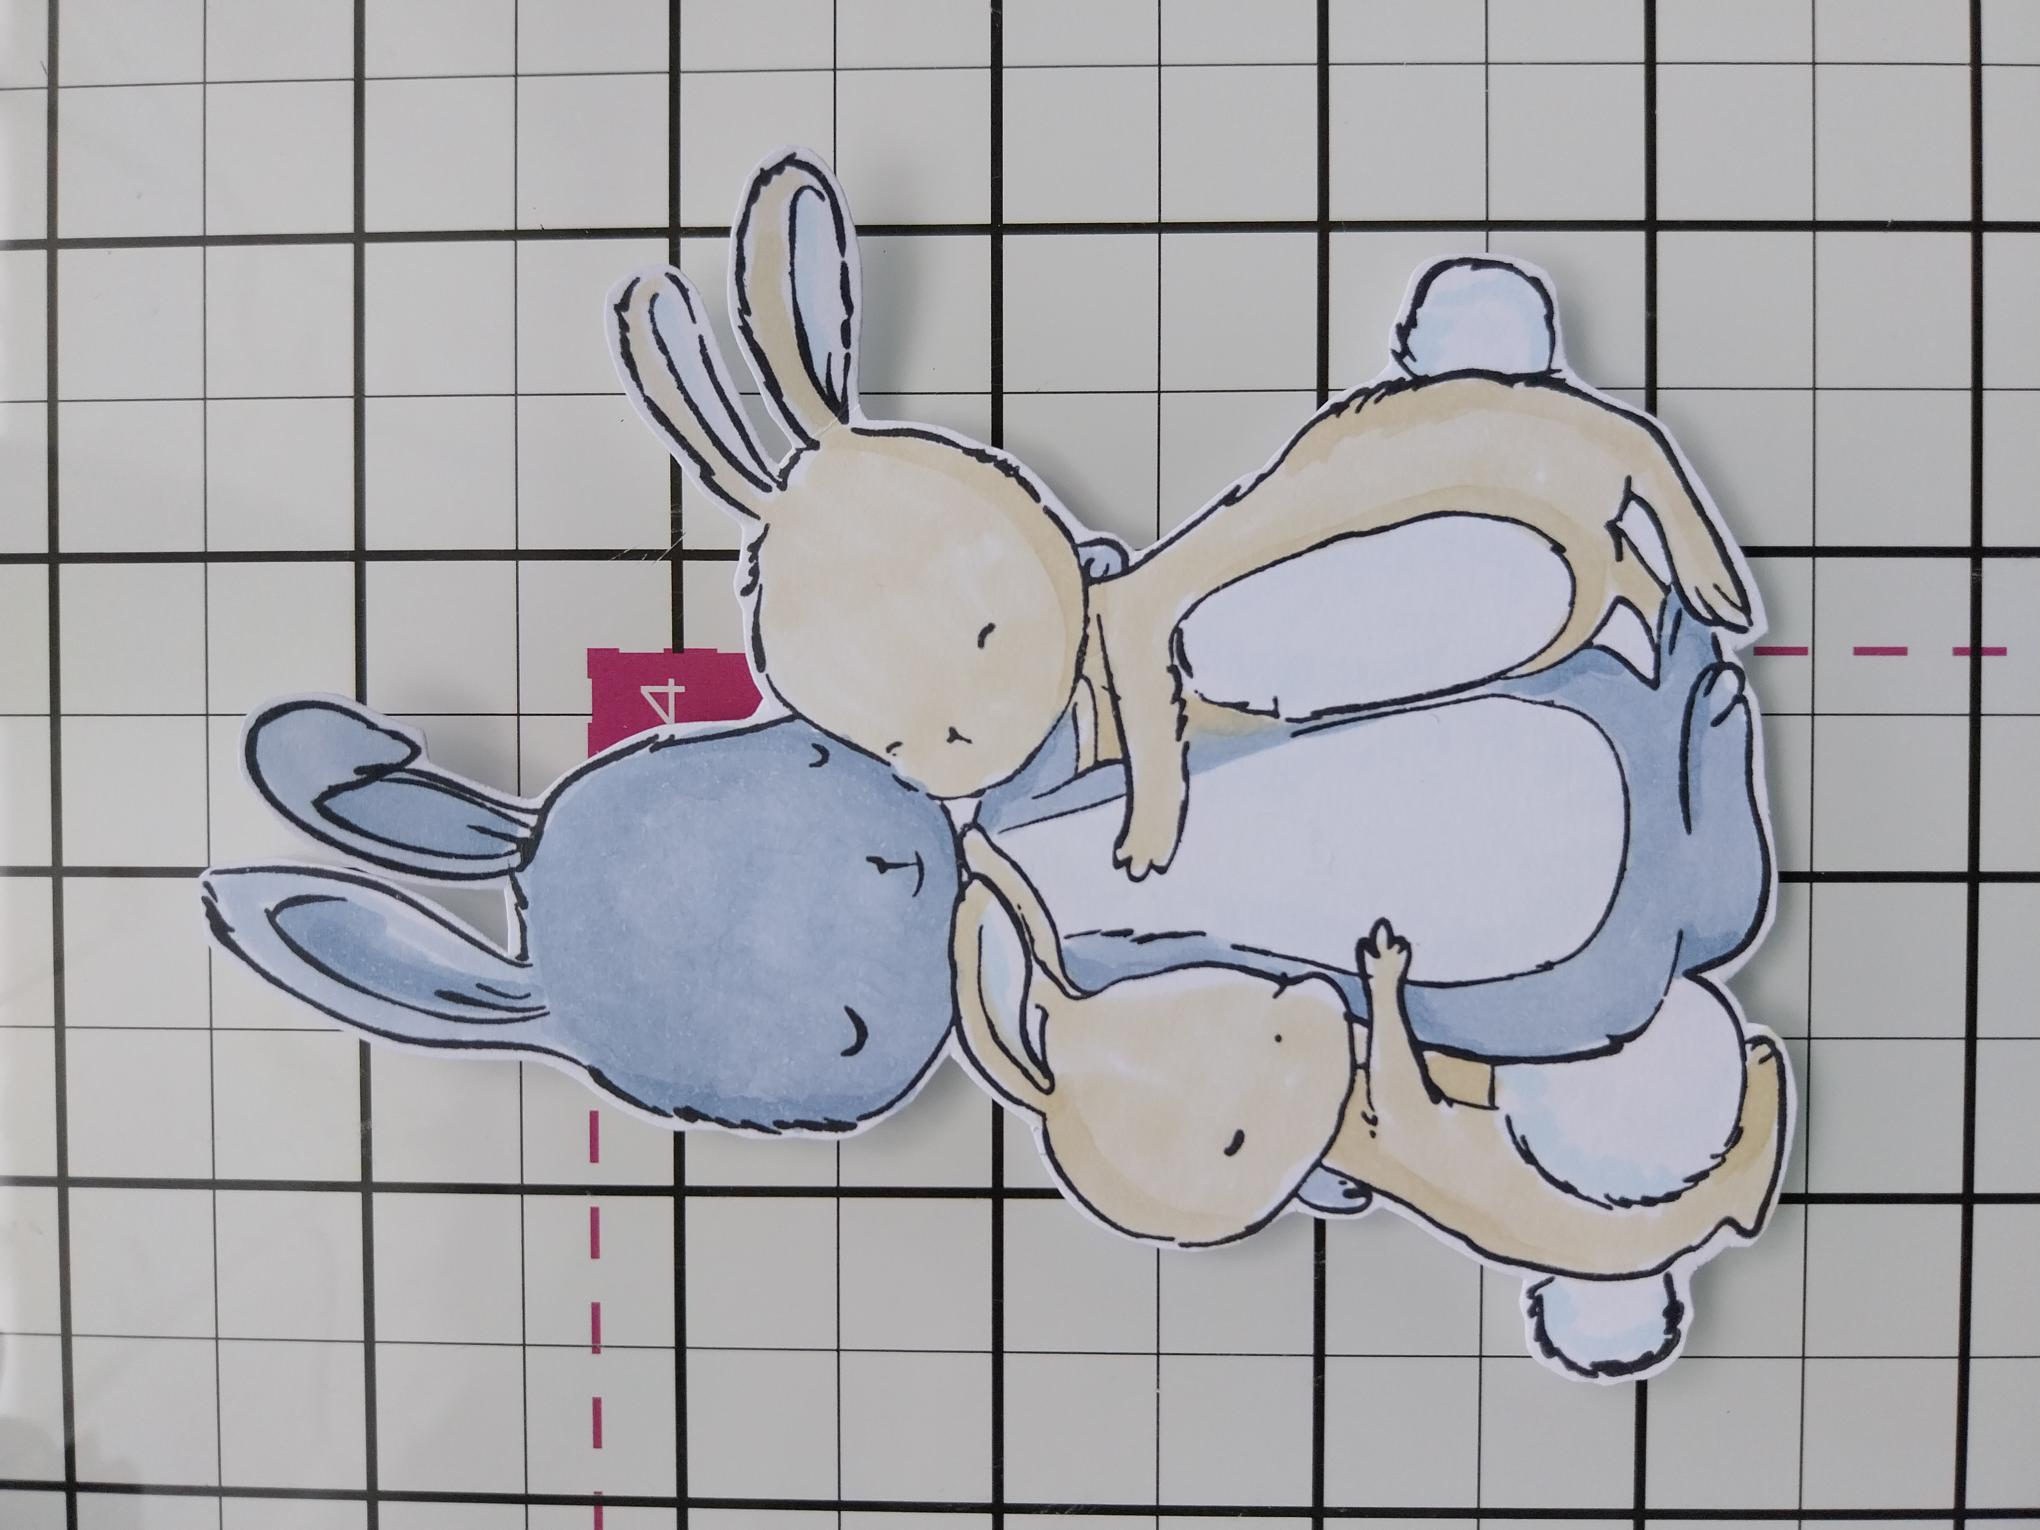
Use you alcohol pens to colour them in, before setting them to one side. Tip: Place a sheet of copy paper underneath the card, to protect your work surface from the ink that bleeds through. |
|
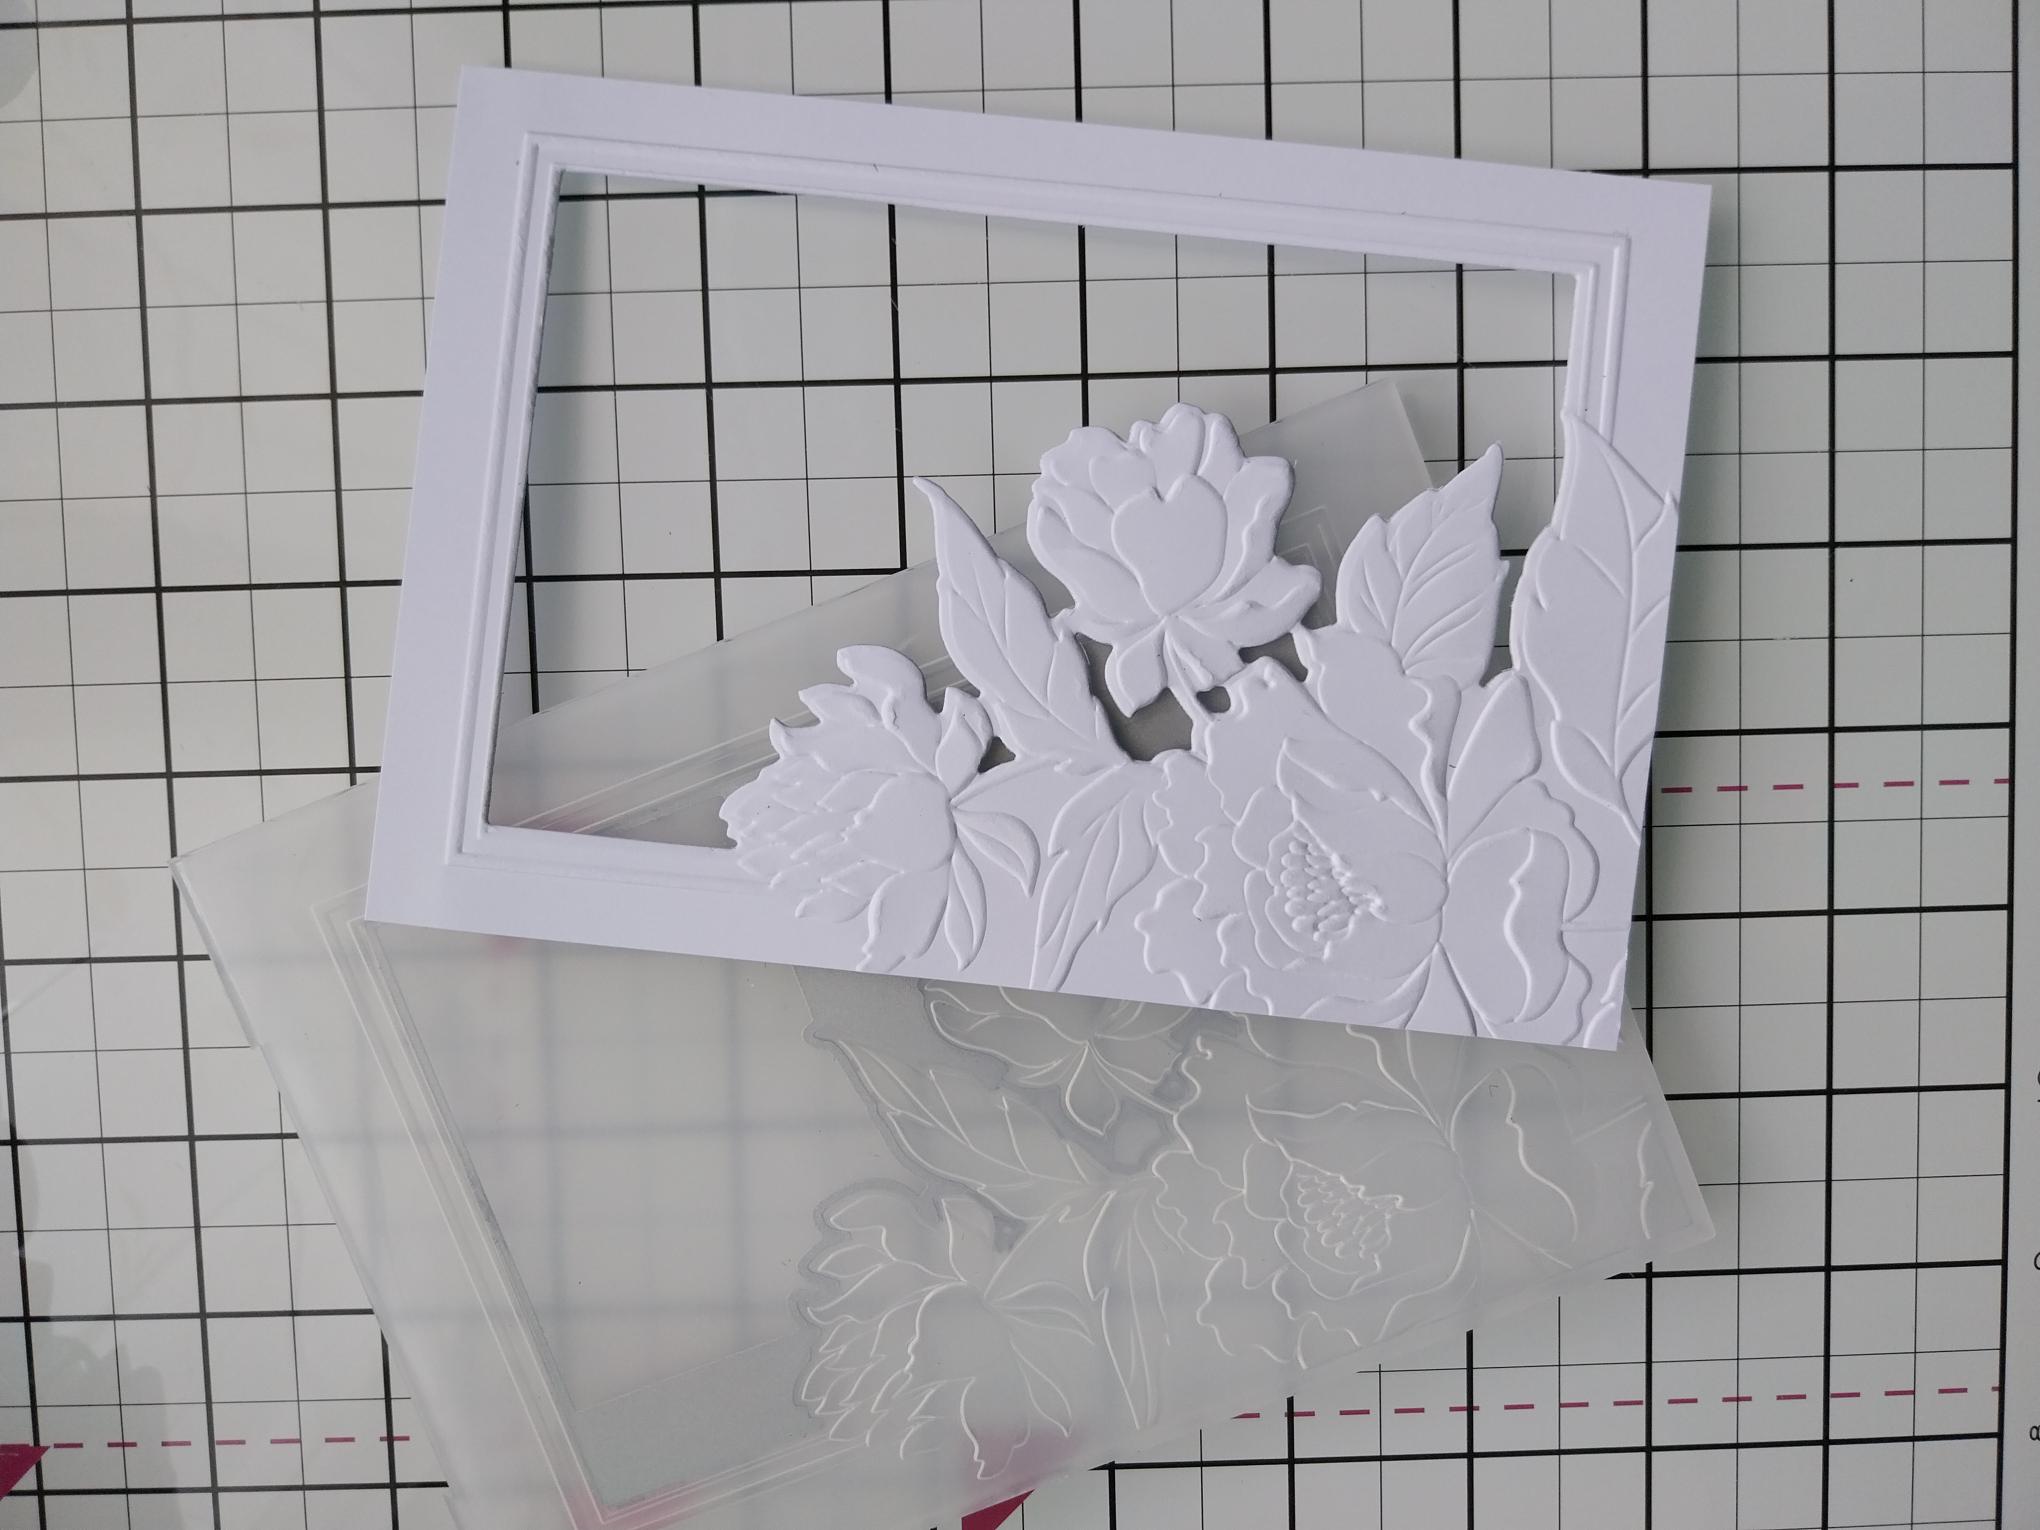
Cut a piece of white card to 7 x 5", place inside the Positivity embossing folder and run it through your machine. Trim your embossed frame to 6 1/2 x 4 1/2". NB: There is a die inside the folder, so adjust your machine plates accordingly. |
|
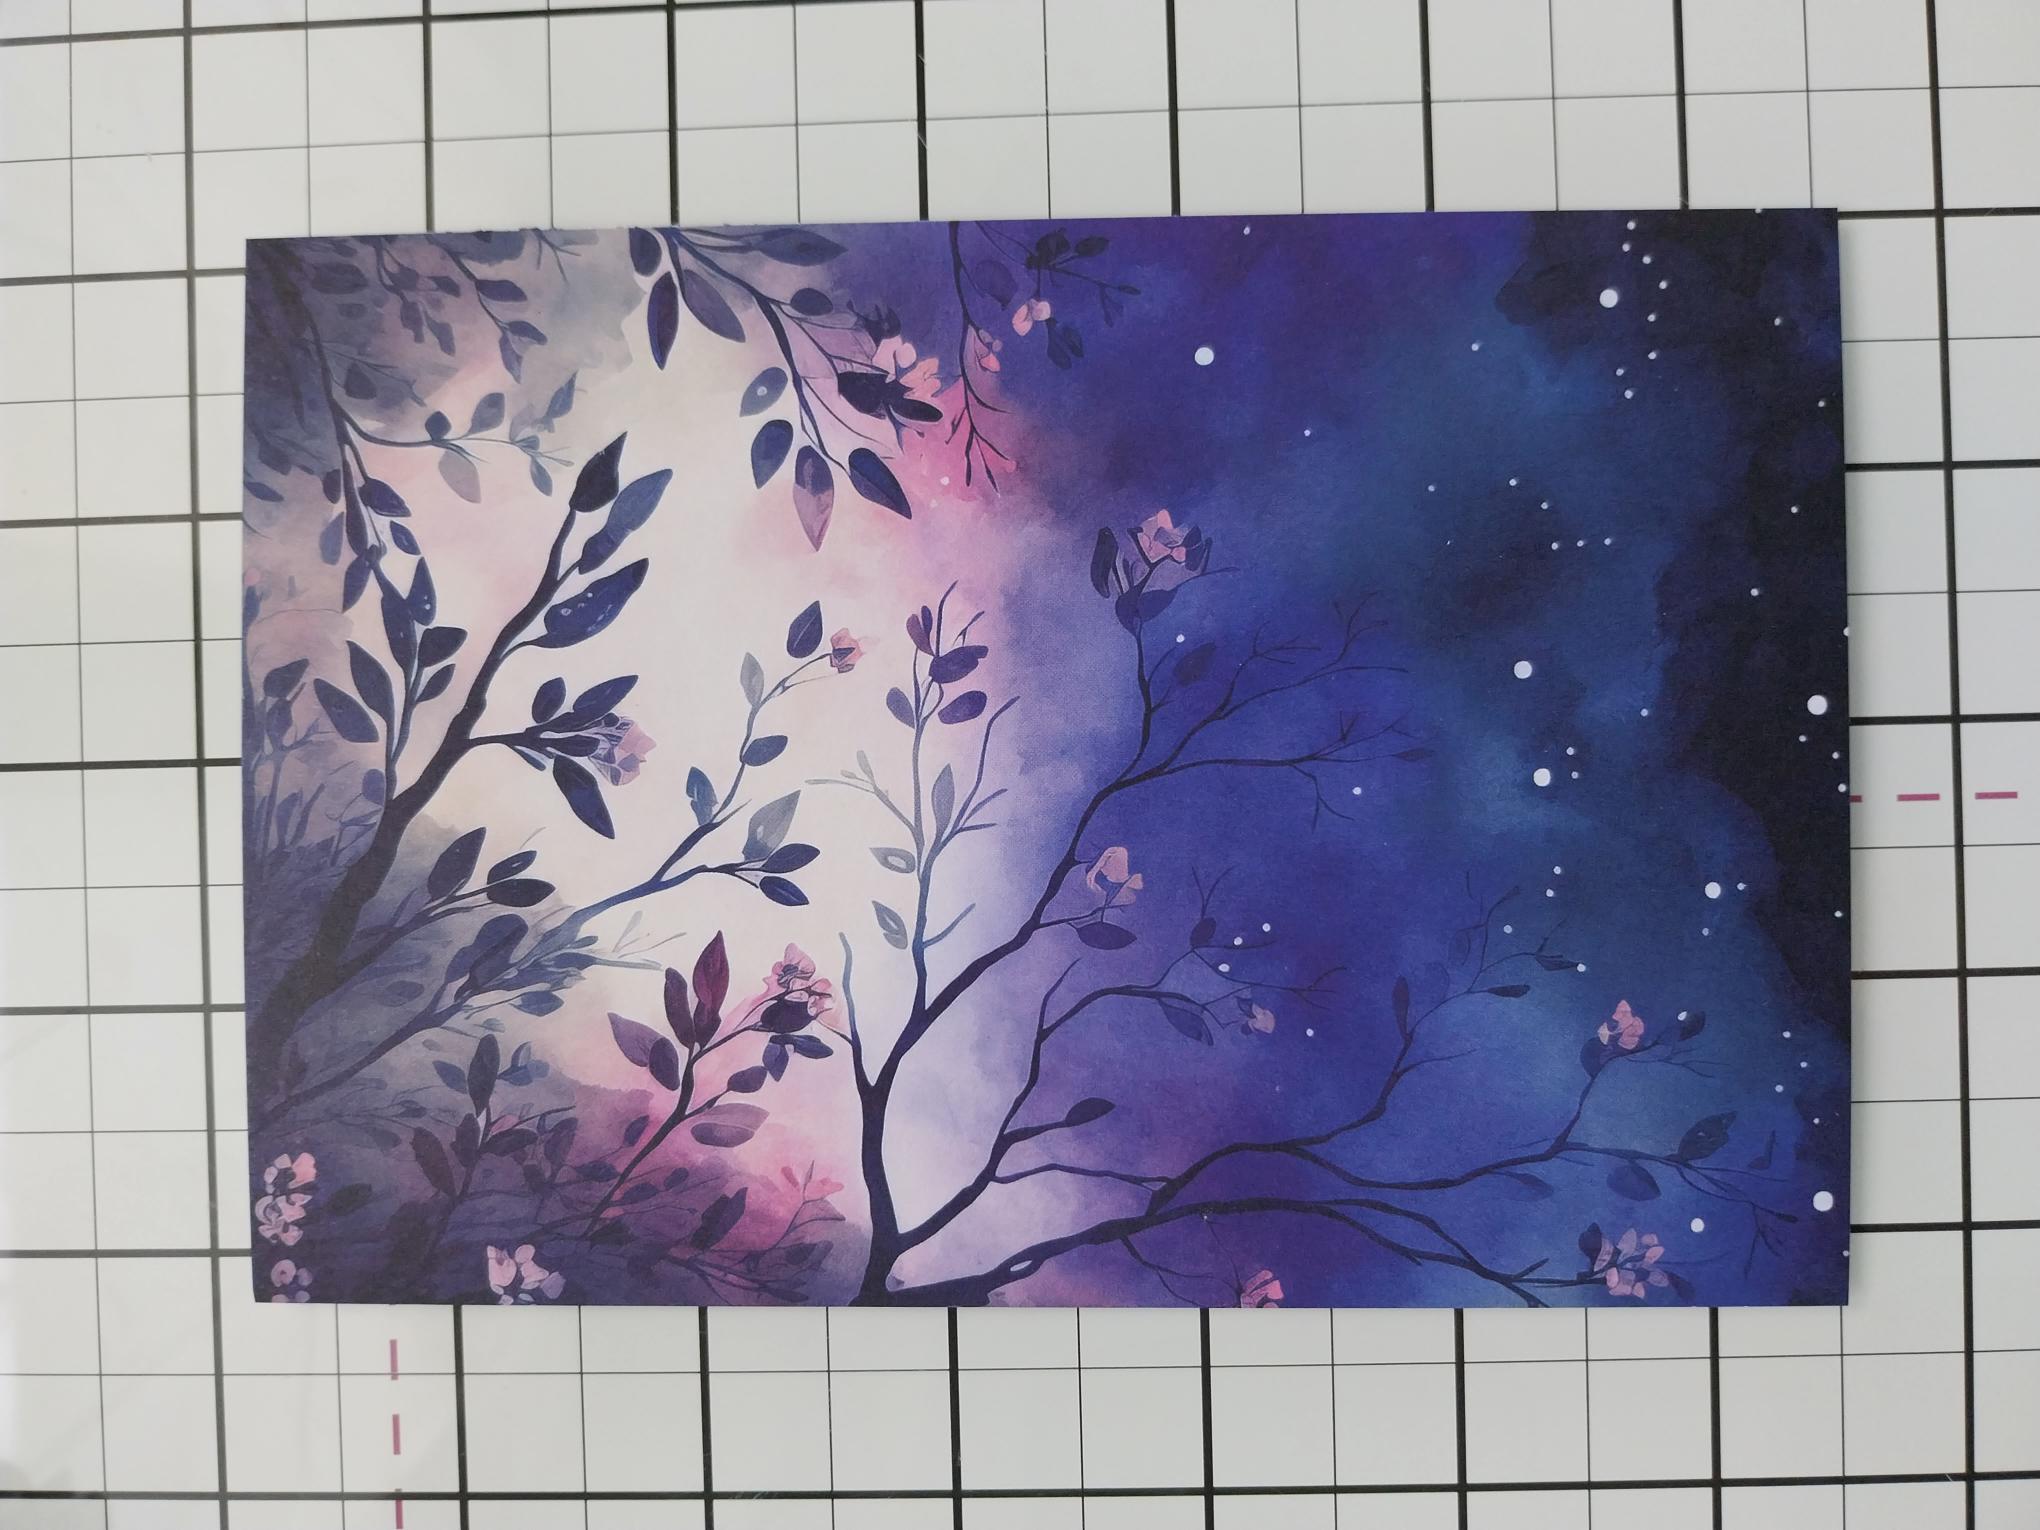
Remove this gorgeous paper from the Happy Haunting paper pack and trim slightly smaller than your embossed floral frame. |
|
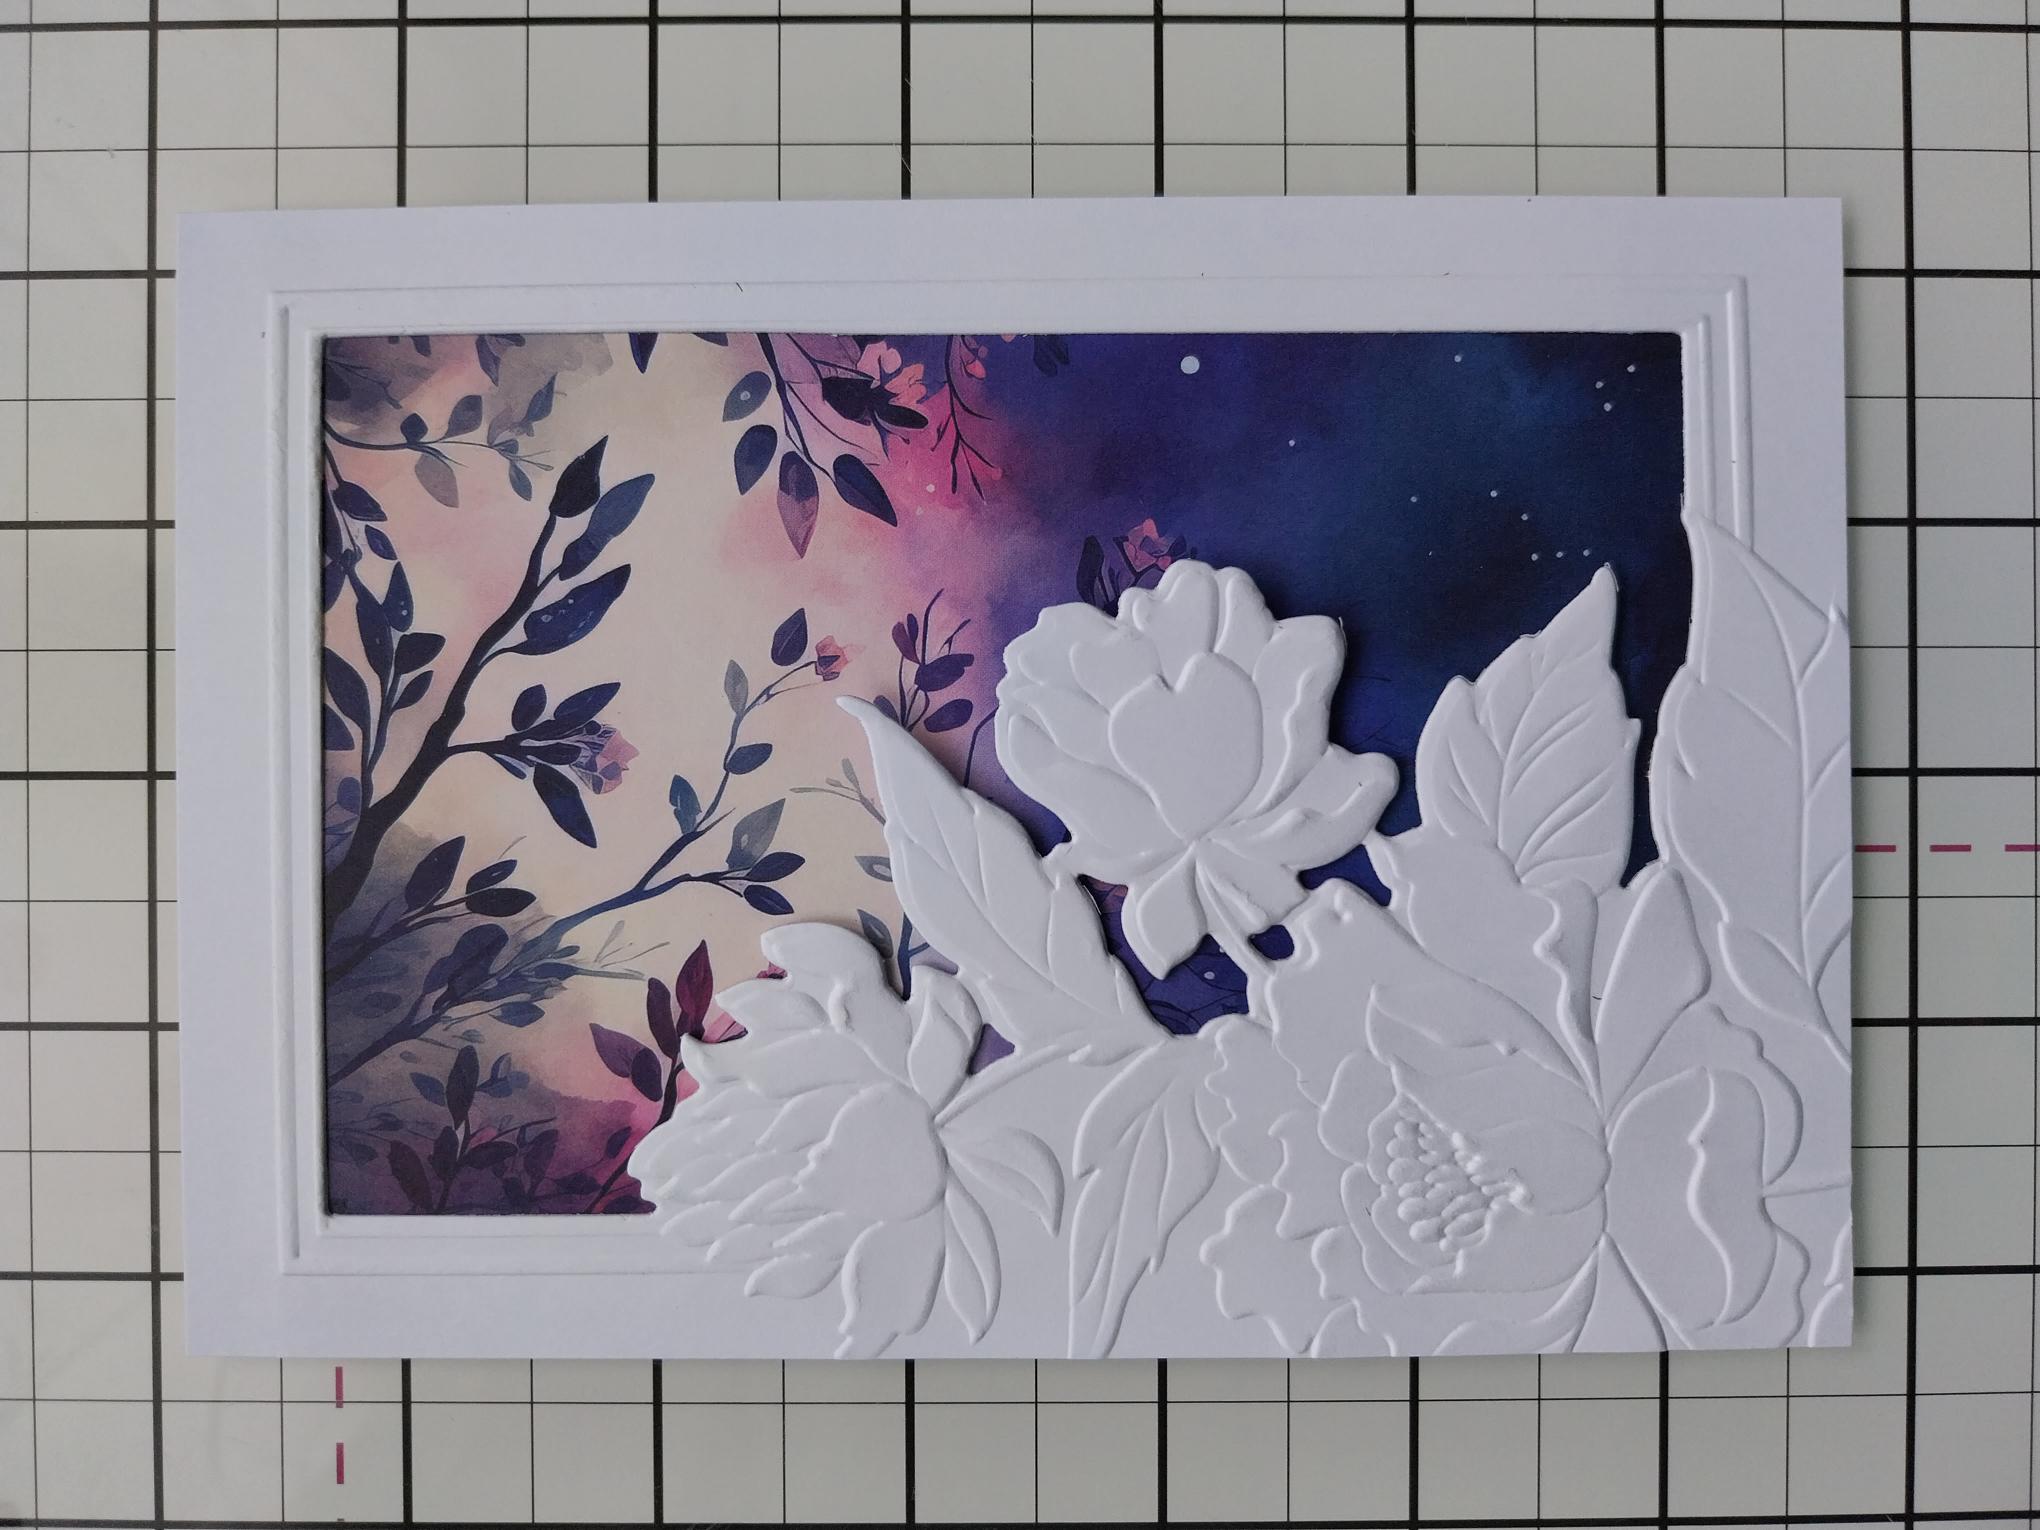
Adhere your embossed frame on to the decorative paper, leaving the protruding floral elements free from glue, so you can mould and lift to create dimension. |
|
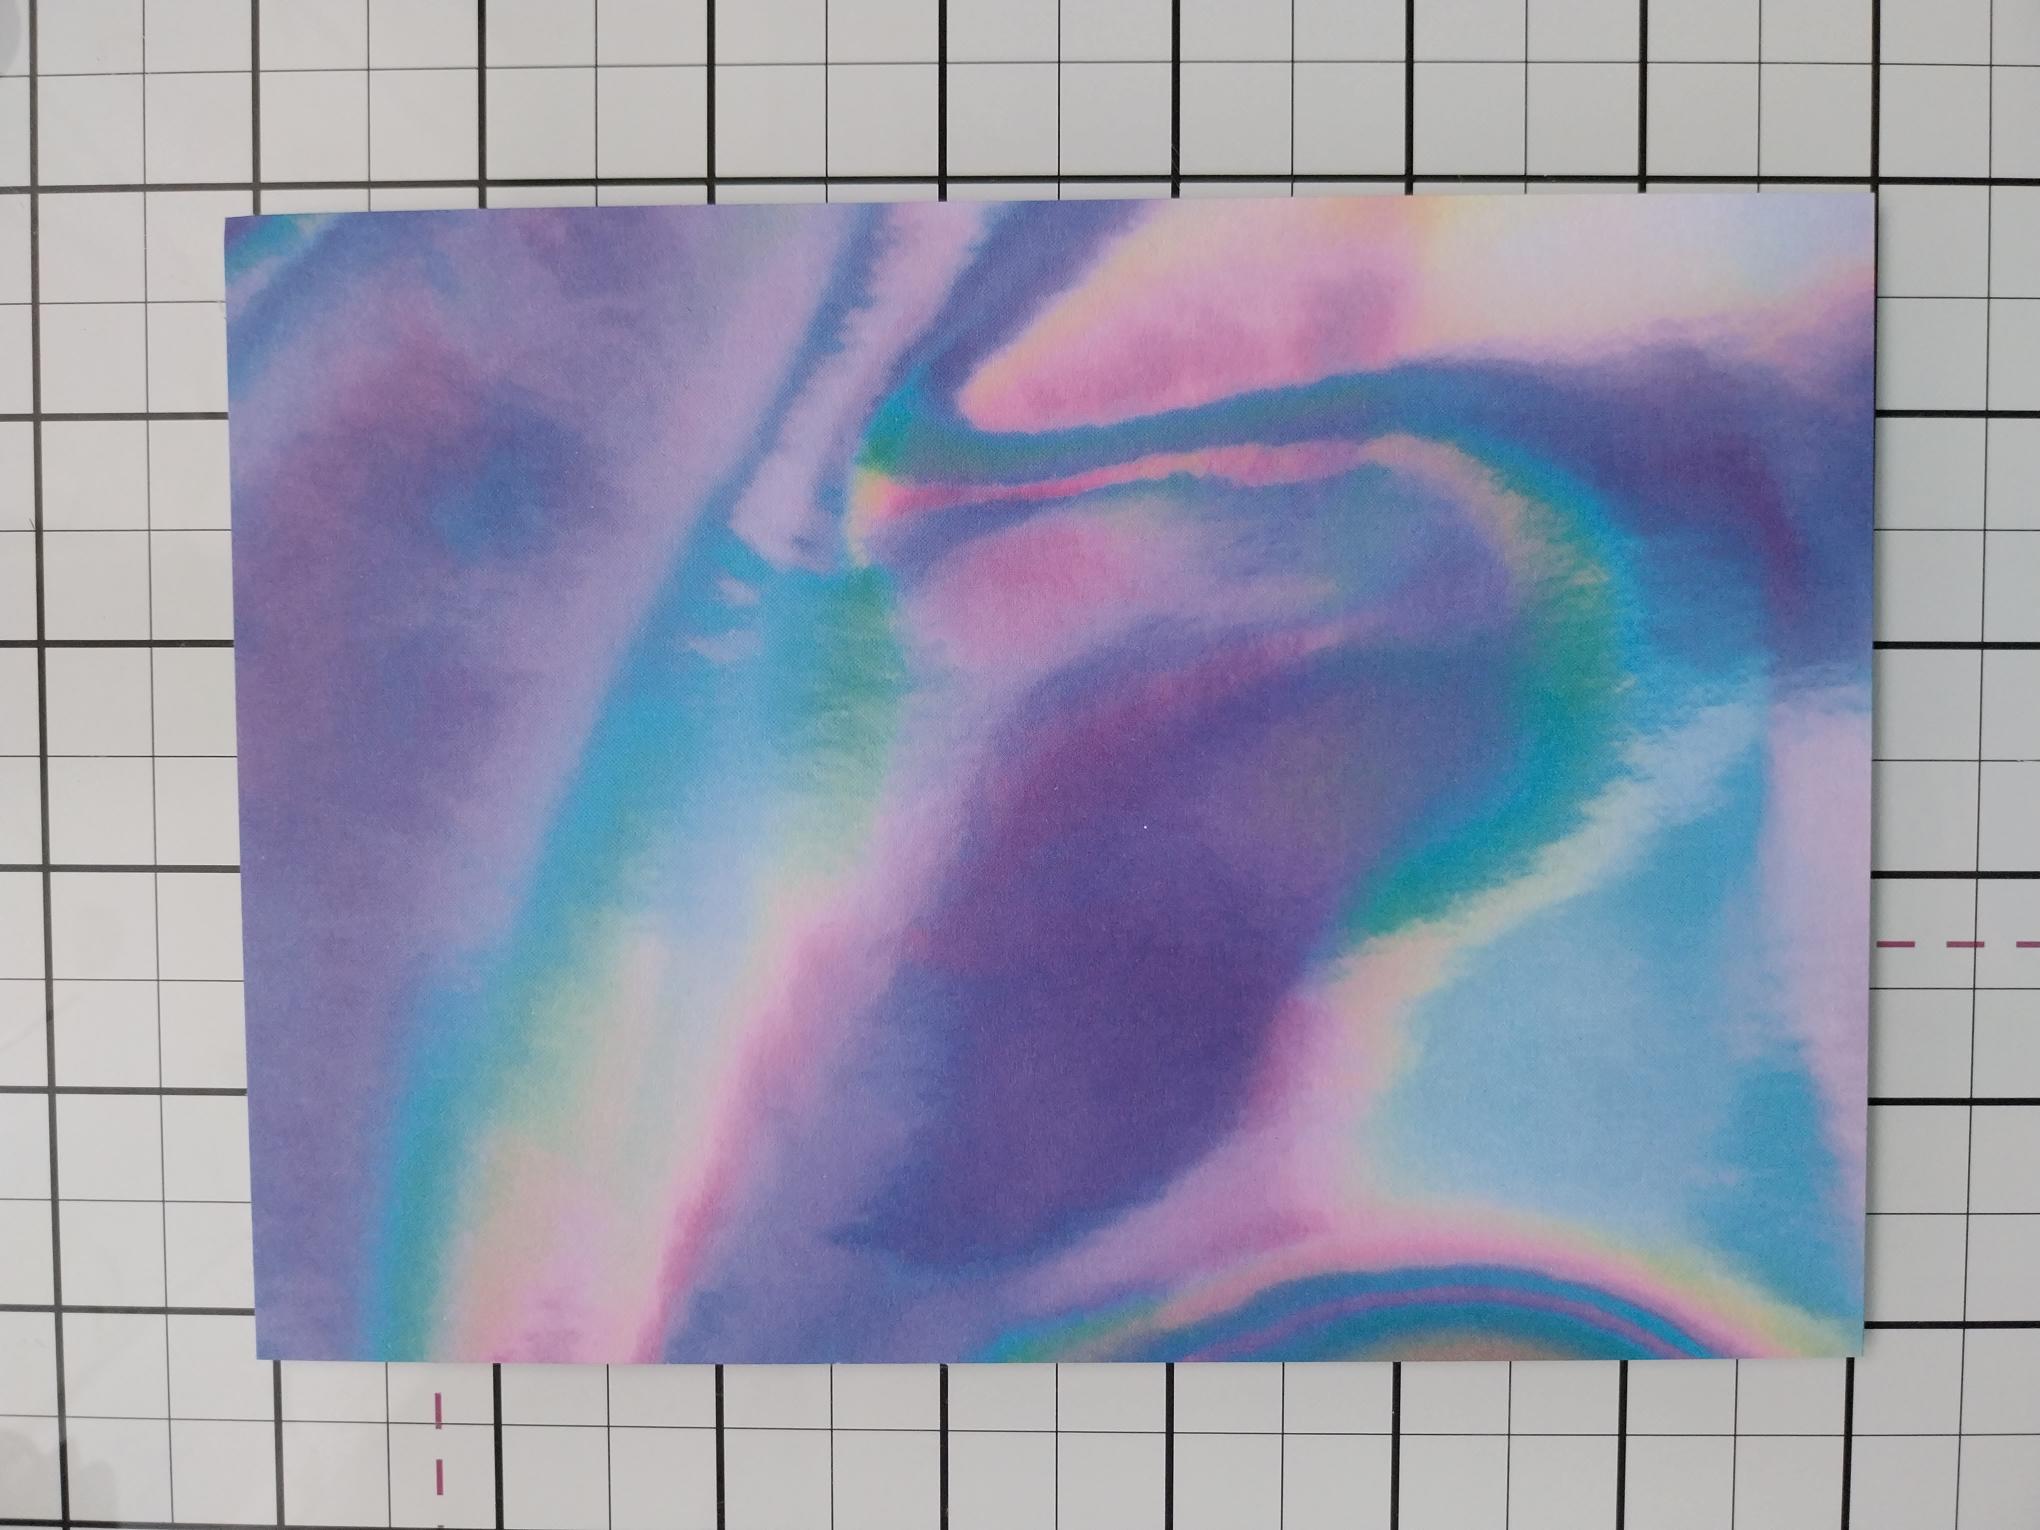
Trim this decorative sheet, from the Holographic paper pack, to 7 x 5". |
|
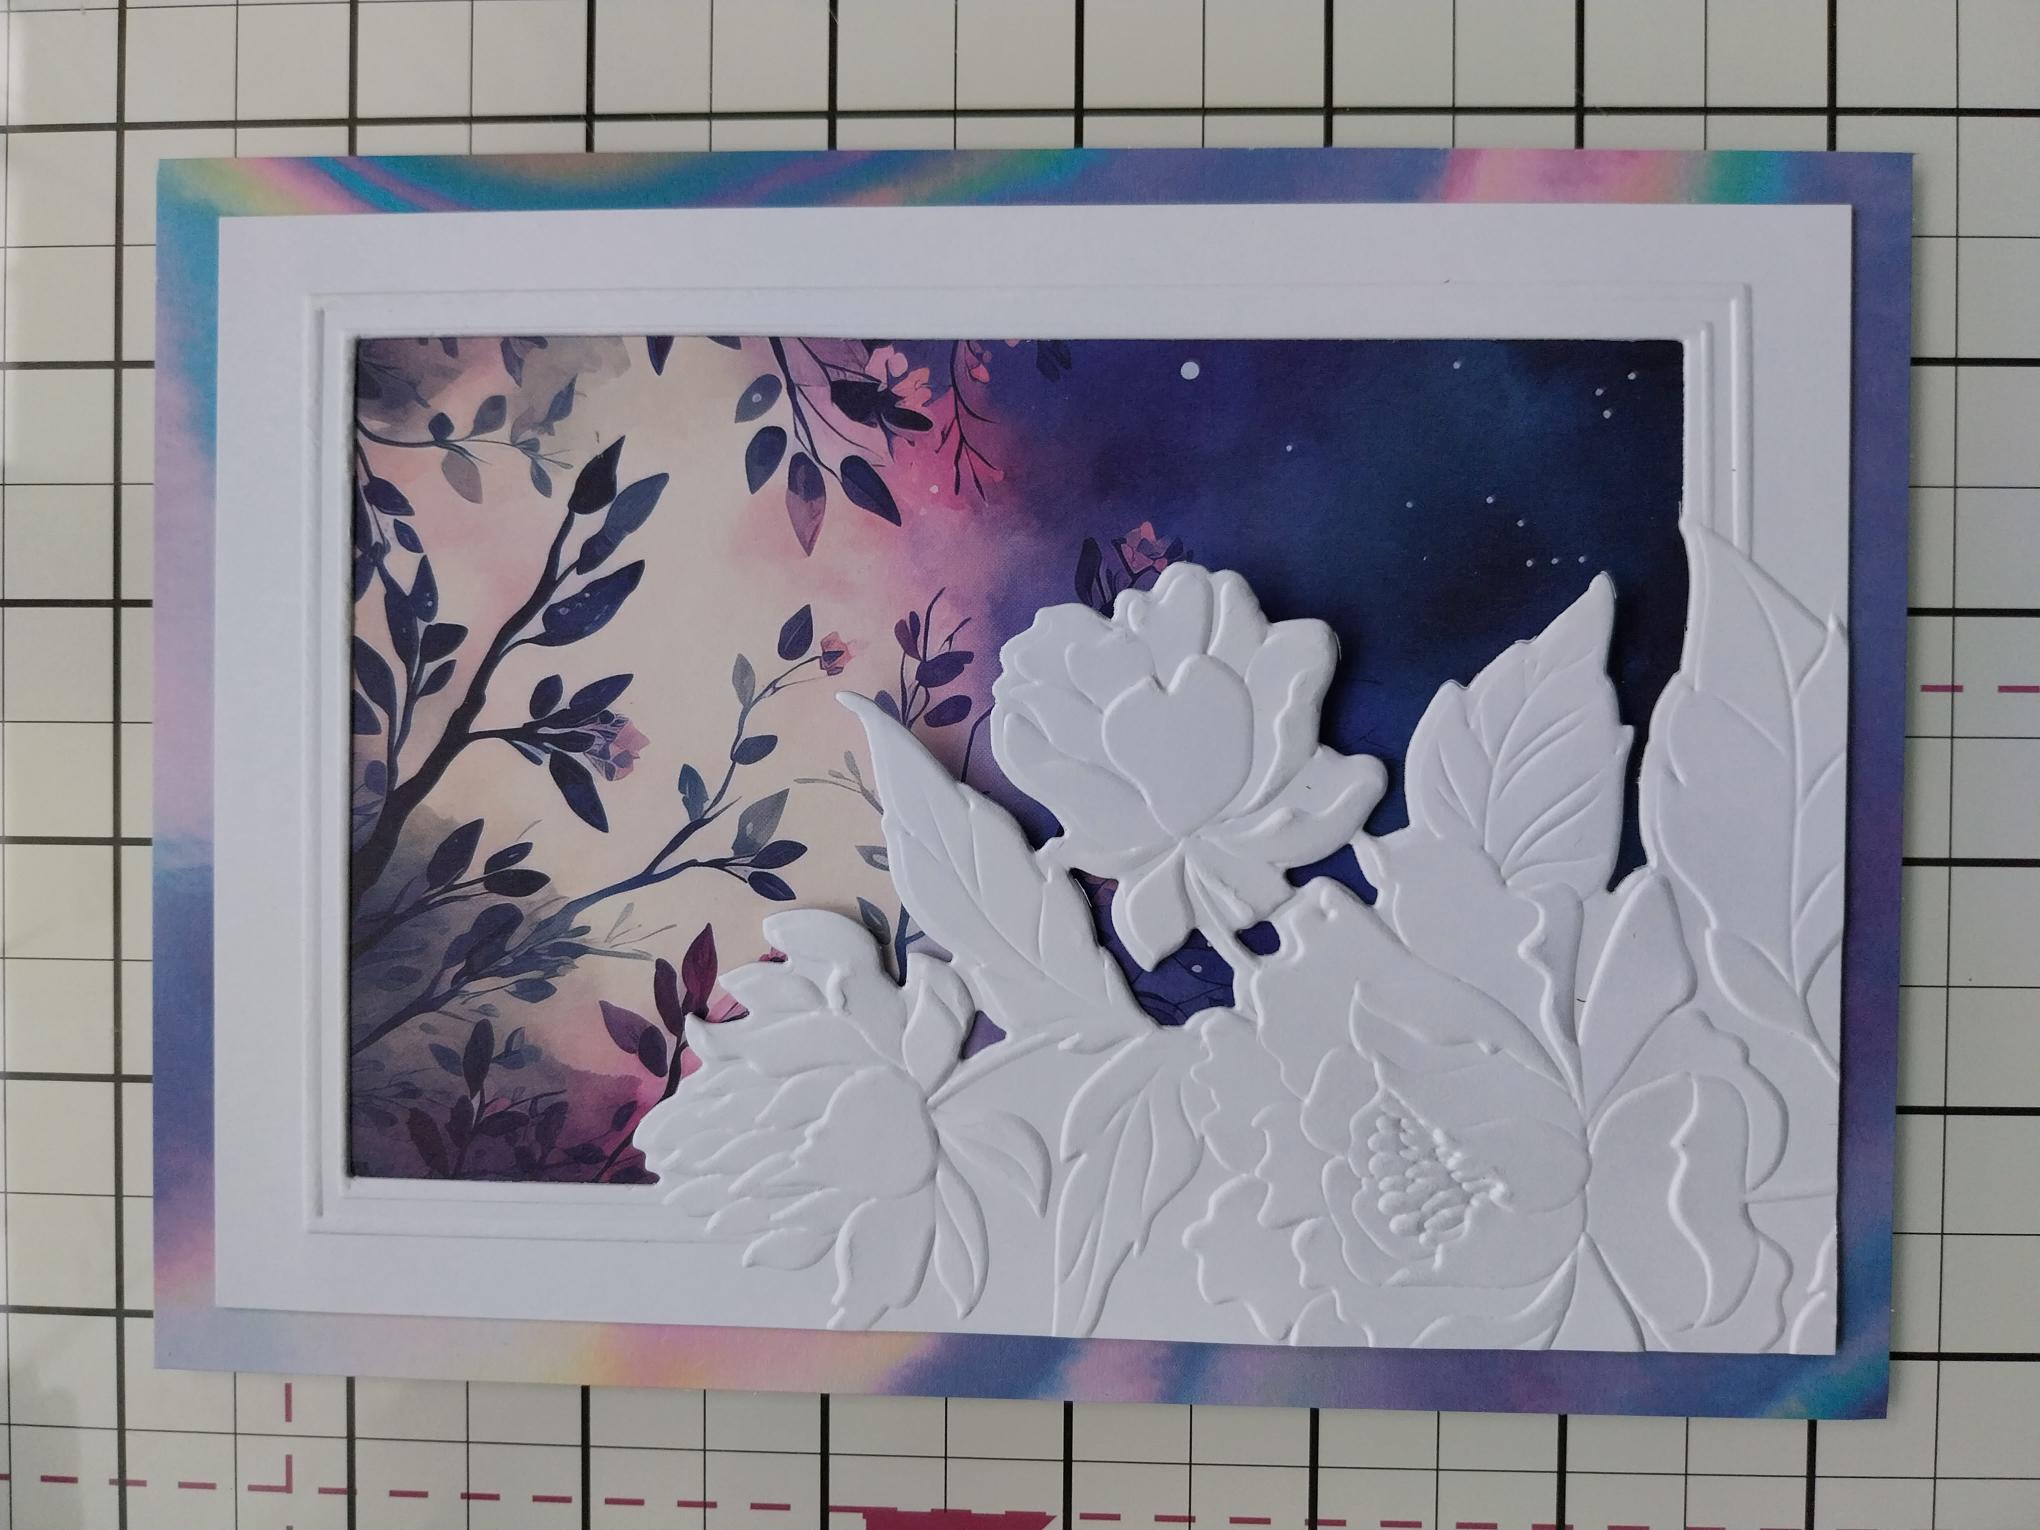
Mat your embossed frame on to the holographic paper. |
|
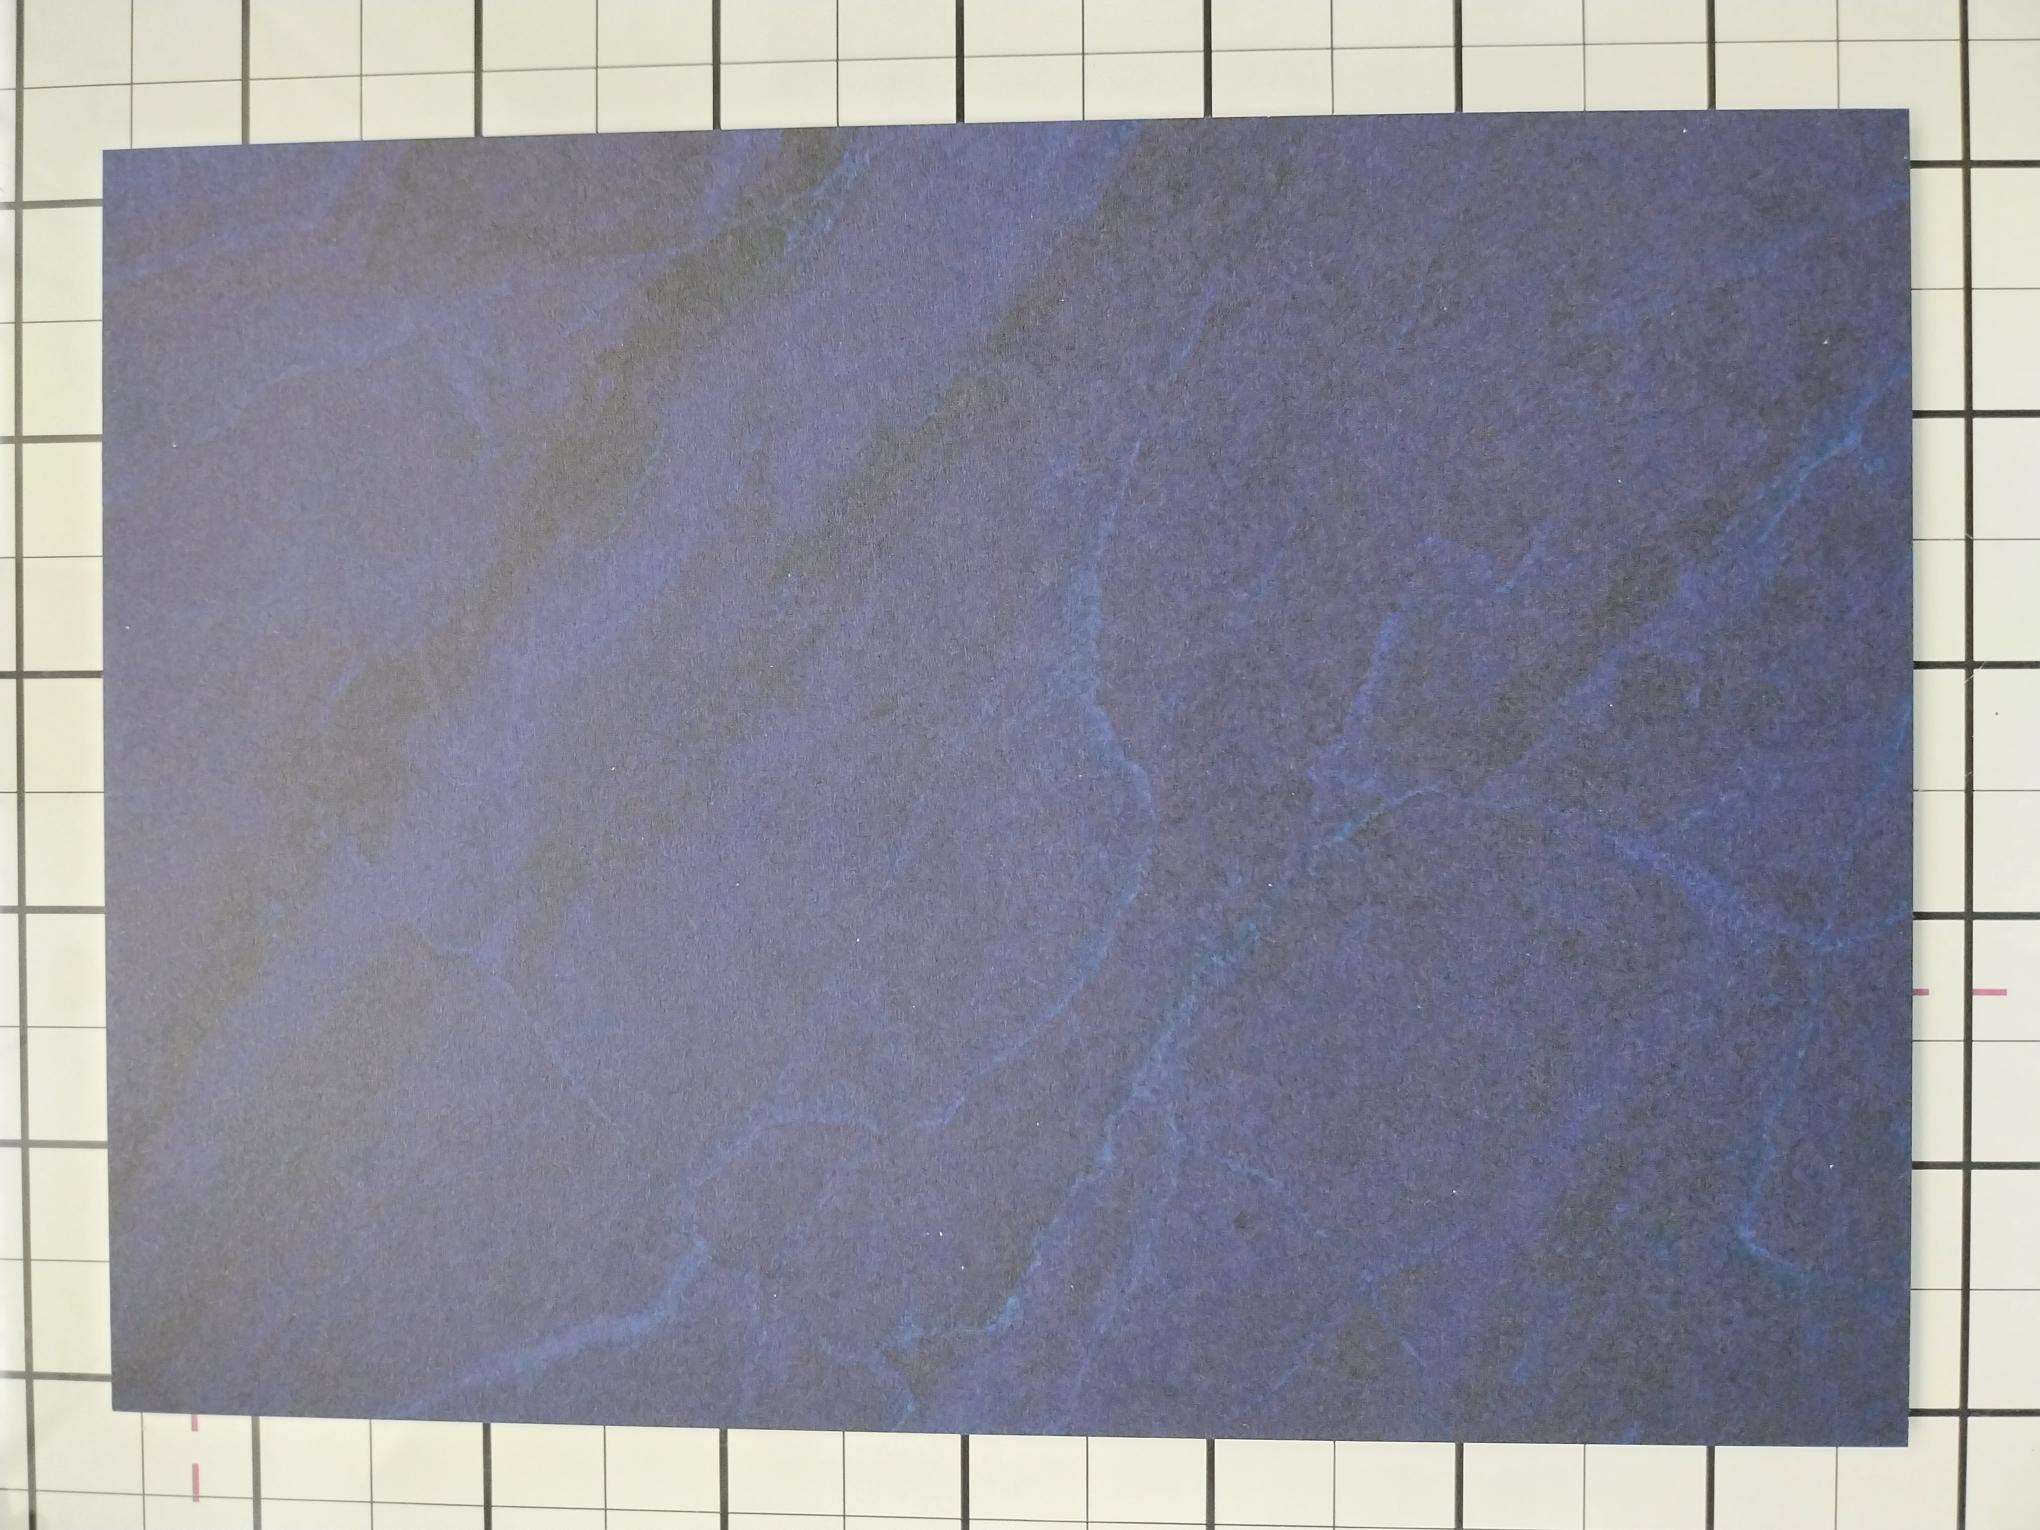
Trim this decorative paper, from the Royal Blue paper pack, to 7 1/4 x 5 1/4". |
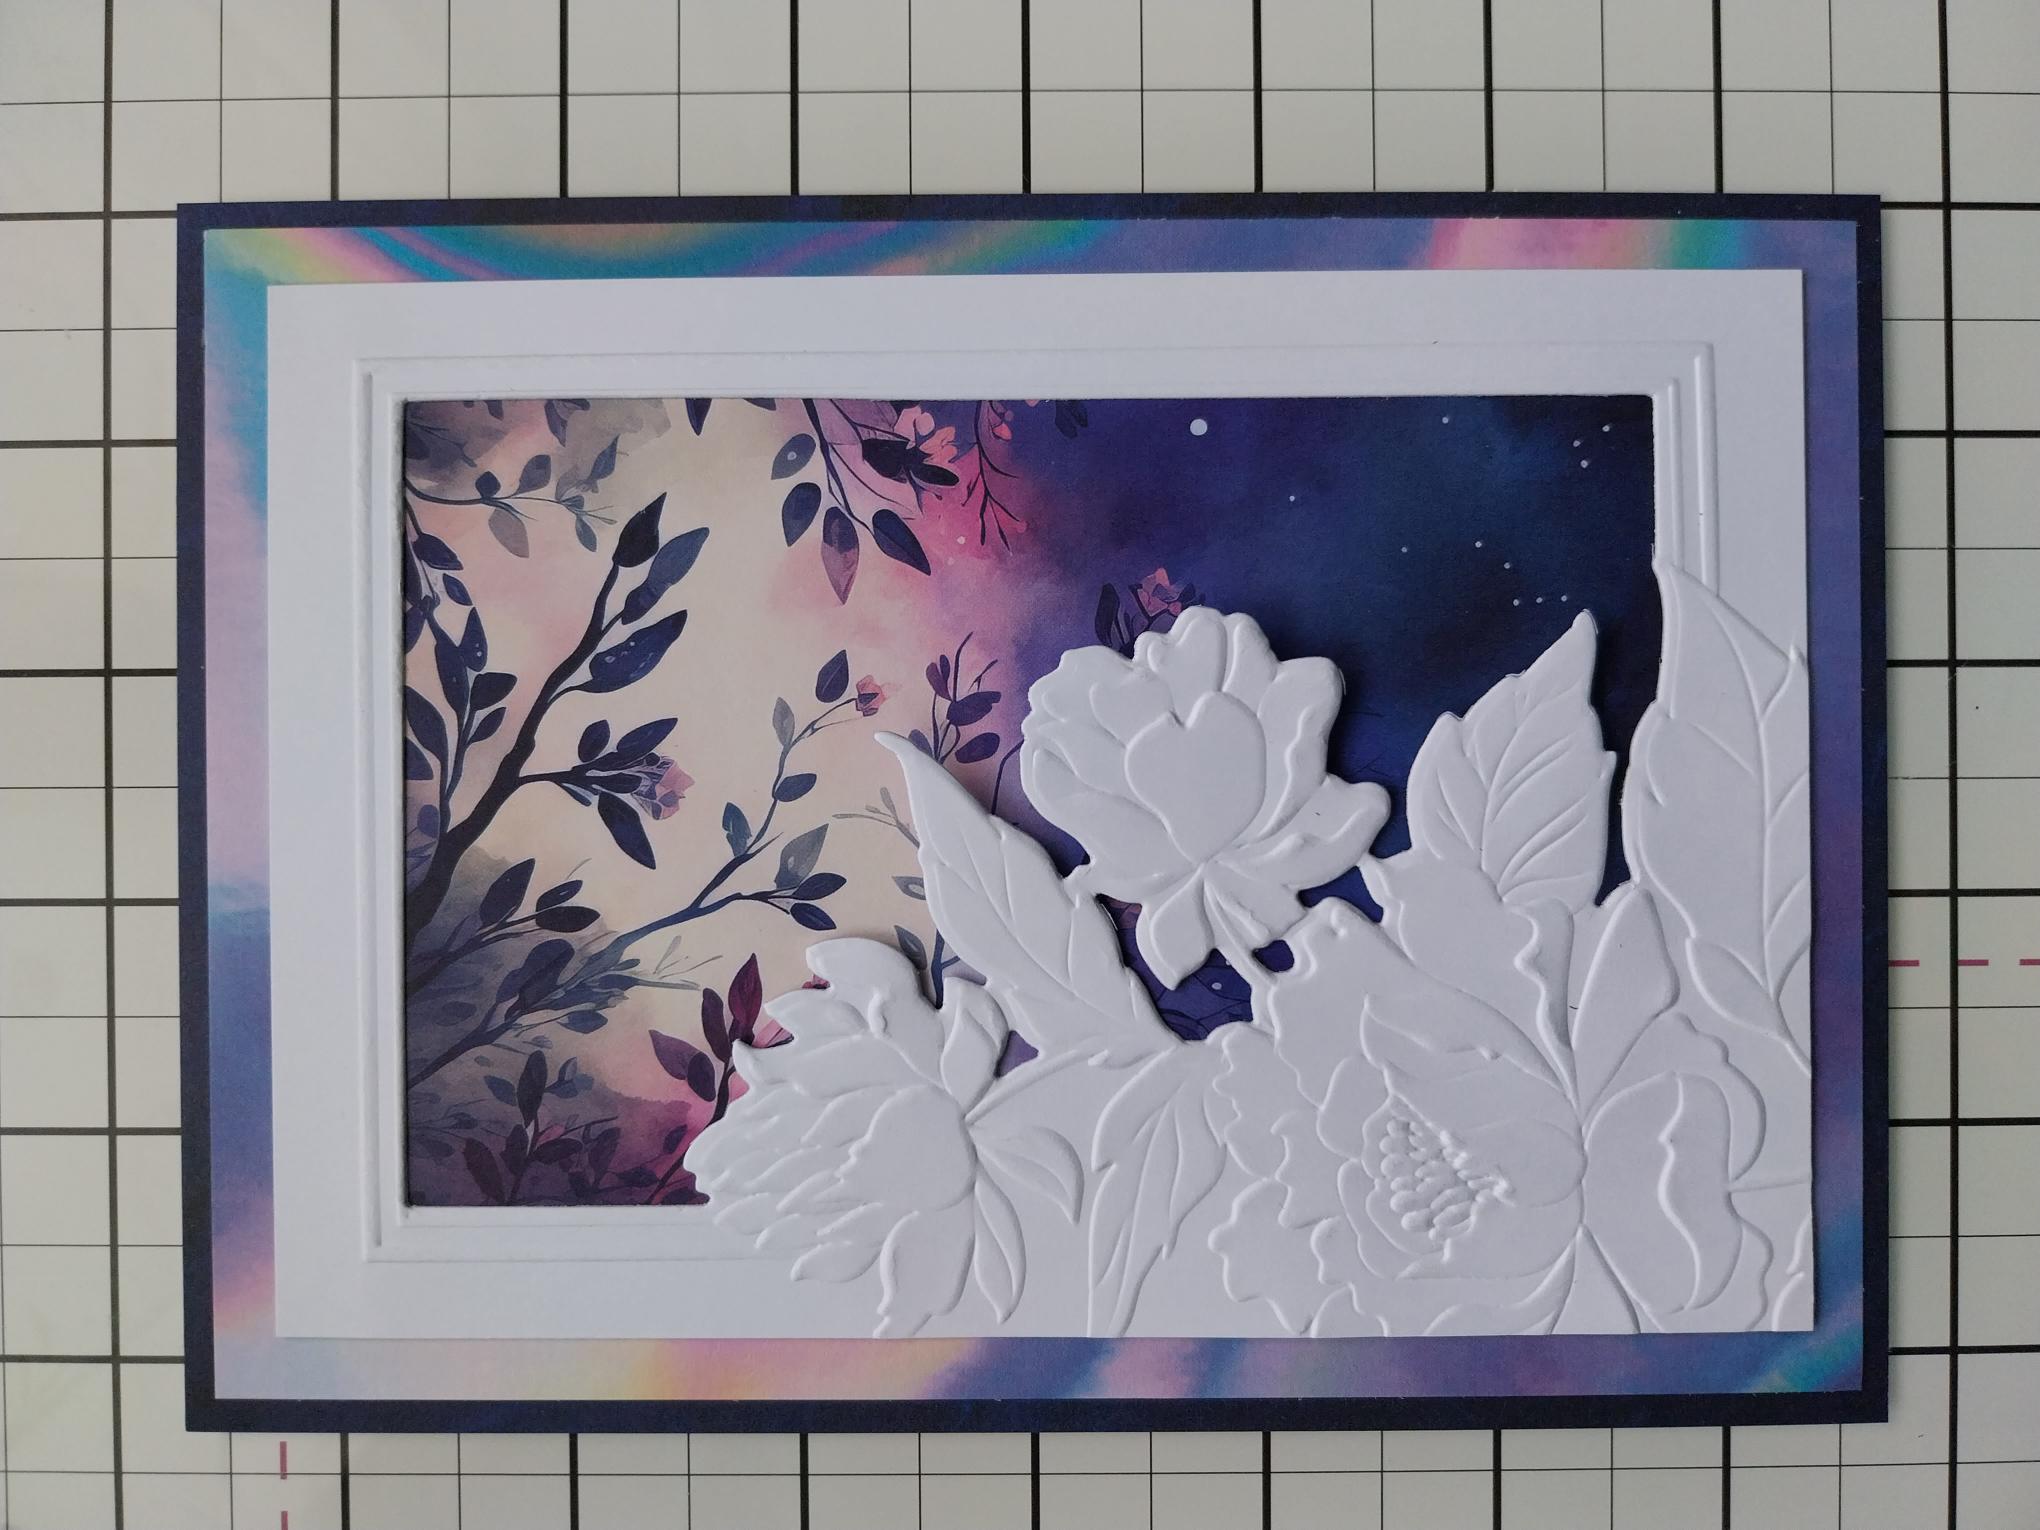
|
Mat your project on to the decorative blue paper. |
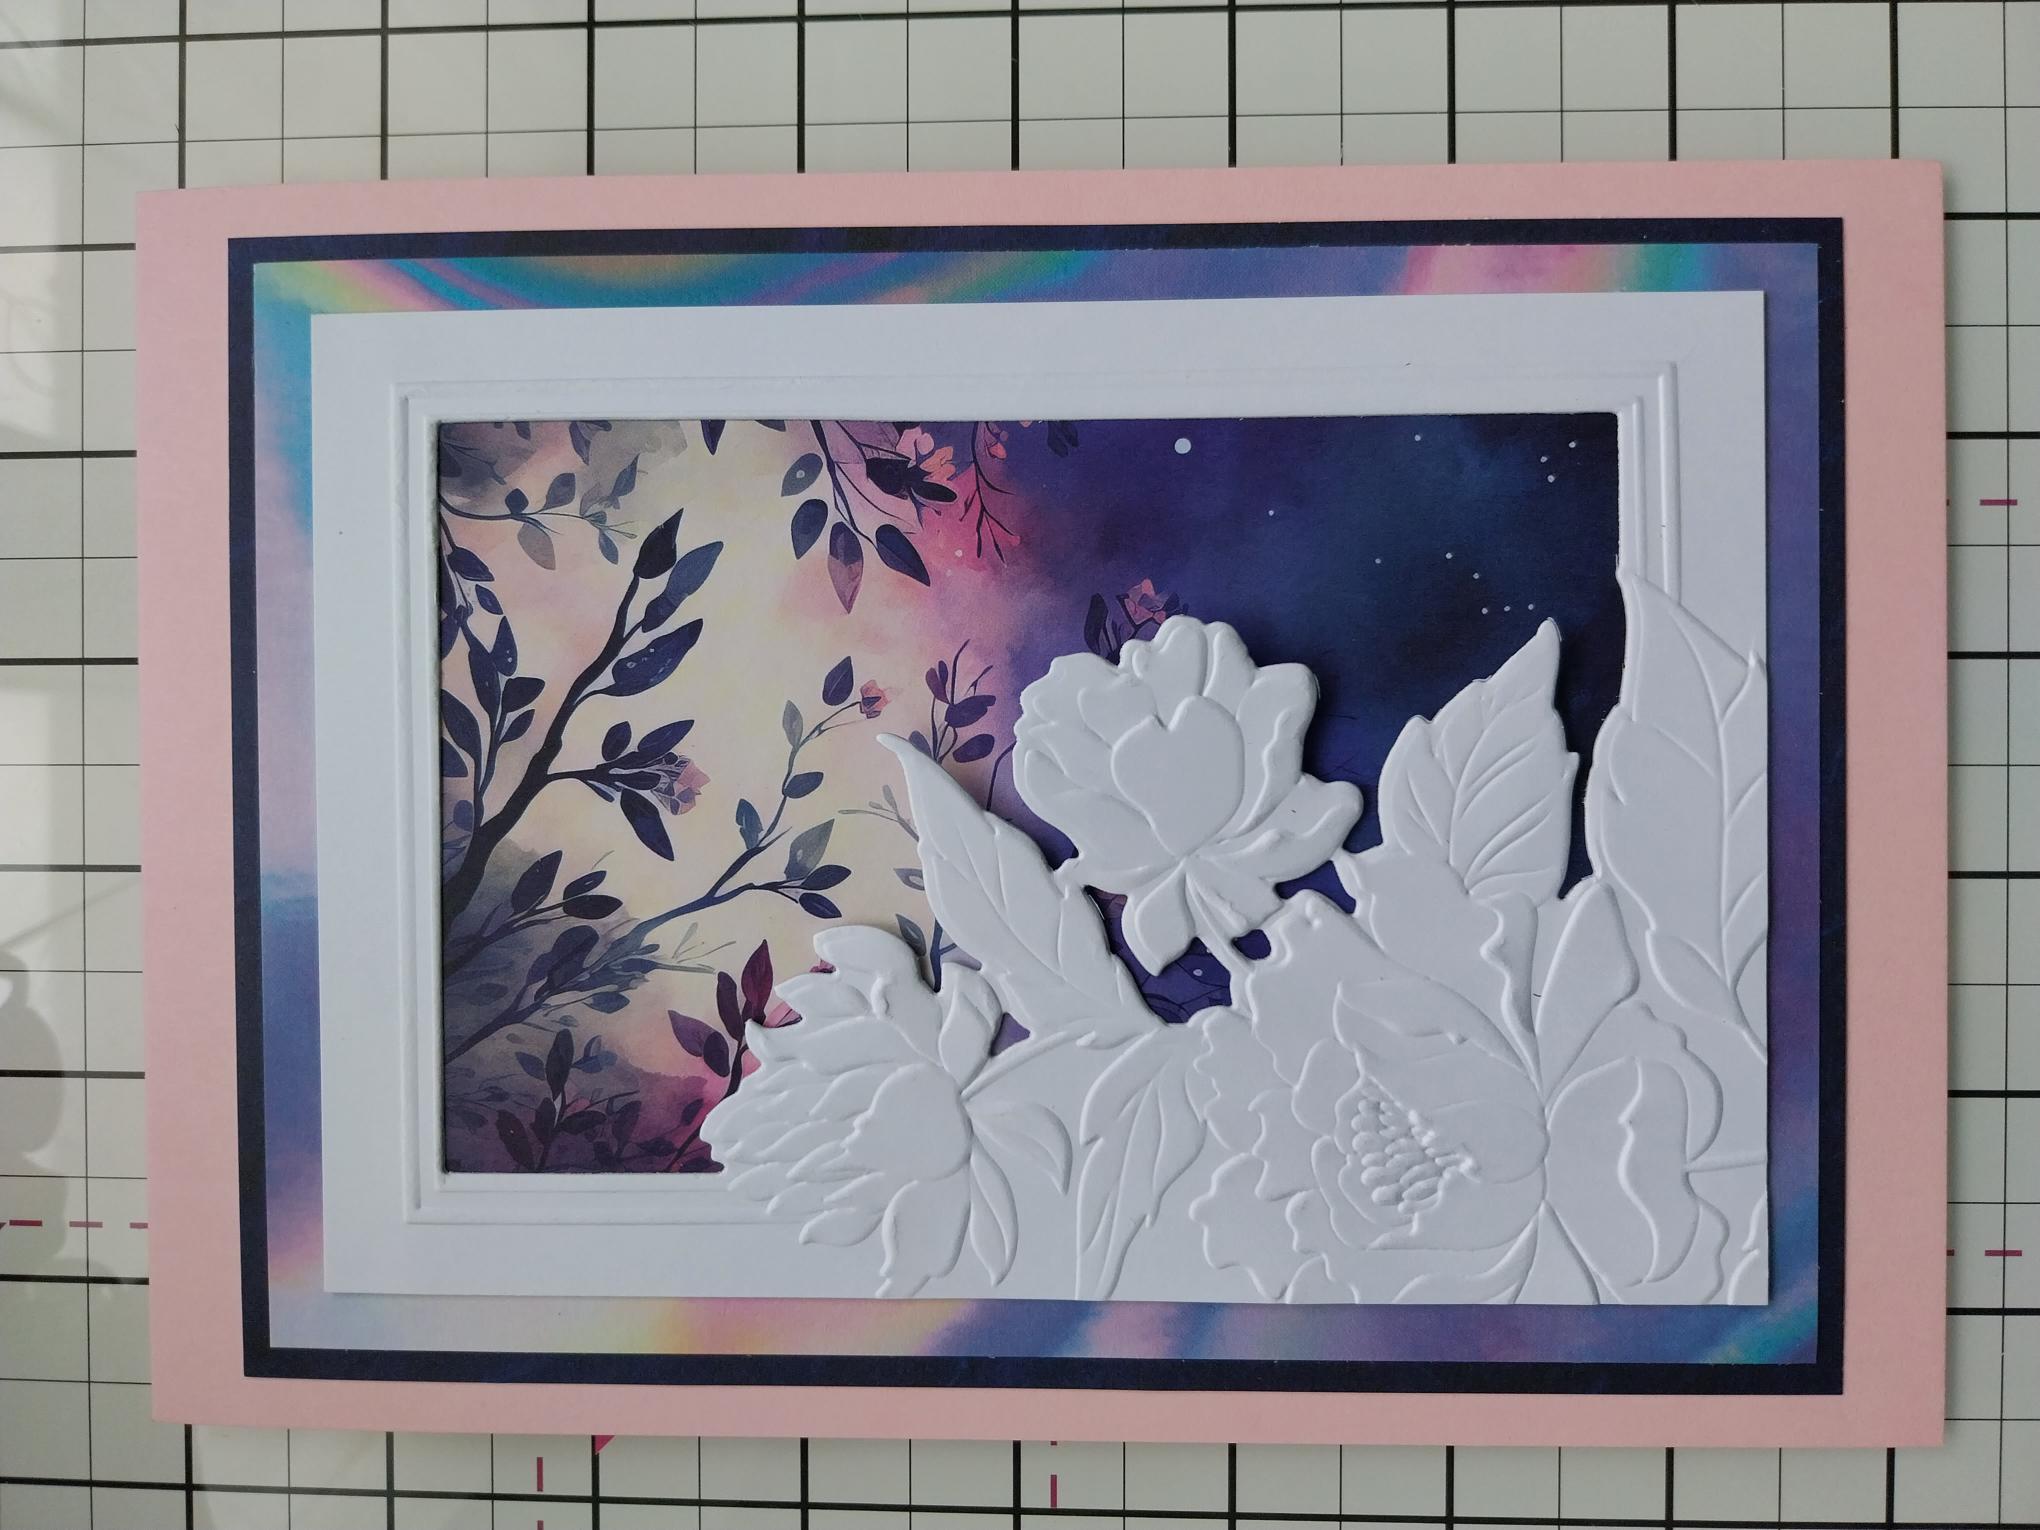
|
Adhere to the front of your pink, top folding card blank. |
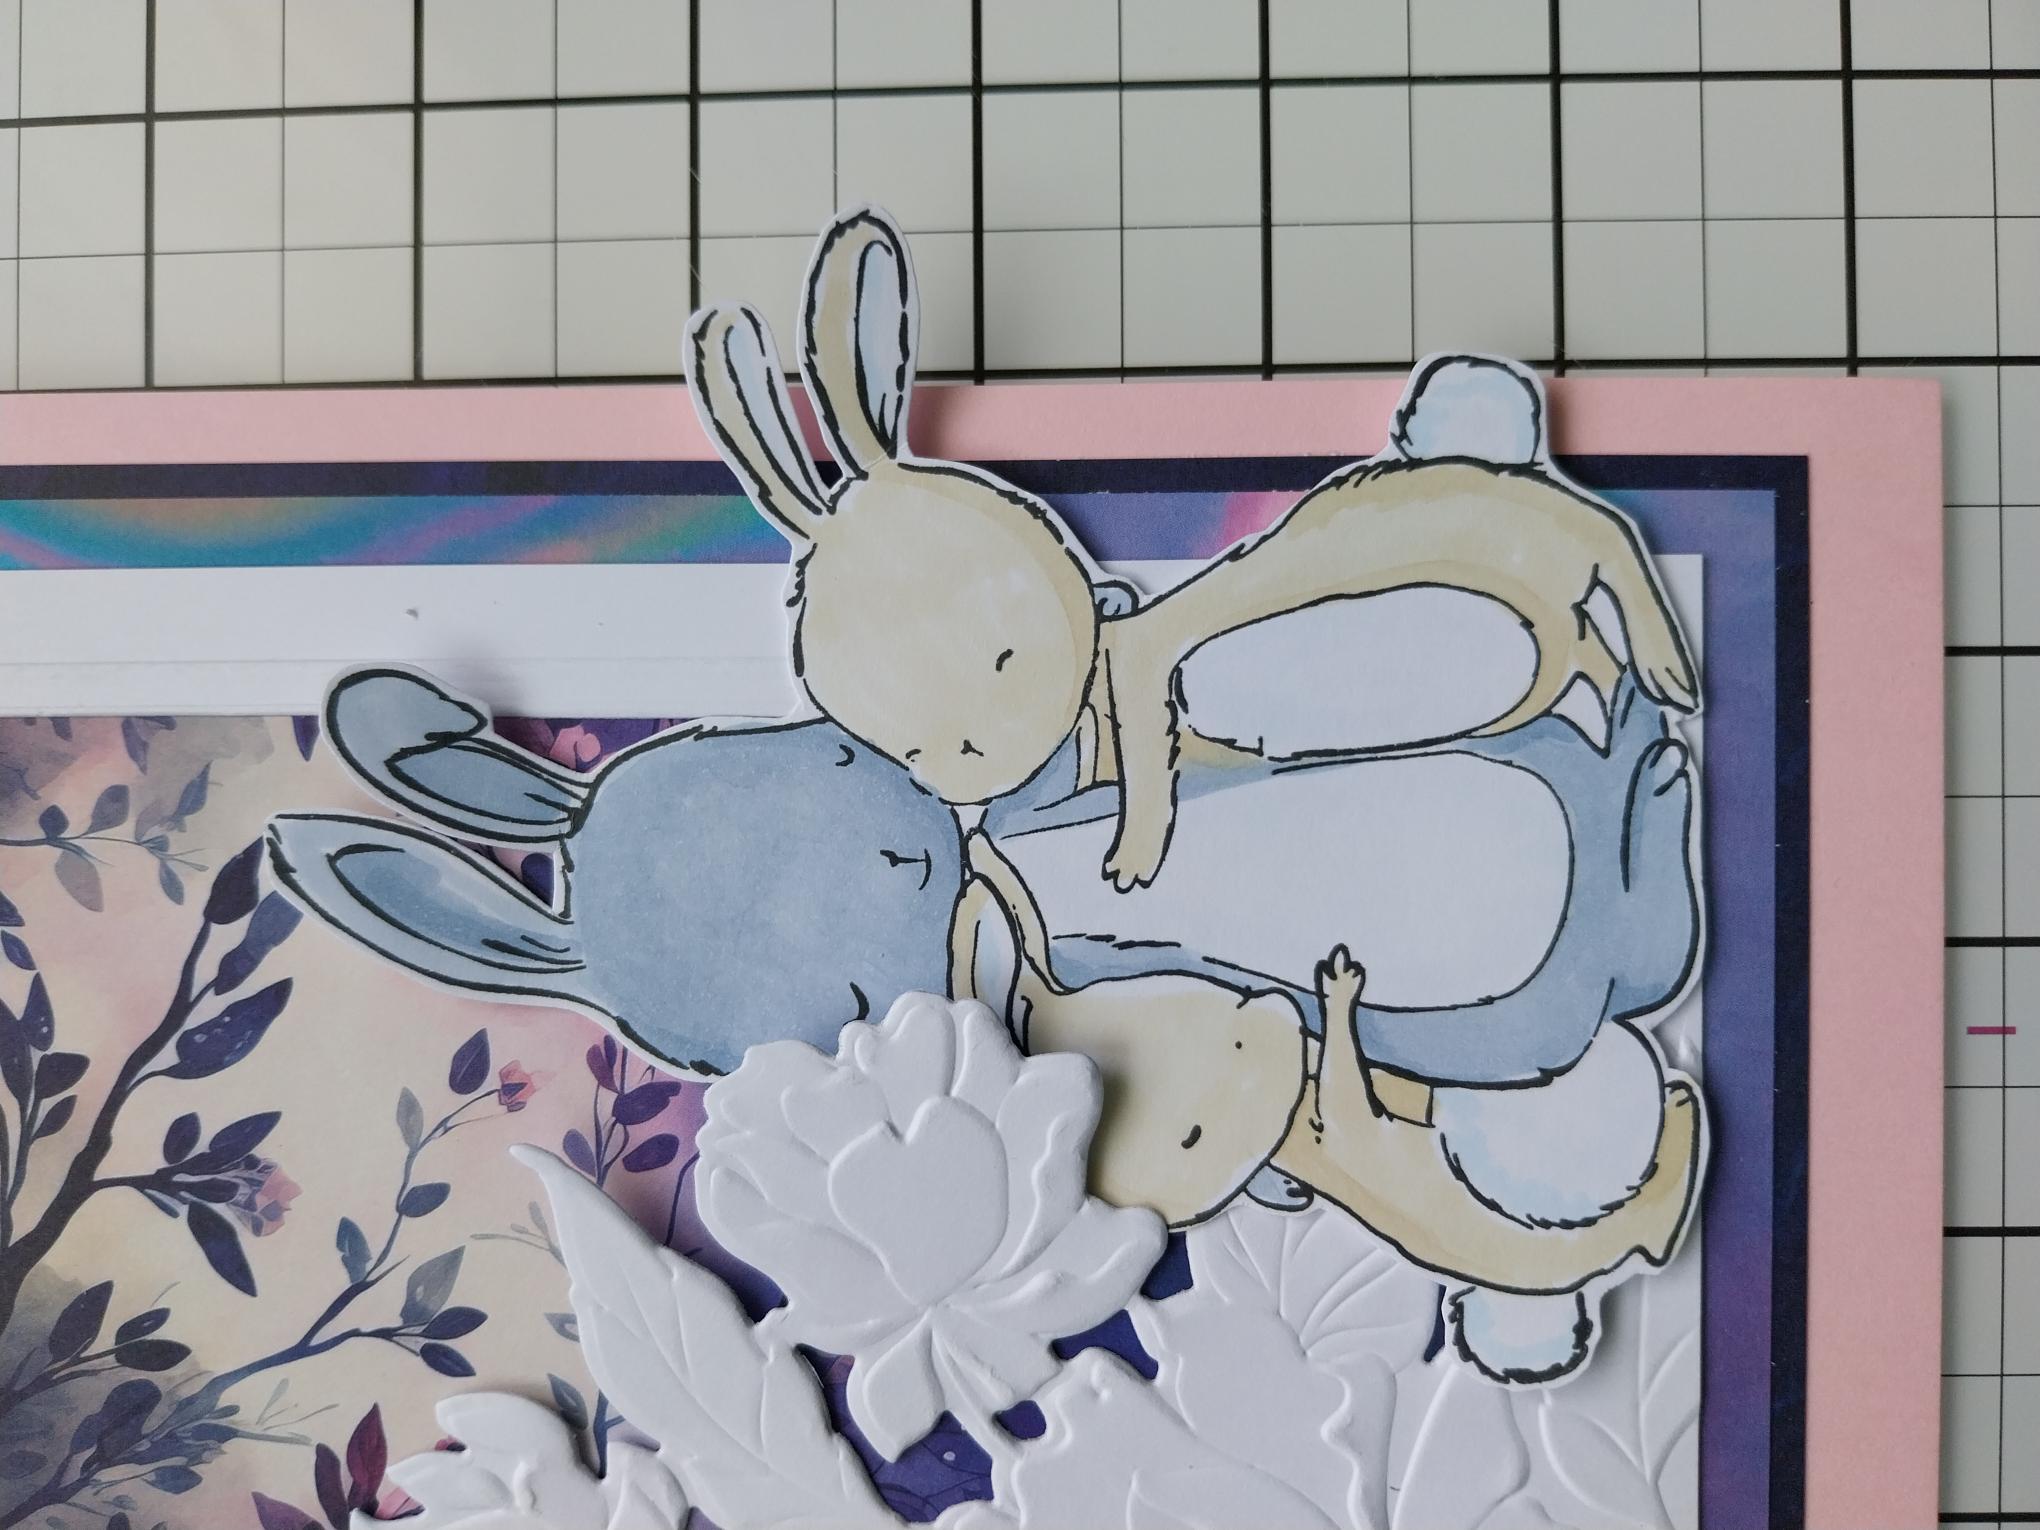
|
Adhere your bunnies, with foam pads, so they are tucked just behind one of the floral elements. Pop your card to one side. |
|
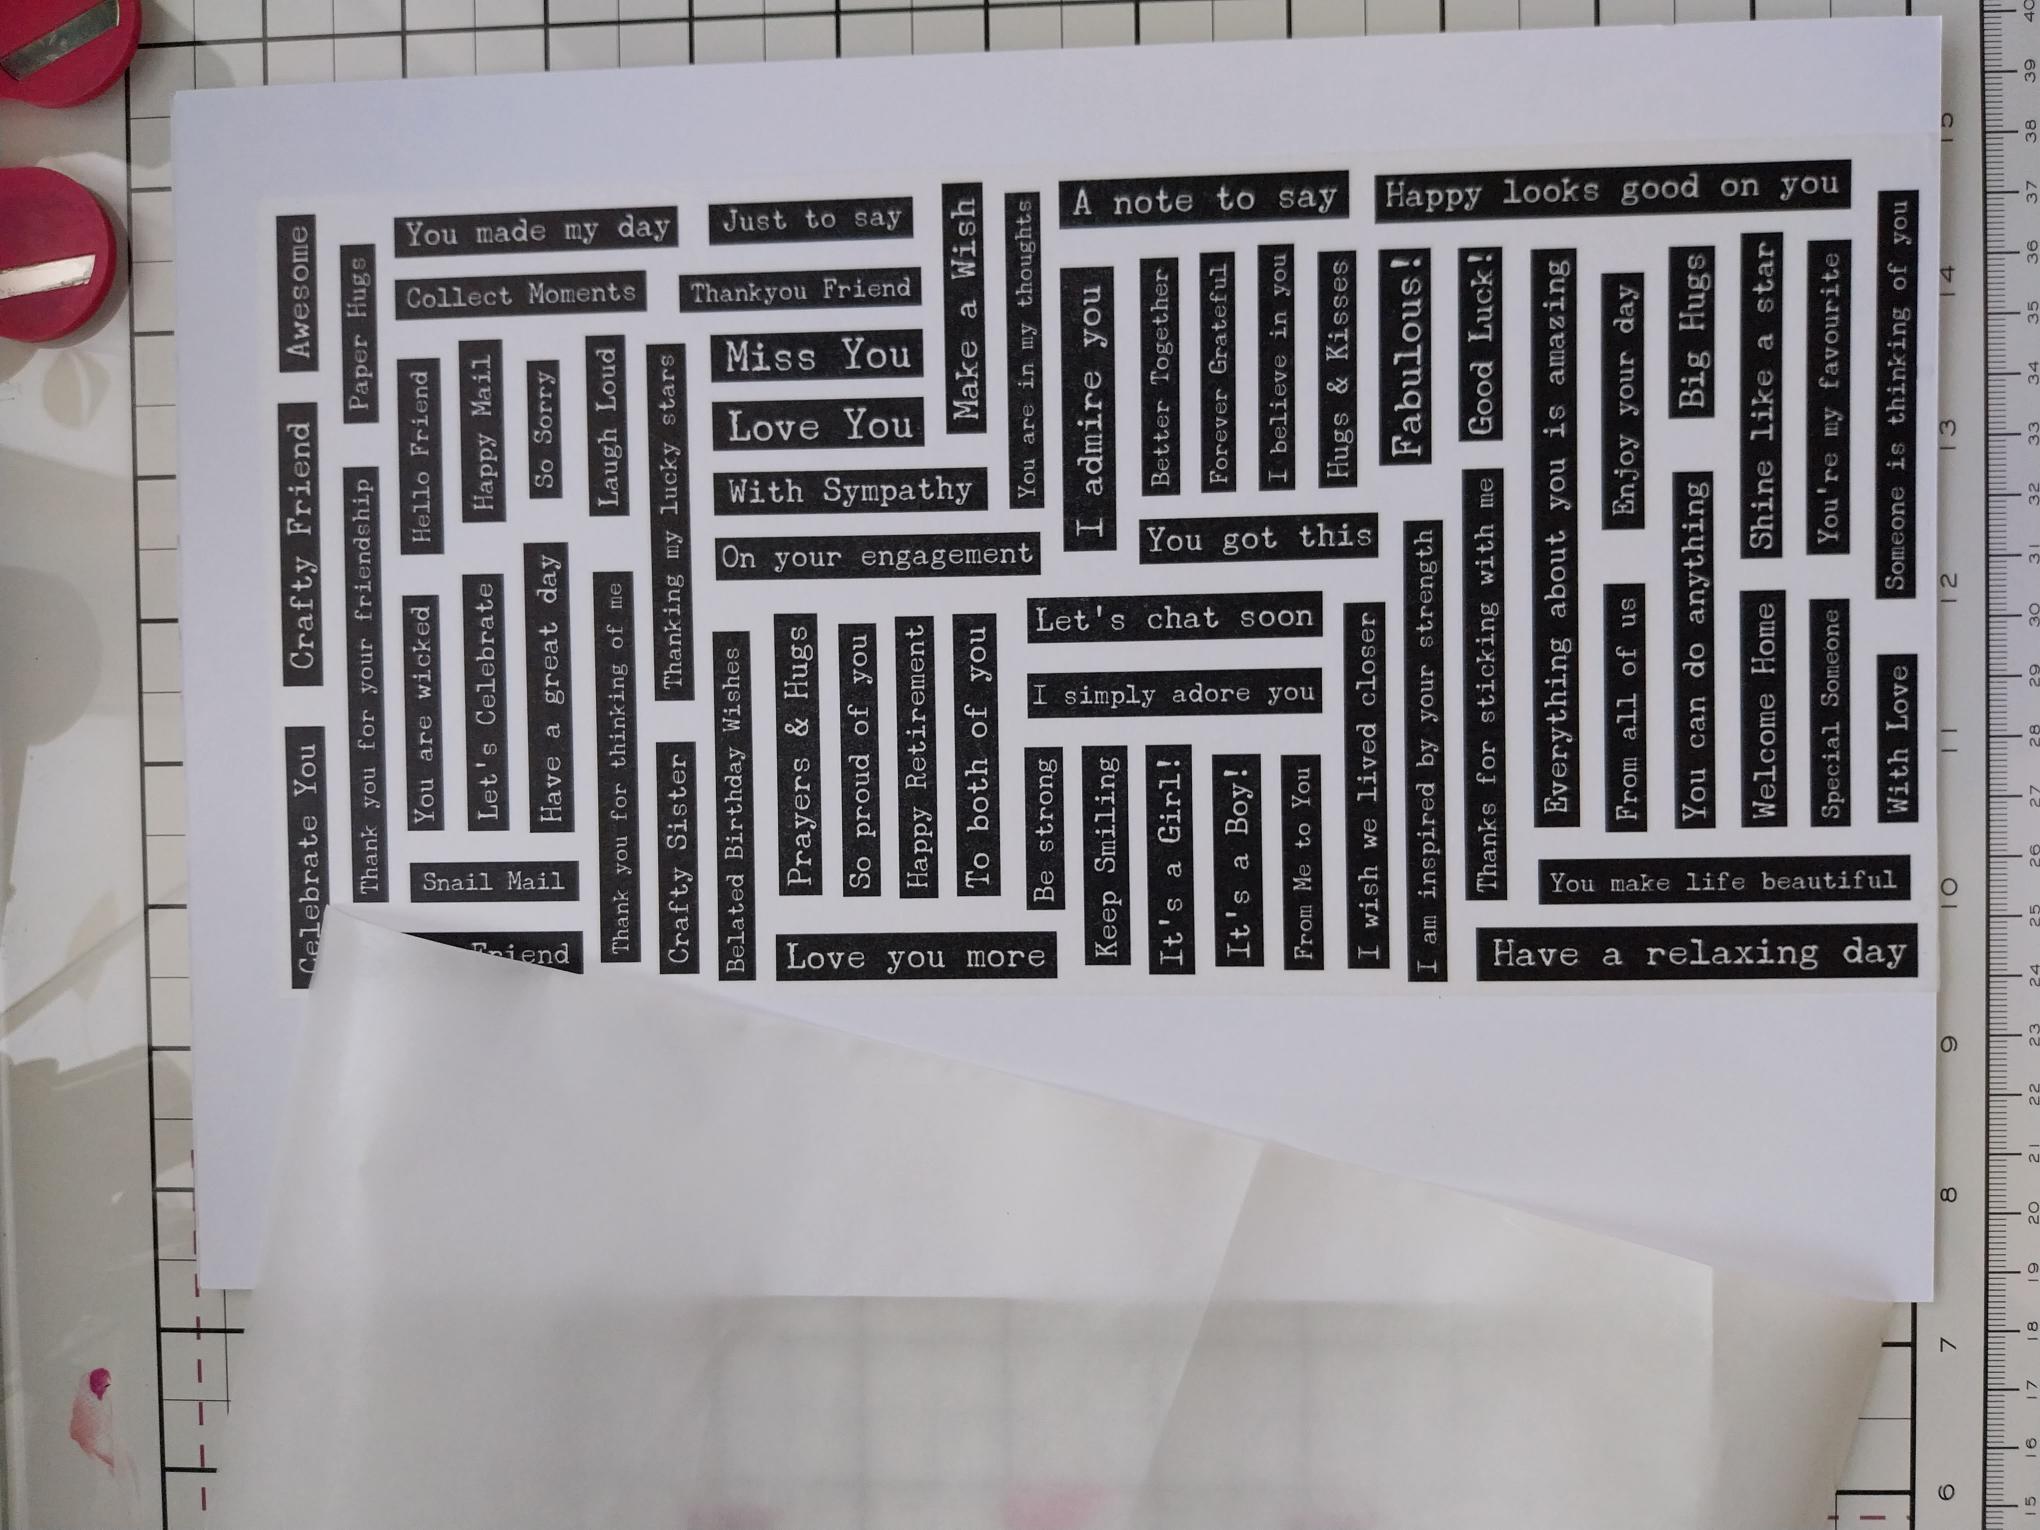
Using the dies as a guide, cut ONE drop from the typewriter washi roll. Lift up the backing sheet along one end of the tape and adhere across the top of an A4 sheet of white card. Slowly peel away the backing, as you use your hand to smooth the washi tape down on to the card. Once the backing has been fully removed, you can burnish the washi to ensure there are no air bubbles or creases. |
|
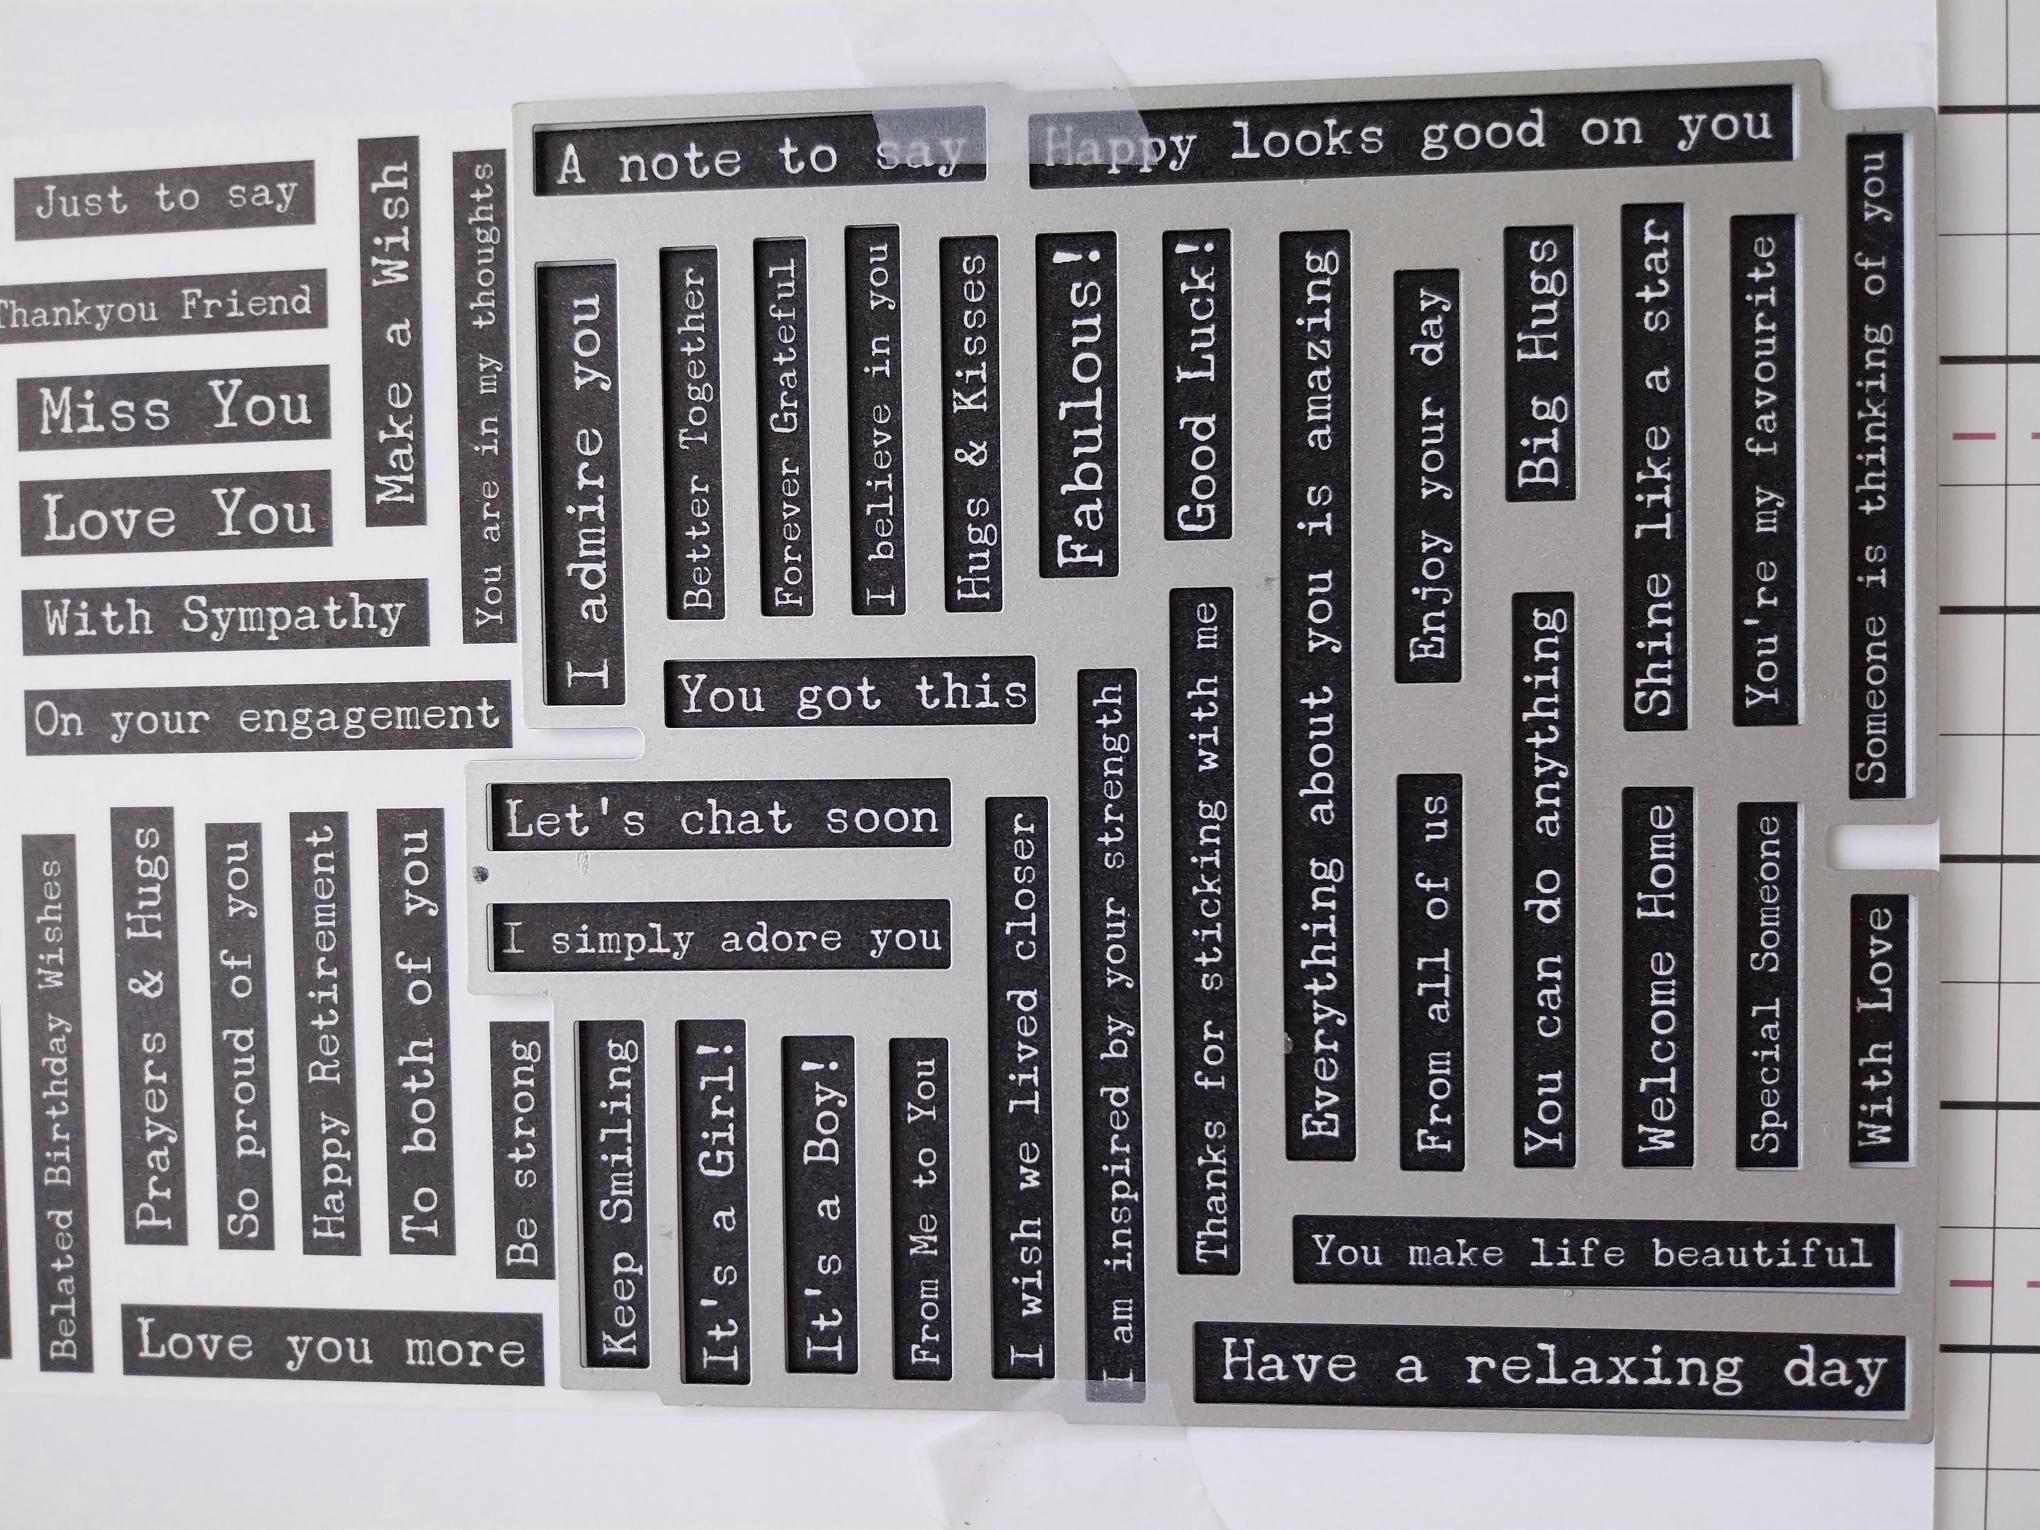
Line up ONE of the dies with the word tabs and run through your machine. |
|
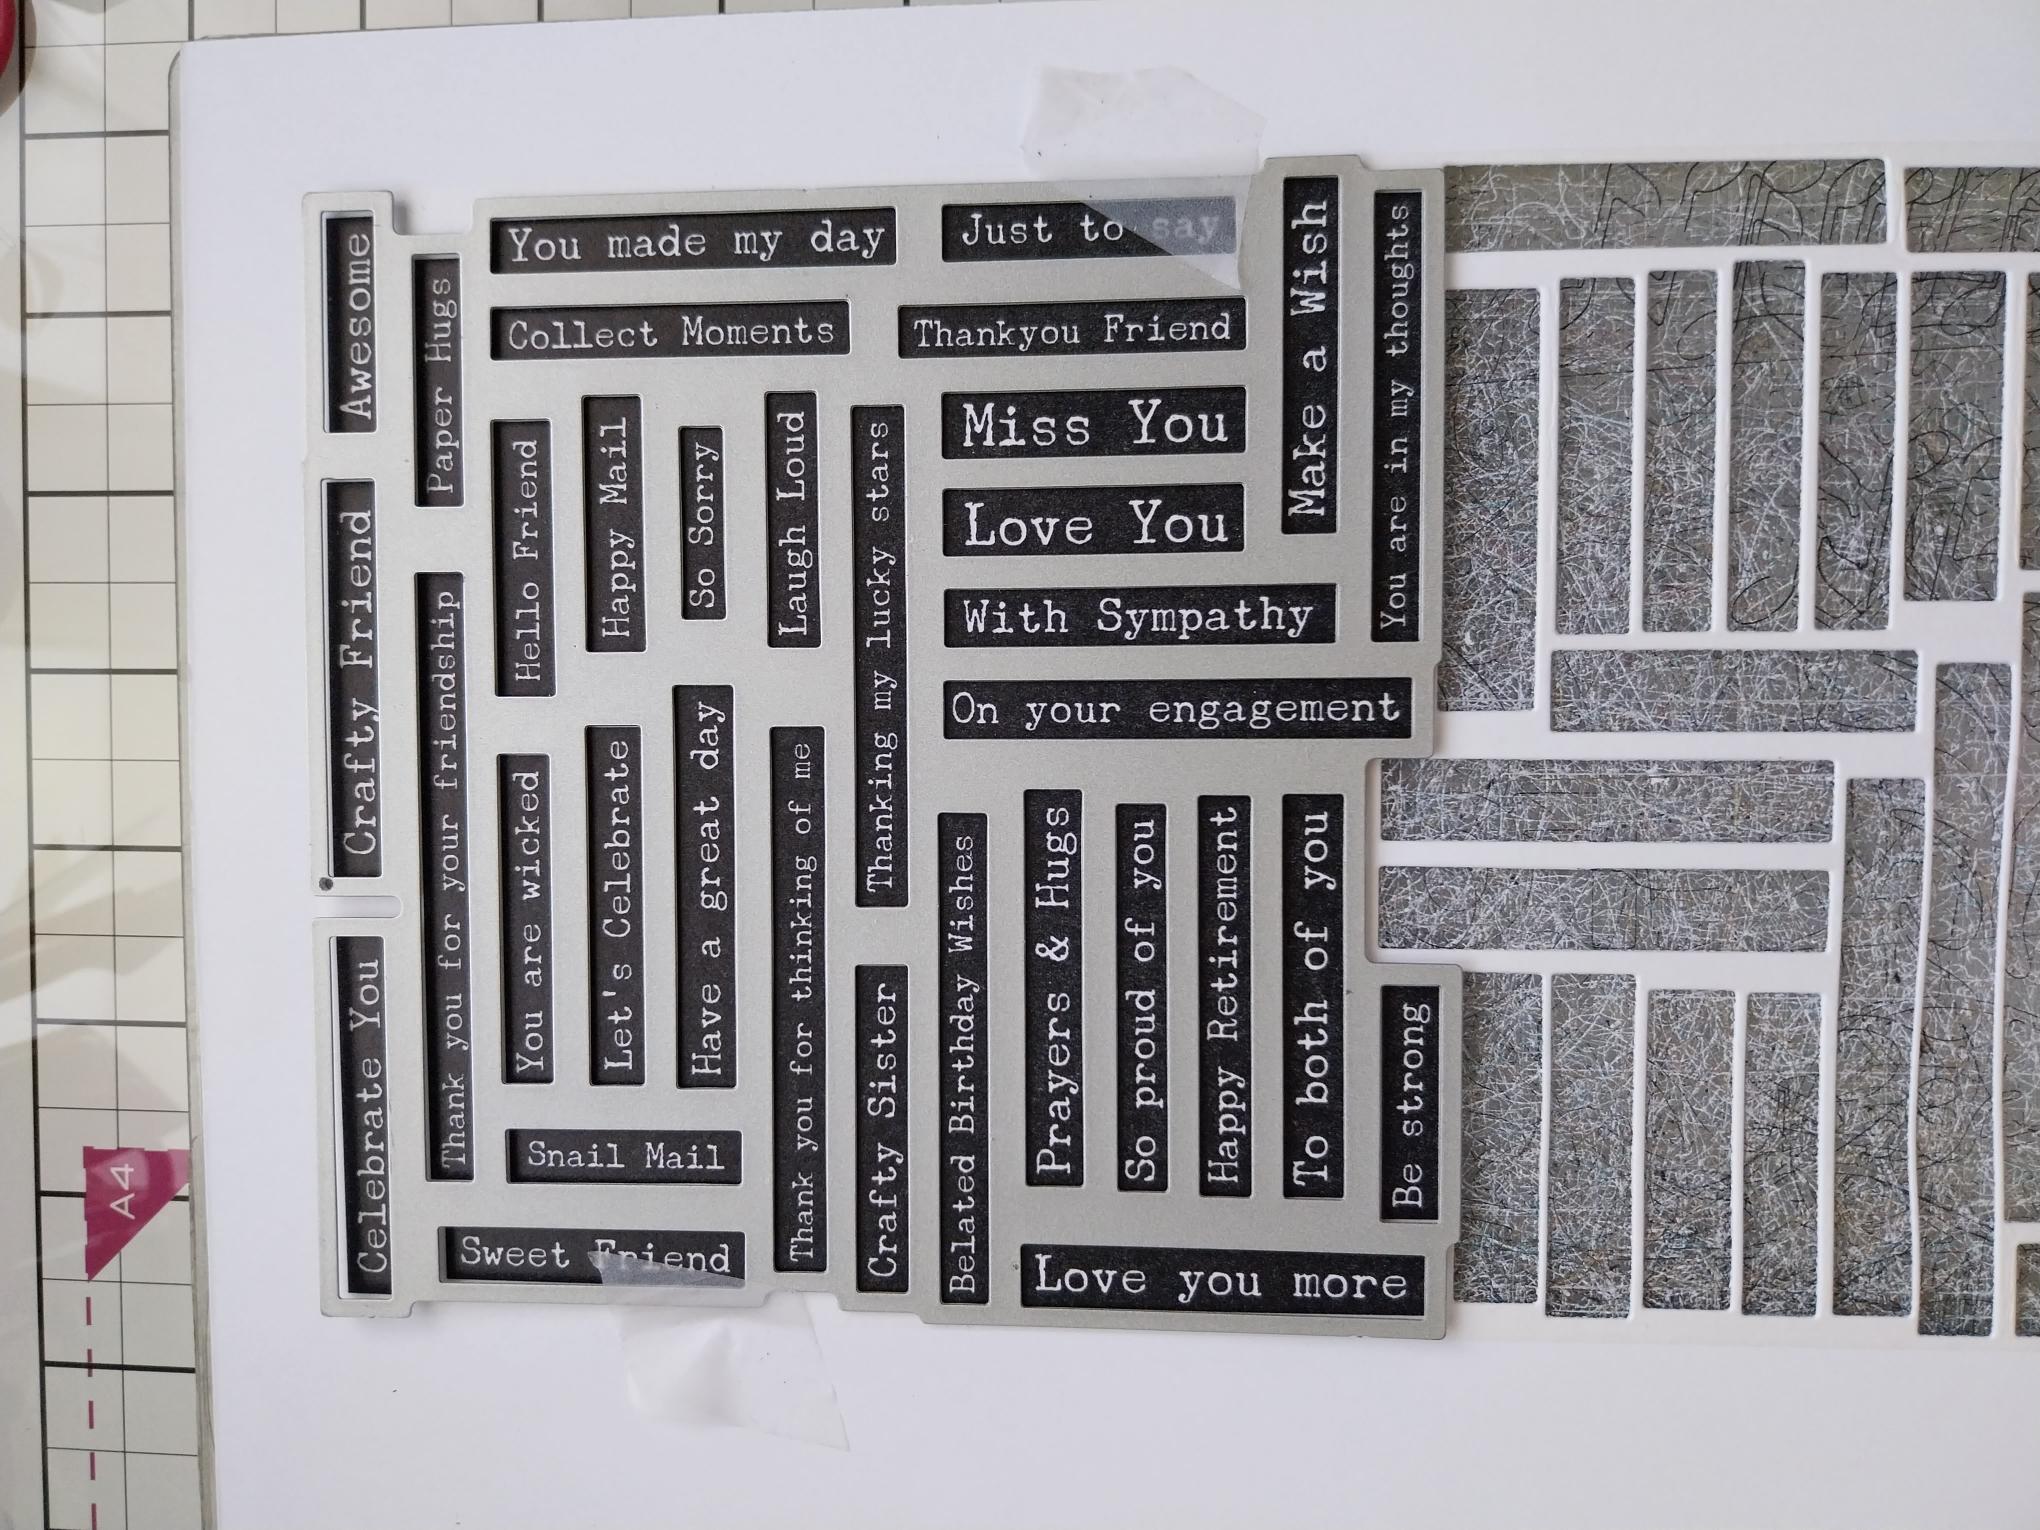
Pop out the die cut tabs, before lining up the second die and running that through your machine. |
|
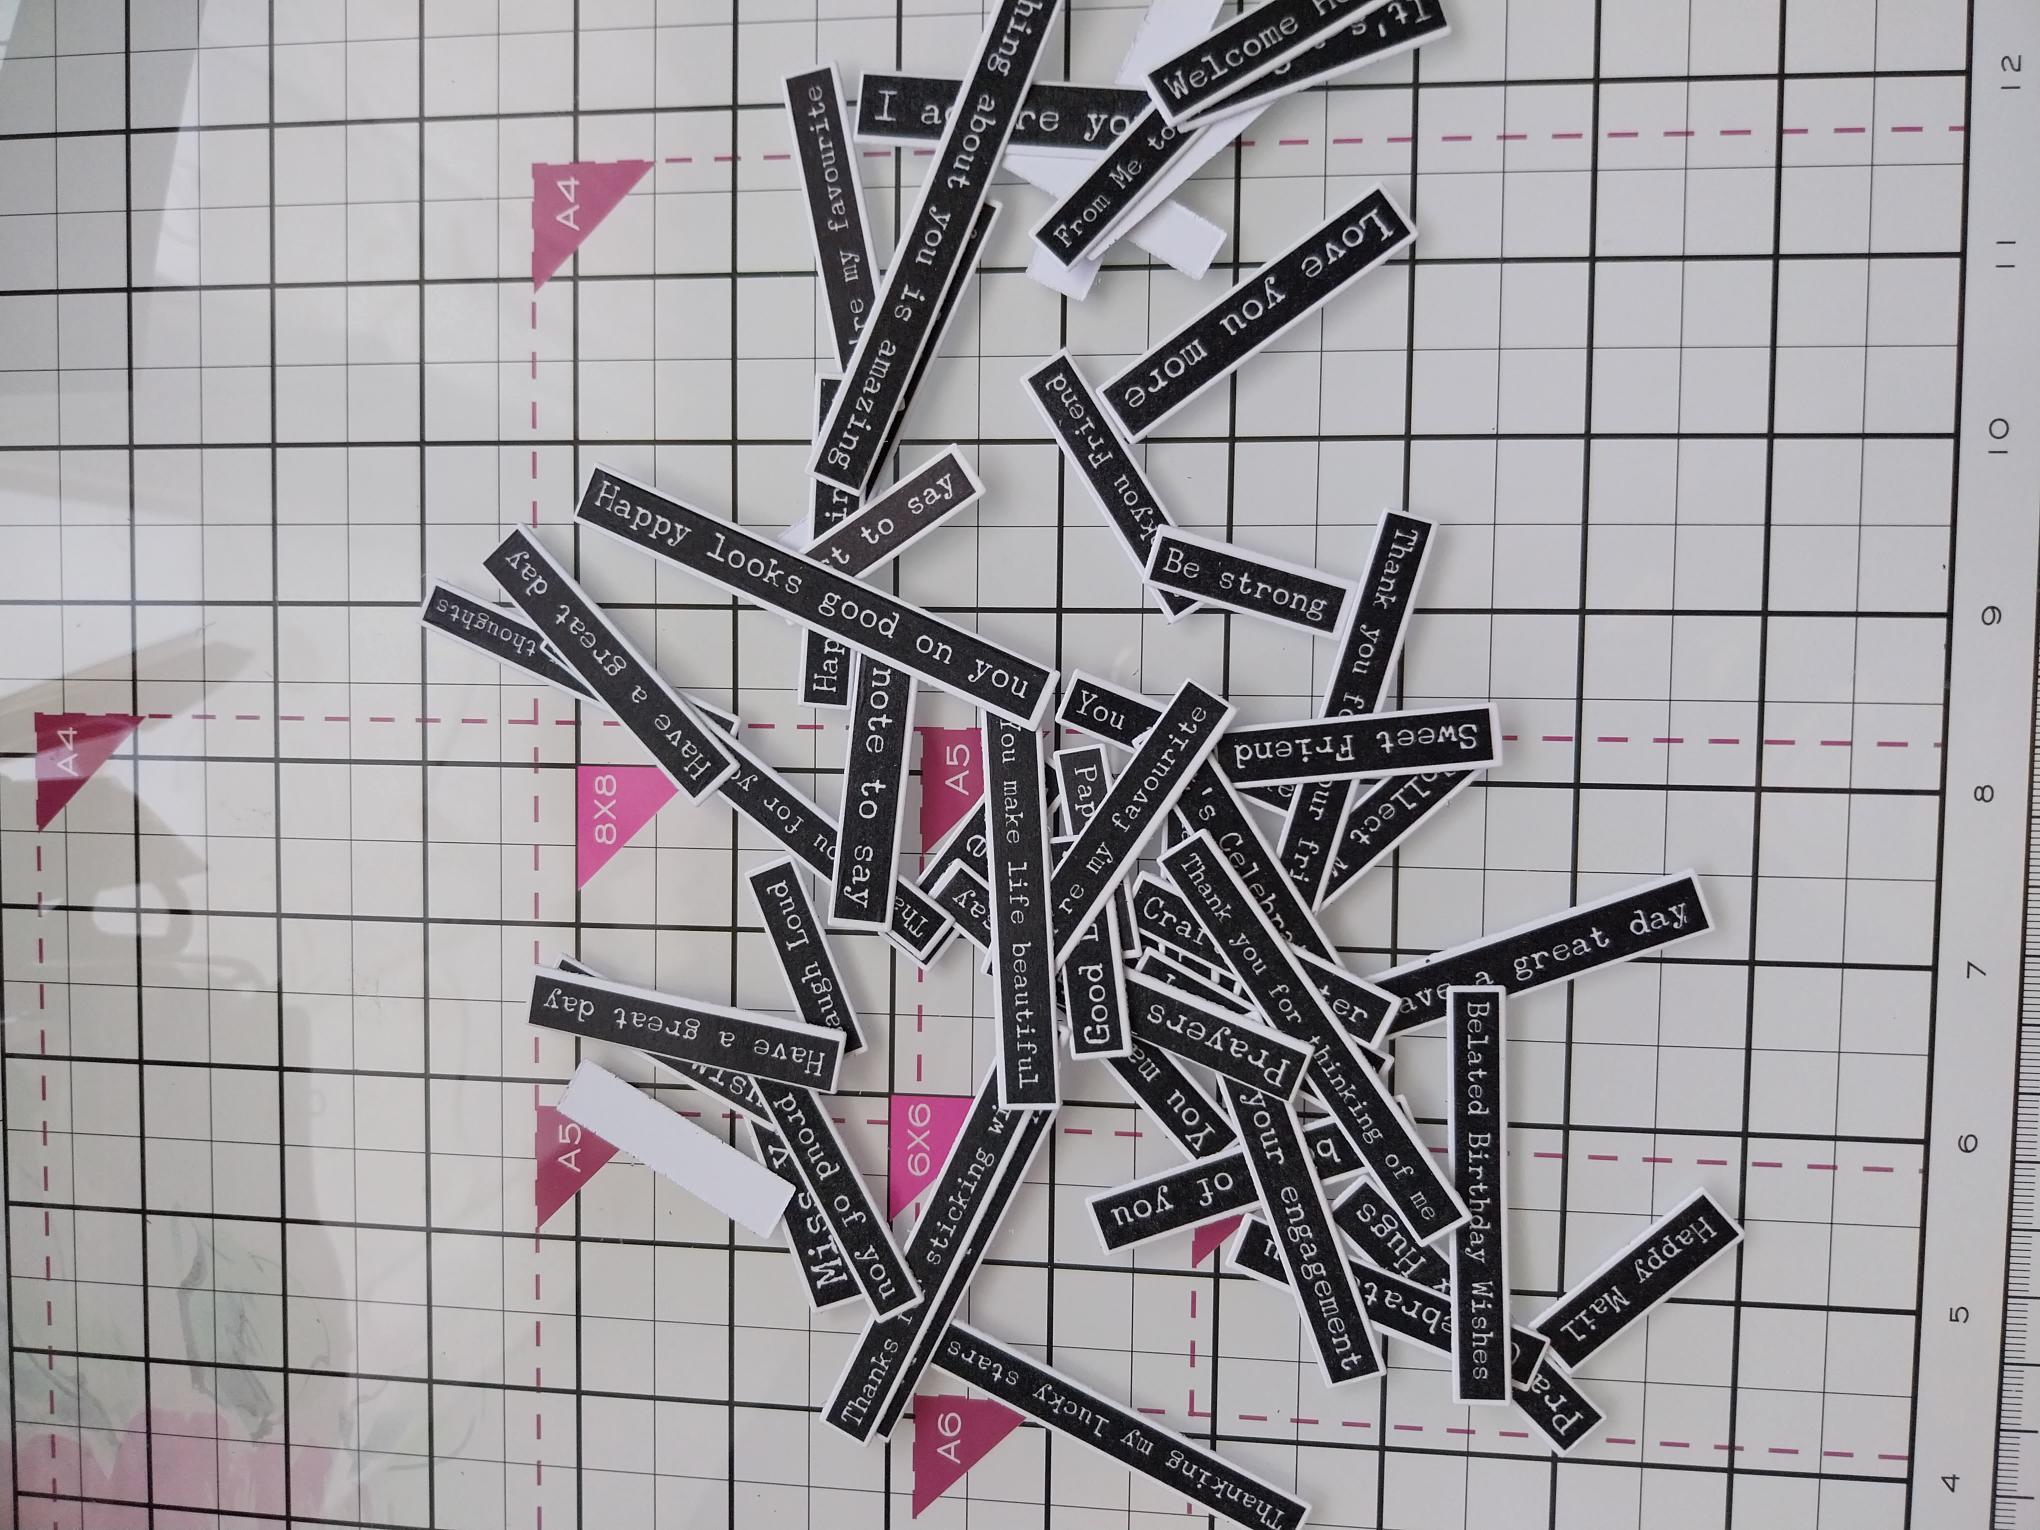
Pop out all the tabs, remove the required sentiment and pop the remaining tabs in a tub for future projects. |
|
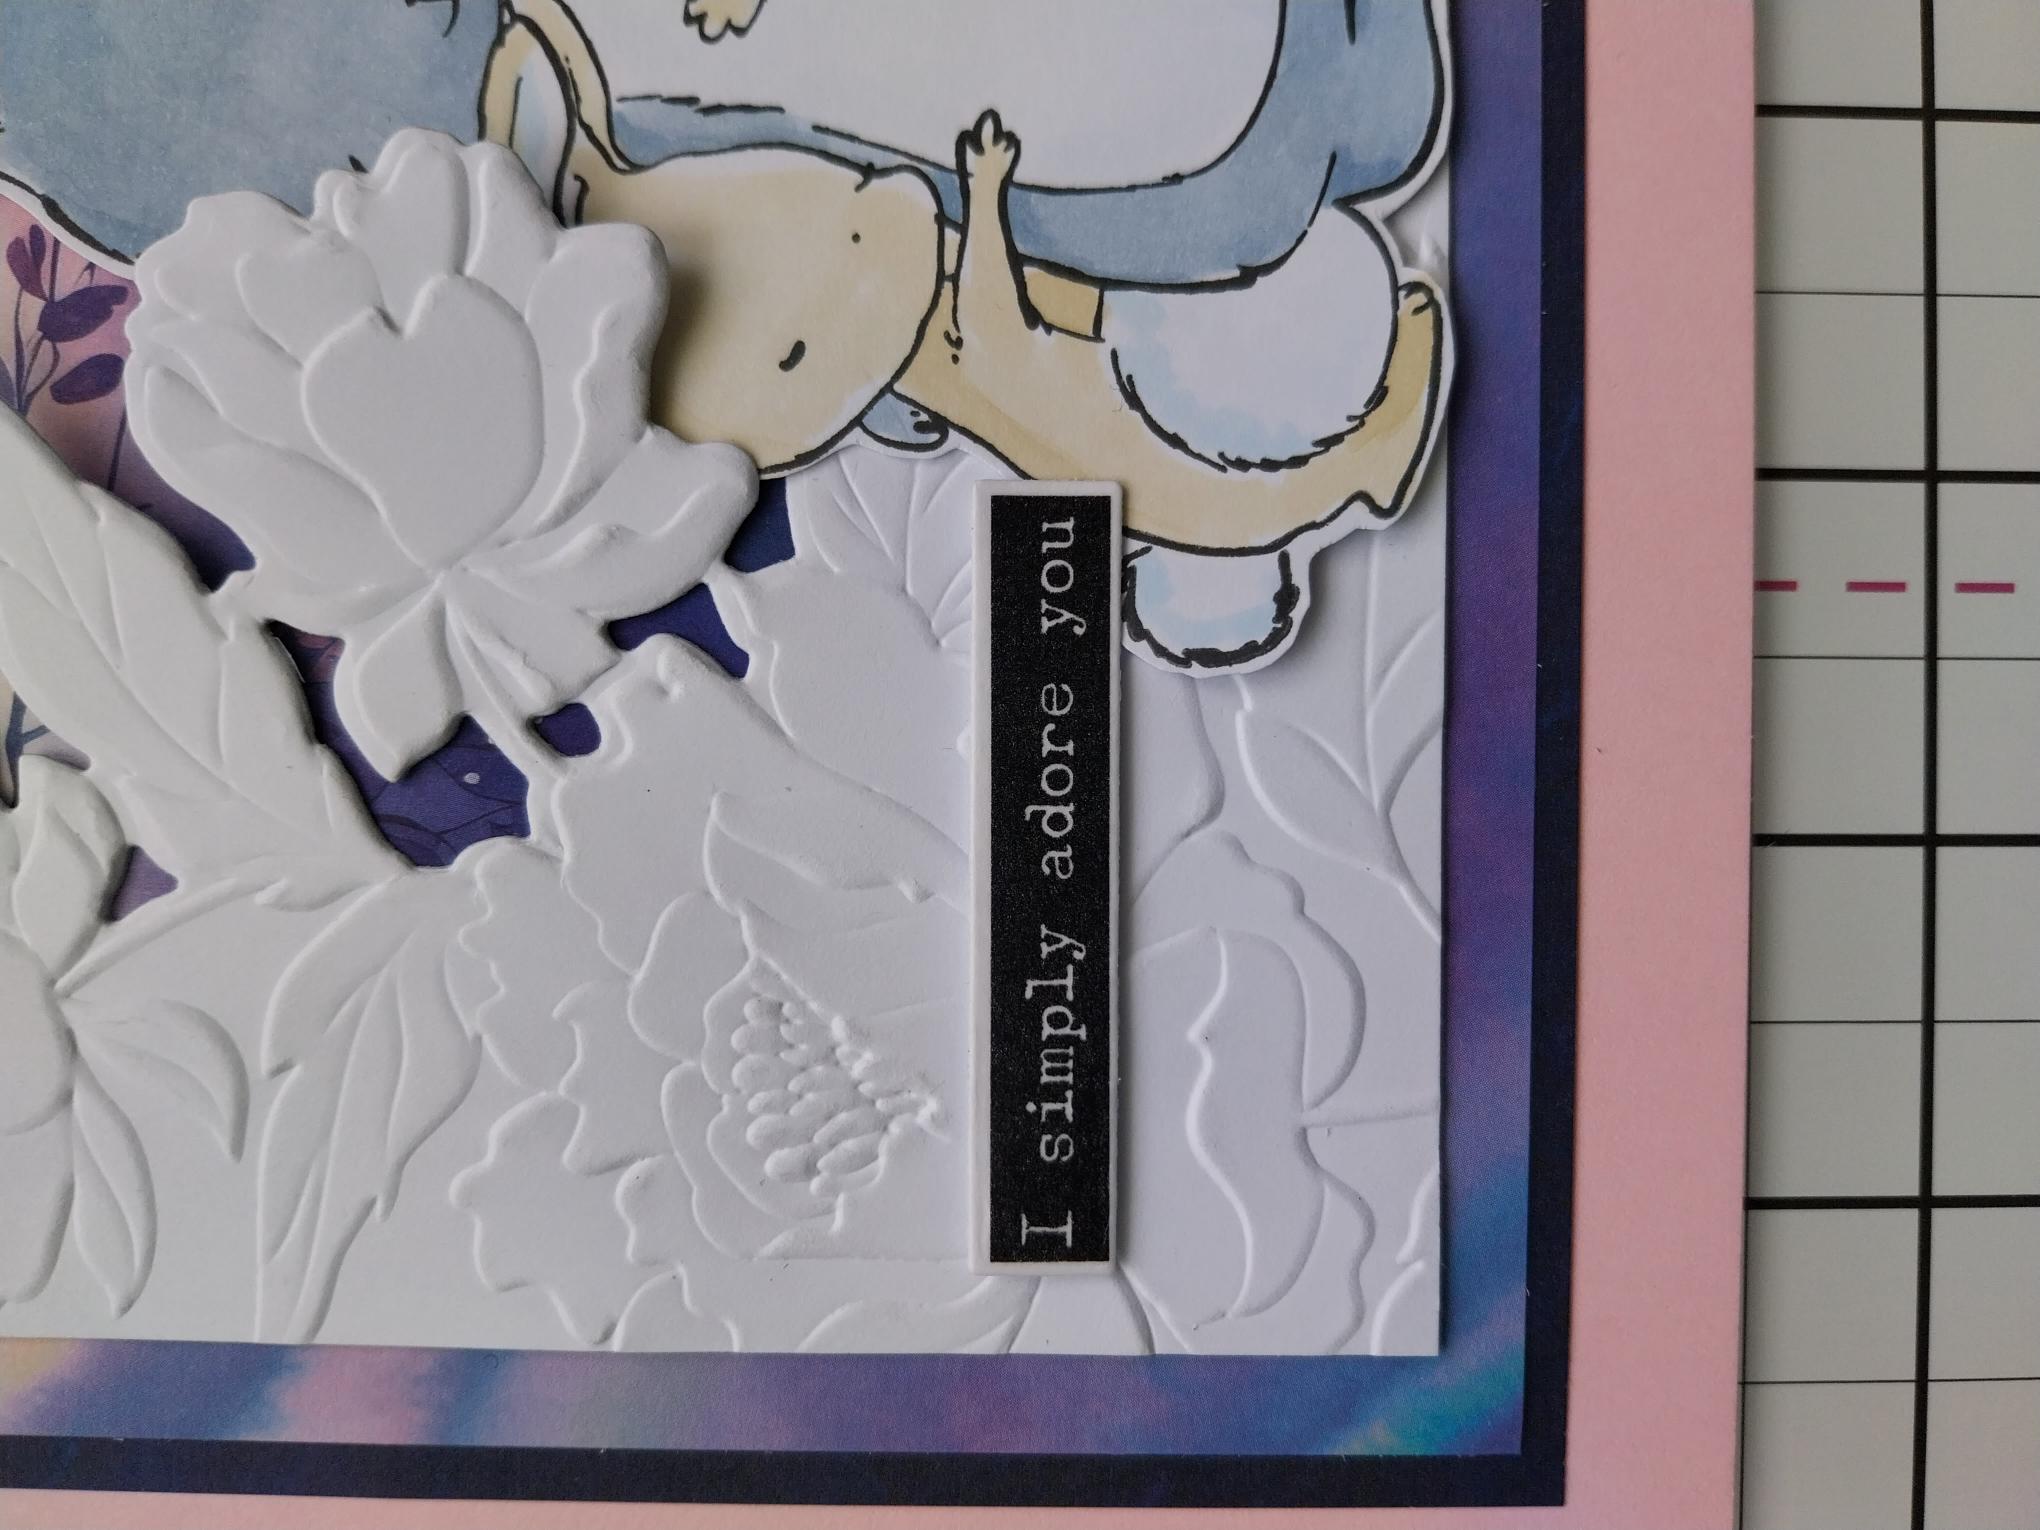
Finally, adhere your sentiment tab to the bottom left, of your 3D bunnies. |