

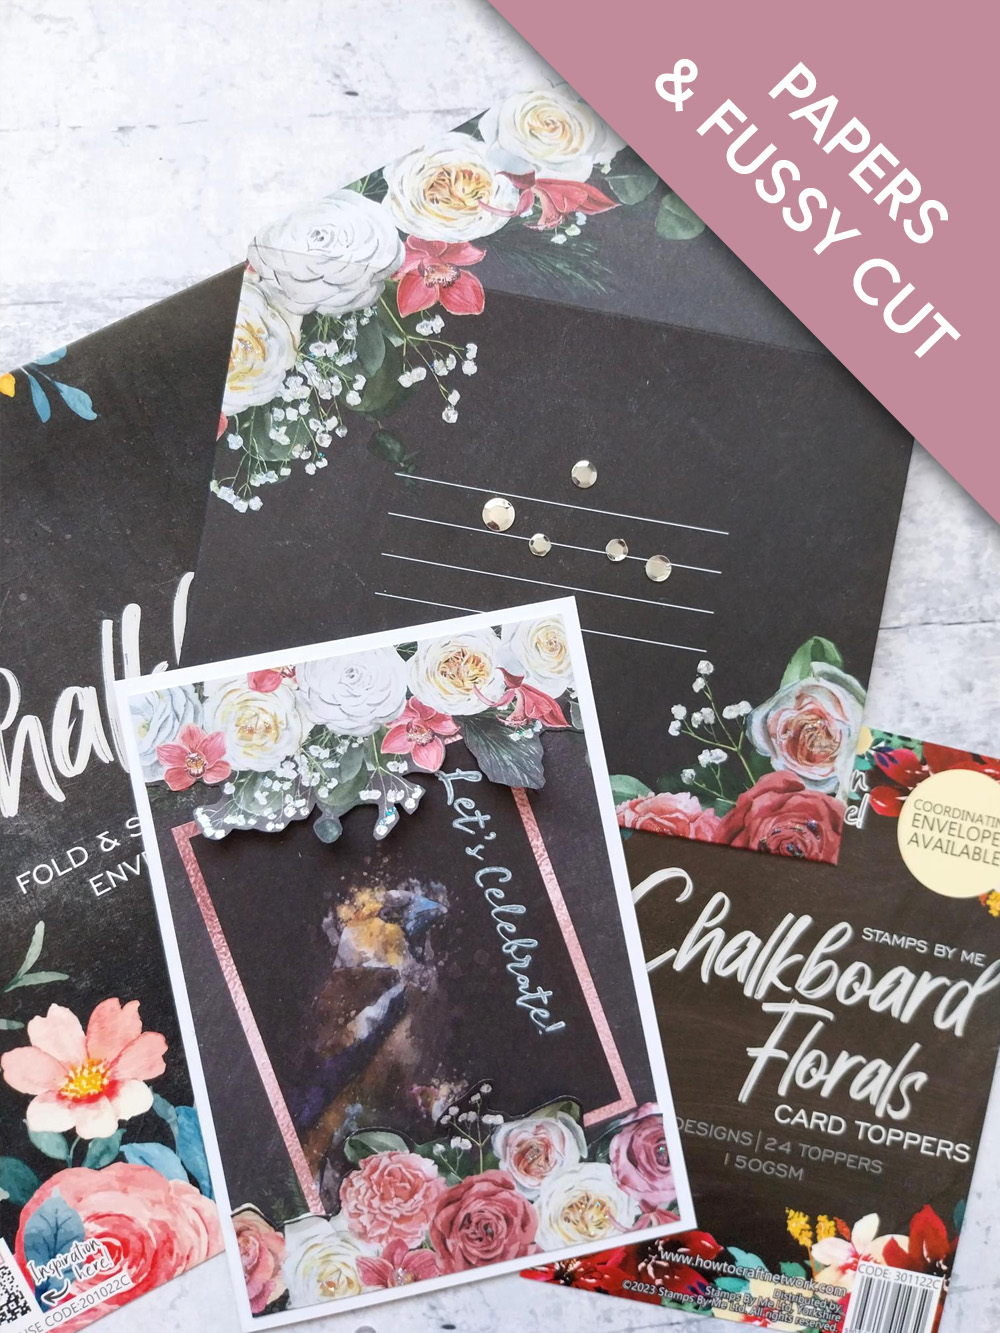
WHAT YOU WILL NEED:
White card blank 6 x 4"
Chalkboard Florals Fold & Seal Envelopes
Chalkboard Florals Card Toppers
Songbirds Noir Card Toppers
Let's Celebrate Stamp and Die Collection
Classic Celebration 8 x 8" Paper Pack
SBM Pigment Ink Pad: Cotton
Stickles: Star Dust
Eureka 101 Watercolour Tablet
SBM Magnetic glass mat
Paper Trimmer
Perfect Together Glue
[click image to enlarge] 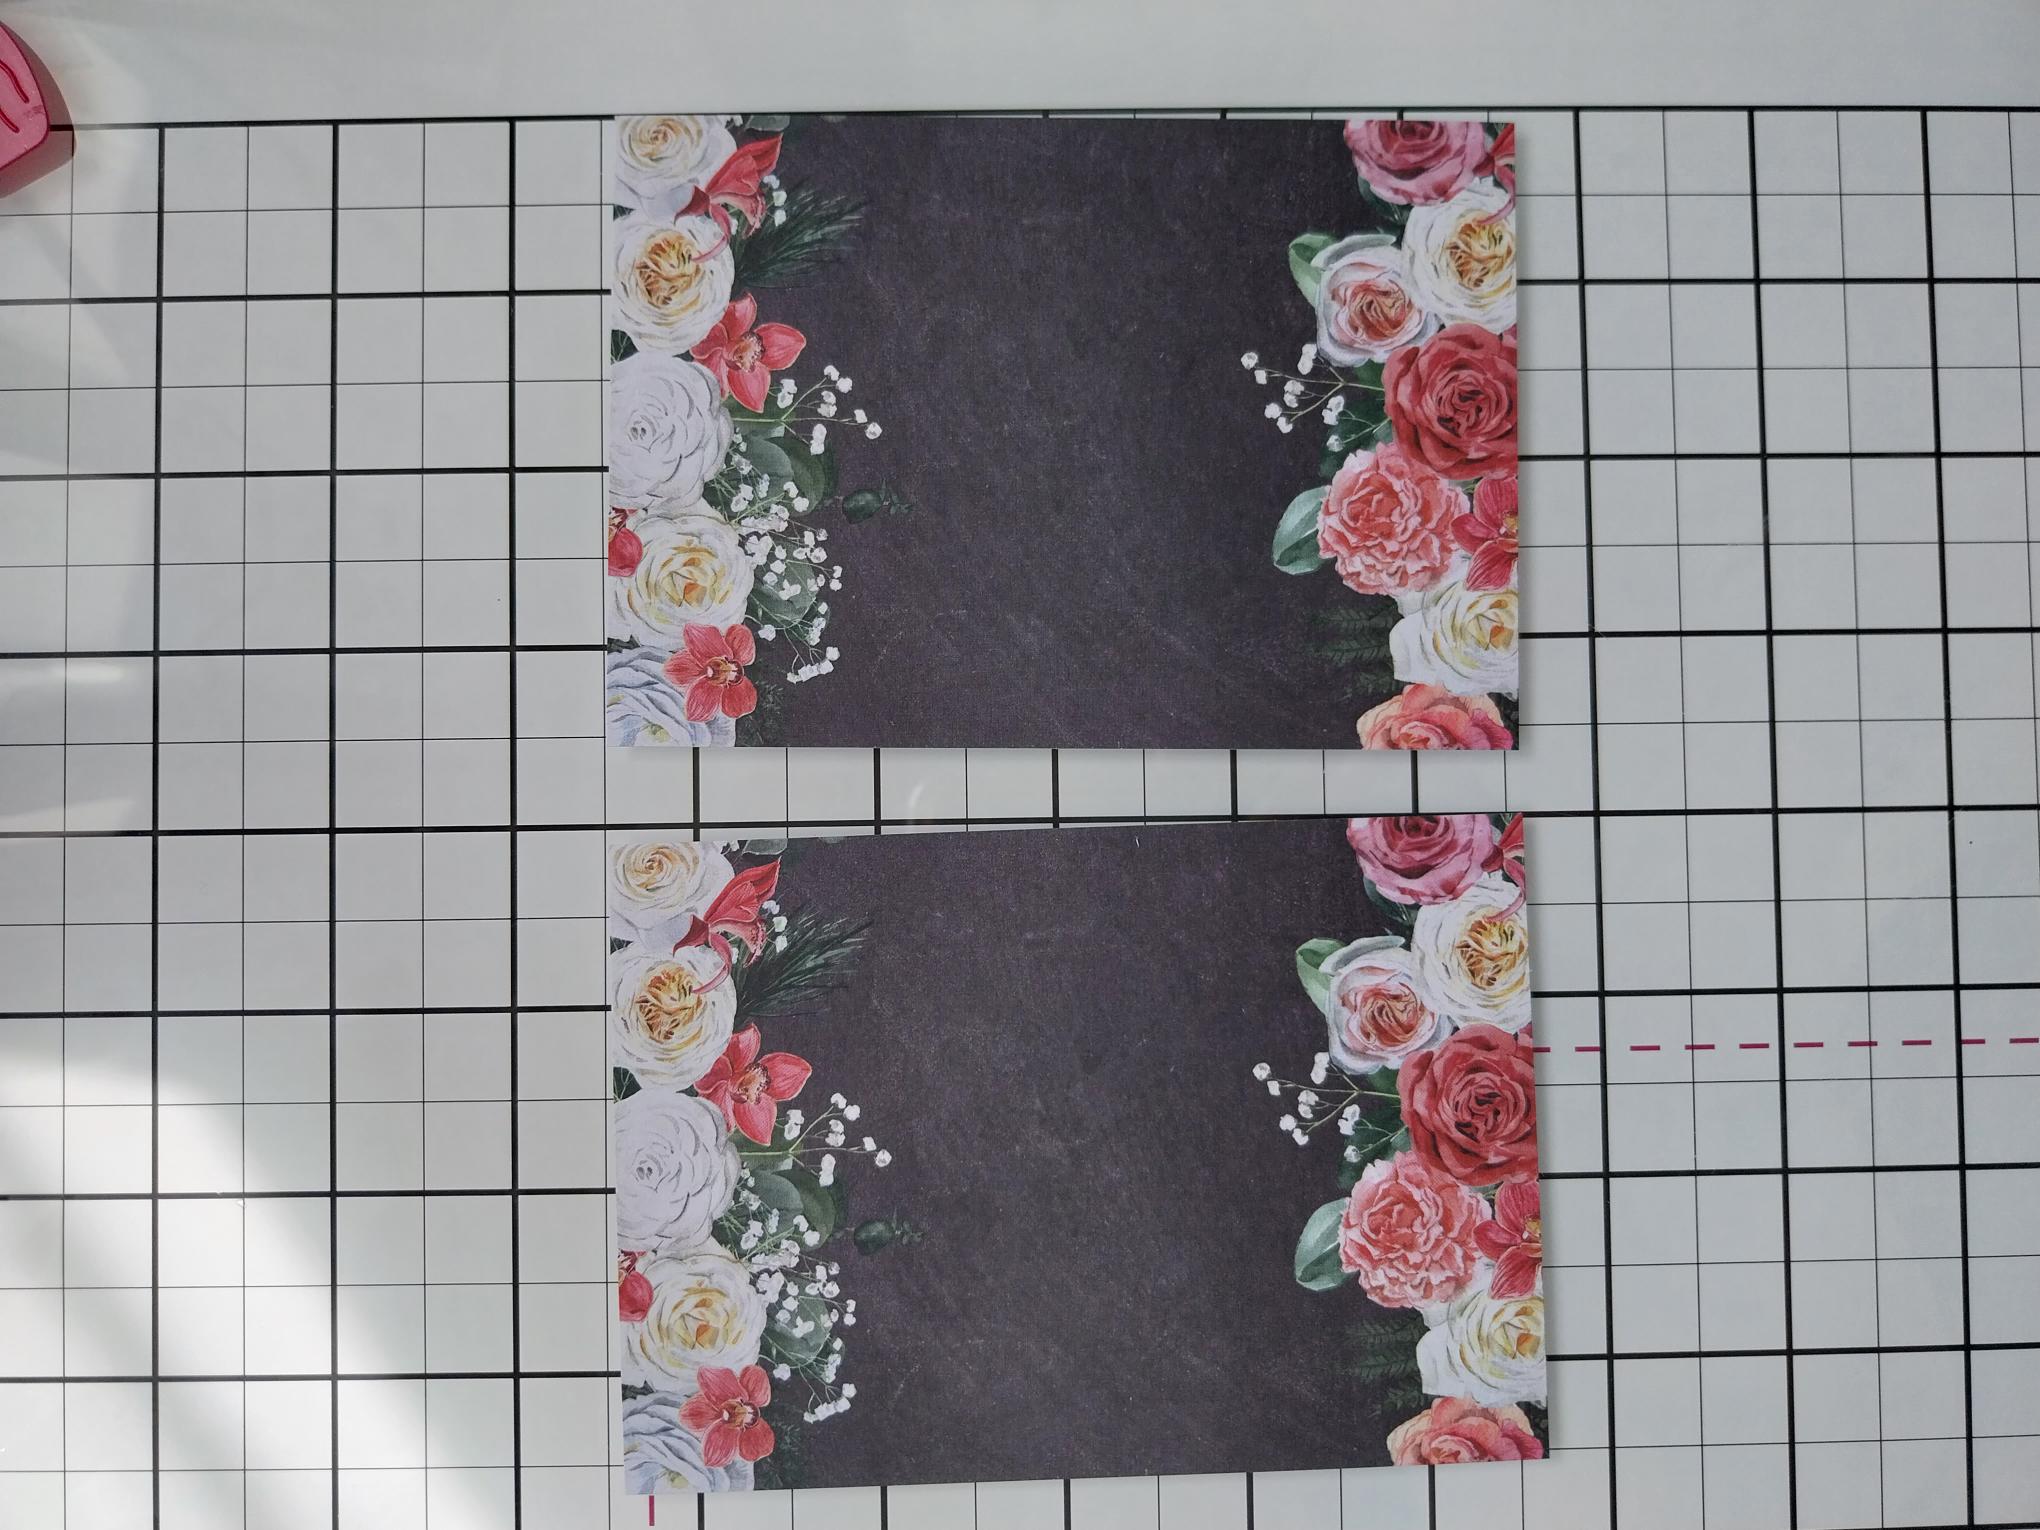
|
You'll need TWO of these toppers, of the same design, from the Chalkboard Florals Card Toppers Collection. |
|
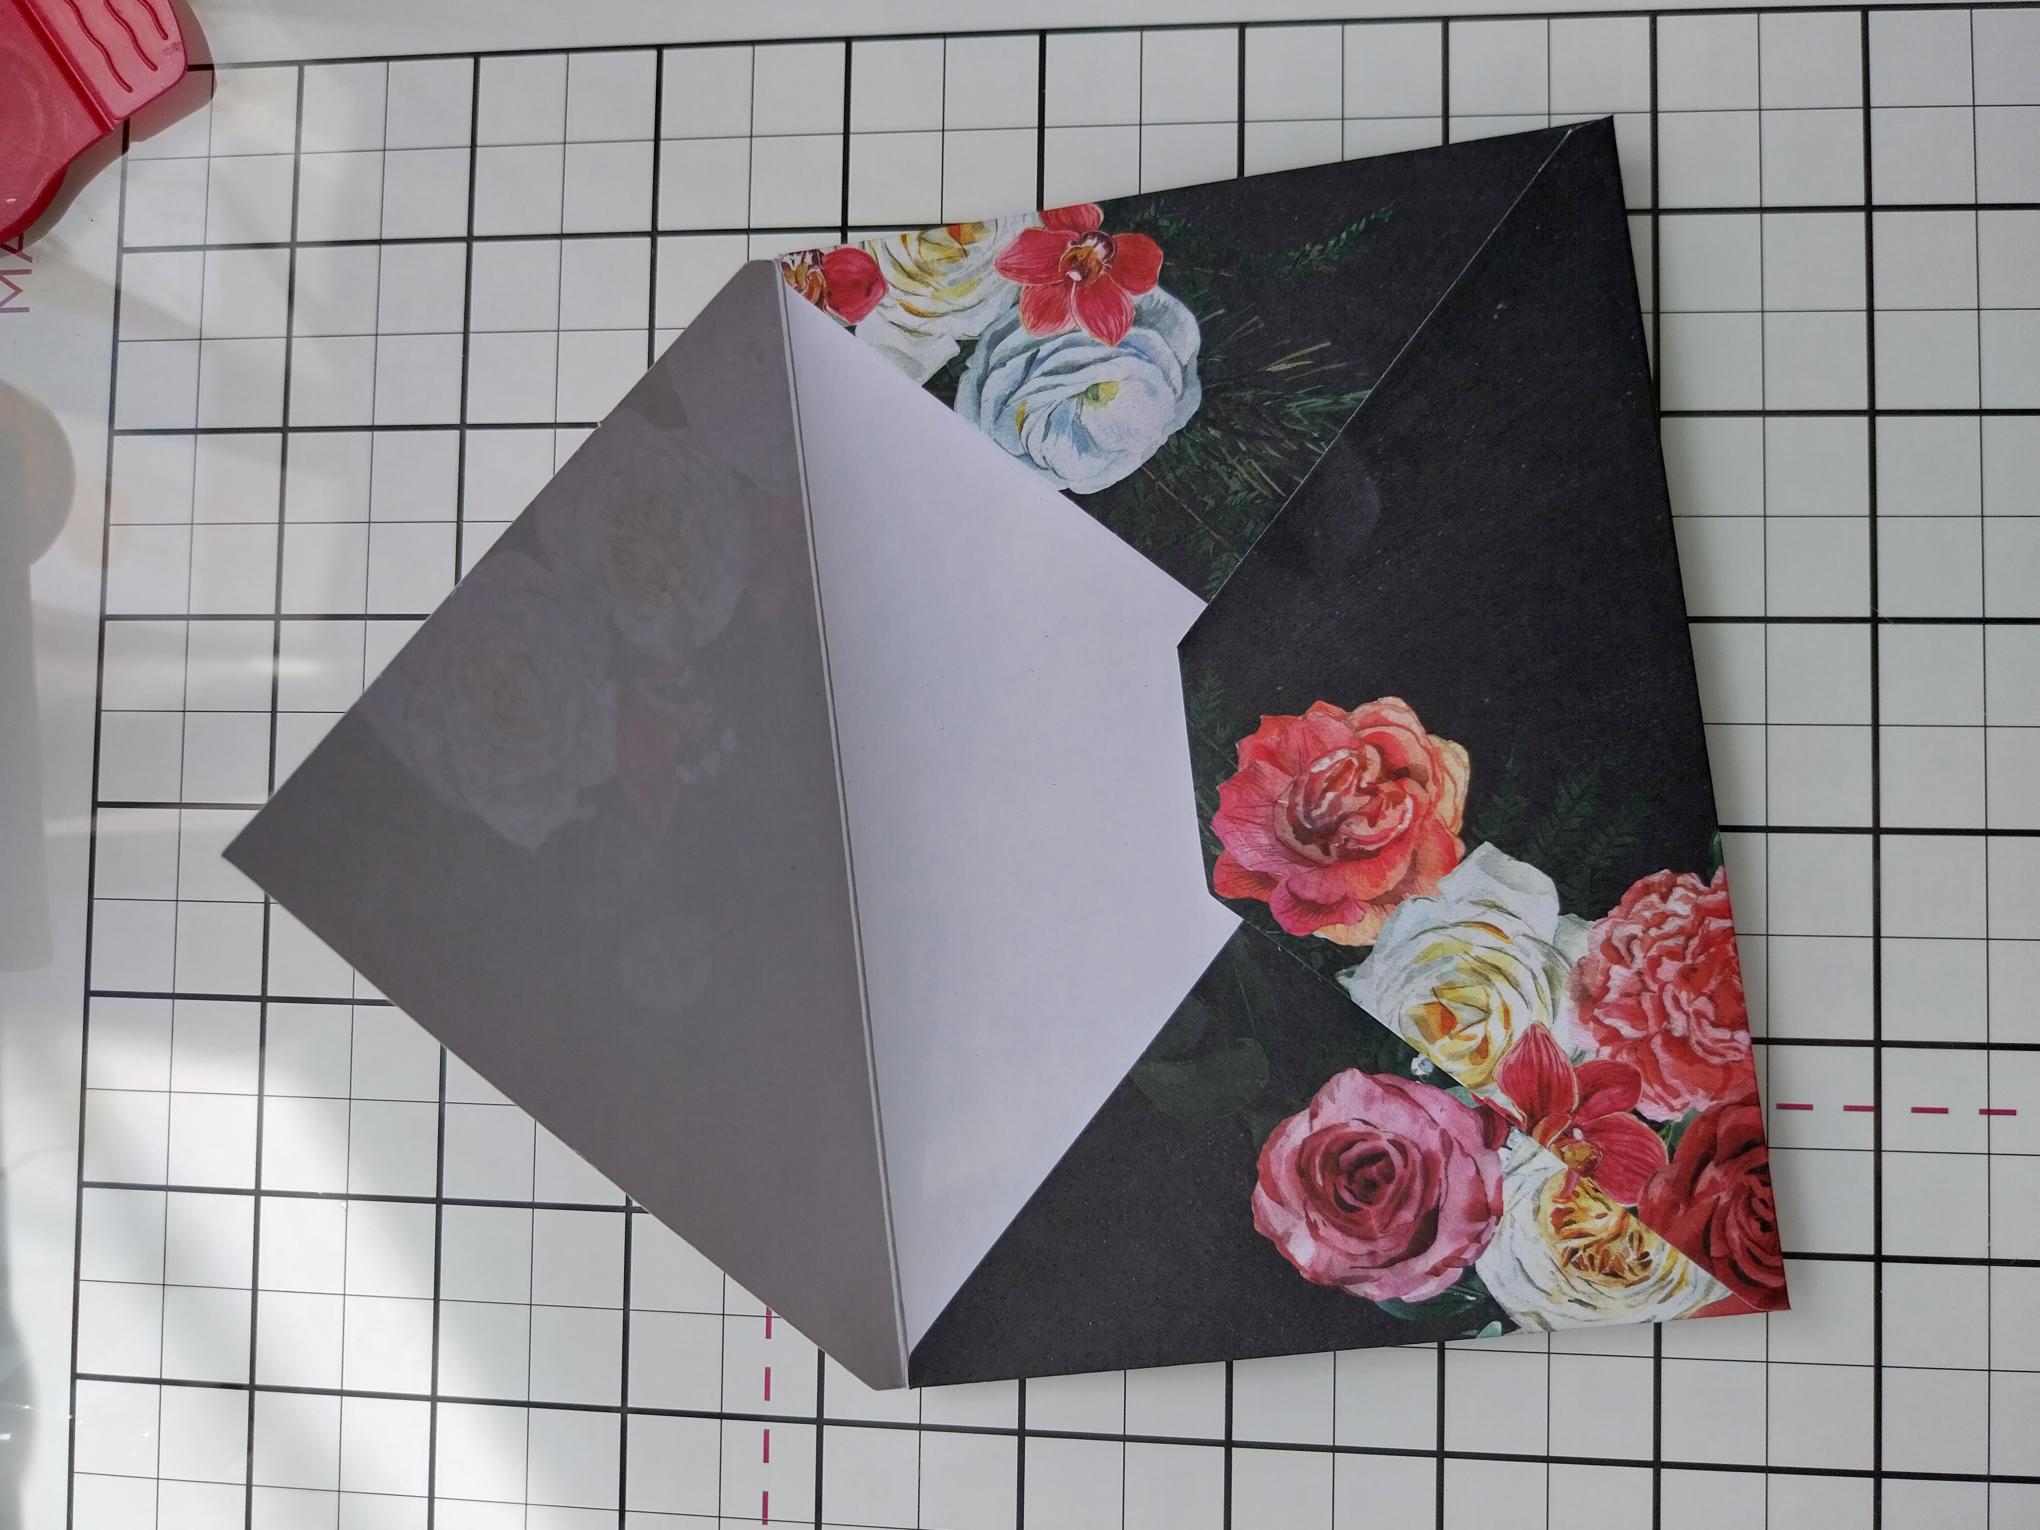
Take out the coordinating envelope, score and fold along the pre-scored lines and adhere before popping it to one side. |
|
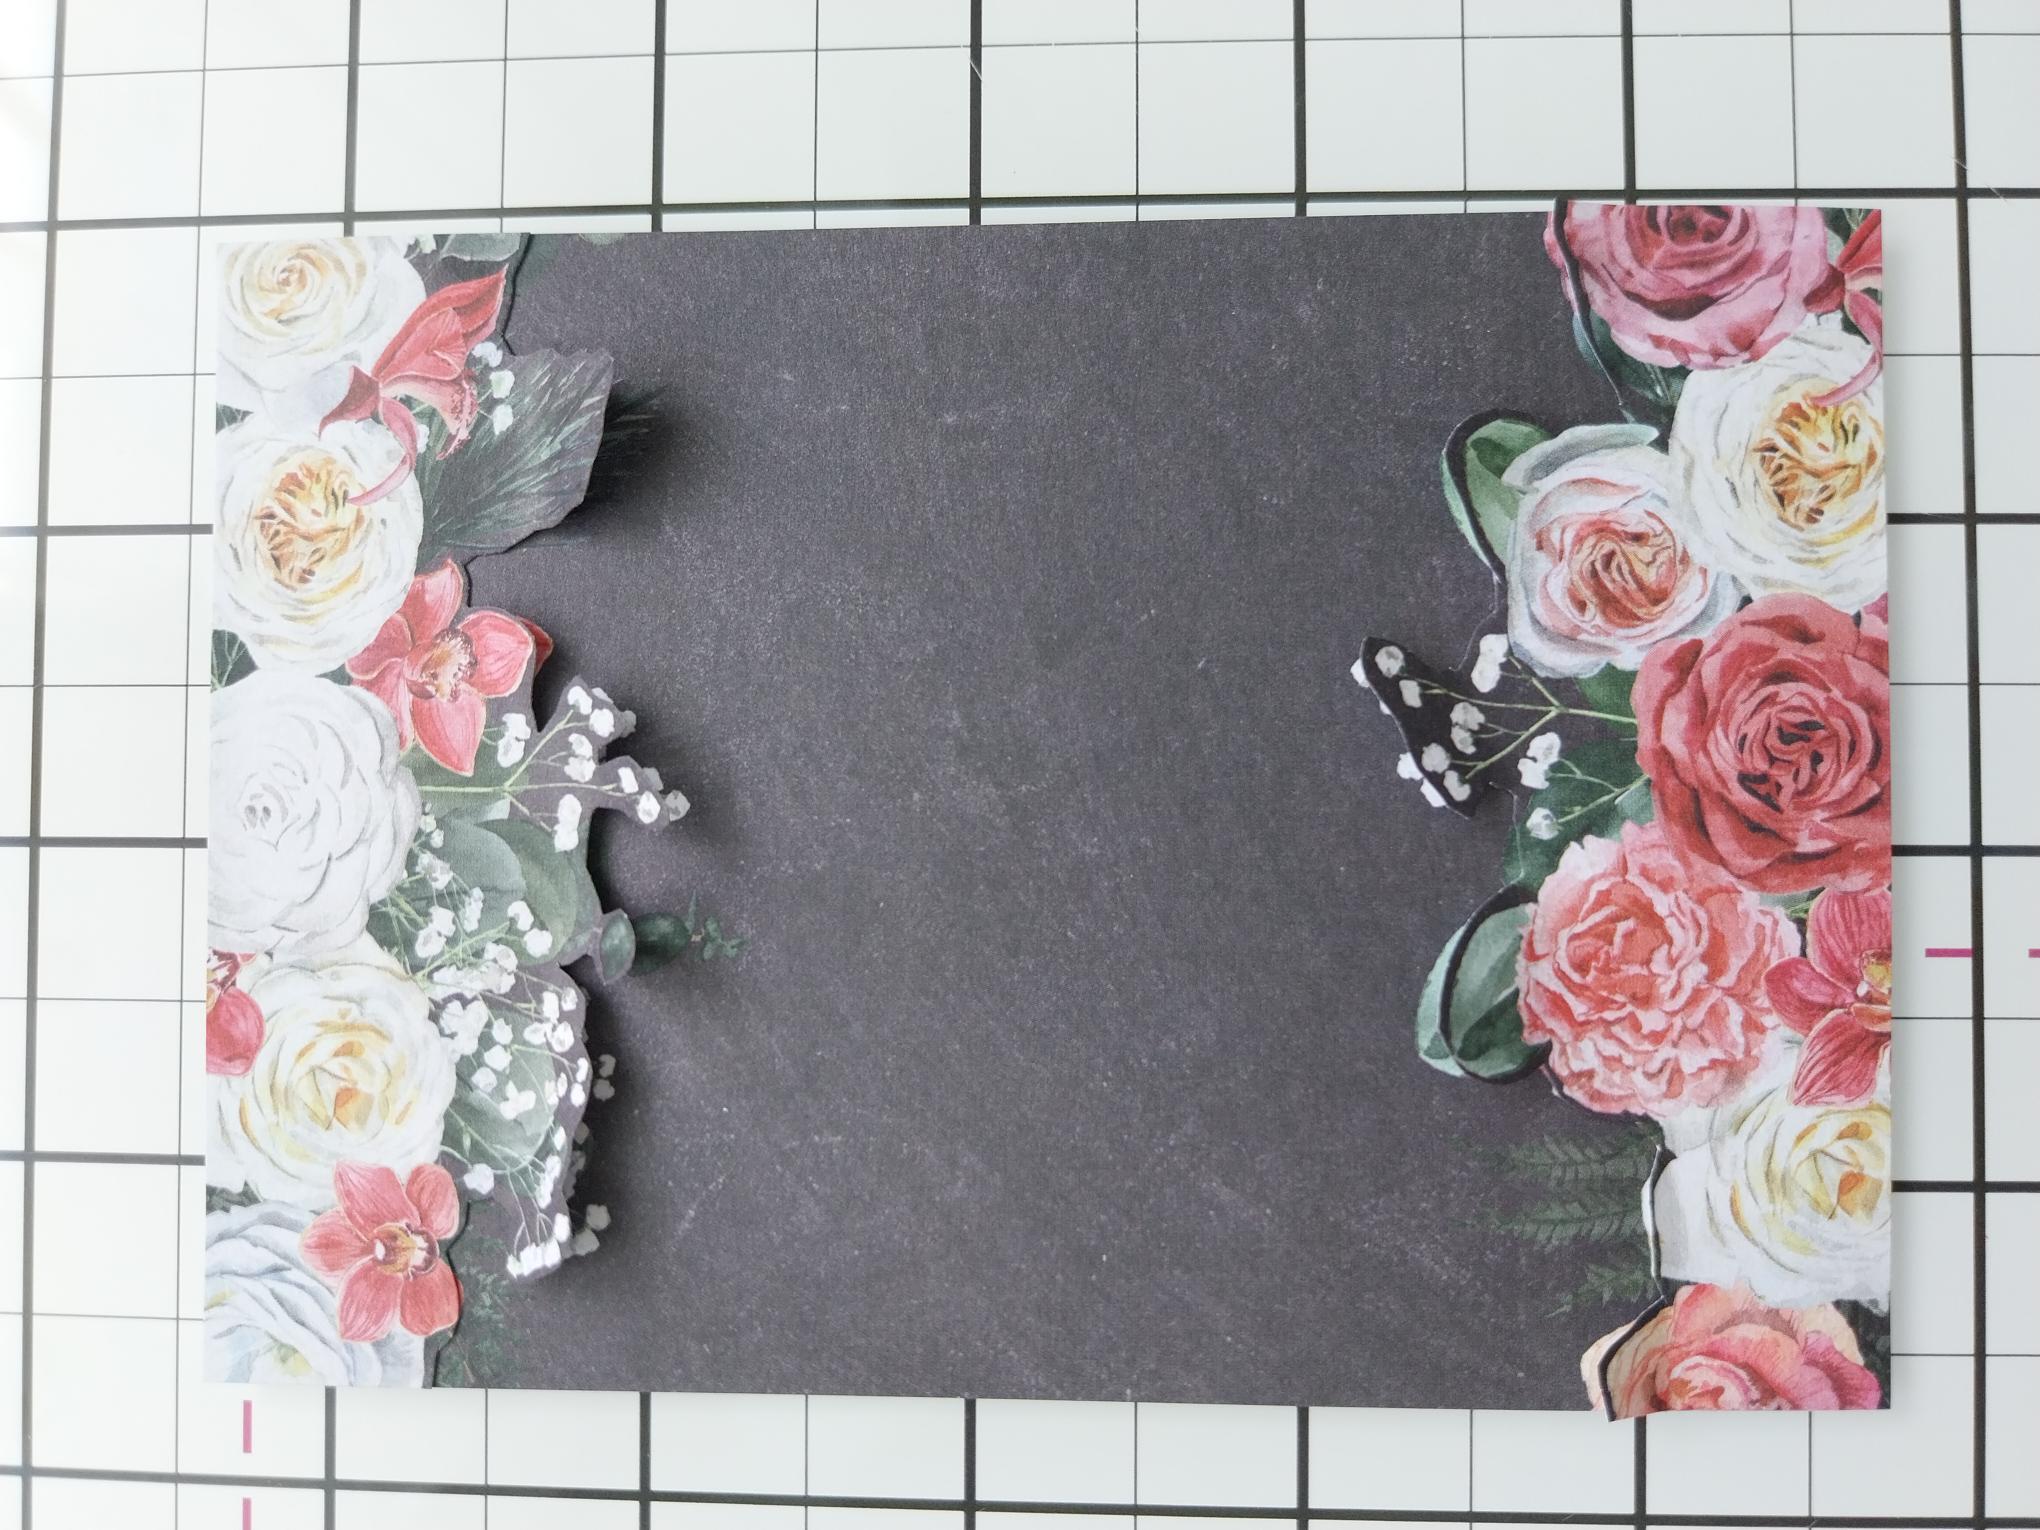
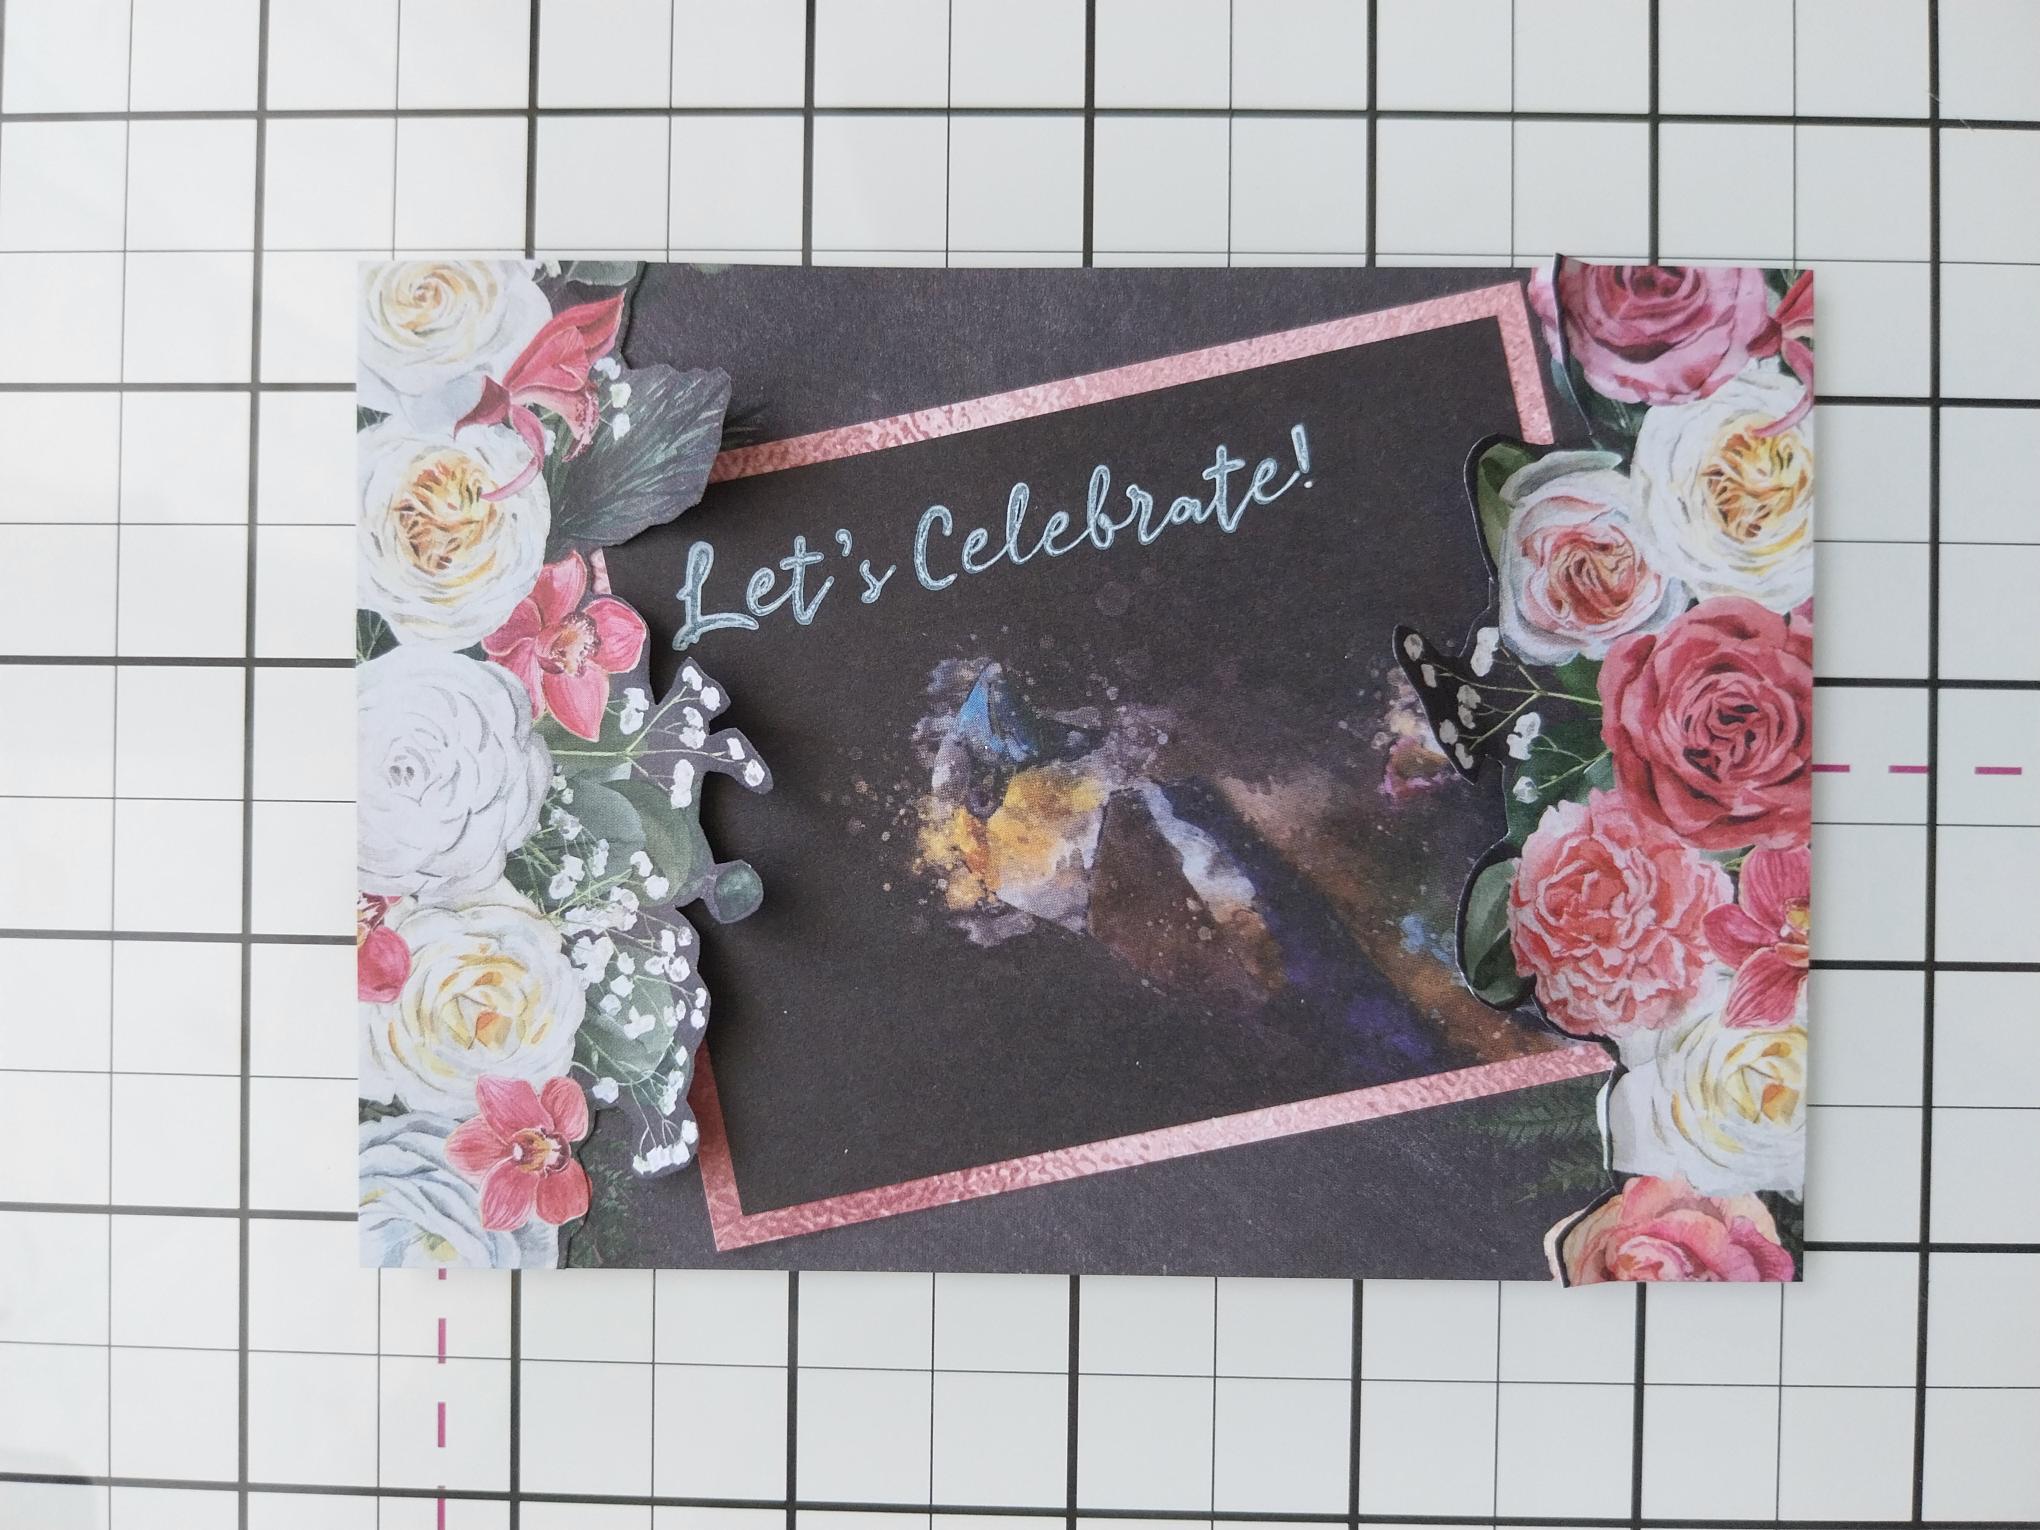
Fussy cut around the top and bottom florals from ONE of the toppers. Mould the cut florals and foliage with your fingers, then pop a little glue along the straight edge and decoupage over the top of the design on the other topper. Set to one side. |
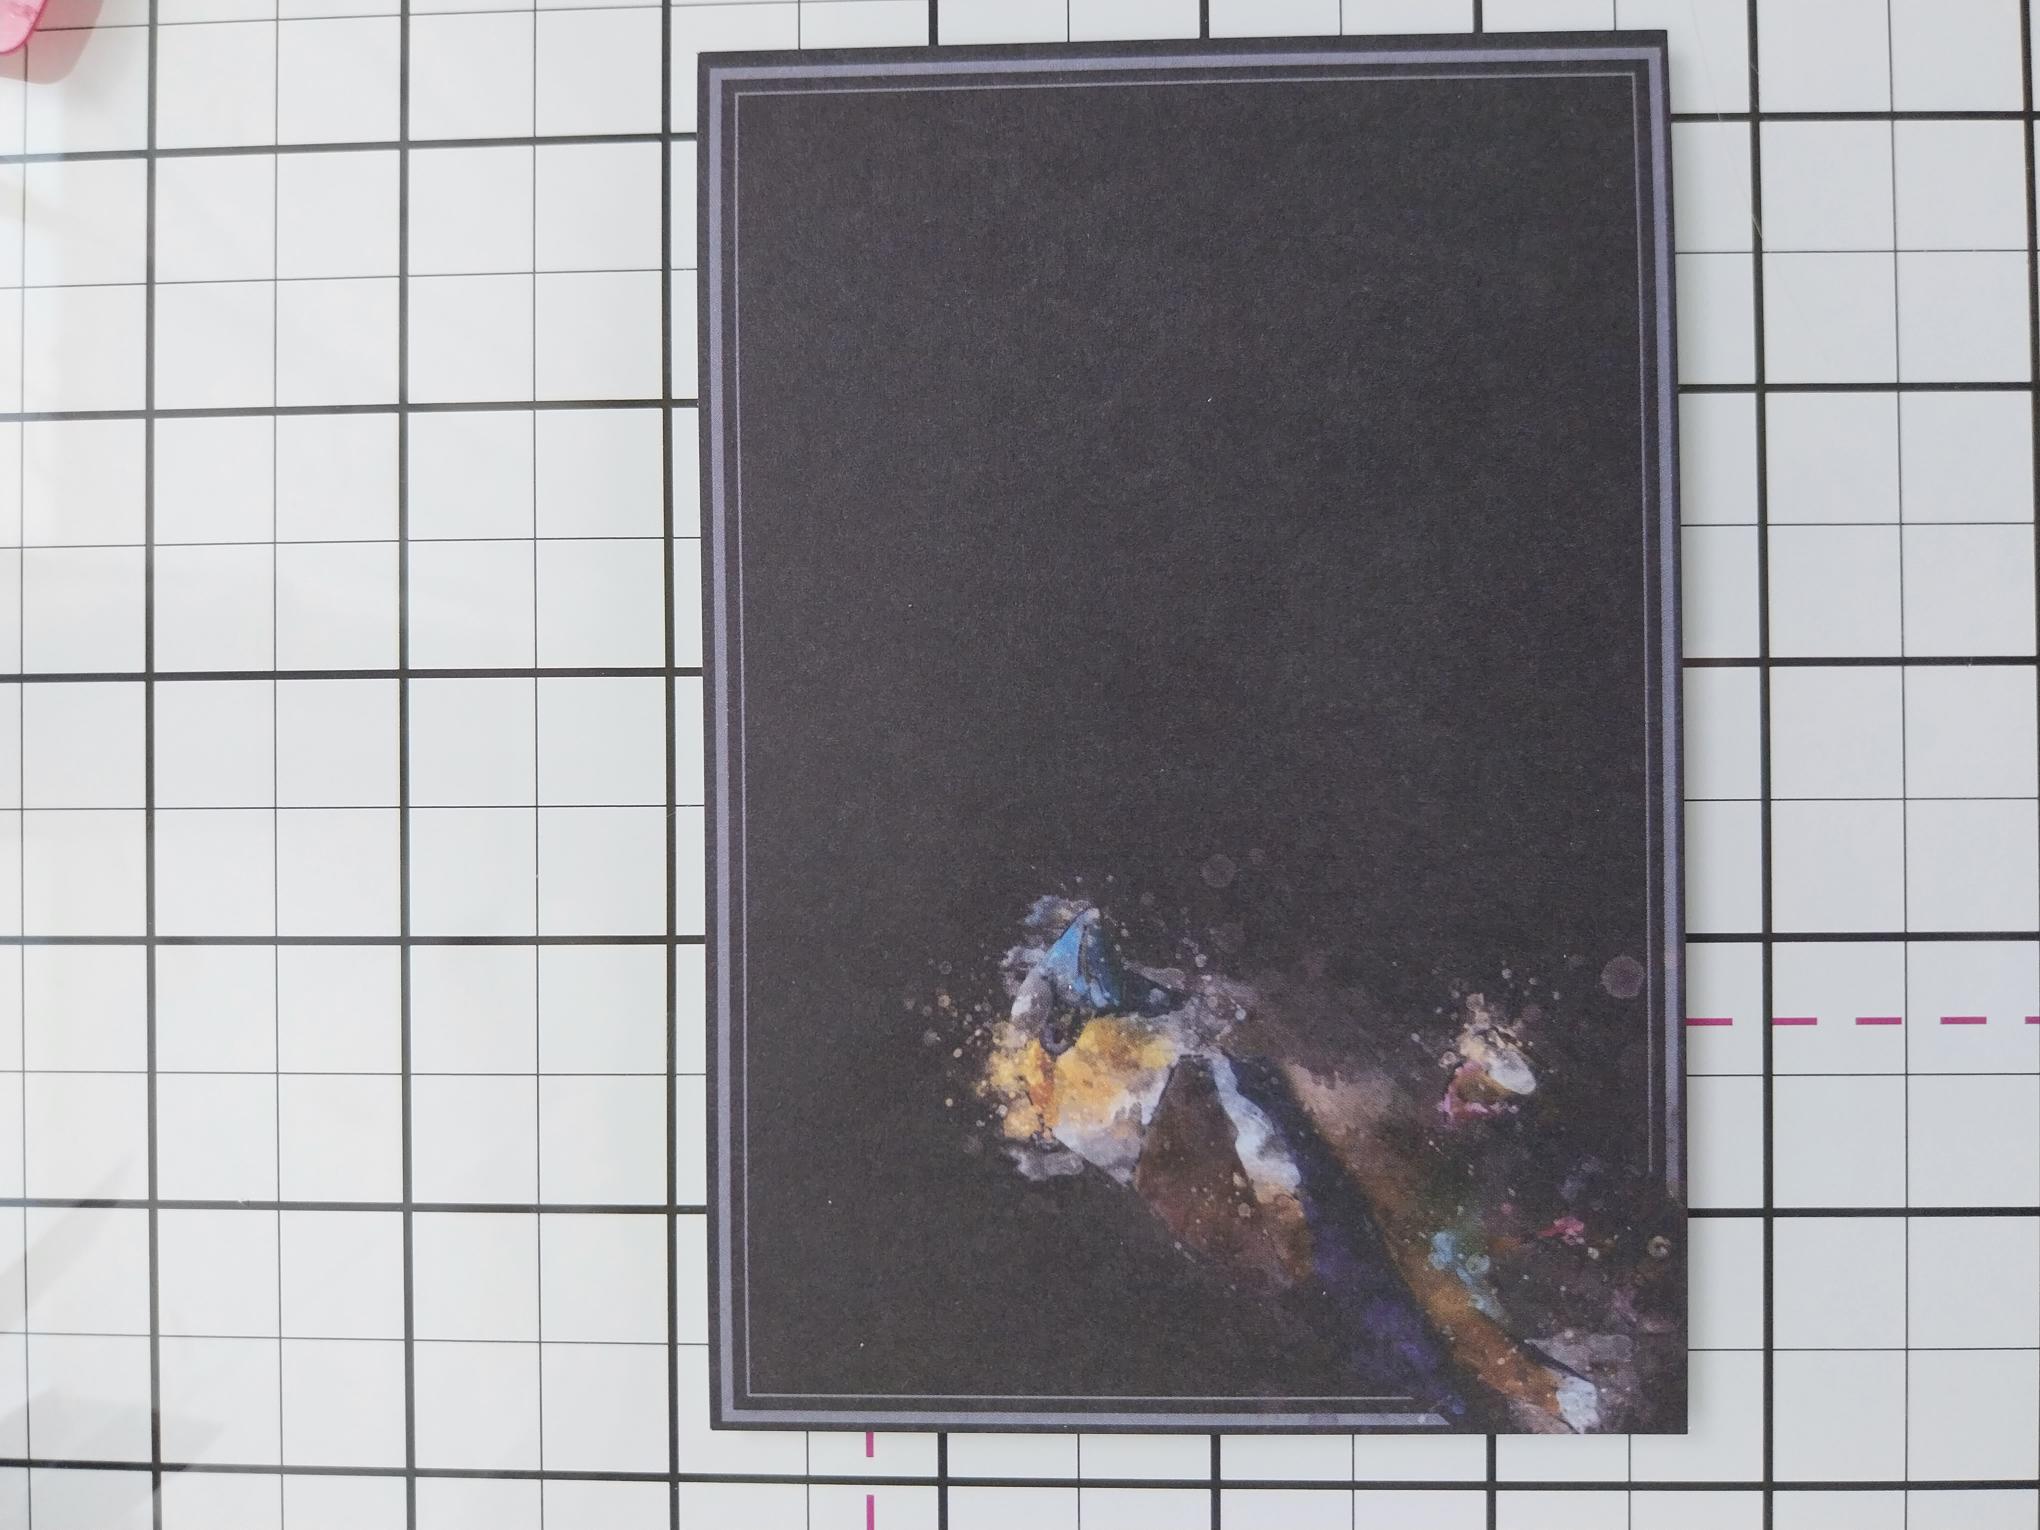
|
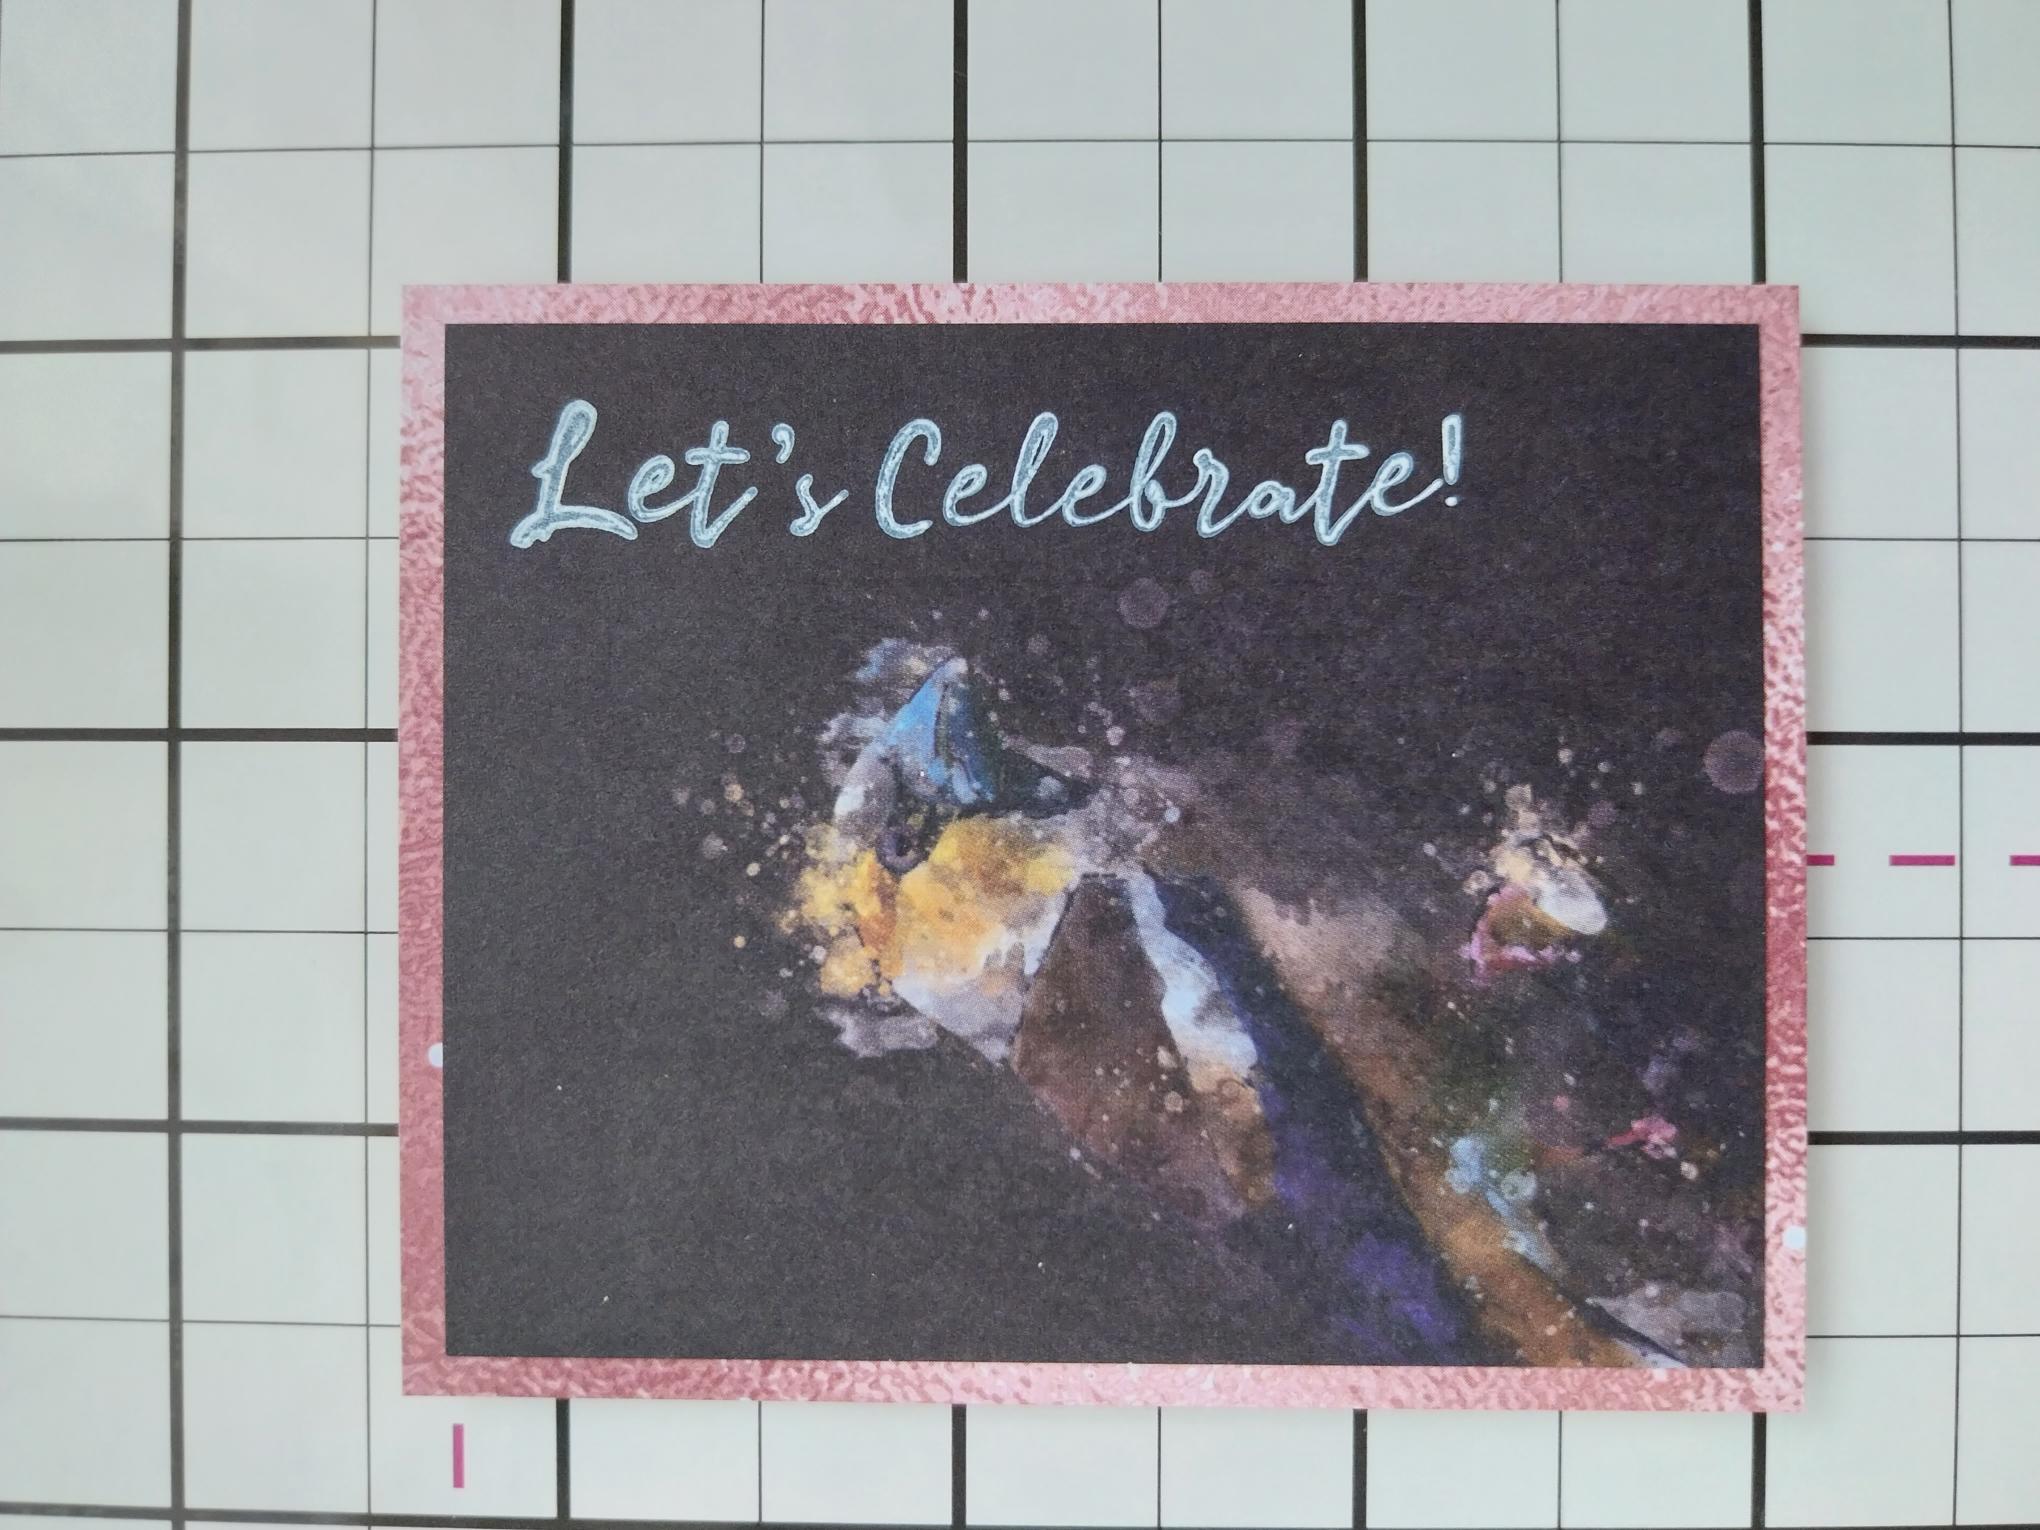
Remove this beautiful topper from the Songbird Noir Card Toppers Collection. |
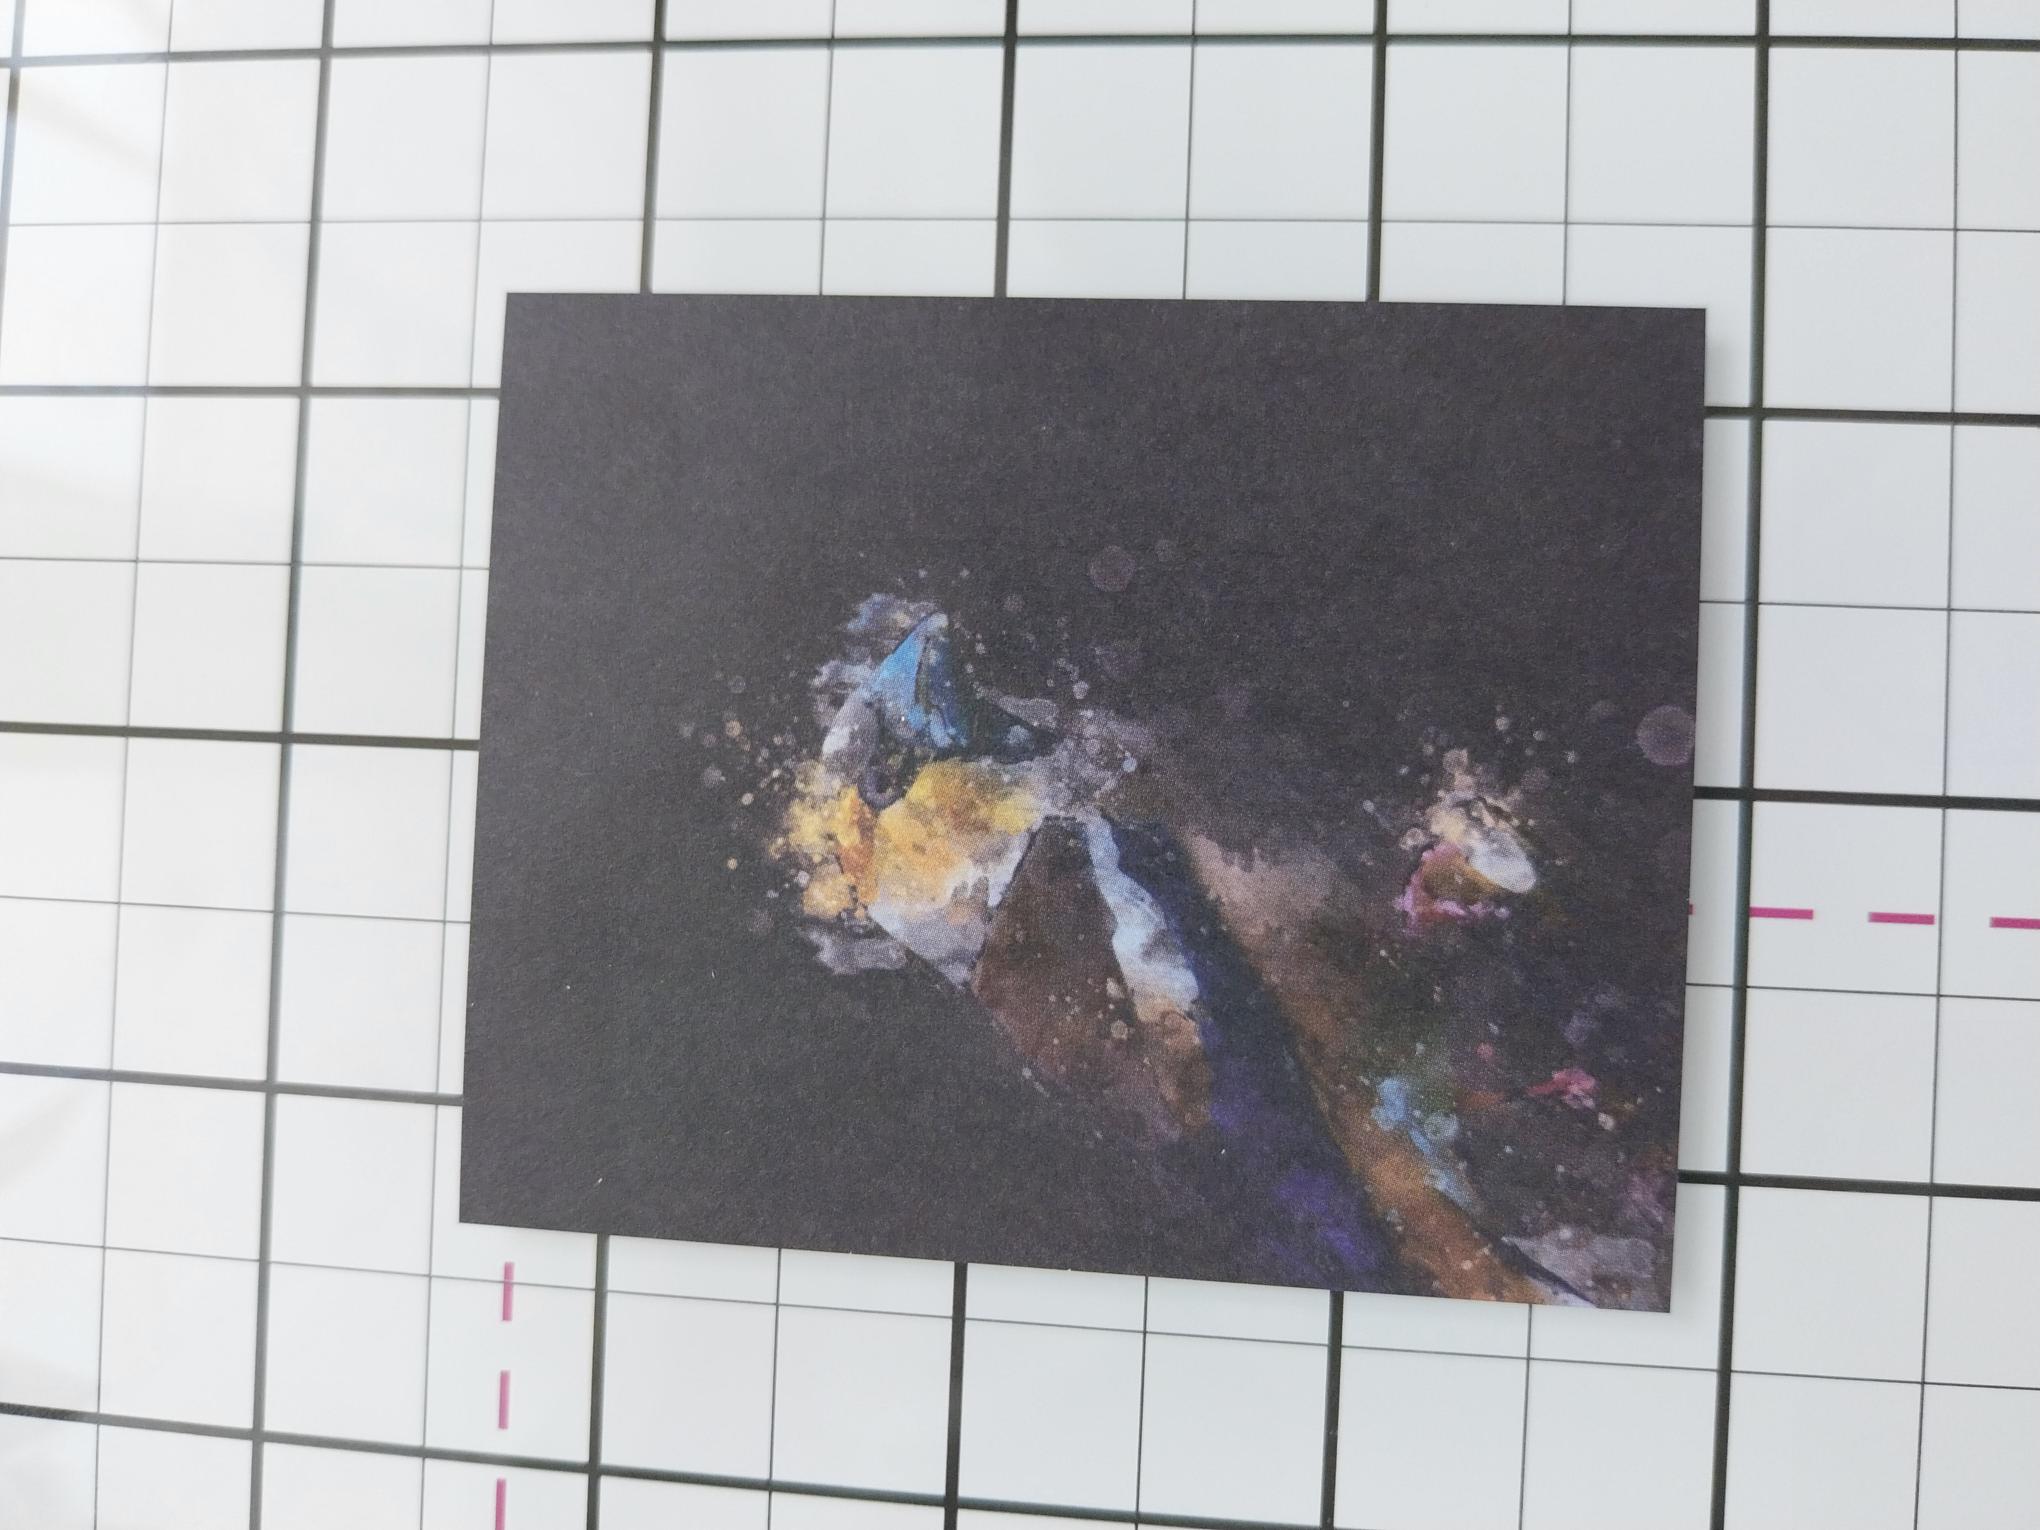
|
Keeping the Songbird in the bottom left corner, trim your topper to 3 1/4 x 2 1/2". |
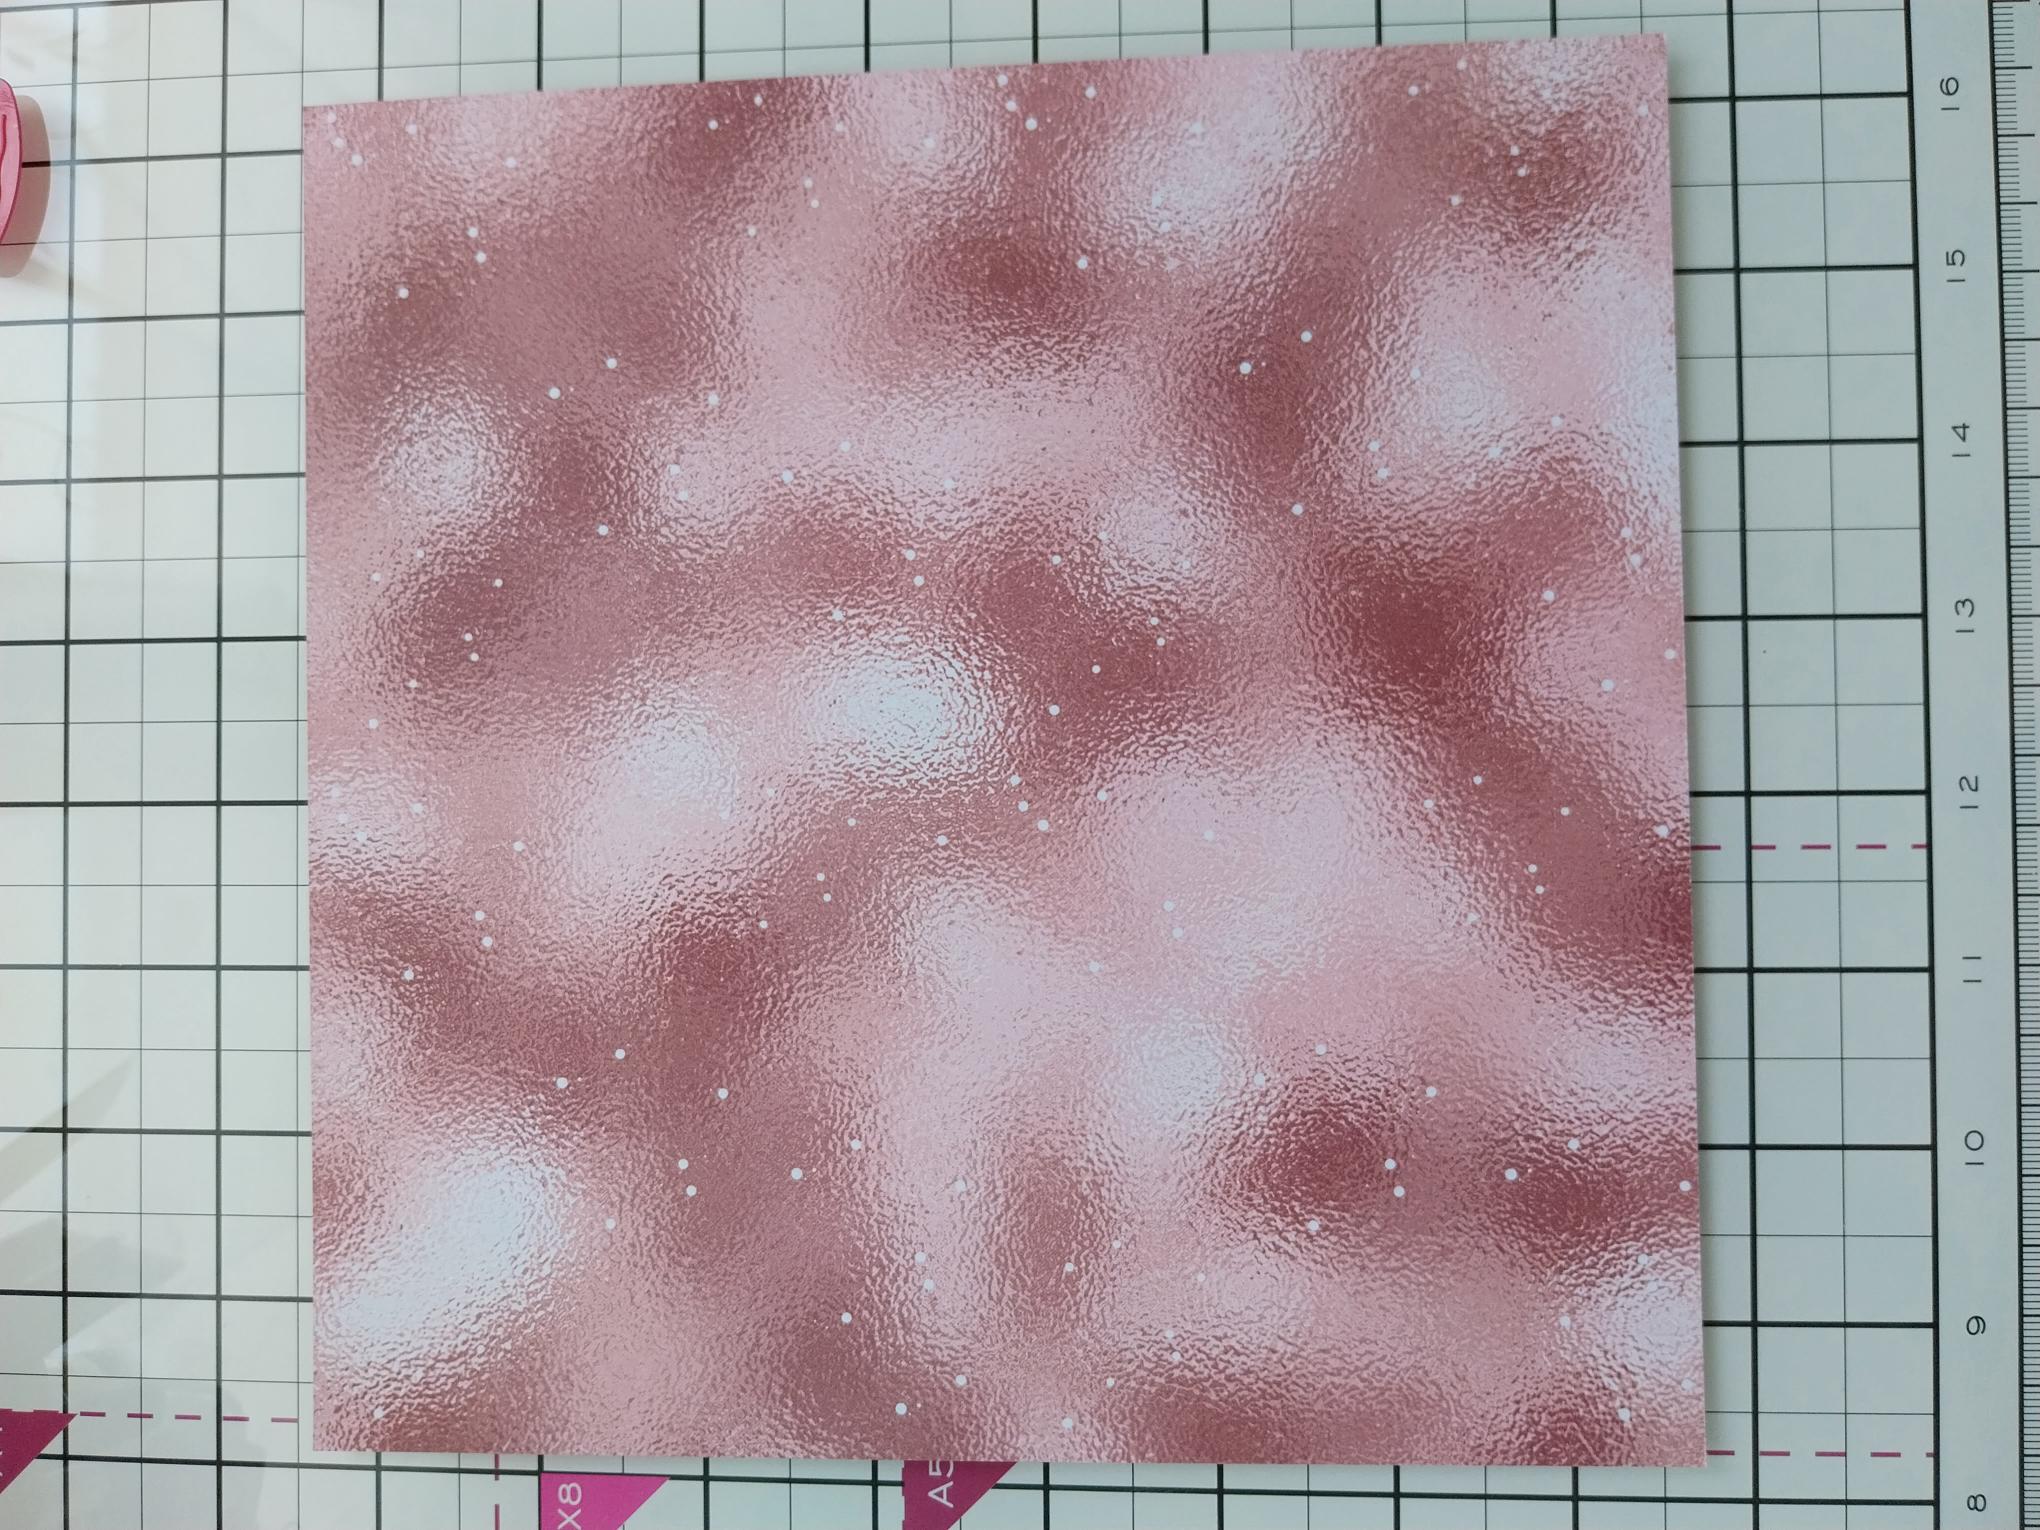
|
Remove this beautiful decorative paper, from the Classic Celebration Textured Paper Pack and trim to 3 1/2 x 2 3/4". |
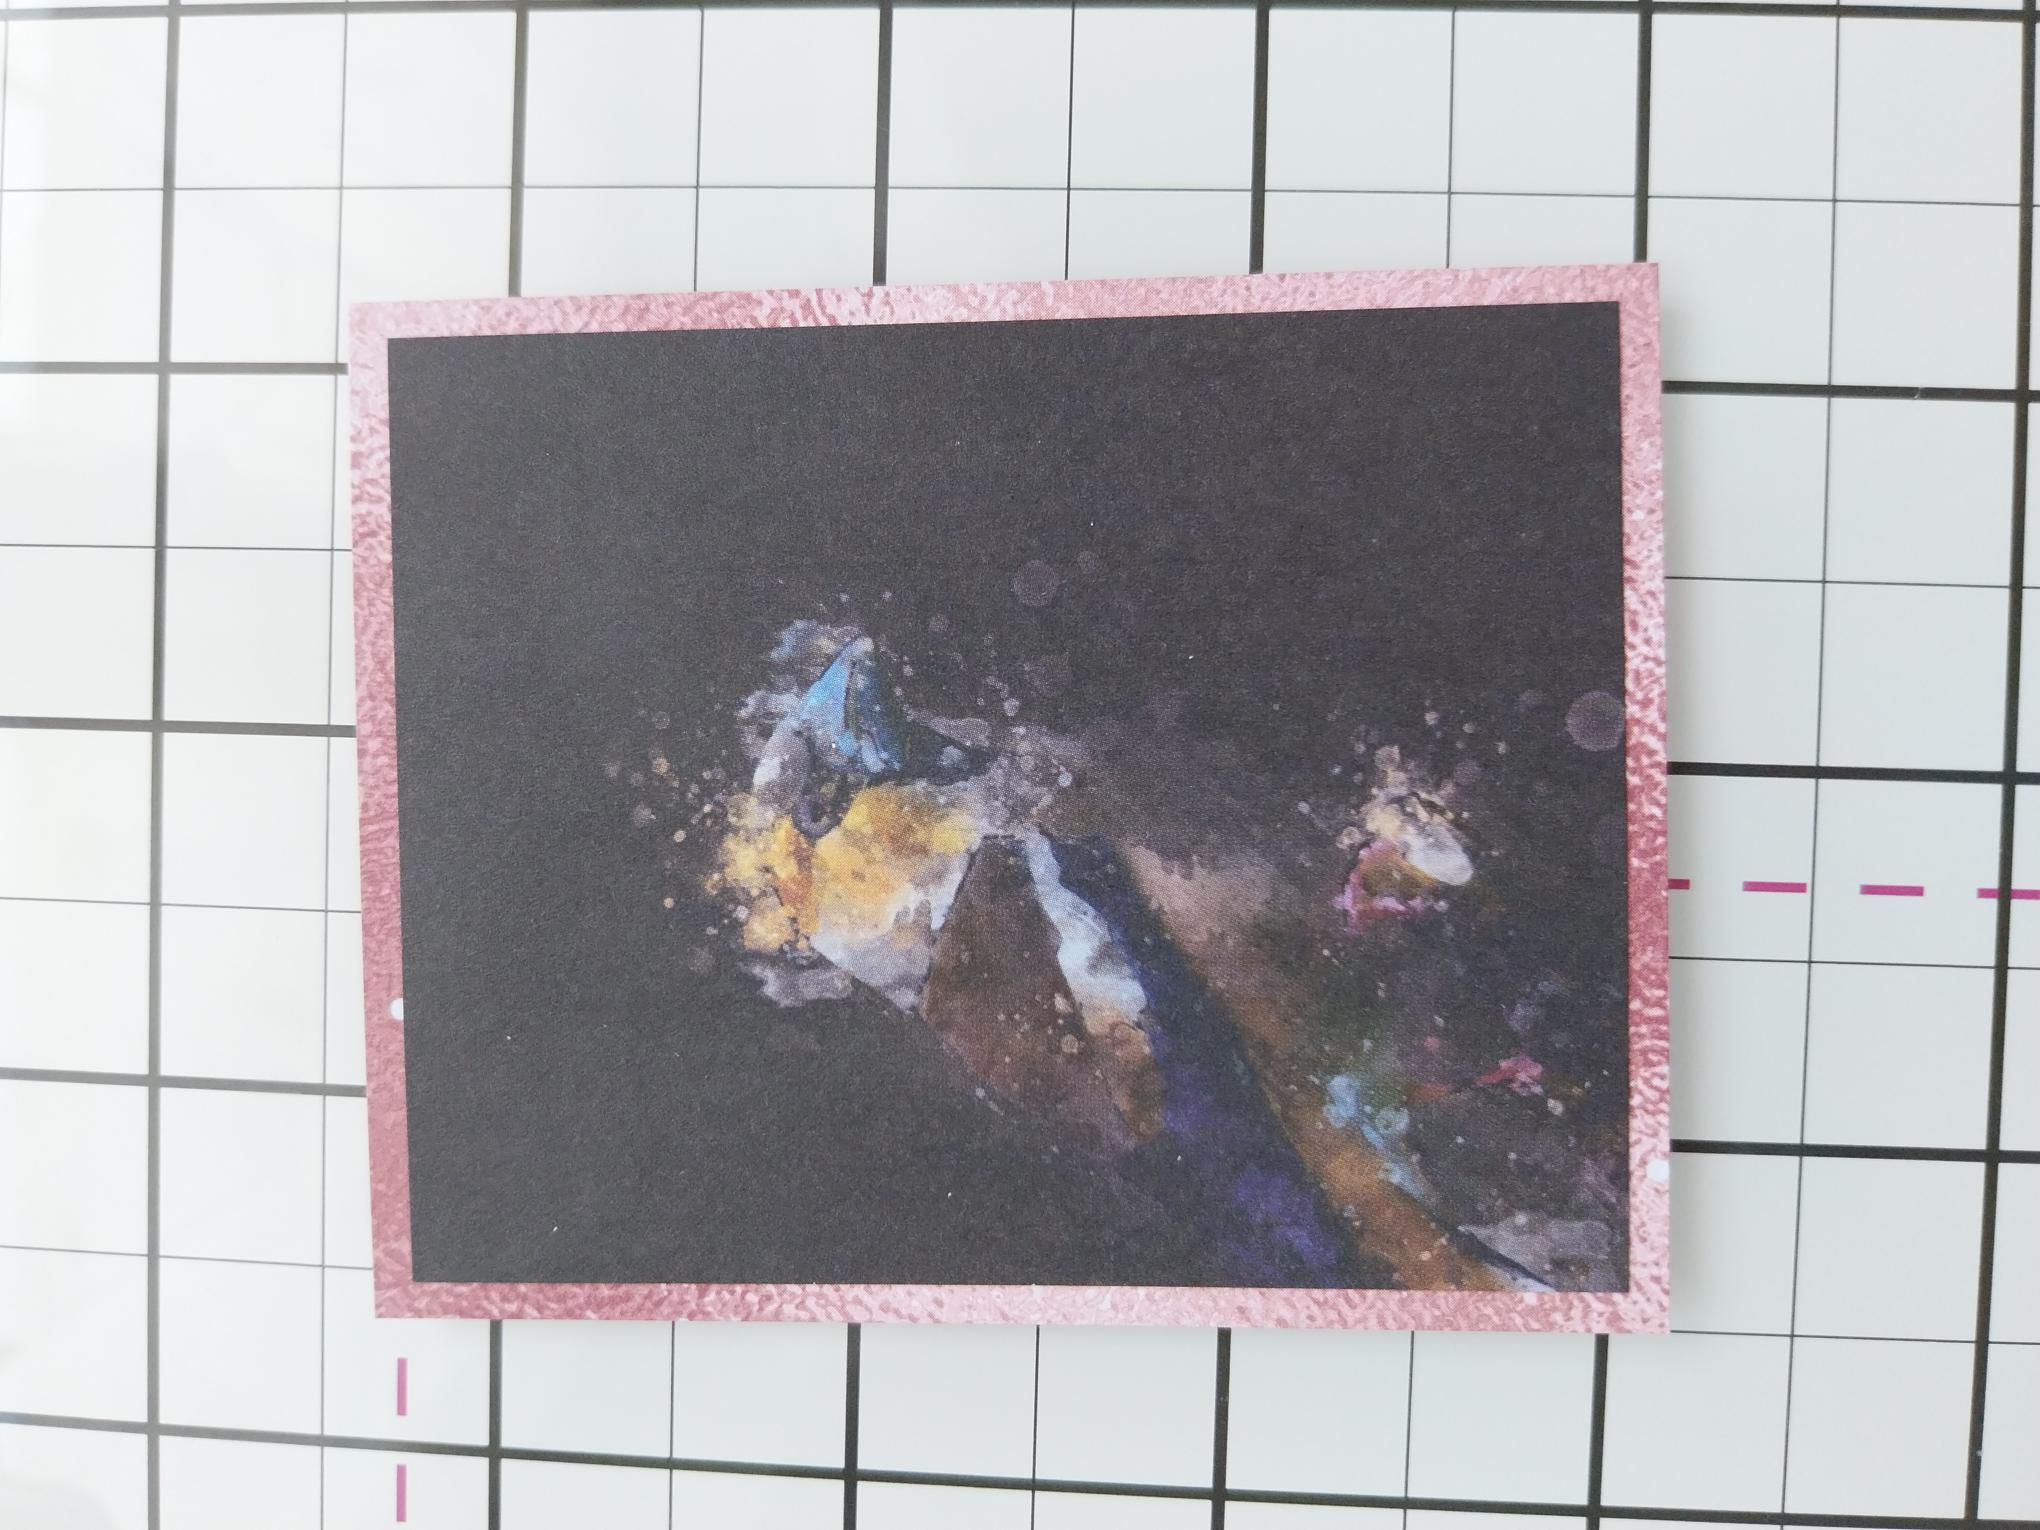
|
Adhere your Songbird topper on to the texture paper. |
|
Stamp "Let's Celebrate", from the collection of the same name, in the Cotton pigment ink pad, down the right side of your topper. NB: Pigment ink is slow drying and will smudge if not dry, so you may want to give it a quick blast with a heat tool. |
|
Adhere your topper flat, so it's tucked under the decoupage flowers, as shown here. |
|
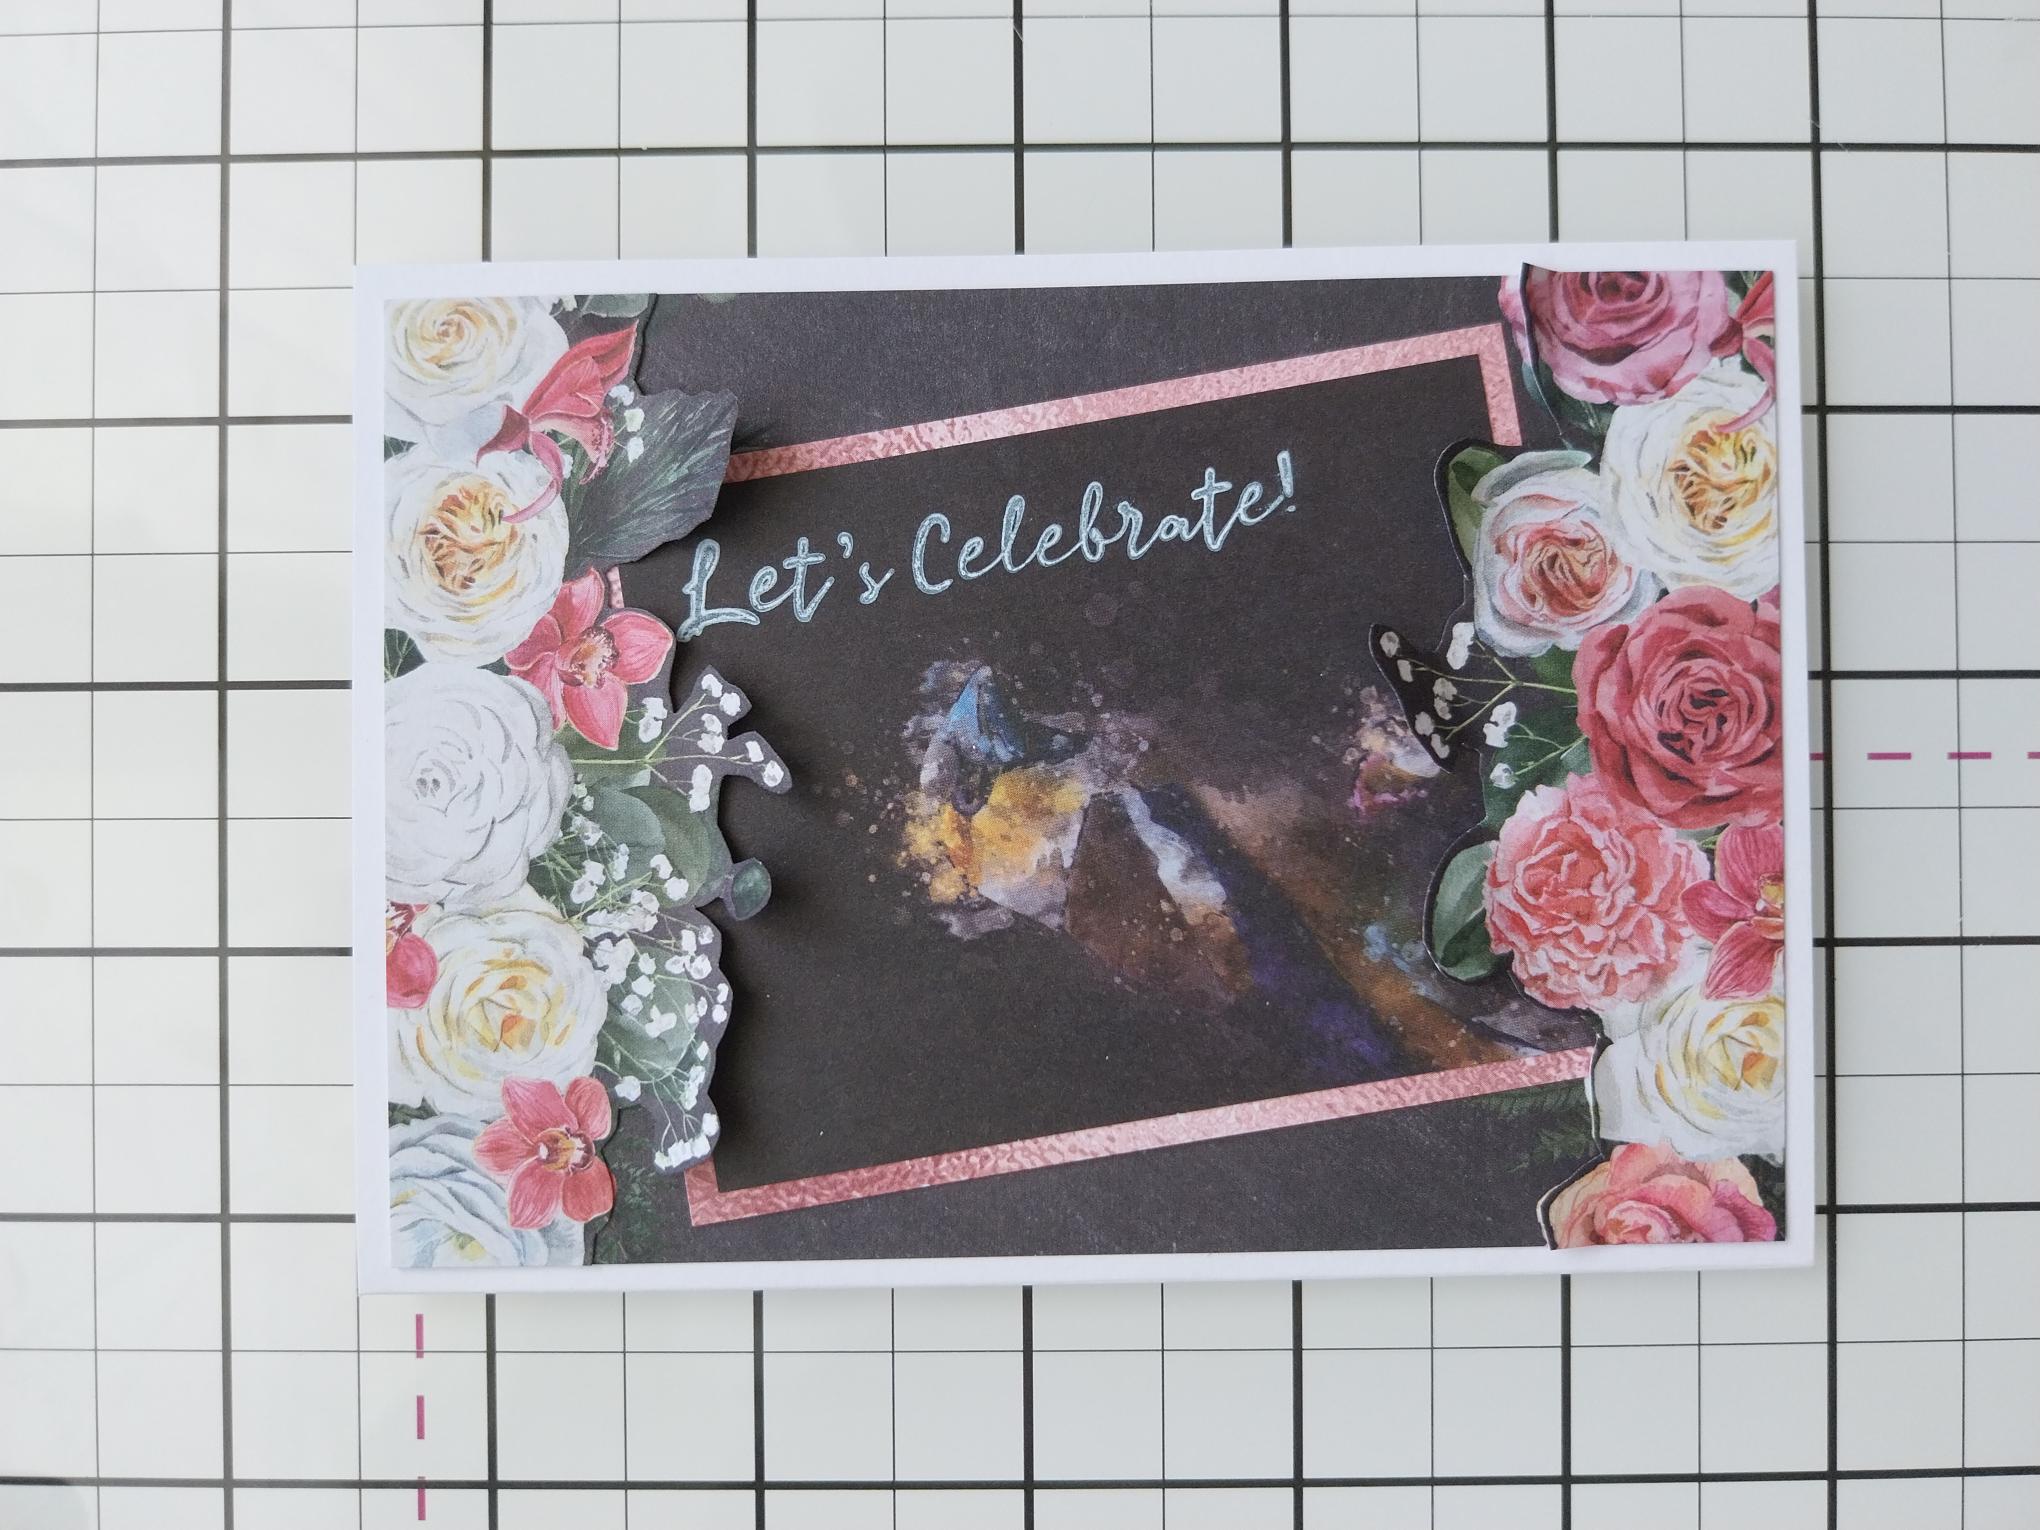
Adhere your artwork on to your white card blank. |
|
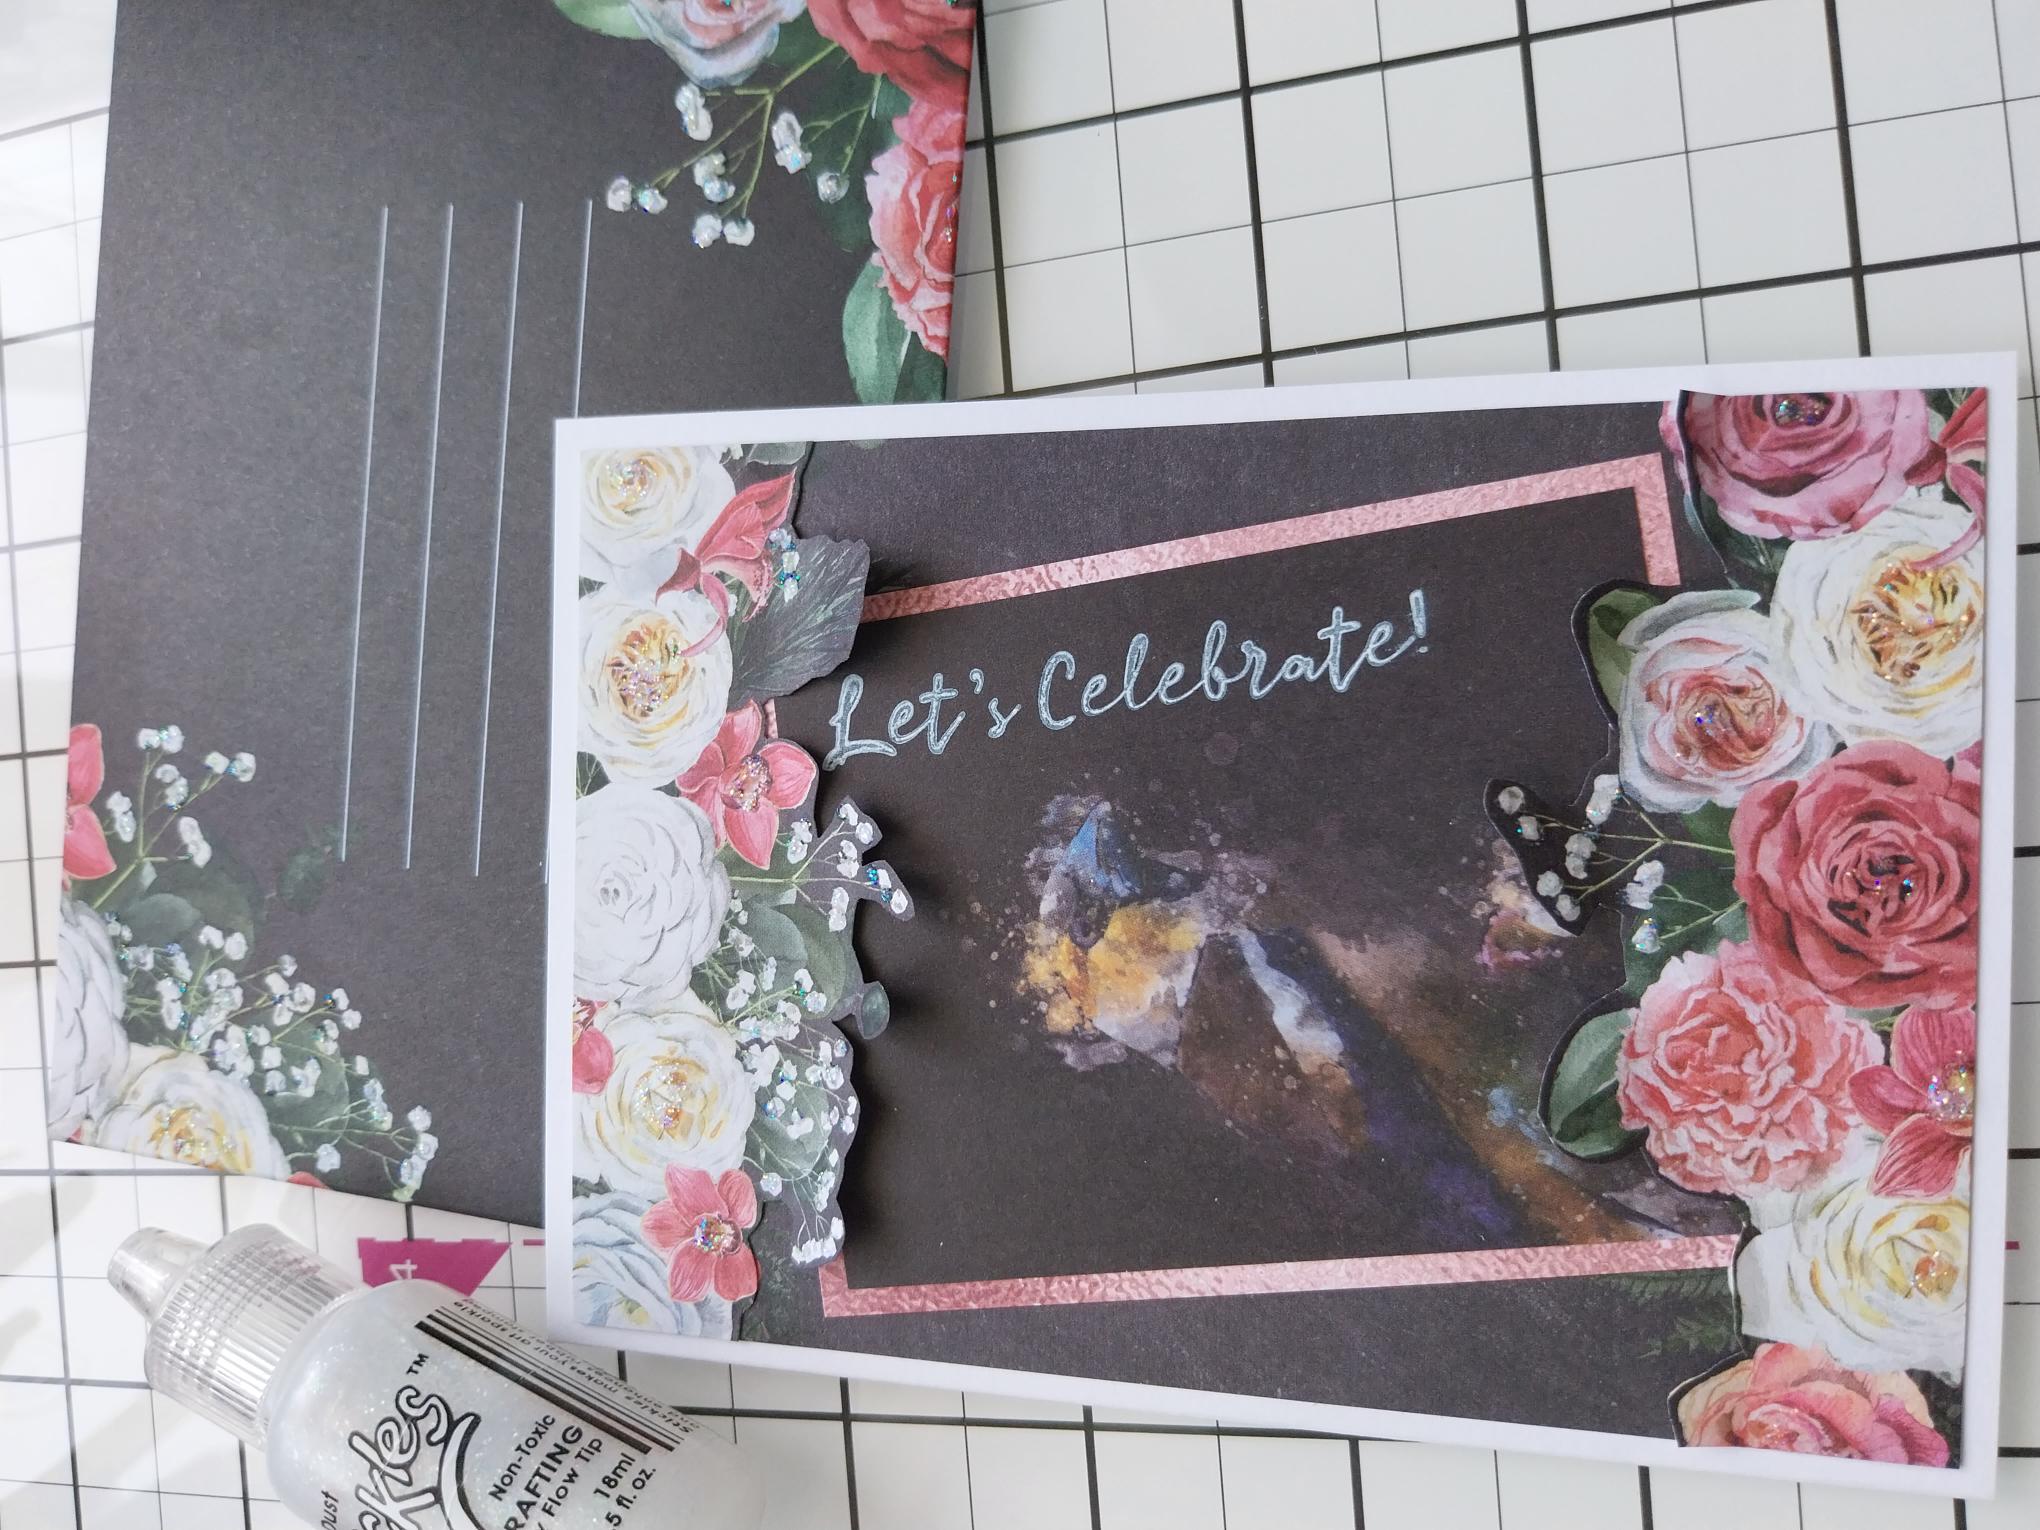
To finish, add a touch of Stickles sparkle to the floral artwork on both the card and on the coordinating envelope. |