

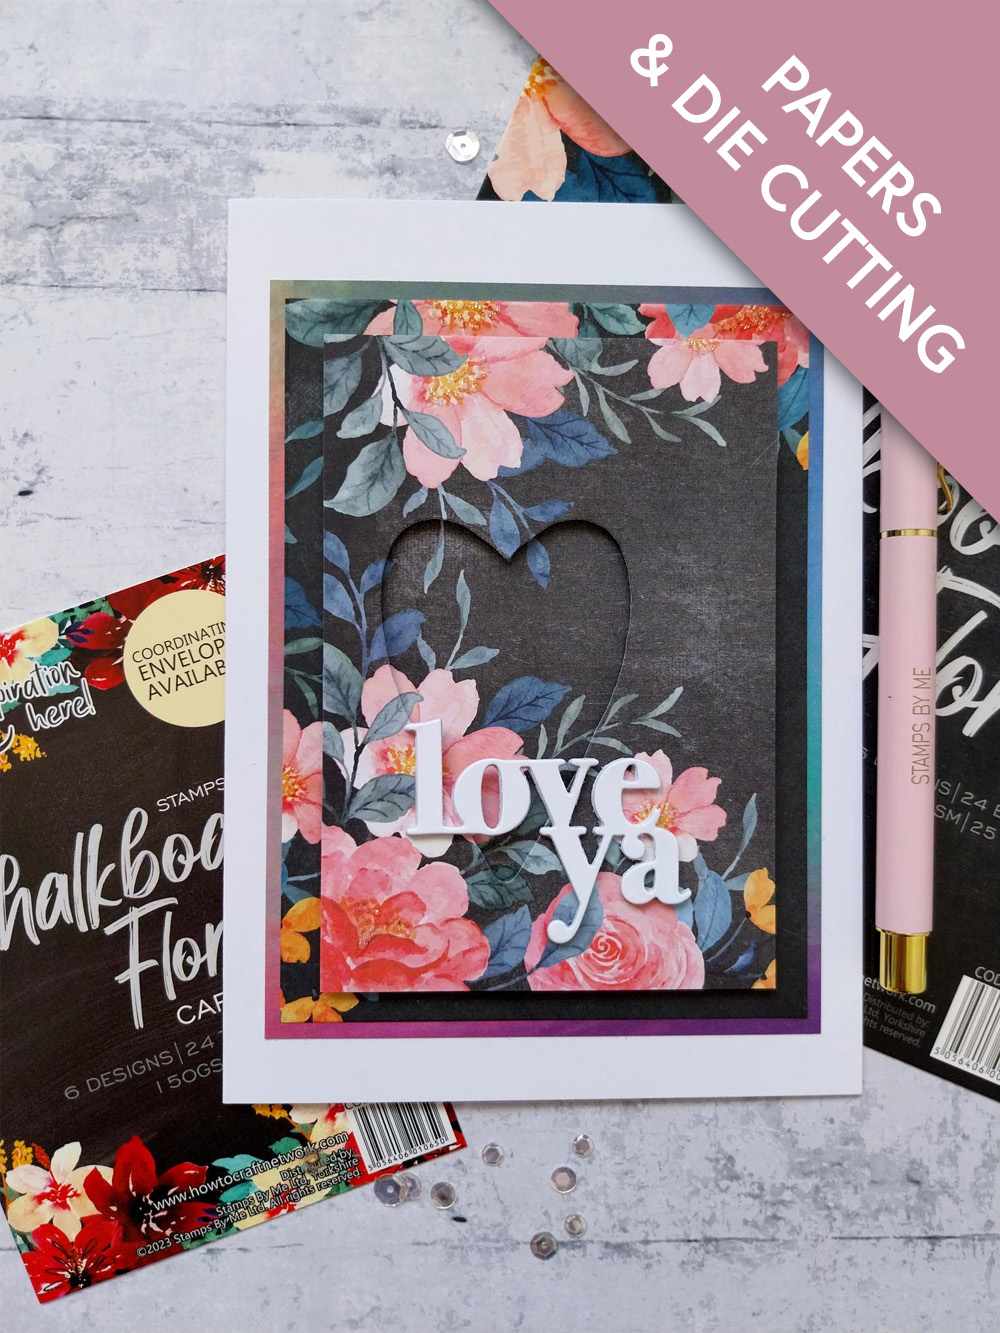
WHAT YOU WILL NEED:
White card blank 7 x 5"
White card
Chalkboard Florals Card Toppers
Chalkboard Florals Fold & Send Envelopes
All Surfaces Holographic 8 x 8" Paper Pack
Thirsty Brush UnLtd Framed Hearts Creative Dies
Creative Words A5 Die Collection
Stickles: Diamond
SBM Magnetic glass mat
Paper Trimmer
Perfect Together Glue
Foam sheet/foam pads
Die Cutting machine
[click image to enlarge] 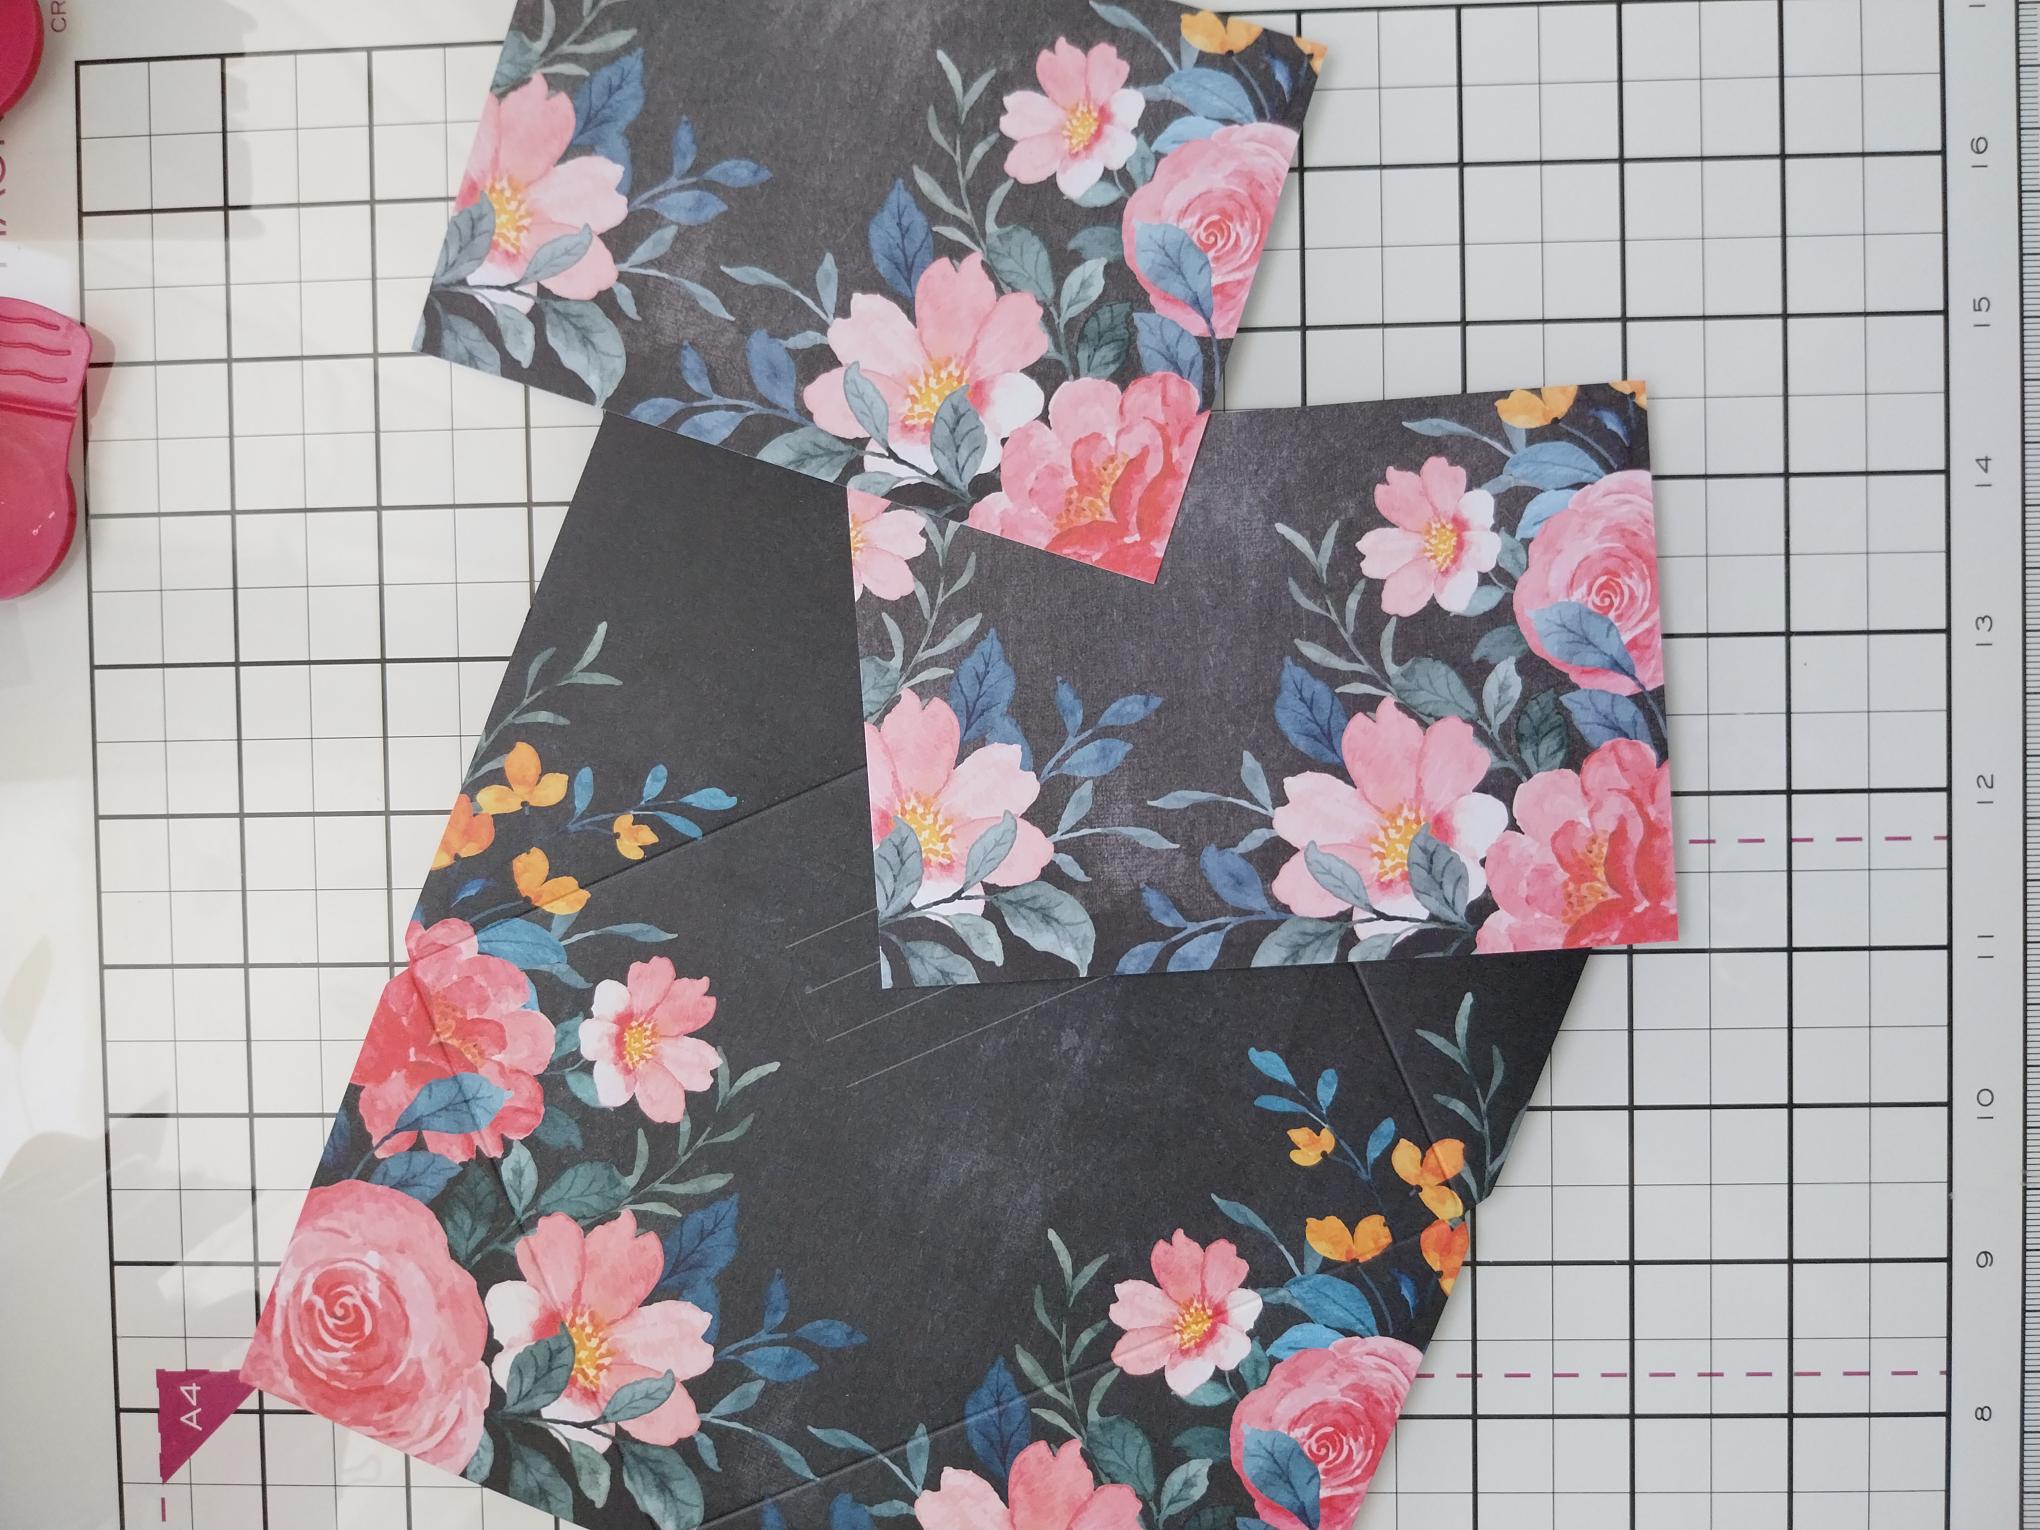
|
Take out this Chalkboard Florals envelope and TWO of the same, coordinating toppers. |
|
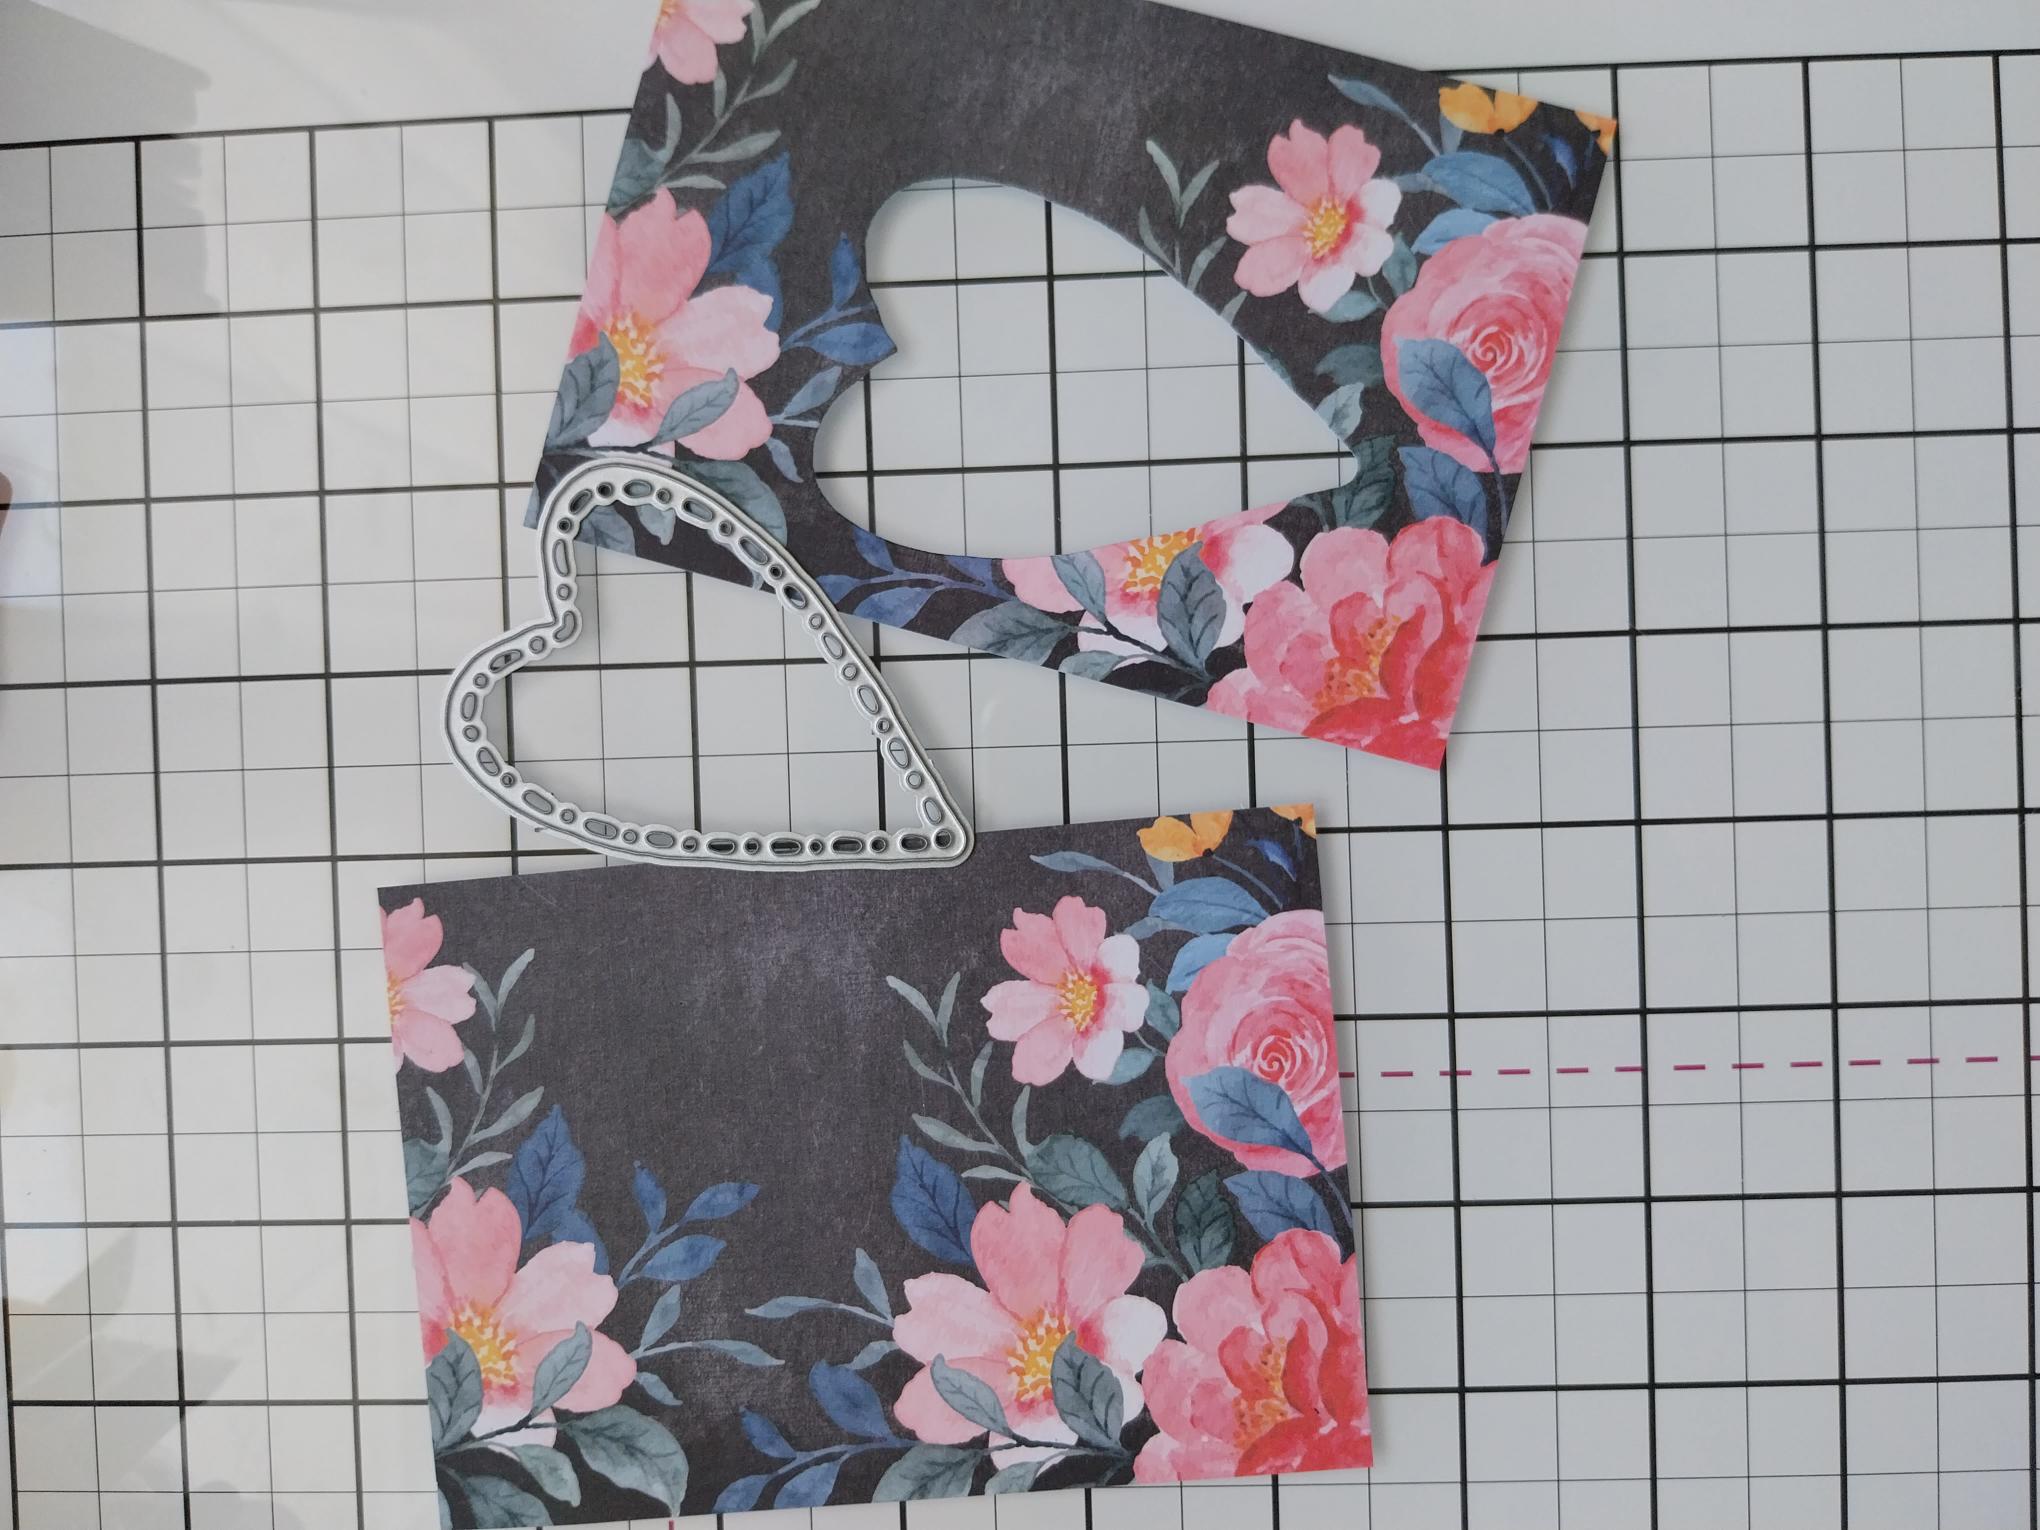
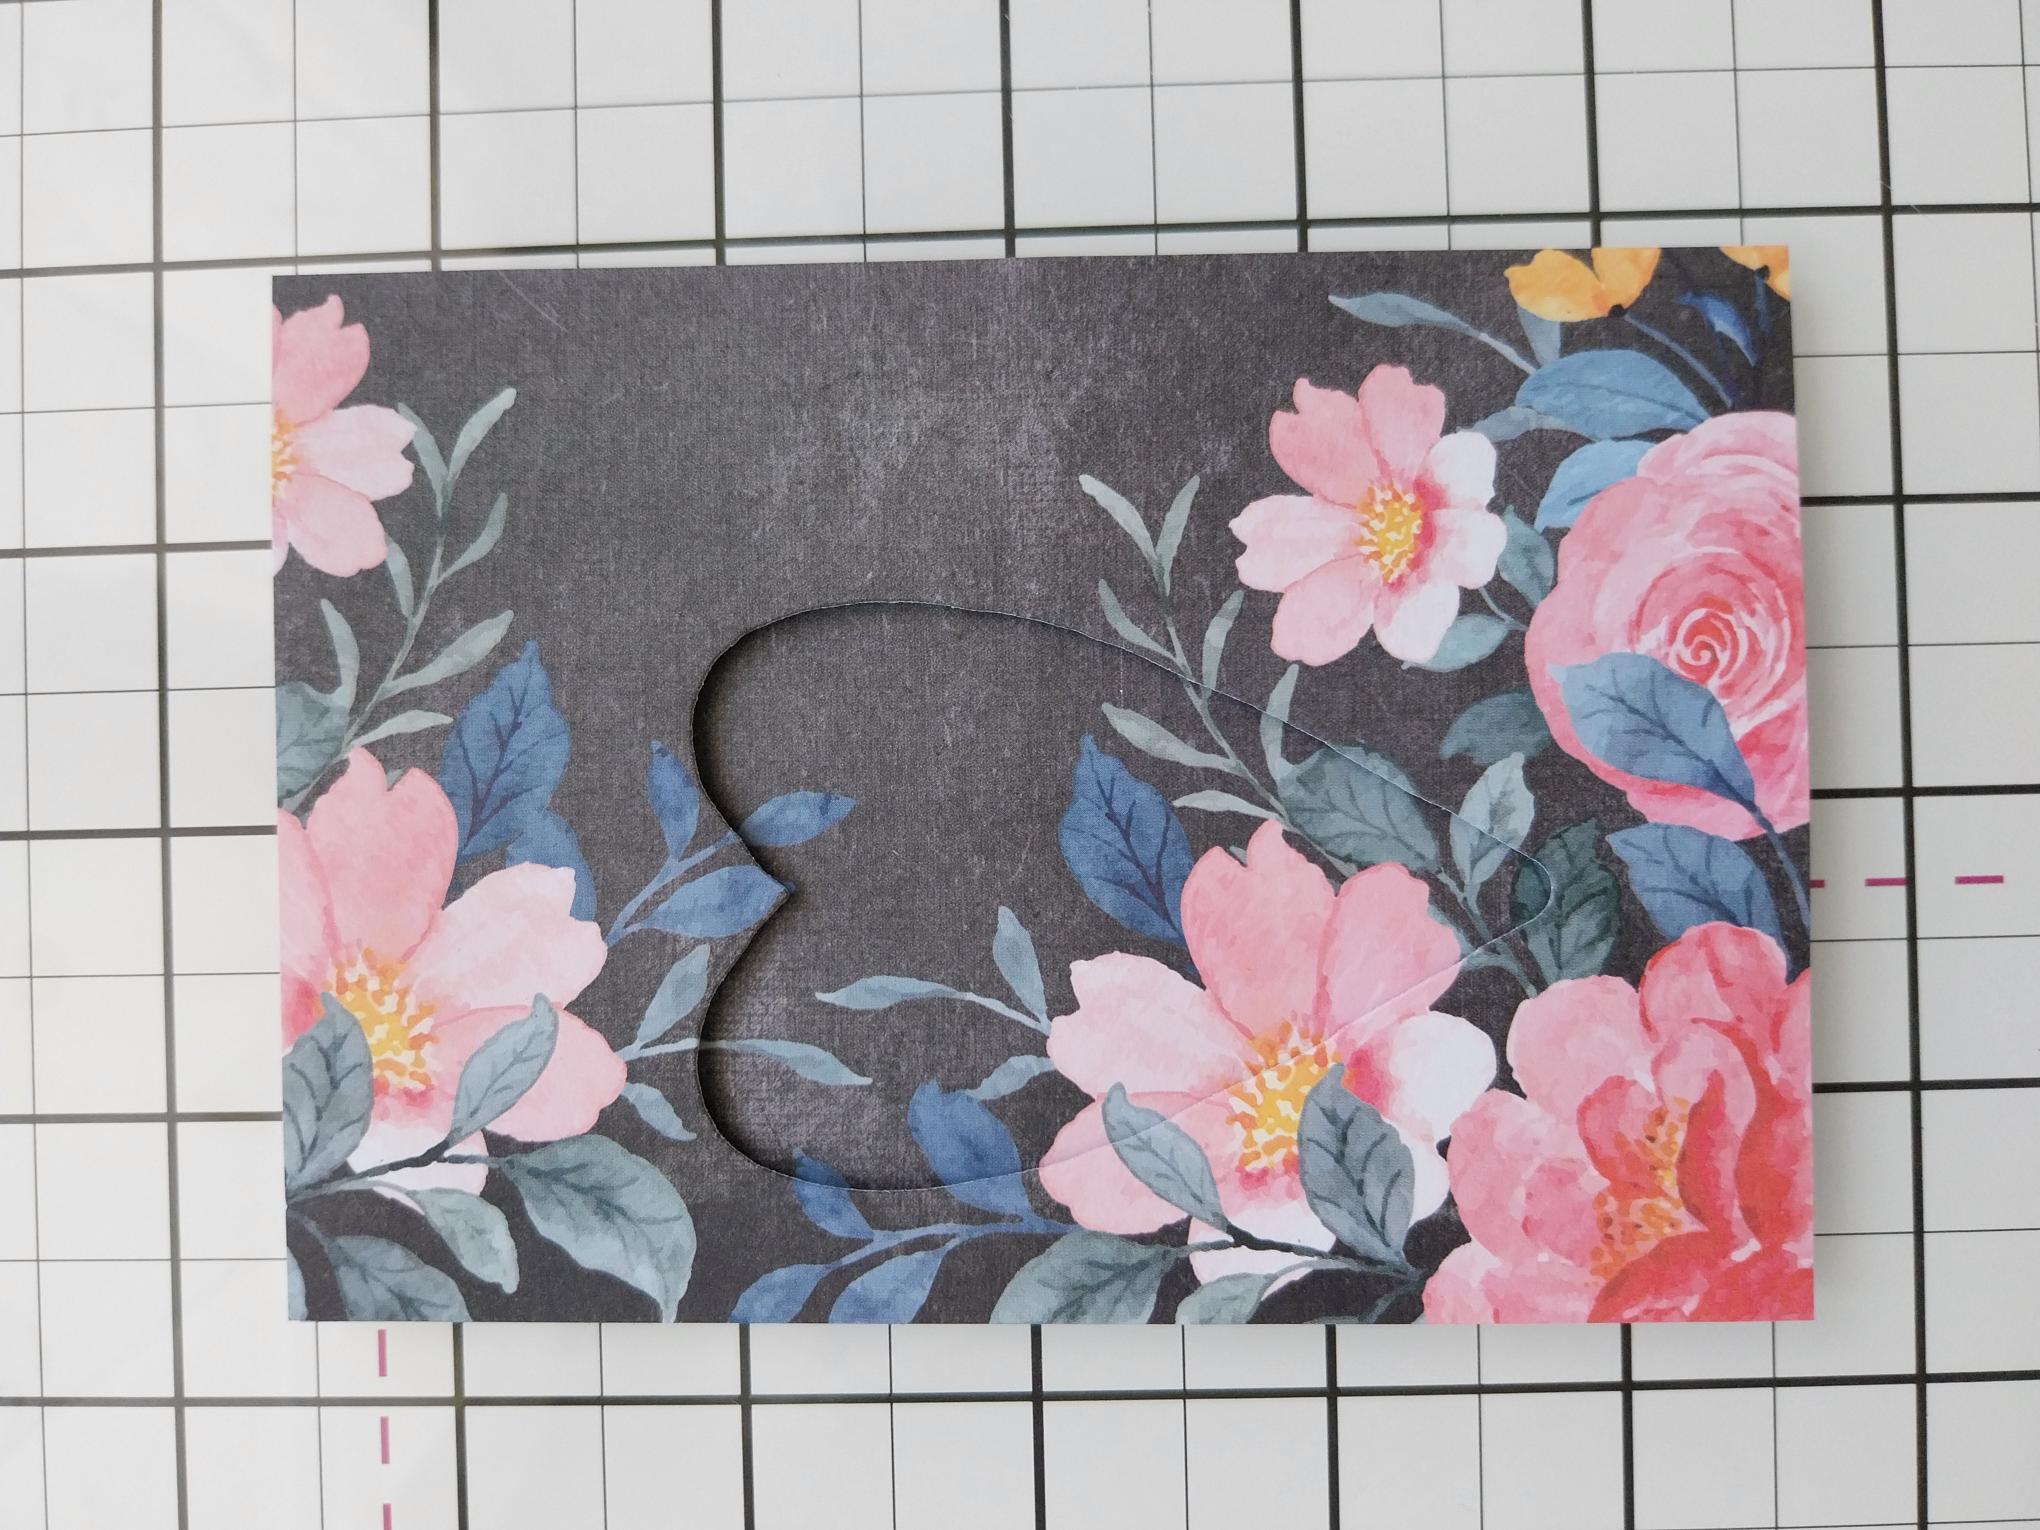
Die cut a heart aperture in ONE of the toppers, using the Thirsty Brush Framed Heart die measuring approximately 3 x 2". Try to capture an area of detailed artwork within the die cut aperture. NB: You can use any shape or size aperture die, for this project. |
|
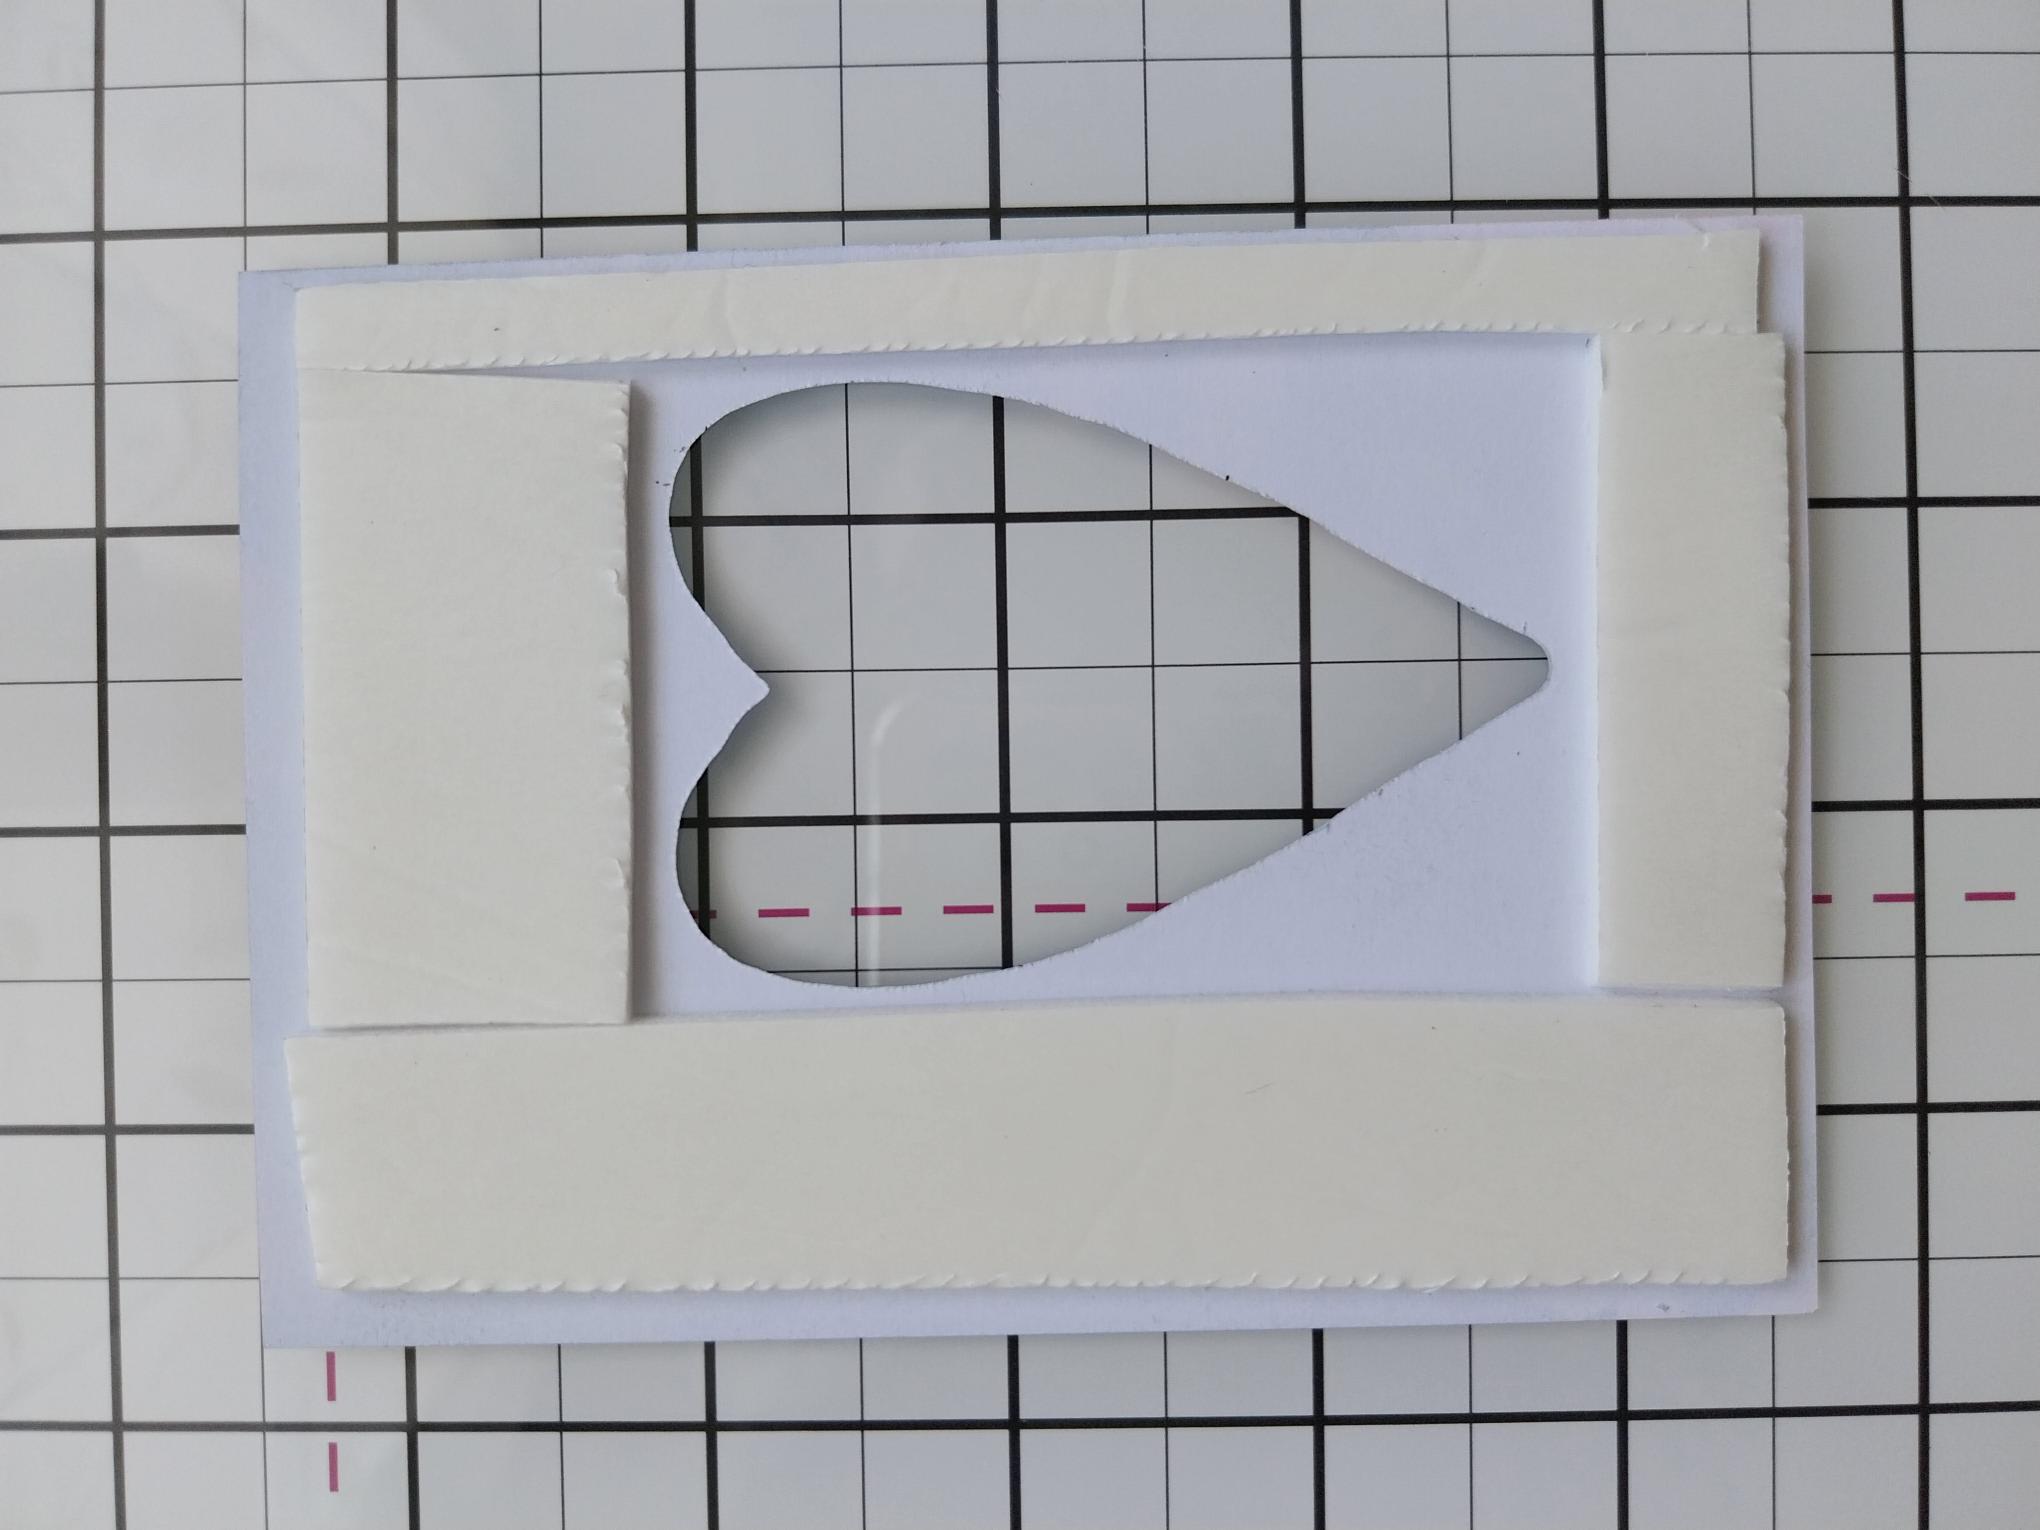
Adhere foam tape or trimmed foam sheets, on the reverse of the die cut topper, as shown here. |
|
Remove the foam sheet backing and lining up the artwork carefully, adhere on top of the other identical topper sheet. |
|
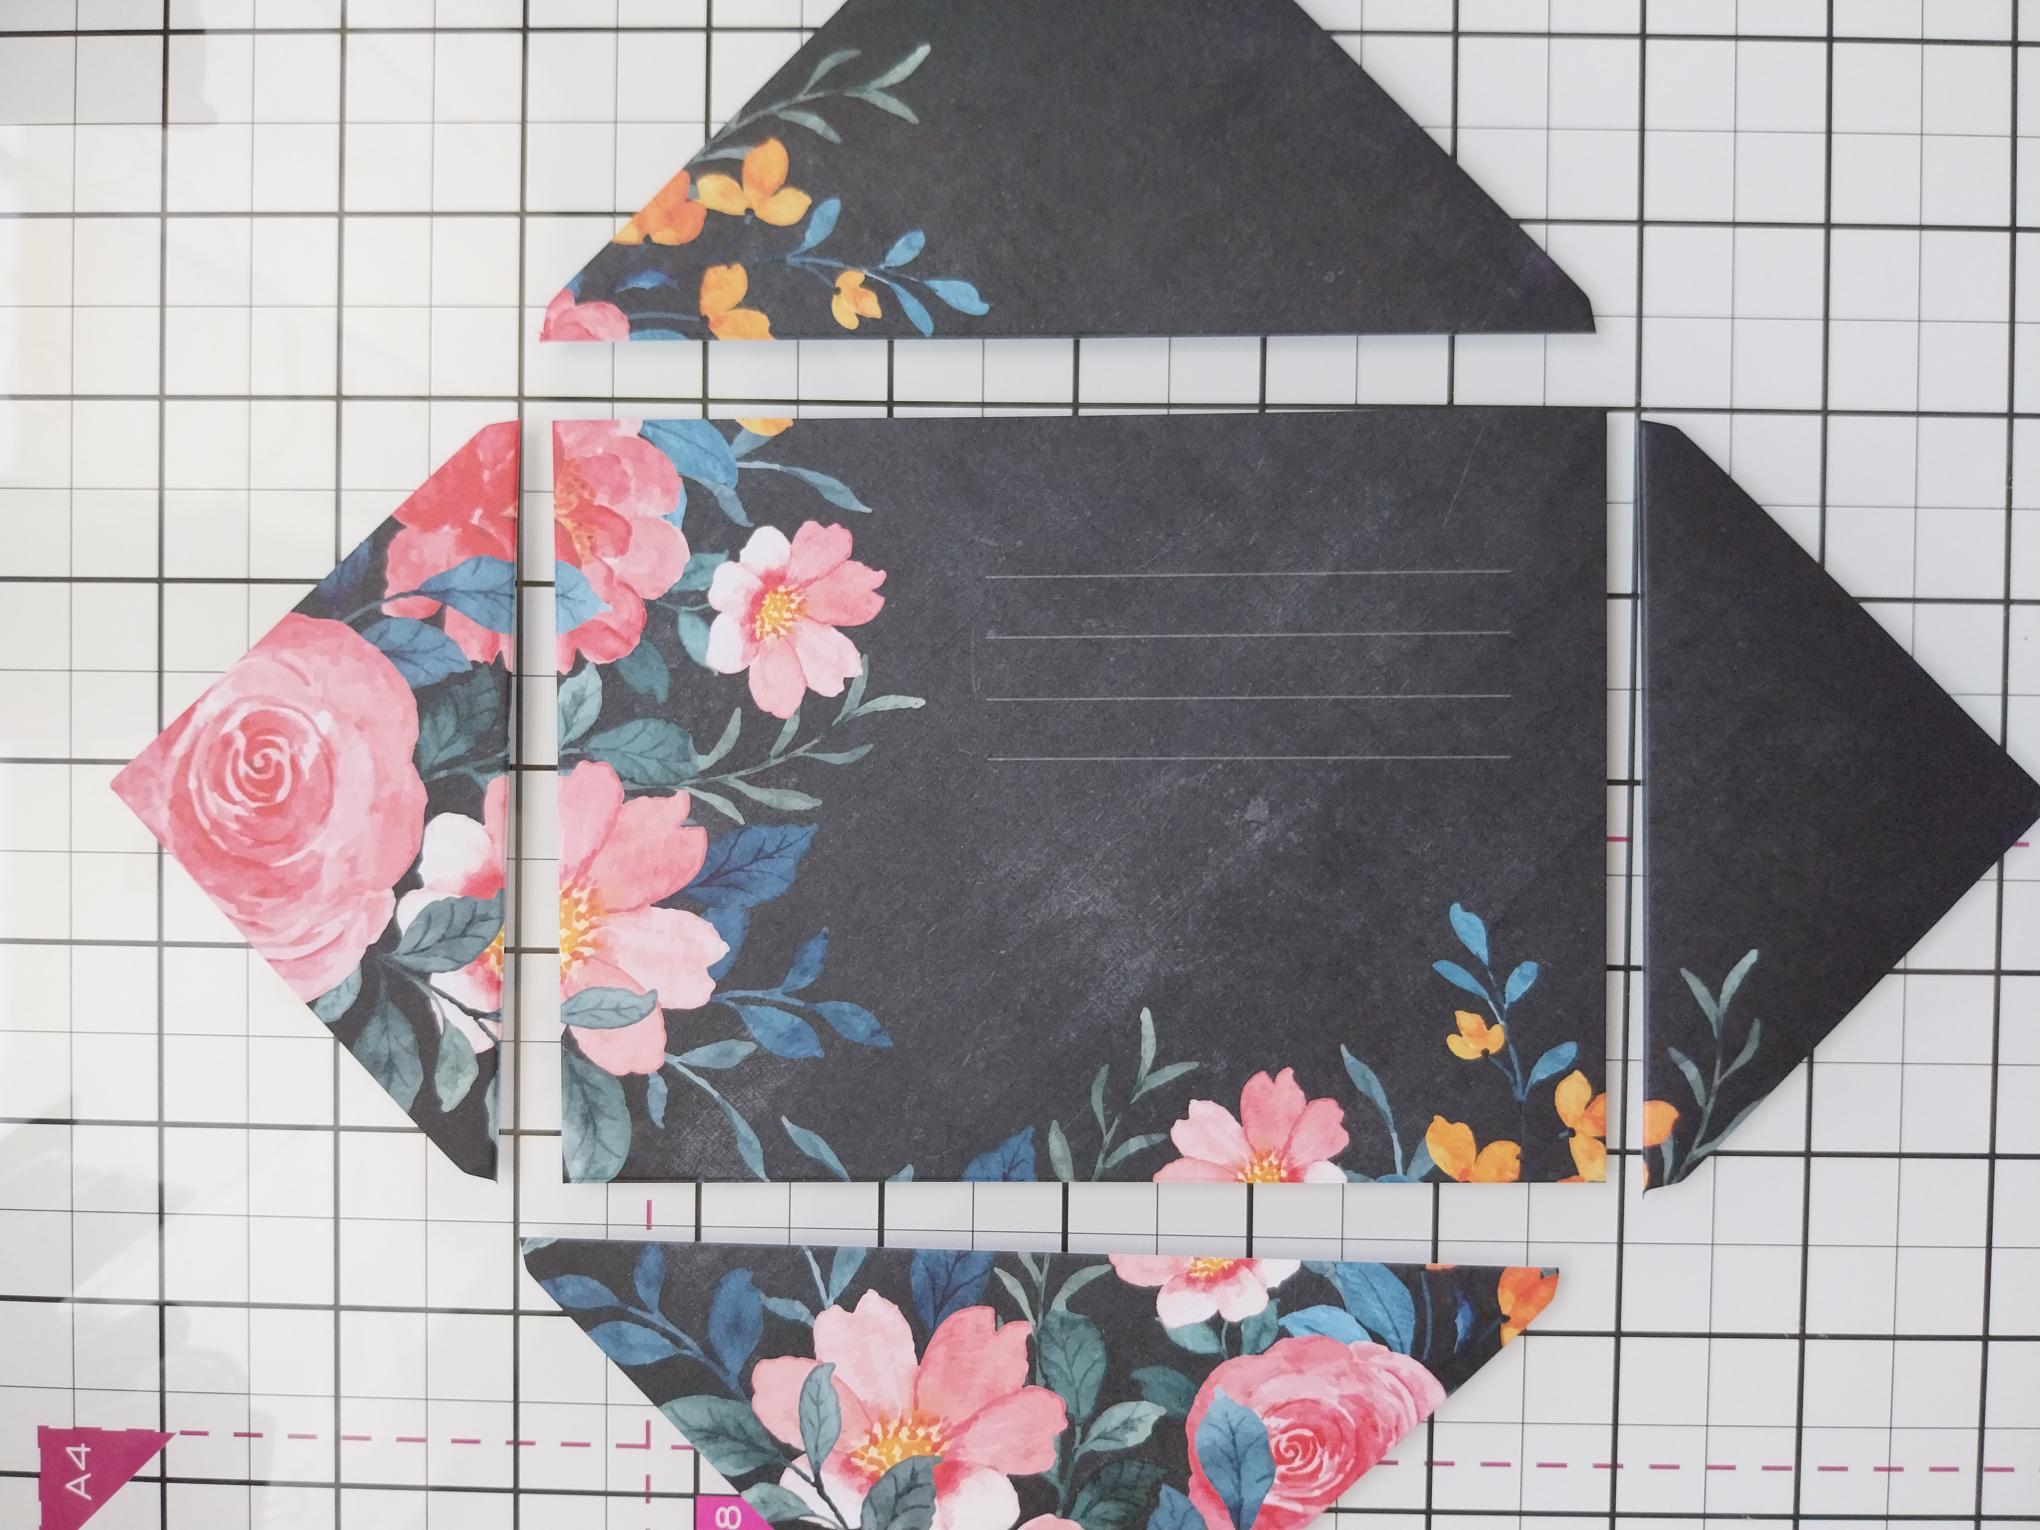
Cut the flaps off the coordinating envelope and trim the centre panel to 5 1/2 x 4". |
|
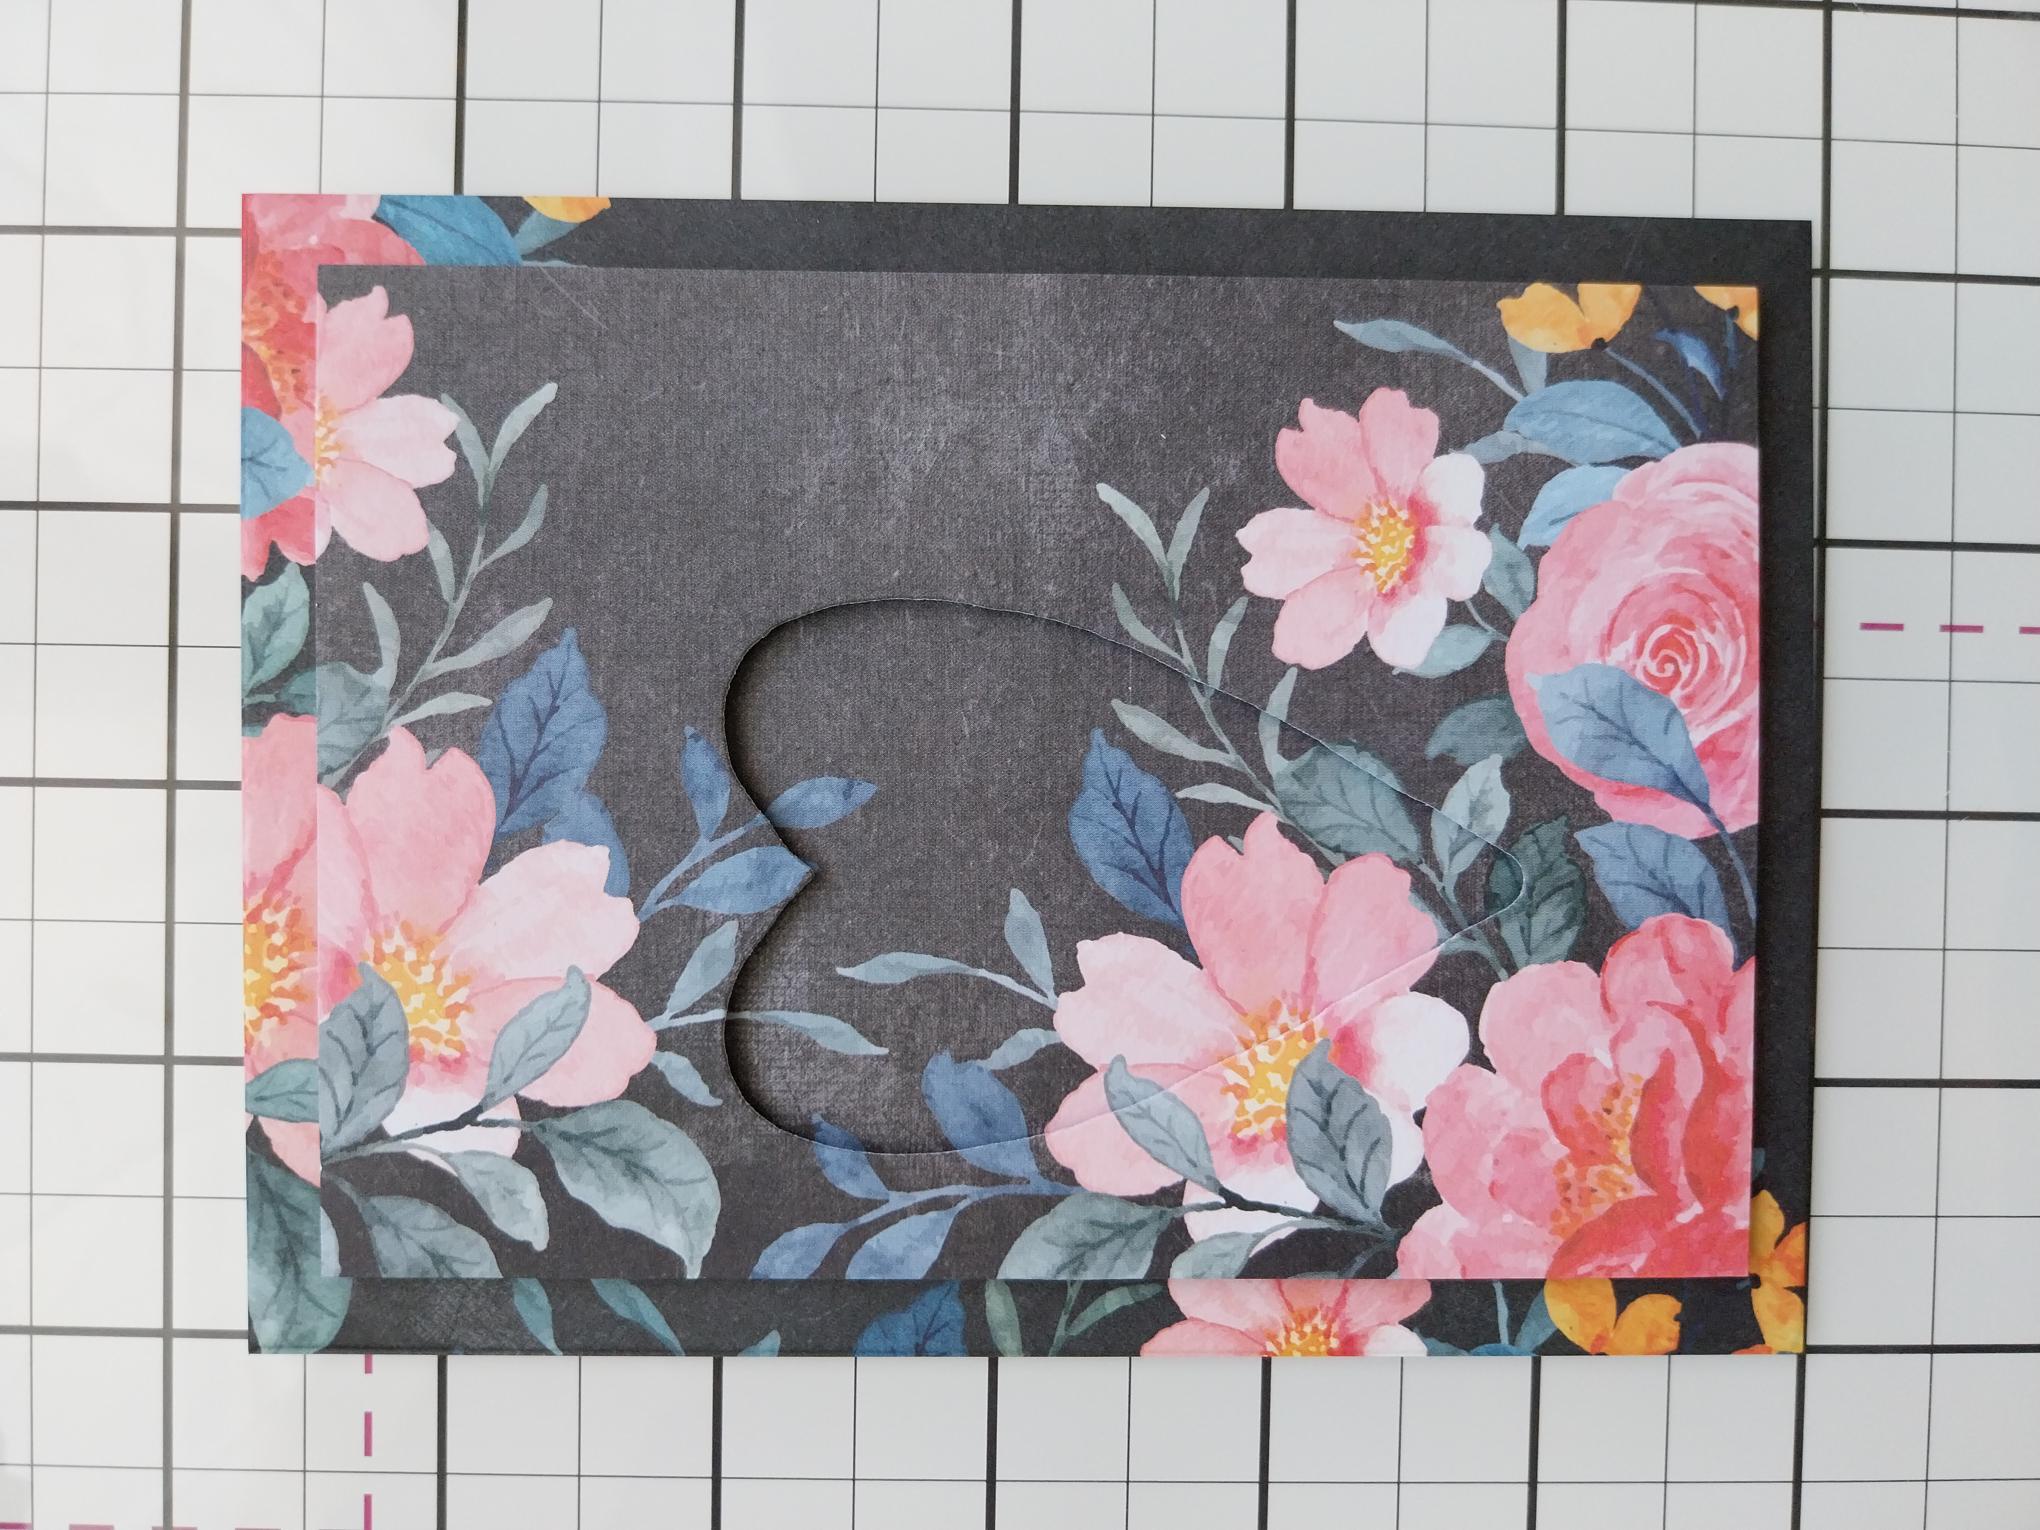
Adhere your topper on to the coordinating panel you've just created. |
|
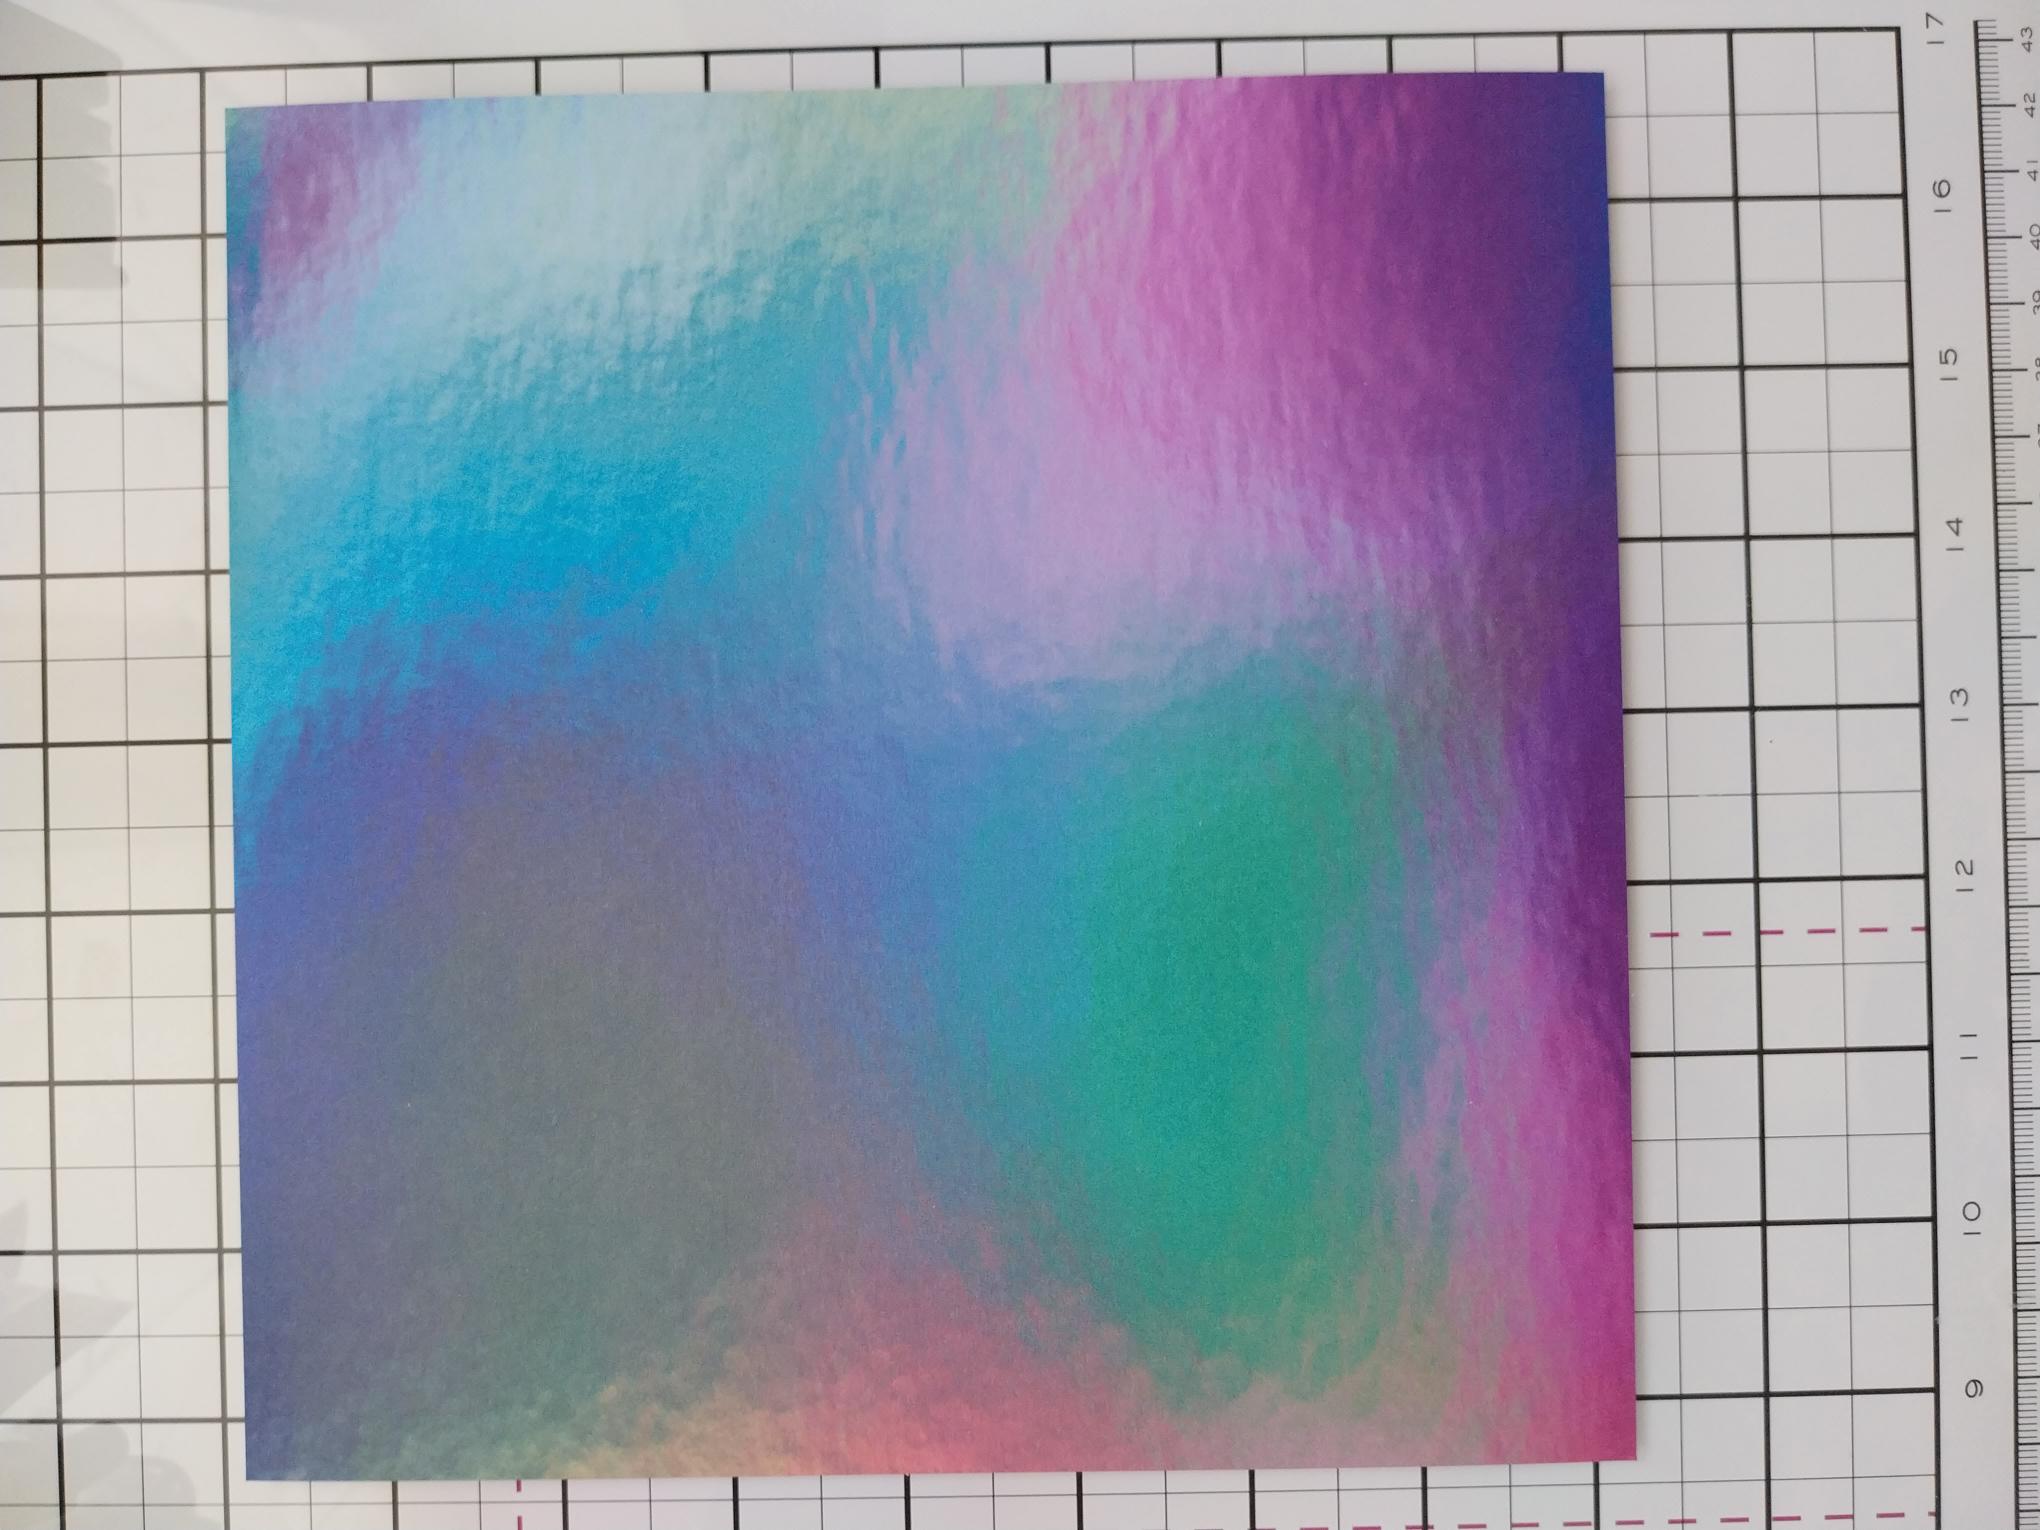
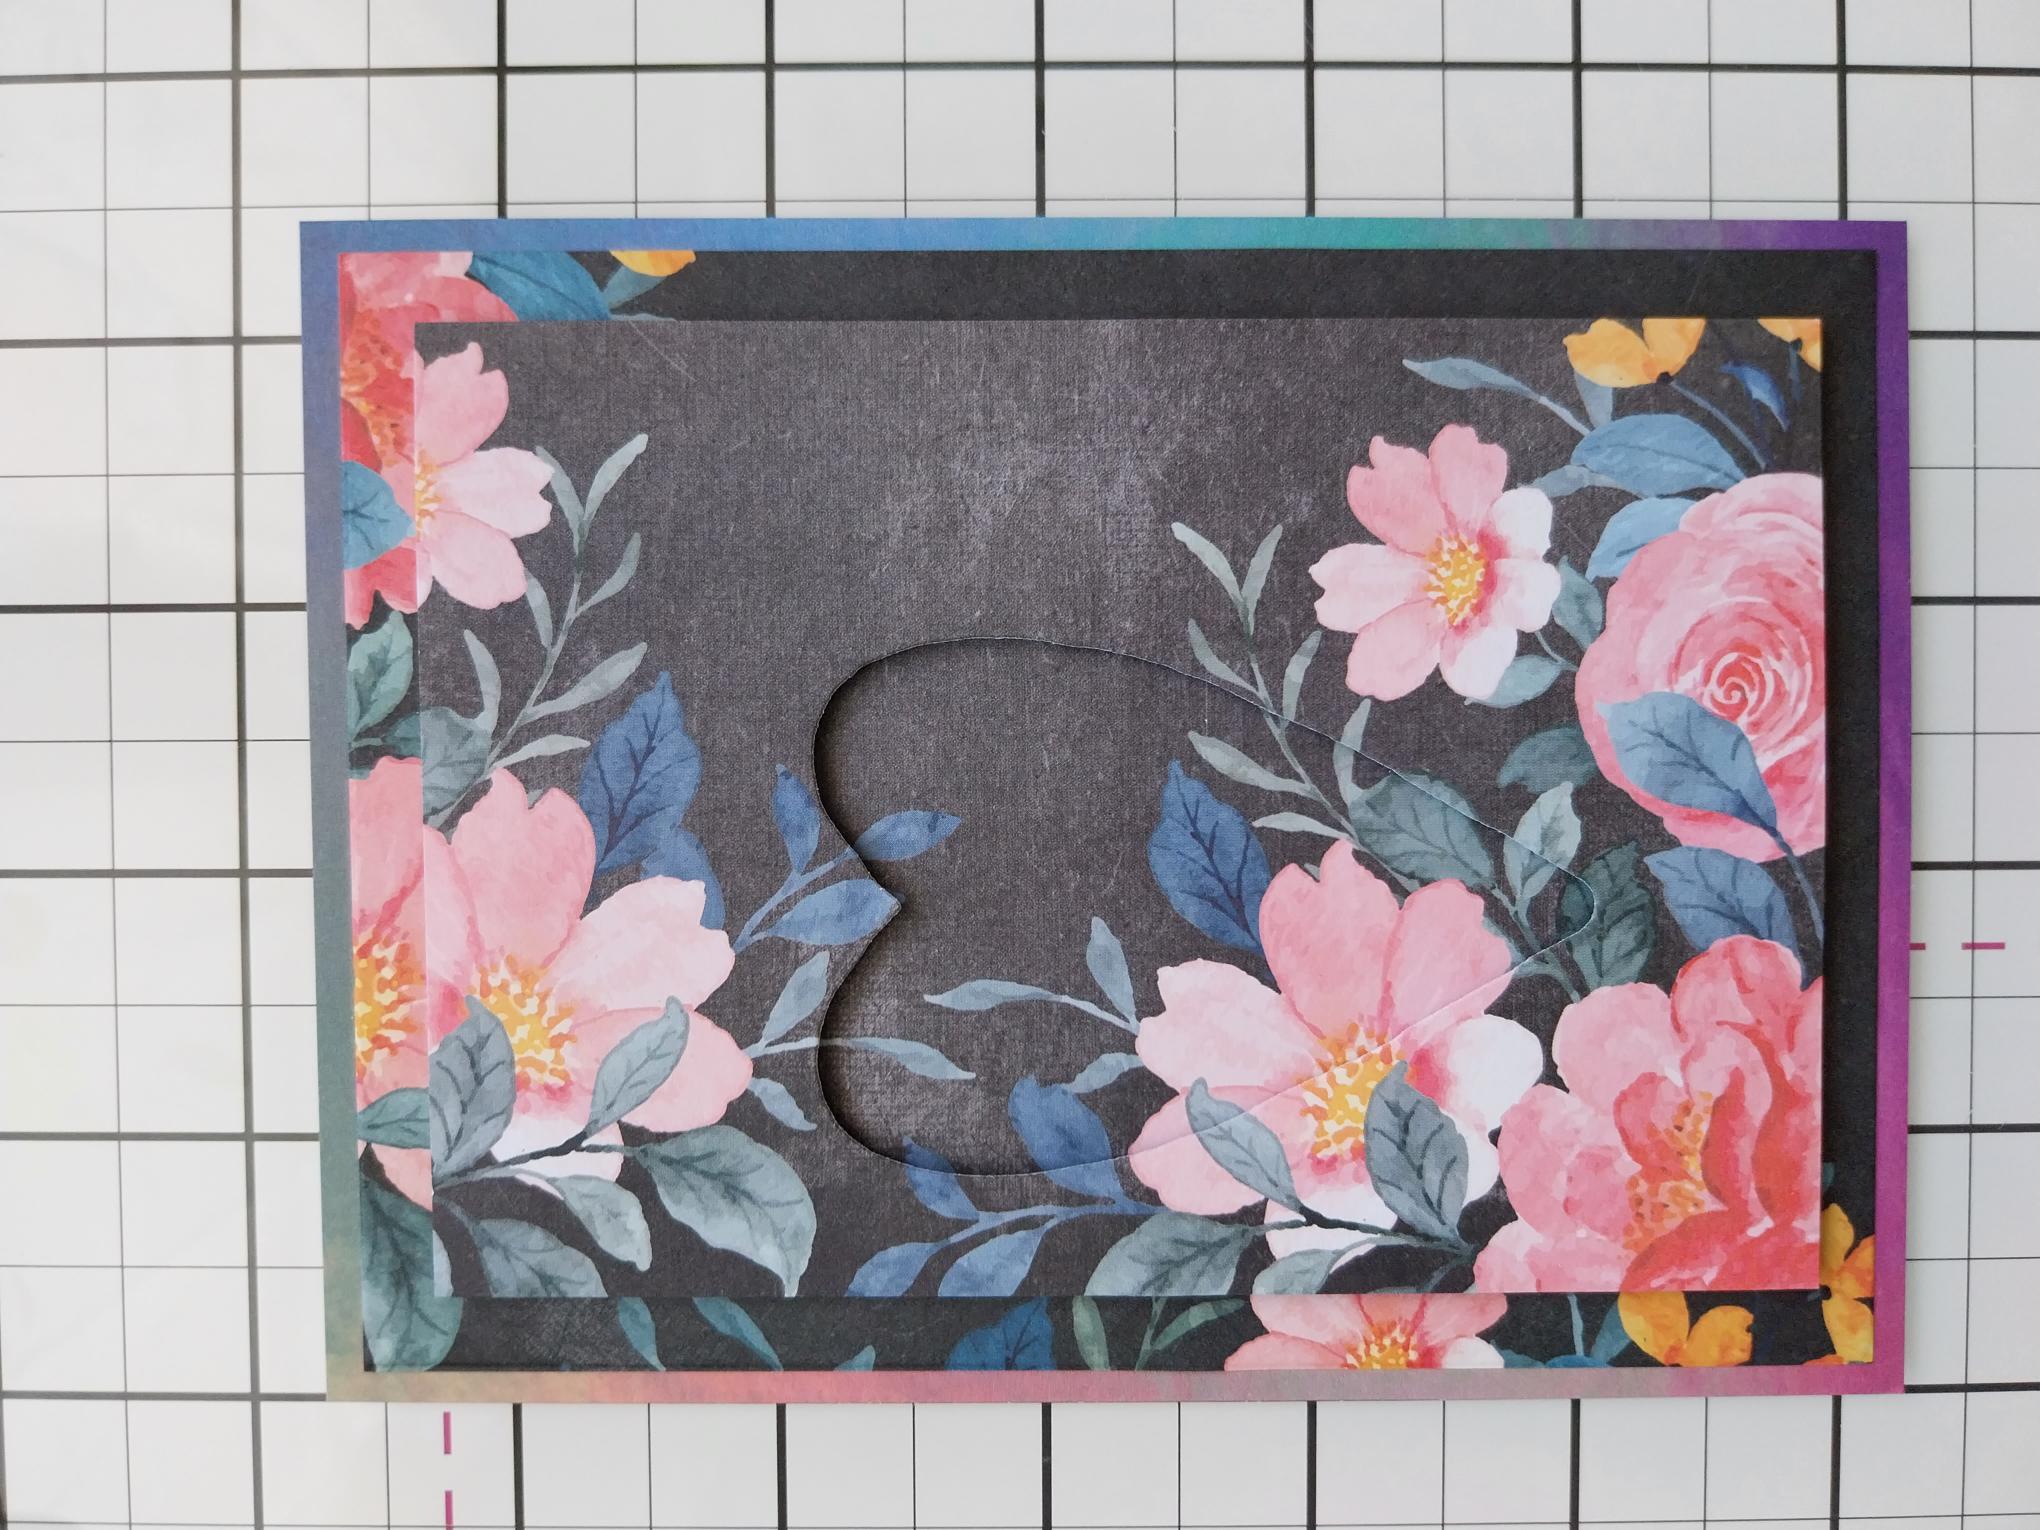
Trim this holographic paper, from the All Surfaces Paper Pack, to 5 3/4 x 4 1/4". |
|
Adhere your topper on to the holographic paper. |
|
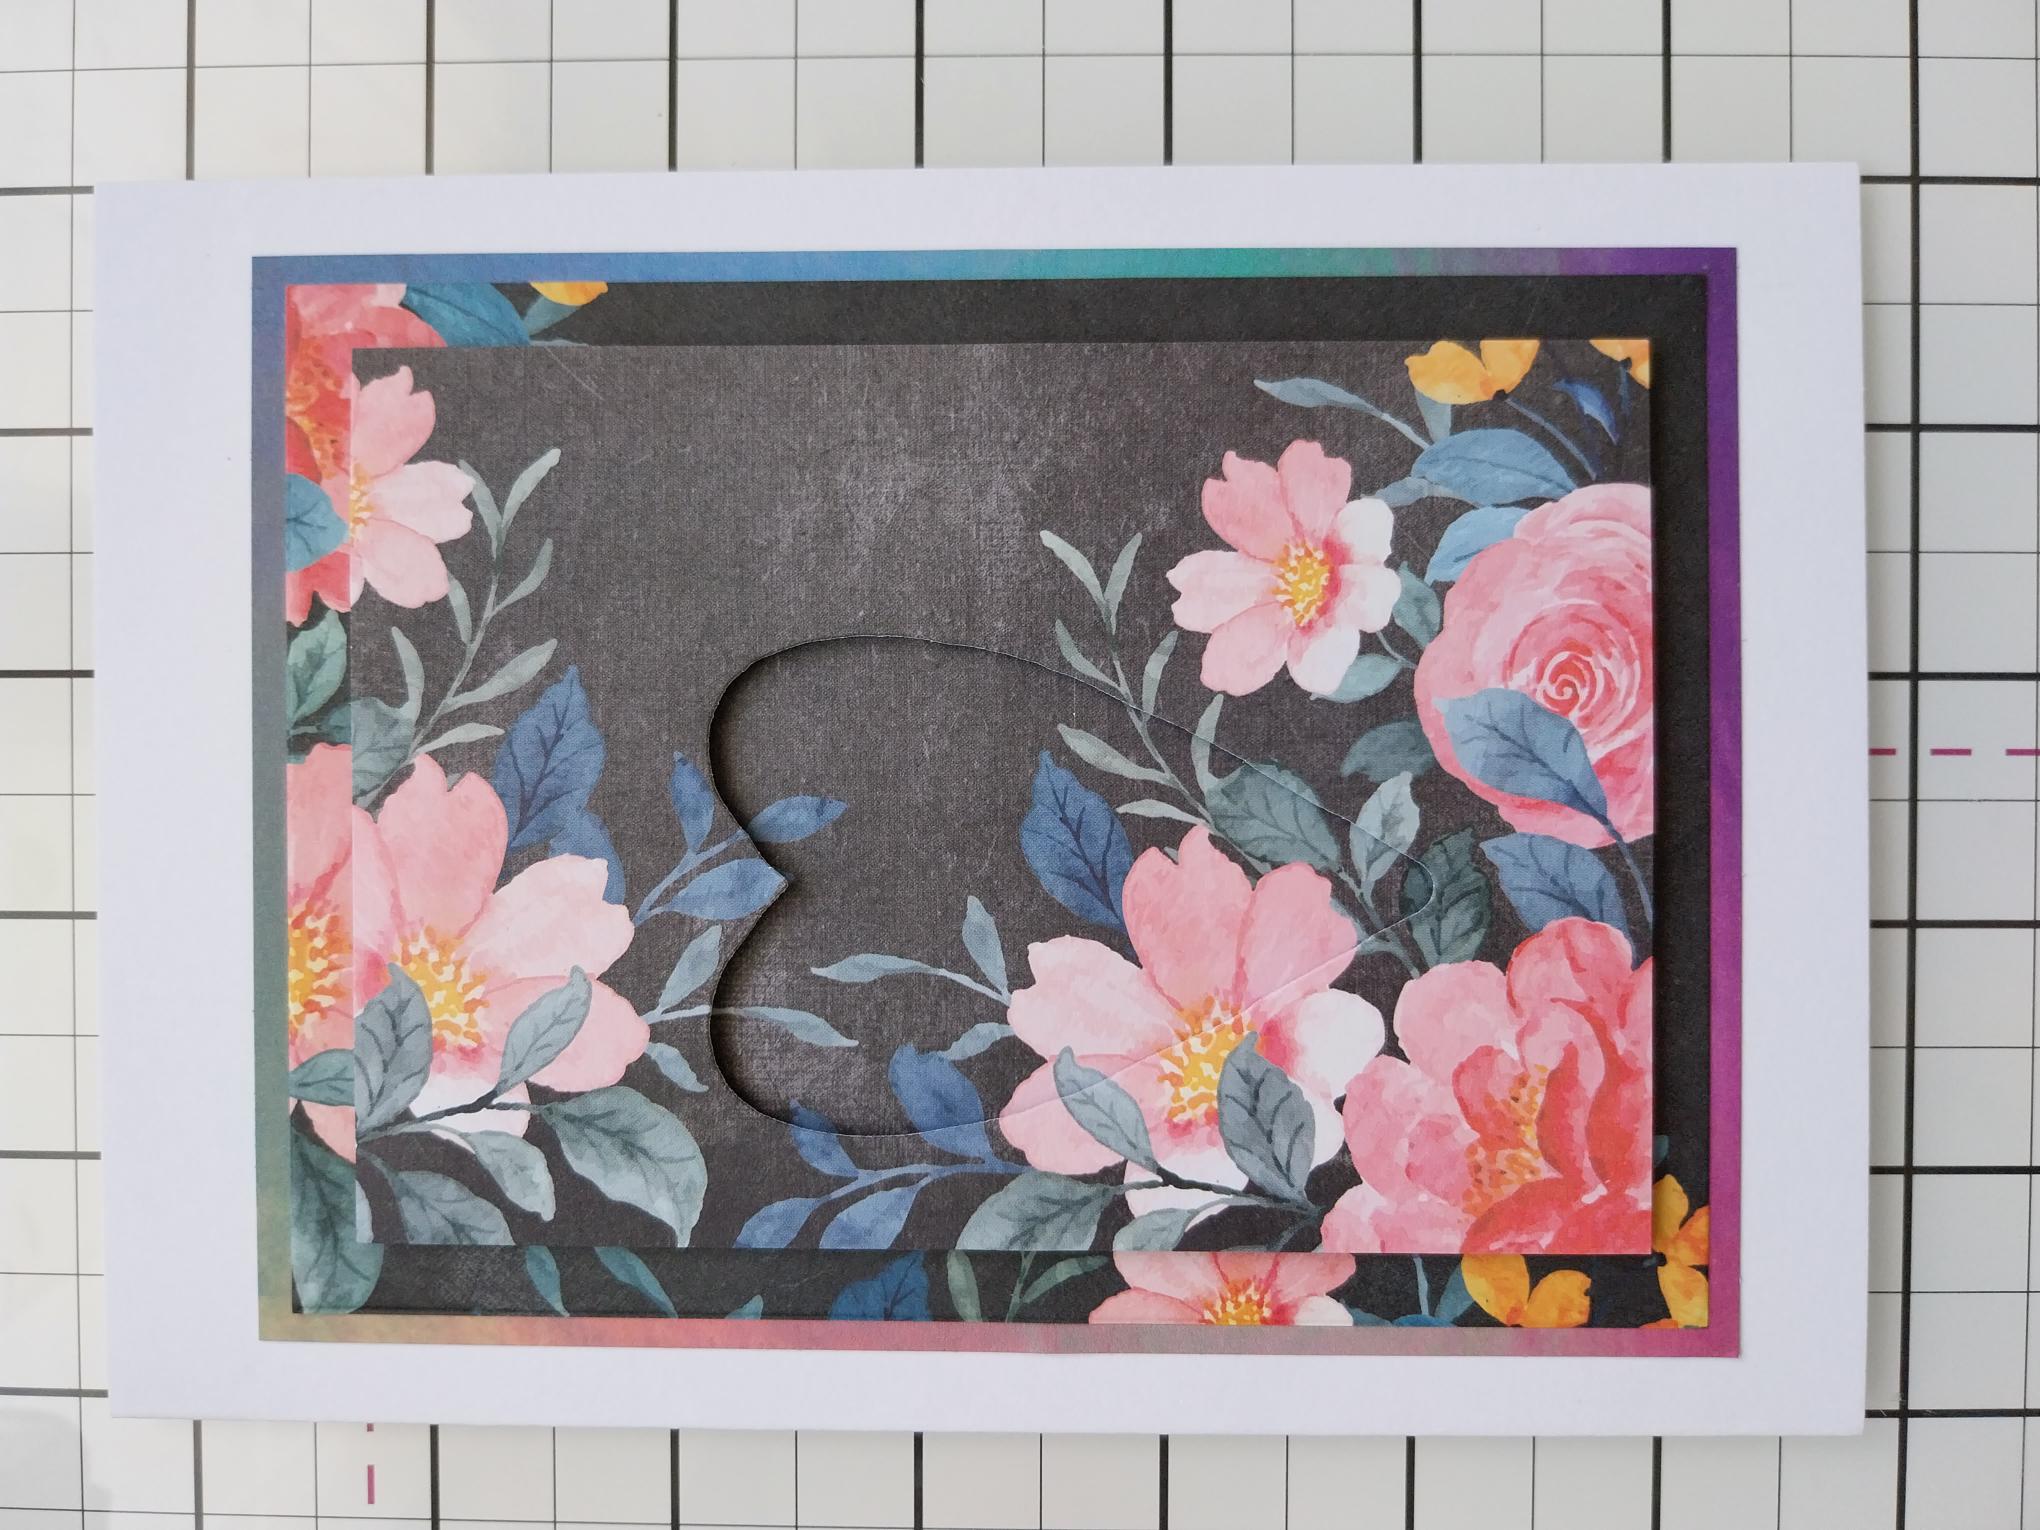
Adhere to the front of your white card blank. |
|
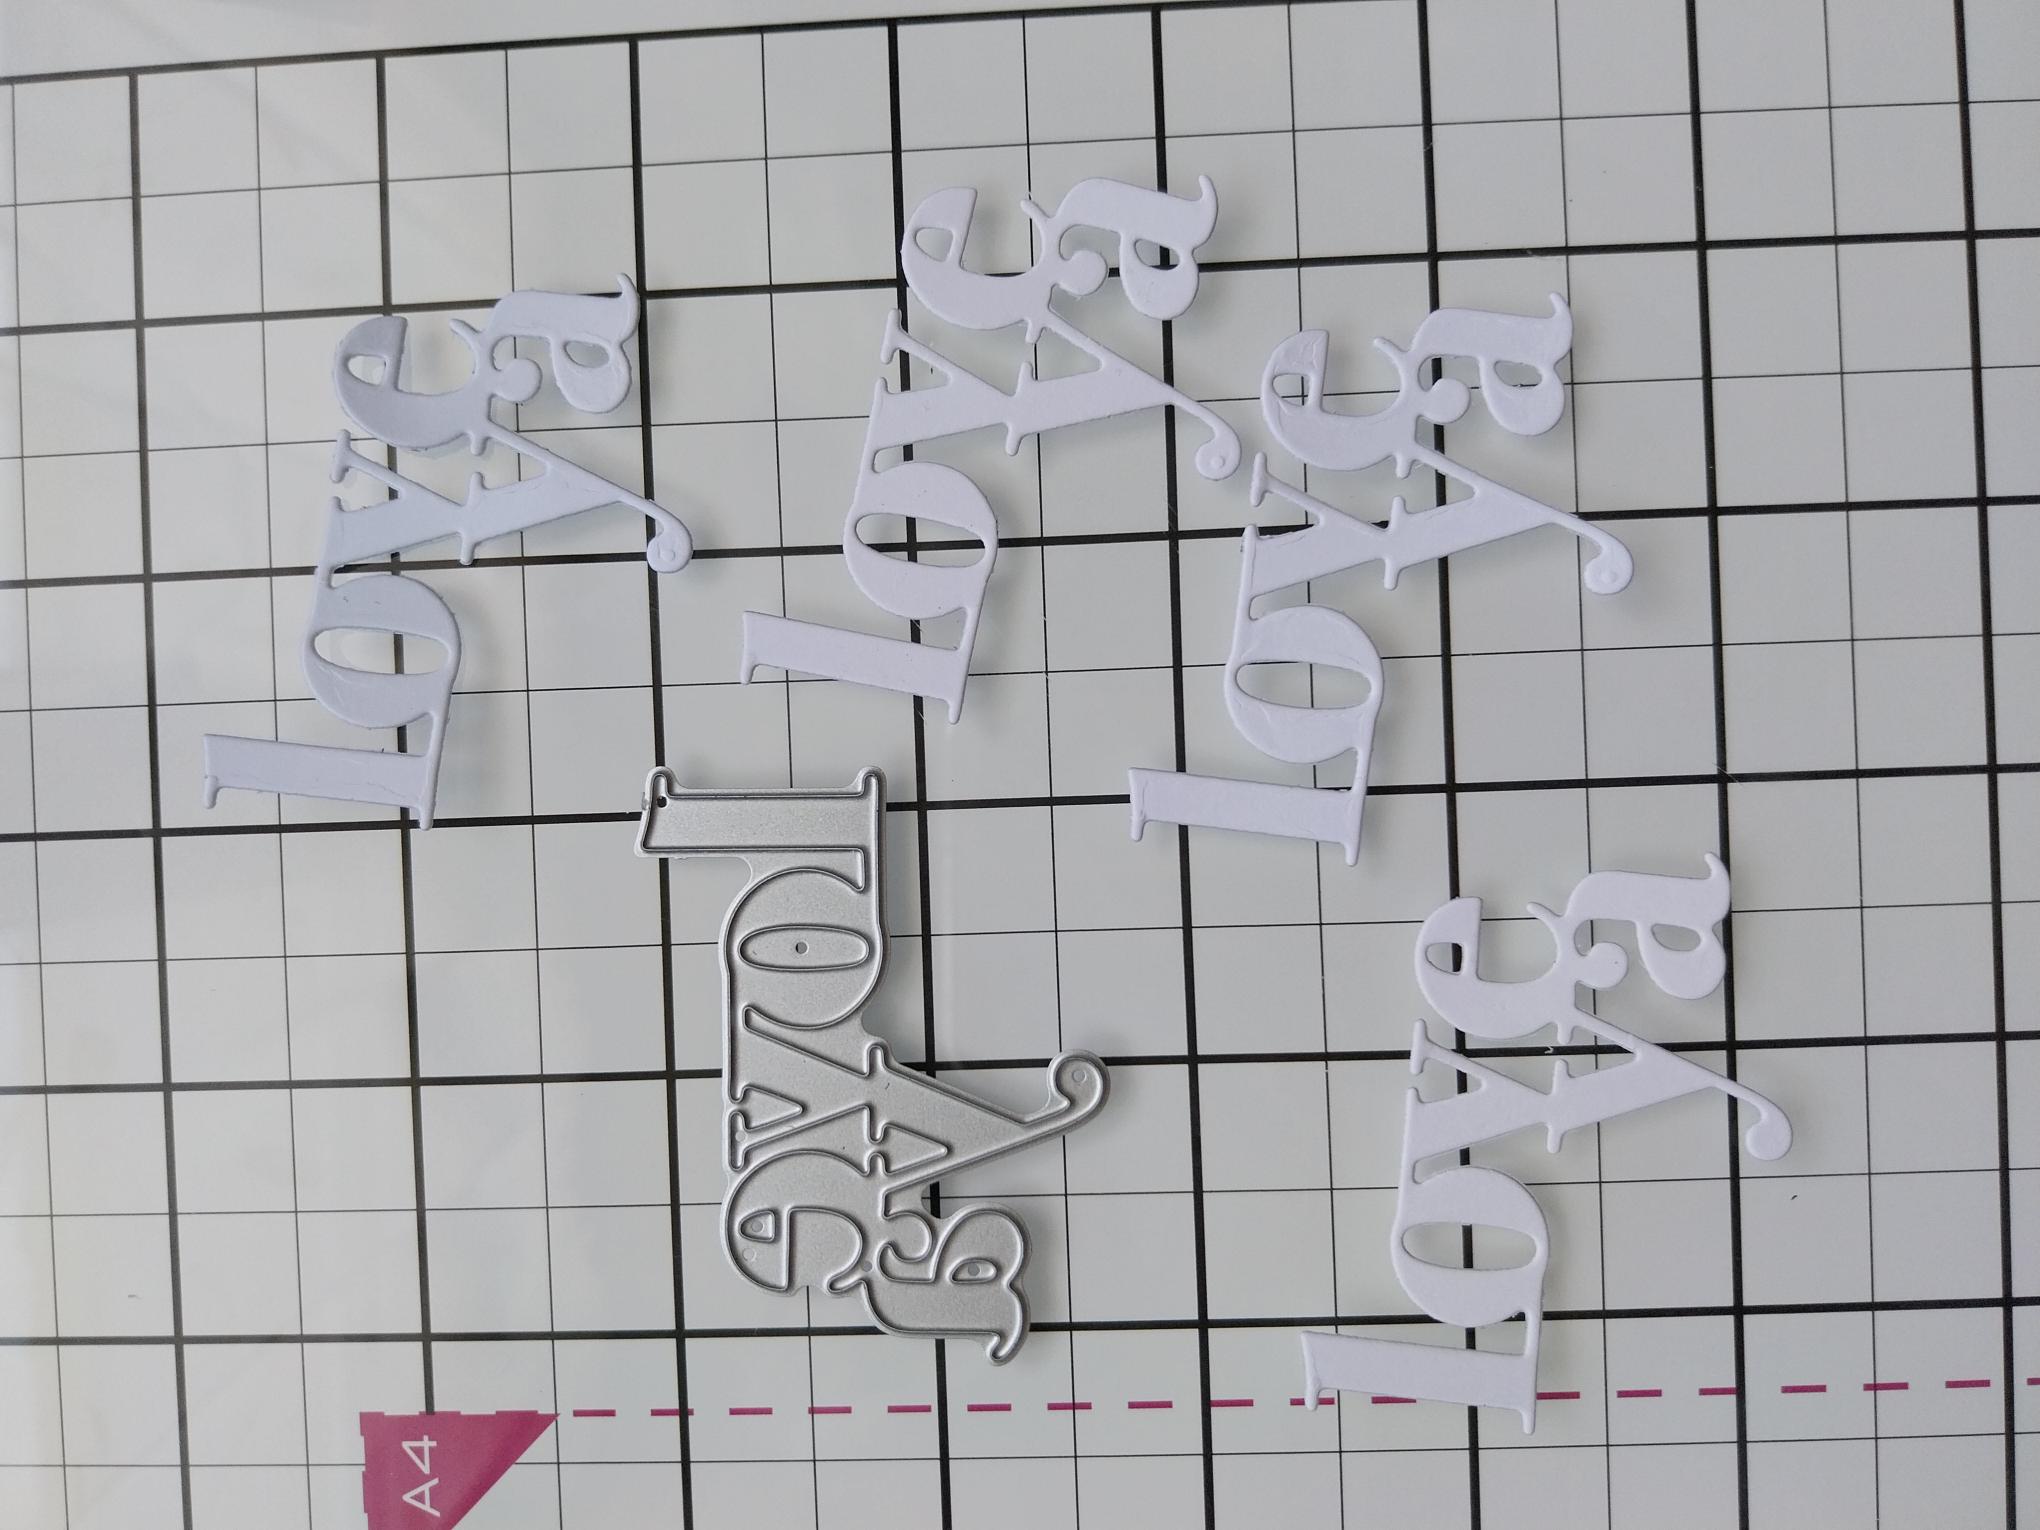
Die cut FOUR "Love Ya" sentiments from white card, using the die from the Creative Words Die Collection. |
|
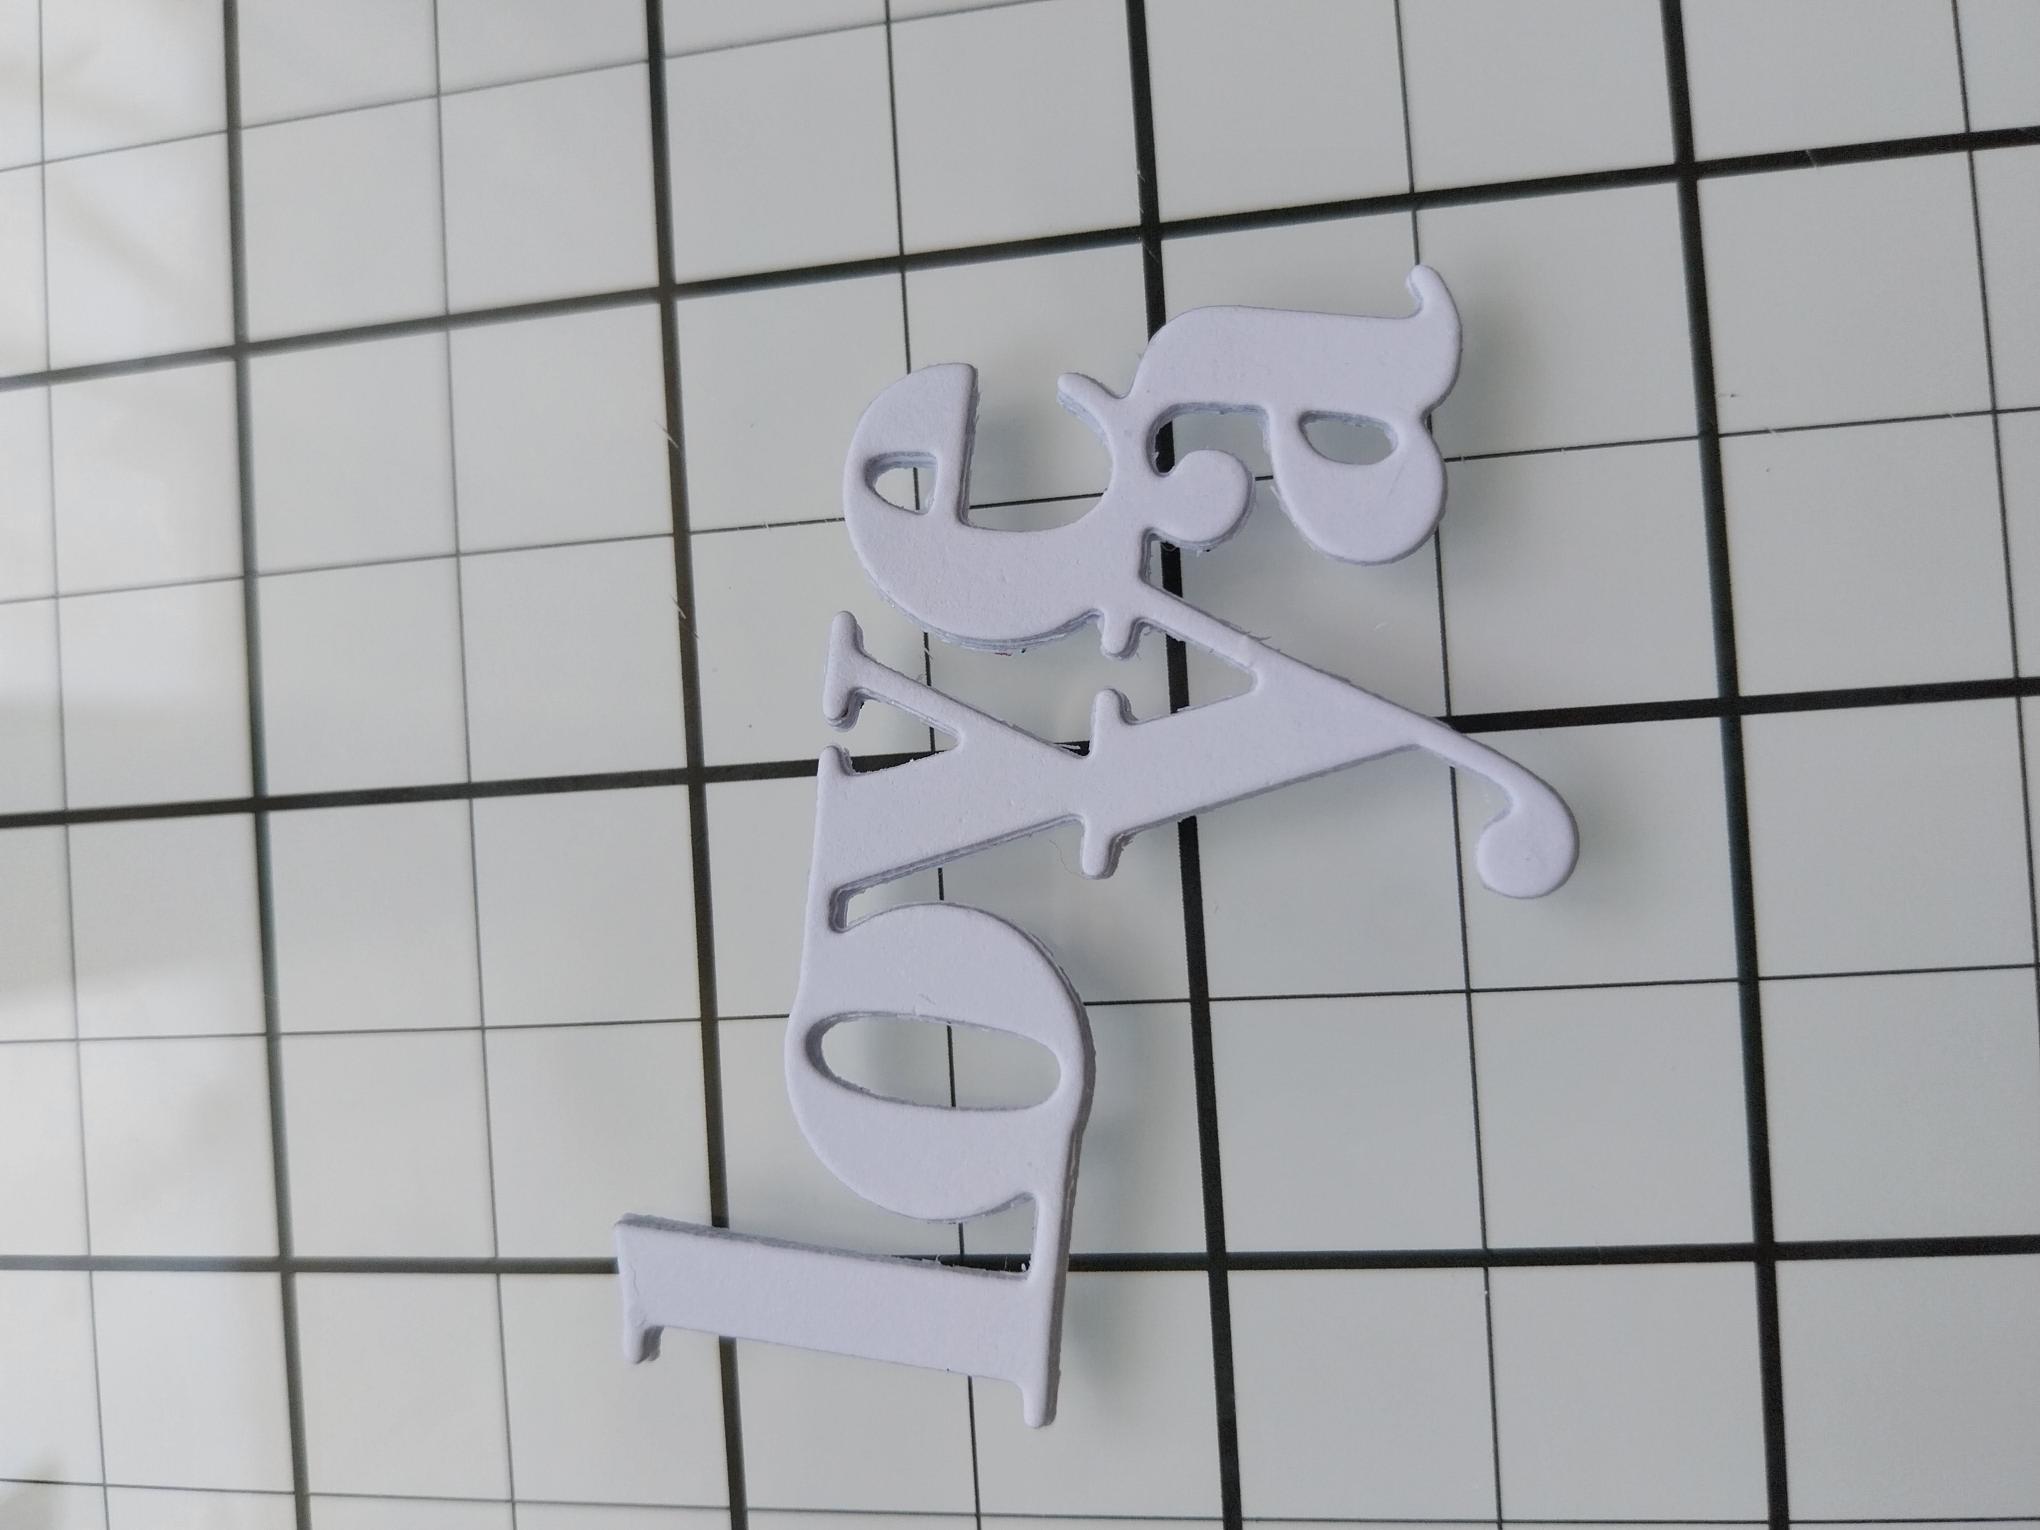
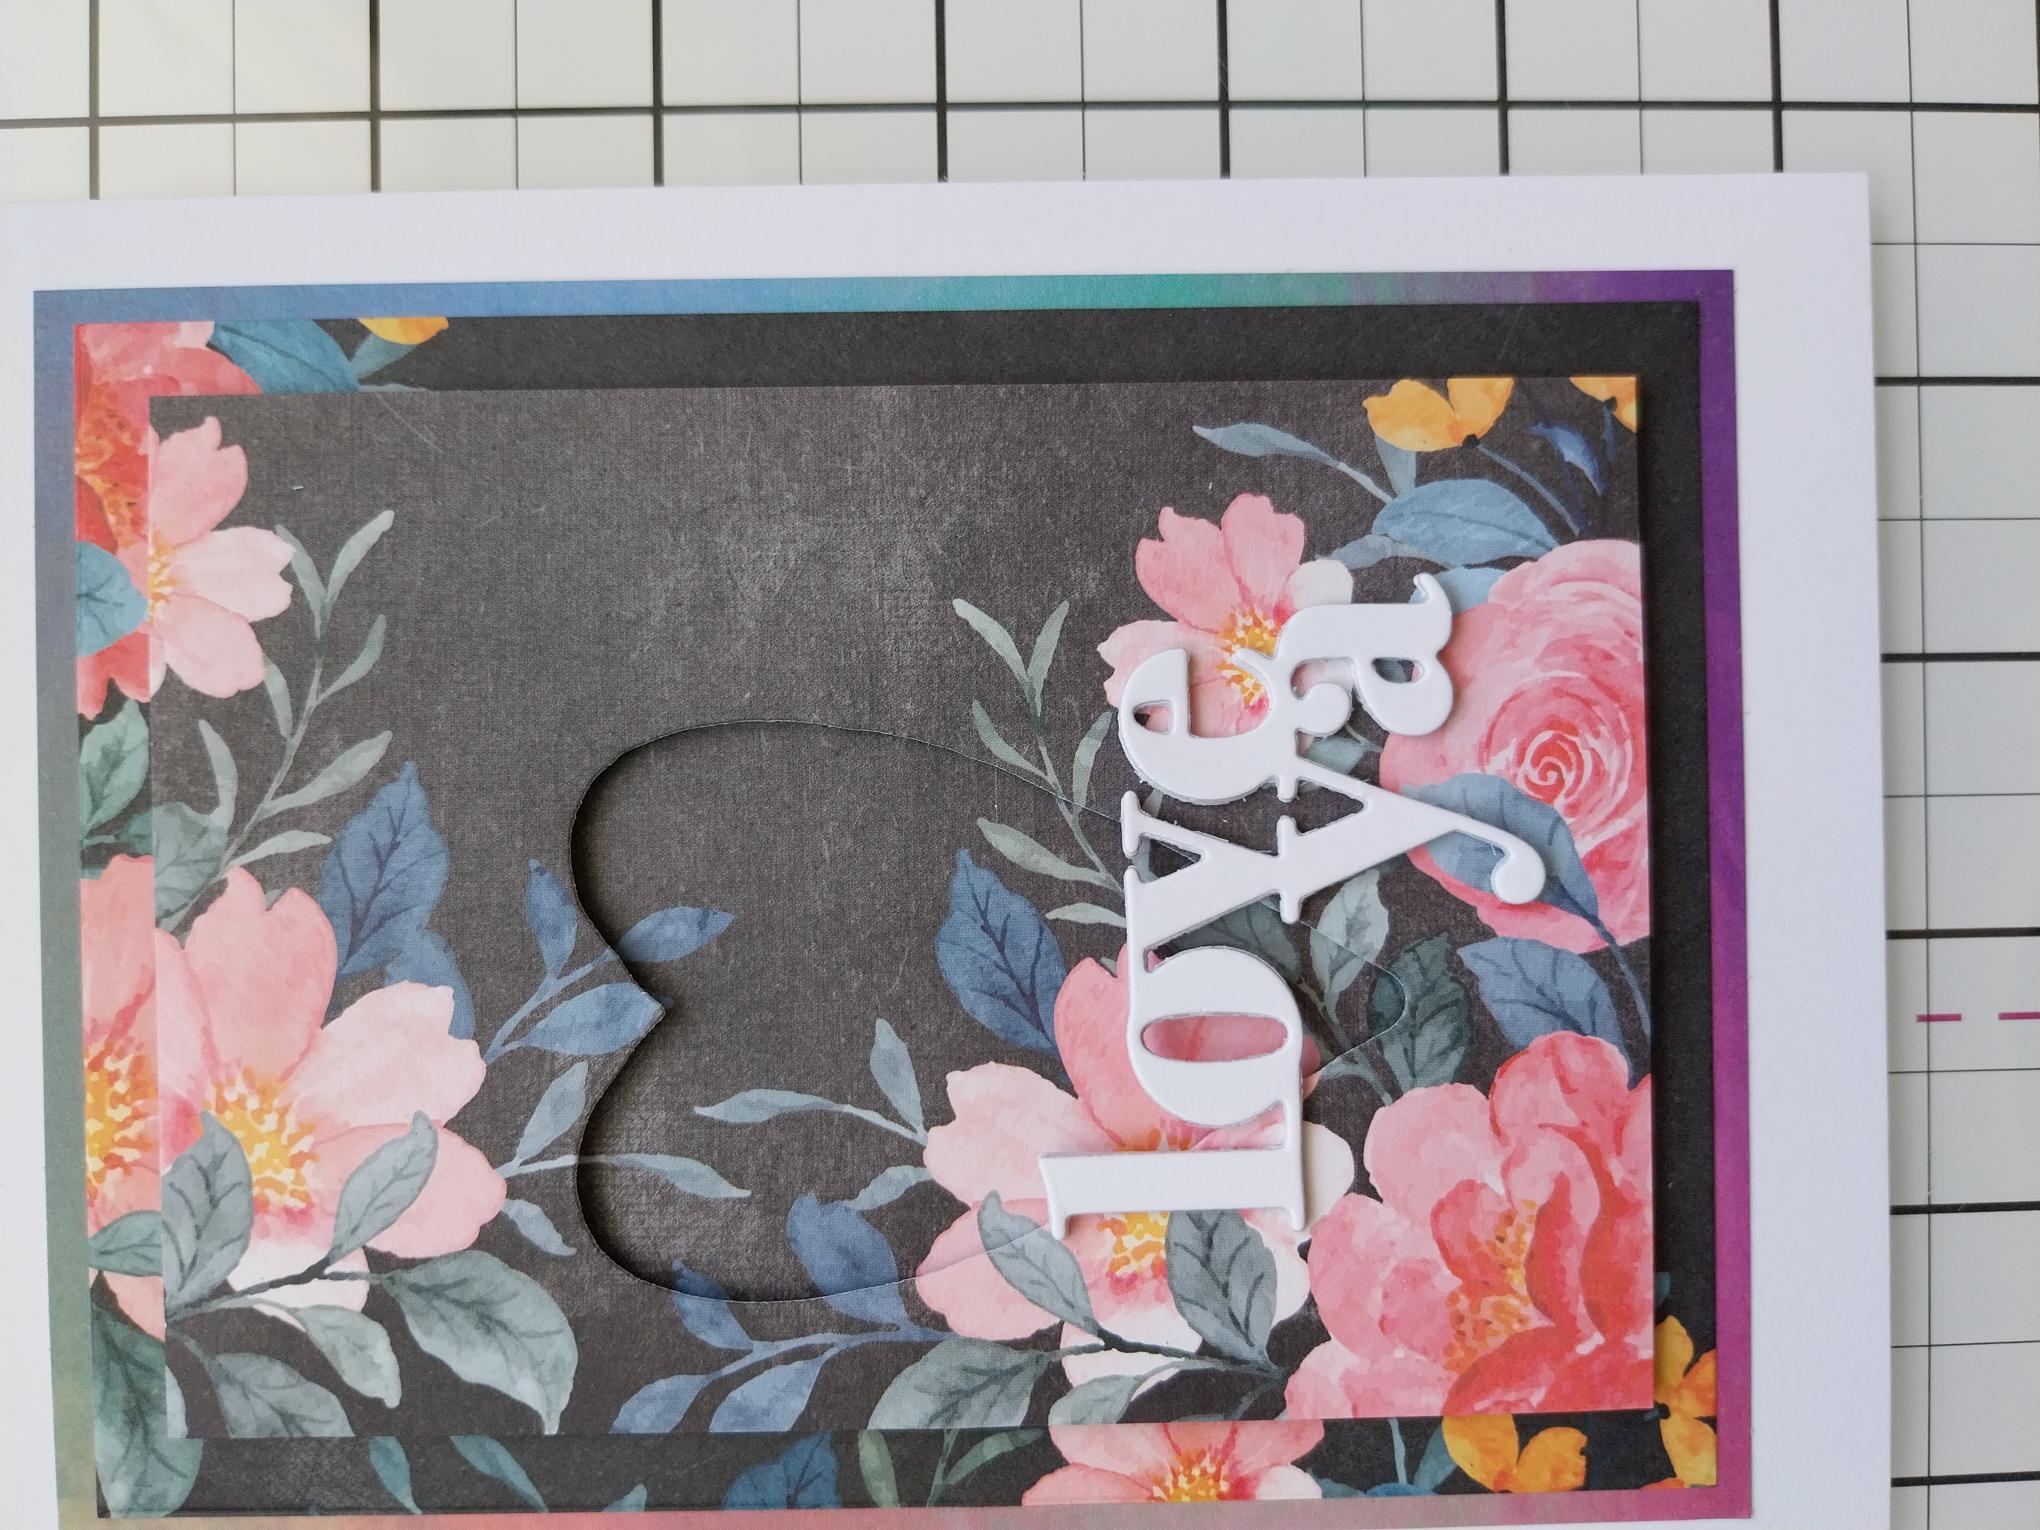
Adhere your die cut sentiments together to create a substantial 3D element. |
|
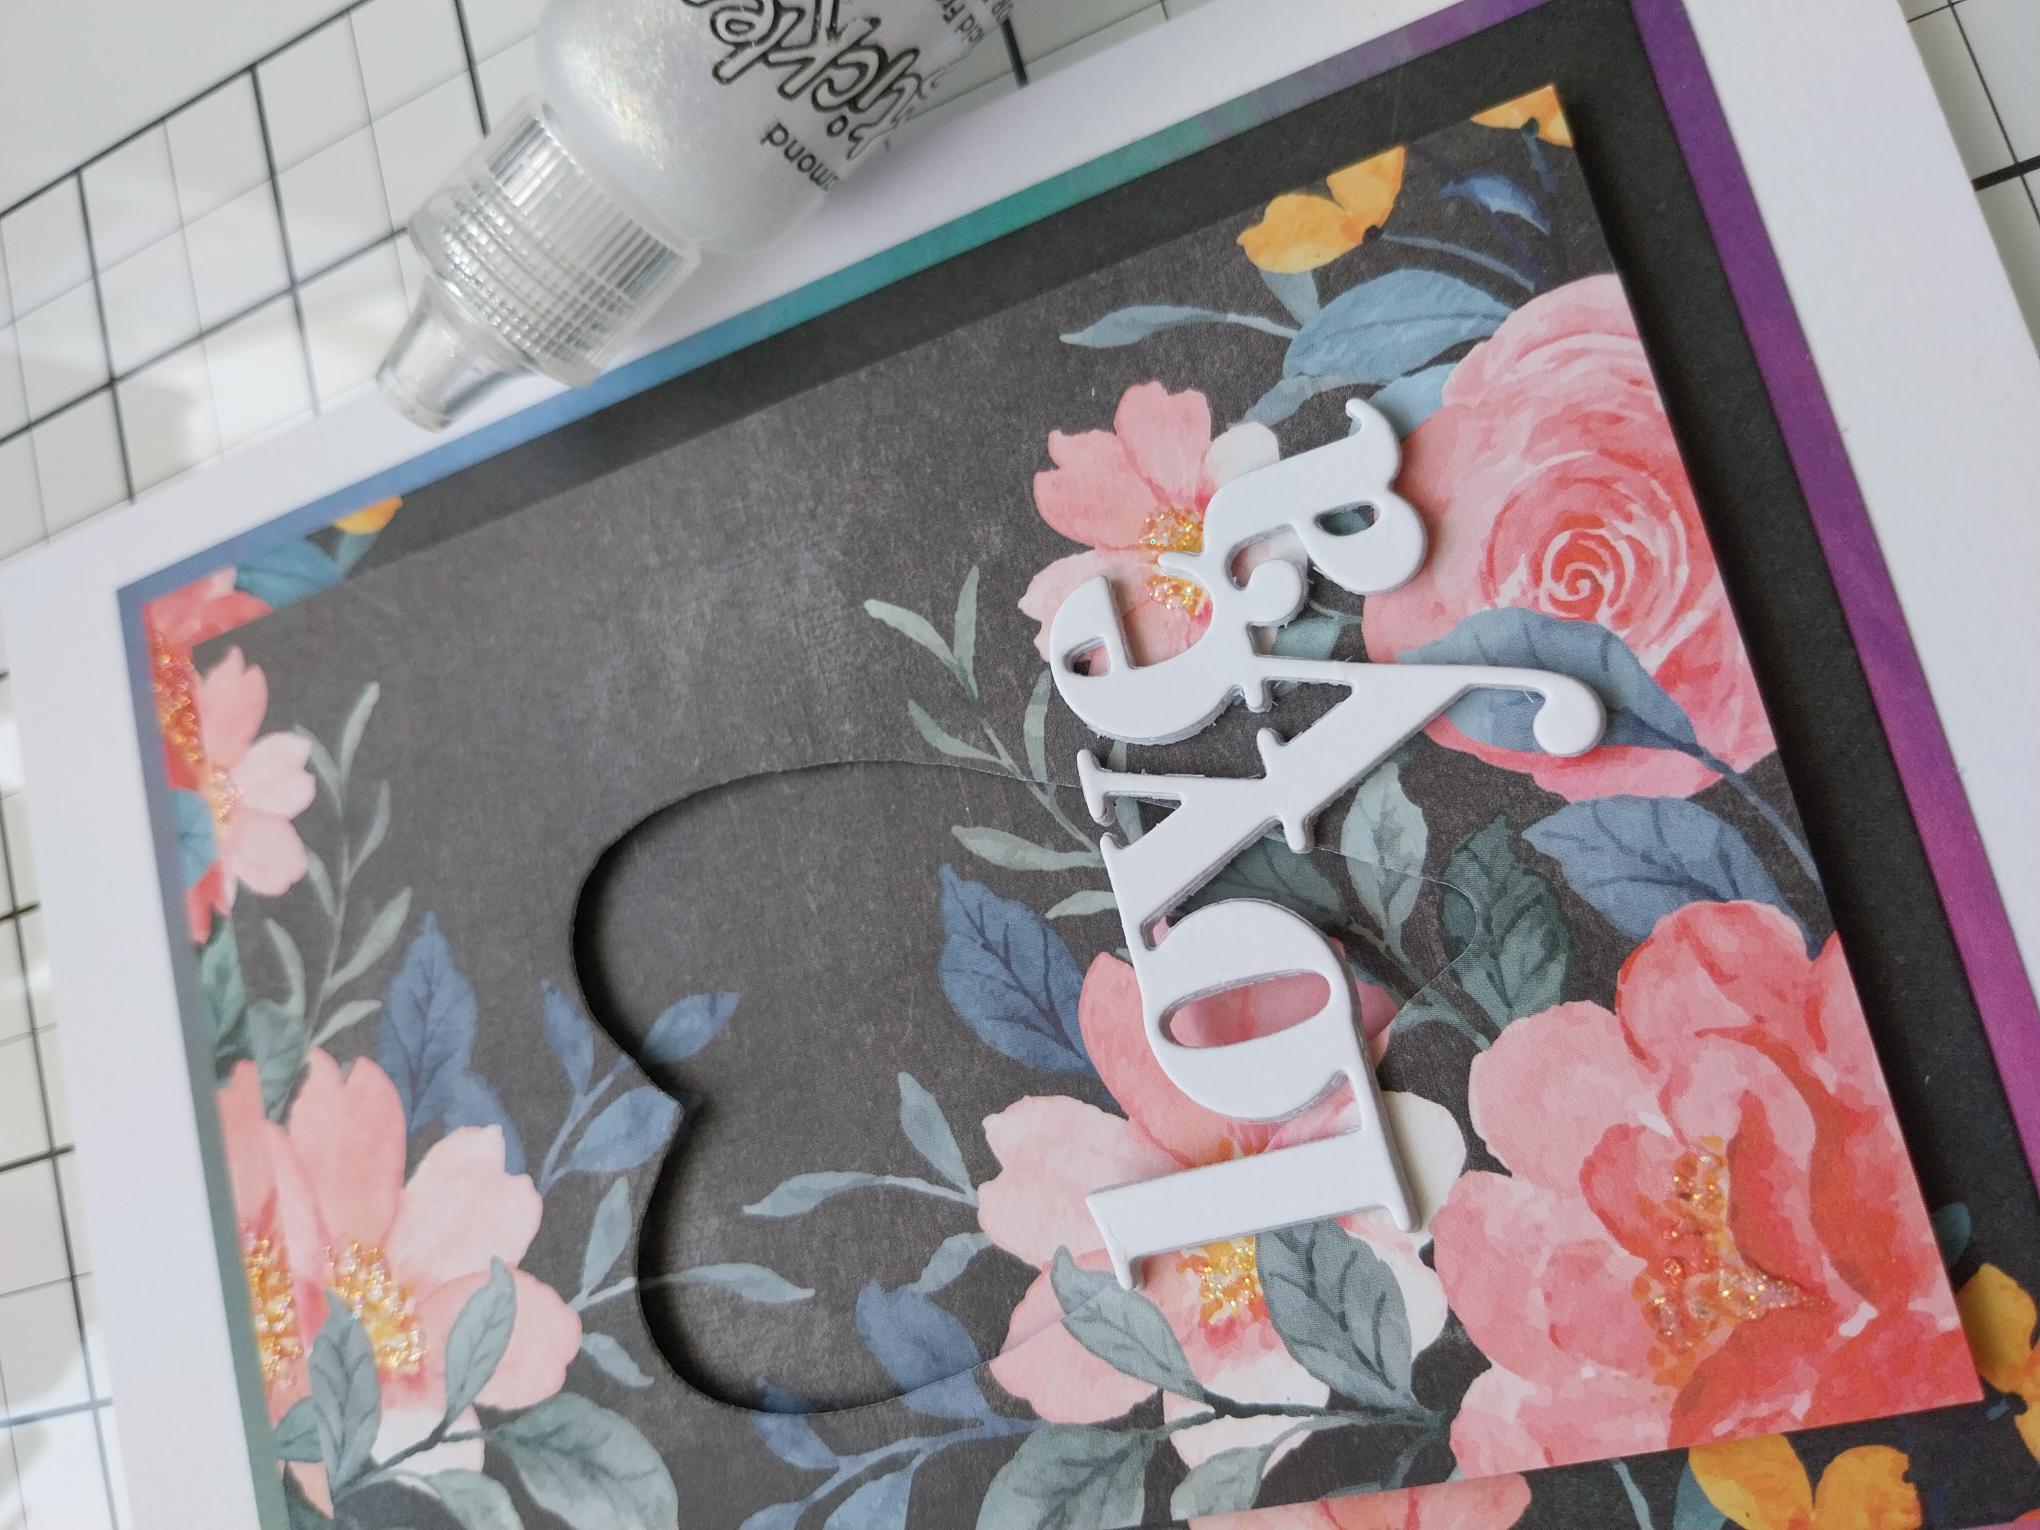
Adhere to your card, so it sits just across the bottom of your heart aperture. |
|
Add a touch of sparkle to your artwork, using your Stickles, for a glittery finish to your project. |