

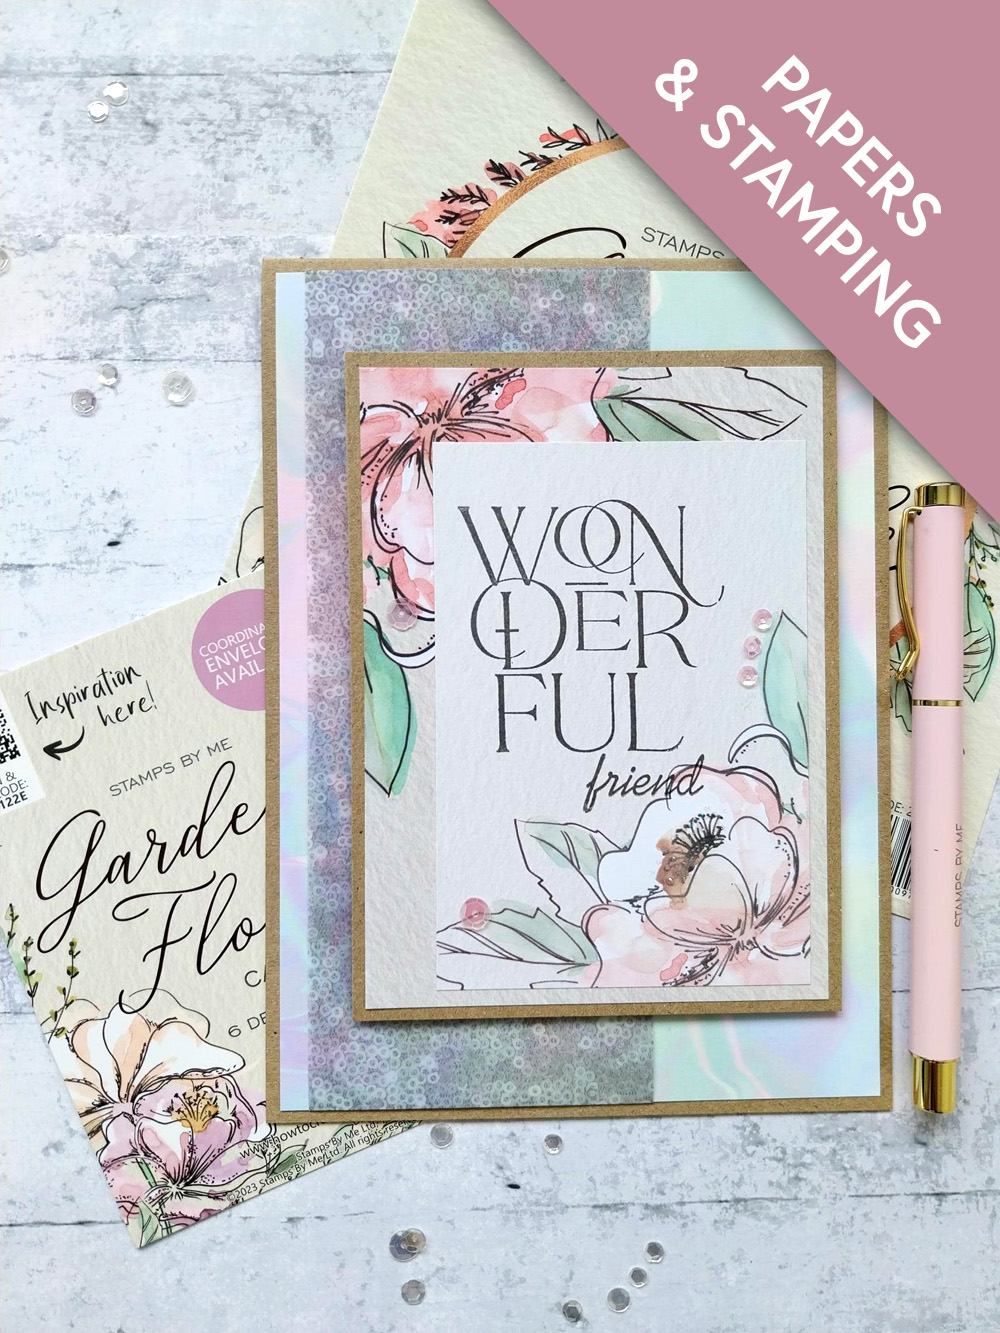
WHAT YOU WILL NEED:
Kraft card blank 7 1/2 x 5 1/2"
Kraft card 5 3/4 x 4 1/4"
Garden Florals Card Toppers
Garden Florals Fold & Send Envelopes
Saying Hello Stamp and Die Collection
Classic Celebration 8 x 8" Vellum Pack
All Surfaces Holographic 8 x 8" Paper Pack
Versafine Ink Pad: Smokey Grey
Stickles: Star Dust
Sequins: Periwinkle
Gem pick up and pokey tool
Eureka 101 Watercolour Tablet
SBM Magnetic glass mat
Paper Trimmer
Perfect Together Glue
Double-sided adhesive tape
Double-sided adhesive foam sheet or foam pads
[click image to enlarge] 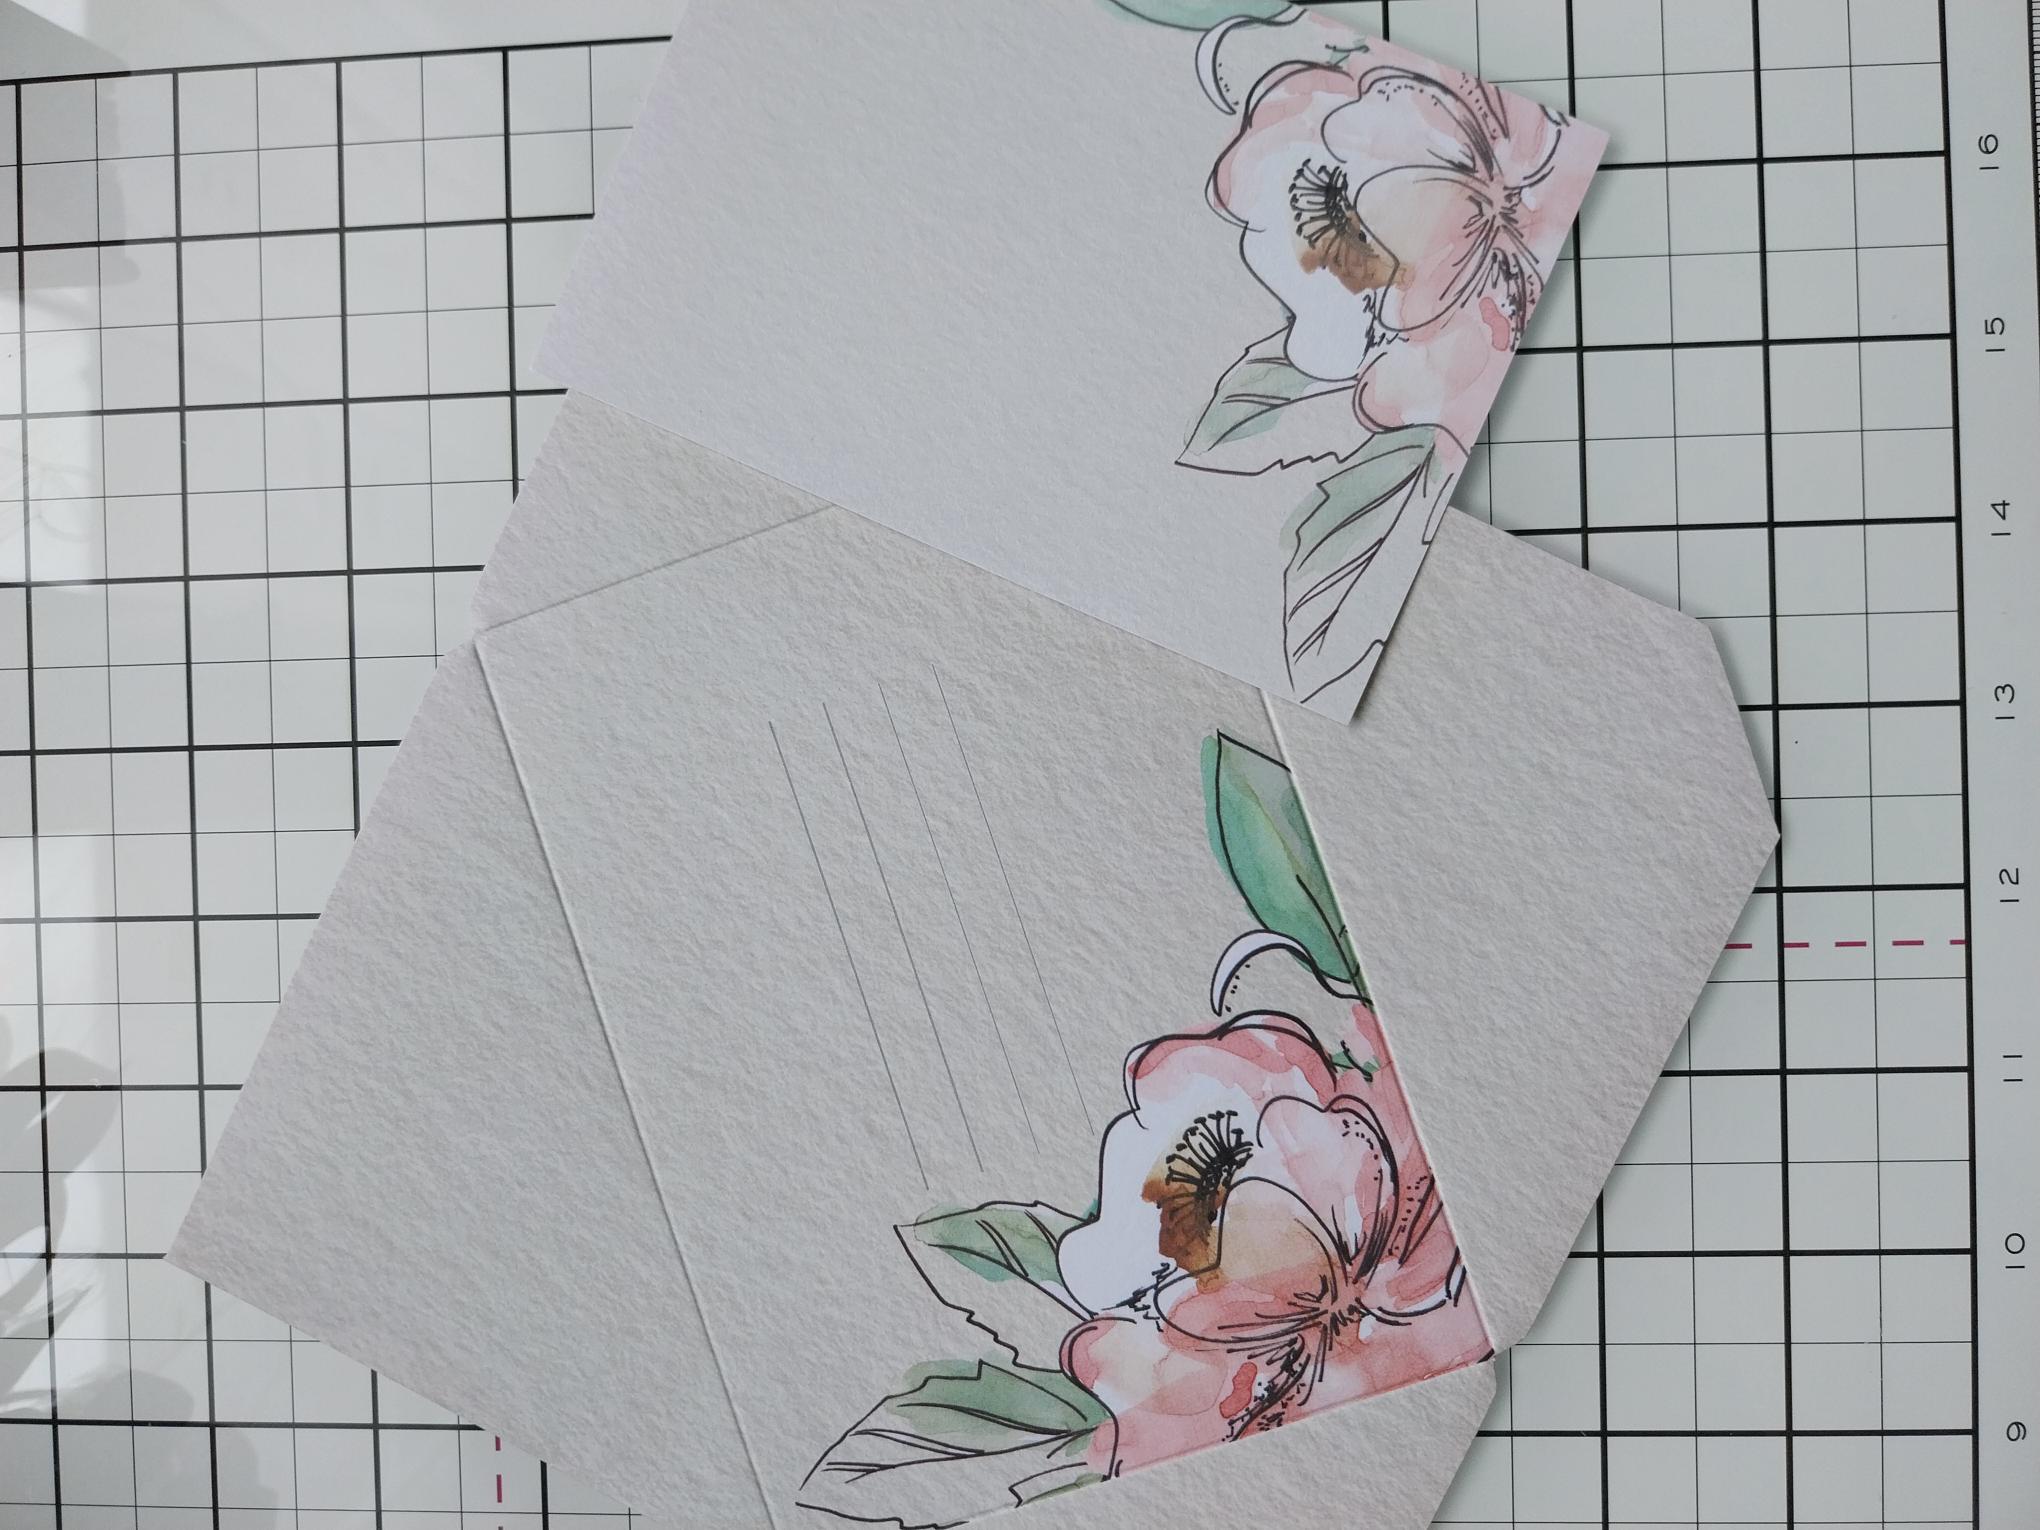
|
Take out this coordinating topper and envelope from the Garden Florals Collection. |
|
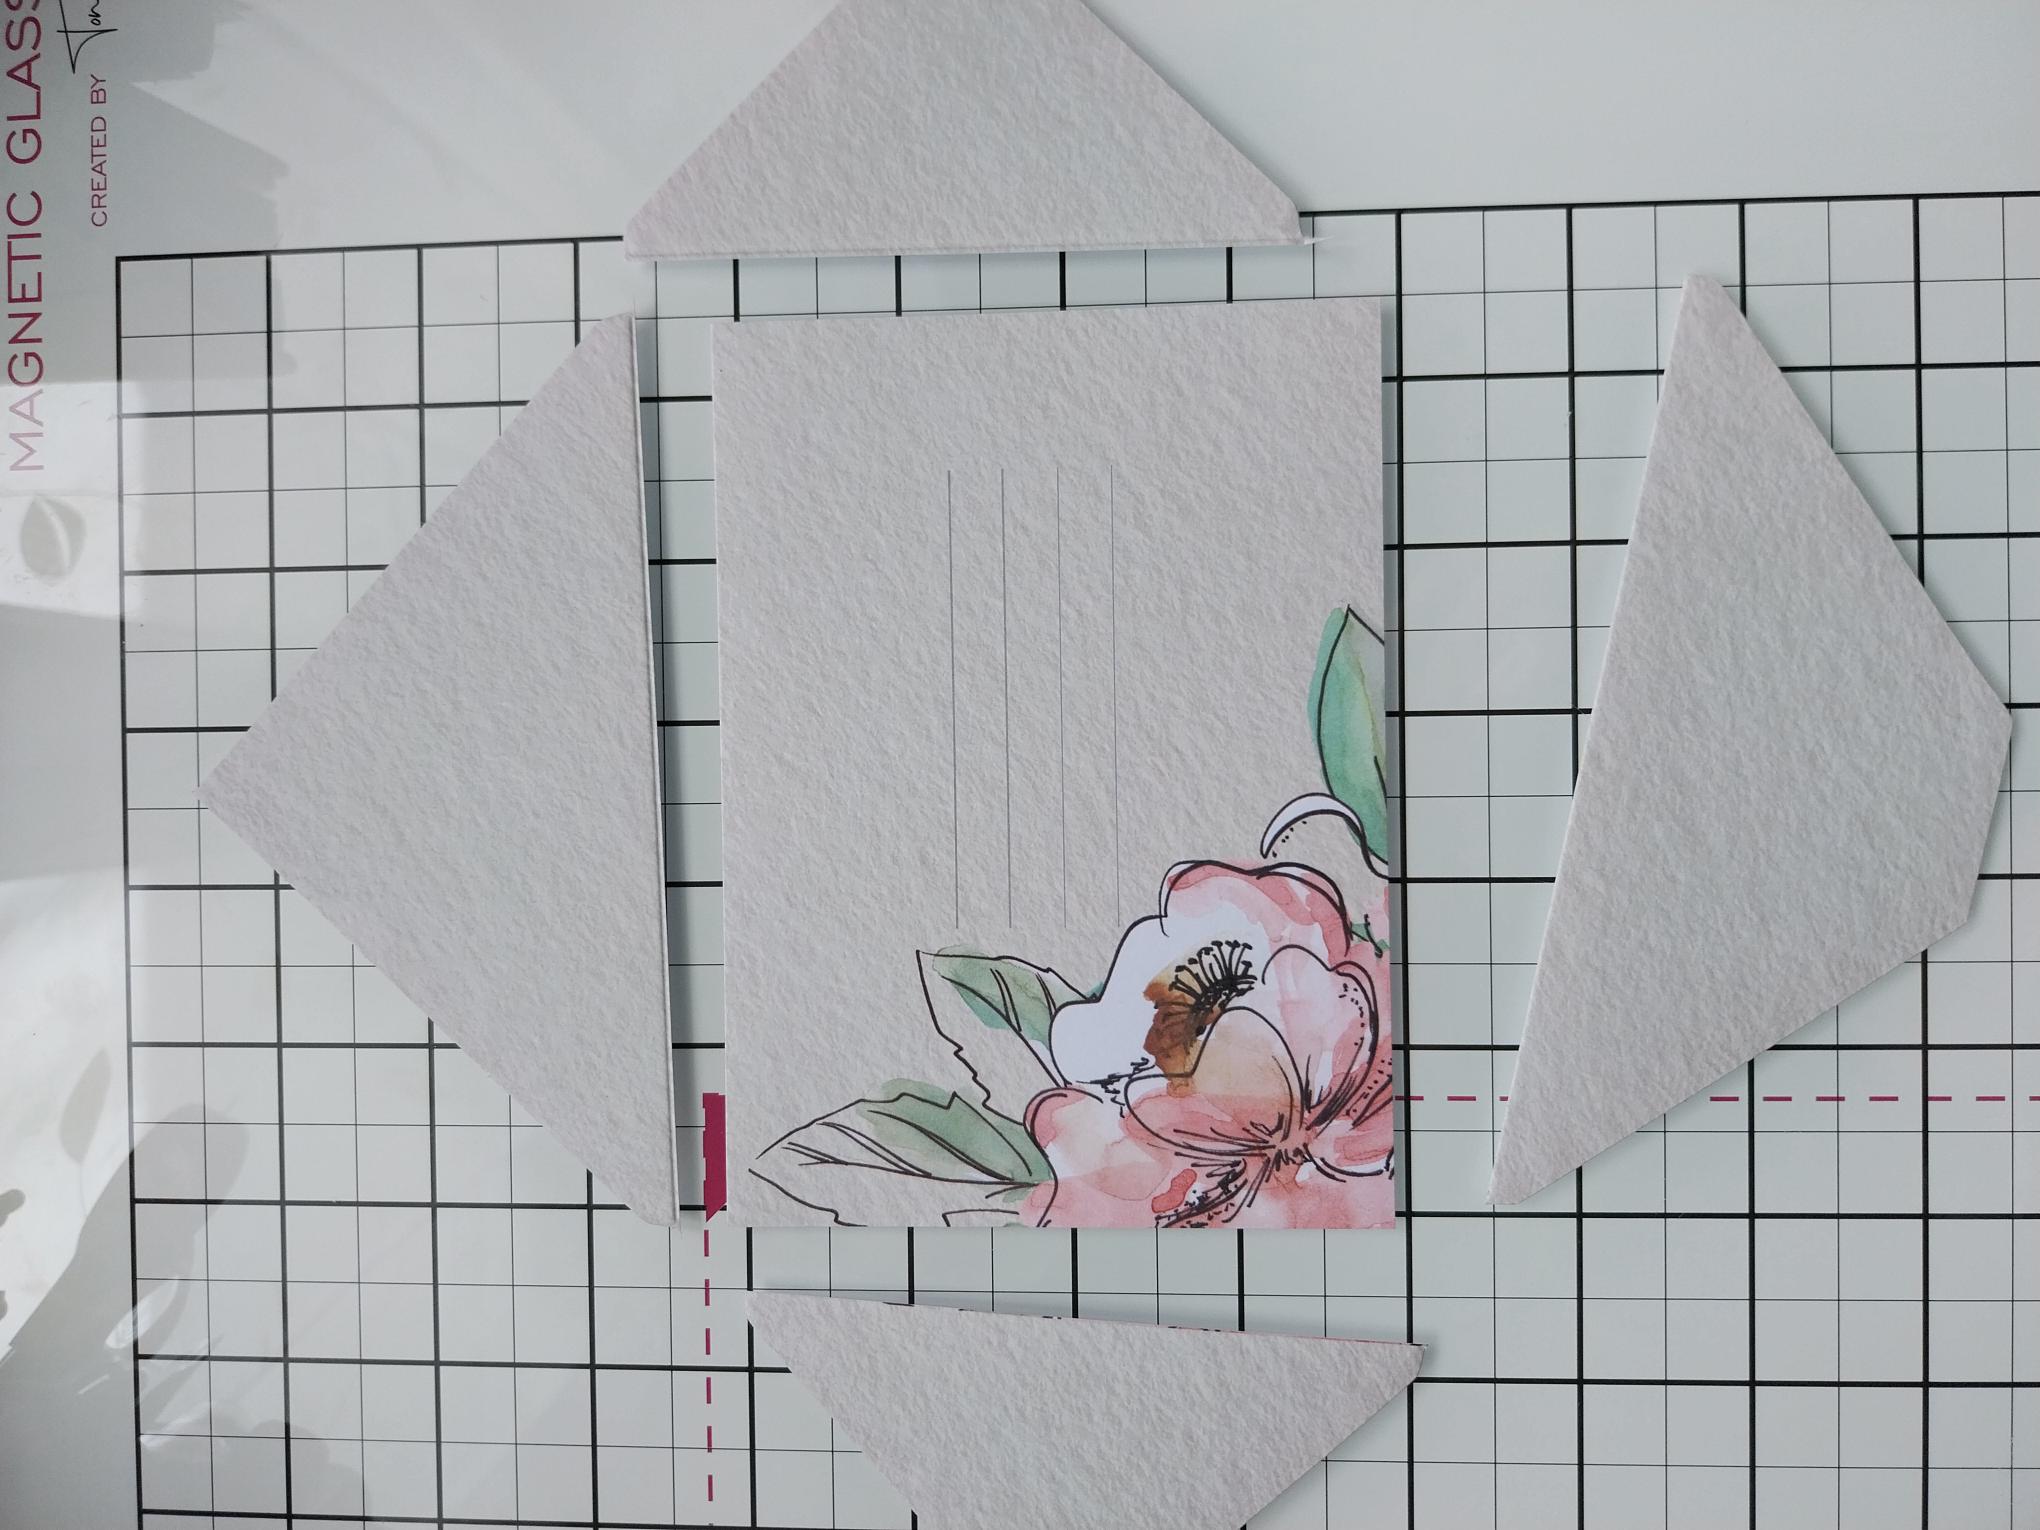
Cut off the four flaps from the envelope, as shown here. Discard the flaps, trim panel to 5 1/2 x 4" then pop to one side. You have now created an extra topper or in this case, a layering topper. |
|
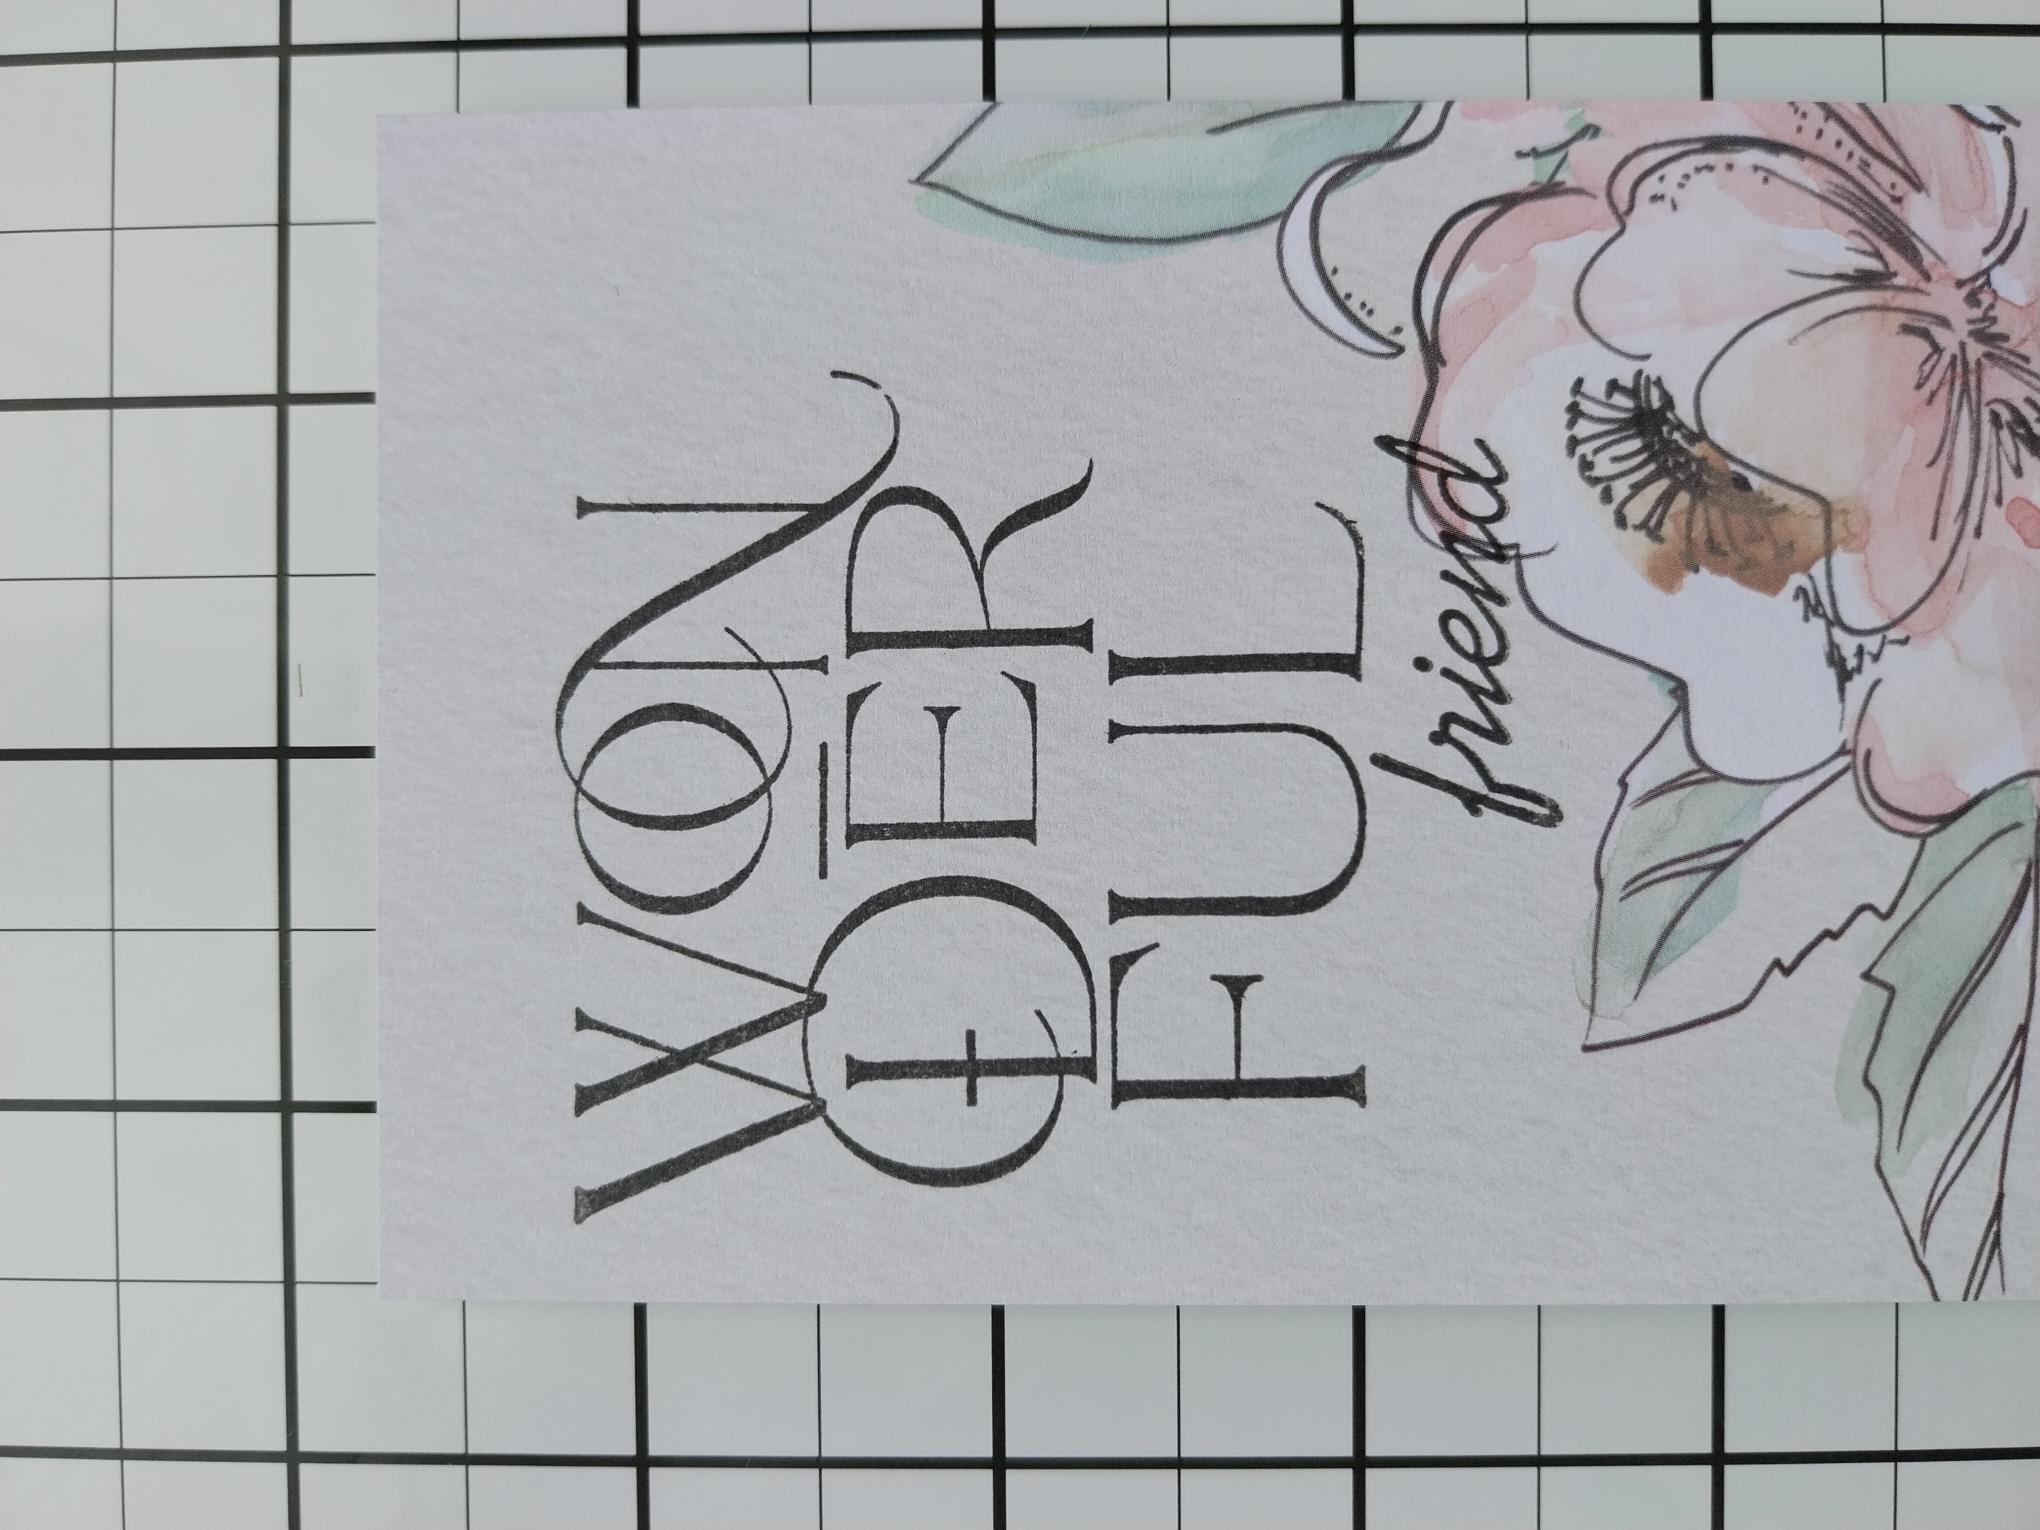
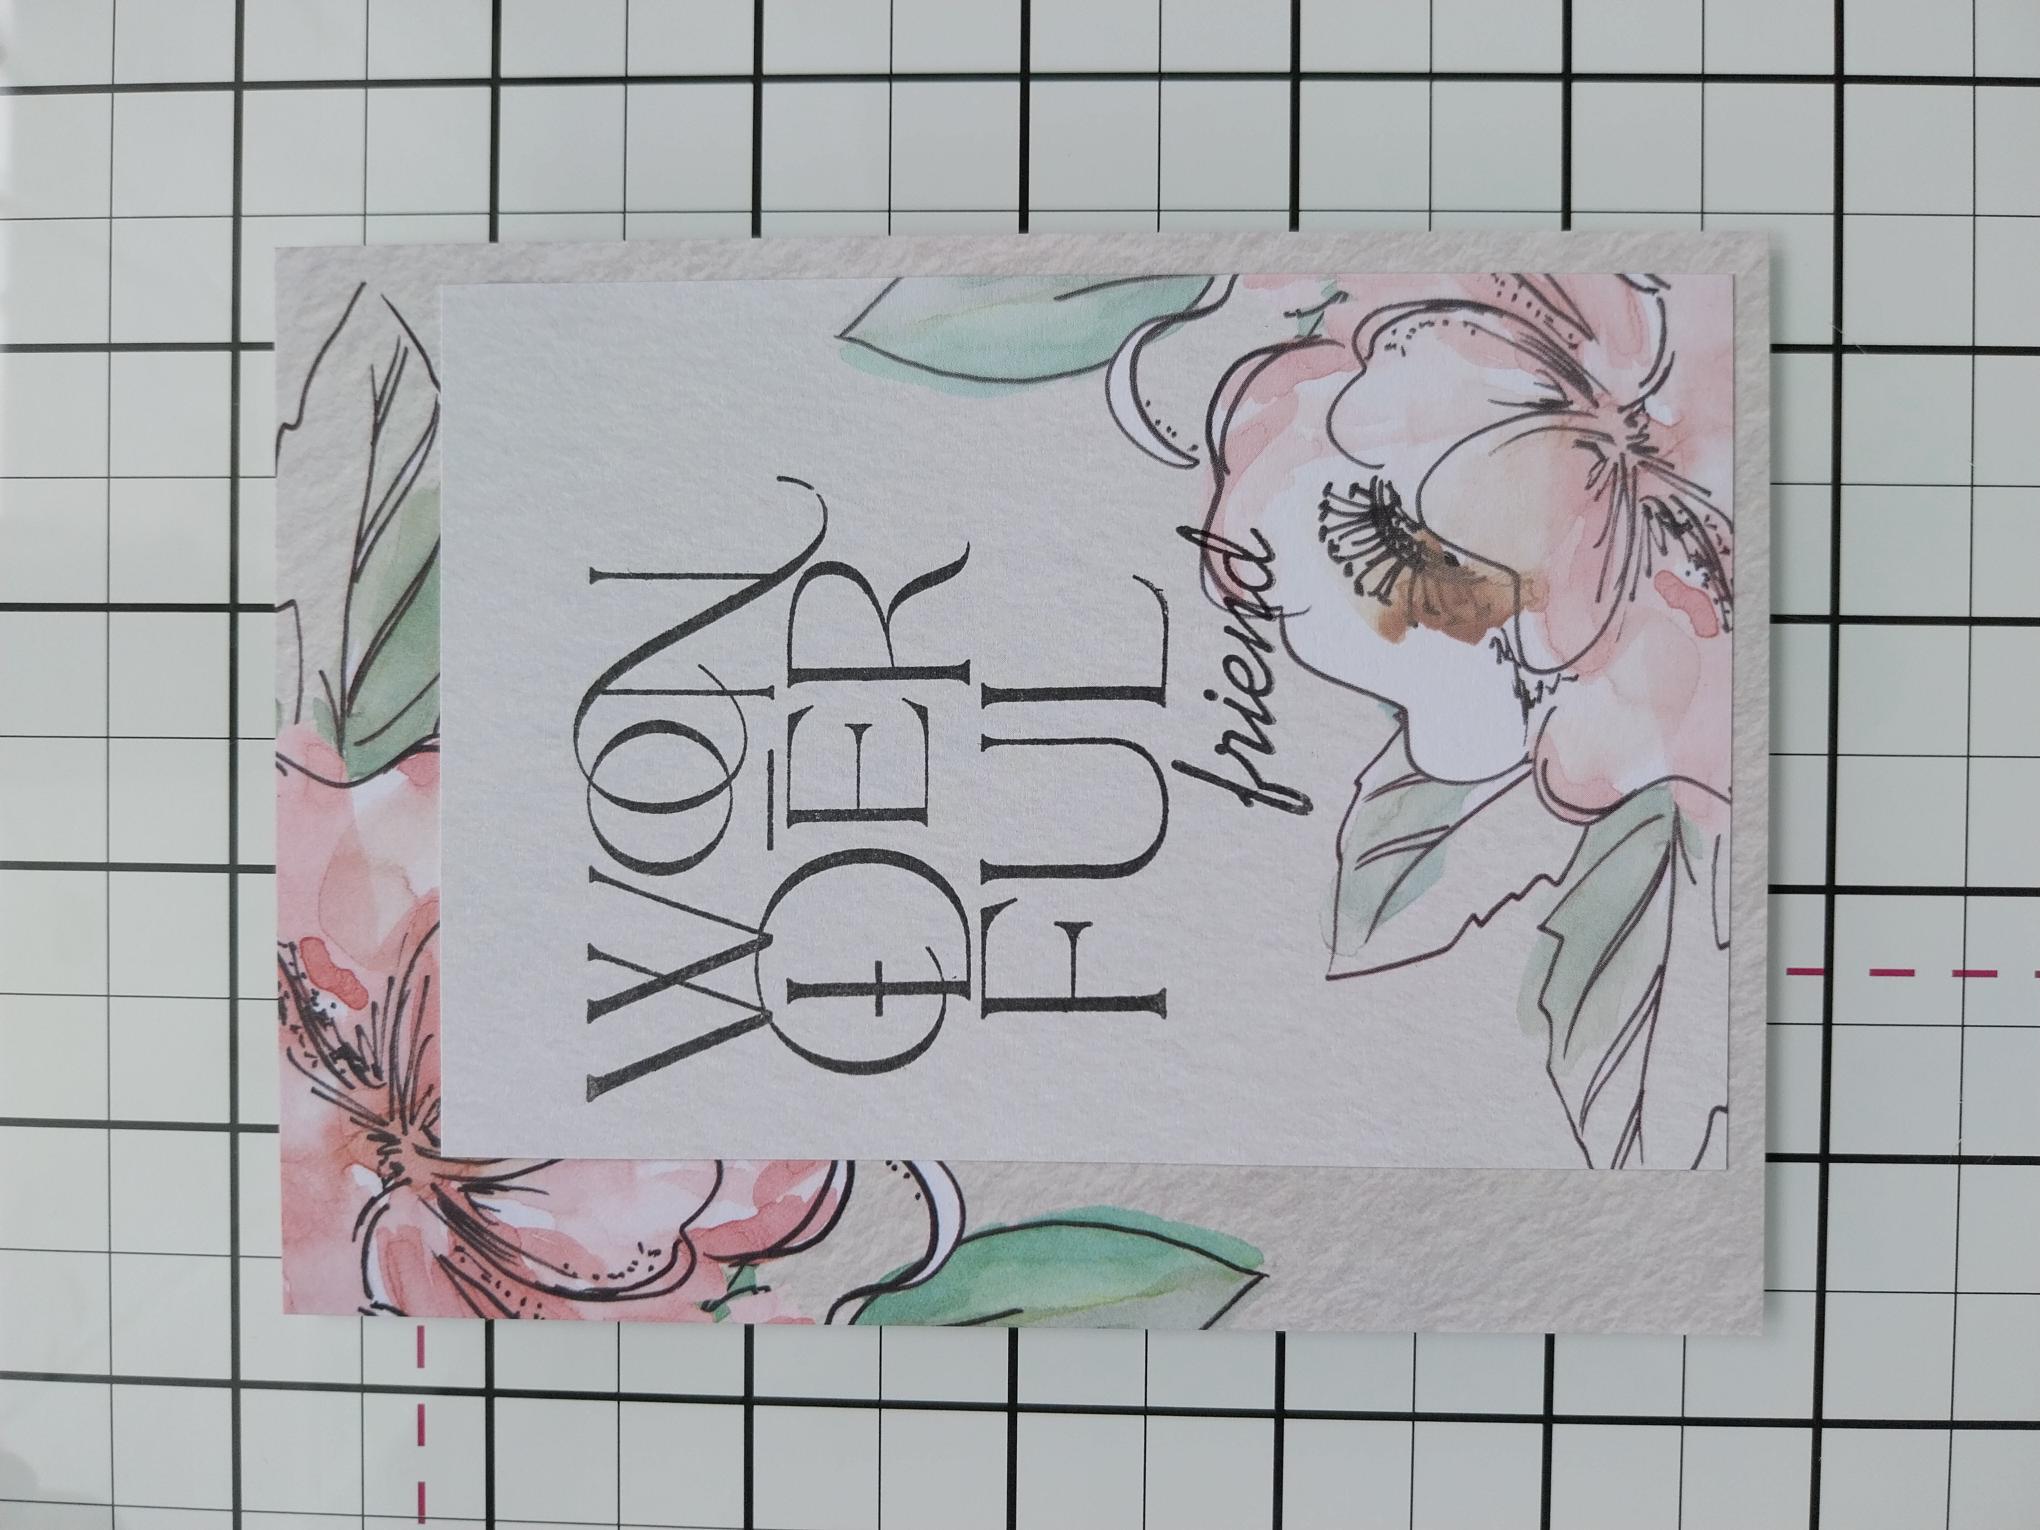
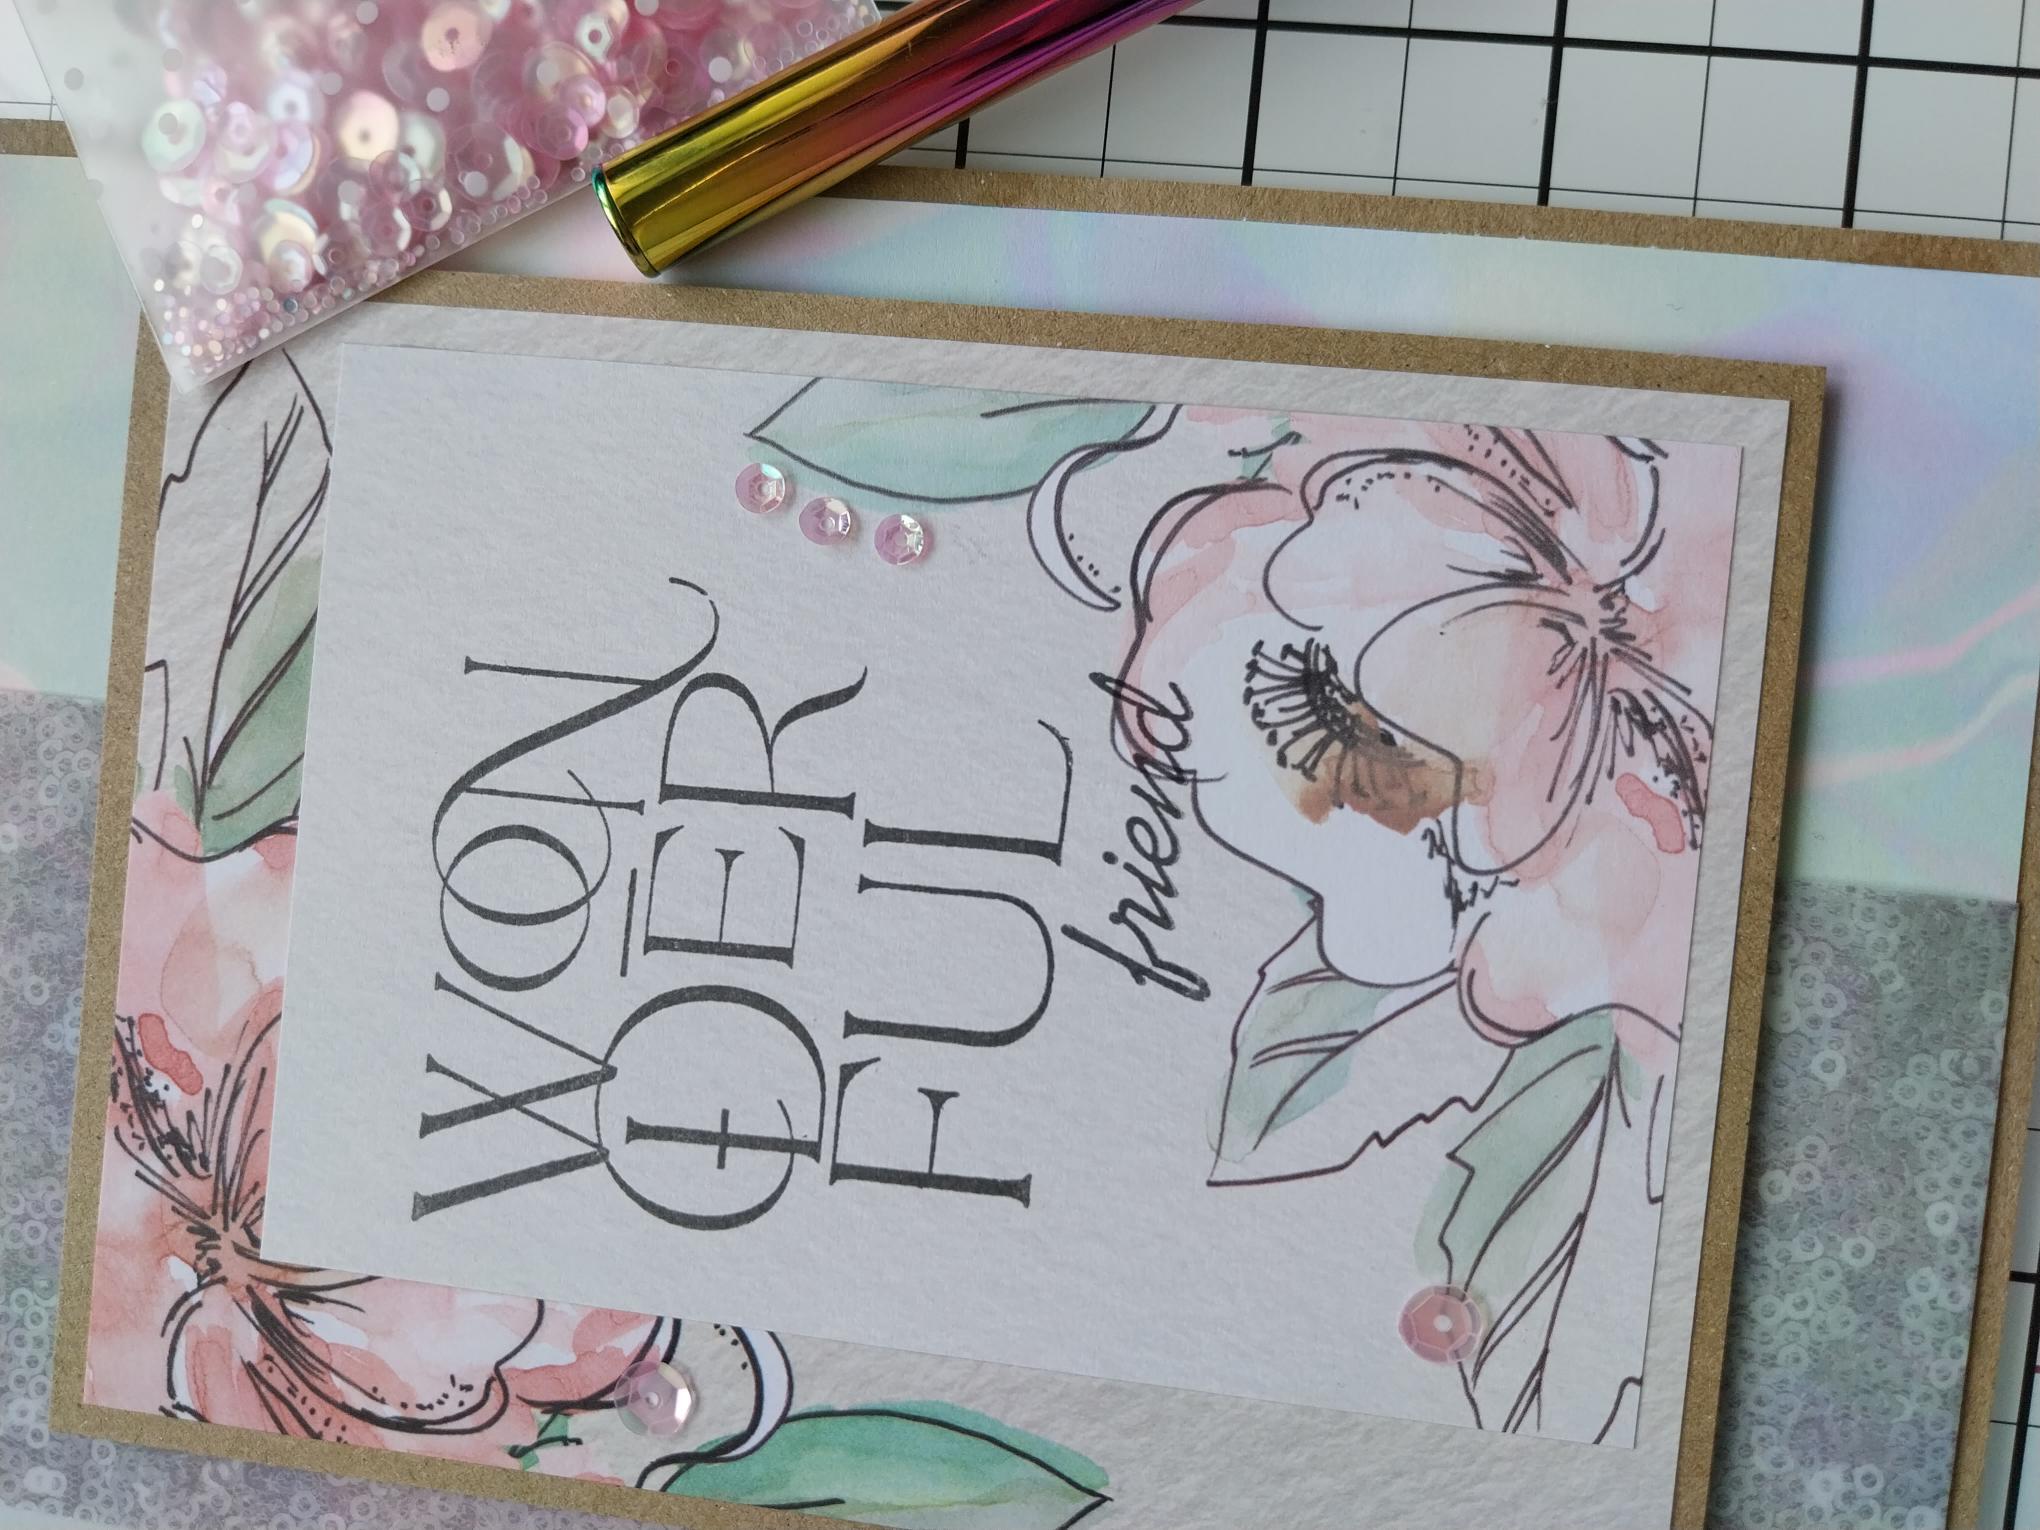
Stamp the "Wonderful" and the add-on sentiment, from the Saying Hello Collection, in the Smokey Grey Versafine, on to the card topper. |
|
Adhere your topper on to your trimmed envelope panel, ensuring the floral designs are in opposite corners. |
|
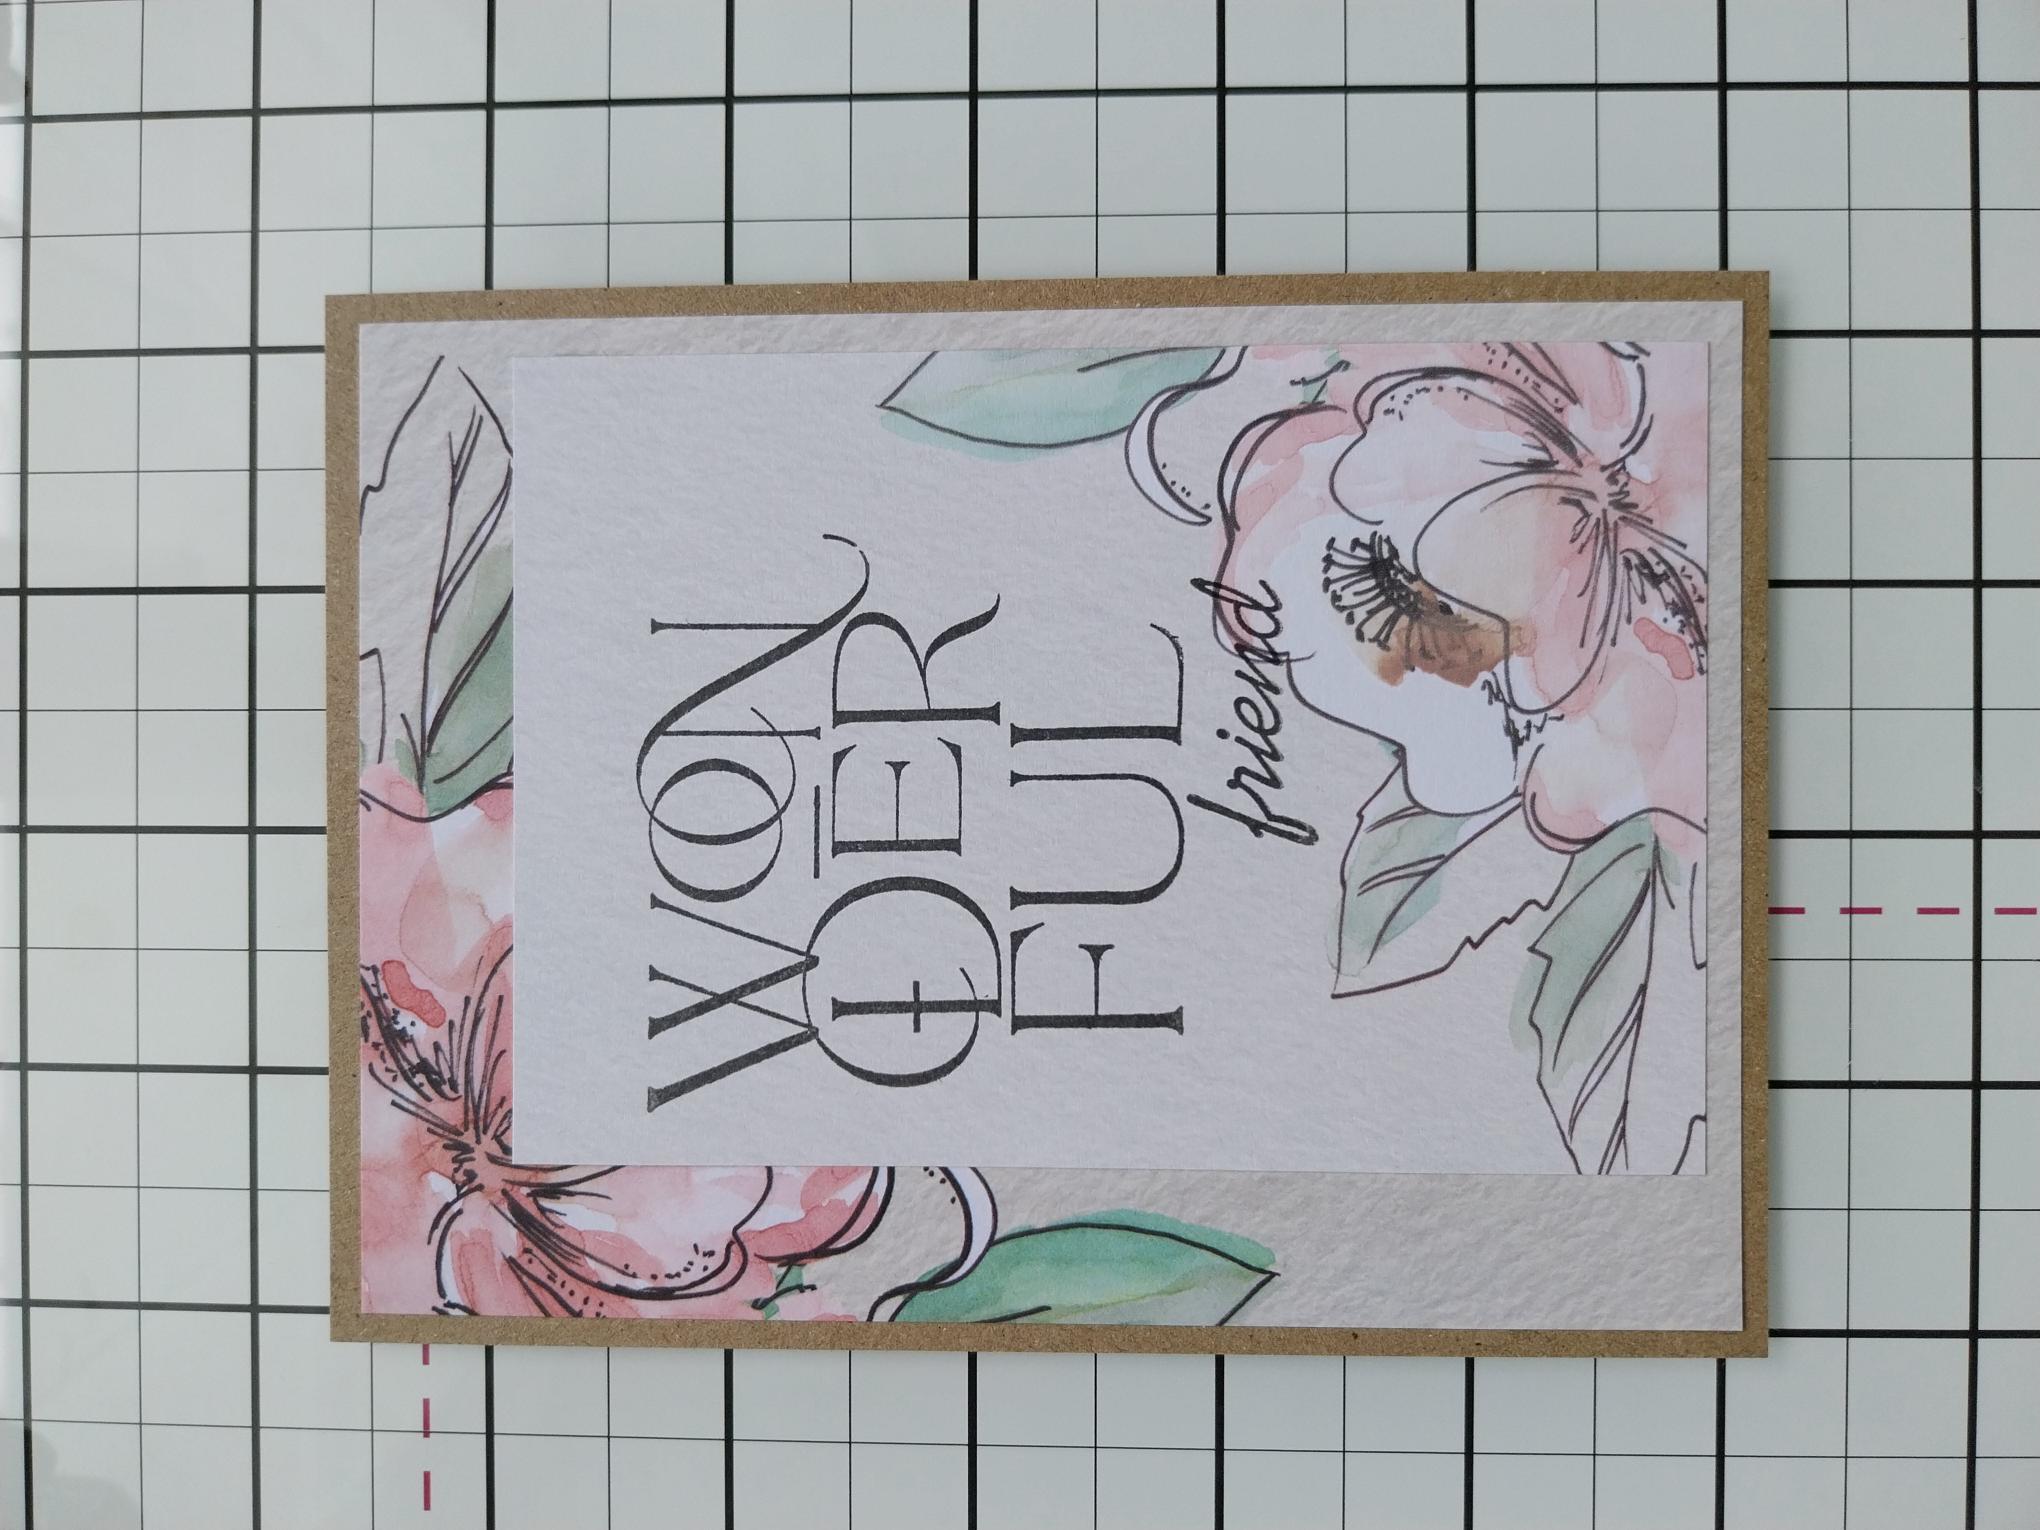
Adhere to the kraft card trimmed to 5 3/4 x 4 1/4", then pop to one side. |
|
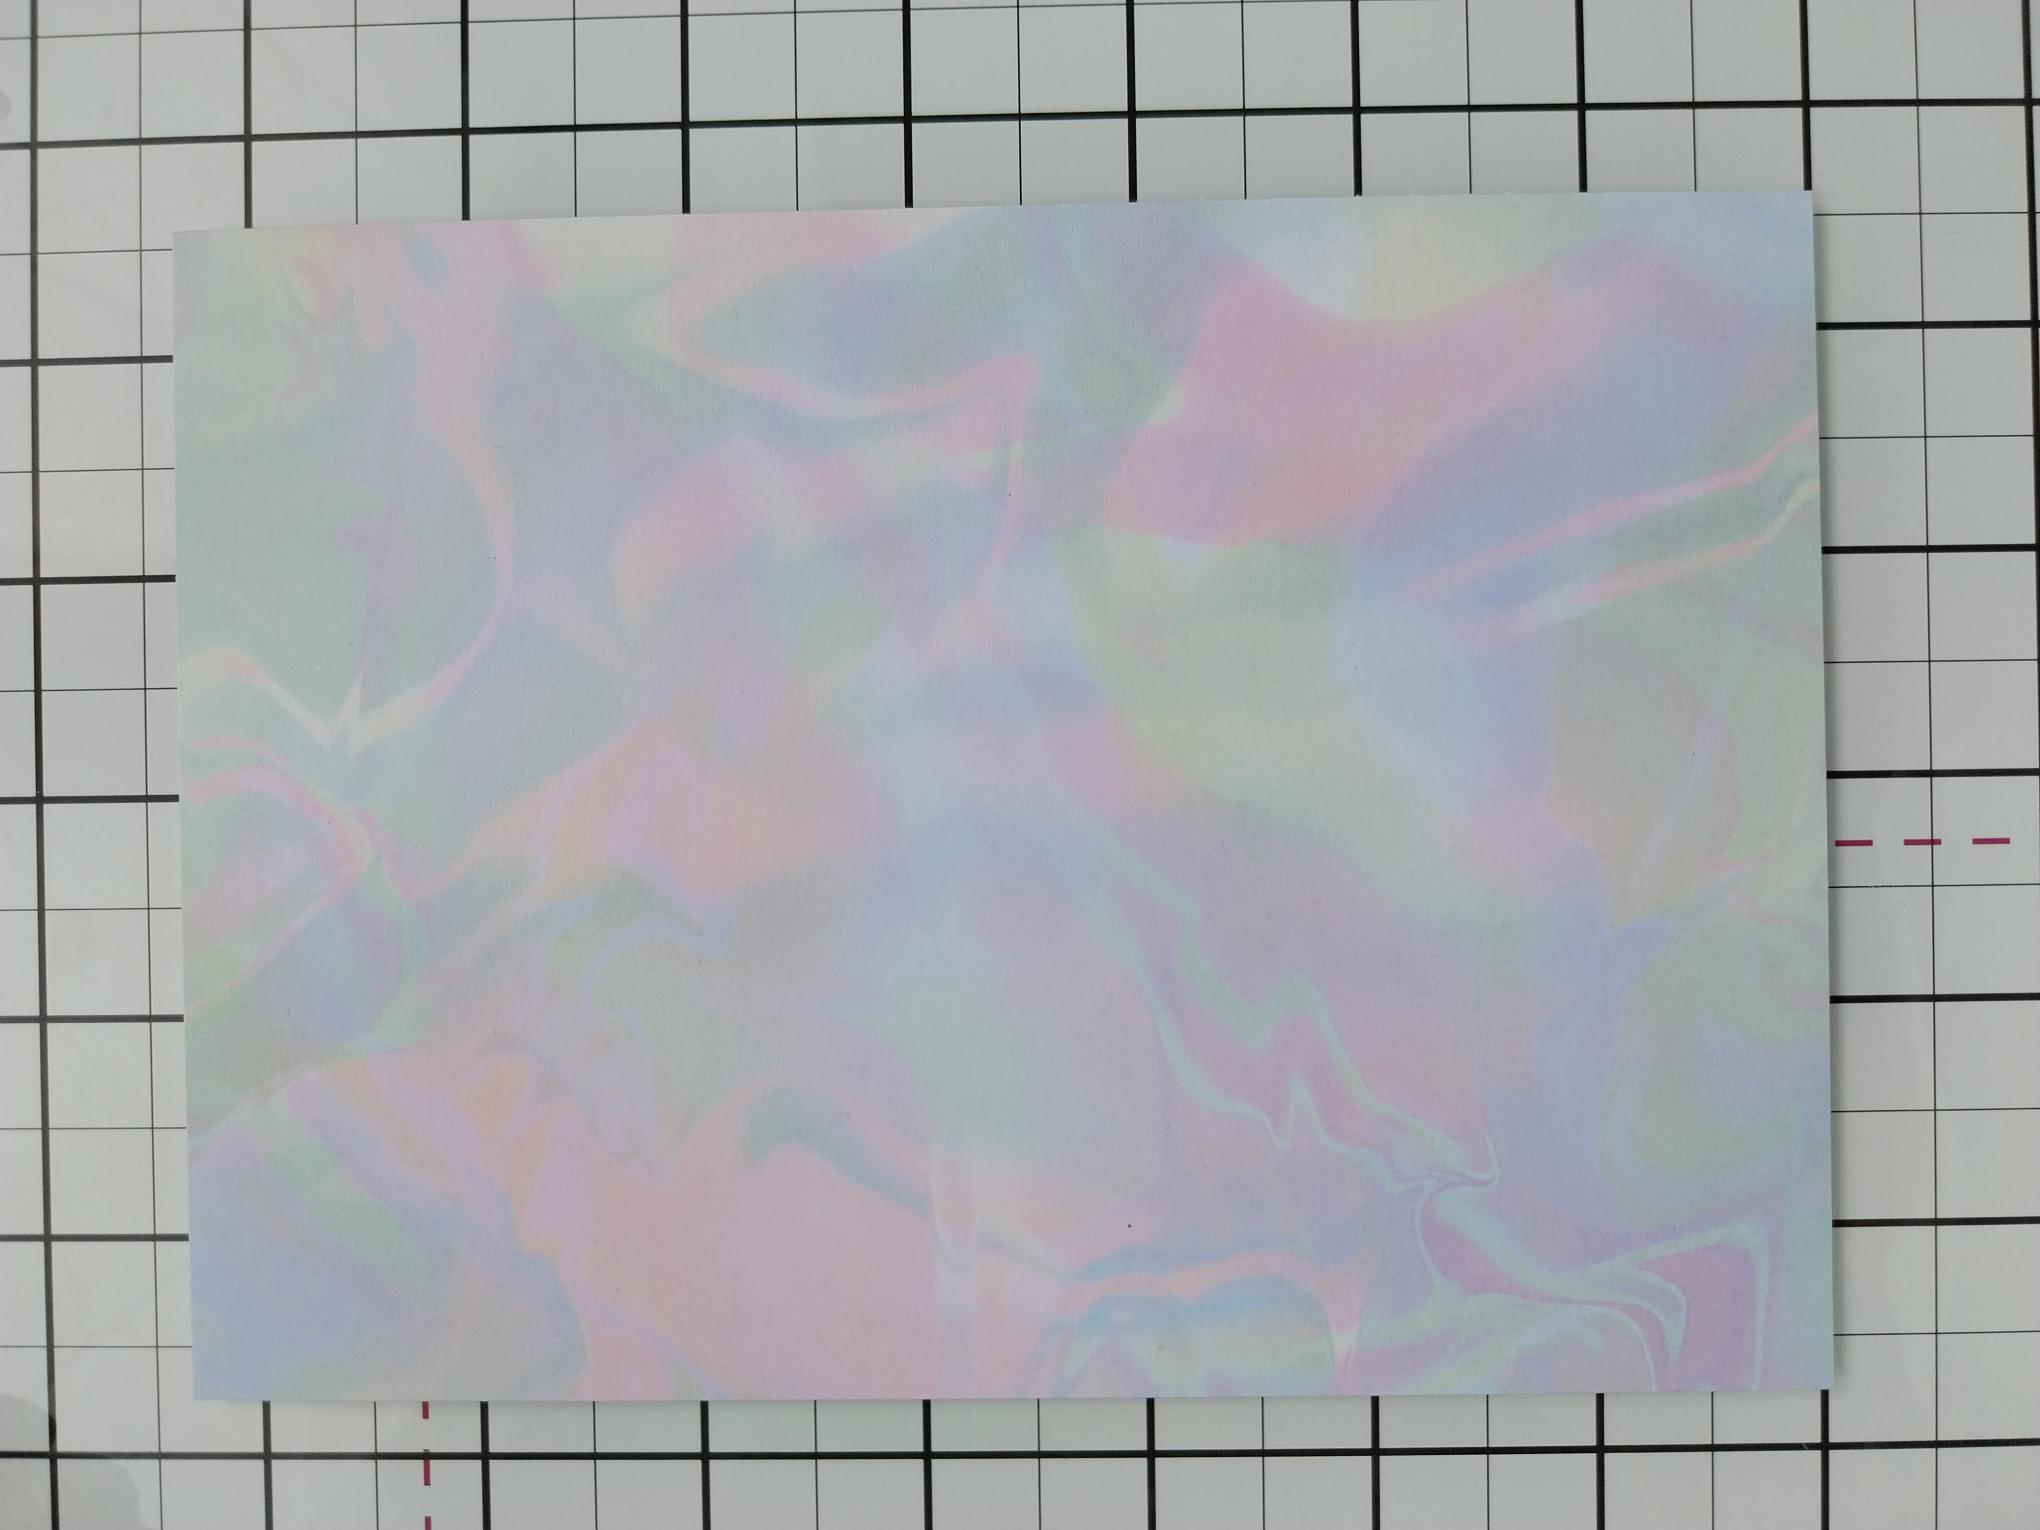
Remove this decorative paper from the Holographic paper pack and trim to 7 1/4 x 5 1/4". |
|
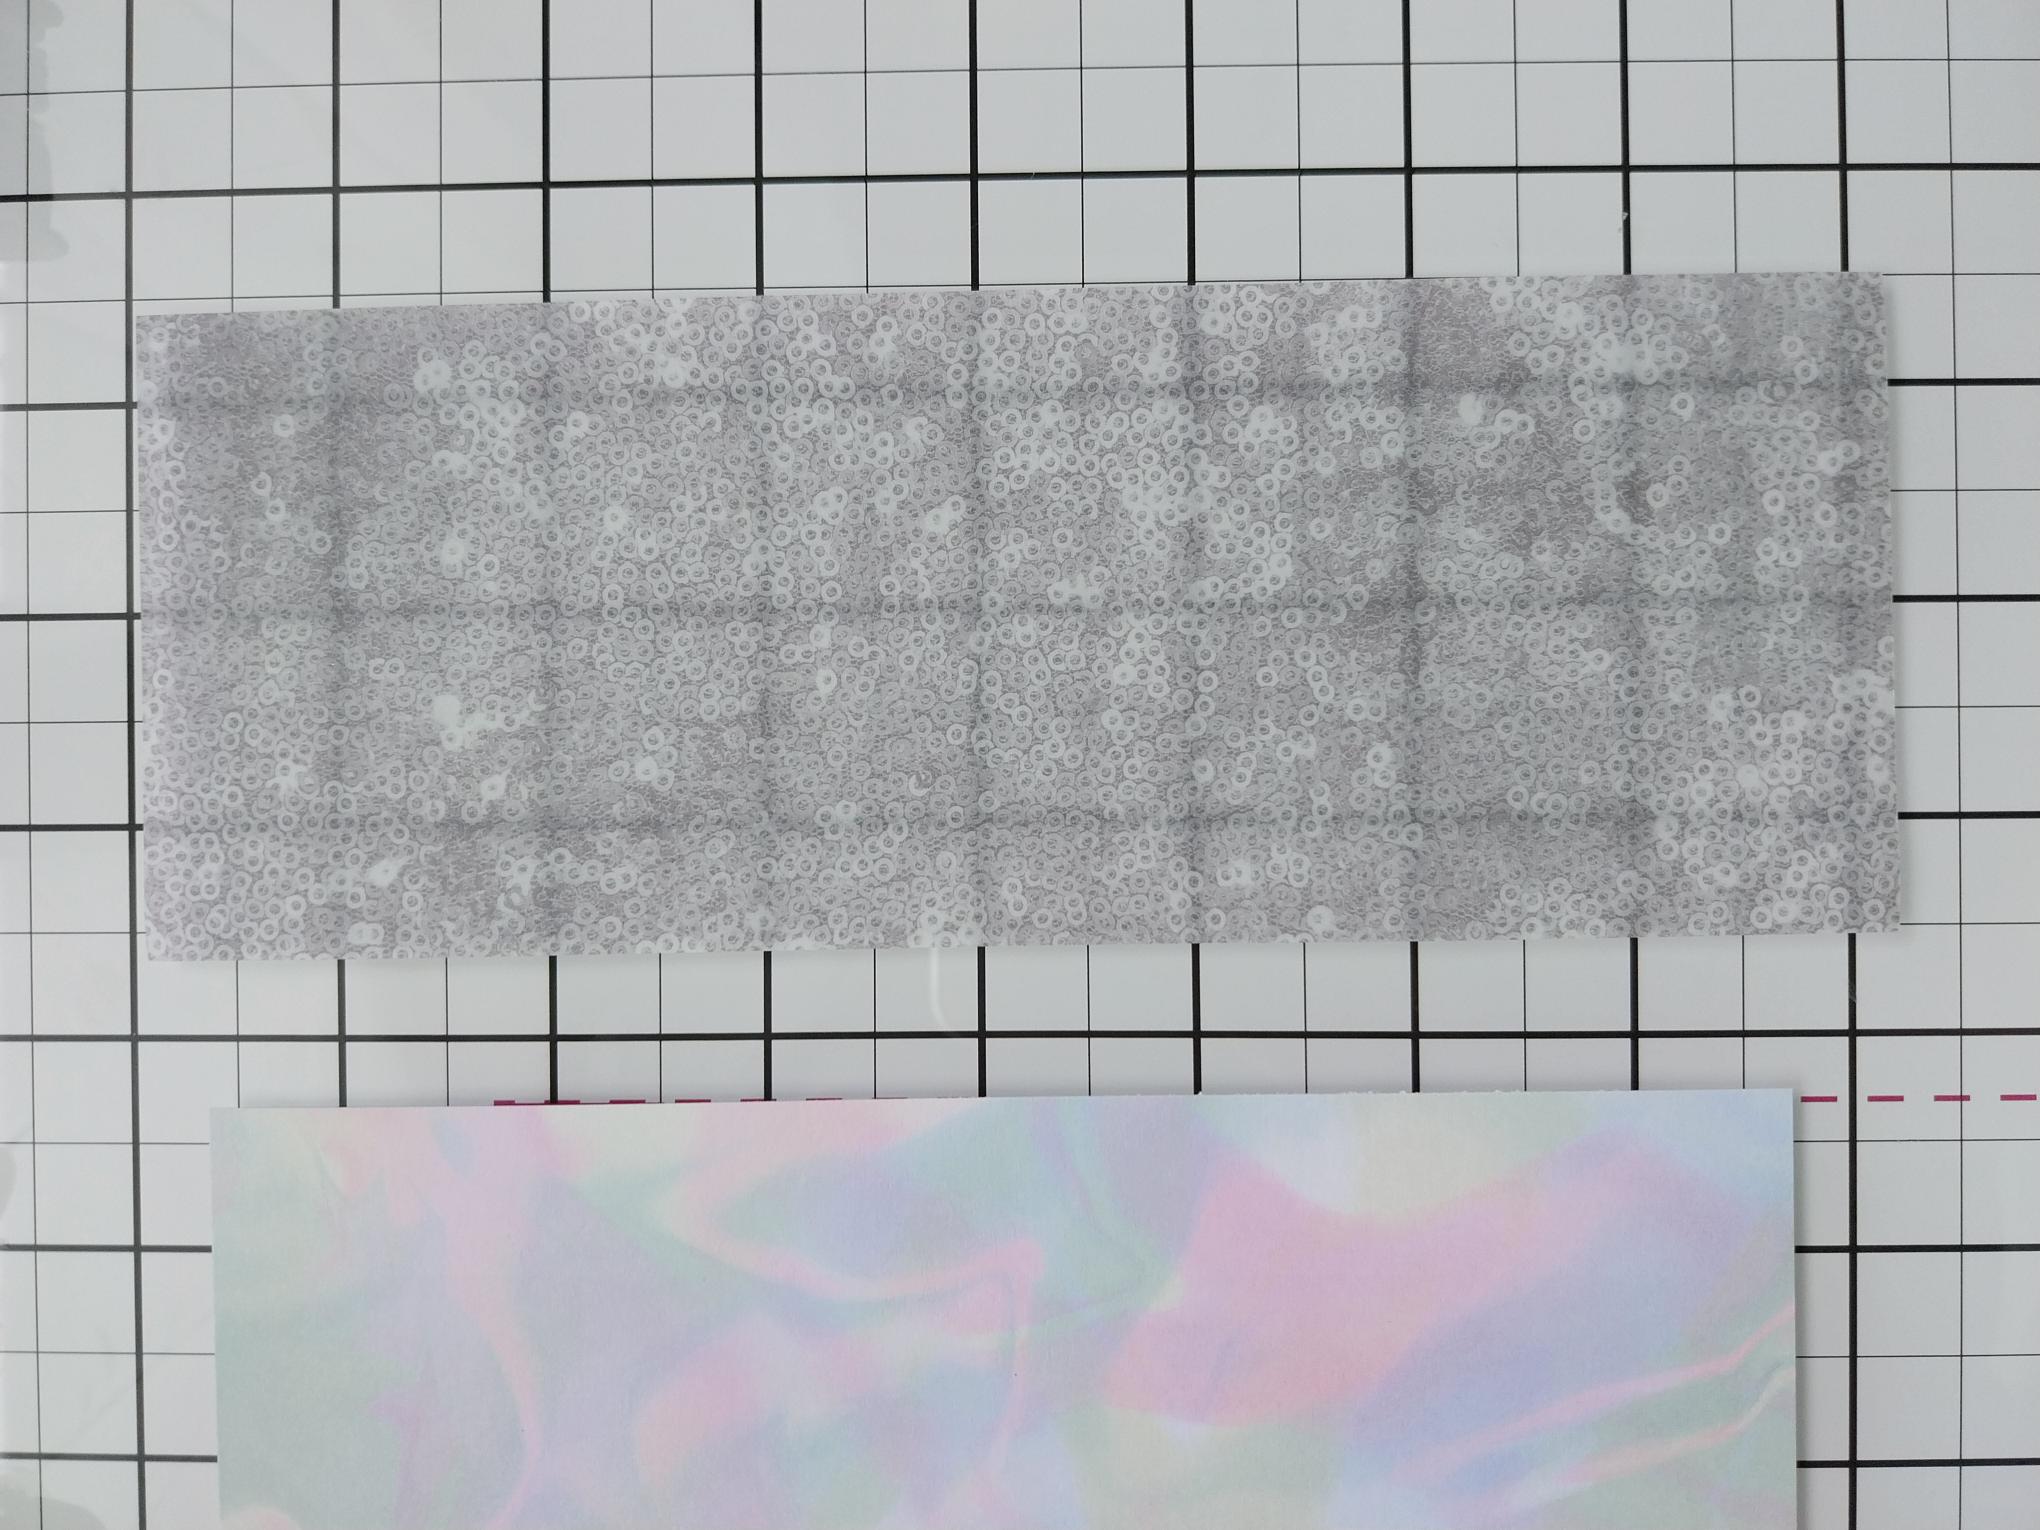
Take this vellum sheet, from the Classic Celebration Vellum pack and trim to 7 3/4 x 3". |
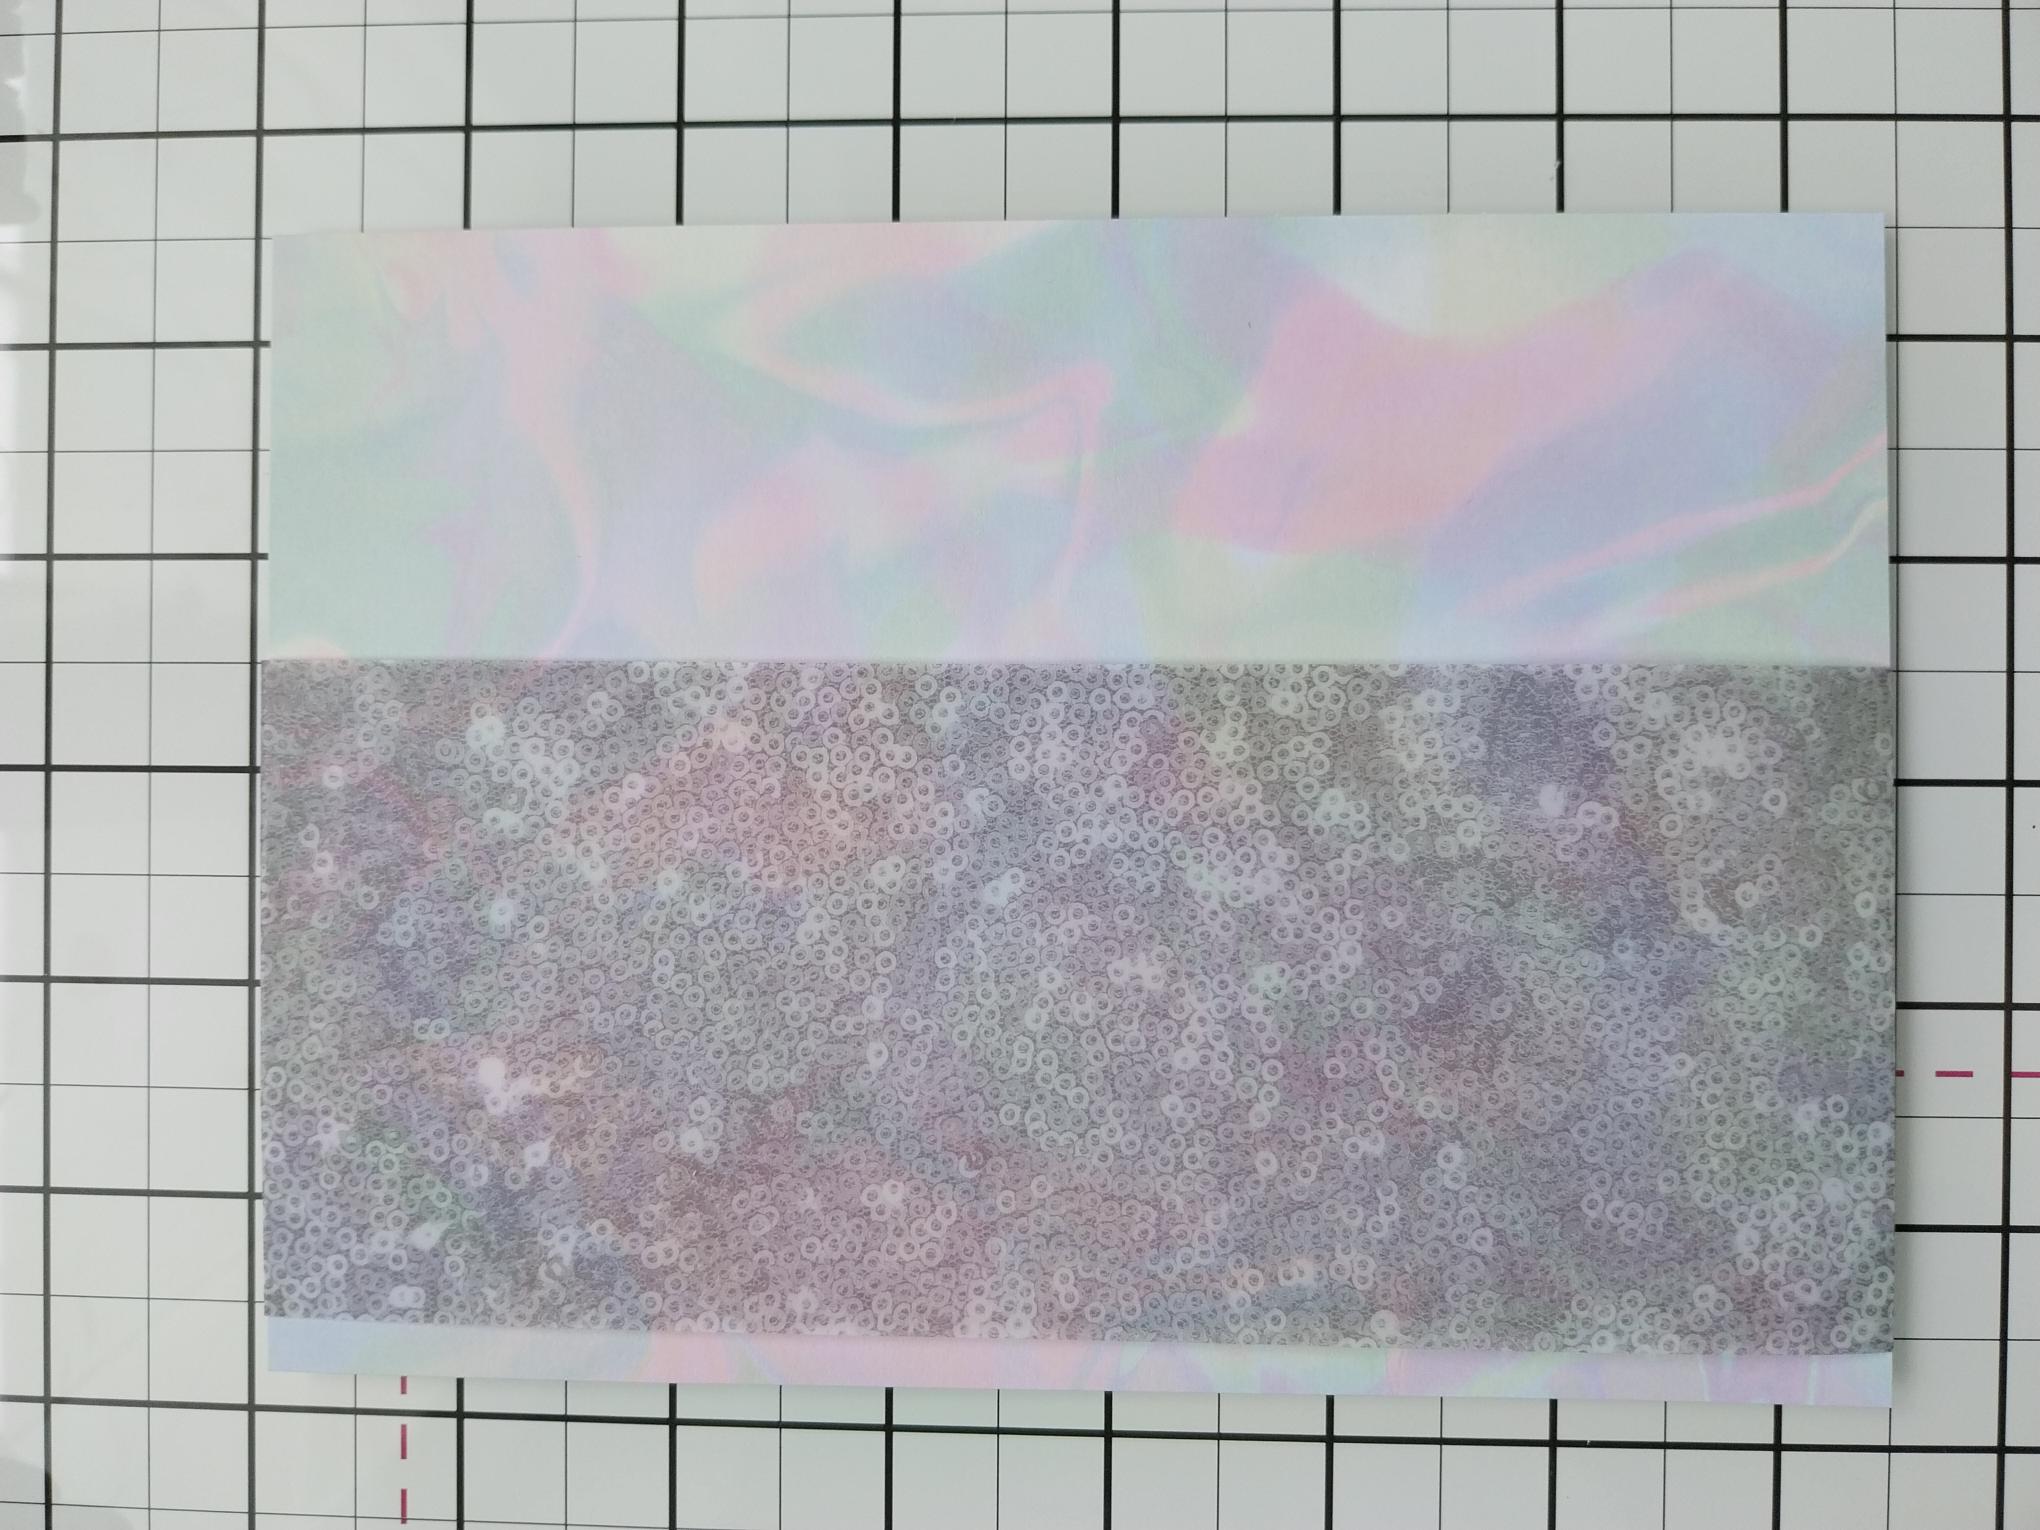
|
Place the vellum panel down the left side of the holographic paper, tuck the top and bottom edges over and secure on the reverse with double-sided tape. |
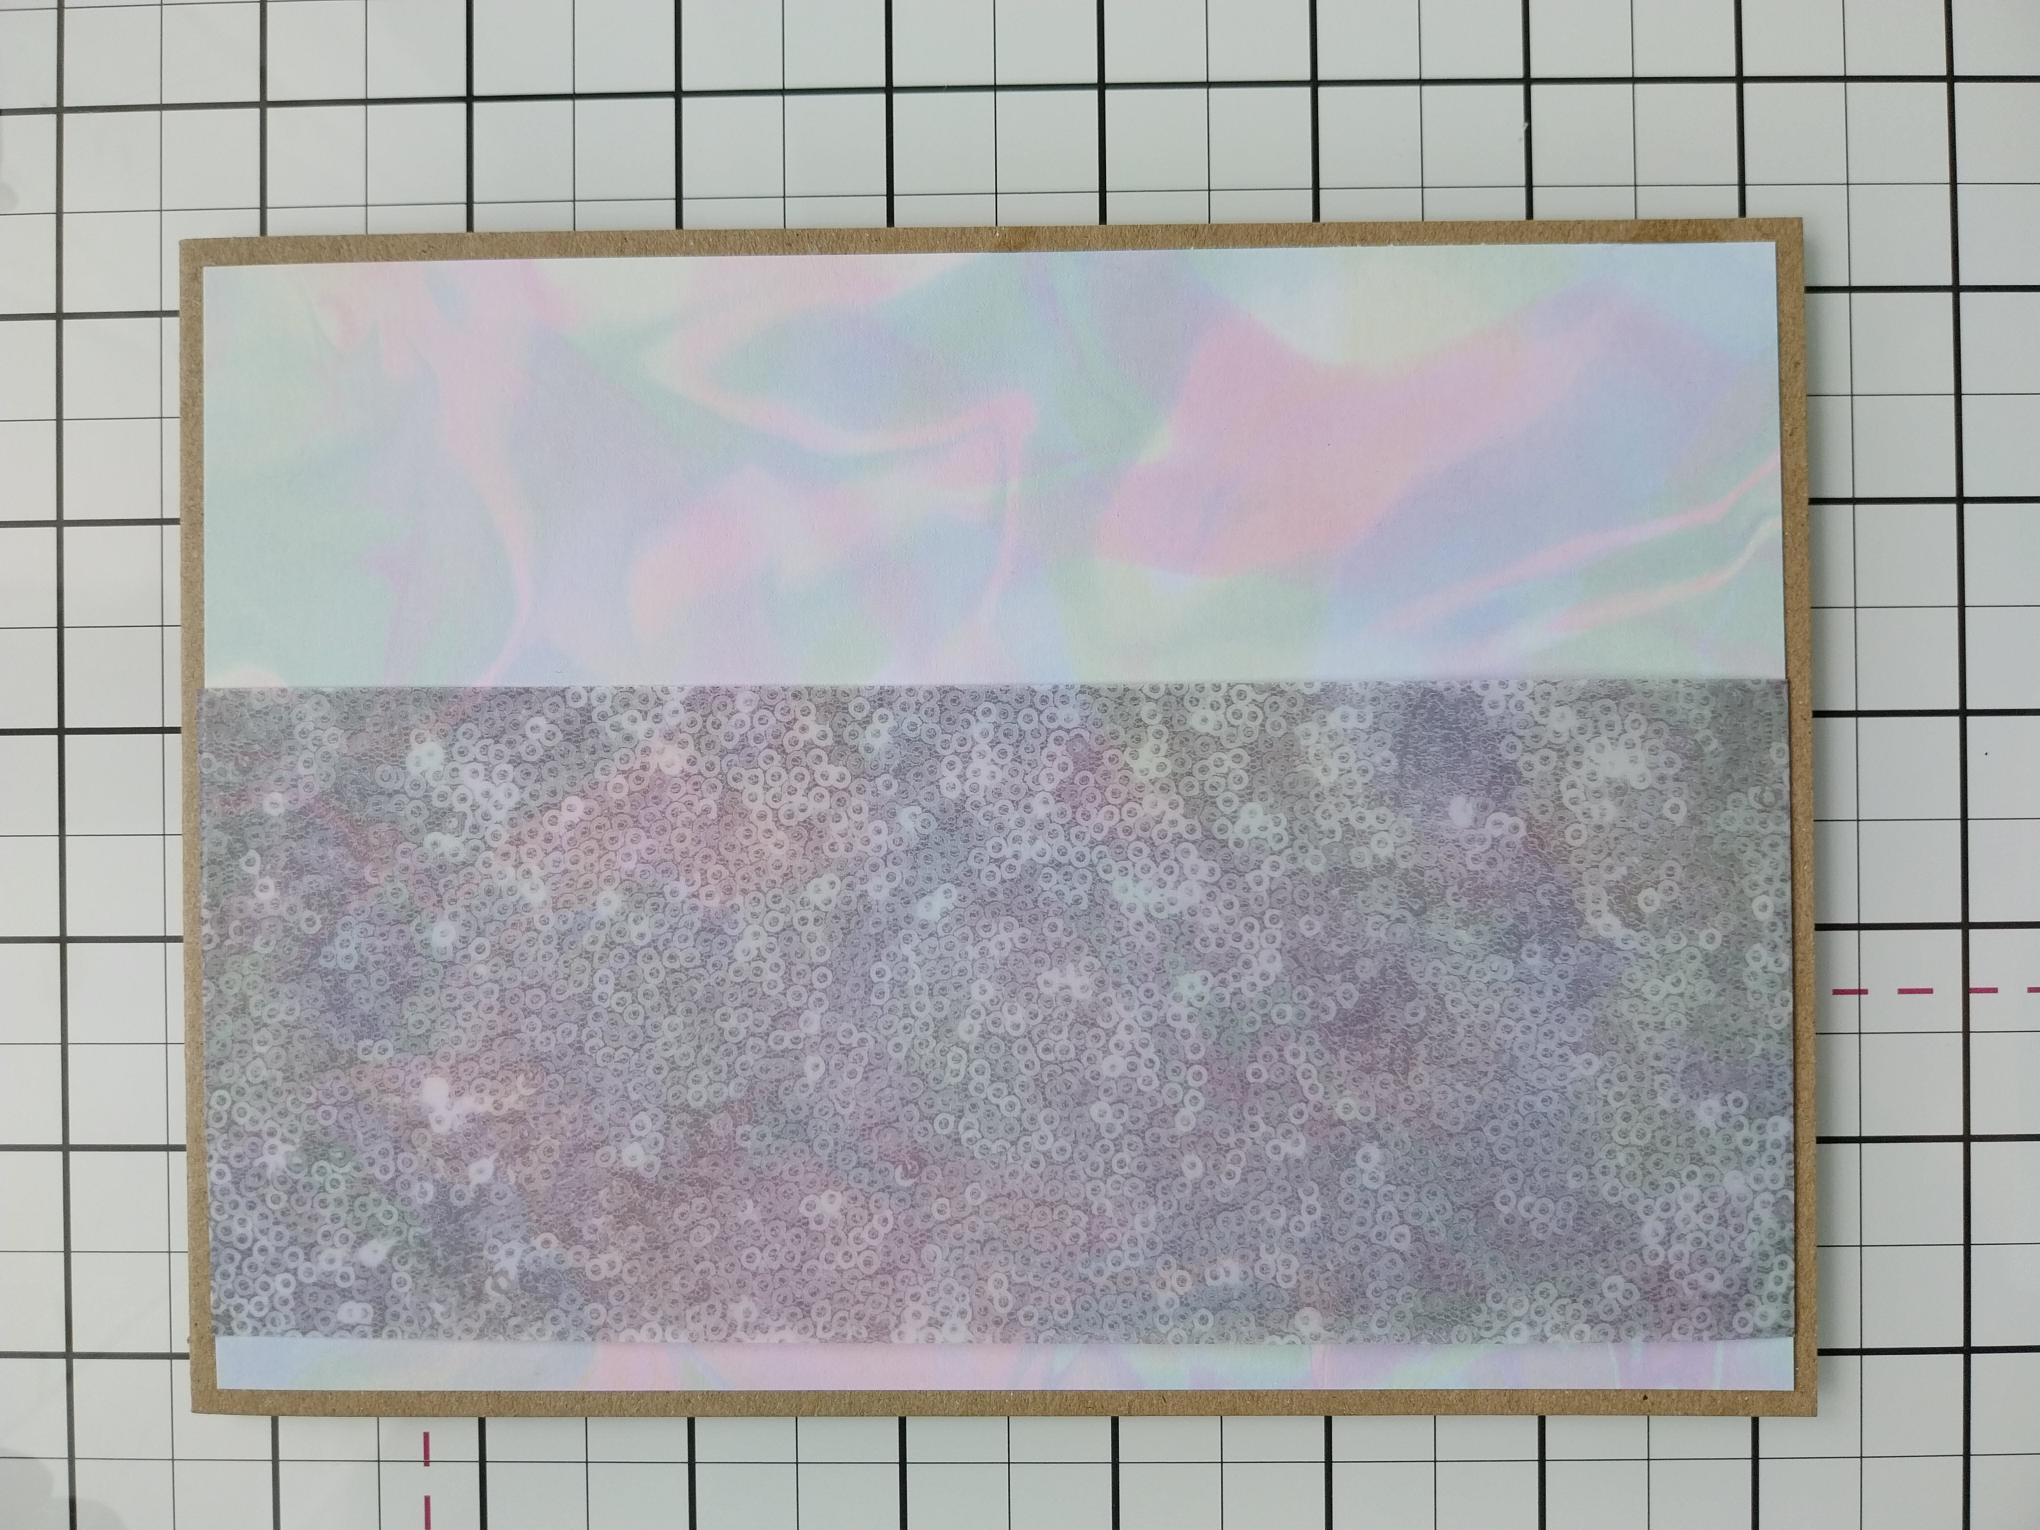
|
Adhere this to the front of your kraft card blank. |
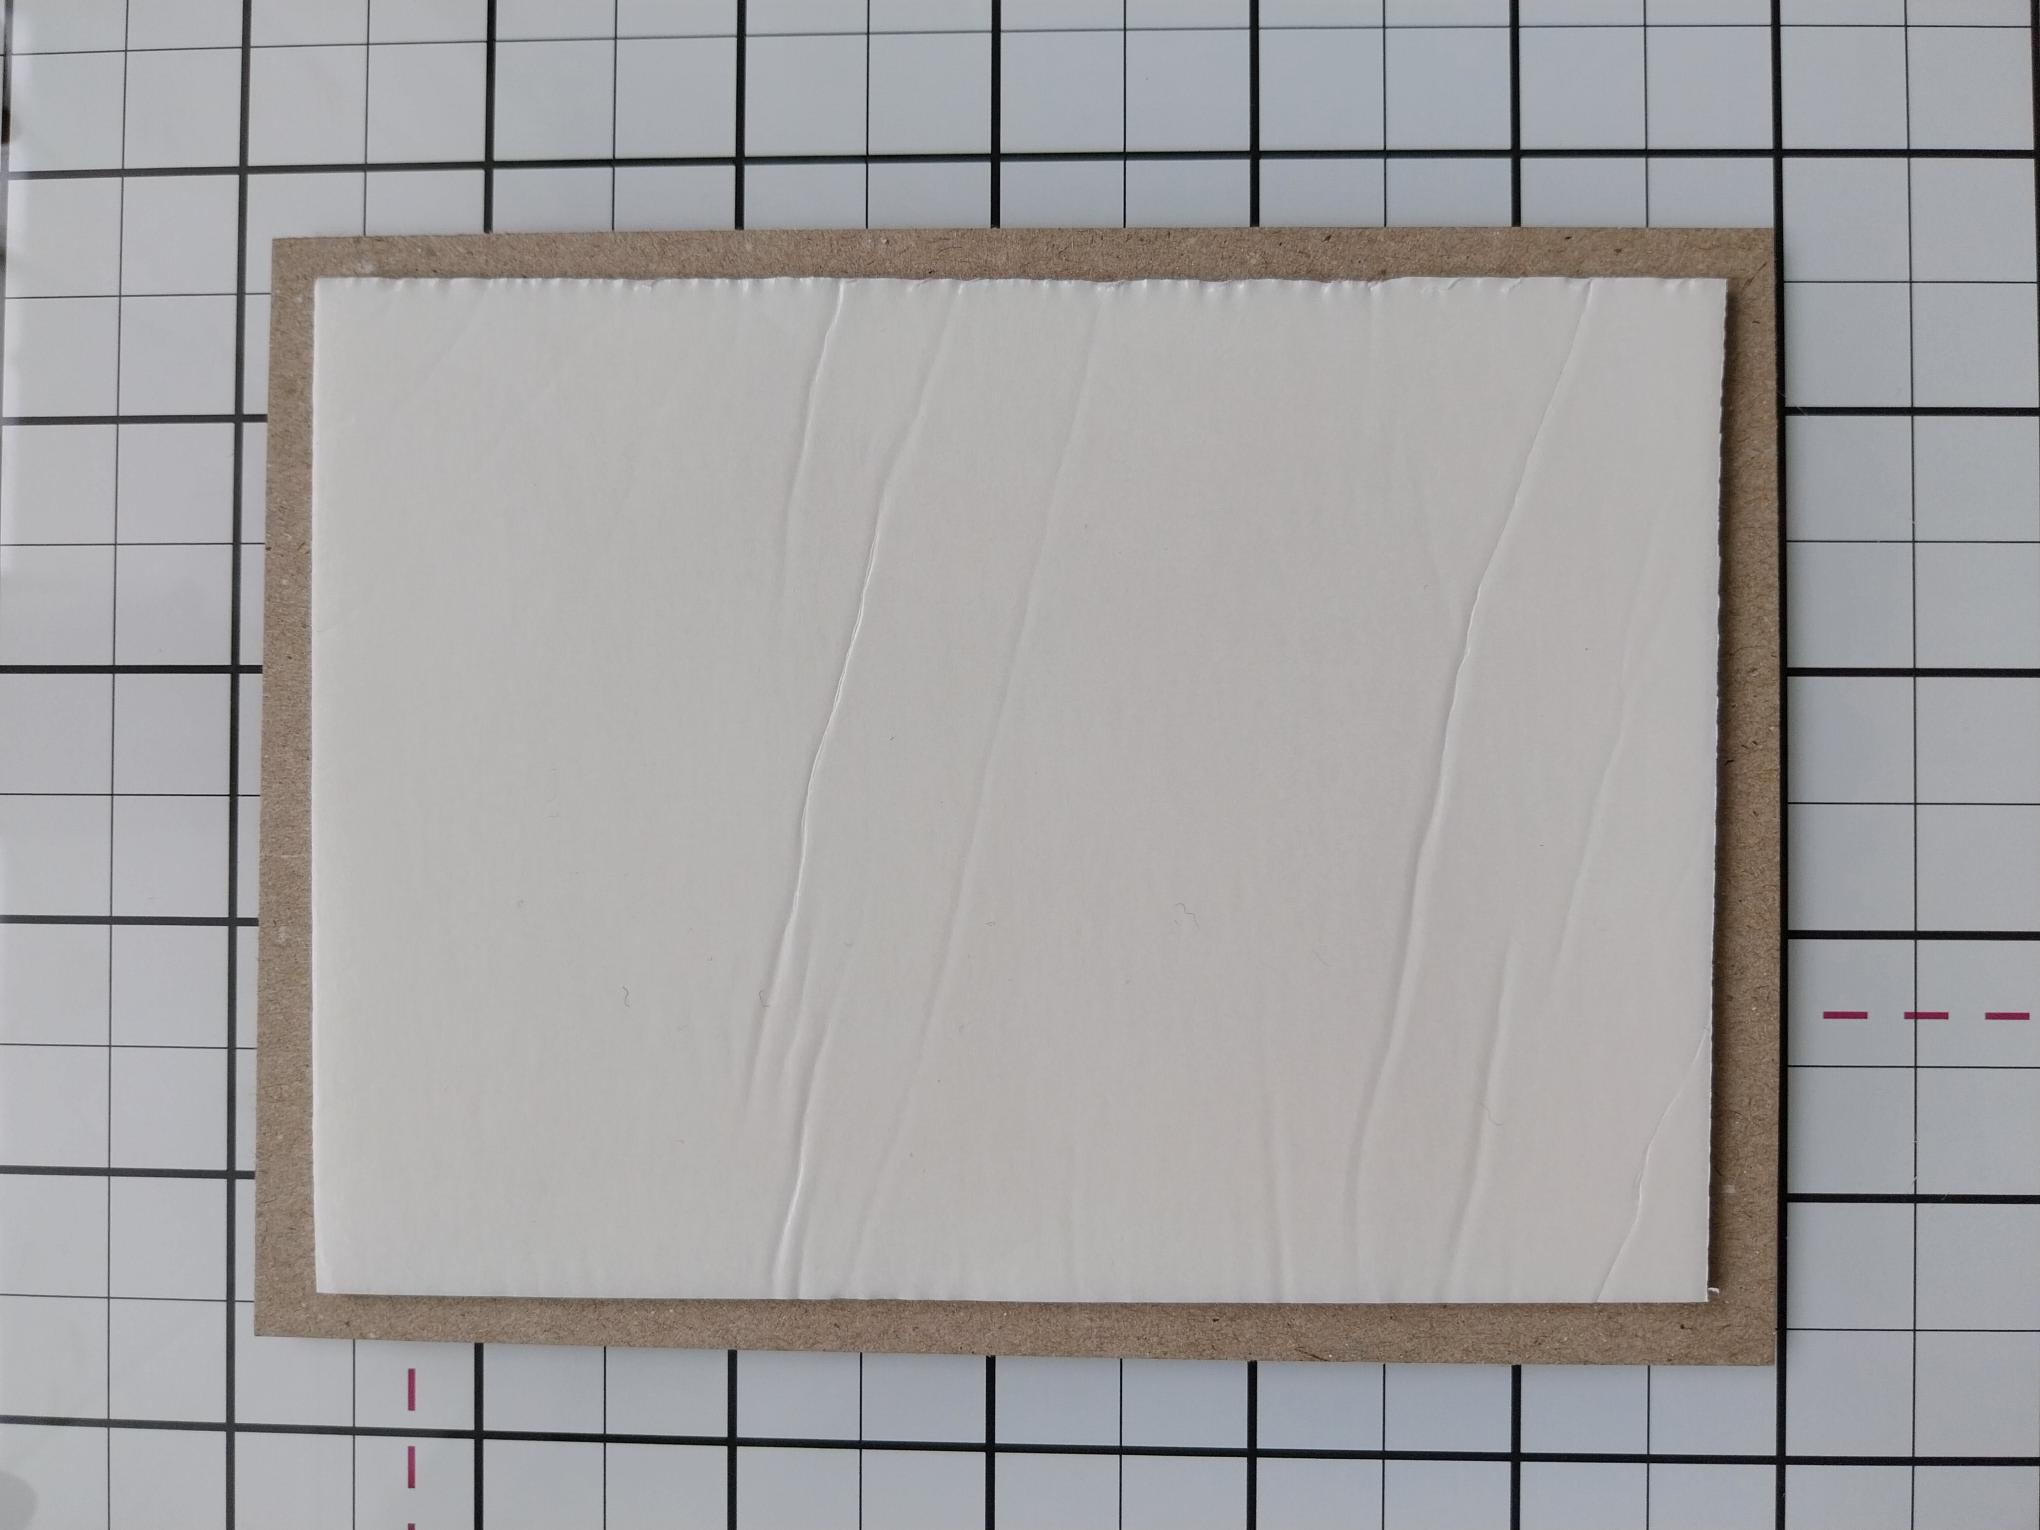
|
Adhere a trimmed foam sheet or foam pads, to the reverse of your topper. |
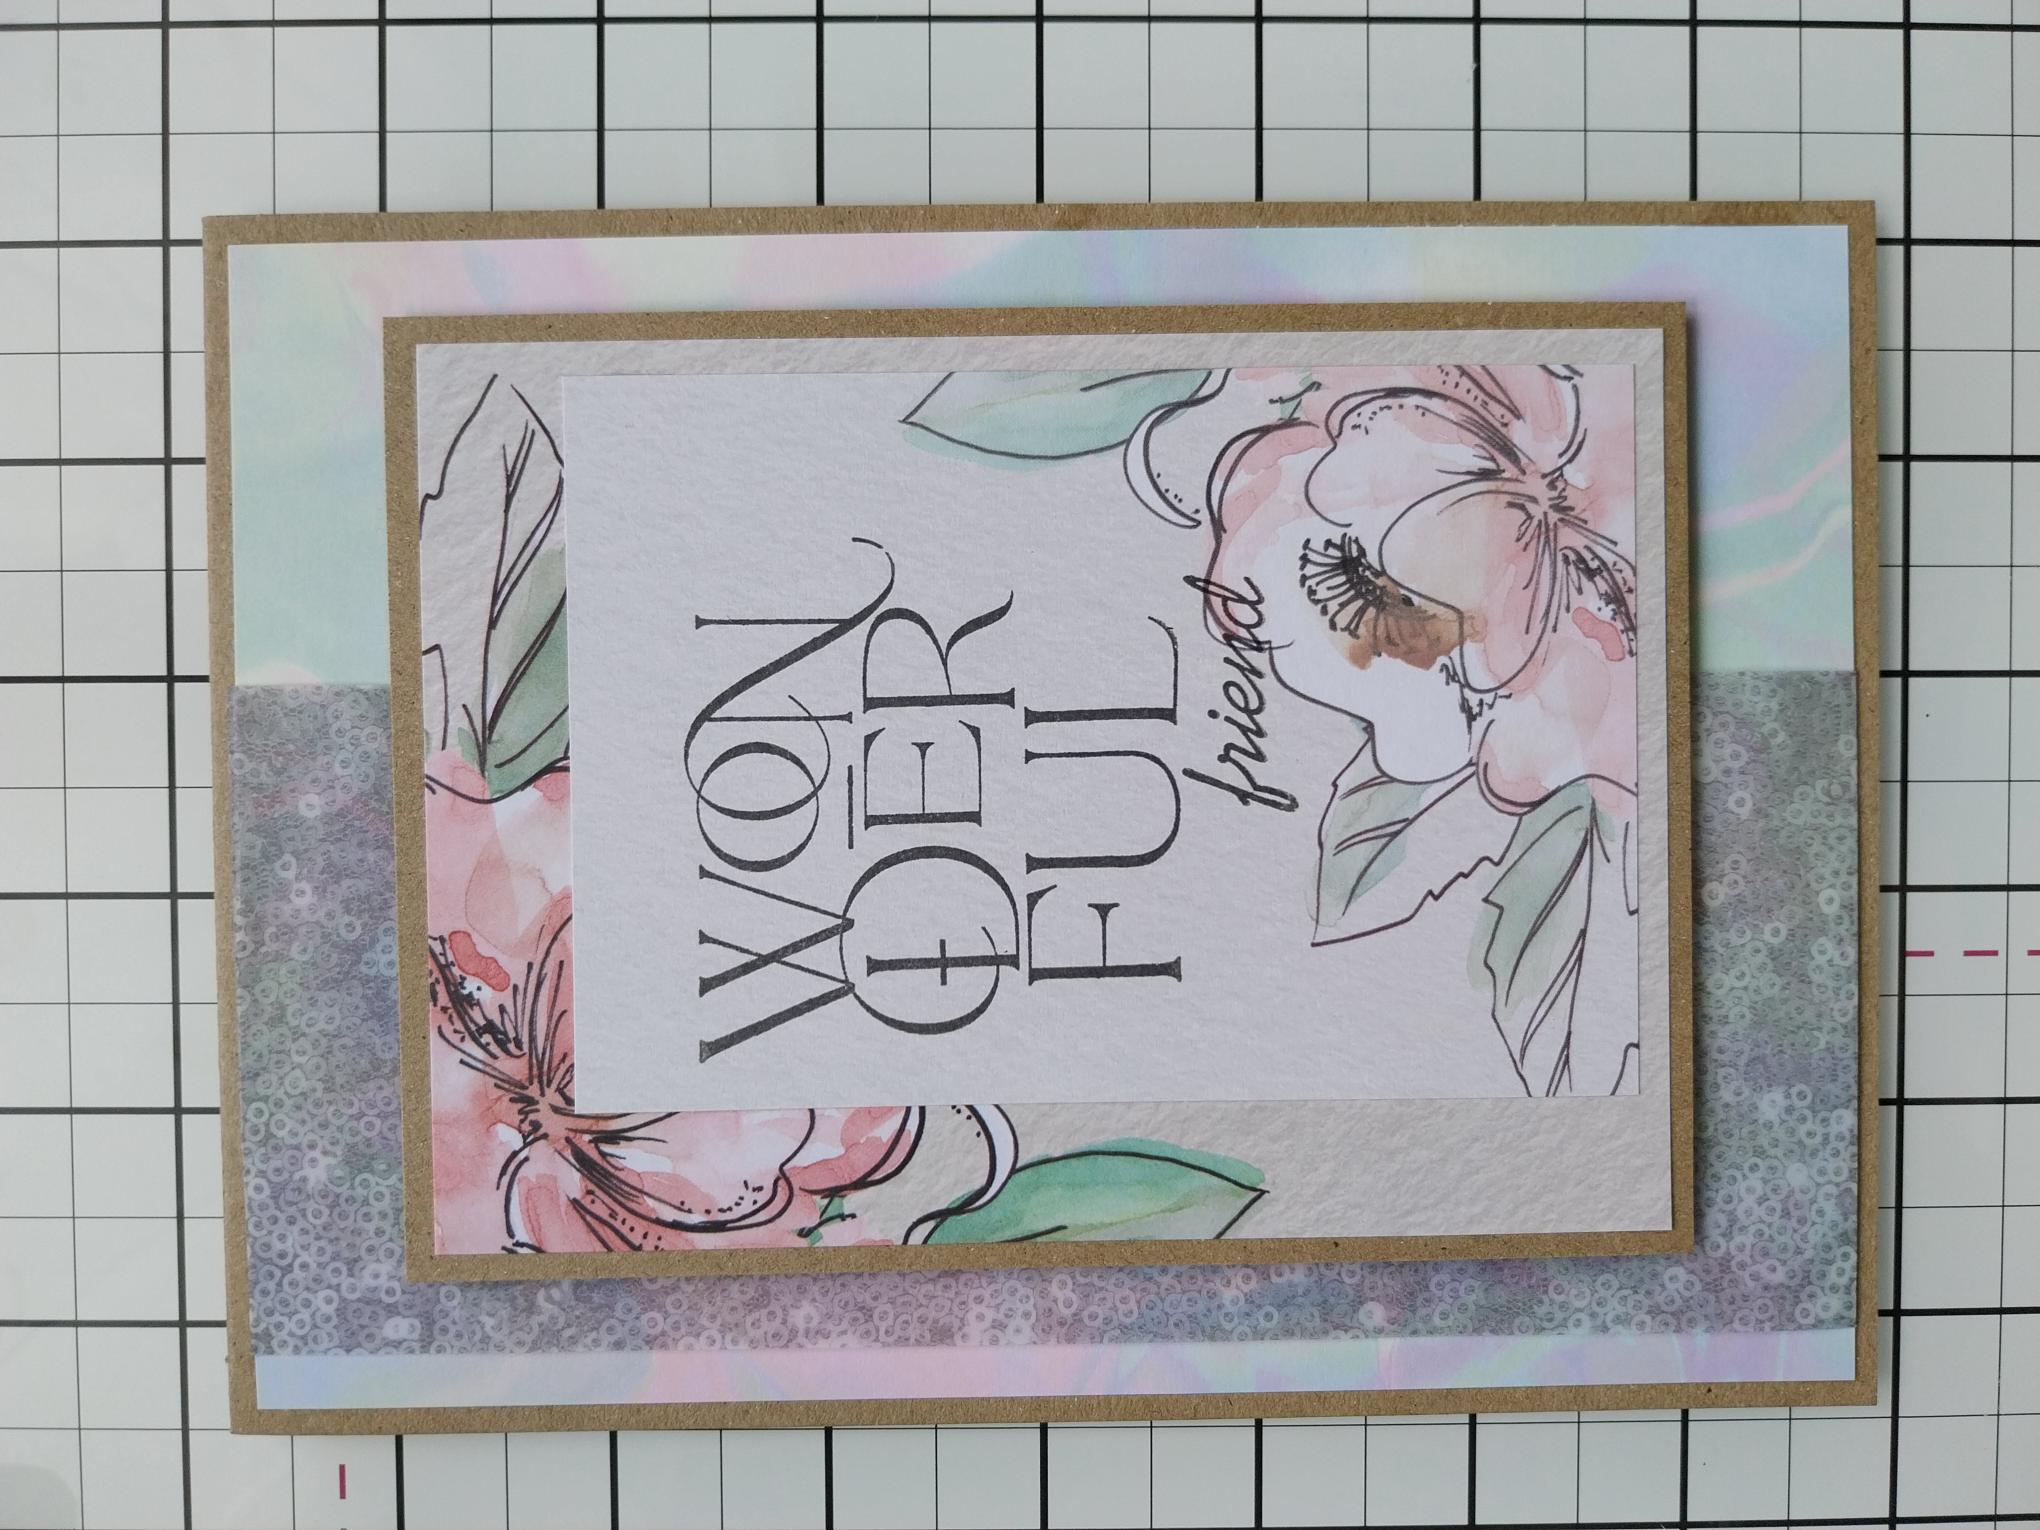
|
Remove the backing and adhere to your layered card. |
|
Add sequins on to your artwork, as required. |
|
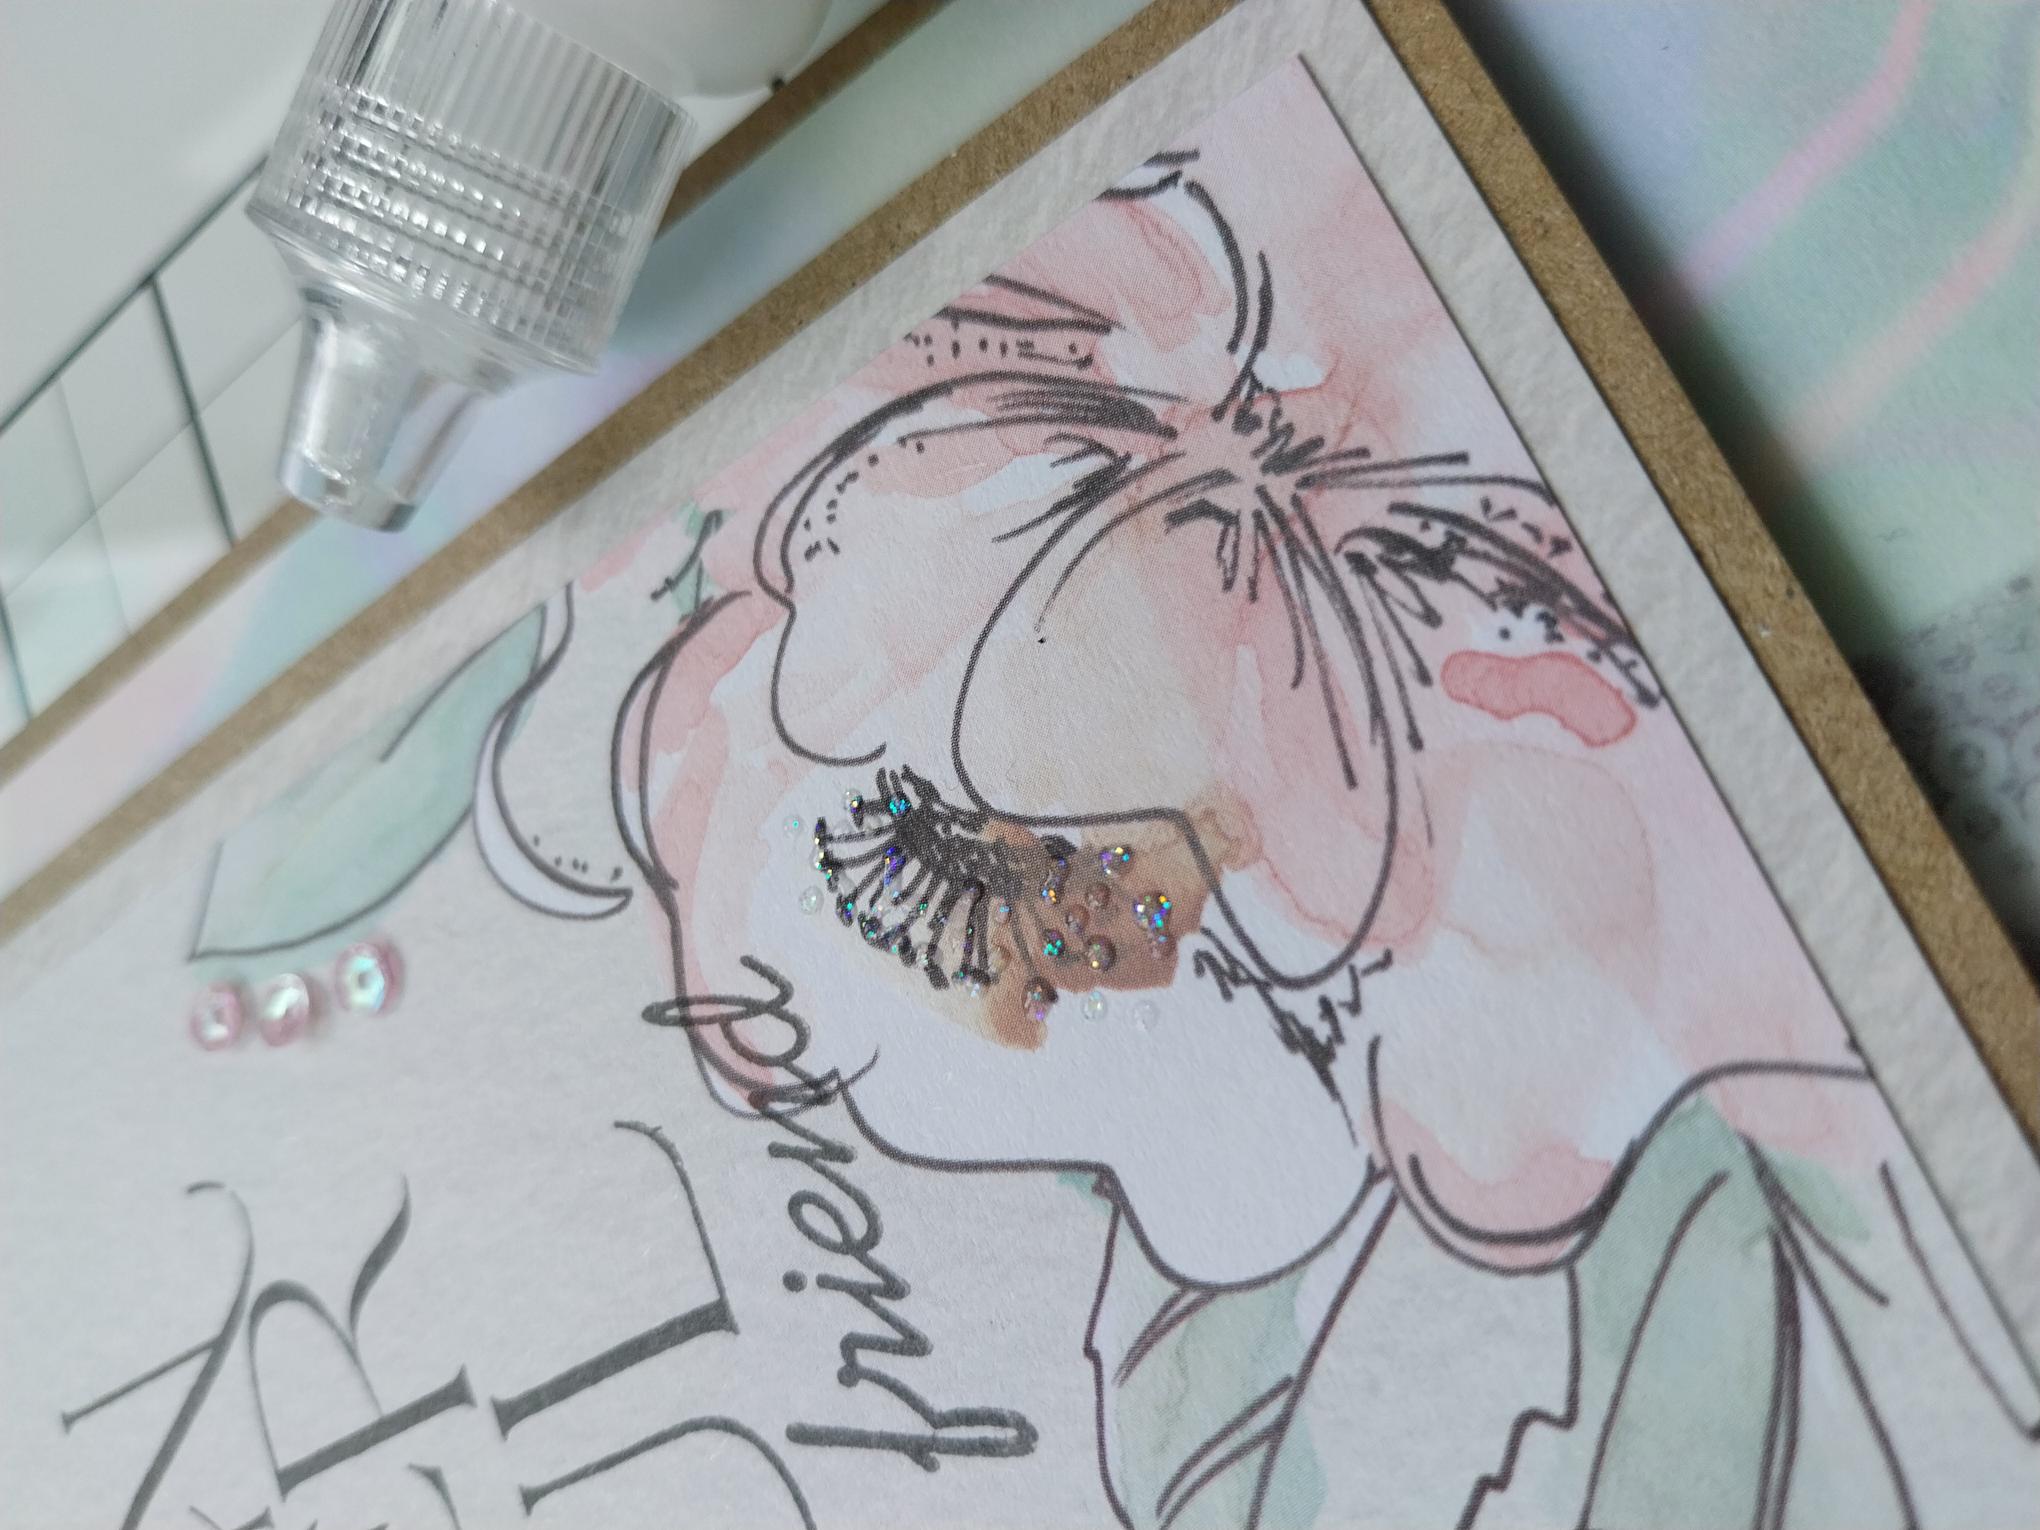
To finish, add a touch of sparkle to the centres of your floral artwork, with your Stickles. |