

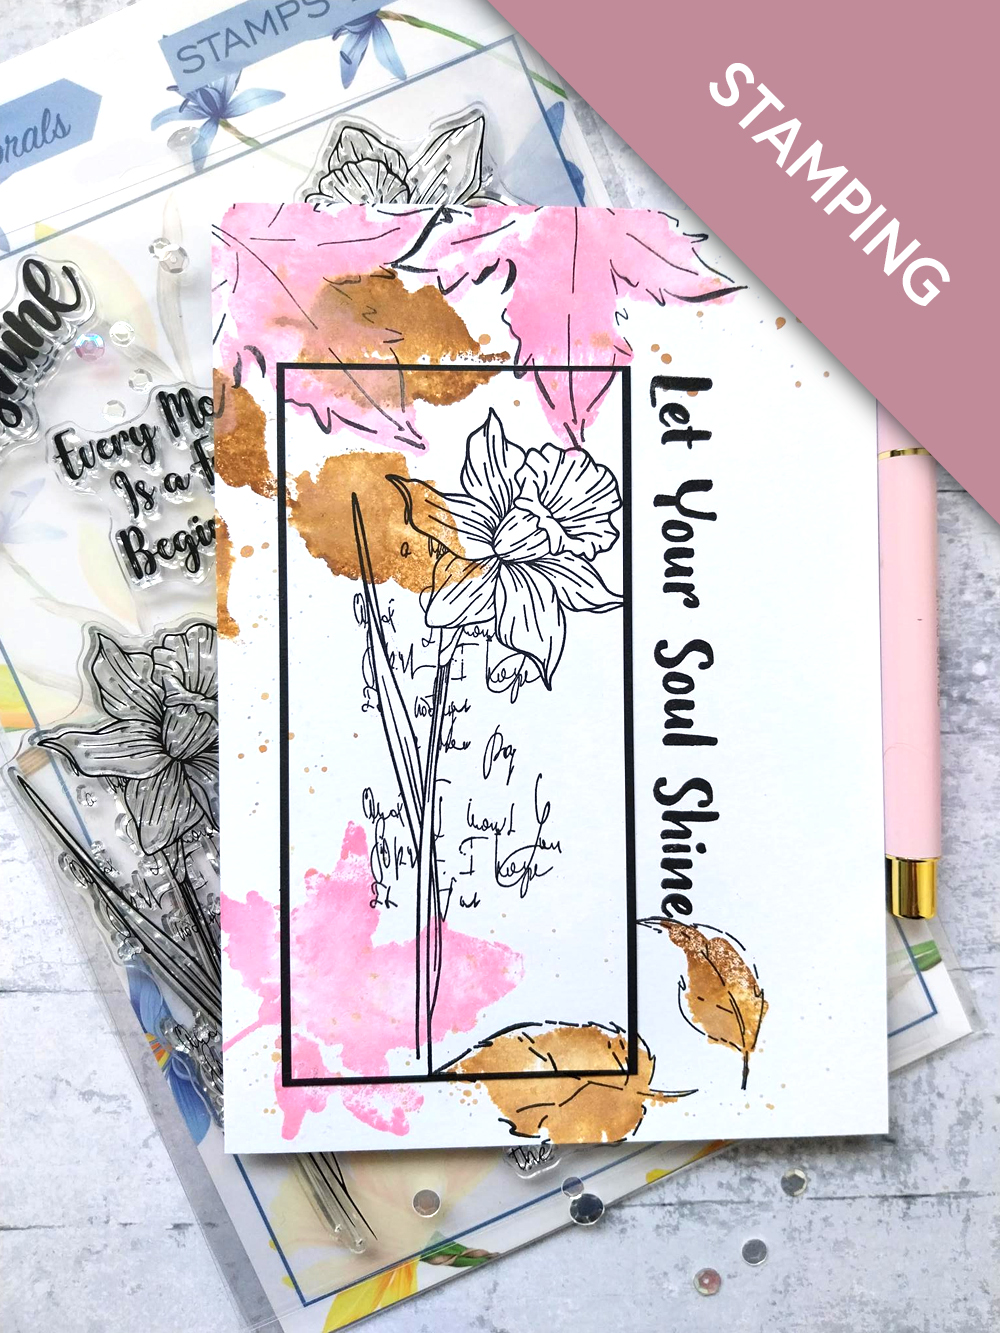
WHAT YOU WILL NEED:
White card blank 7 x 5"
Black card 5 1/4 x 2 3/4"
White card 5 x 2 1/2"
Sketched Florals Stamp Collection
Keep Exploring Lamination Stamp Collection
SBM Hybrid Ink Pad: Midnight
Distress Oxide Ink Pad: Kitsch Flamingo, Vintage Photo
Water spray bottle
Paint brush
Eureka 101 Watercolour Tablet
SBM Magnetic glass mat
Paper Trimmer
Perfect Together Glue
Low tack tape
[click image to enlarge] 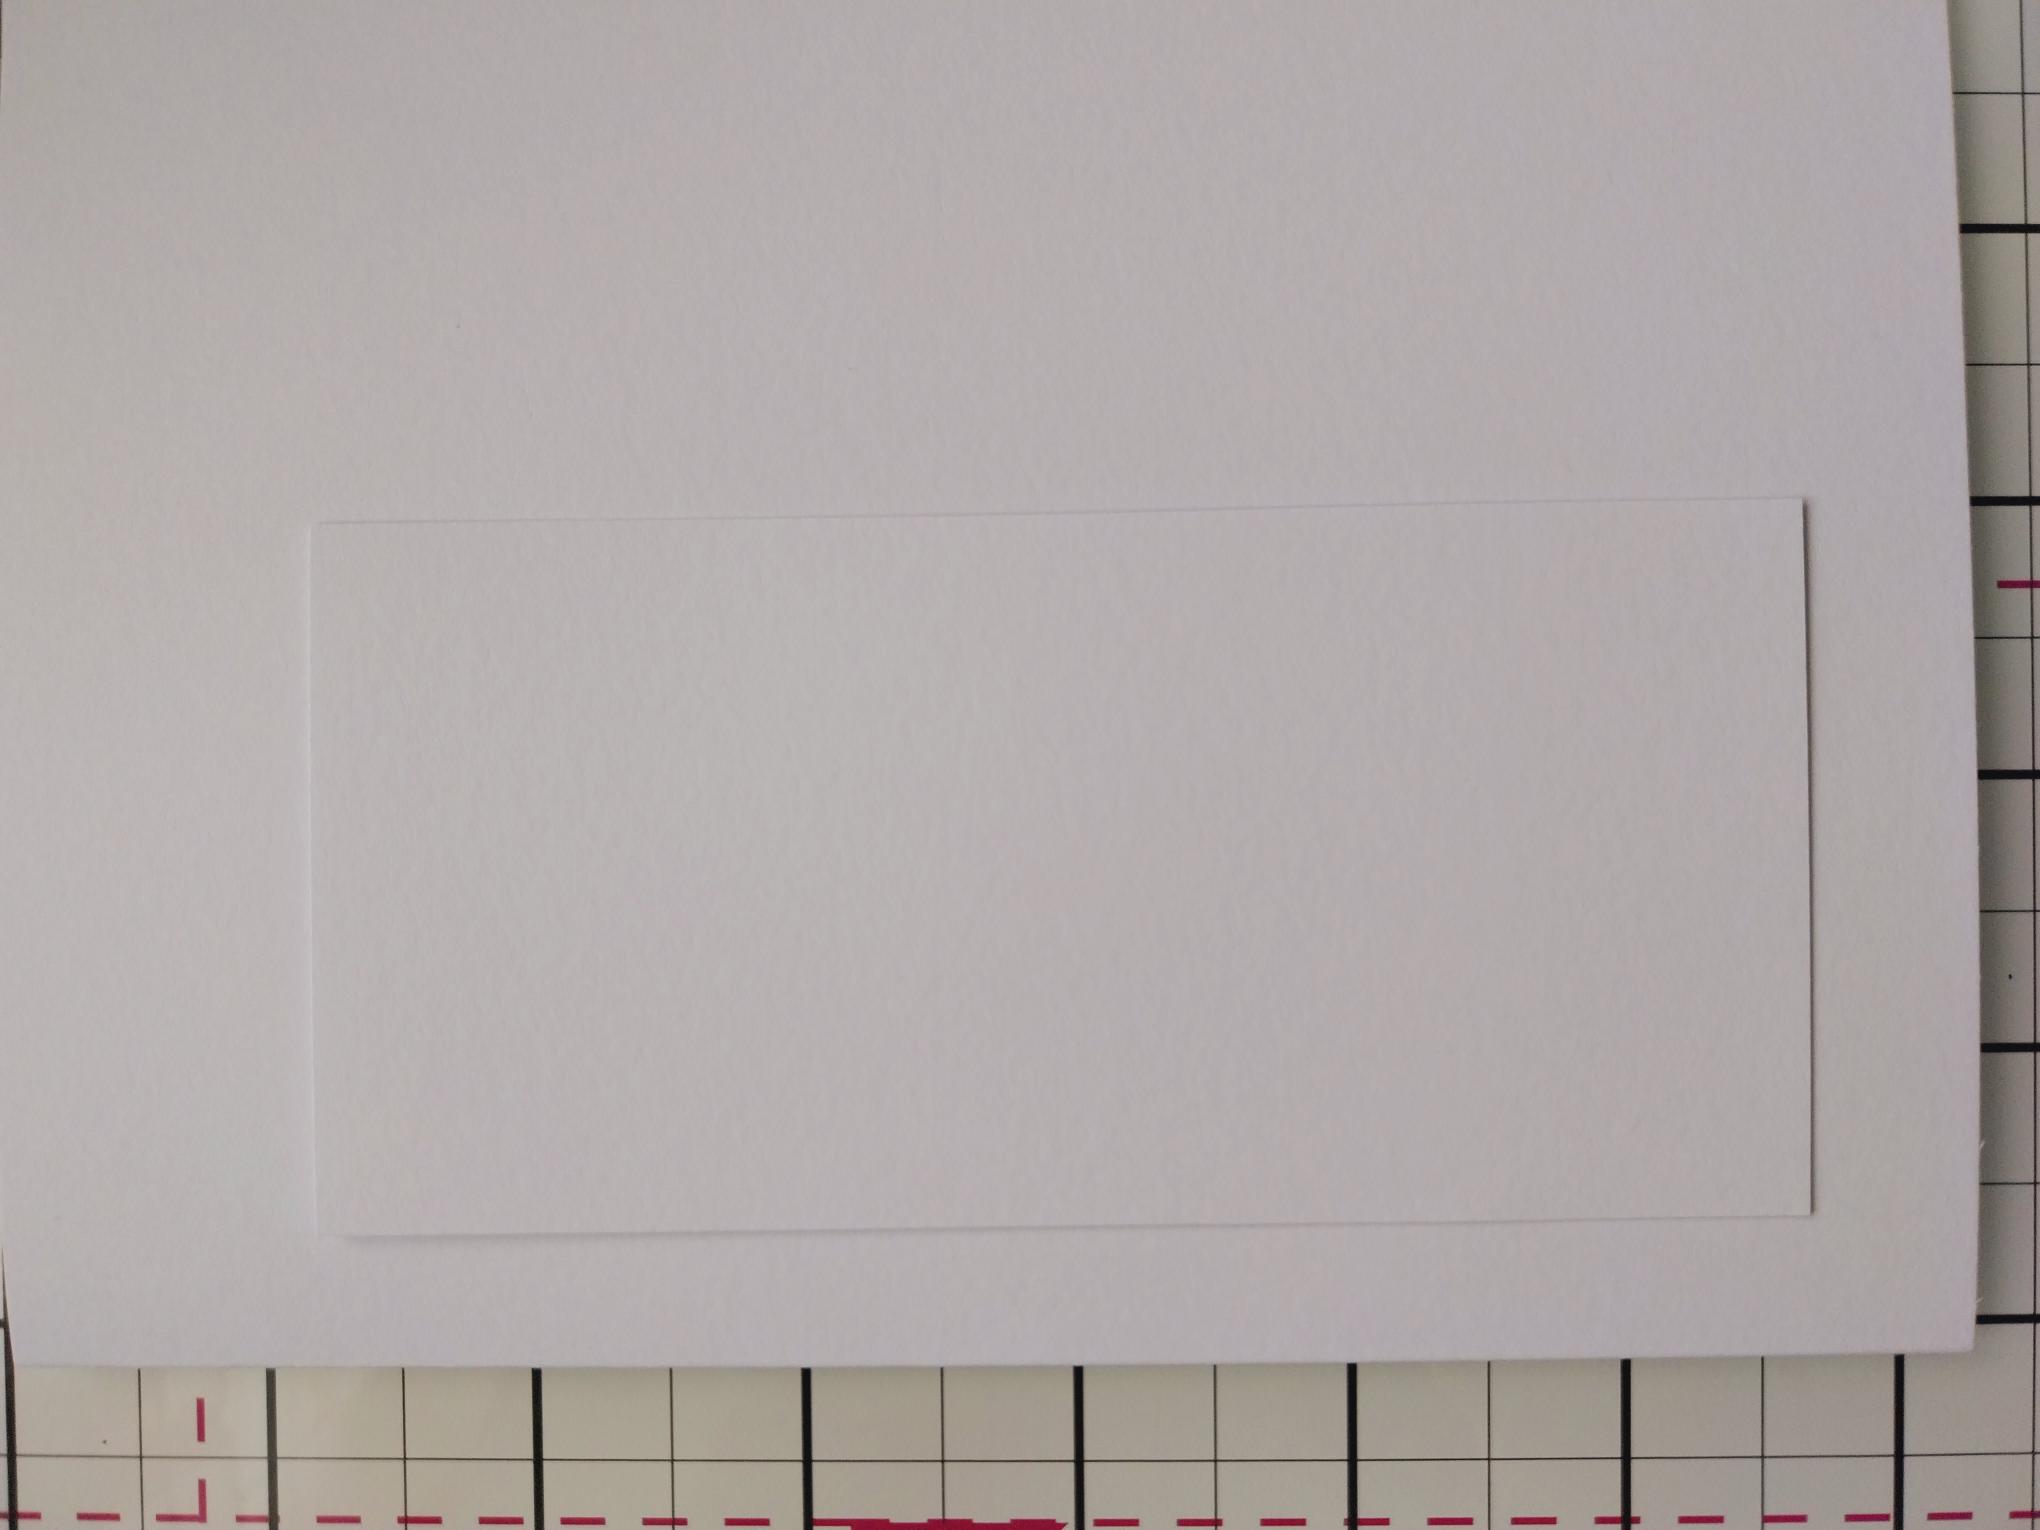
|
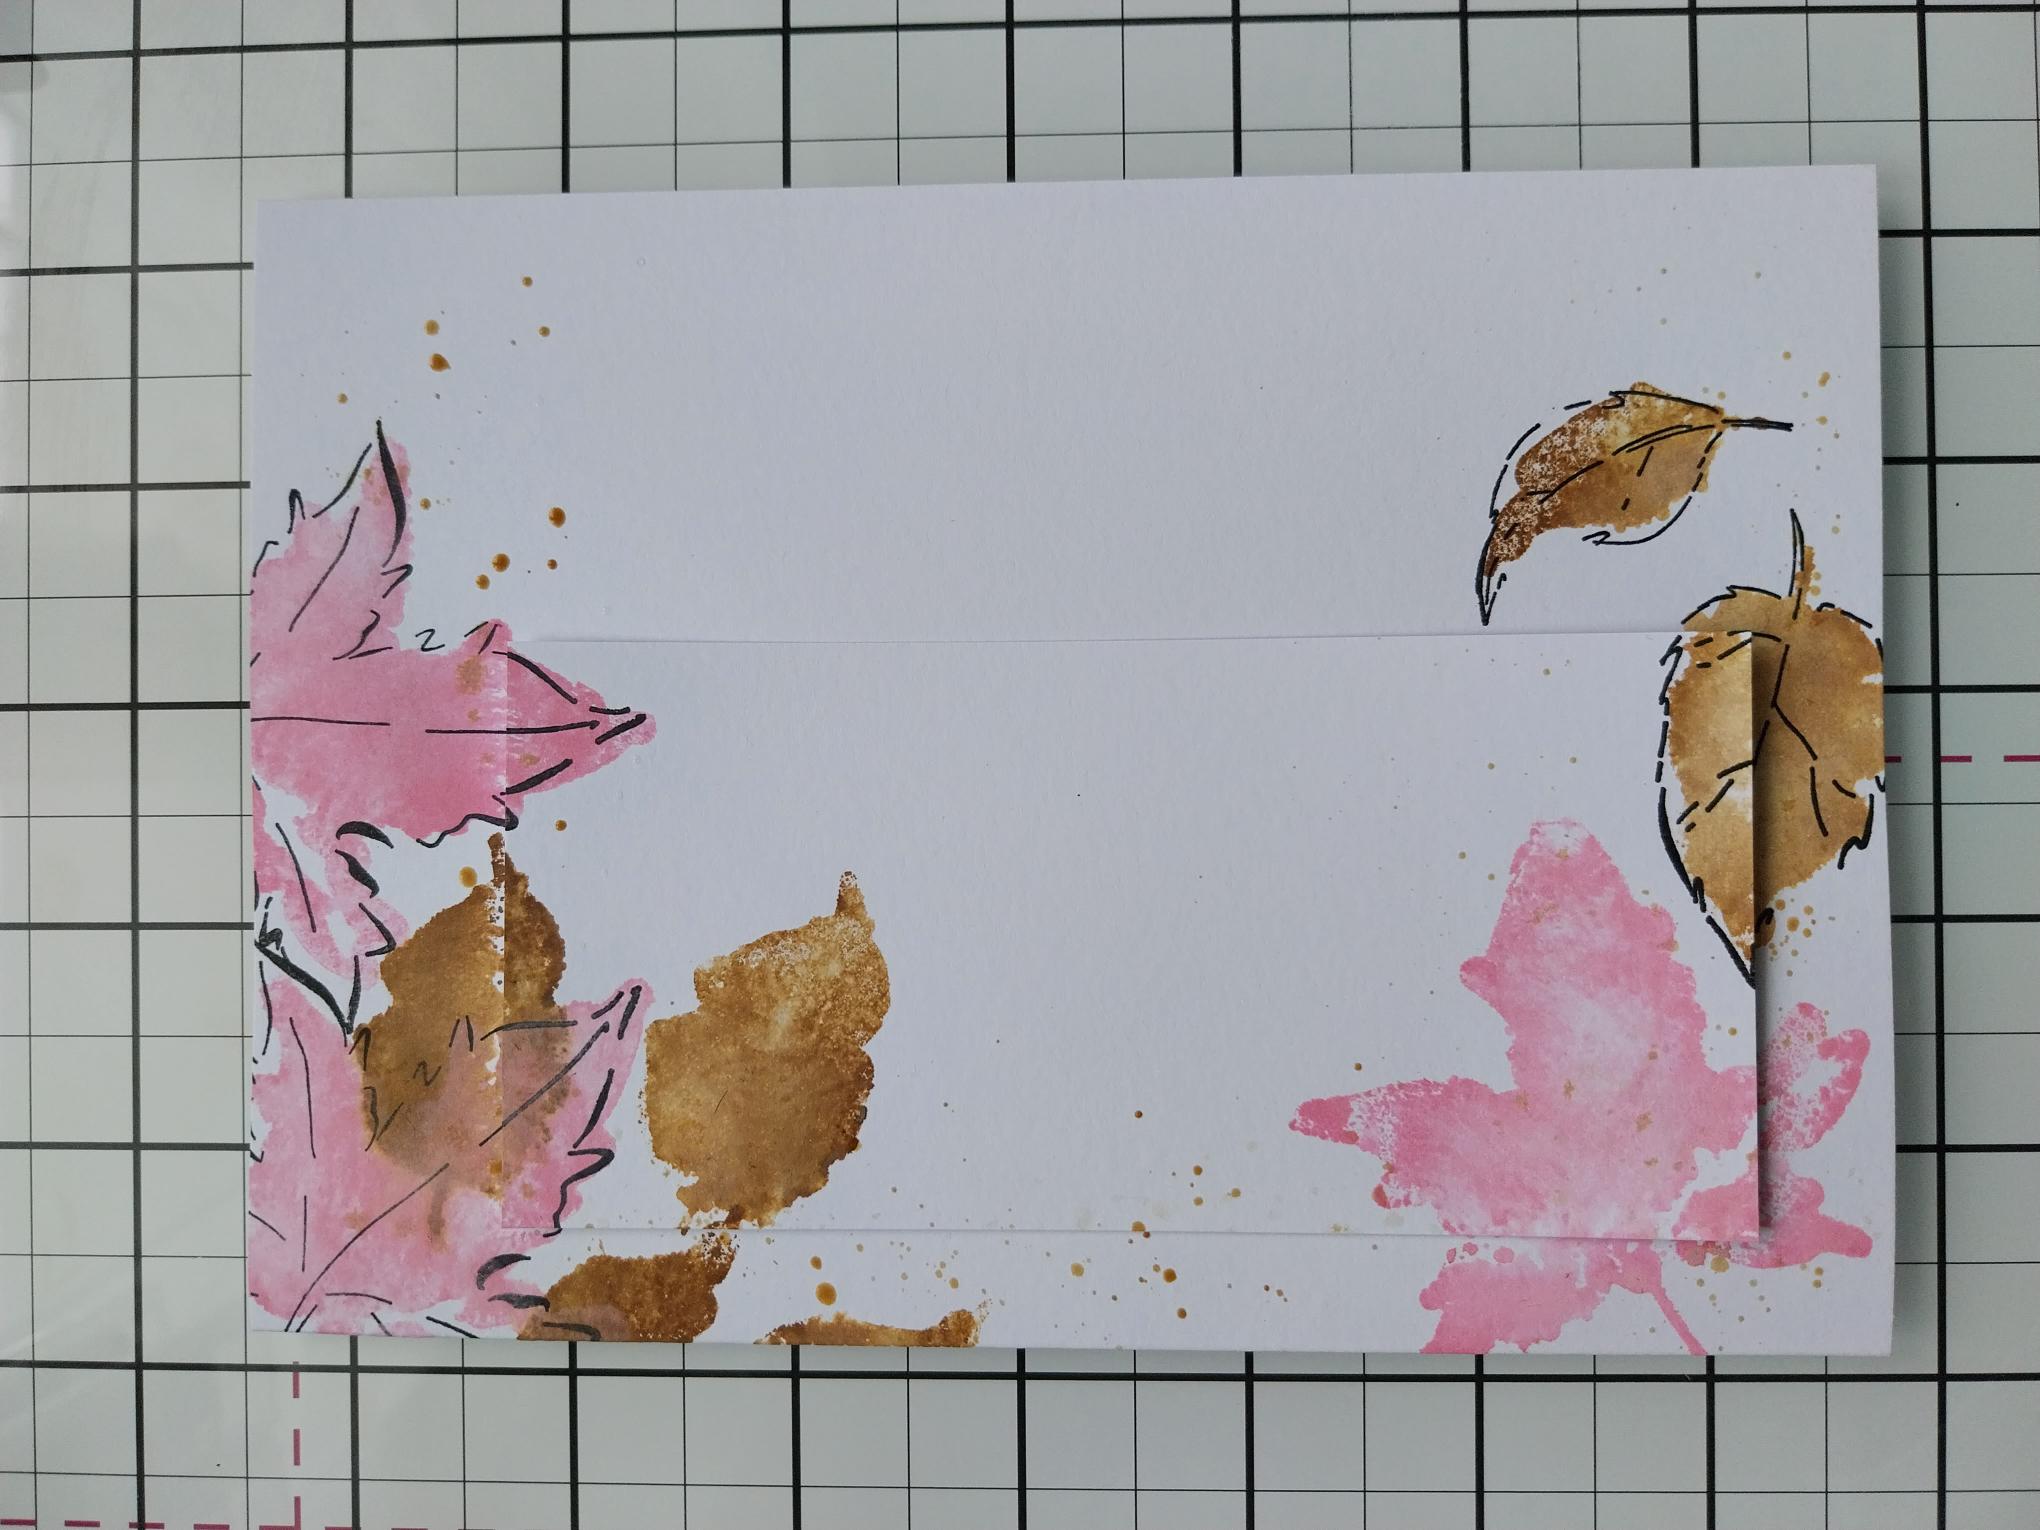
Secure the 5 x 2 1/2" white card, with low tack tape, towards the bottom left corner of the white card blank, but with a gap down the left and underneath, as seen here |
|
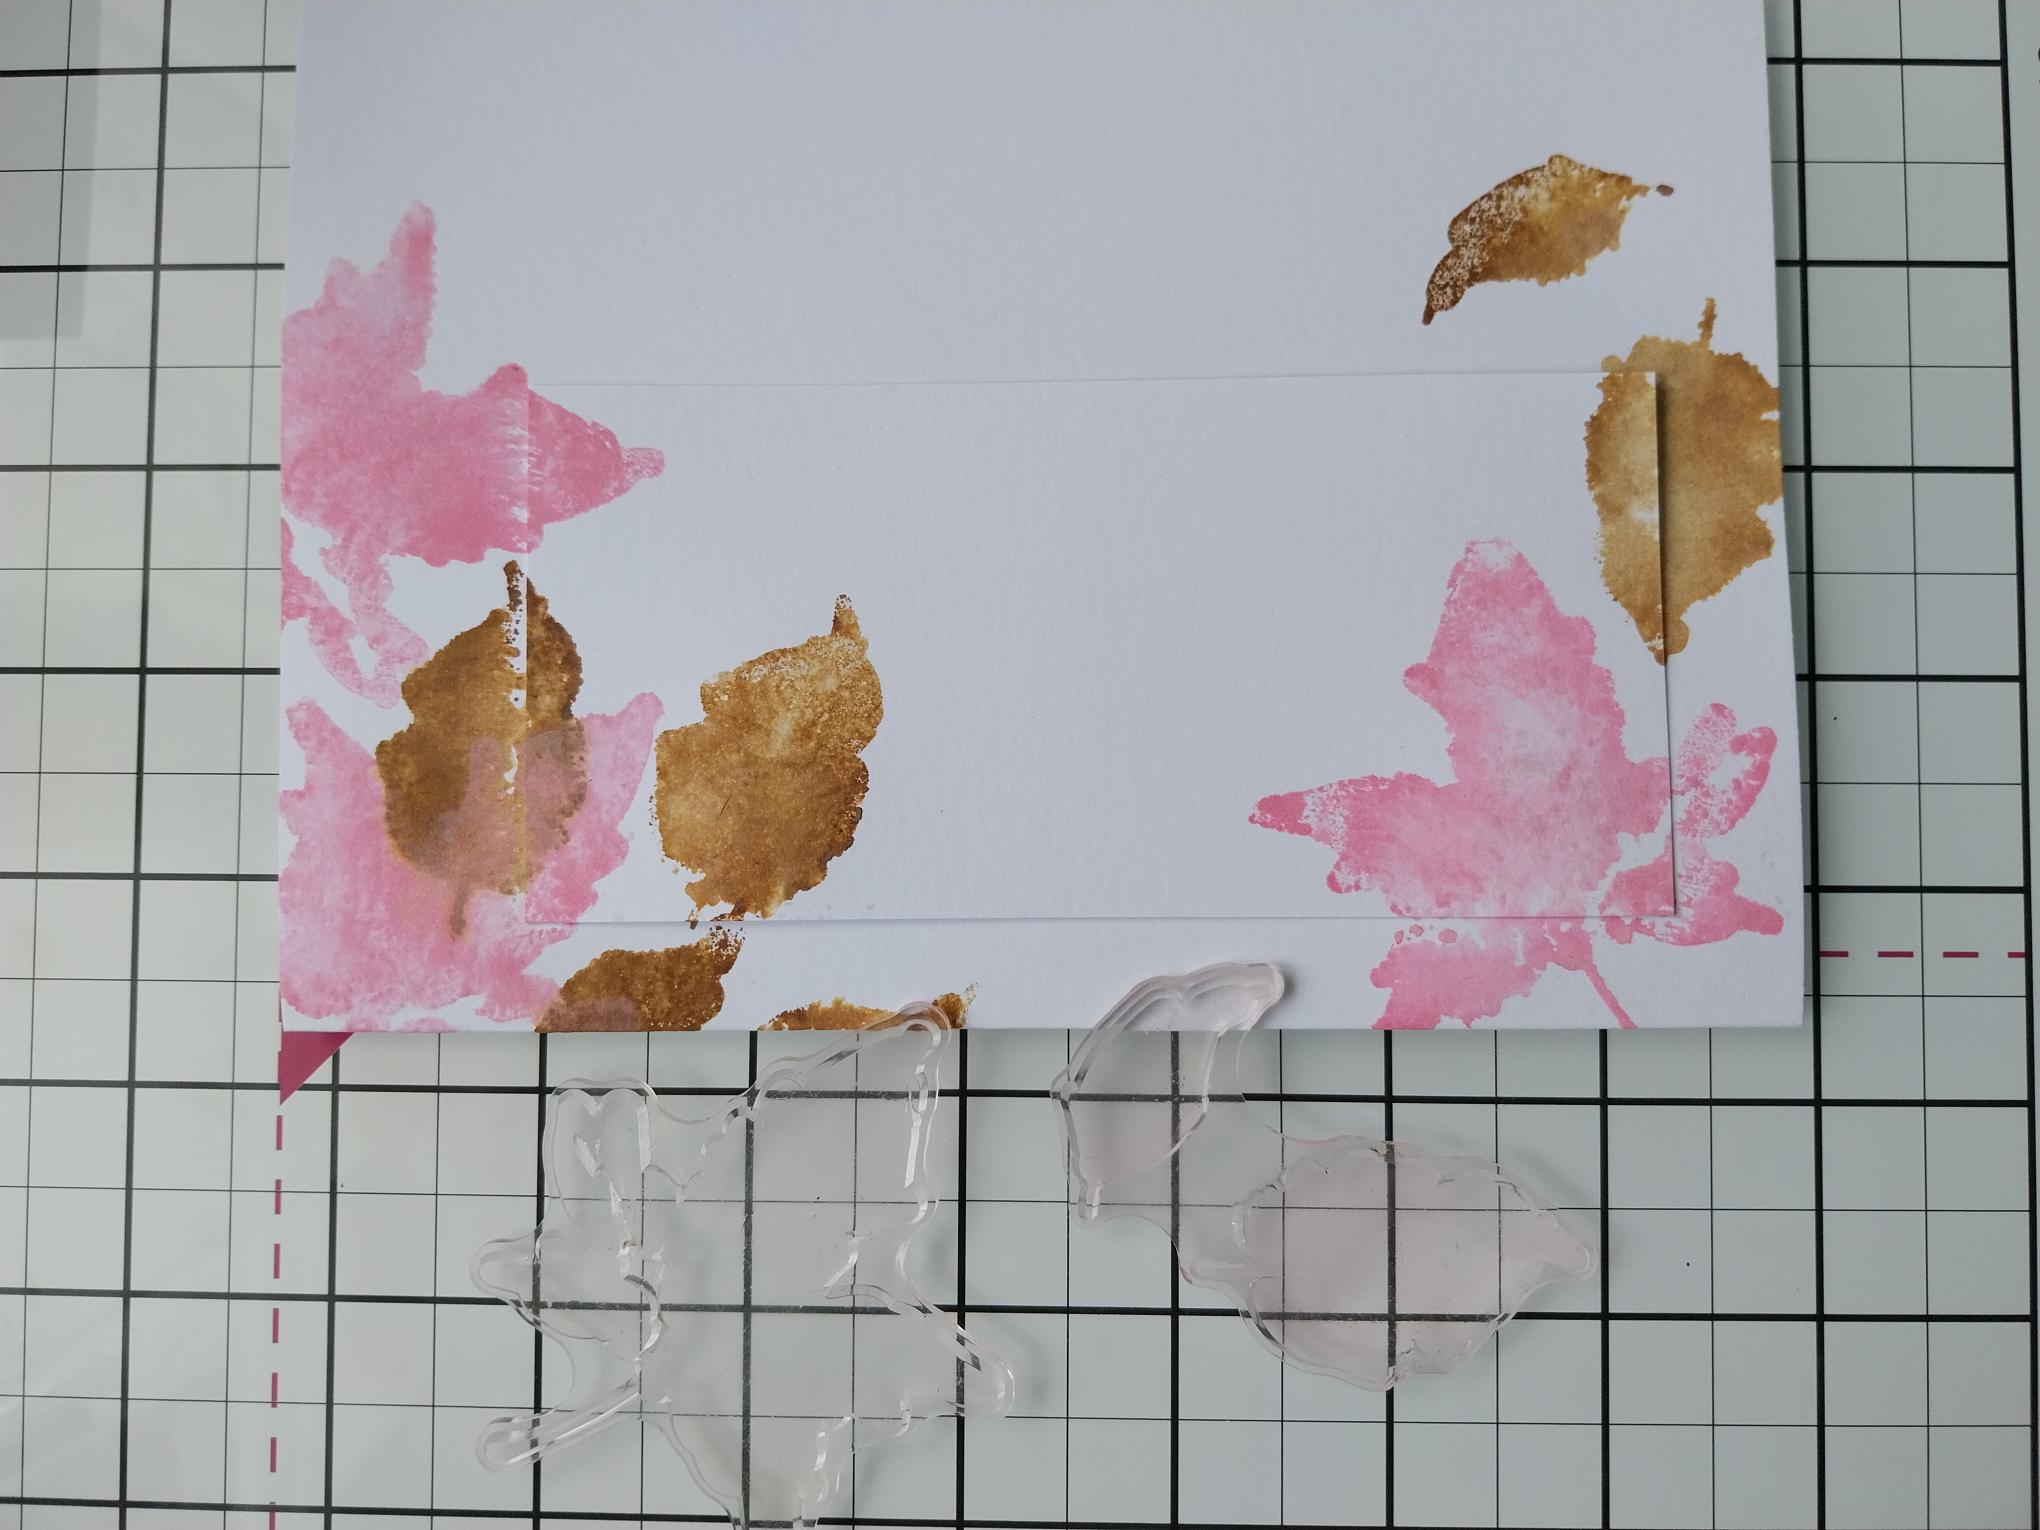
Using the solid leaf stamps from the Keep Exploring Stamp Collection, stamp them randomly around the top, bottom and left side of the panel, using the Distress Oxides, spritzing each inked stamp with water, before stamping. Ensure some of your stamped images overlap on to the card panel. Tip: You may need to apply extra pressure where the 2 pieces of card meet, to get a crisp, clear image. |
|
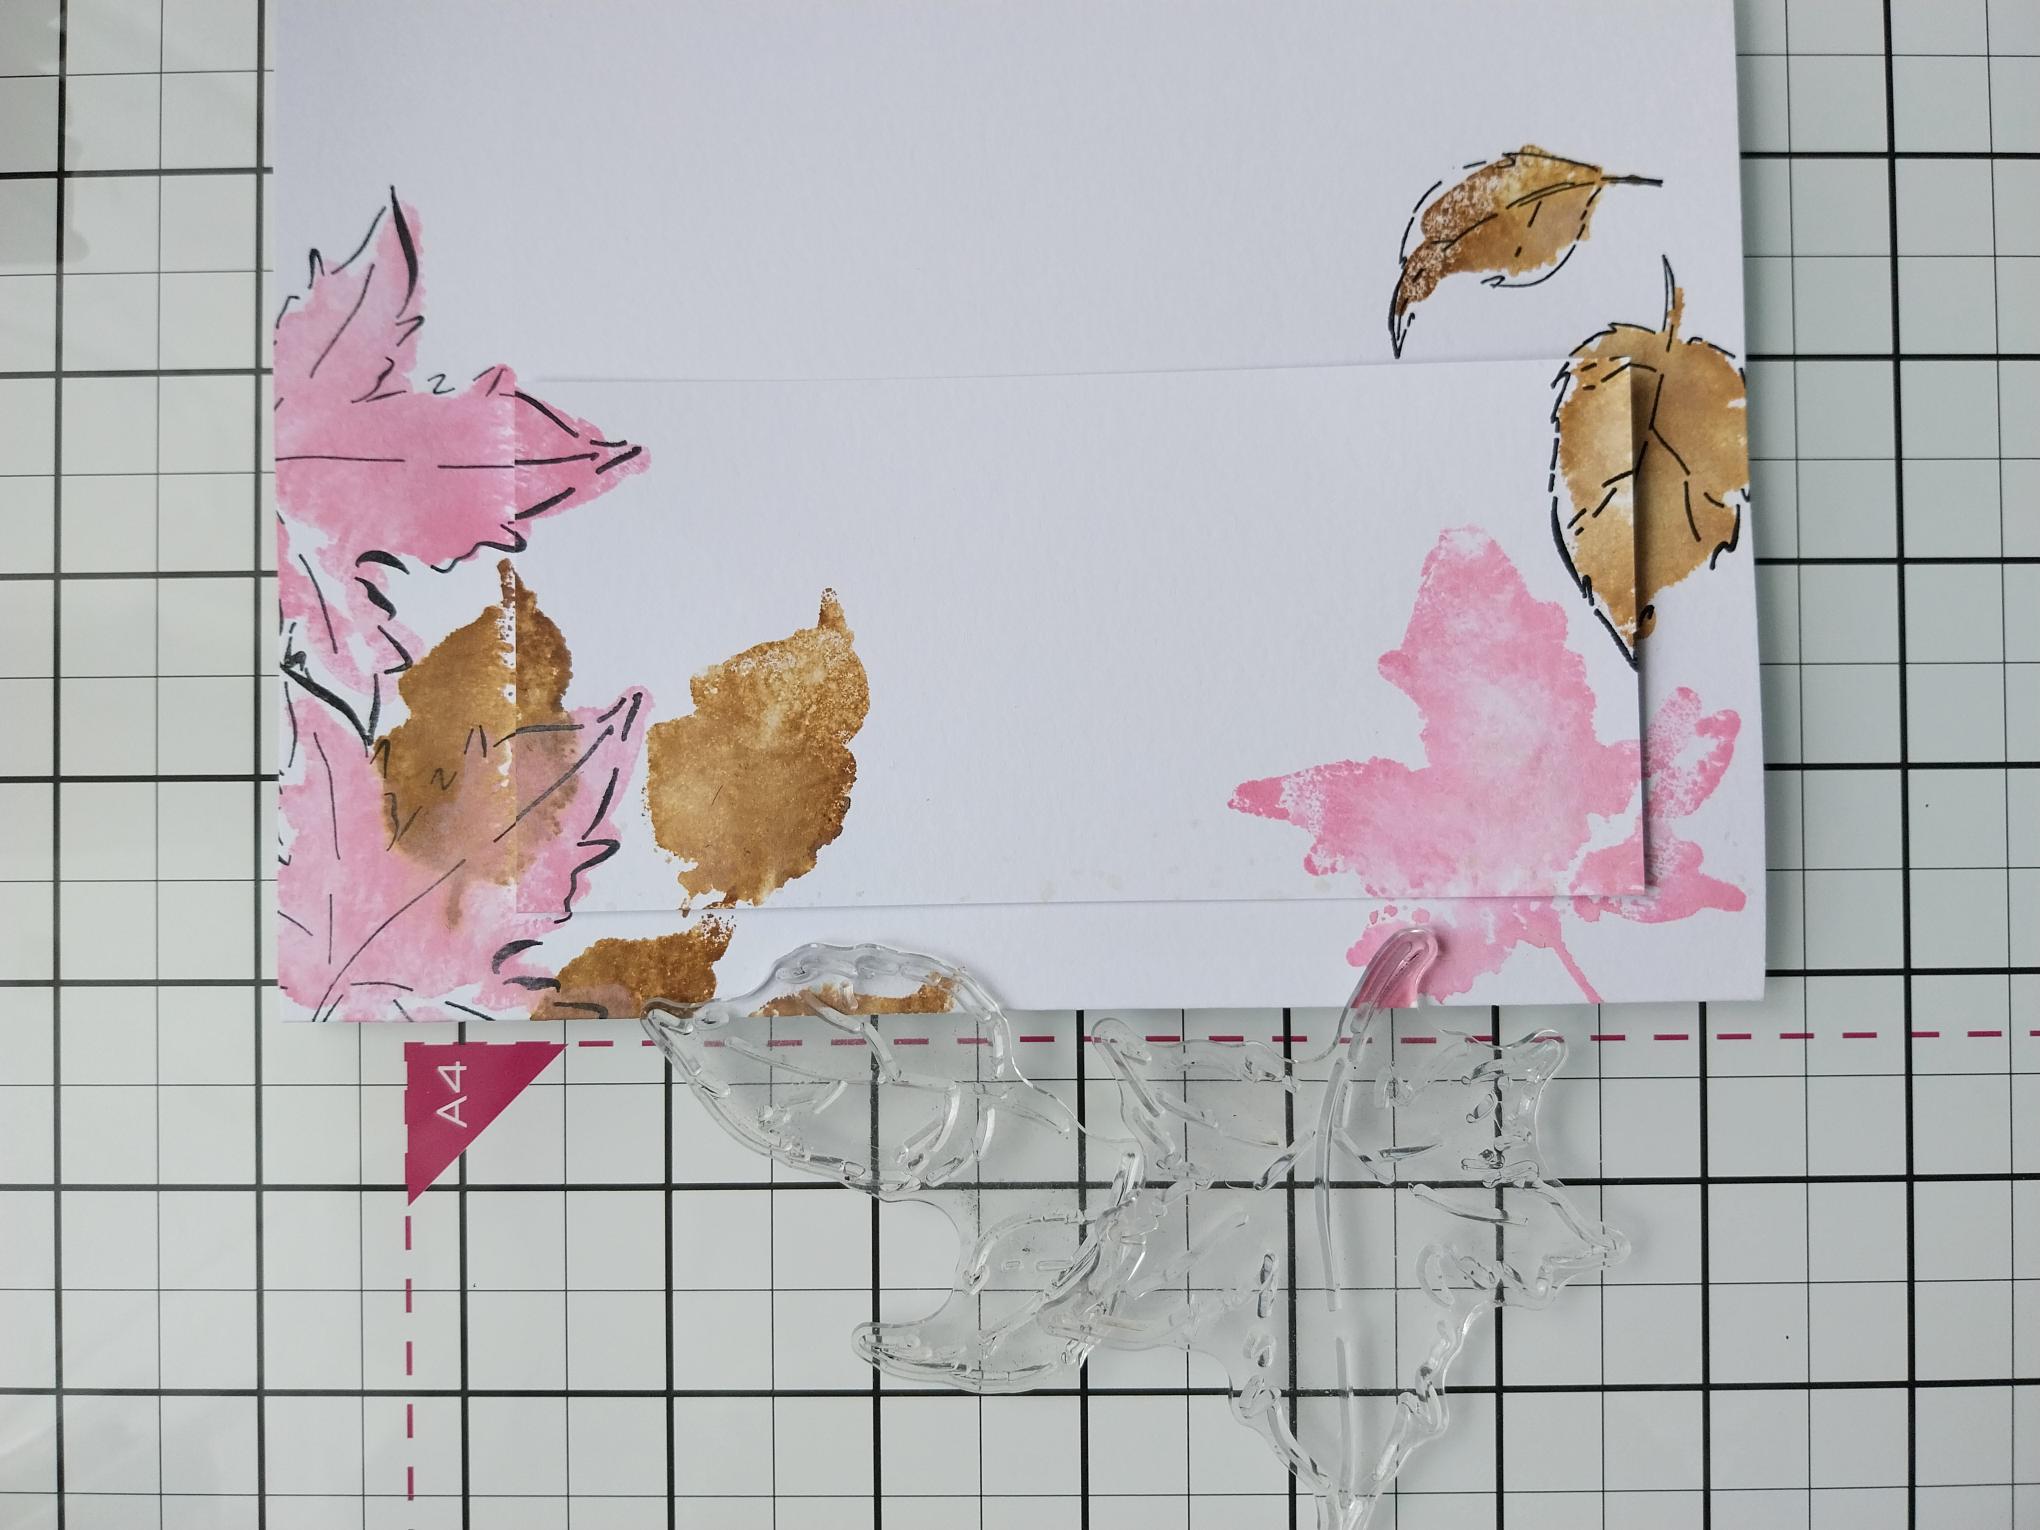
Ink up the coordinating detailed stamps with the Midnight hybrid ink and only stamp over SOME of the solid images, leaving others with no stamped detail. Remember to apply that extra pressure where the 2 pieces of card meet. |
|
Apply a little of the Oxides on to your glass mat, add water and splatter as required. I like lots of splats but the choice is yours!! Ensure the ink is dry before proceeding. |
|
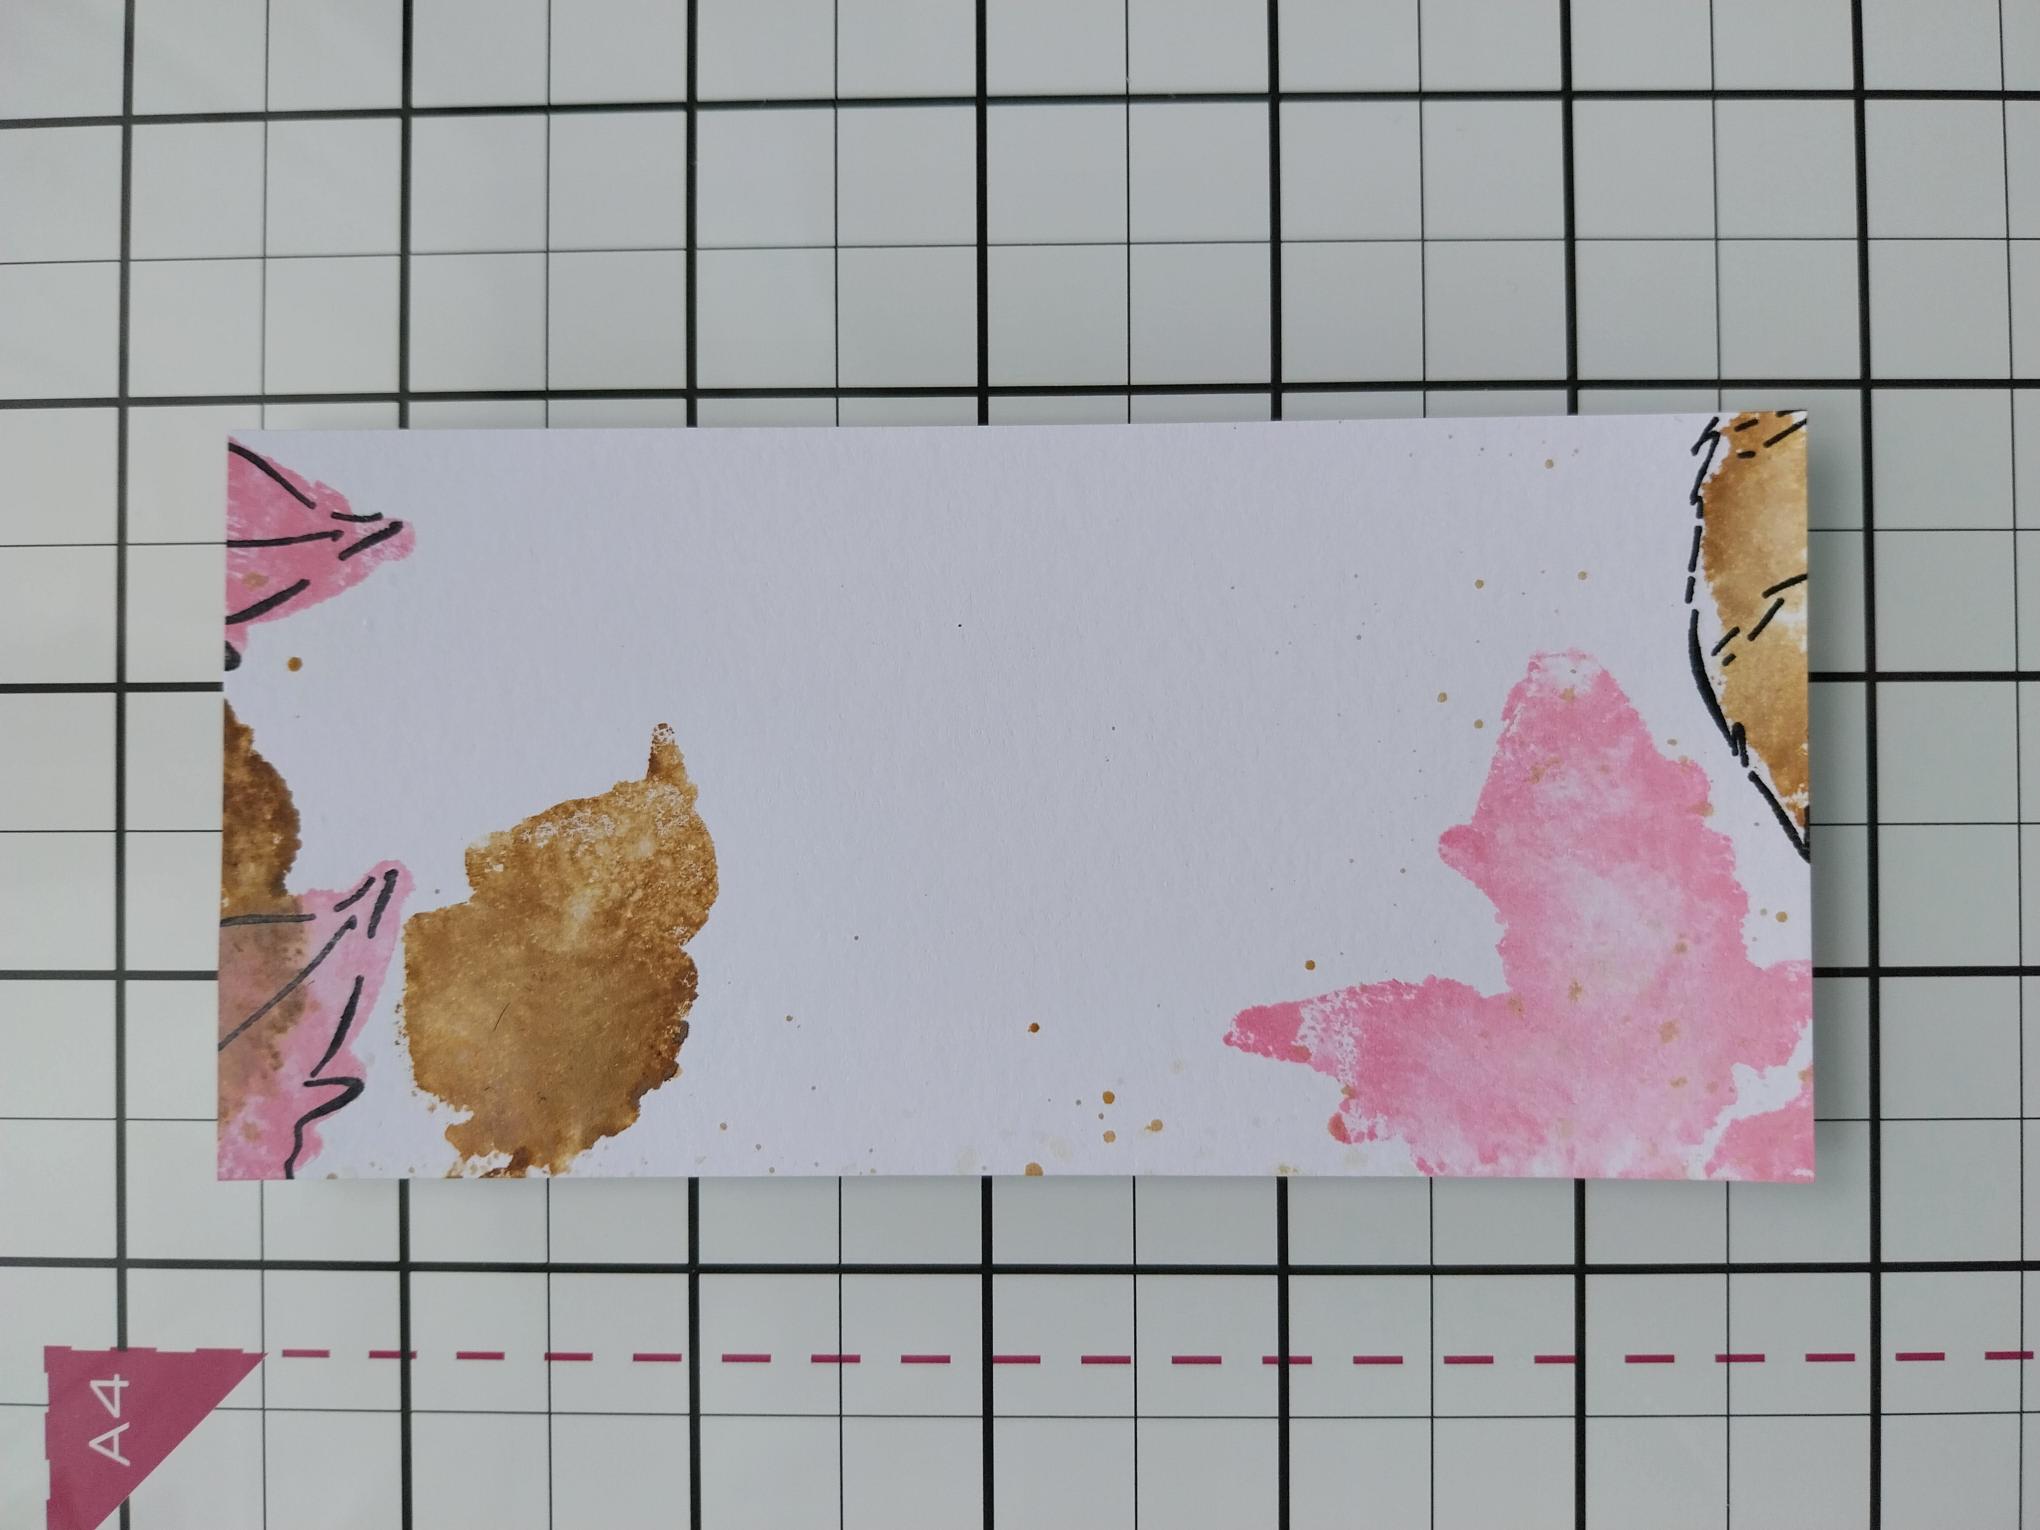
Carefully remove the stamped panel and set the stamped card blank to one side. |
|
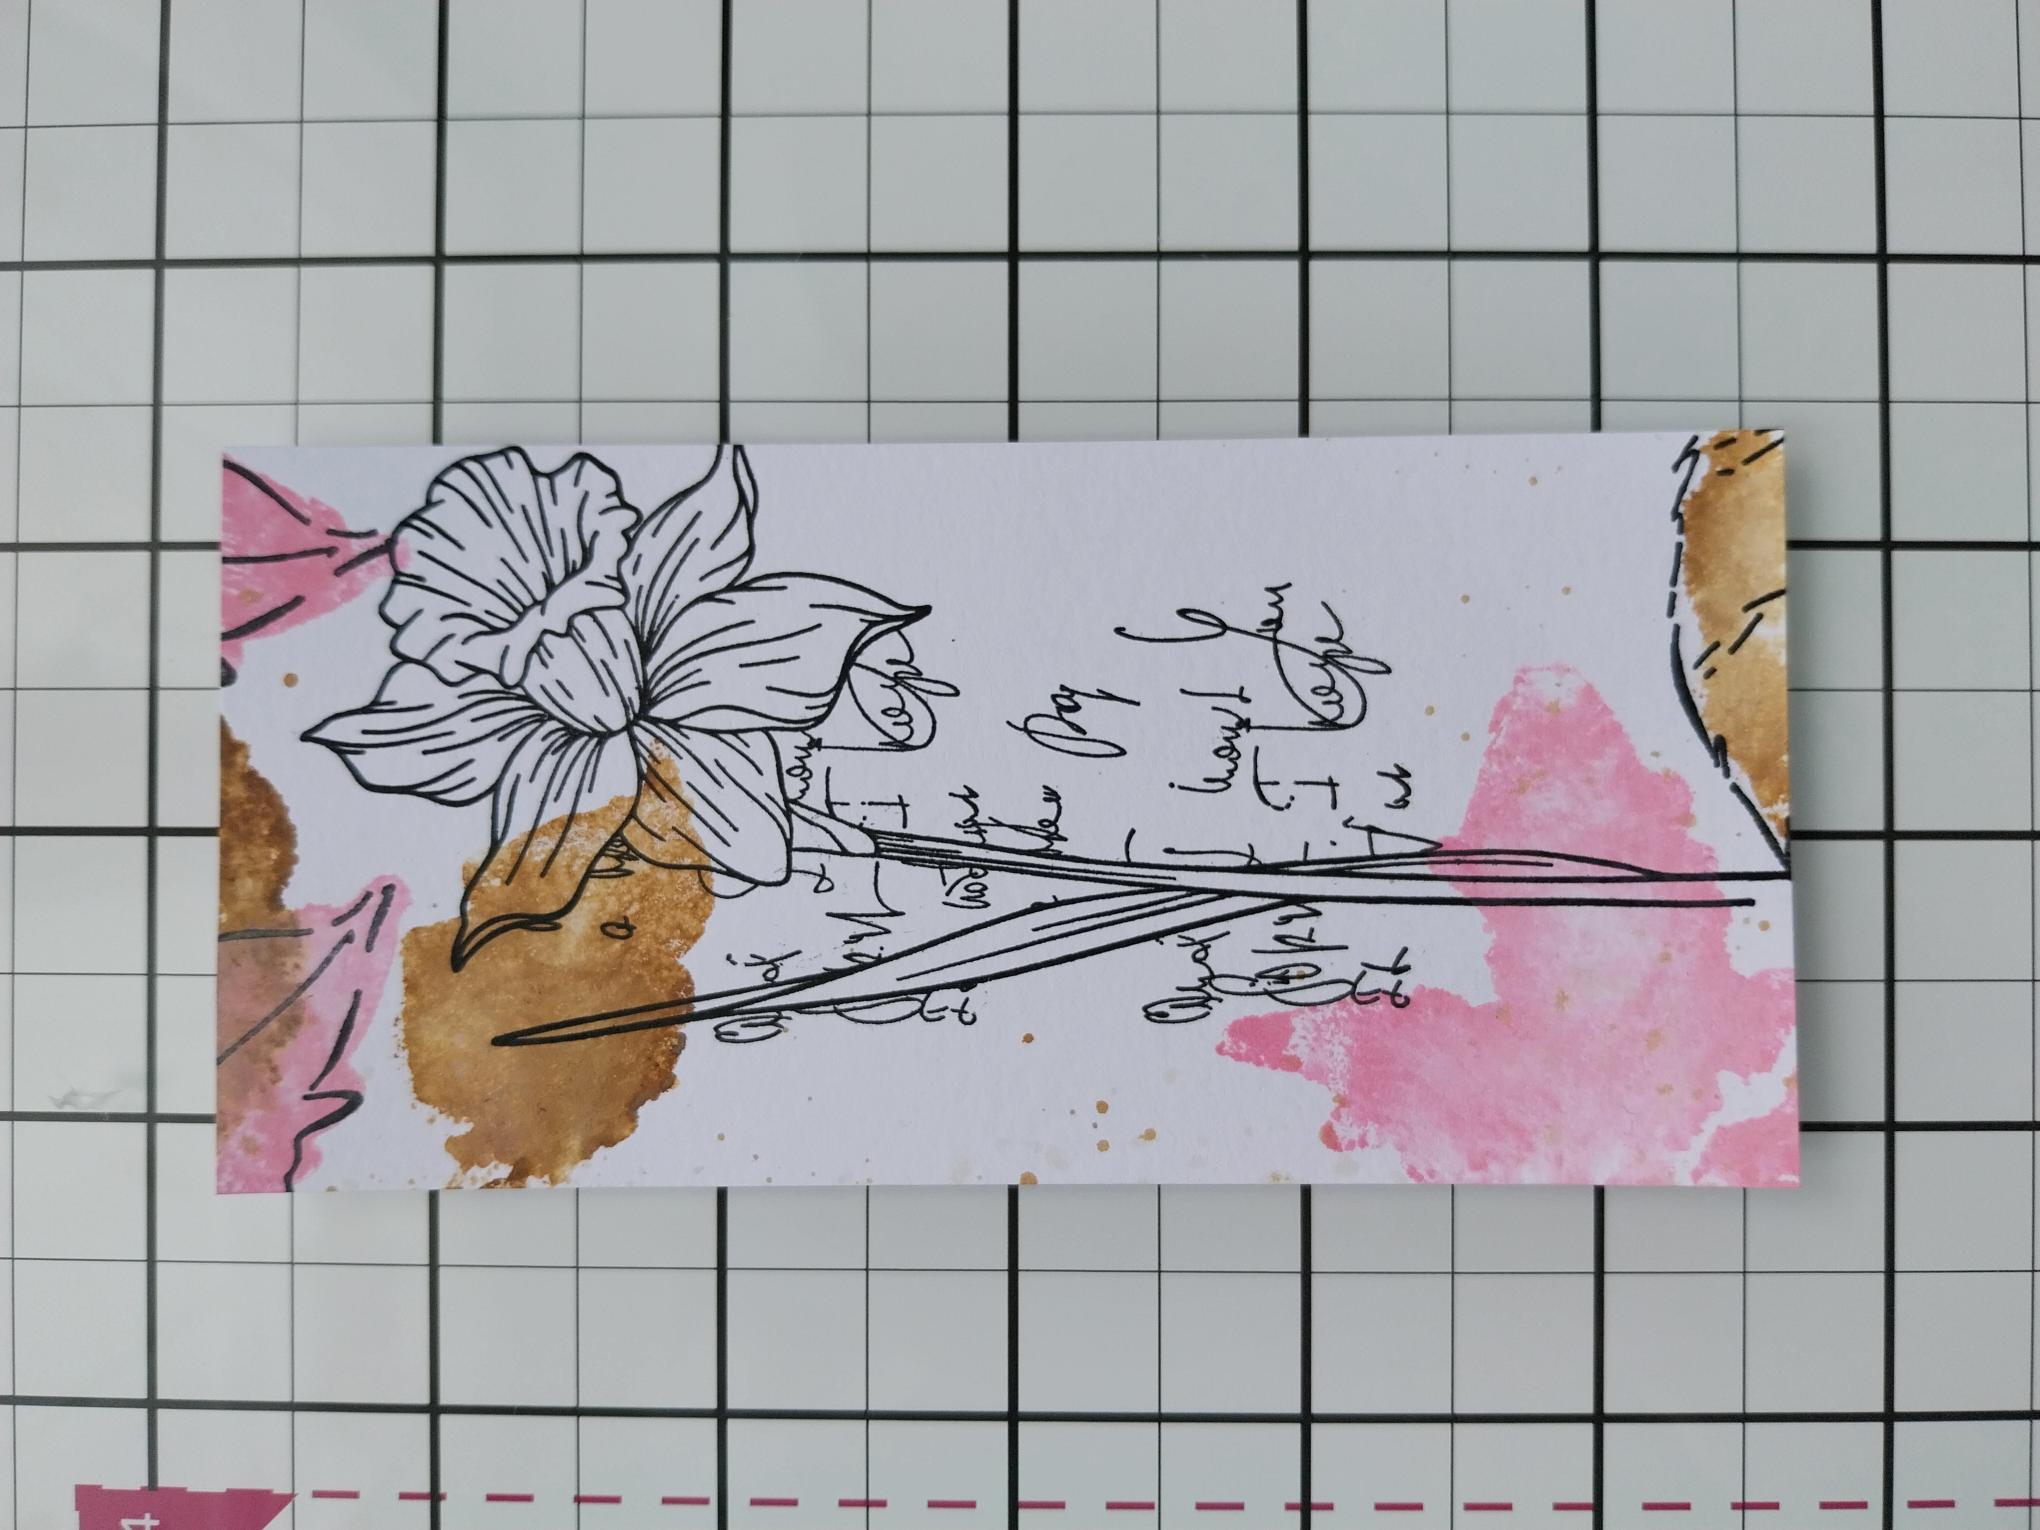
Ink up the right-facing Daffodil from Sketched Florals, with the Midnight and stamp in the centre of the panel. |
|
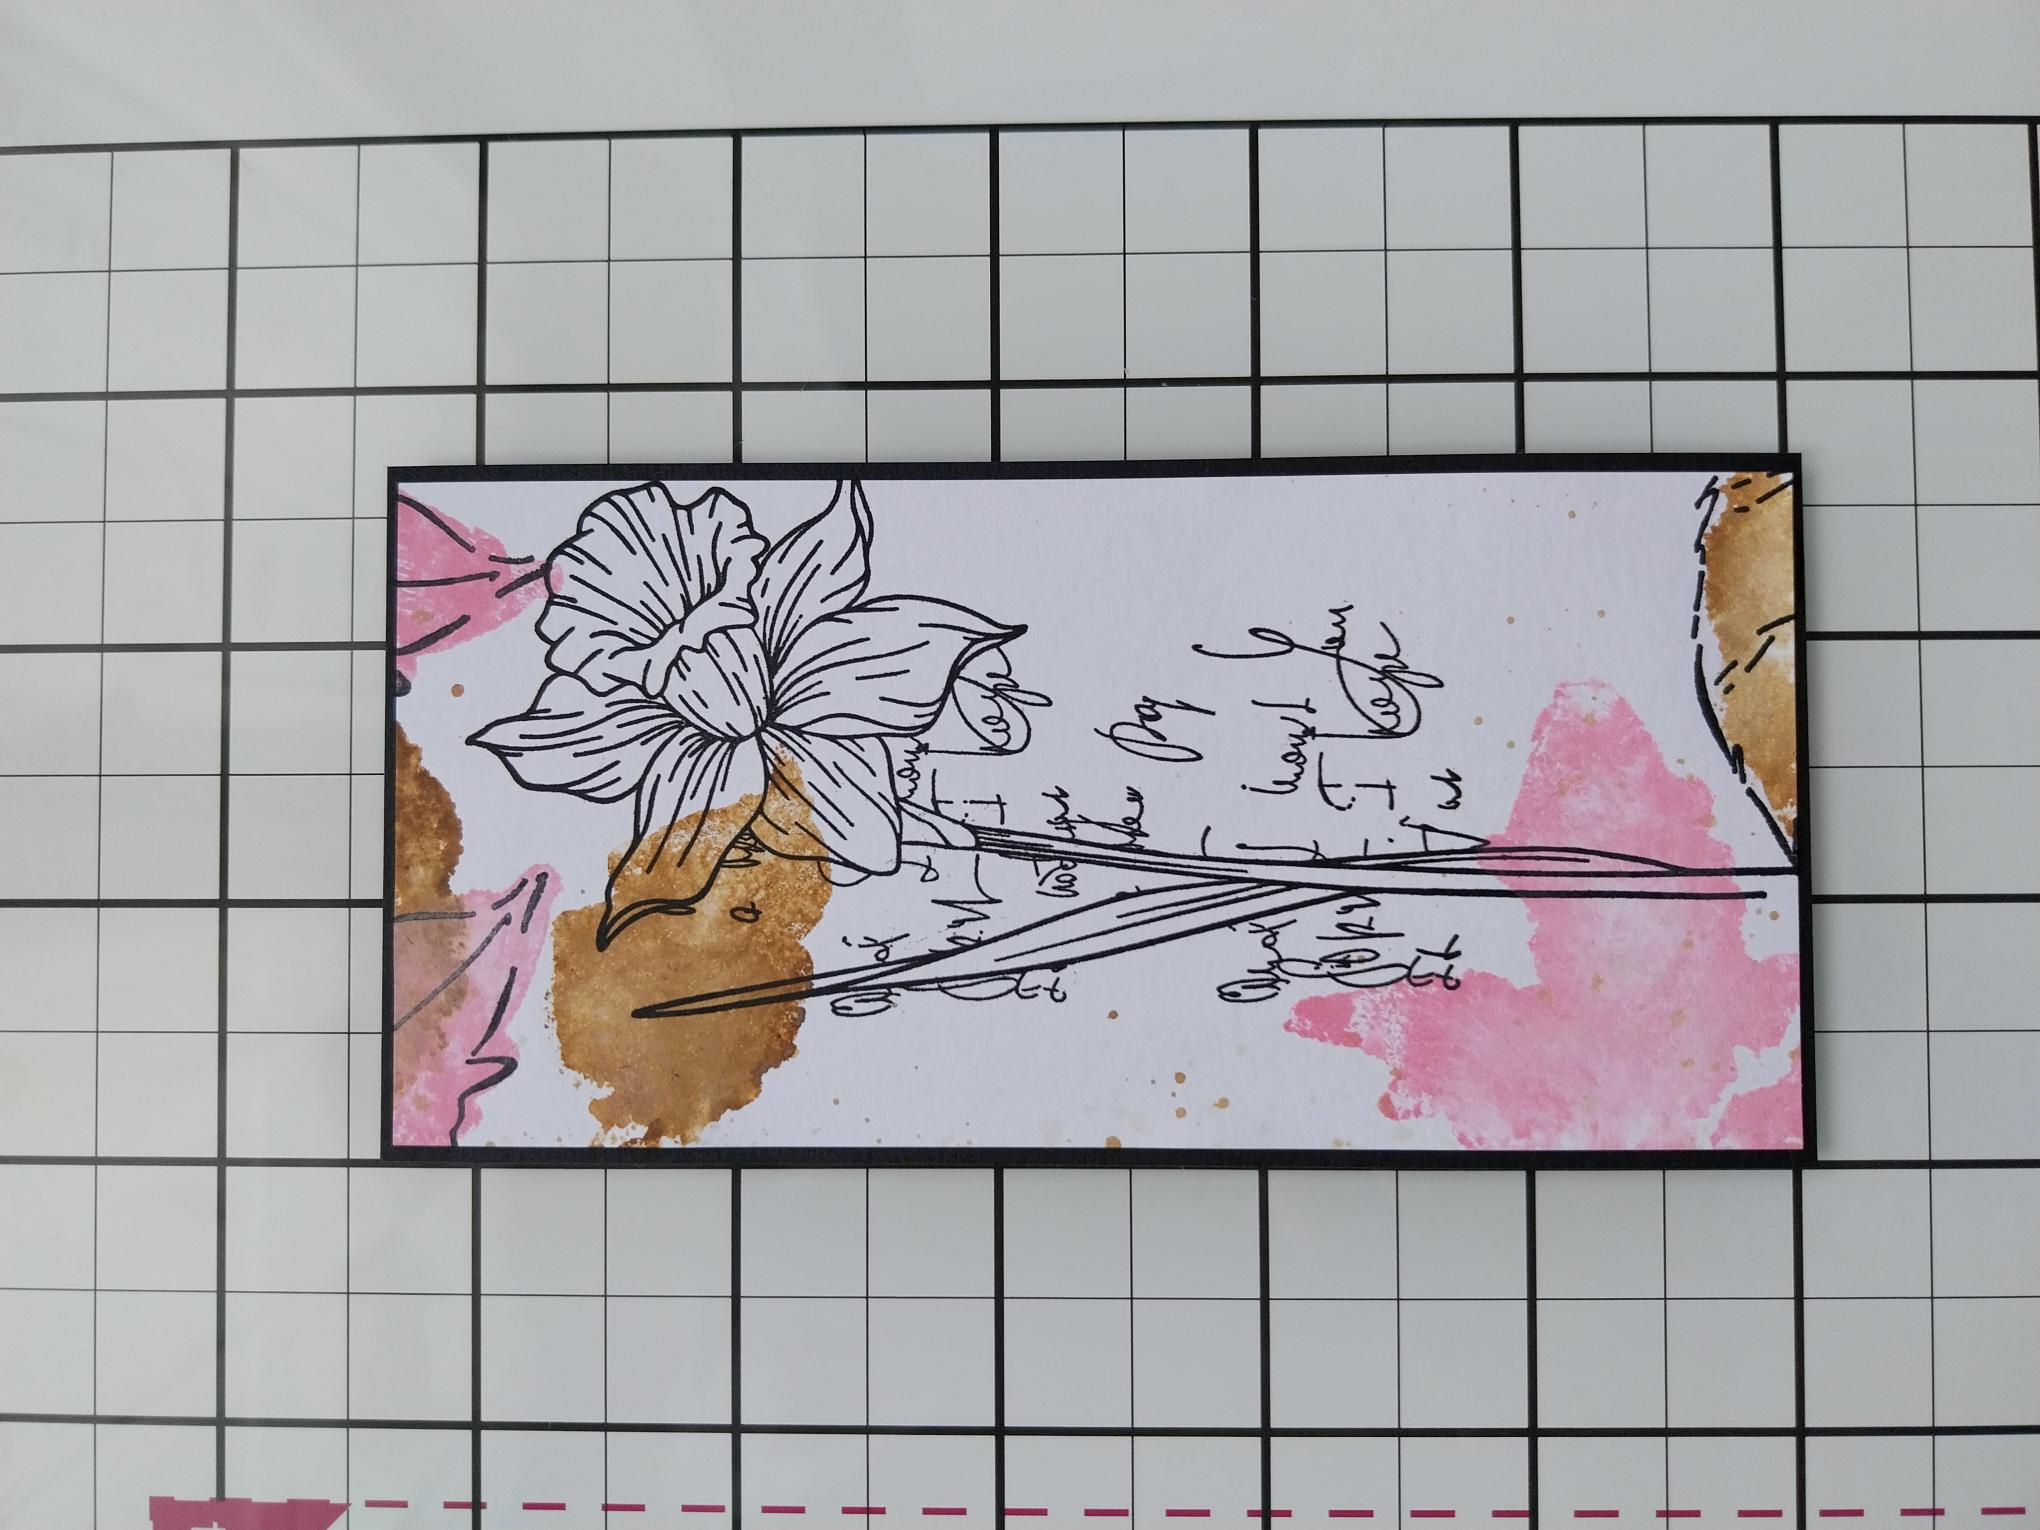
Once dry, adhere your panel on to the 5 1/4 x 2 3/4" black card. |
|
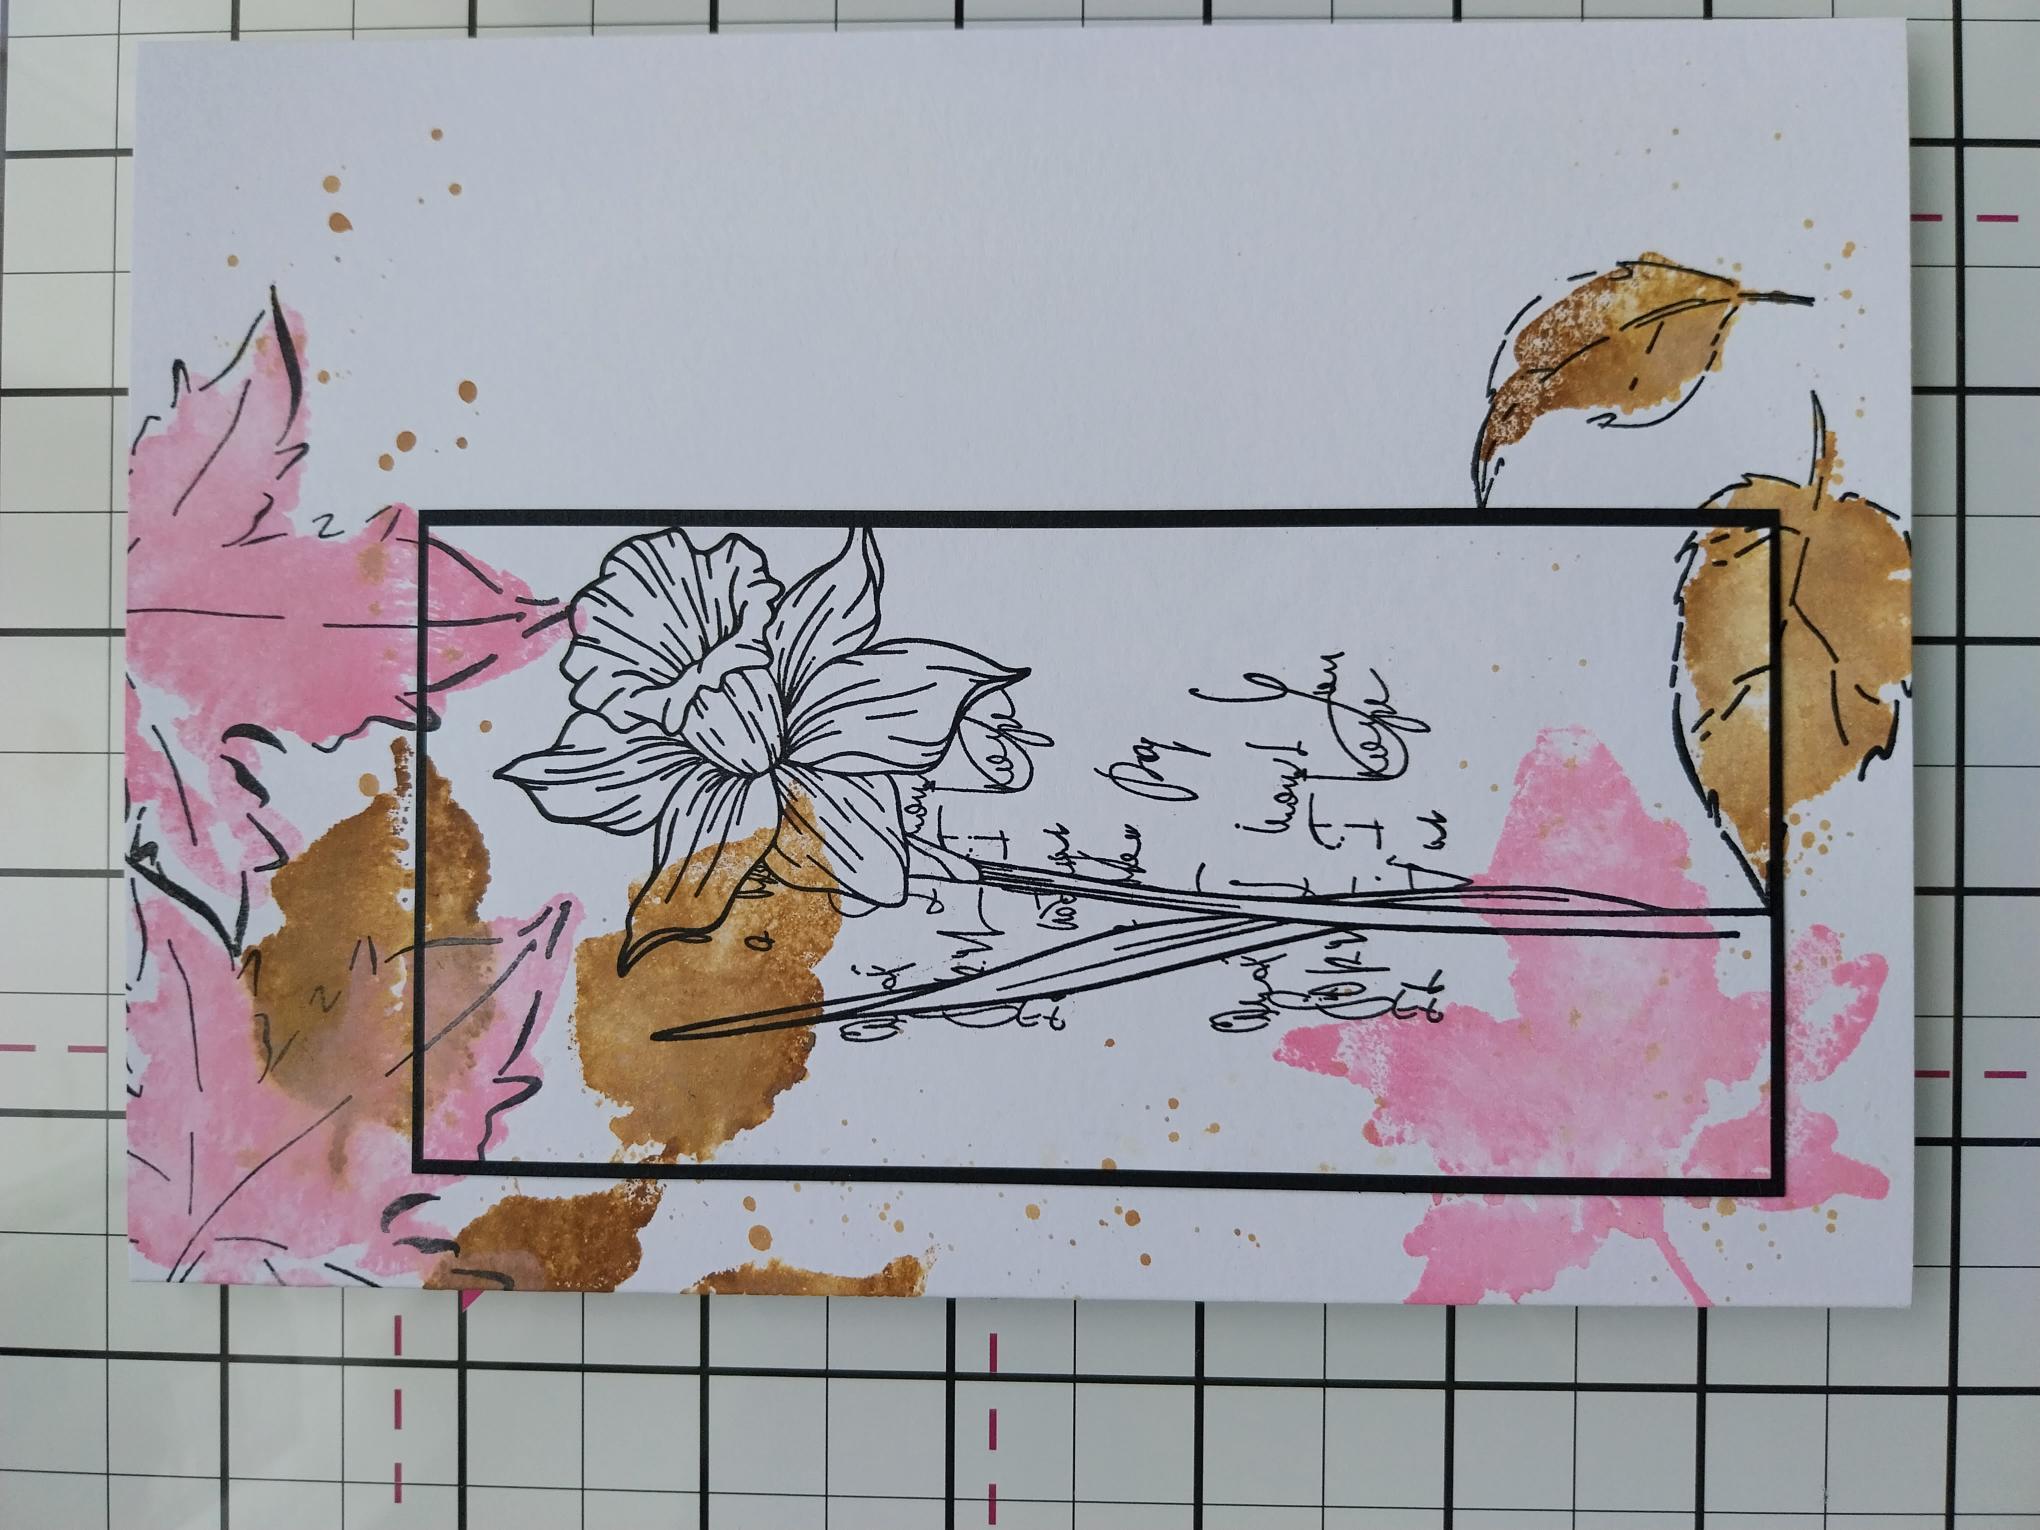
Adhere your stamped panel back in place, flat with wet glue, ensuring you line up all your stamped images. This is known as the "Spotlight Technique". |
|
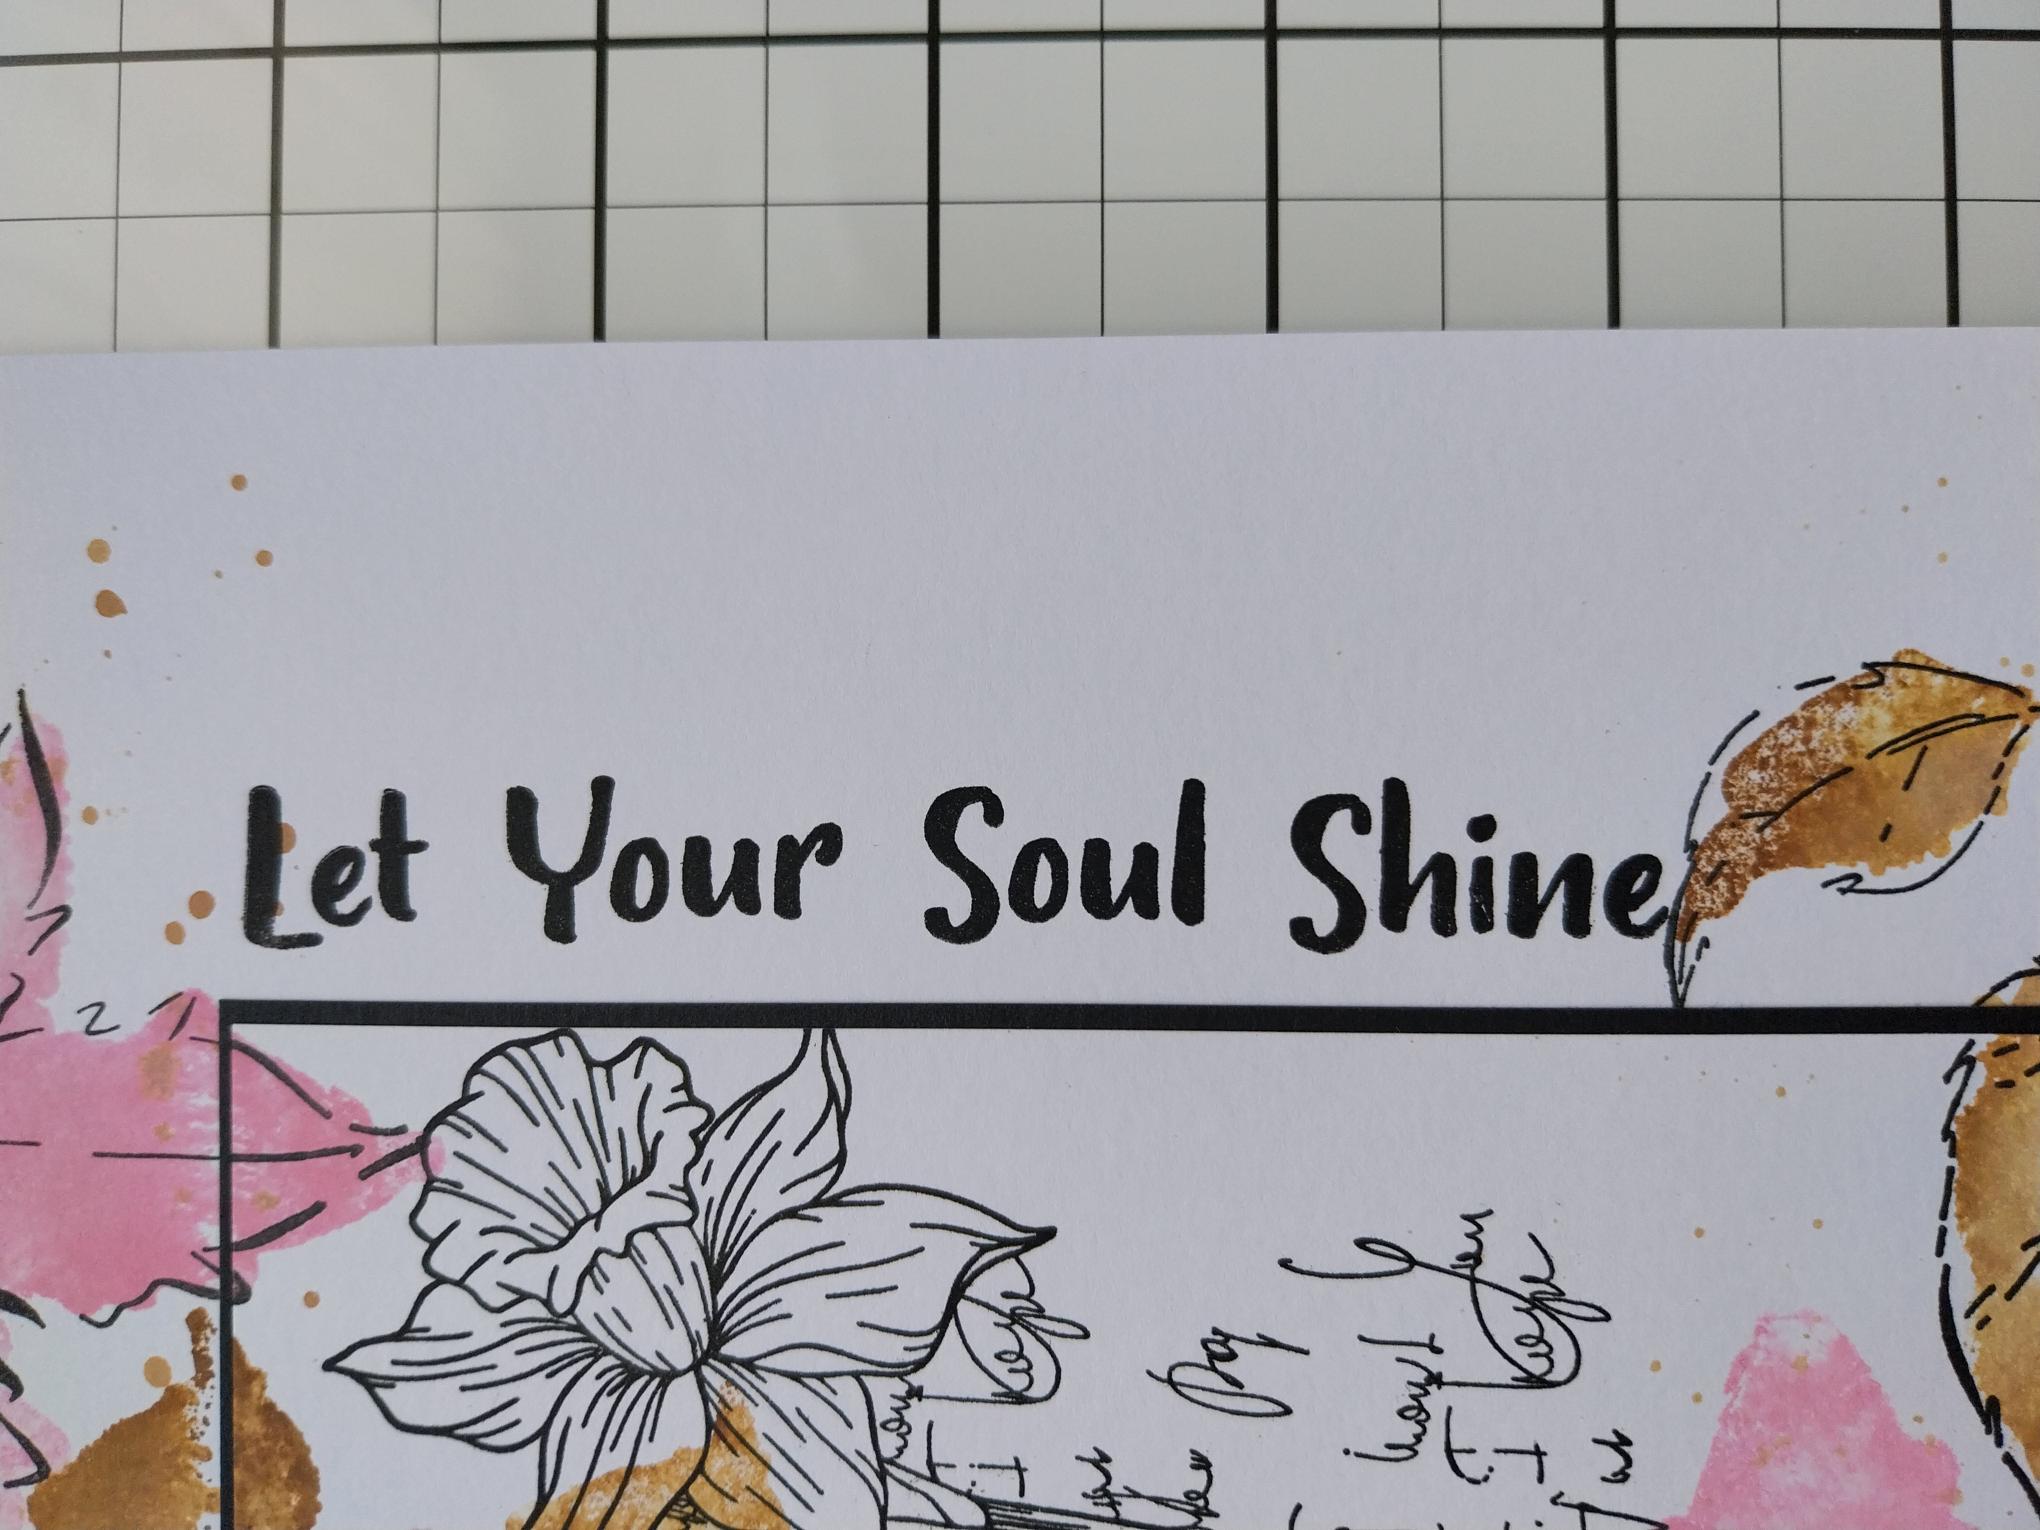
Finally, stamp the sentiment down the right hand side of the panel, with the Midnight ink. |