

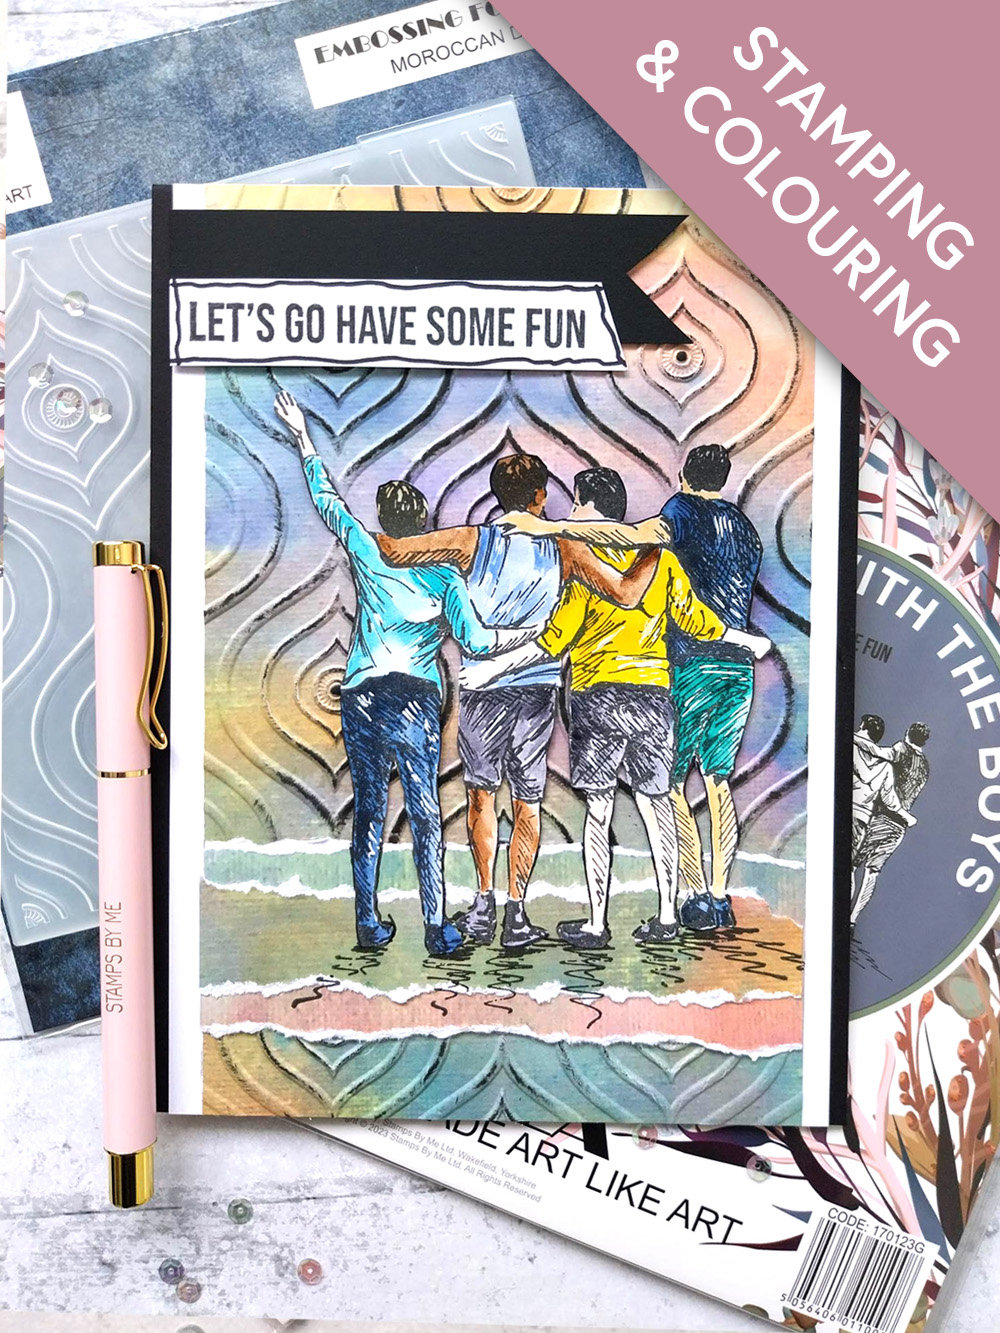
WHAT YOU WILL NEED:
Black card blank 8 x 5 3/4"
White card 8 x 5 1/2"
Black/white card
Imala Moroccan Decor 3D Embossing Folder
Imala With The Boys Stamp Collection
Imala A4 Collage Paper Pad
SBM Hybrid Ink Pad: Midnight
Watercolour paints
Paint brush
Black pen
Imala white gel pen
Eureka 101 Watercolour Tablet
SBM Magnetic glass mat
Paper Trimmer
Perfect Together Glue
Foam pads
[click image to enlarge] 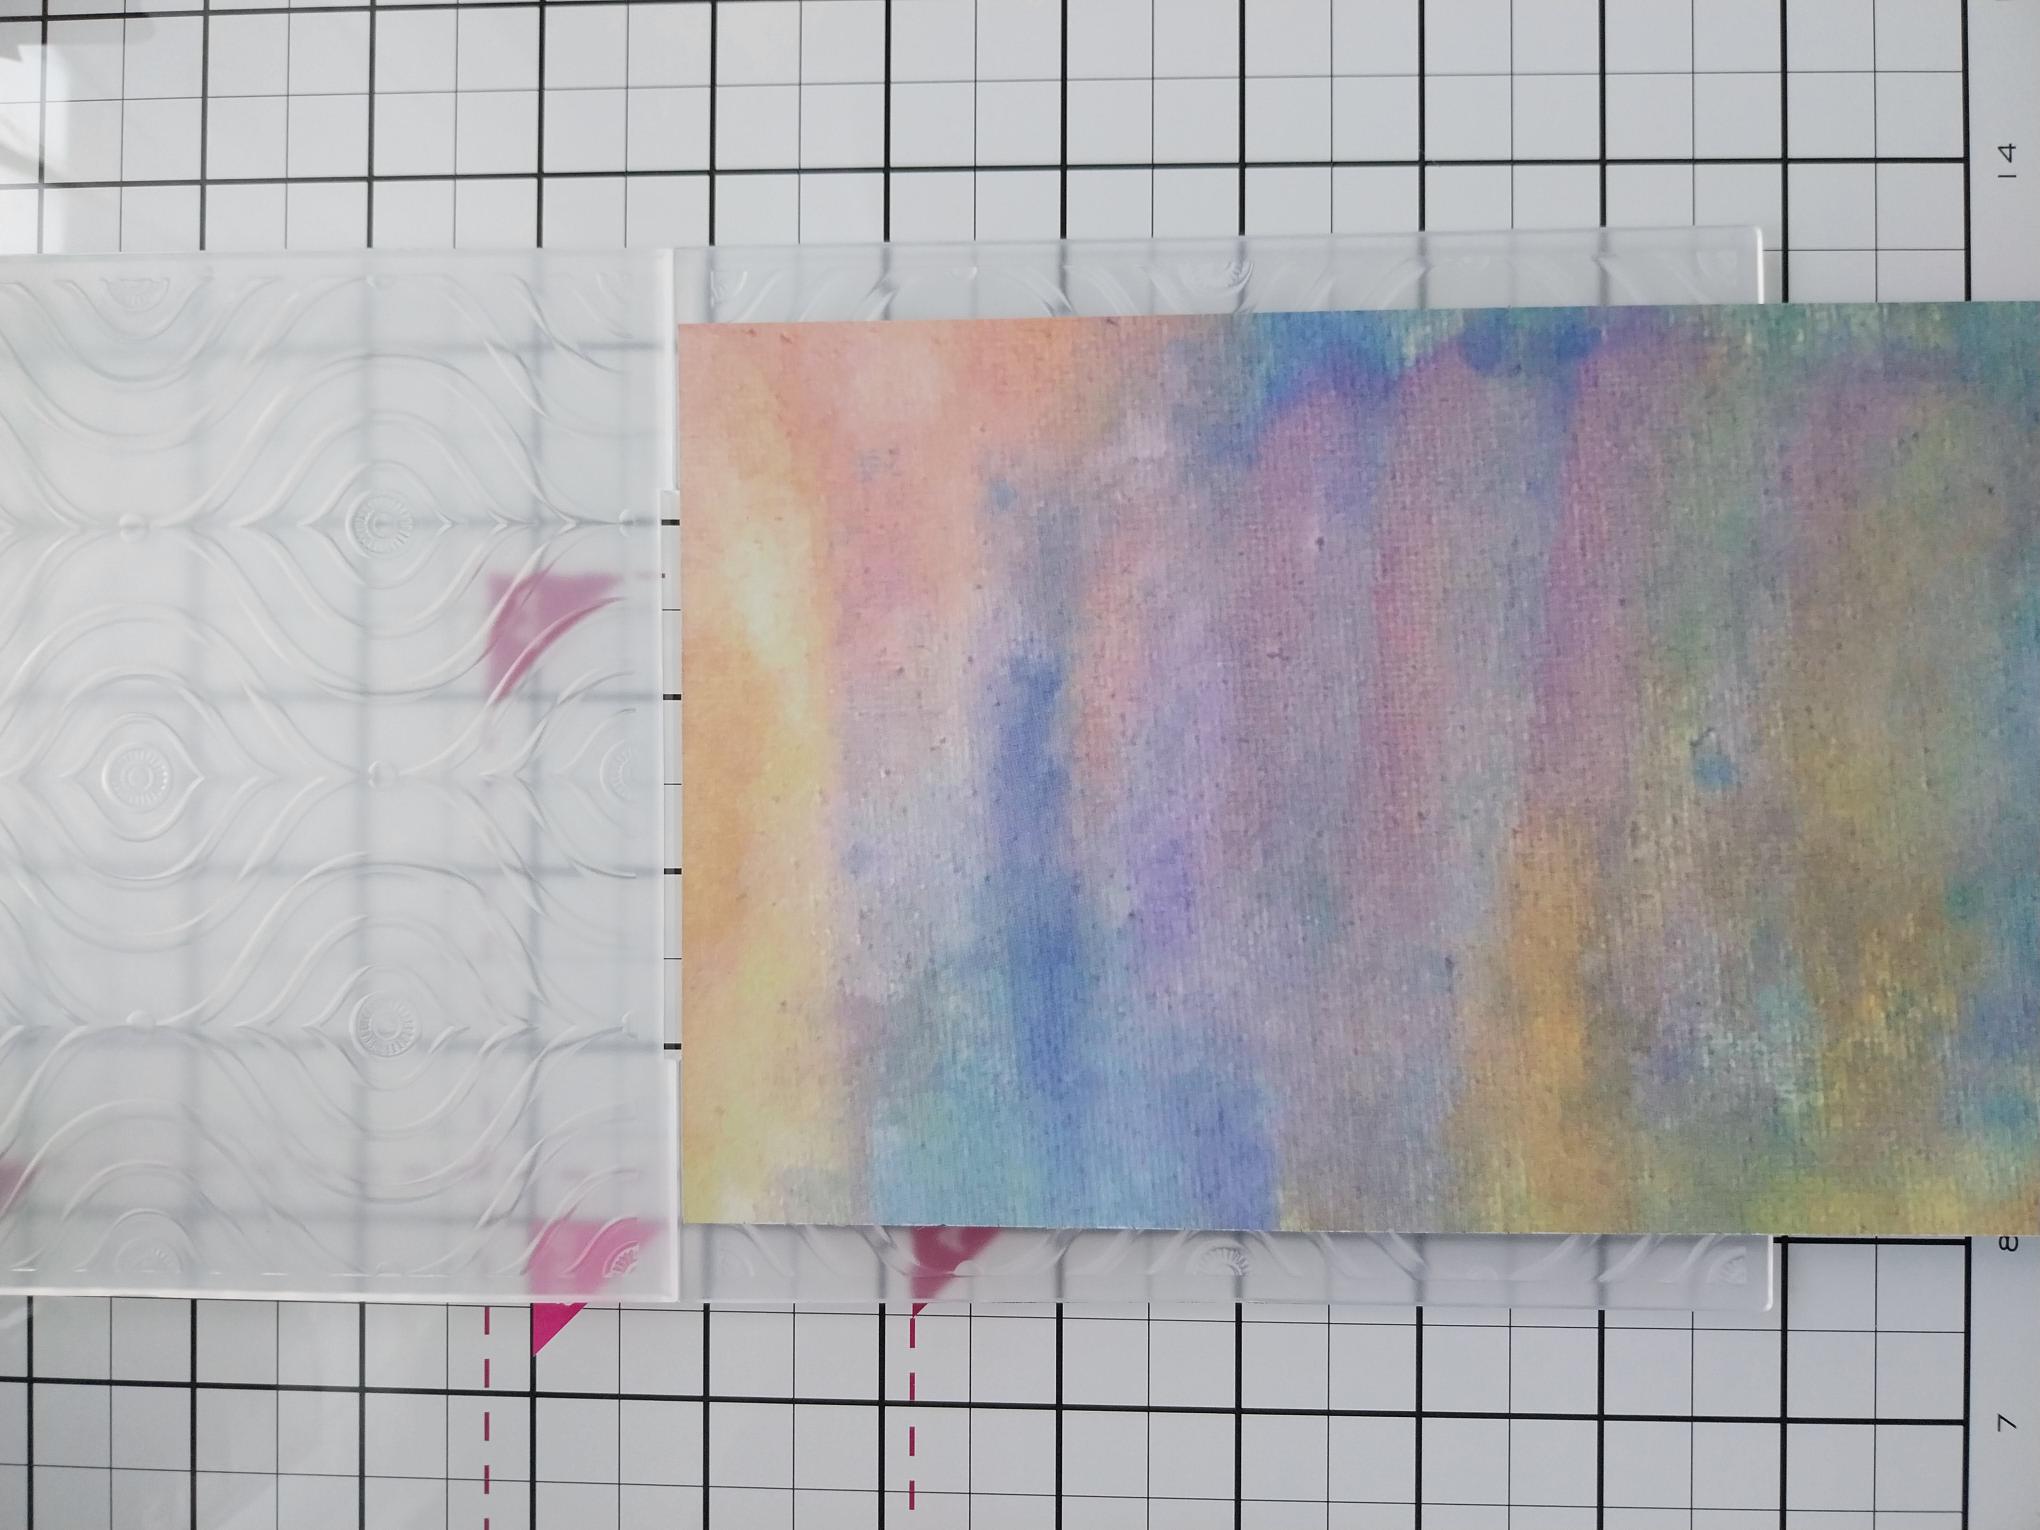
|
Remove this decorative sheet from the Imala Collage paper pad and trim to 8 x 5 1/4". Set remaining paper to one side. Place inside your Imala Moroccan Decor embossing folder, with the raised side on the bottom and run it through your embossing machine.
|
|
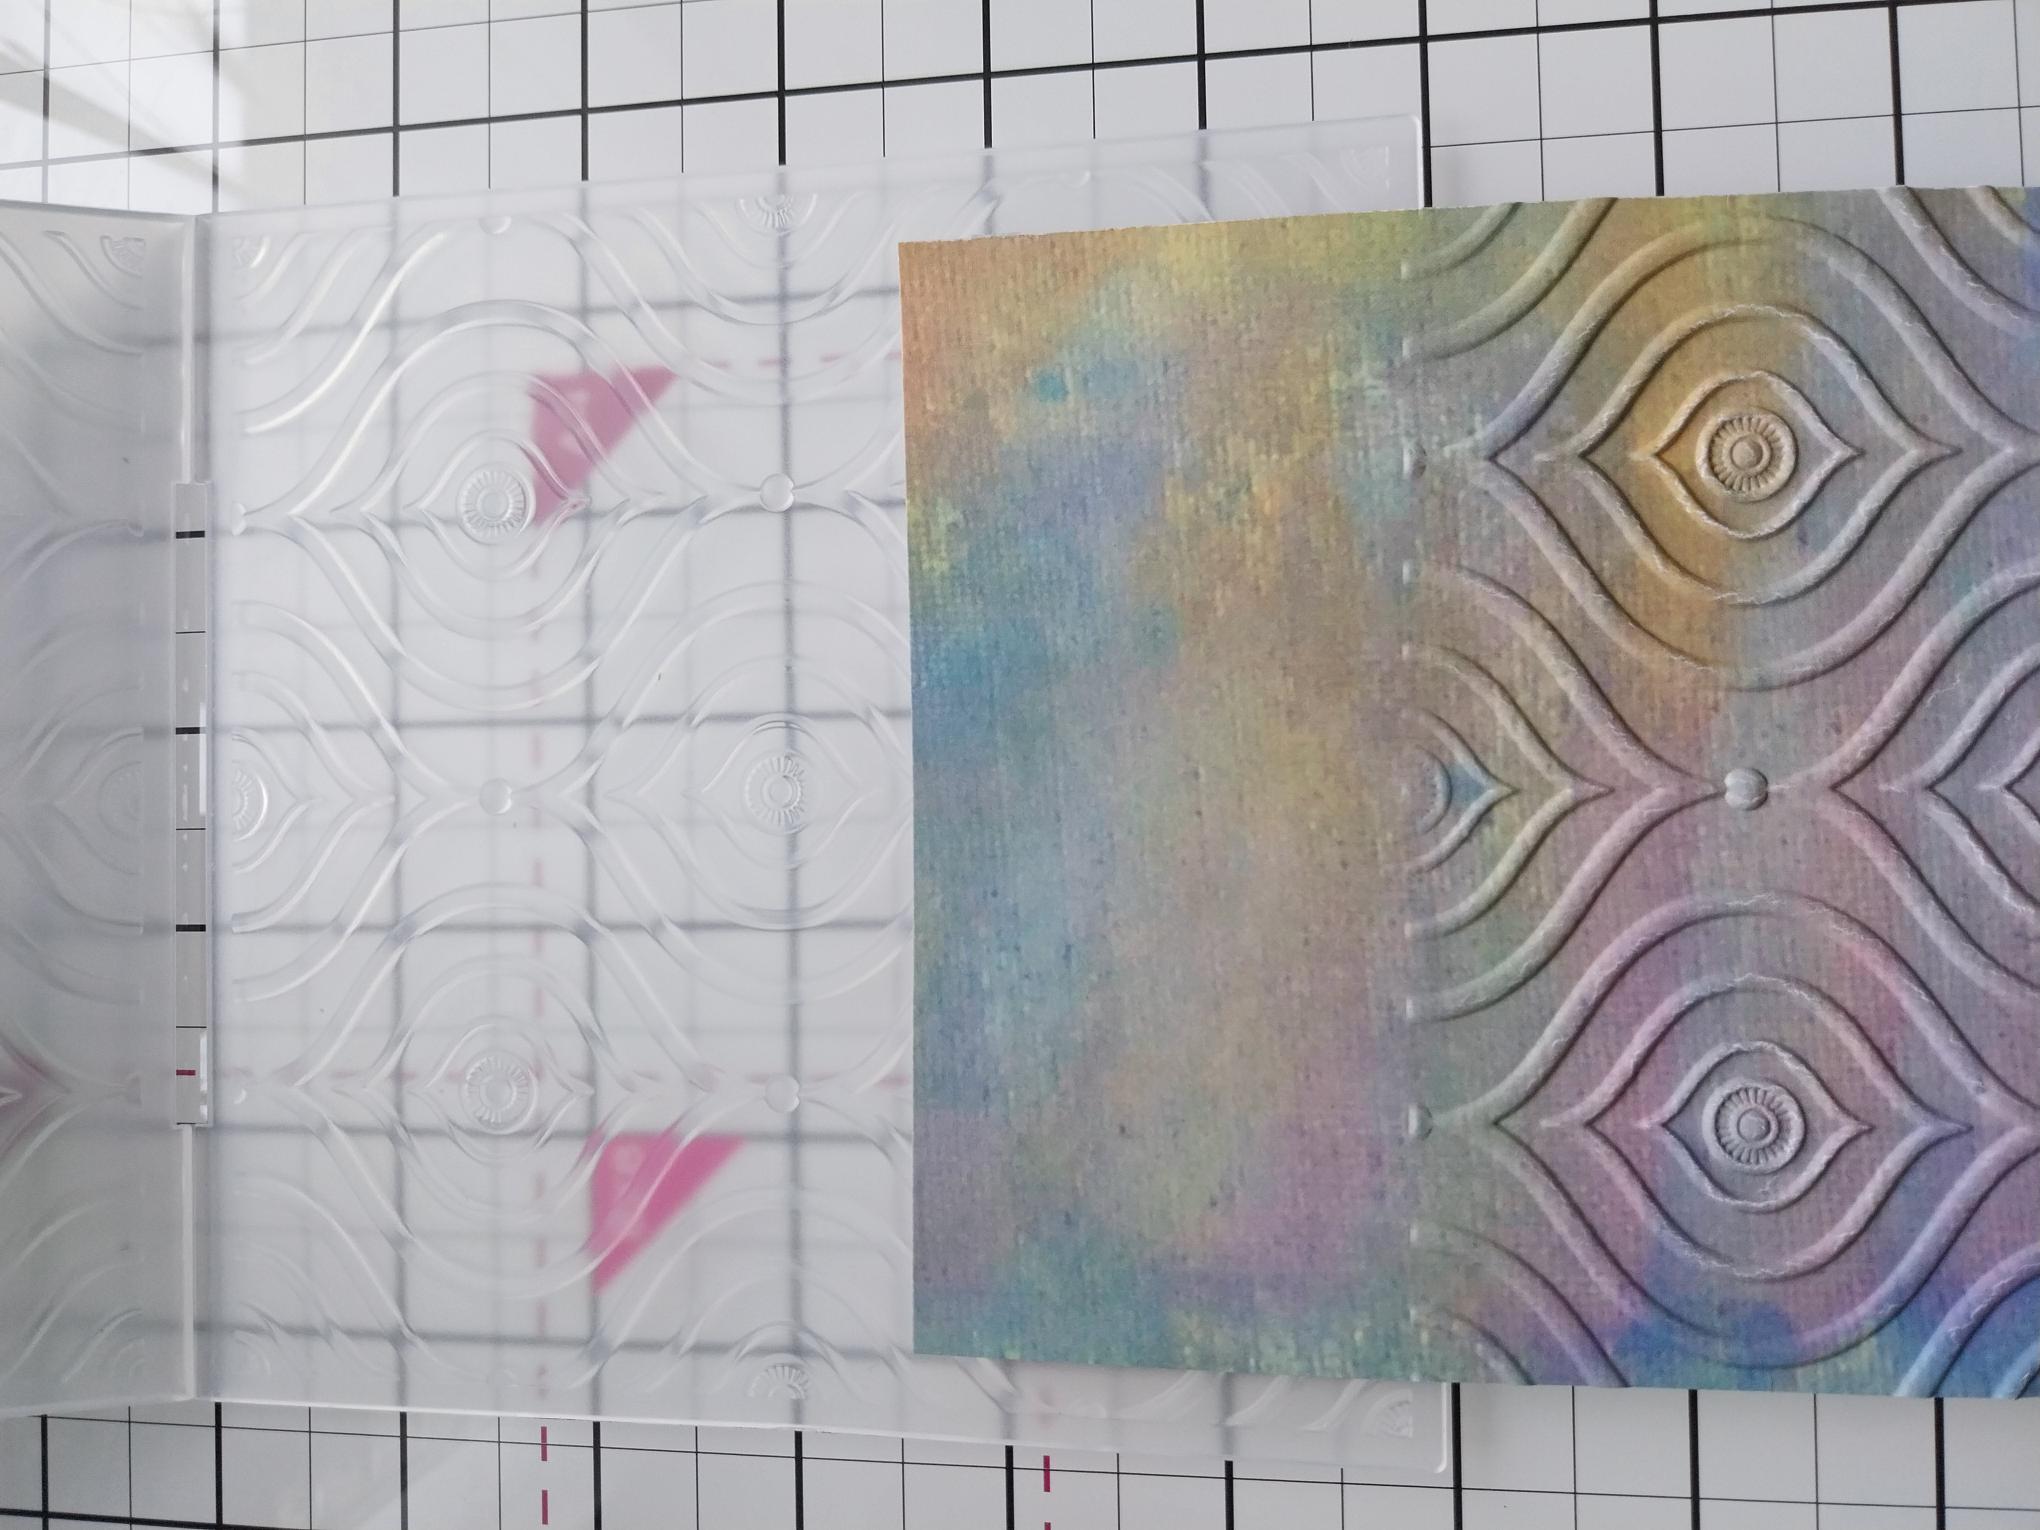
Place back inside, positioning the end of the un-embossed design inside and along the edge, of the folder. Hang this over the edge of the plates, so only the un-embossed area is sitting on the plates. Run through your machine thus extending your embossed design, showing that you are not restricted by the size of the folder. |
|
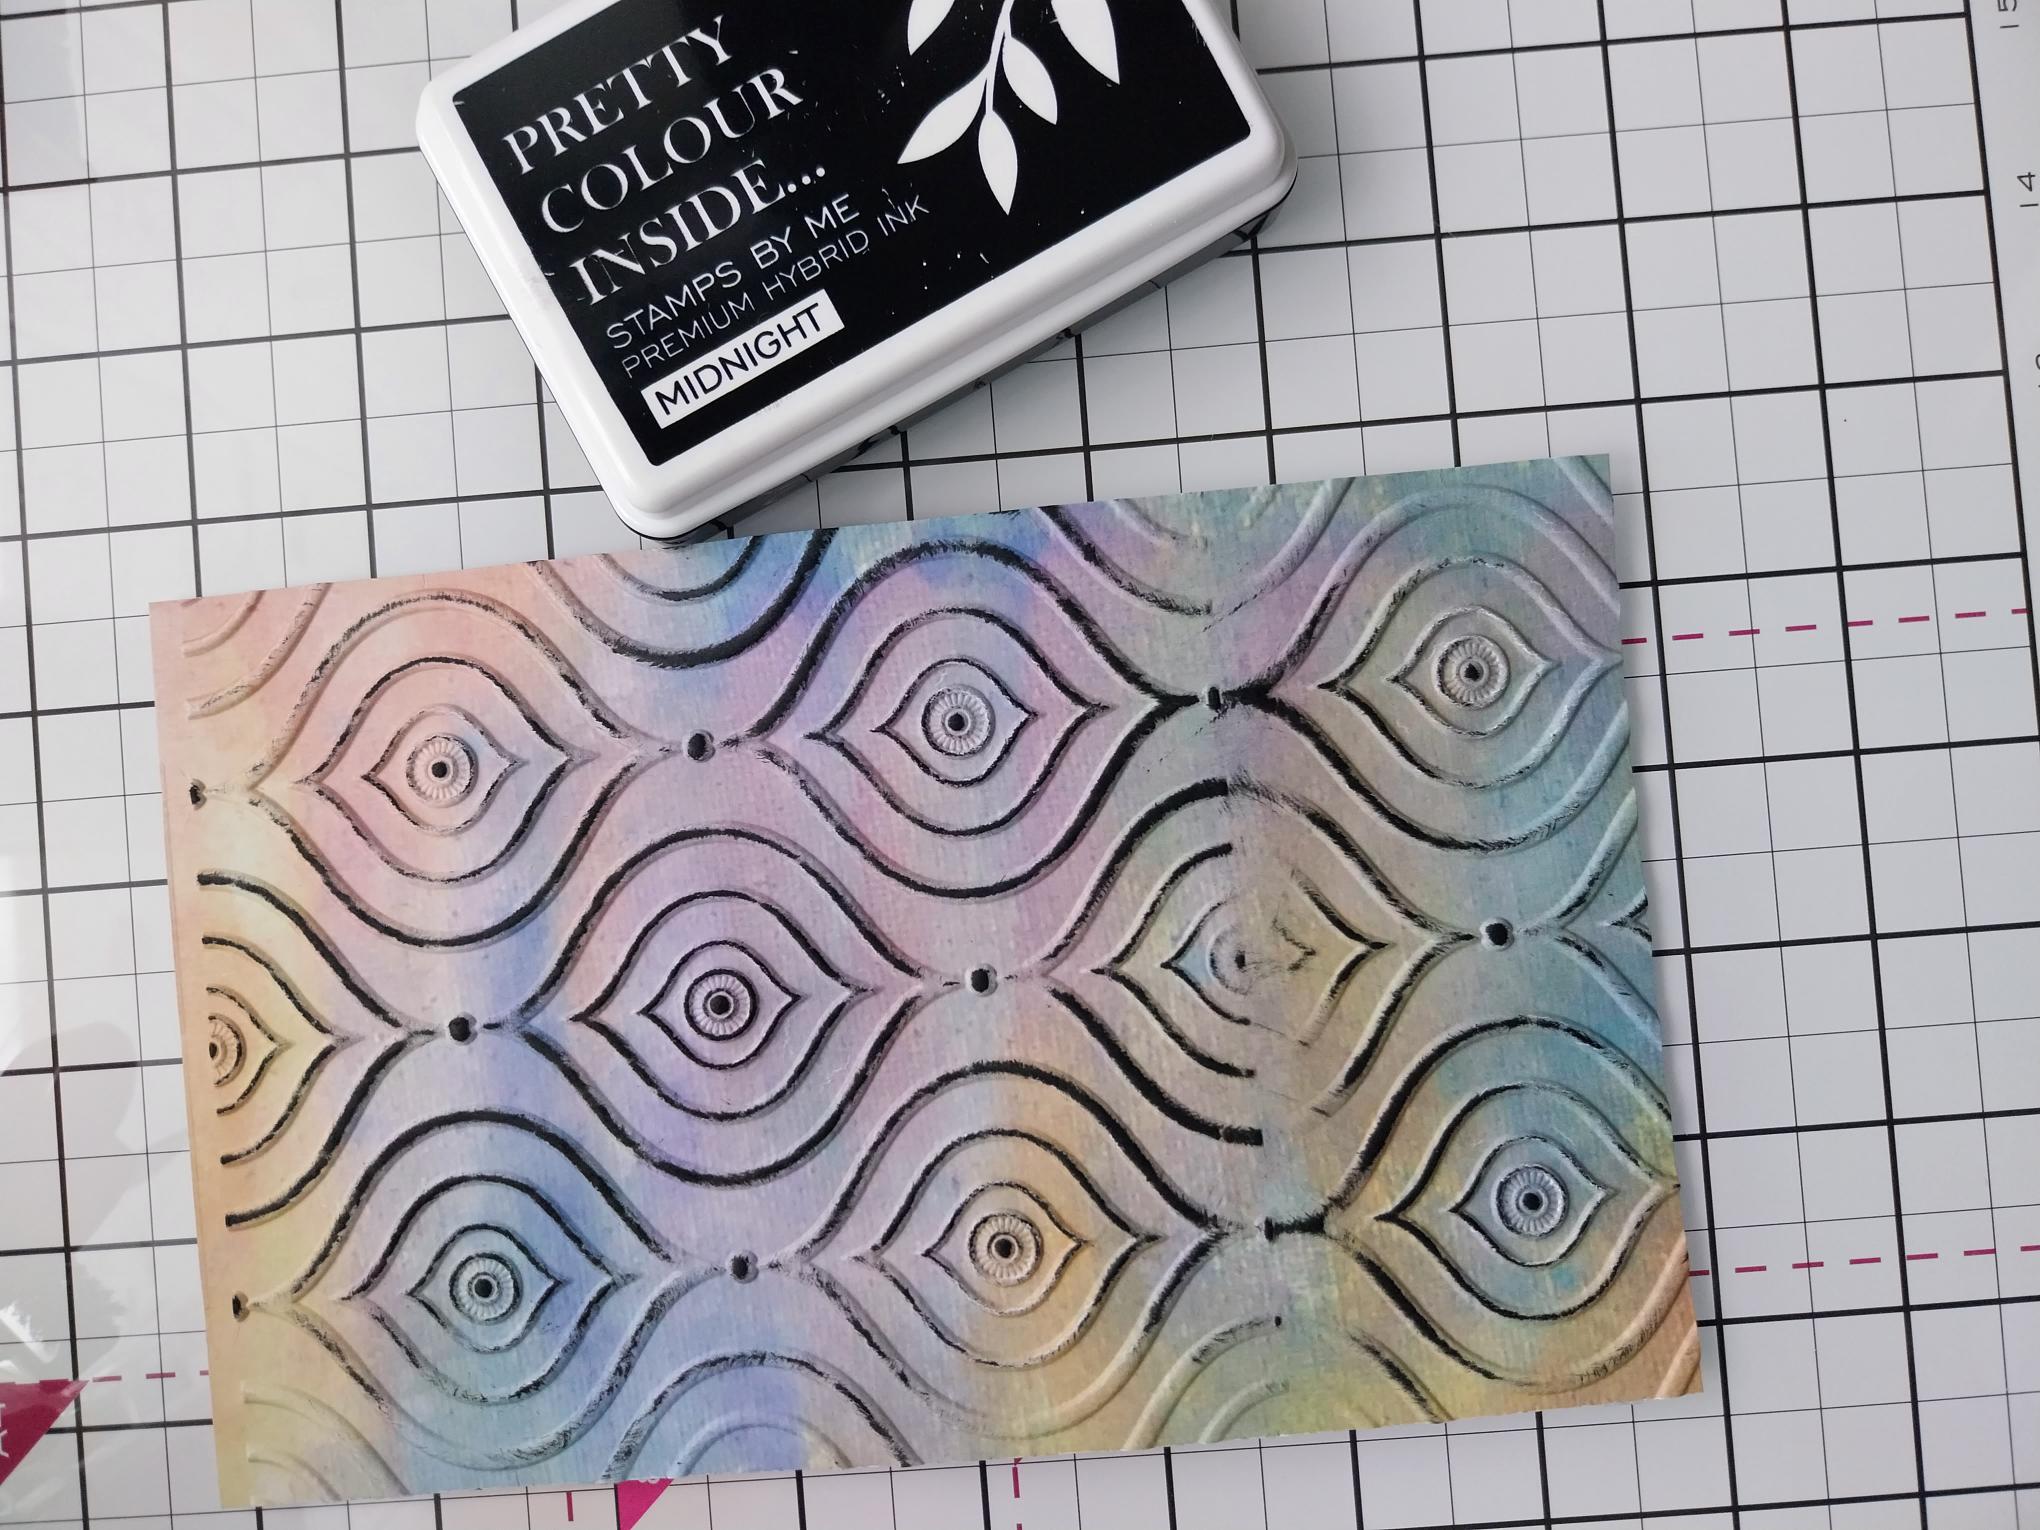
Lightly rub your Midnight hybrid ink pad over your embossed design, catching the raised areas with the ink. |
|
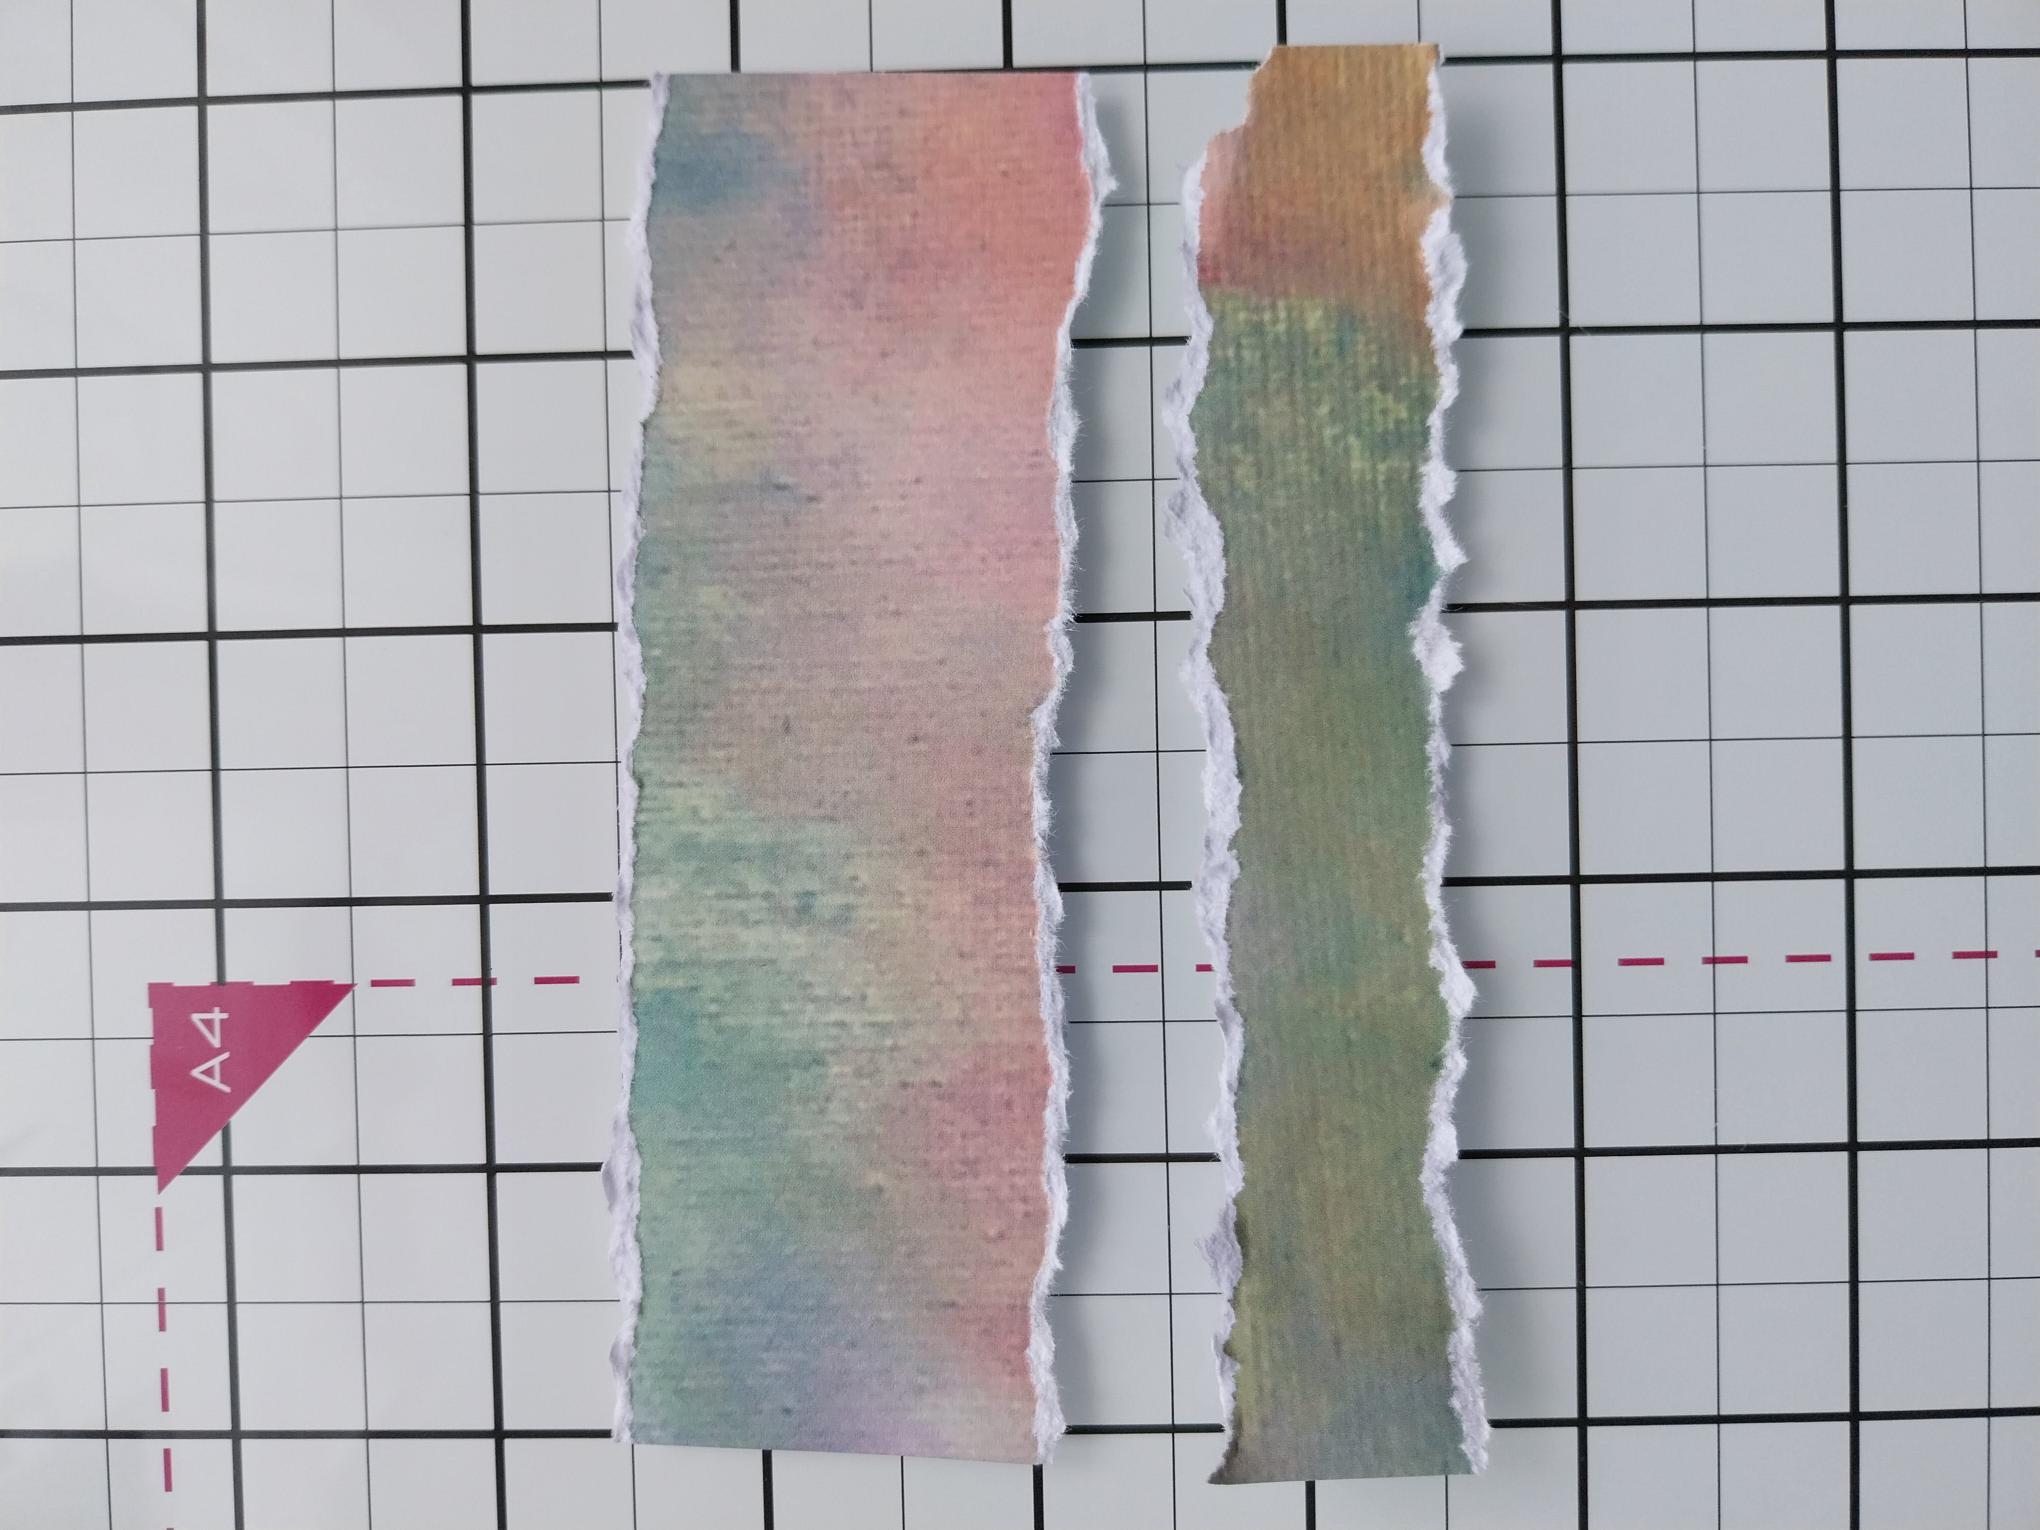
Tear two strips of the same decorative paper, one wider than the other. |
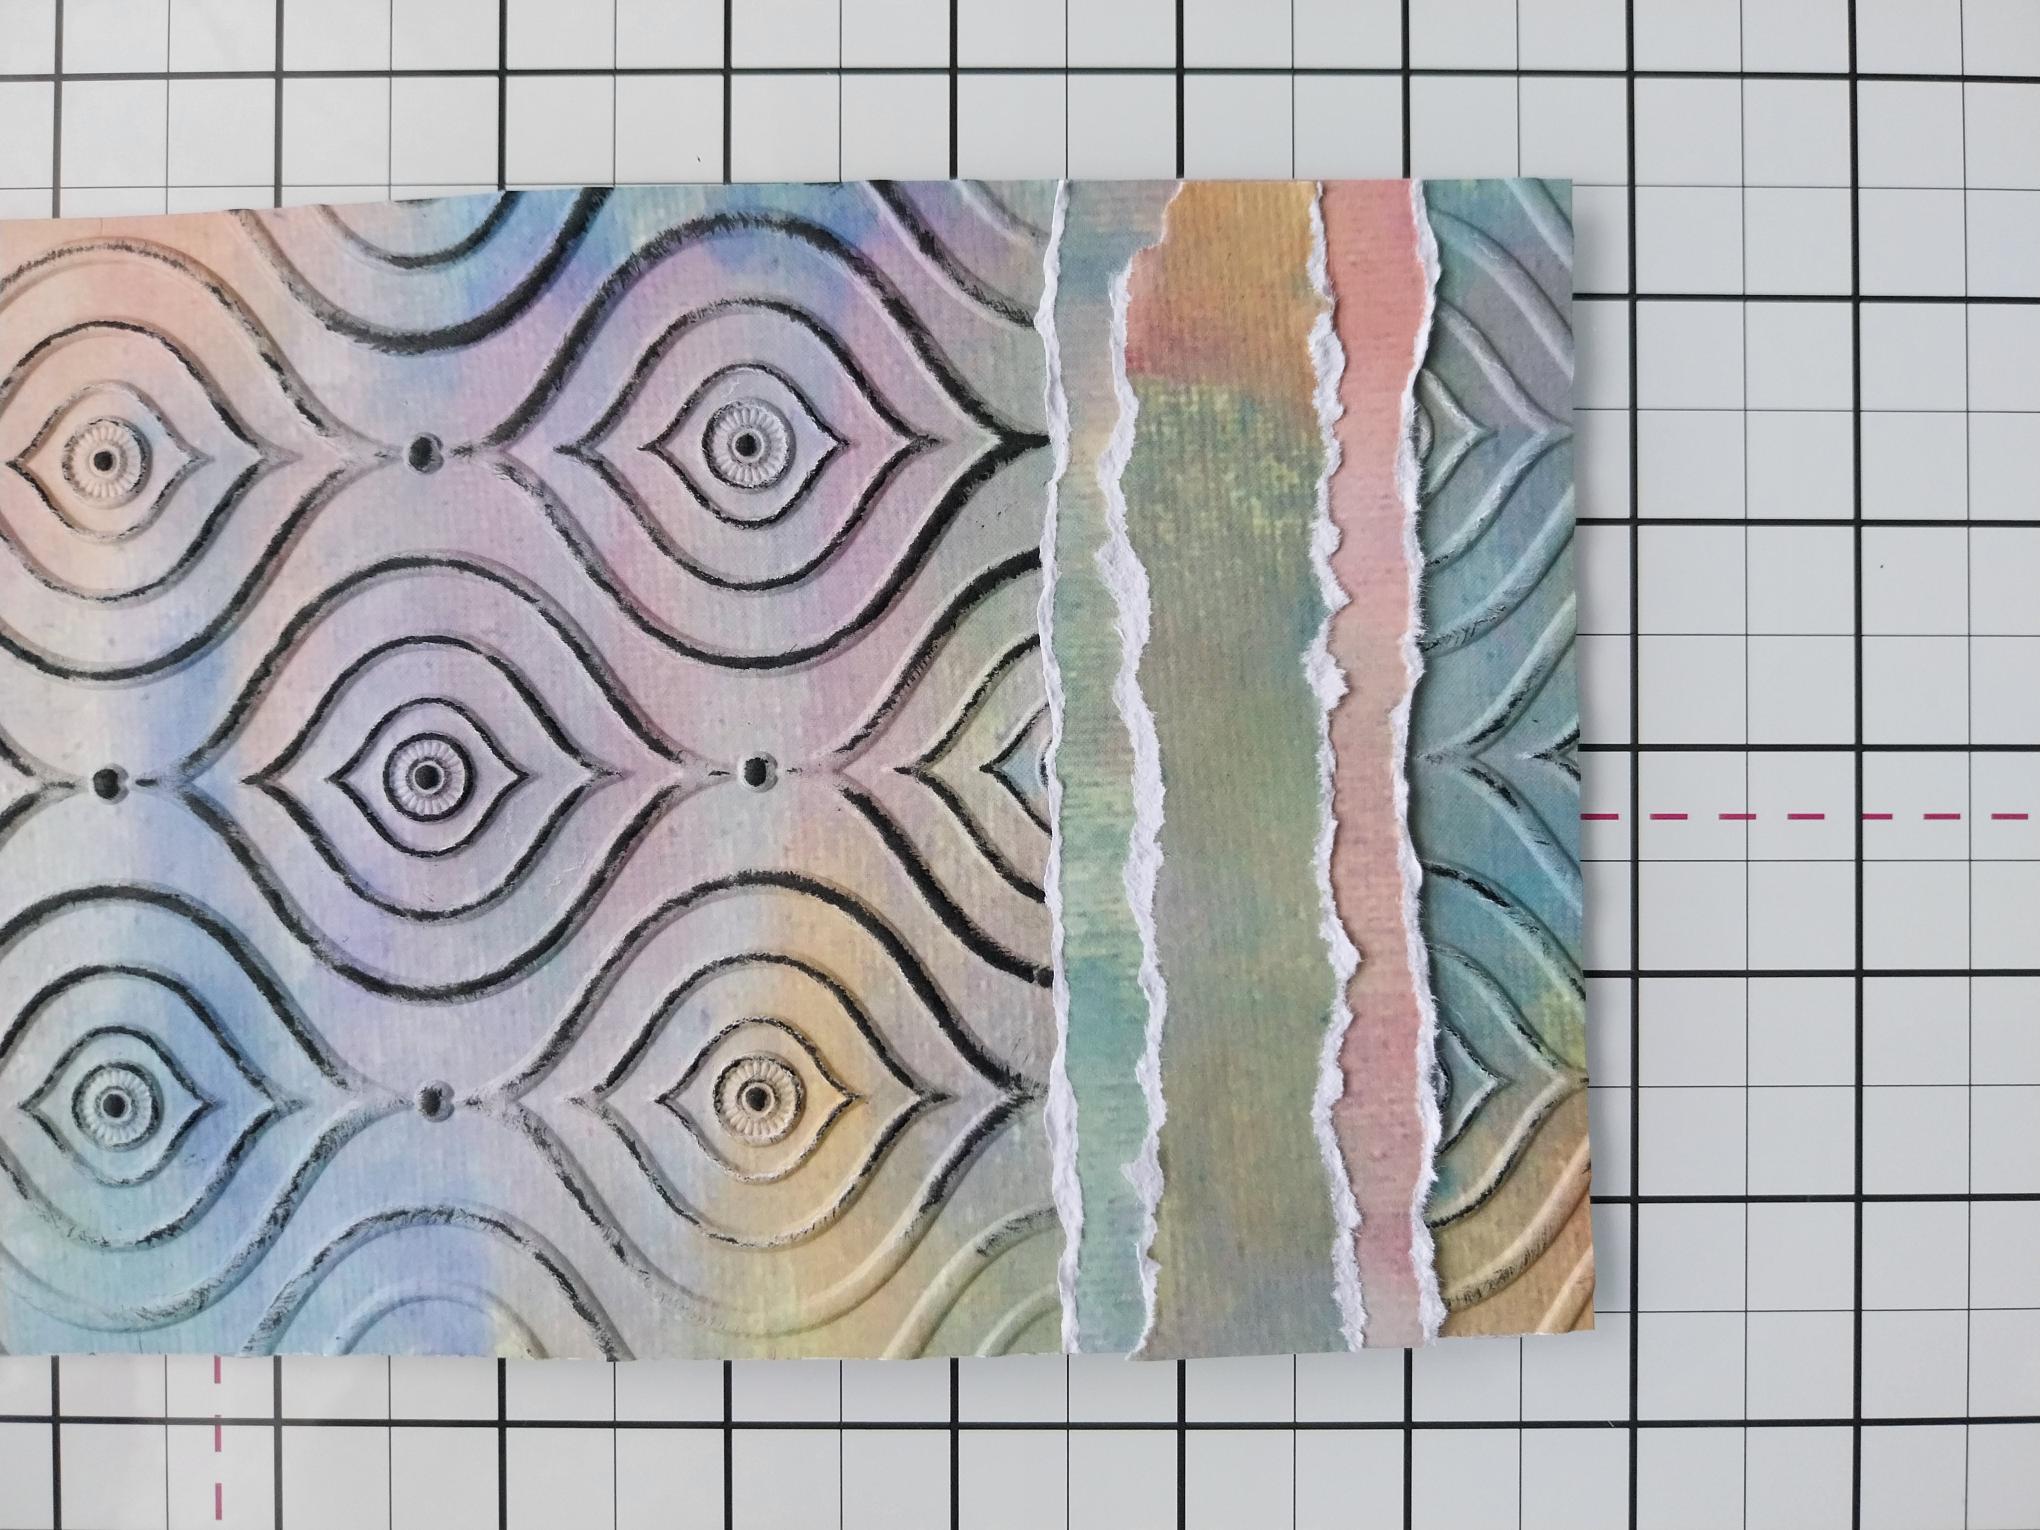
|
Adhere the widest across the "join" of the embossed design and the narrower strip on top of that. |
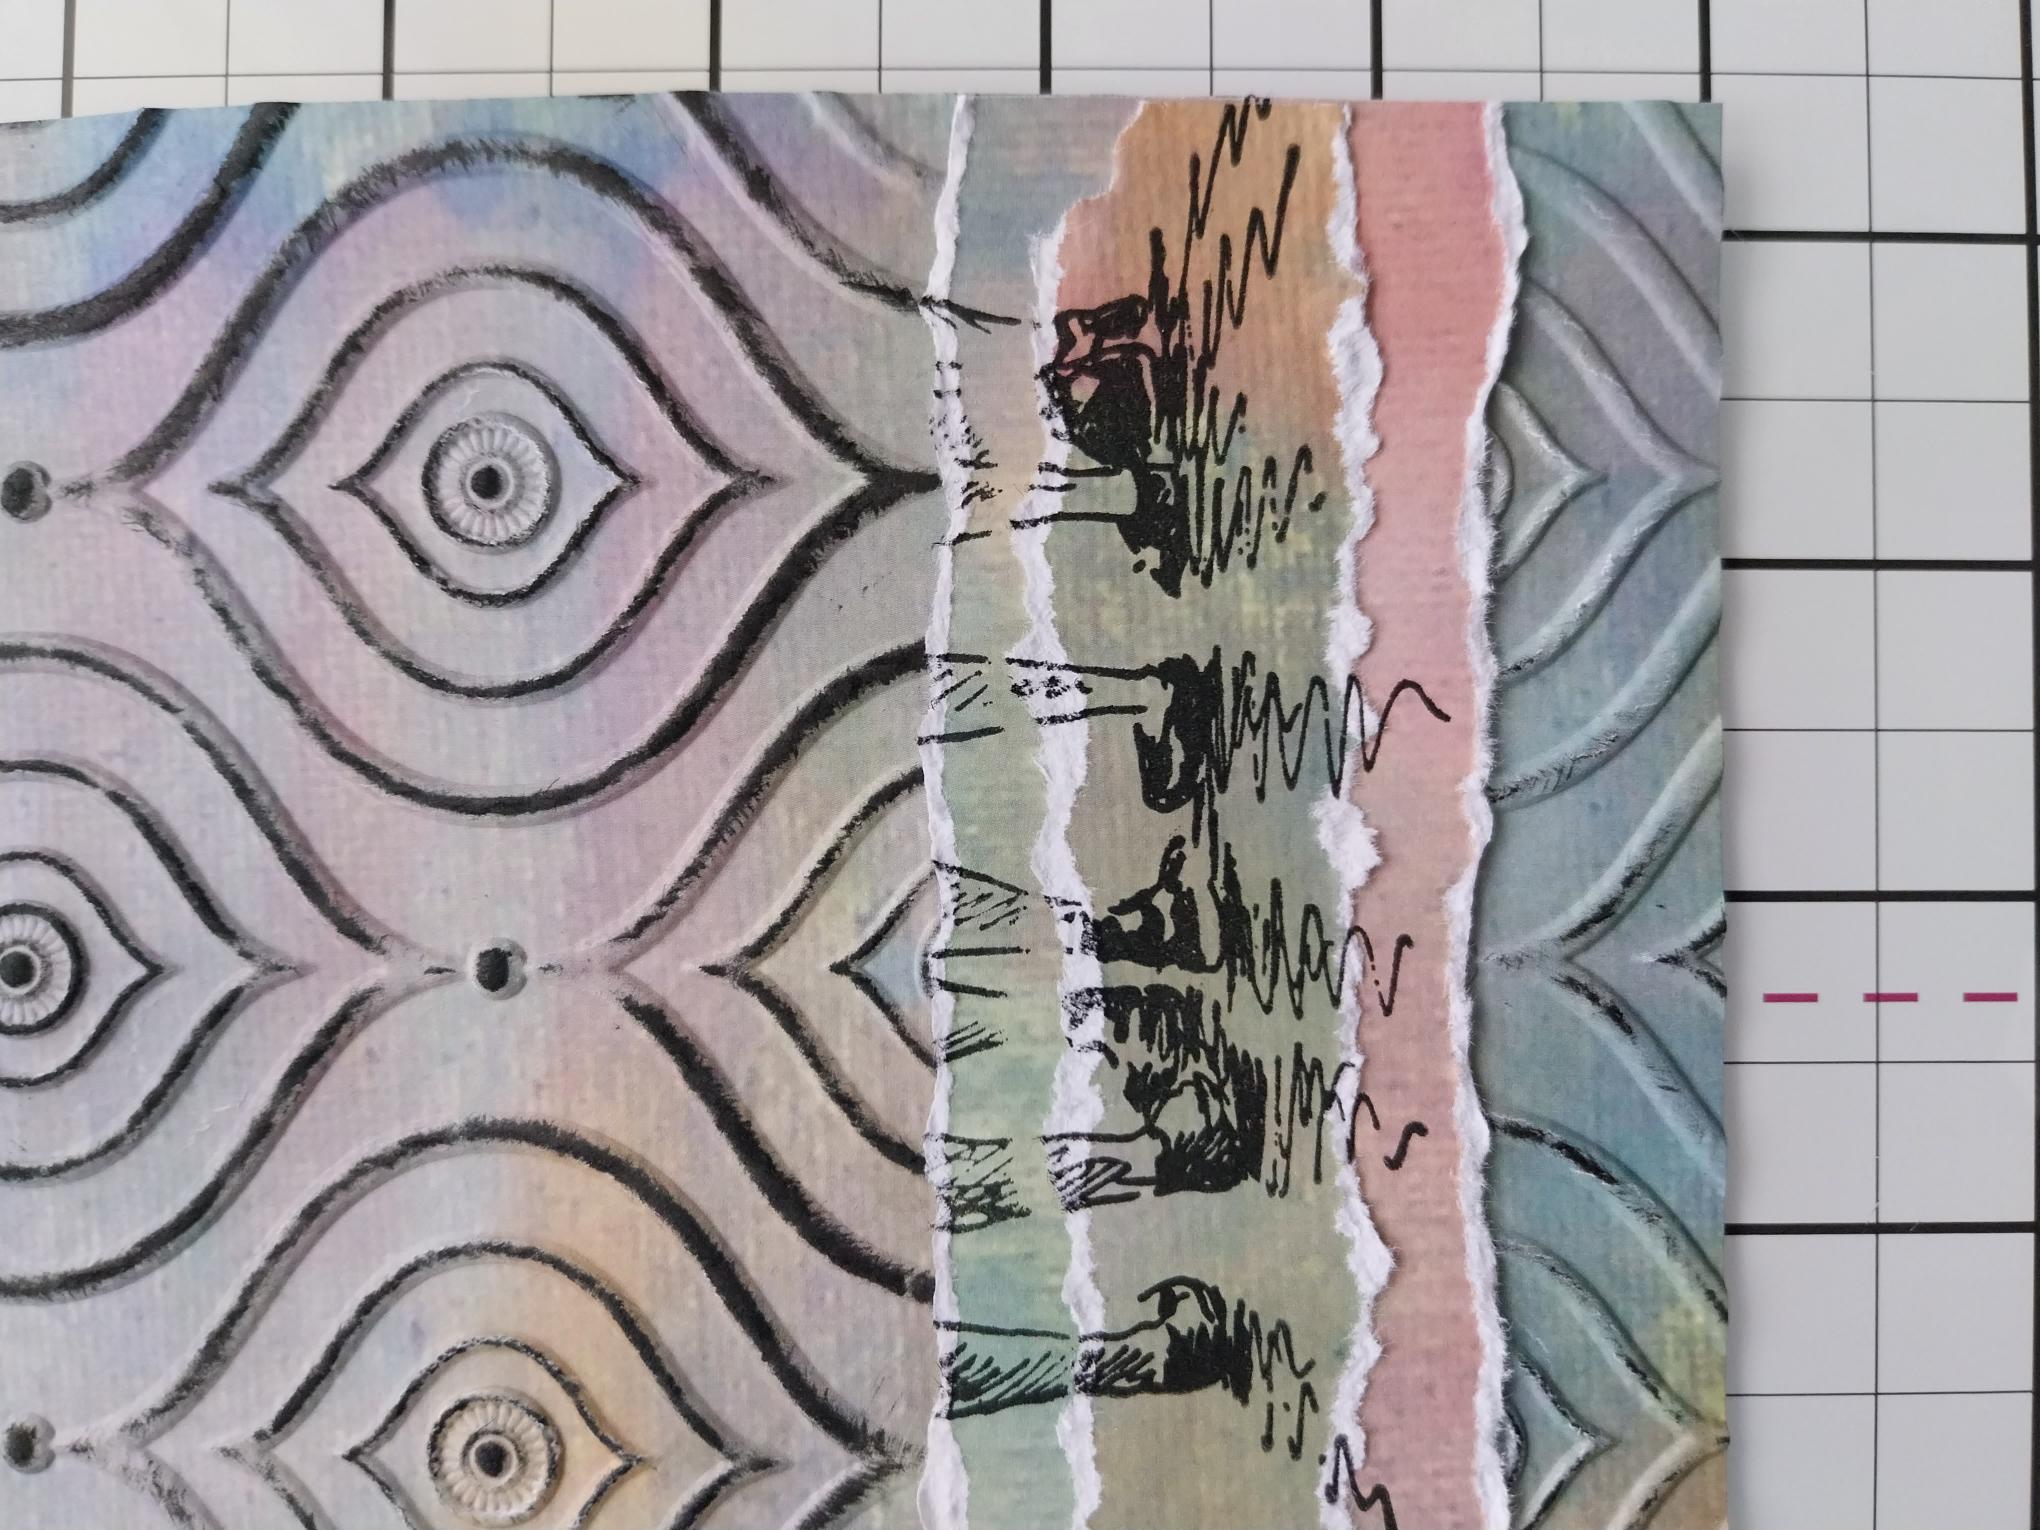
|
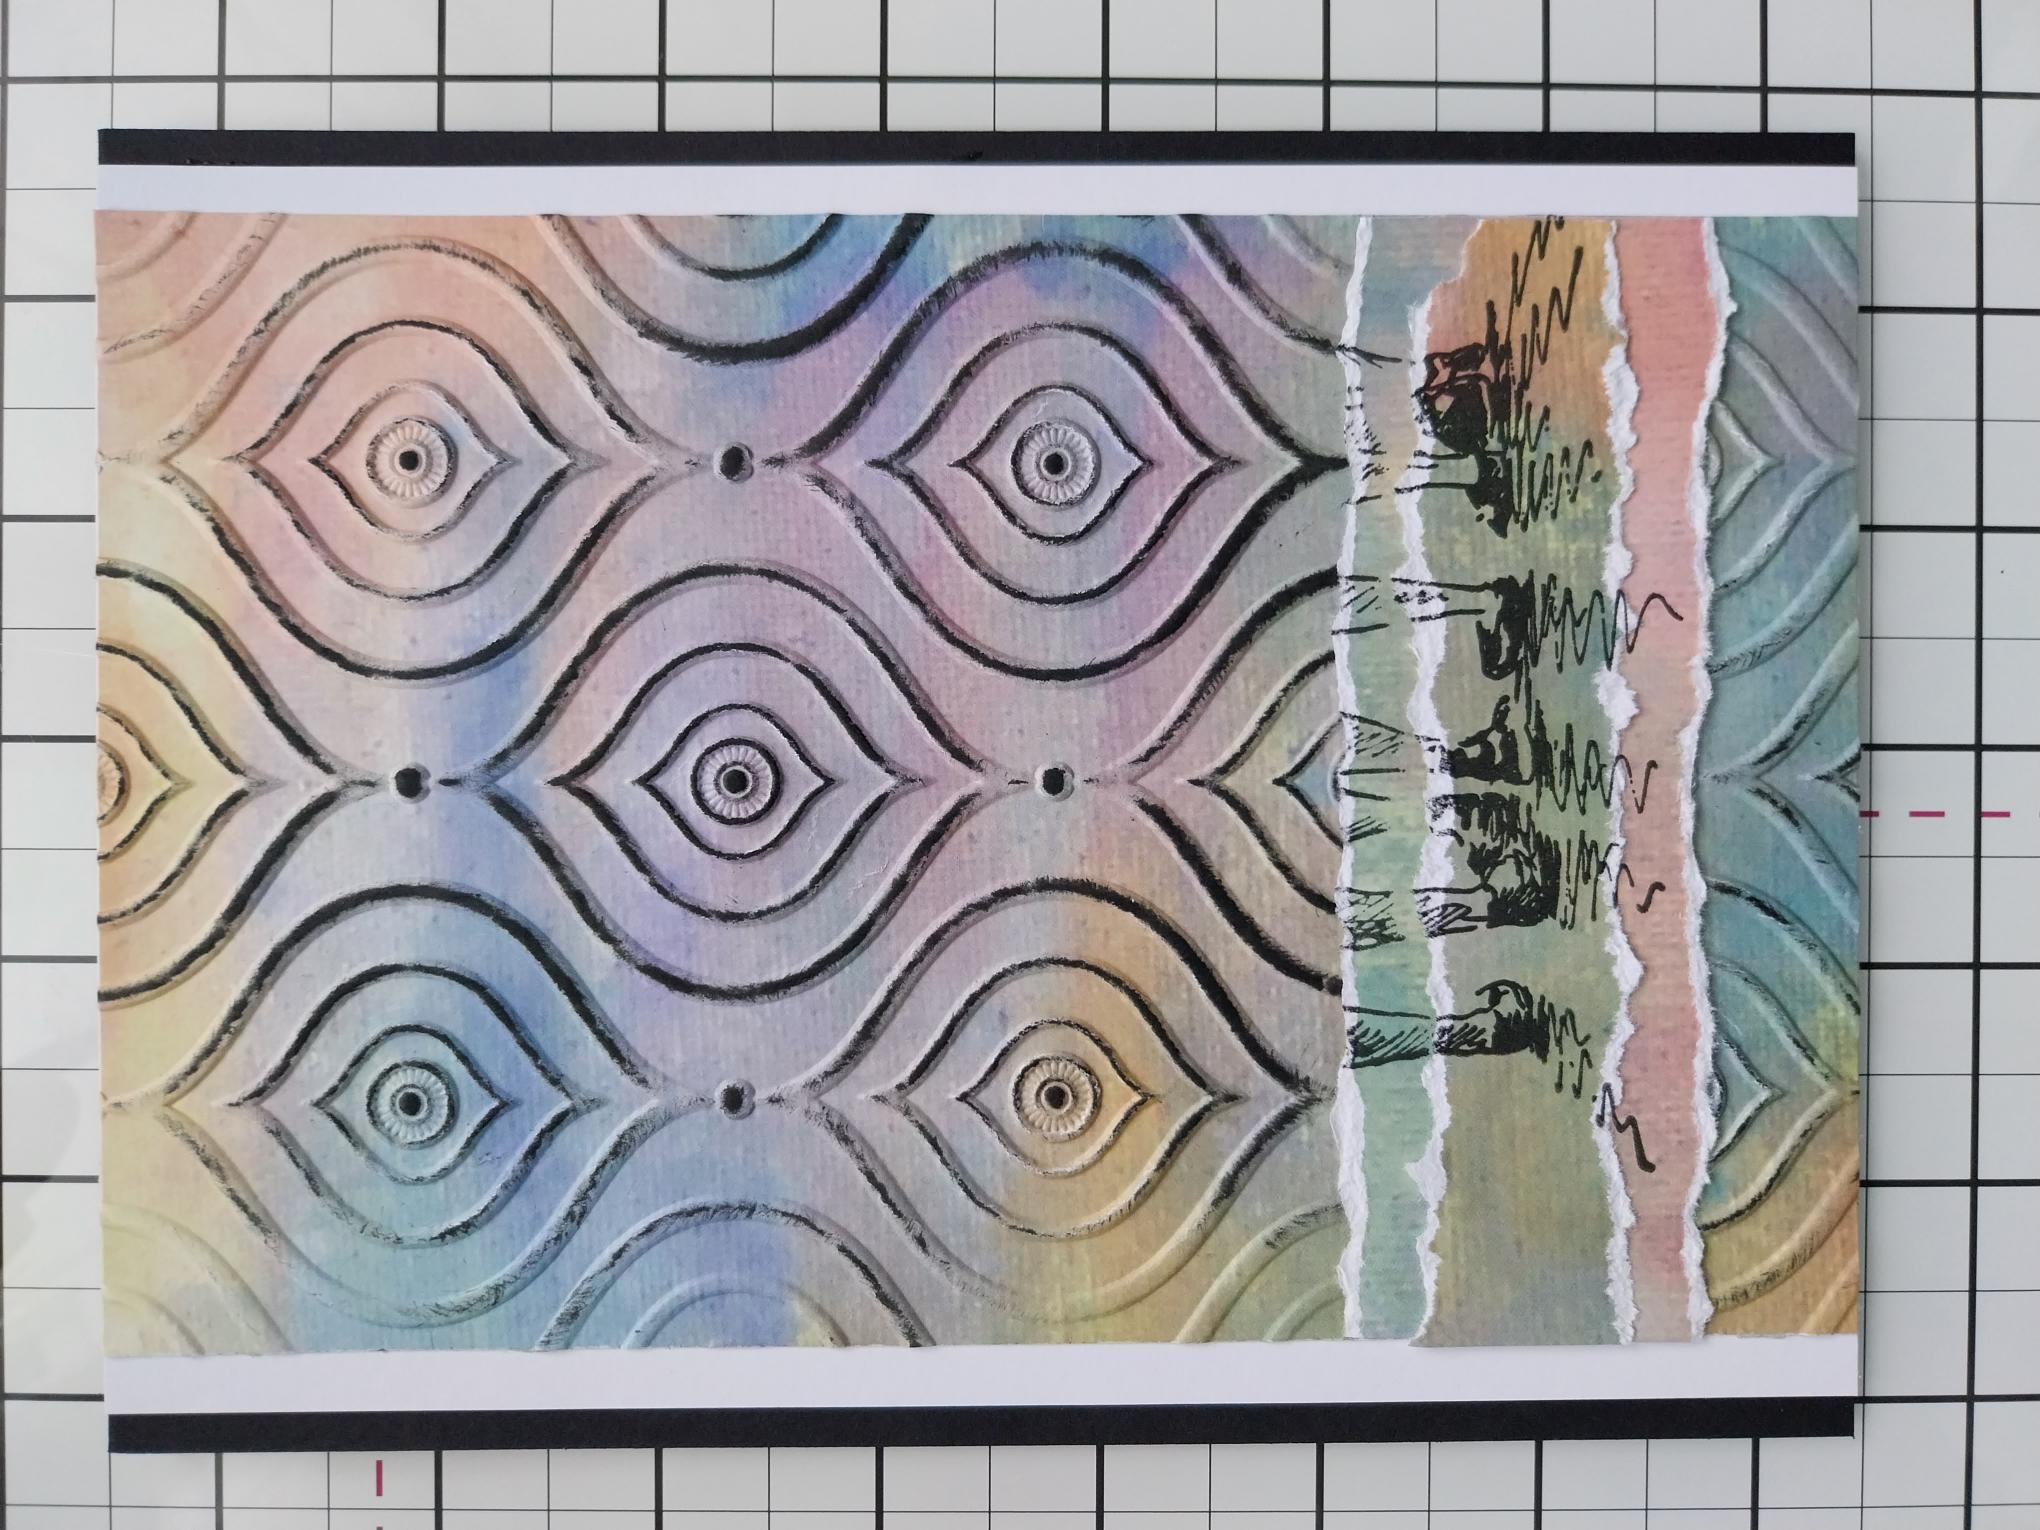
Place a scrap piece of copier paper tucked above the strips of paper. Use the Midnight to ink the feet and lower legs of the Imala With The Boys stamp. Stamp on to the paper strips then remove scrap paper to reveal your partial stamped image, as shown here. |
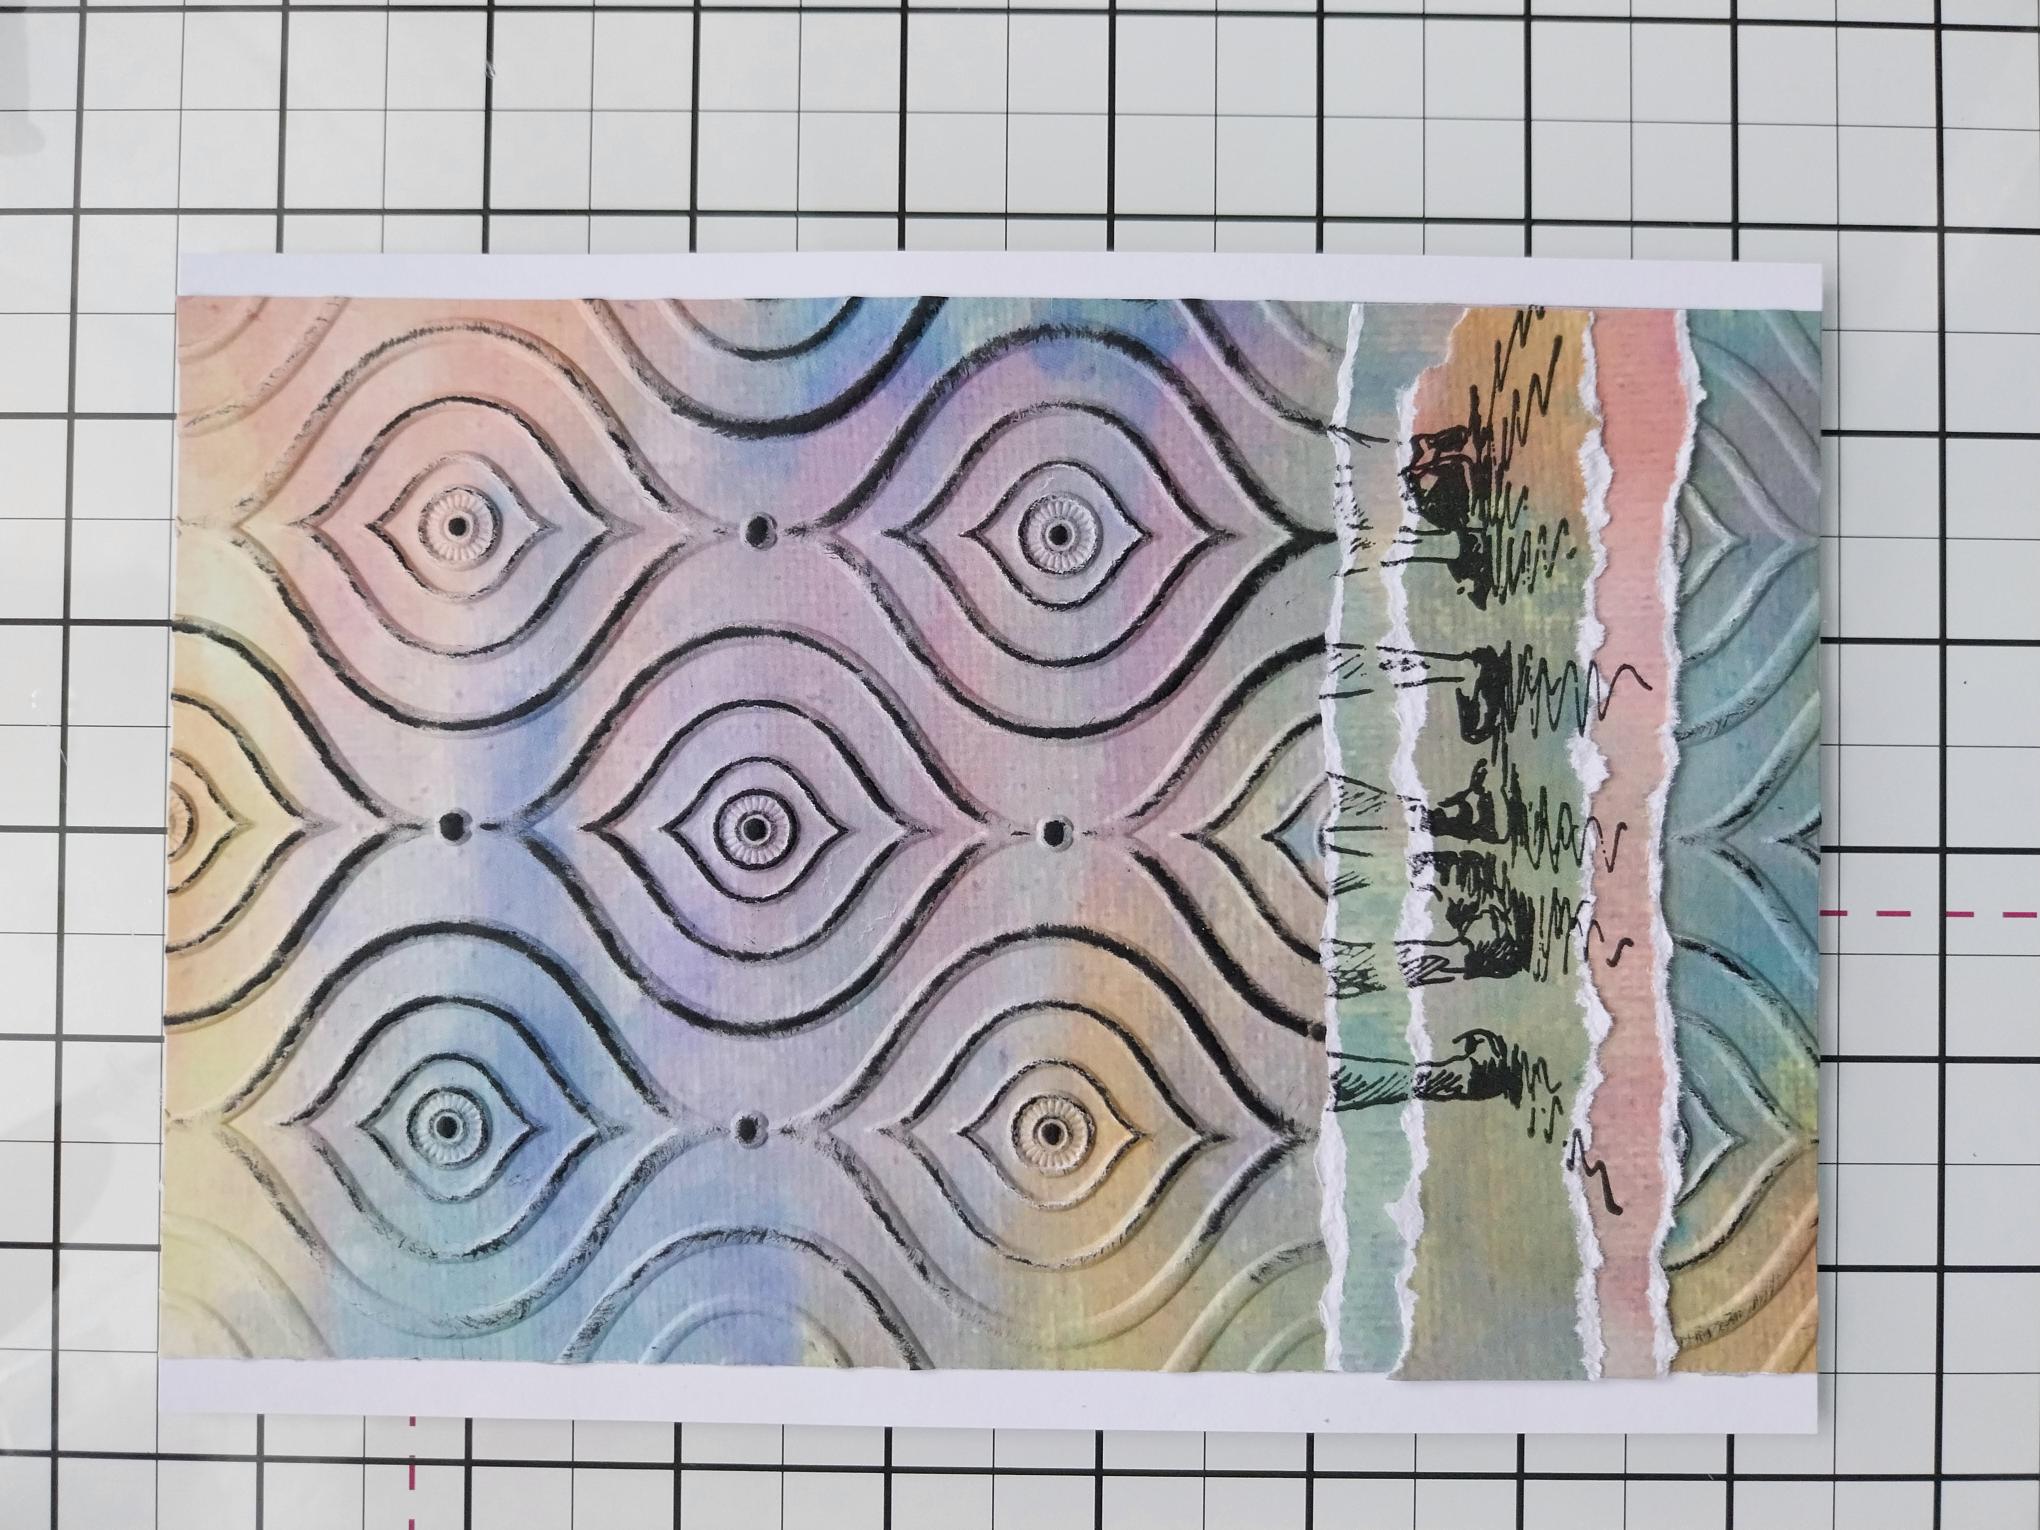
|
Adhere this on to the white card cut to 8 x 5 1/2", so the top and bottom are flush and an equal amount of white card is visible down both sides. |
|
Adhere on to the black card blank, again flush with the top and bottom and with equal black card visible down both sides. Set your card aside. |
|
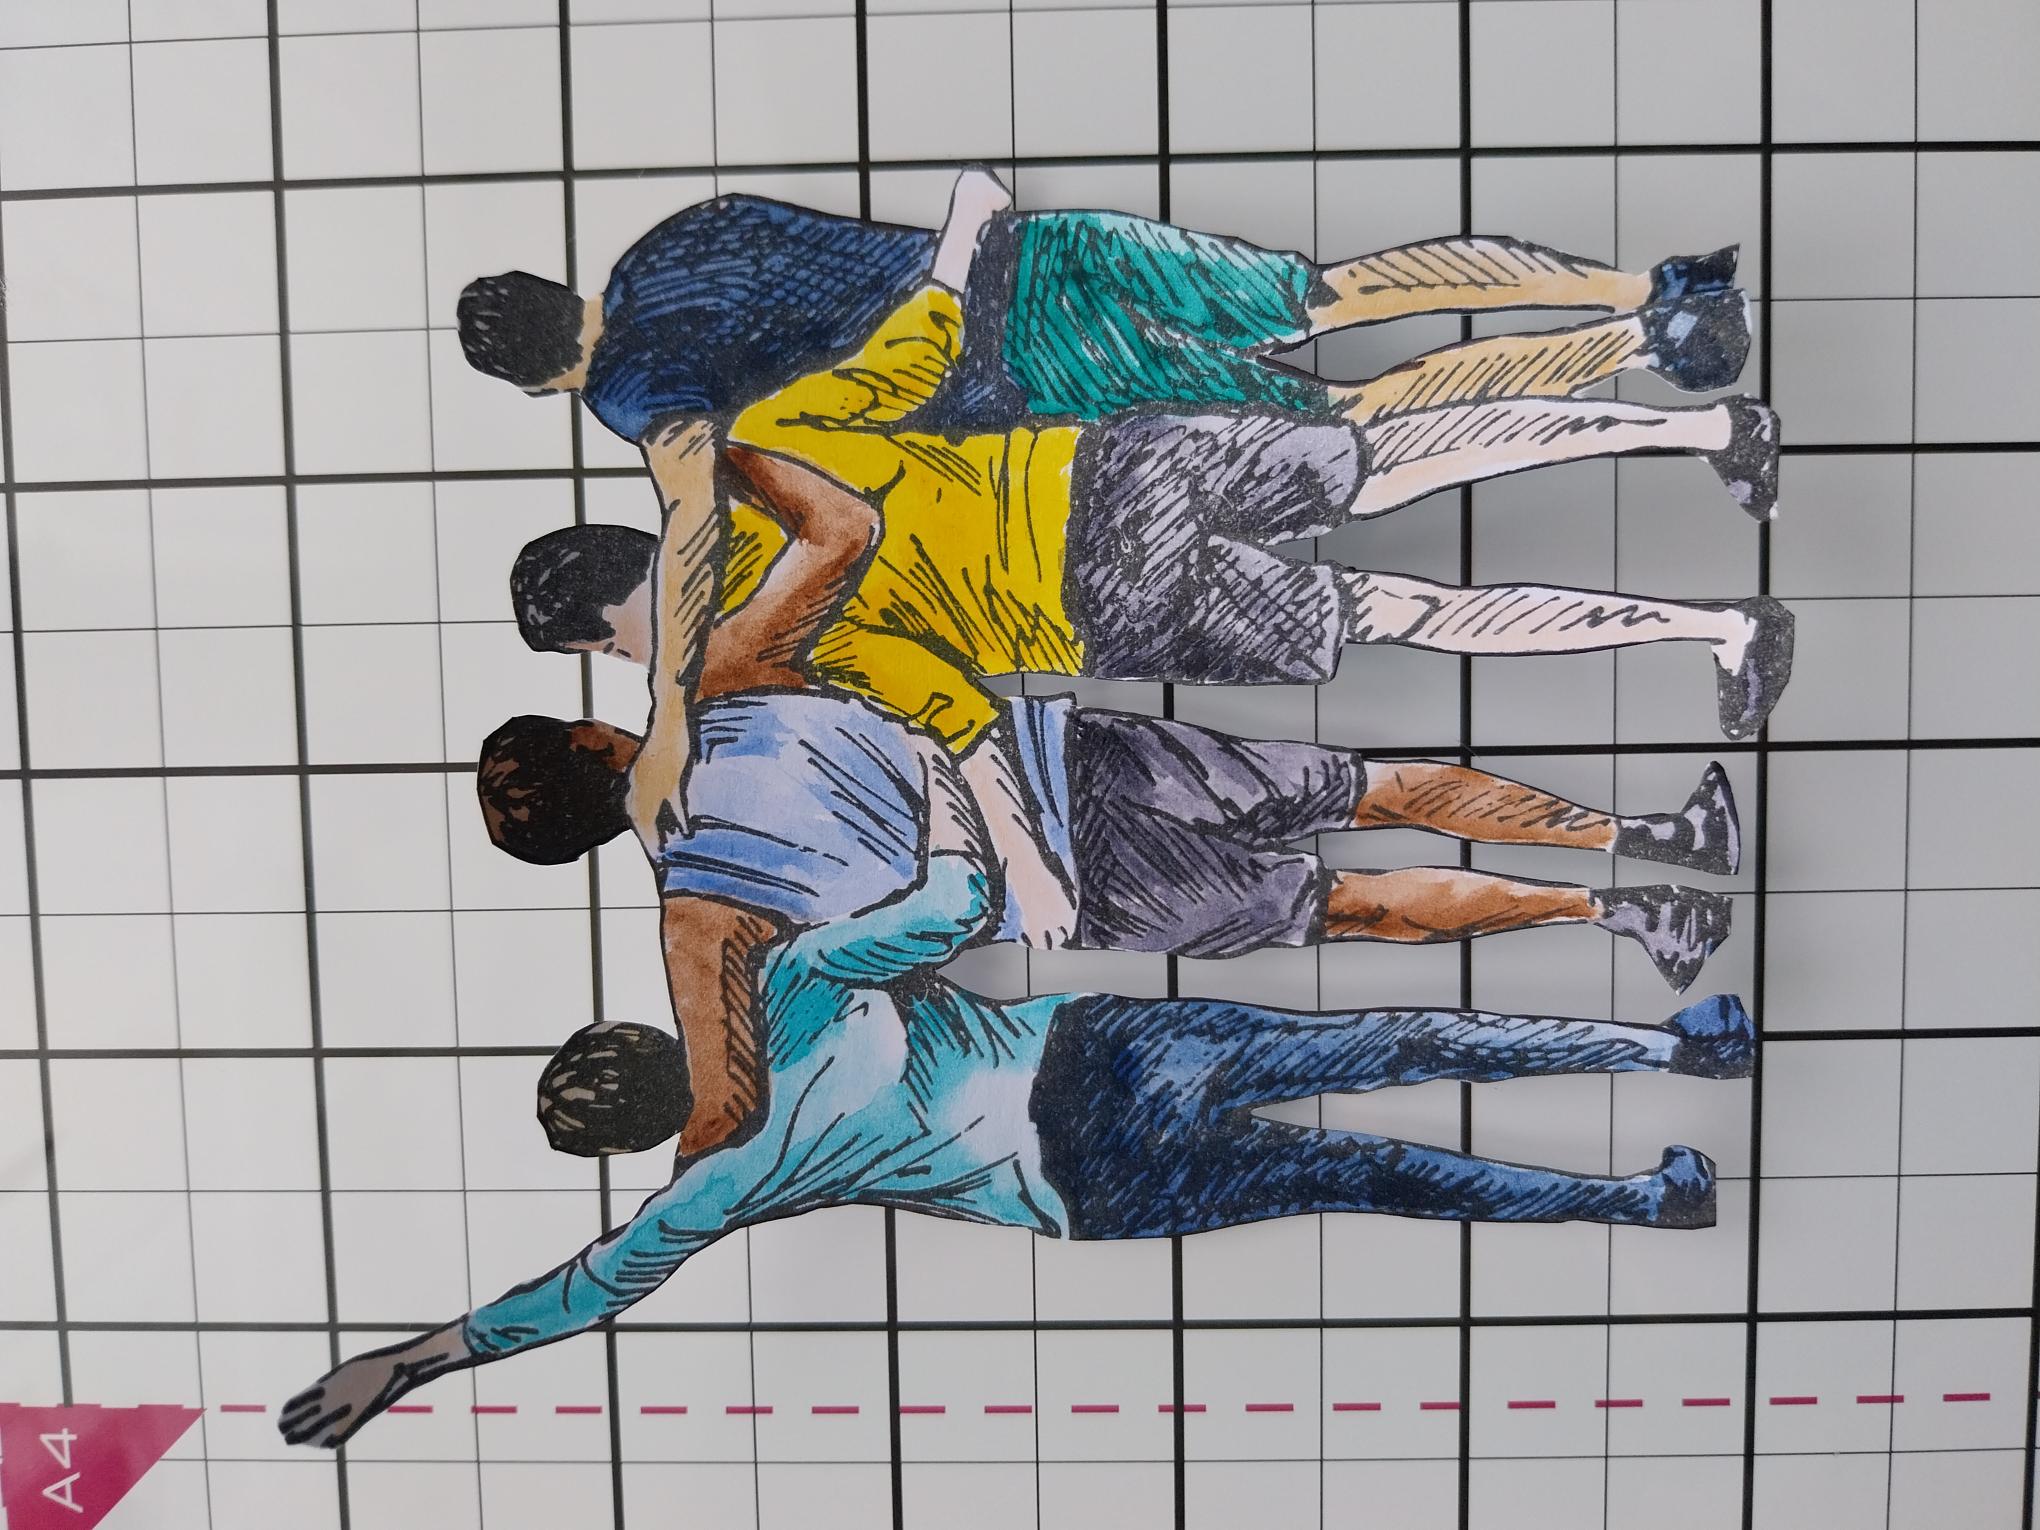
Ink the boys with Midnight, stamp on to a piece of white card and fussy cut. Use your watercolour paints to colour your image. |
|
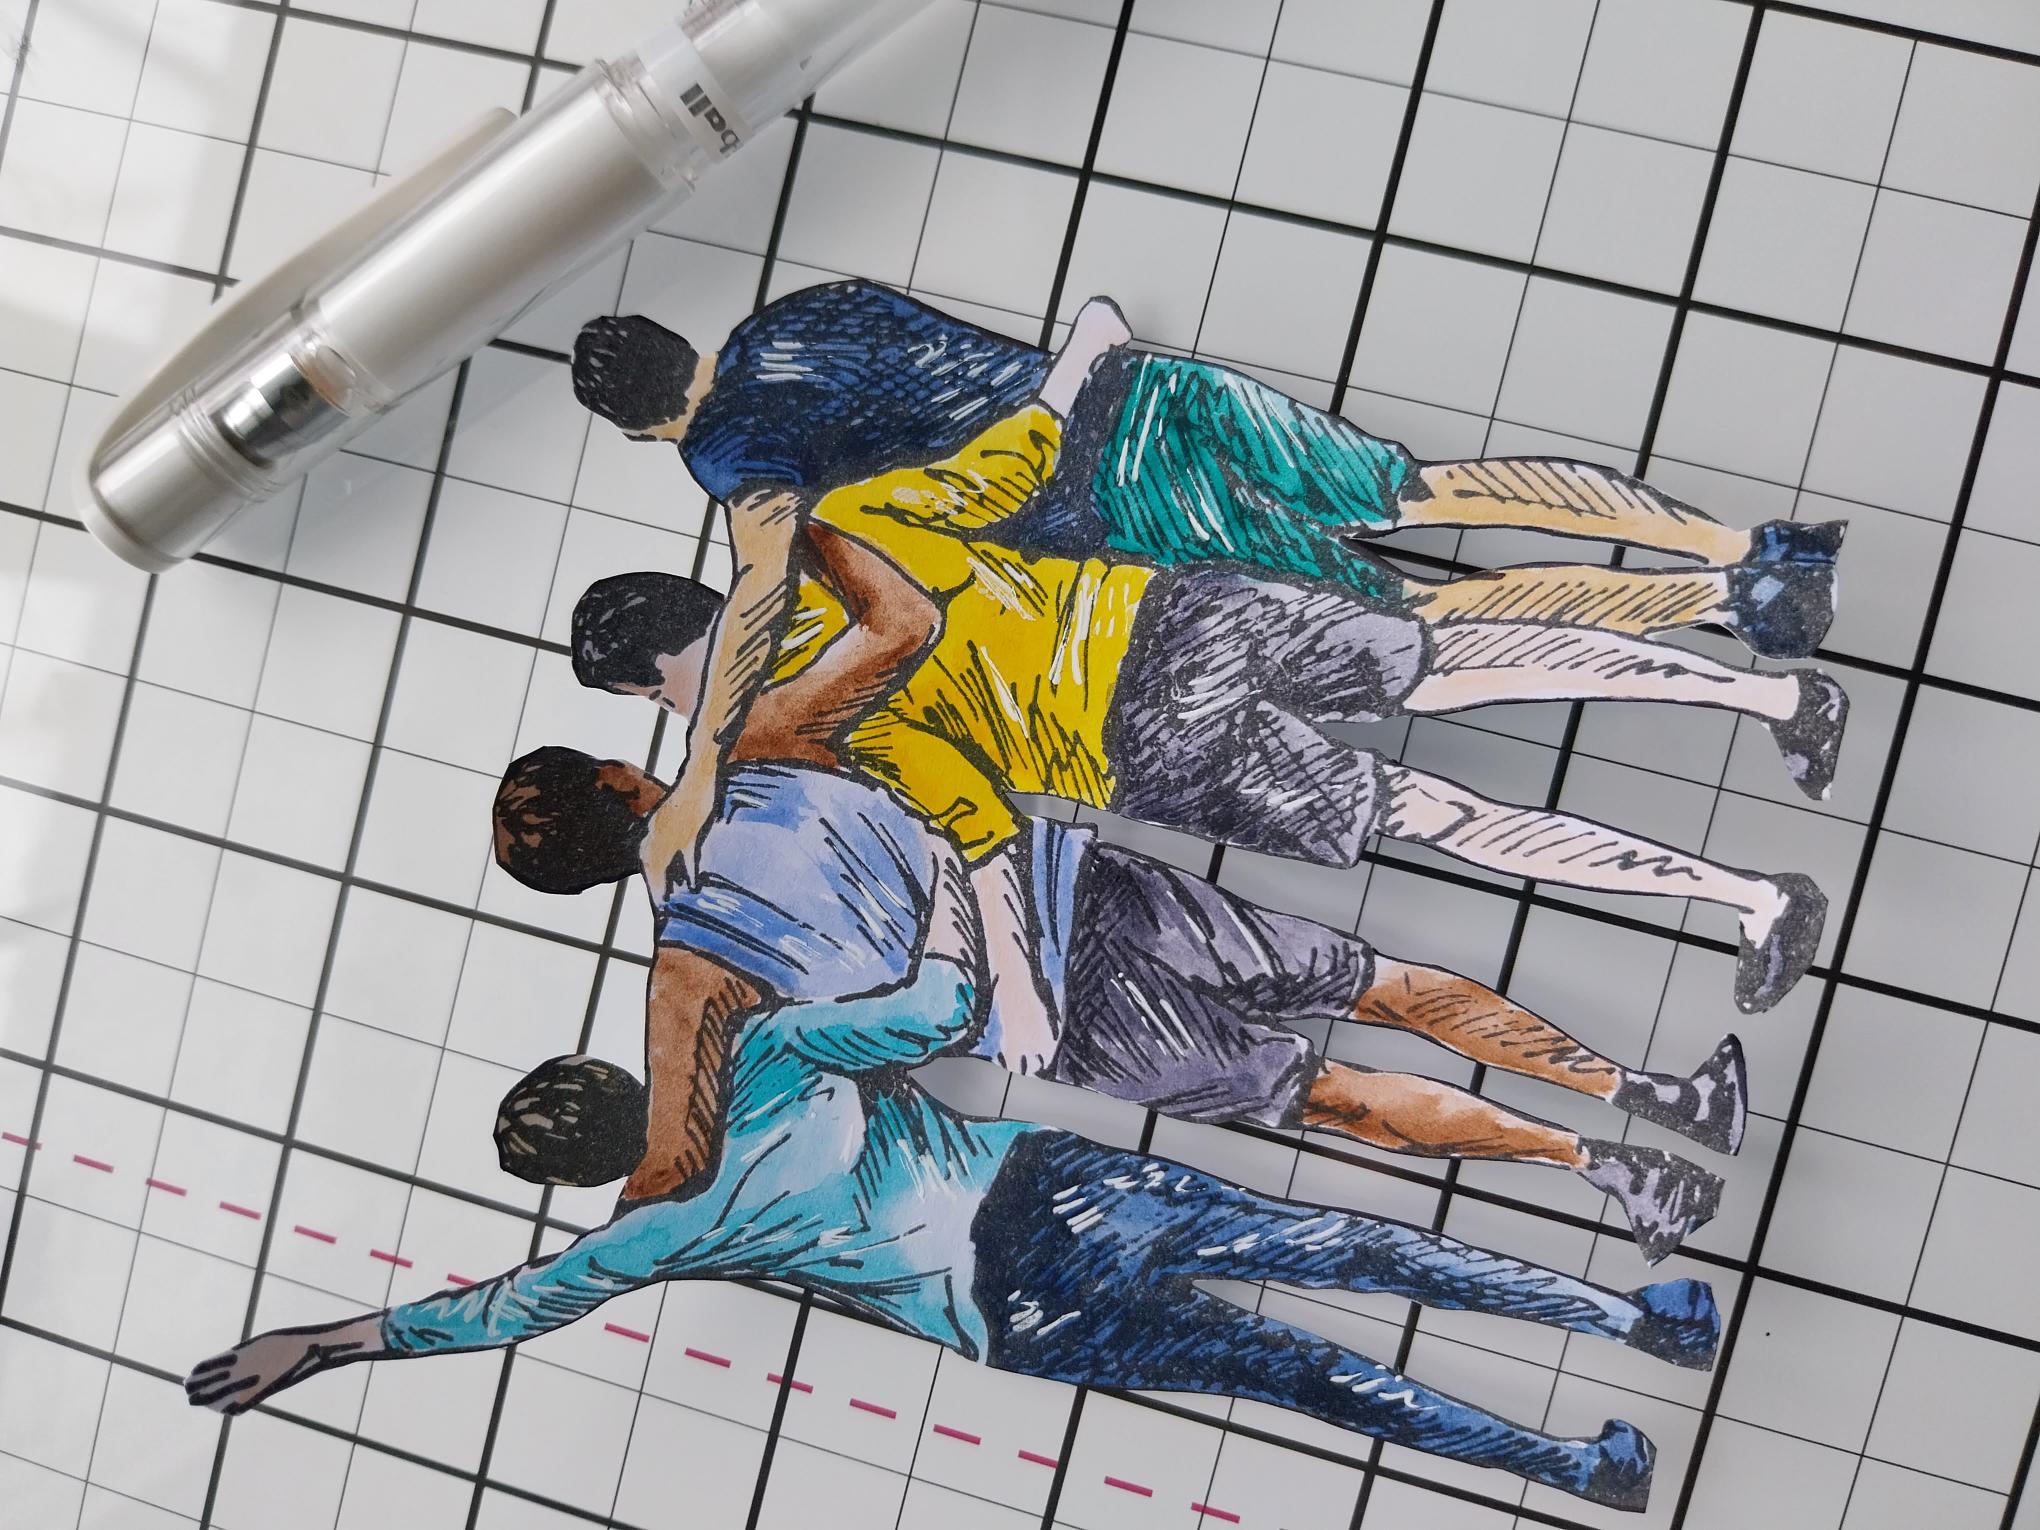
Once the paint is dry, use your Imala white gel pen to add accents and highlights. |
|
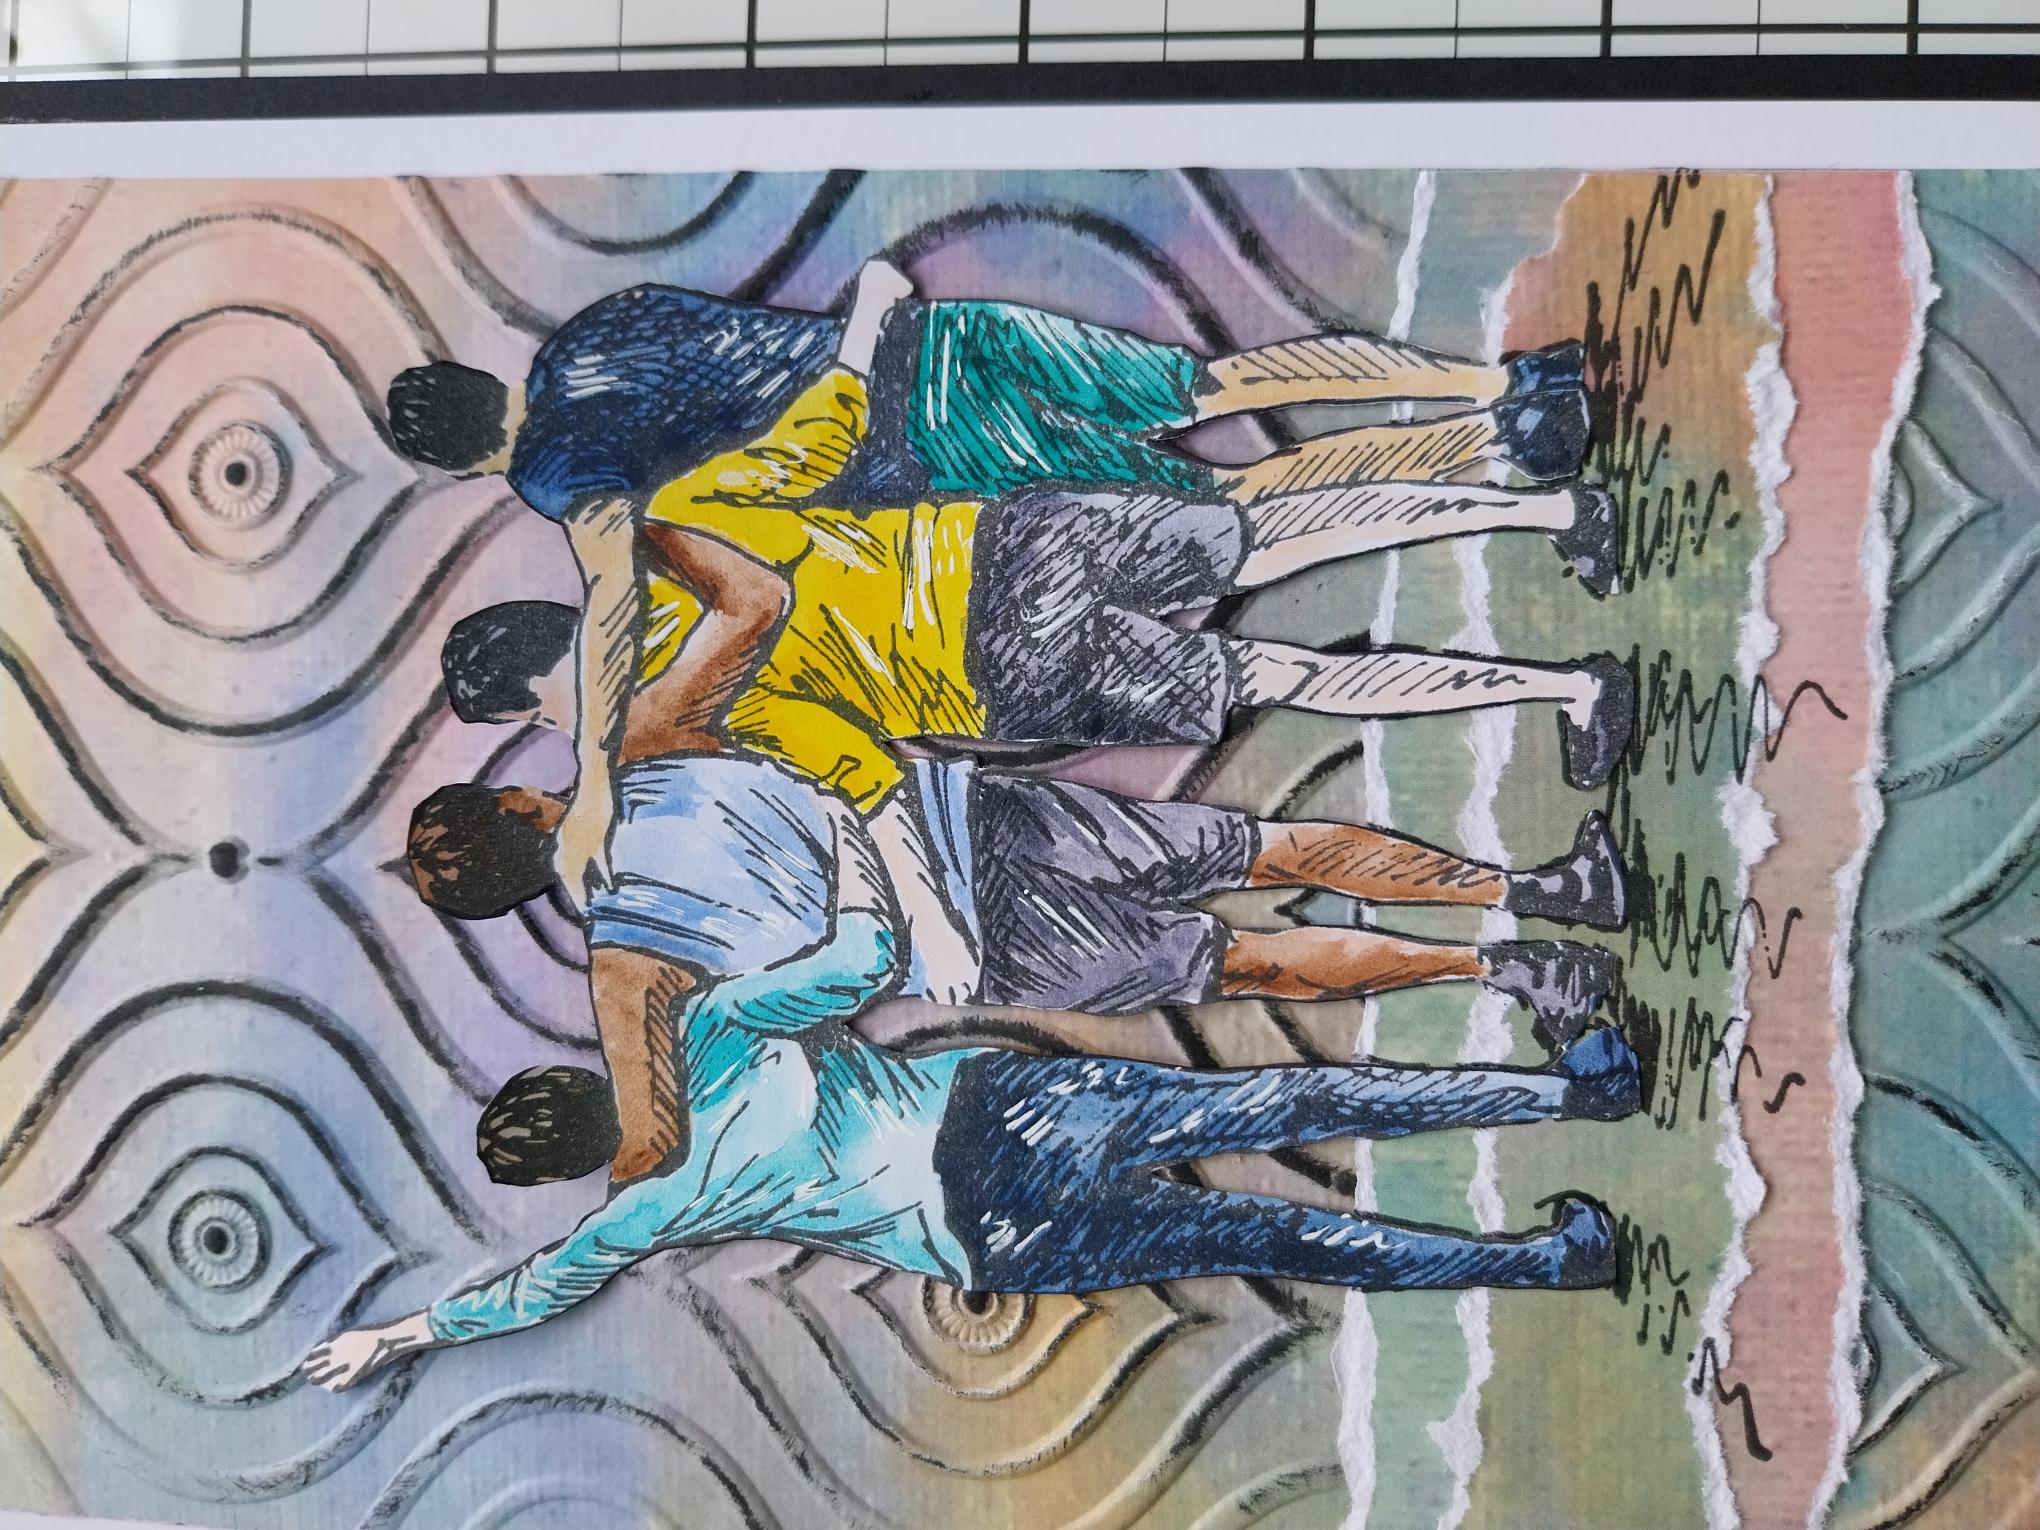
Adhere your boys on to the front of your prepped card, ensuring you line up the stamped feet, thus allowing the shadow lines to be clearly visible below. |
|
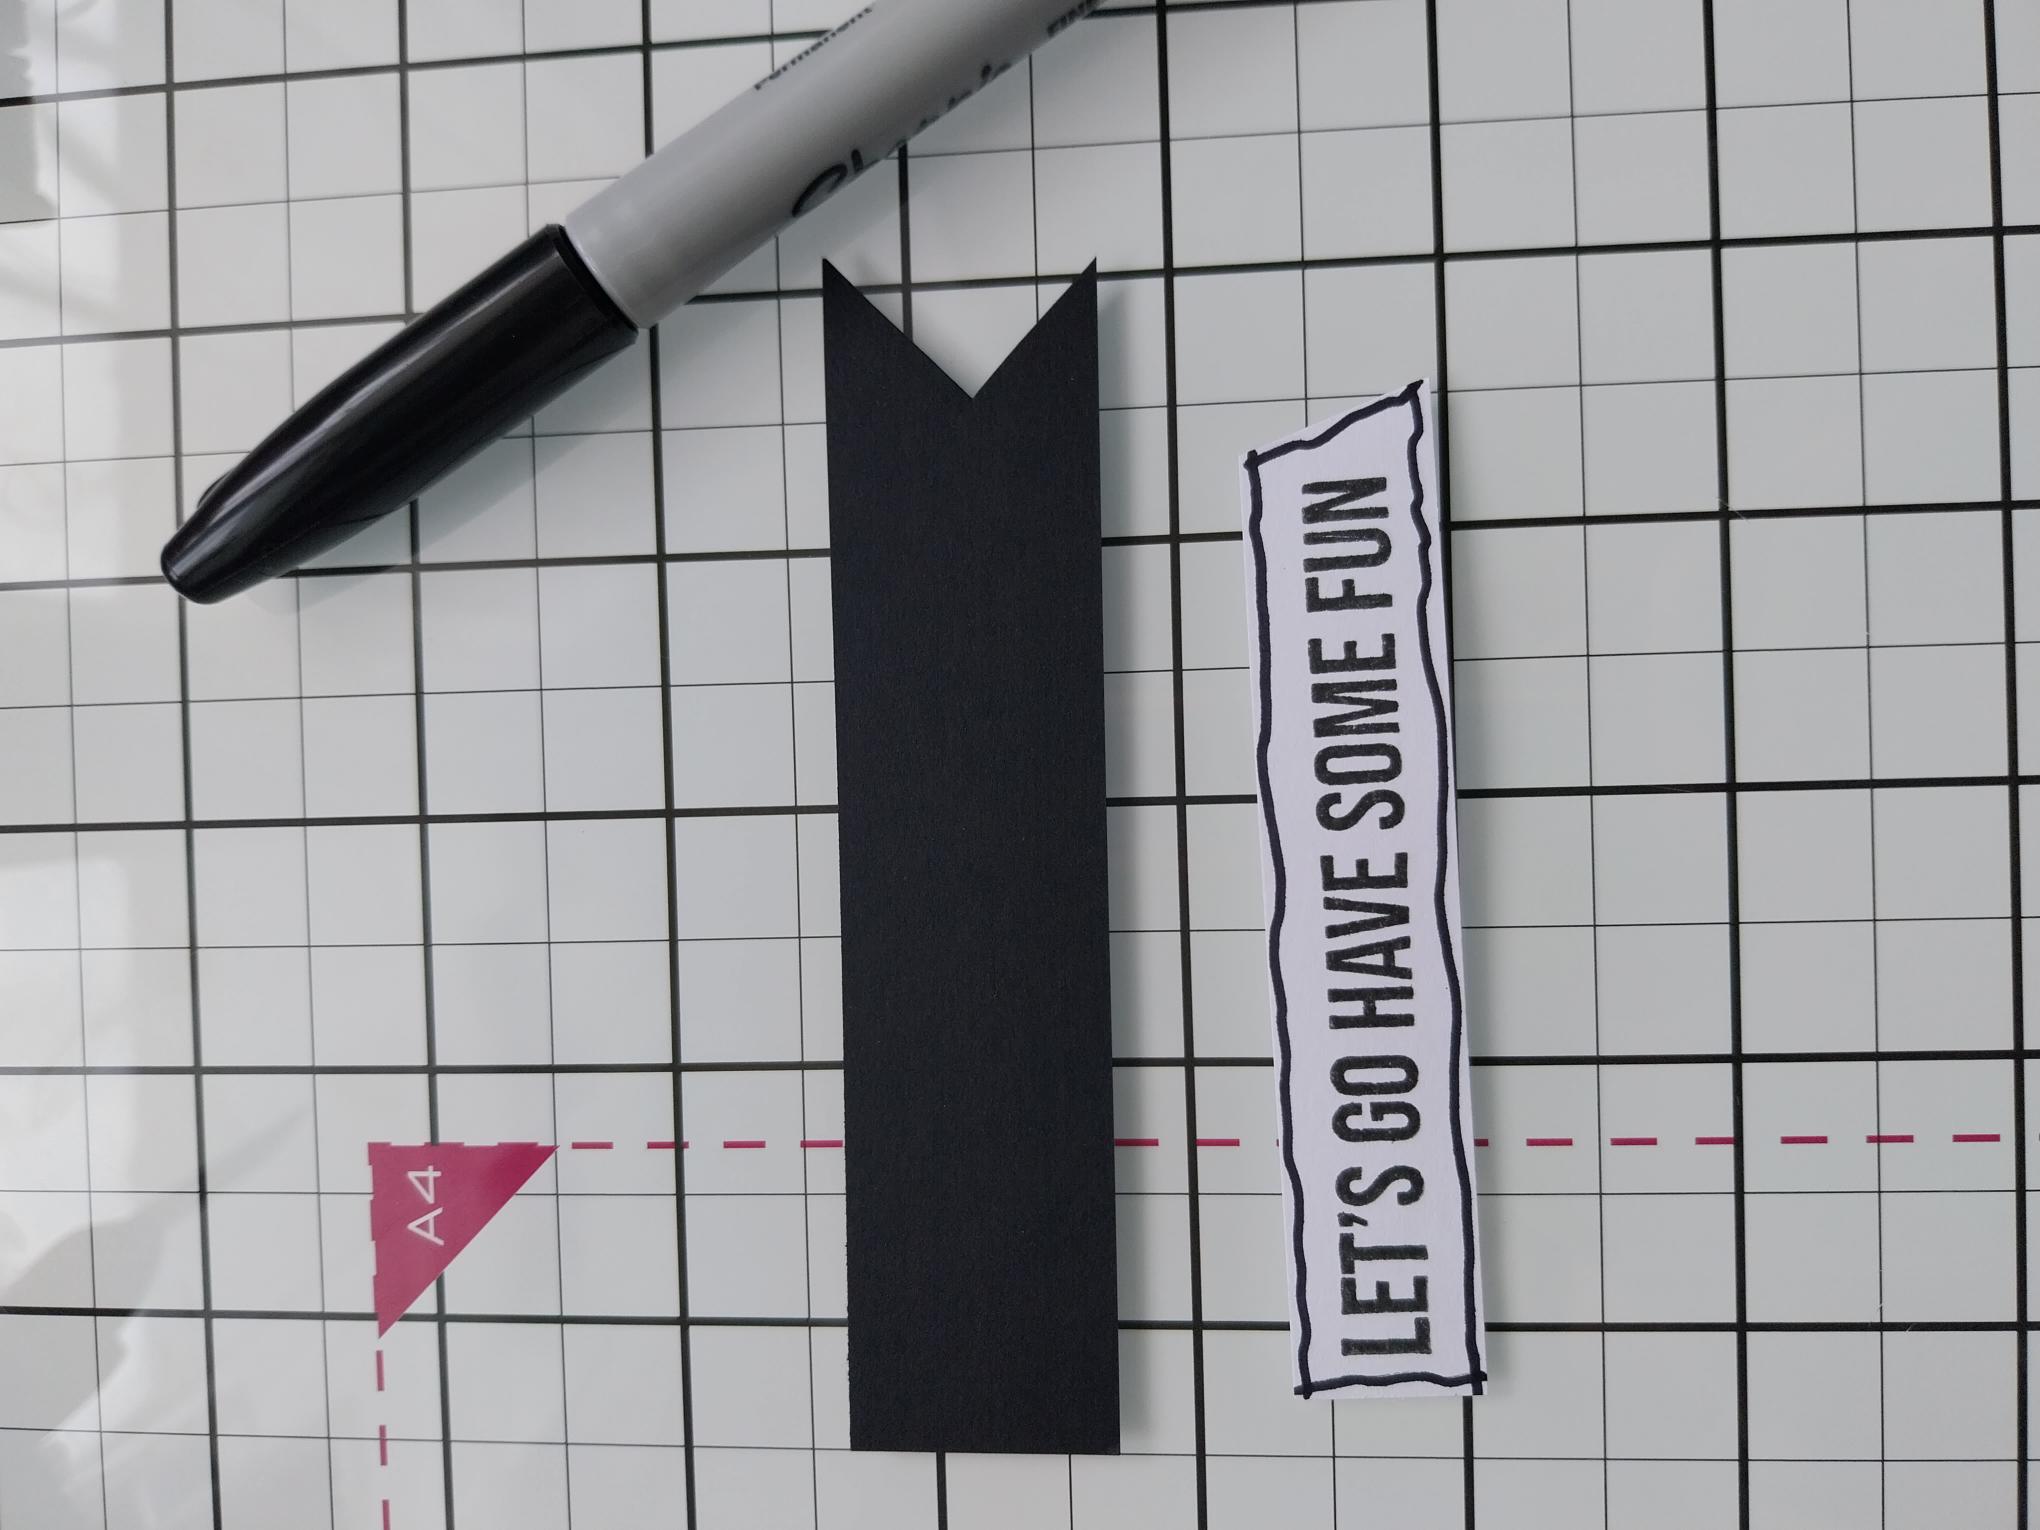
Stamp the sentiment on to a piece of white card and trim as required, using a black pen to create a decorative, wiggly frame. Create a banner from a scrap piece of black card, slightly wider and longer than your sentiment. |
|
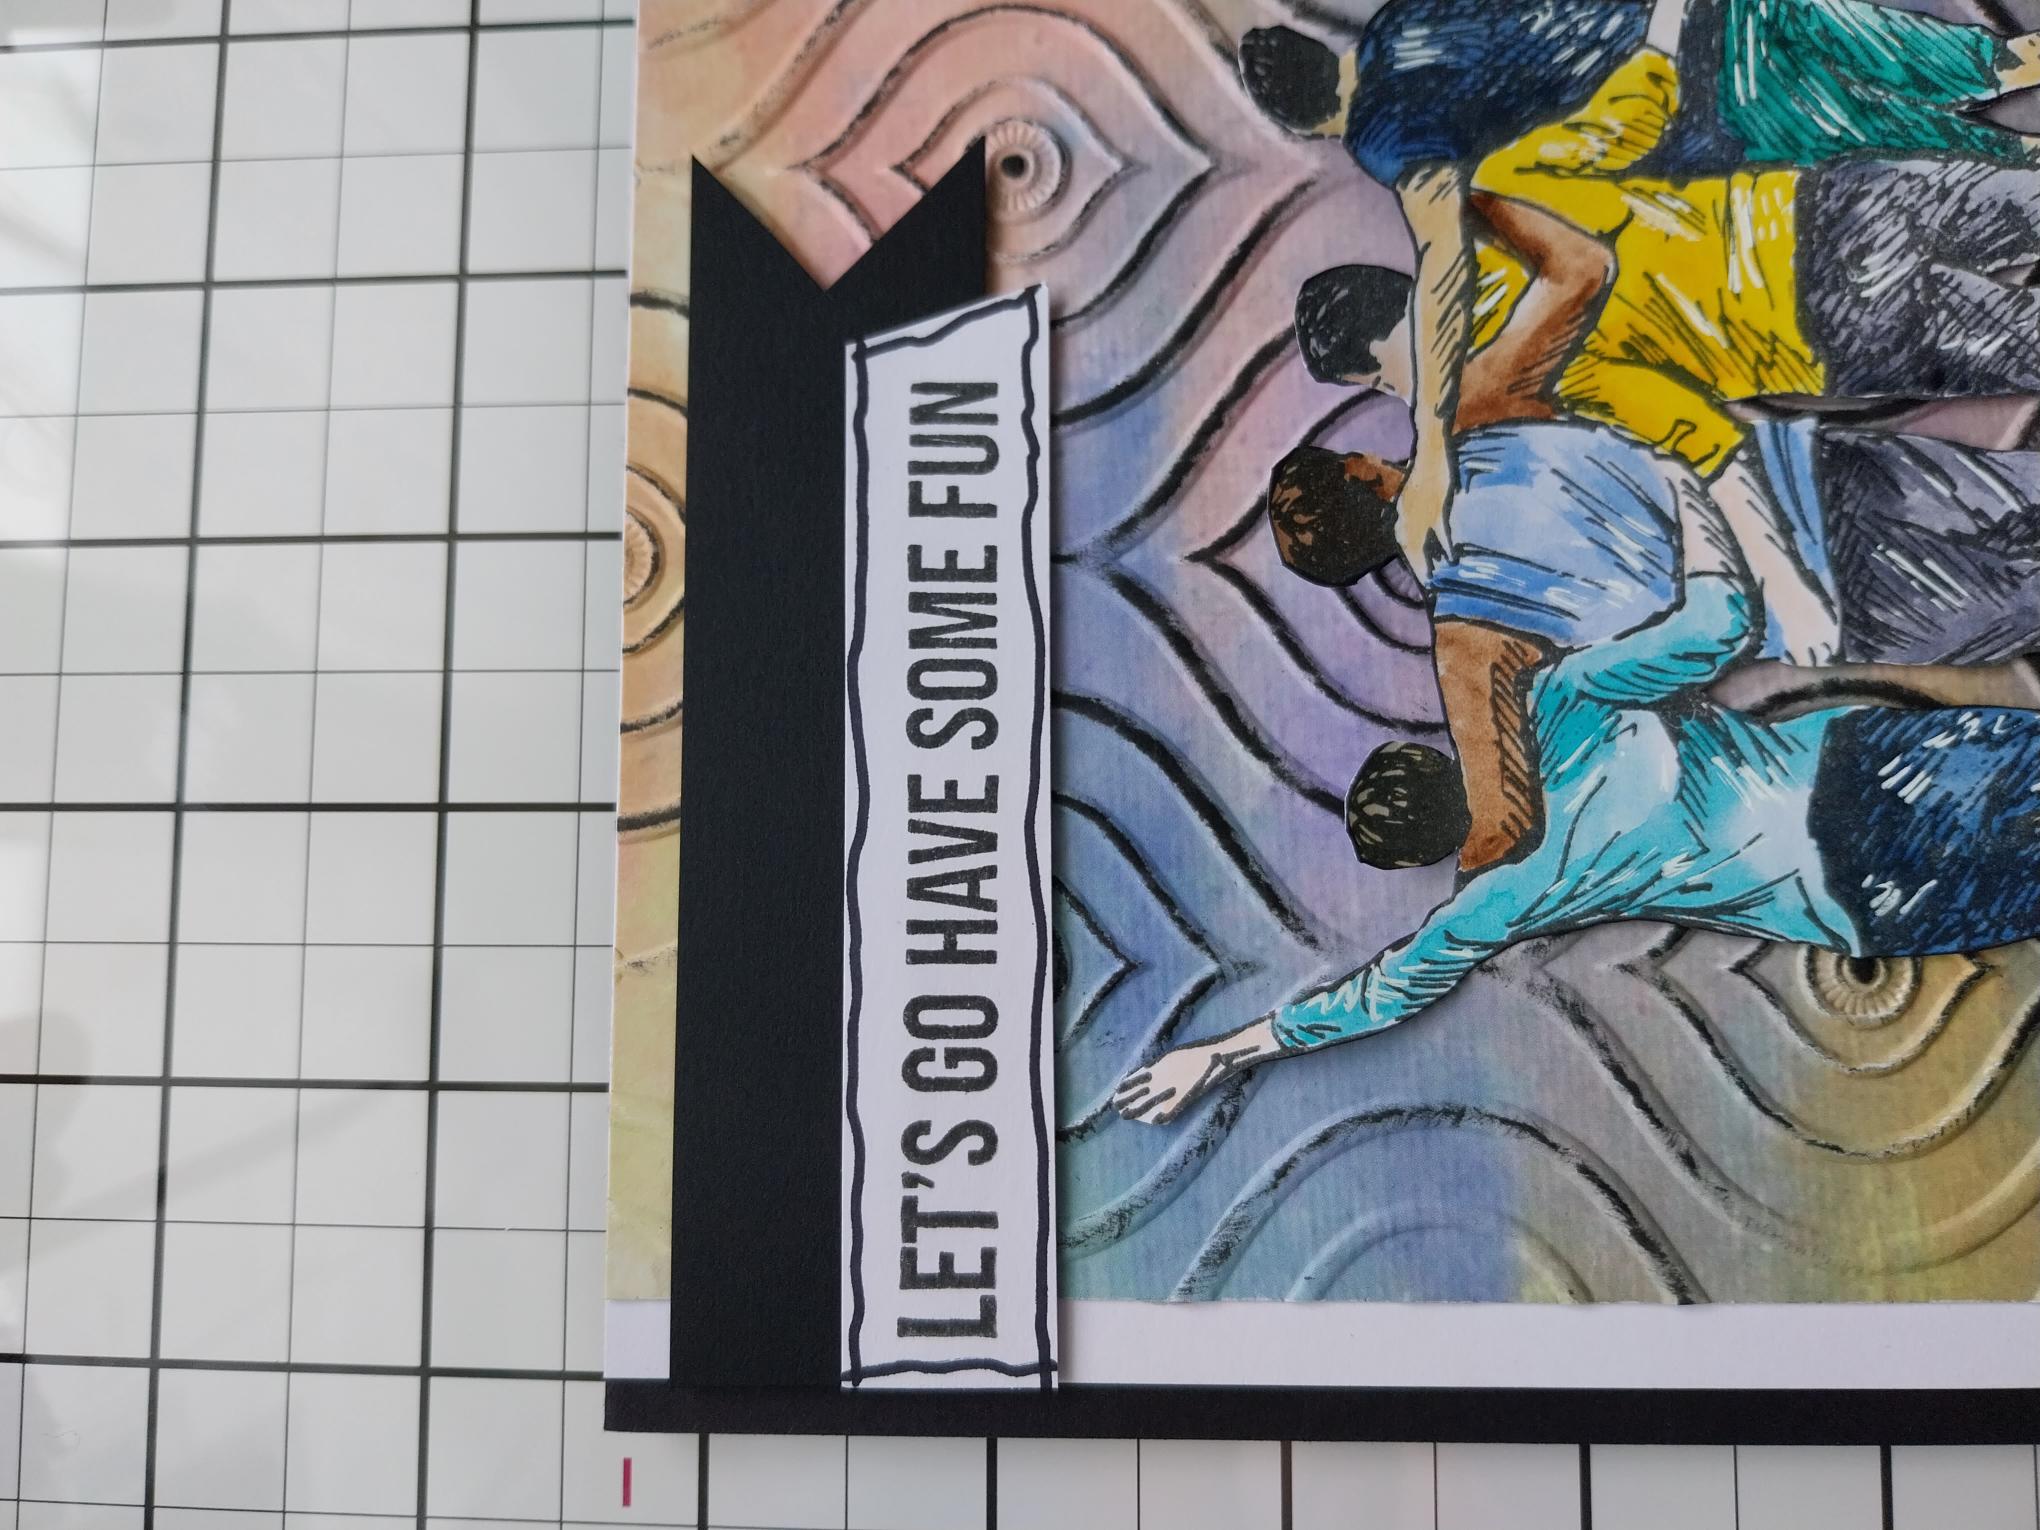
To finish, adhere the black banner flush with the edge of the white card, on the top left side. Adhere the sentiment below, flush with the white card but this time using a foam pad, to create dimension. |