

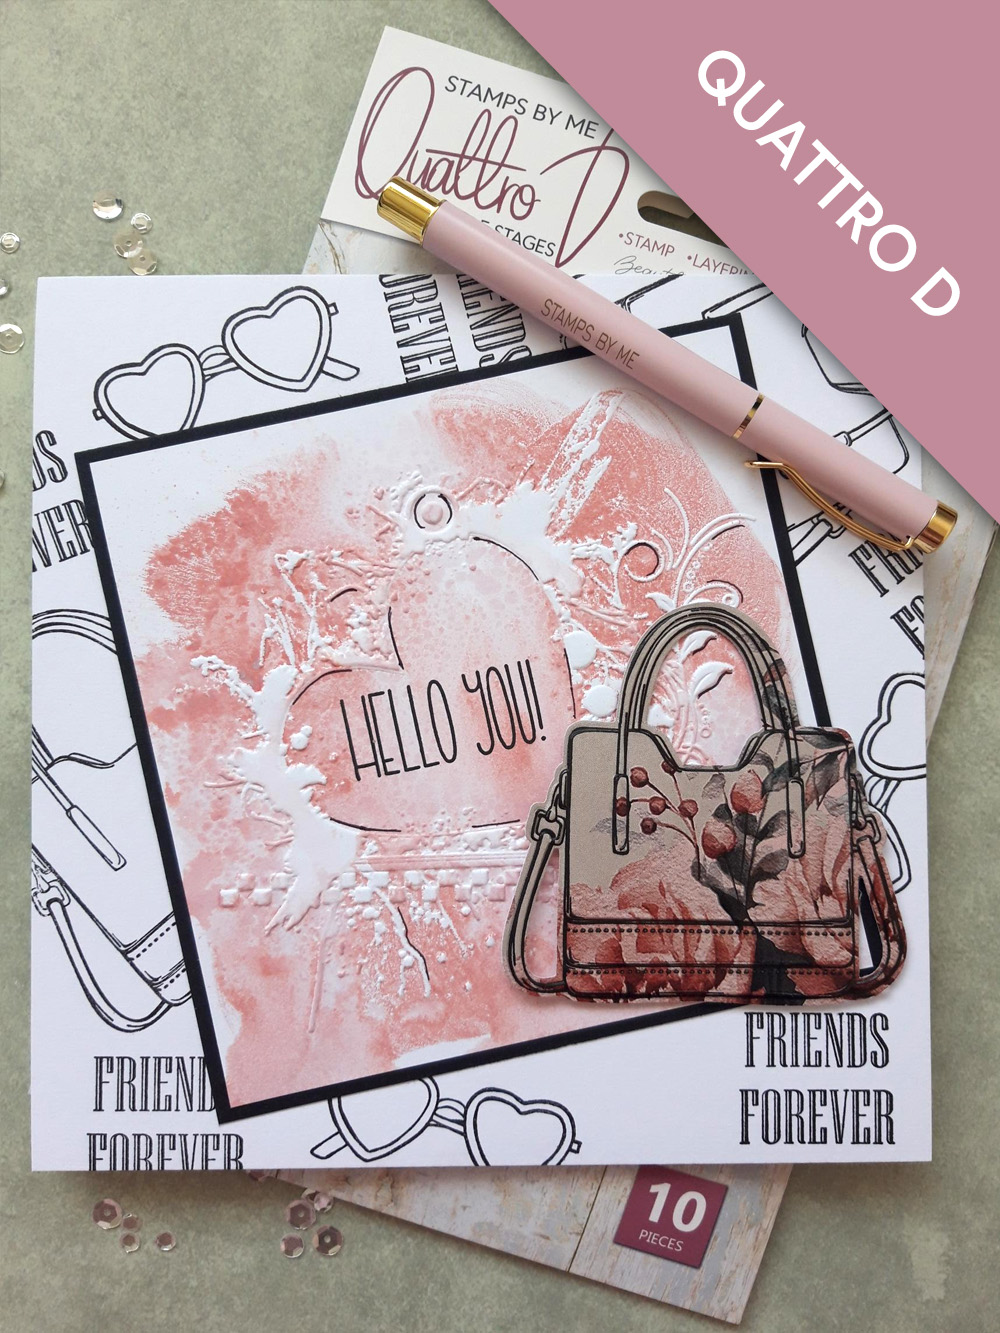
WHAT YOU WILL NEED:
White card blank 7 1/2 x 7 1/2"
Black card 5 3/4 x 5 3/4"
White card 6 x 6"
White card 4 x 4"
Quattro D Stay Fancy Collection
Forever Lilies Stamp and Die Collection
Daisy Delight Stamp and Die Collection
HD3D Love & Happiness Embossing Folder
SBM Collectors Edition Box Kit Magazine: Decorative Papers
SBM Hybrid Ink Pad: Midnight
Distress Oxide Ink pad: Victorian Velvet
Spot Brush Blending Tool
Water spray bottle
Black pen
Eureka 101 Watercolour Tablet
SBM Magnetic glass mat
Paper Trimmer
Perfect Together Glue
Die Cutting machine
[click image to enlarge] 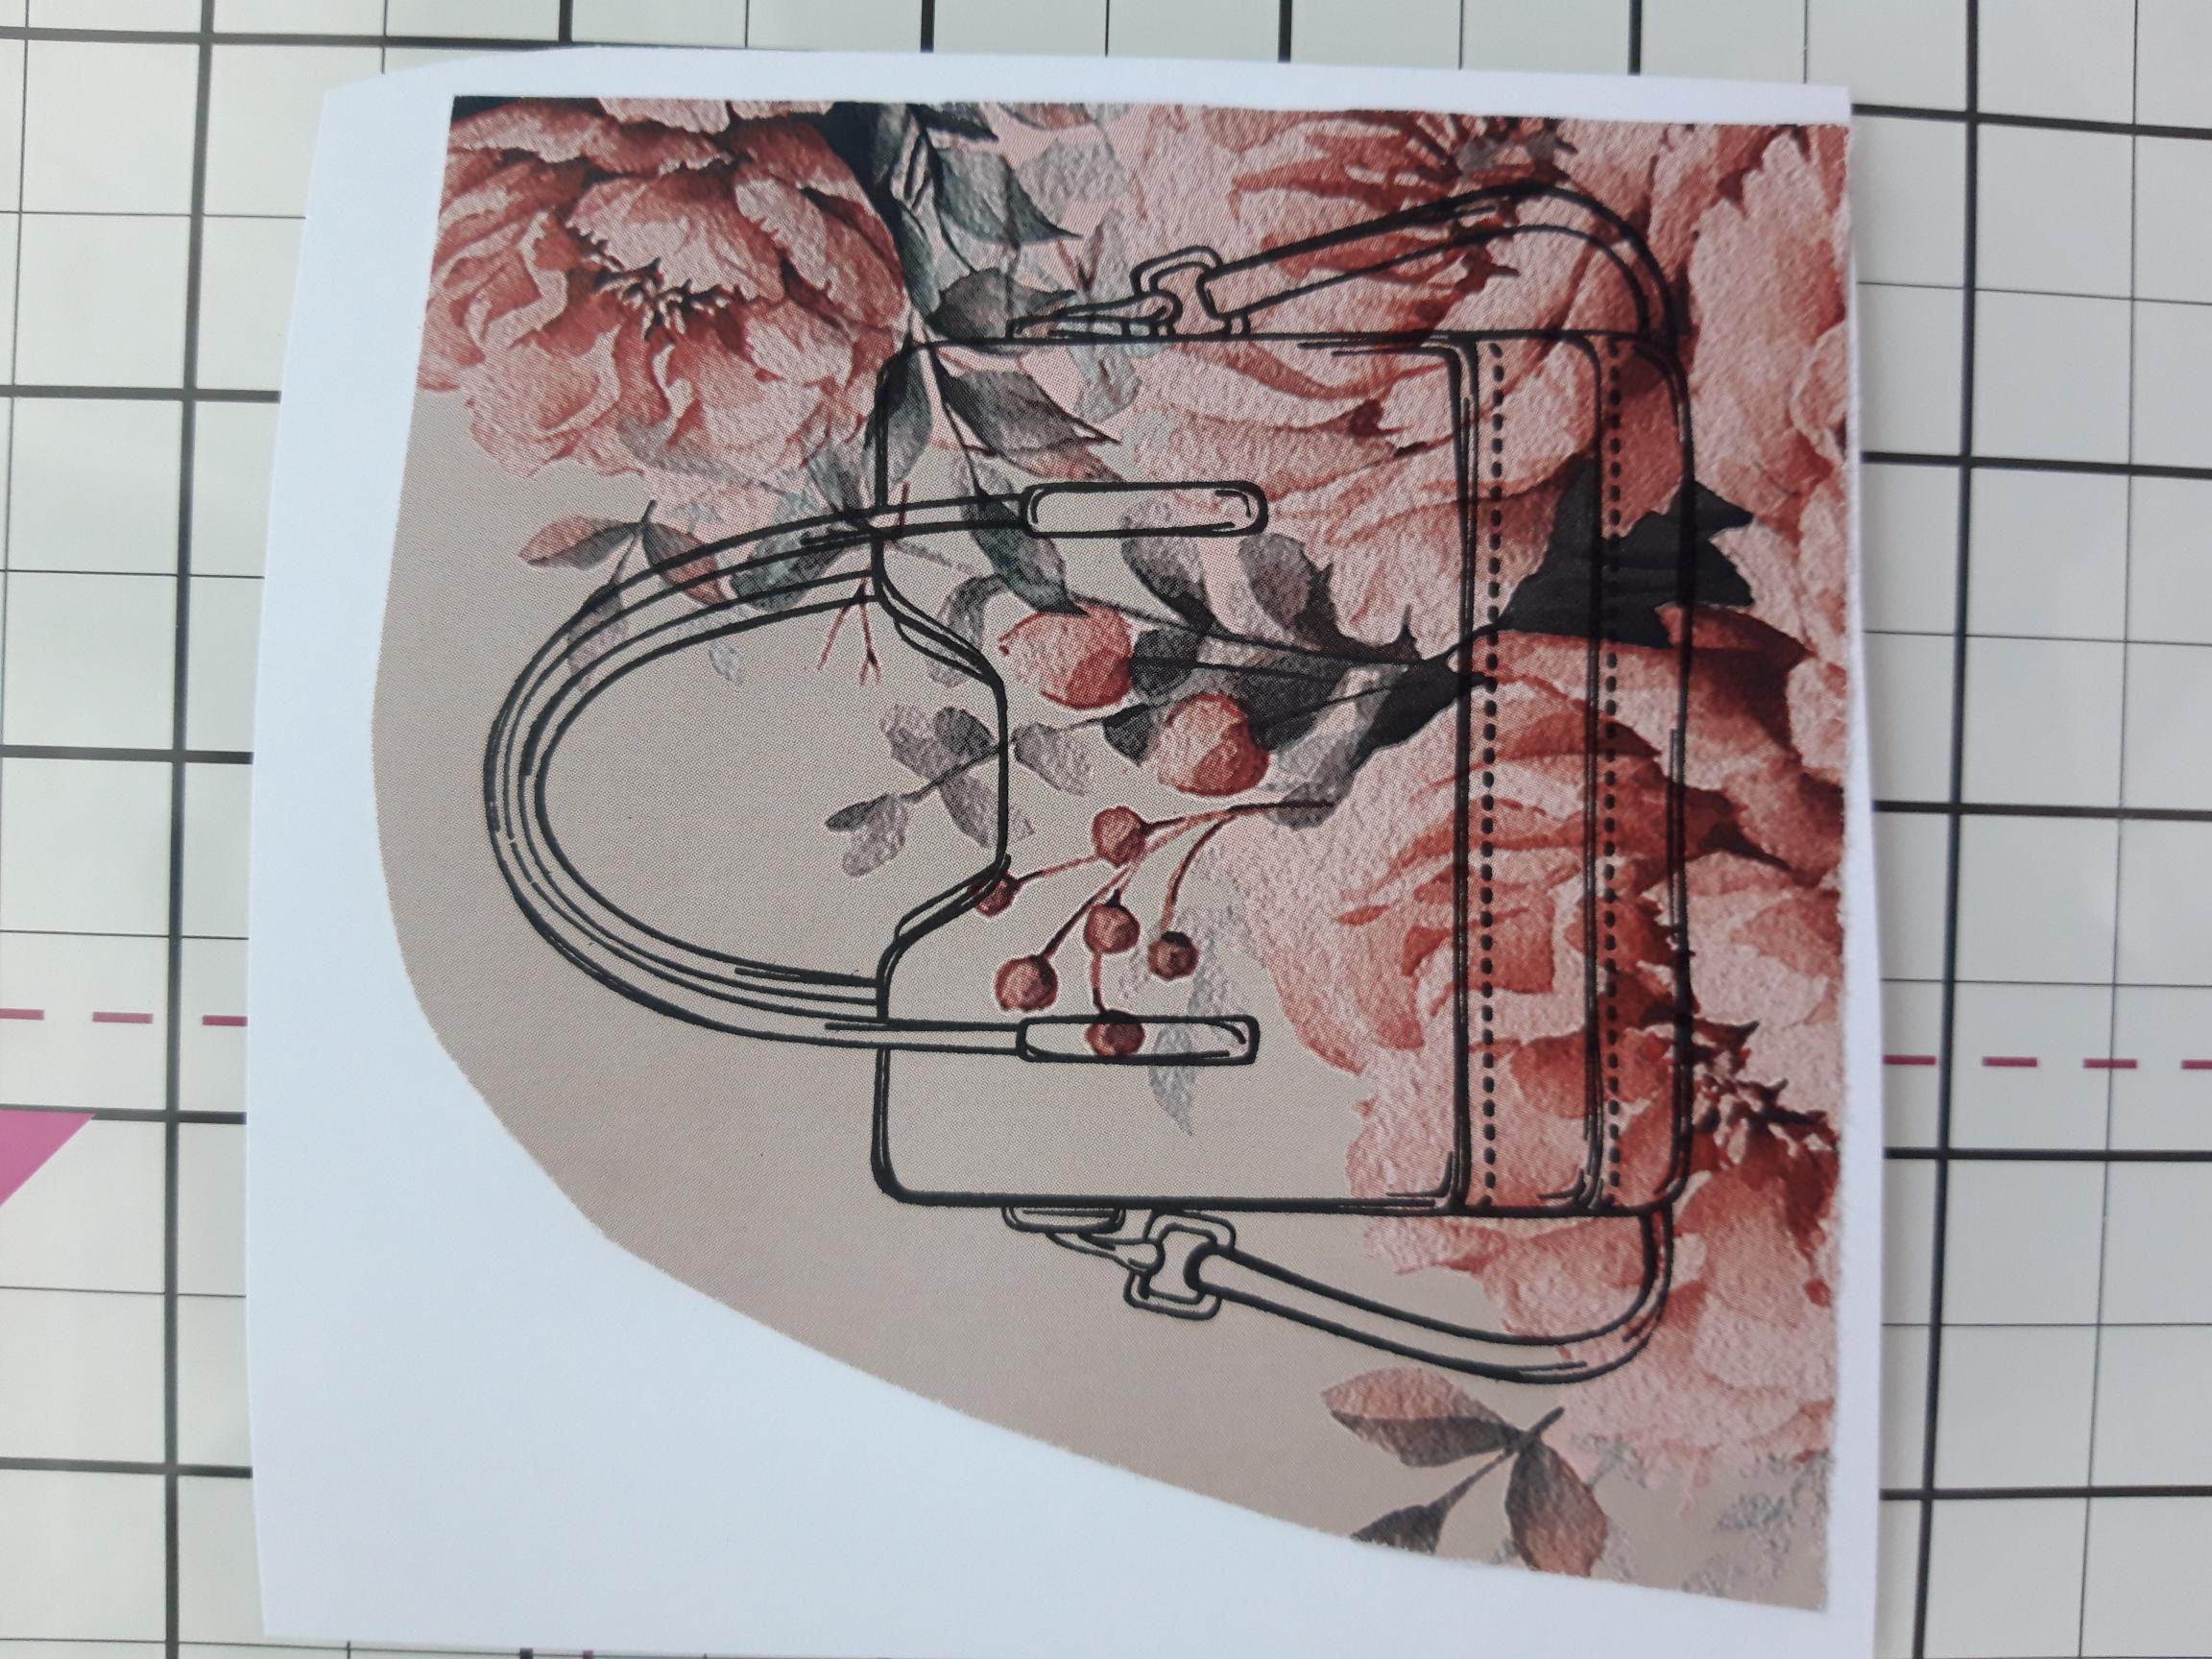
|
Choose one of the decorative papers from the SBM Box Kit magazine and cut a piece slightly bigger than the Quattro D handbag stamp. Adhere this on to the 4" square white card. Ink up the handbag stamp with the Midnight Hybrid ink and stamp on to the reinforced decorative paper. |
|
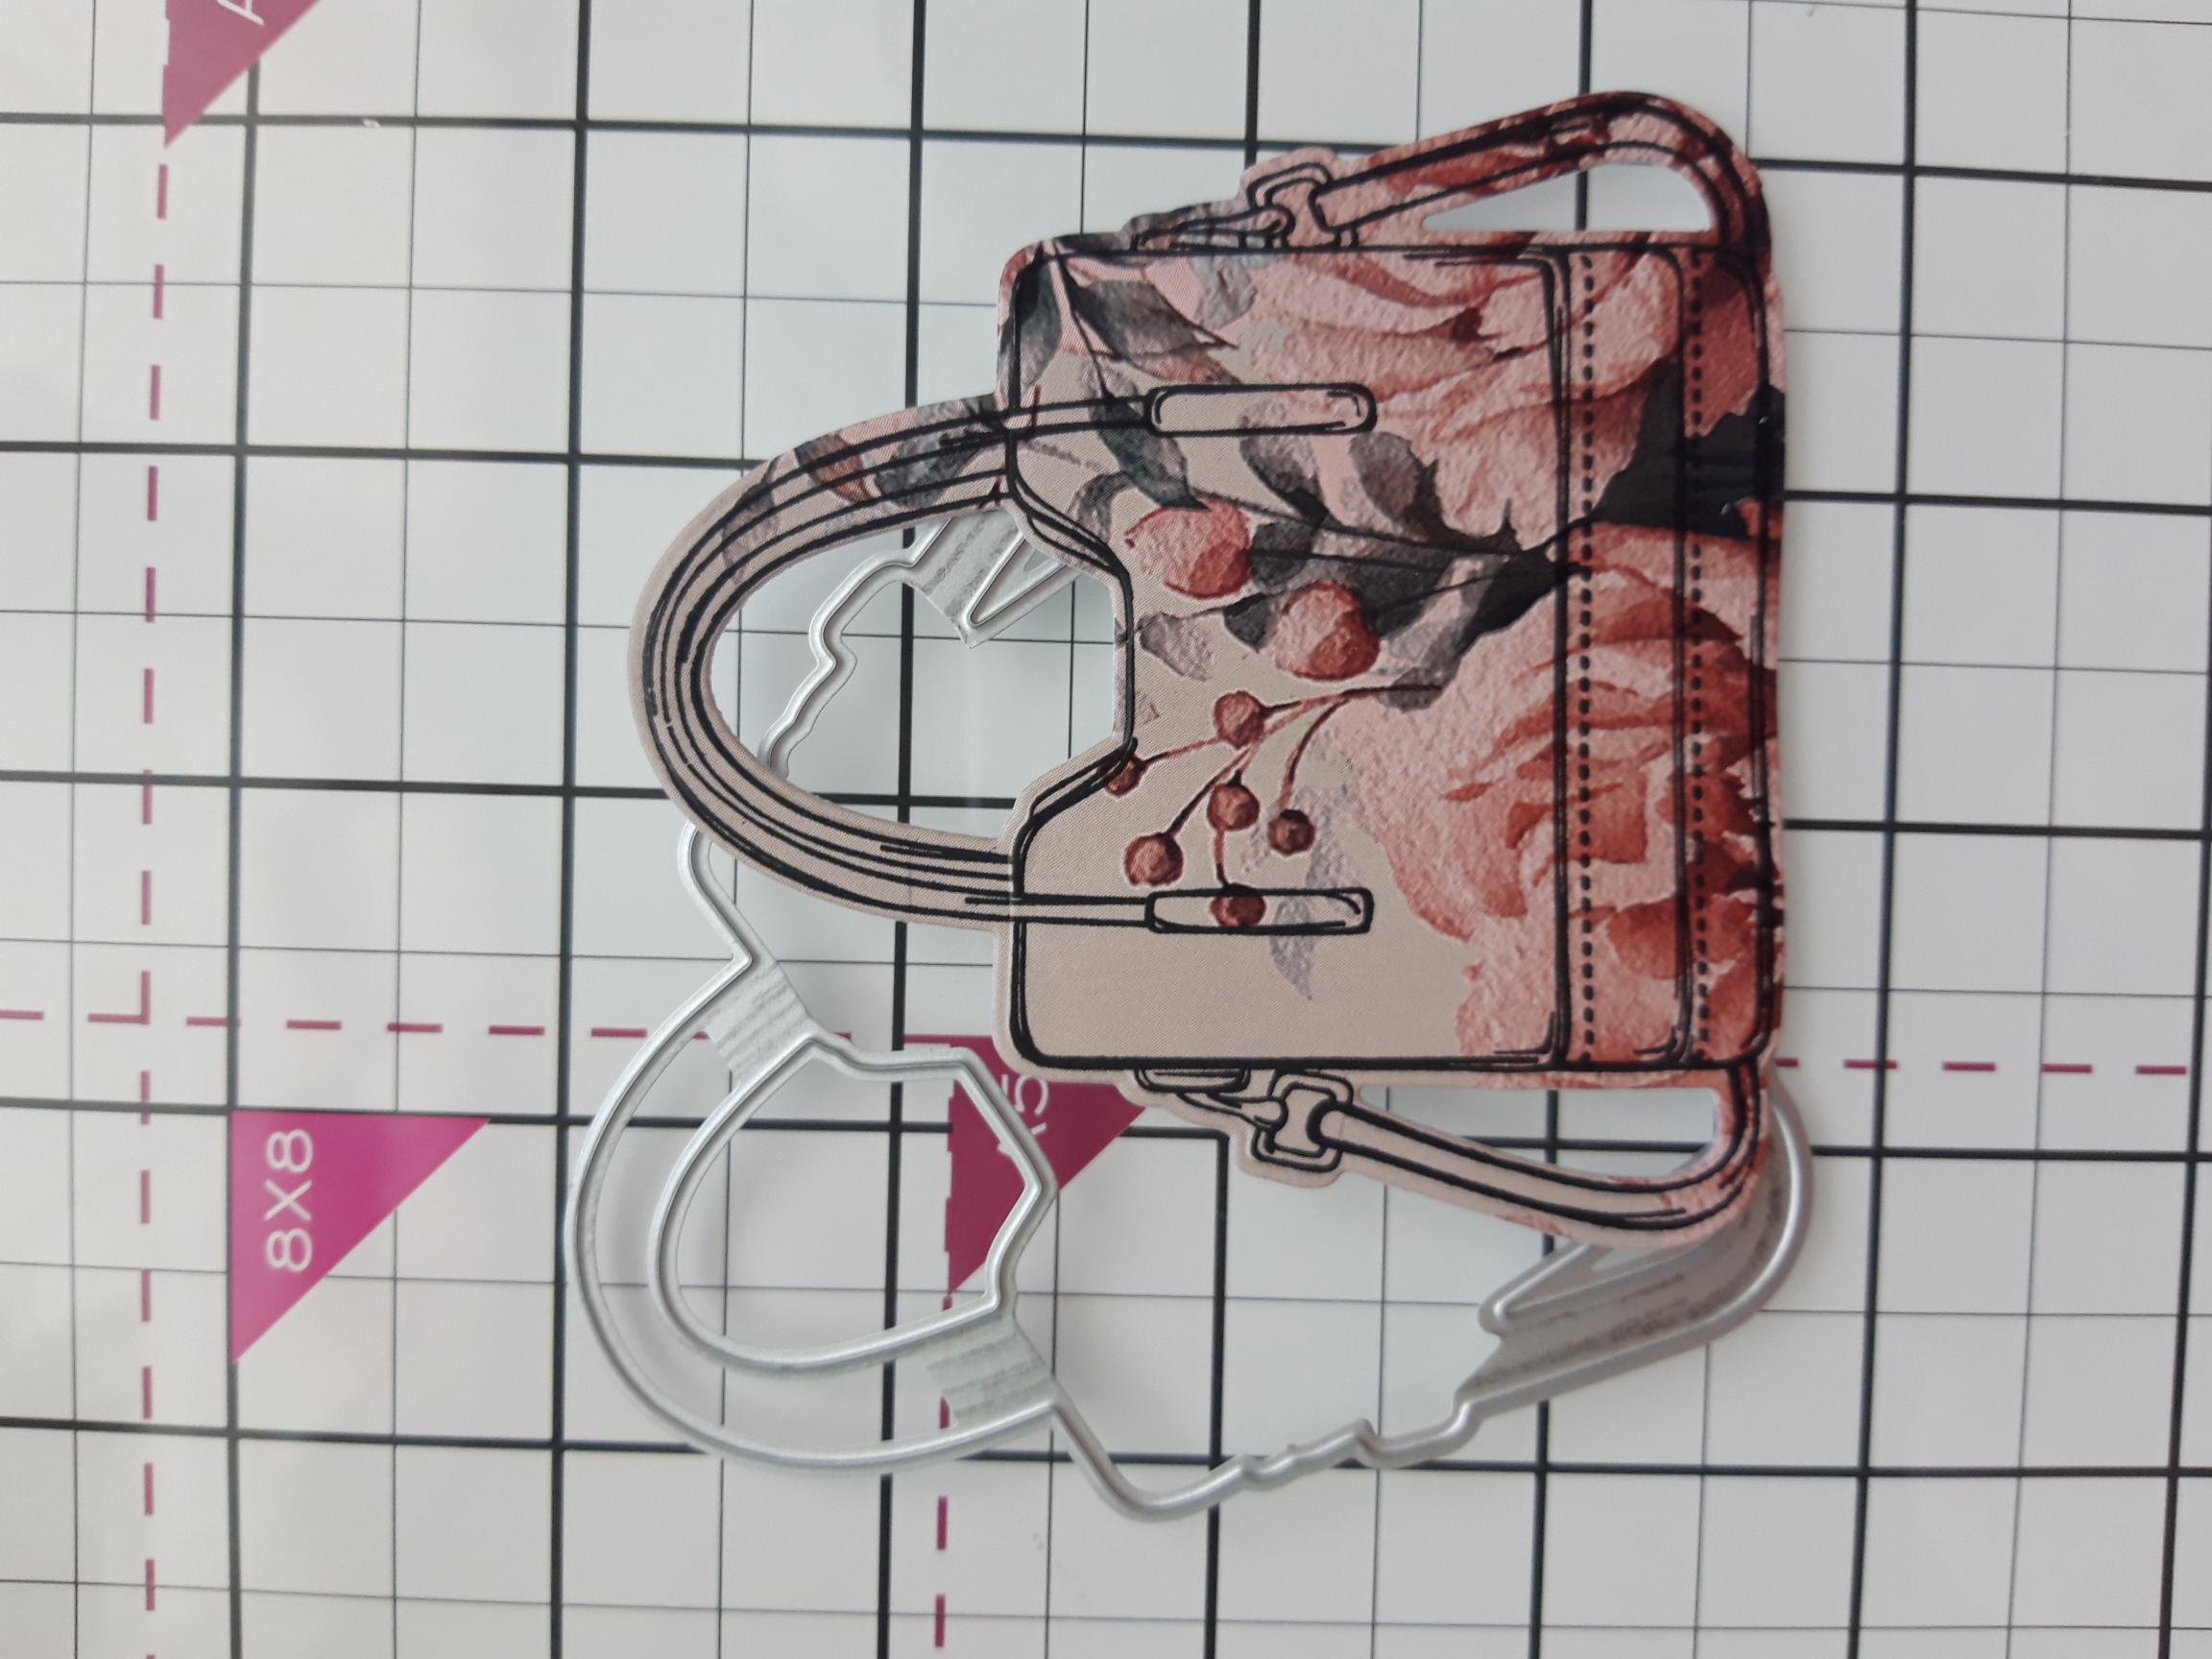
Place the coordinating die over your stamped image and run through your die cutting machine. |
|
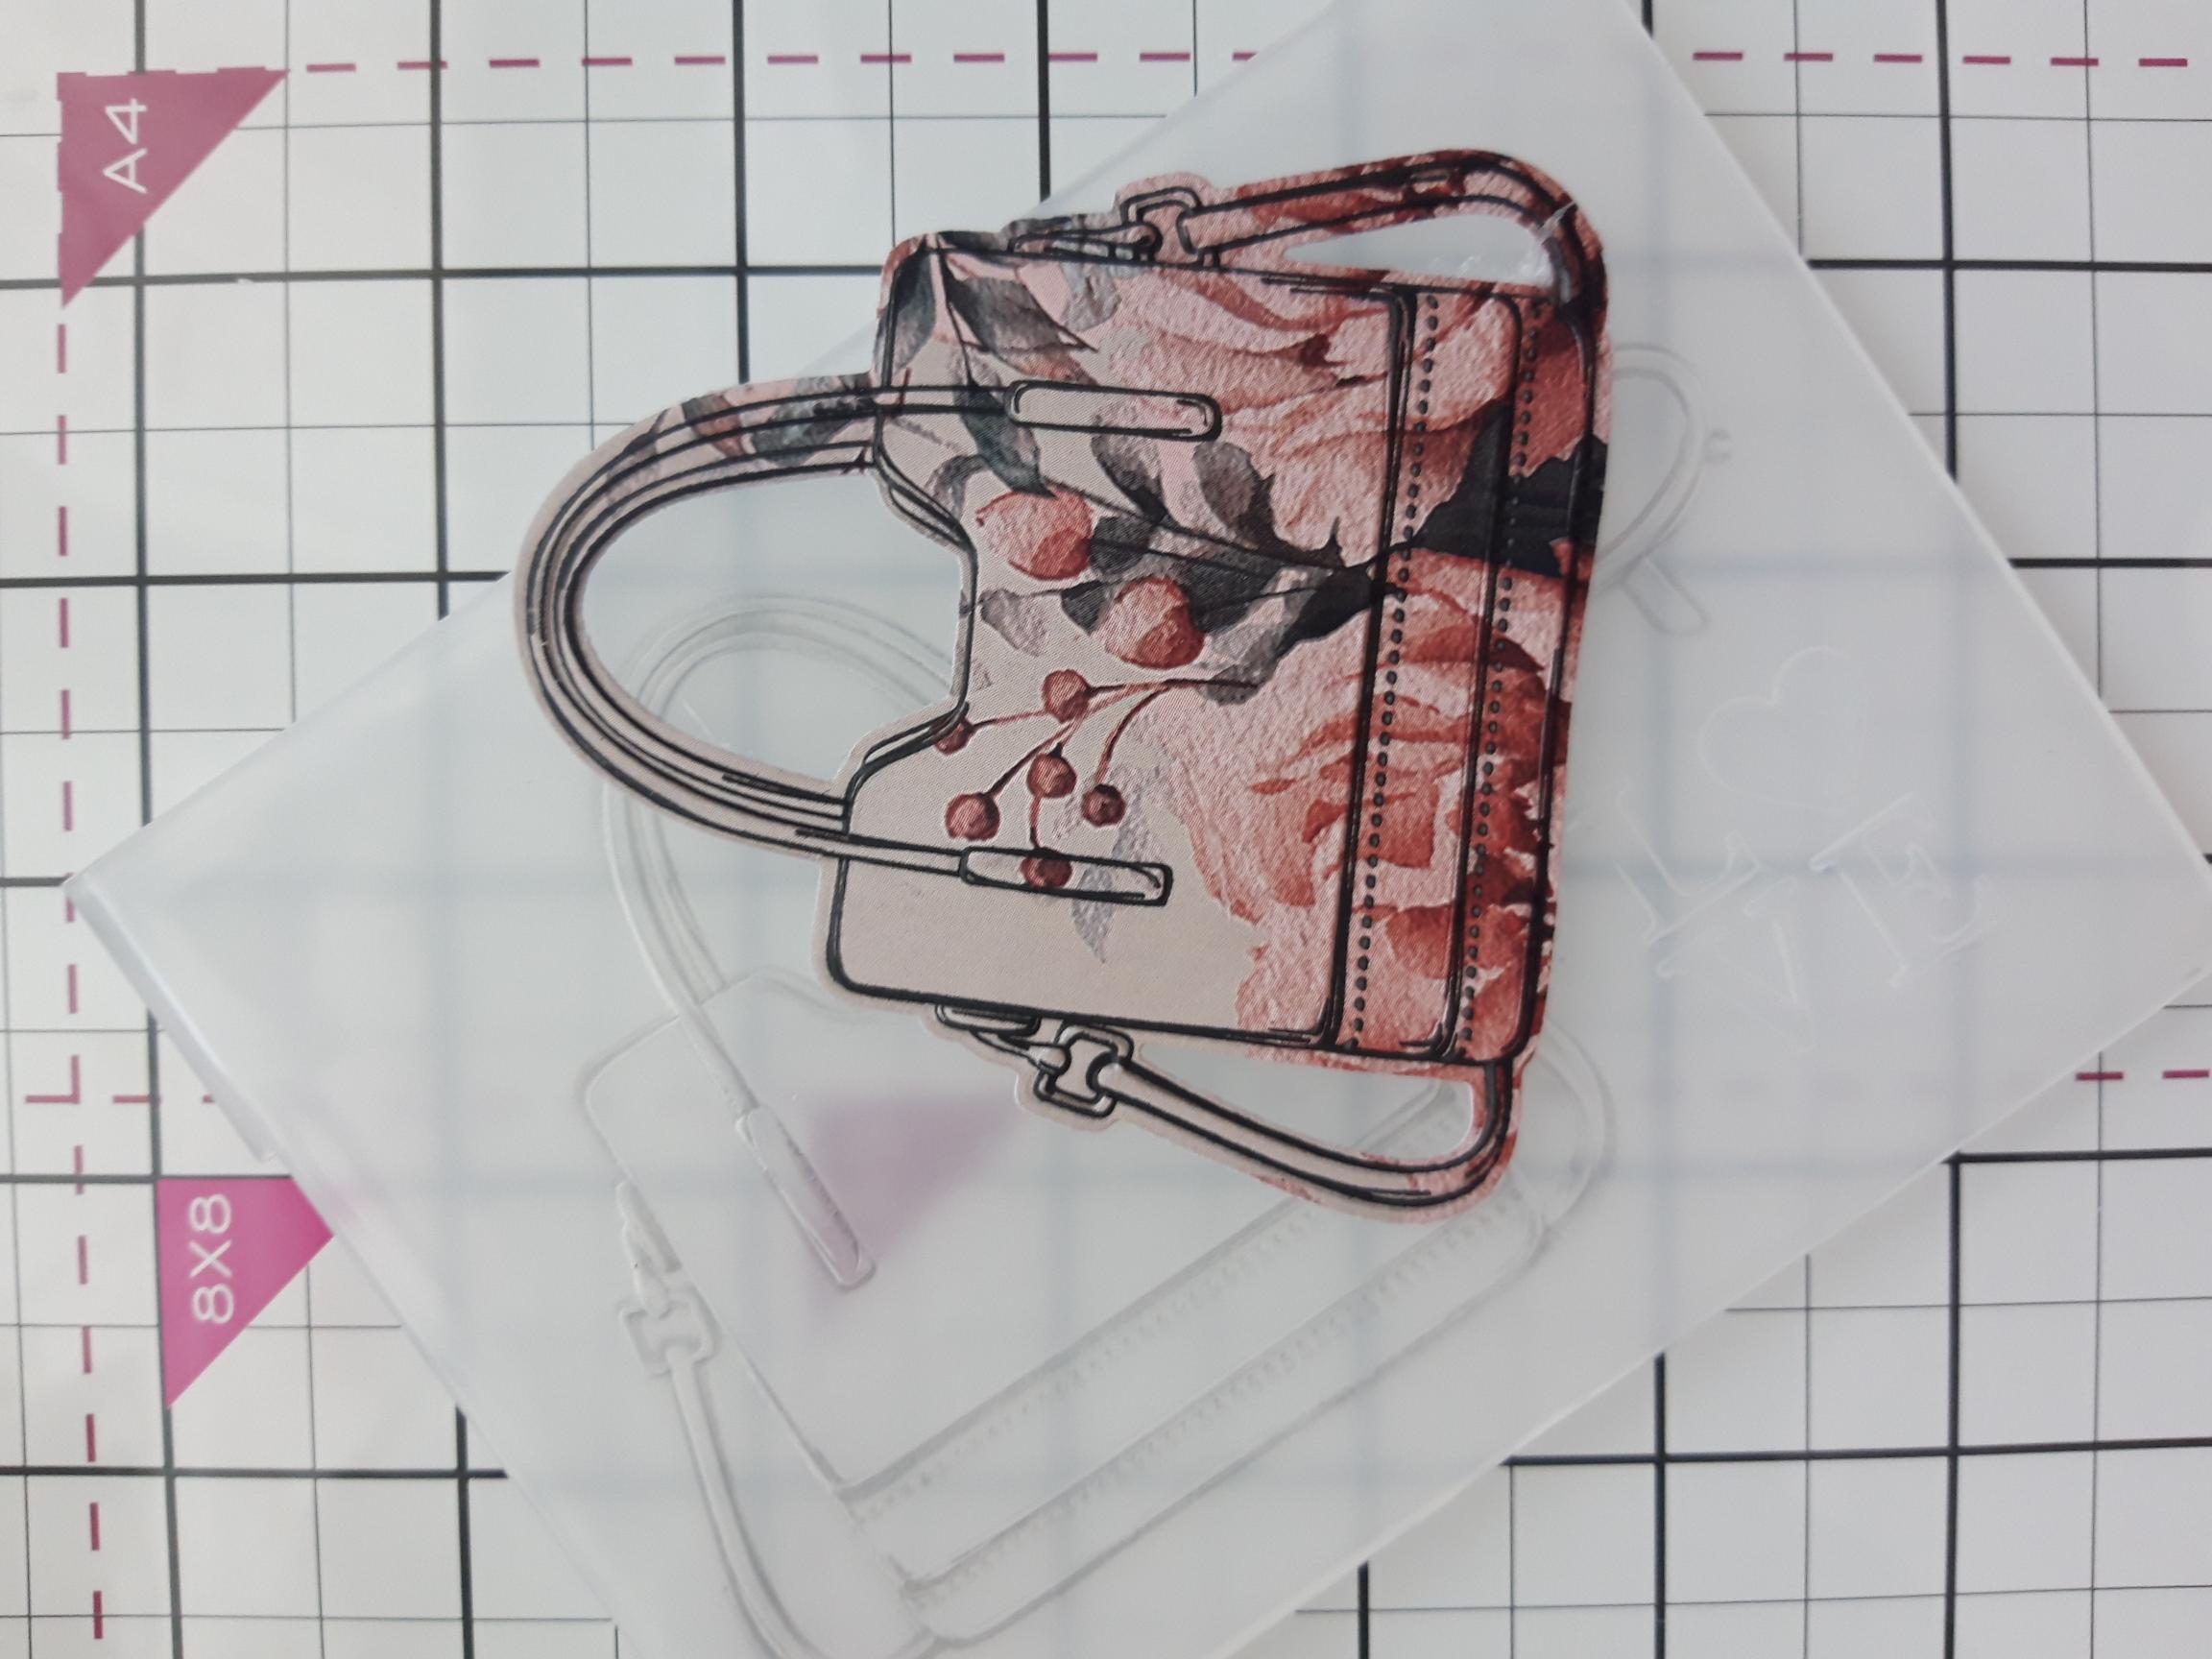
Line up your die cut element in the coordinating embossing folder and run it through your machine ( remember to swap your machine plates over as appropriate!). Set it to one side for later. |
|
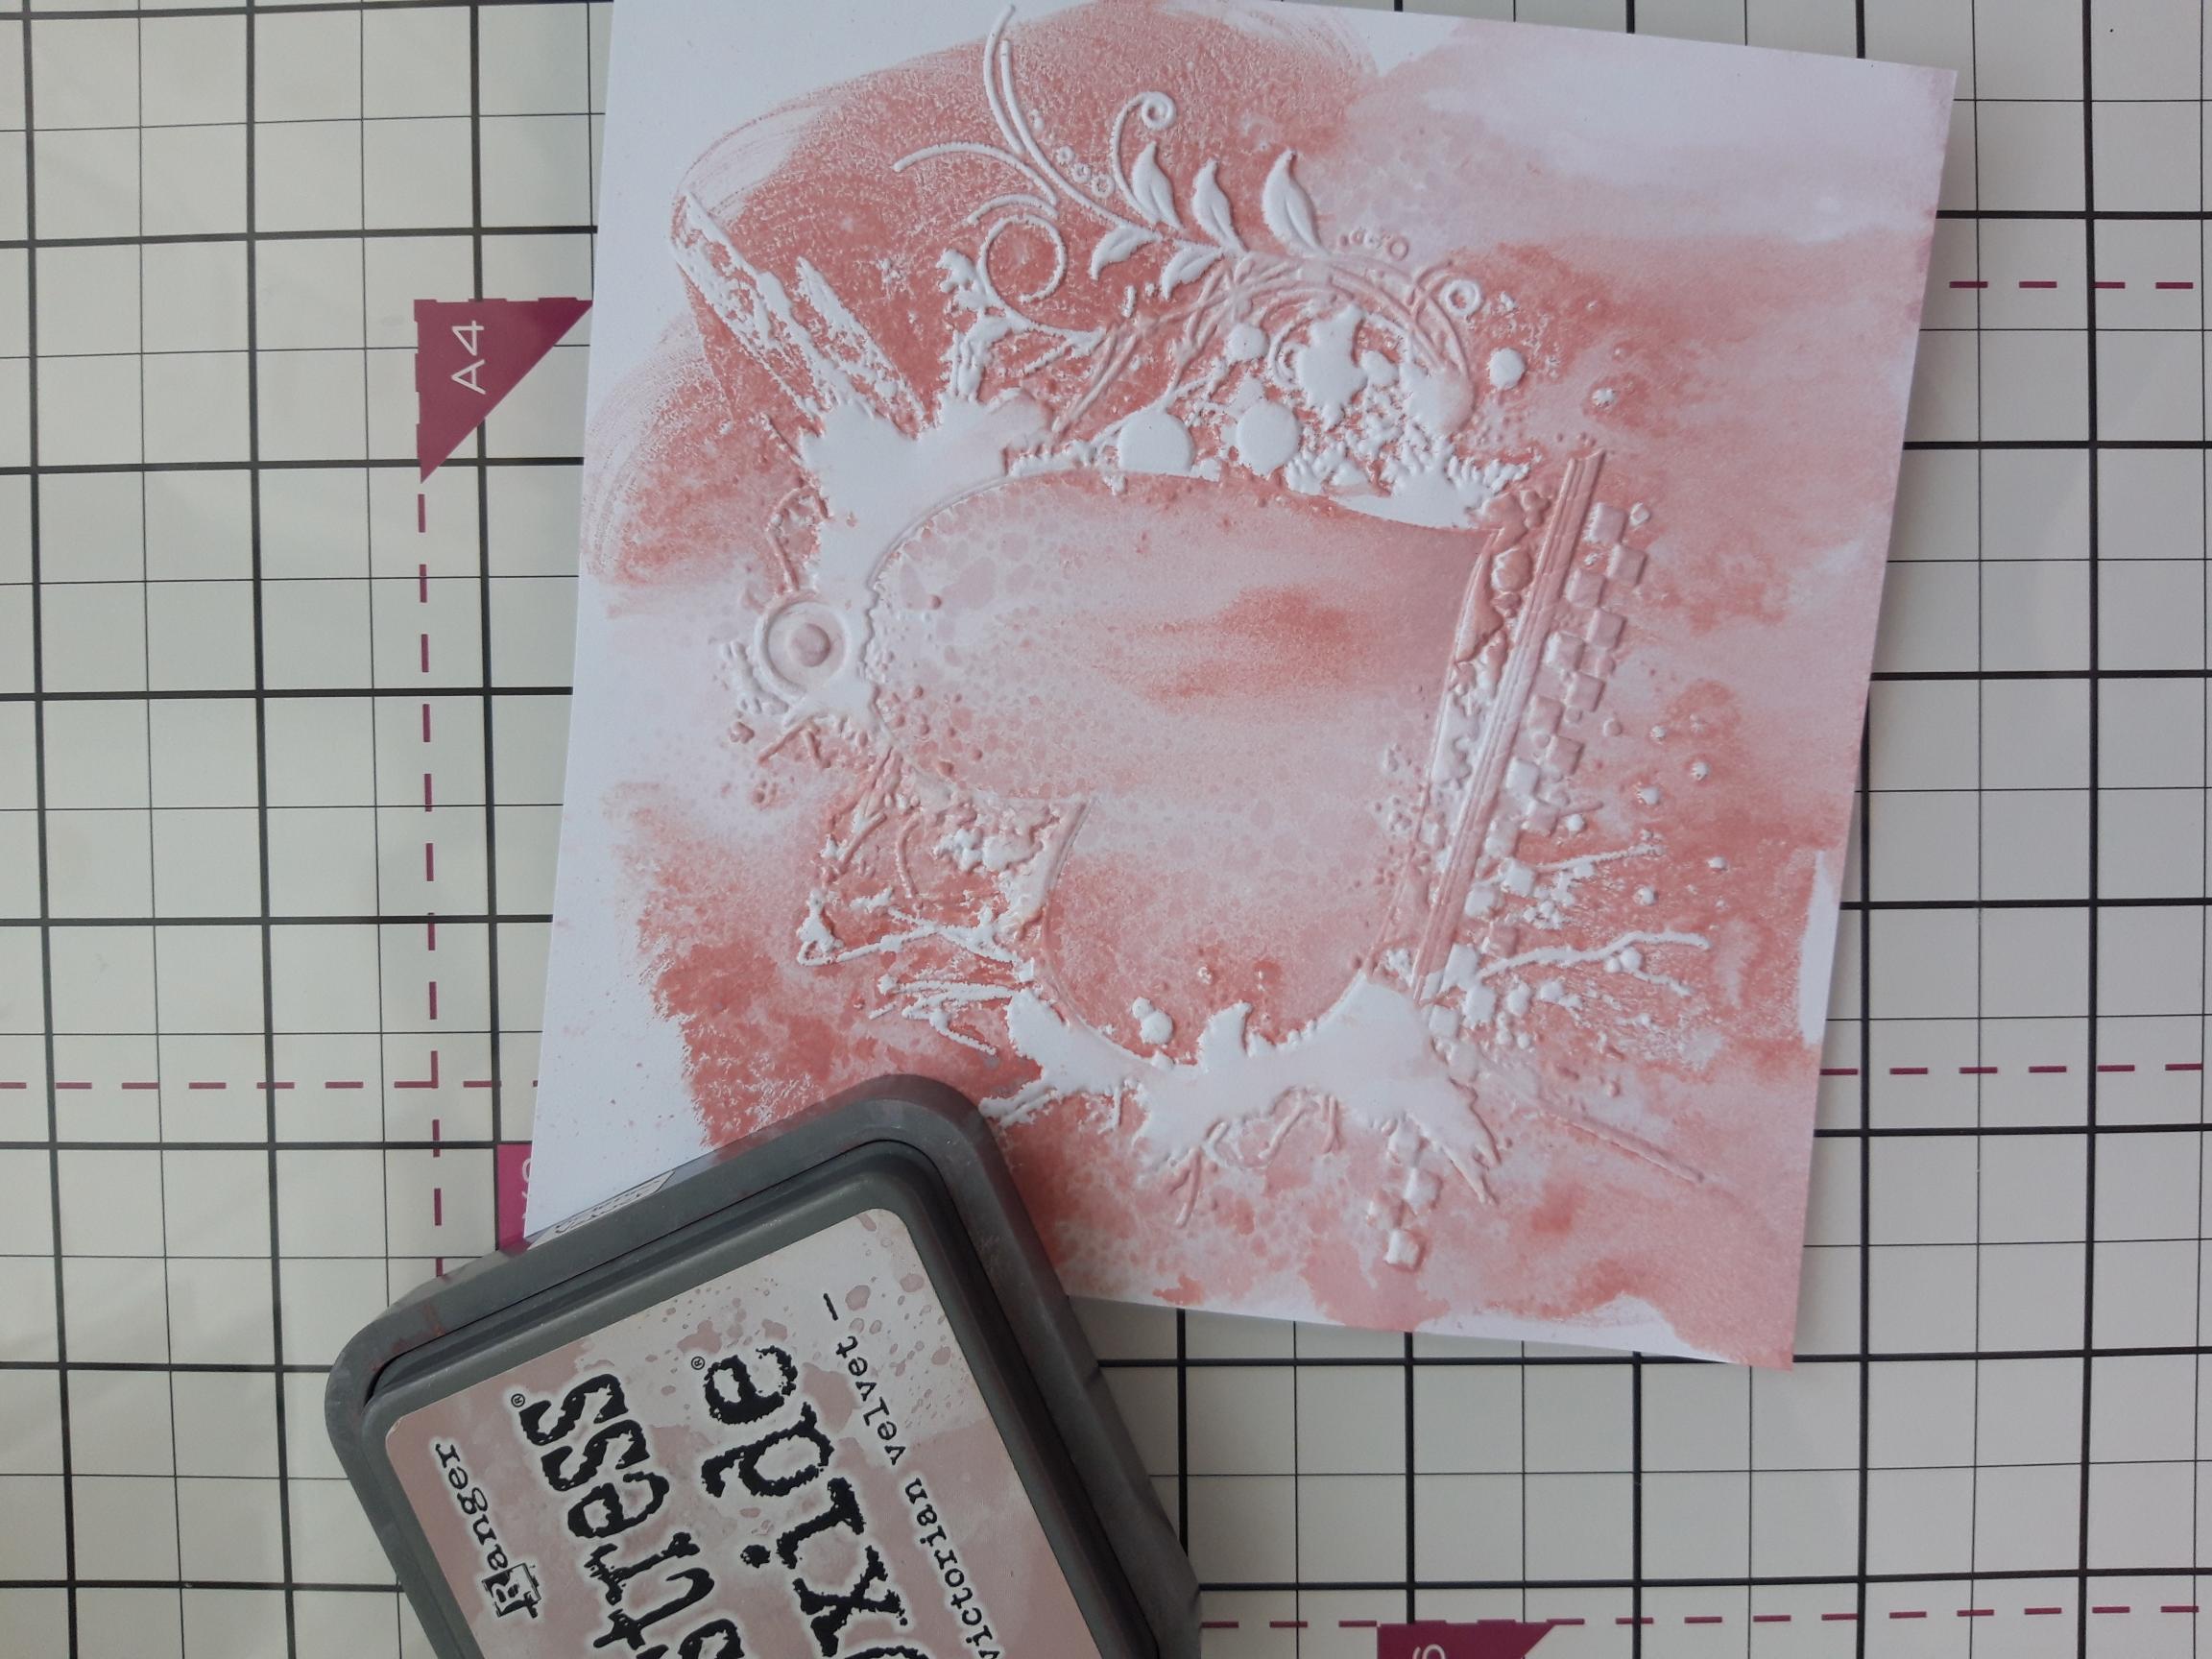
Ink up BOTH sides of the Love & Happiness embossing folder, with the Victorian Velvet Oxide and spritz both with water. Place the 6" square white card inside and run it through your embossing machine. You now have both the embossed and debossed side, inked up and ready for you to choose which side you want!! Once dry, trim down to 5 1/2" square. |
|
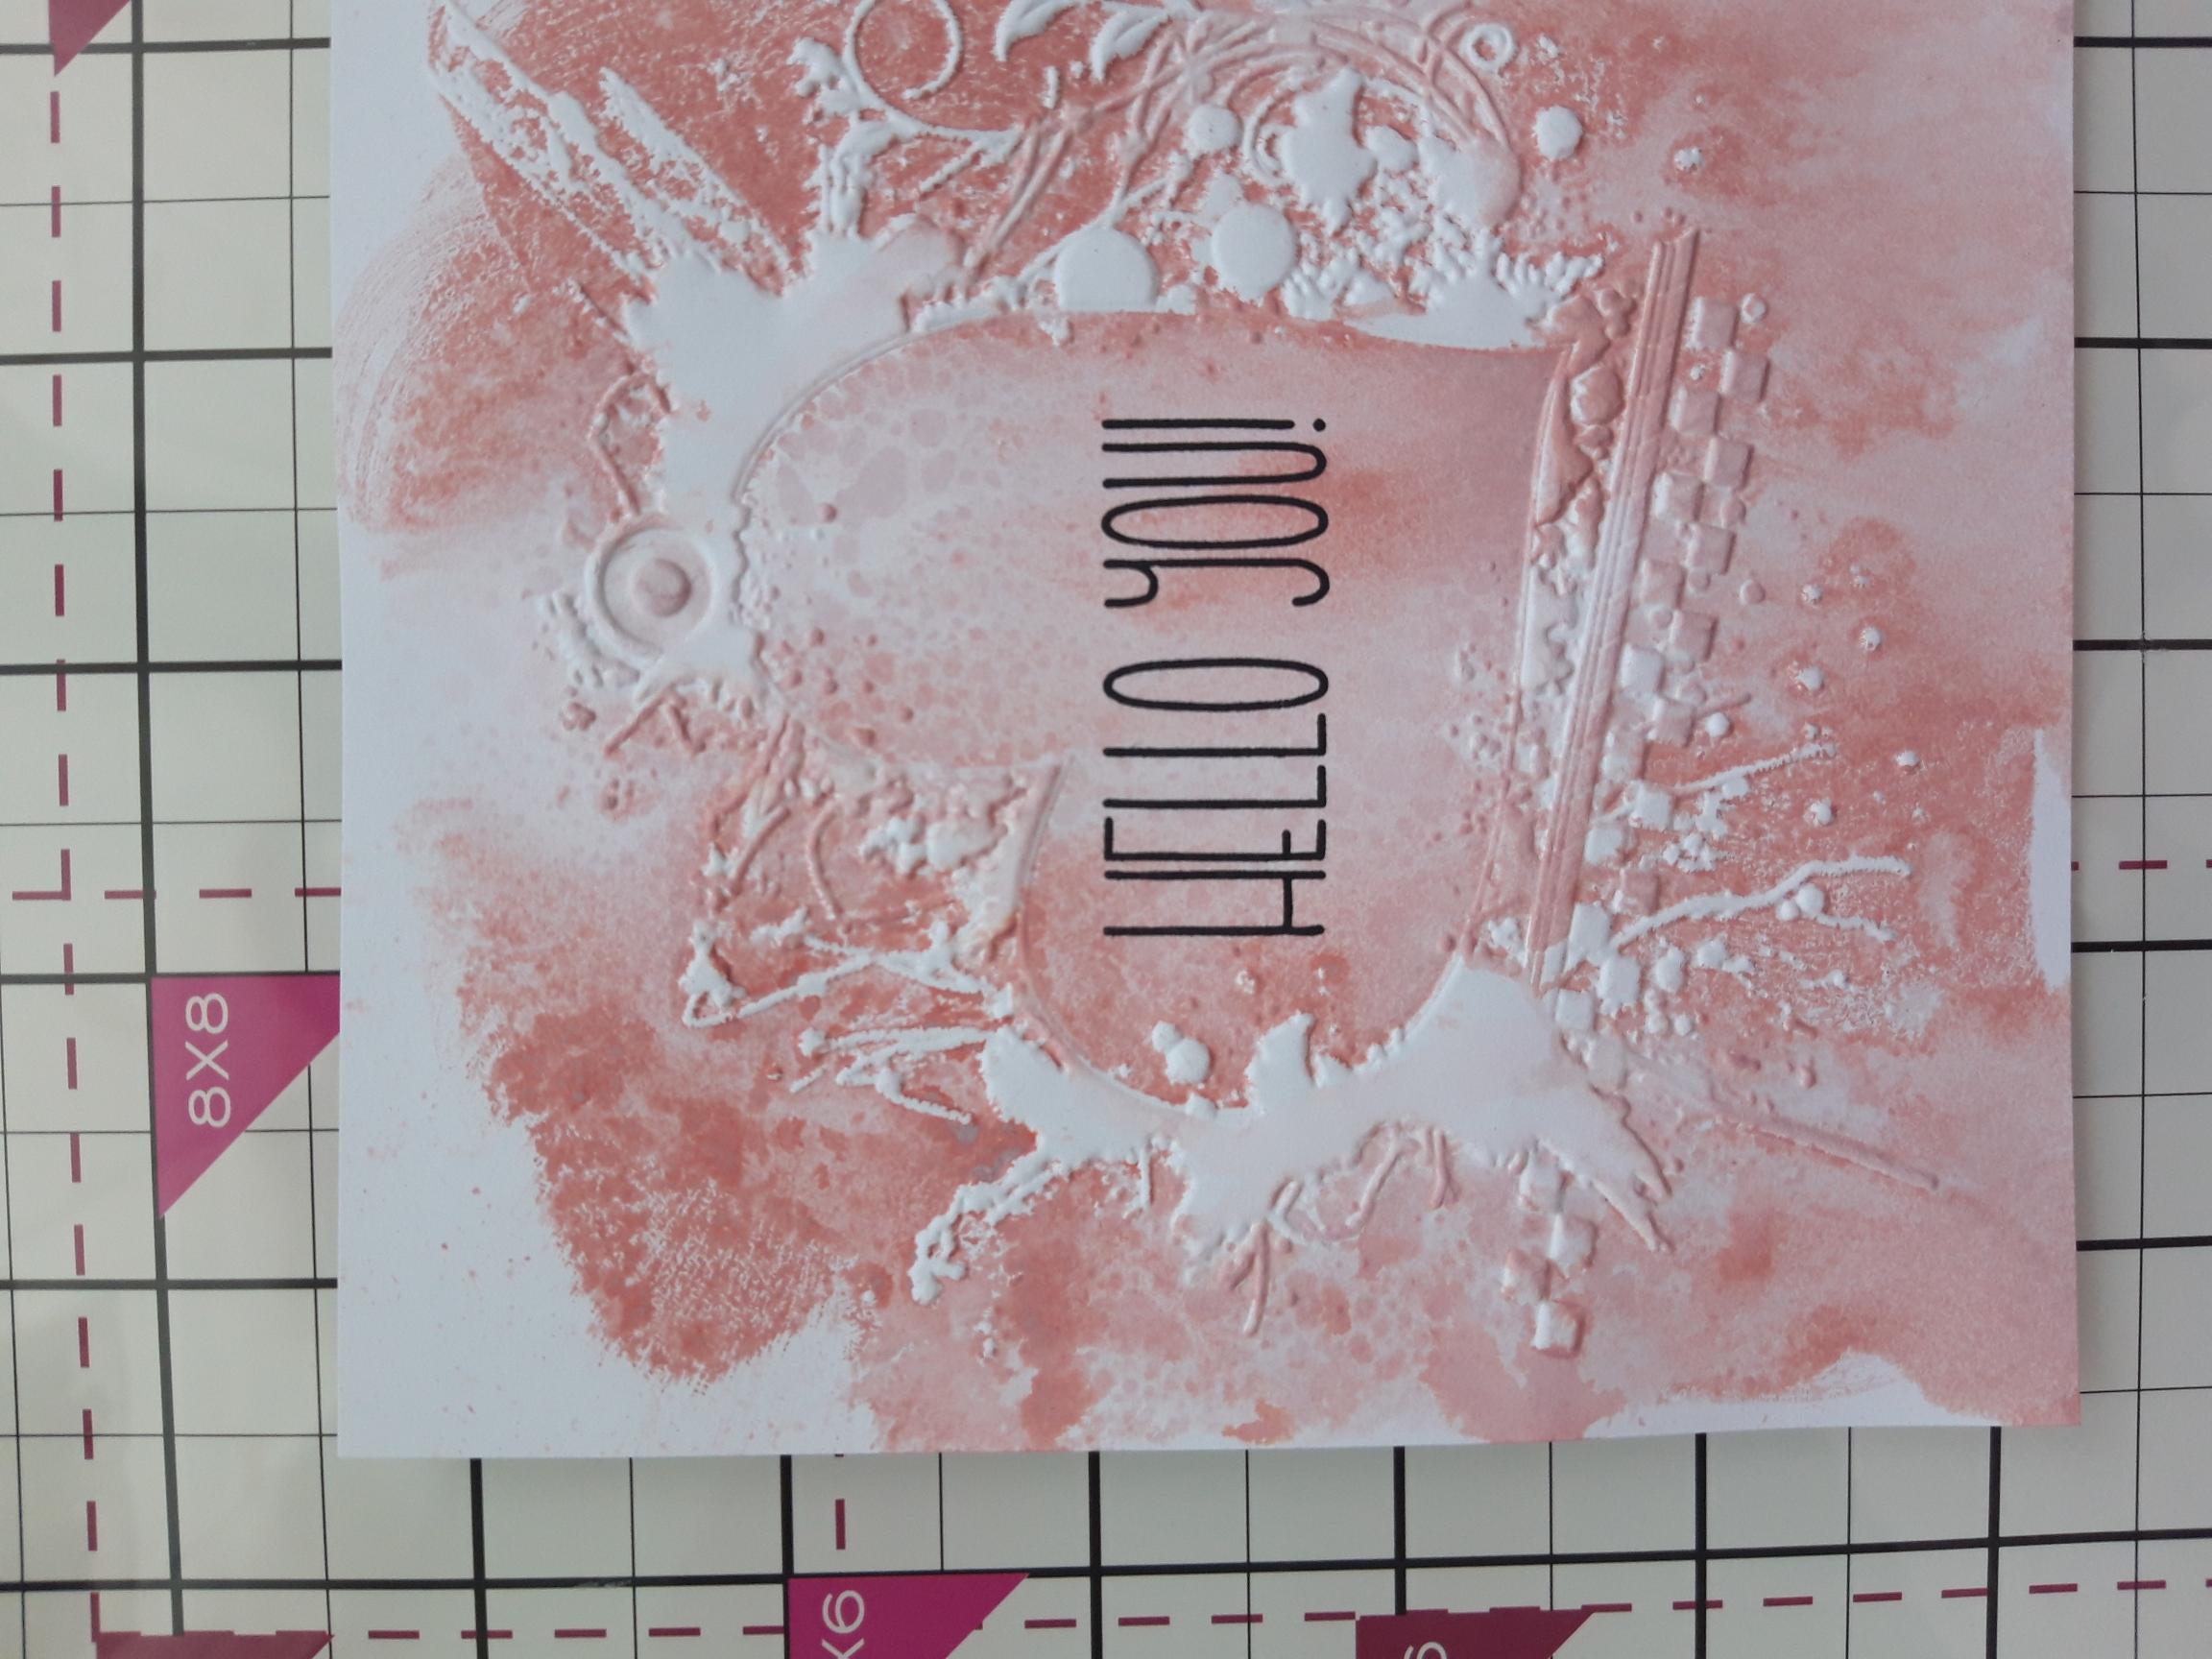
Ink up the Hello You sentiment stamp, from the Daisy Delight Stamp and Die Collection, with the Midnight Hybrid ink and stamp in the centre of your heart. |
|
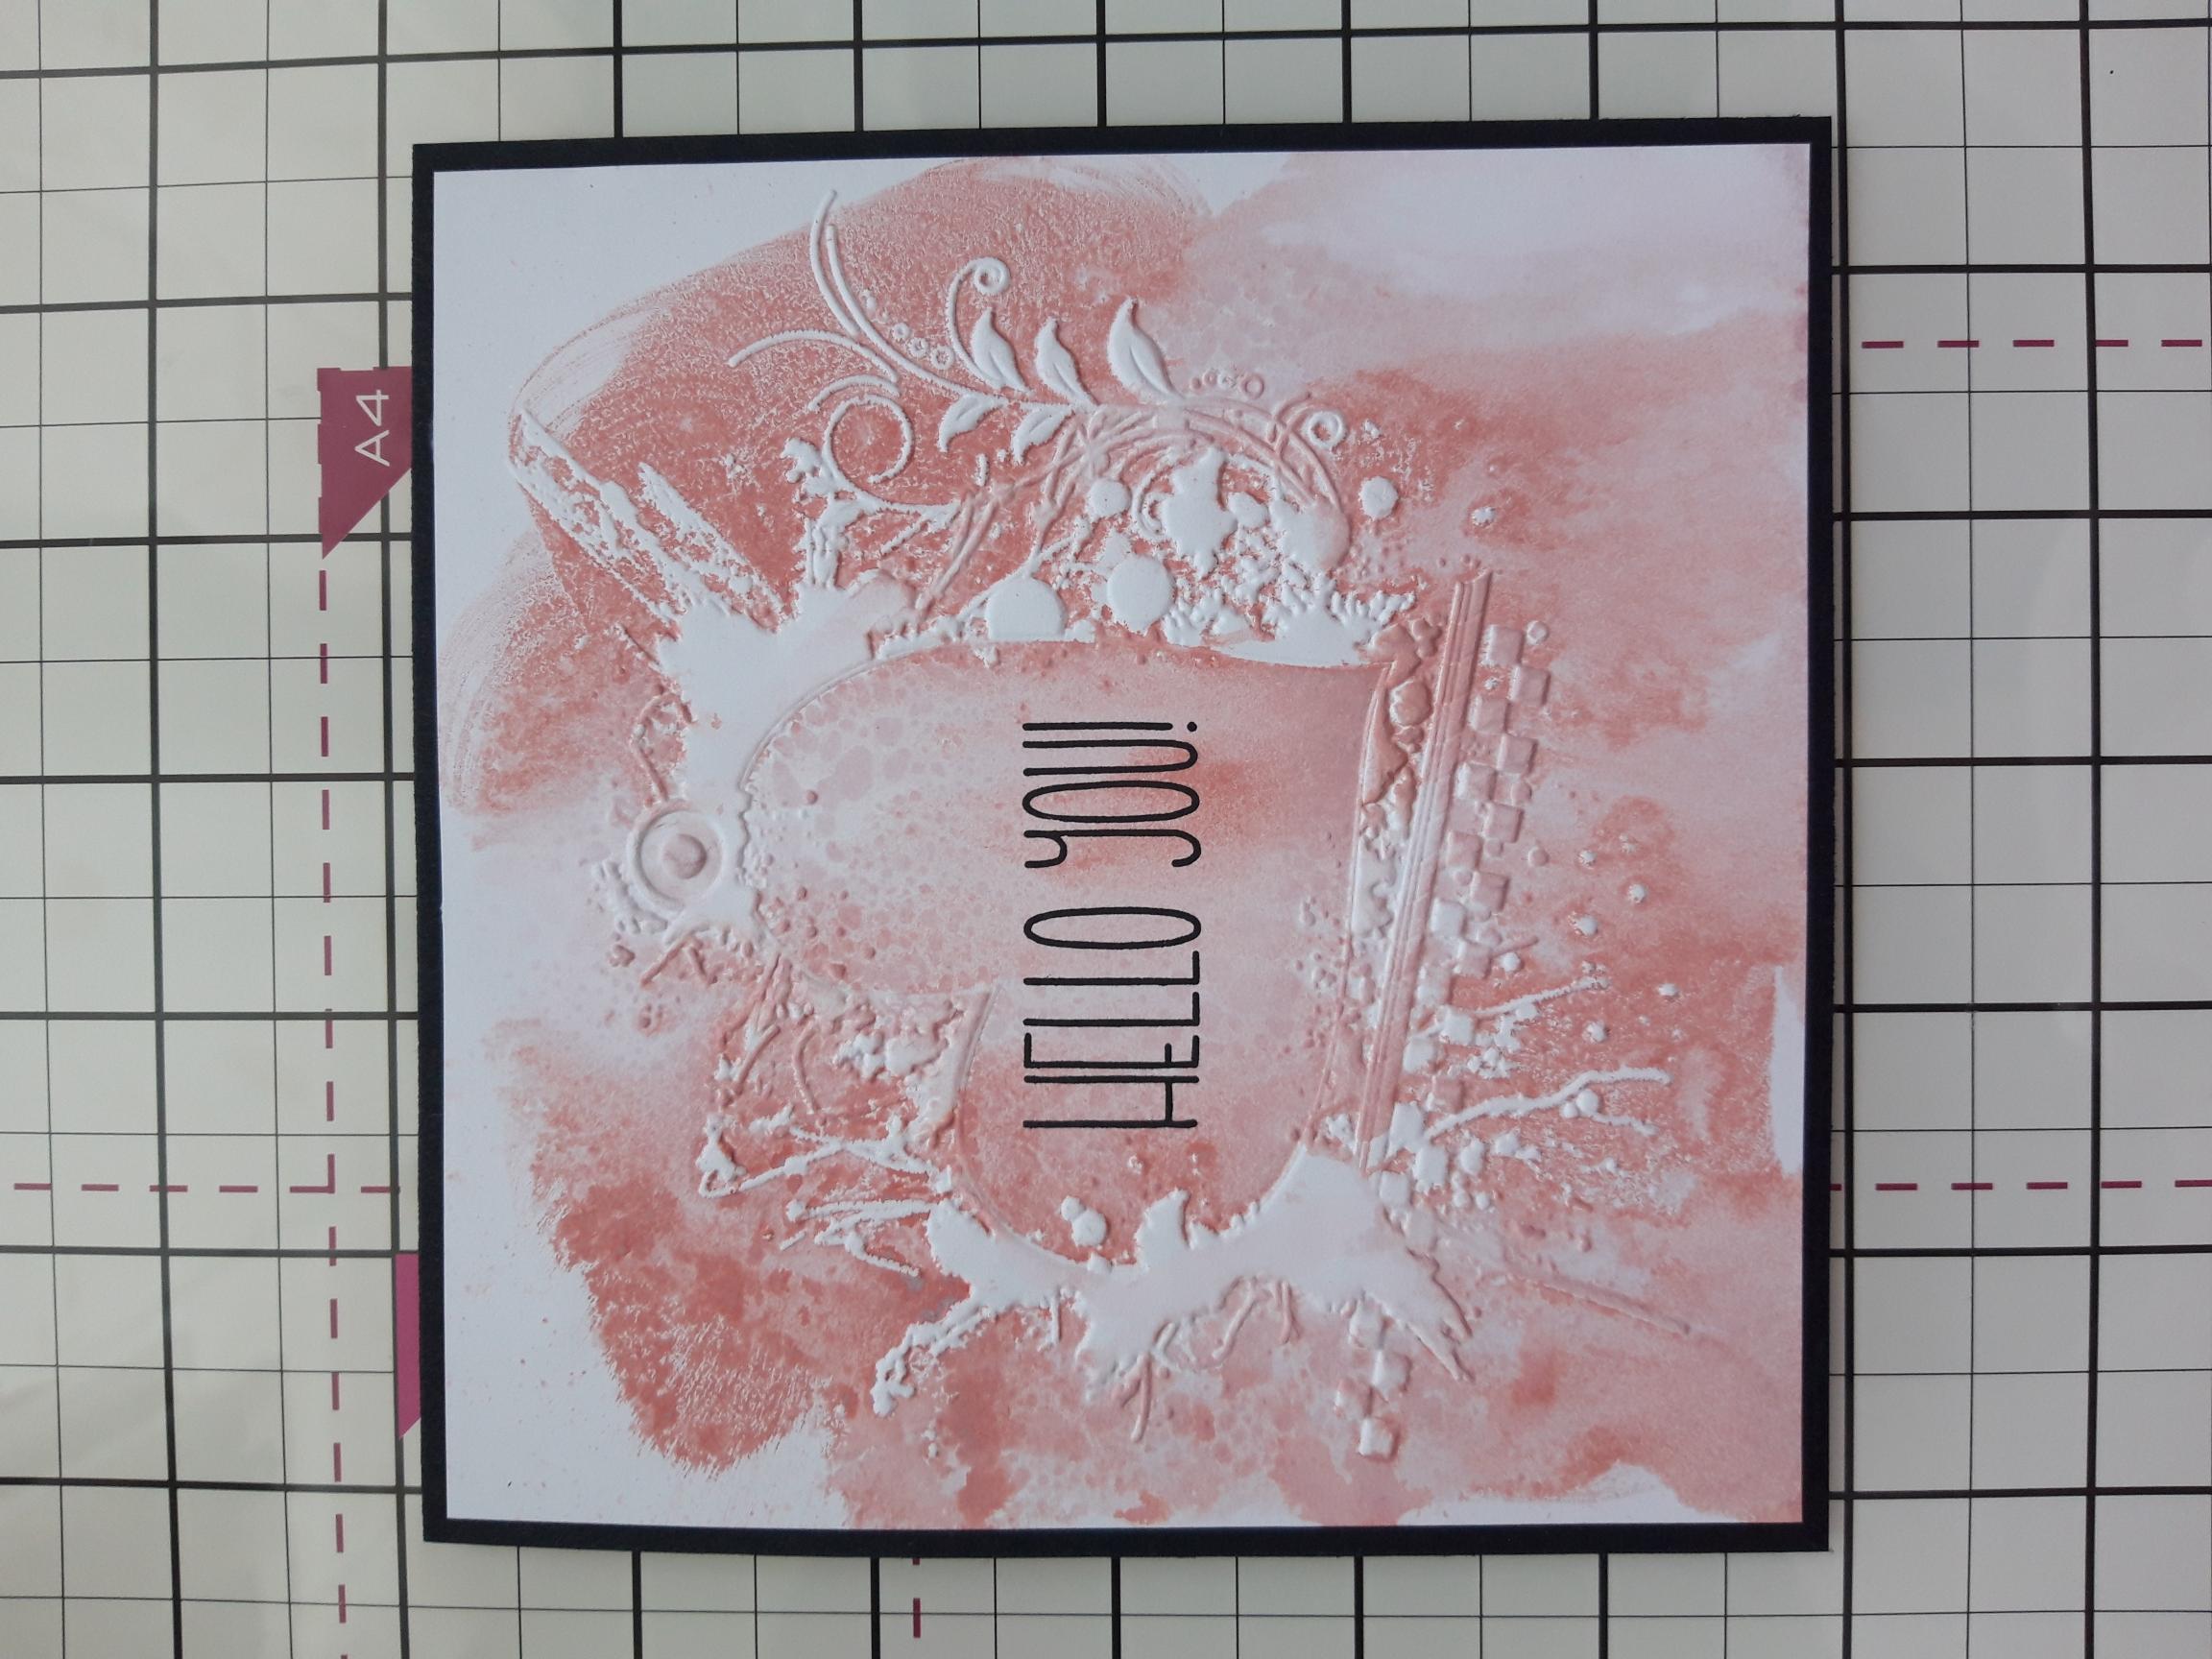
Adhere your inky embossed background on to the 5 3/4" black card, then set to one side. |
|
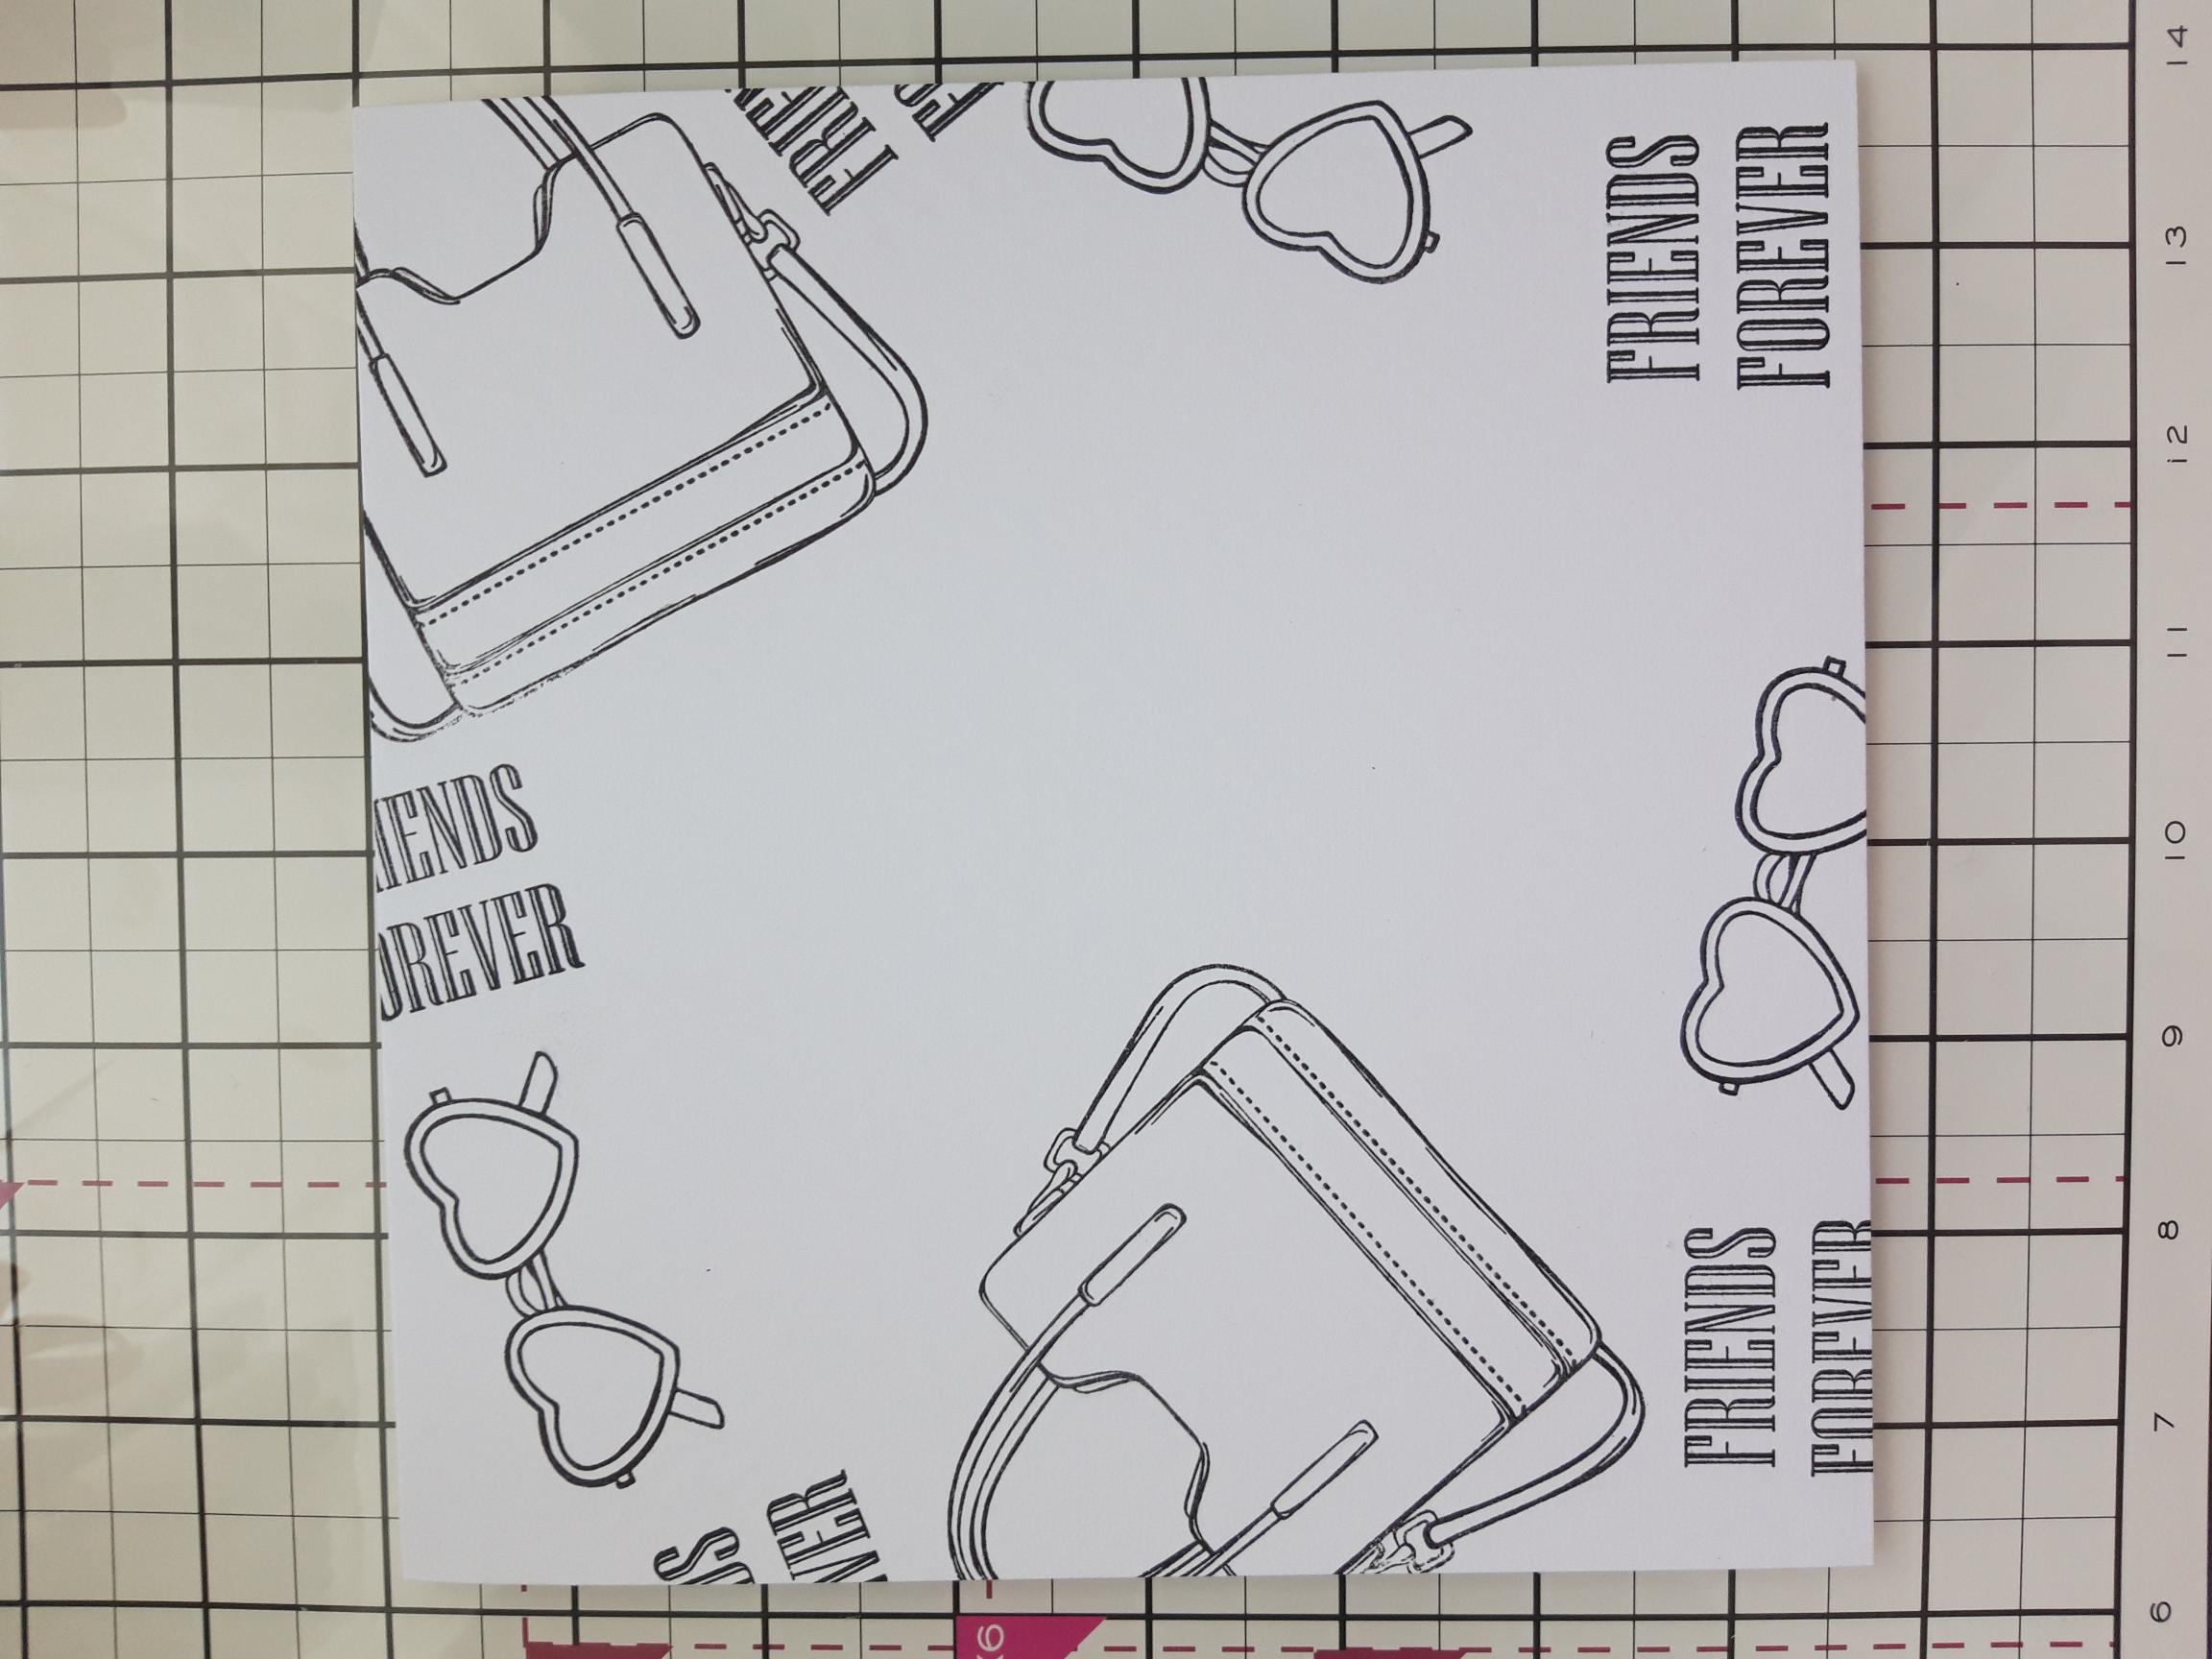
Ink up the handbag and sunglasses stamps with the Midnight ink and stamp randomly on to your white card blank. Ink up the Friends Forever sentiment stamp, from the Forever Lilies Stamp and Die Collection and incorporate it within your background. |
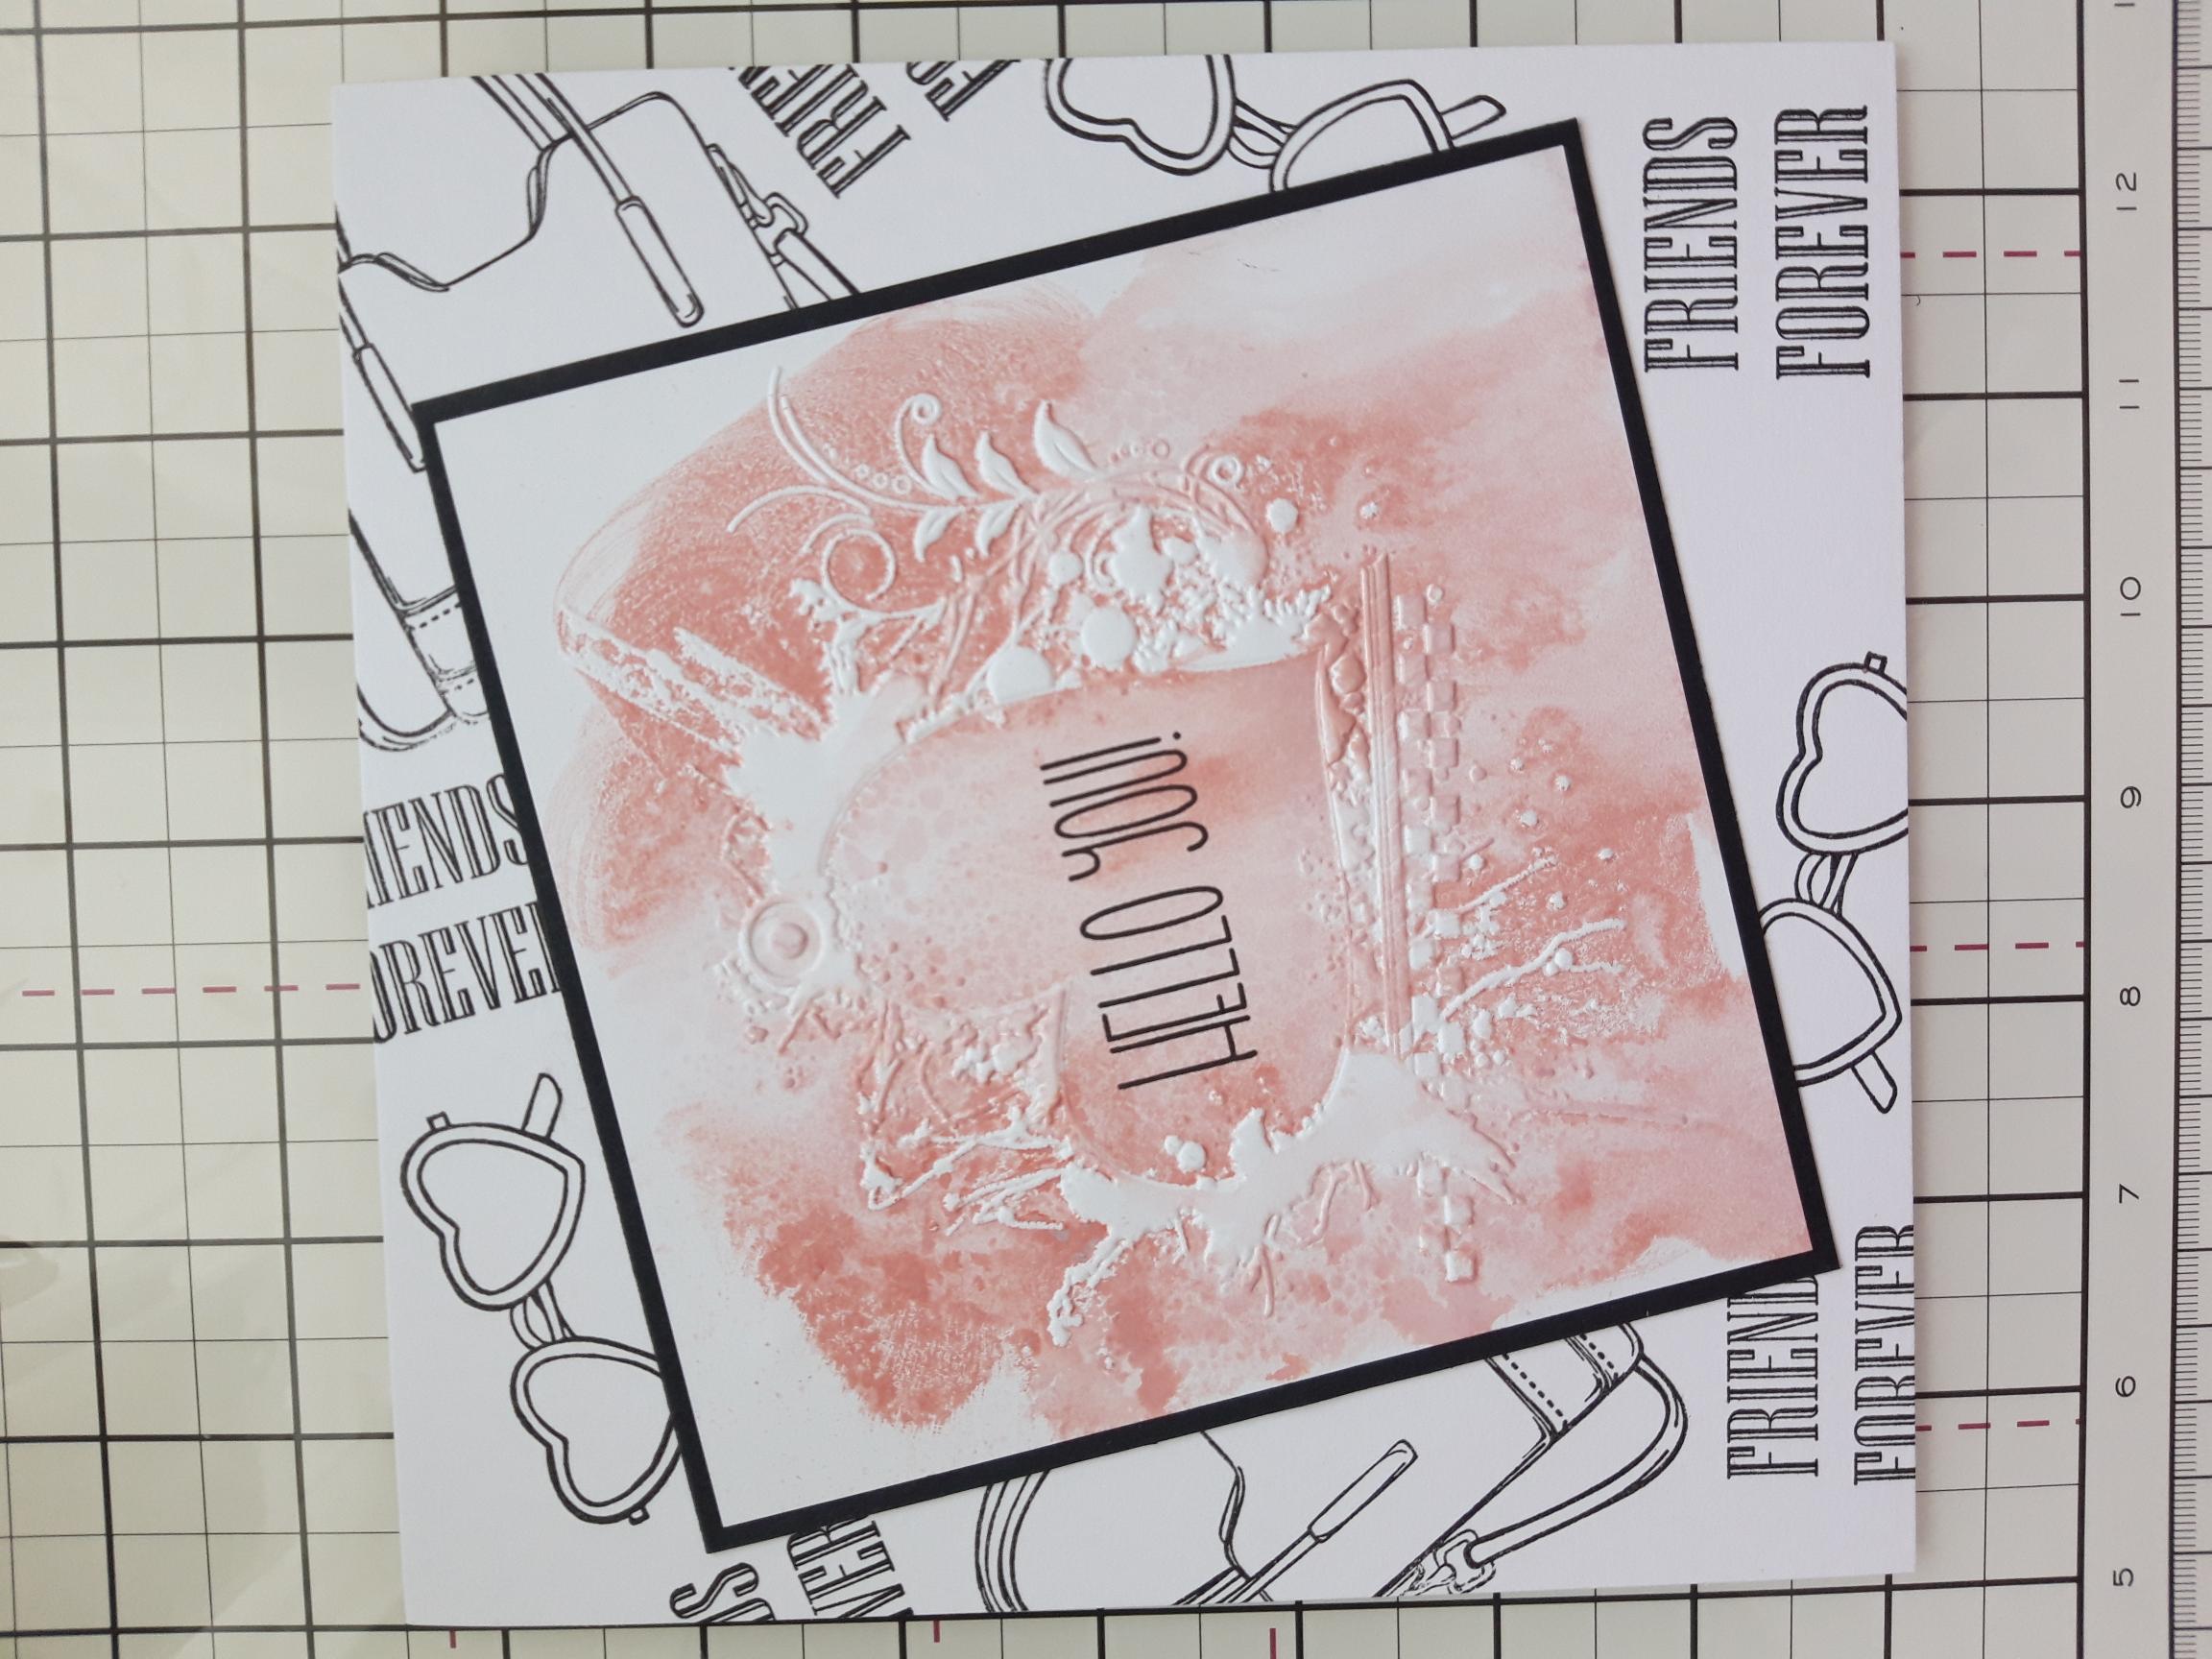
|
Use foam pads to adhere your embossed topper on to your stamped card blank. I went for jaunty...but you don't have to!! |
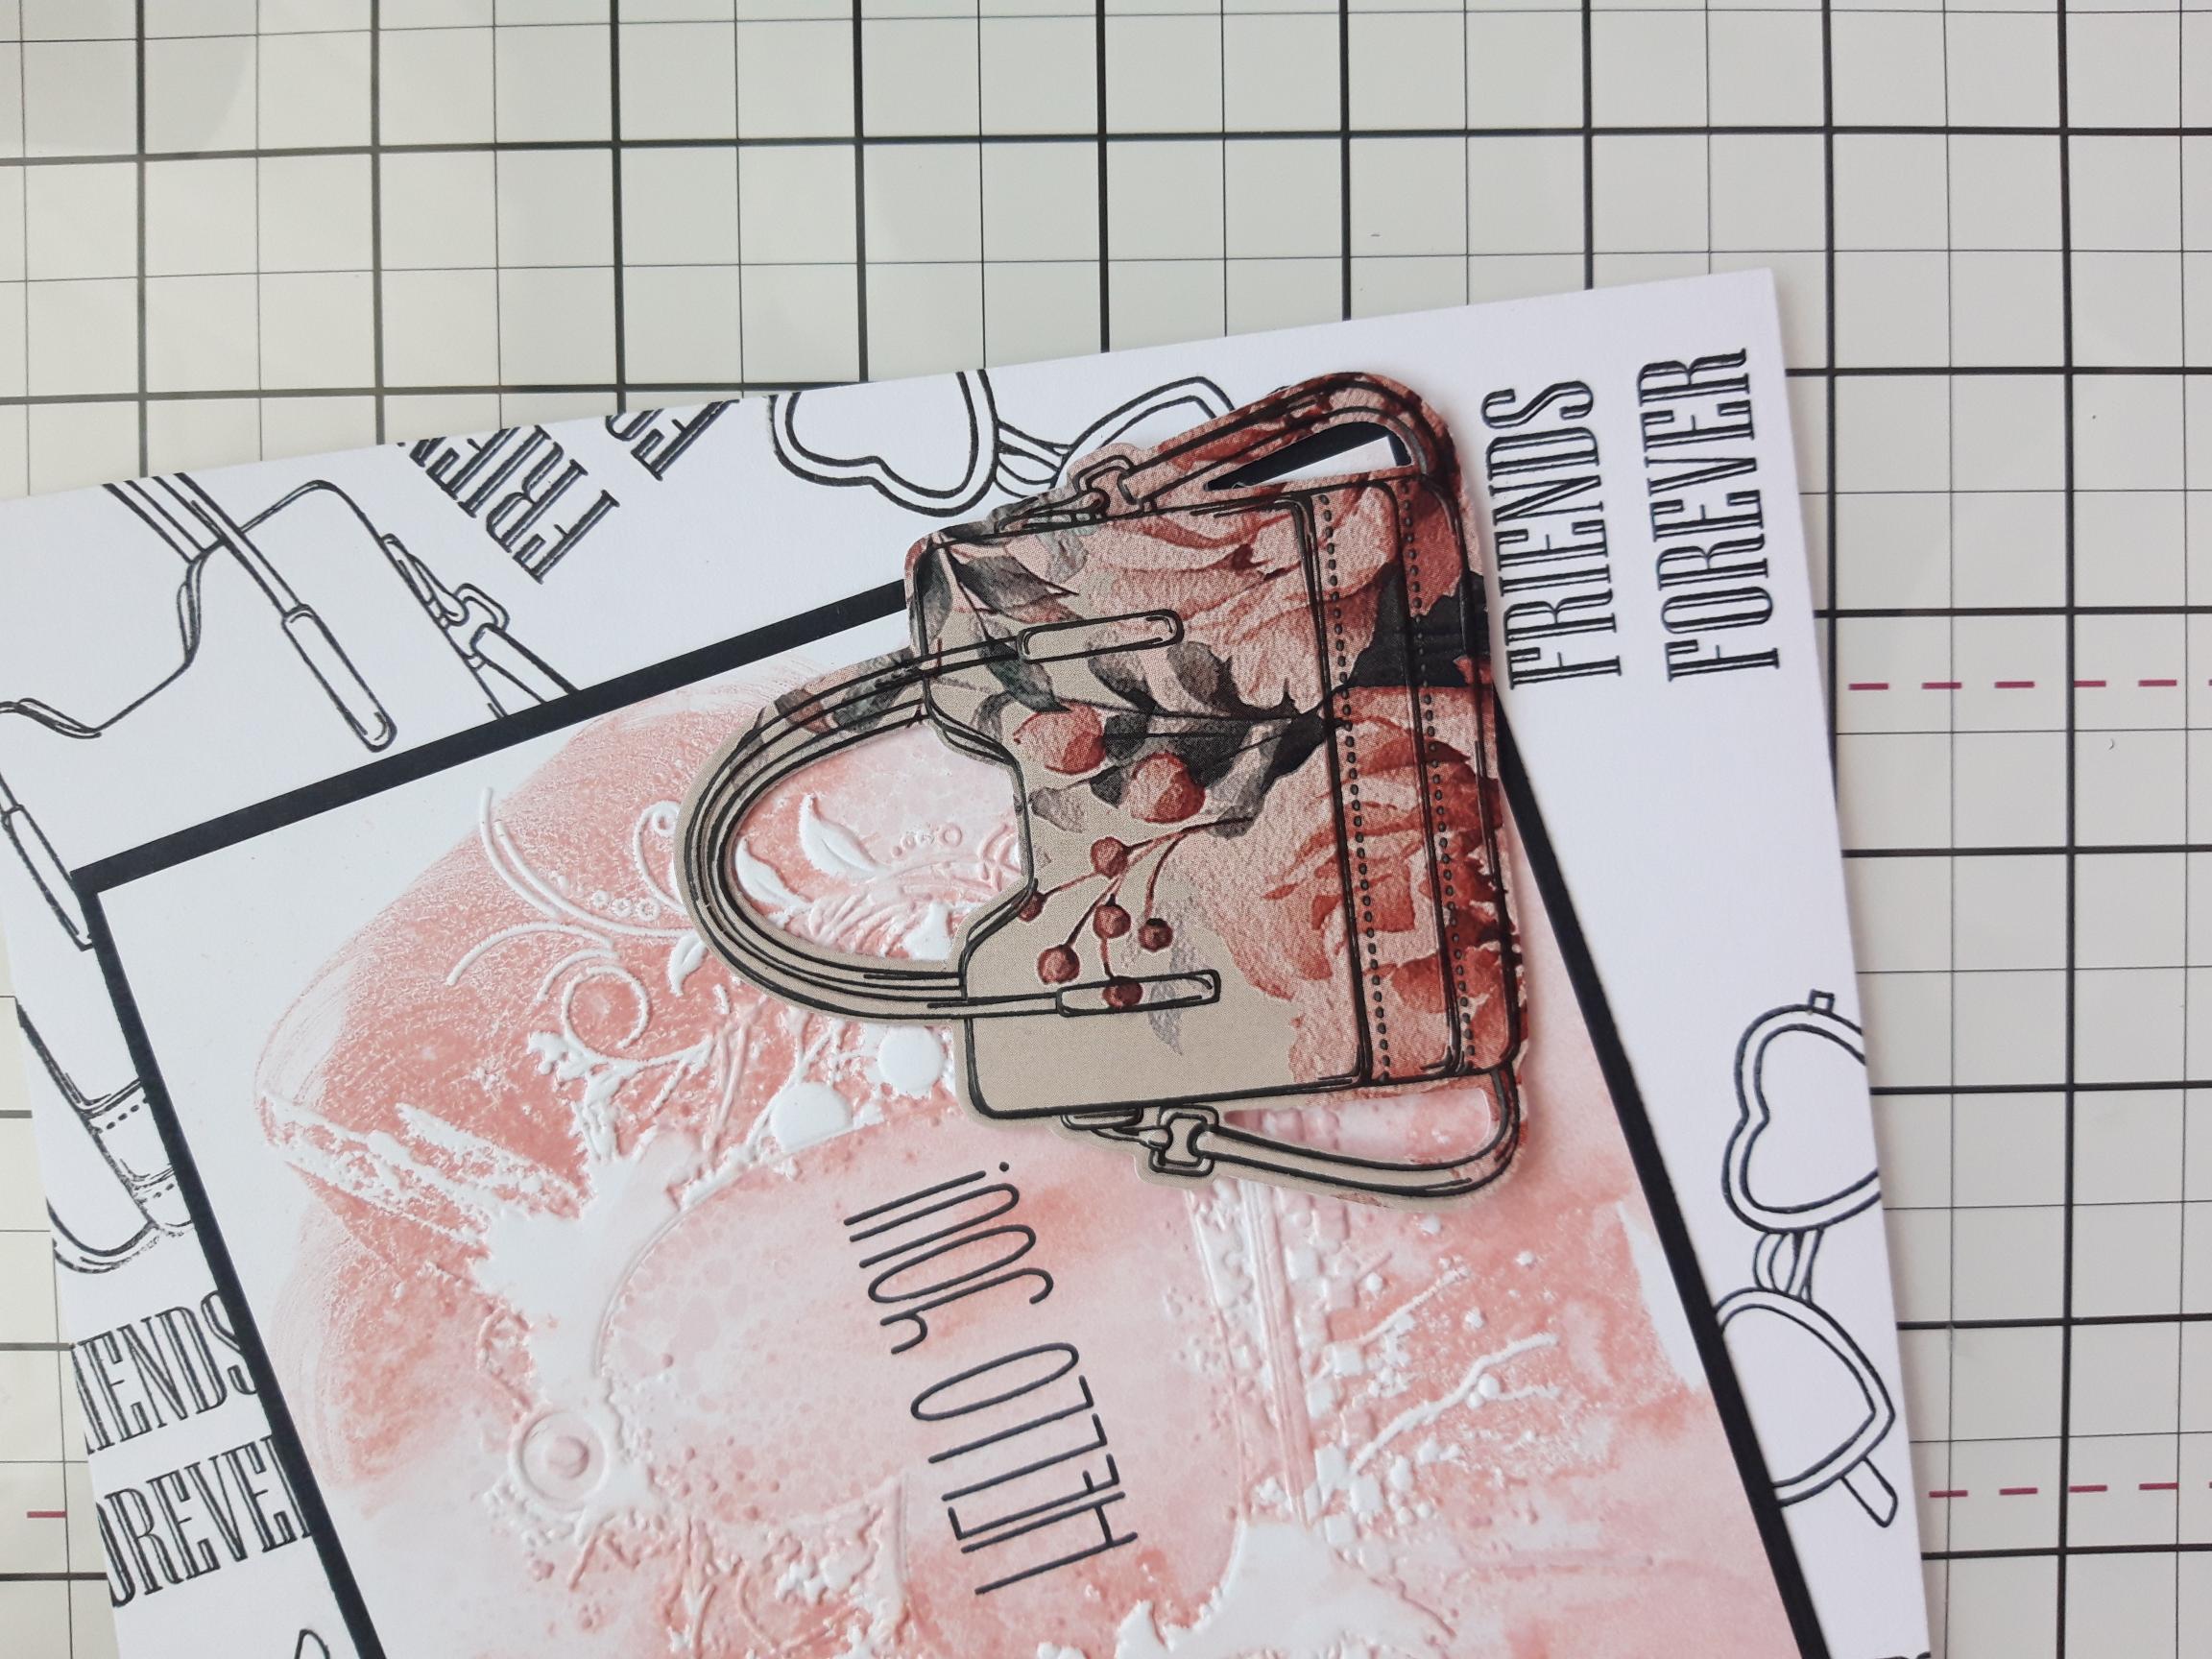
|
Attach your 3D handbag with foam pads, to the bottom right of your embossed topper. |
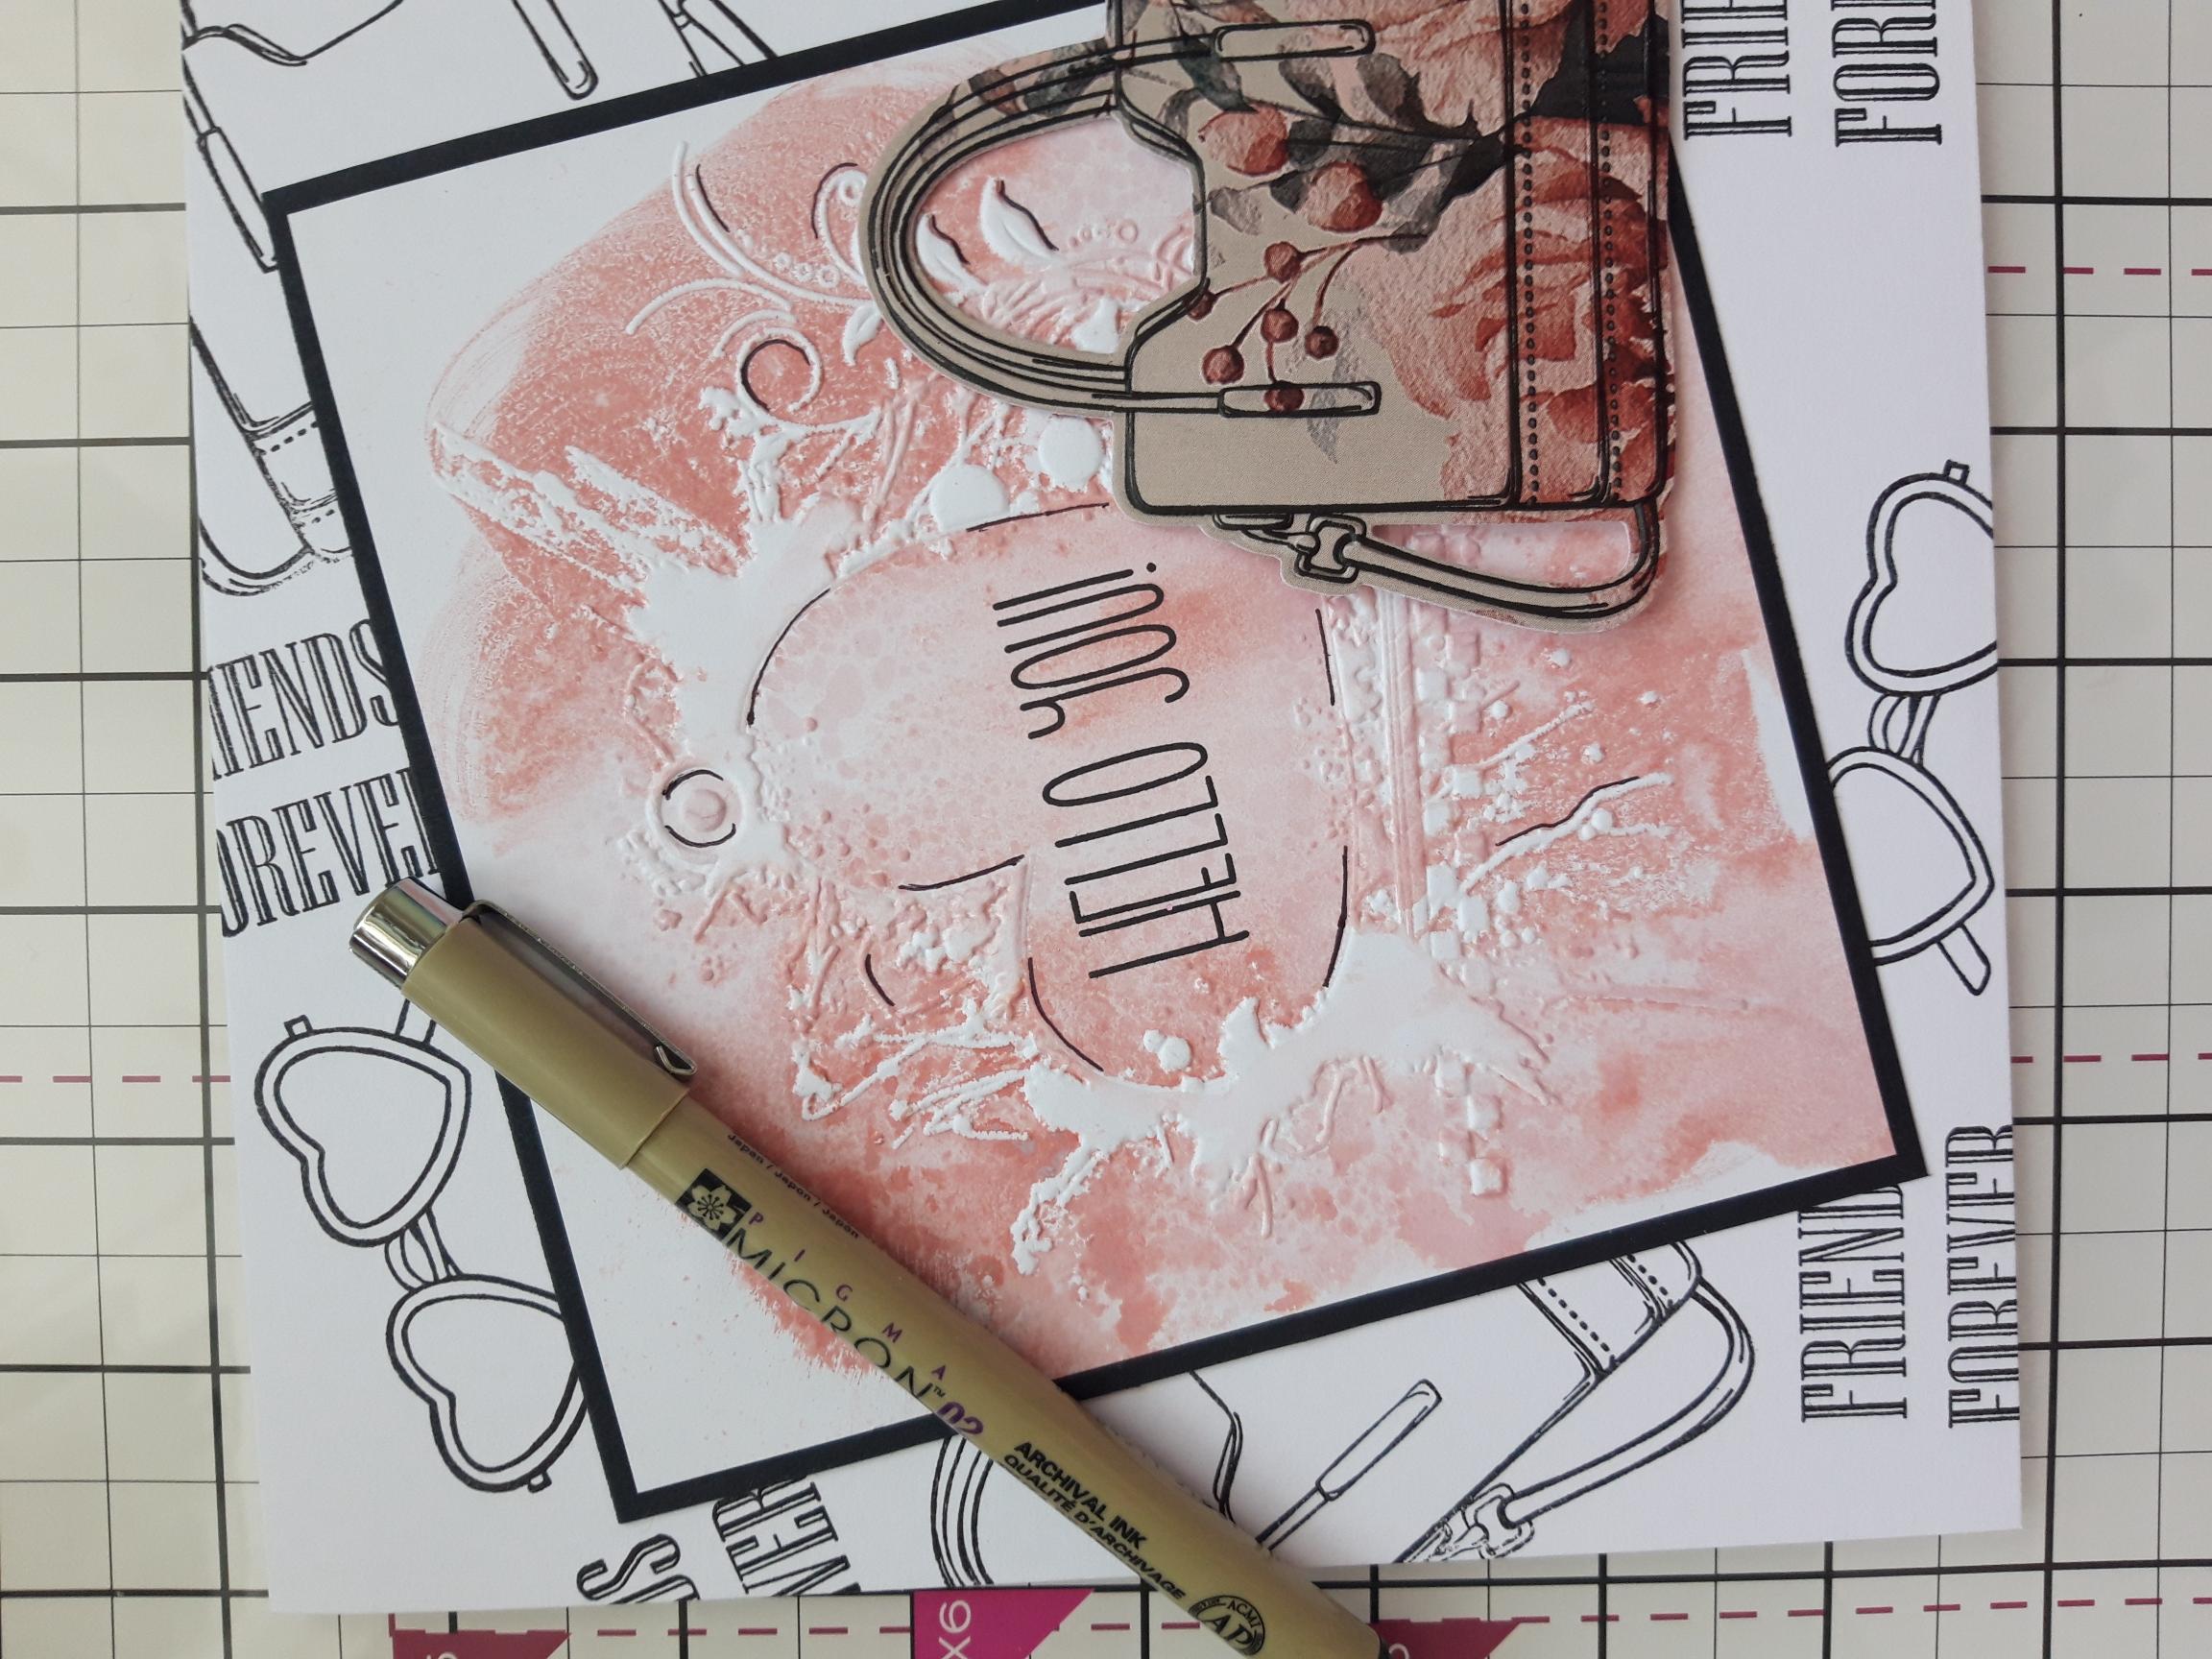
|
An optional final step, is to use a fine line black pen to add accents to your embossed design, such as around the heart, circles etc, as required. |