

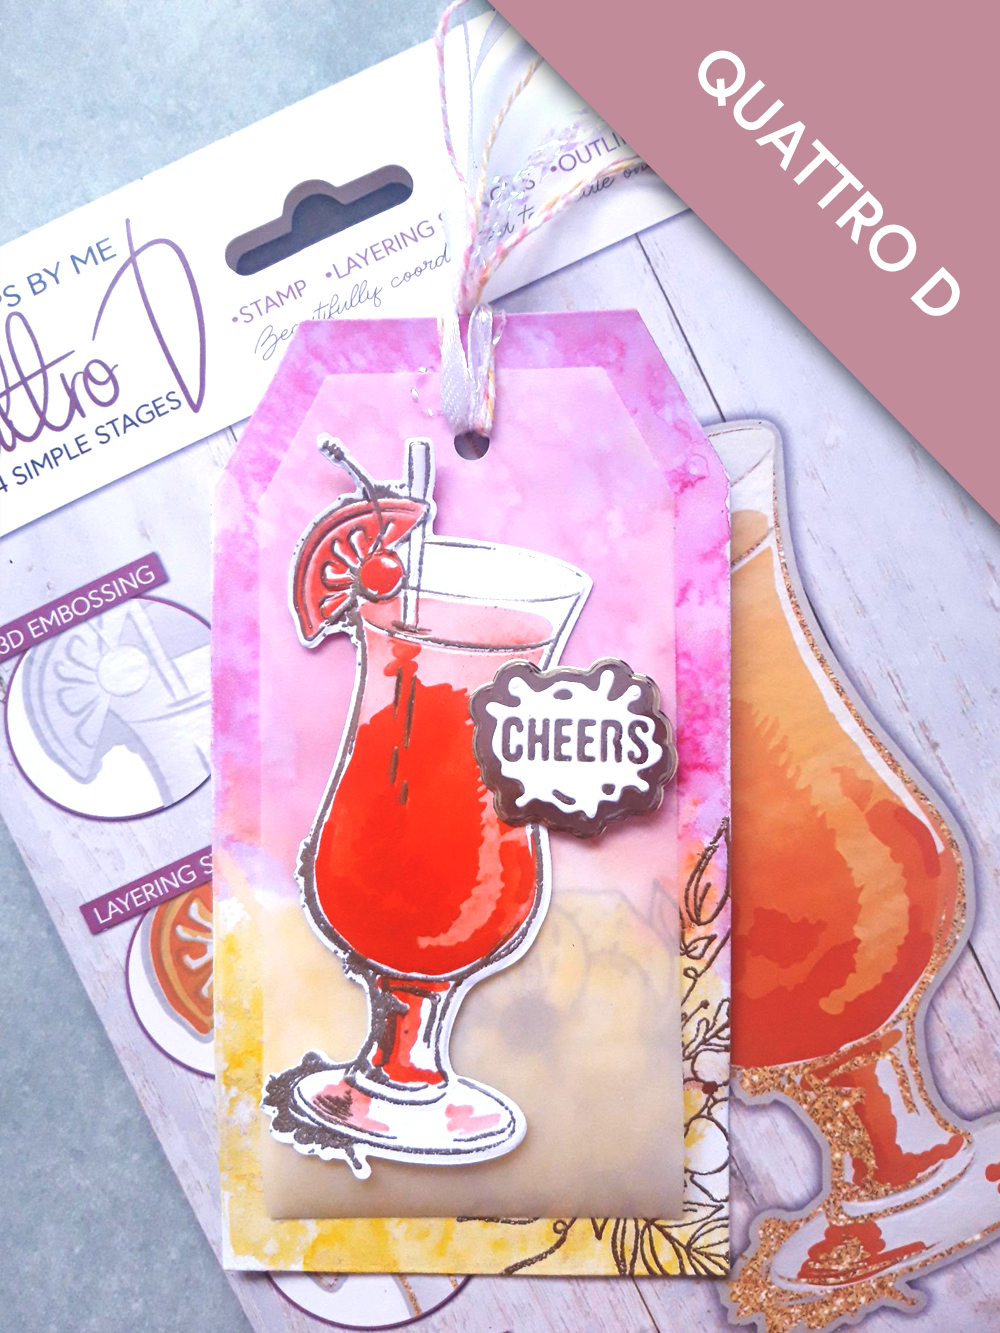
WHAT YOU WILL NEED:
A4 white card
Gold mirri card 2 x 2"
Vellum 6 x 4"
Quattro D Tequila Sunrise Collection
Just For You Stamp and Die Collection
Sentiment die of your choice (Celebrate Die set coming soon!!!)
Thirsty Brush UnLtd Tagged Creative Dies Collection
Premium Dye Ink Pad: Sherbet, Magenta, Bittersweet
Water spray bottle
Anti-static bag
WOW embossing ink pad
WOW heat tool
WOW Gold embossing powder
Pearlywinks Pearl Mist: Golden Shimmer
Paint brush
Ribbons/twine of your choice
Hole punch
Eureka 101
Foam pads
Perfect Together Glue
Die Cutting machine
[click image to enlarge] 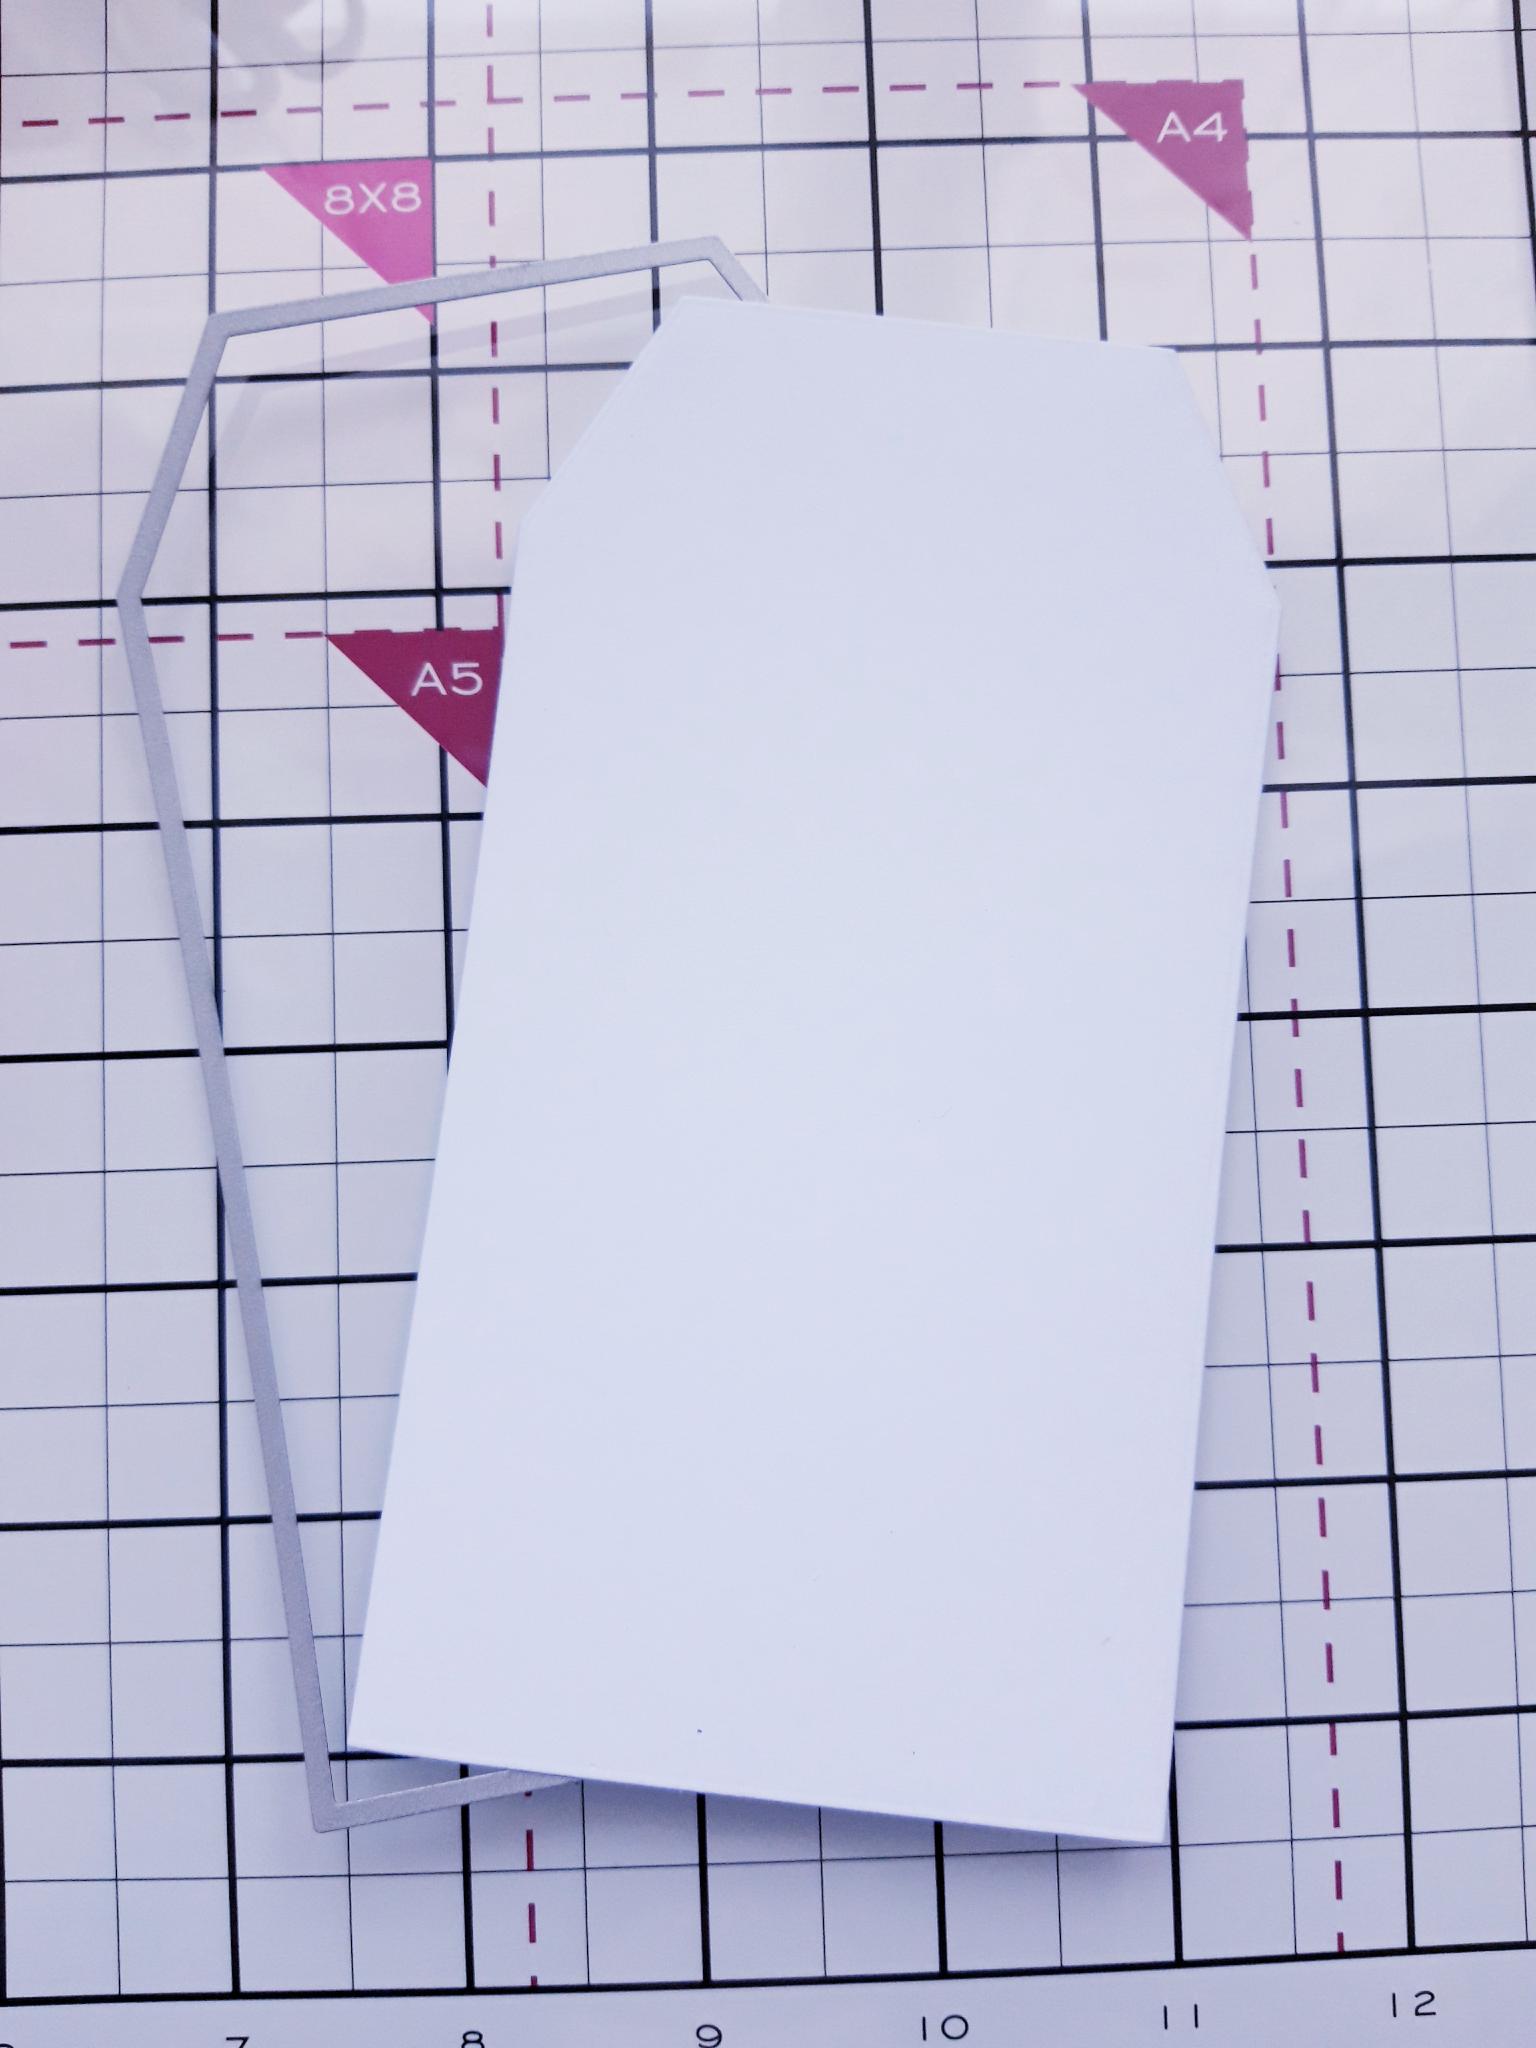
|
Place the Tagged die, that measures approx 6 1/4 x 3 1/2", to one side of the A4 white card. Roughly trim around the tag die and set the remaining card to one side for later steps. Run the die through your die cutting machine. |
|
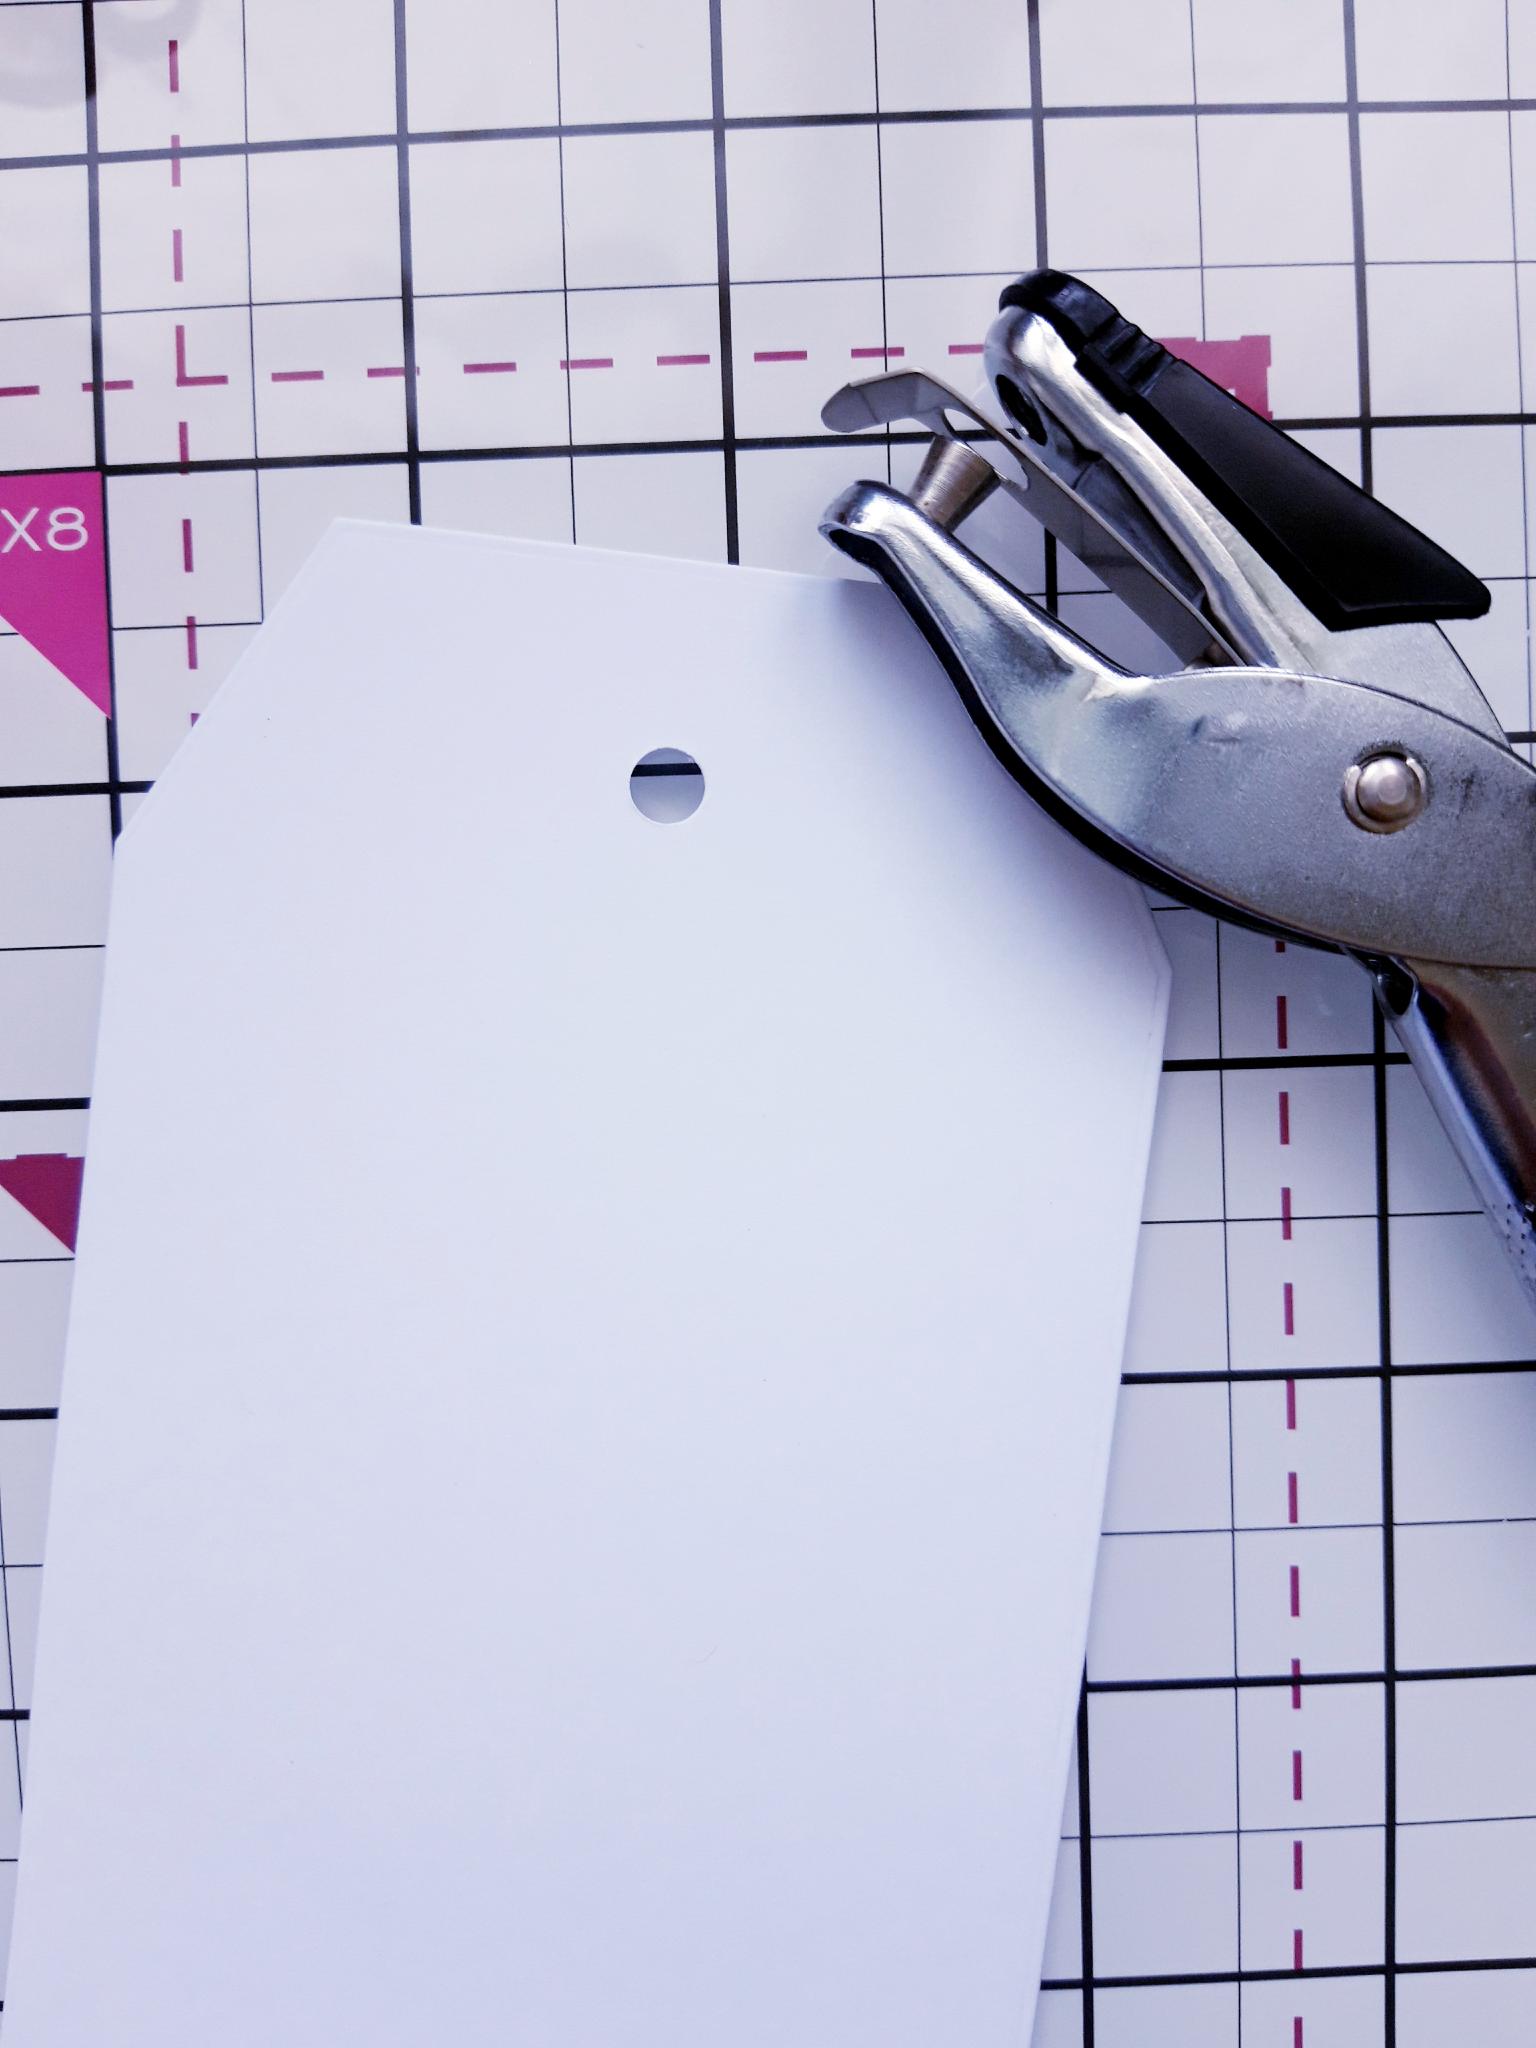
Punch a hole in the top of your die cut tag. |

|
Place the tag die, that's the next size down, on to the vellum and run that through your machine. Punch a hole in the top, so that when placed over the bigger tag, the holes will line up.
|
|
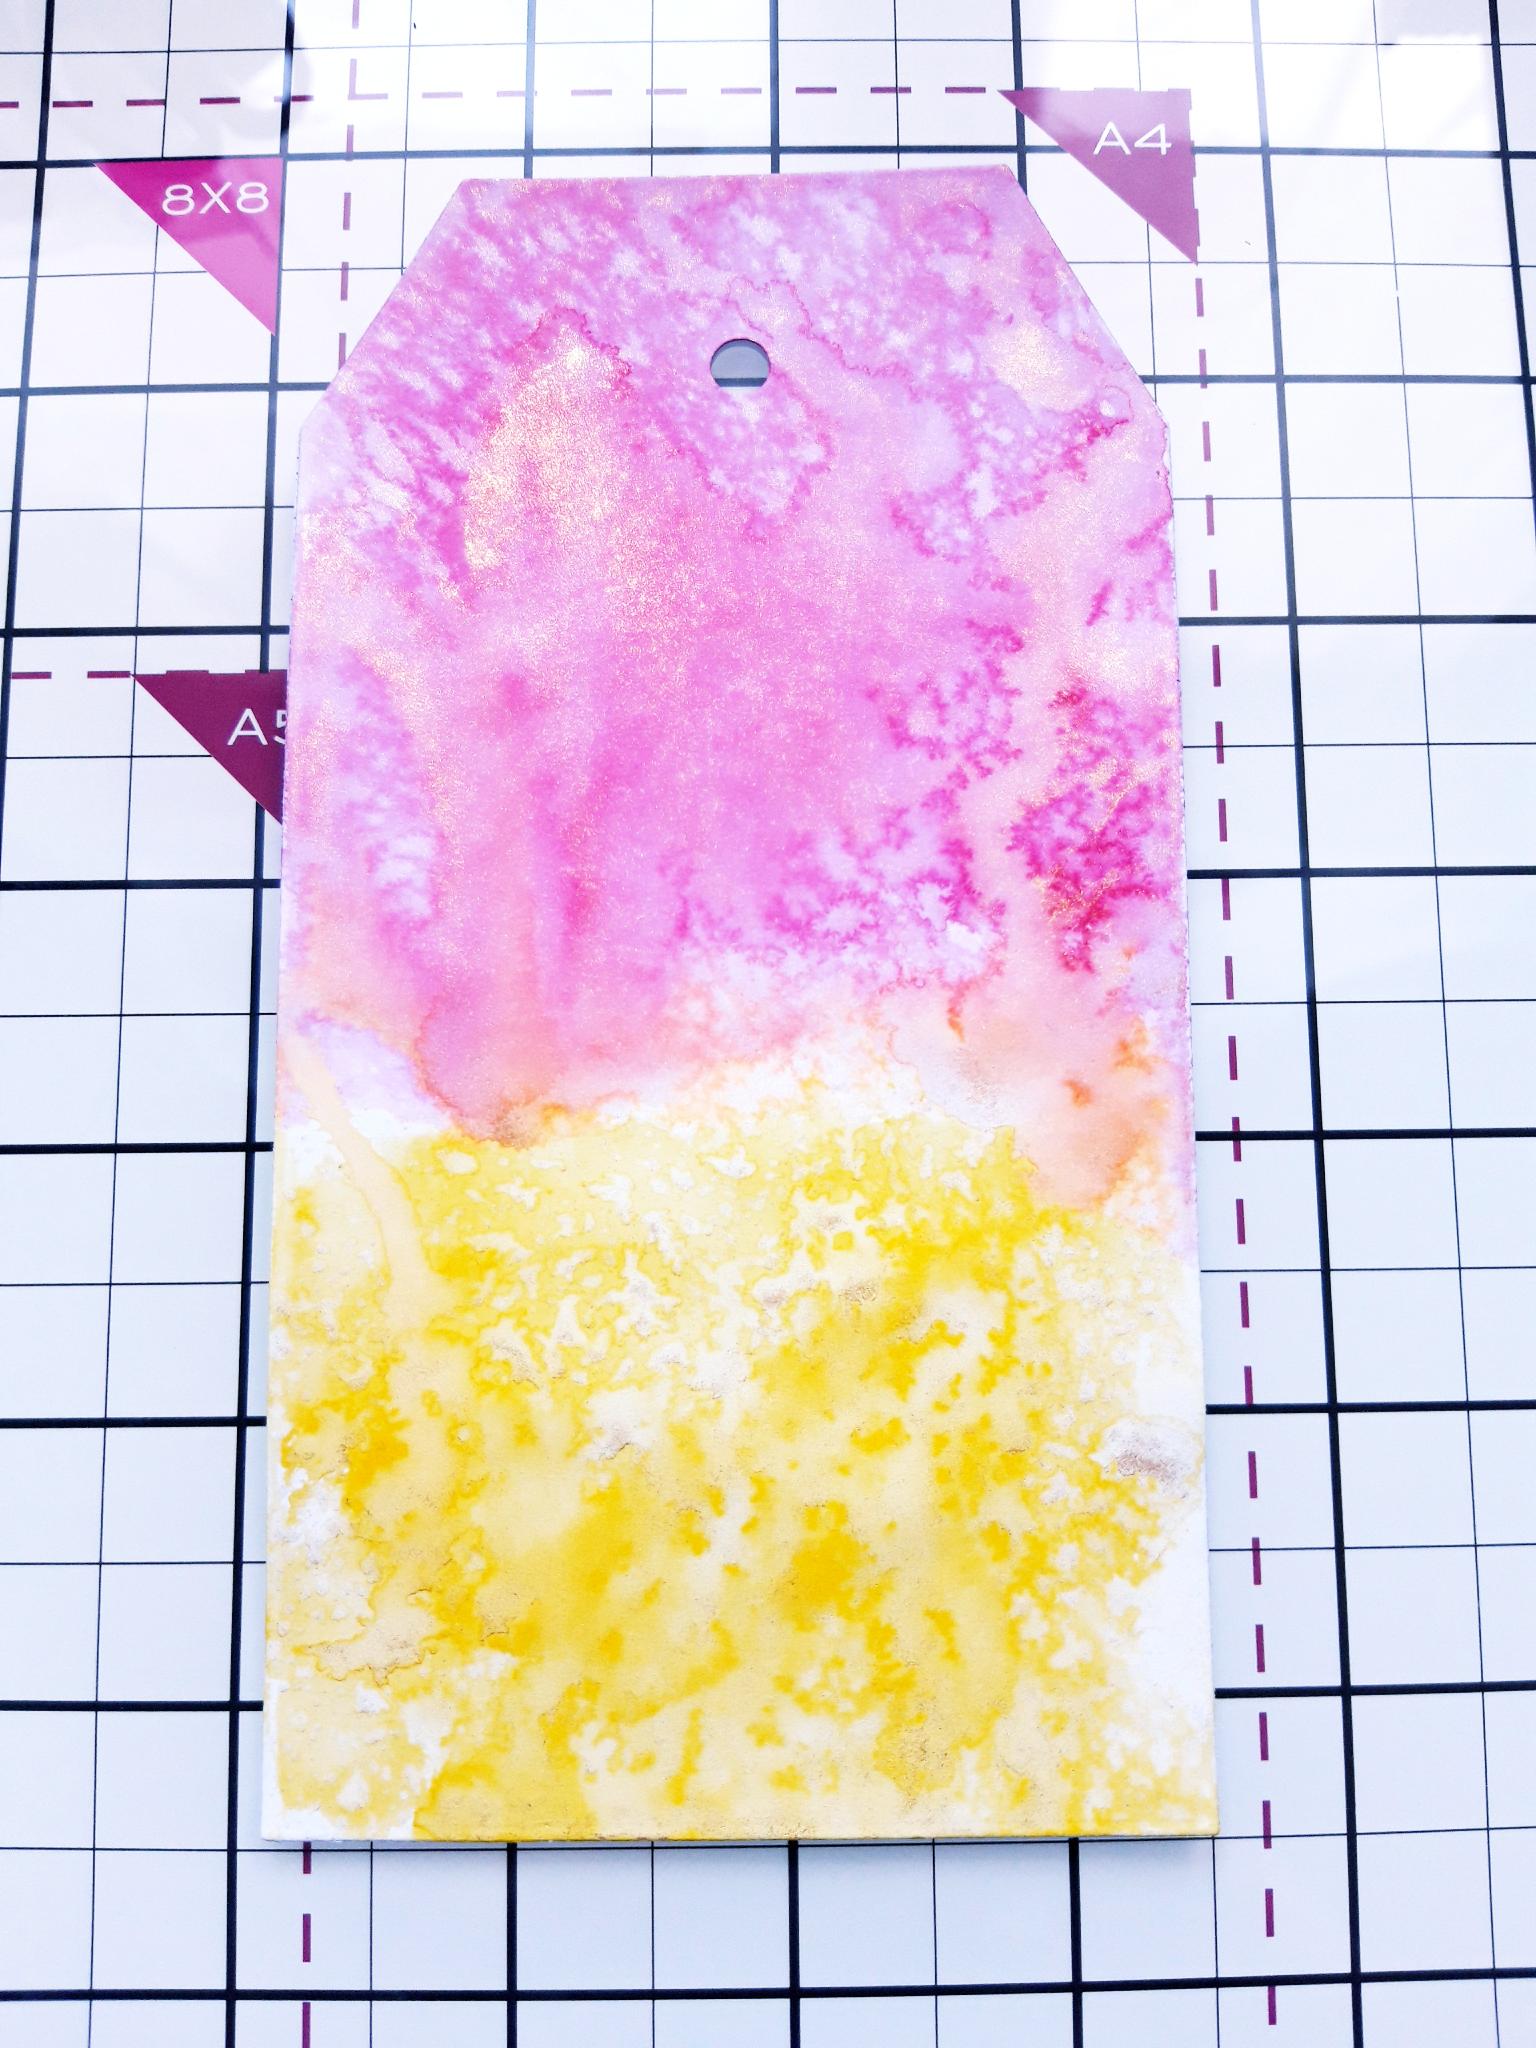
Apply the Sherbet ink on to your glass mat and spritz with a little of the Pearlywinks Golden Shimmer. Pick up the ink on the bottom half of the white die cut tag. Repeat with the Magenta ink, on to the top half of the tag. Dry the ink thoroughly with your heat tool. |
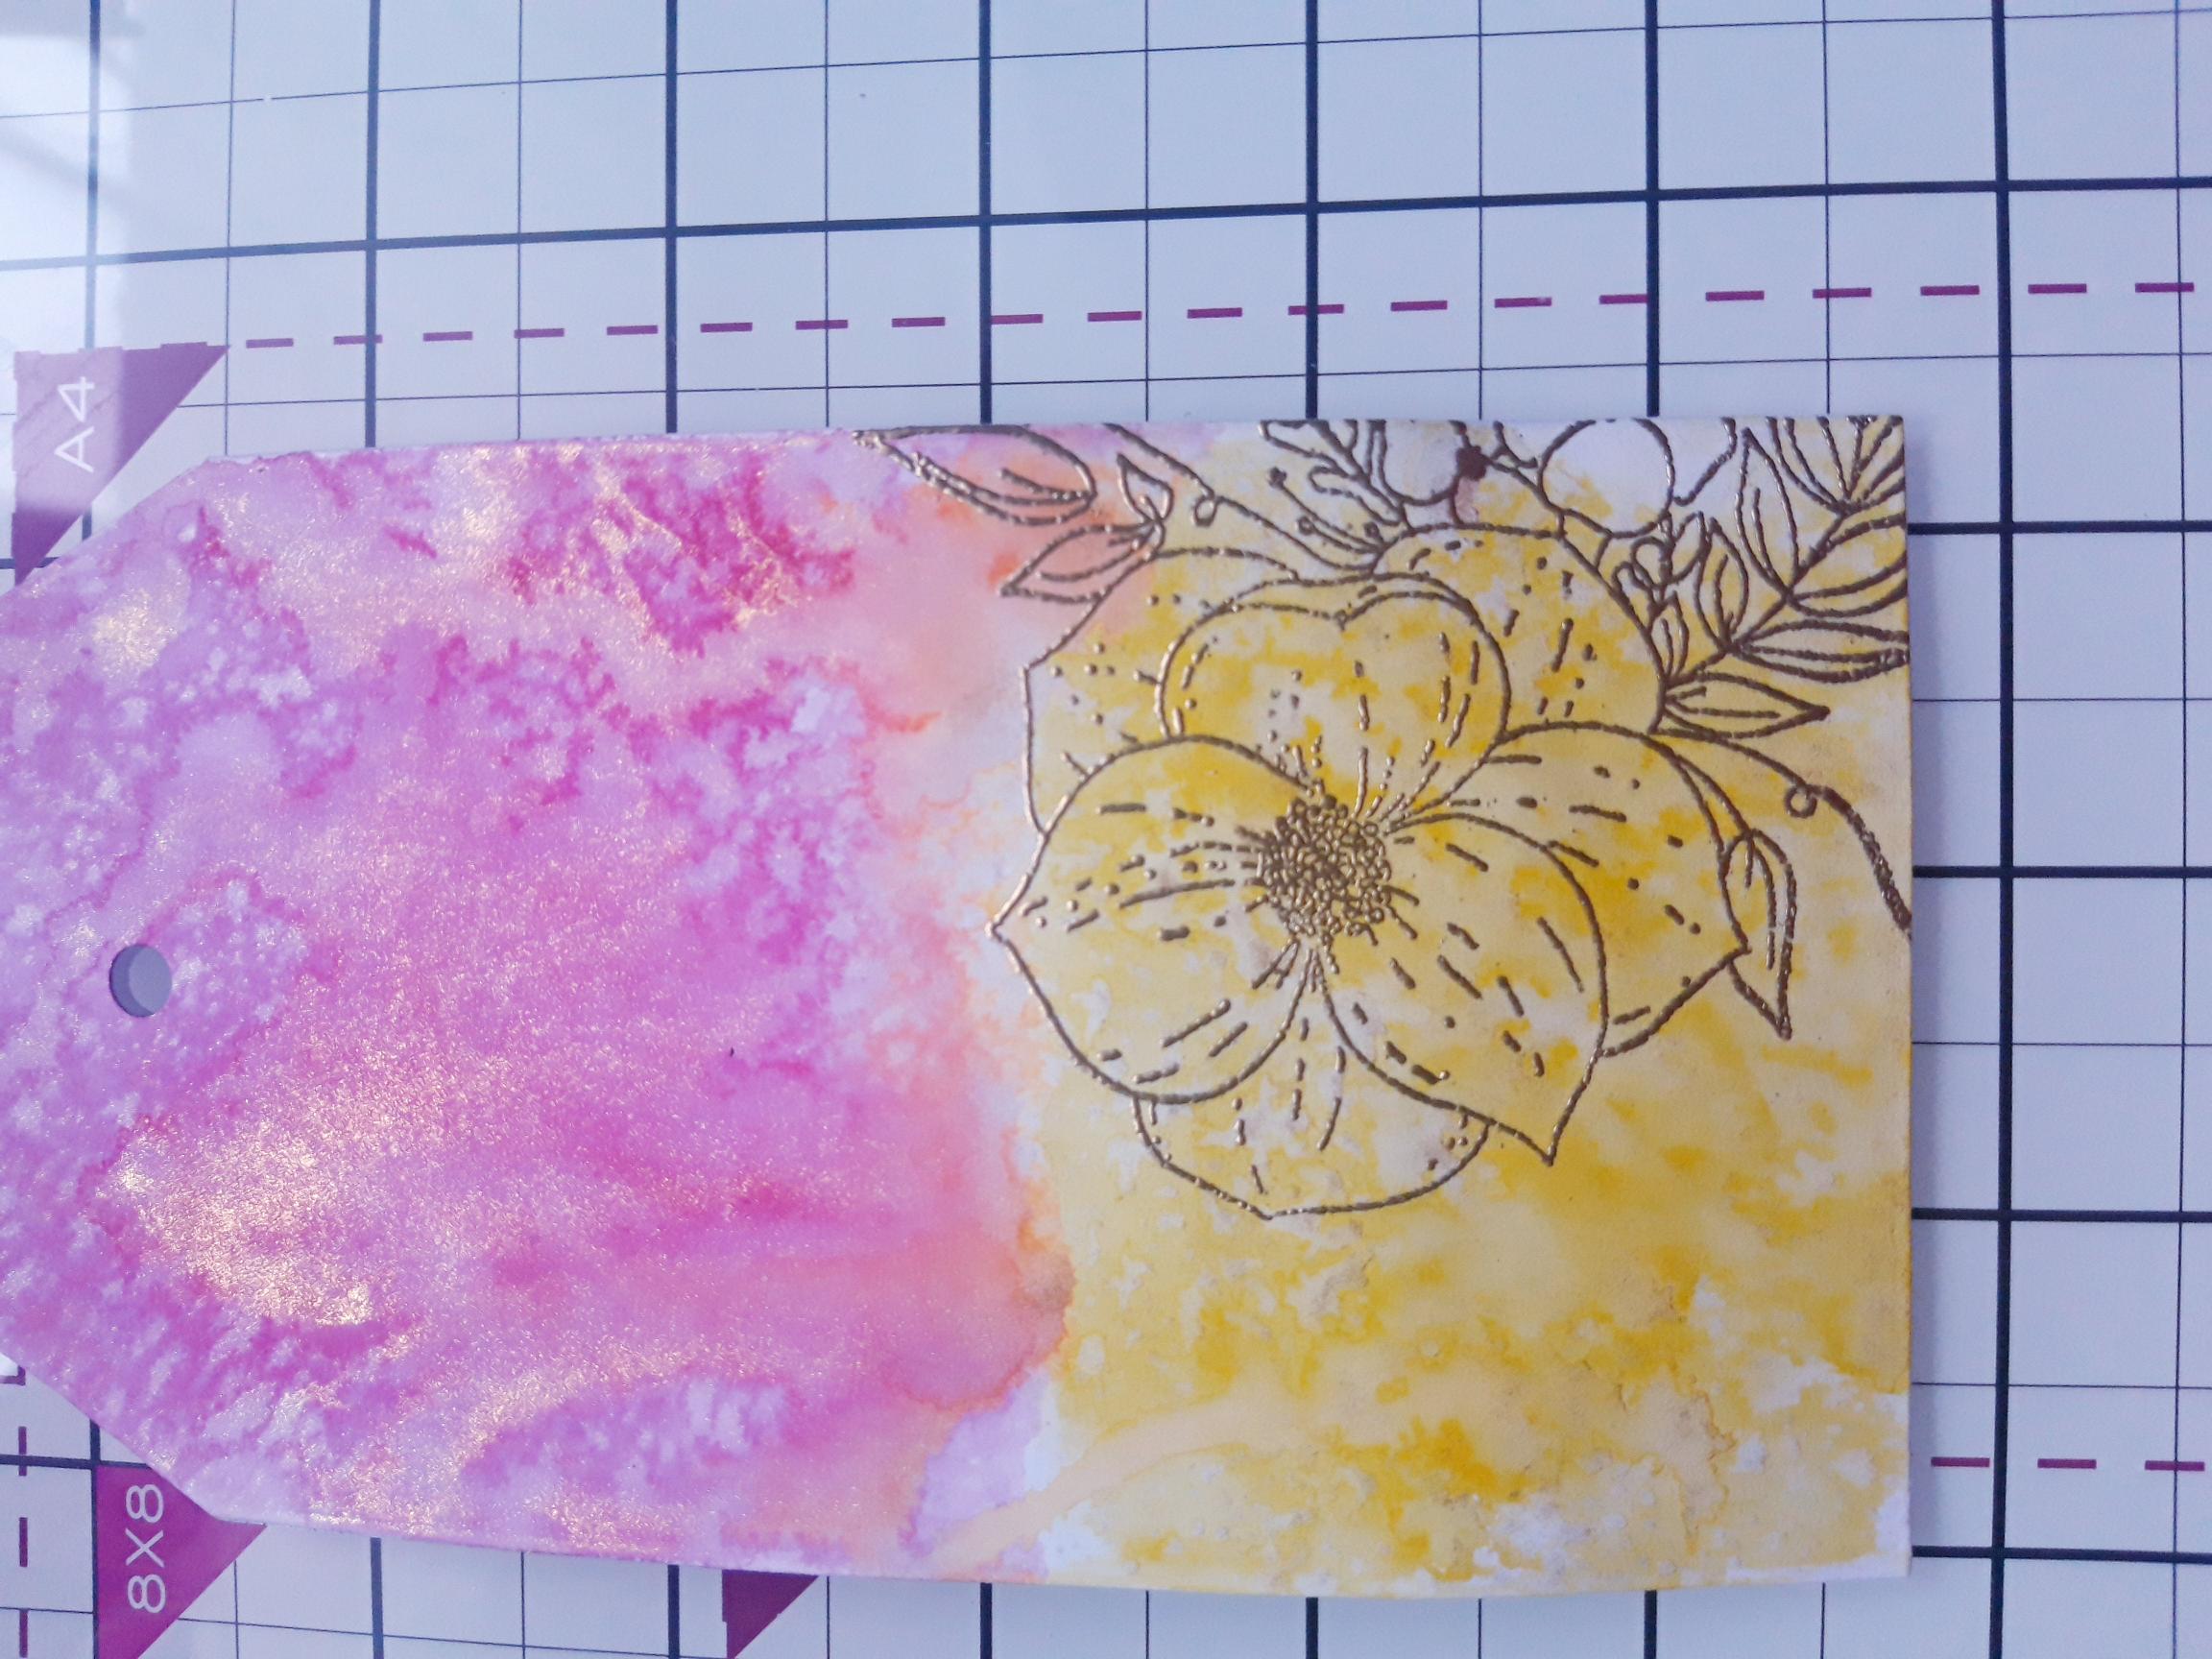
|
Wipe over the inky tag with your anti-static bag. Ink up the floral stamp, from the Just For You Stamp And Die Collection, with the WOW embossing ink. Stamp off the bottom right corner of the tag. Cover with the Gold embossing powder and once your heat tool is hot, heat set the powder. |
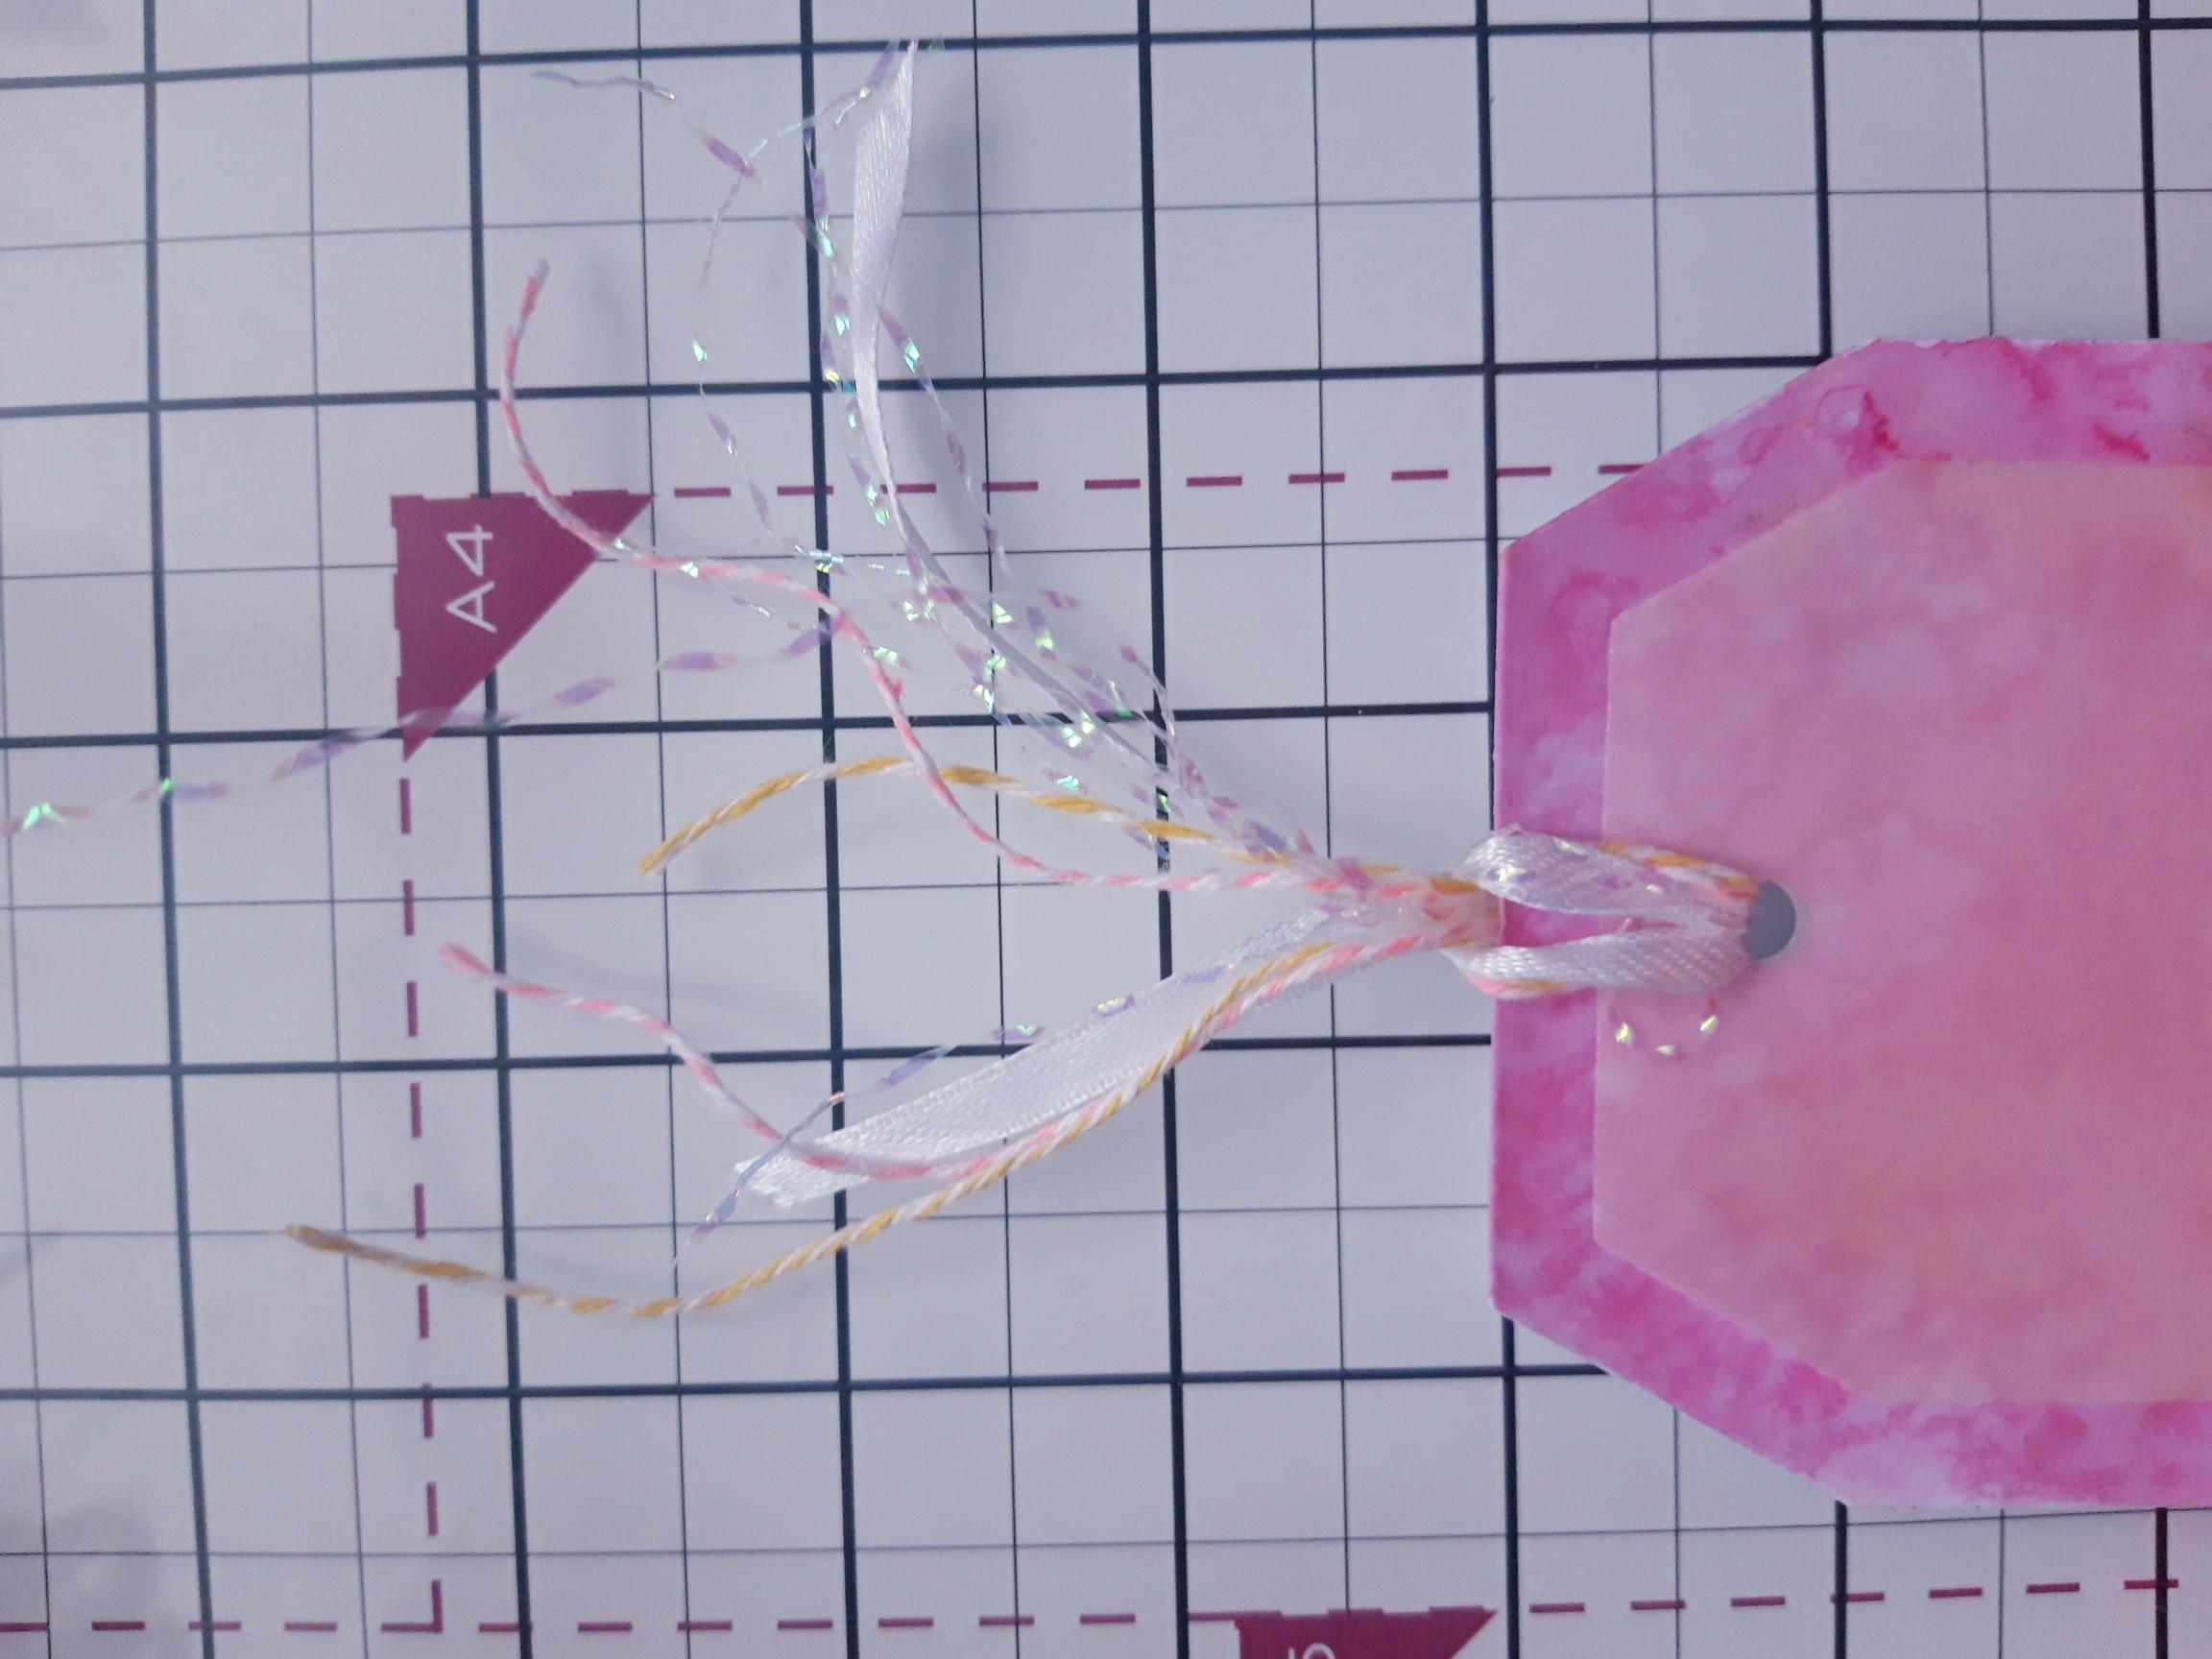
|
Place the vellum tag on top of the embossed tag and tie your ribbons through the punched holes. Set to one side.
|
|
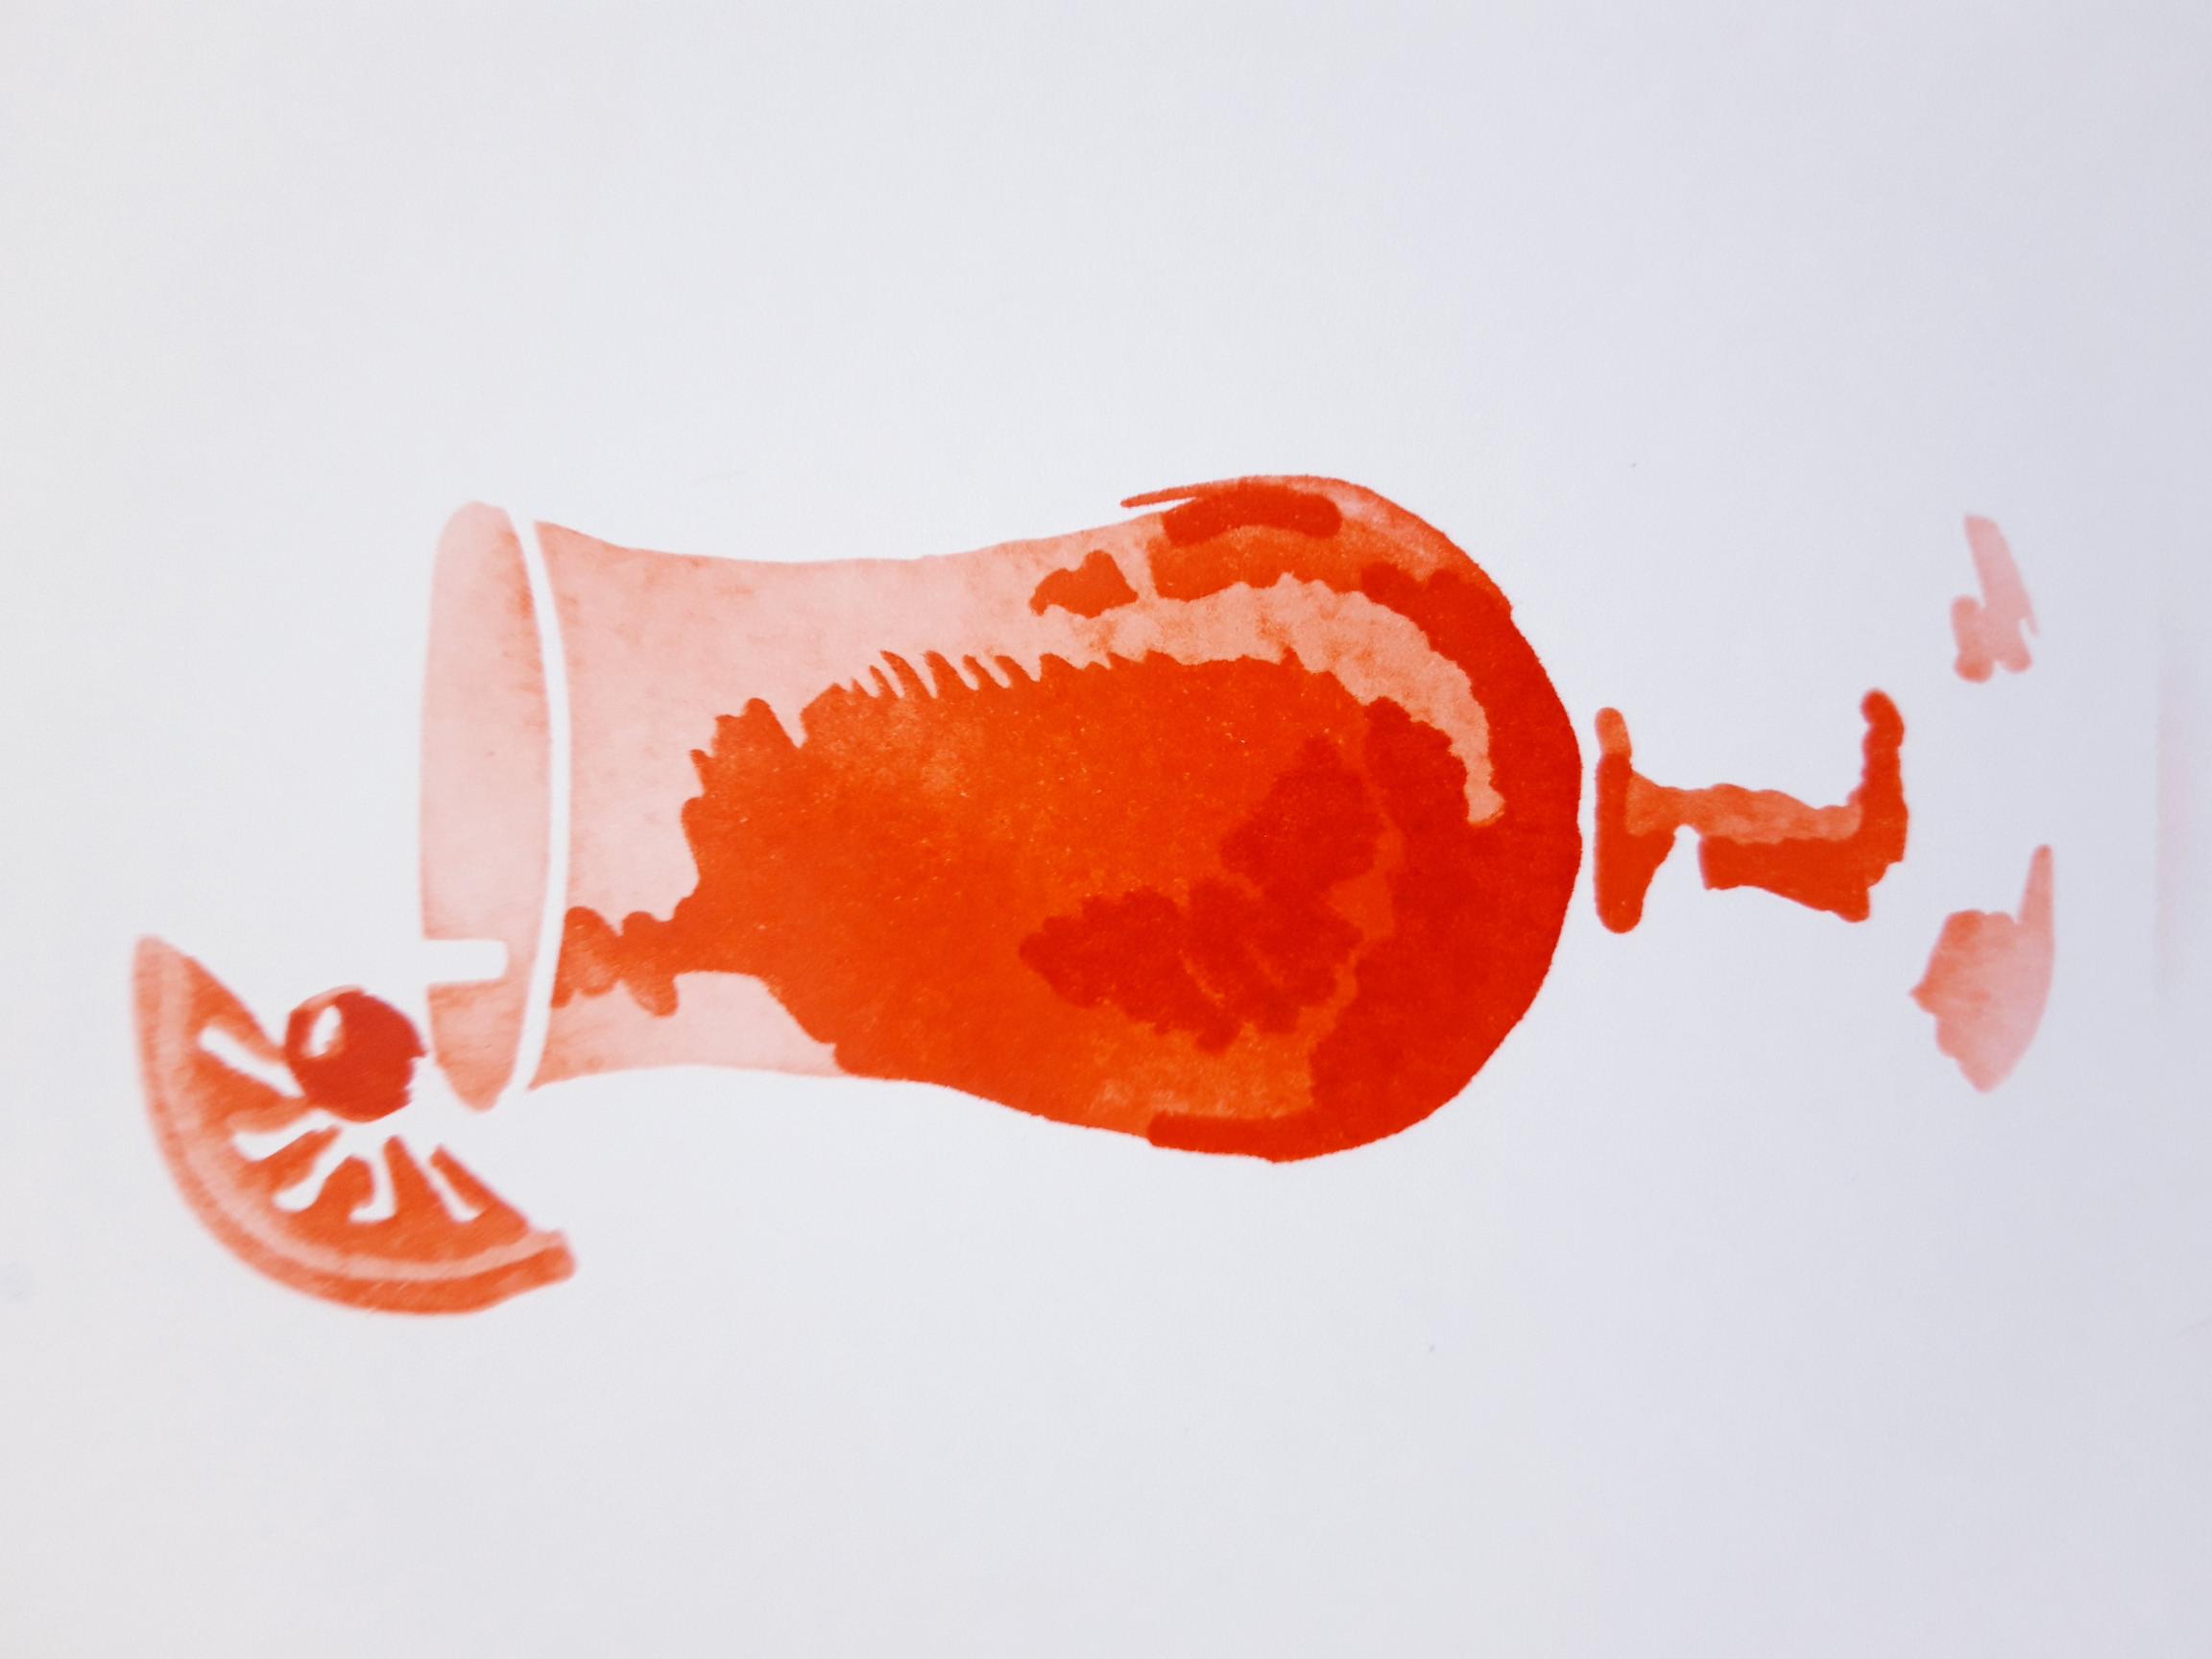
Place stencil 1 from the Quattro D Tequila Sunrise Collection, on to the white card you set aside earlier. Lightly blend the Bittersweet Premium ink through the stencil. Line up stencil 2 and blend with the Bittersweet again but with a little more pressure. Finally, line up stencil 3 and blend with the Bittersweet, using much more pressure to get a more intense colour. Dry the ink thoroughly, before moving on to the next step. |
|
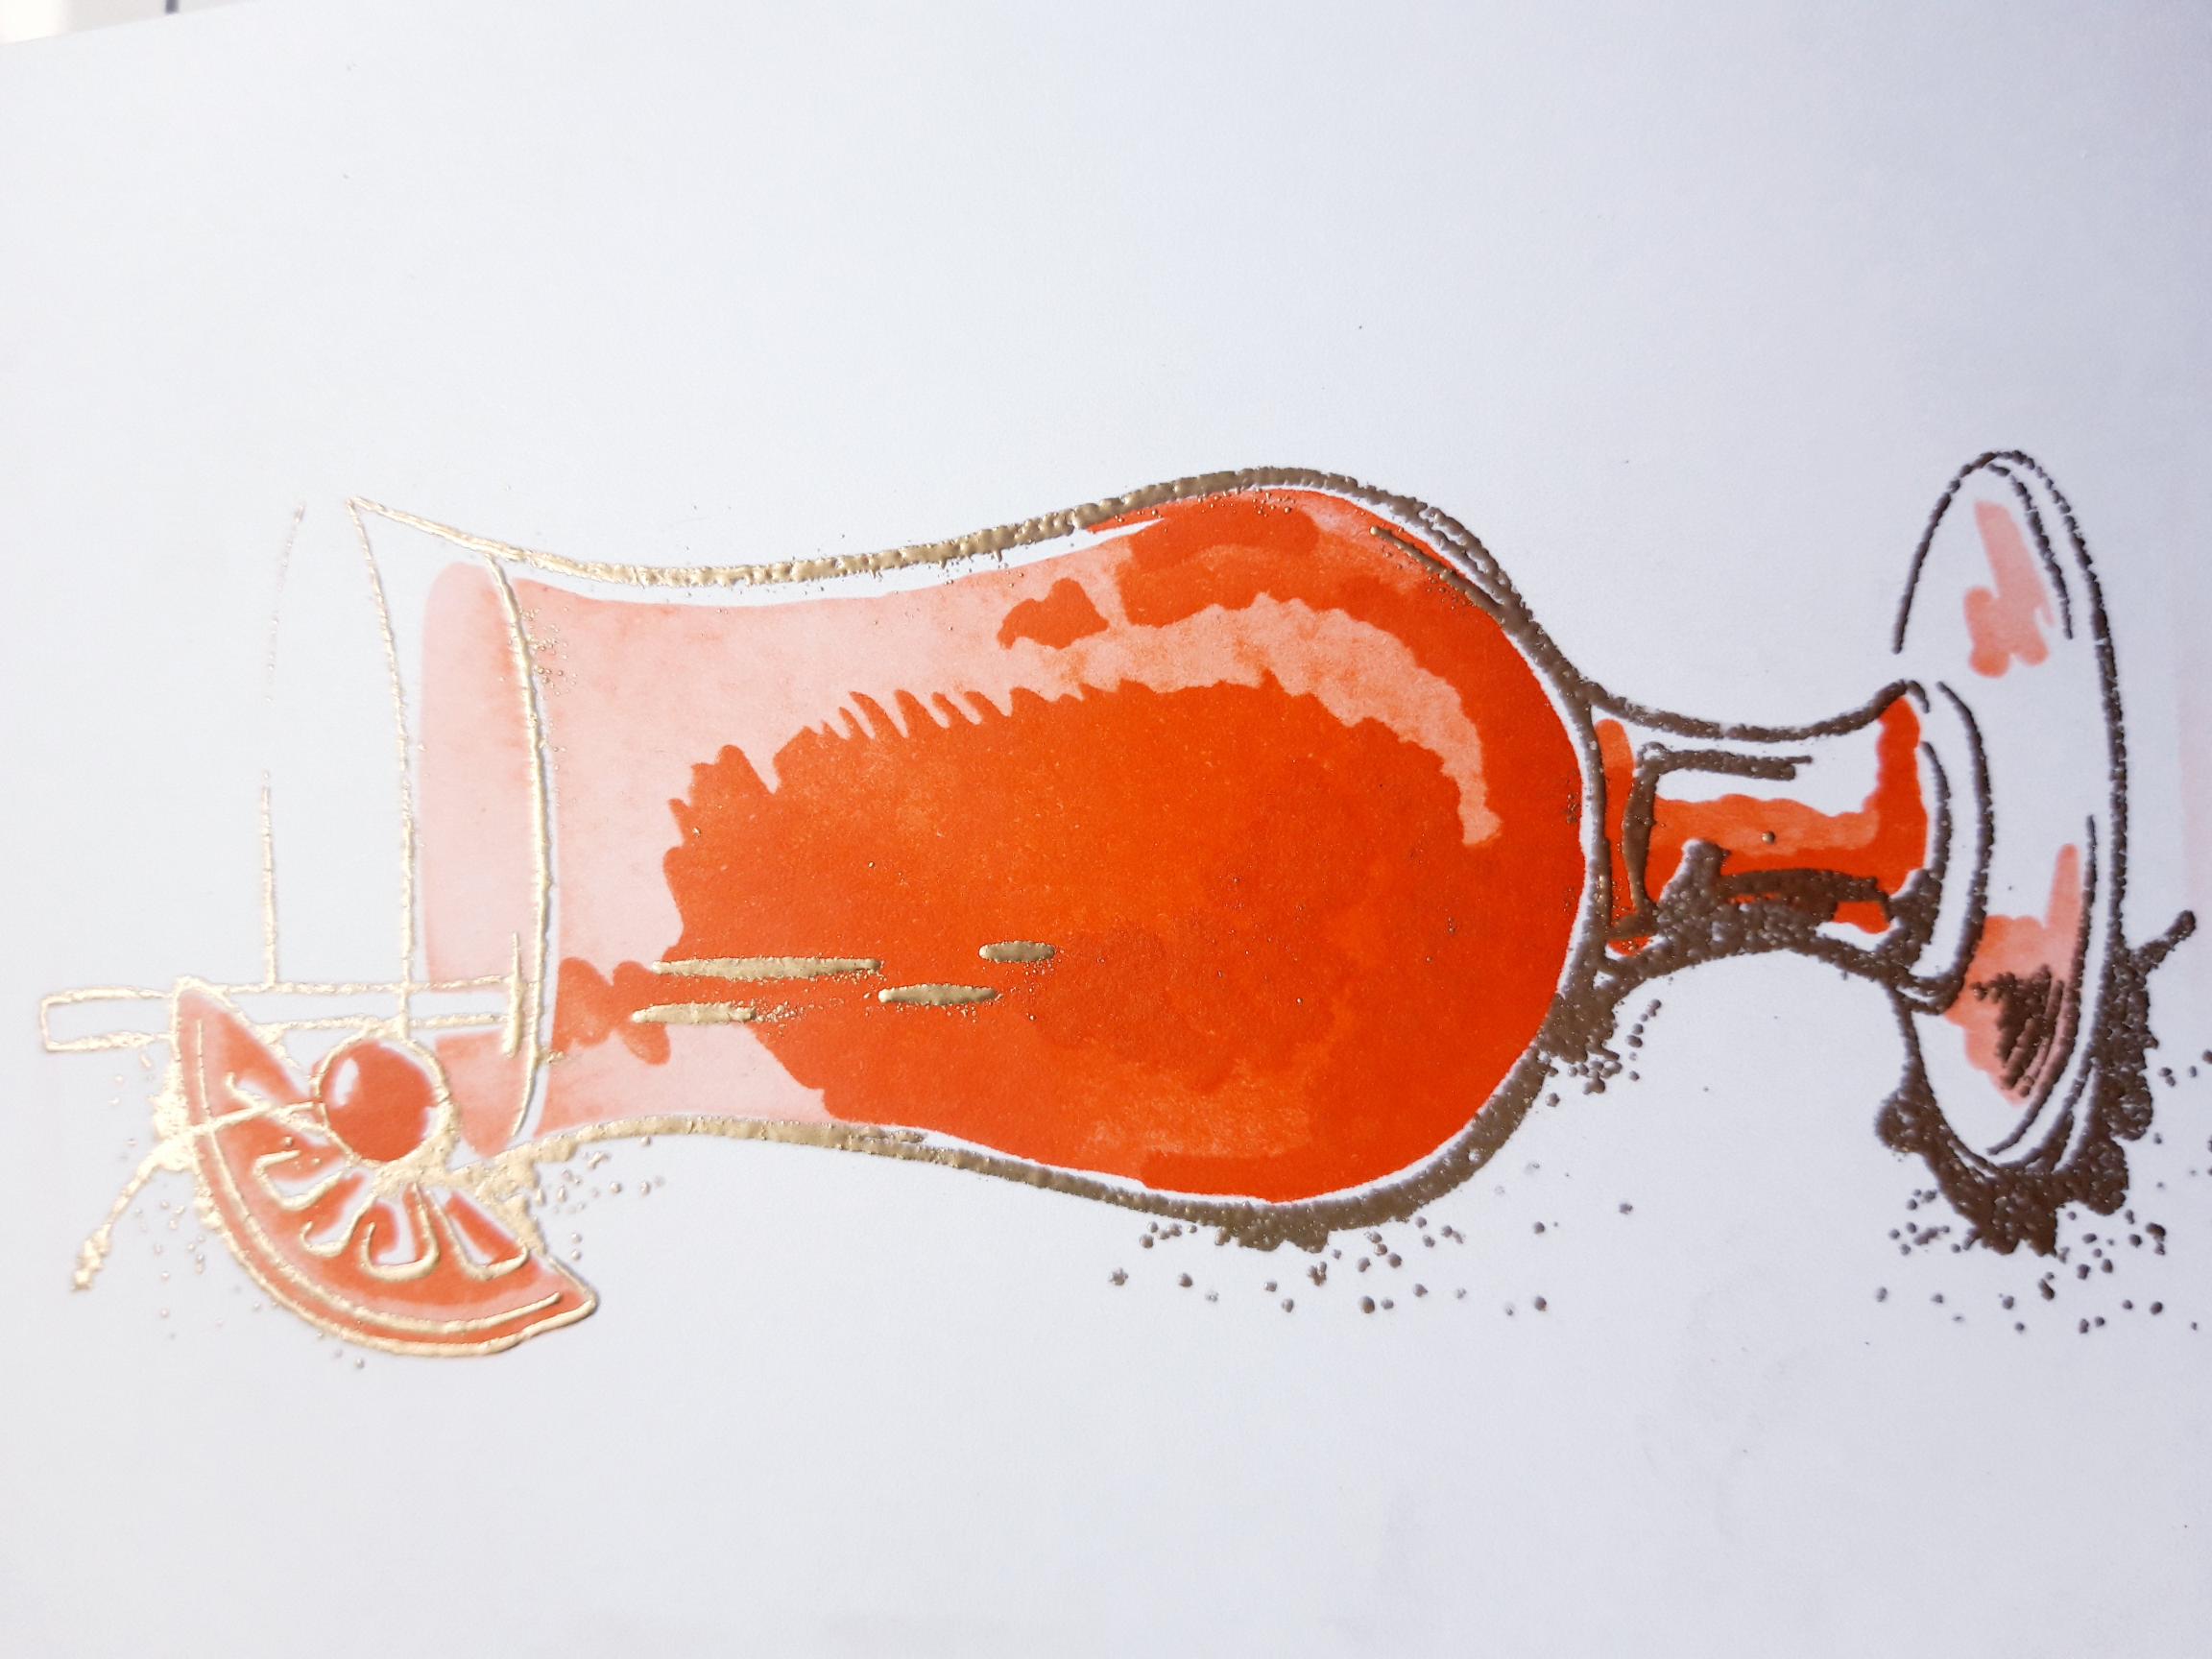
Wipe over the stencilled image with your anti-static bag. Ink up the co-ordinating stamp with the WOW embossing powder and cover with the Gold embossing powder. Get your heat tool nice and hot, then heat set the powder. |
|
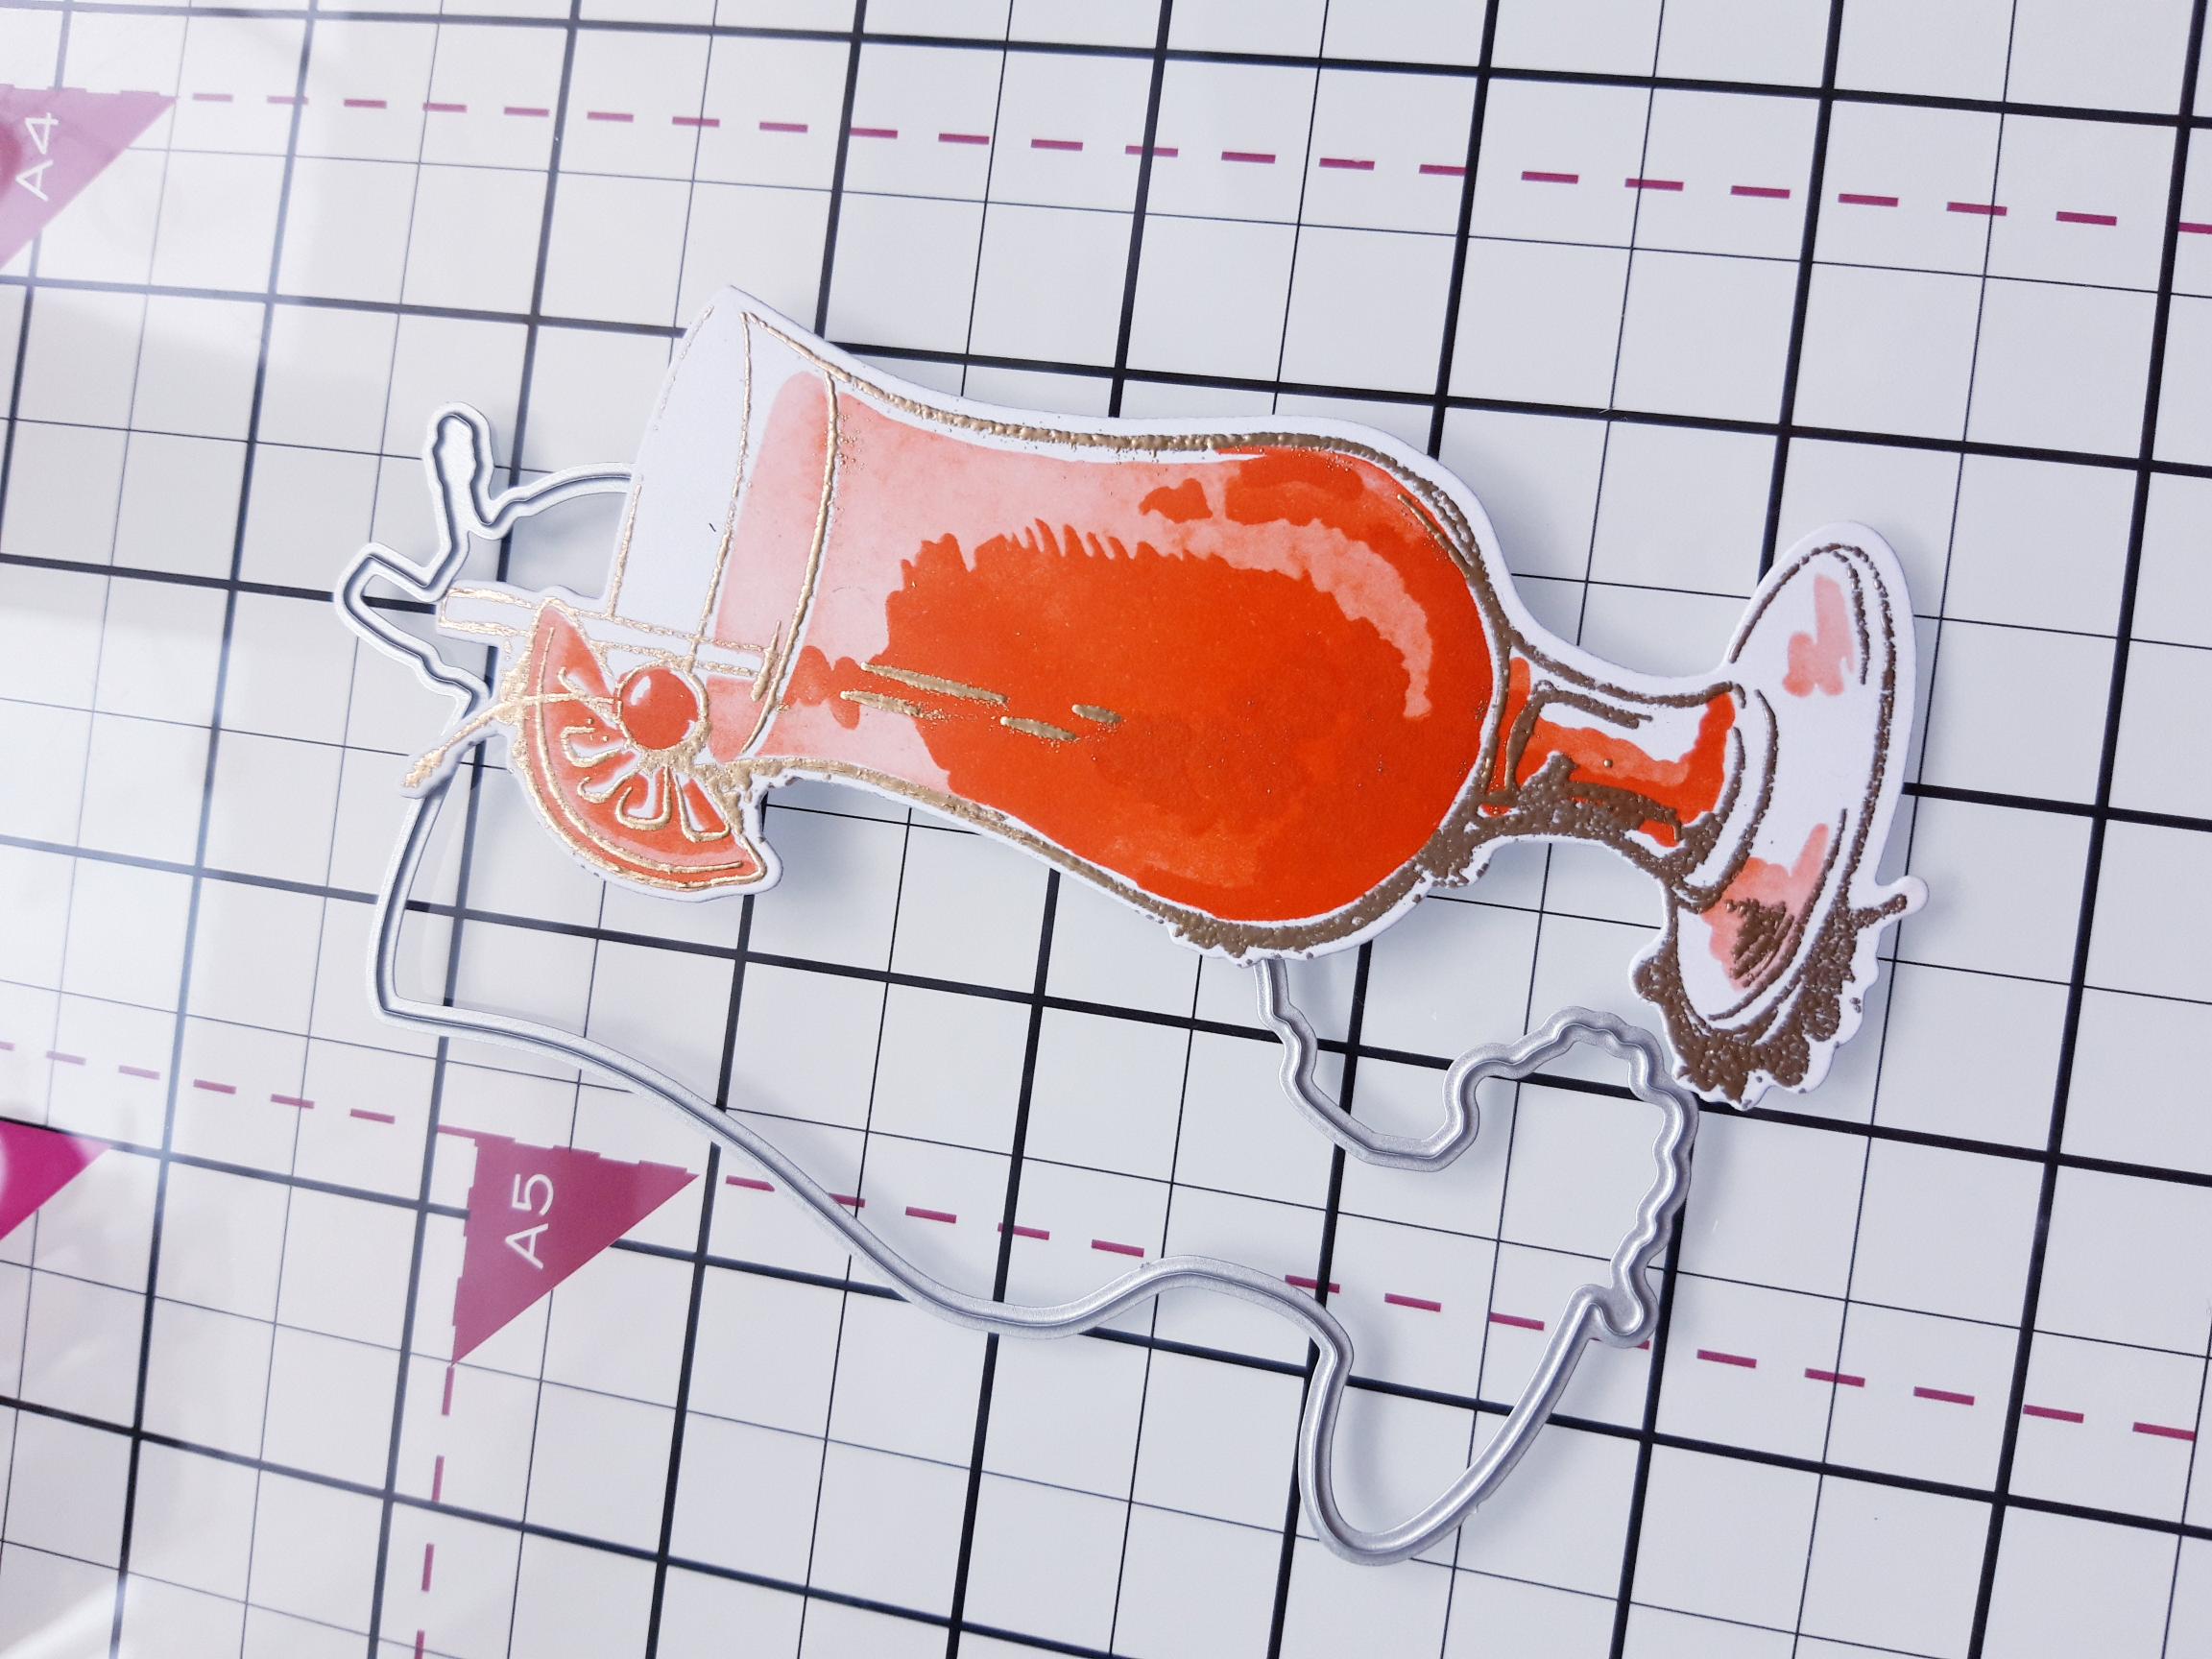
Use the co-ordinating die to cut out your Cocktail element, setting any leftover white card to one side, for a later step. |
|
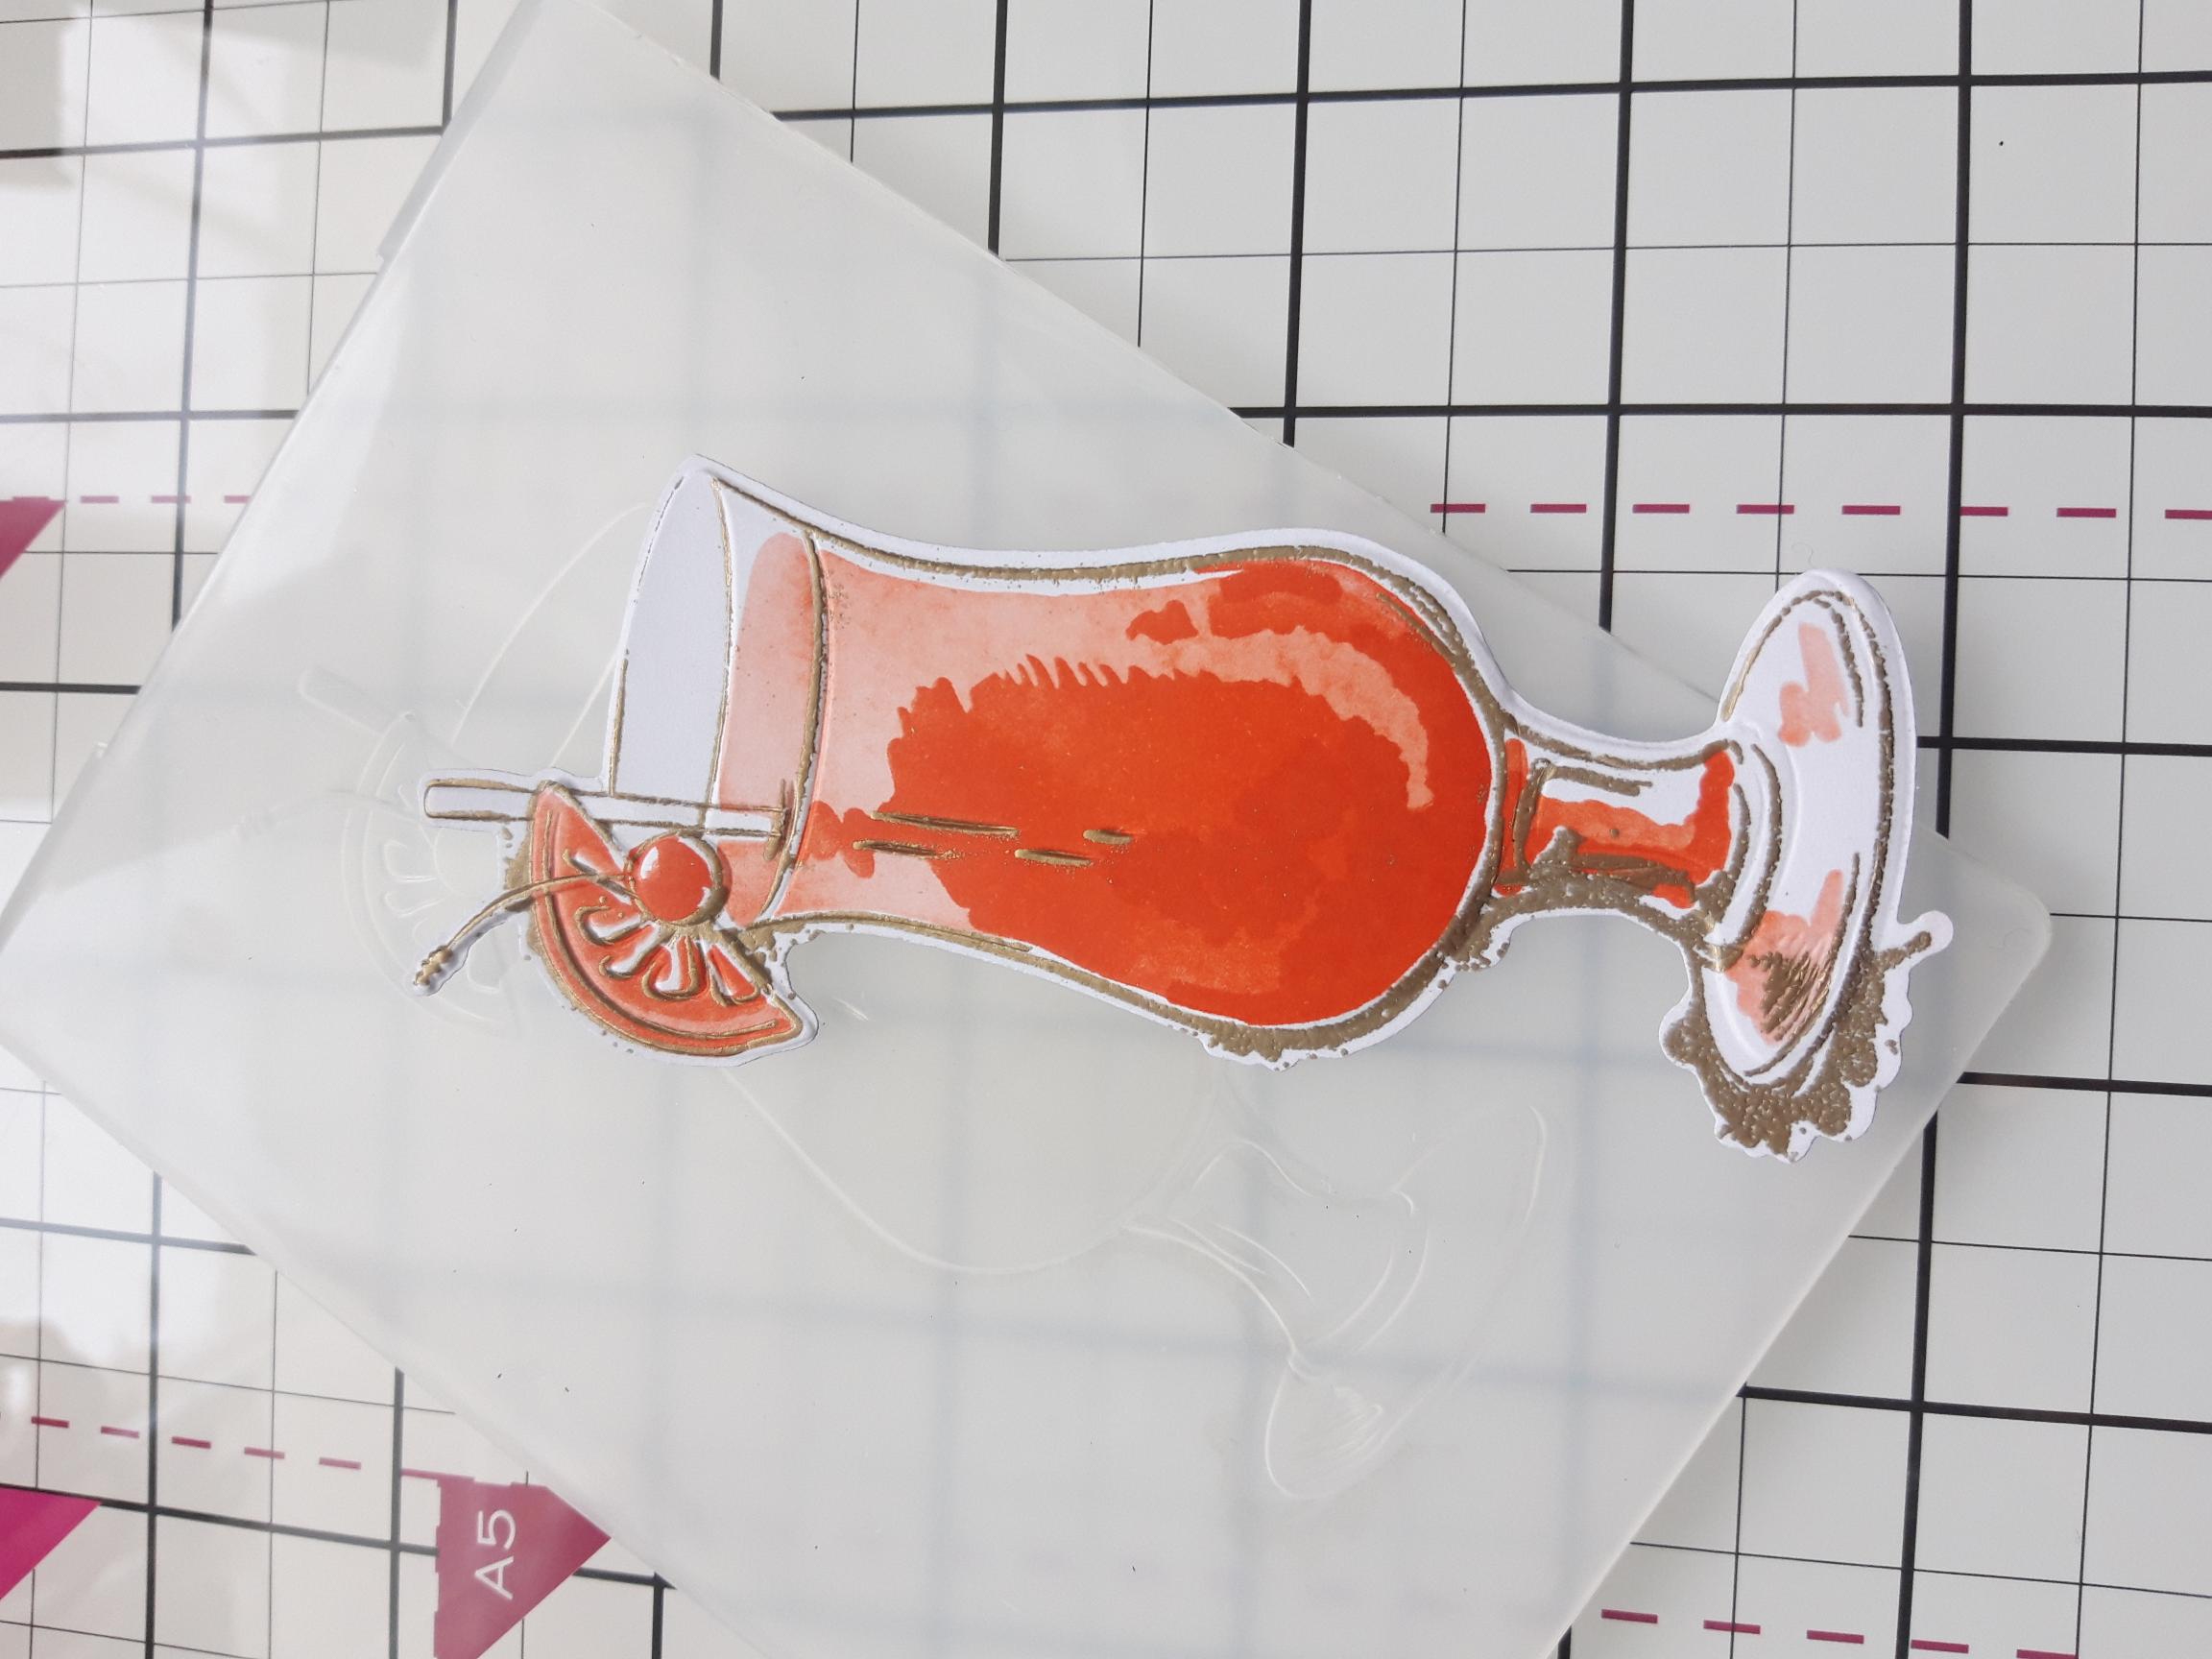
Line up the die cut Cocktail, in the co-ordinating embossing folder and run it through your embossing machine. |
|
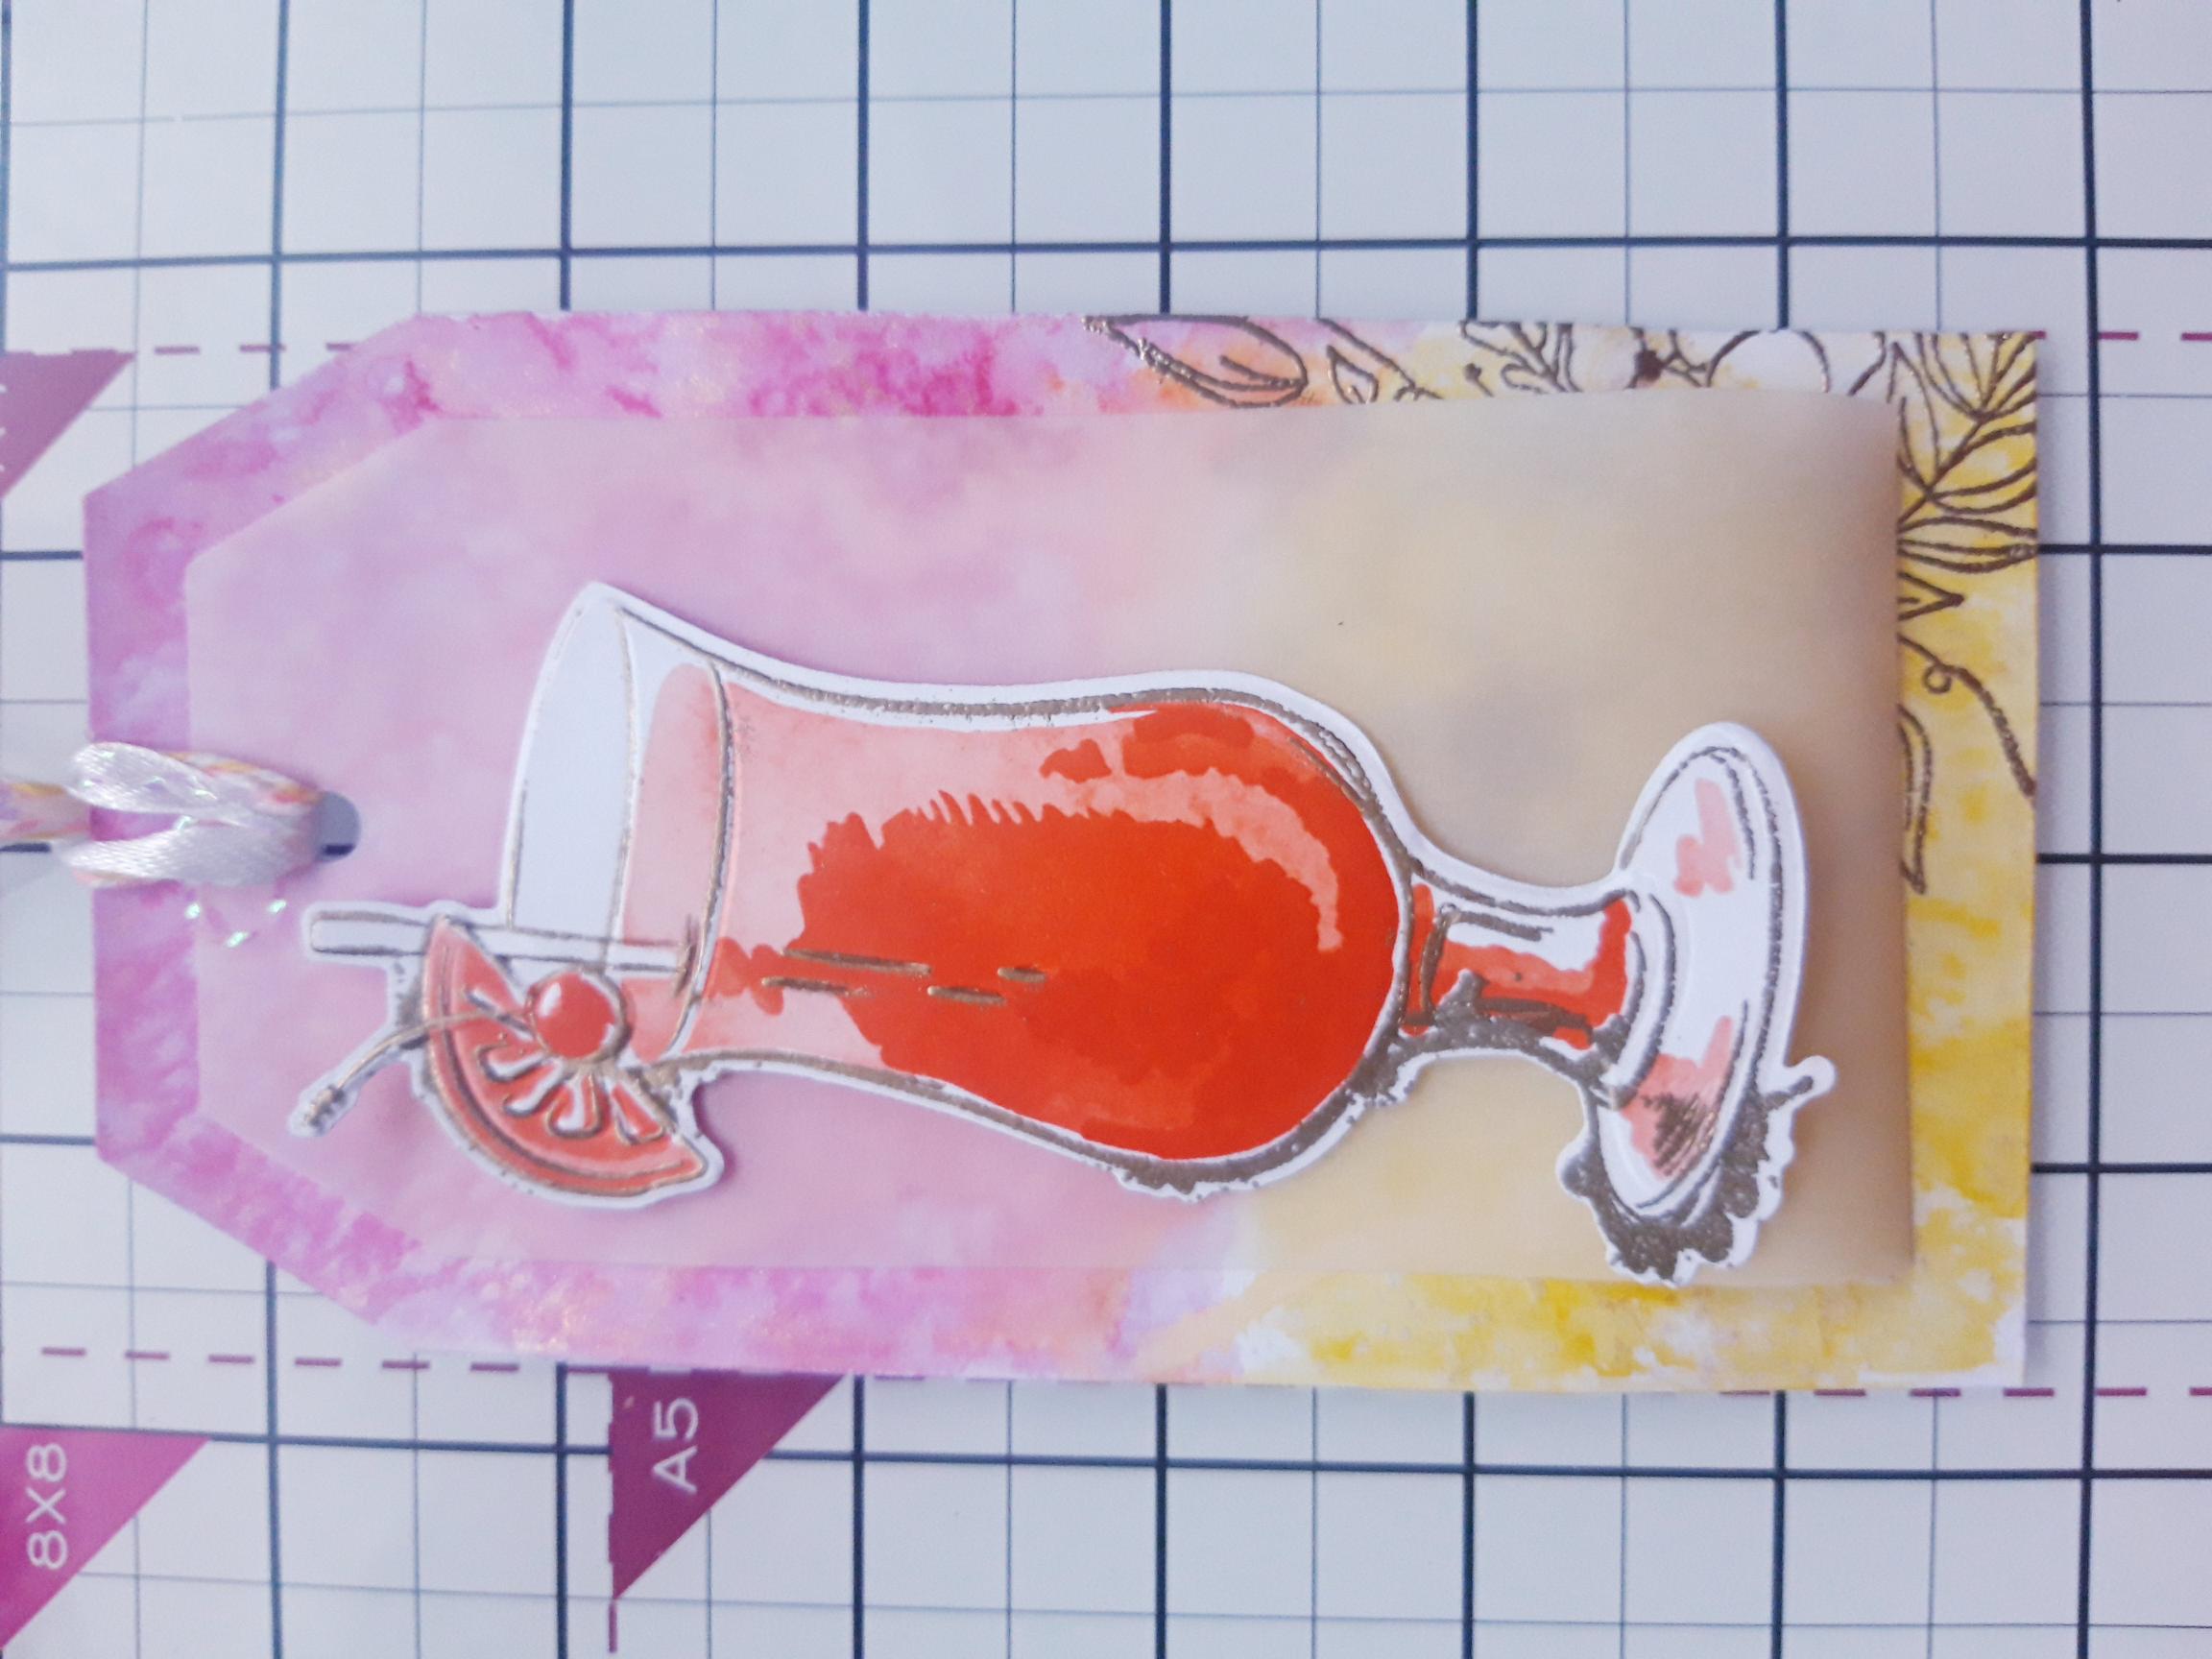
Adhere your Cocktail on to your tag, with foam pads. |
|
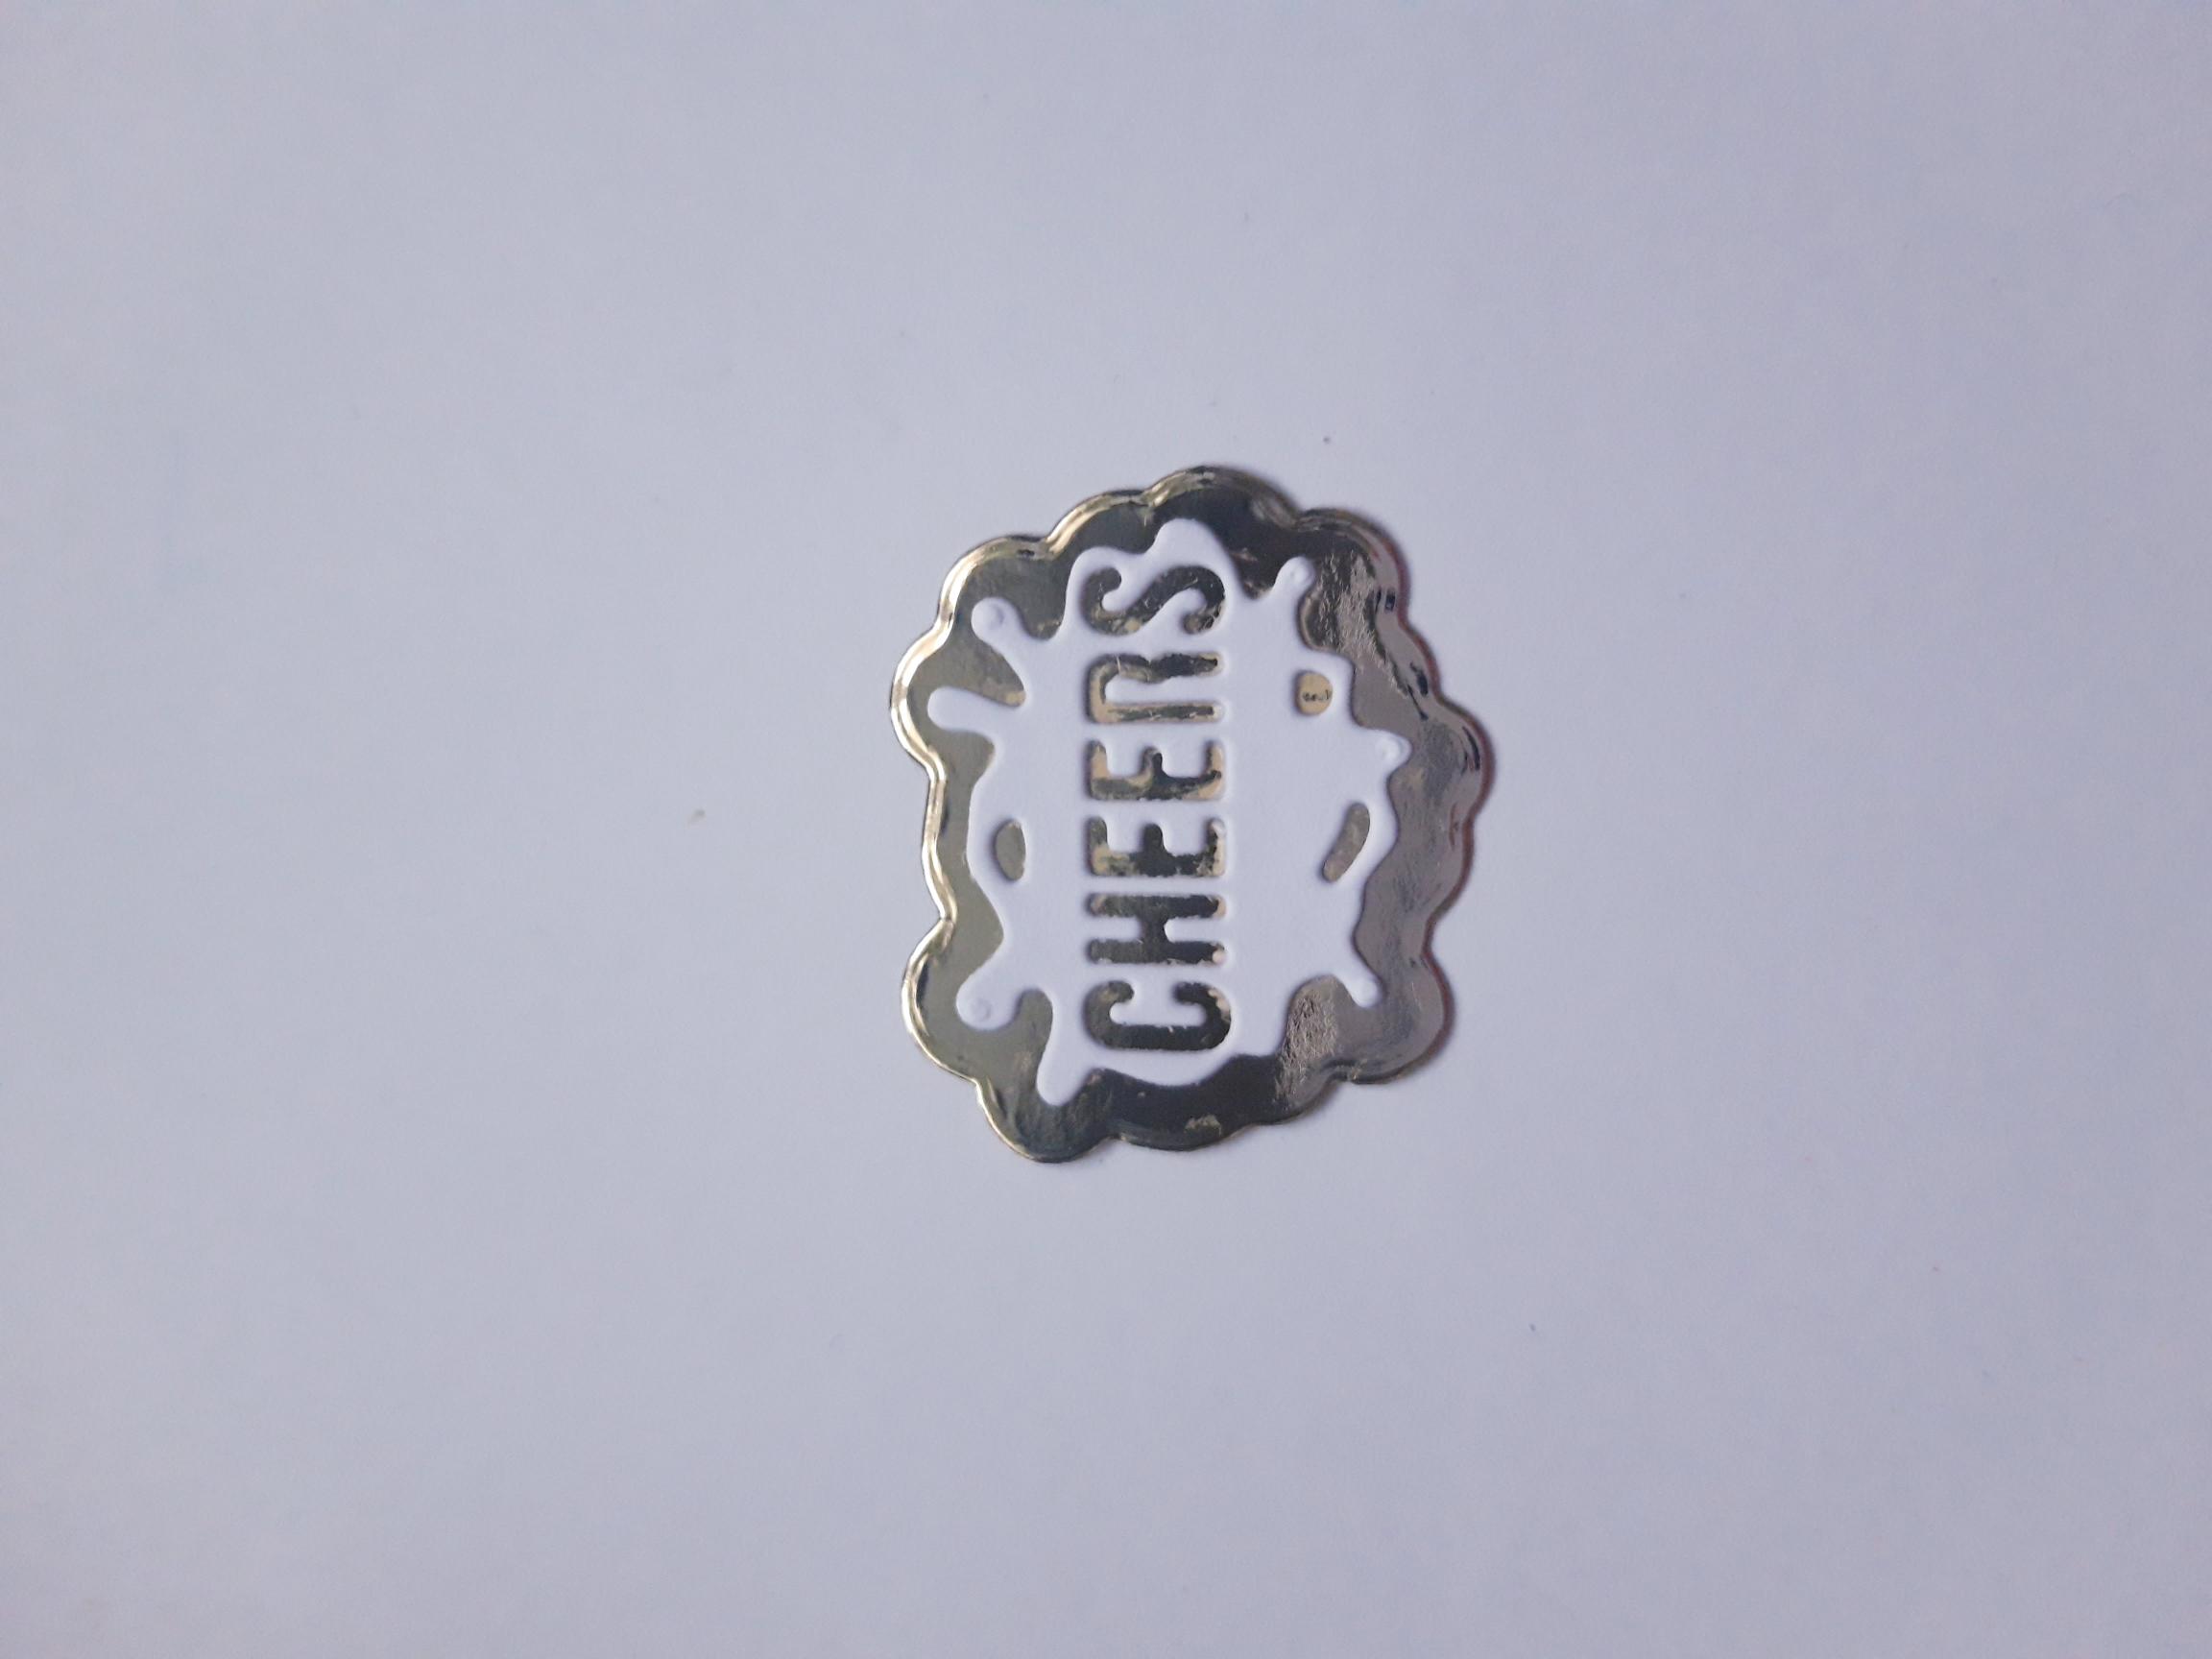
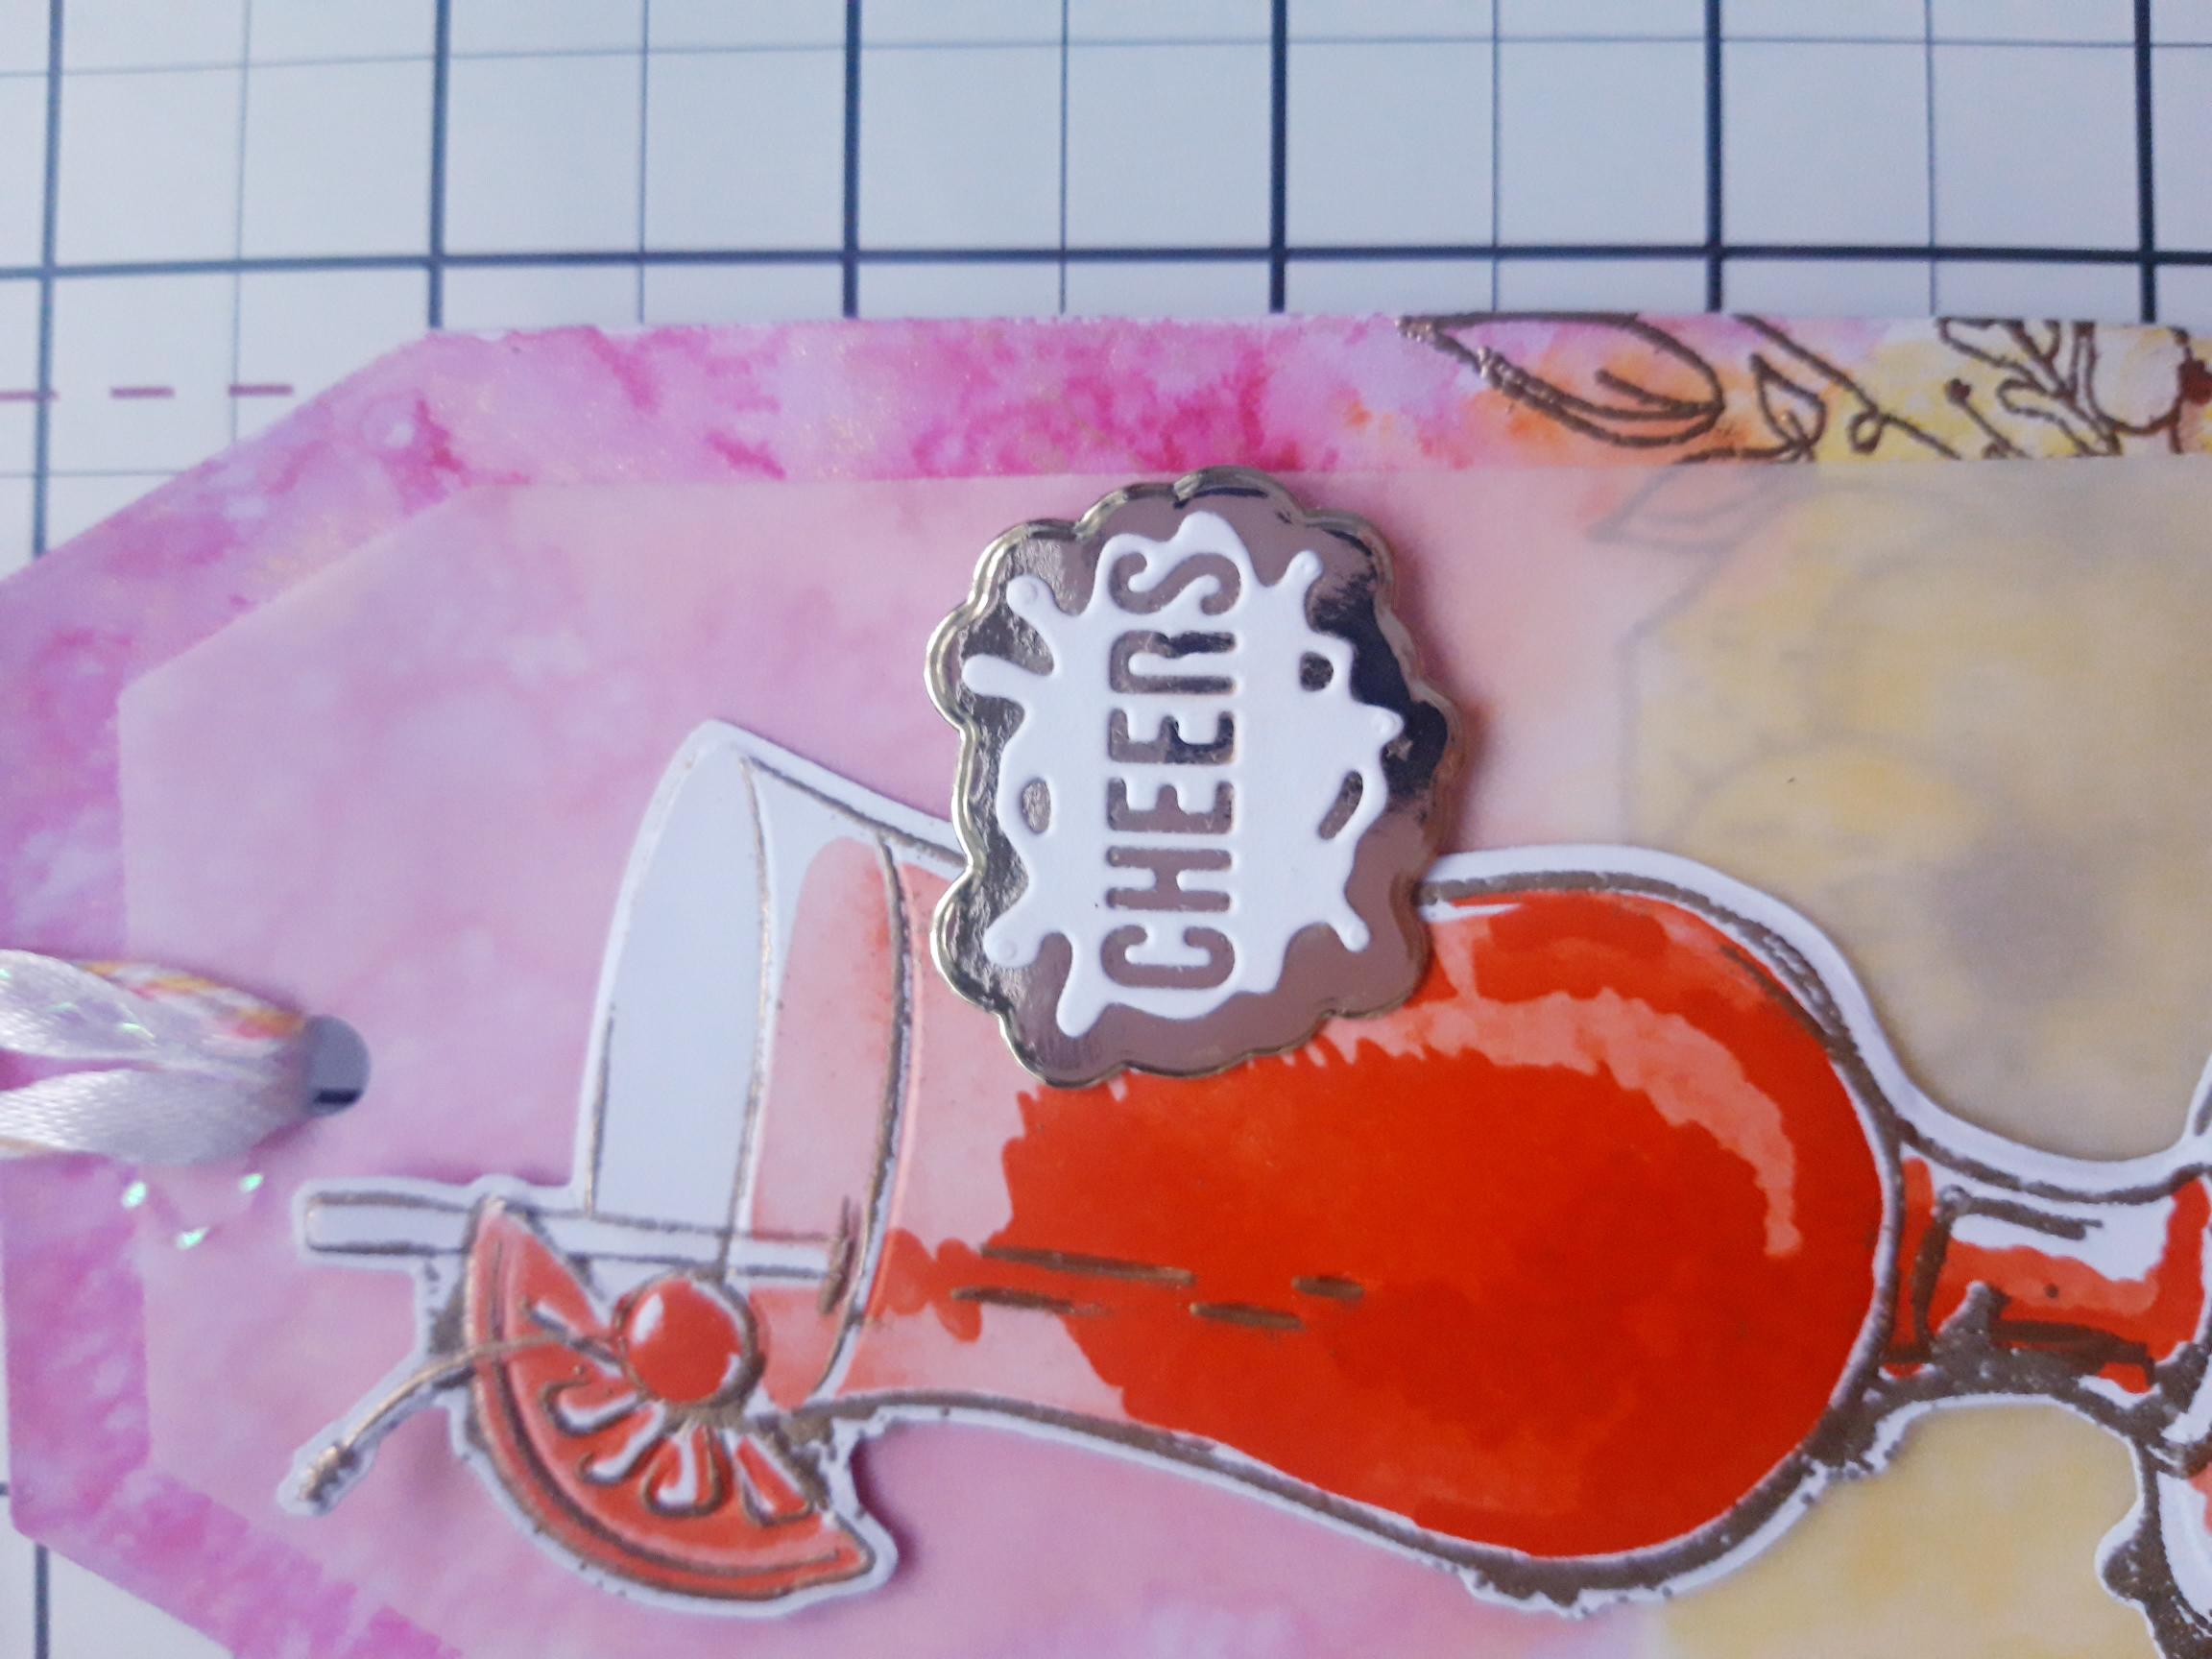
Die cut your chosen sentiment die from the white card you set aside earlier. If it has a co-ordinating mat die, cut this from the gold mirri card, then glue together. |
|
Adhere your die cut sentiment on to your tag, to finish. |