

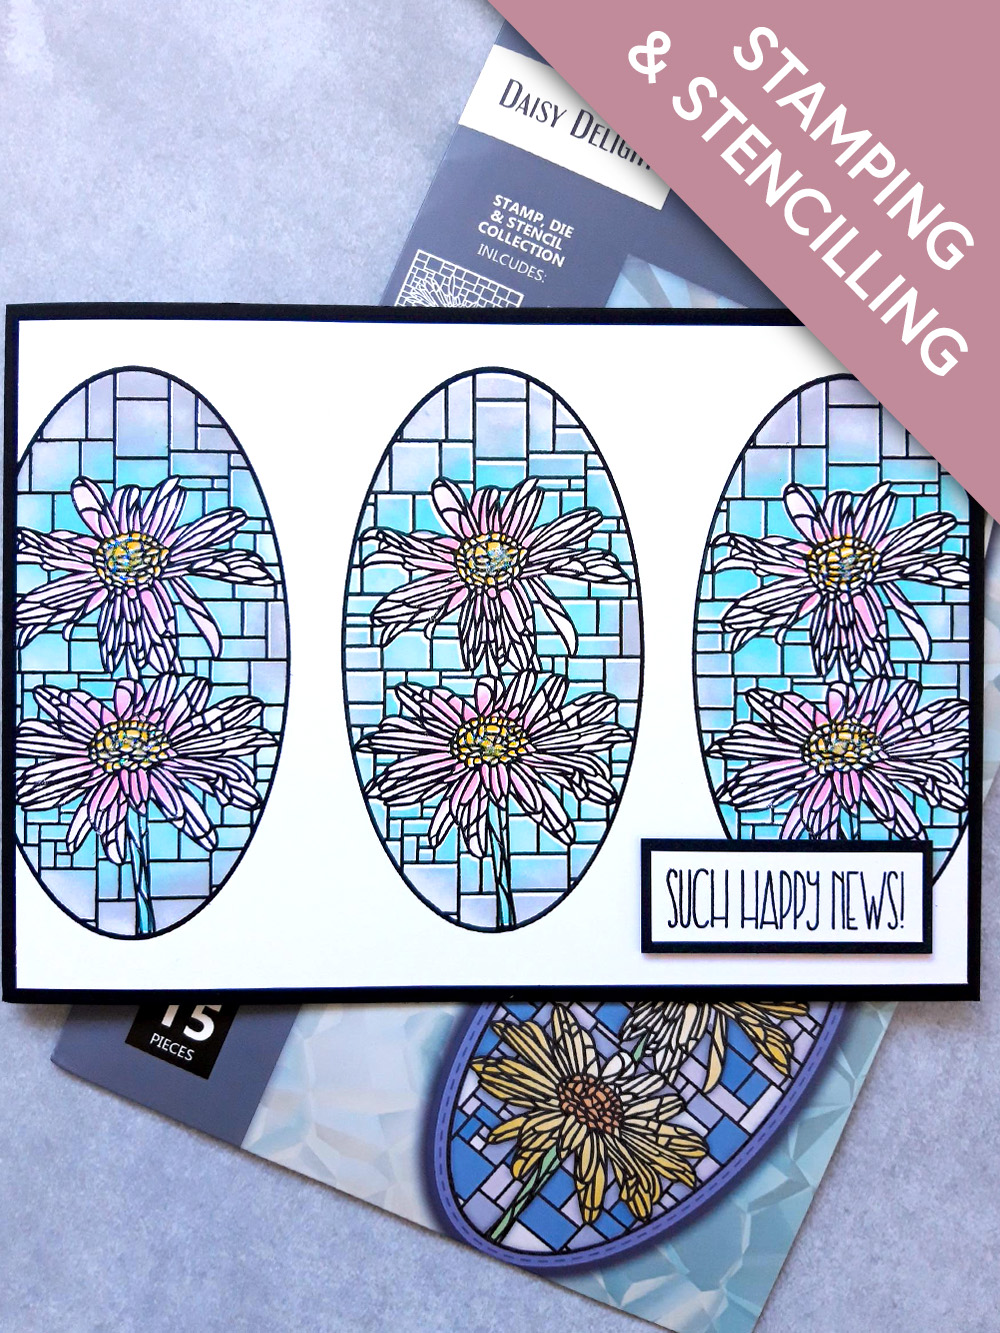
WHAT YOU WILL NEED:
Black landscape card blank 8 1/4 x 5 3/4"
White card 8 x 5 1/2"
Black card 2 3/4 x 1"
White card 2 1/2 x 3/4"
Daisy Delight Stamp, Die and Stencil Collection
Versafine Ink Pad:Onyx Black
Distress Oxide ink pad: Salvaged Patina, Hickory Smoke, Kitsch Flamingo, Fossilized Amber
Blending tool
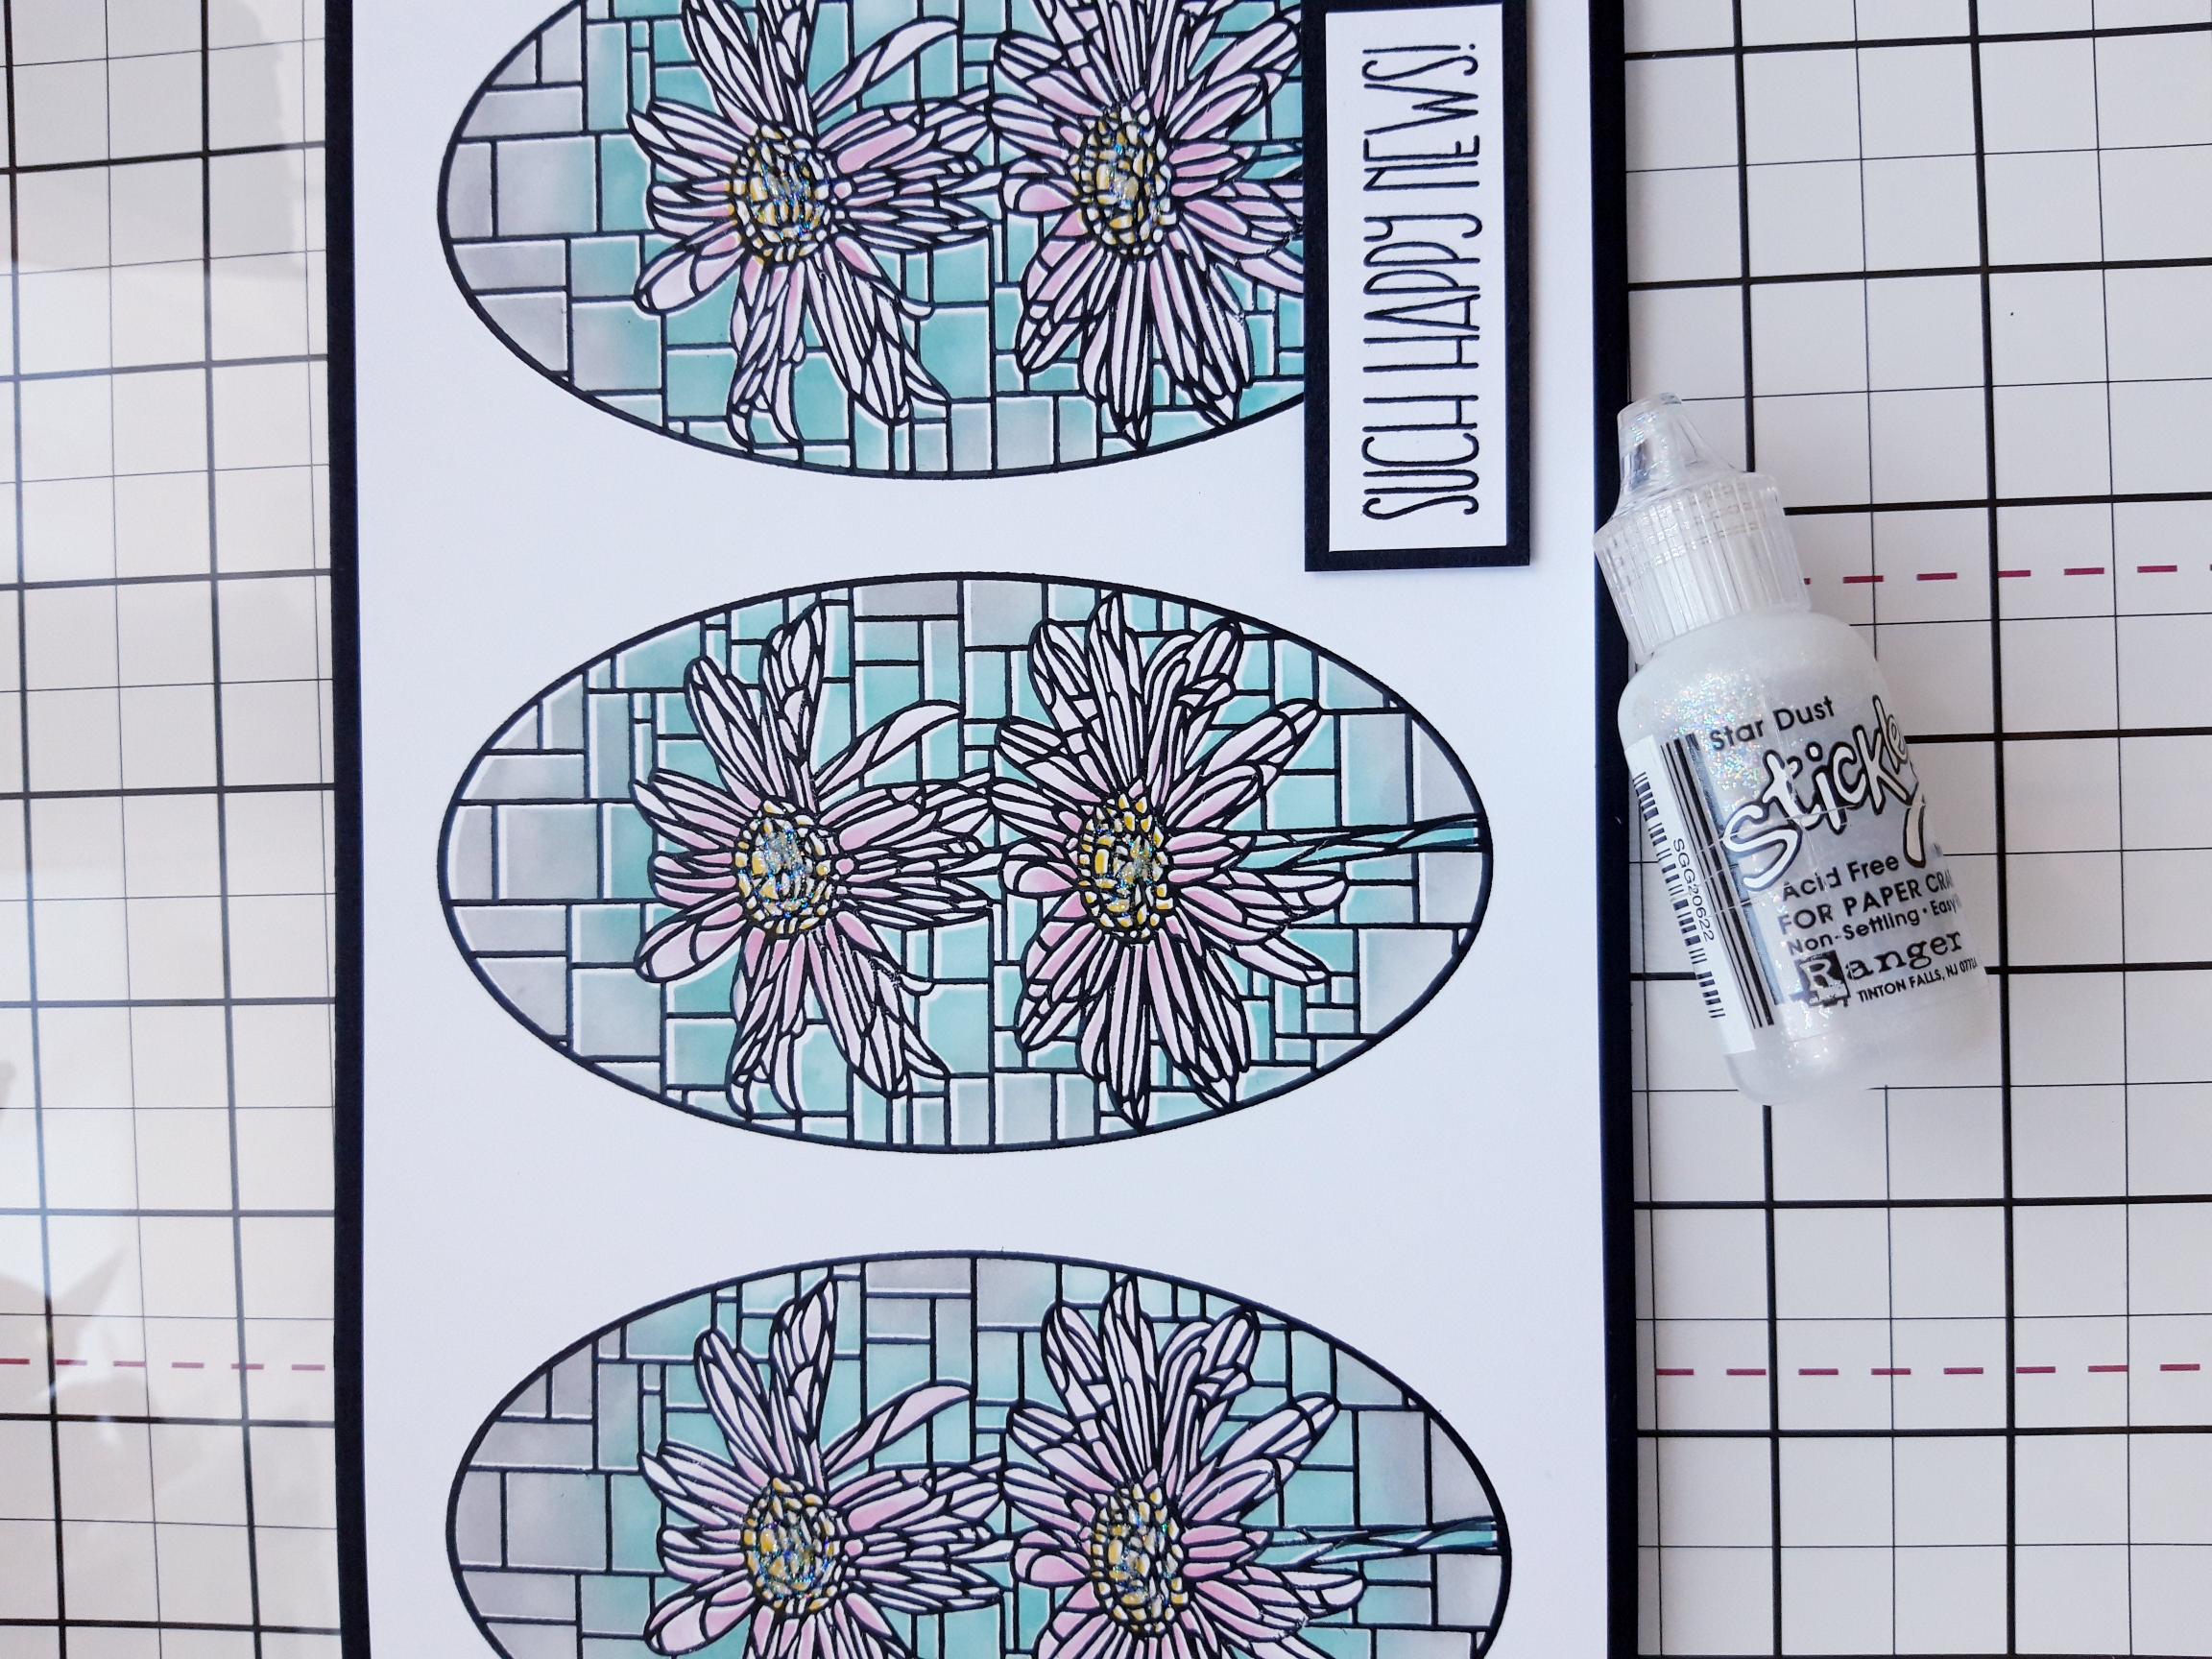
Stickles: Star Dust
Eureka 101
Paper Trimmer
Perfect Together Glue
Foam pad
[click image to enlarge] 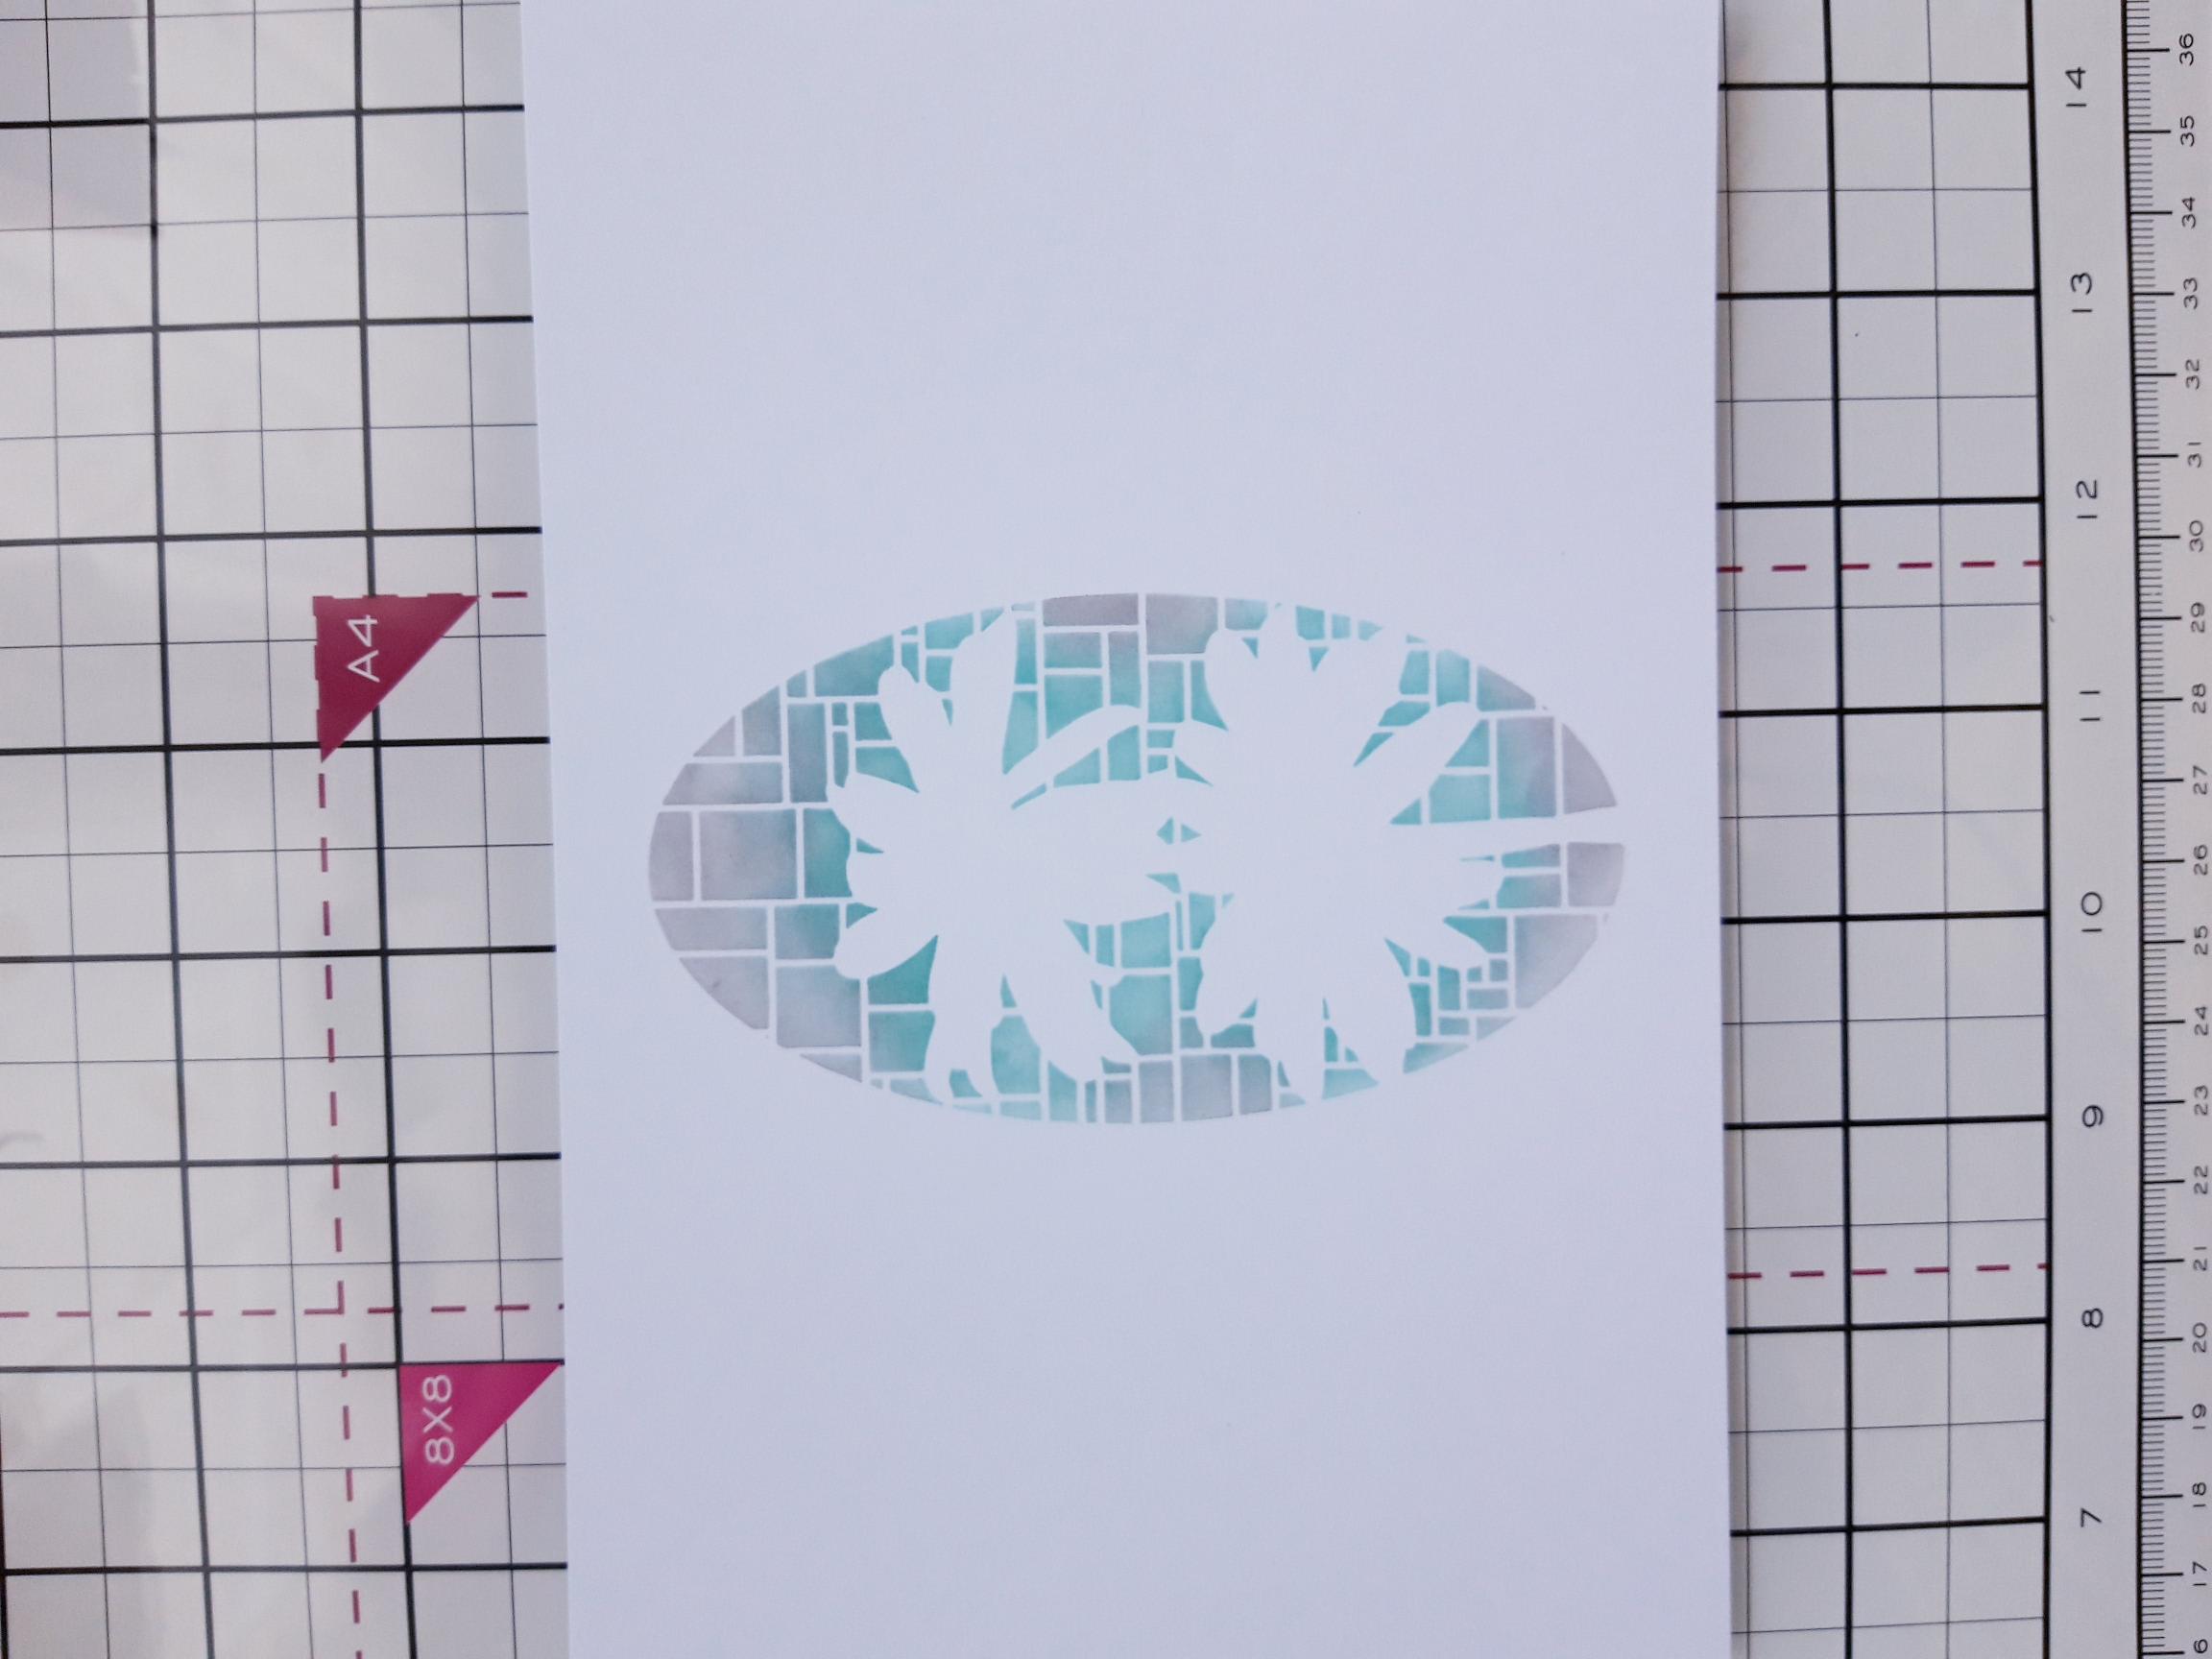
|
Place stencil 1 in the centre of the white card positioned in landscape view. Blend closely around the Daisies with the Hickory Smoke first, then blend with the Salvaged Patina, working it out towards the edge of the stencil, as seen here. |
|
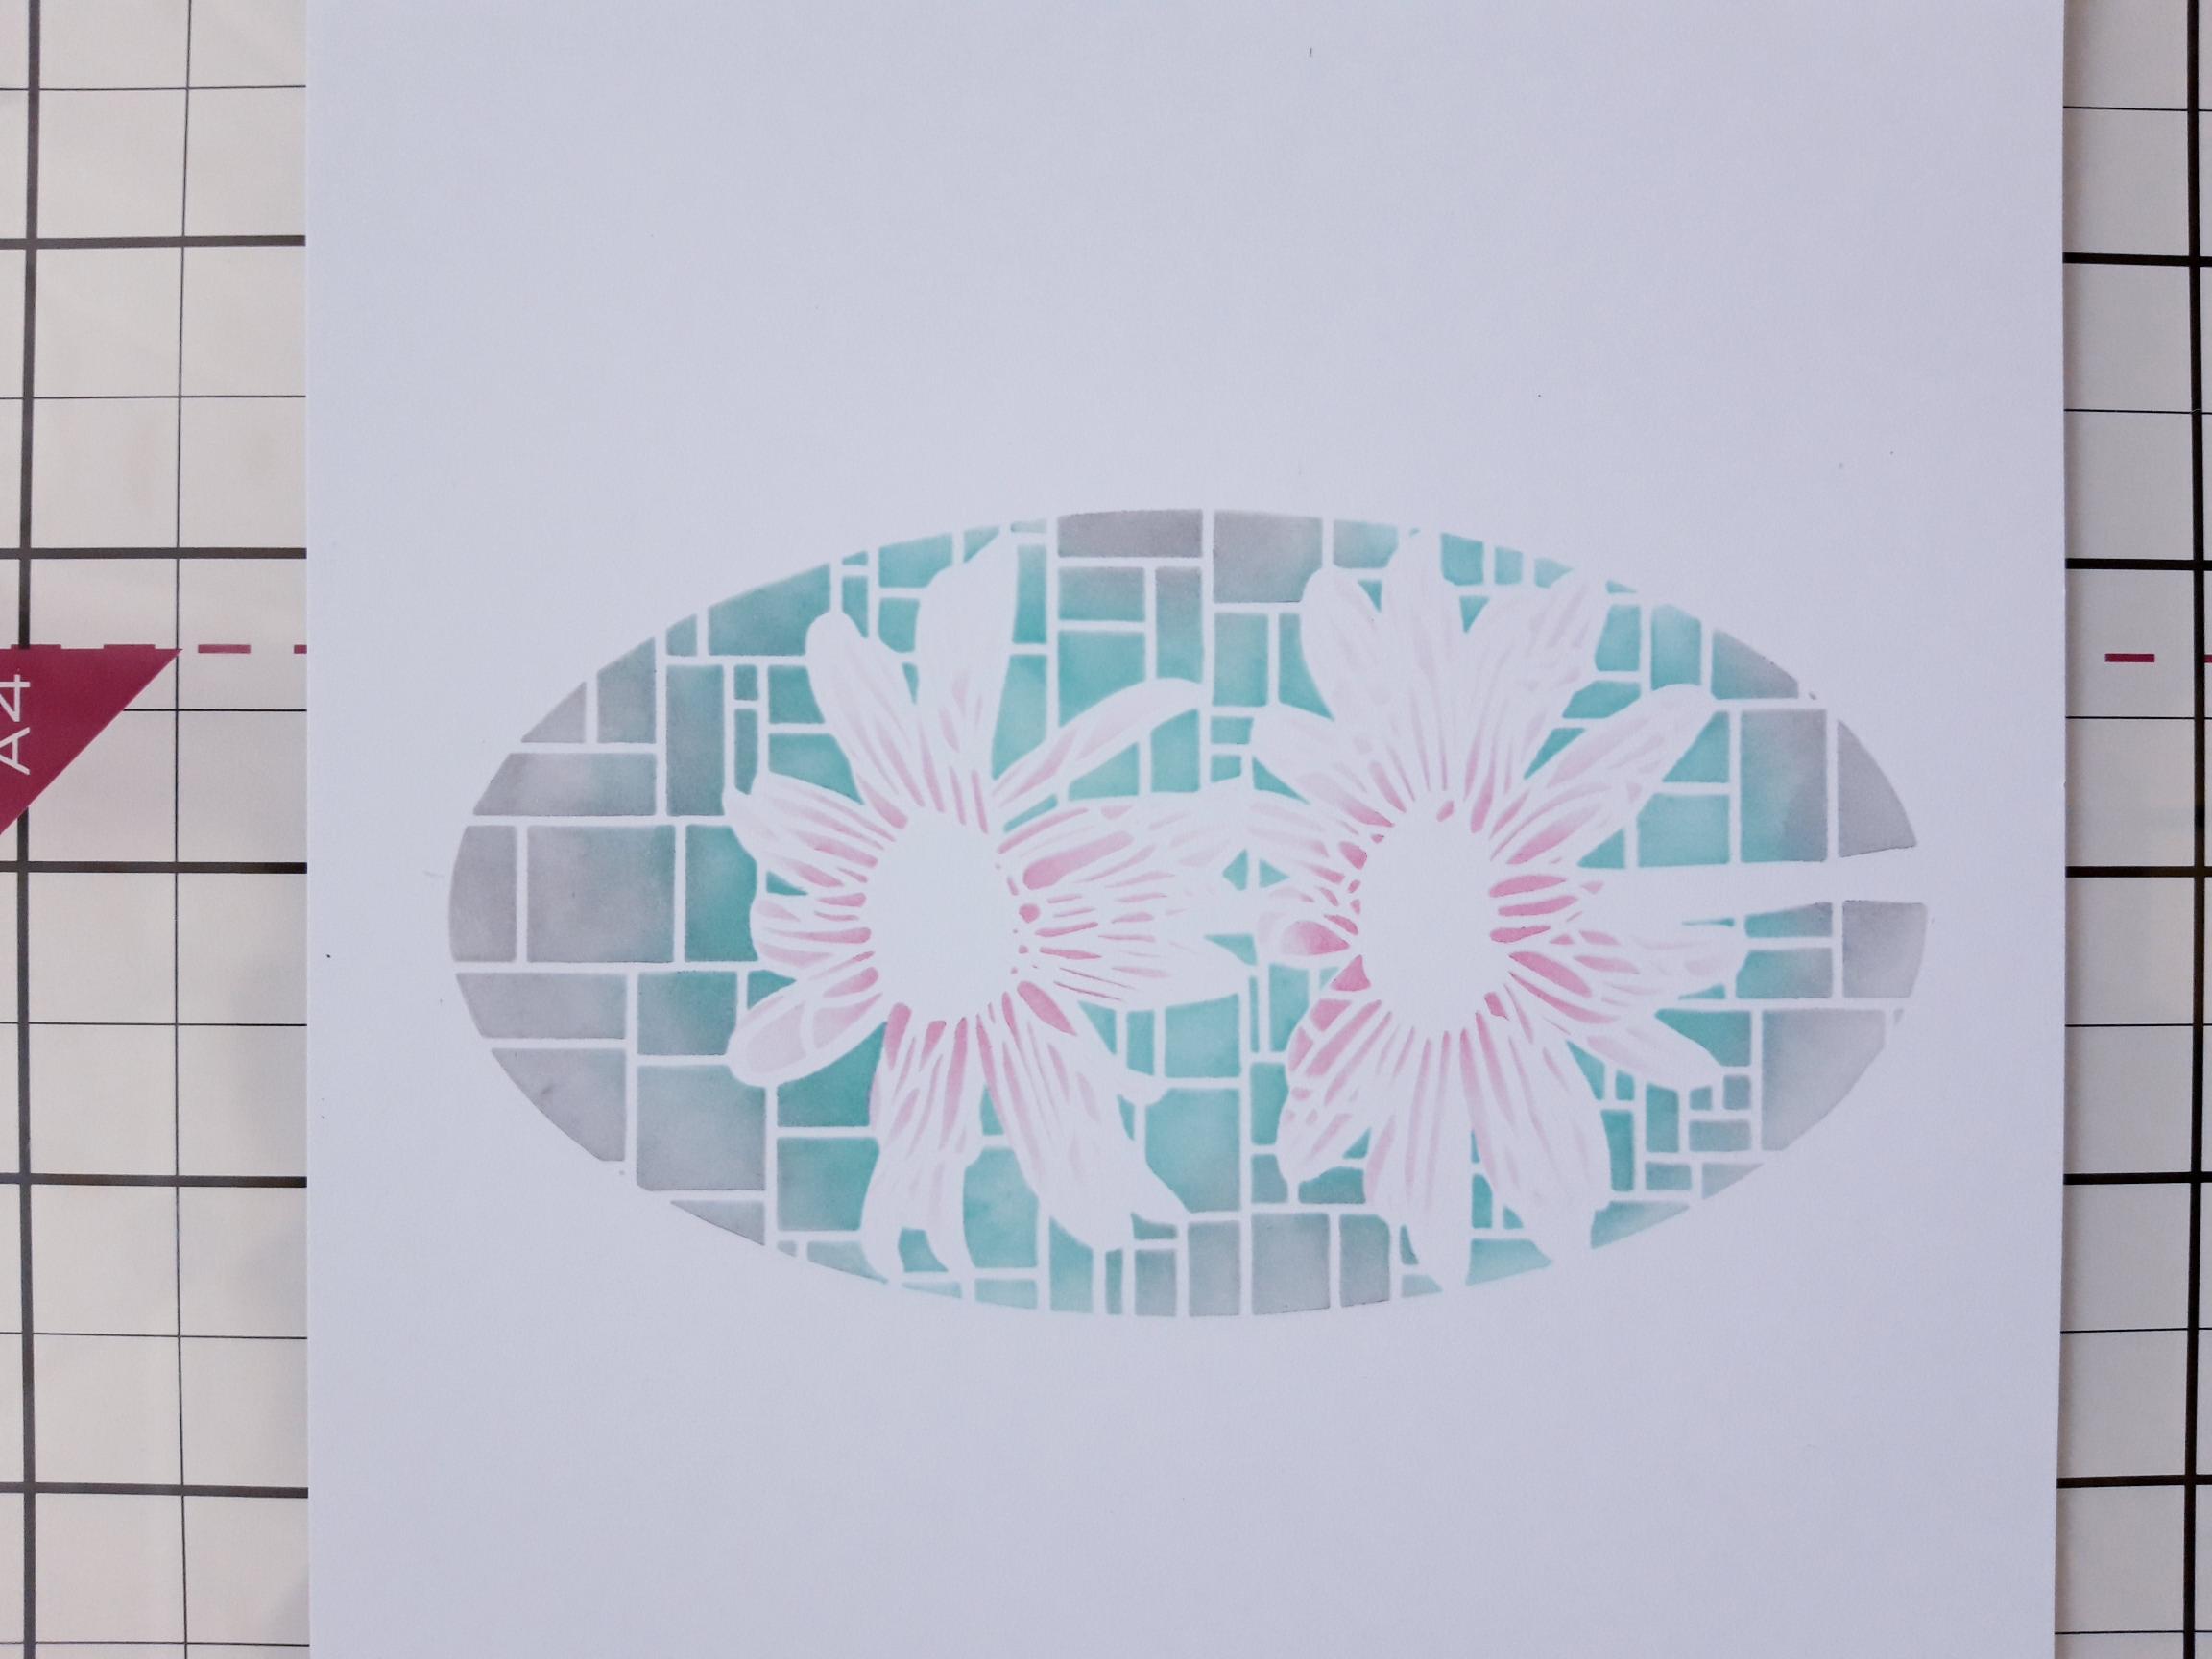
Line up stencil 2 and blend with the Kitsch Flamingo, keeping it dark in the centre of the flower and blending it out through the petals. |
|
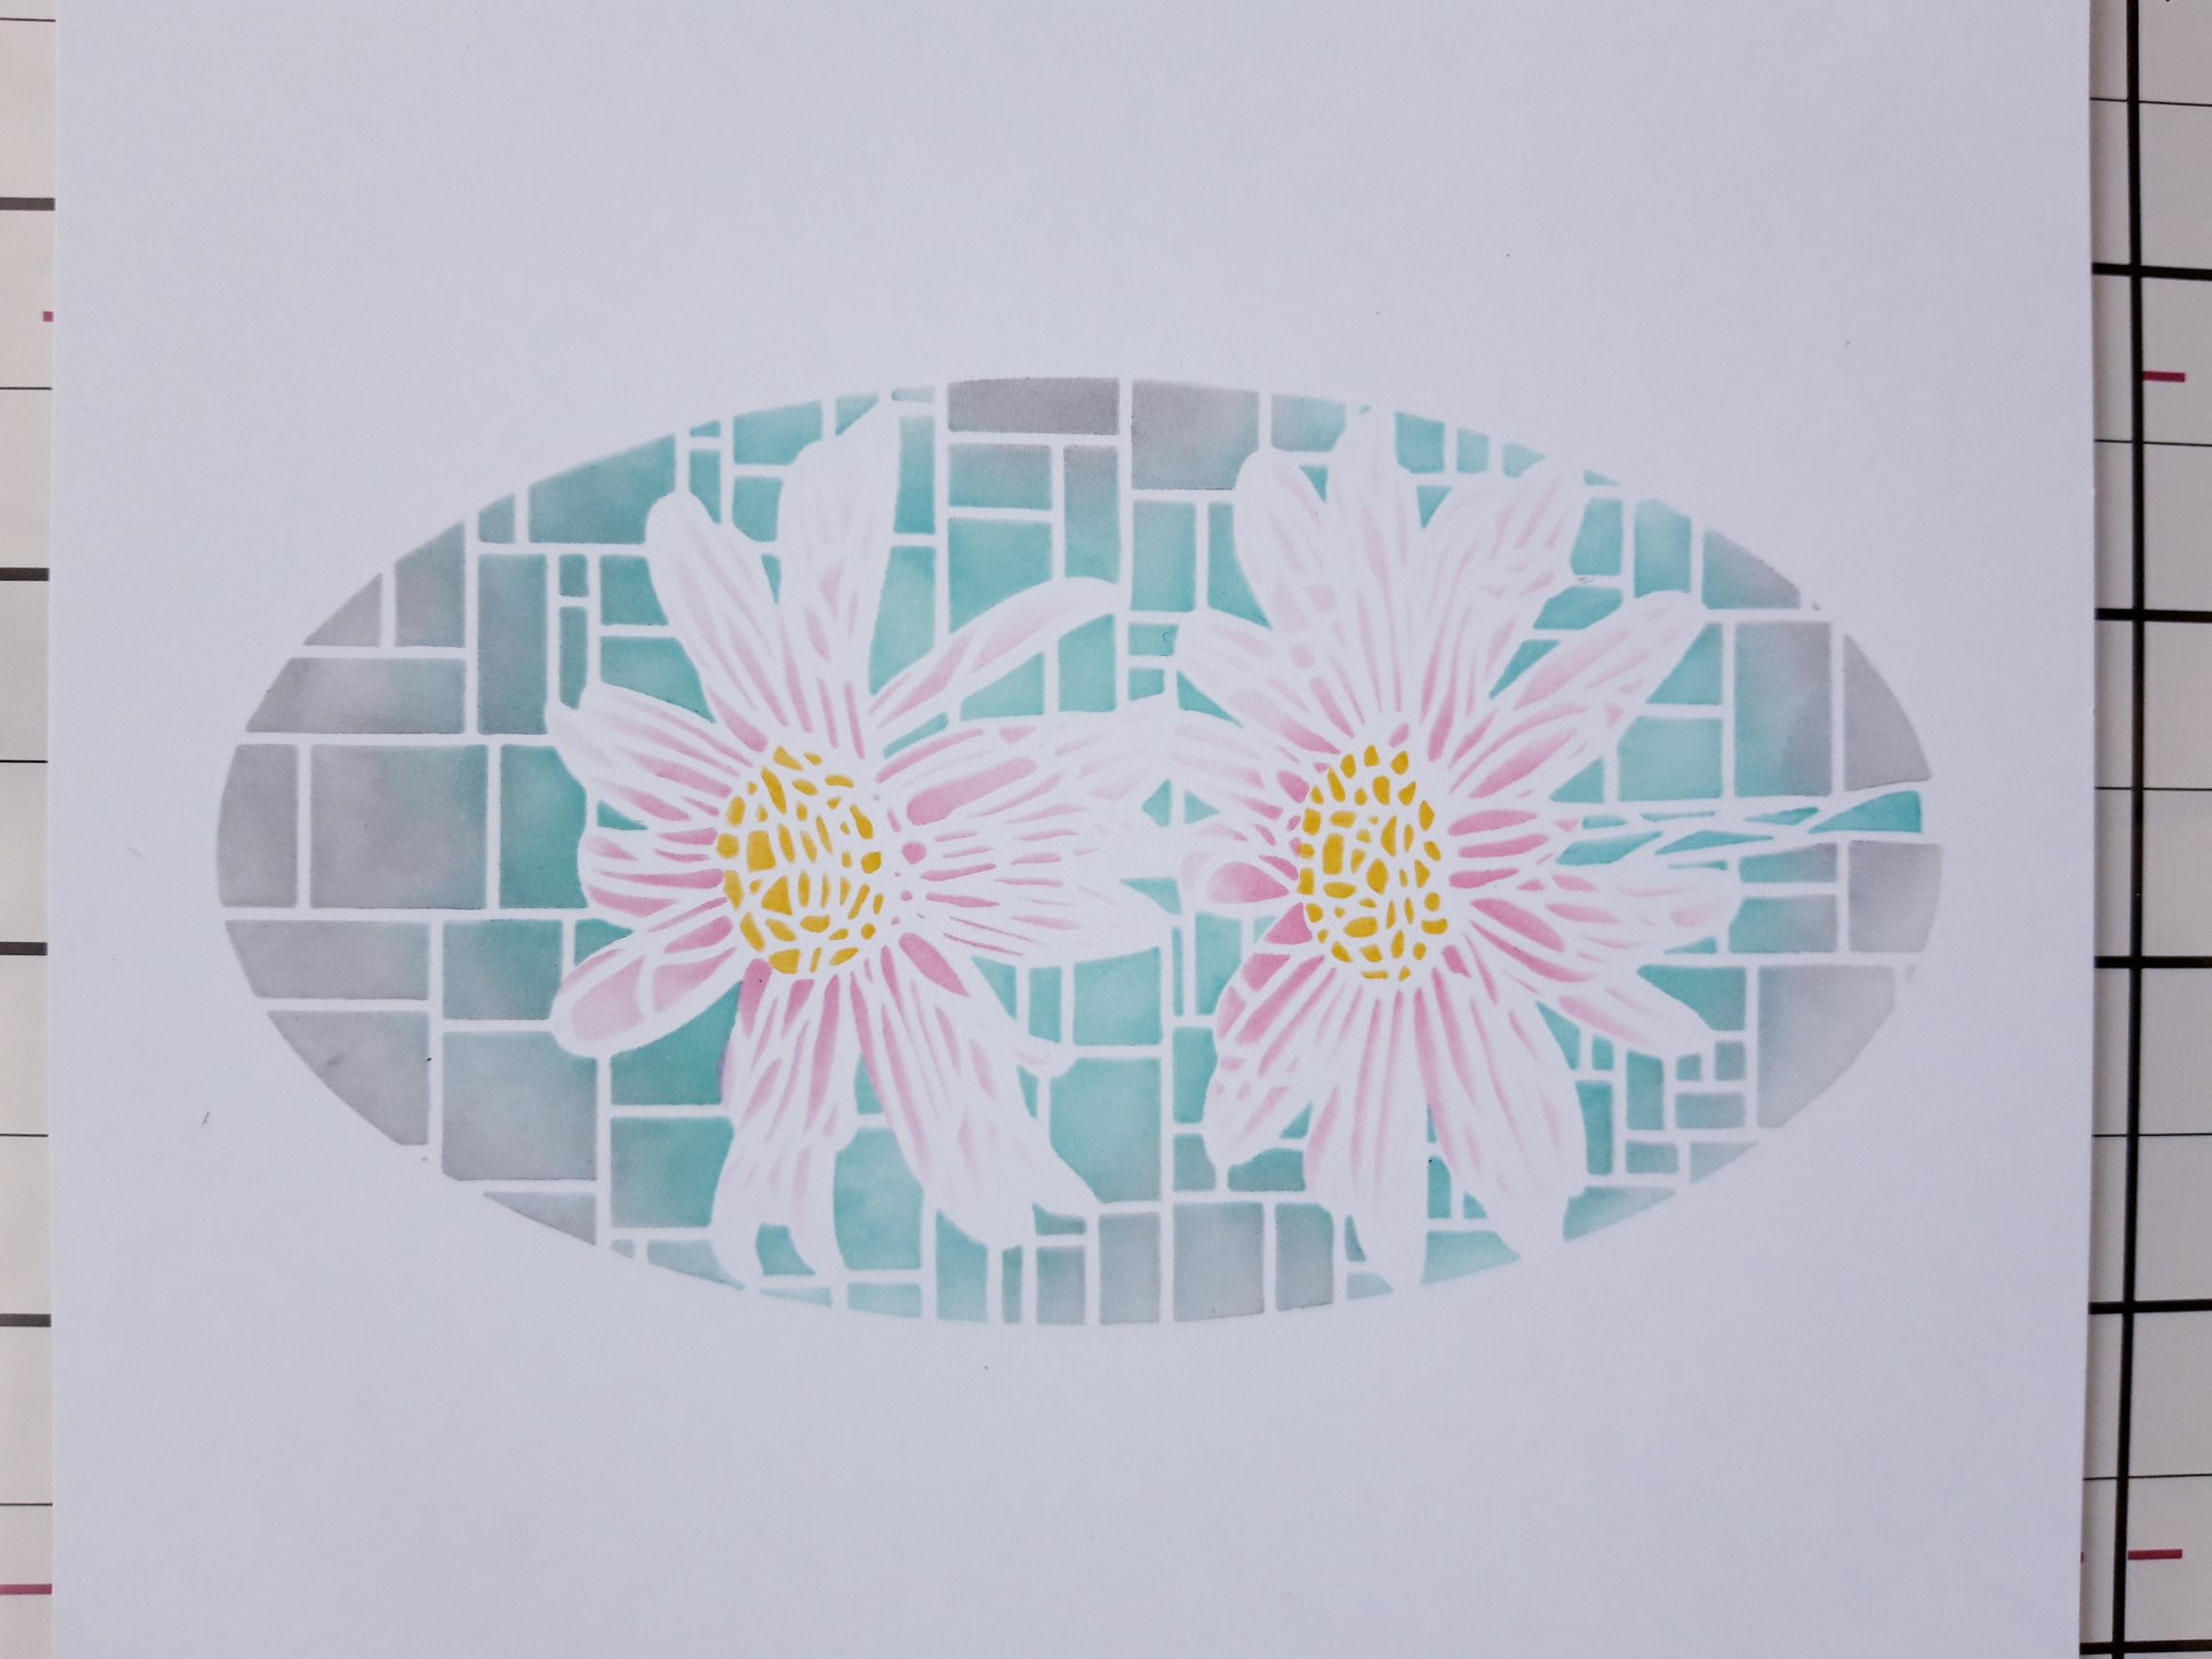
Having lined up stencil 3, blend the Fossilized Amber in the centres of the Daisies and the Salvaged Patina down the stem. |
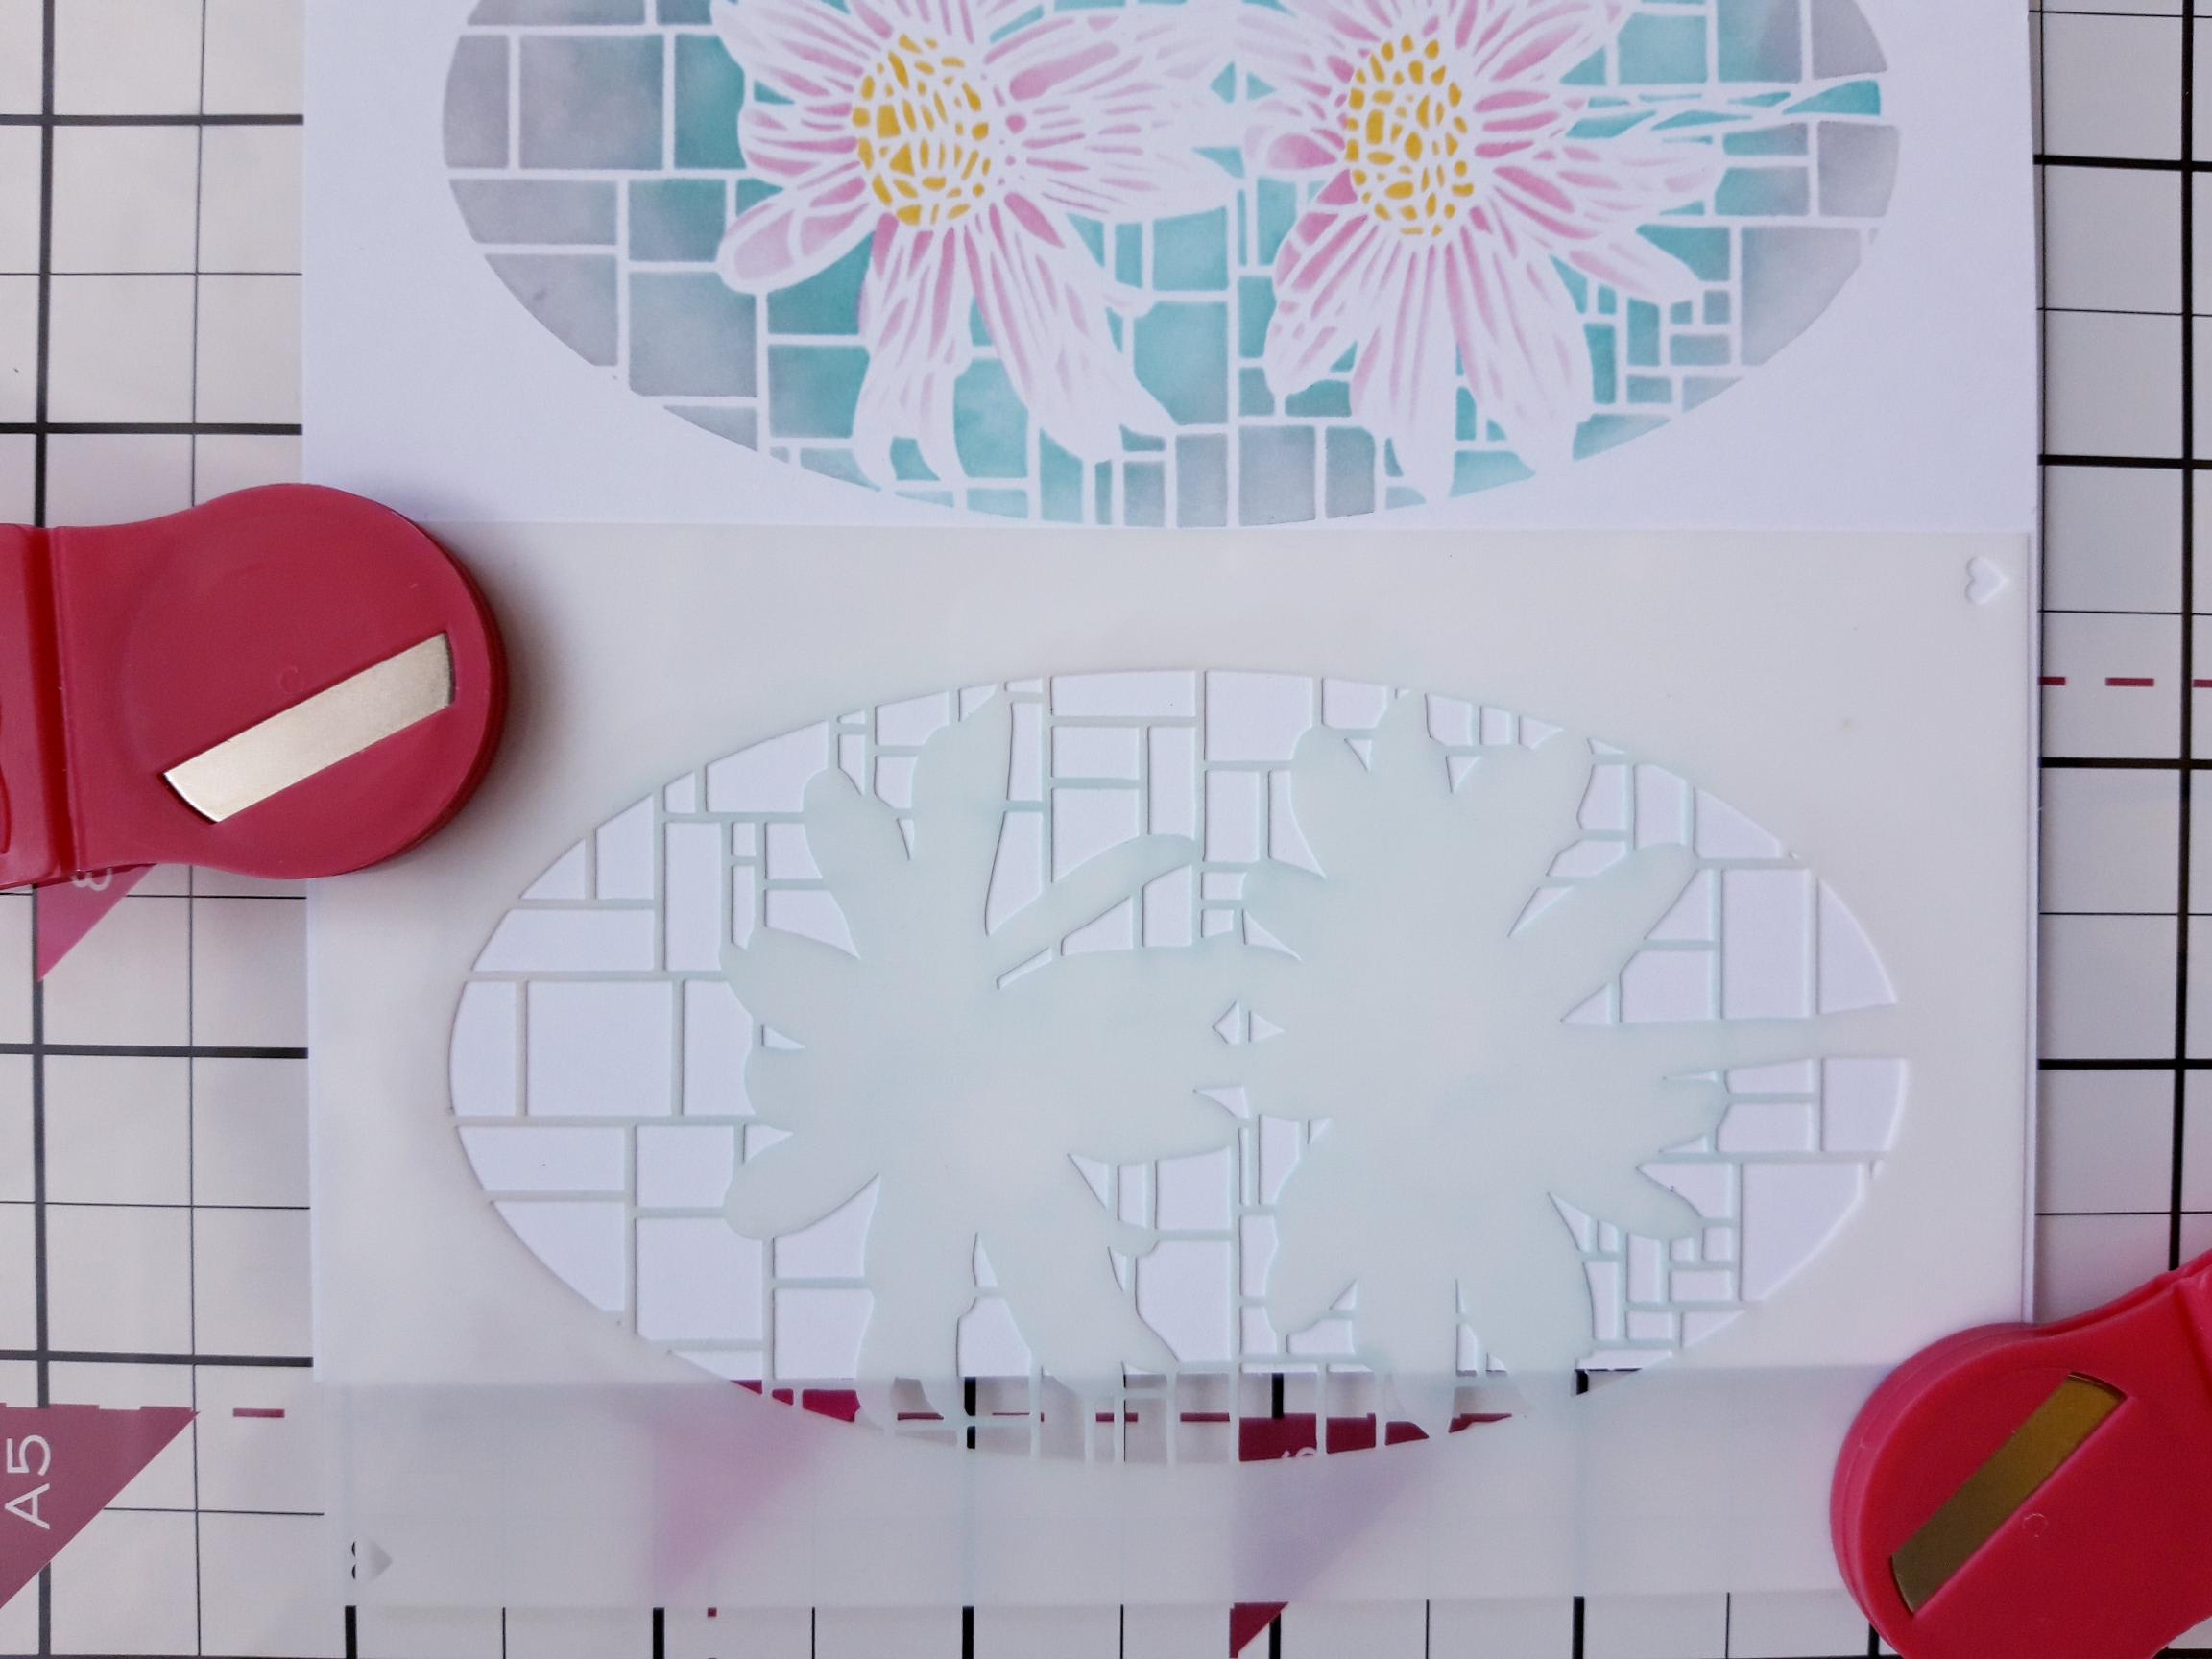
|
Place the right hand edge of stencil 1 so it kisses the left edge of the centre stencilled window (allowing you to have an equal distance, when you come to do the third window).
|
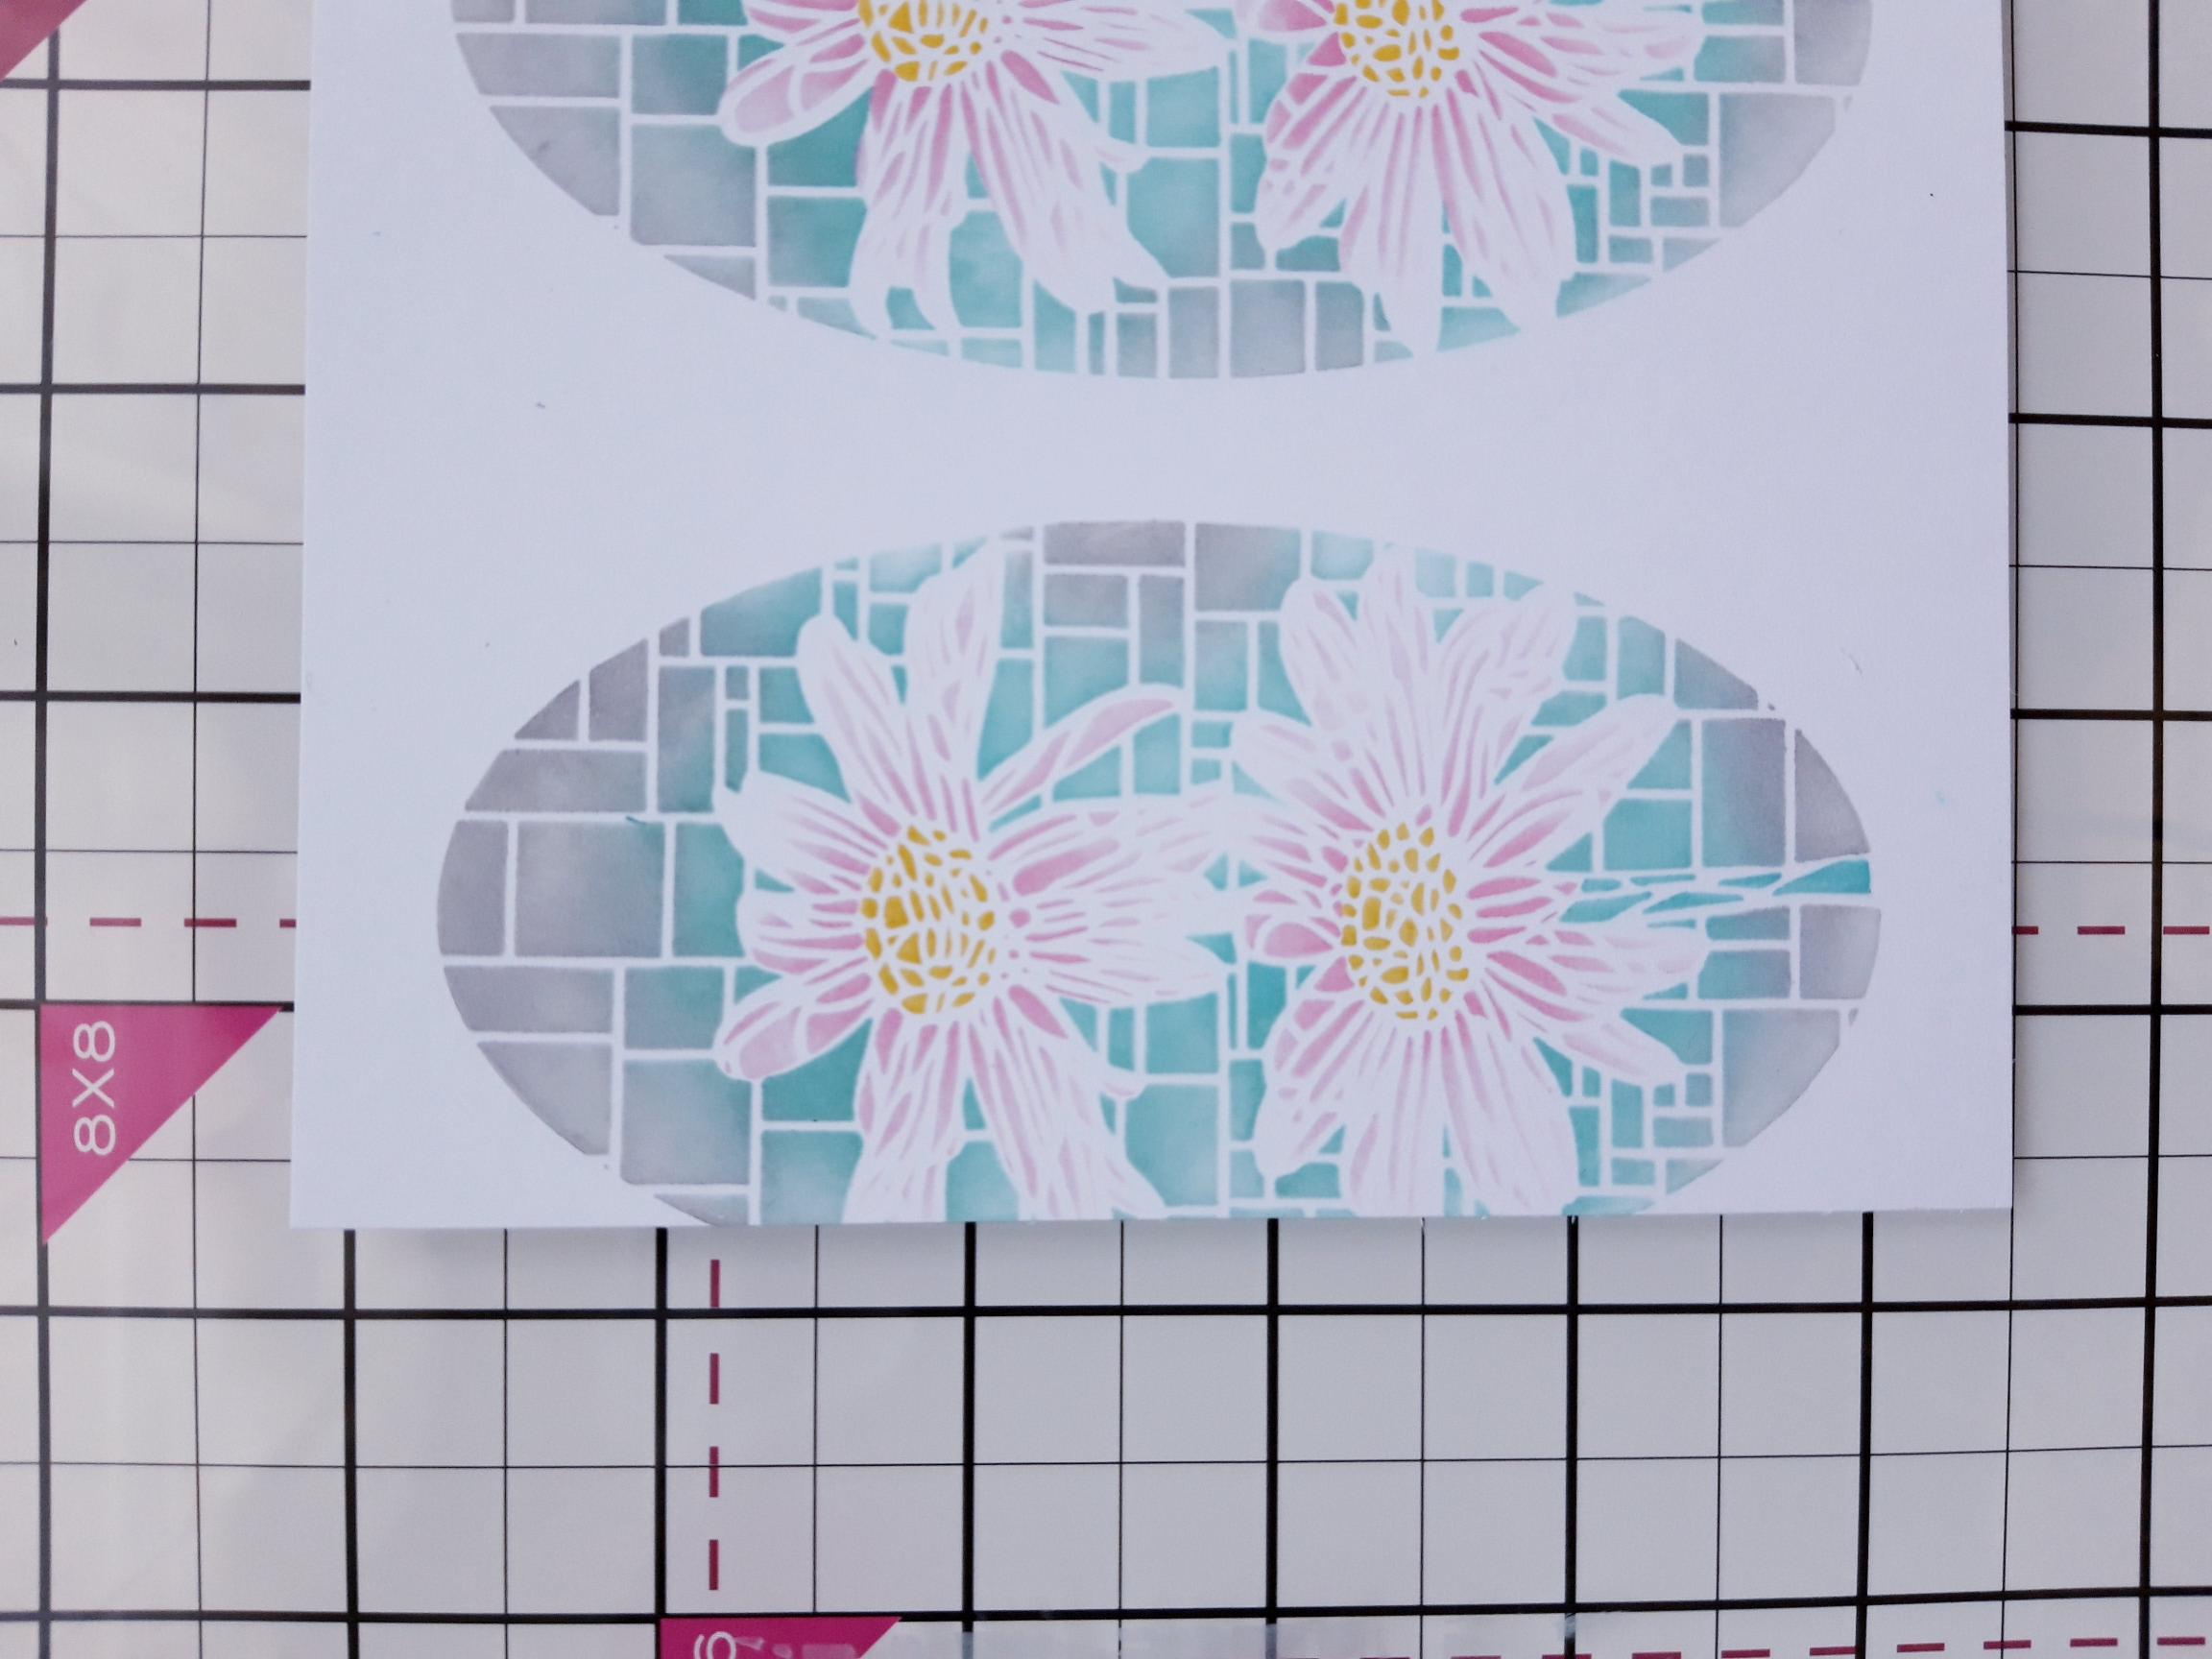
|
Using the same sequence of colours as before, blend through each of the 3 stencils. |
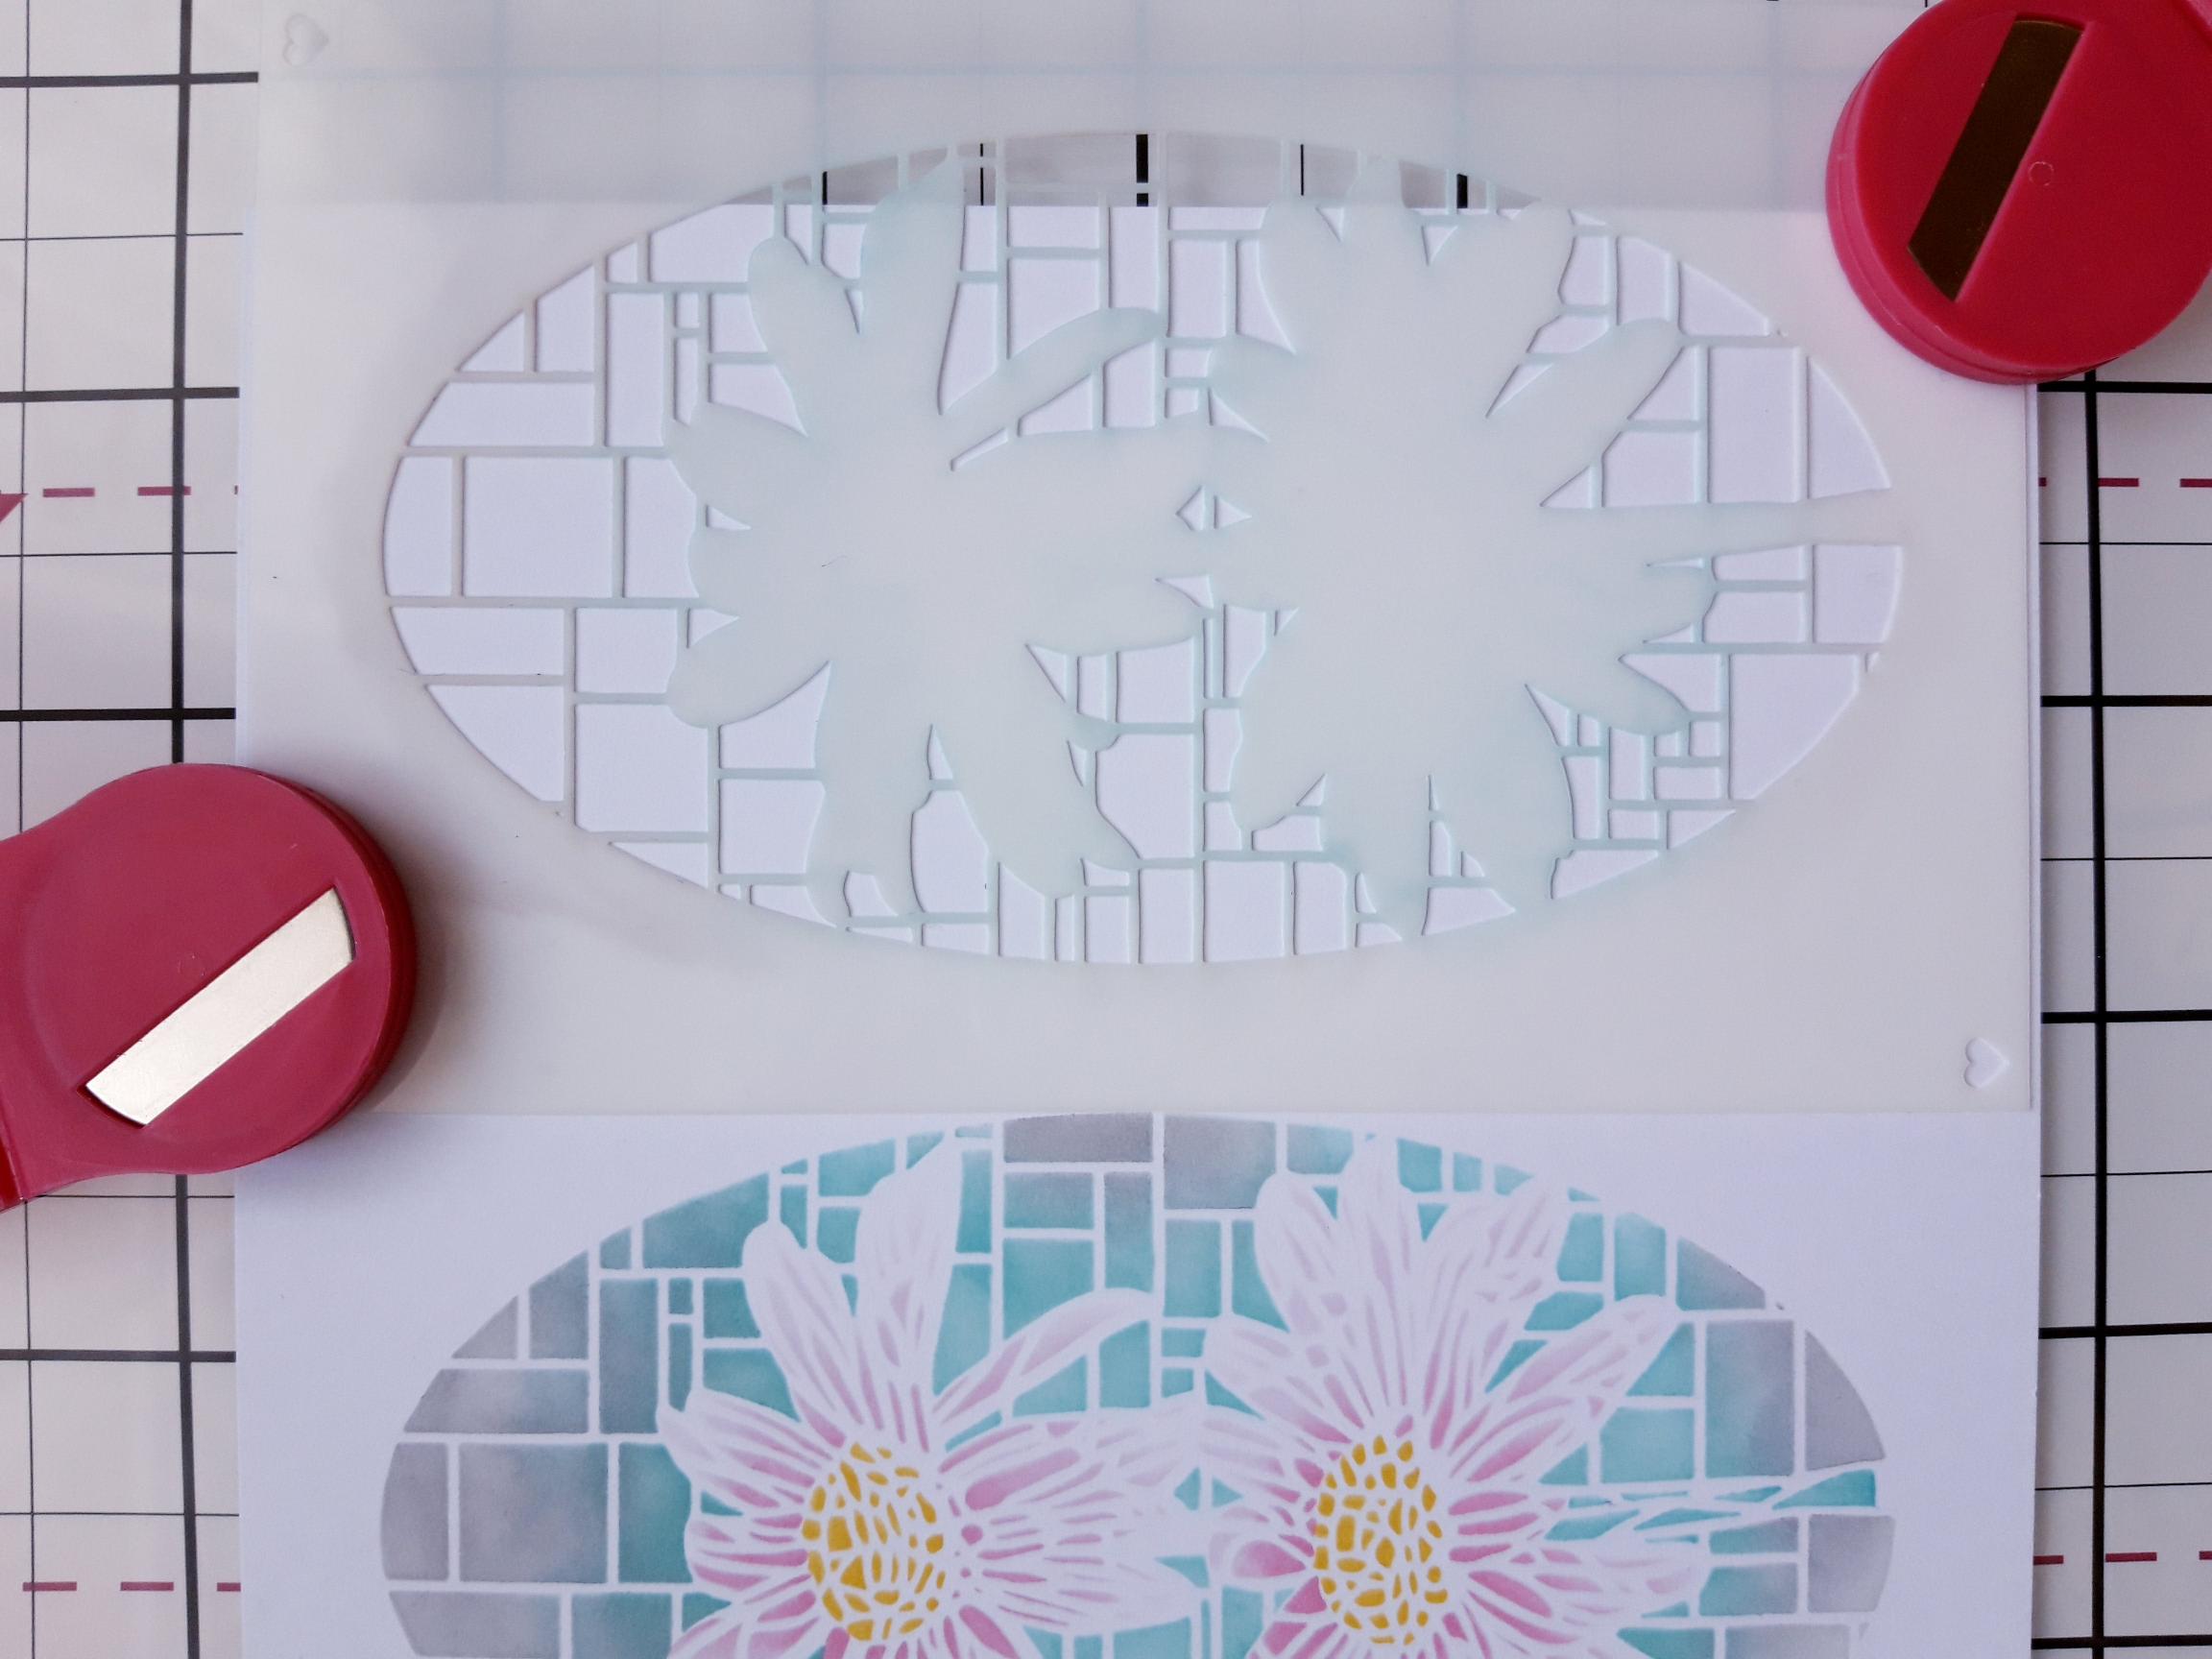
|
This time, line up the left edge of stencil 1 so it kisses the right edge of the centre stencilled window. |
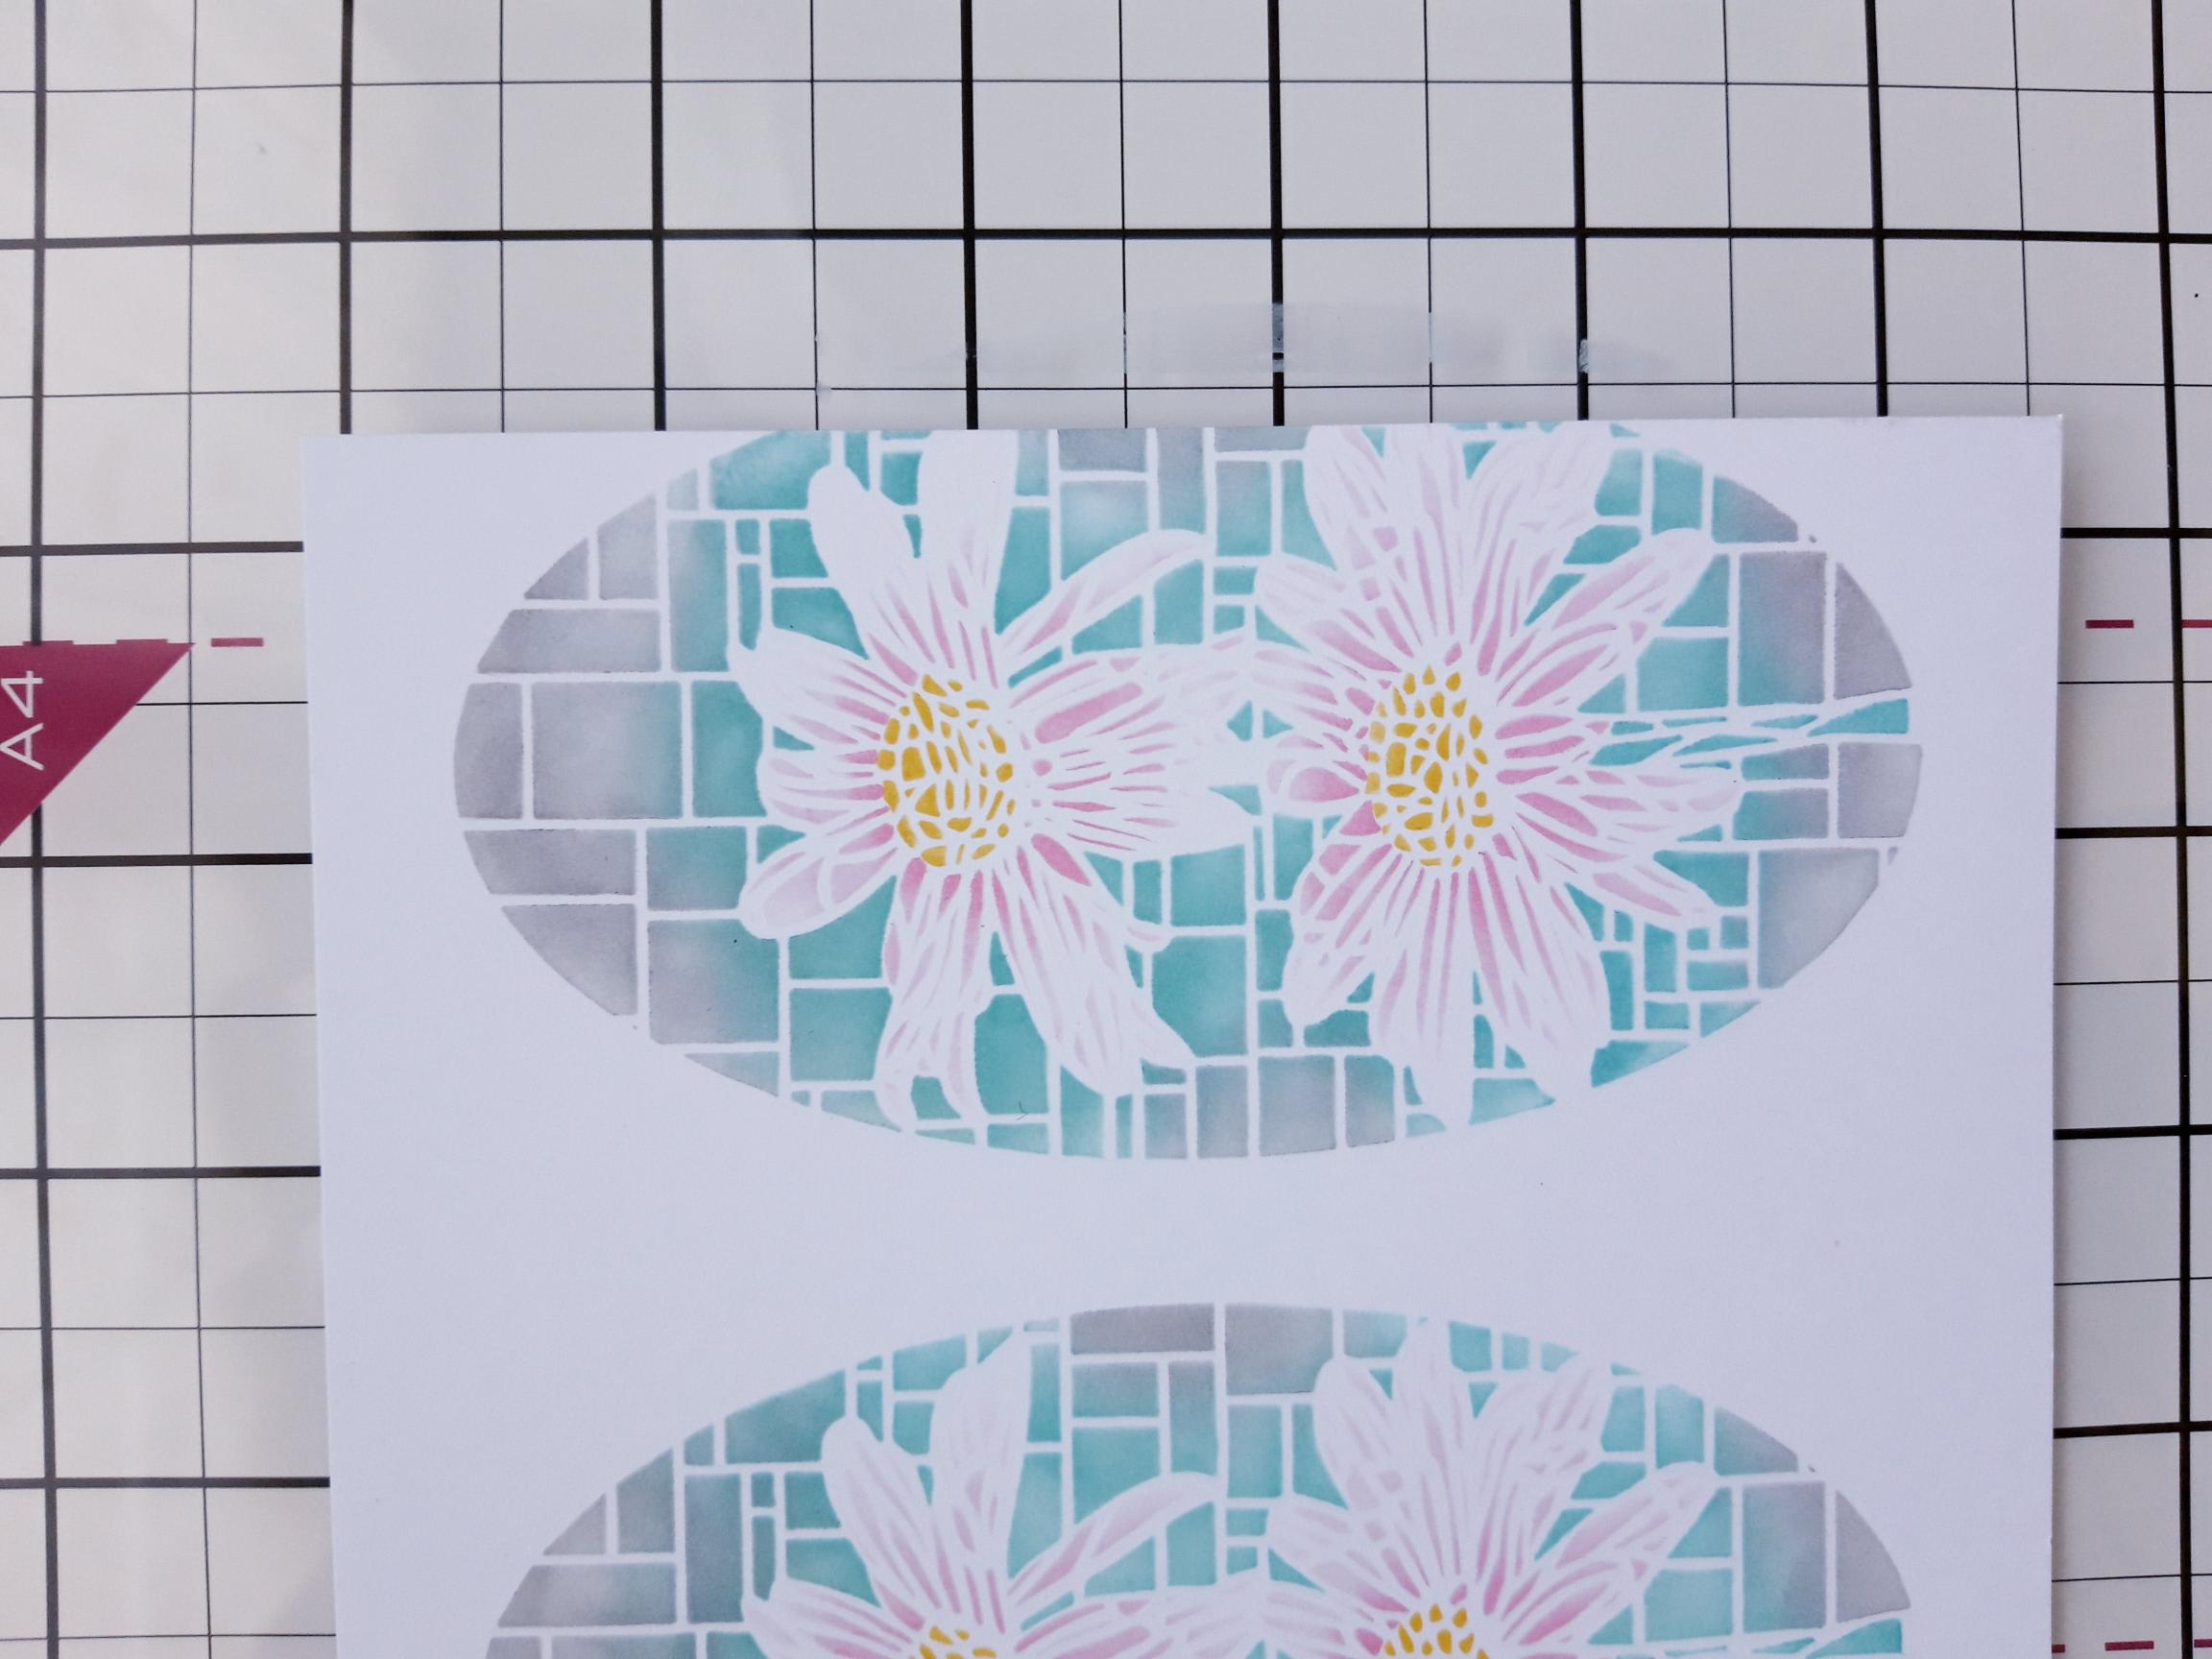
|
Again repeat the same sequence of colours through all 3 stencils. |
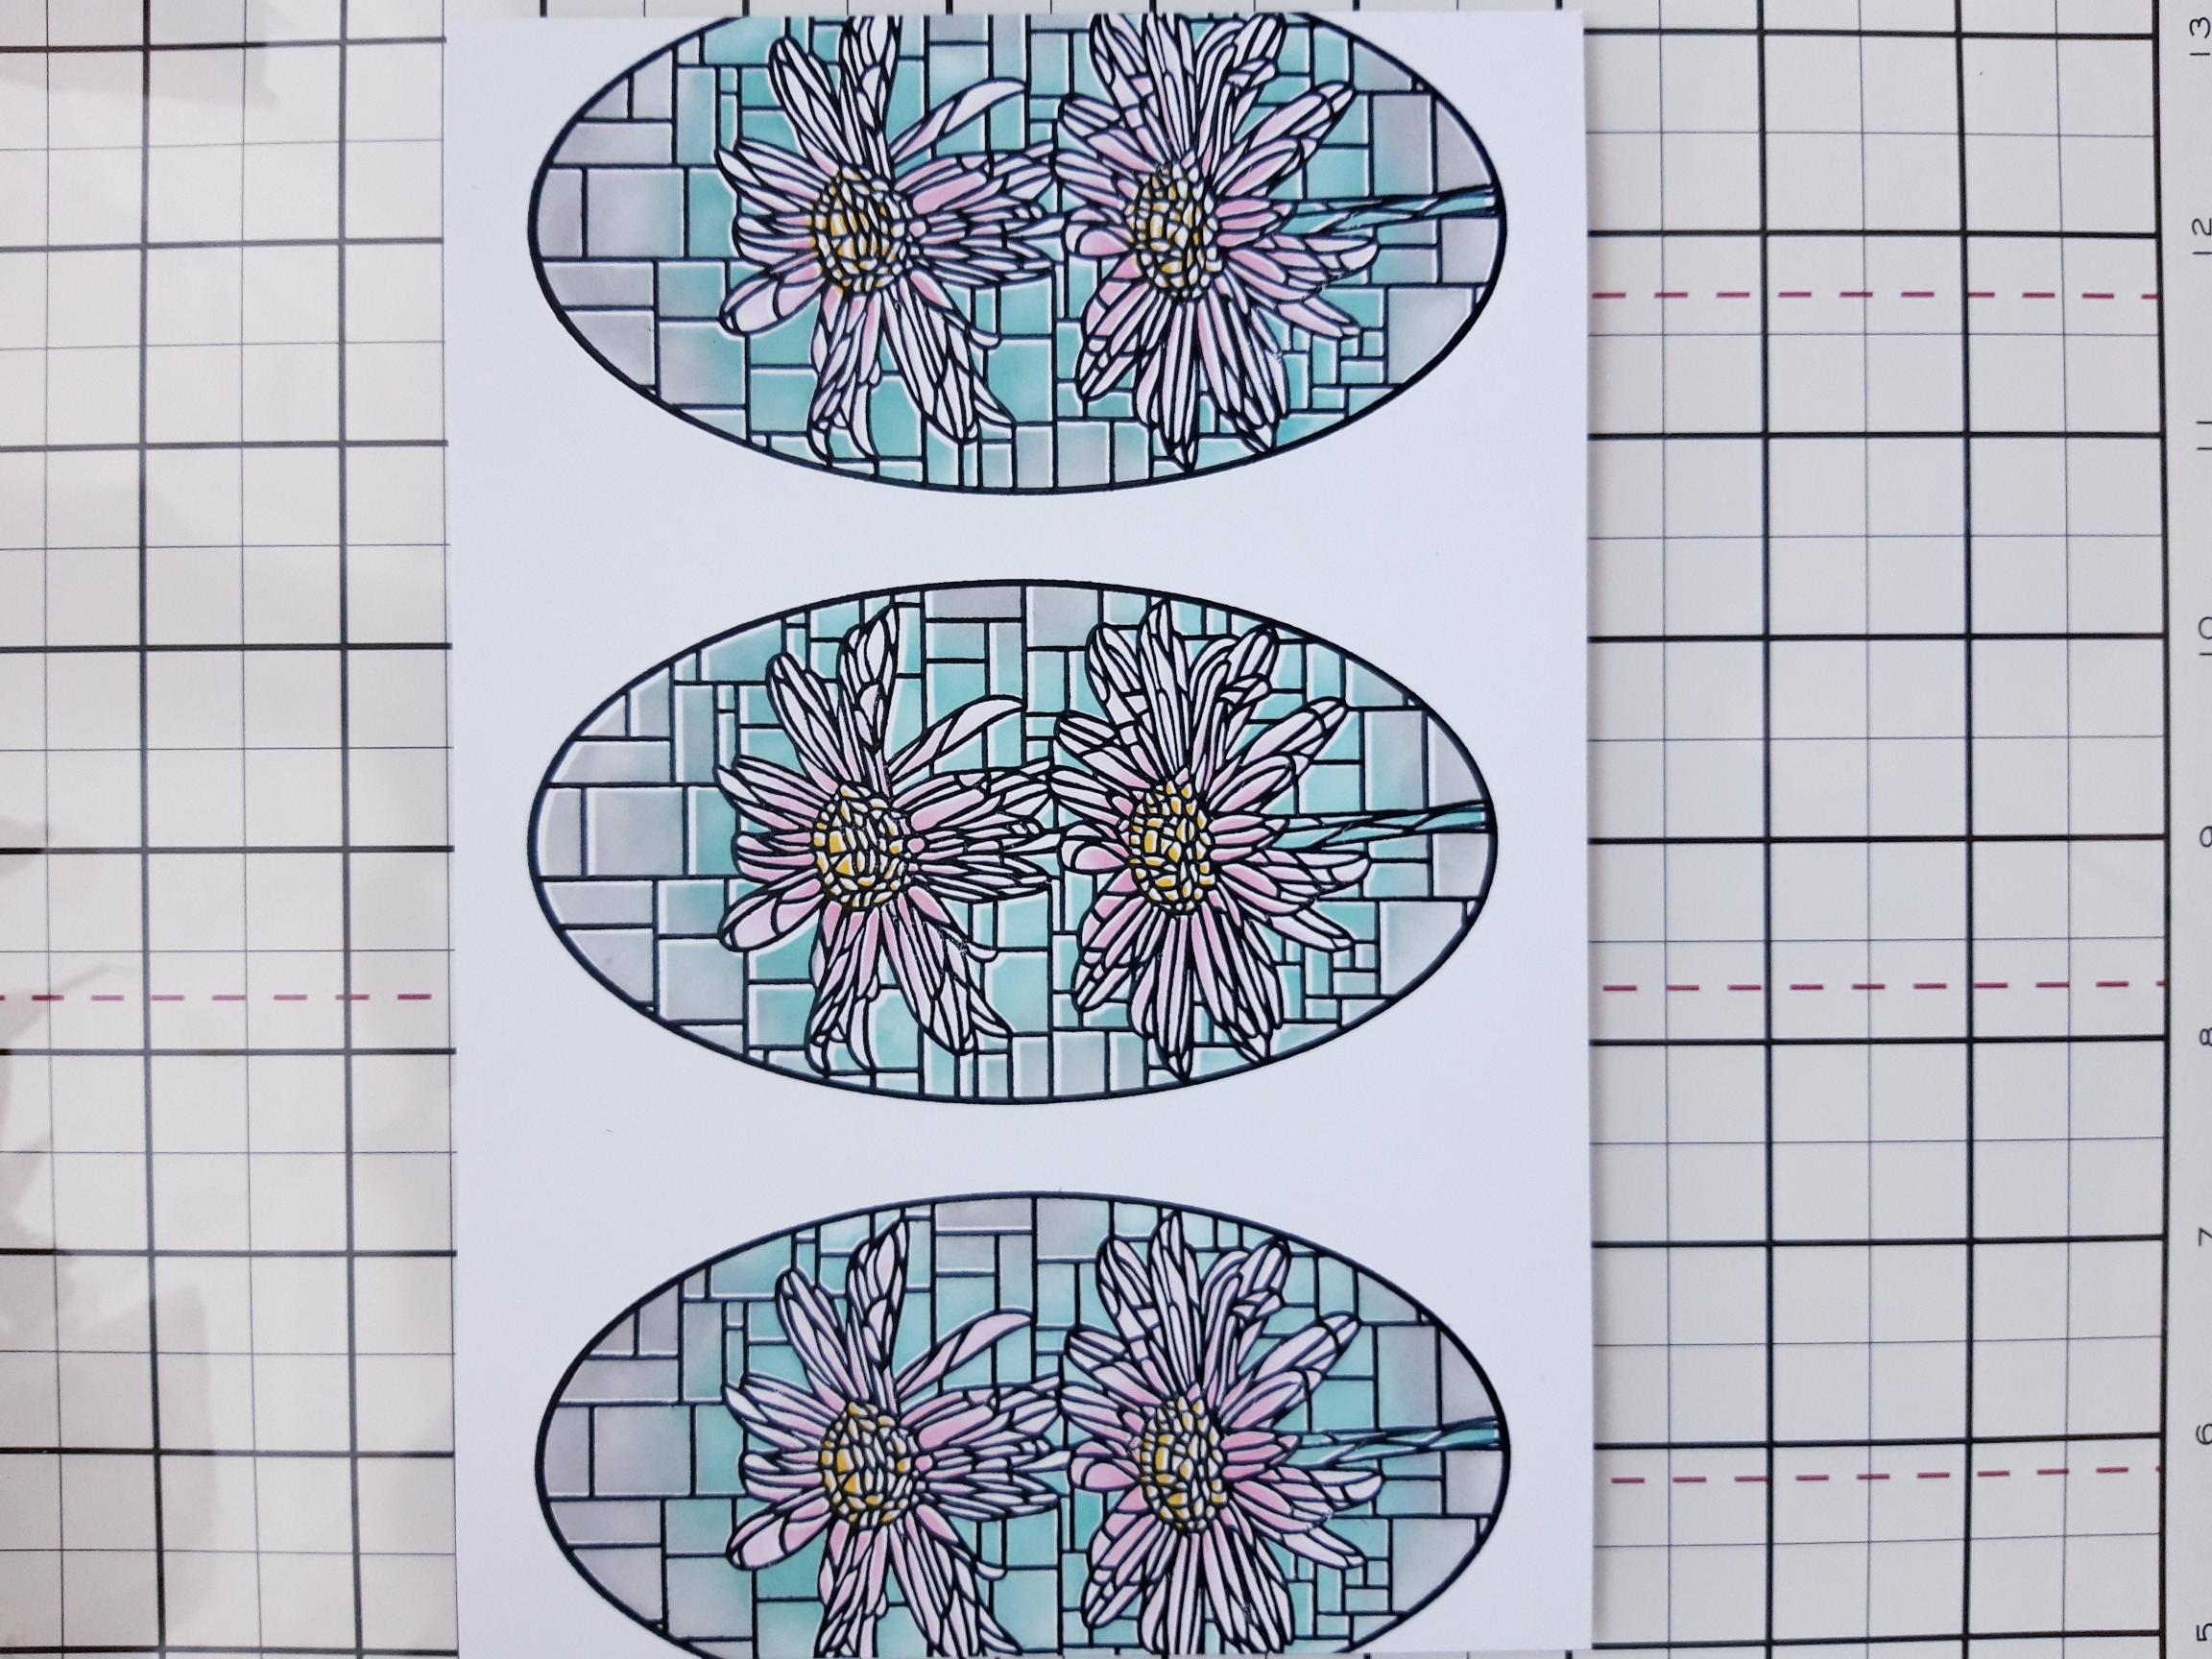
|
Ink up the co-ordinating stamp with the Onyx Black Versafine and stamp over each of the stencilled windows, reinking each time for a clear, solid image. |
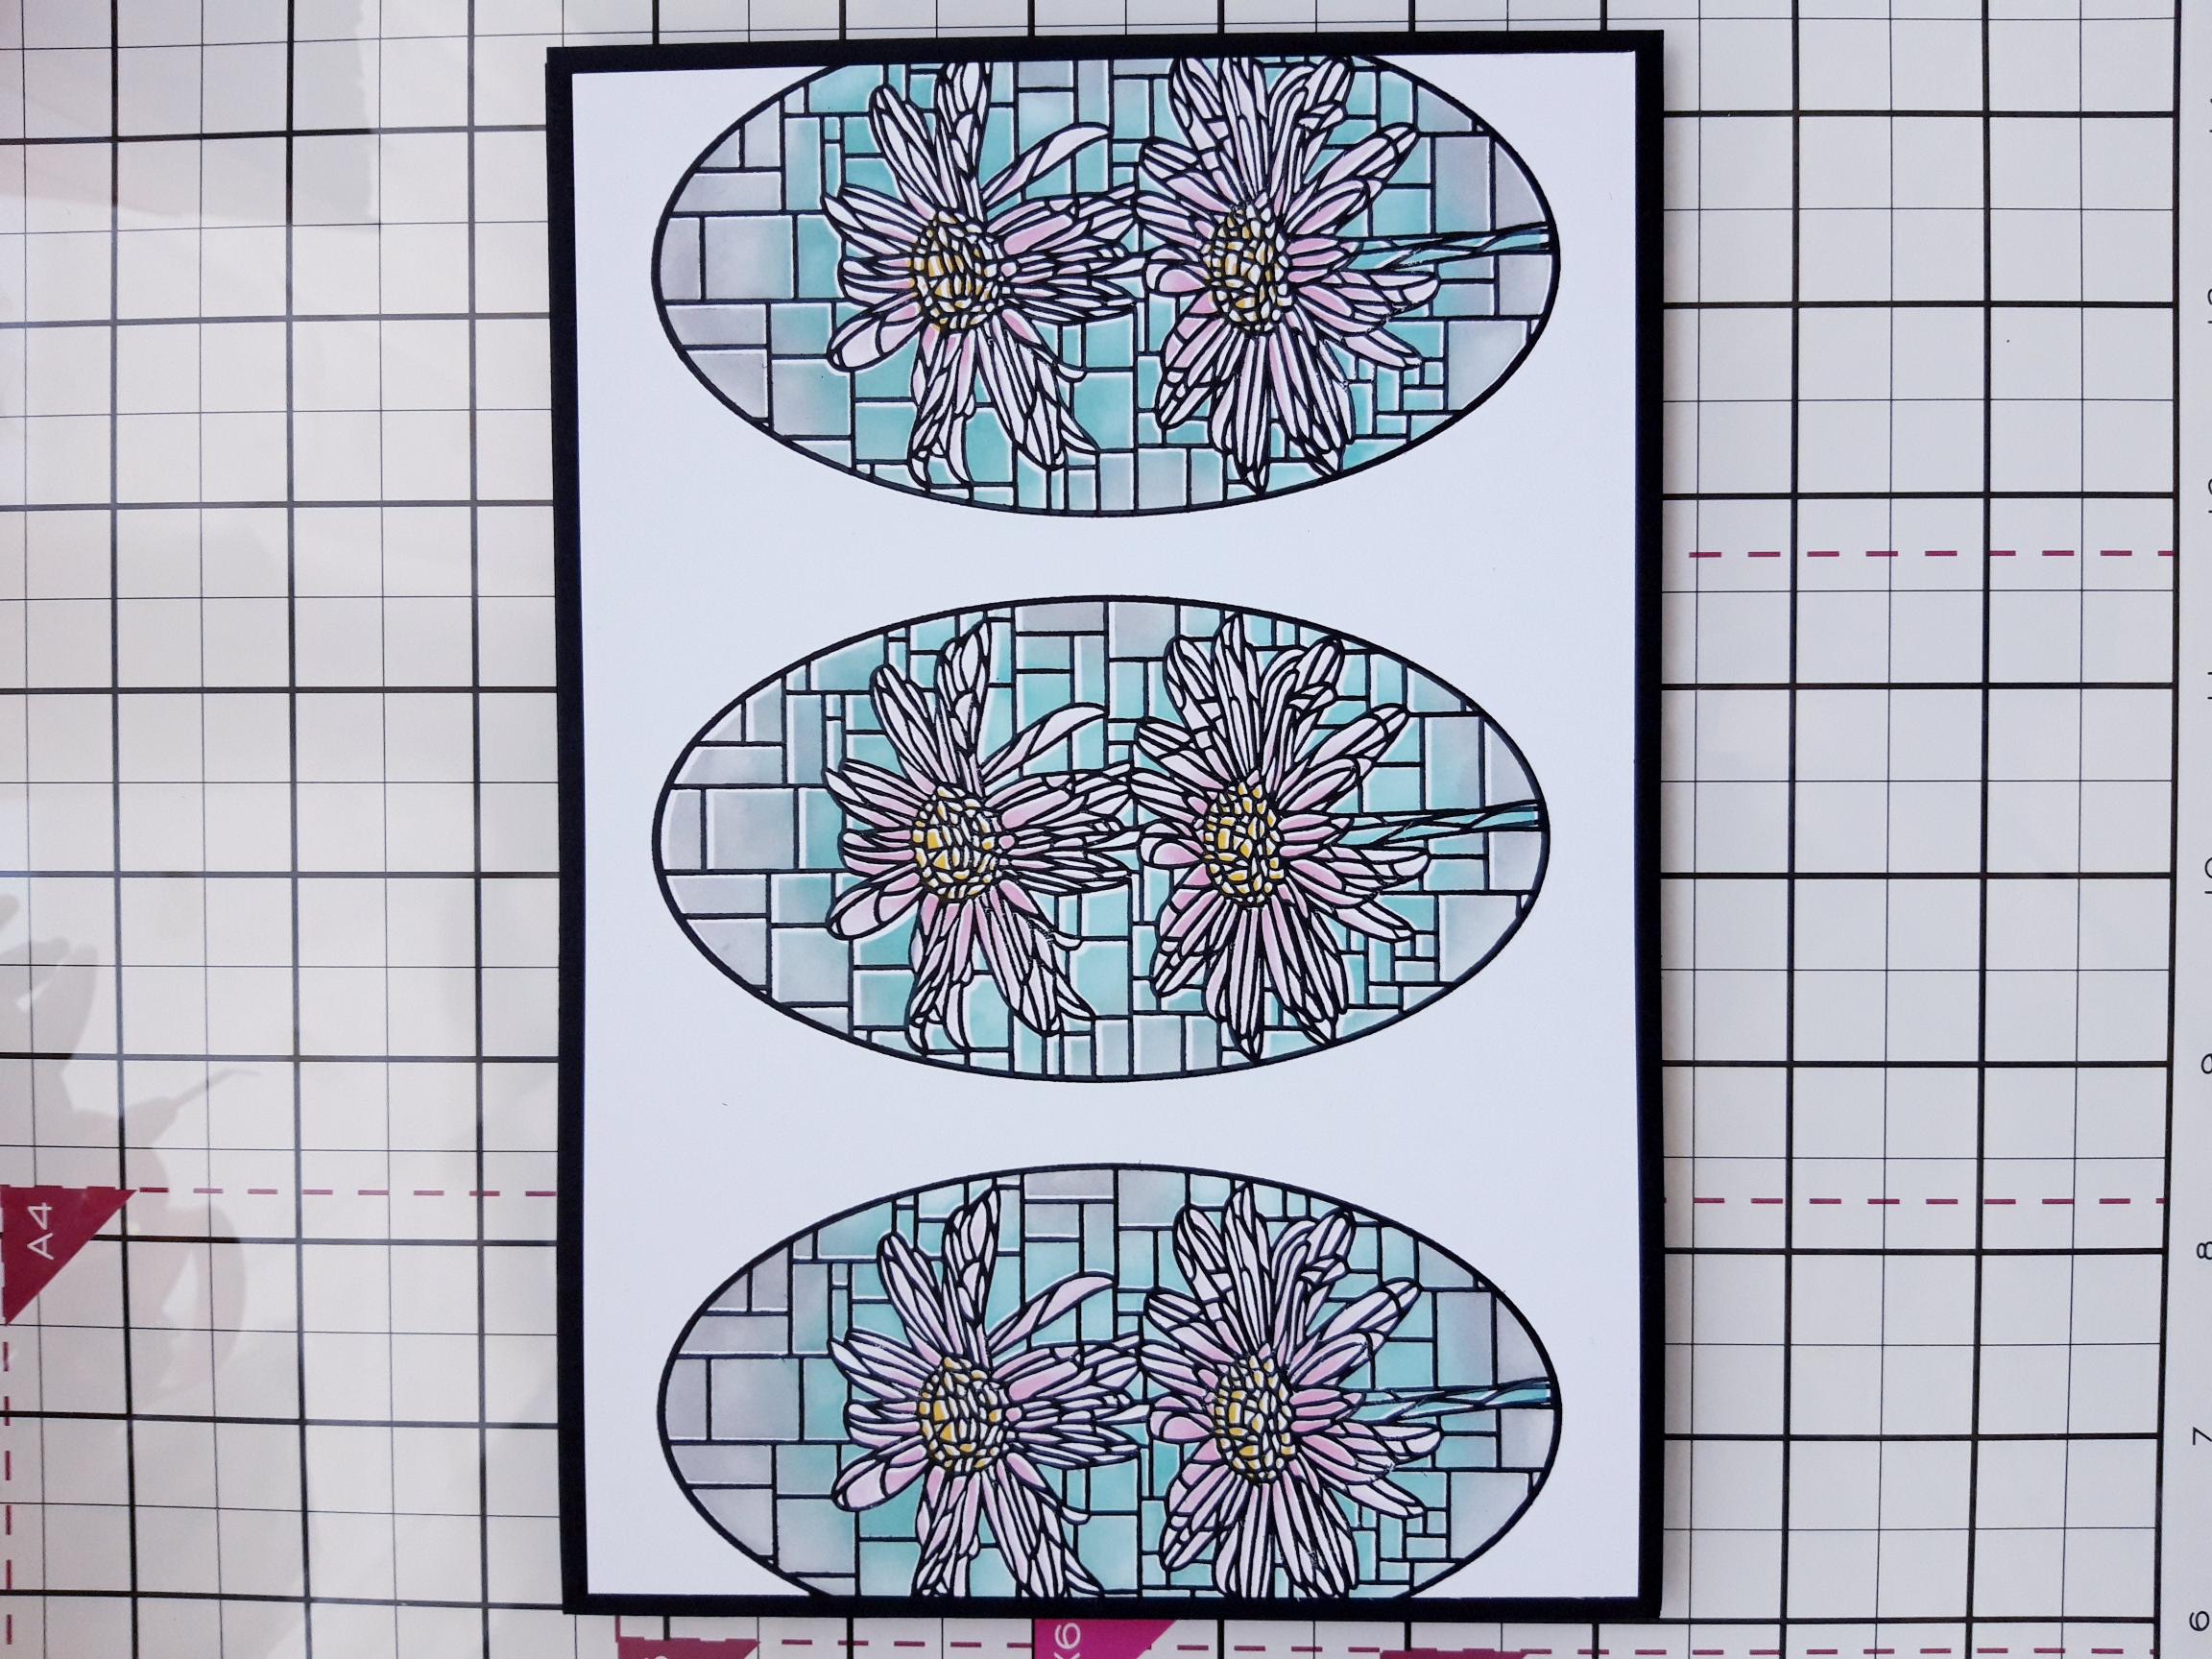
|
Adhere your stencilled artwork on to your black, landscape card blank and pop to one side. |
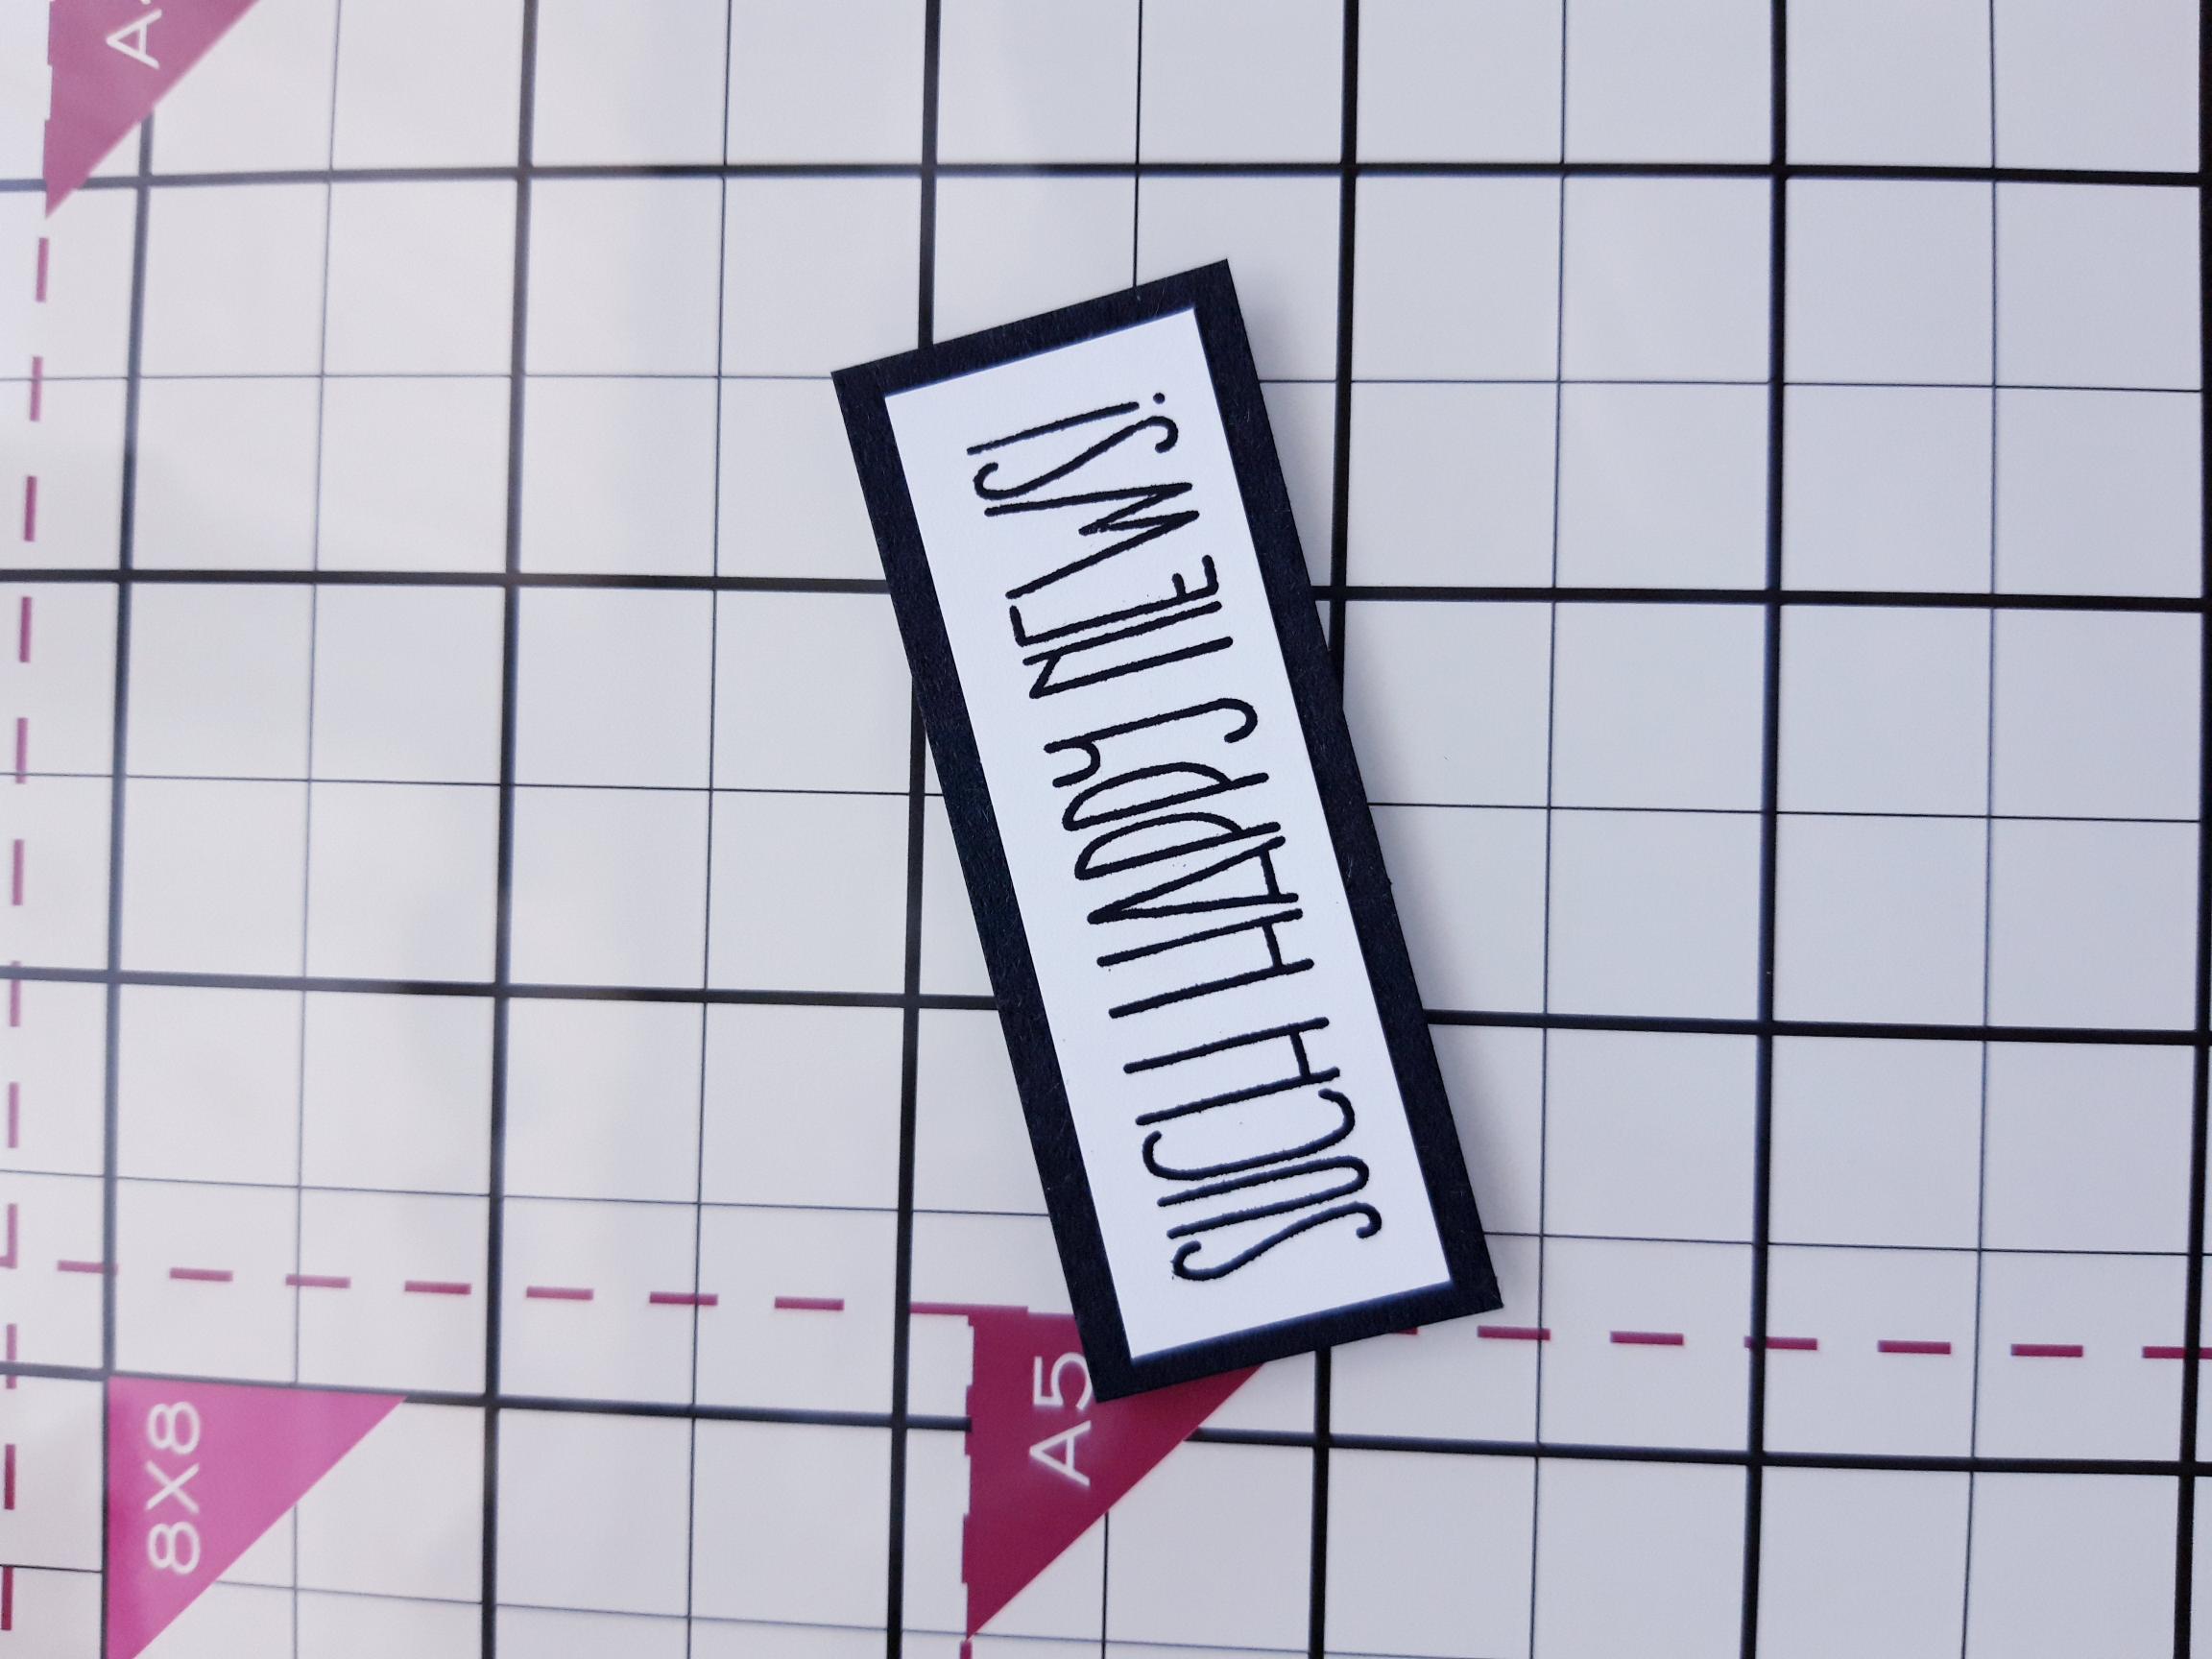
|
Ink up the sentiment with the Versafine and stamp on to the white card, cut to 2 1/2 x 3/4". Adhere this on to the black card (2 3/4 x 1"). |
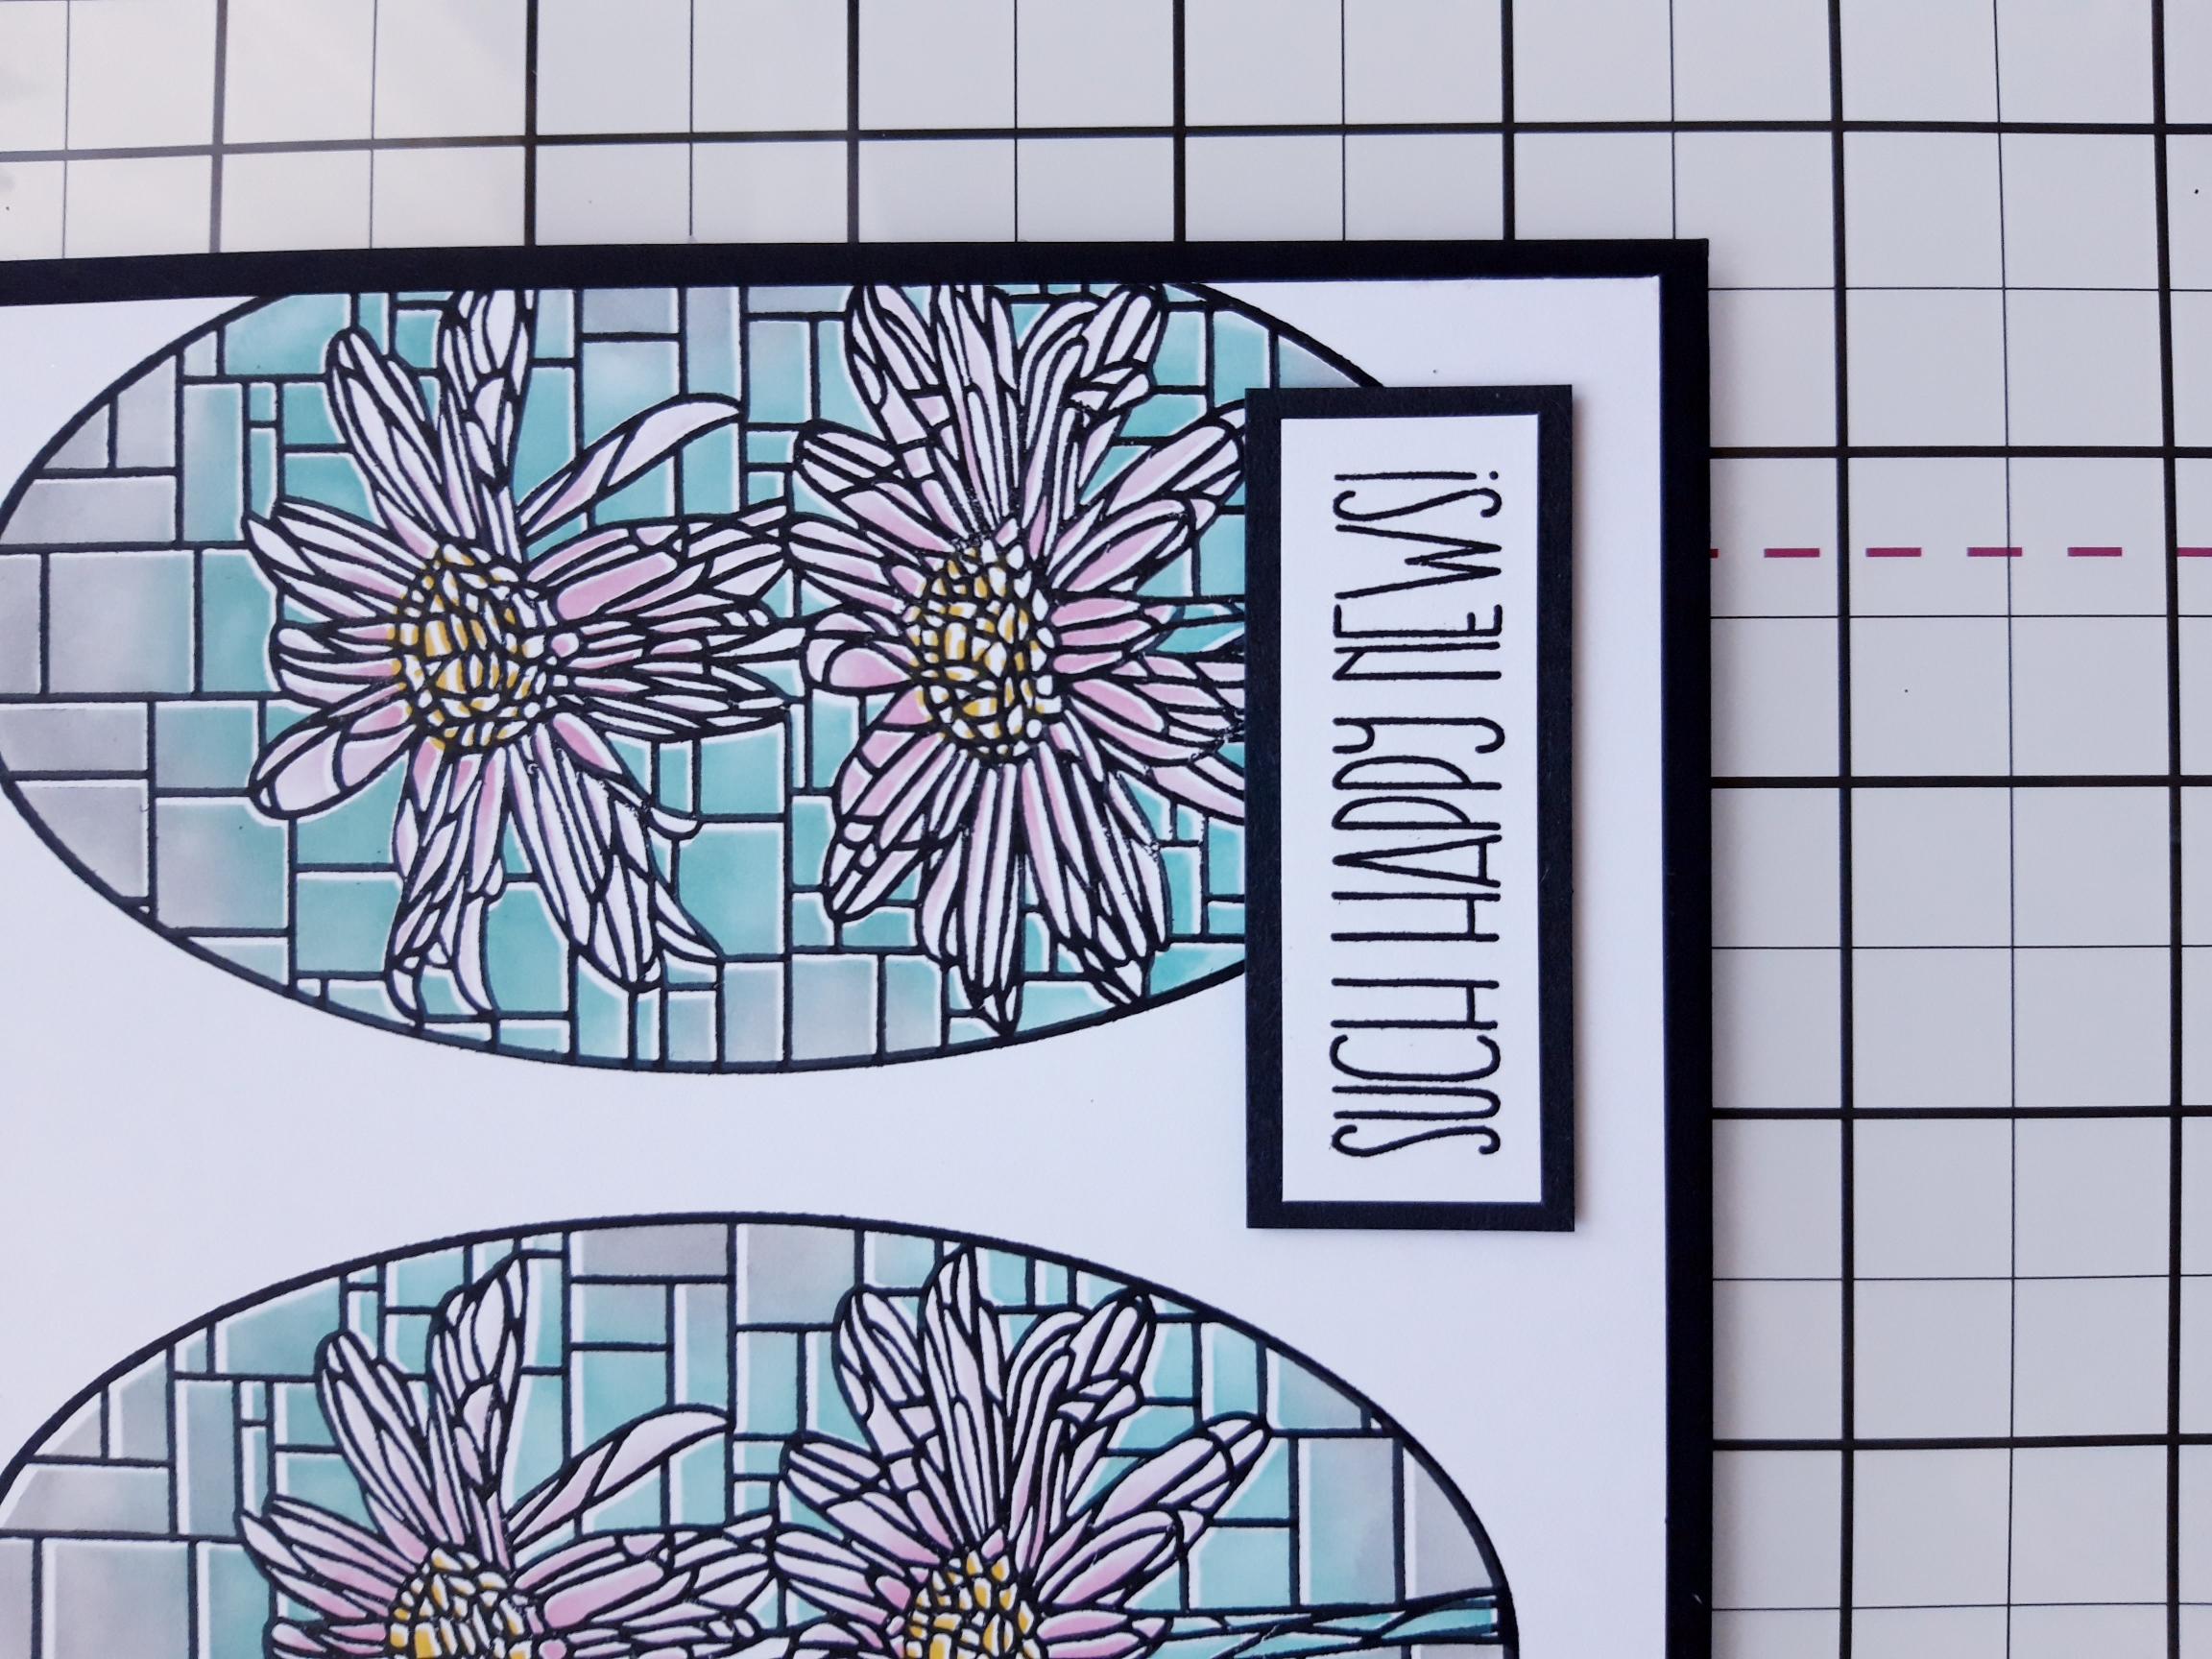
|
Adhere with foam pads, to the bottom right of your artwork. |
|
Finish off by adding Stickles to the centres of your Daisies. |