

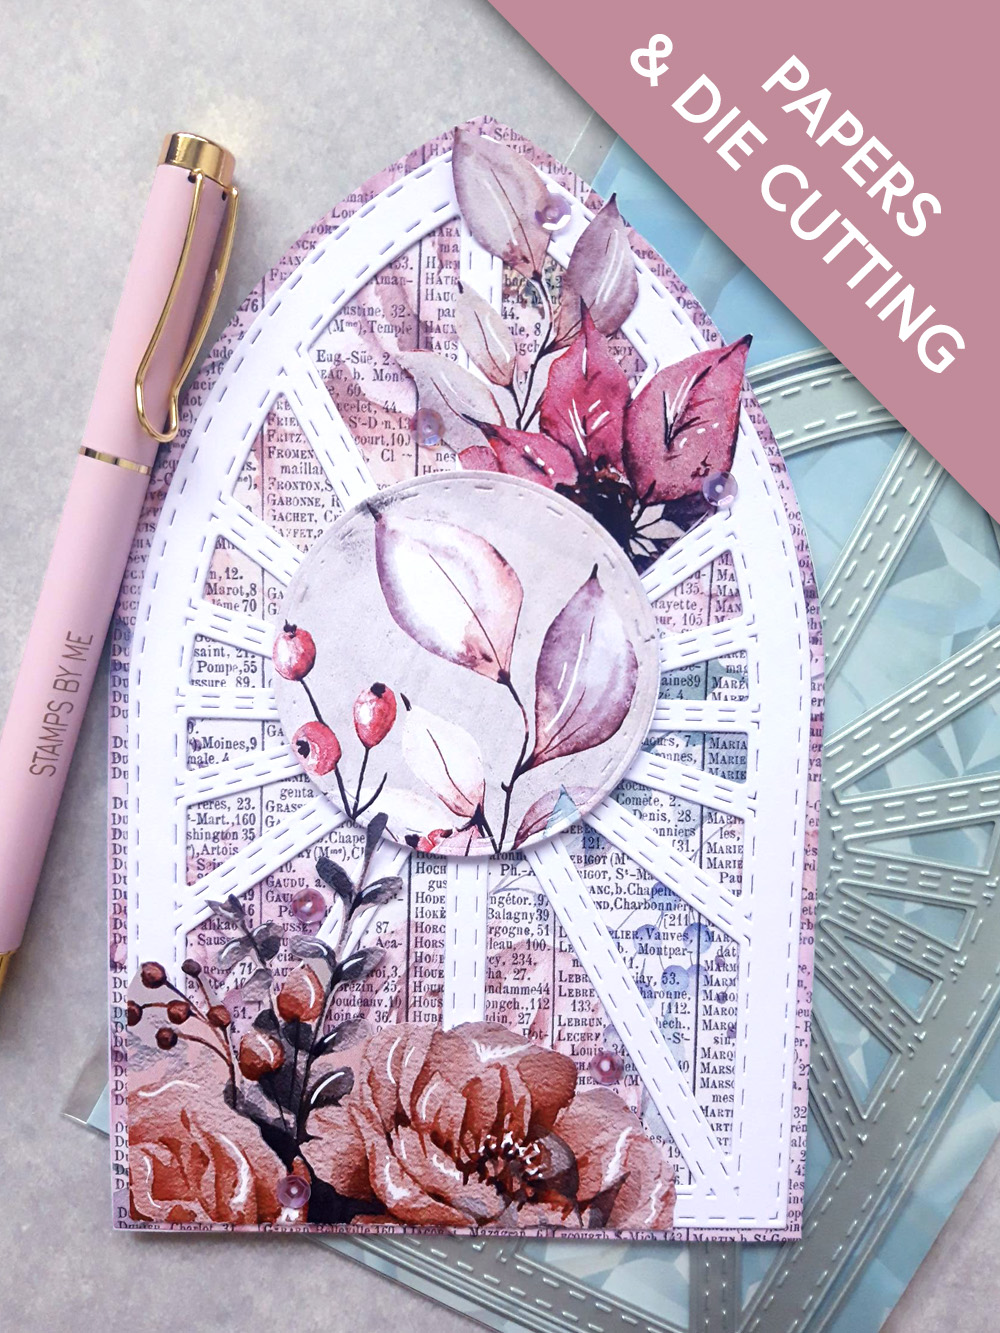
WHAT YOU WILL NEED:
A4 white card stock - construction weight for card blank
Prestige Frame One Die Collection
Stamps By Me Box Magazine - Decorative Papers
Izink Pigment Ink Pad Vintage Collection: Purply pink
Blending tool
White gel pen
Deboss Circle Nesting Dies Collection: die approx 2 1/2" diameter
Sequins: Amethyst
Gem pick up and pokey tool
Scoreboard and score tool
Eureka 101
Paper Trimmer
Perfect Together Glue
Double sided adhesive tape
Foam pads
Die Cutting machine
[click image to enlarge] 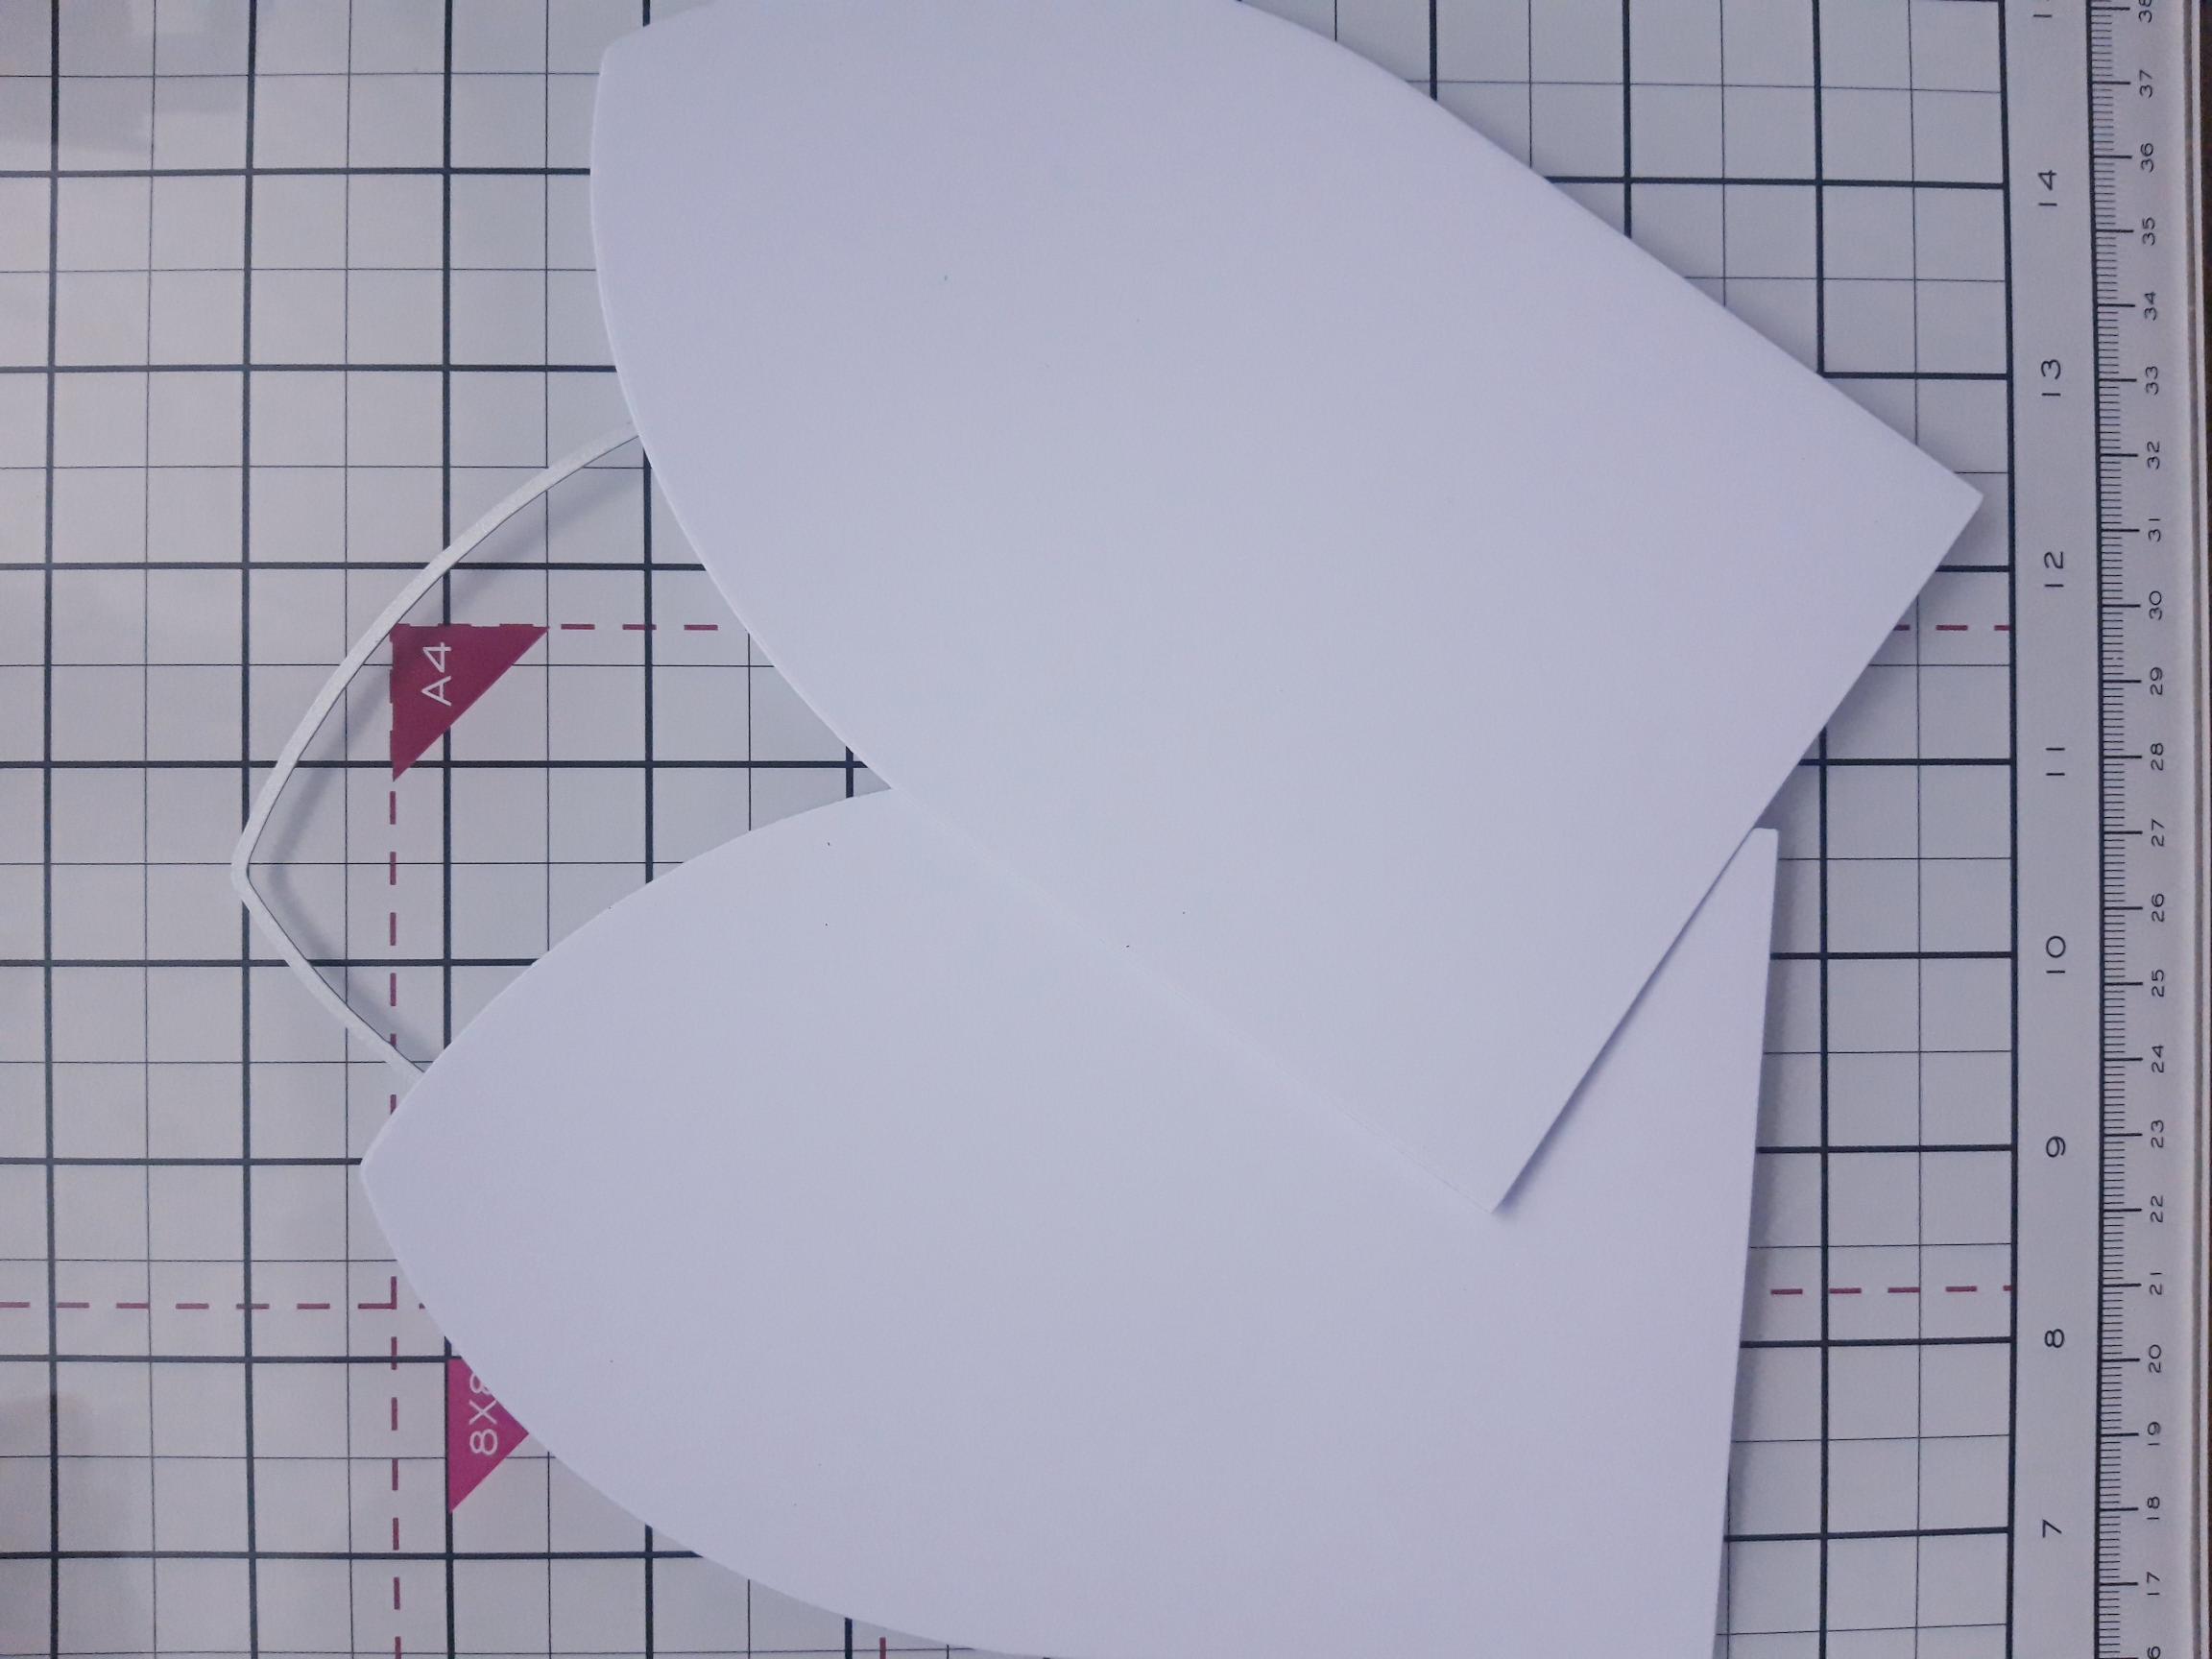
|
Use the outline die, from the Floral Frame One collection, to cut out TWO arched windows from the A4 white card. Set the remaining cardstock to one side for later. |
|
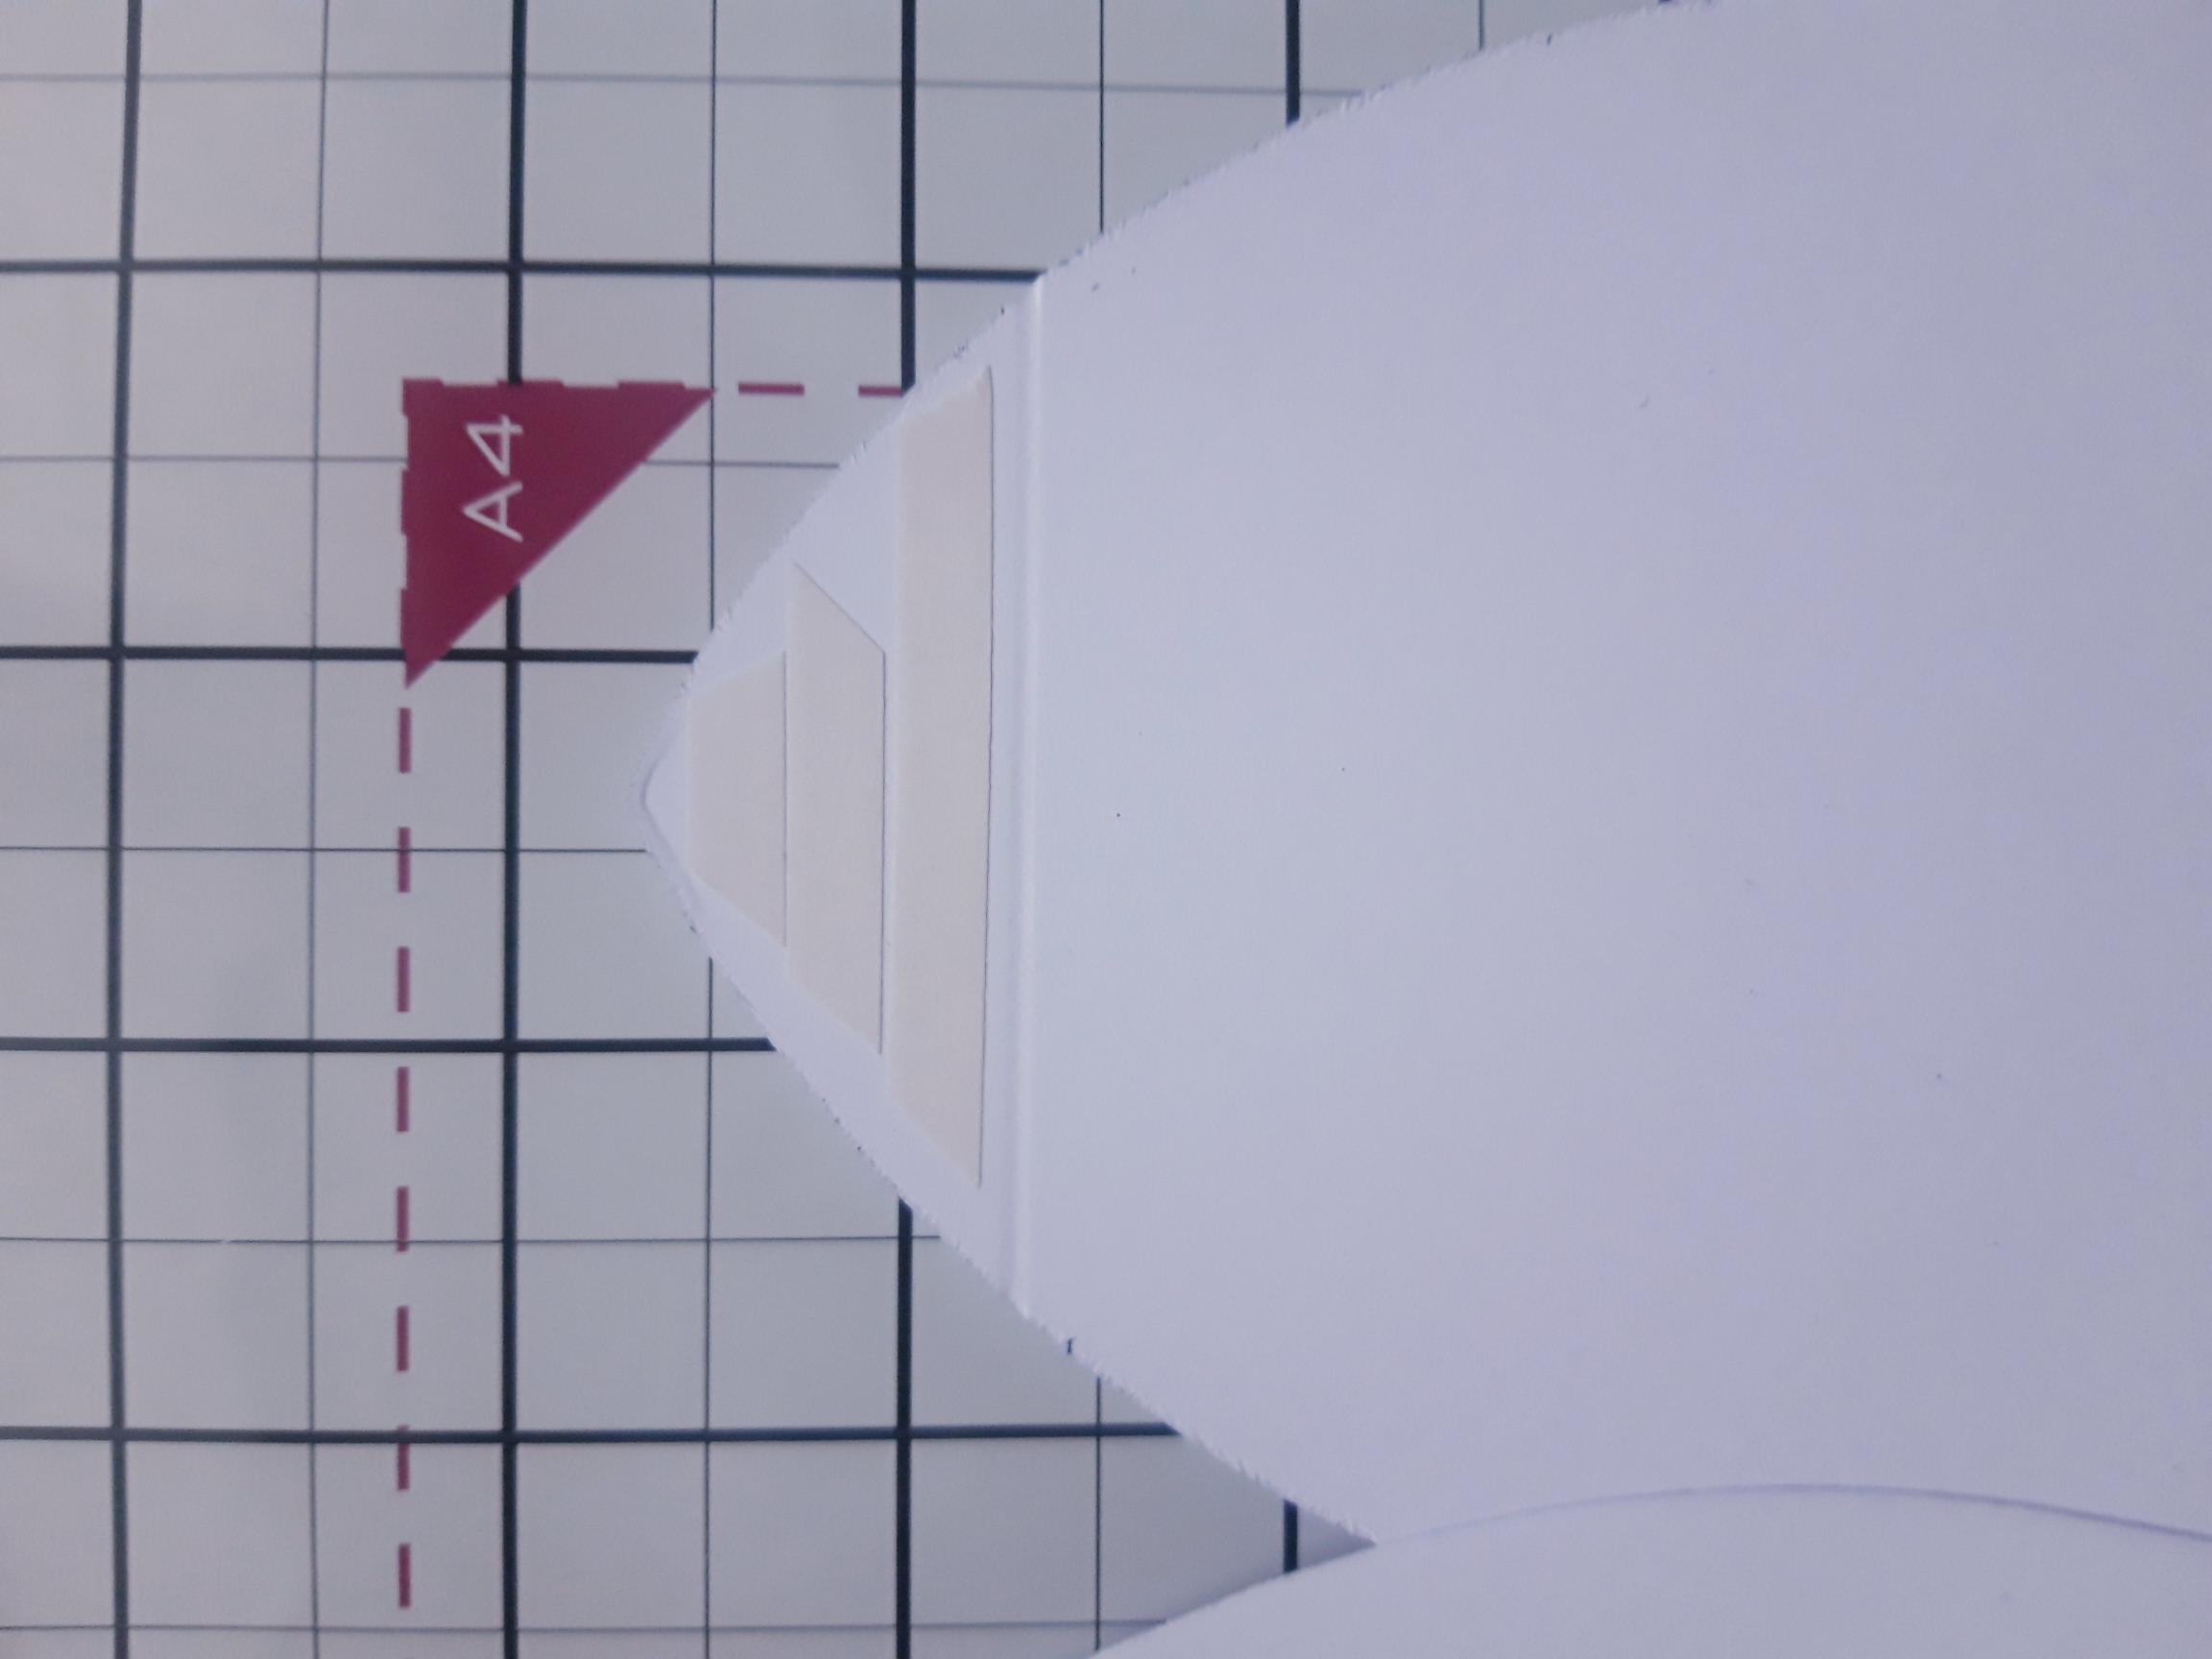
Score ONE of the arch die cuts approx 1" from the top. Apply double sided tape ABOVE the score line, as shown here. Peel off the tape and adhere the other arch die cut on top, to create your card blank. Set to one side. |
|
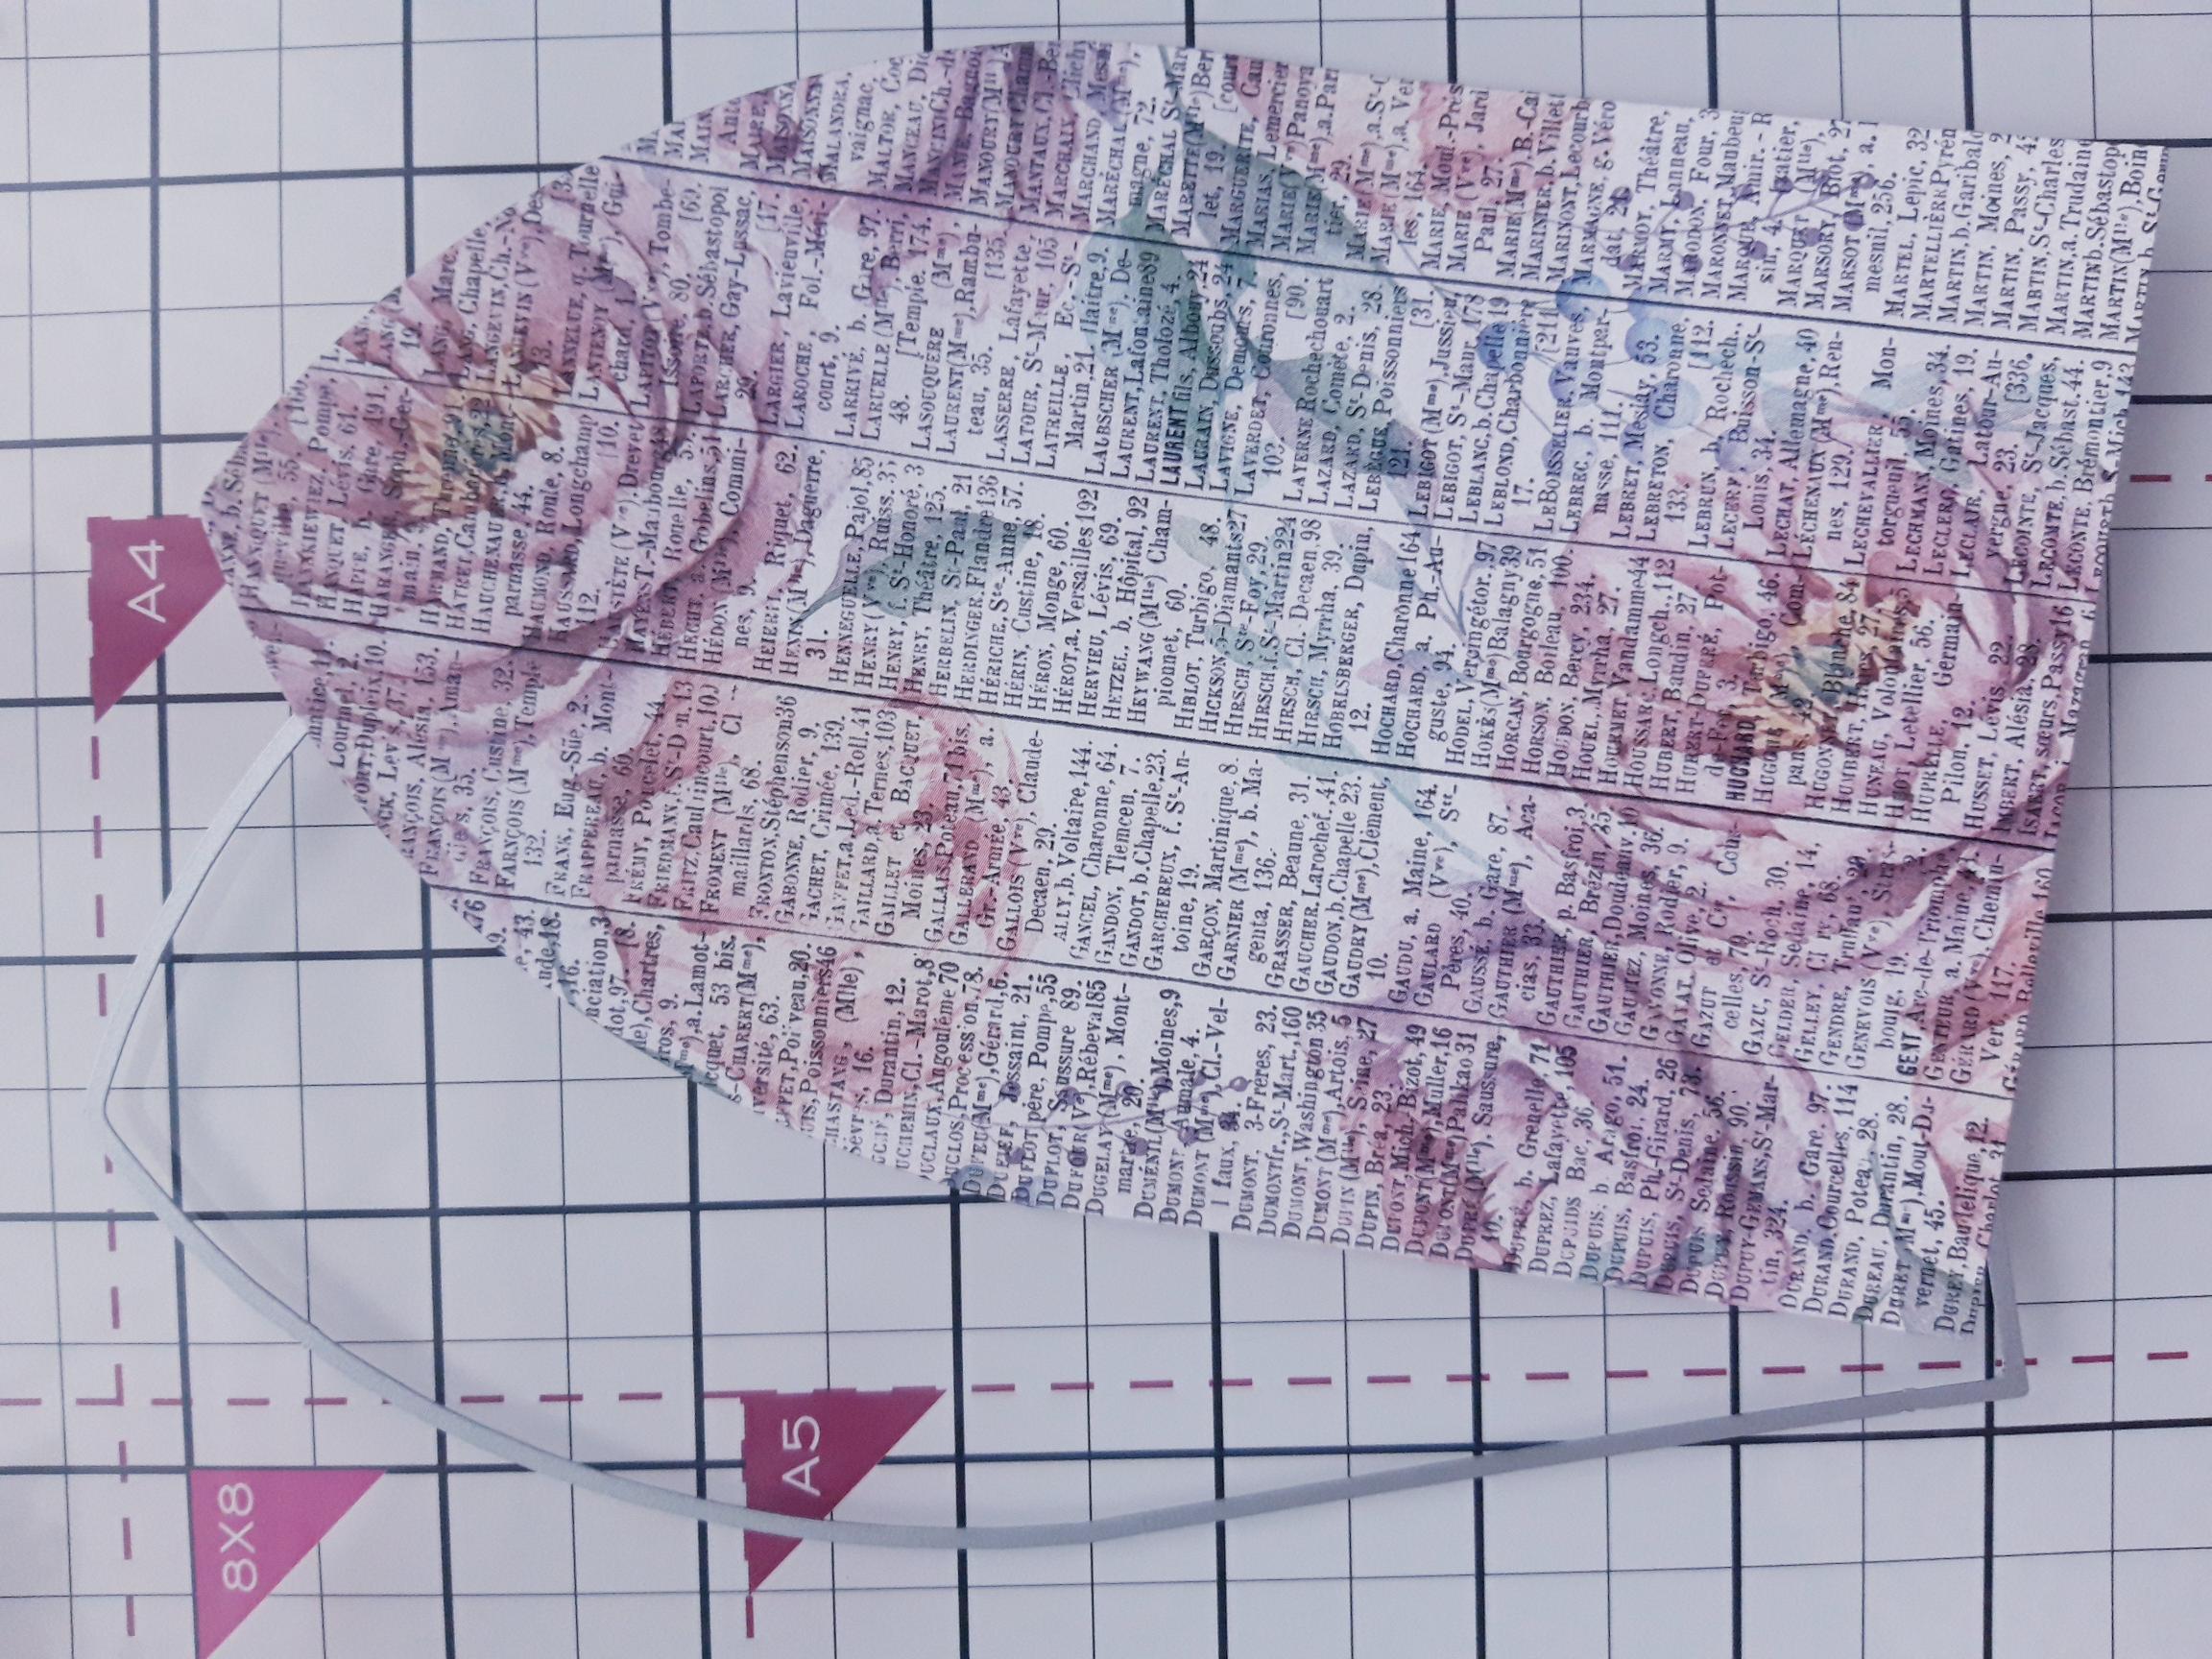
Tear out this decorative sheet from the Stamps By Me Box Magazine and die cut using the same arch outline die. |
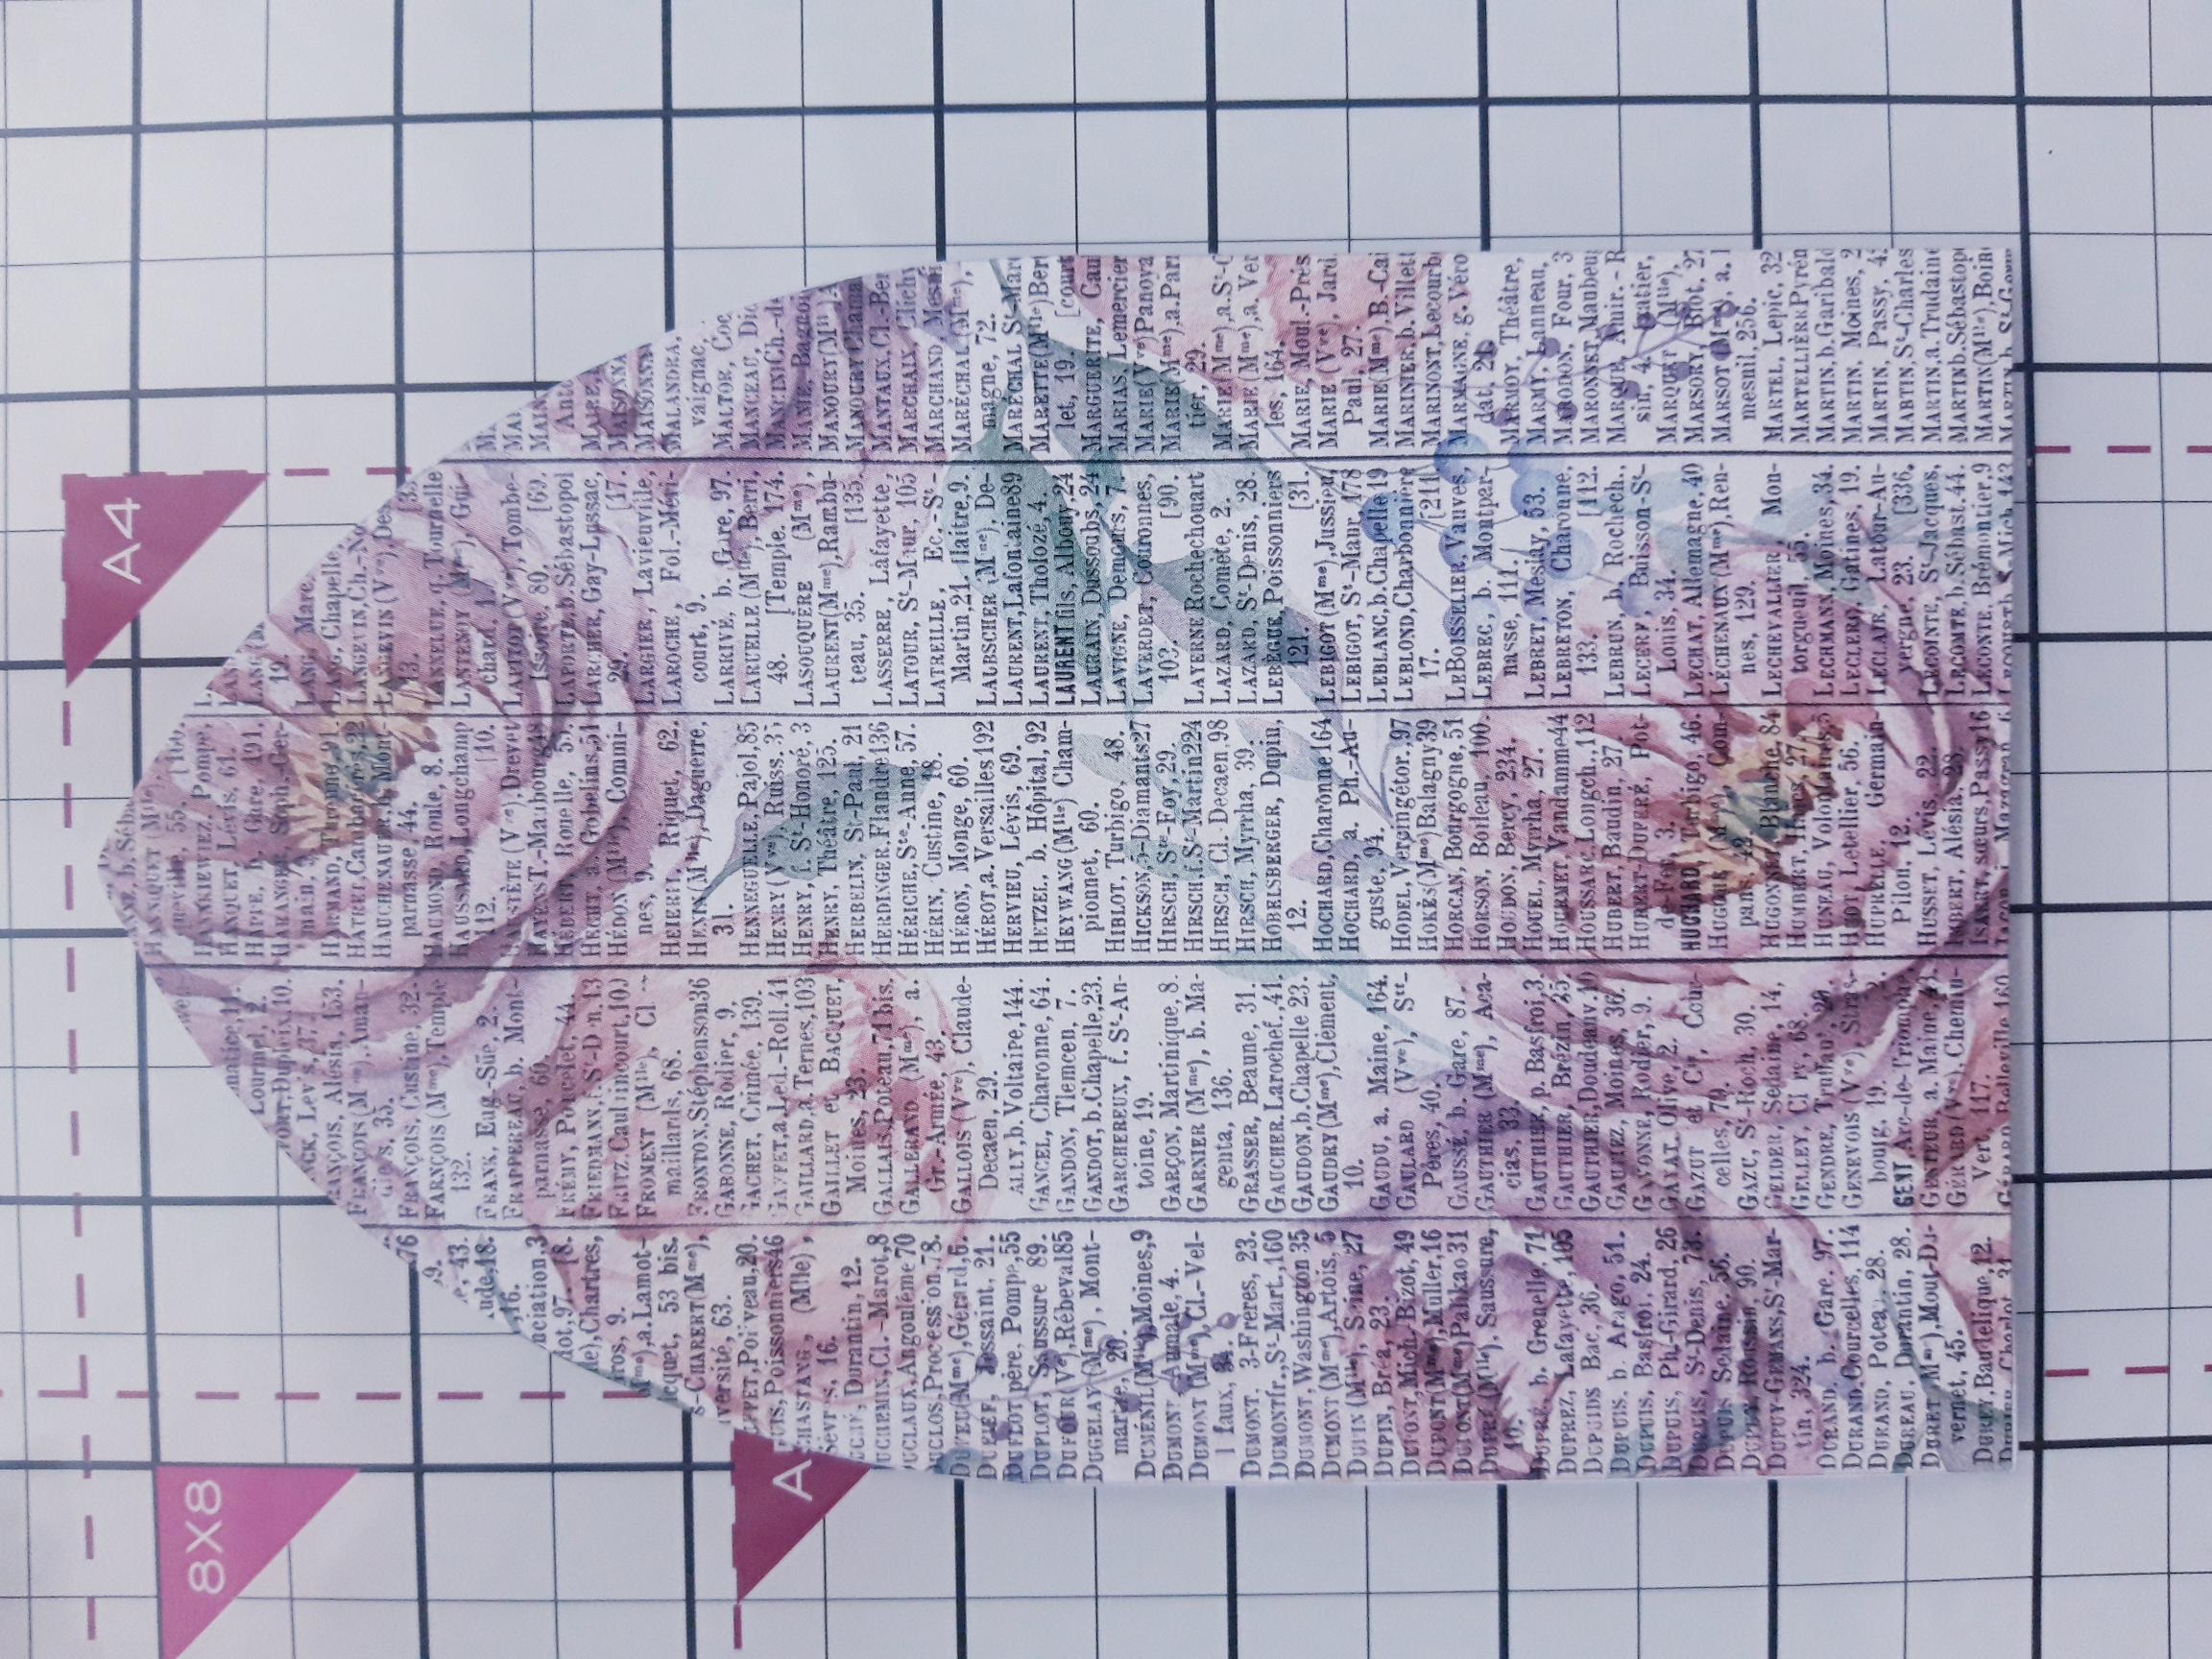
|
Adhere the die cut paper to the front of your card blank. |
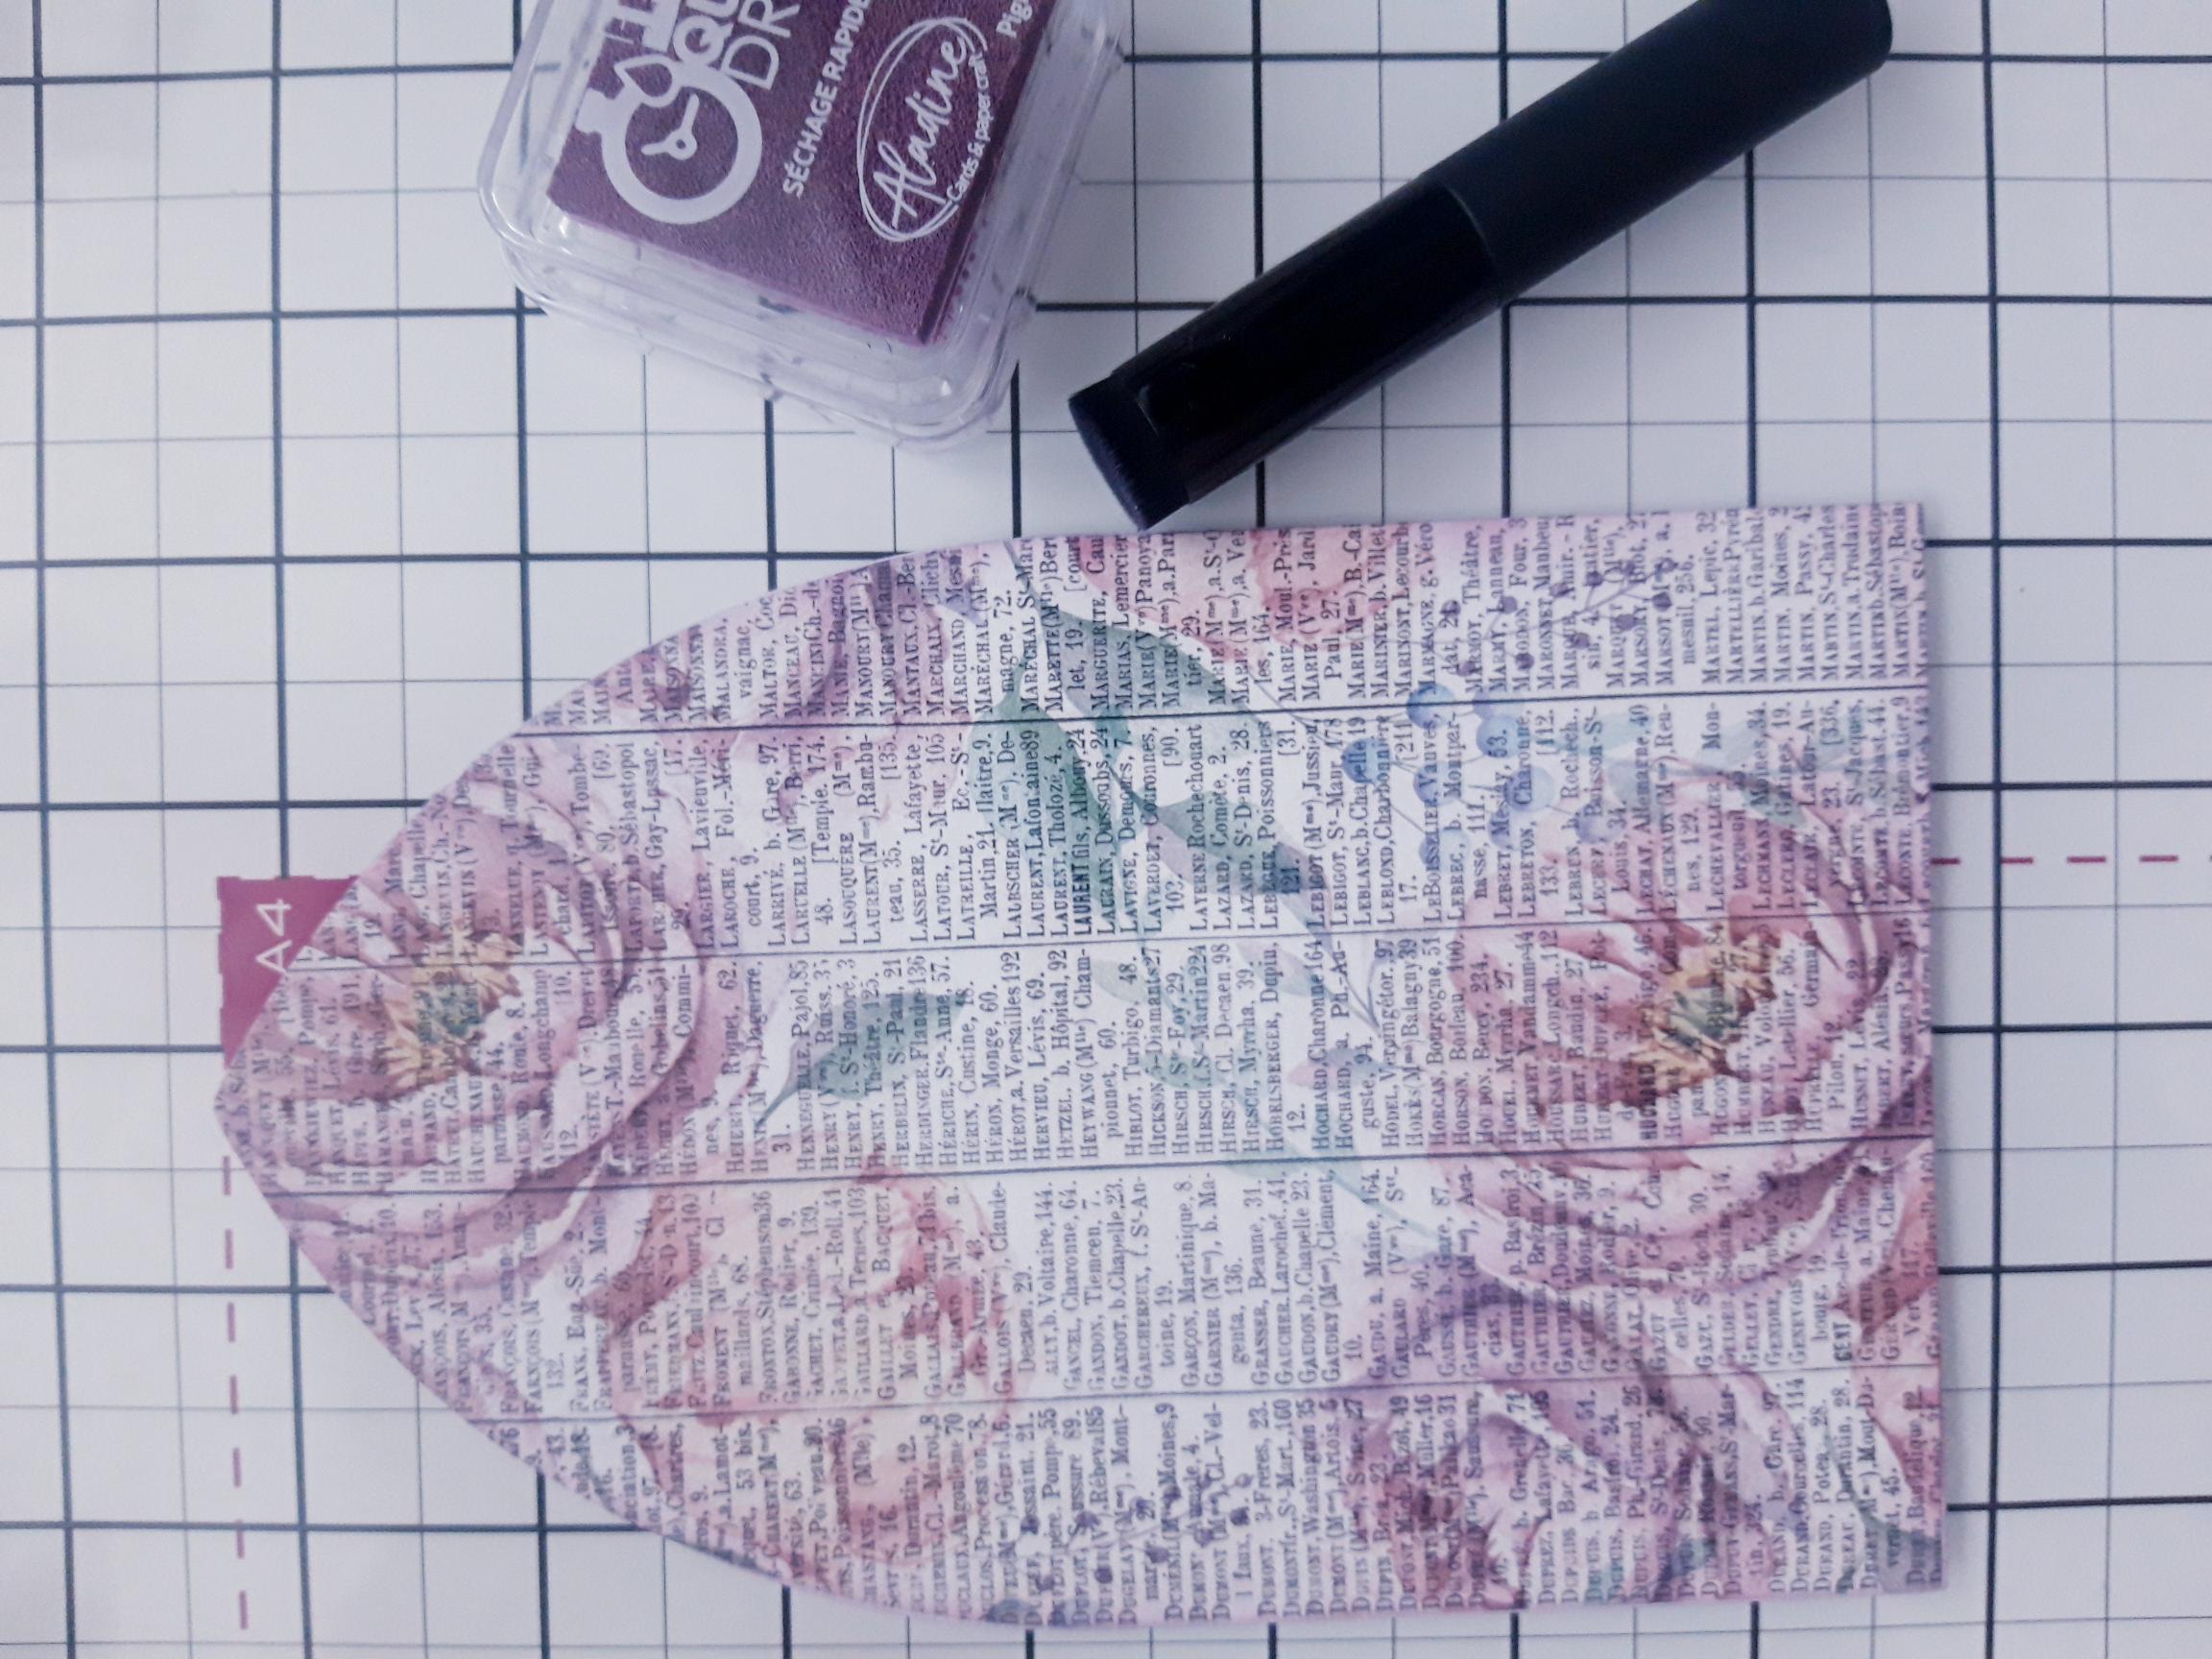
|
Using your blending tool, blend the Izink Pigment ink around the edges of your decorative card blank. Set to one side to dry. |
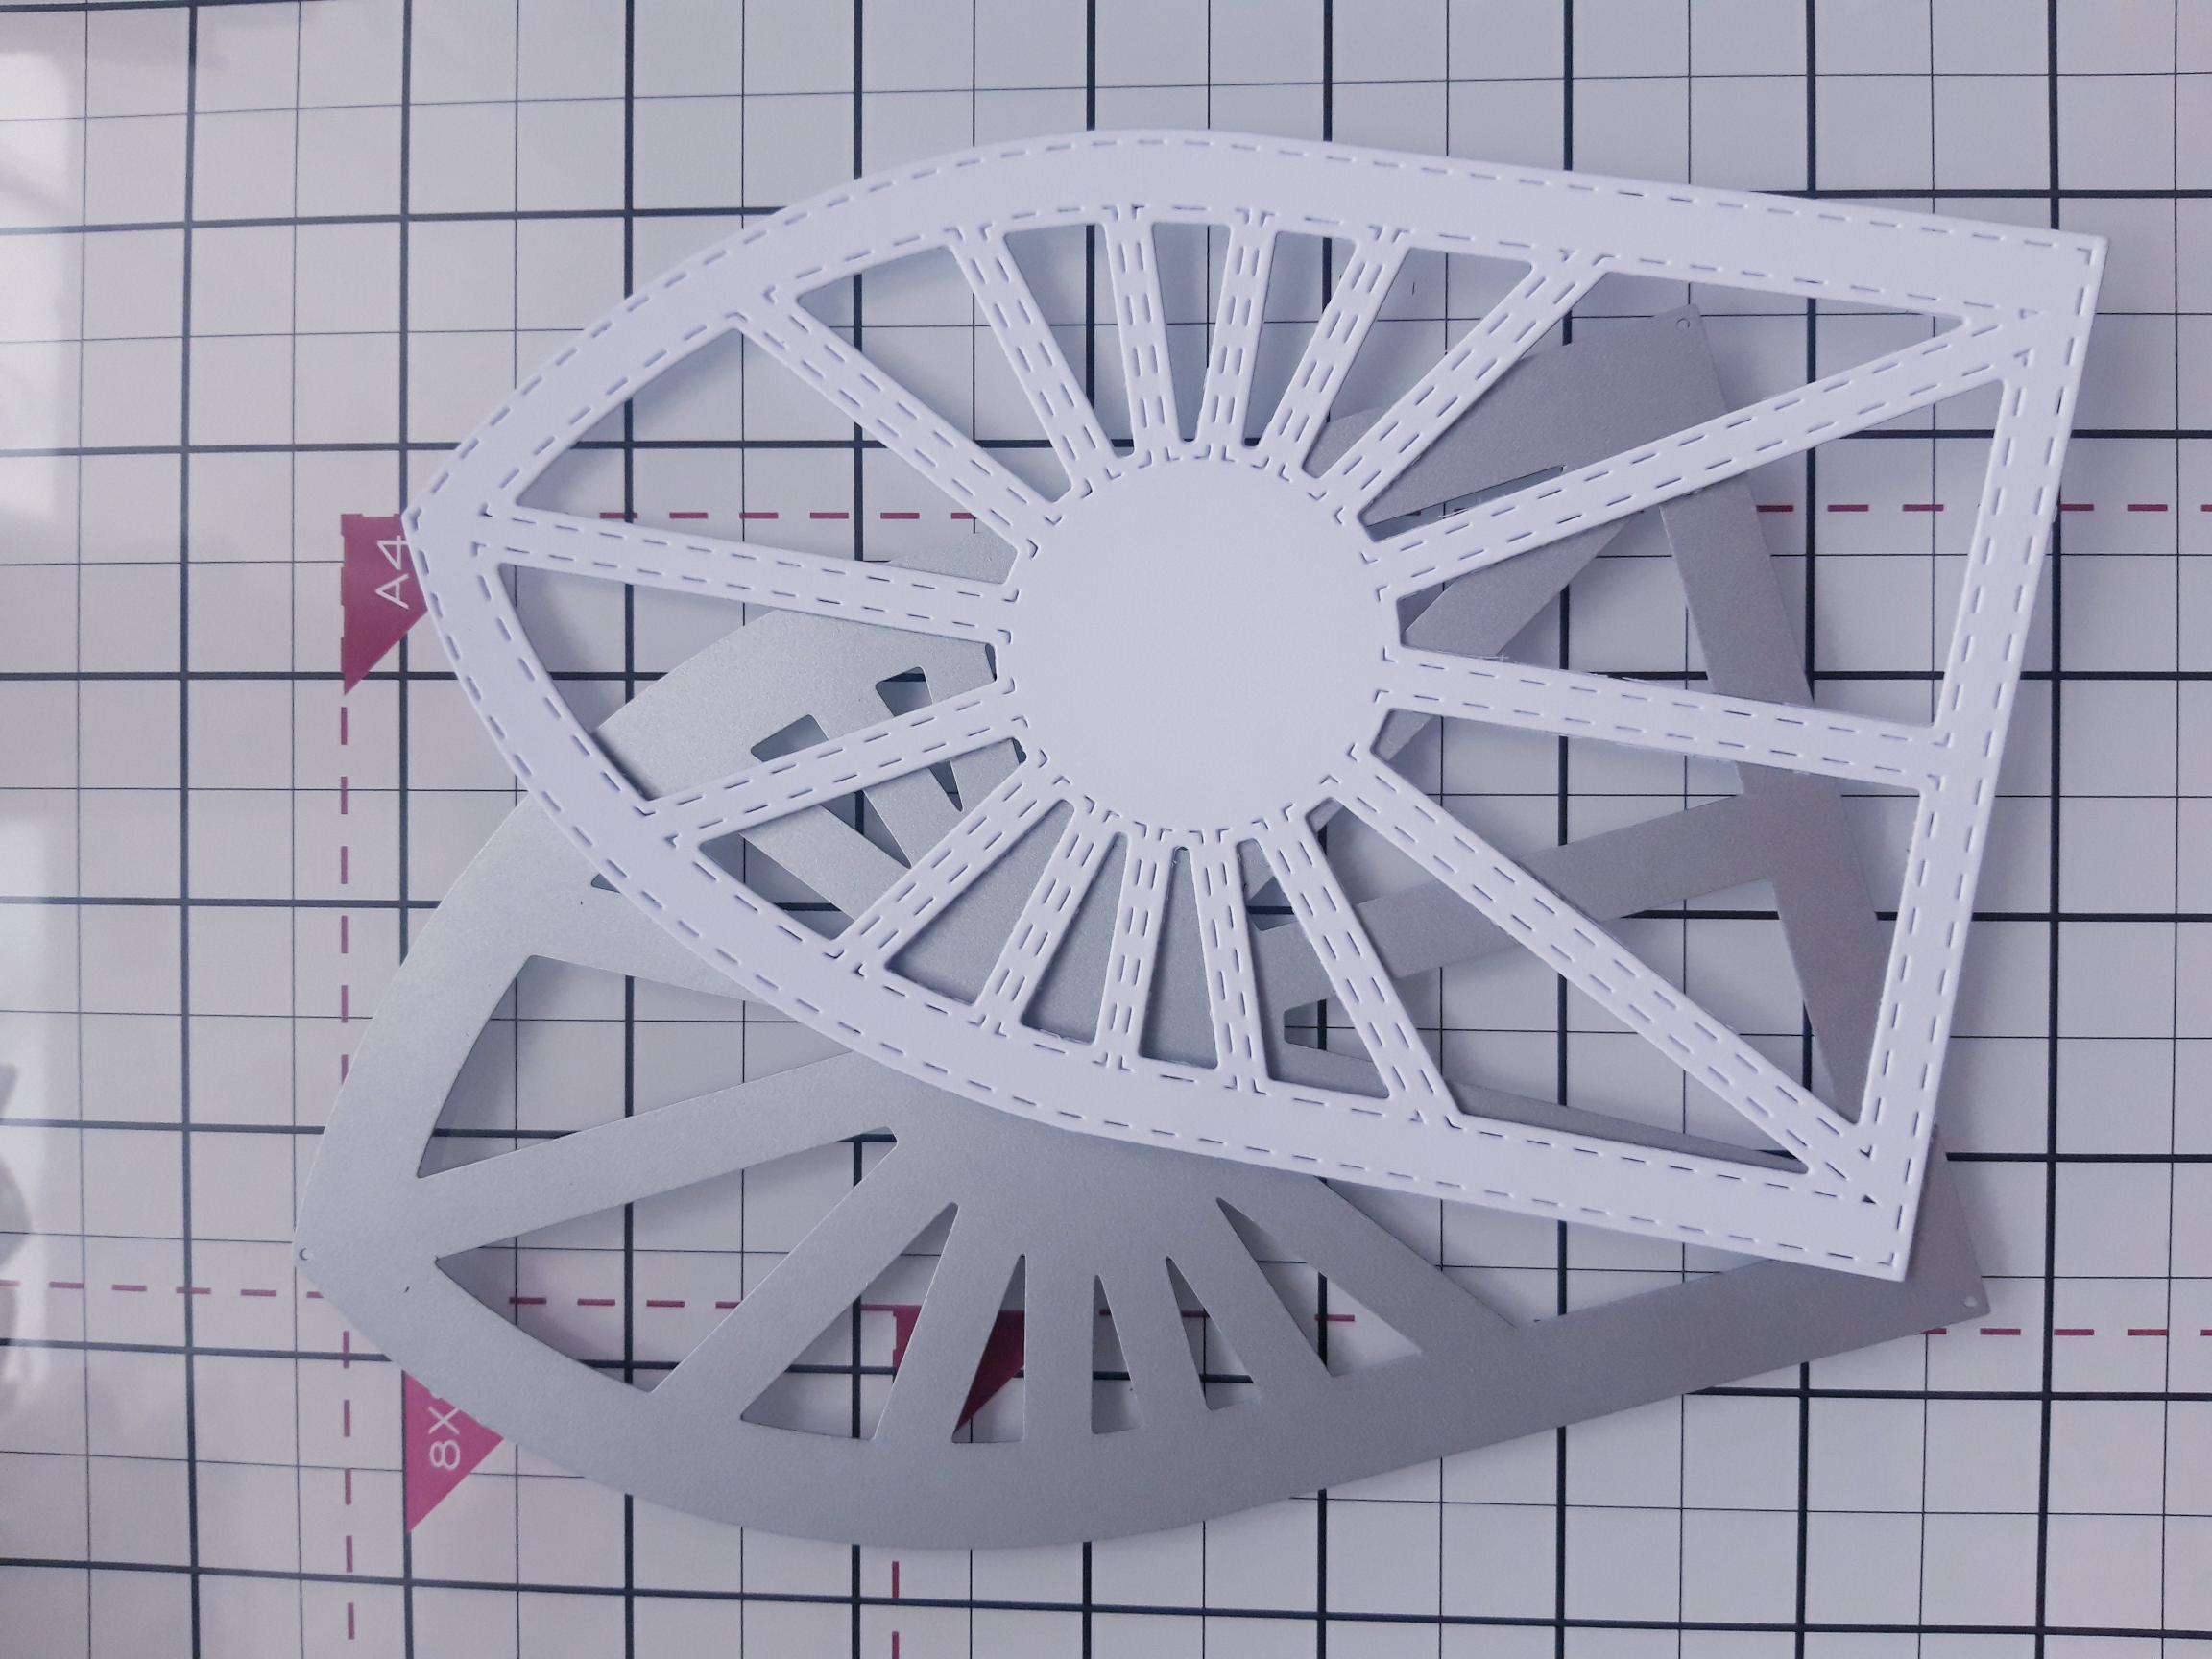
|
Use the detailed arch die to cut out a window, from the white card you set aside earlier. |
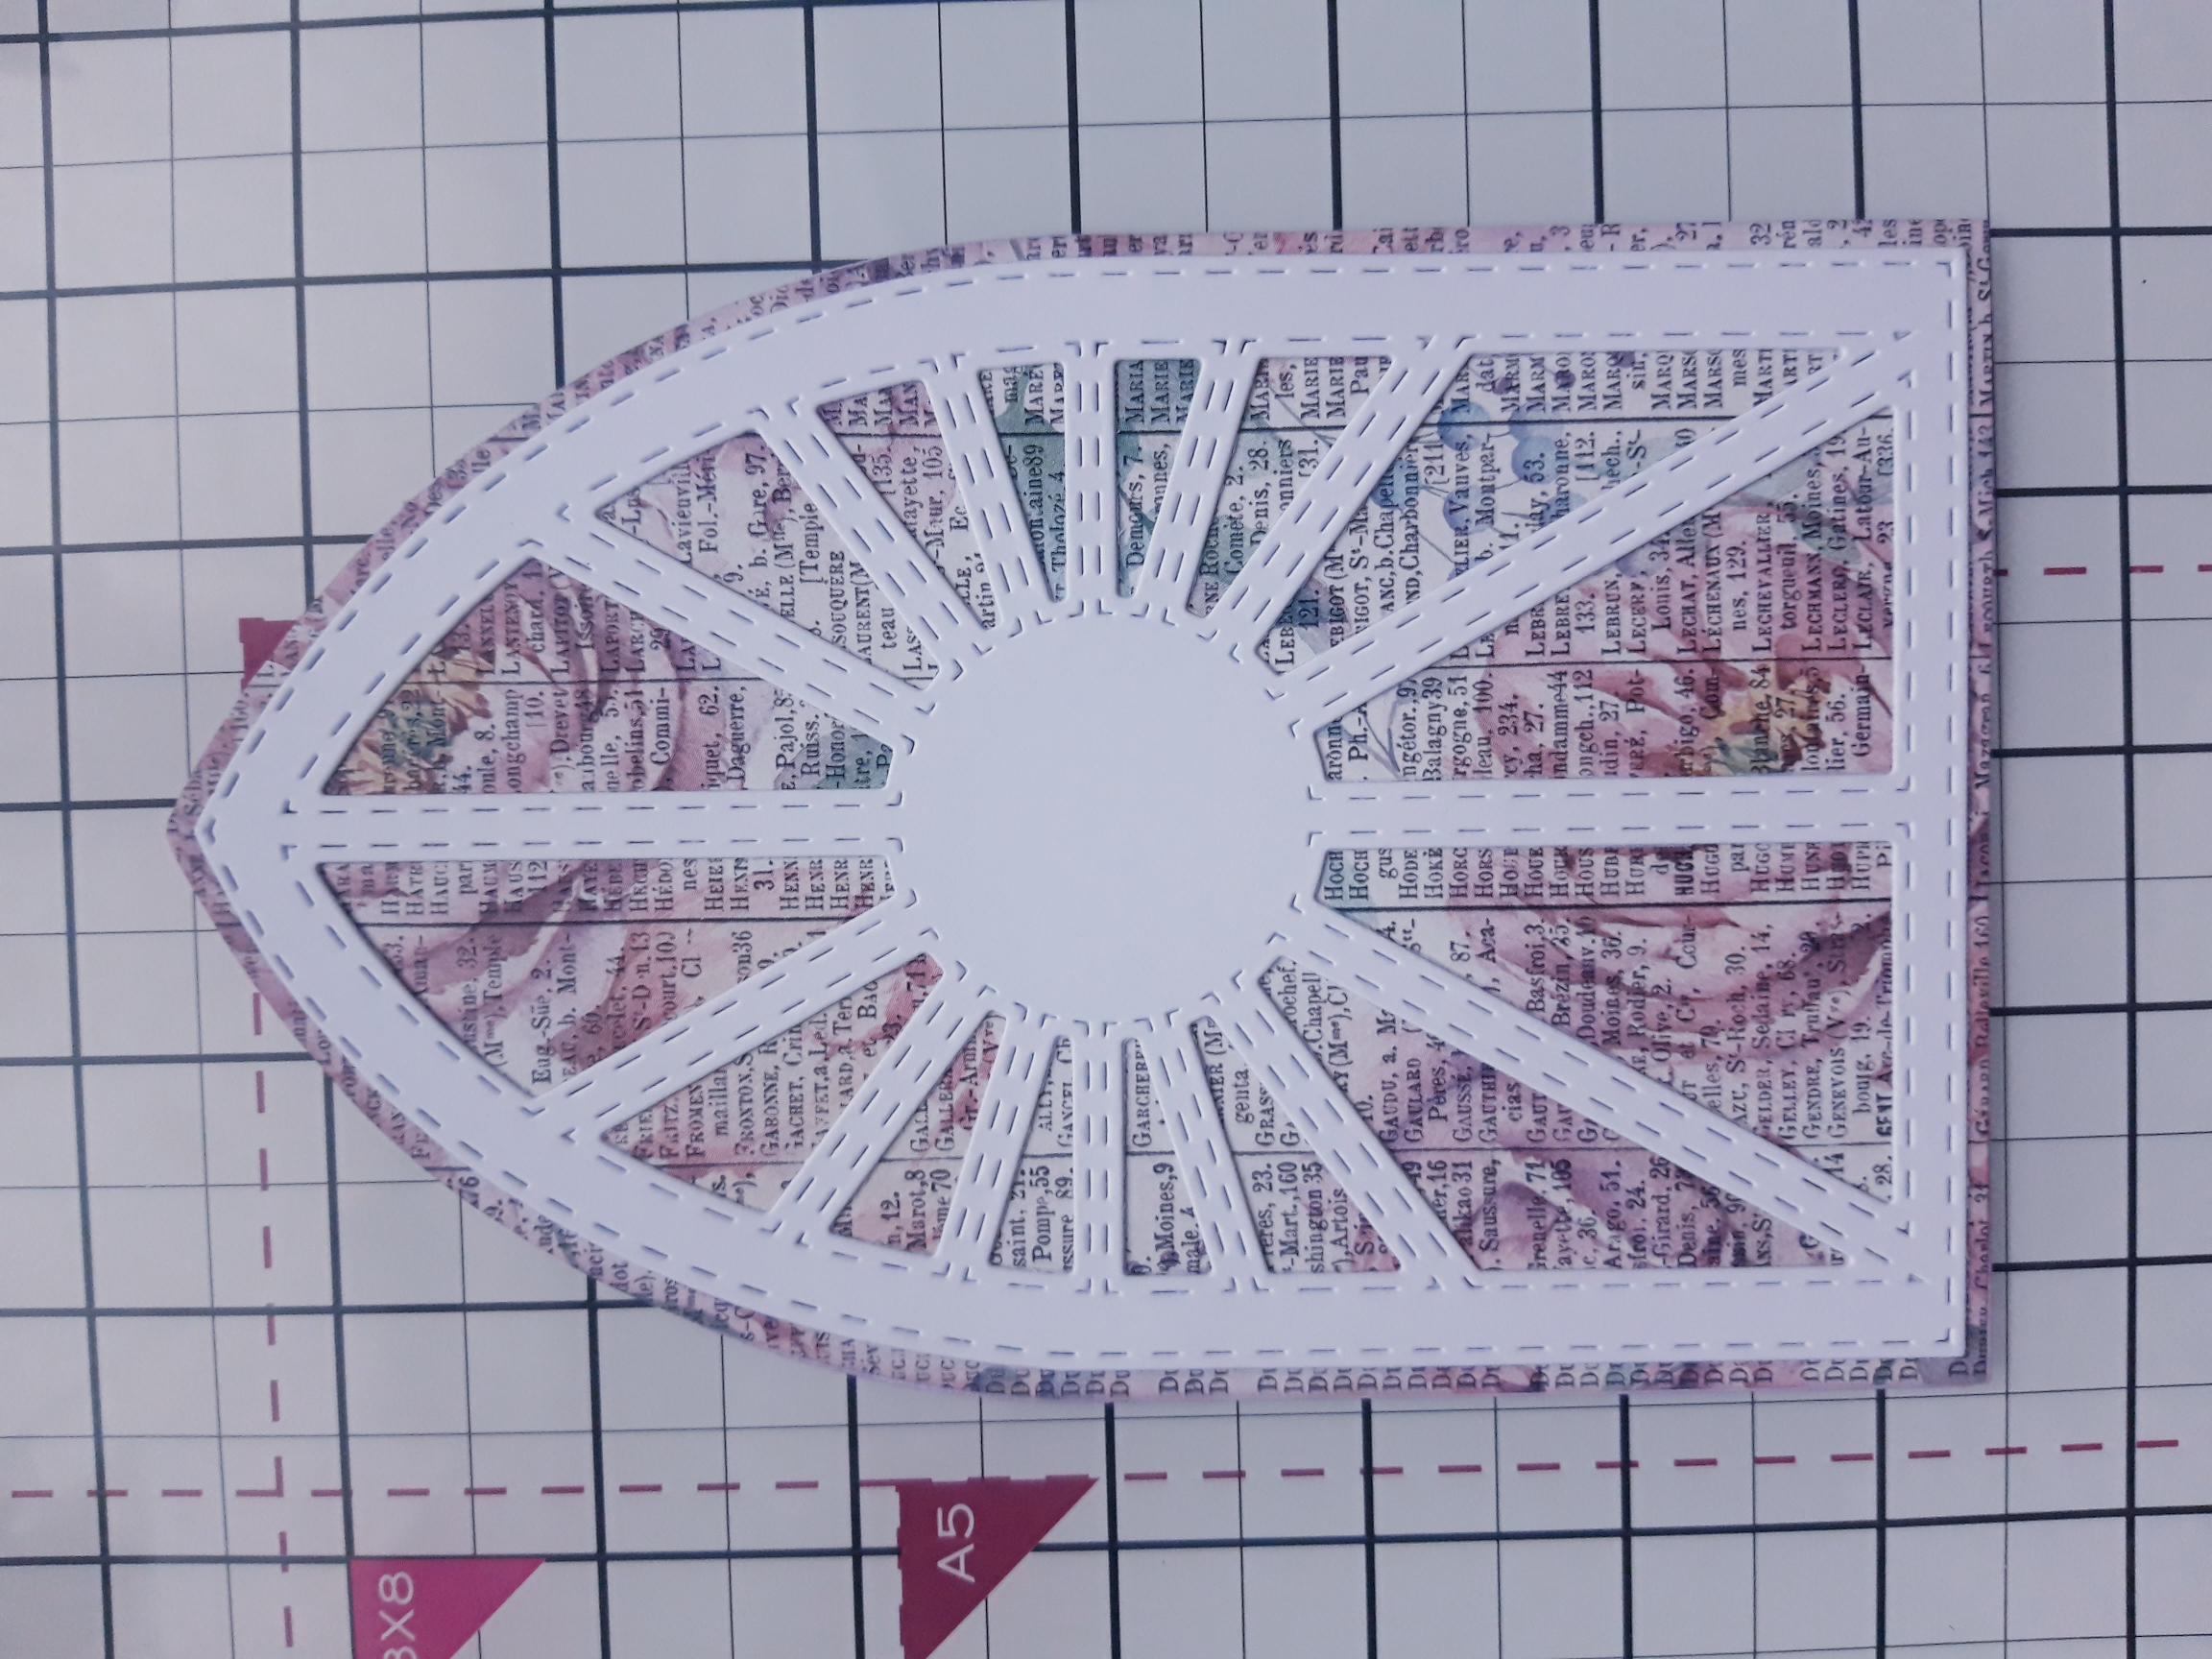
|
Adhere your die cut window on to your card blank and set to one side. |
|
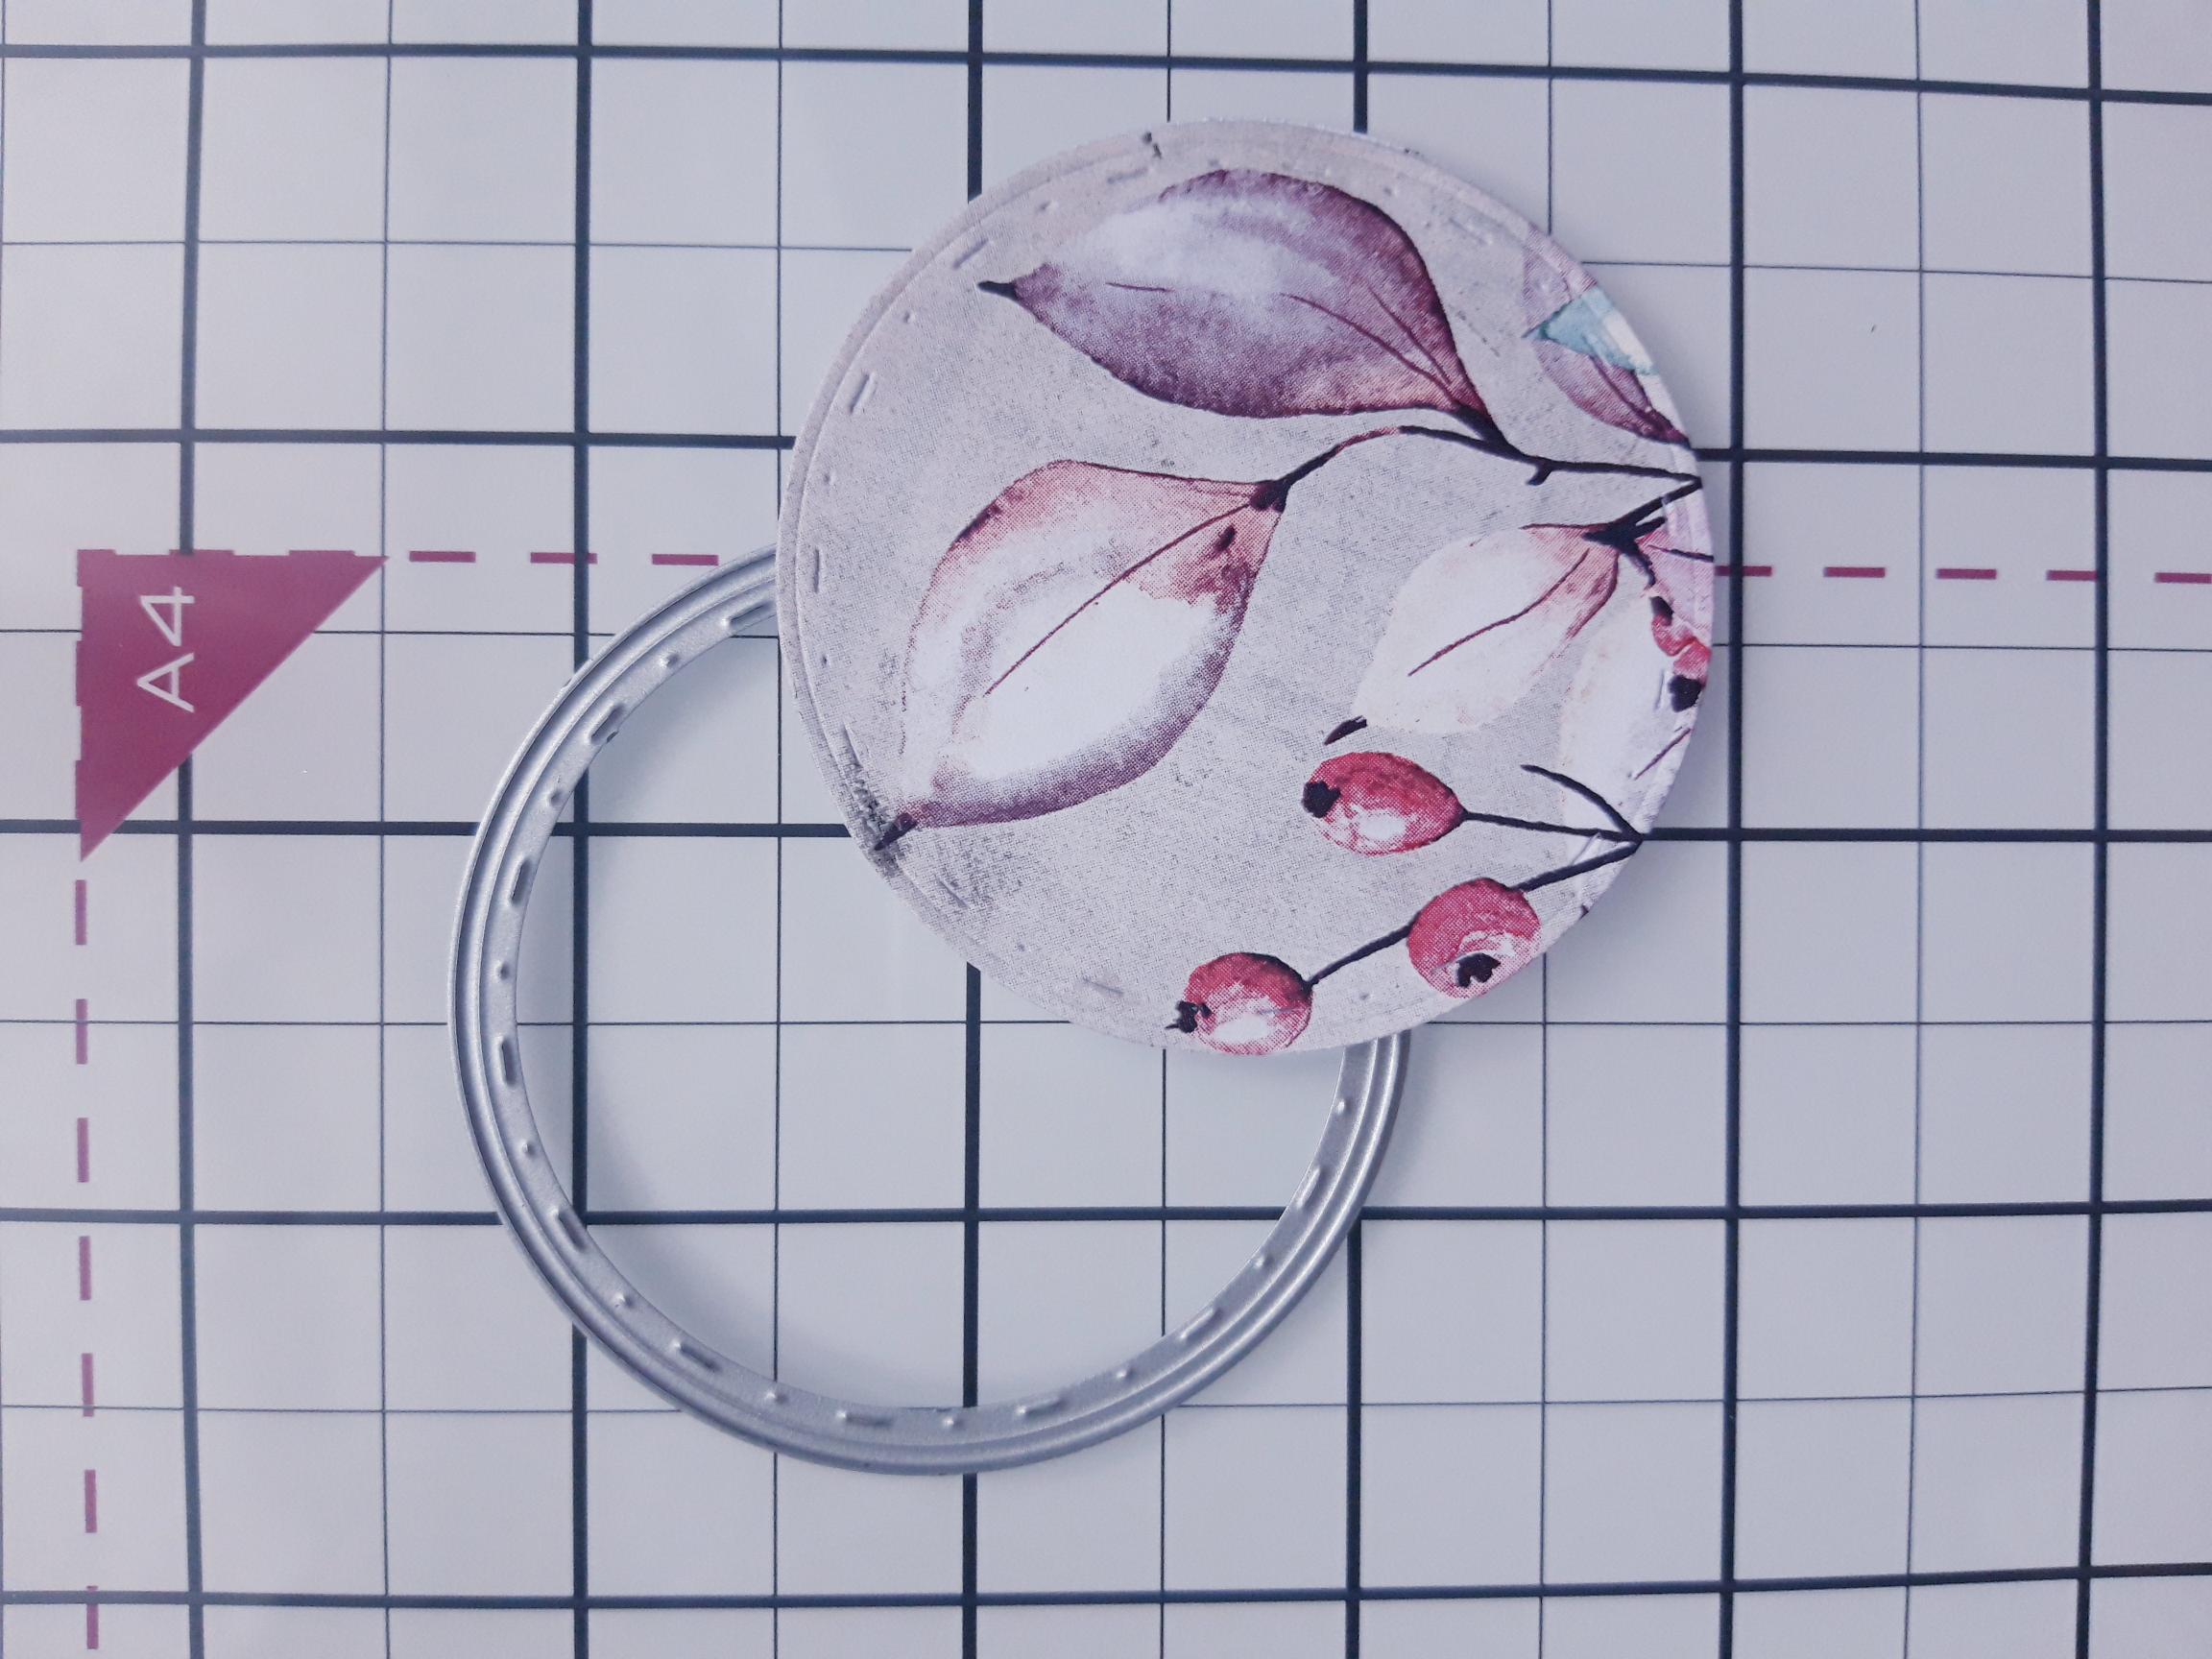
Use a circle nesting die to cut out one of the decorative circle toppers, from the box magazine. |
|
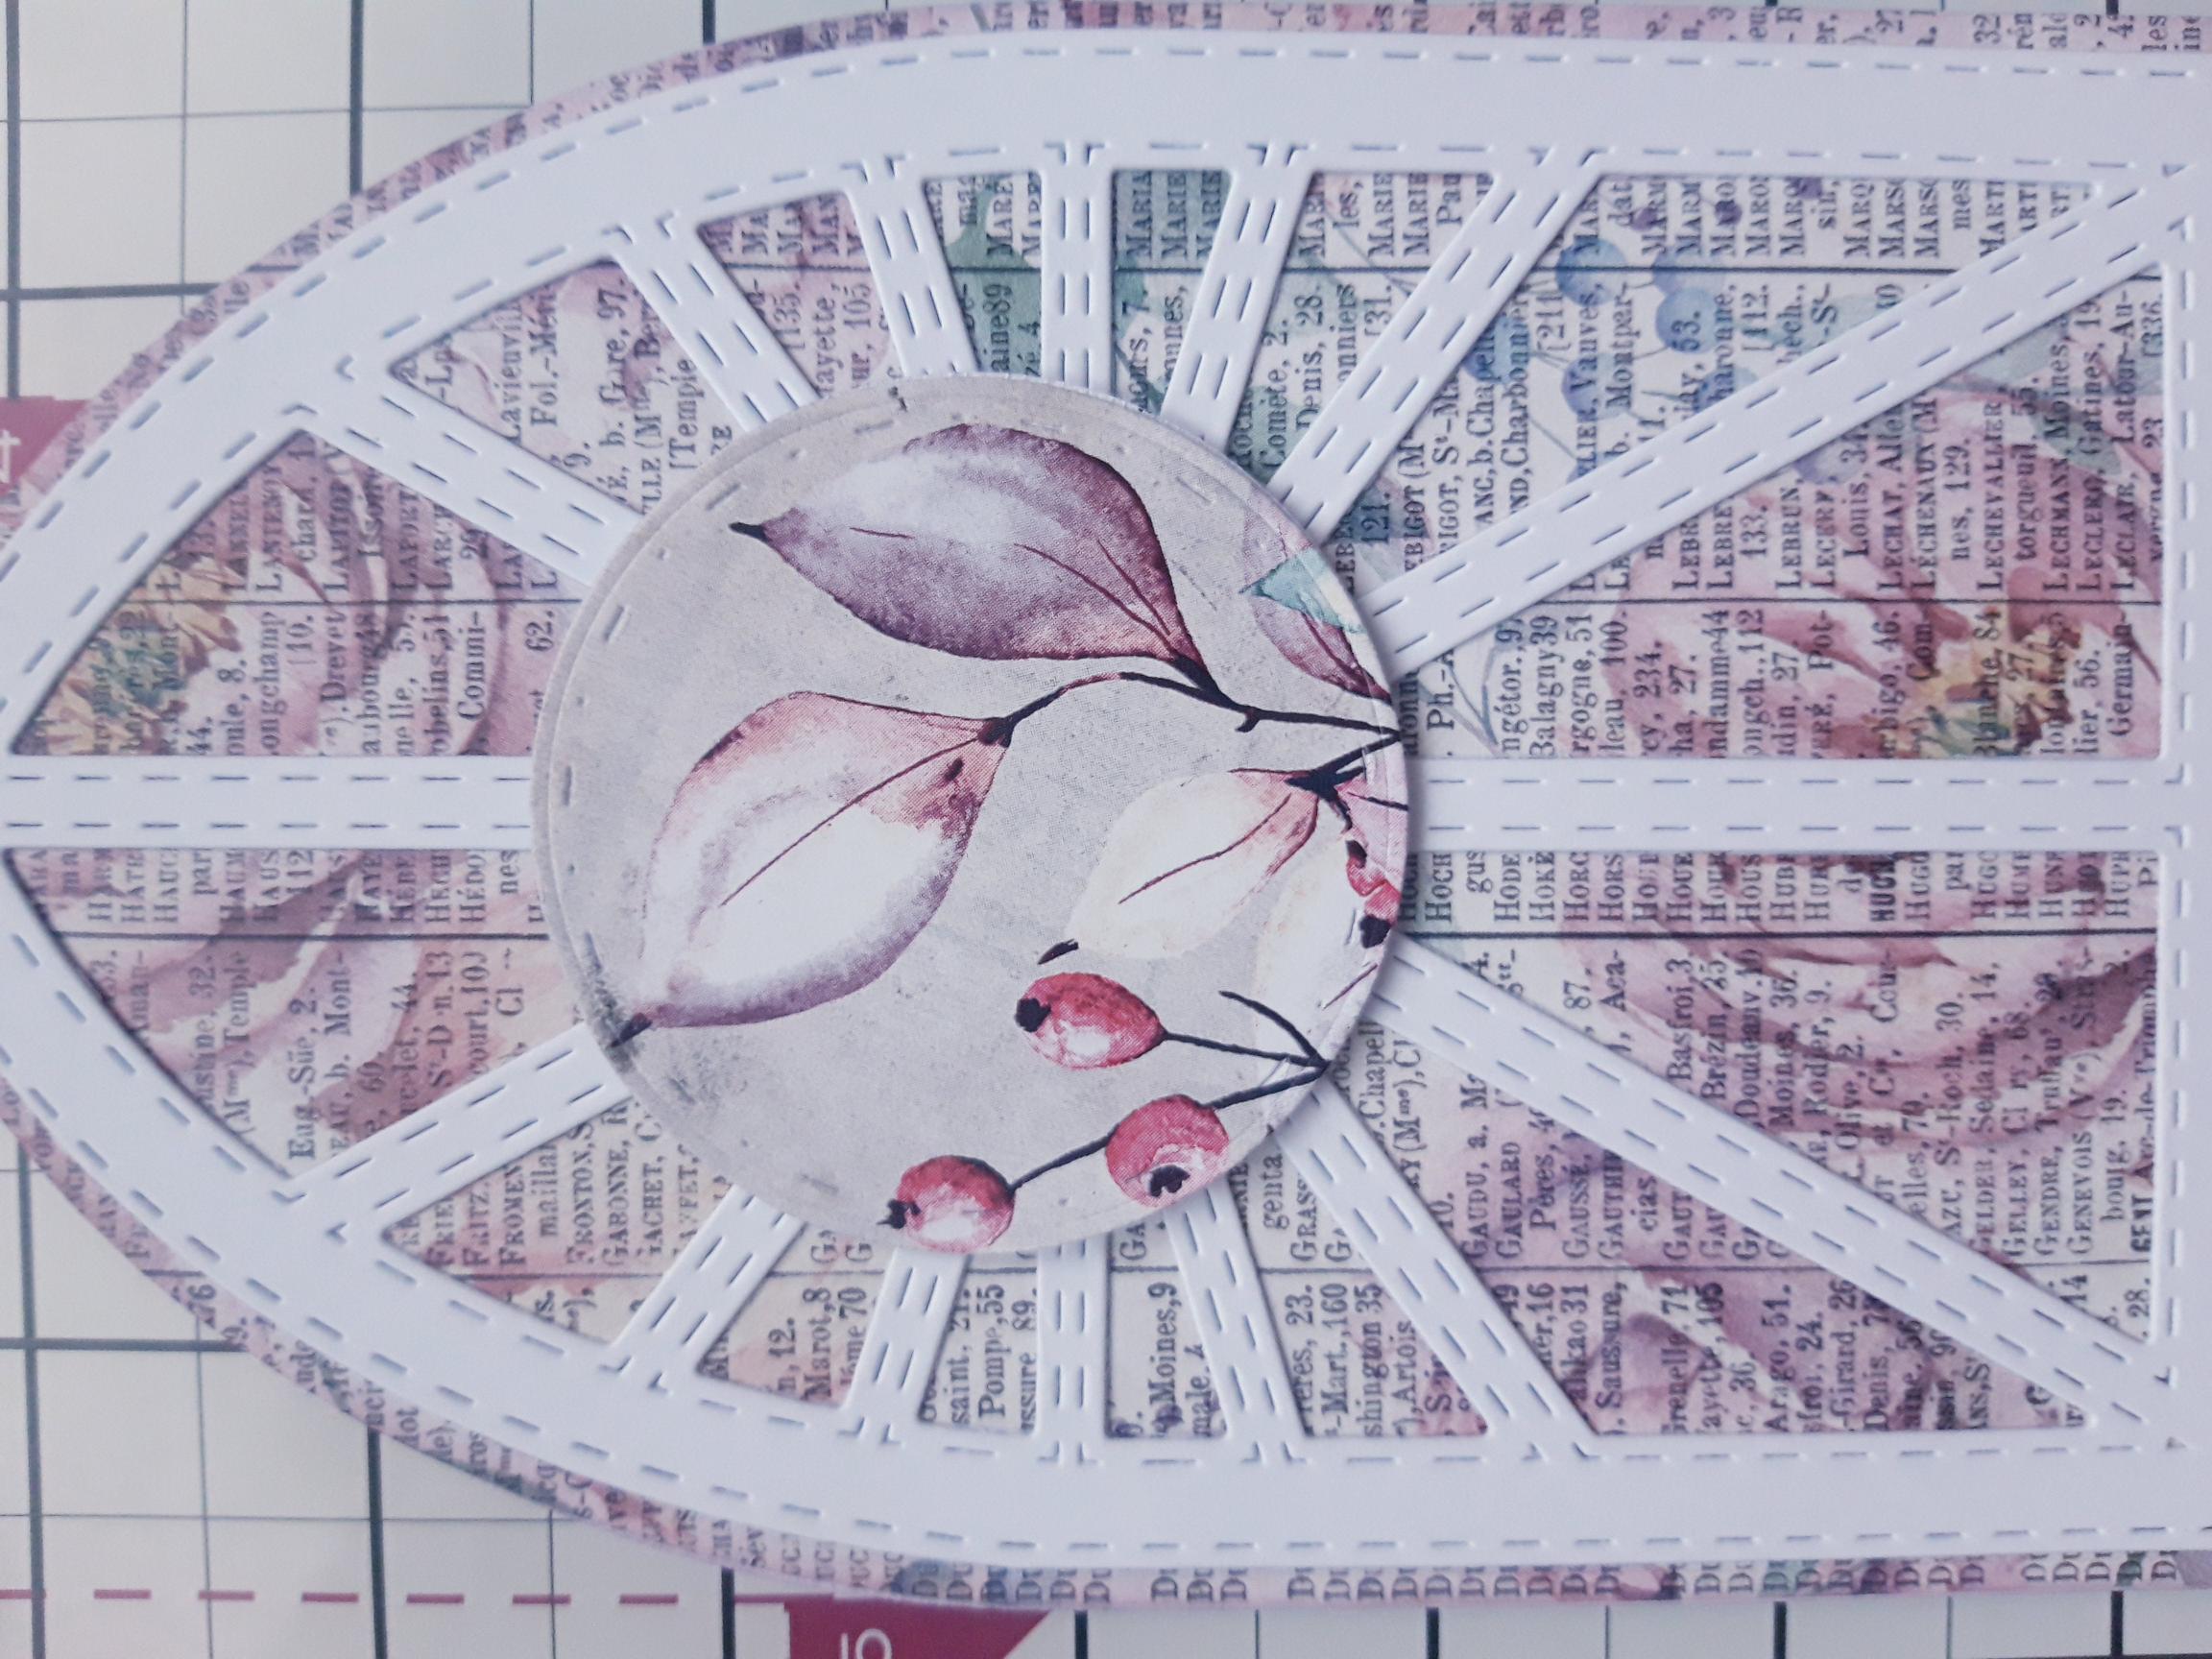
Adhere the floral topper to the centre of the arch window. |
|
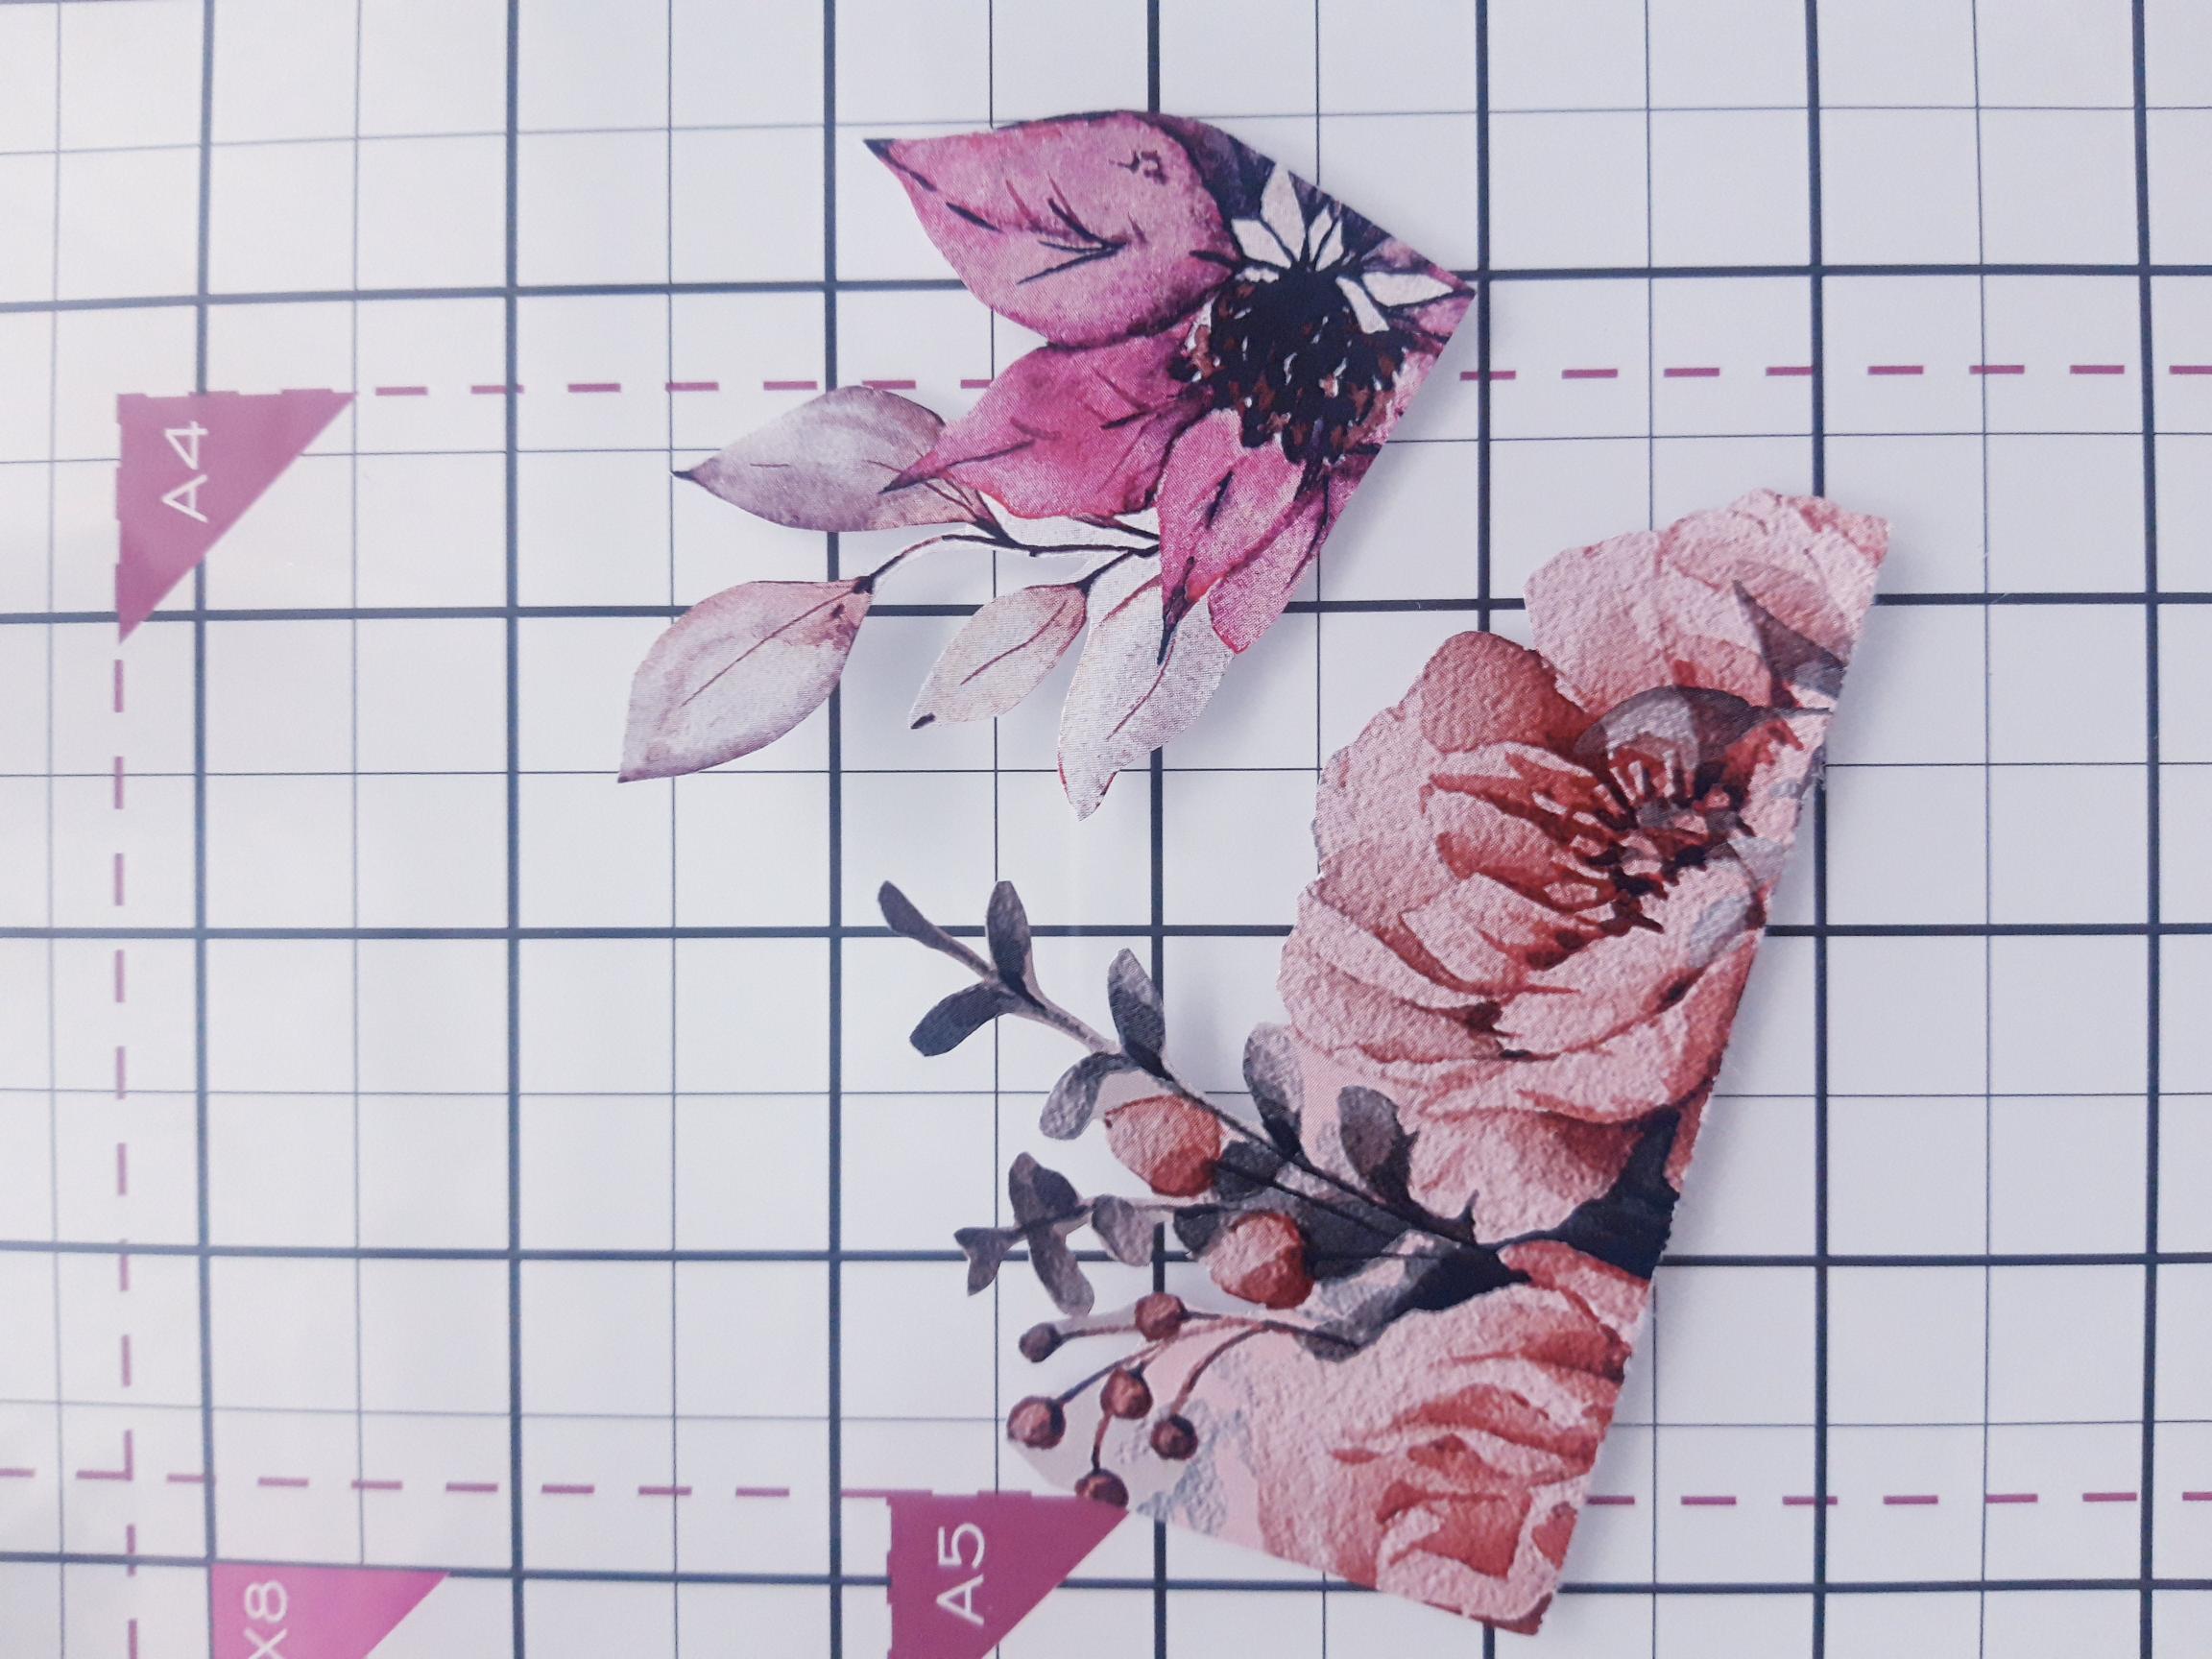
Cut out a few co-ordinating floral elements, from the papers in the magazine. |
|
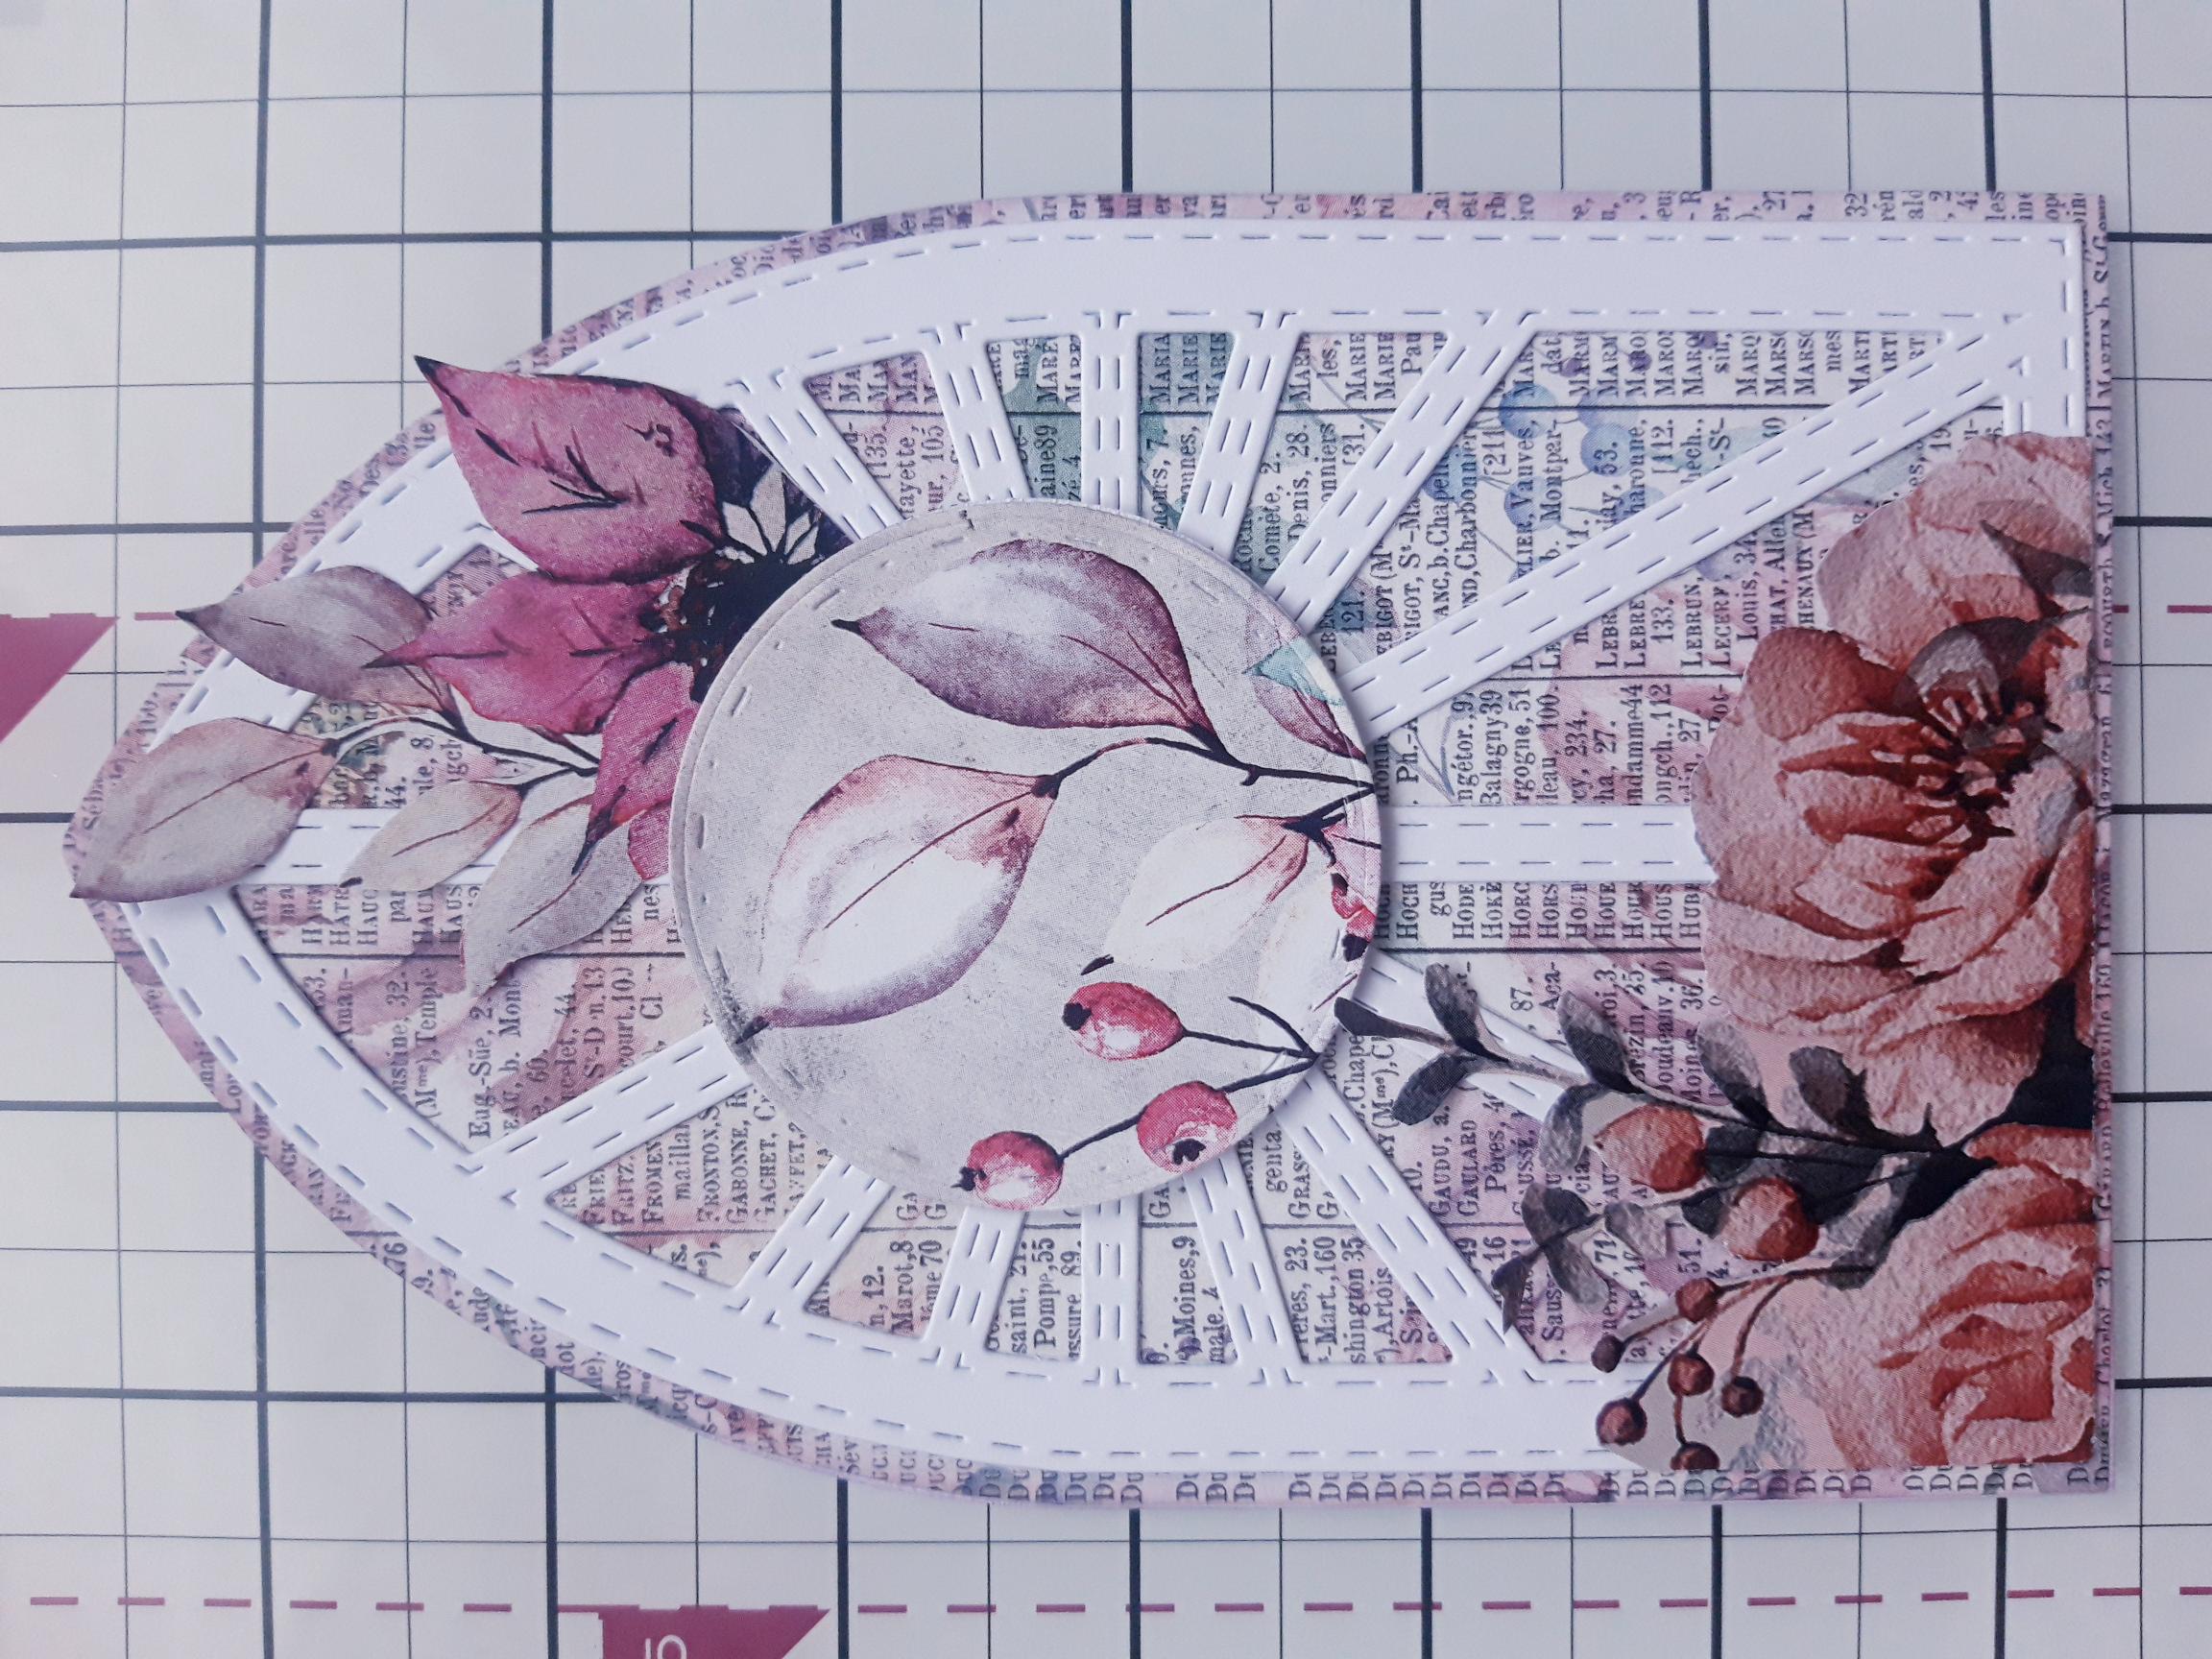
Adhere your elements around your window, where required, using both wet glue and foam pads for added dimension. |
|
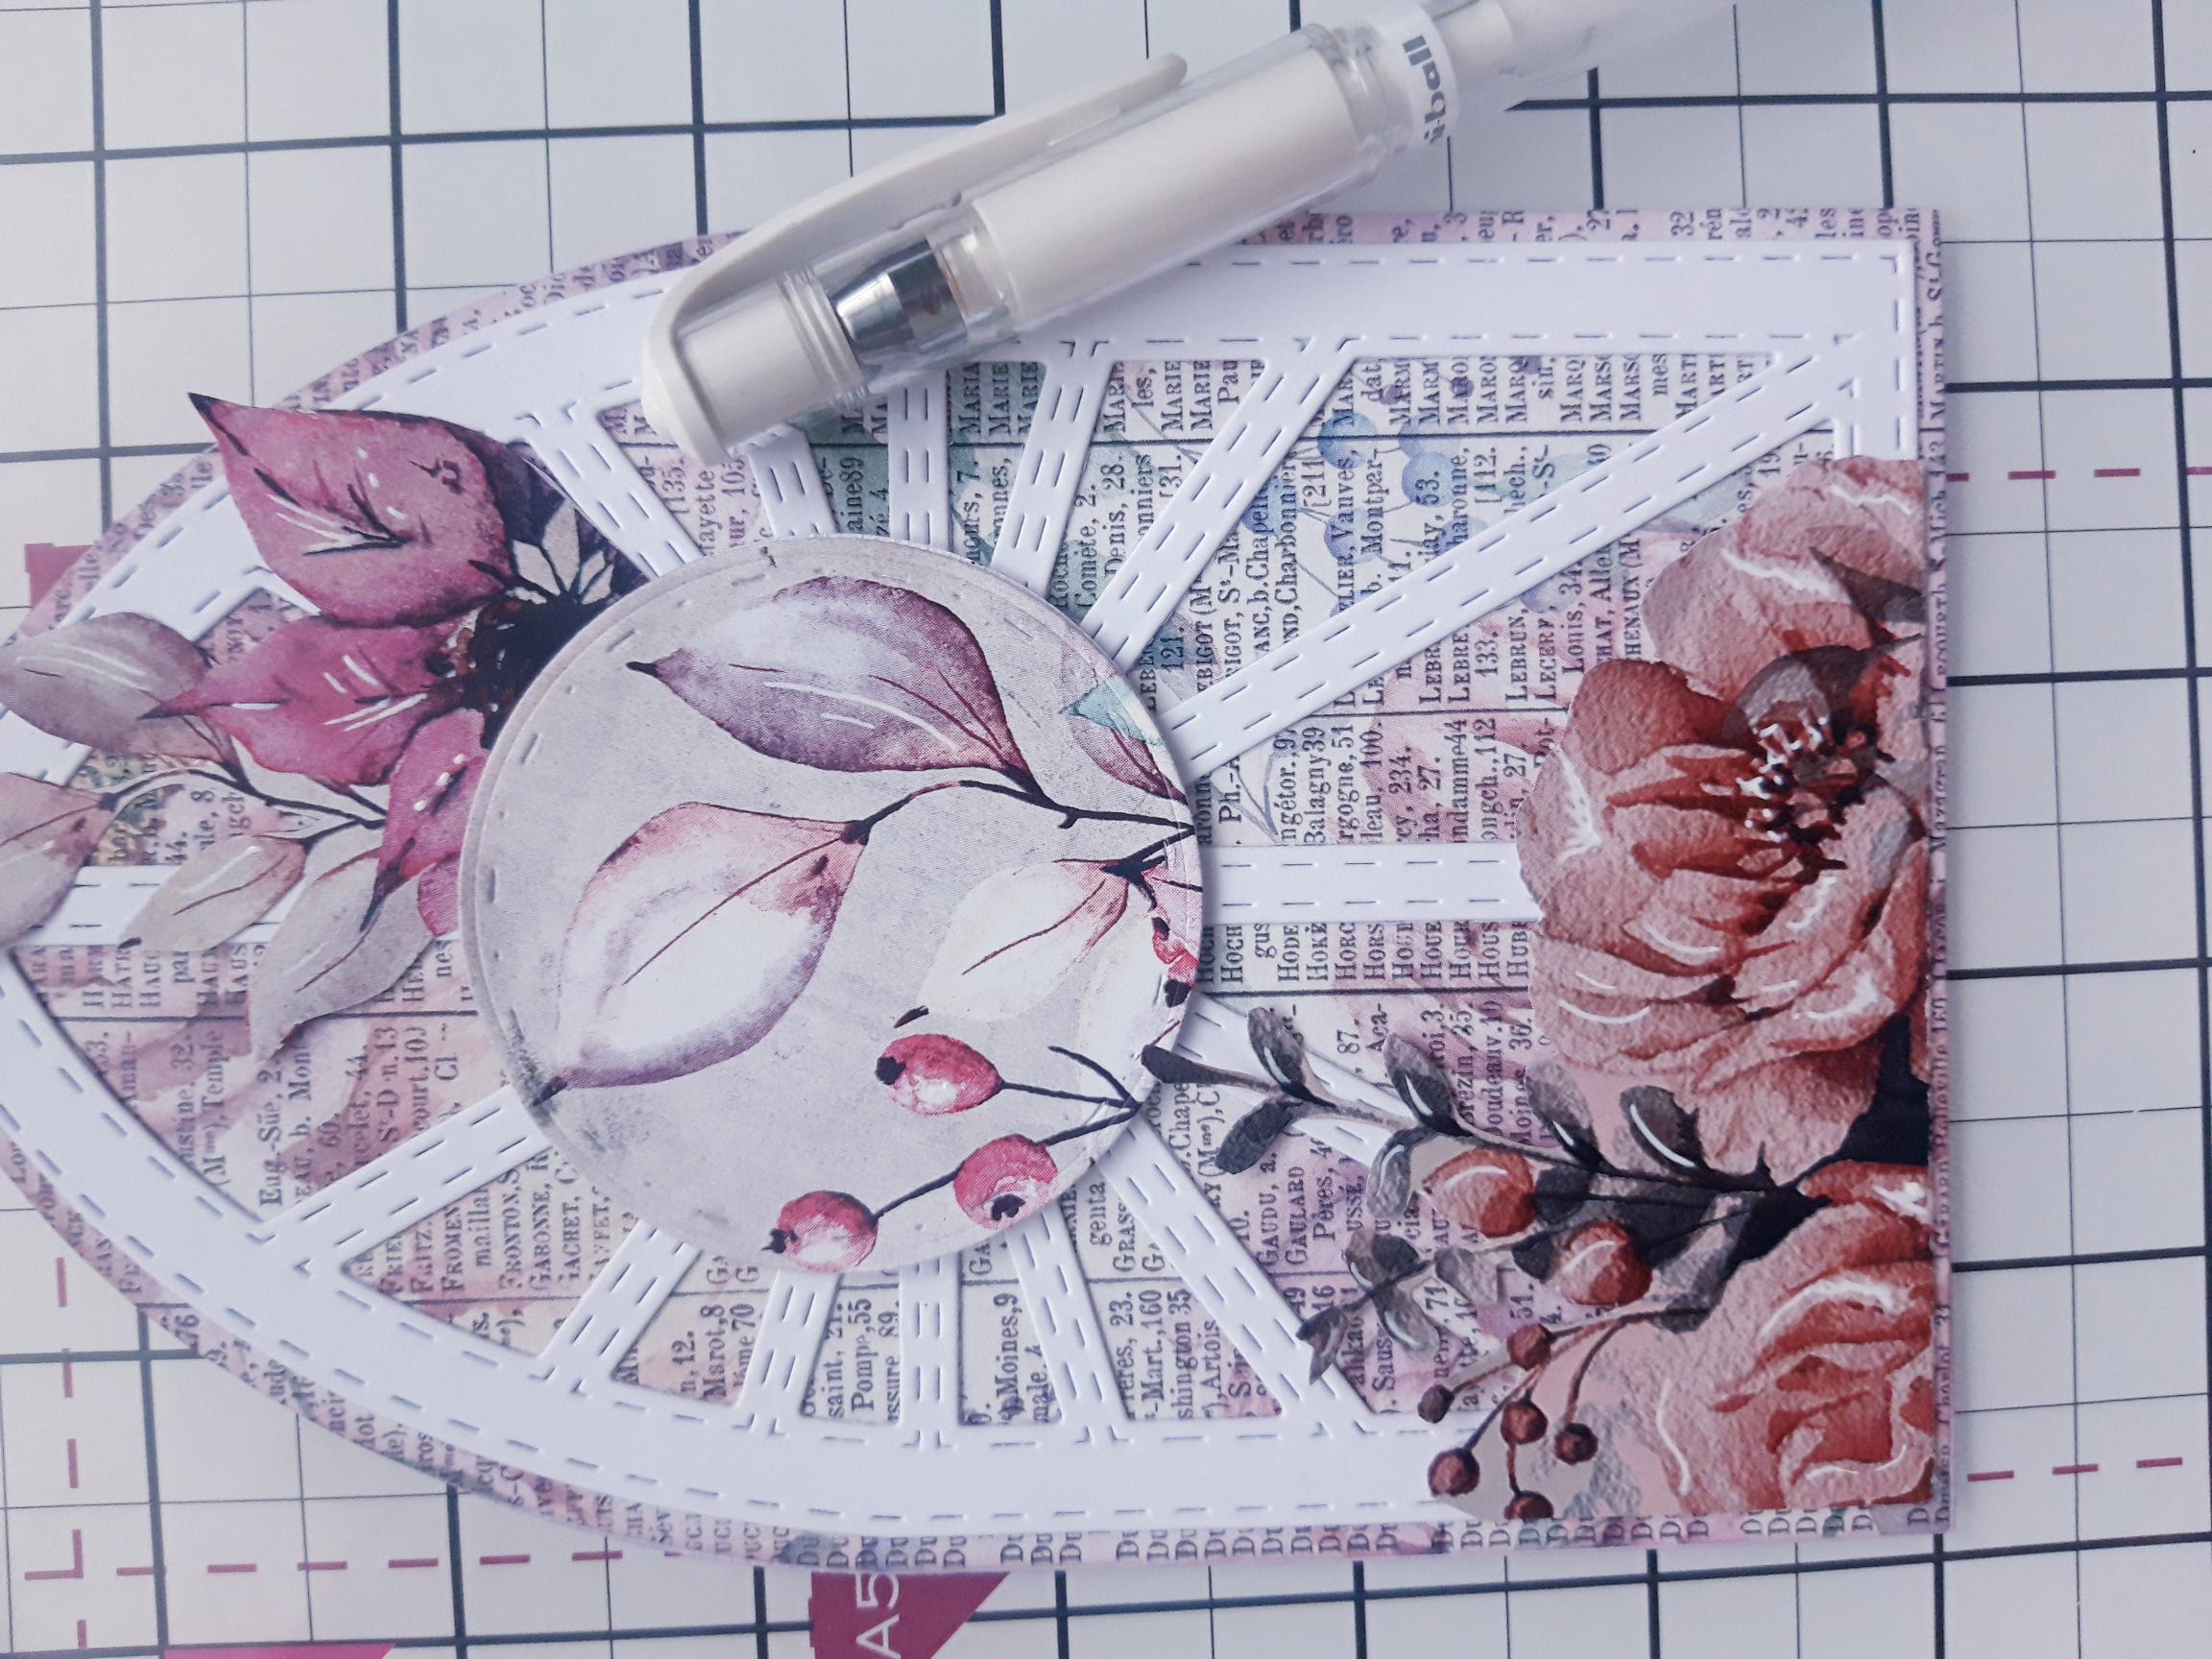
Use a white gel pen to add accents and highlights to the decorative floral elements. |
|
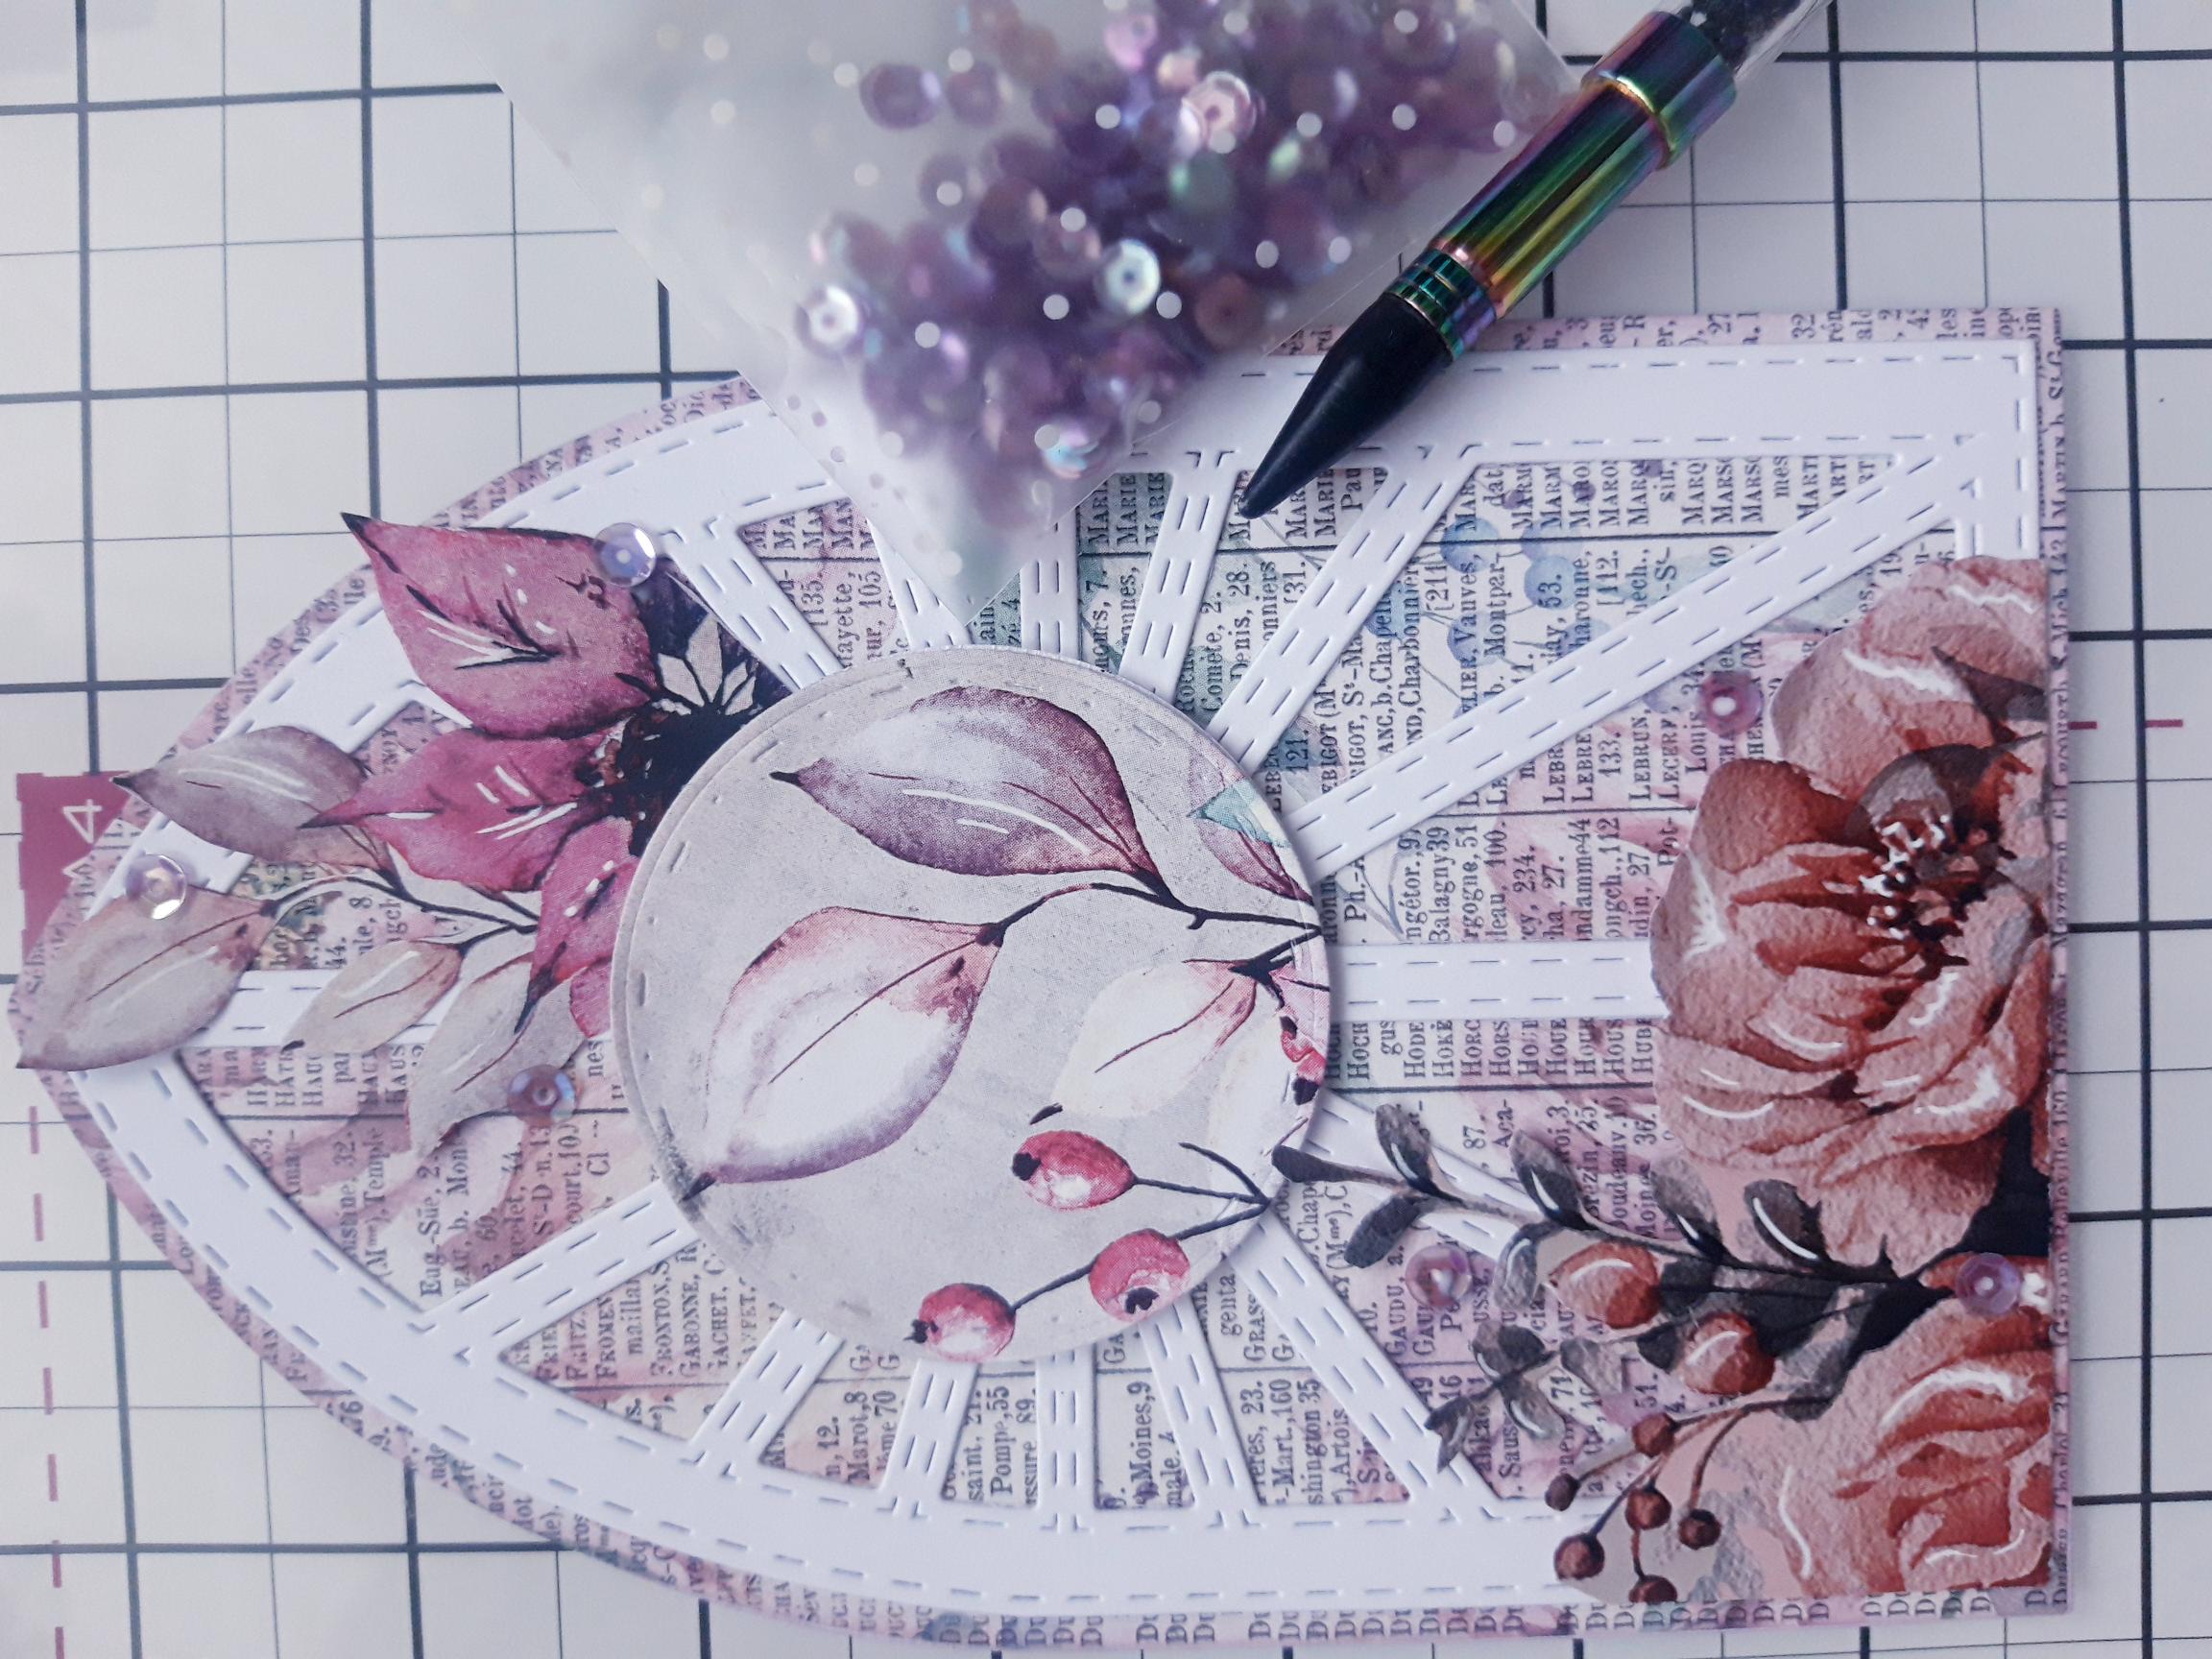
To finish your card, add sequins on, around and tucked just under your floral elements. |