

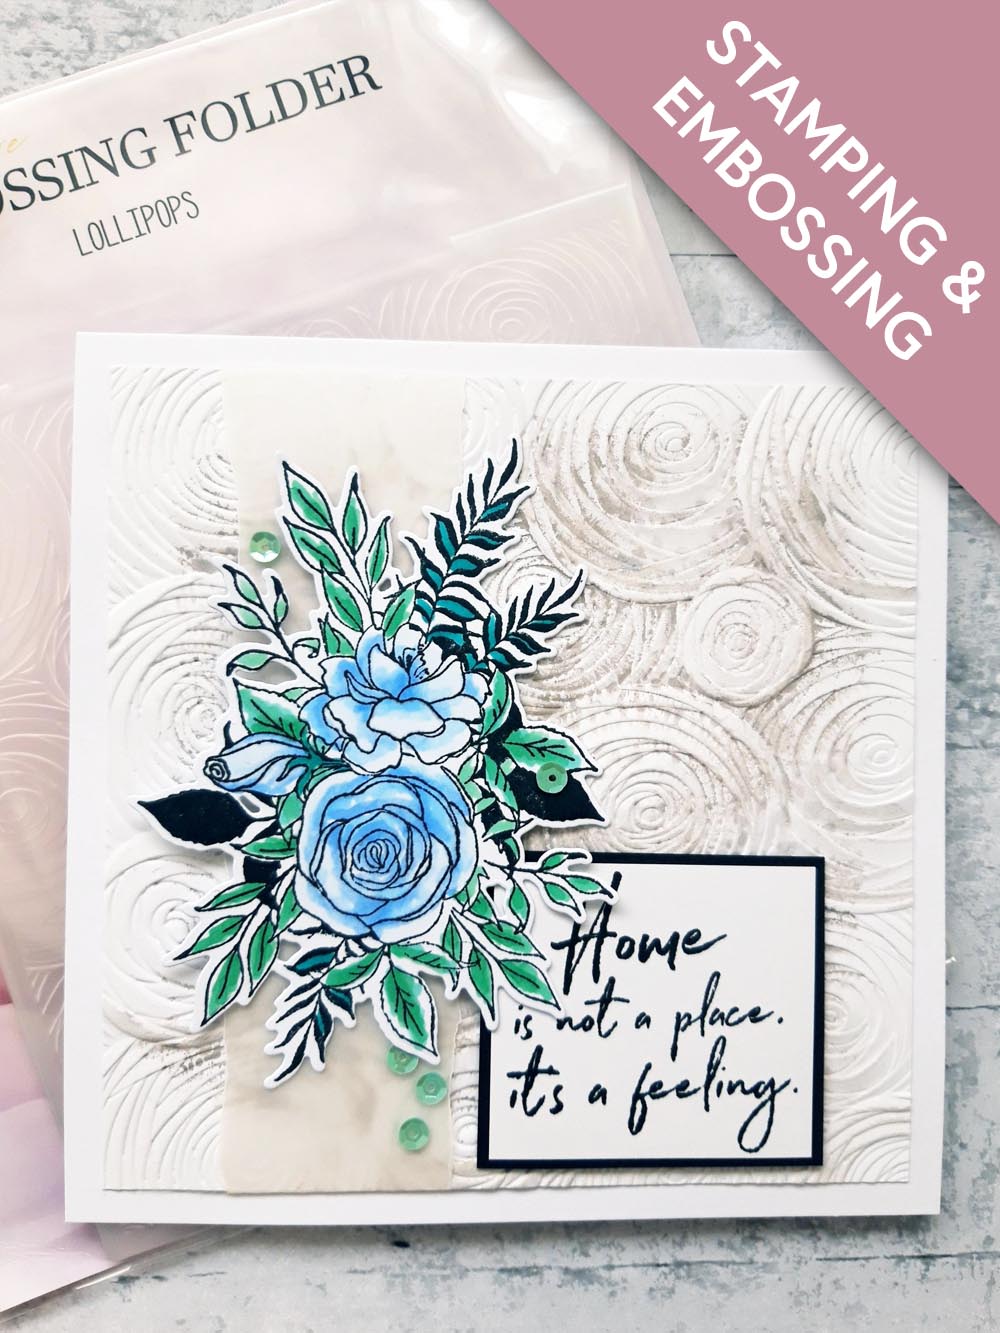
WHAT YOU WILL NEED:
White card blank (6 x 6")
White card - super smooth
White card
Black card
Copier paper
Vellum
Lollipops Watercolour 3D embossing folder
Trust Your Journey Stamp And Die Collection
Our Story Stamp And Die Collection
Memento Ink Pad: Tuxedo Black
Gossip alcohol pens
Distress Oxide/Ink ink pad: Hickory Smoke
Water spray bottle
Sequins: Down The Bay
Gem pick up and pokey tool: Petronus
Eureka 101
Paper Trimmer
Perfect Together Glue
Foam pads
Double sided tape
Die Cutting machine
[click image to enlarge] 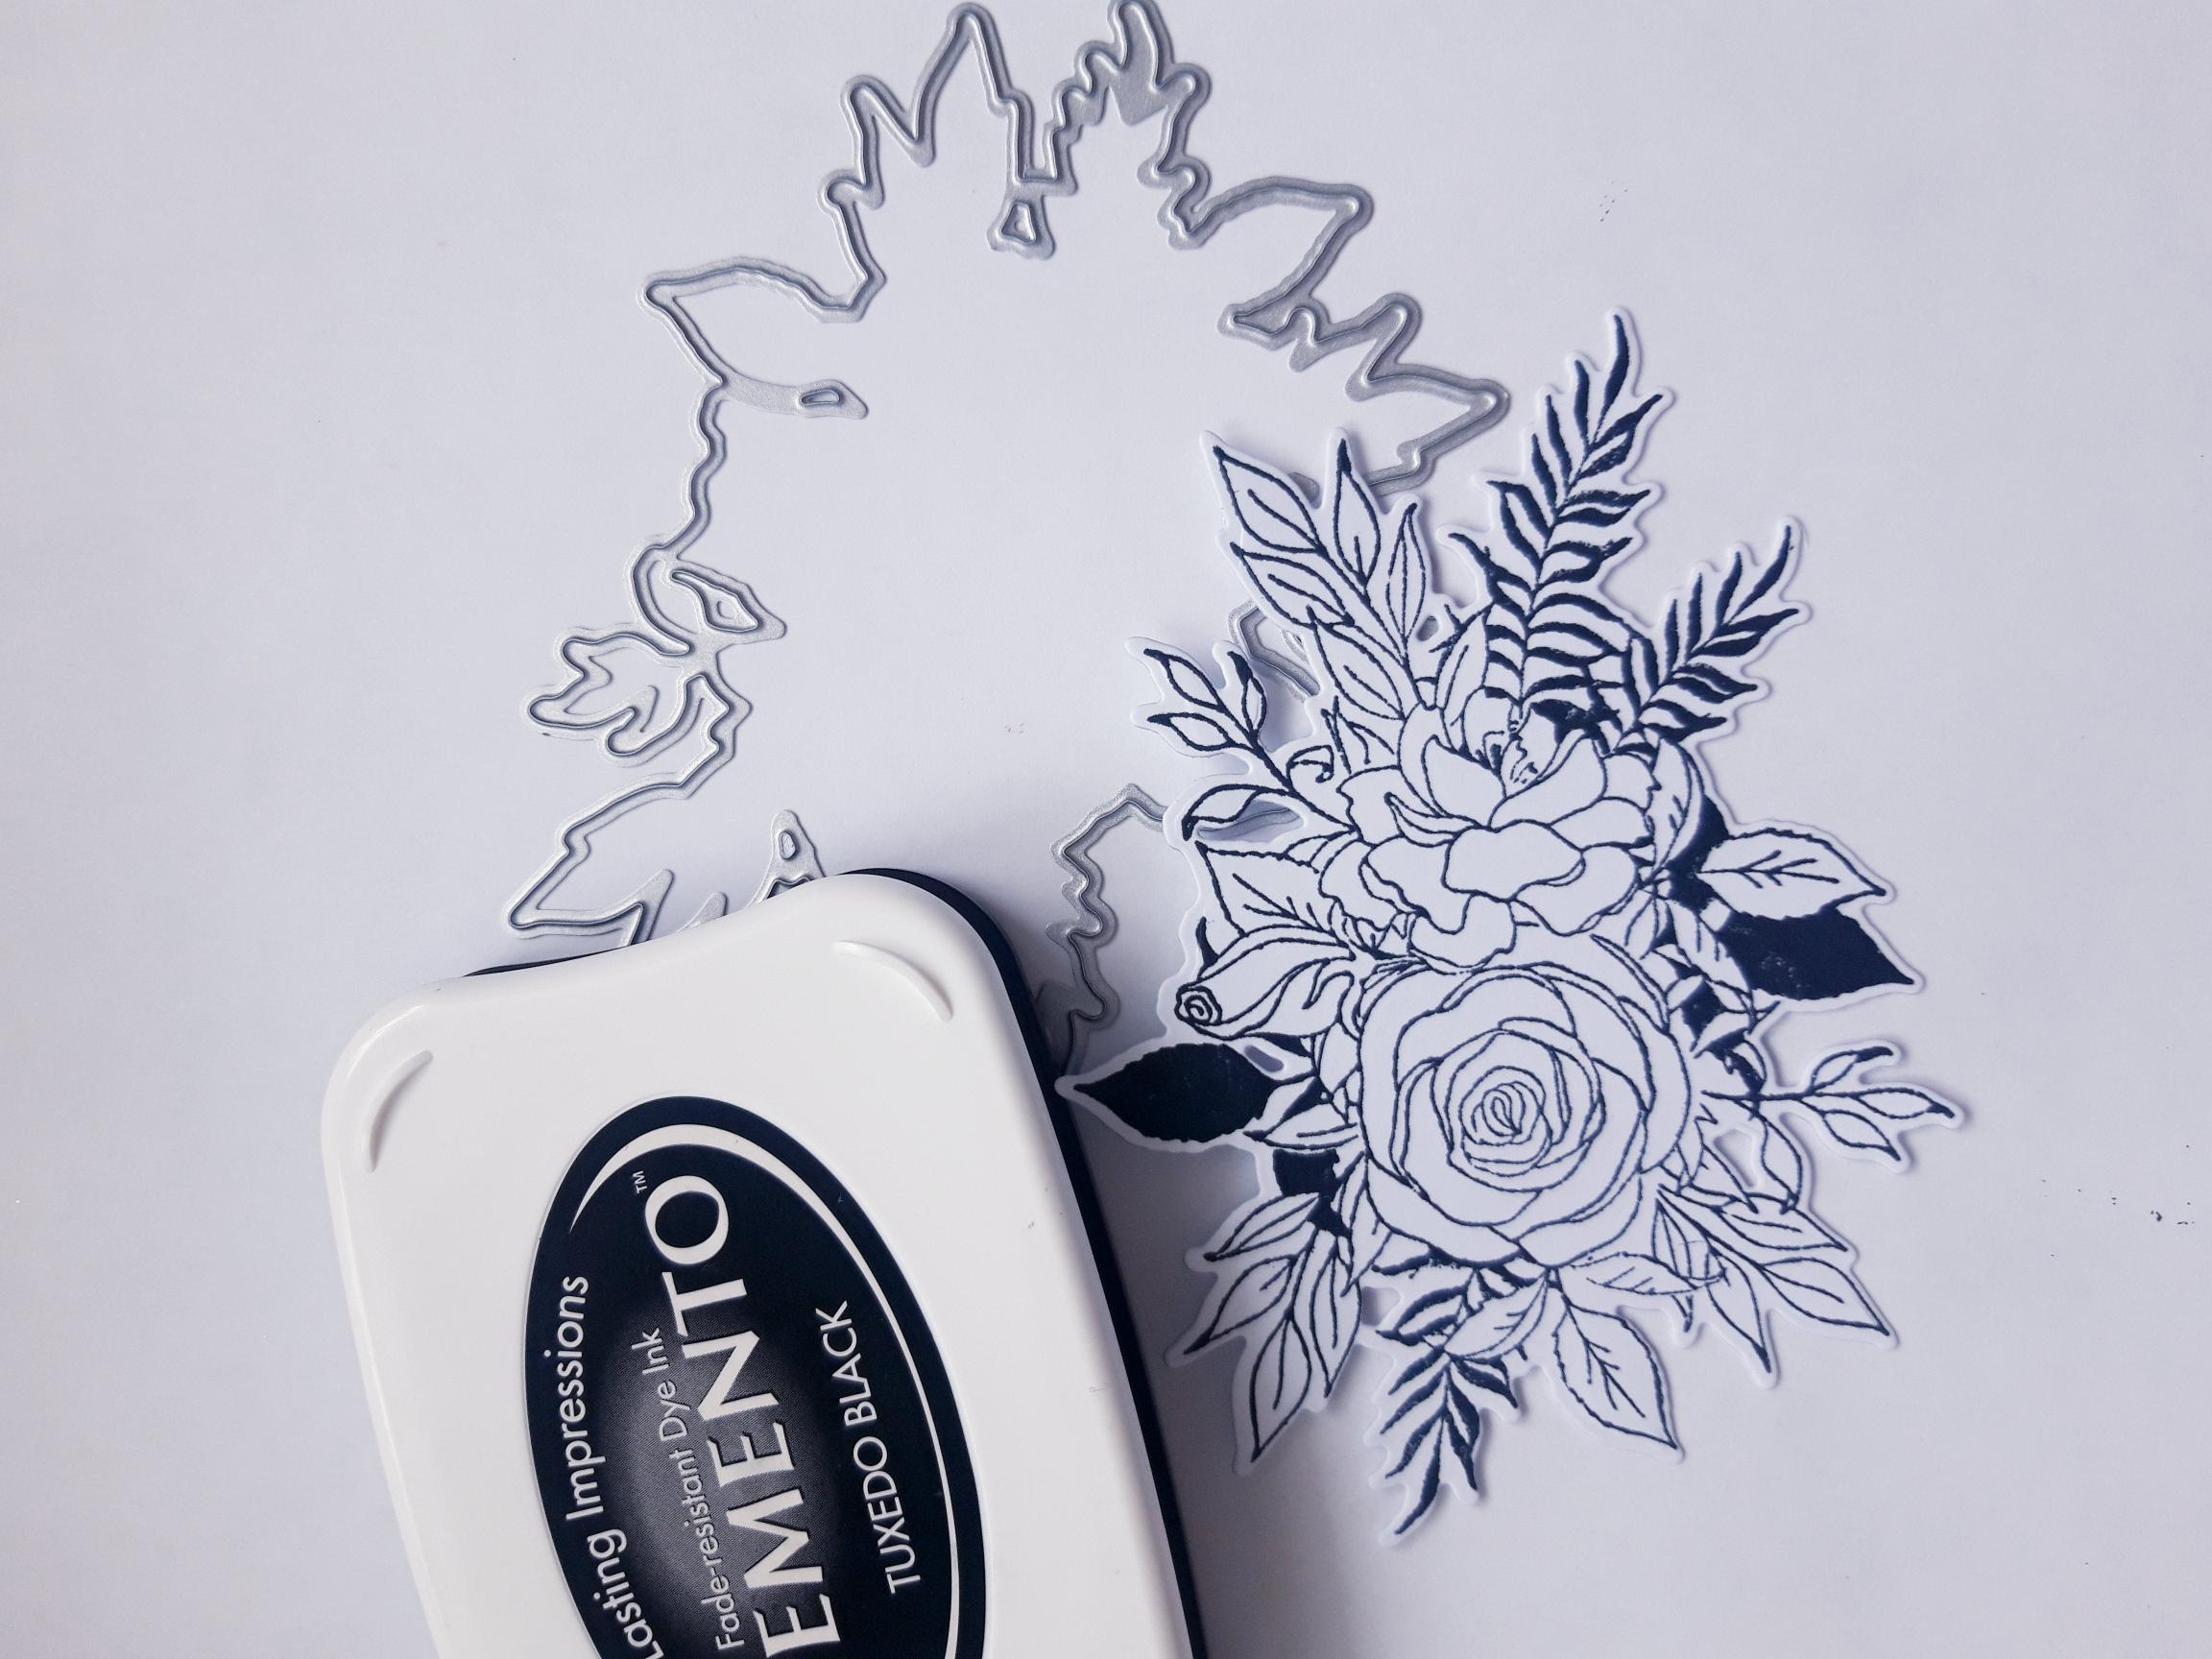
|
Ink up this stamp, from Our Story Stamp And Die Collection, with the Memento ink and stamp on to the super smooth, white card. Use the coordinating outline die to cut it out. |
|
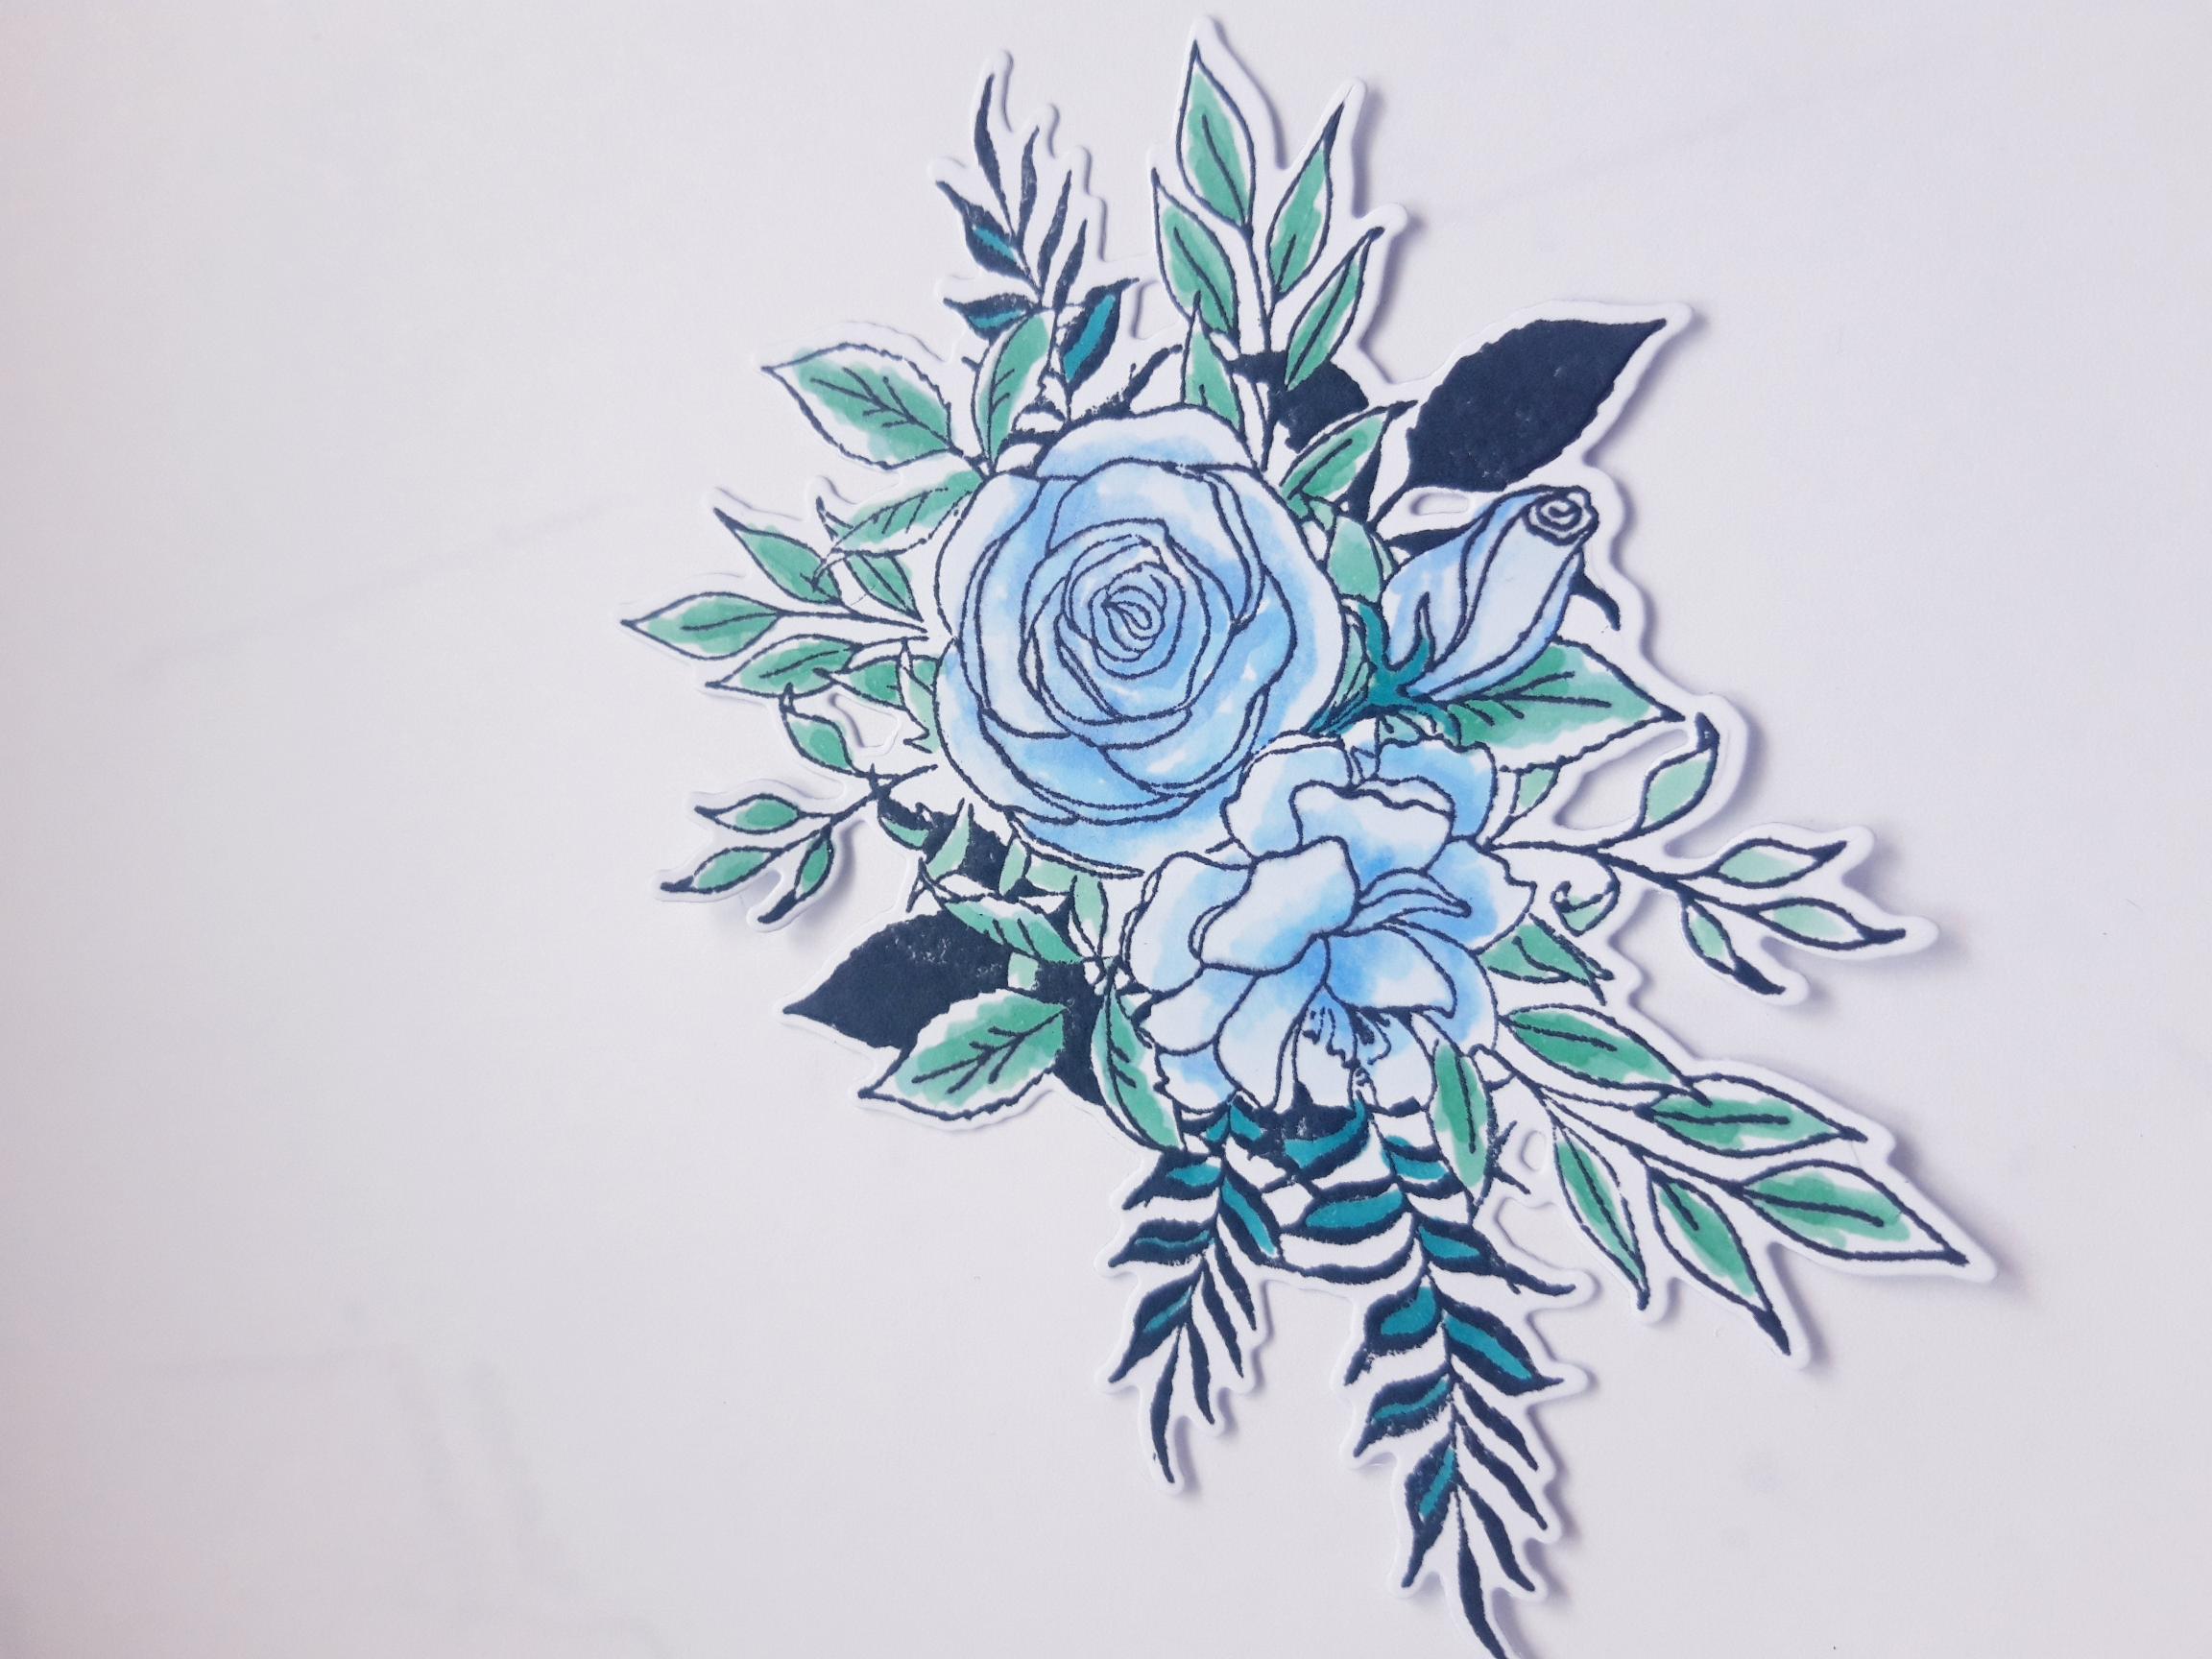
Colour in your die cut element with the Gossip alcohol pens. TIP: Place a sheet of copier paper under your card, as the alcohol ink seeps through the card on to the surface below! |
|
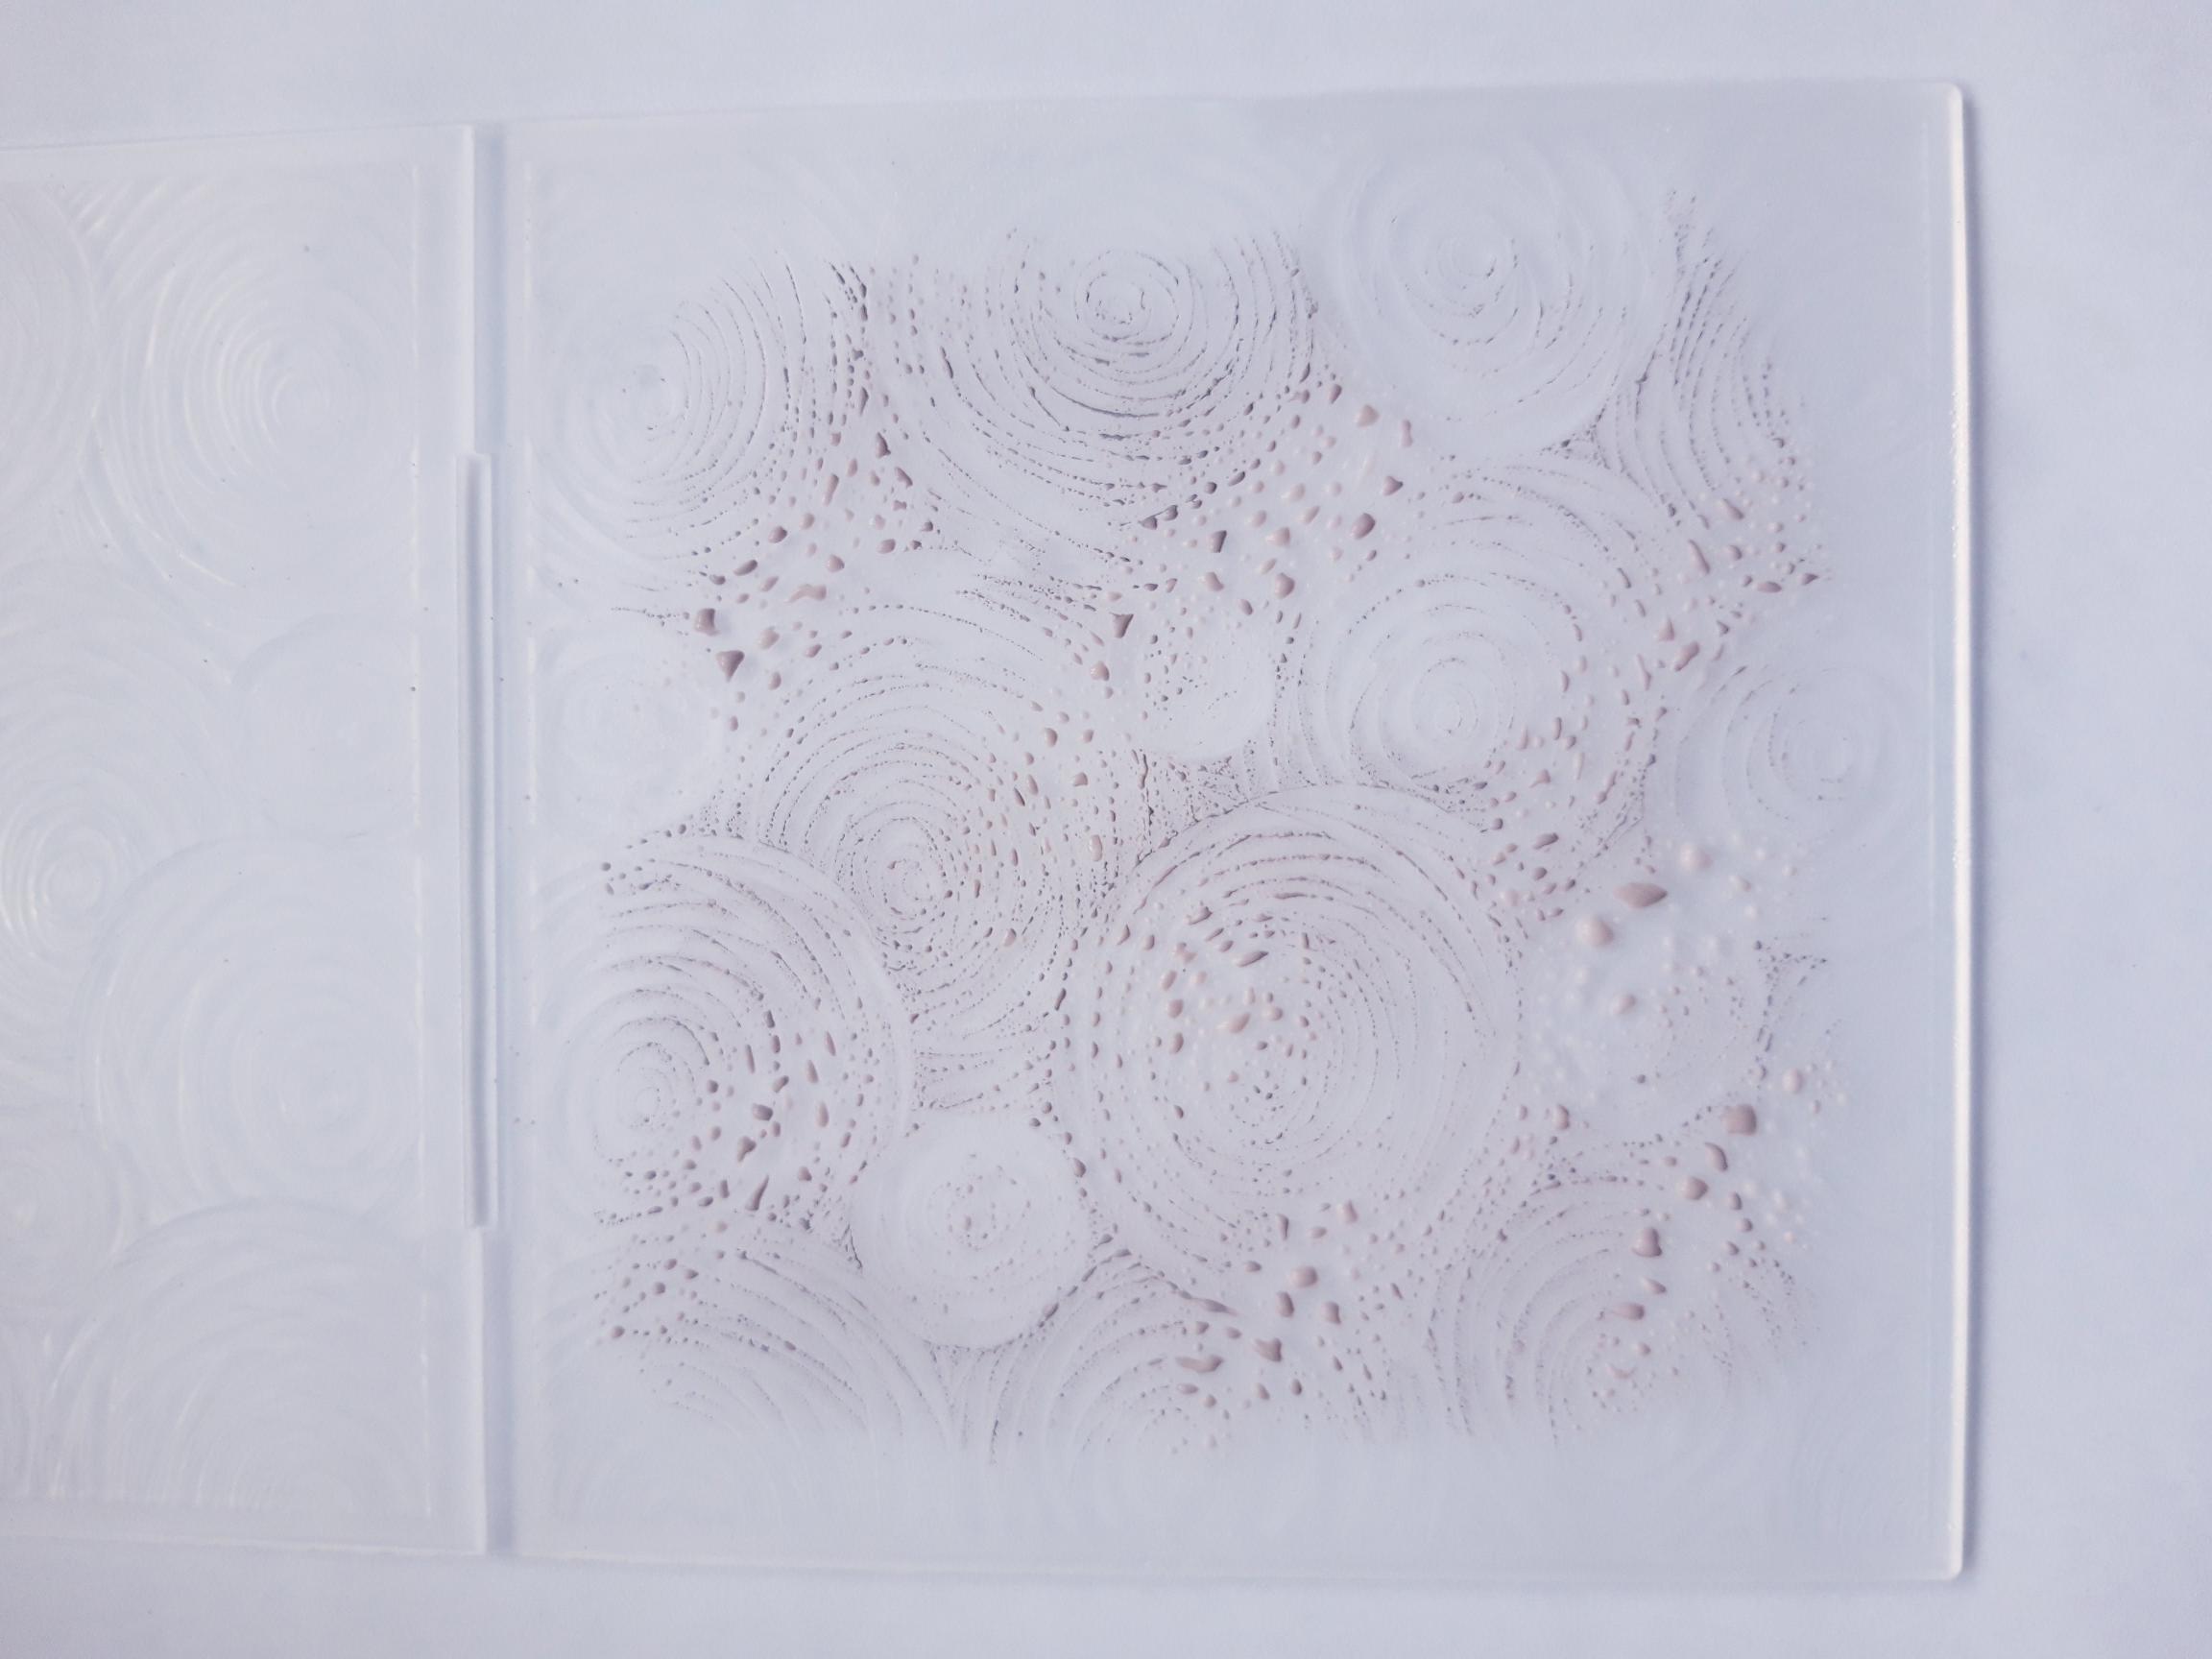
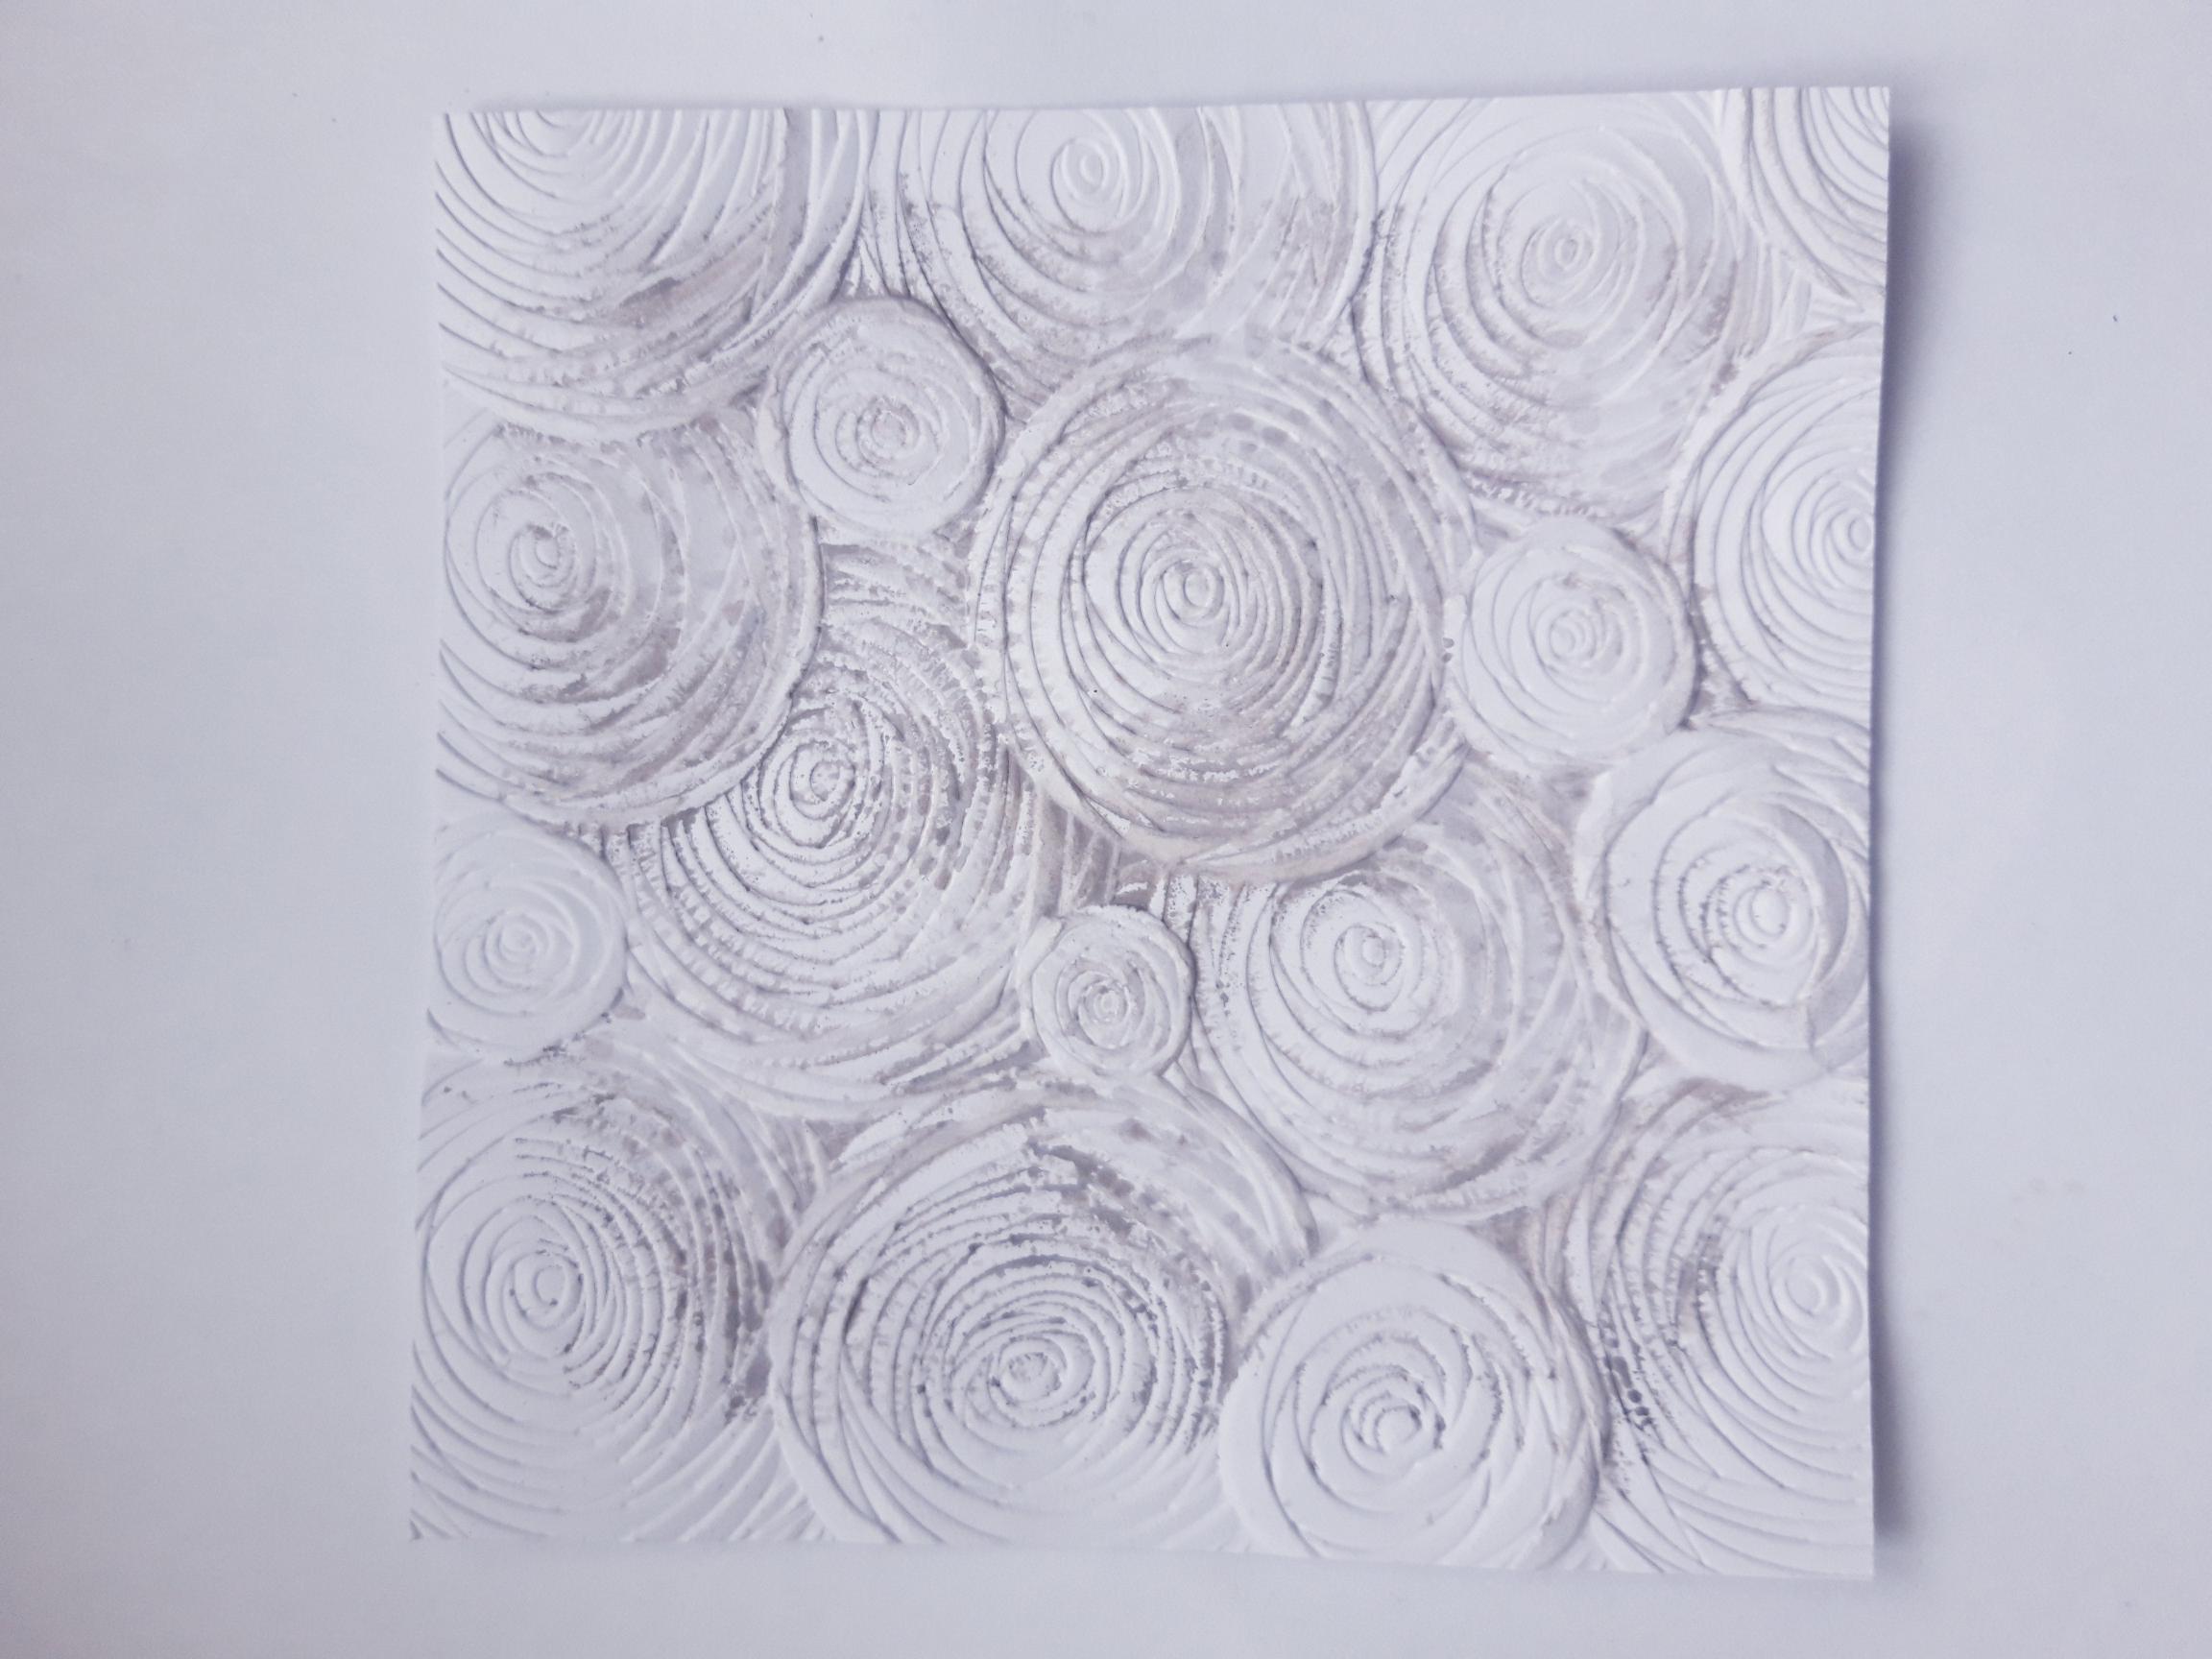
Ink up the DEBOSSED side of the Lollipops Watercolour embossing folder, with the Hickory Smoke Oxide and spritz it with water. |
|
Cut white card to roughly 6 x 6", place inside your inked embossing folder, and run it through your die cutting/embossing machine. Once the ink is dry, you can trim your background to 5 3/4 x 5 3/4". |
|
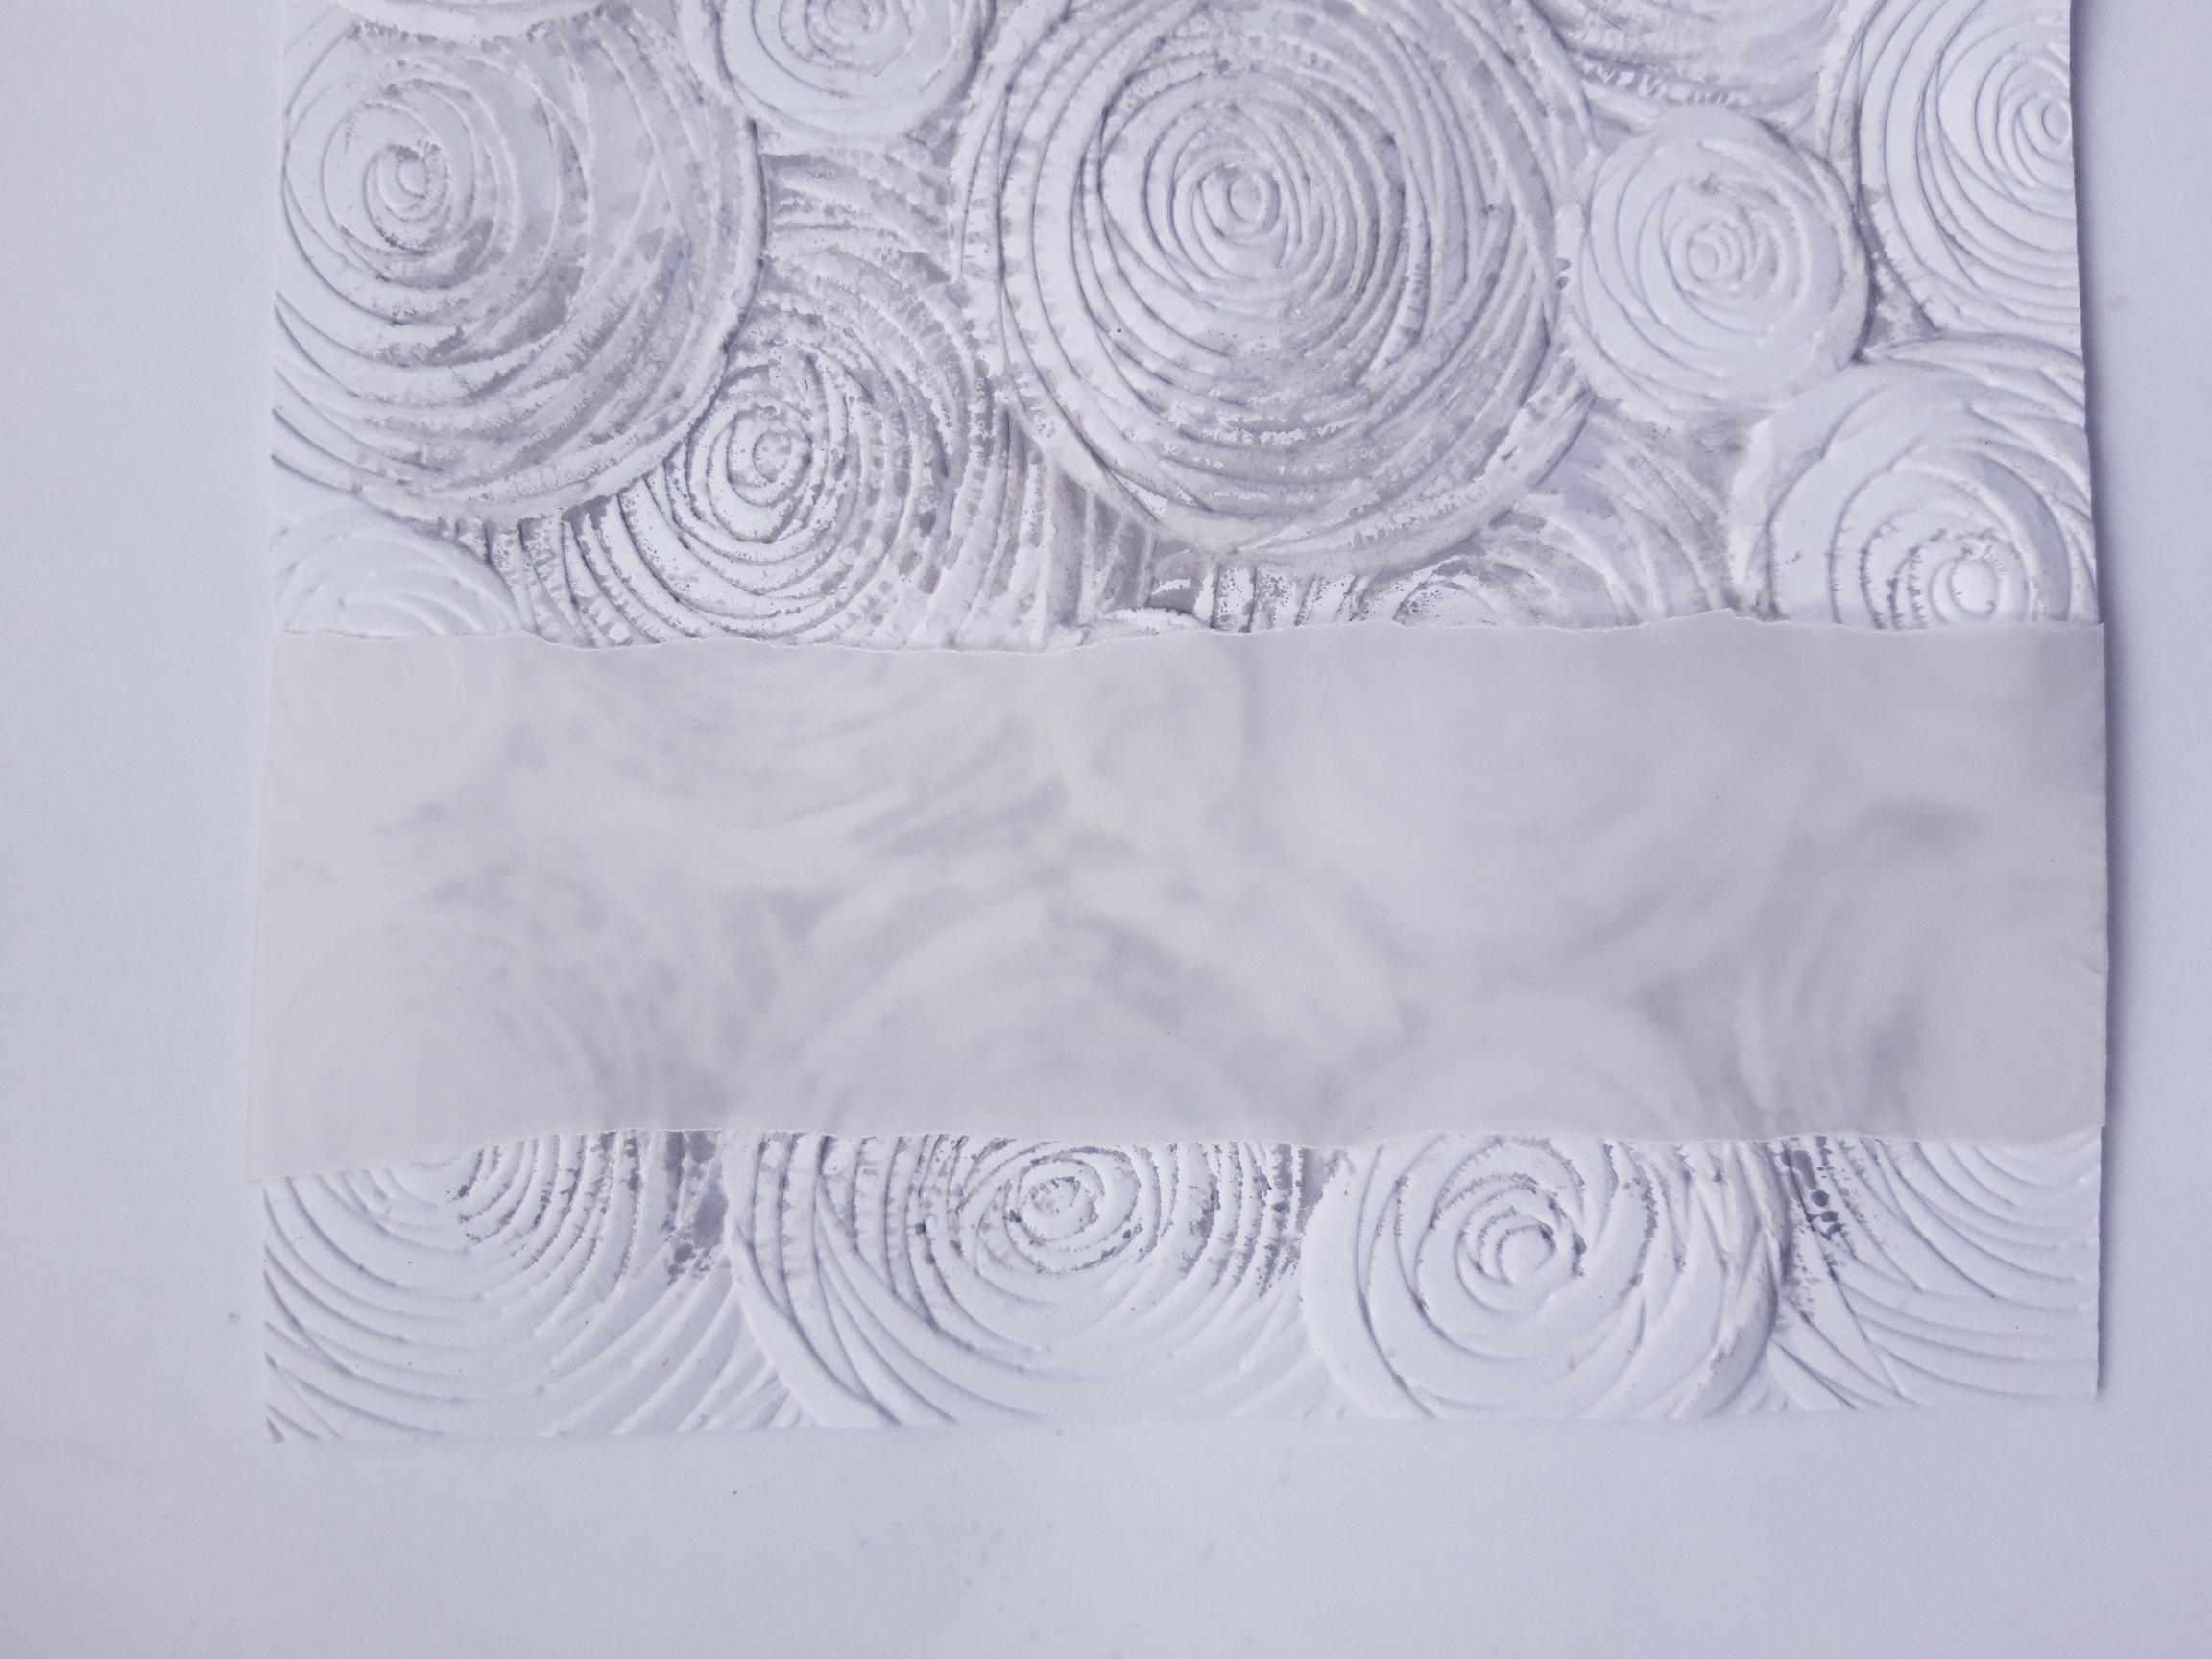
Tear a strip of vellum 6 x 1 1/2". Place vertically, towards the left side of your embossed background. Tuck the edges over the top and bottom of the card and secure on the back, with double sided tape. |
|
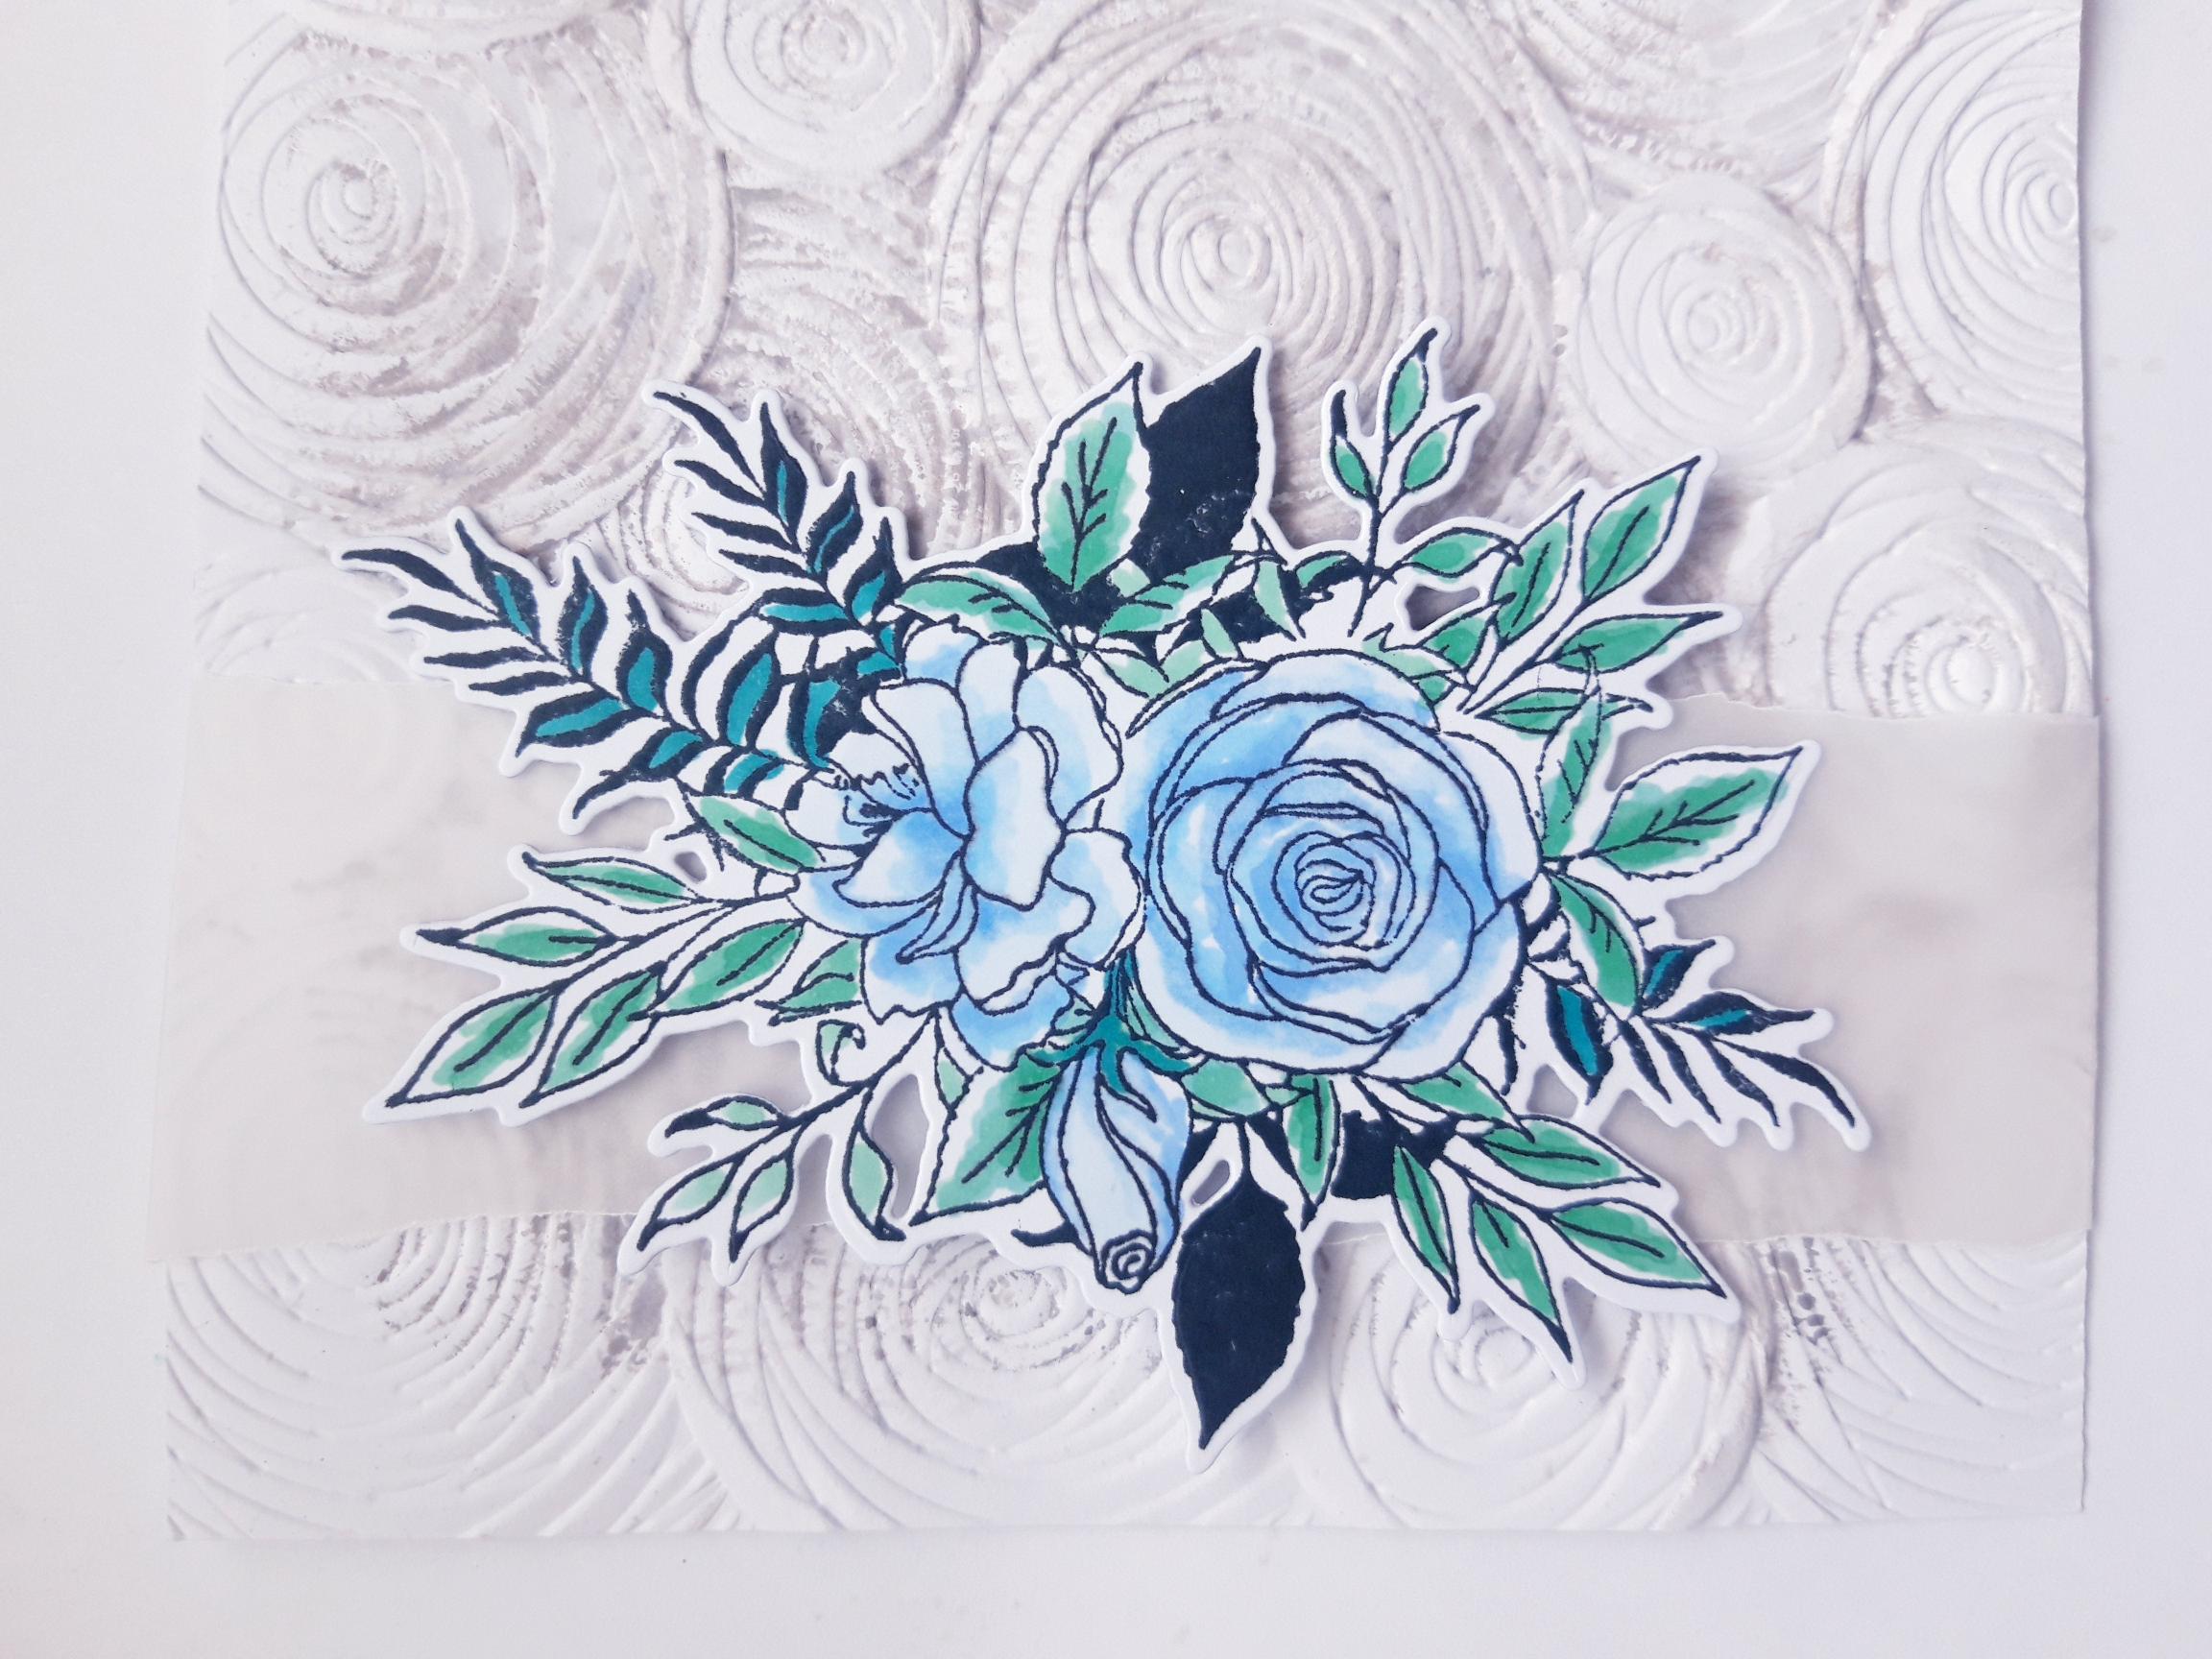
Adhere your coloured, die cut floral element over the vellum panel, as shown here. |
|
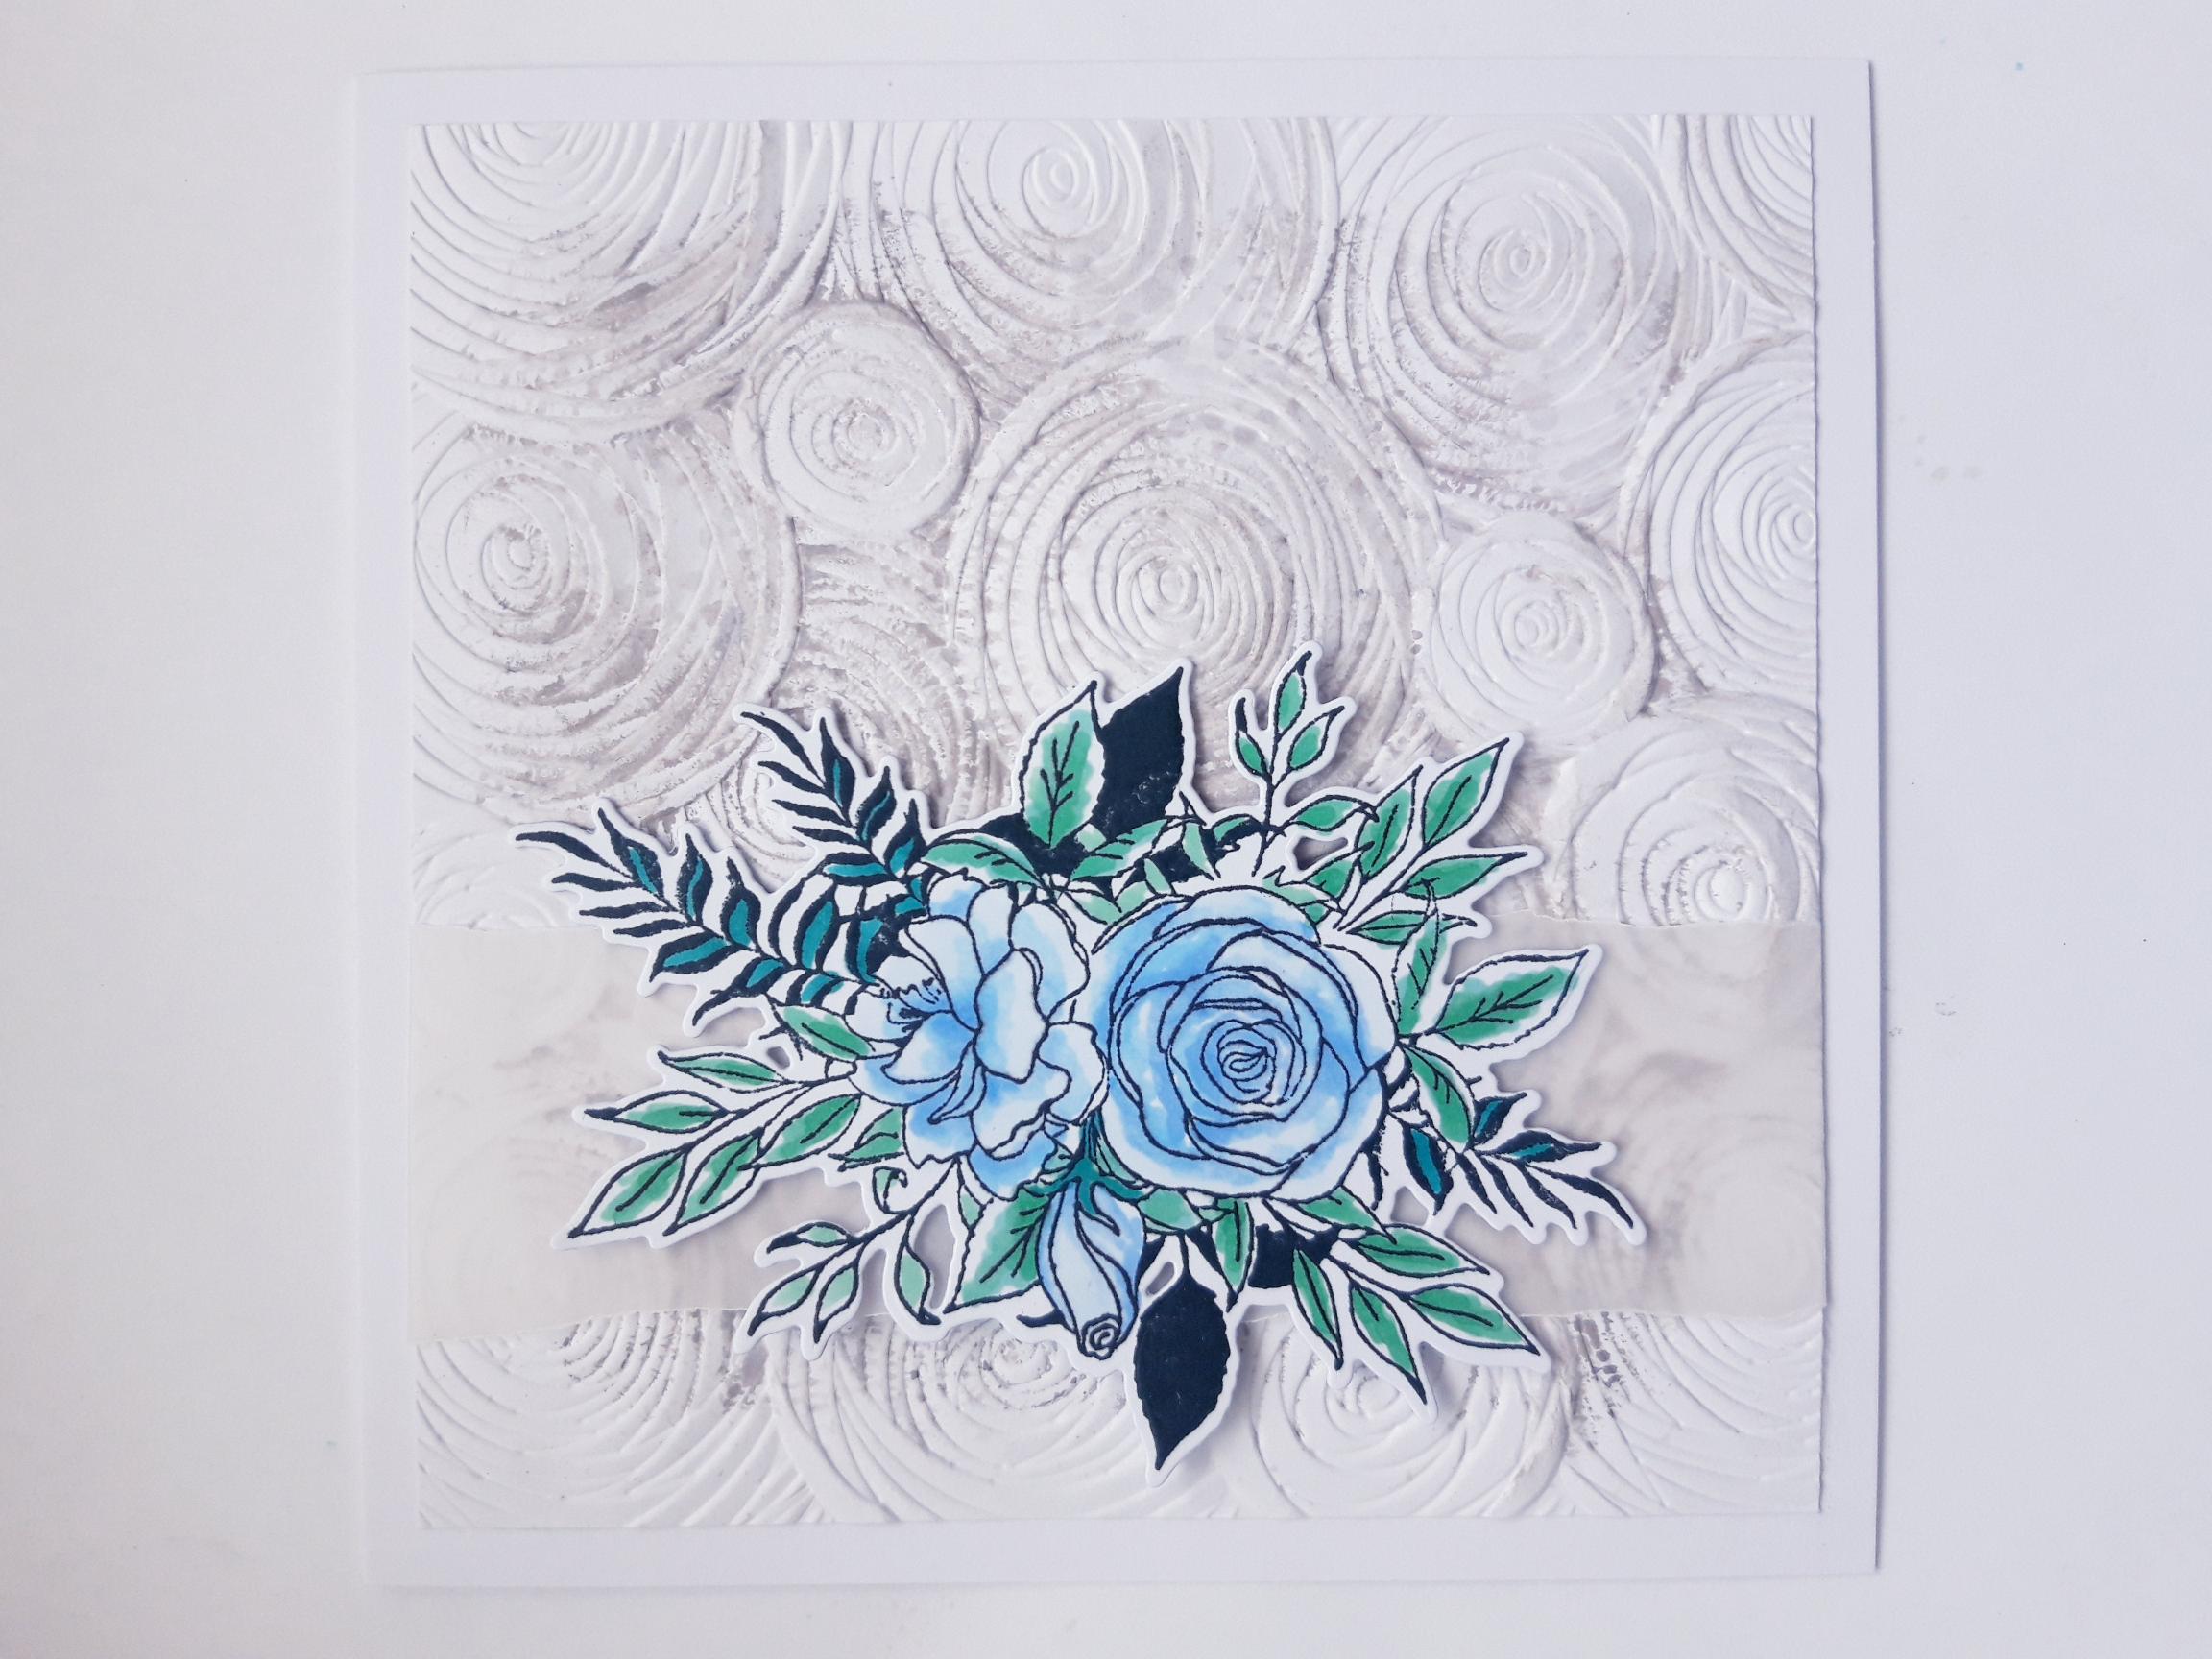
Adhere this on to the front of your card blank and set it to one side. |
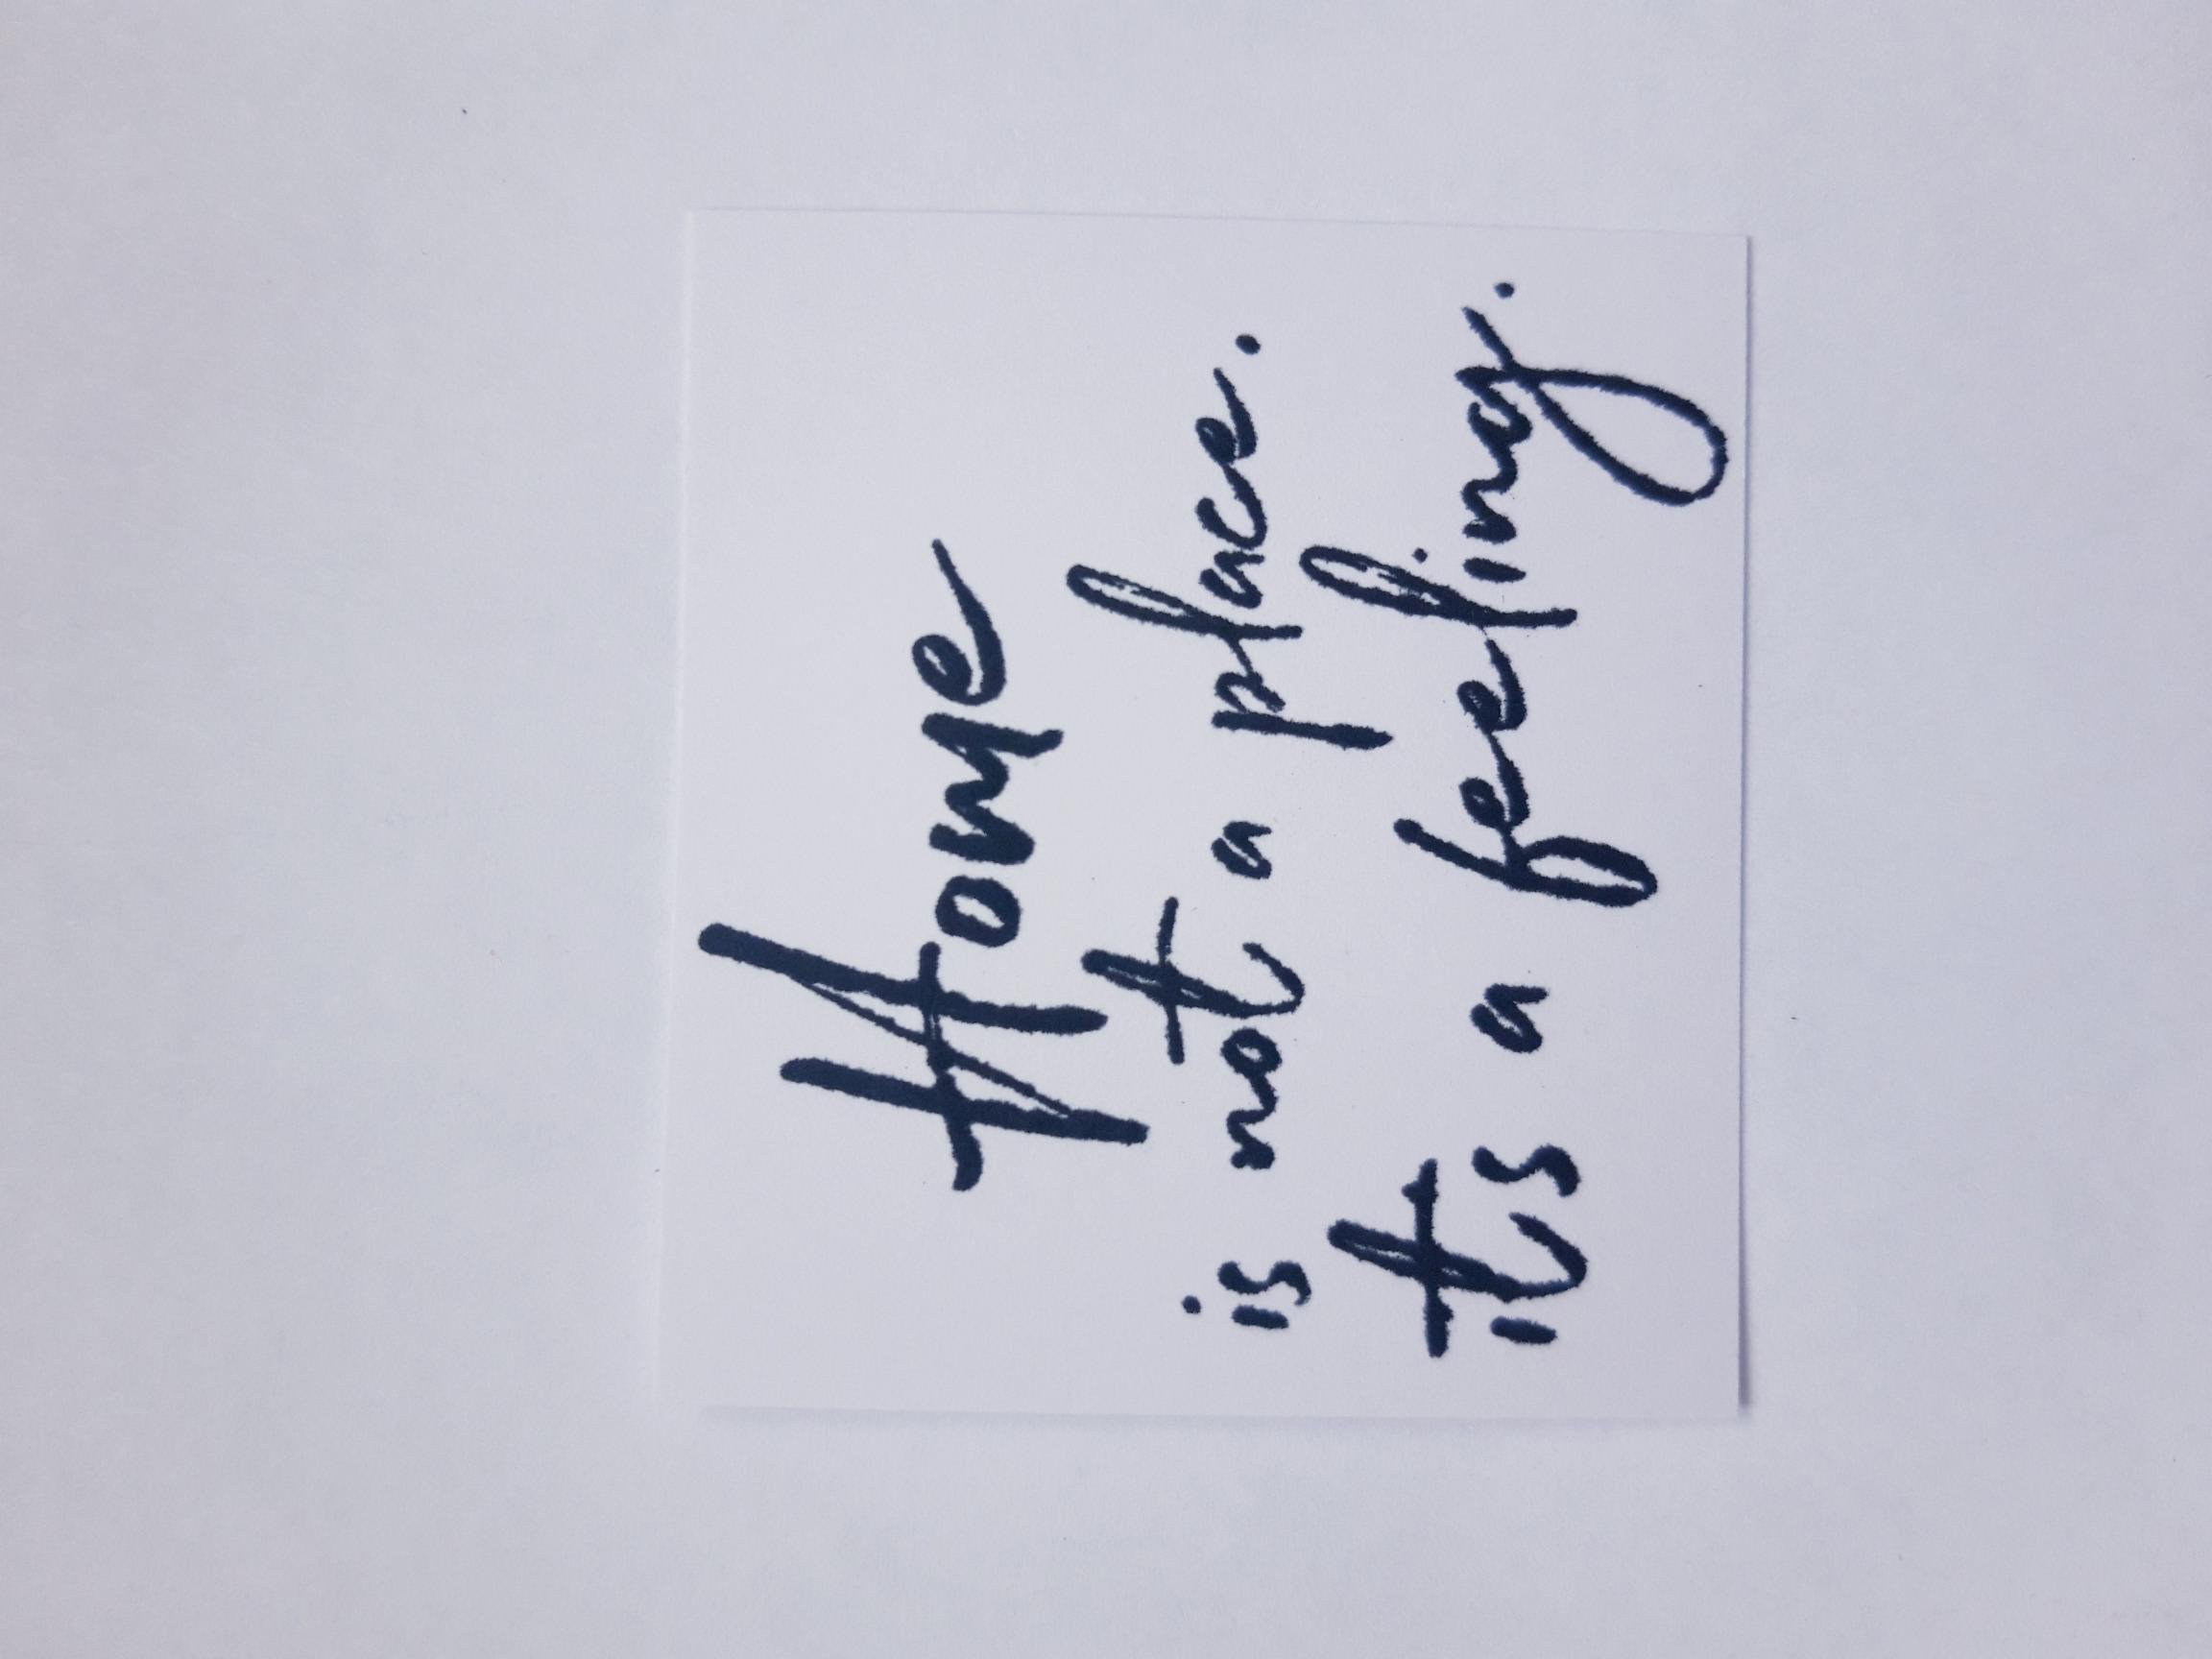
|
Ink up the sentiment, from Trust Your Journey Stamp and Die Collection, with the Memento and stamp on to white card (2 1/4 x 2"). |
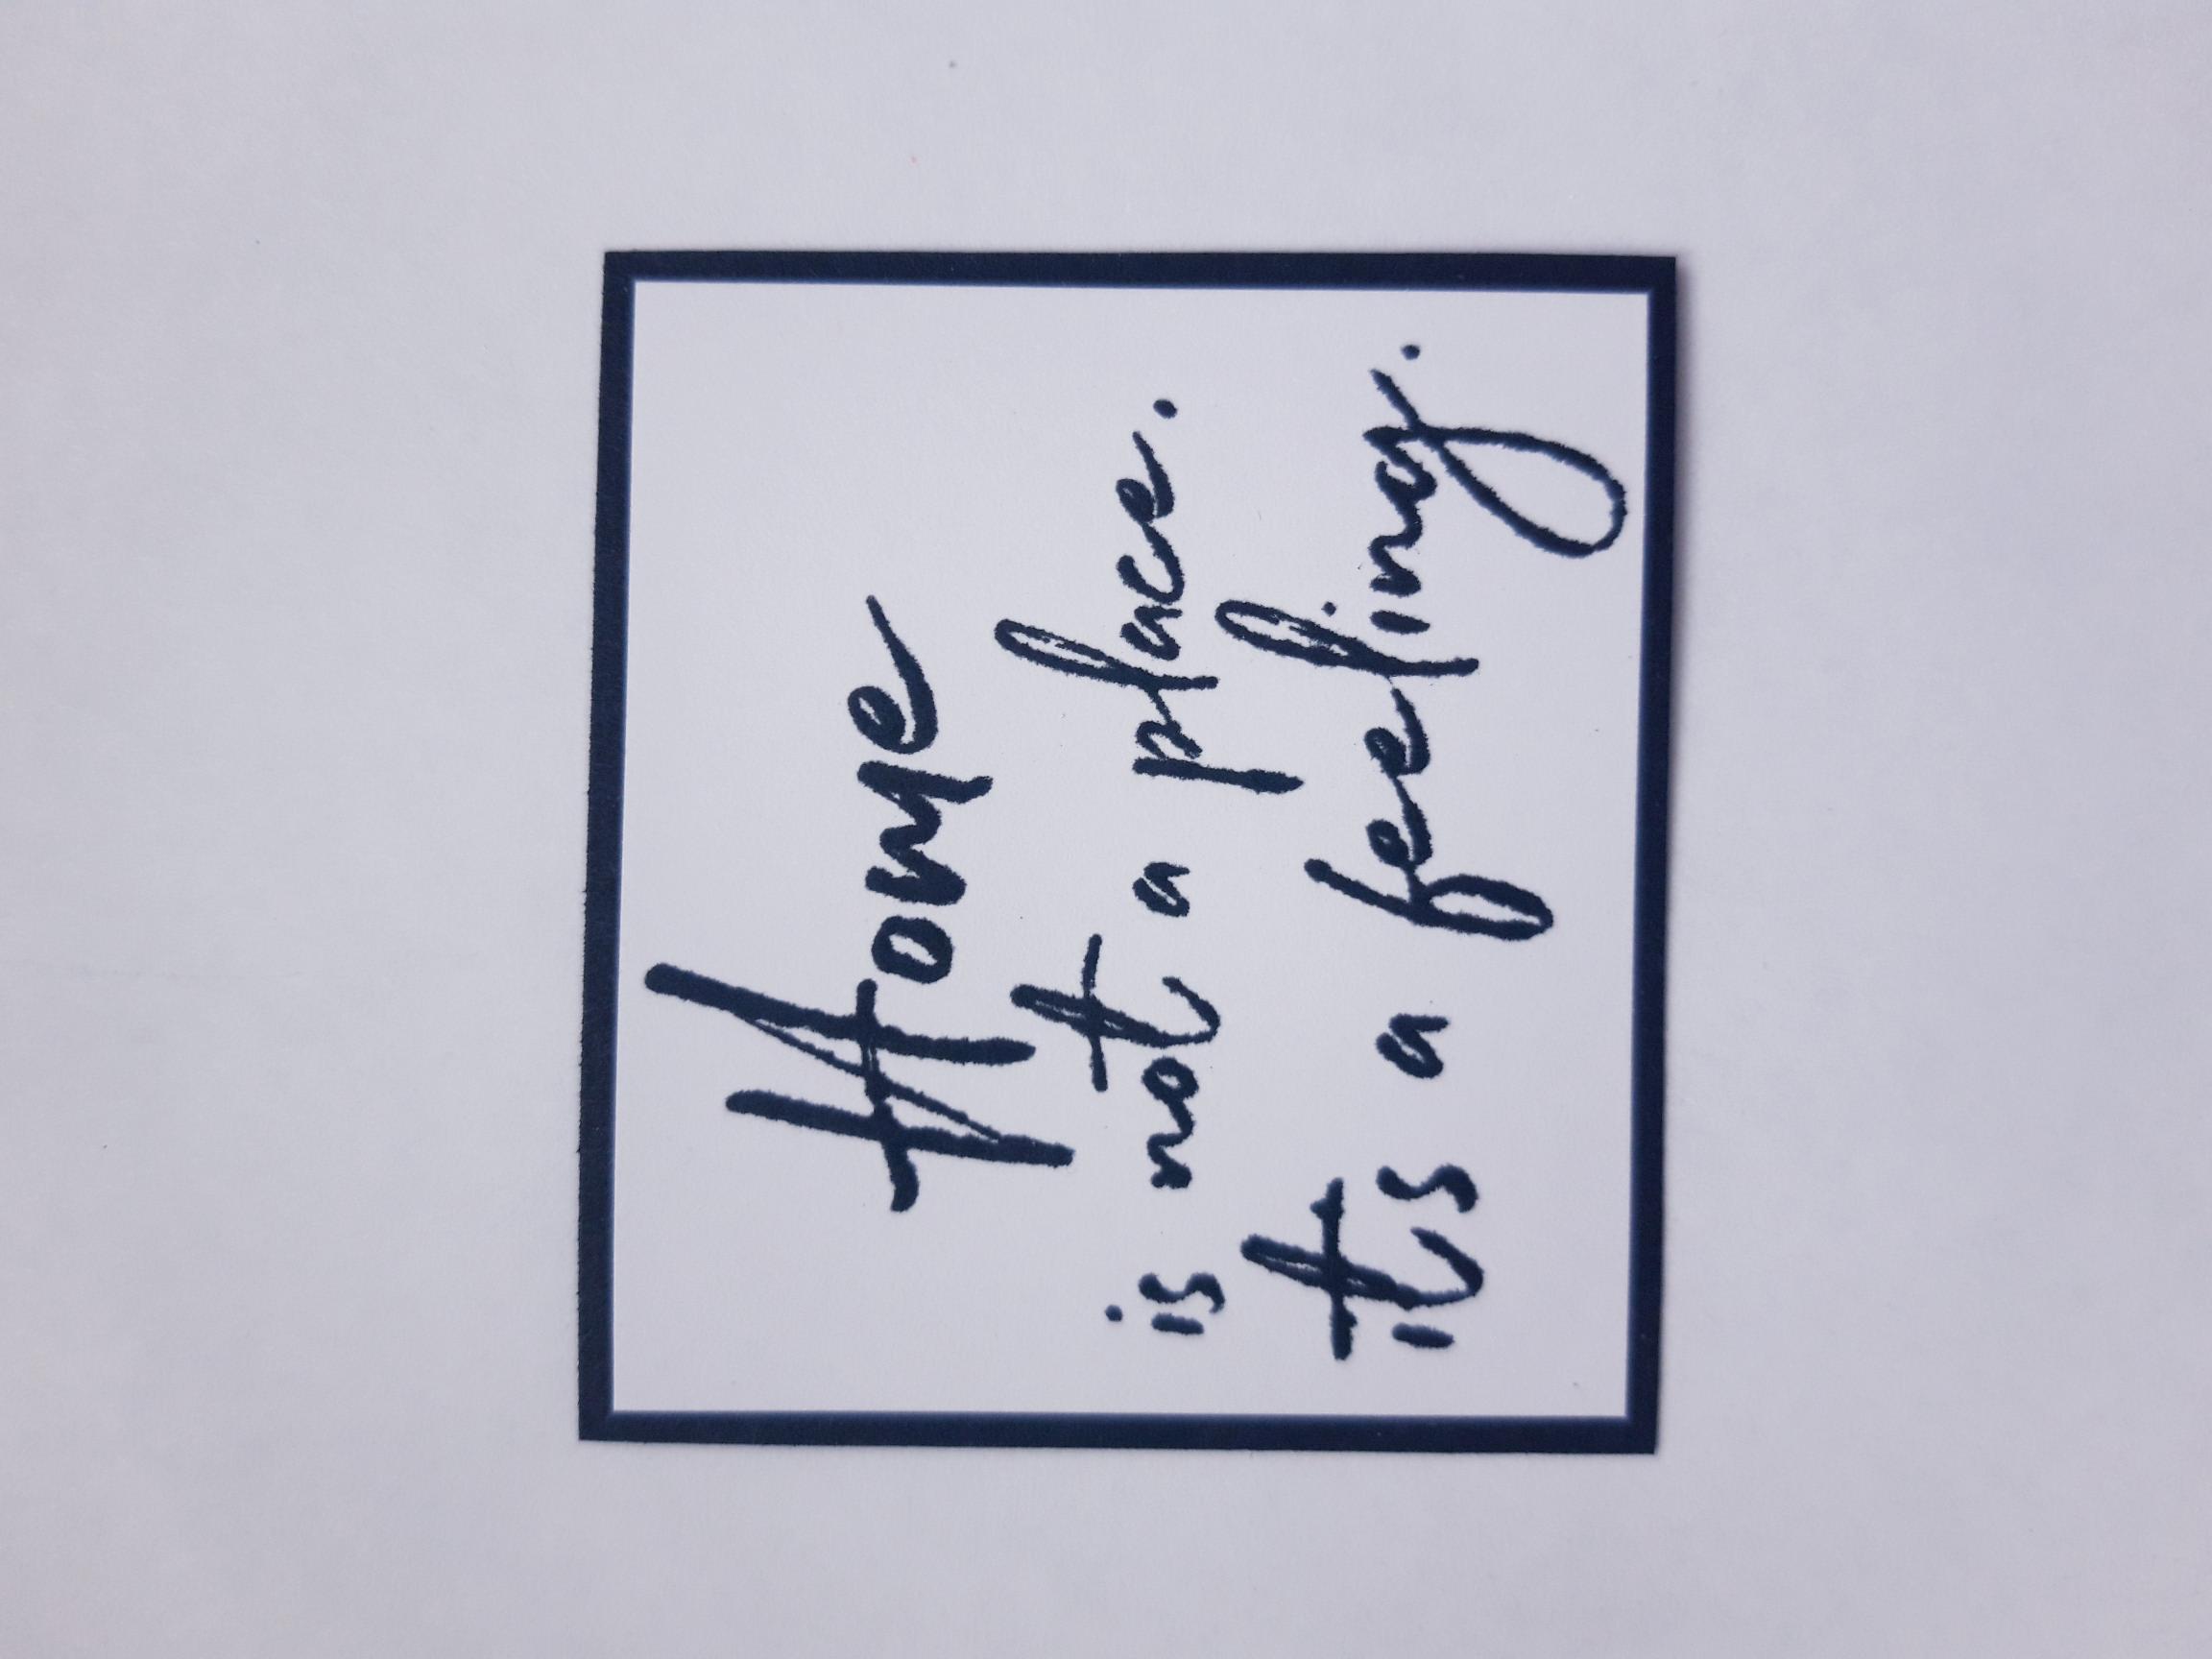
|
Adhere this on to black card, cut to 2 1/2 x 2 1/4". |
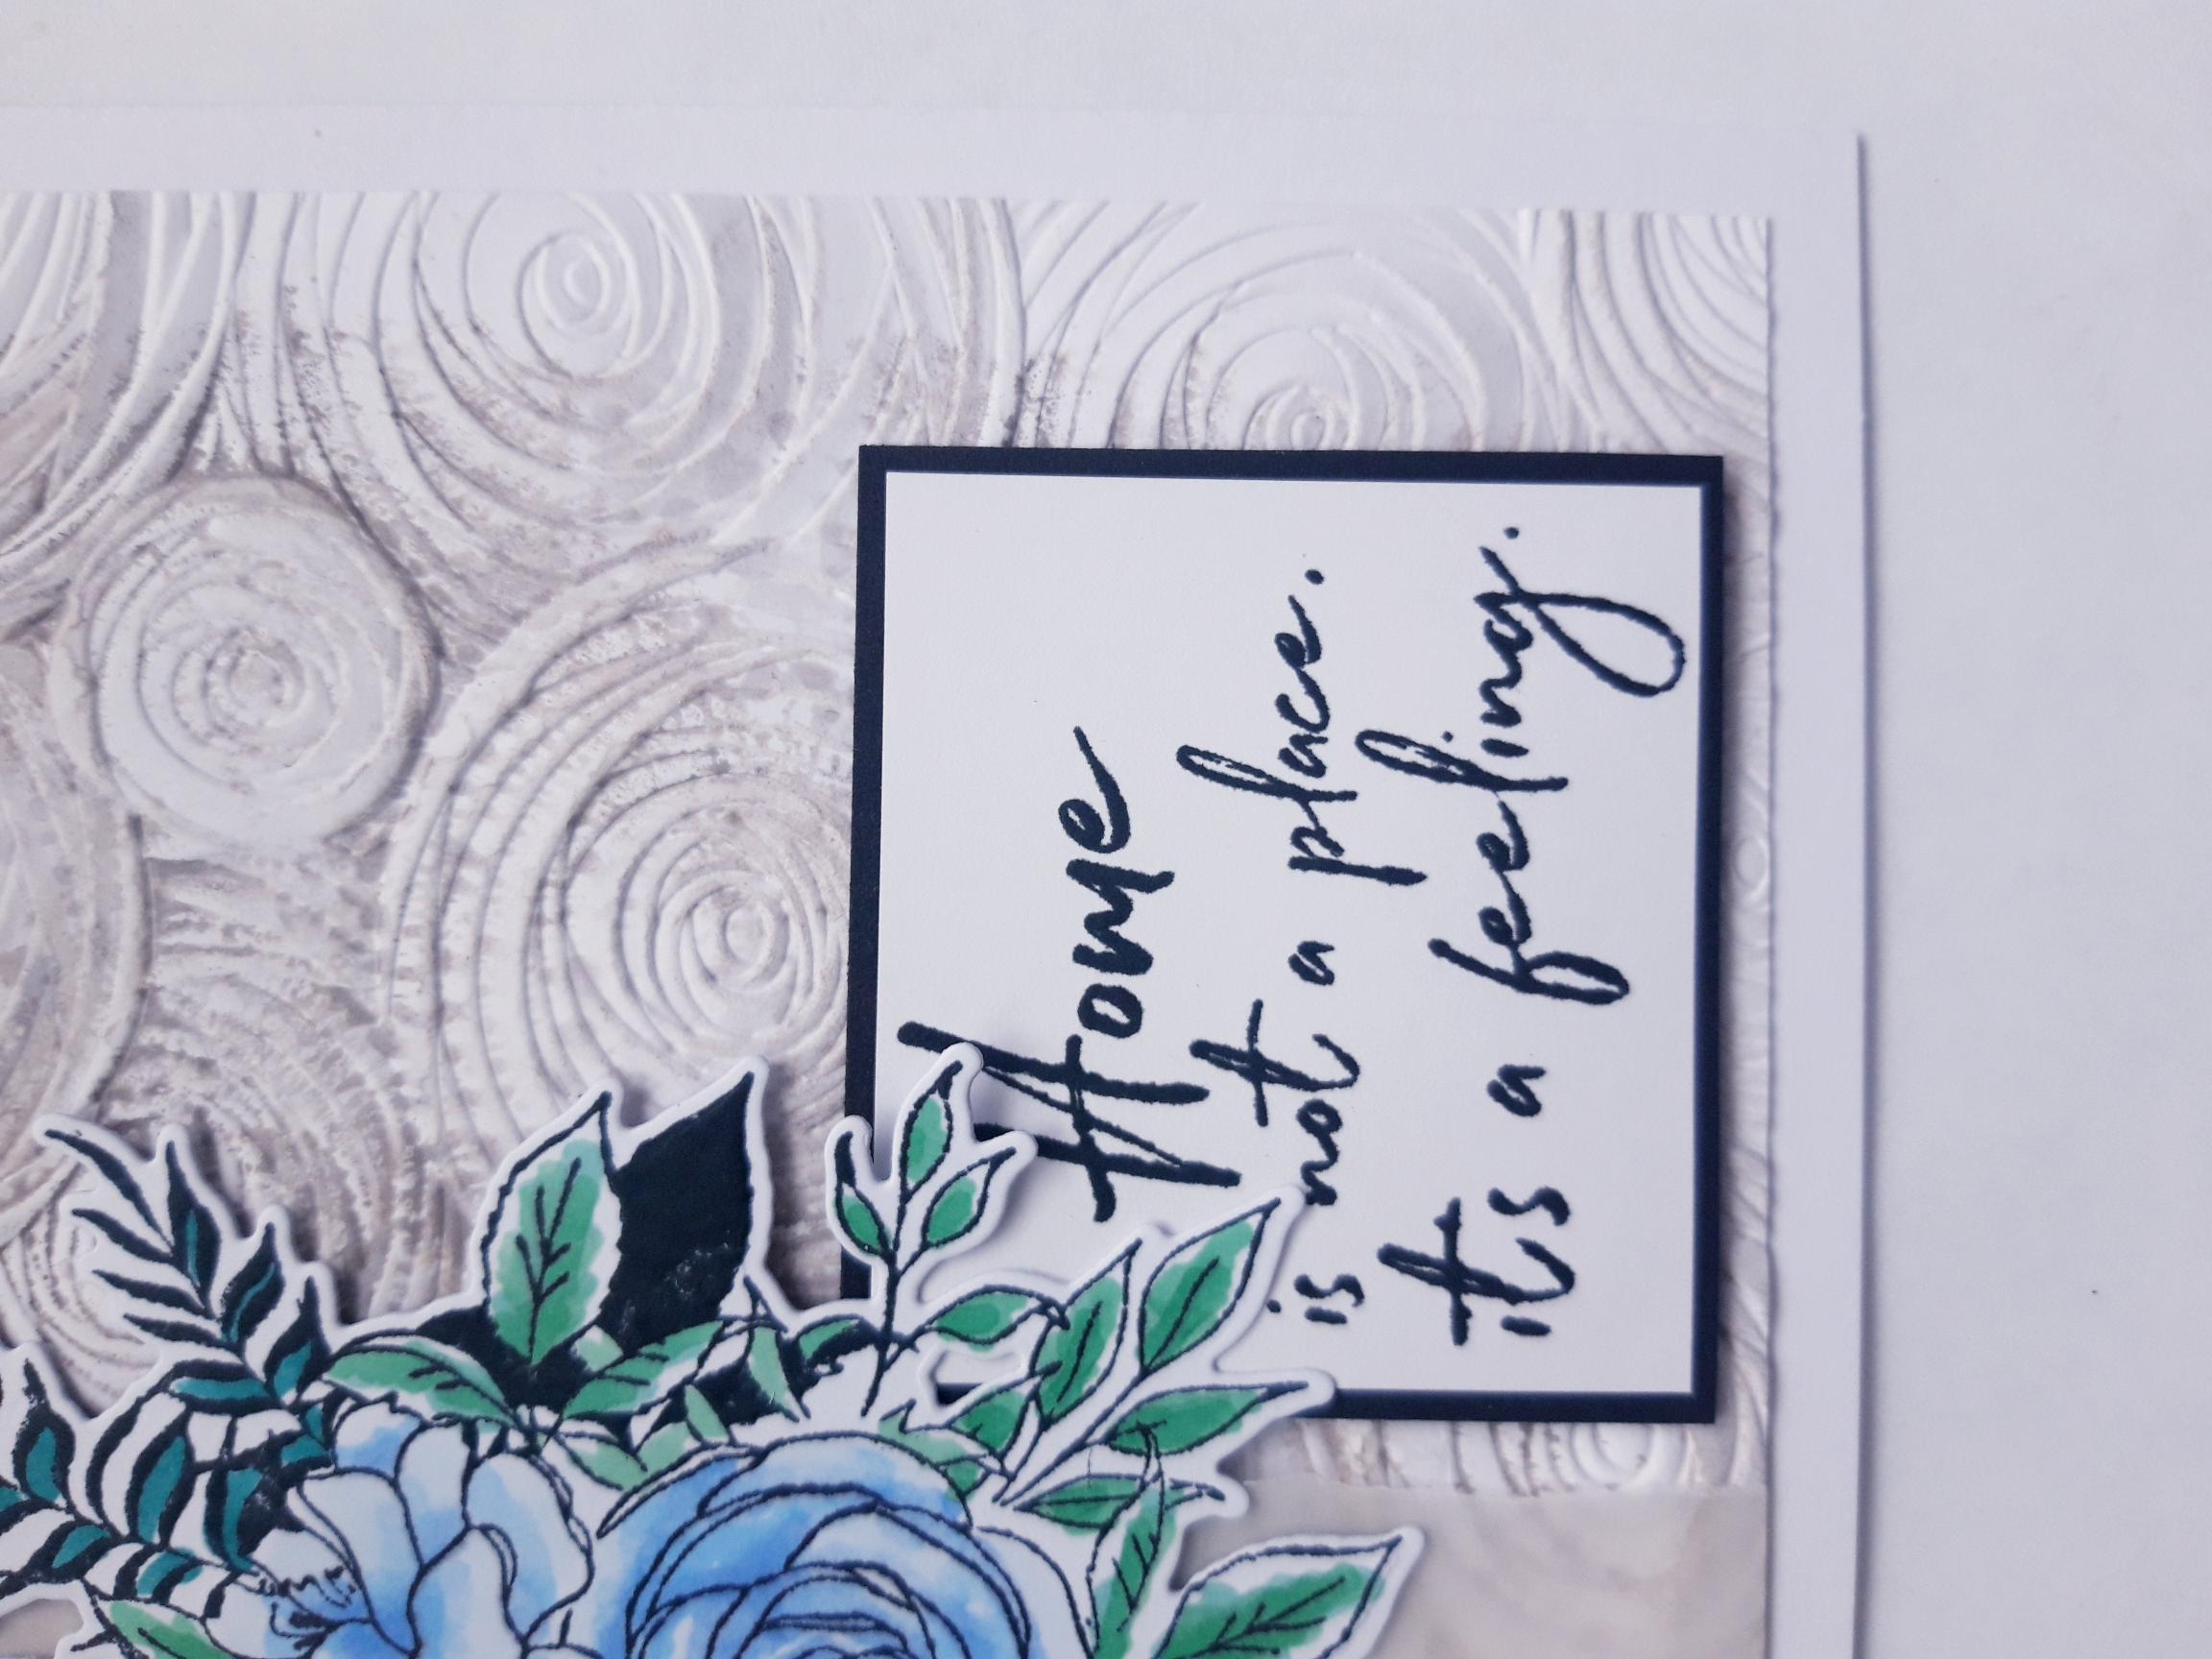
|
Adhere on to your card blank, with foam pads, tucking it just under the bottom right of your floral element. |
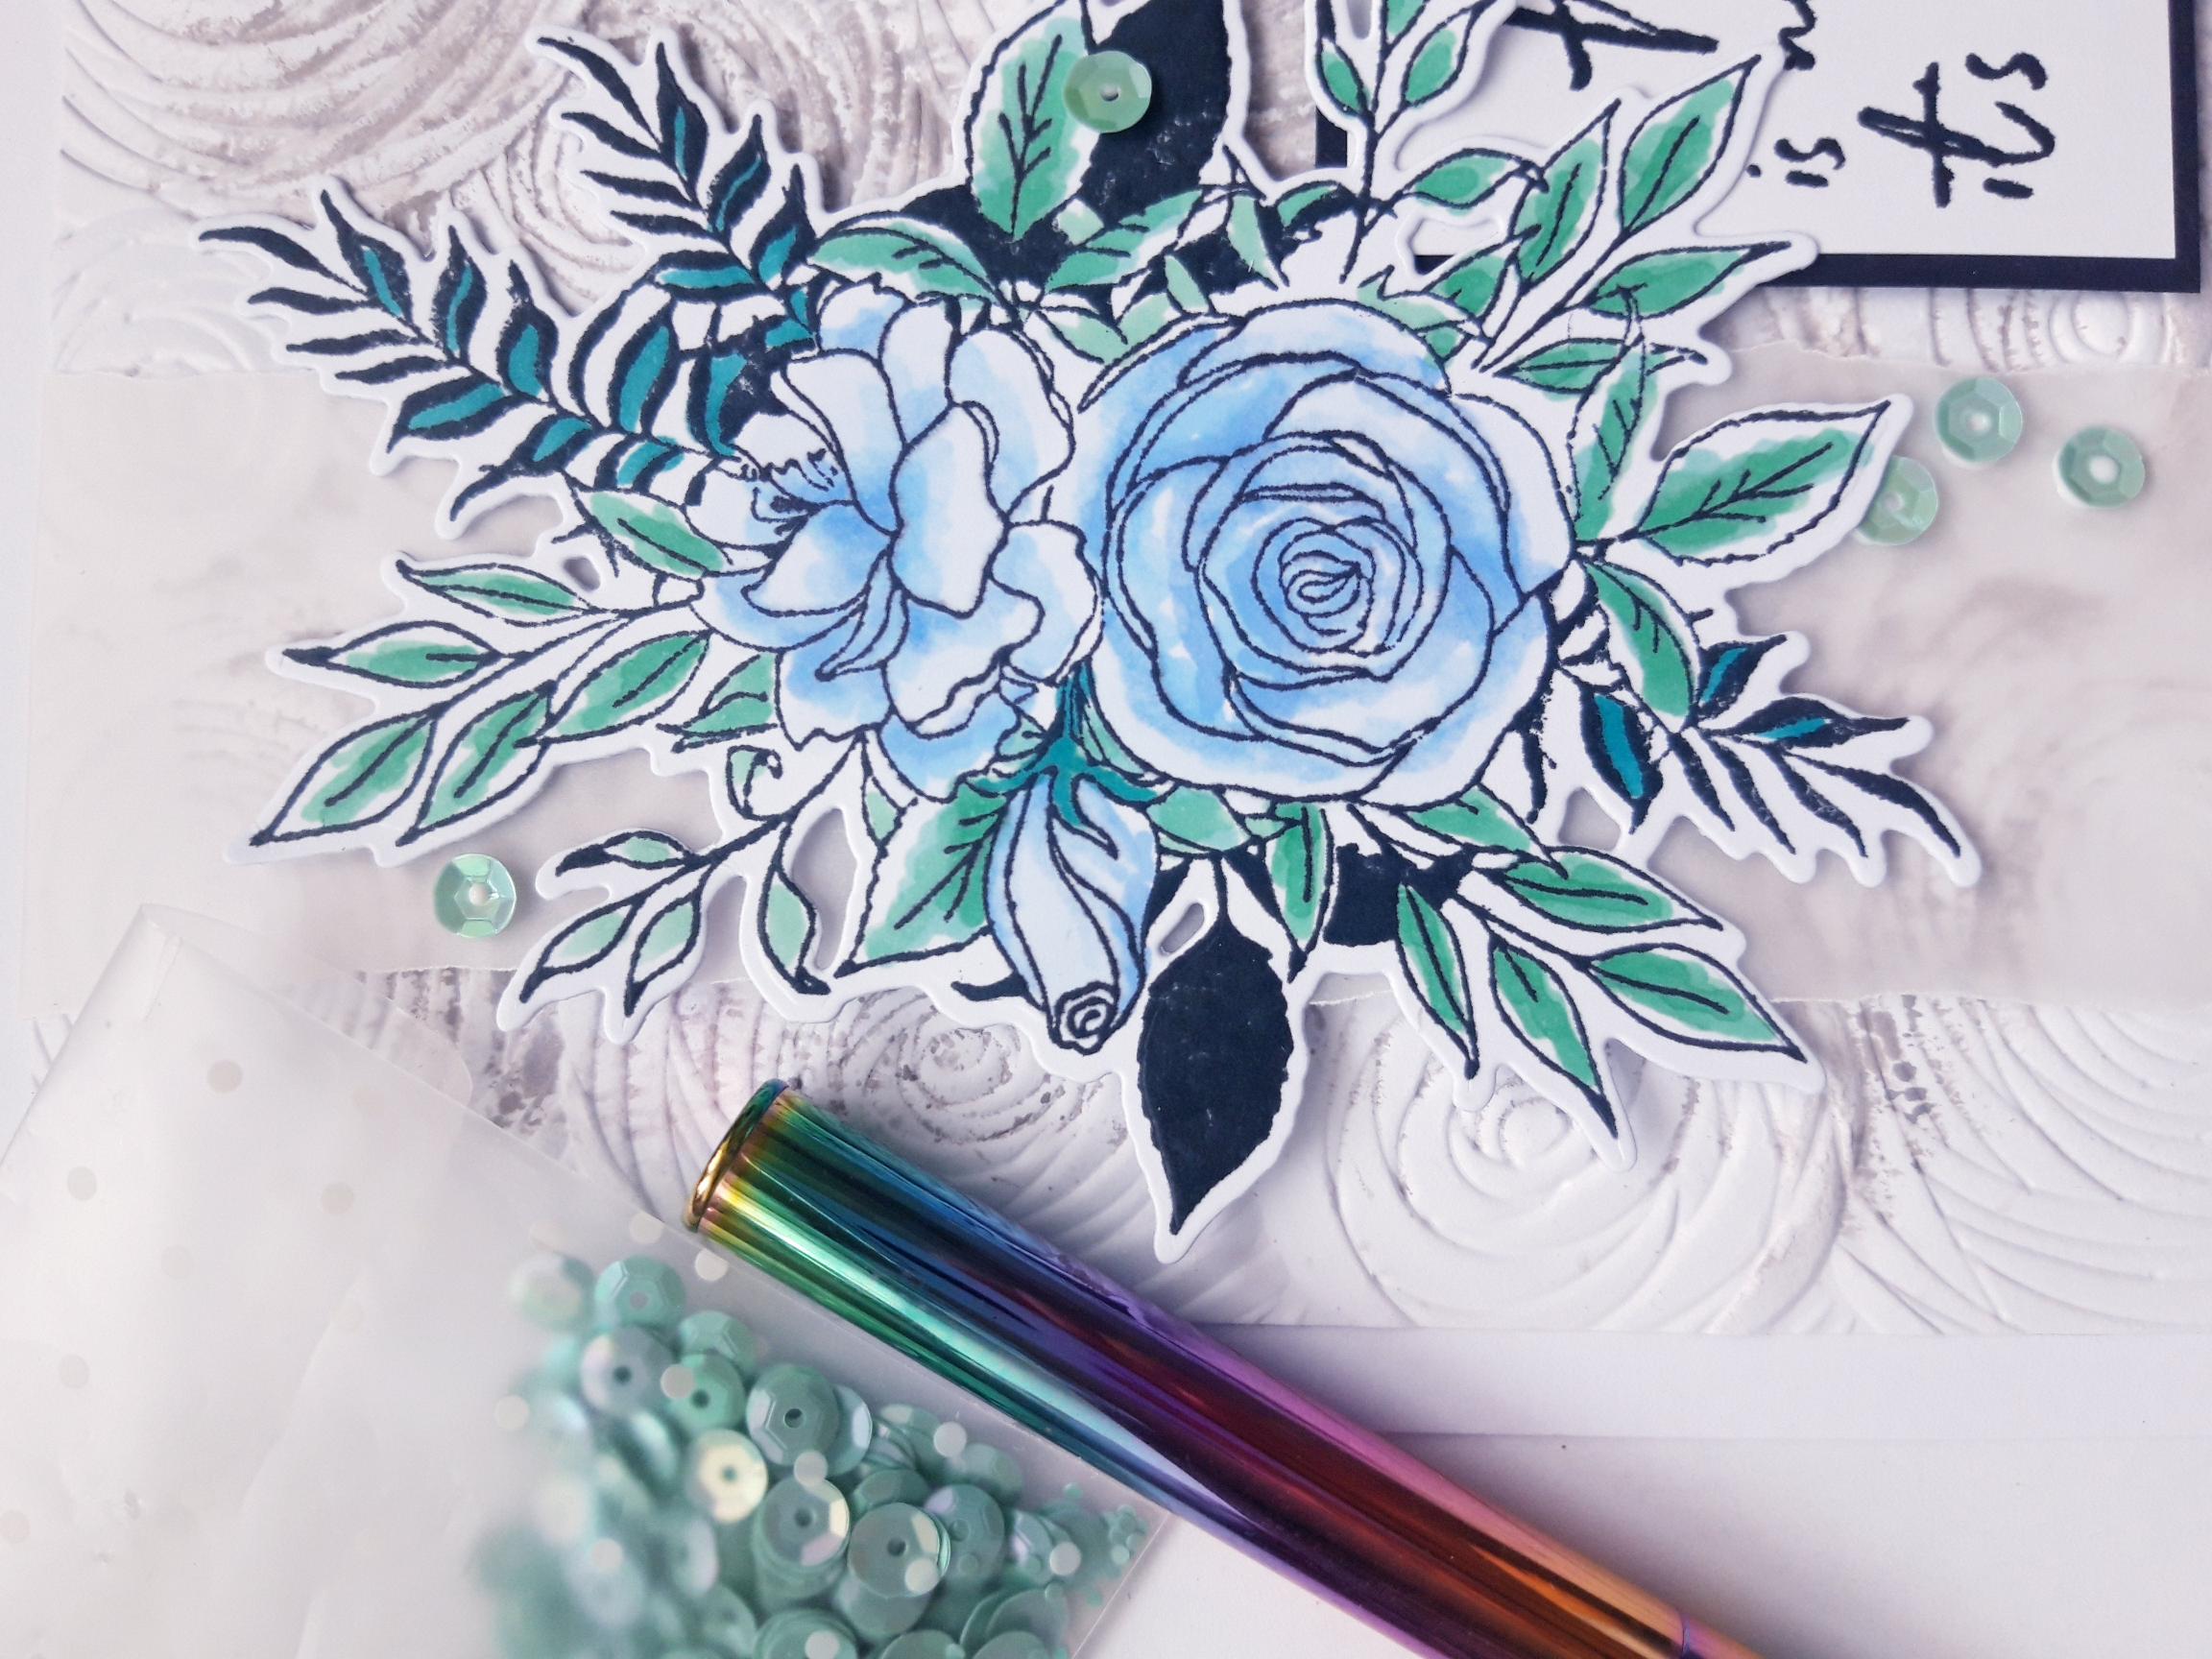
|
To finish, add sequins on, around and tucked under, your floral element. |