

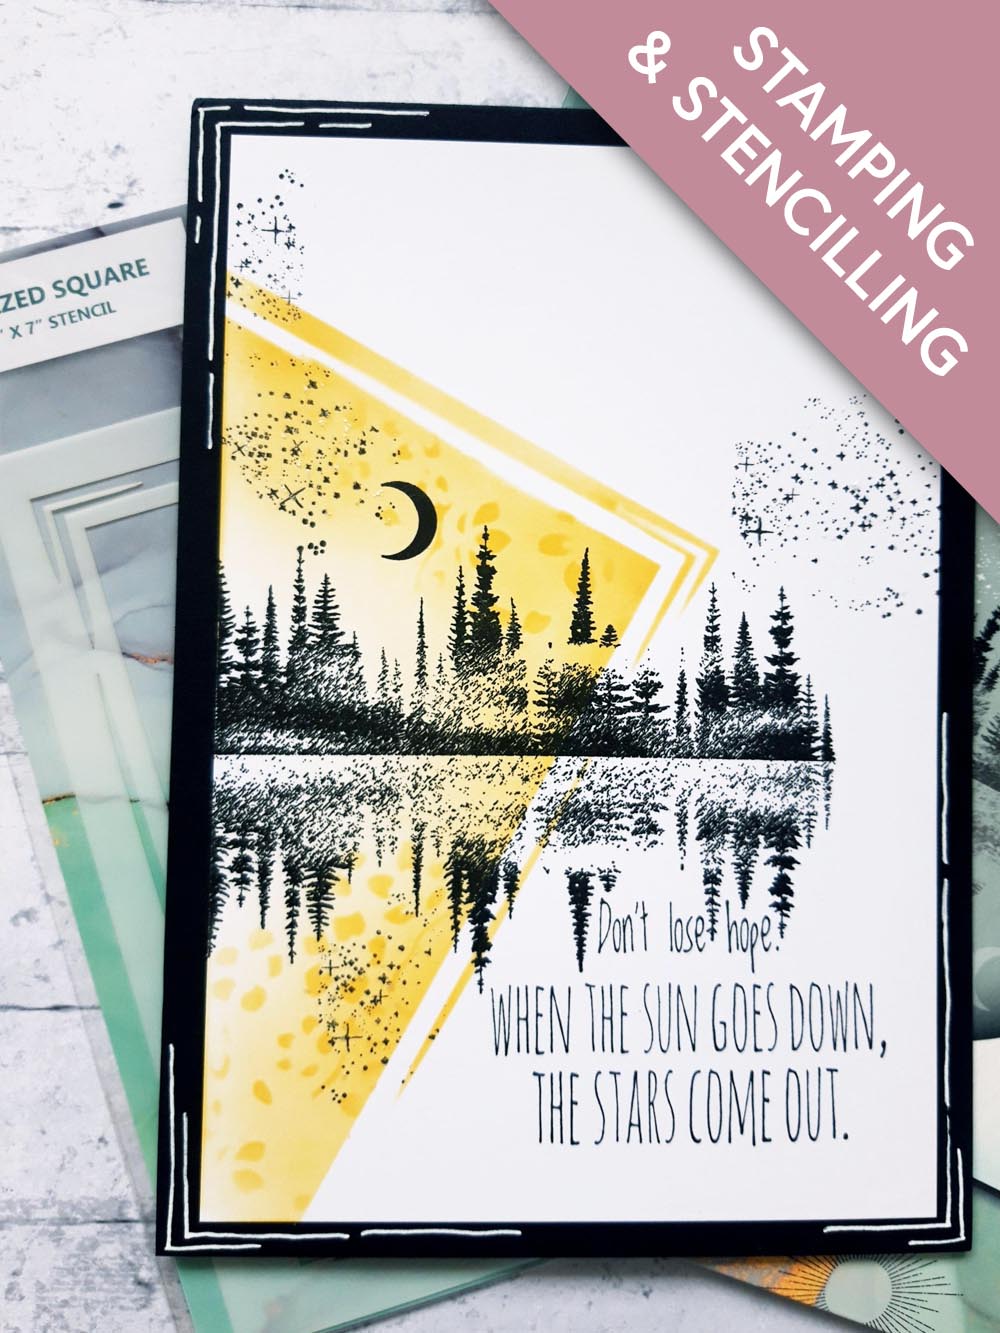
WHAT YOU WILL NEED:
Black top folding card blank (8 1/4 x 5 3/4")
White card (7 3/4 x 5 1/4")
Reach For The Stars Stamp Collection
Stylized Square stencil
Delicate And Beautiful stencil
Versafine Ink Pad: Onyx Black
Distress Oxide: Fossilized Amber
Blending tool
White gel pen
Stickles: Frosted Lace
Eureka 101
Paper Trimmer
Perfect Together Glue
Low tack tape
[click image to enlarge] 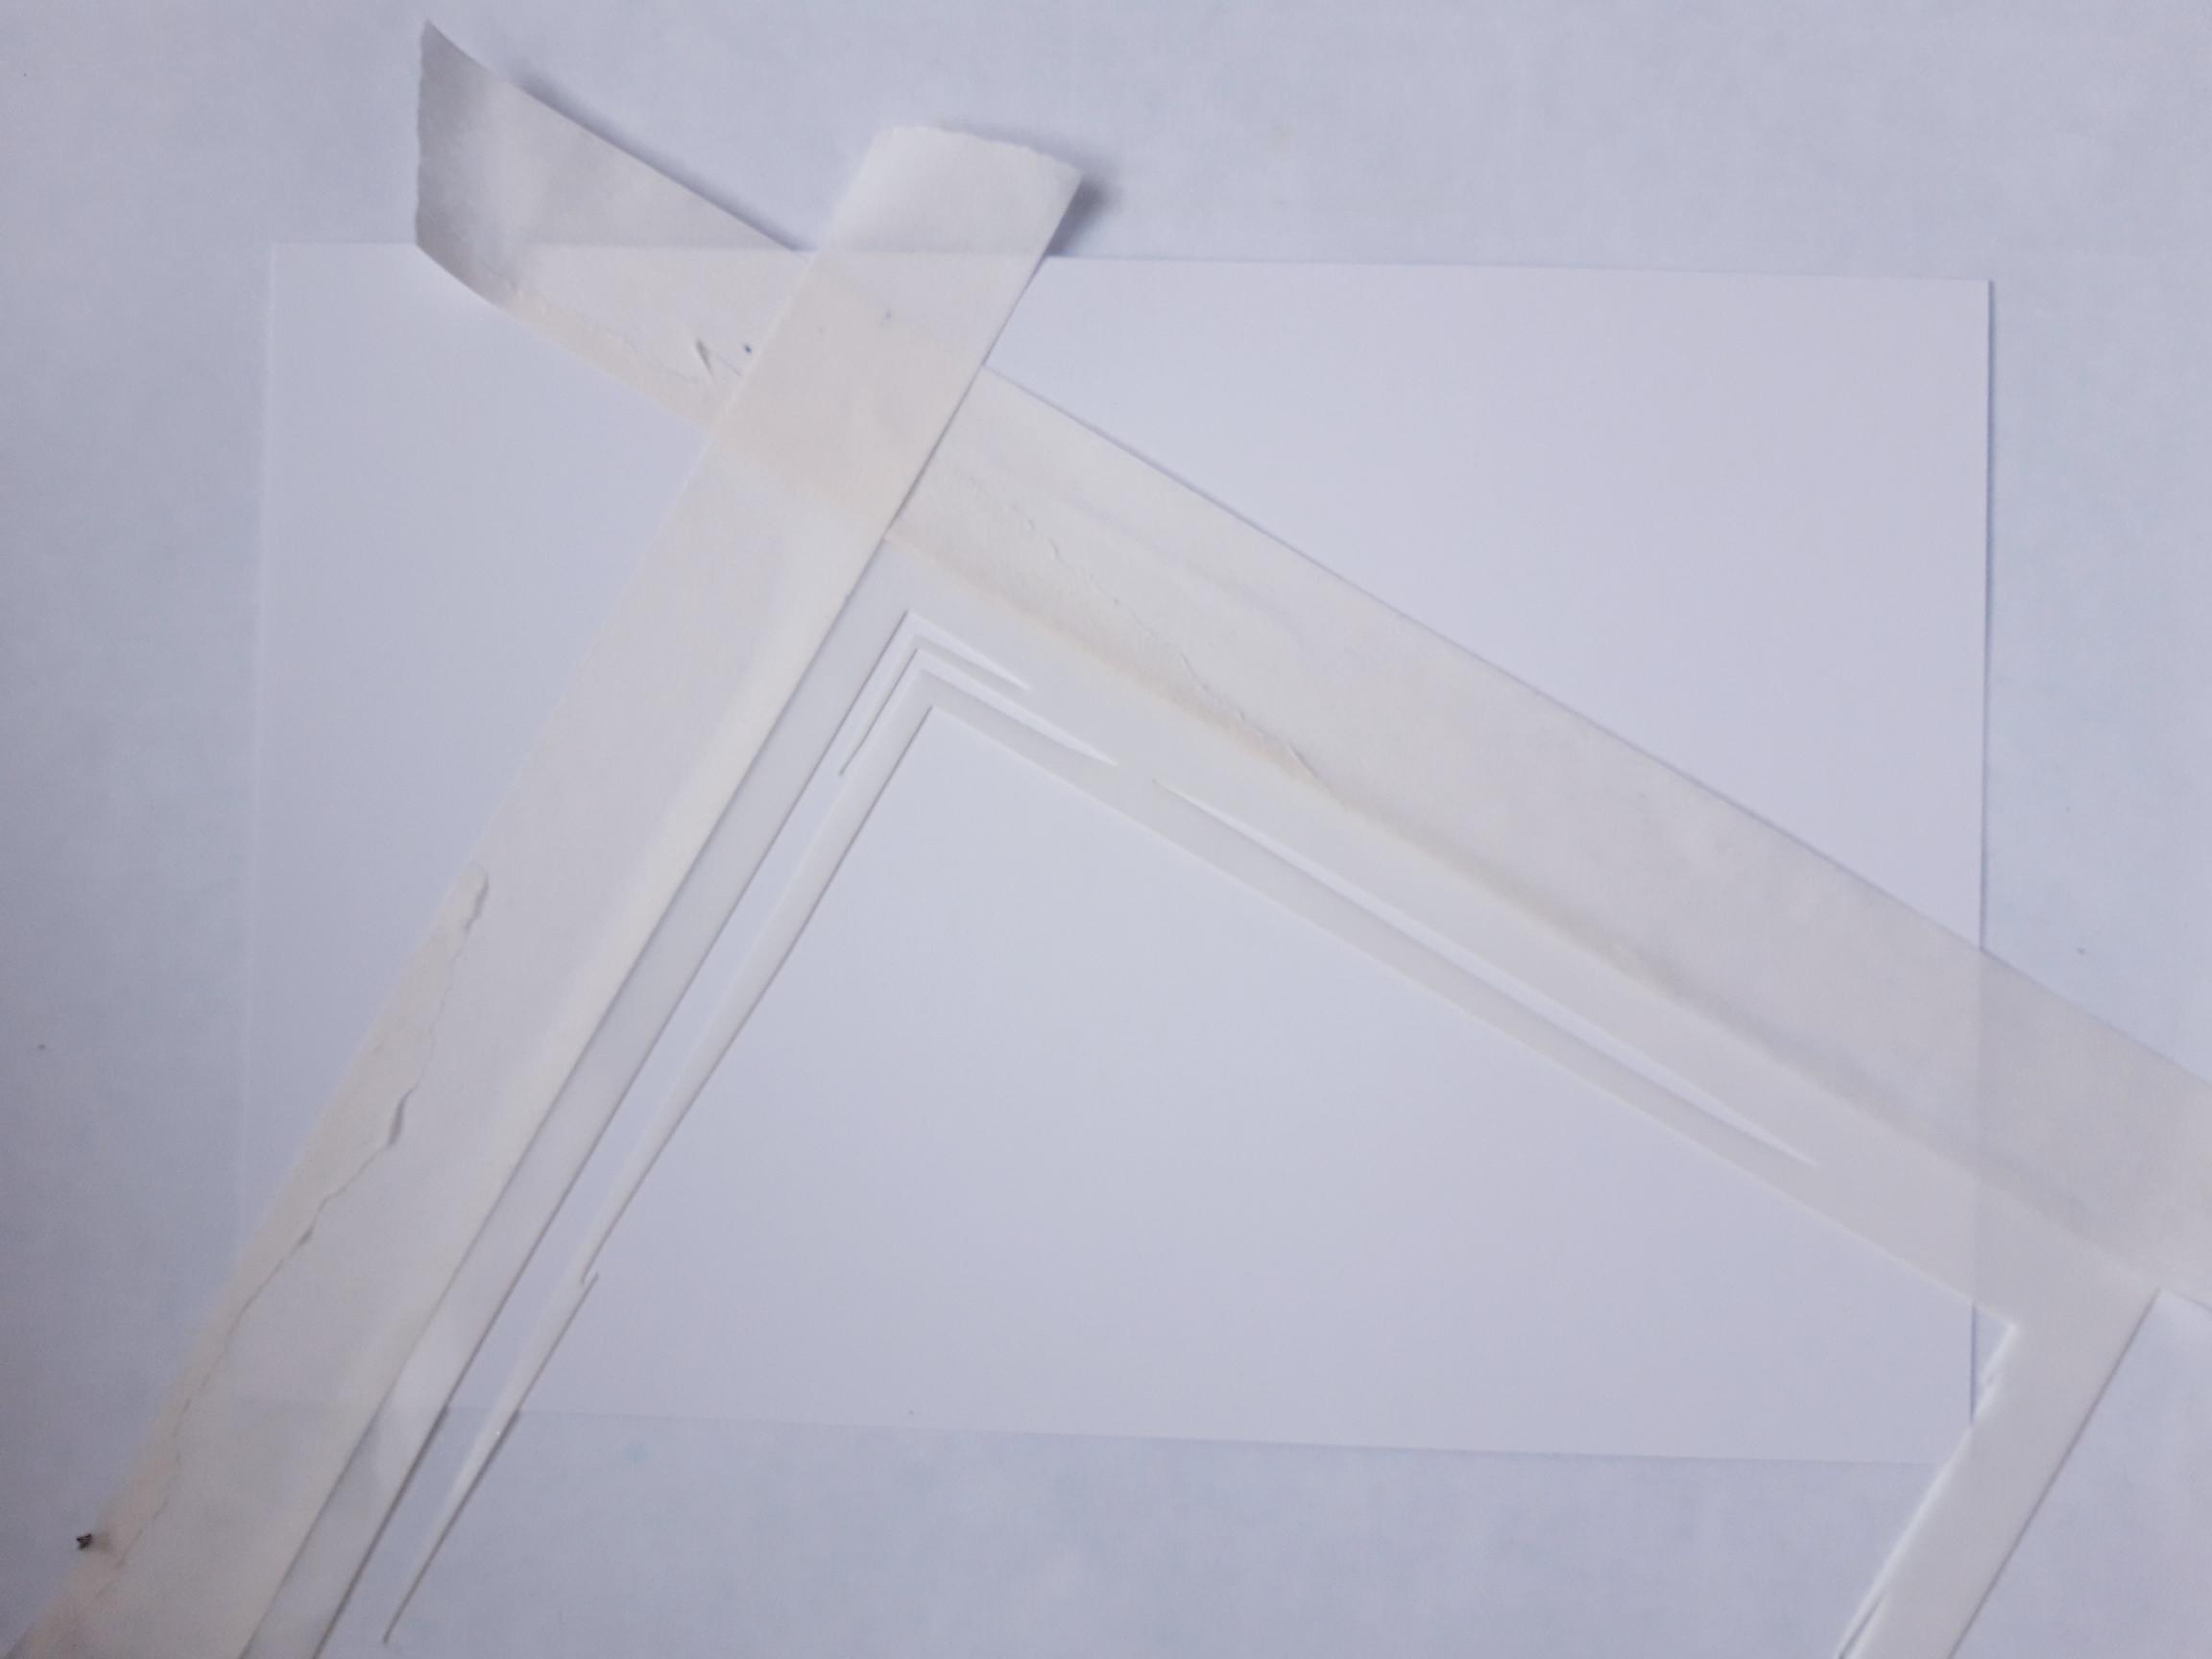
|
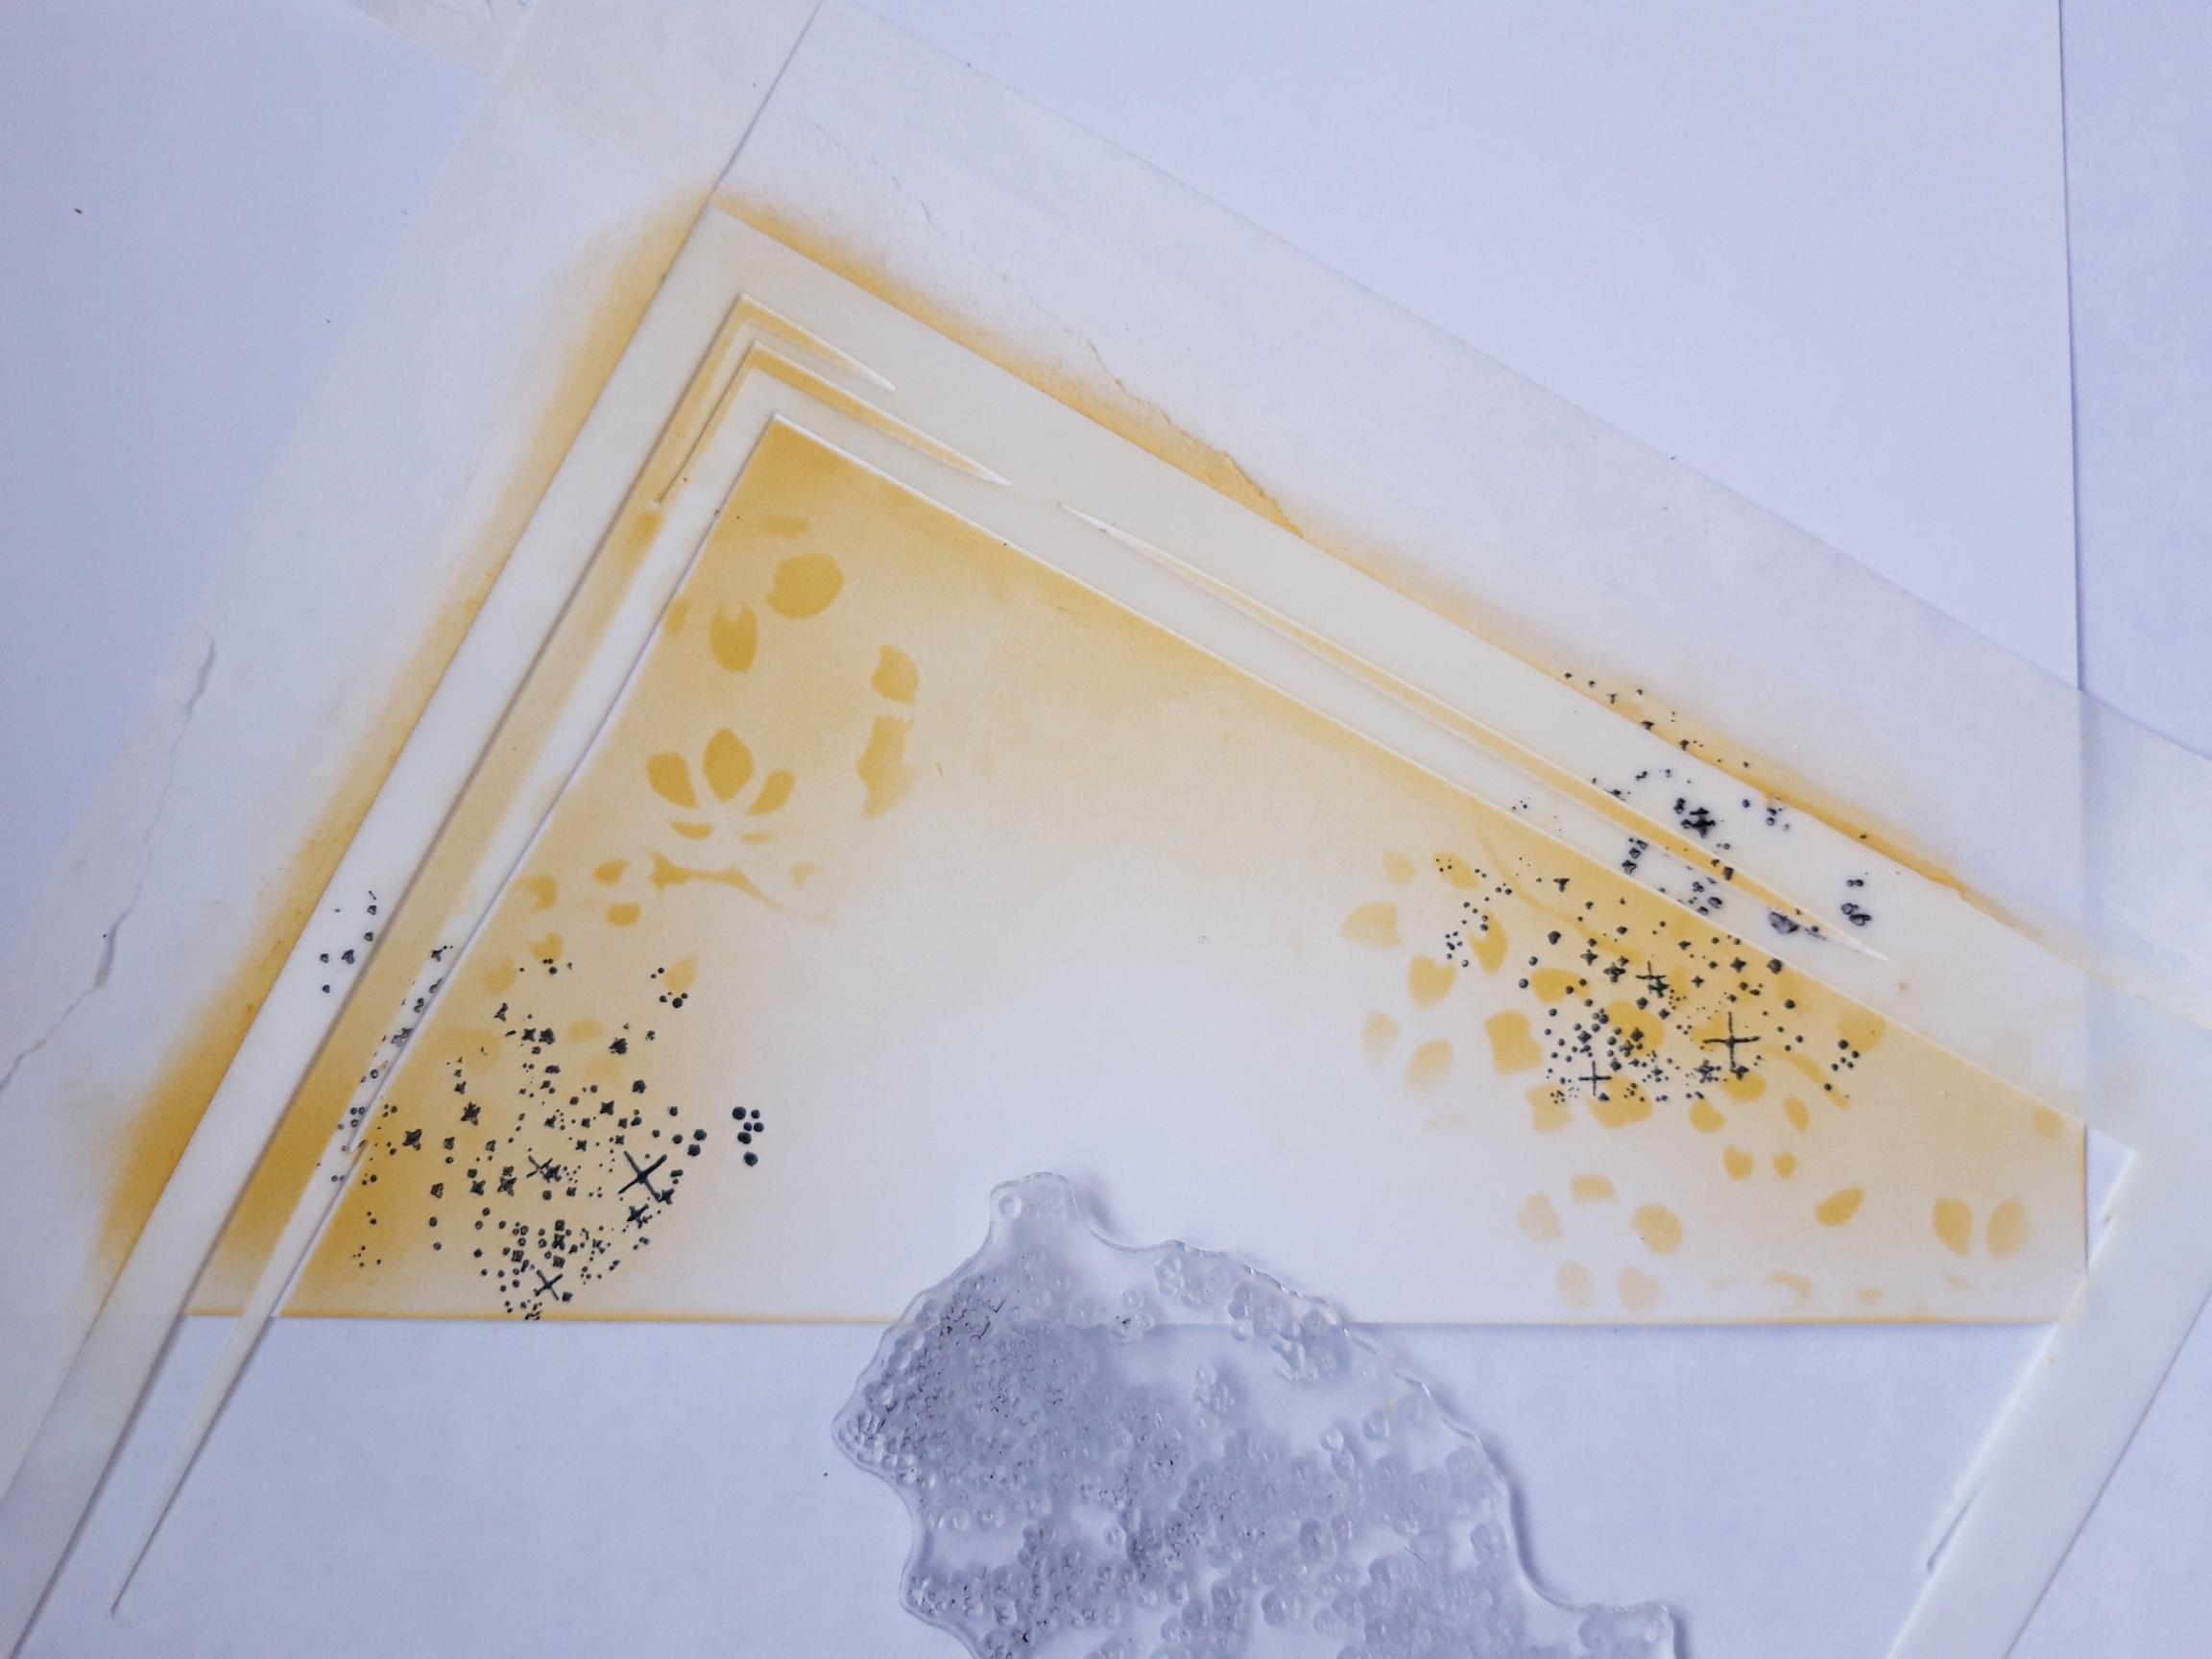
Place the Stylized Square stencil at an angle, off the left hand edge of the white card (7 3/4 x 5 1/4"), as seen here. Secure the stencil with low tack tape, along the 2 edges, so you don't accidently ink over the ouside! |
|
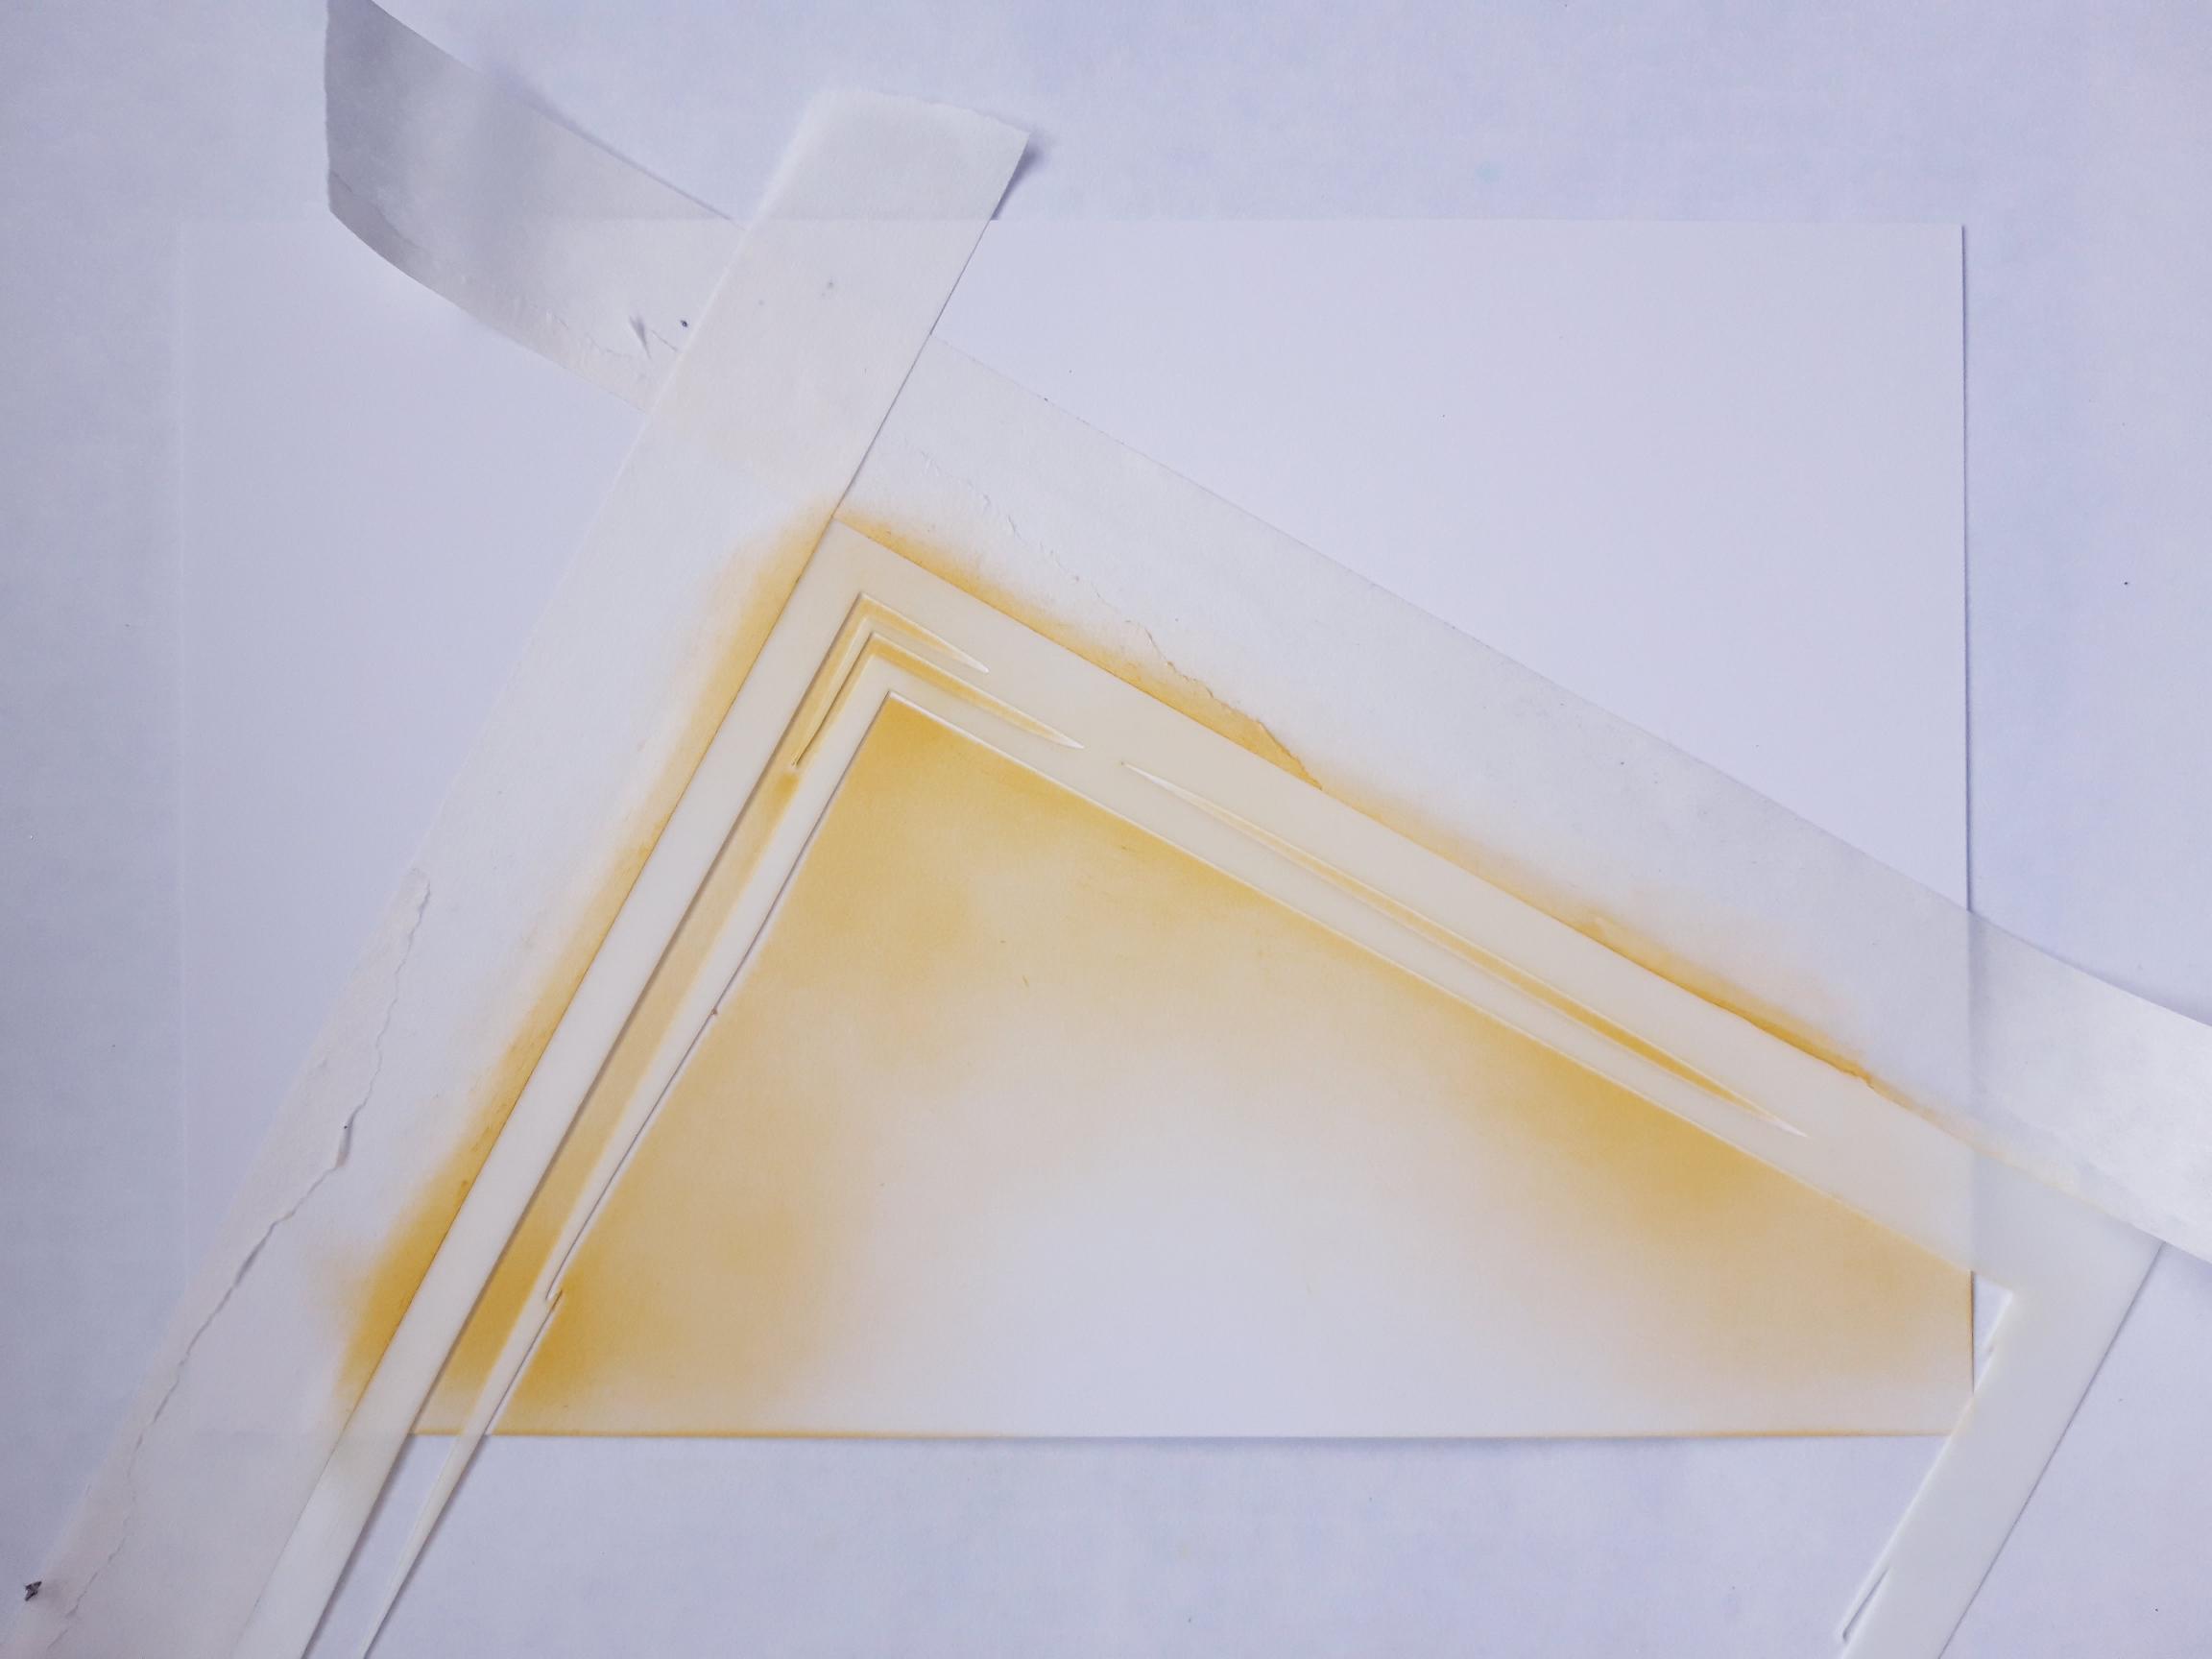
Blend the Fossilized Amber Oxide within the stencil, fading out as you move inwards. |
|
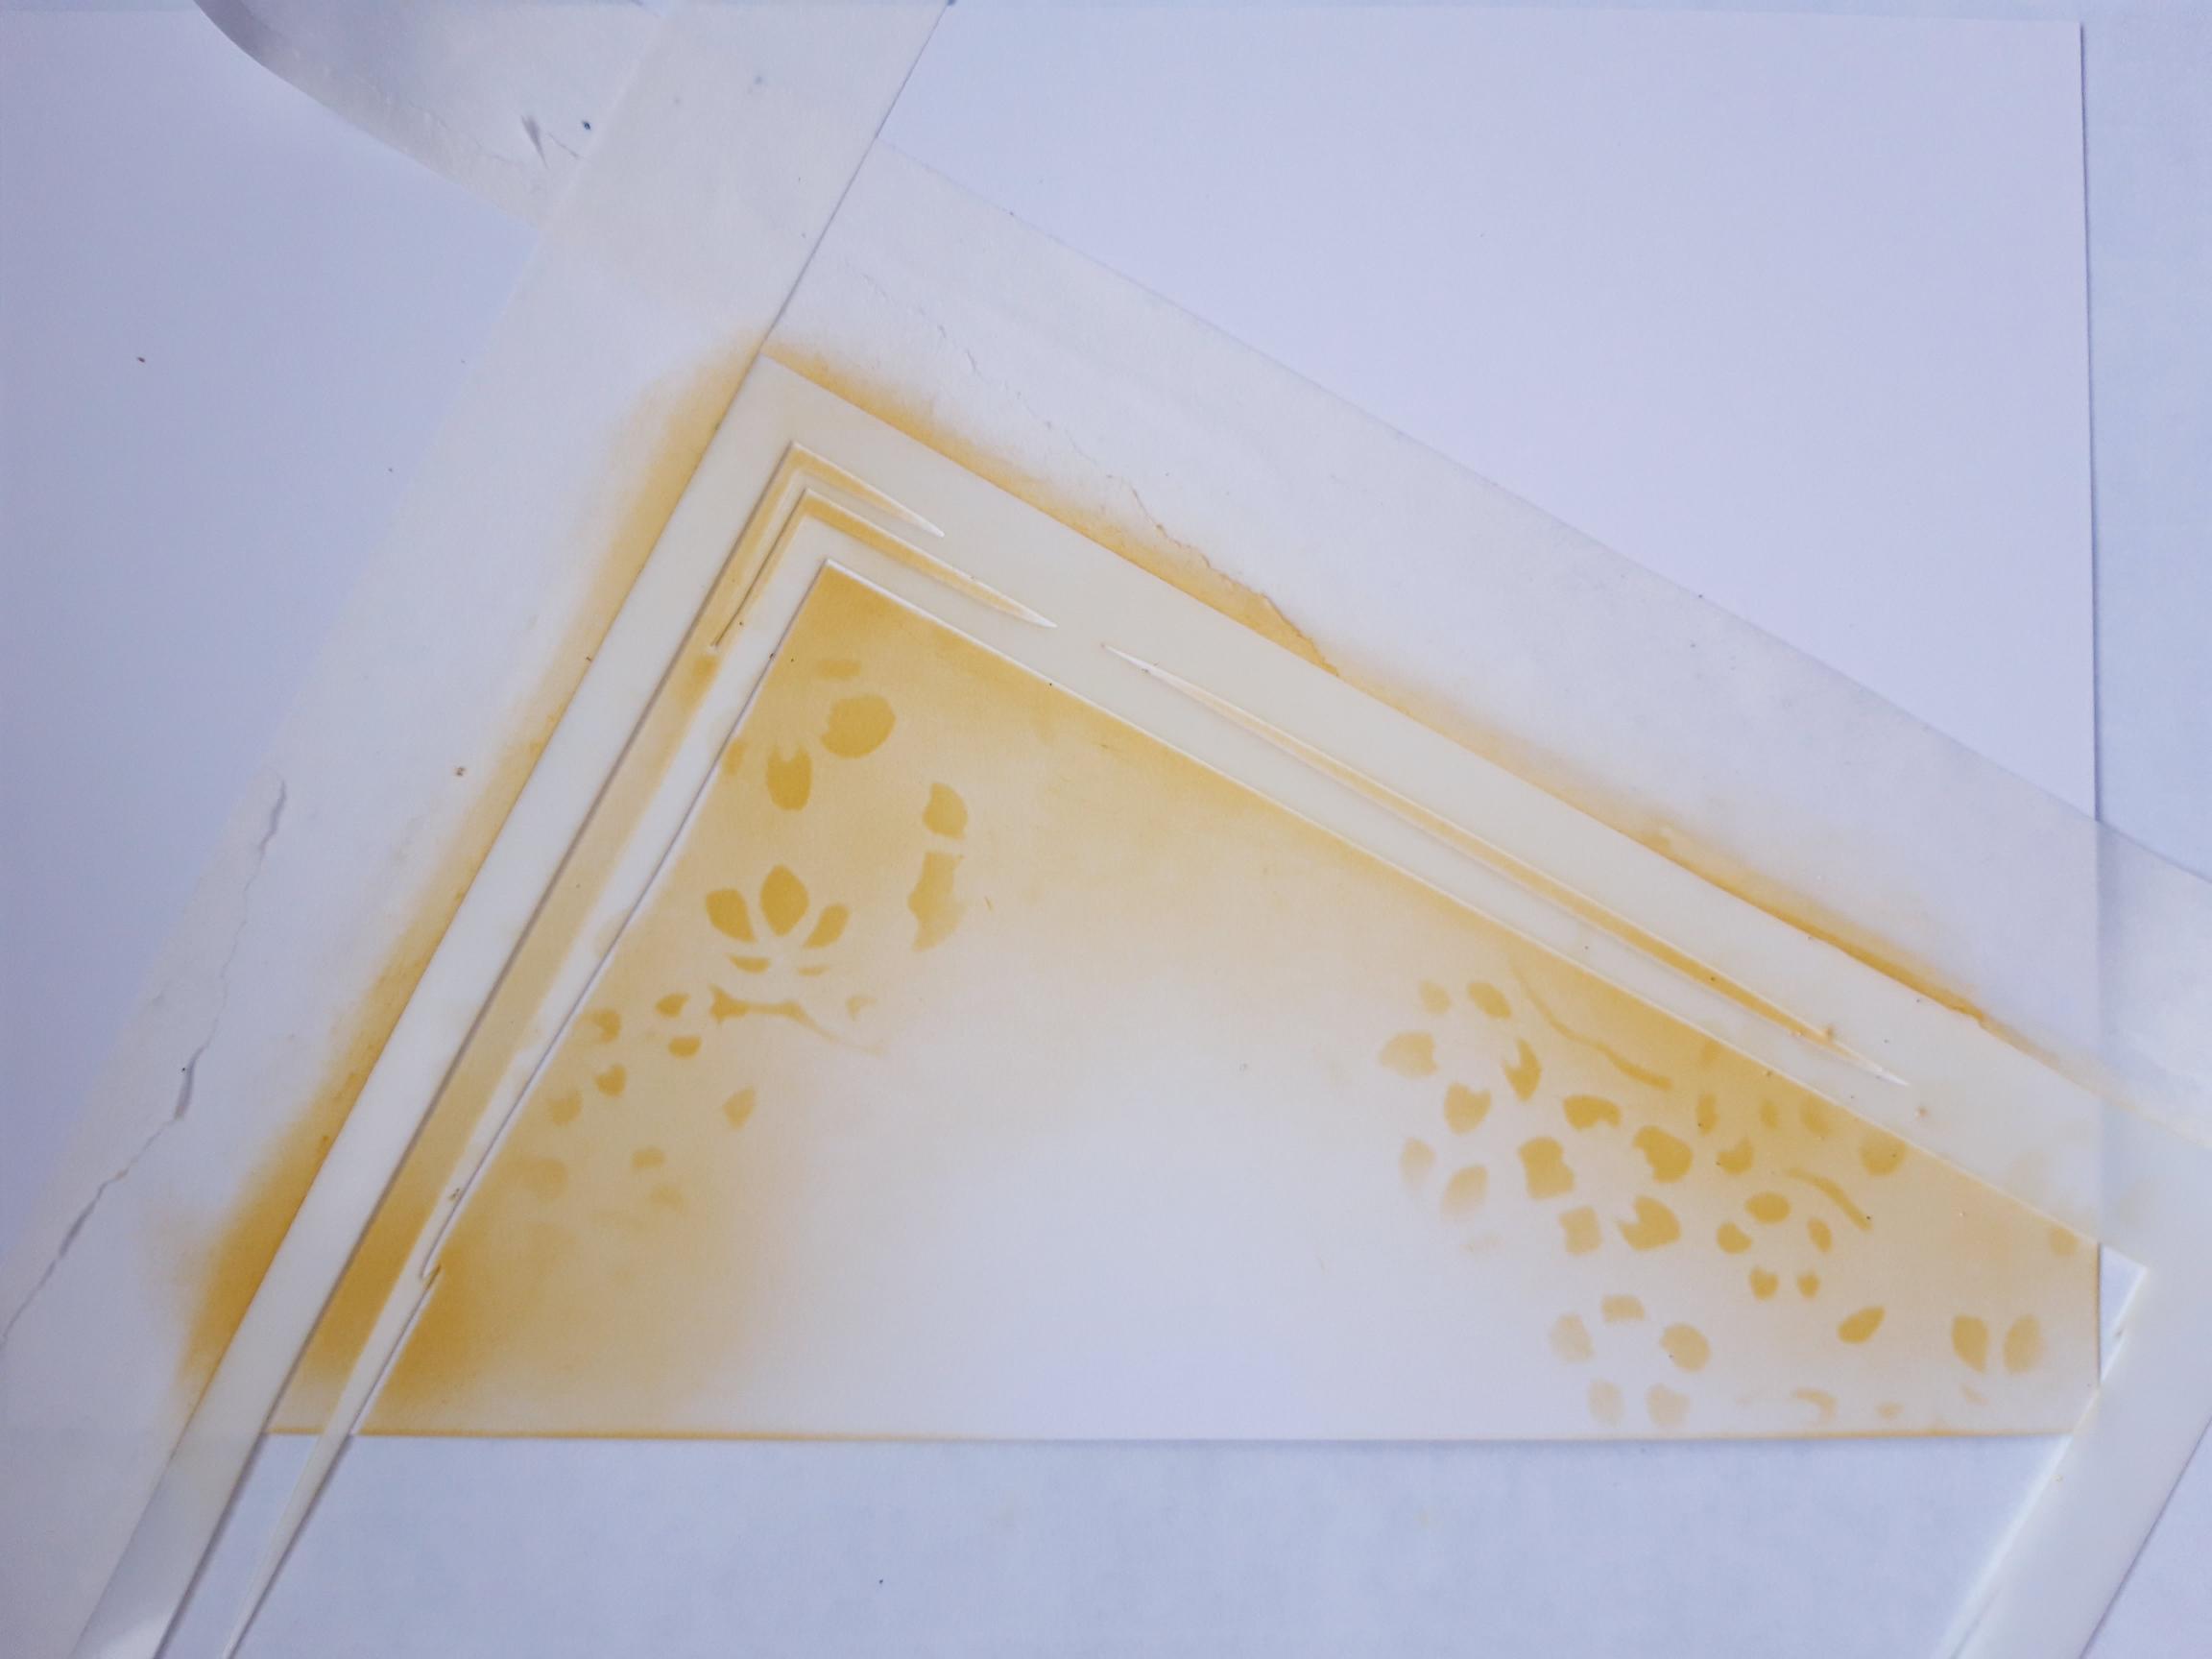
Blend randomly through the Delicate And Beautiful stencil, with the same Oxide, to add a subtle effect to your background. |
|
Ink up the textured stars stamp, from the Reach For The Stars Stamp Collection, with the Onyx Black Versafine and stamp randomly on to your background. Carefully remove the stencil and dry off your background. |
|
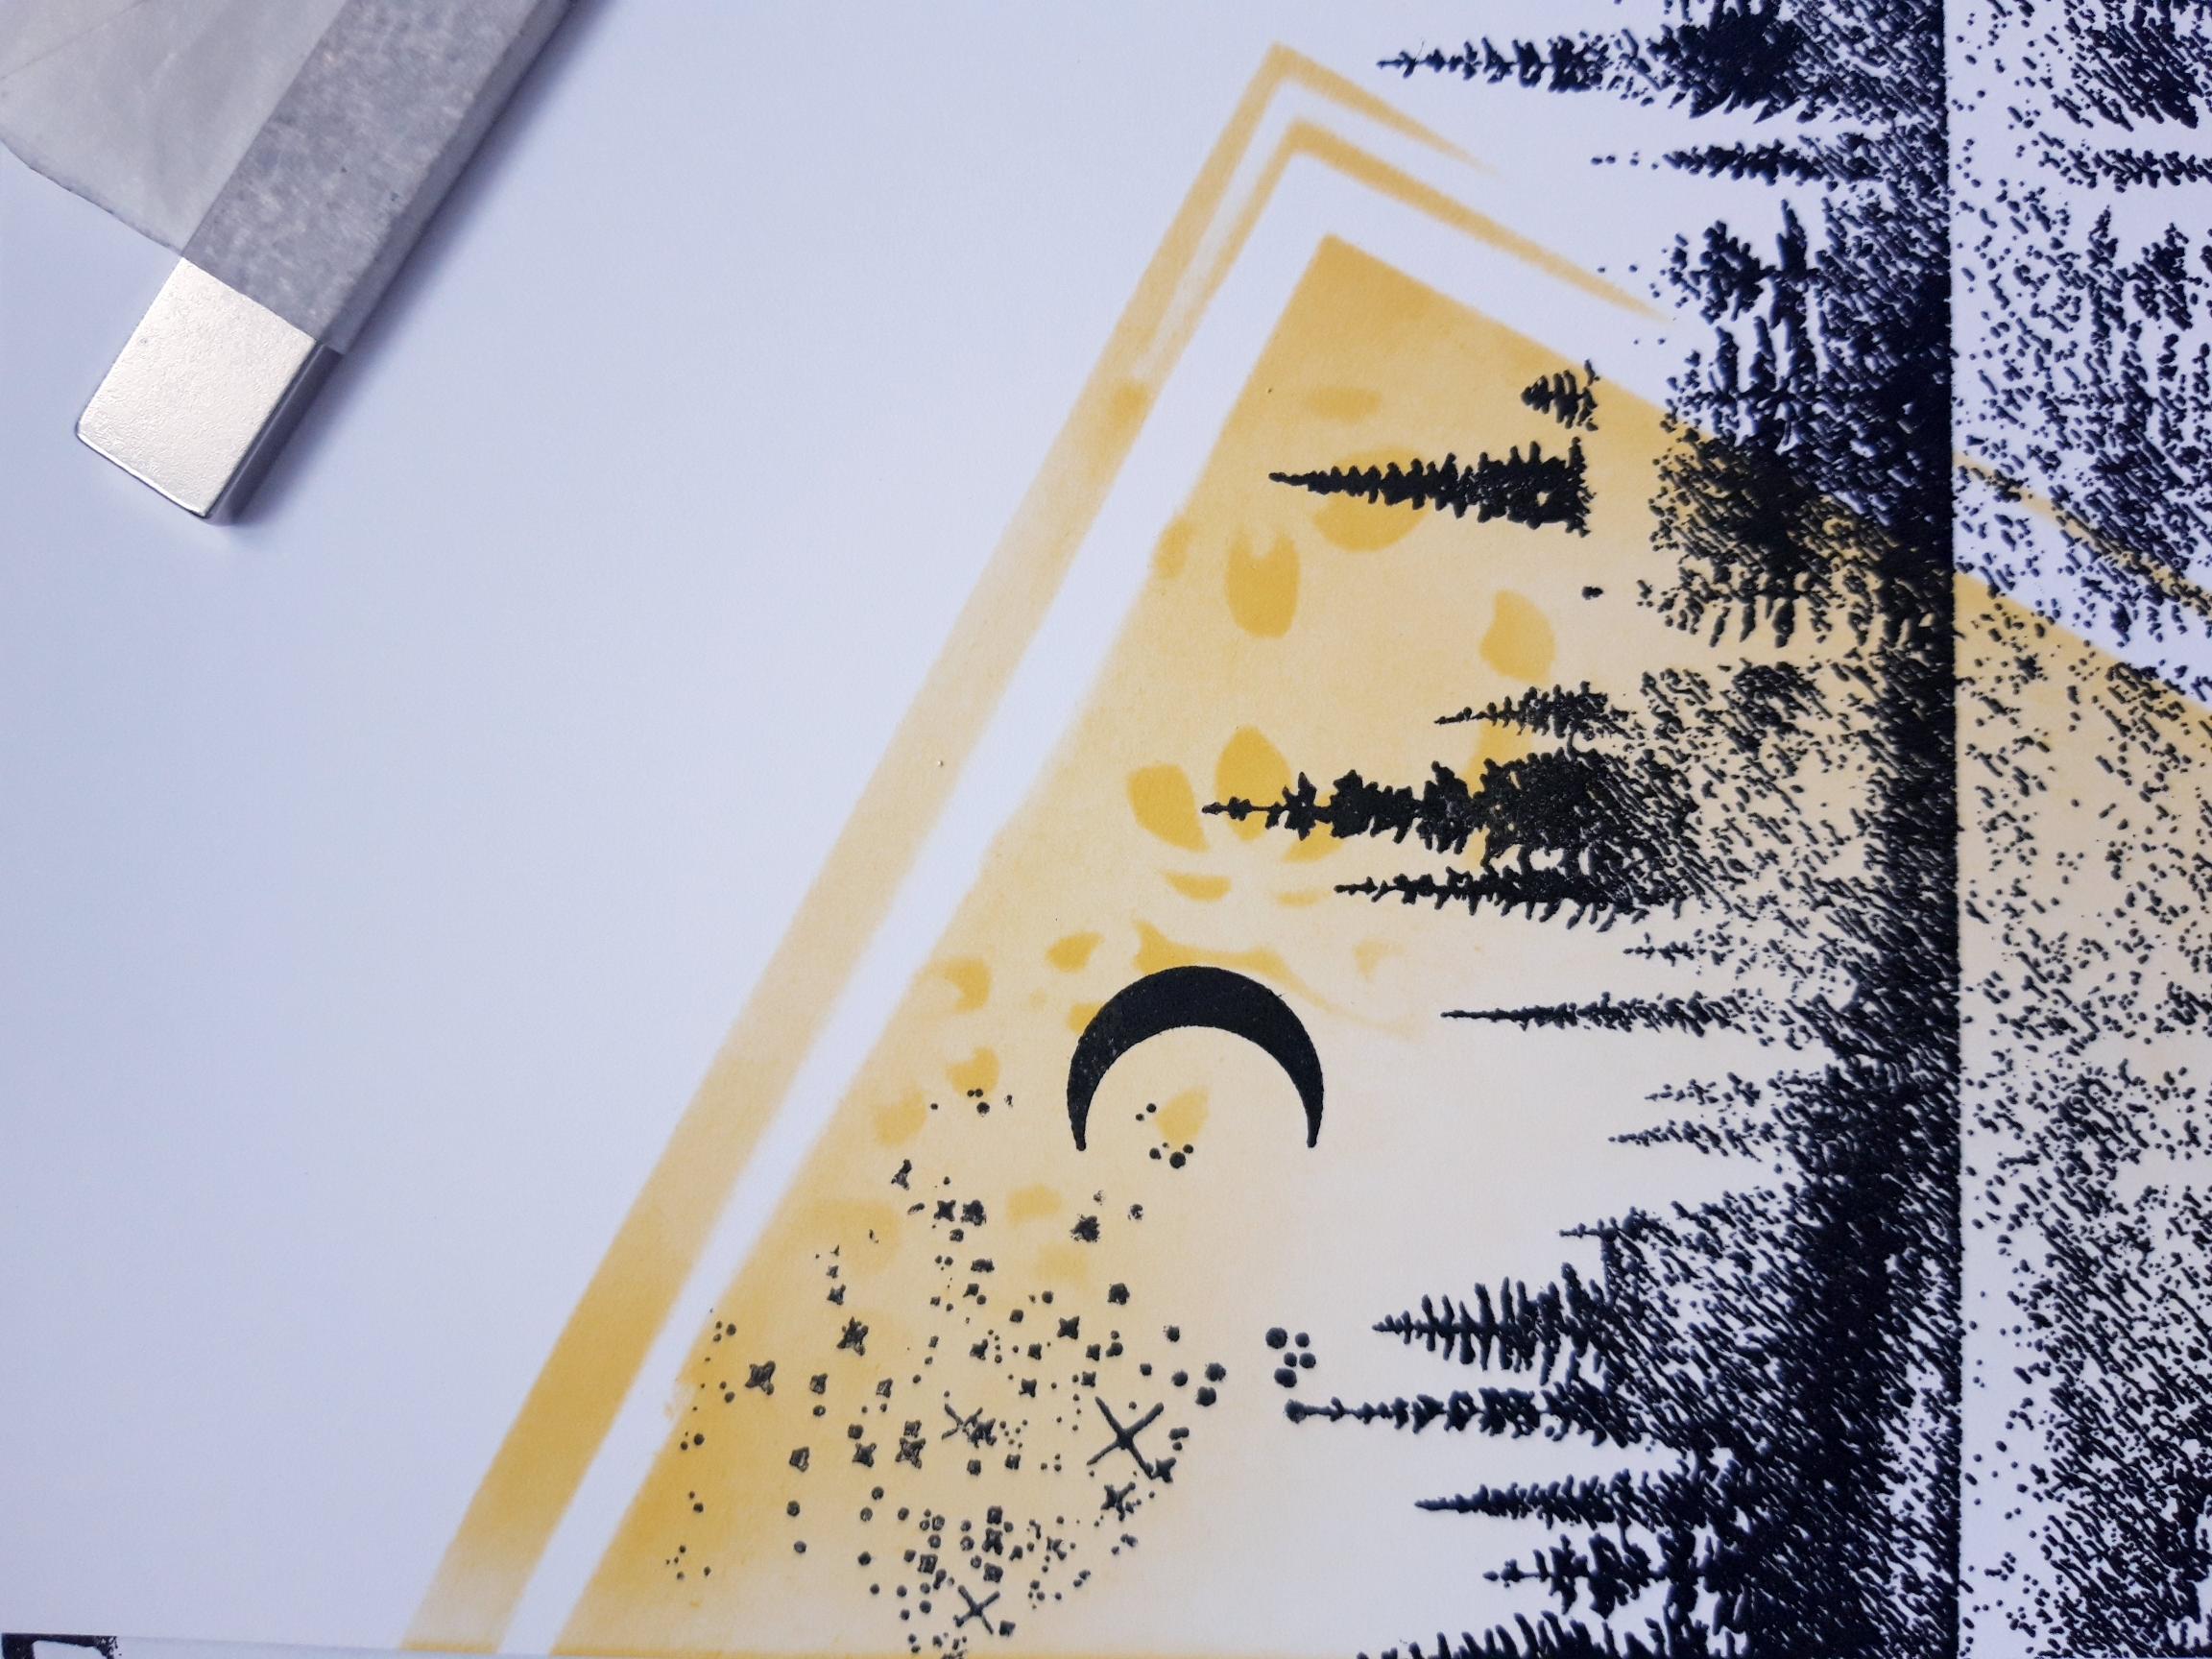
Ink up the focal stamp, from the same collection, with the Versafine and stamp across your inked background. Ink up the moon and stamp within your artwork, where required. |
|
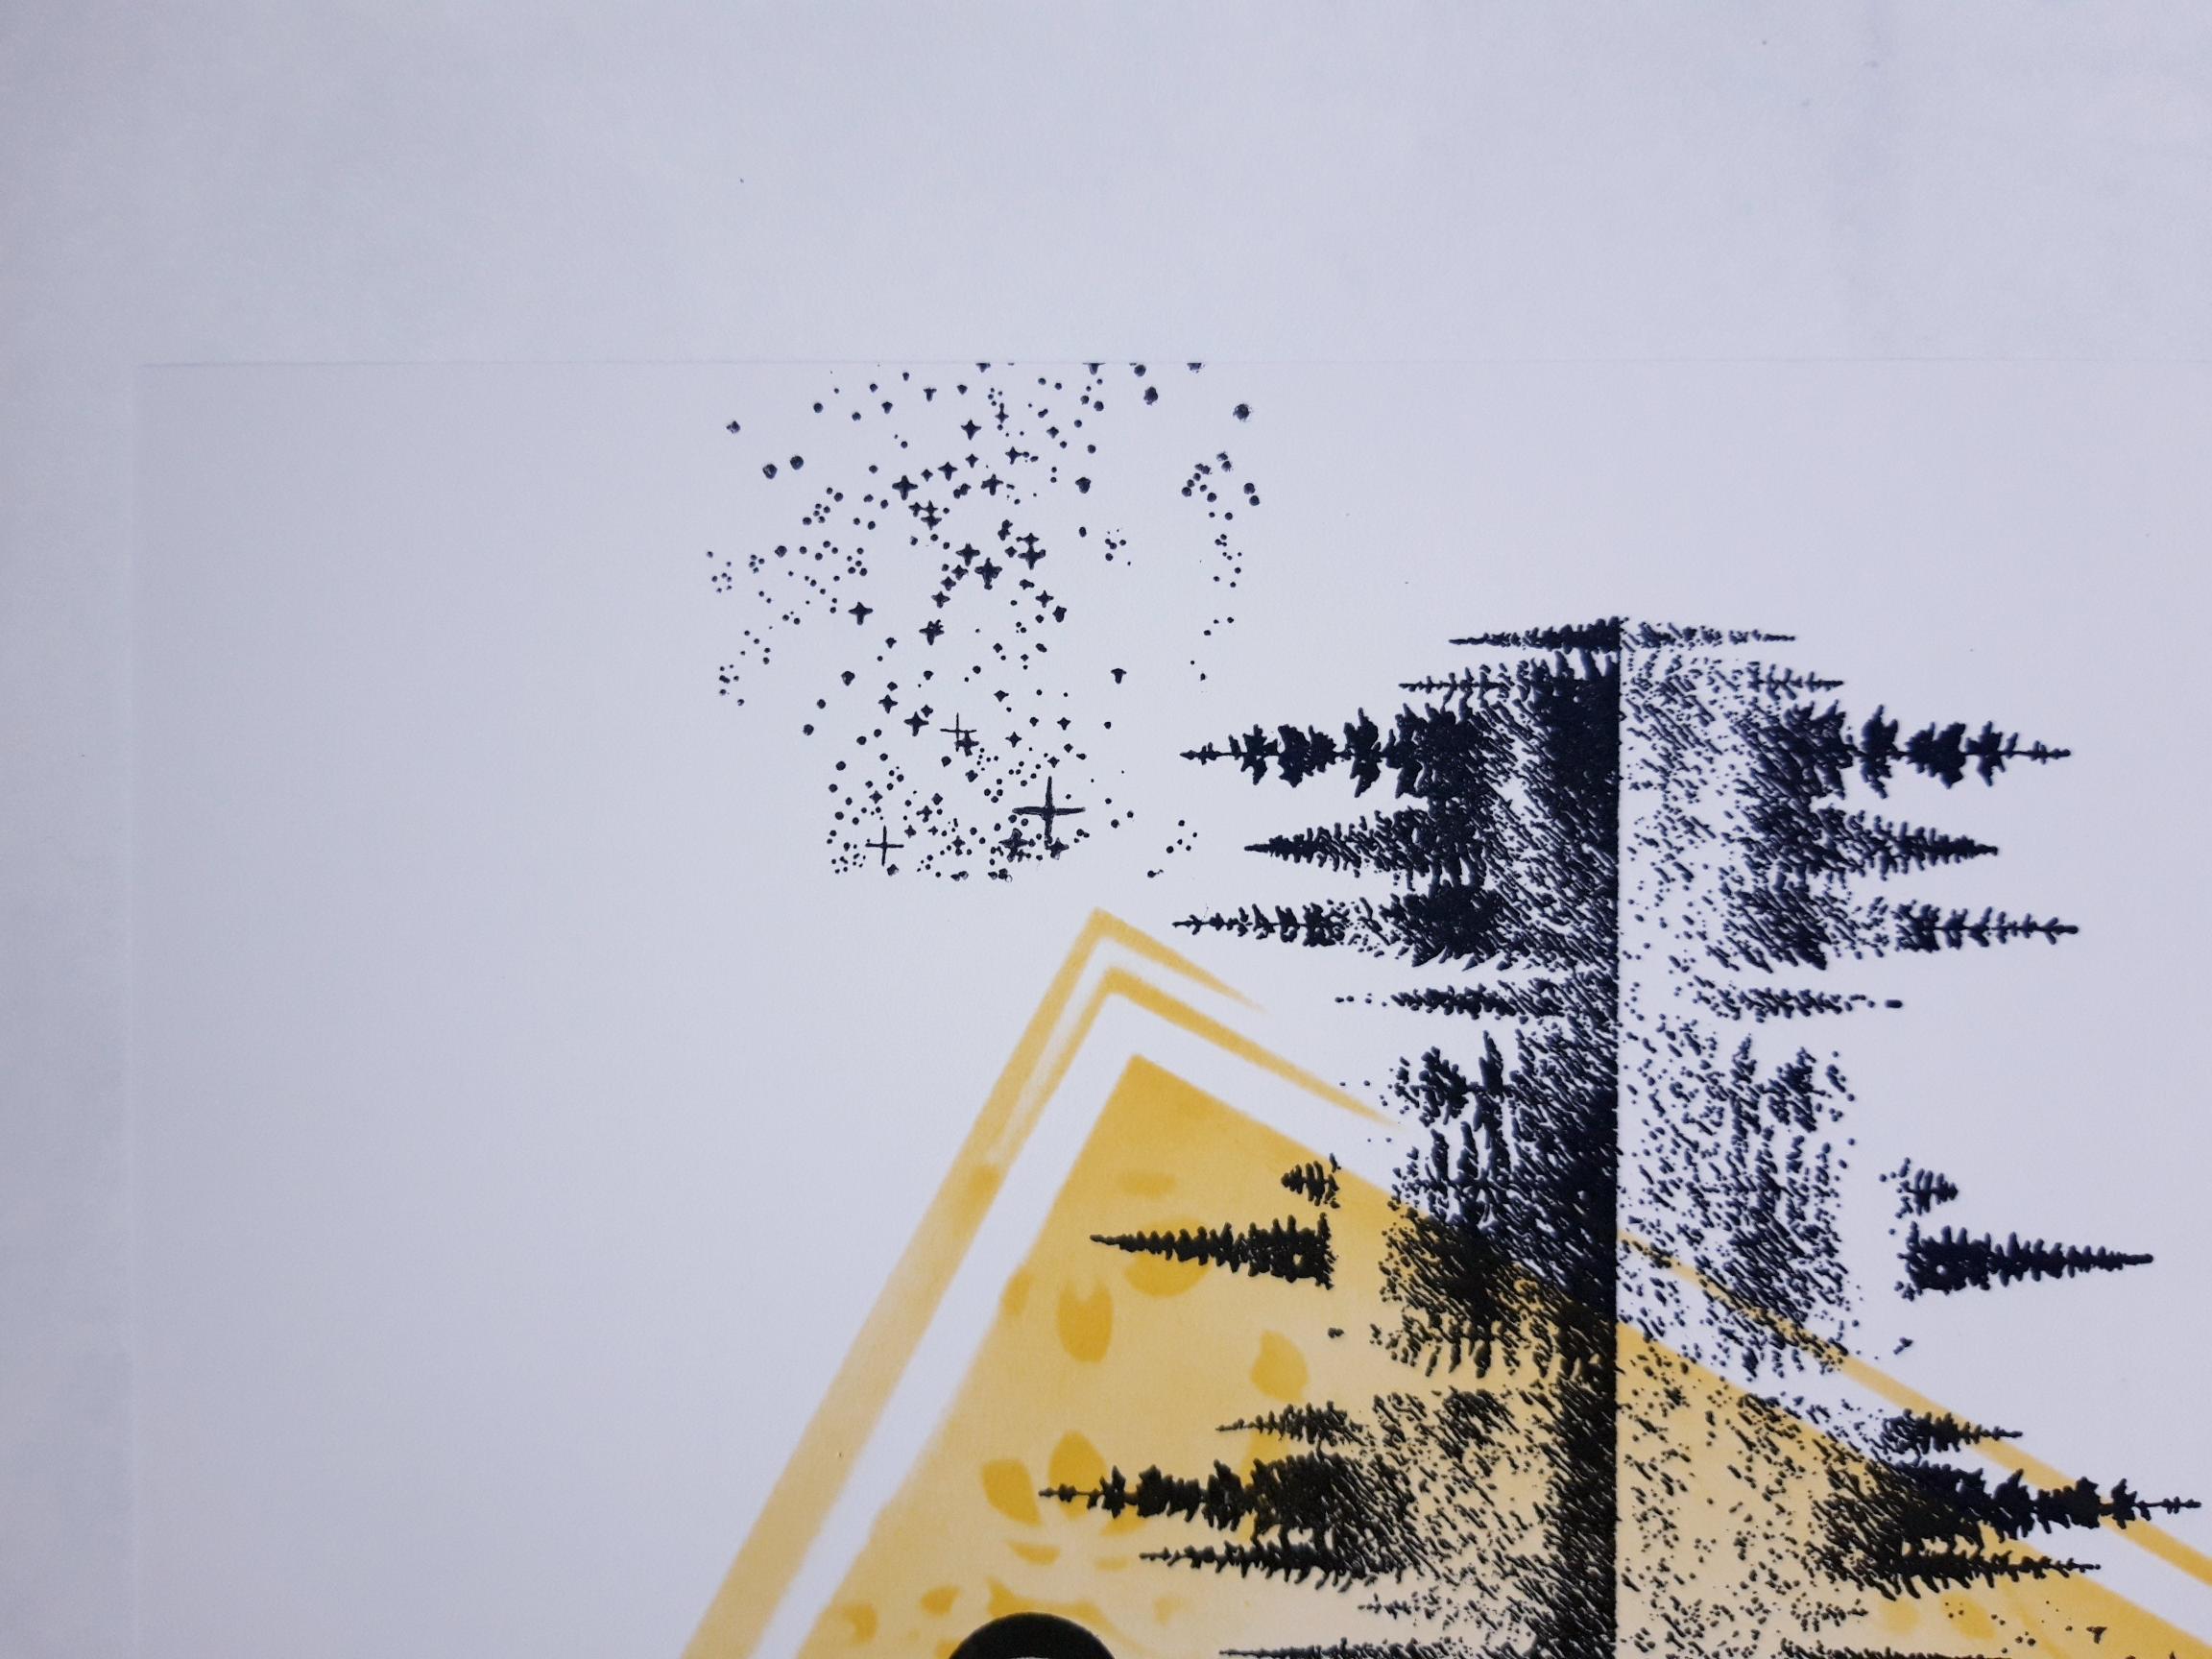
Ink up the textured stars stamp again and stamp so it's just kissing the right side of your stamped artwork and goes off the edge of the card. |
|
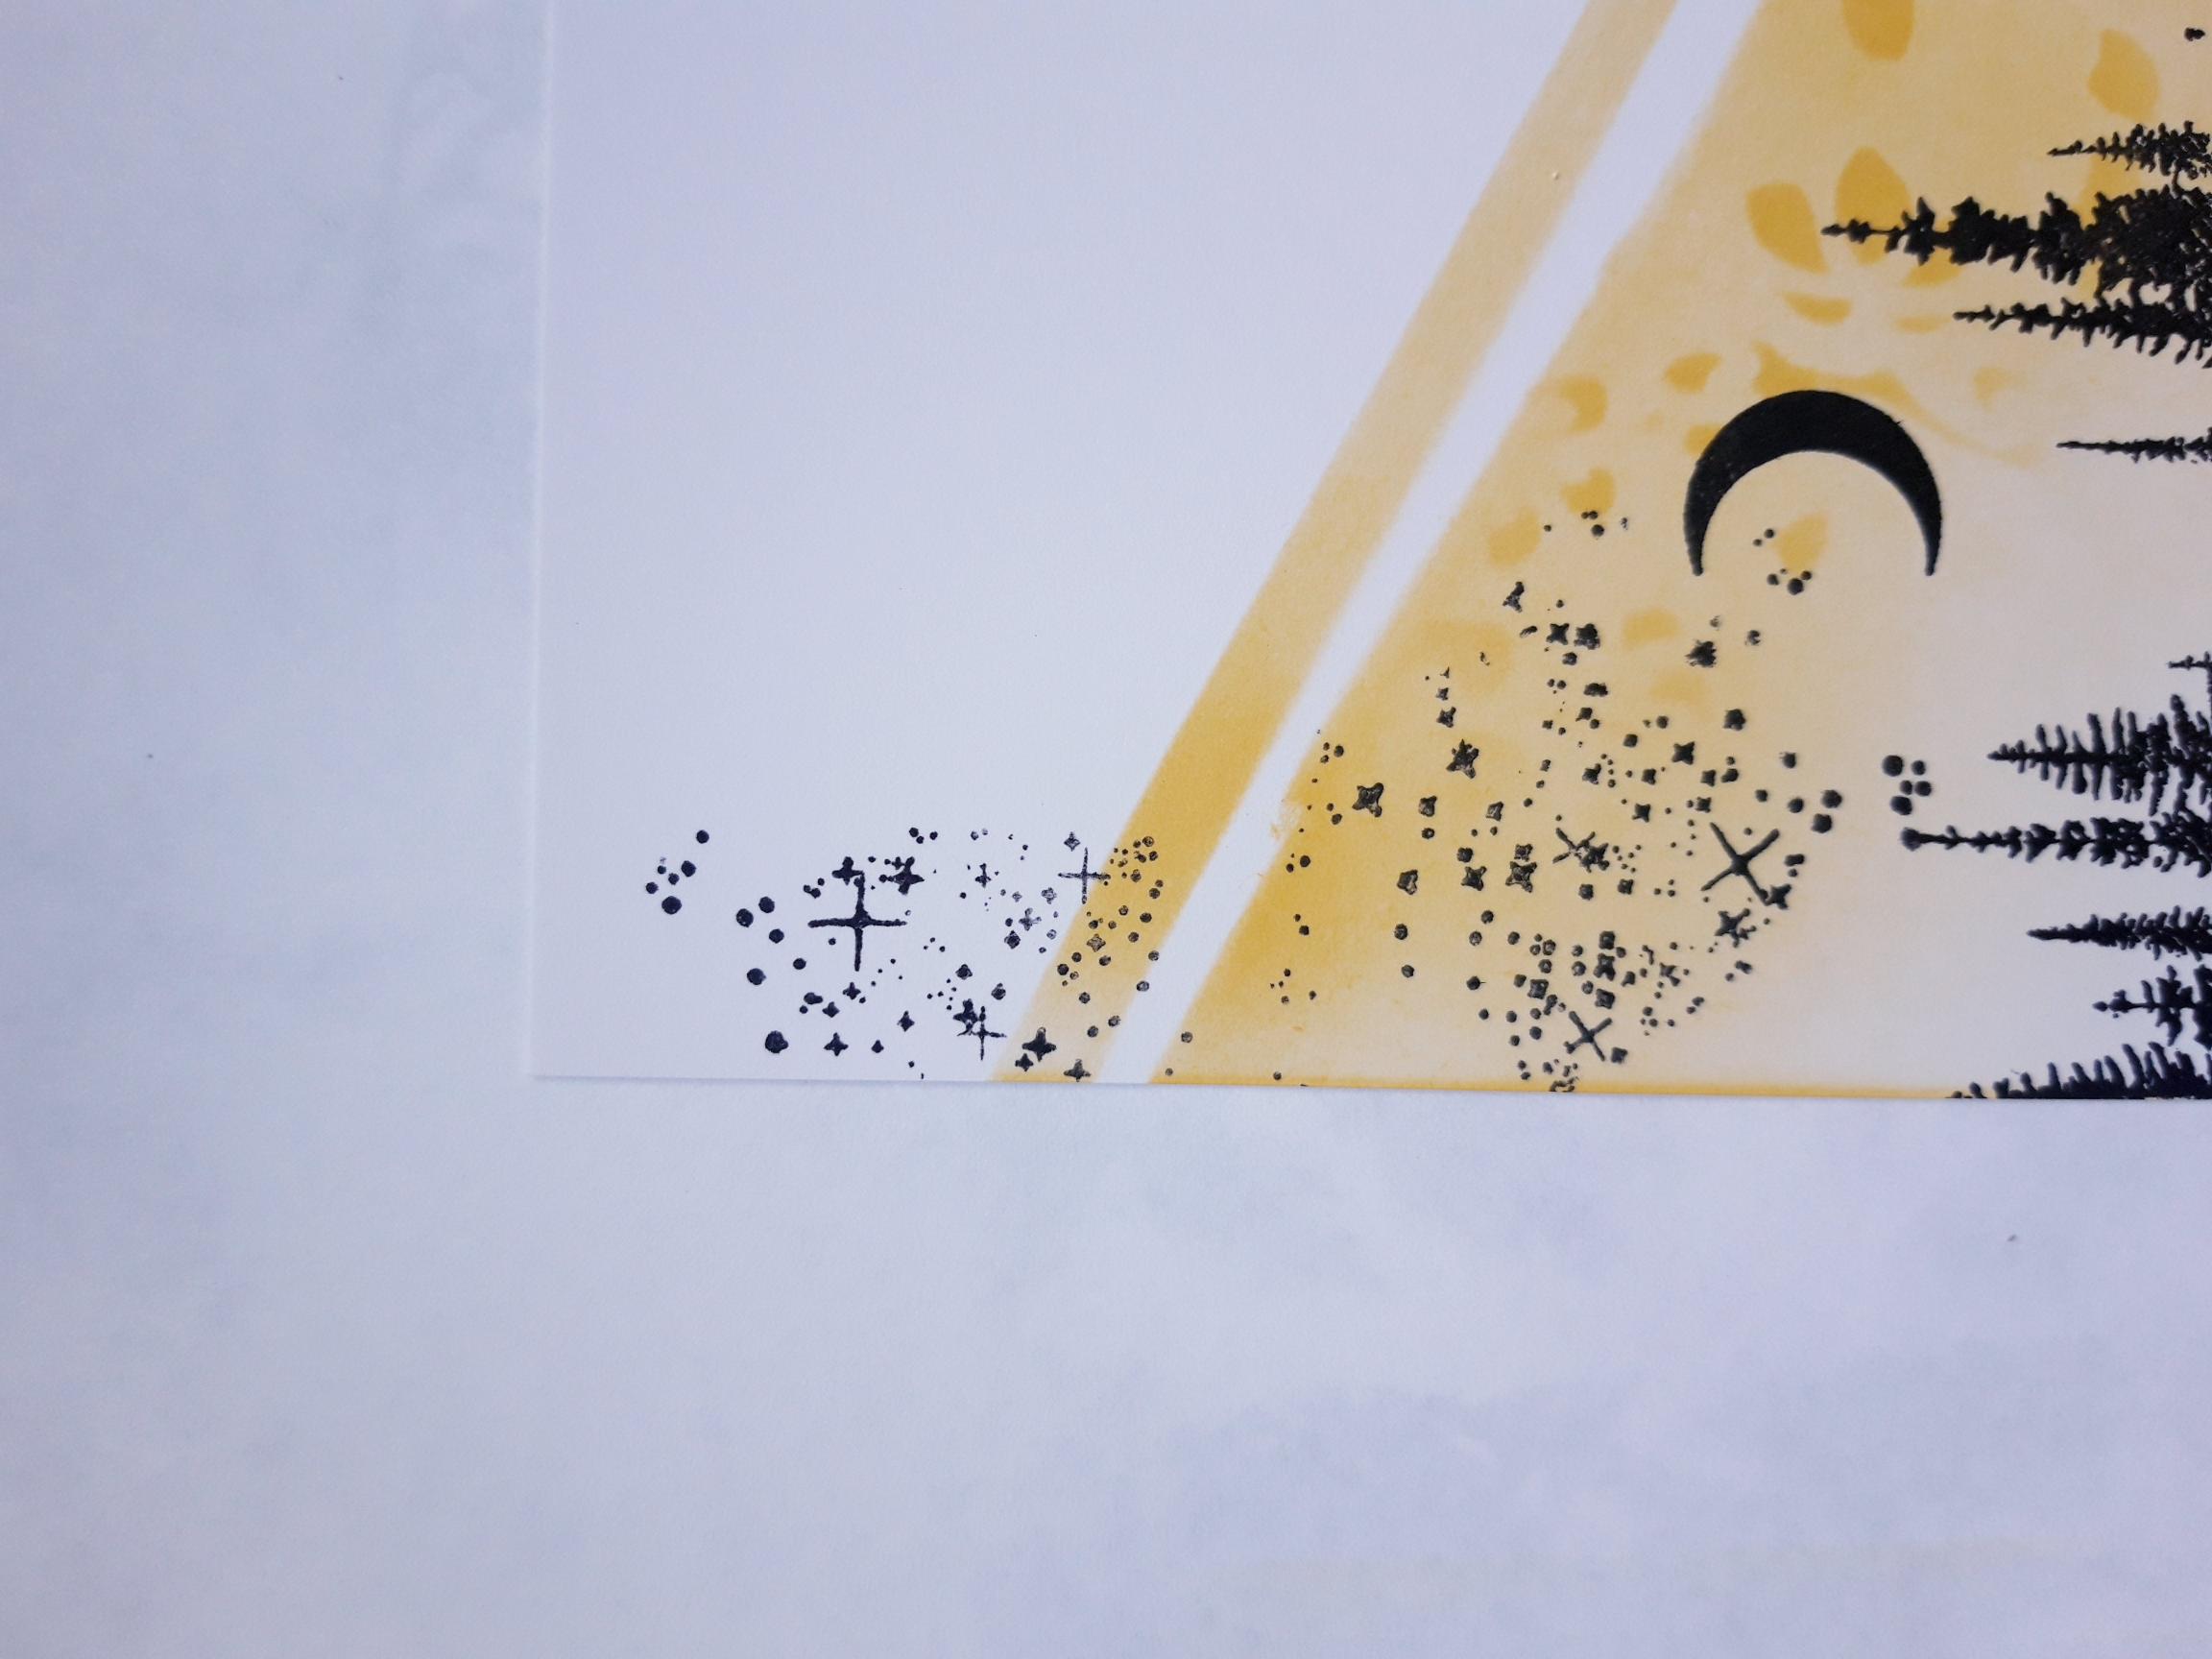
Reink the same stamp and add stars going up the left hand side of the card, blending in with the other stamped stars. Feel free to add the stars wherever you want a twinkle! |
|
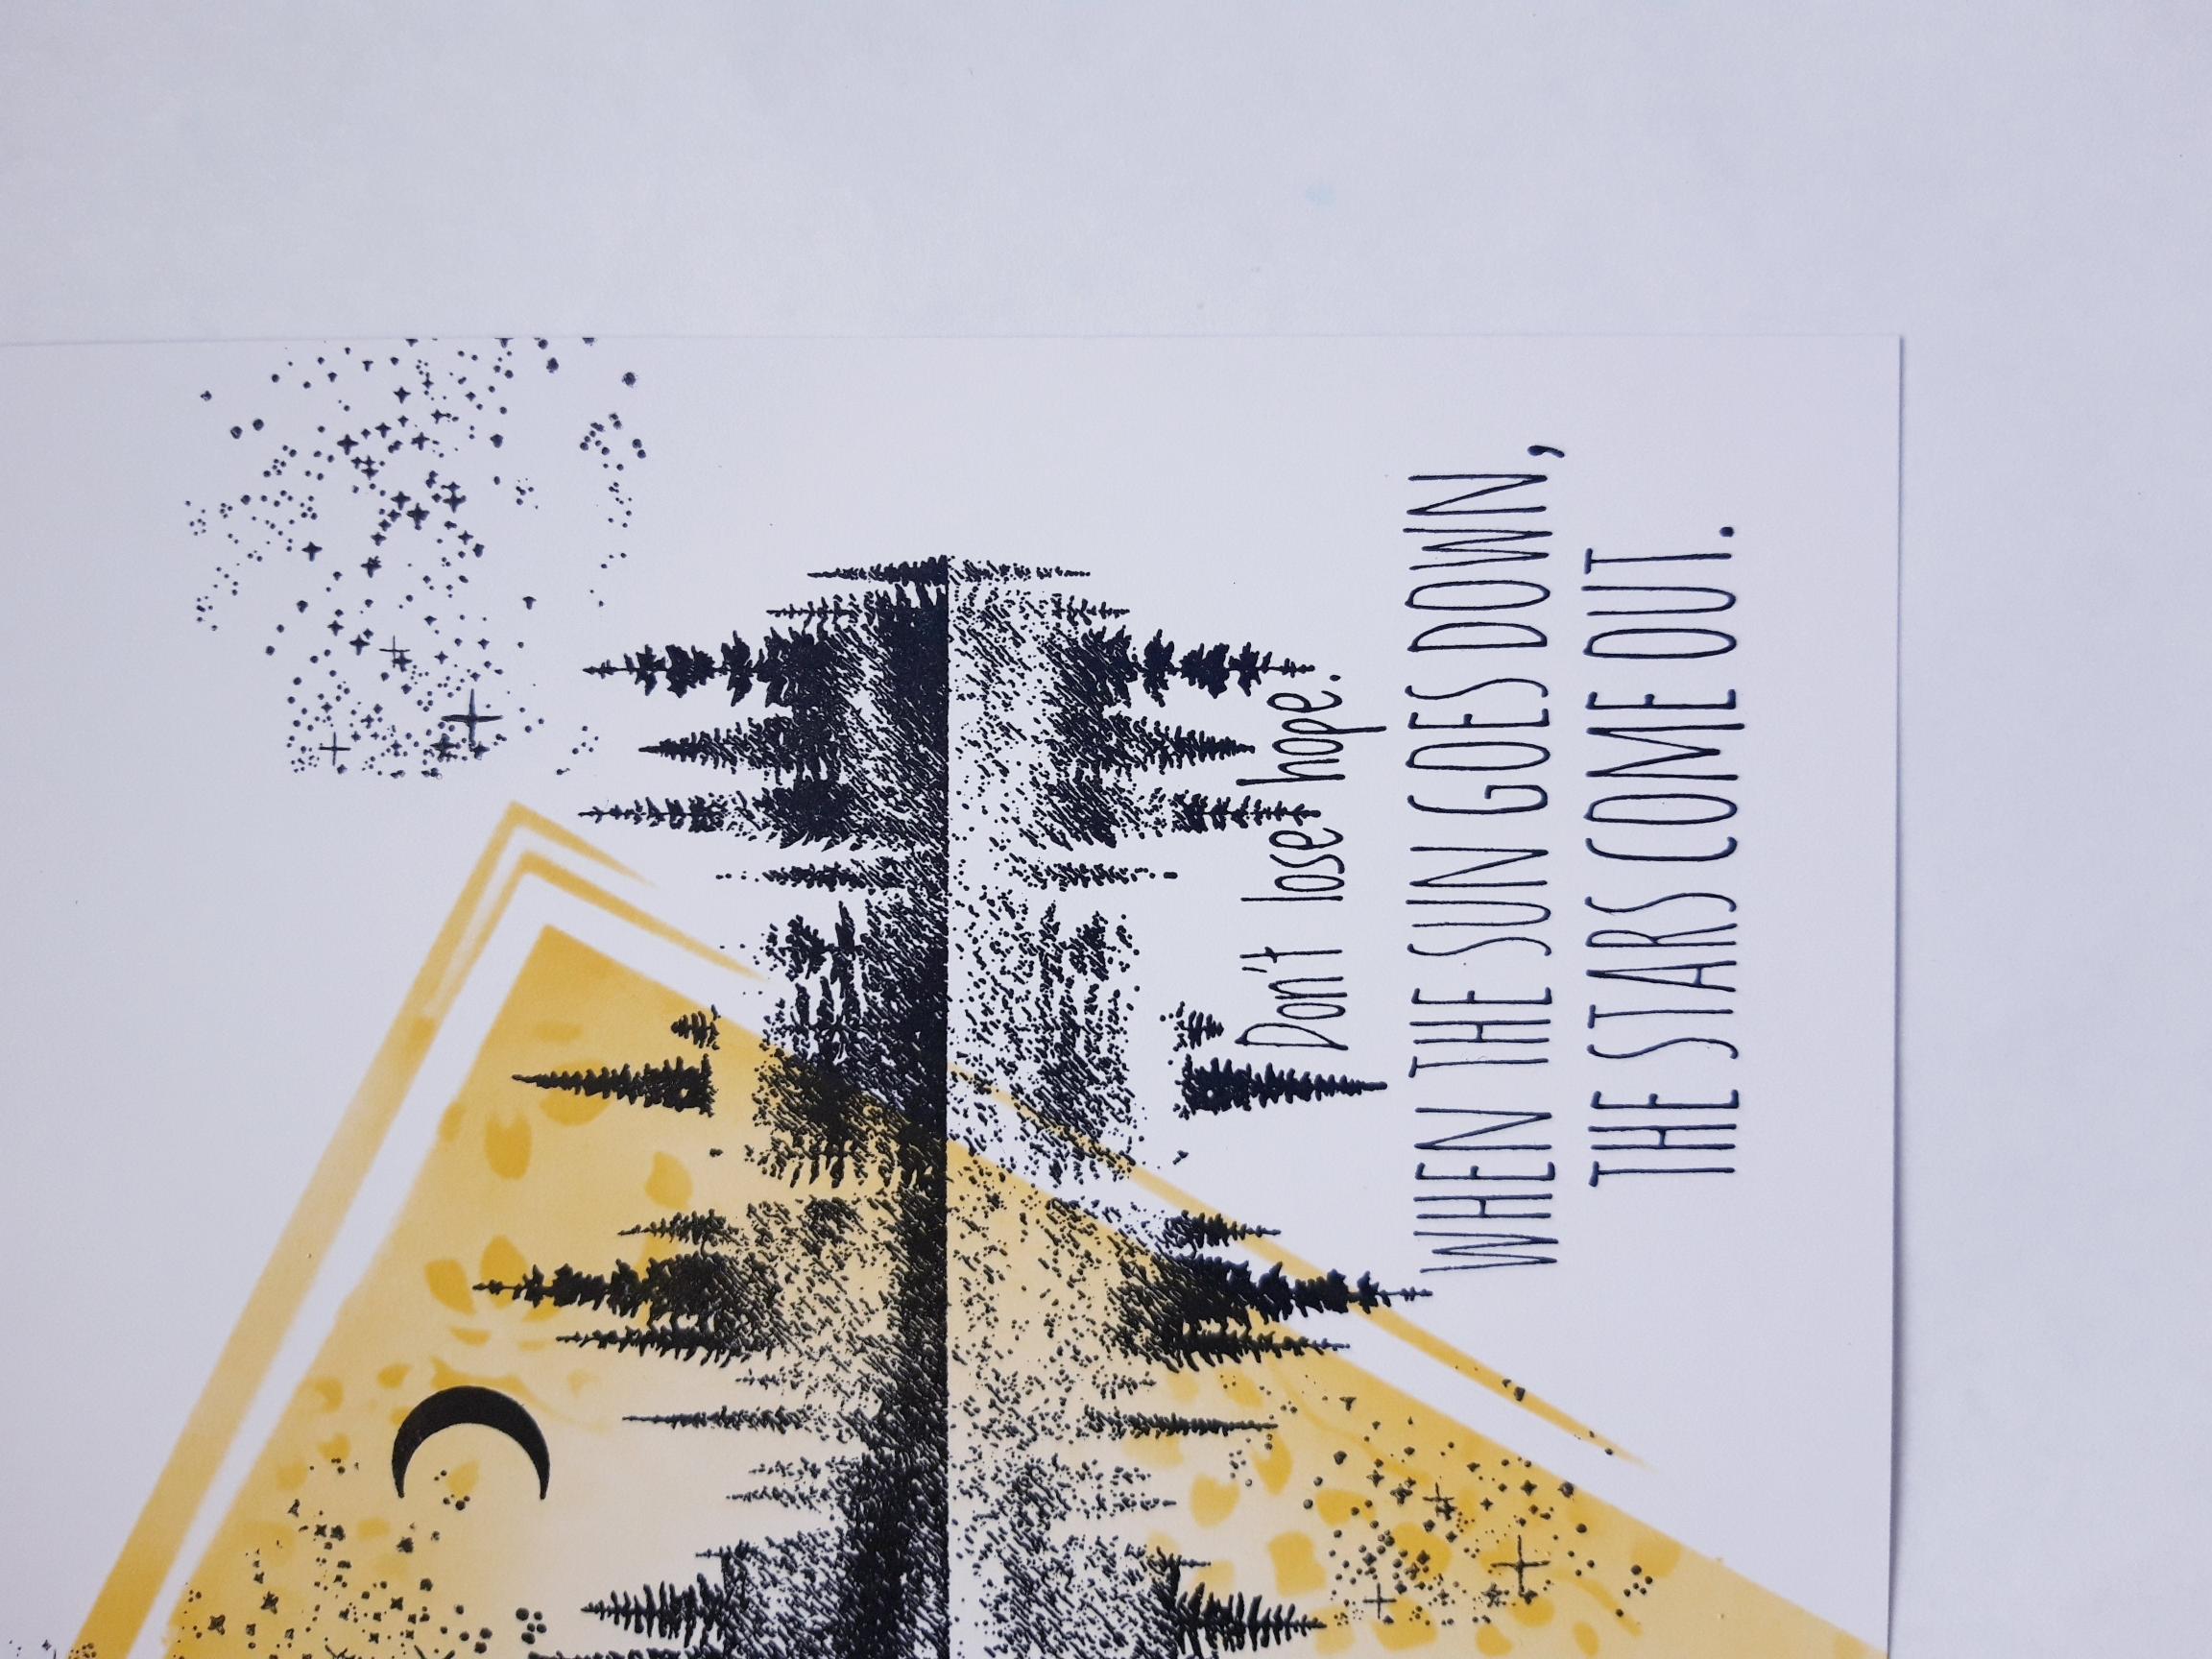
Ink up the sentiment stamp, from the same collection and stamp in the bottom right corner of your artwork. |
|
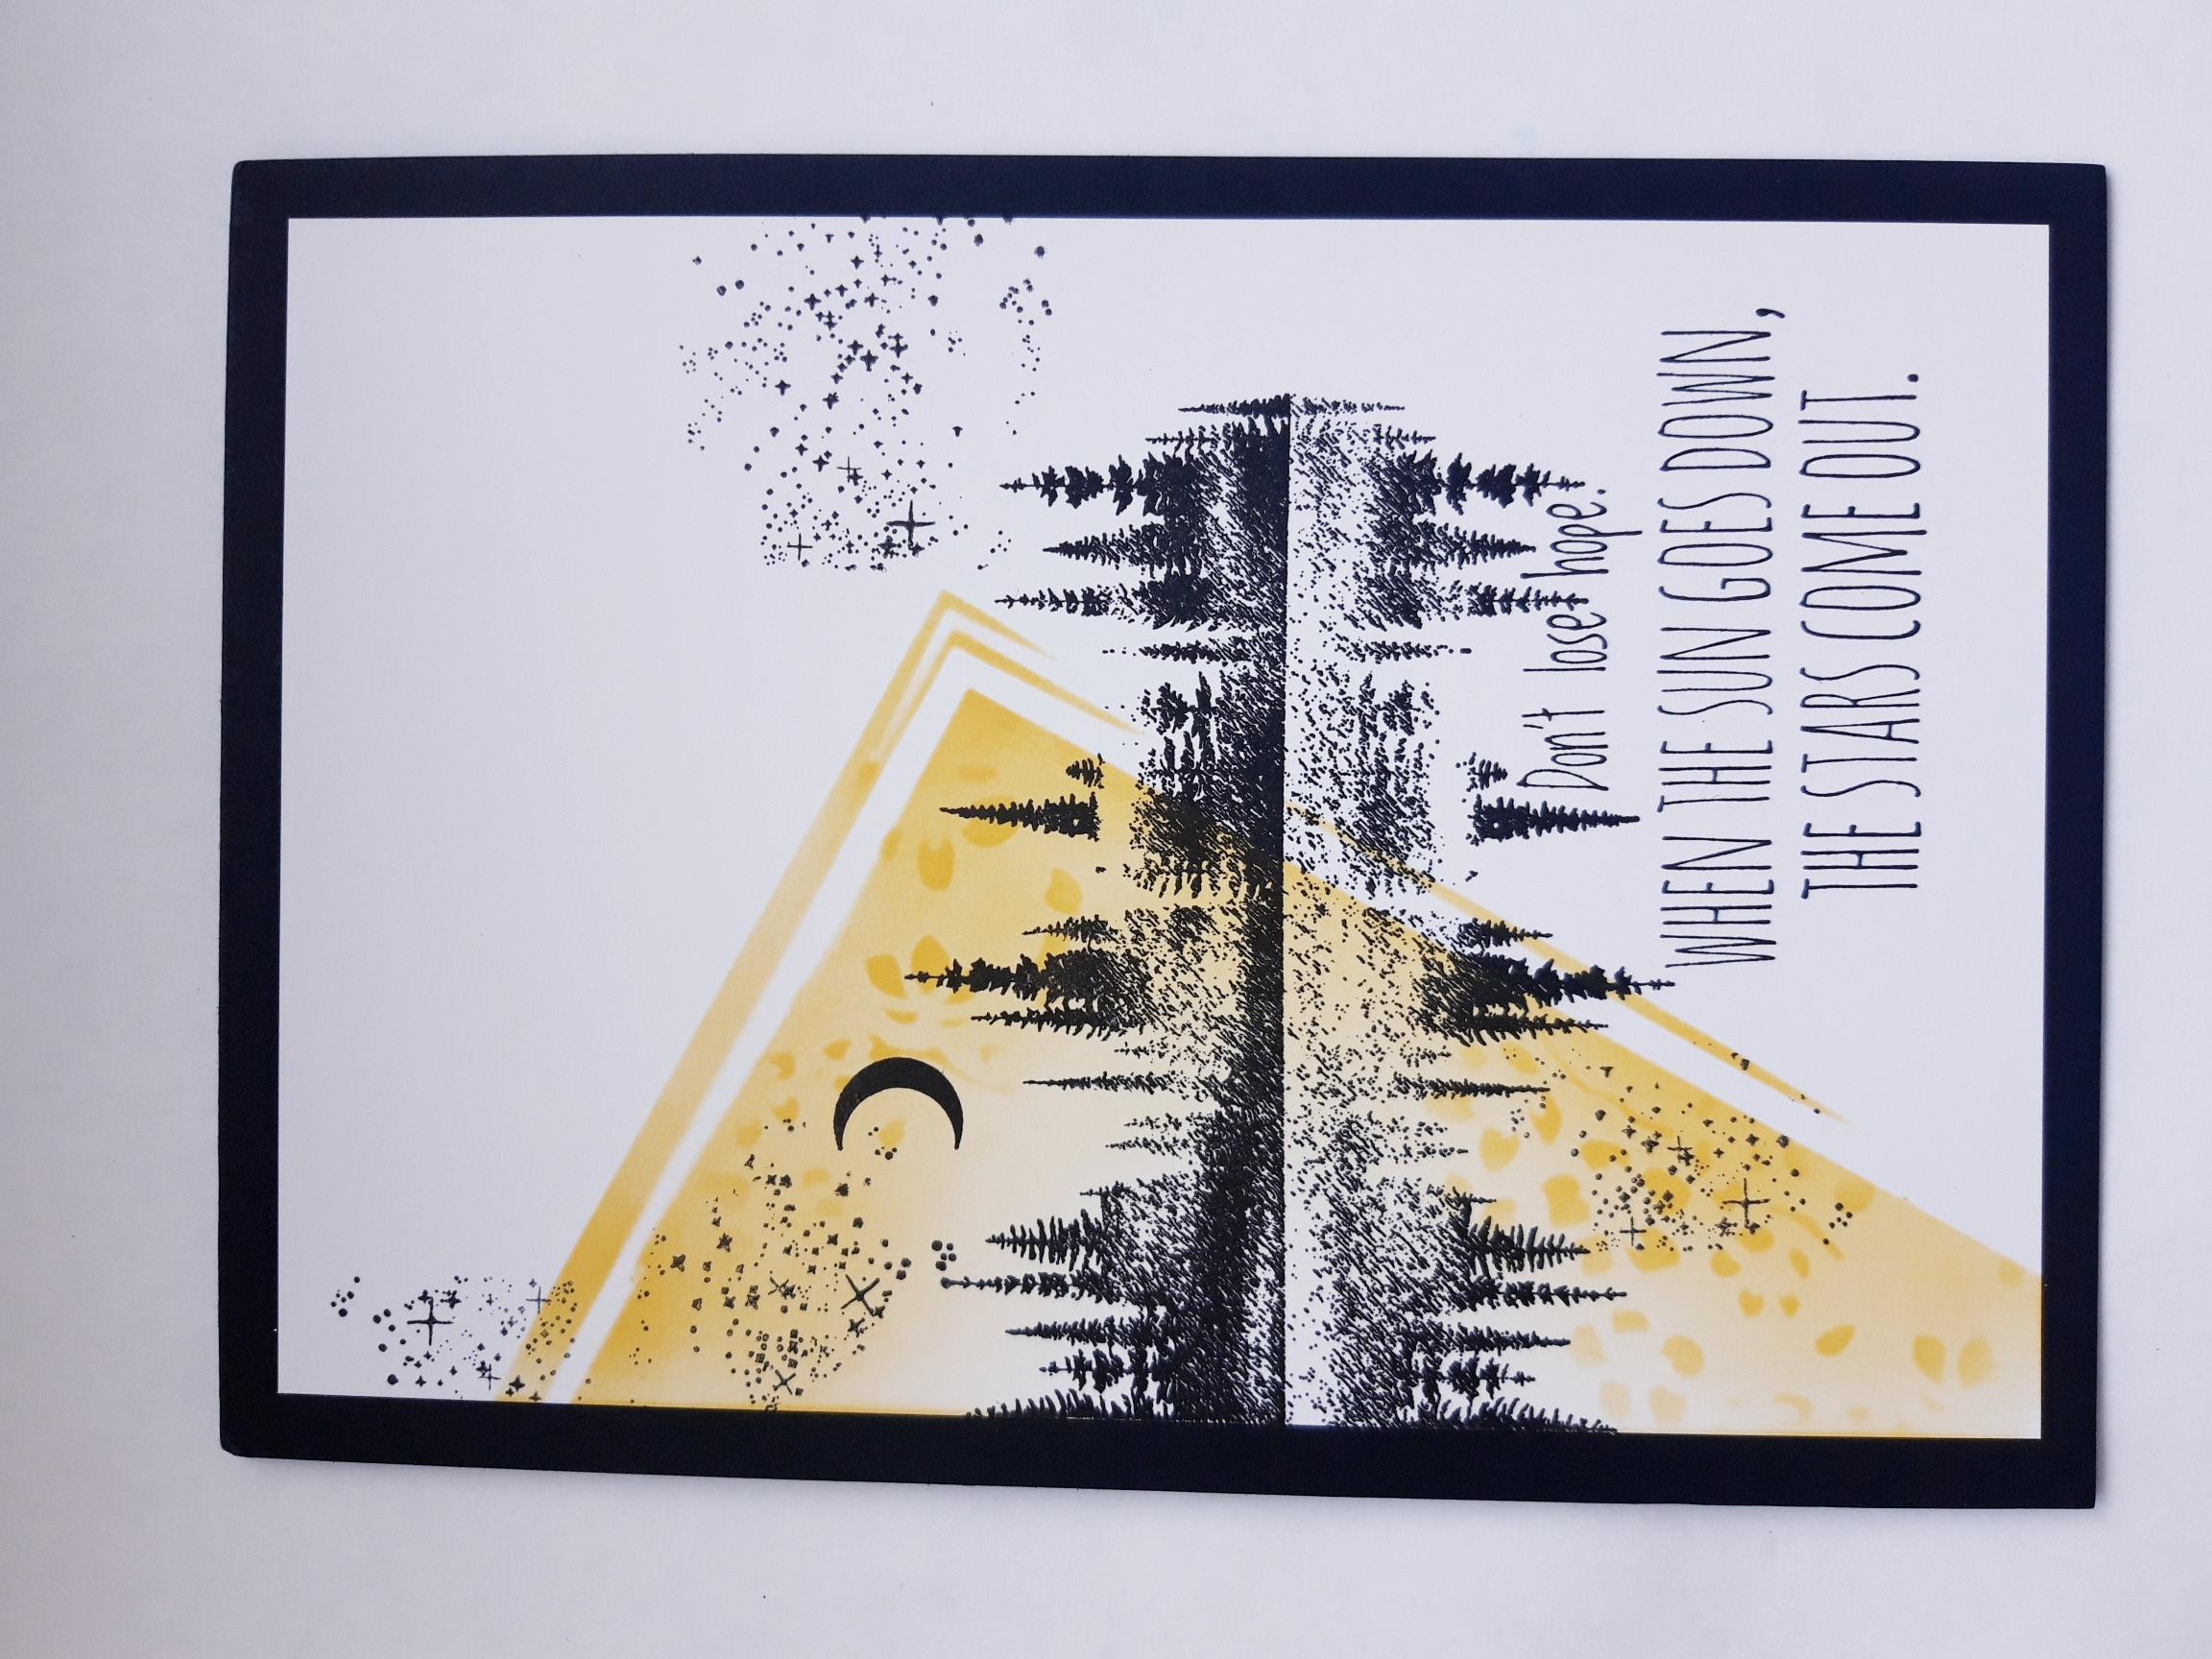
Once your artwork is dry, adhere on to the front of your black, top folding card blank. |
|
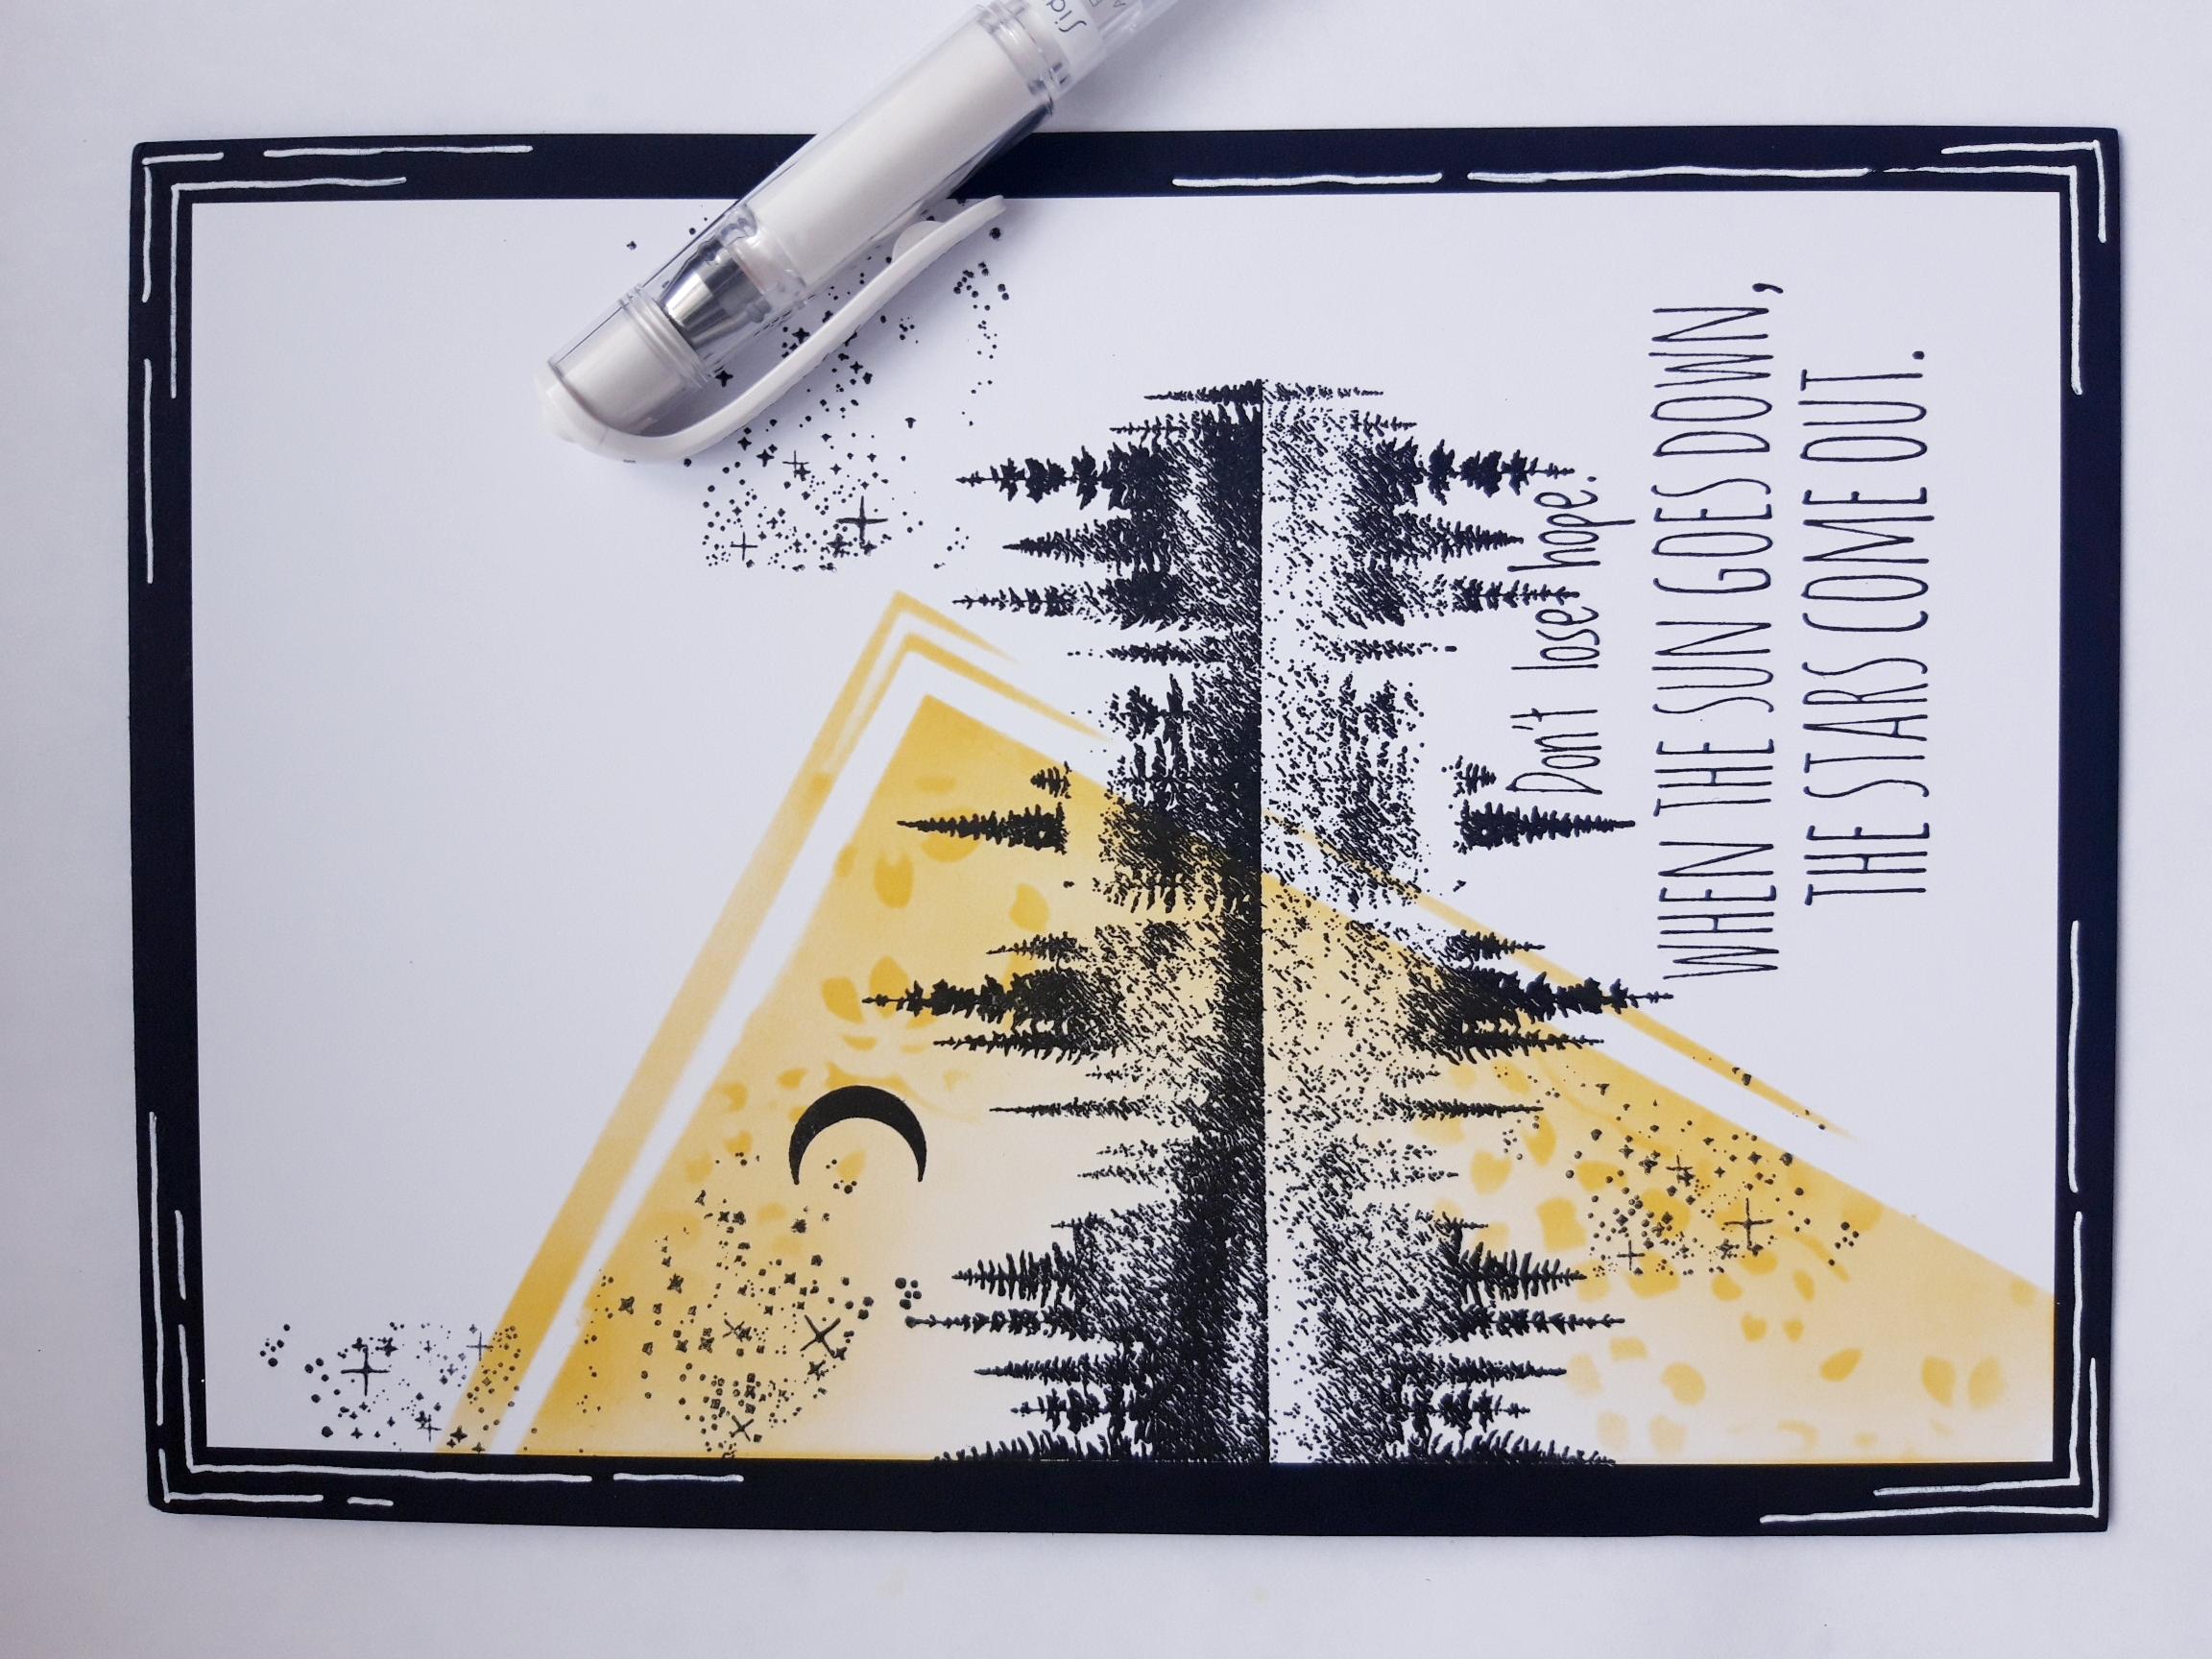
Use your white gel pen to add a decorative frame around the edge of your black card blank. |
|
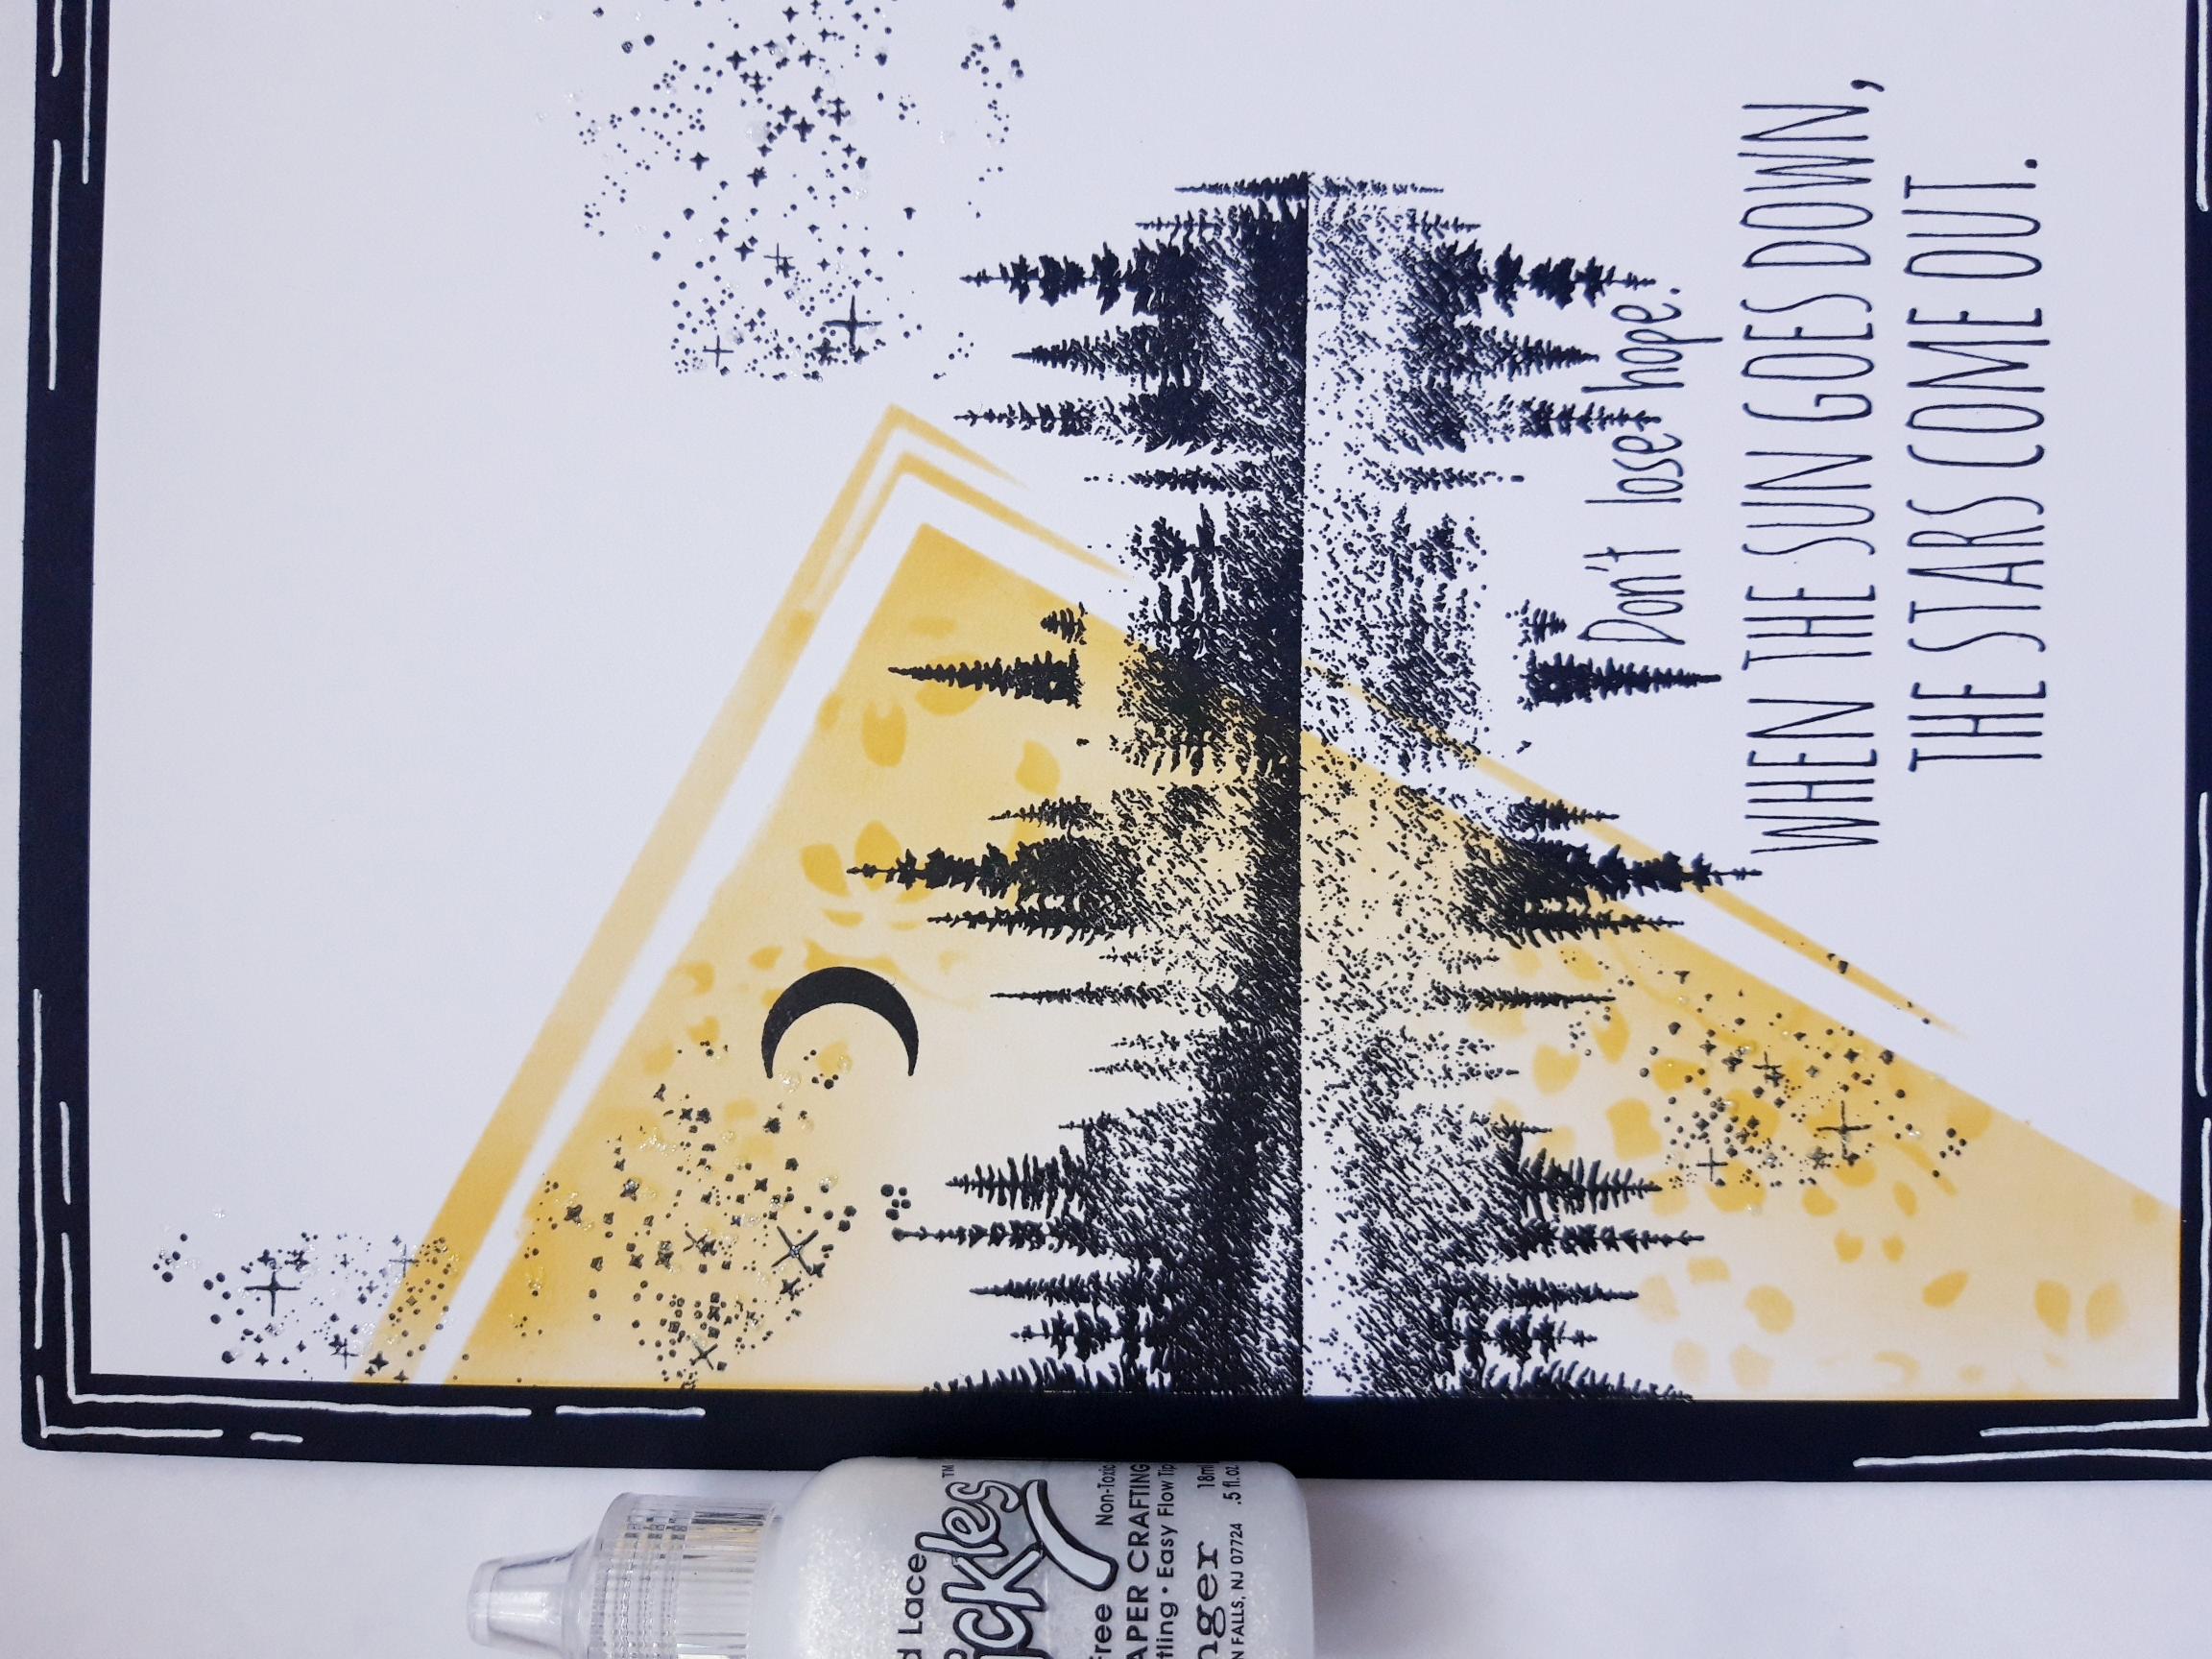
To finish, add the Stickles to your artwork, as required. I dotted it amongst the stamped stars and within the water reflection, to add a hint of sparkle. |