

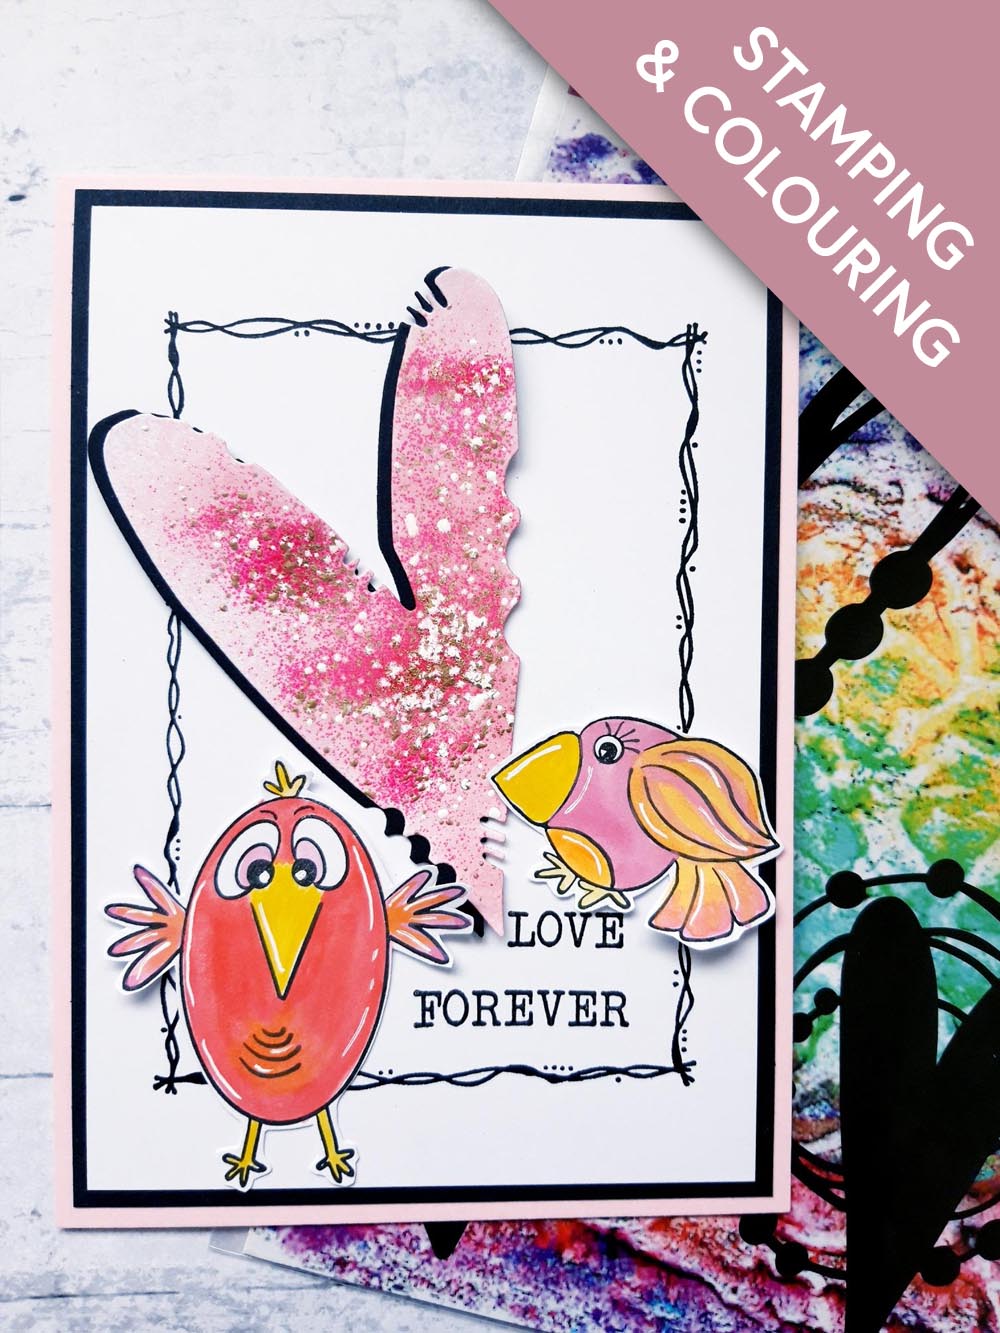
WHAT YOU WILL NEED:
Pink top folding card blank (cut to 7 x 5")
Black card (6 3/4 x 4 3/4")
White card (6 1/2 x 4 1/2")
Black card (7 x 4")
White card (7 x 4")
White card (5 x 5")
Thirsty Brush UnLtd Mixed Up Heart Creative Dies
Thirsty Brush UnLtd Birbs Cottage Creative Stamps
Thirsty Brush UnLtd Bert and Ernie Creative Stamps
Thirsty Brush UnLtd More Than Words Creative Stamps
Dot Frame Stamp Collection
Versafine: Onyx Black
WOW Embossing Ink Pad
WOW Party Poppin Trio embossing powders: Poppin Pink
WOW heat tool
Izink Pigments: Mimosa, Burnt Orange, Raspberry Beret, Lychee, Avalanche
Paint brush
Eureka 101
Paper Trimmer
Perfect Together Glue
Foam pads
Die Cutting machine
[click image to enlarge] 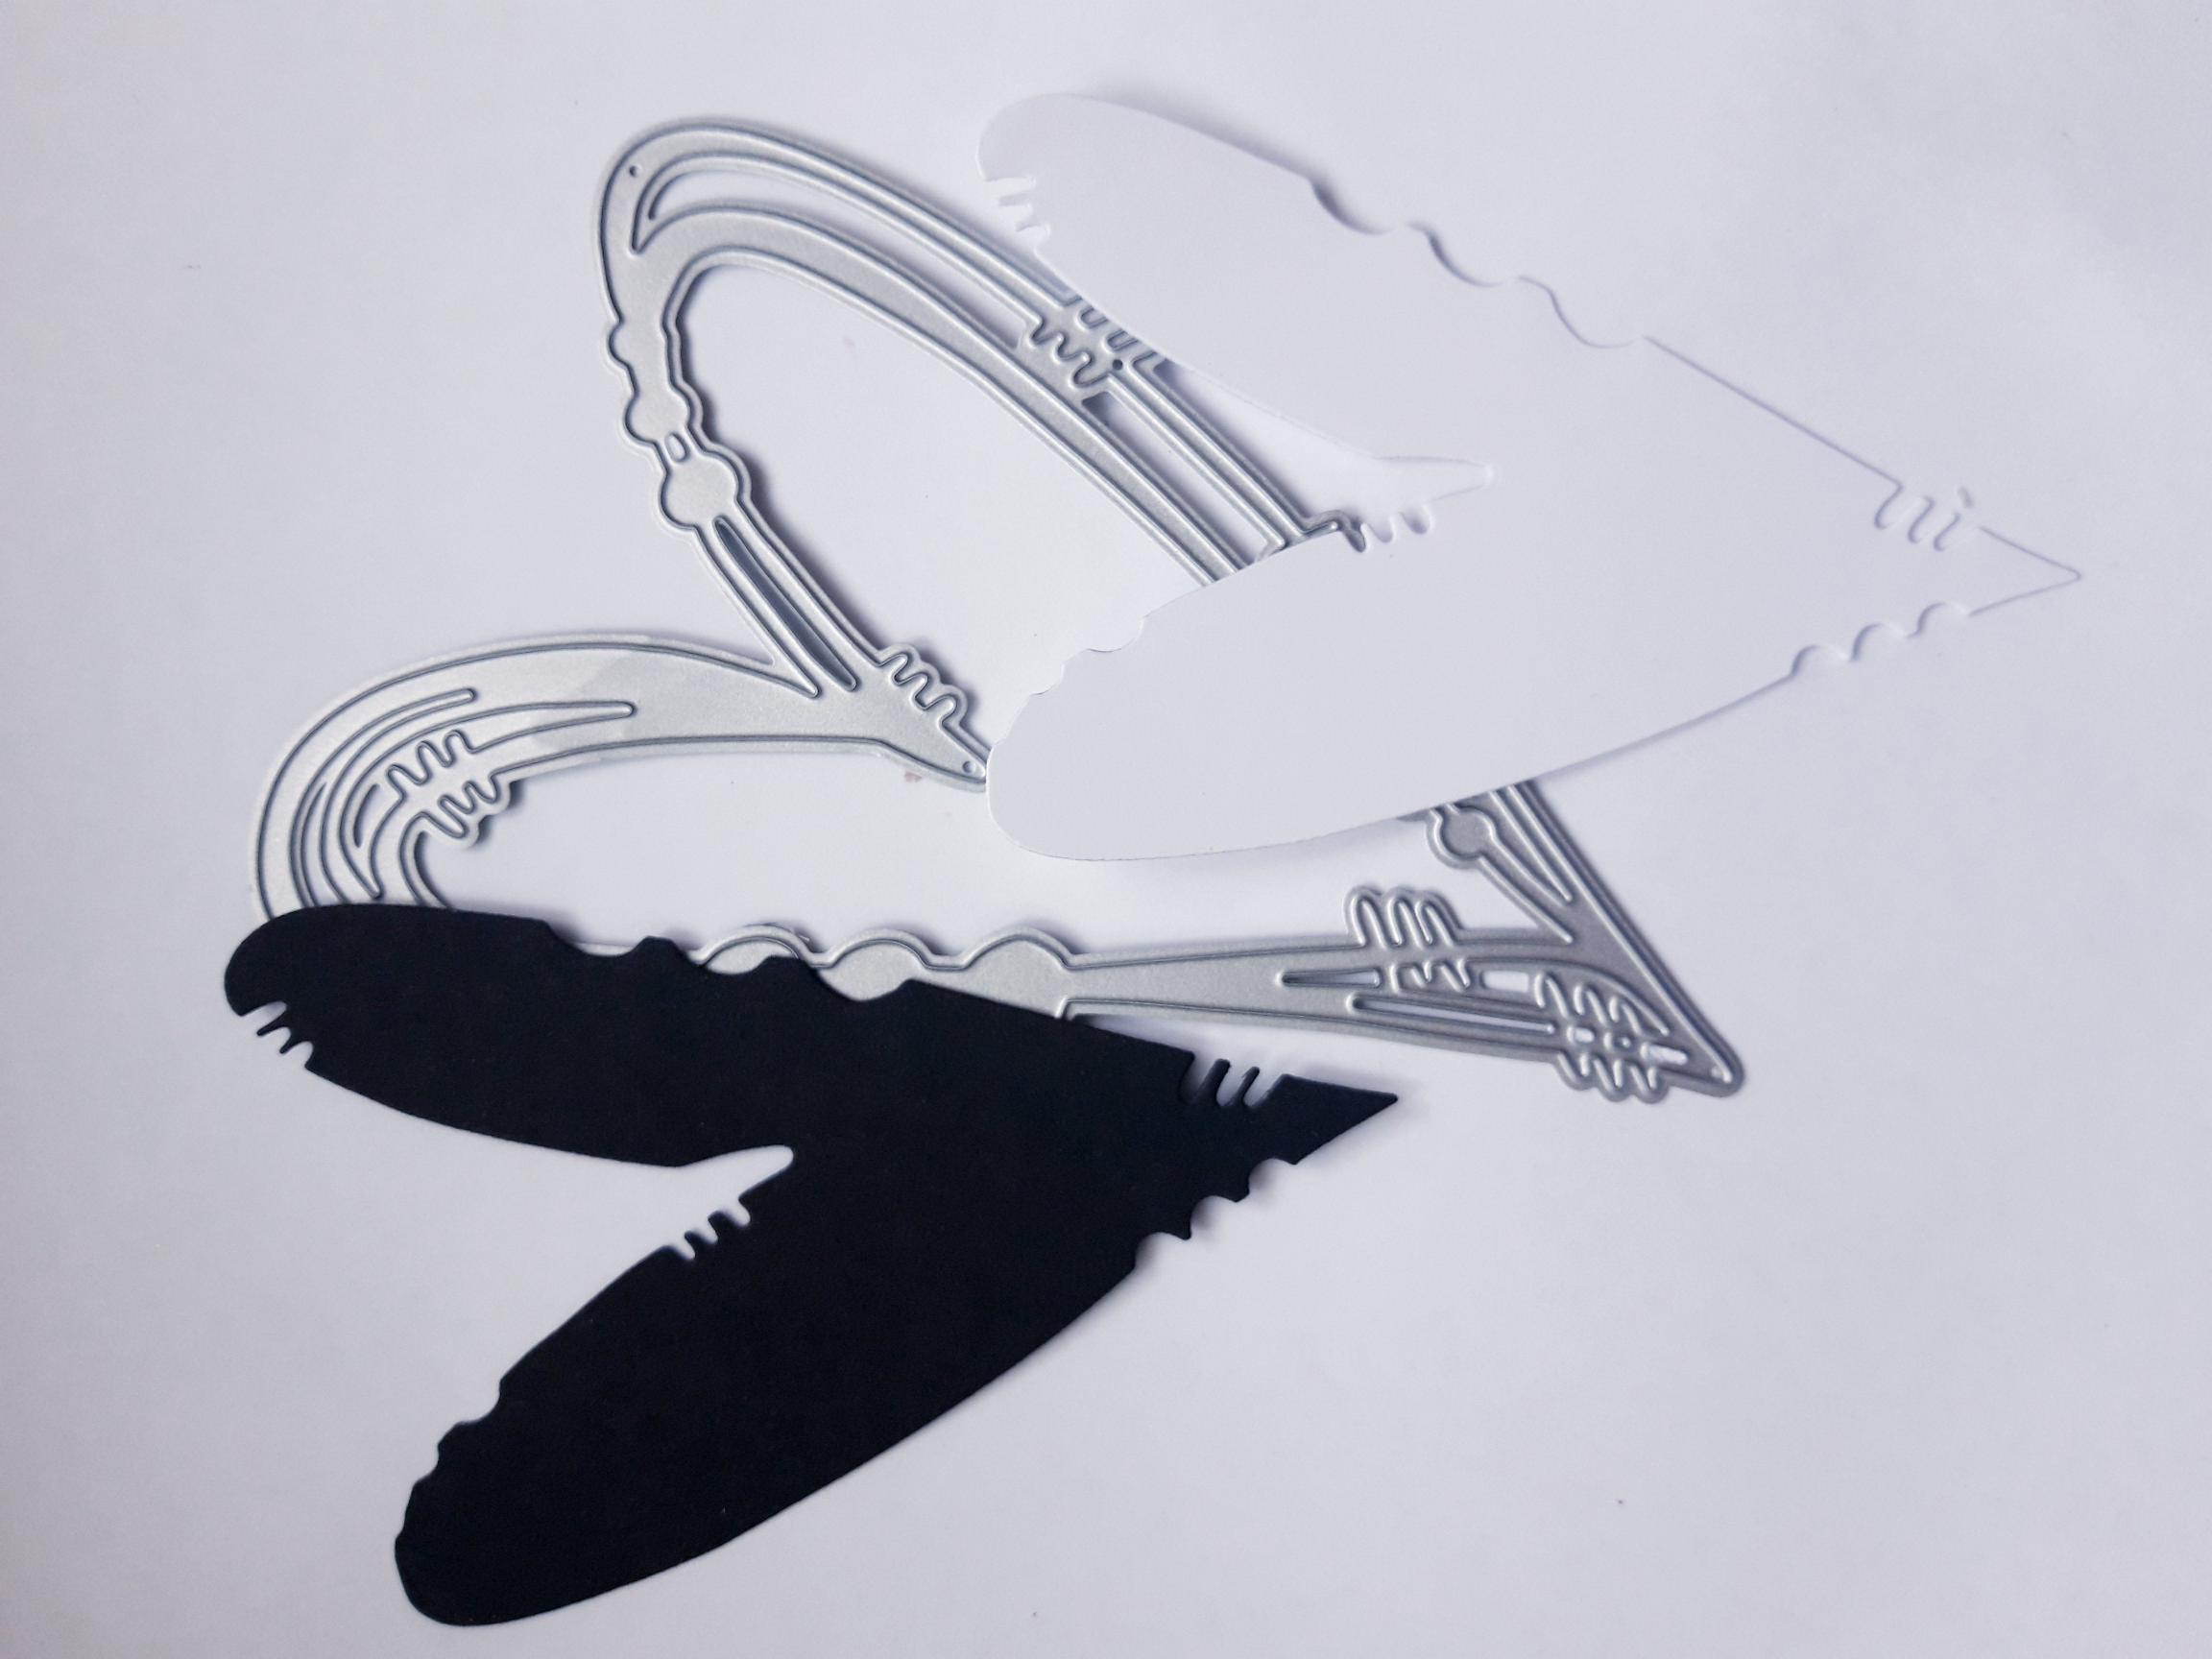
|
Place this die, from the Mixed Up Hearts Creative Dies, on to the black card (7 x 4"), and run it through your die cutting machine. Repeat this using the white card (7 x 4") |
|
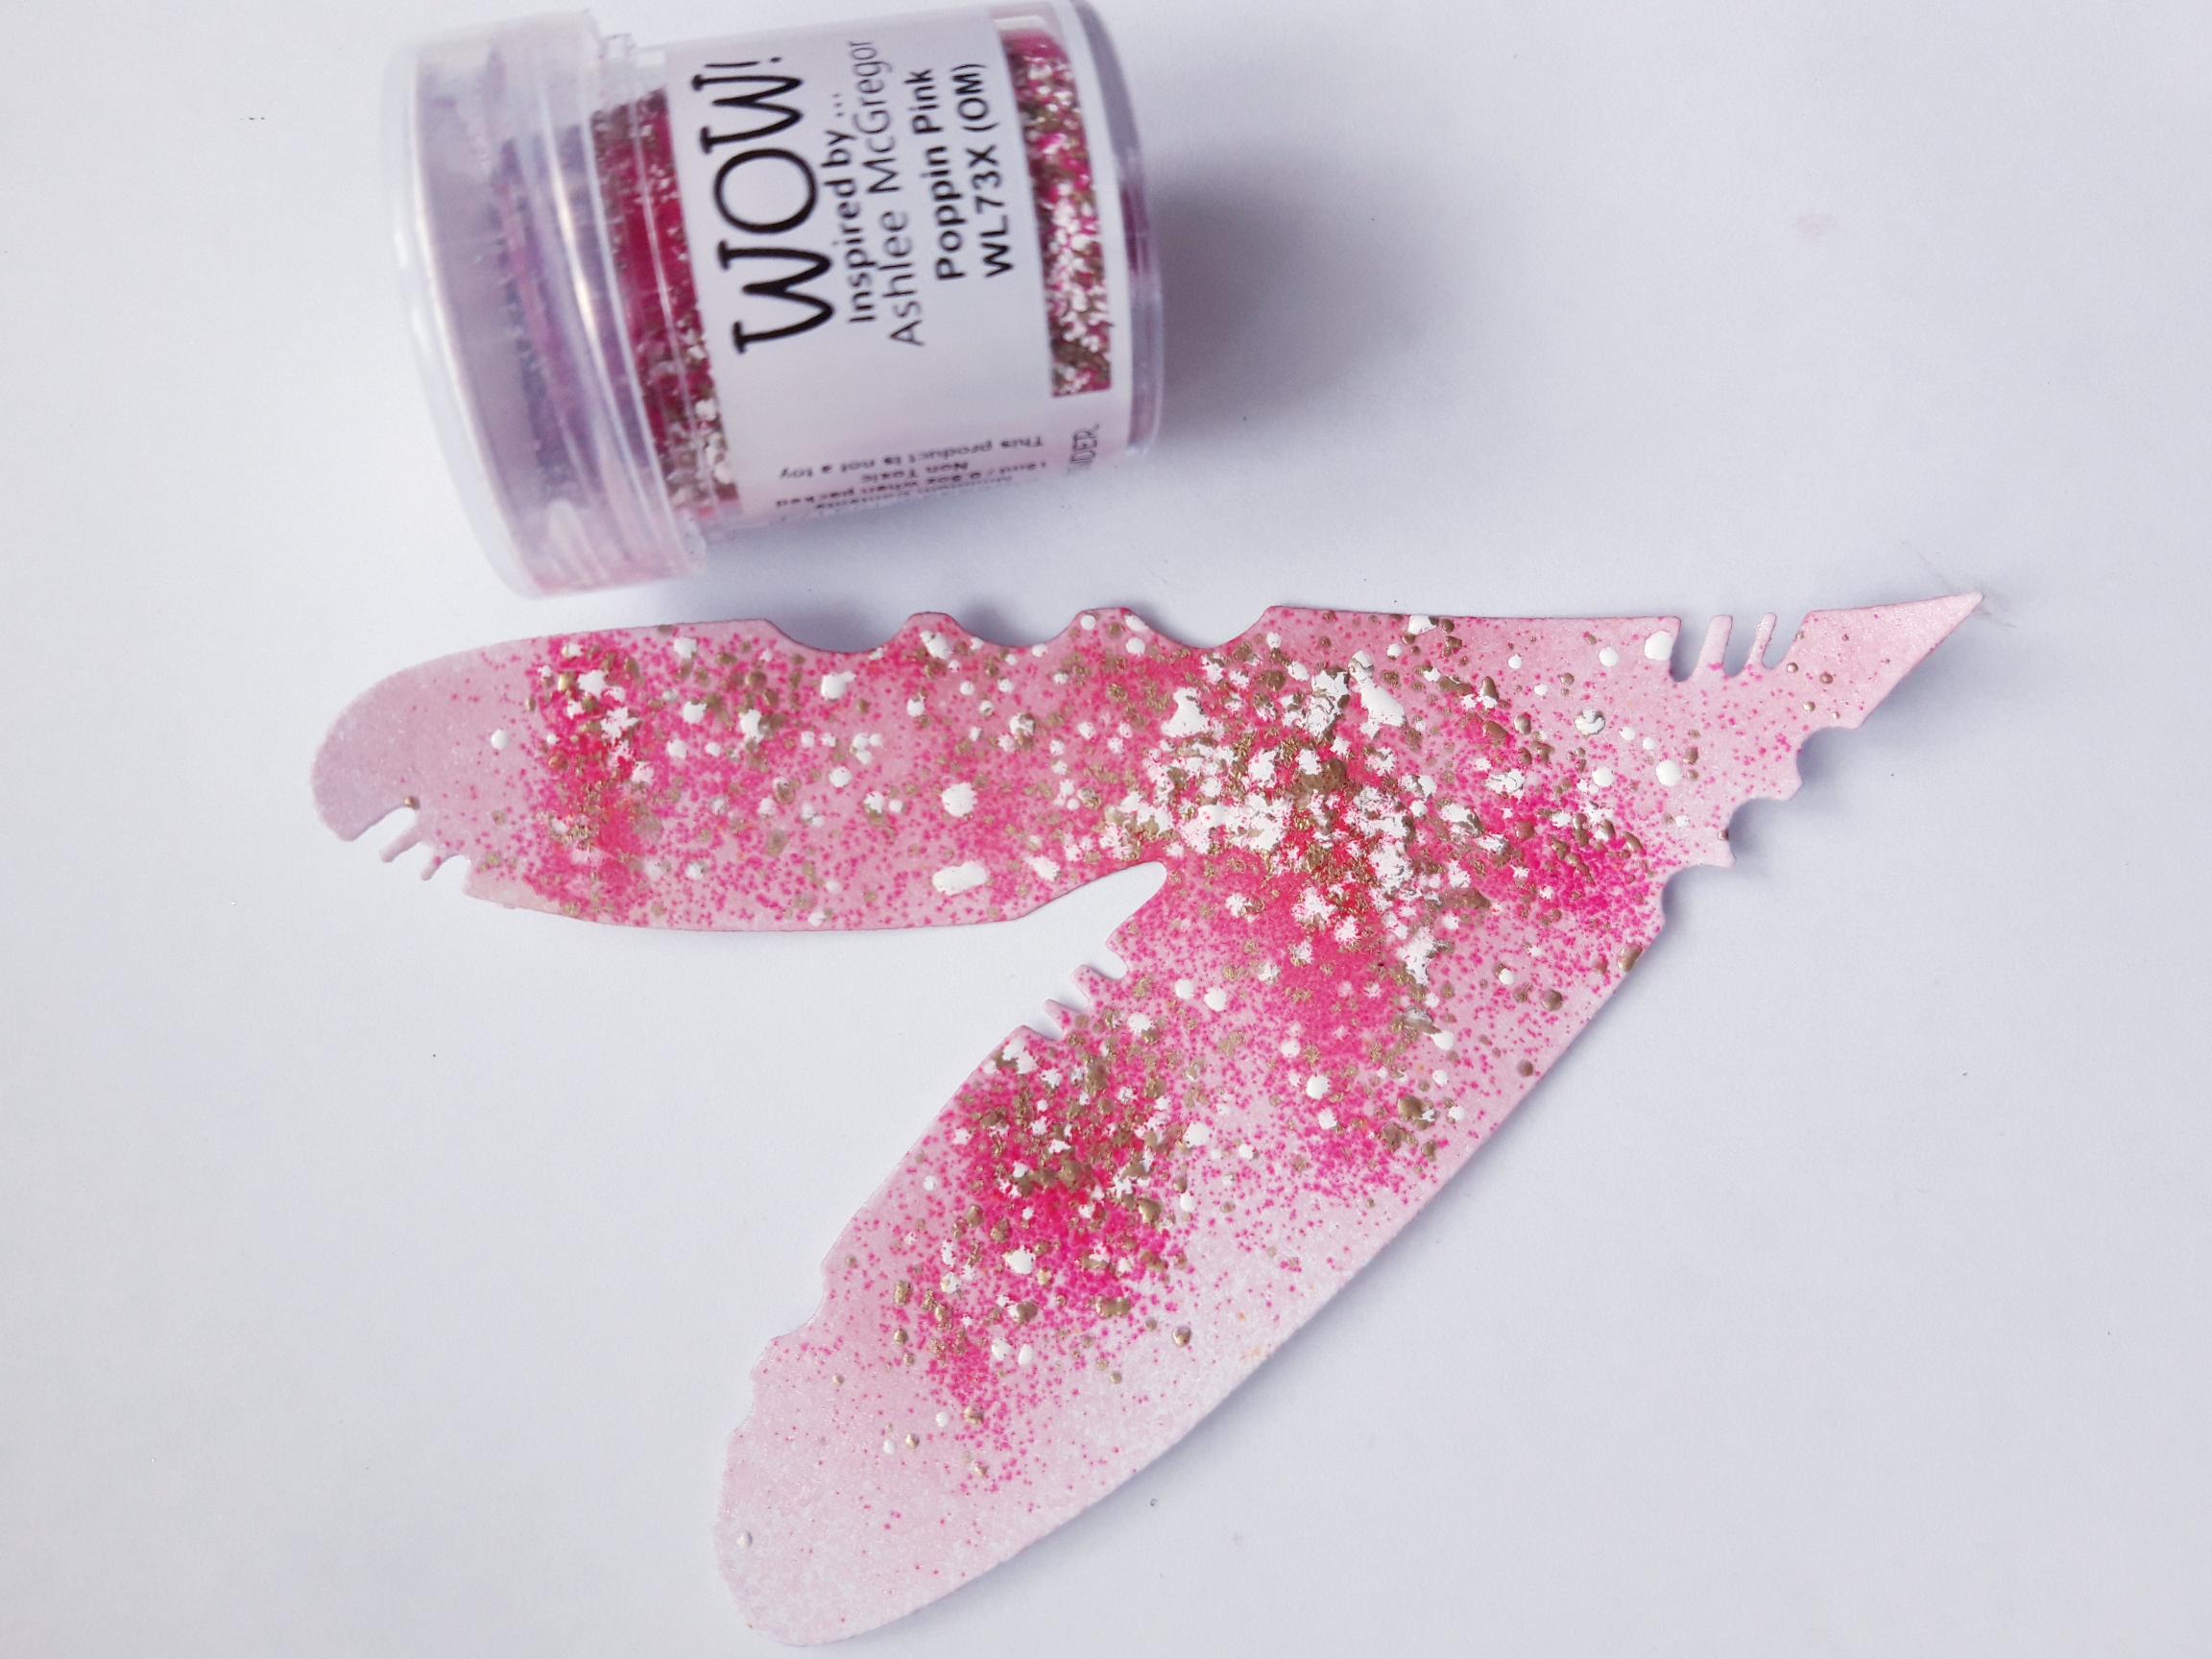
Apply the WOW Embossing ink over the white, die cut heart, and cover with the WOW Poppin Pink embossing powder. Once your WOW heat tool is hot, heat set the embossing powder. |
|
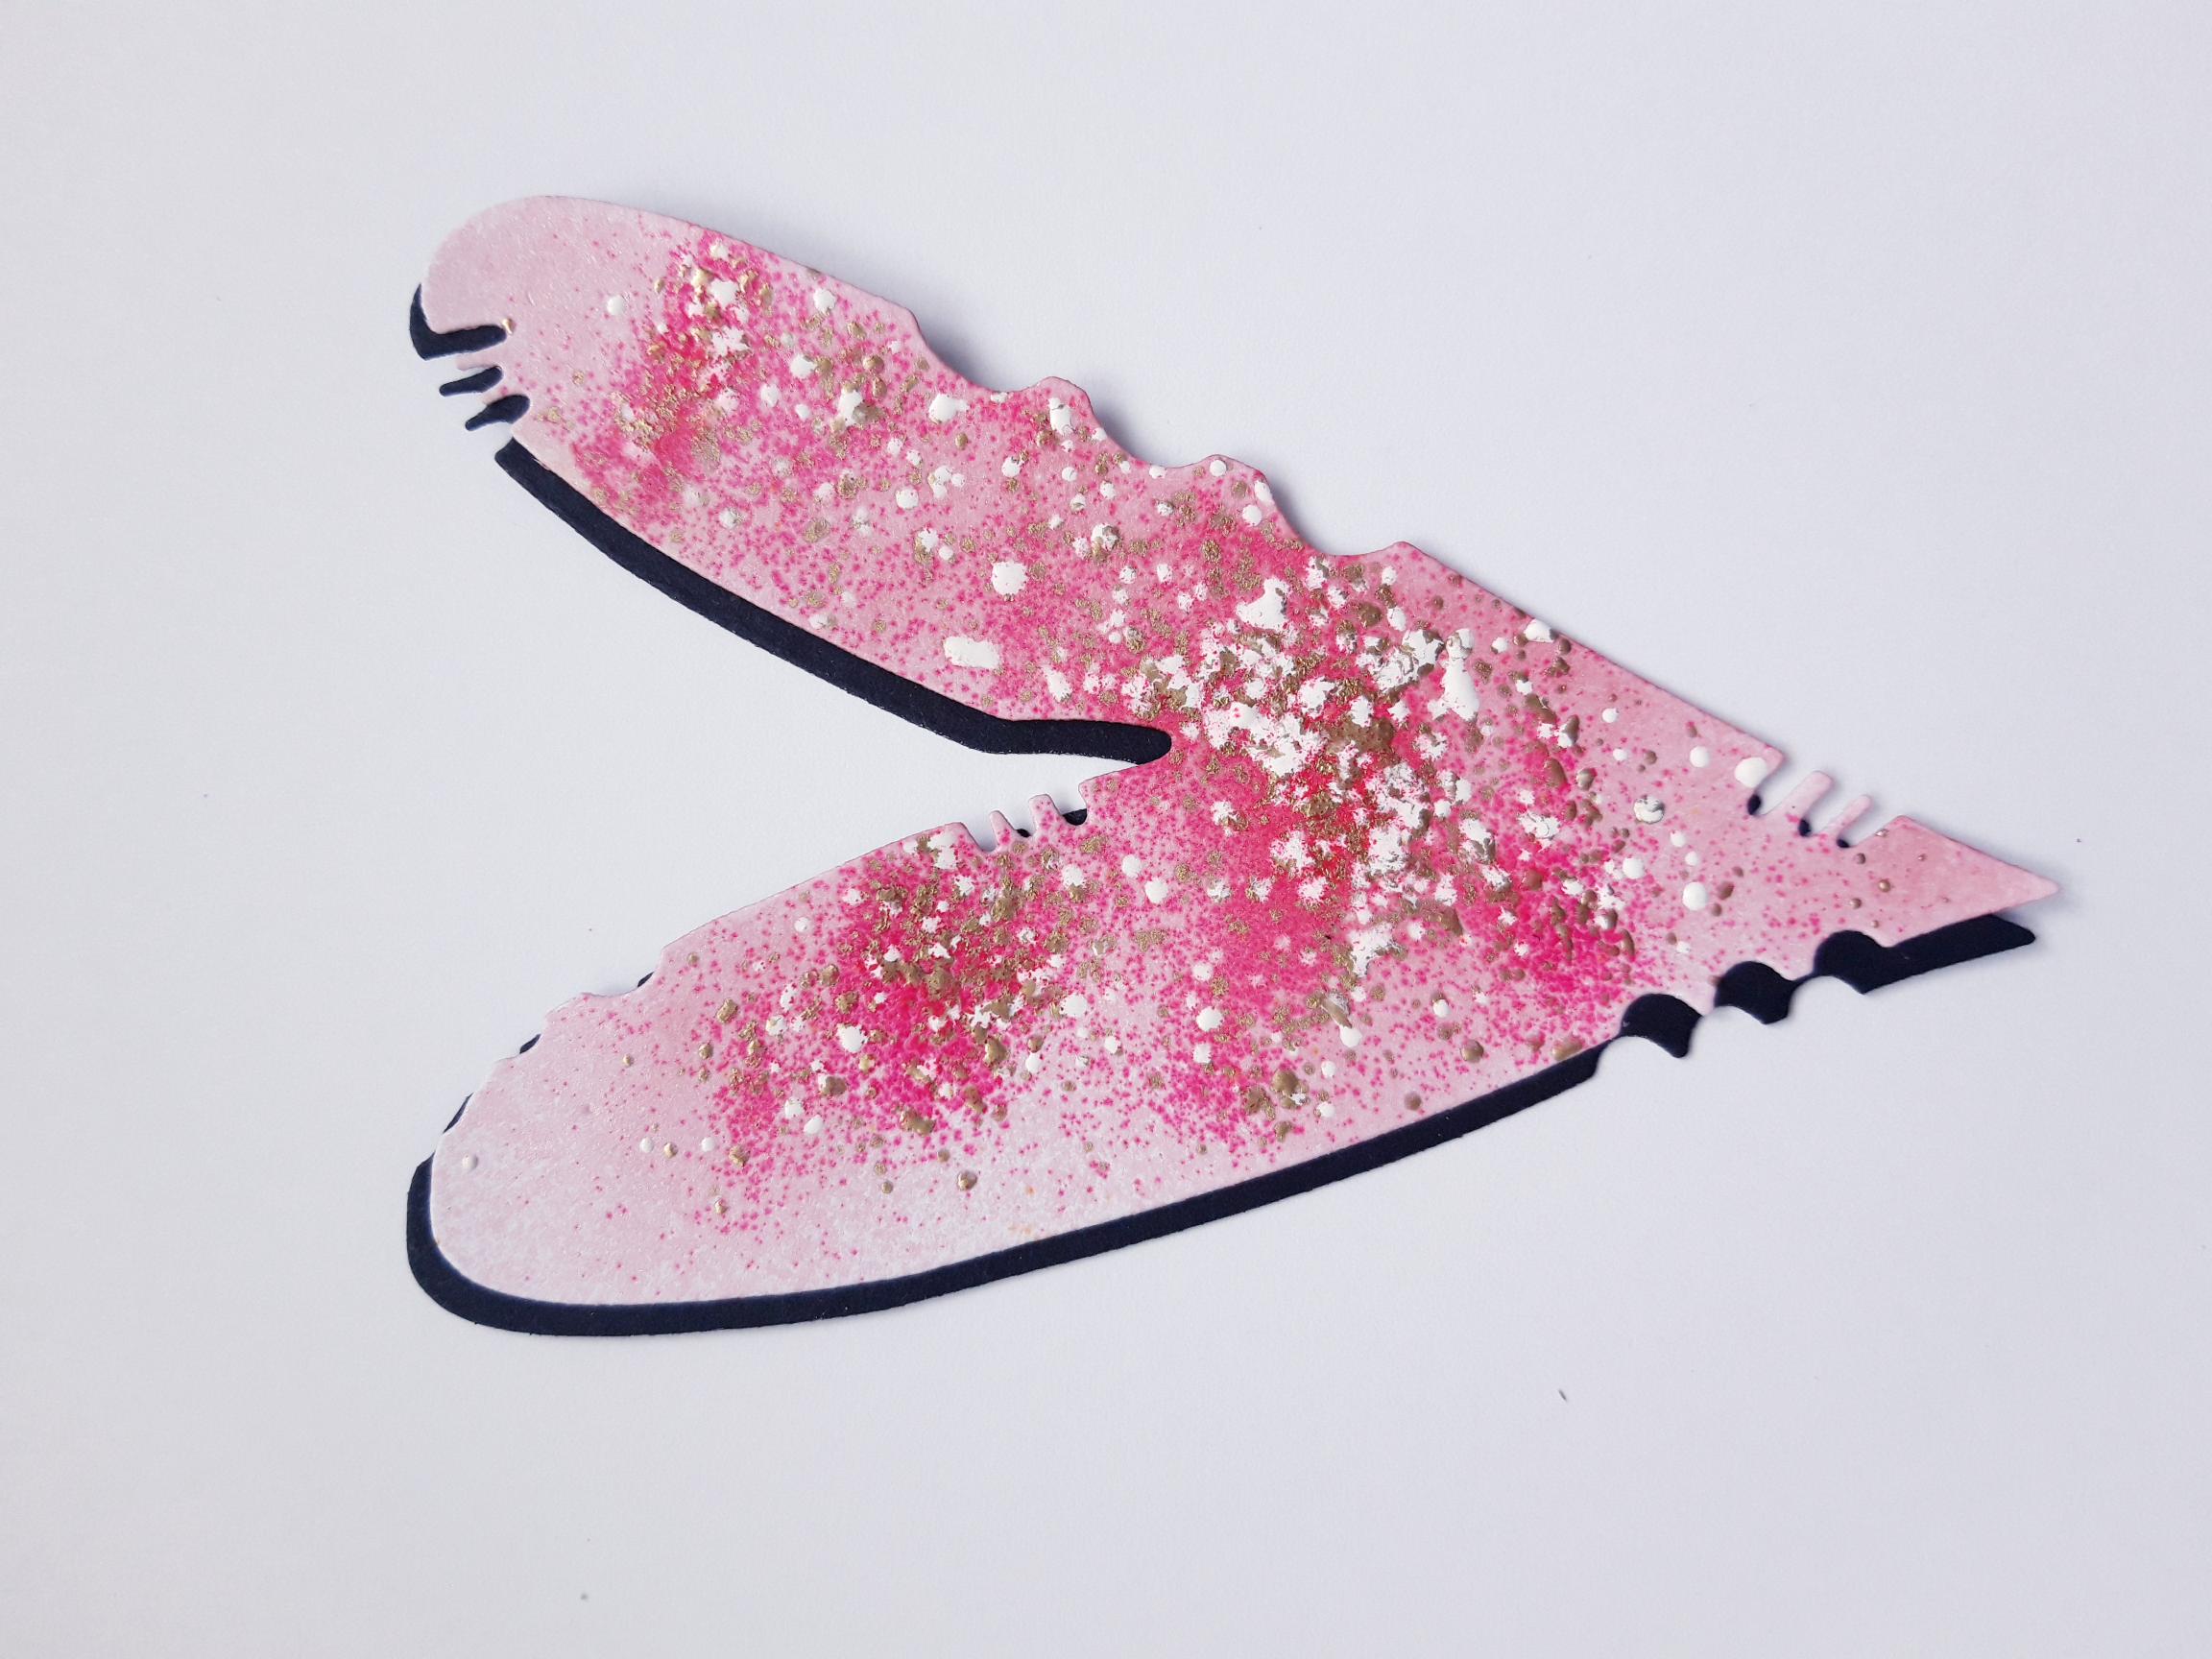
Adhere your embossed heart, on to the black die cut heart, creating a slight drop shadow, as shown here. Set this to one side. |
|
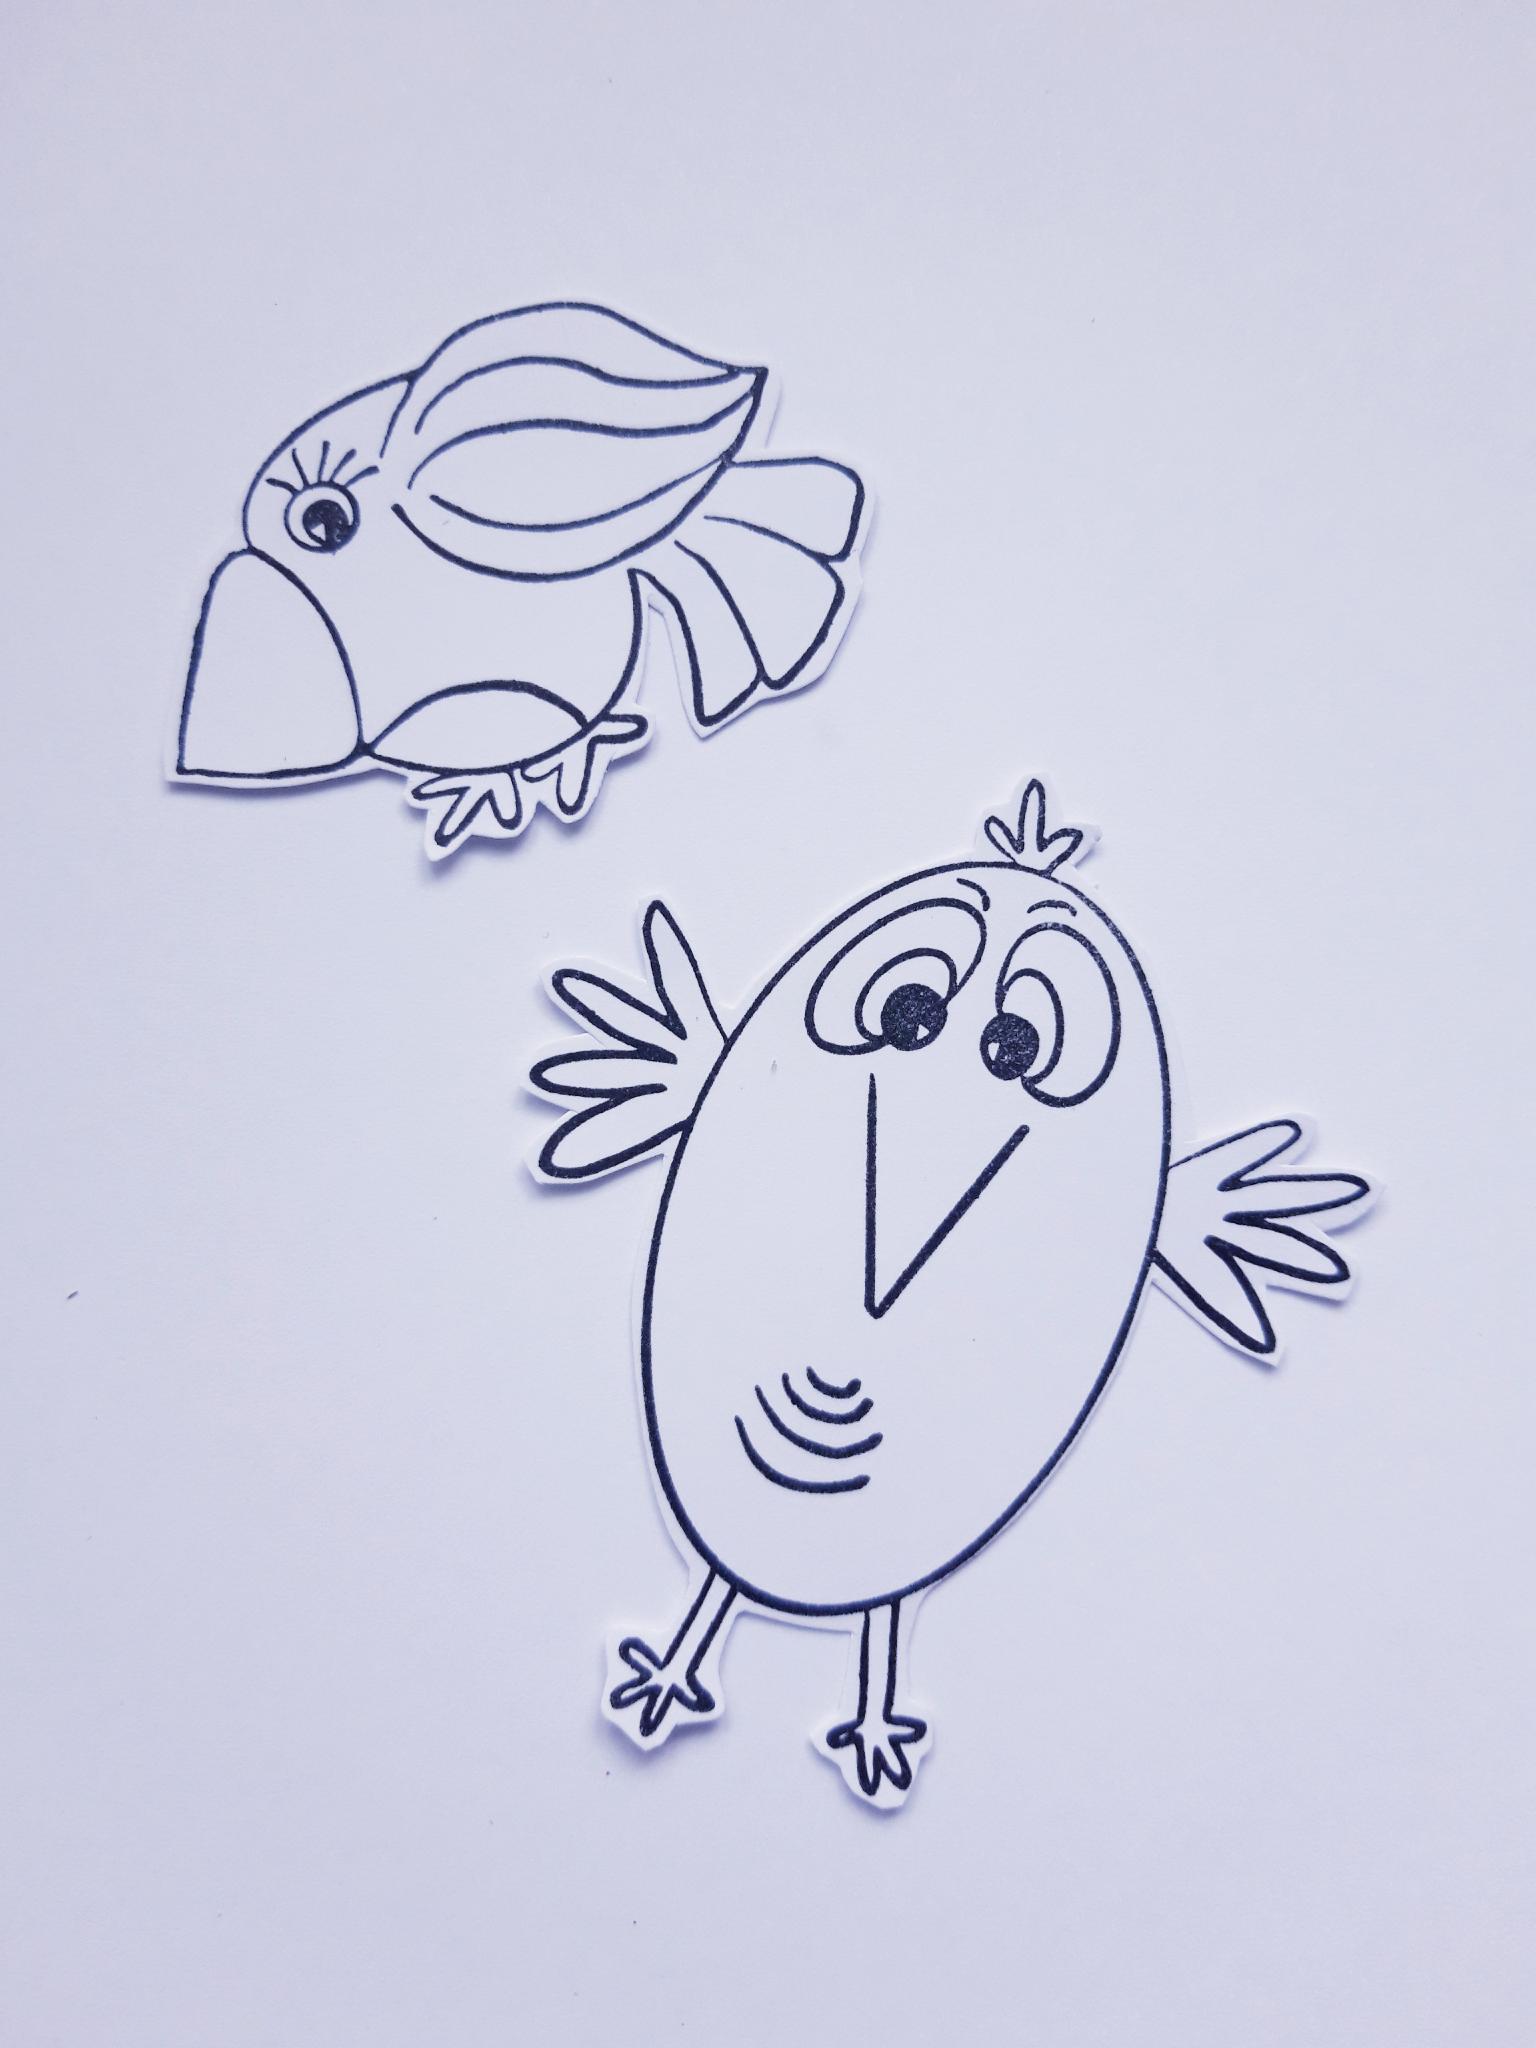
Ink up these Birbs, from the Birbs Cottage and Bert and Ernie Creative Stamp sets, with the Onyx Black Versafine. Stamp on to the white card (5 x 5"). |
|
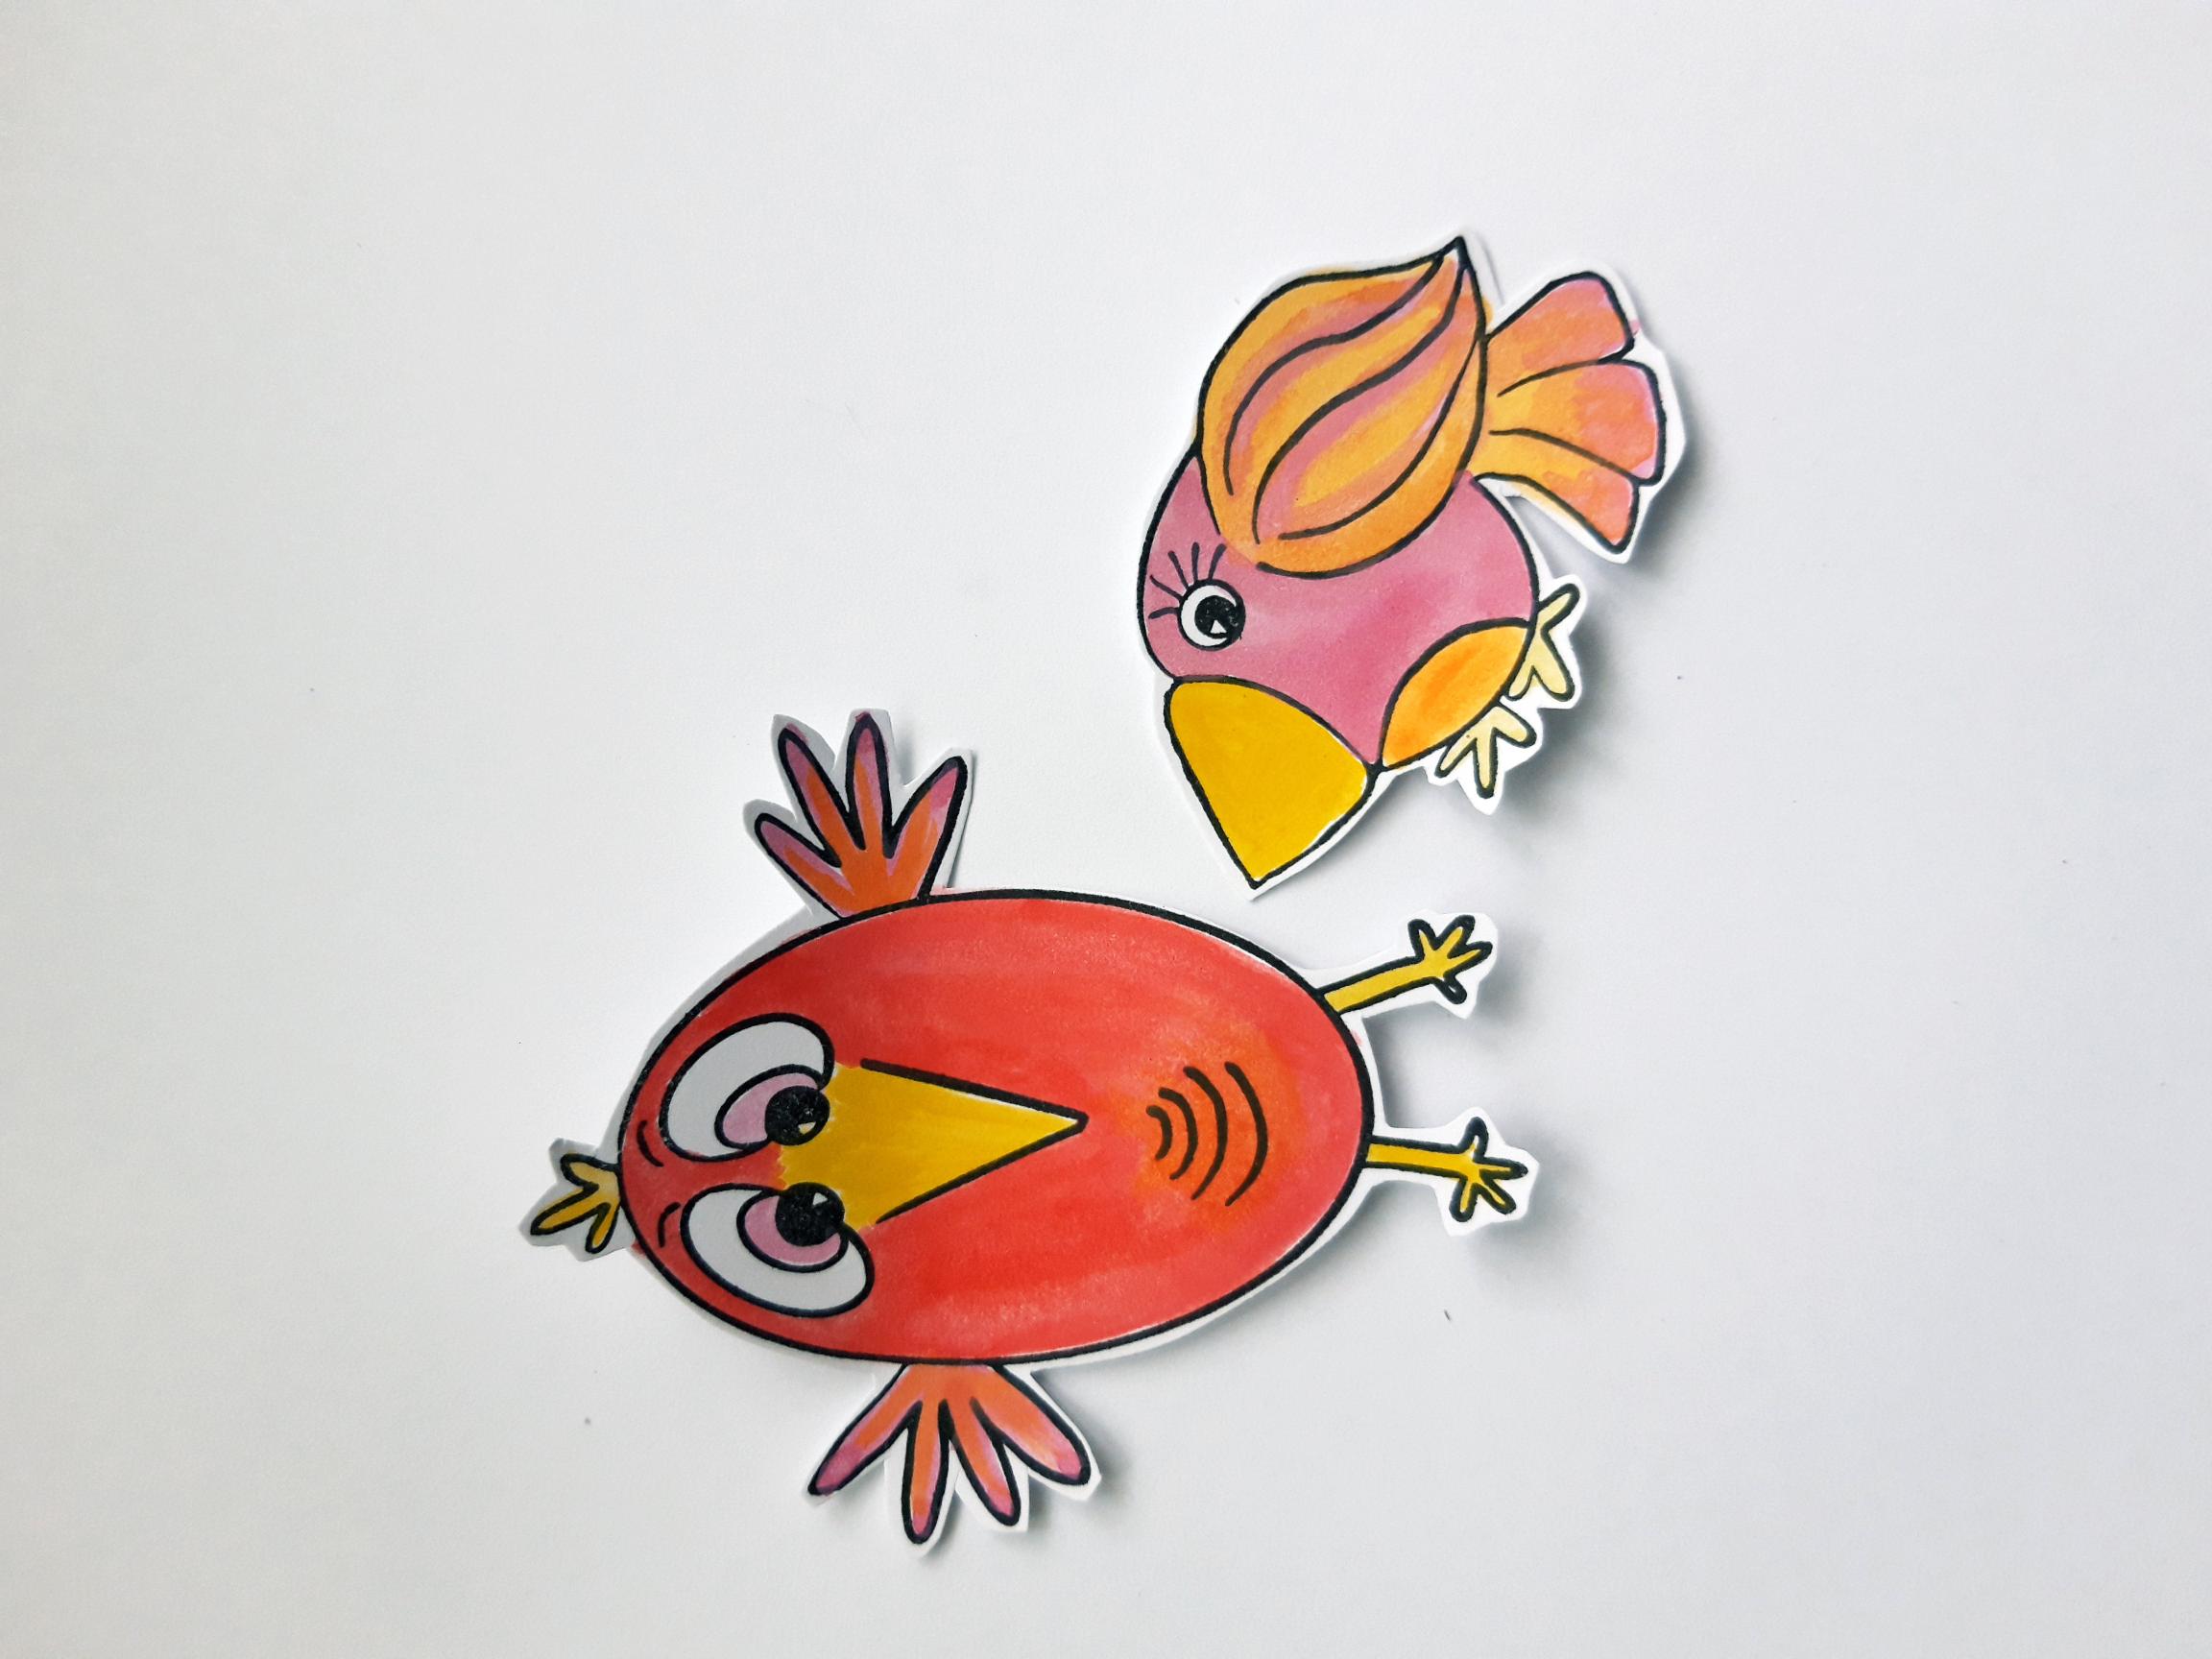
Apply a little of each of the Izink Pigments to your craft/glass mat, and add a little water. Use these to paint your stamped Birbs. You can use the Avalanche to create paler tones. Set to one side to dry. |
|
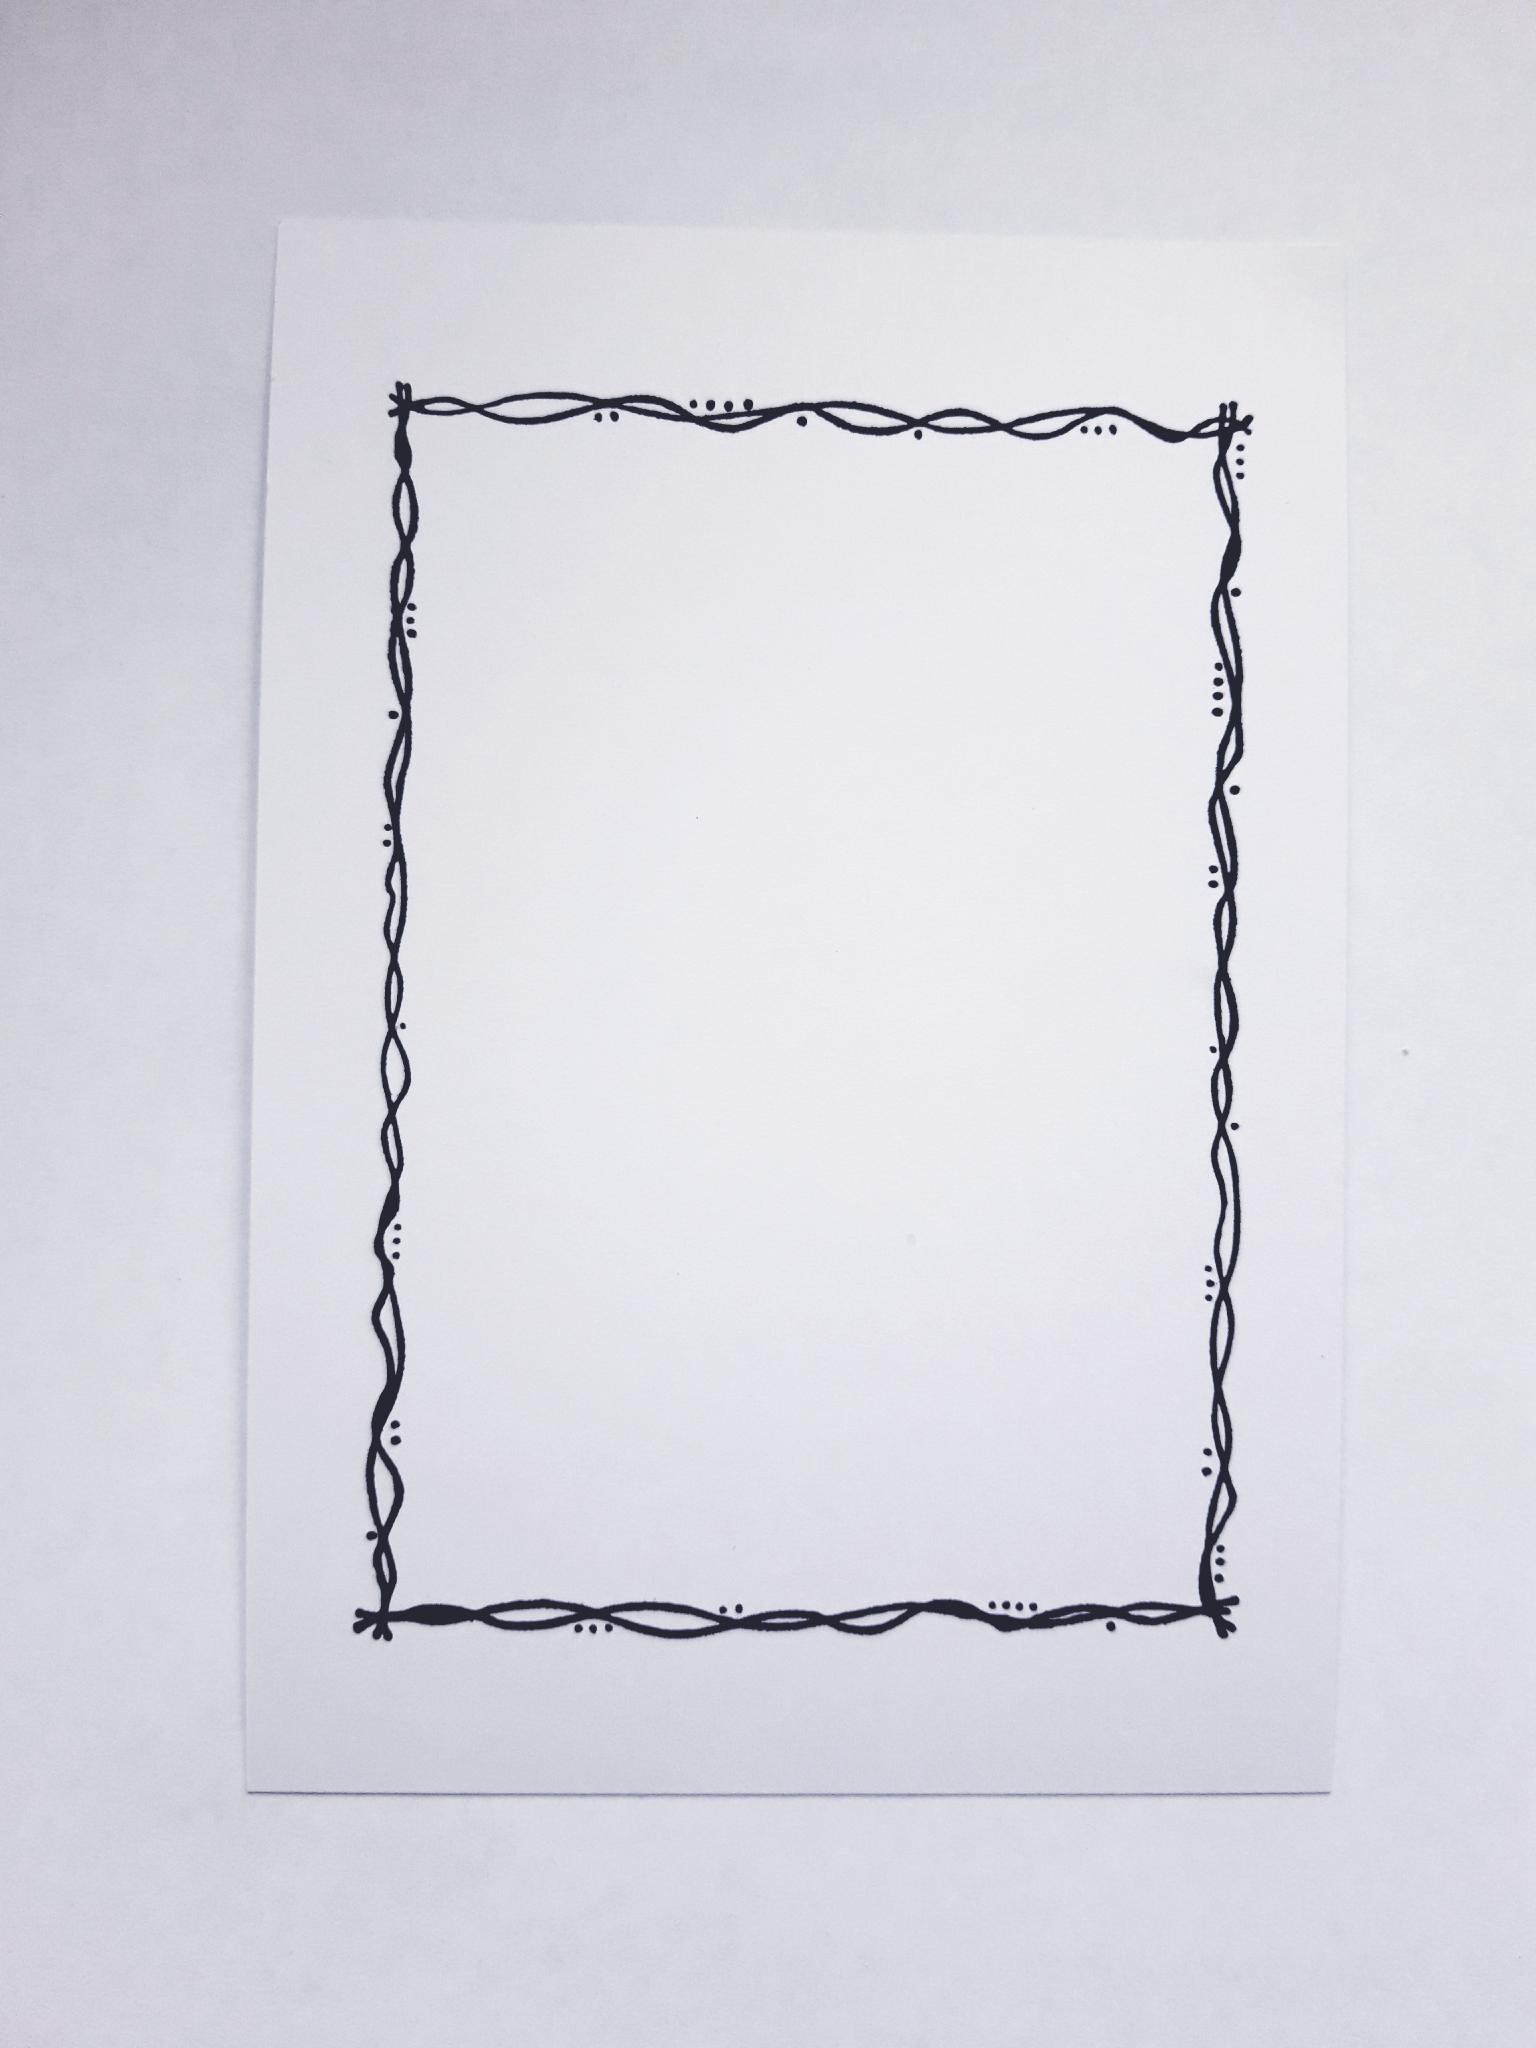
Ink up the biggest Dot Frame, with the Versafine, and stamp centrally, on to the white card (6 1/2 x 4 1/2"). |
|
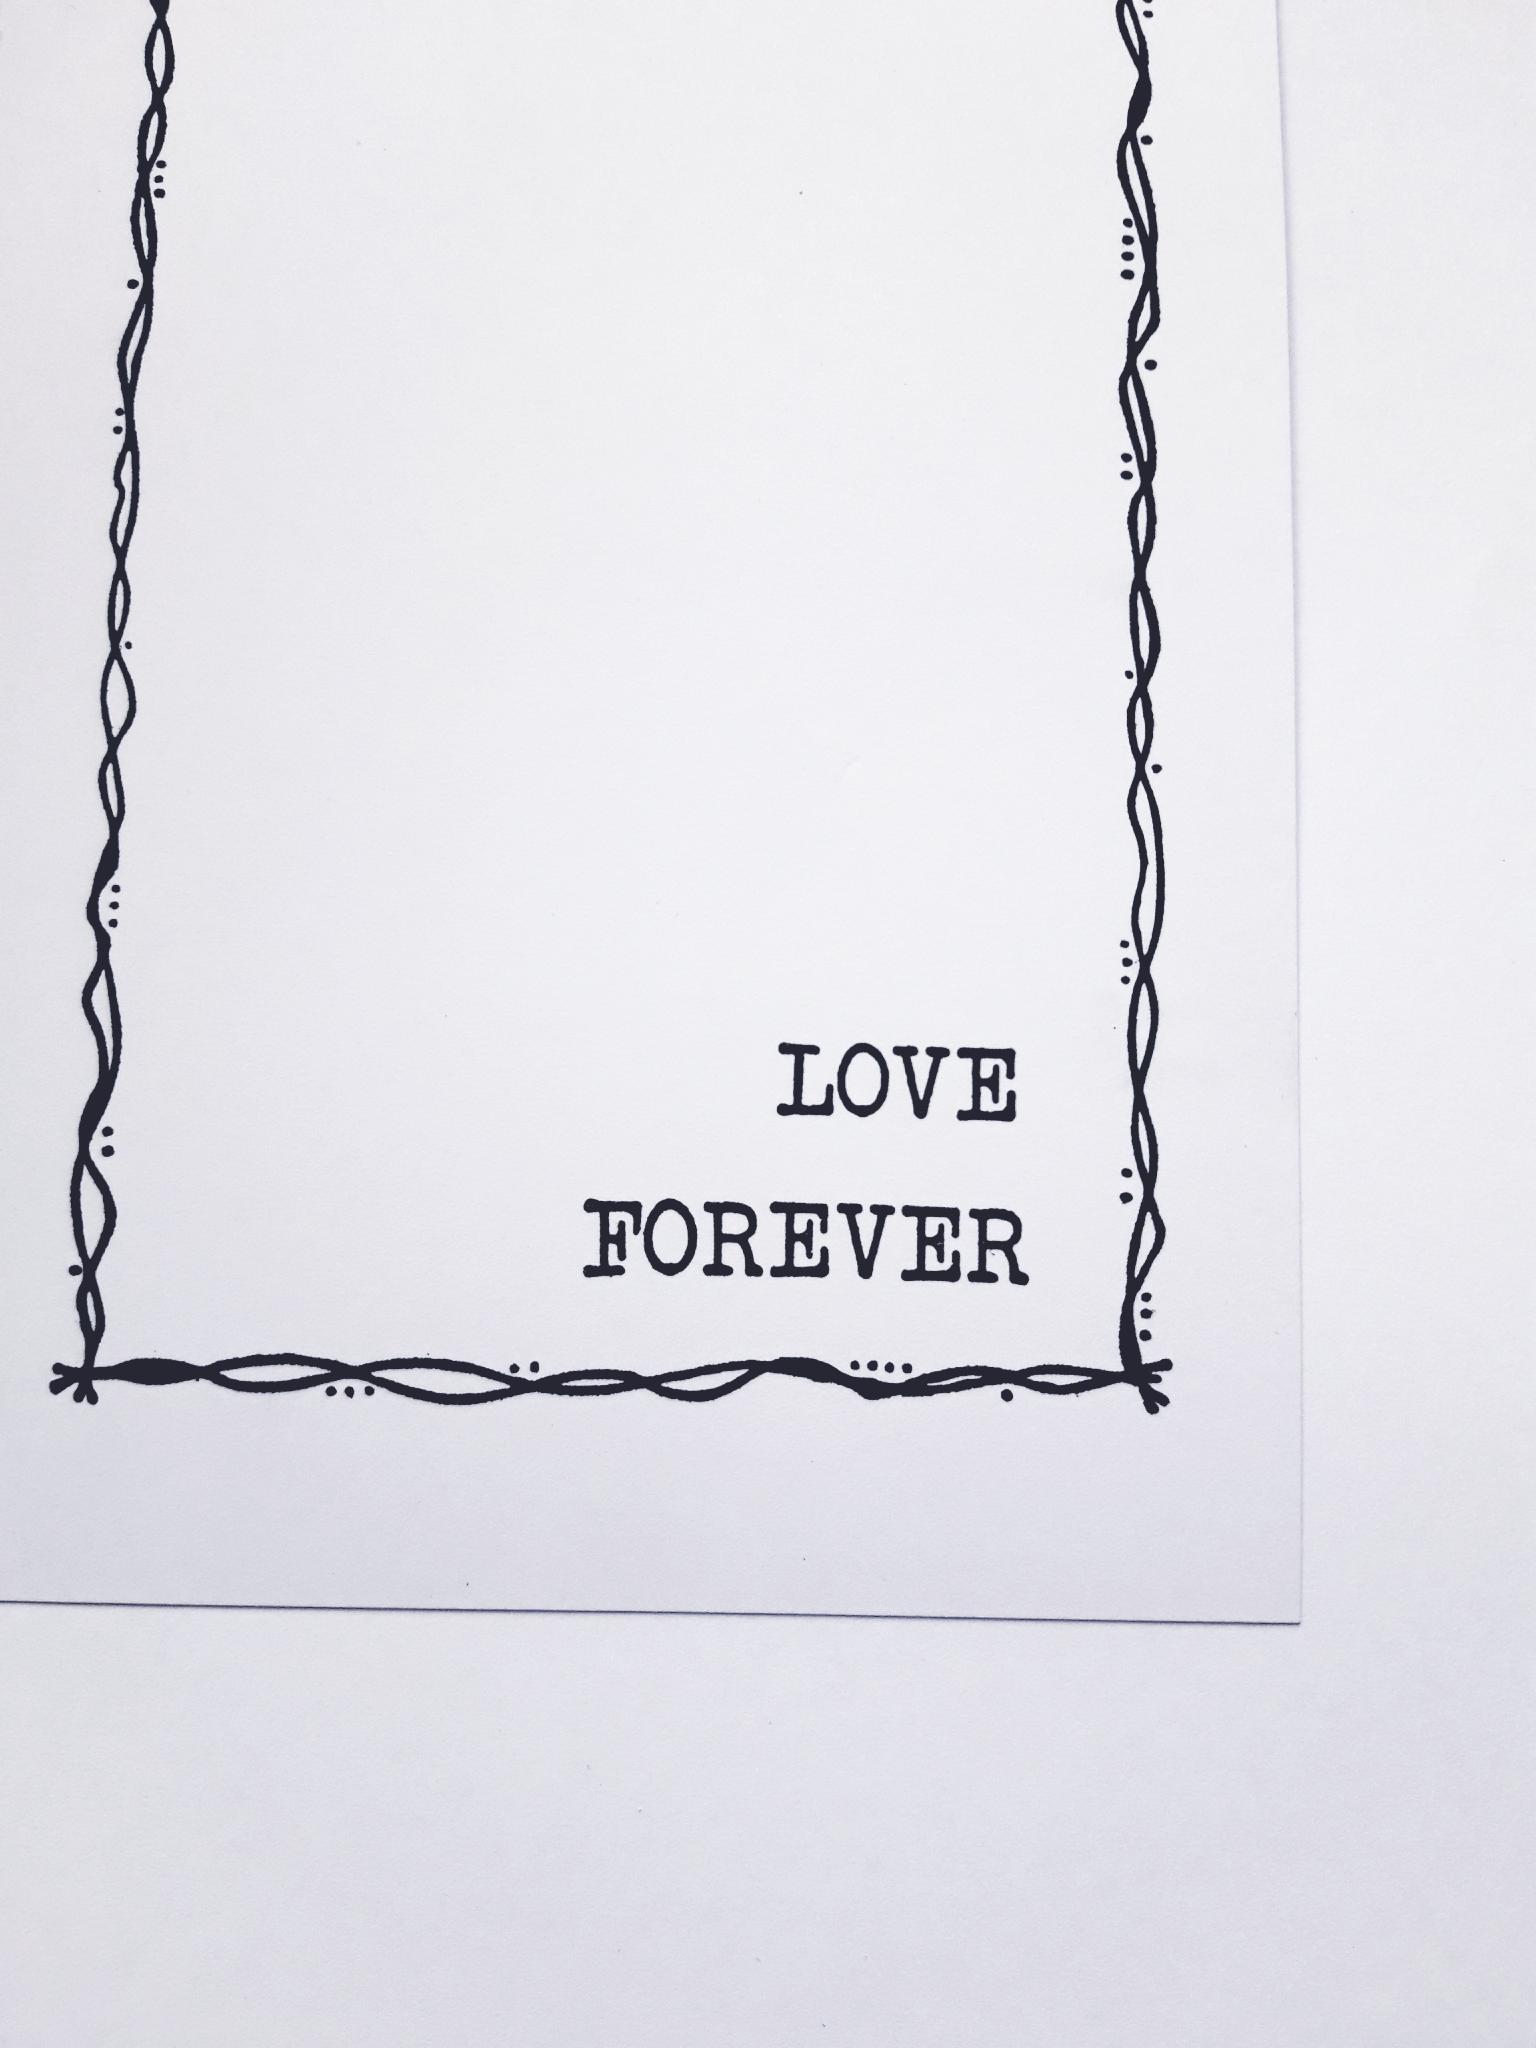
Ink up your chosen word stamps, from the More Than Words Creative Stamps, with the Versafine, and stamp in the bottom right corner of your frame. |
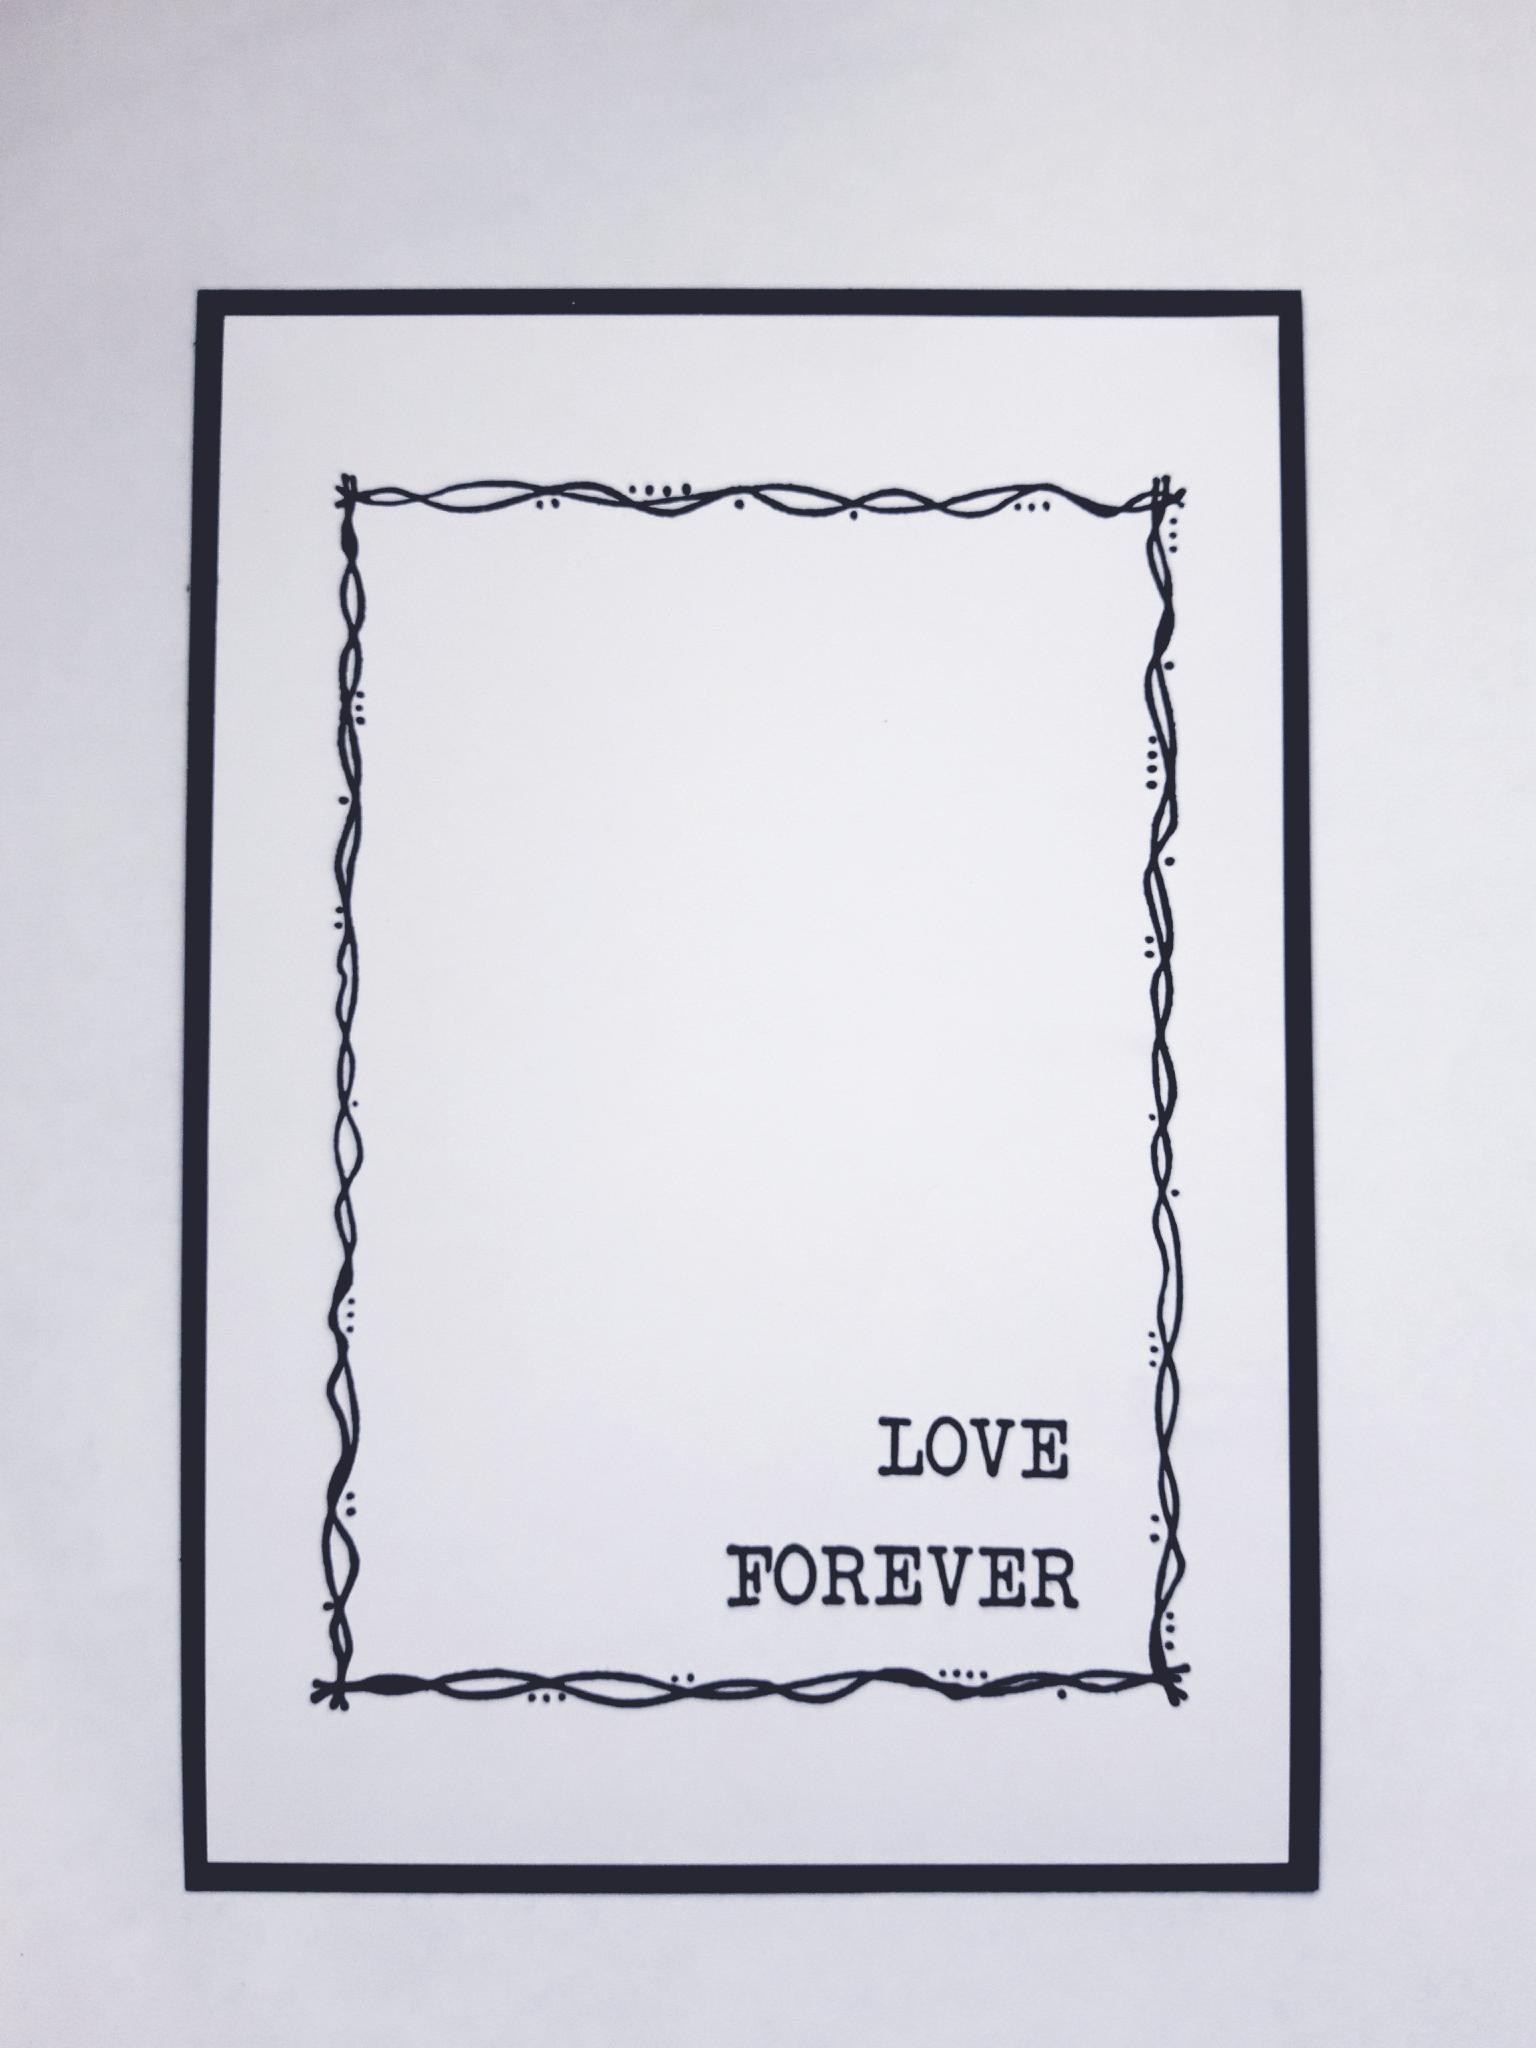
|
Mat this on to the black card (6 3/4 x 4 3/4"). |
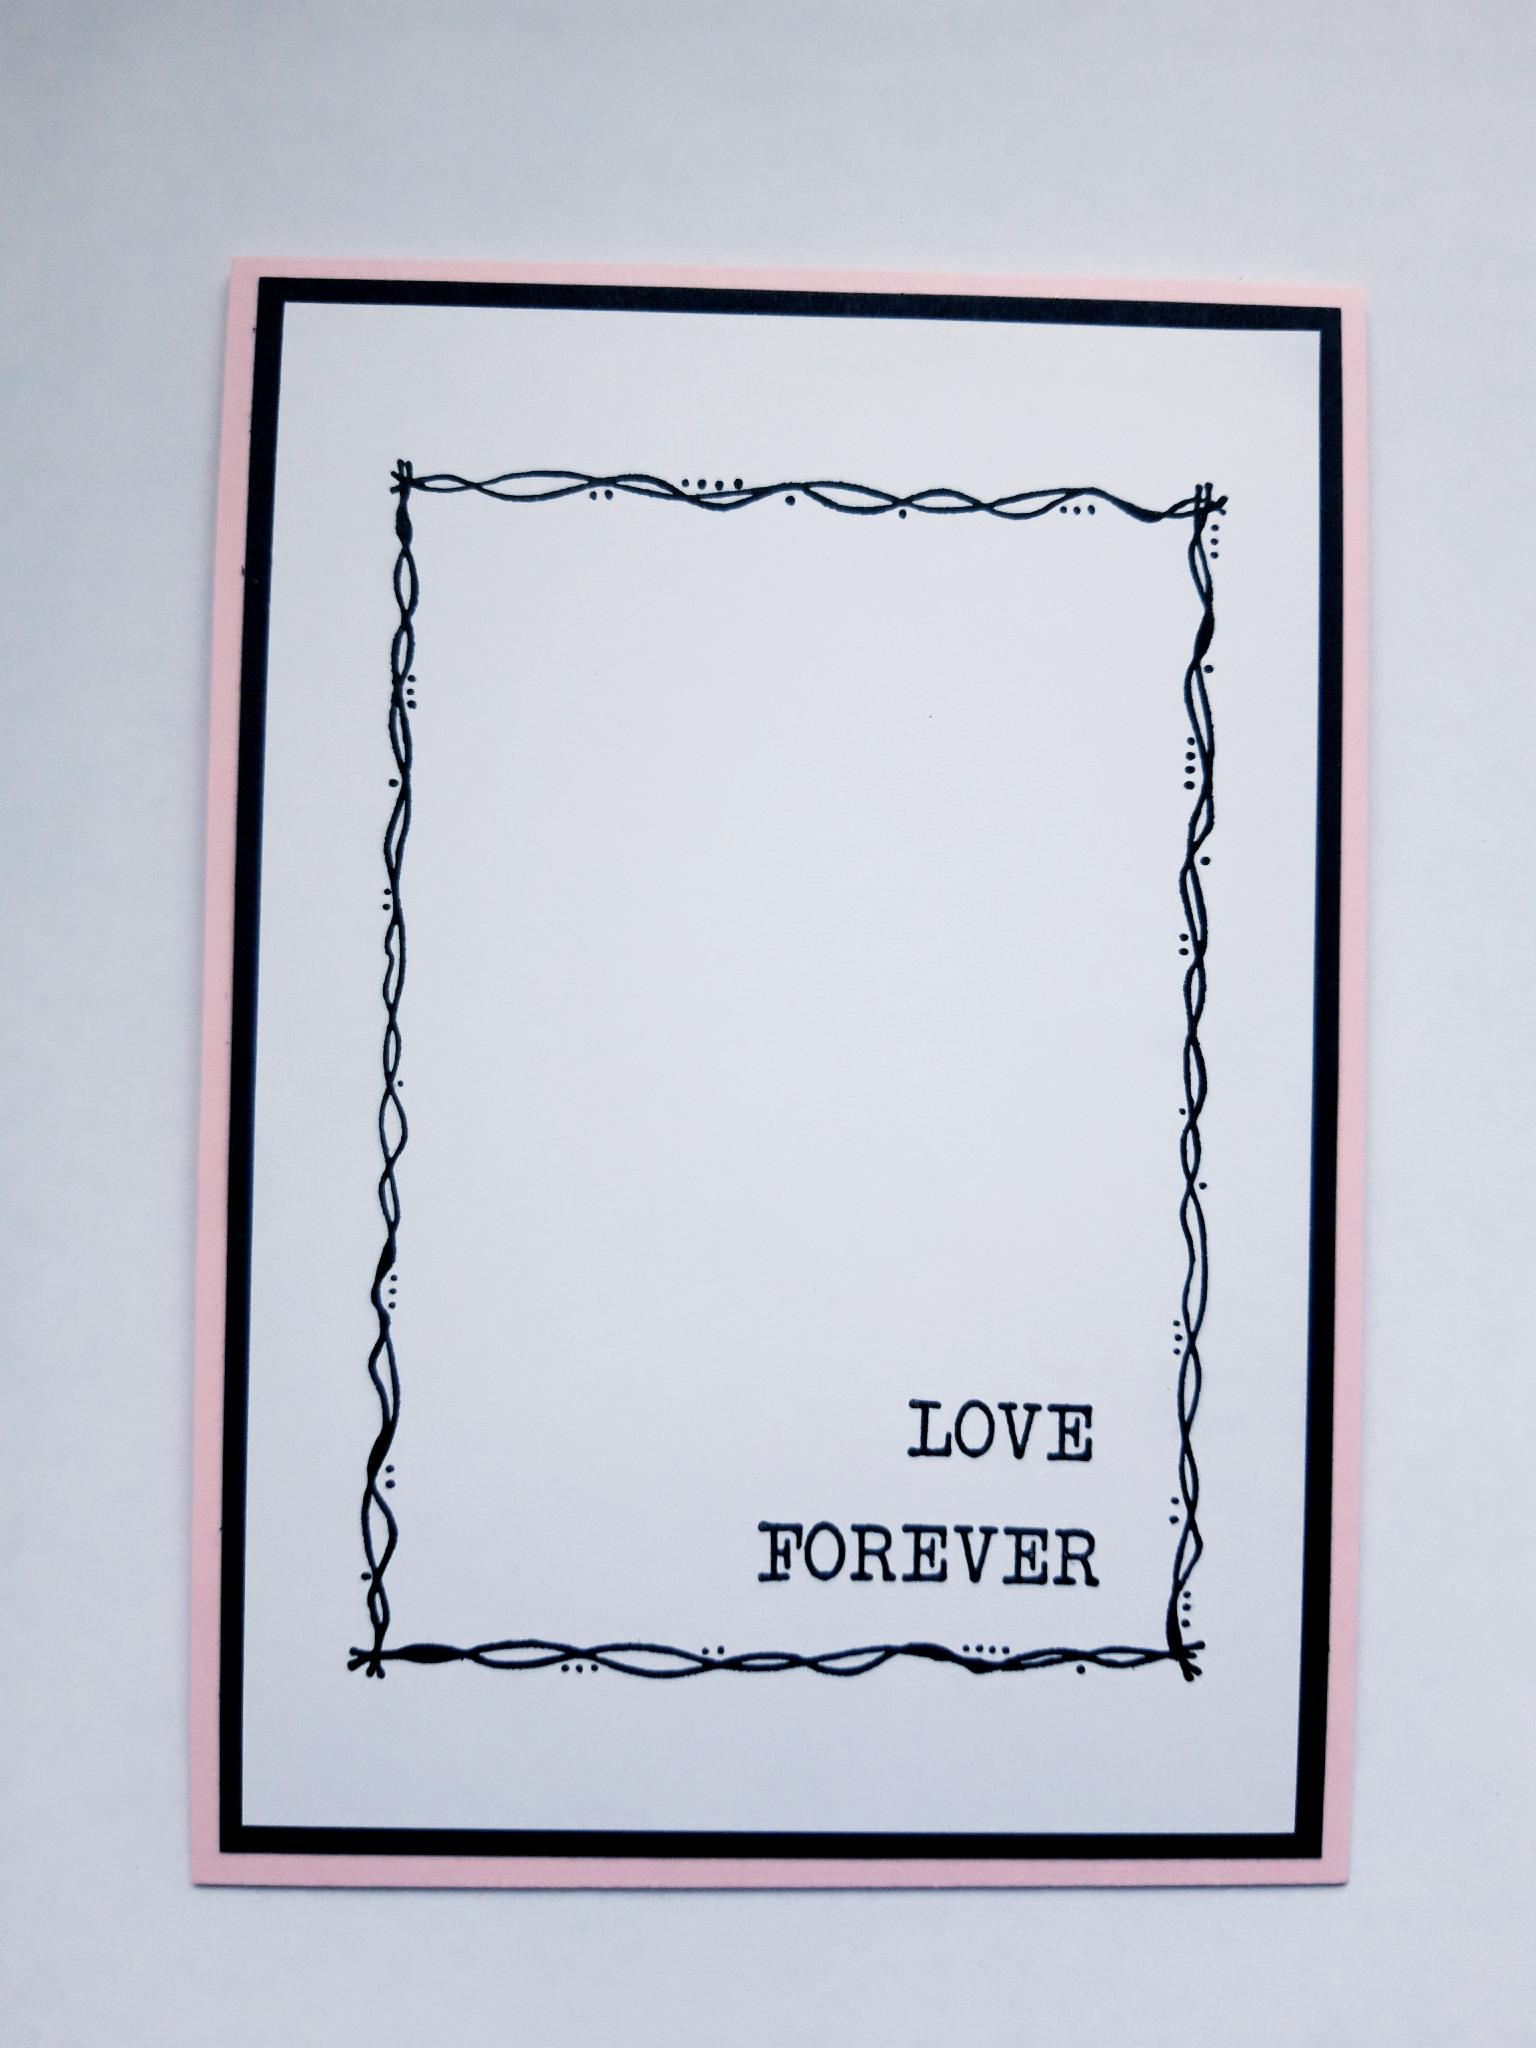
|
Adhere this on to the front of your pink, top folding card blank. |
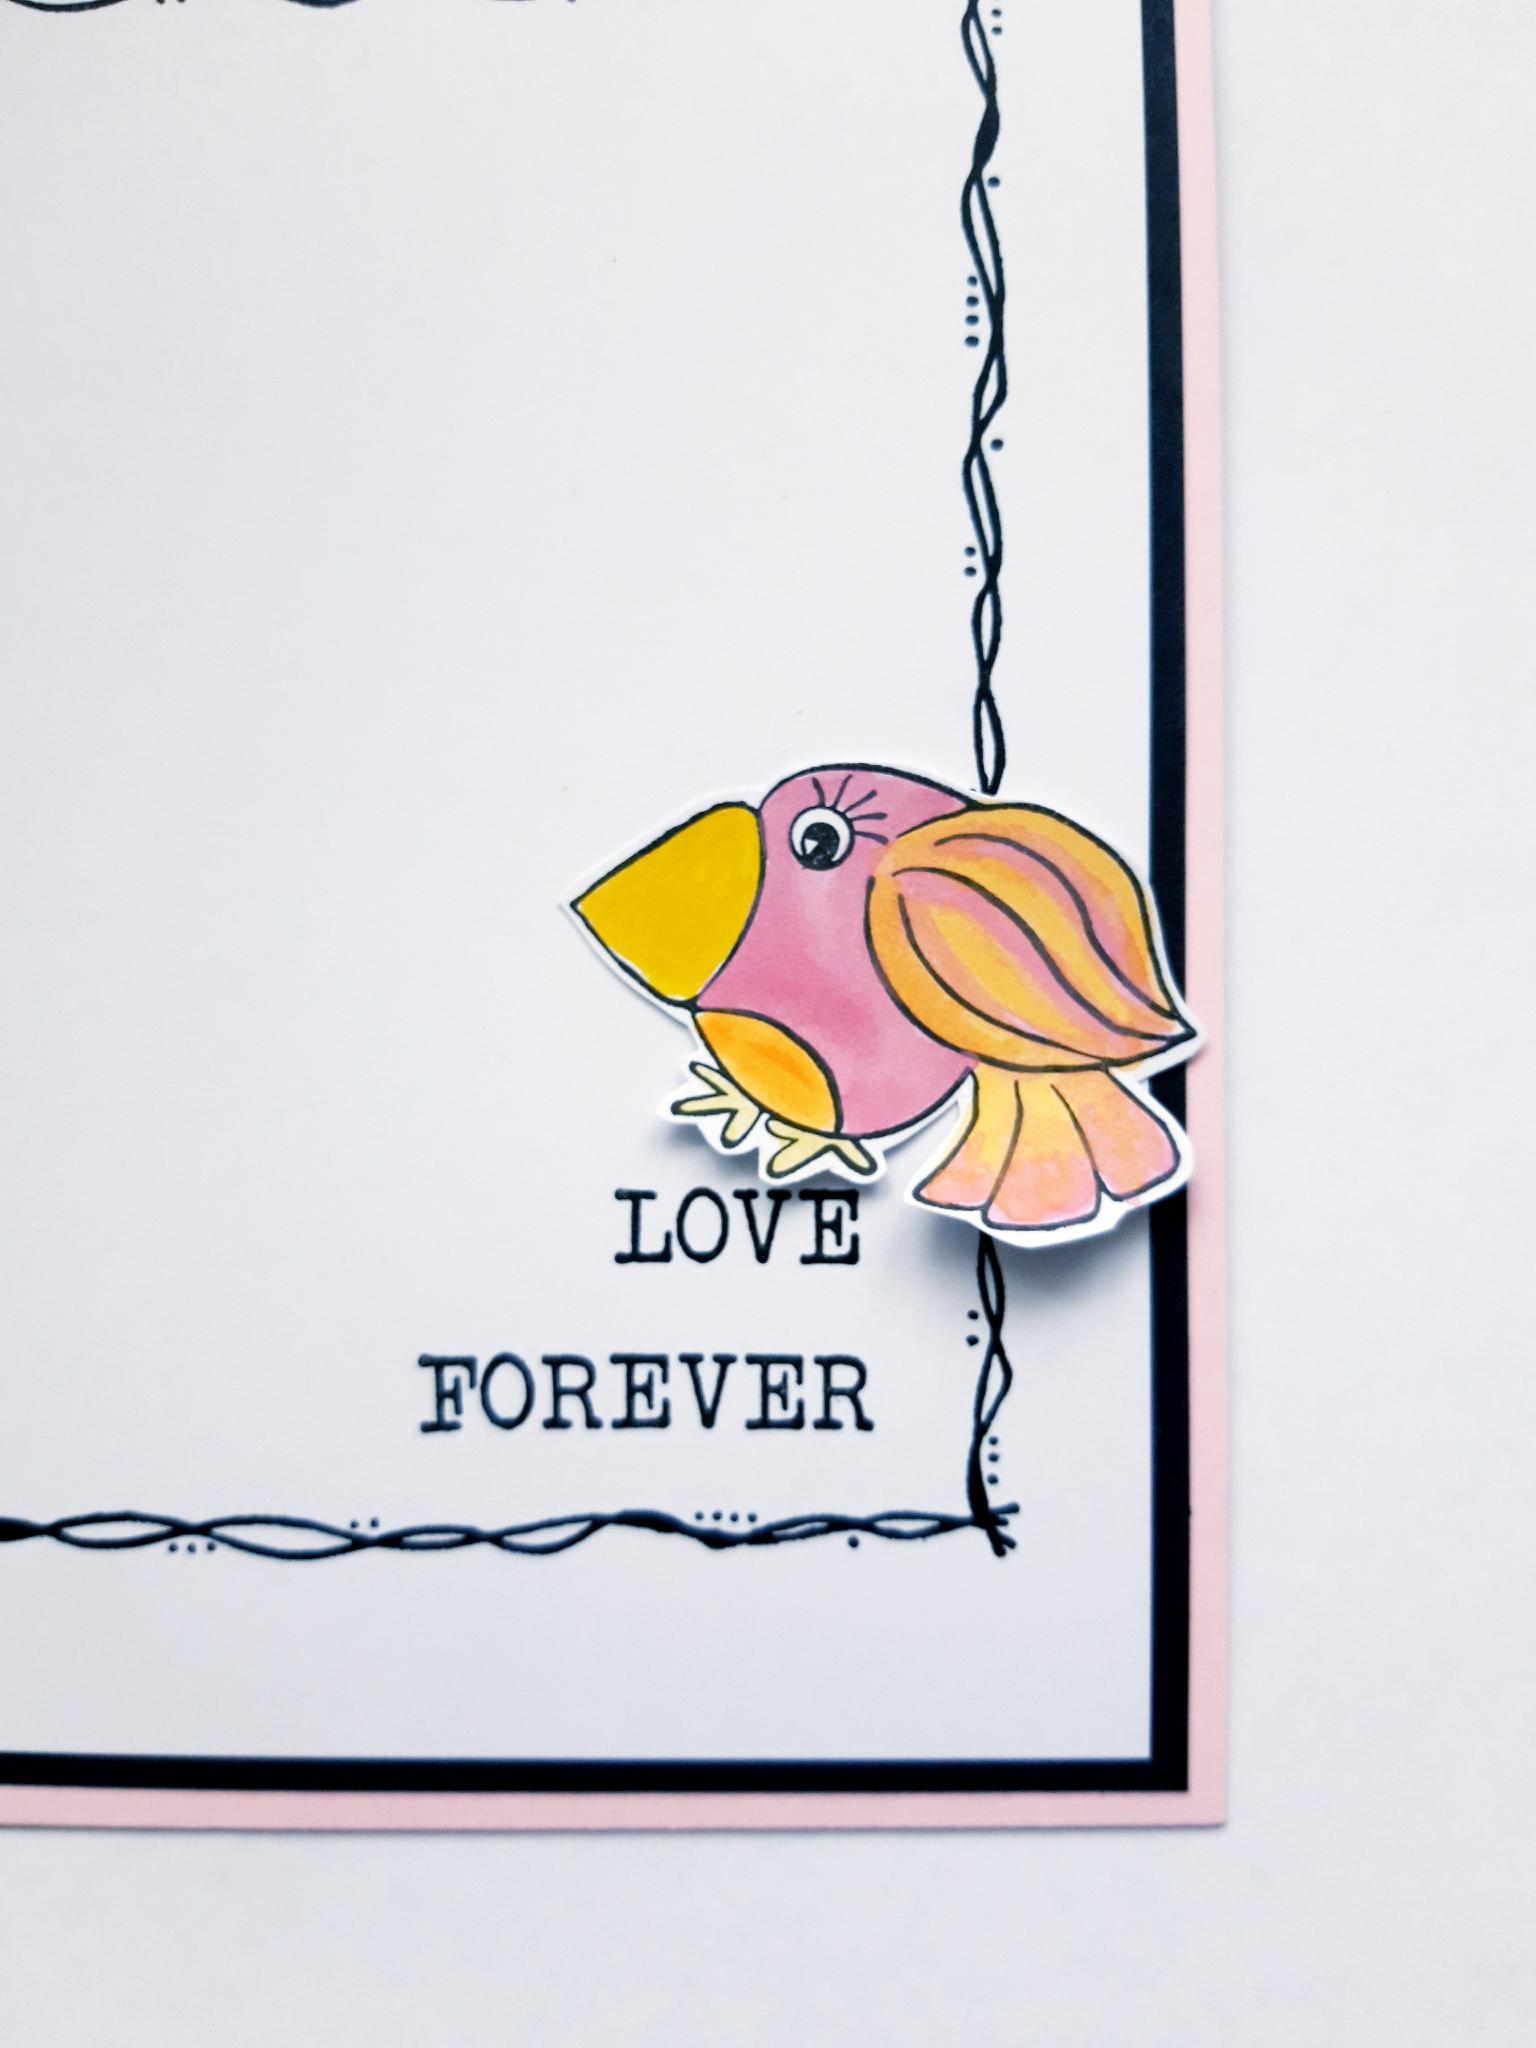
|
Adhere this Birb, so it's sitting on the stamped sentiment, with a foam pad. |
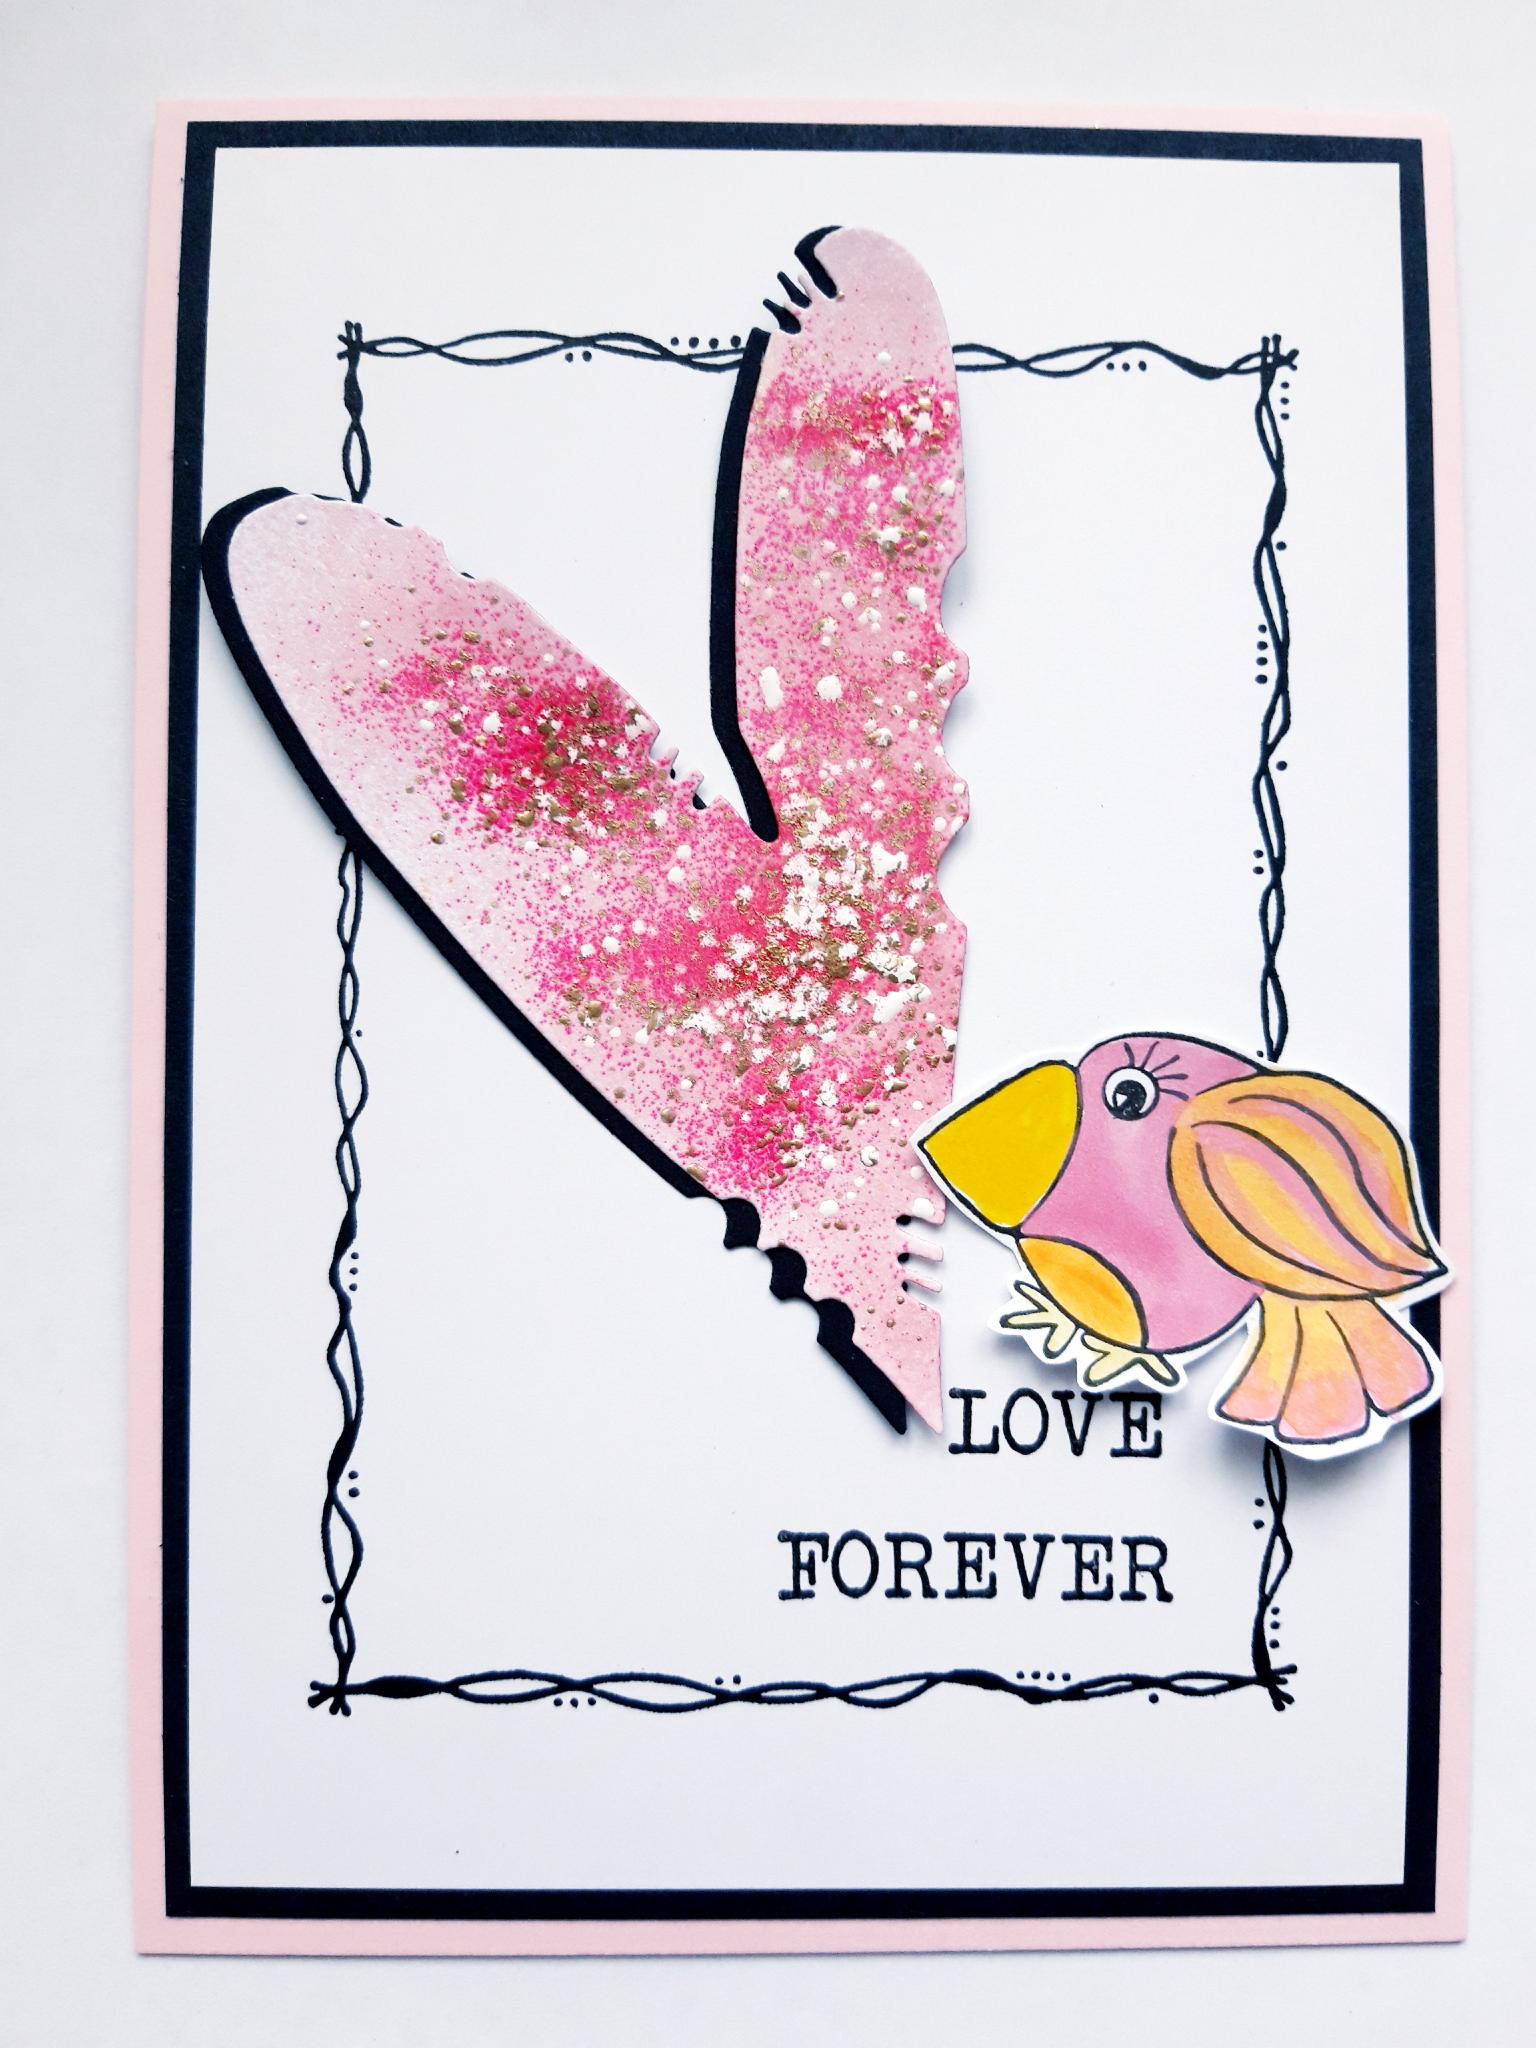
|
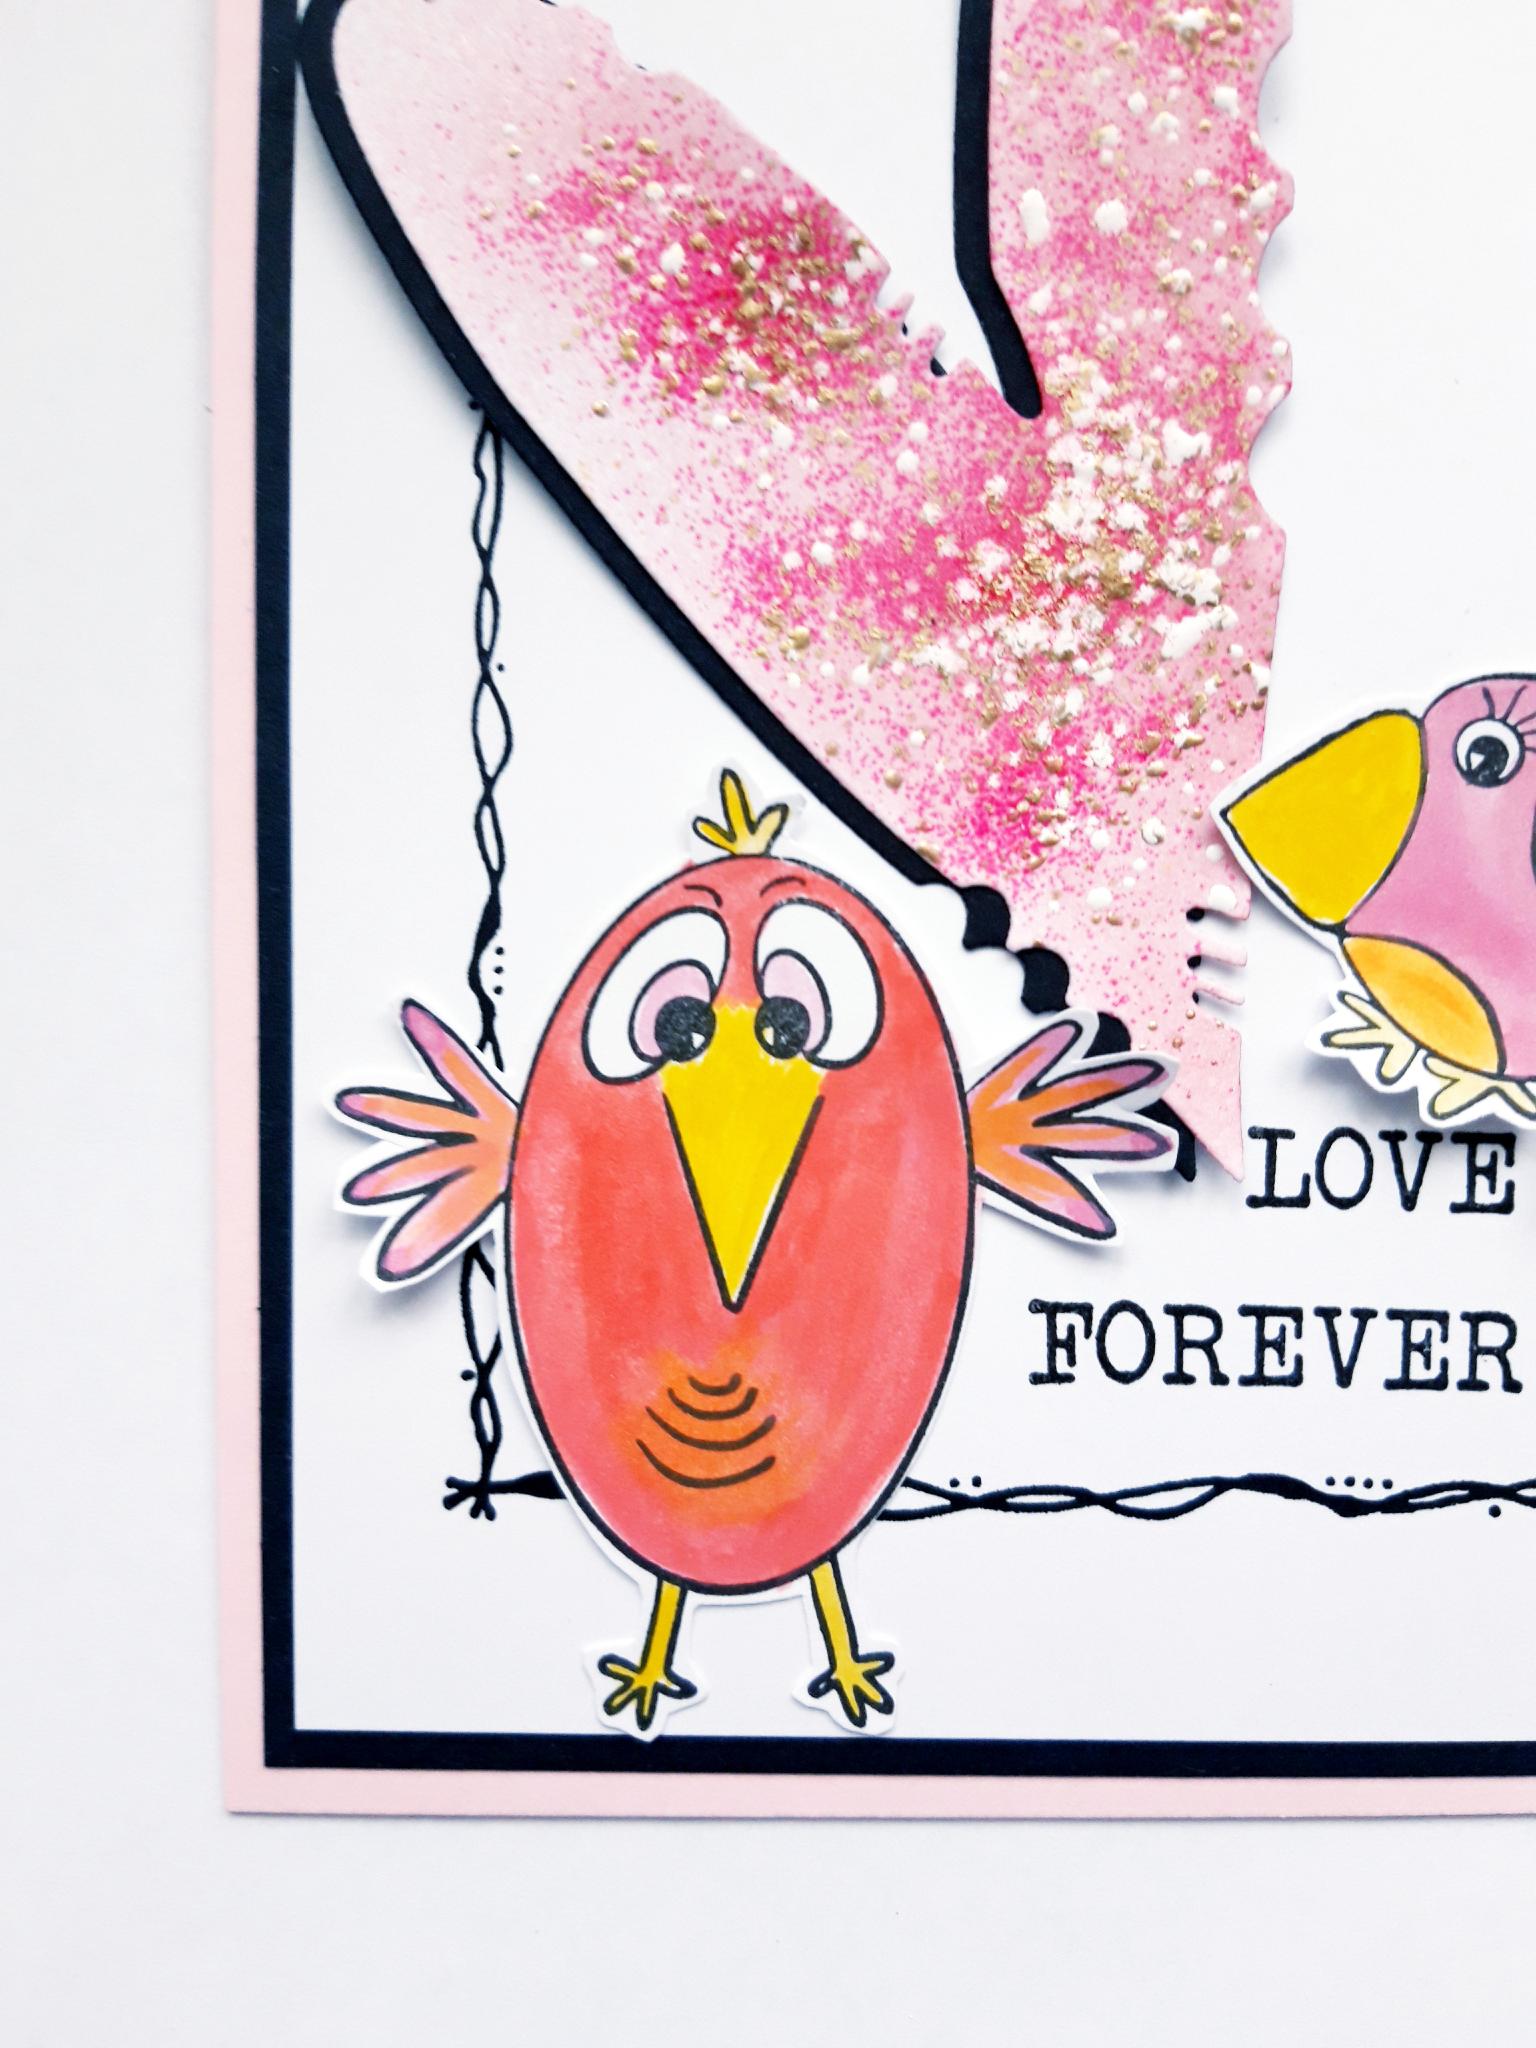
Mould your embossed heart, to give it a little shape, before adhering it on to your card, as shown here. You can use wet glue, or foam pads for extra dimension. |
|
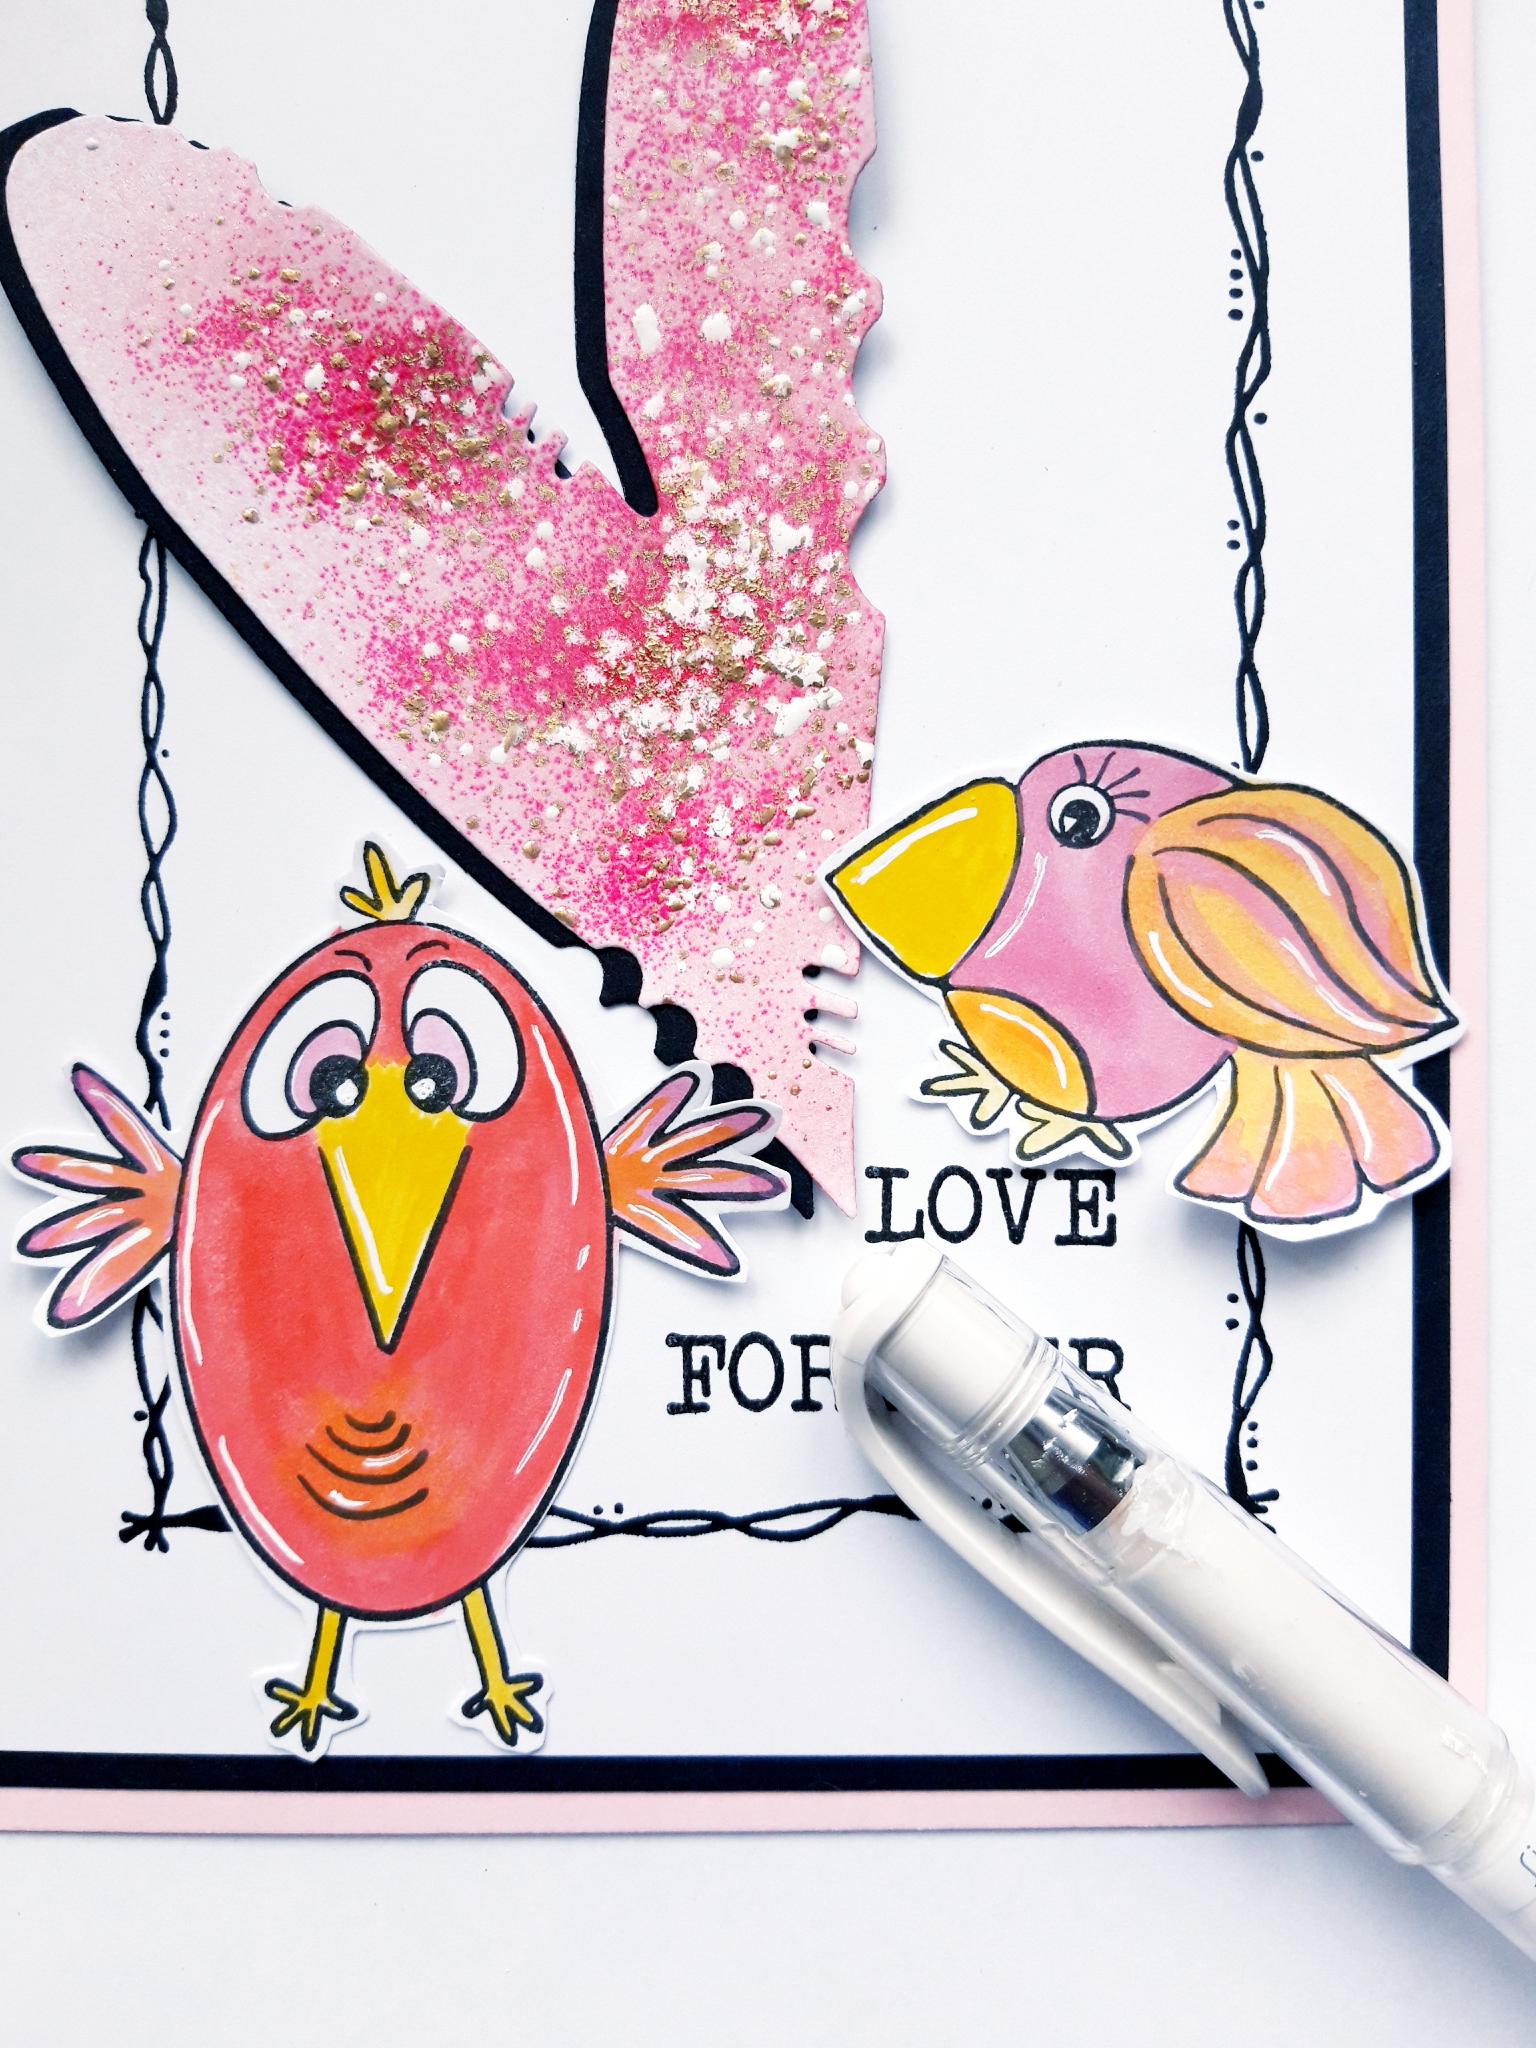
Adhere the other Birb, with a foam pad, on to the bottom left of your card. |
|
To finish, add accents and highlights to your Birbs, with a white gel pen. |