

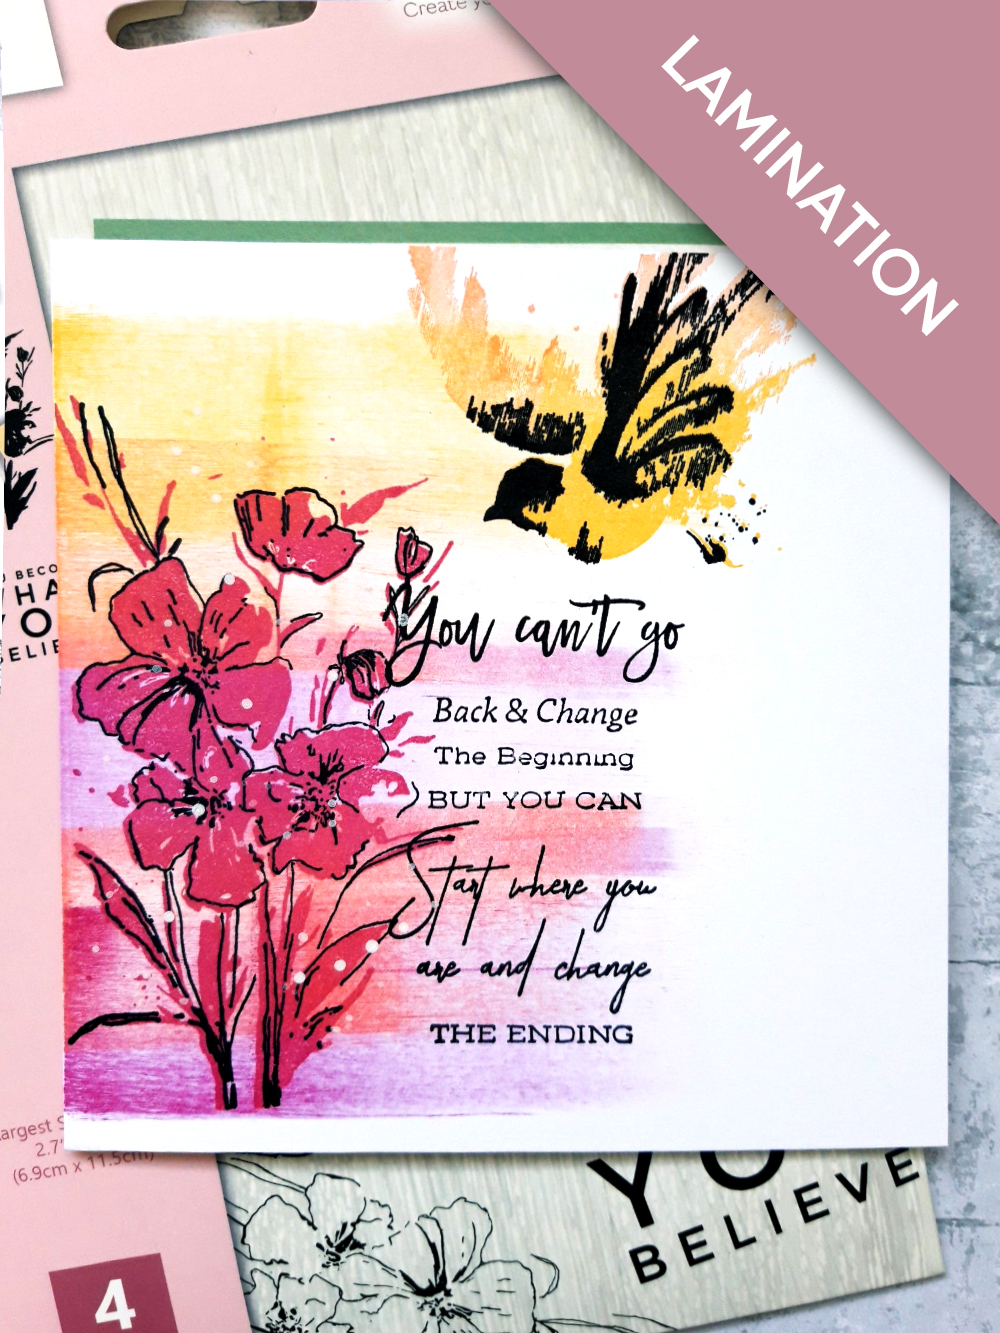
WHAT YOU WILL NEED:
White card blank (6 x 6")
Stamps from What You Believe Lamination Stamp Collection
Stamps from Beautiful Moments Lamination Stamp Collection
Versafine Ink Pad: Onyx Black
Izink Pigment Ink Pad Collection: Classic: Yellow, orange, light pink, dark pink, red
Thirsty Brush Confetti Ink: White Lace
Eureka 101
[click image to enlarge] 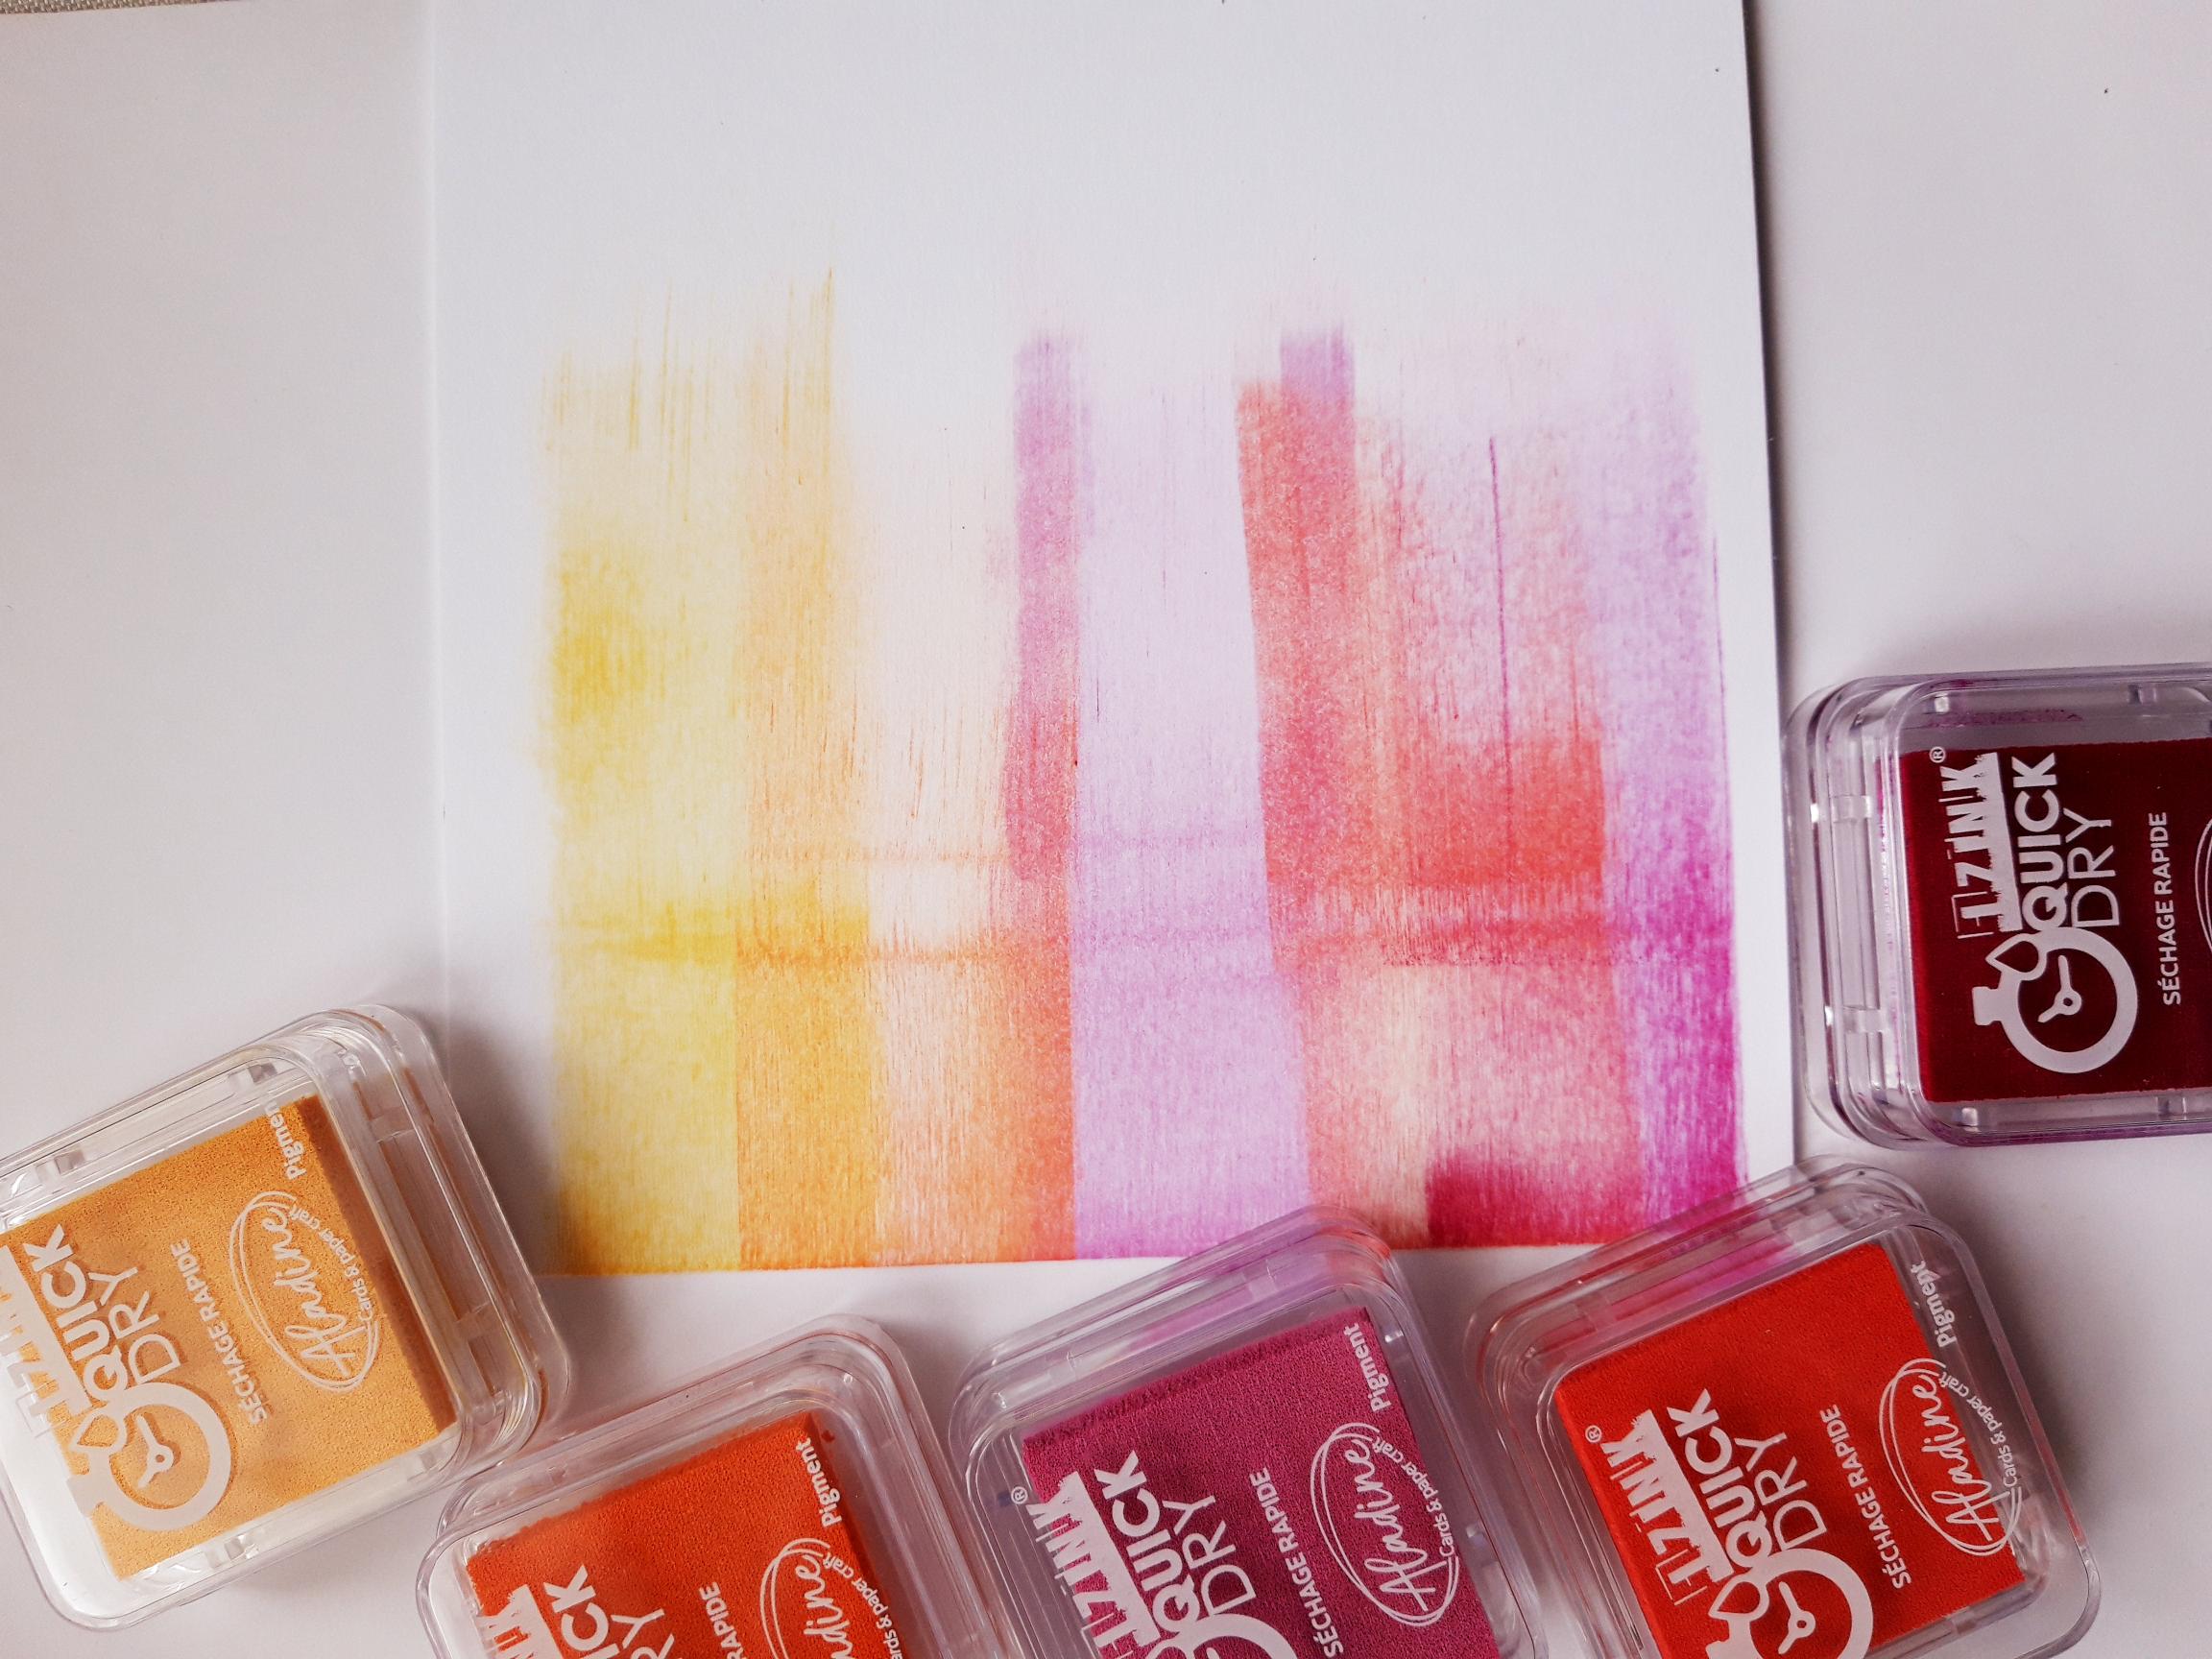
|
Swipe each of the Izink ink pads from the left hand edge of the card blank, across the card, at different lengths and widths. NB: Change the intensity of colours, add extra swipes with different pressures, to create an effective background. You can also use the edge of the ink pad to create thinner lines, adding more dimension. TIP: Play with different colour combinations, using tones of the same colour family, or contrasting colour family's, to create a completely different look. |
|
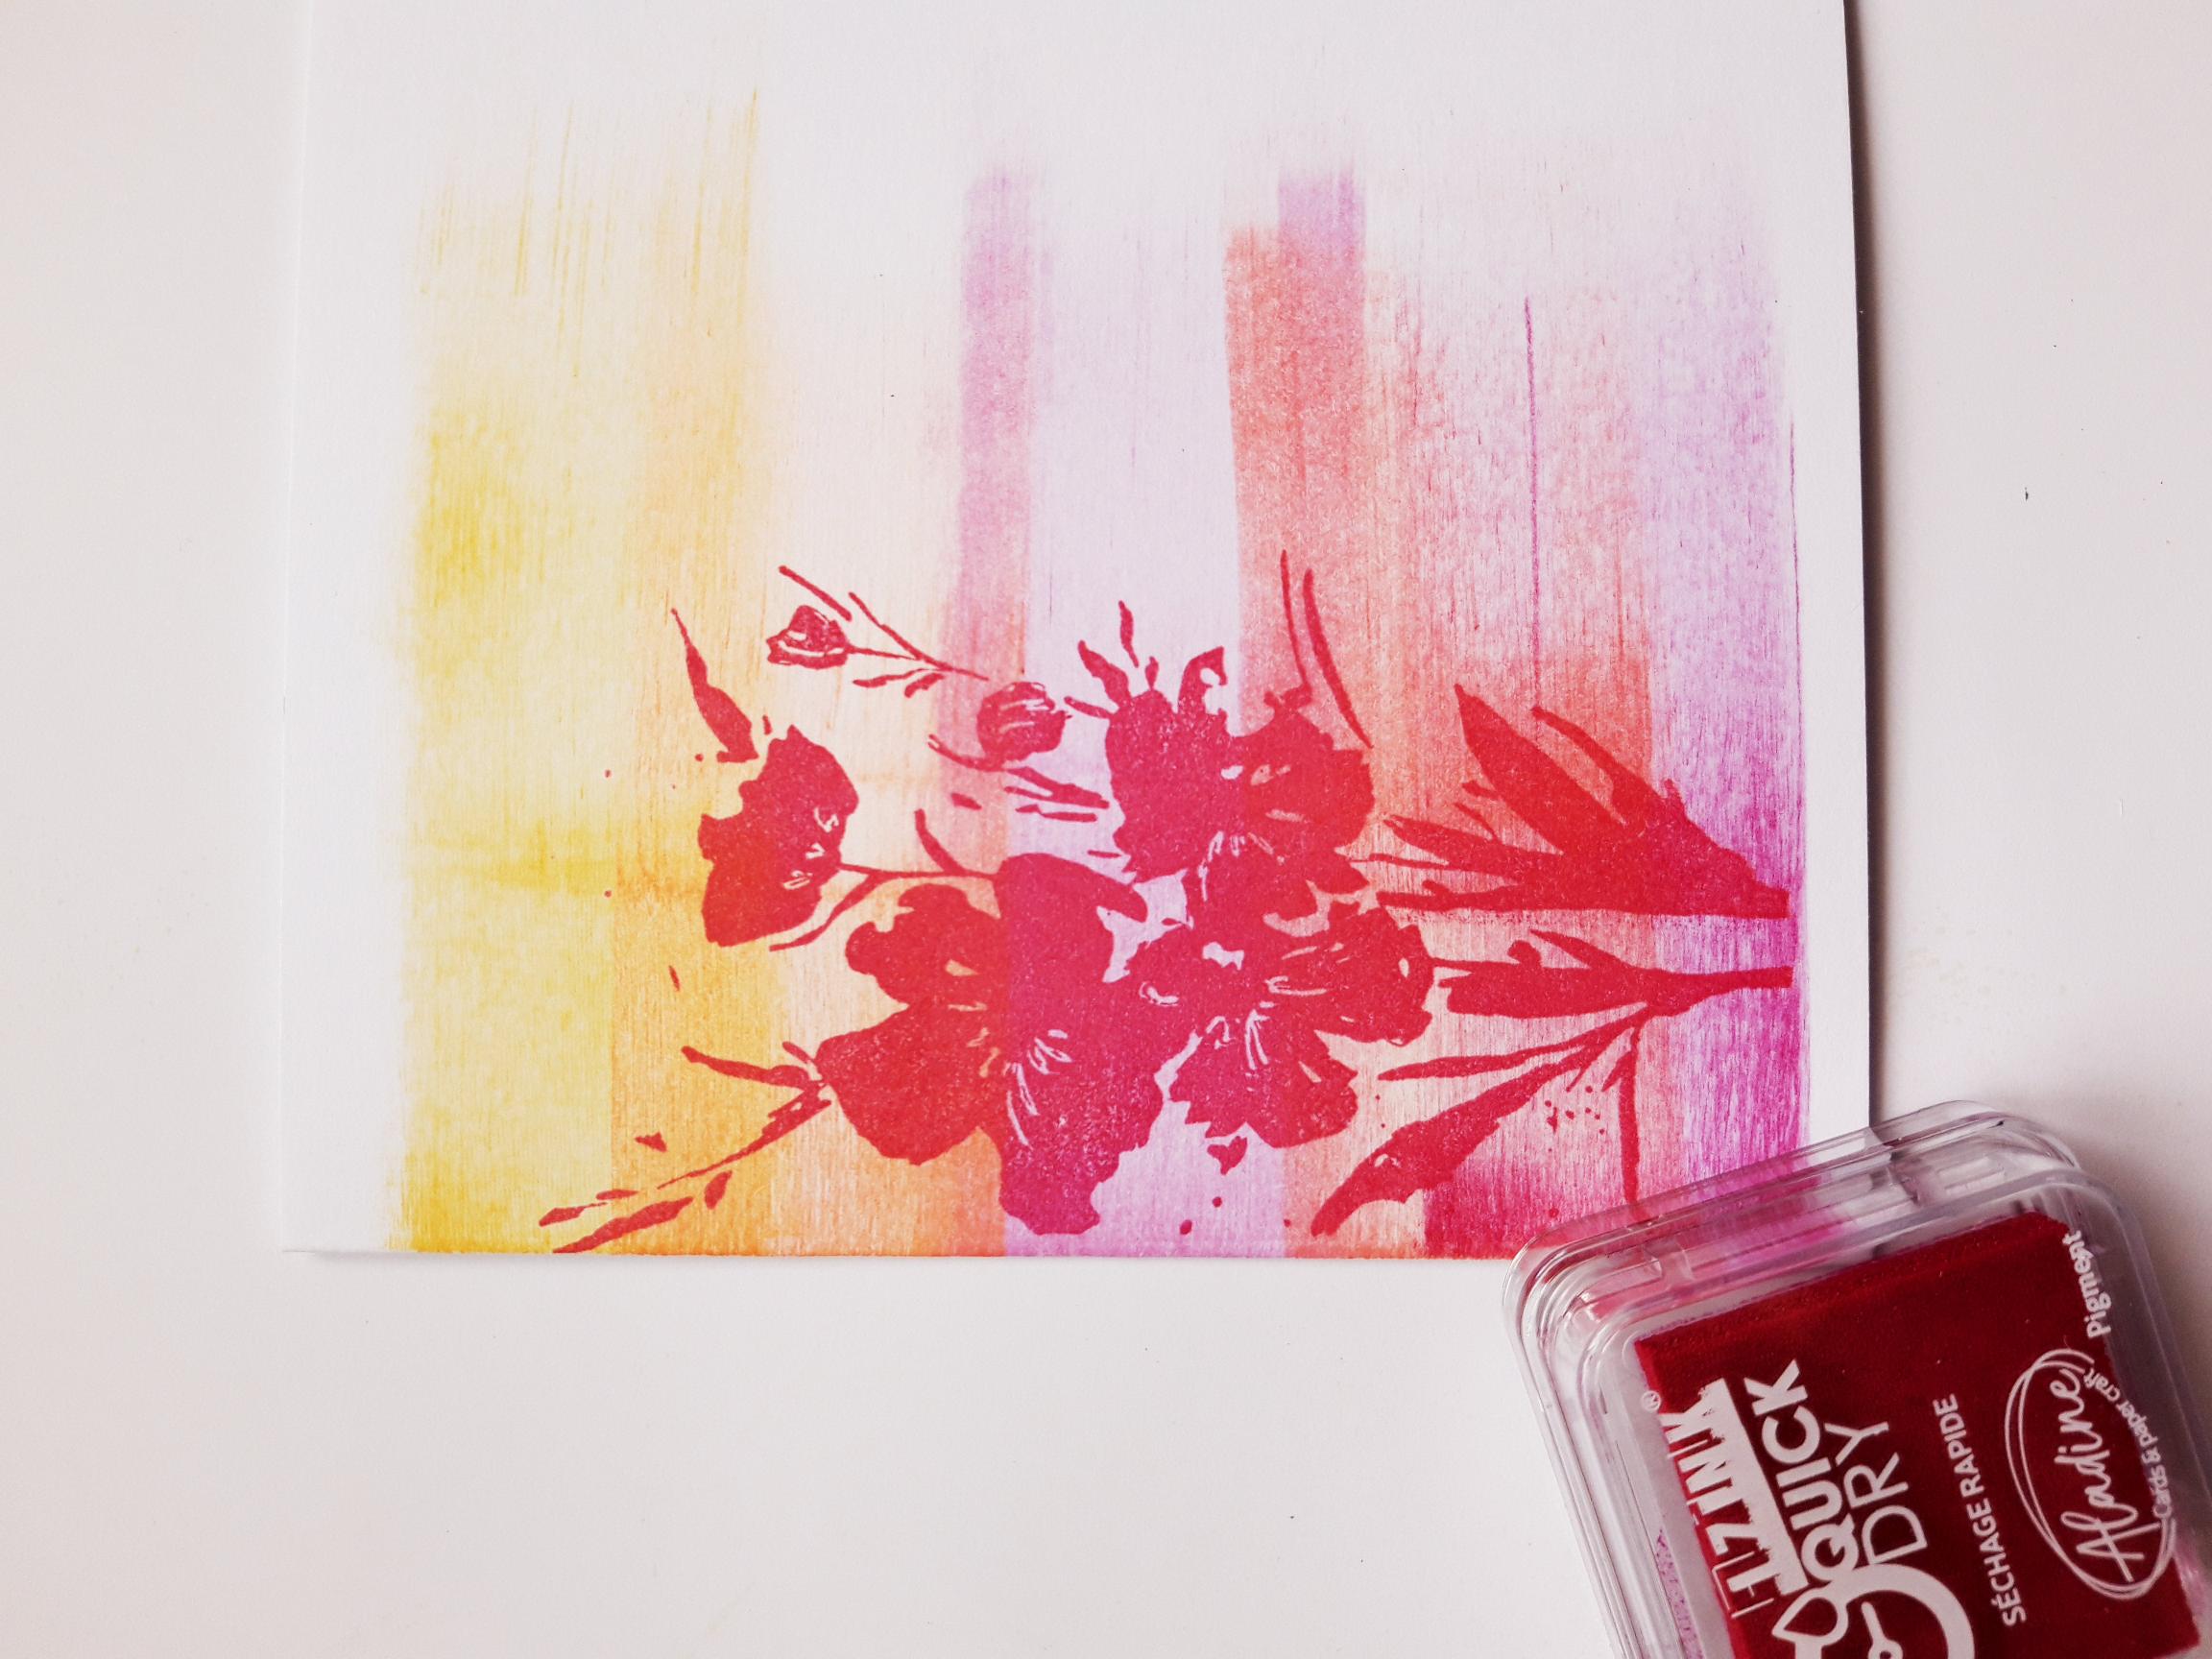
Ink up the solid stamp, from the What You Believe Lamination Stamp Collection, with the darkest of the colours, in this case the Red. Stamp it just off the left edge of the card blank. You can reink and stamp it, to create more intensity and depth of colour. |
|
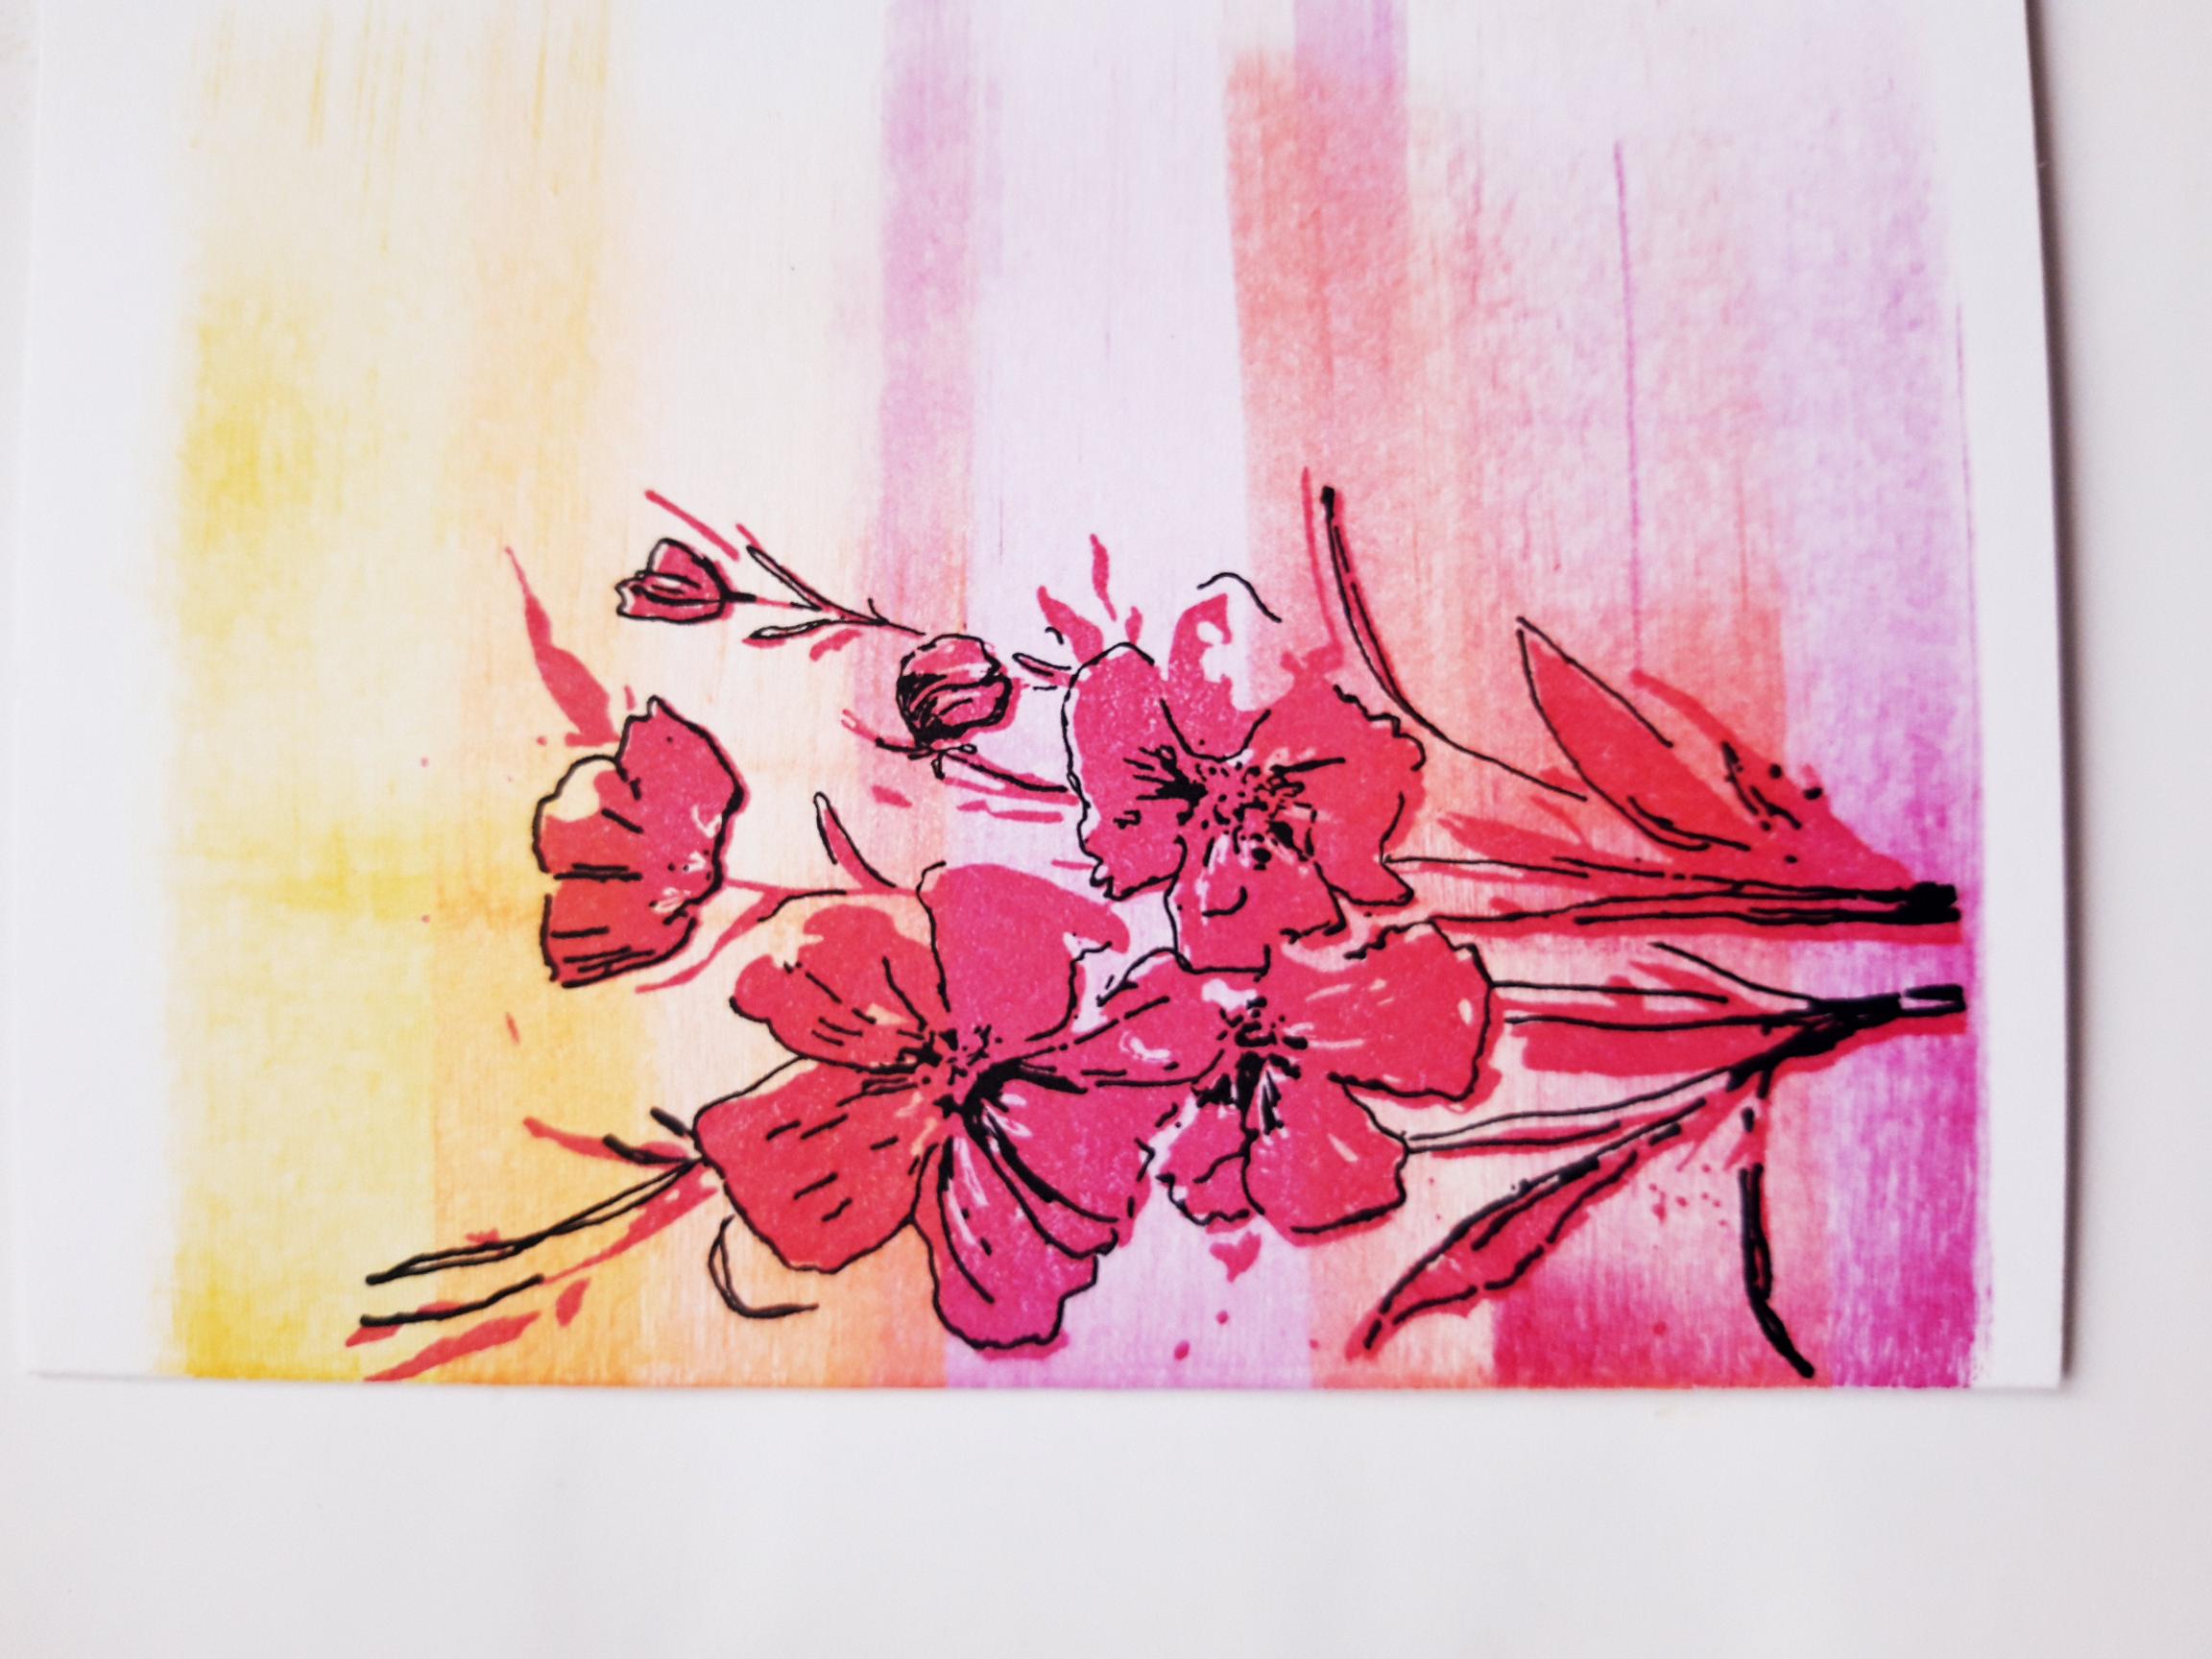
Ink up the coordinating, detailed stamp, with the Onyx Black Versafine, and stamp it in place, over your stamped image. If you are unsure how to line up the lamination stamps, the images on the packaging will help you. |
|
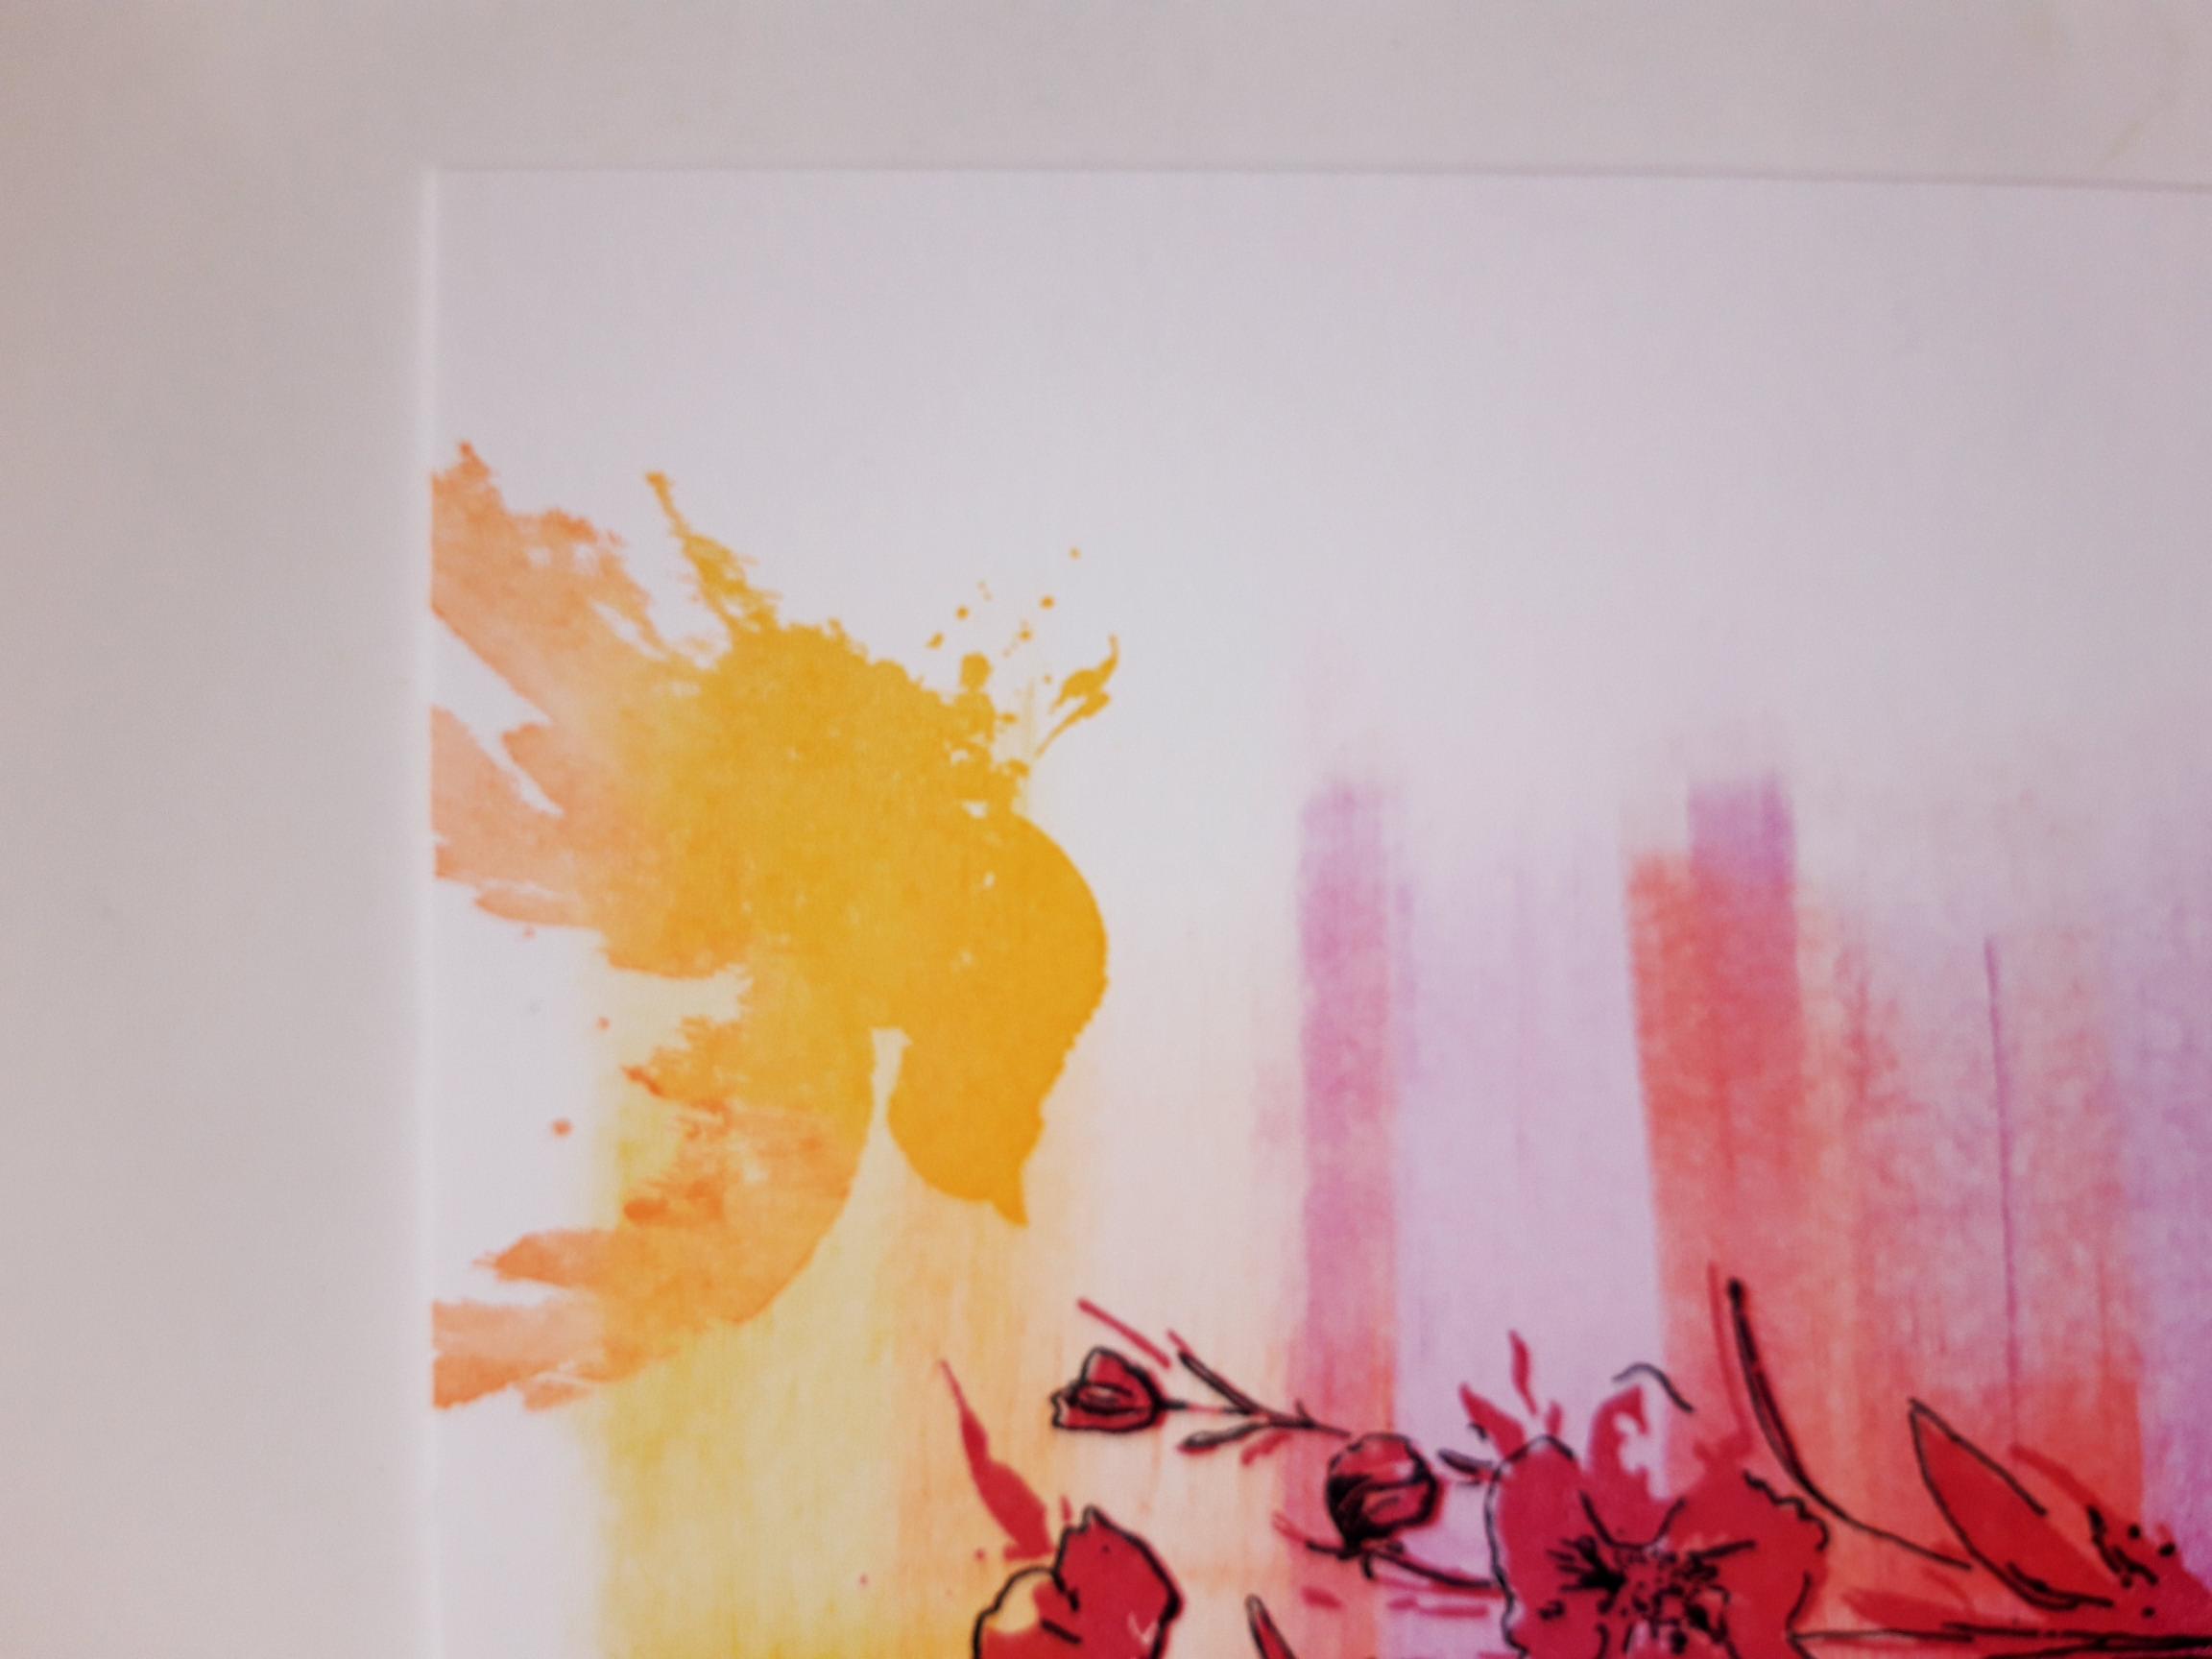
Ink up the solid bird stamp, from the Beautiful Moments Lamination Stamp Collection, with the yellow and orange Izink inks. Stamp it flying down from the top edge of the card. |
|
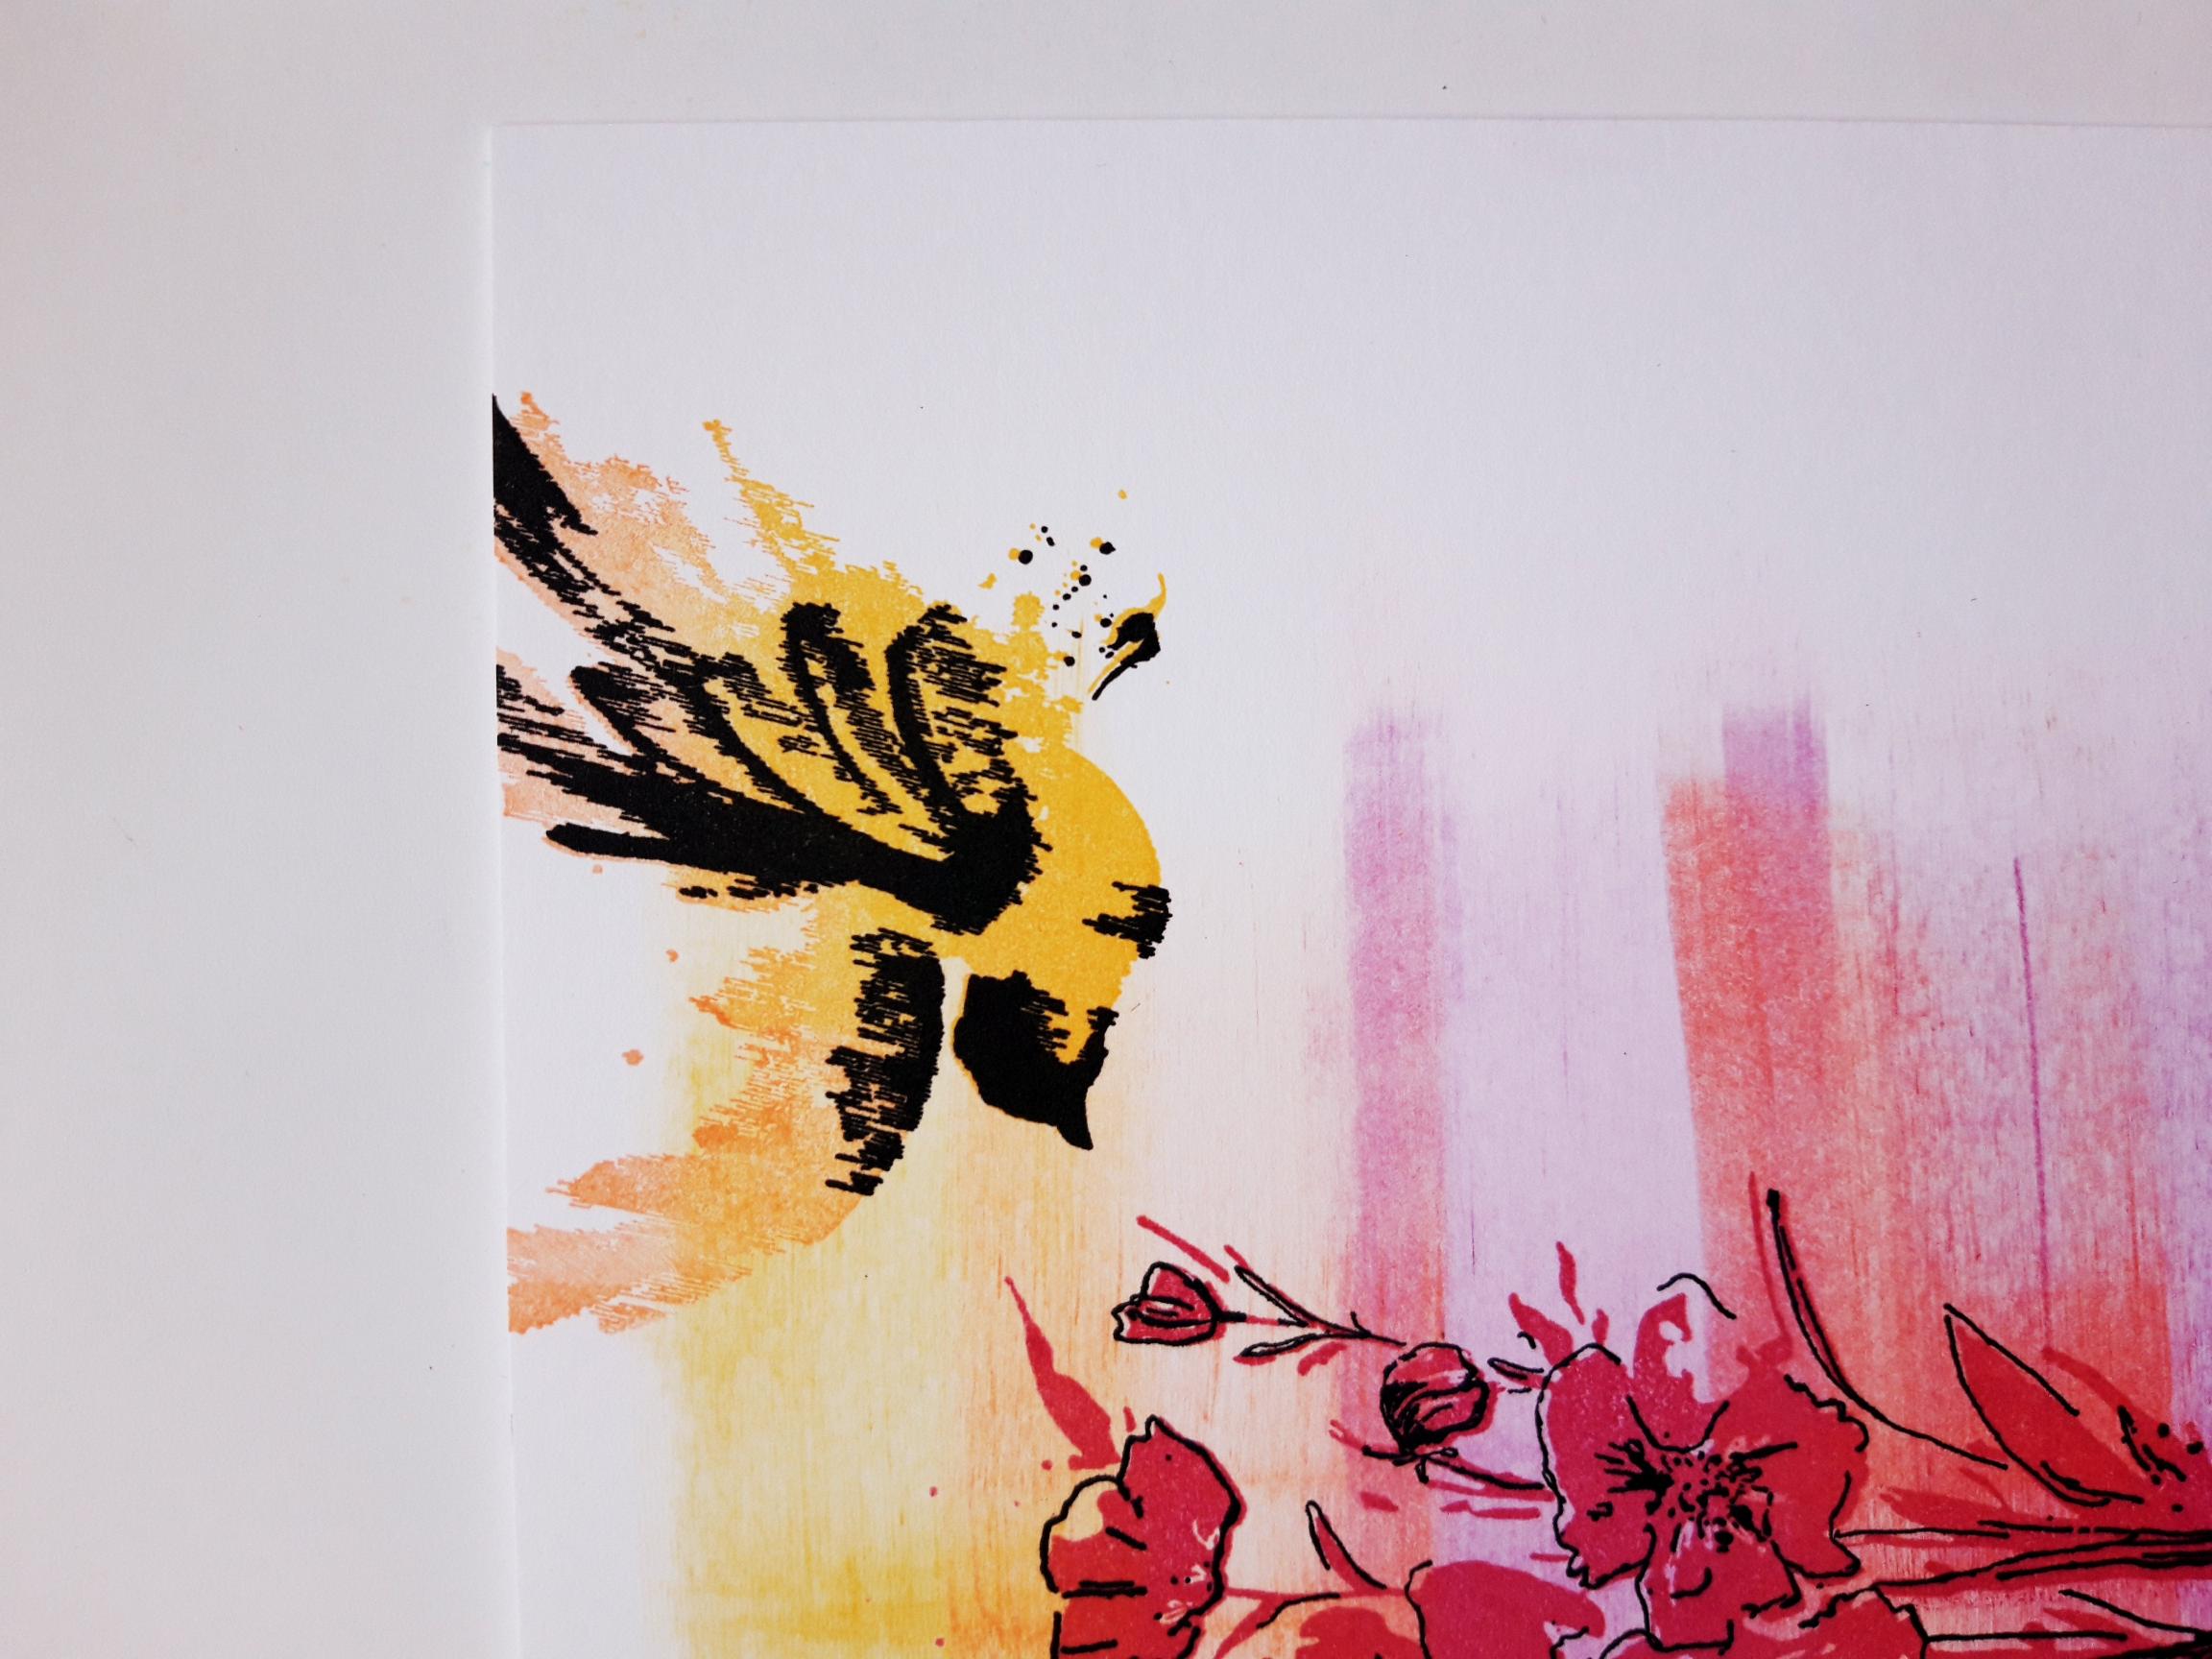
Ink up the coordinating detailed stamp, with the Versafine, and stamp it in place, over your stamped image. |
|
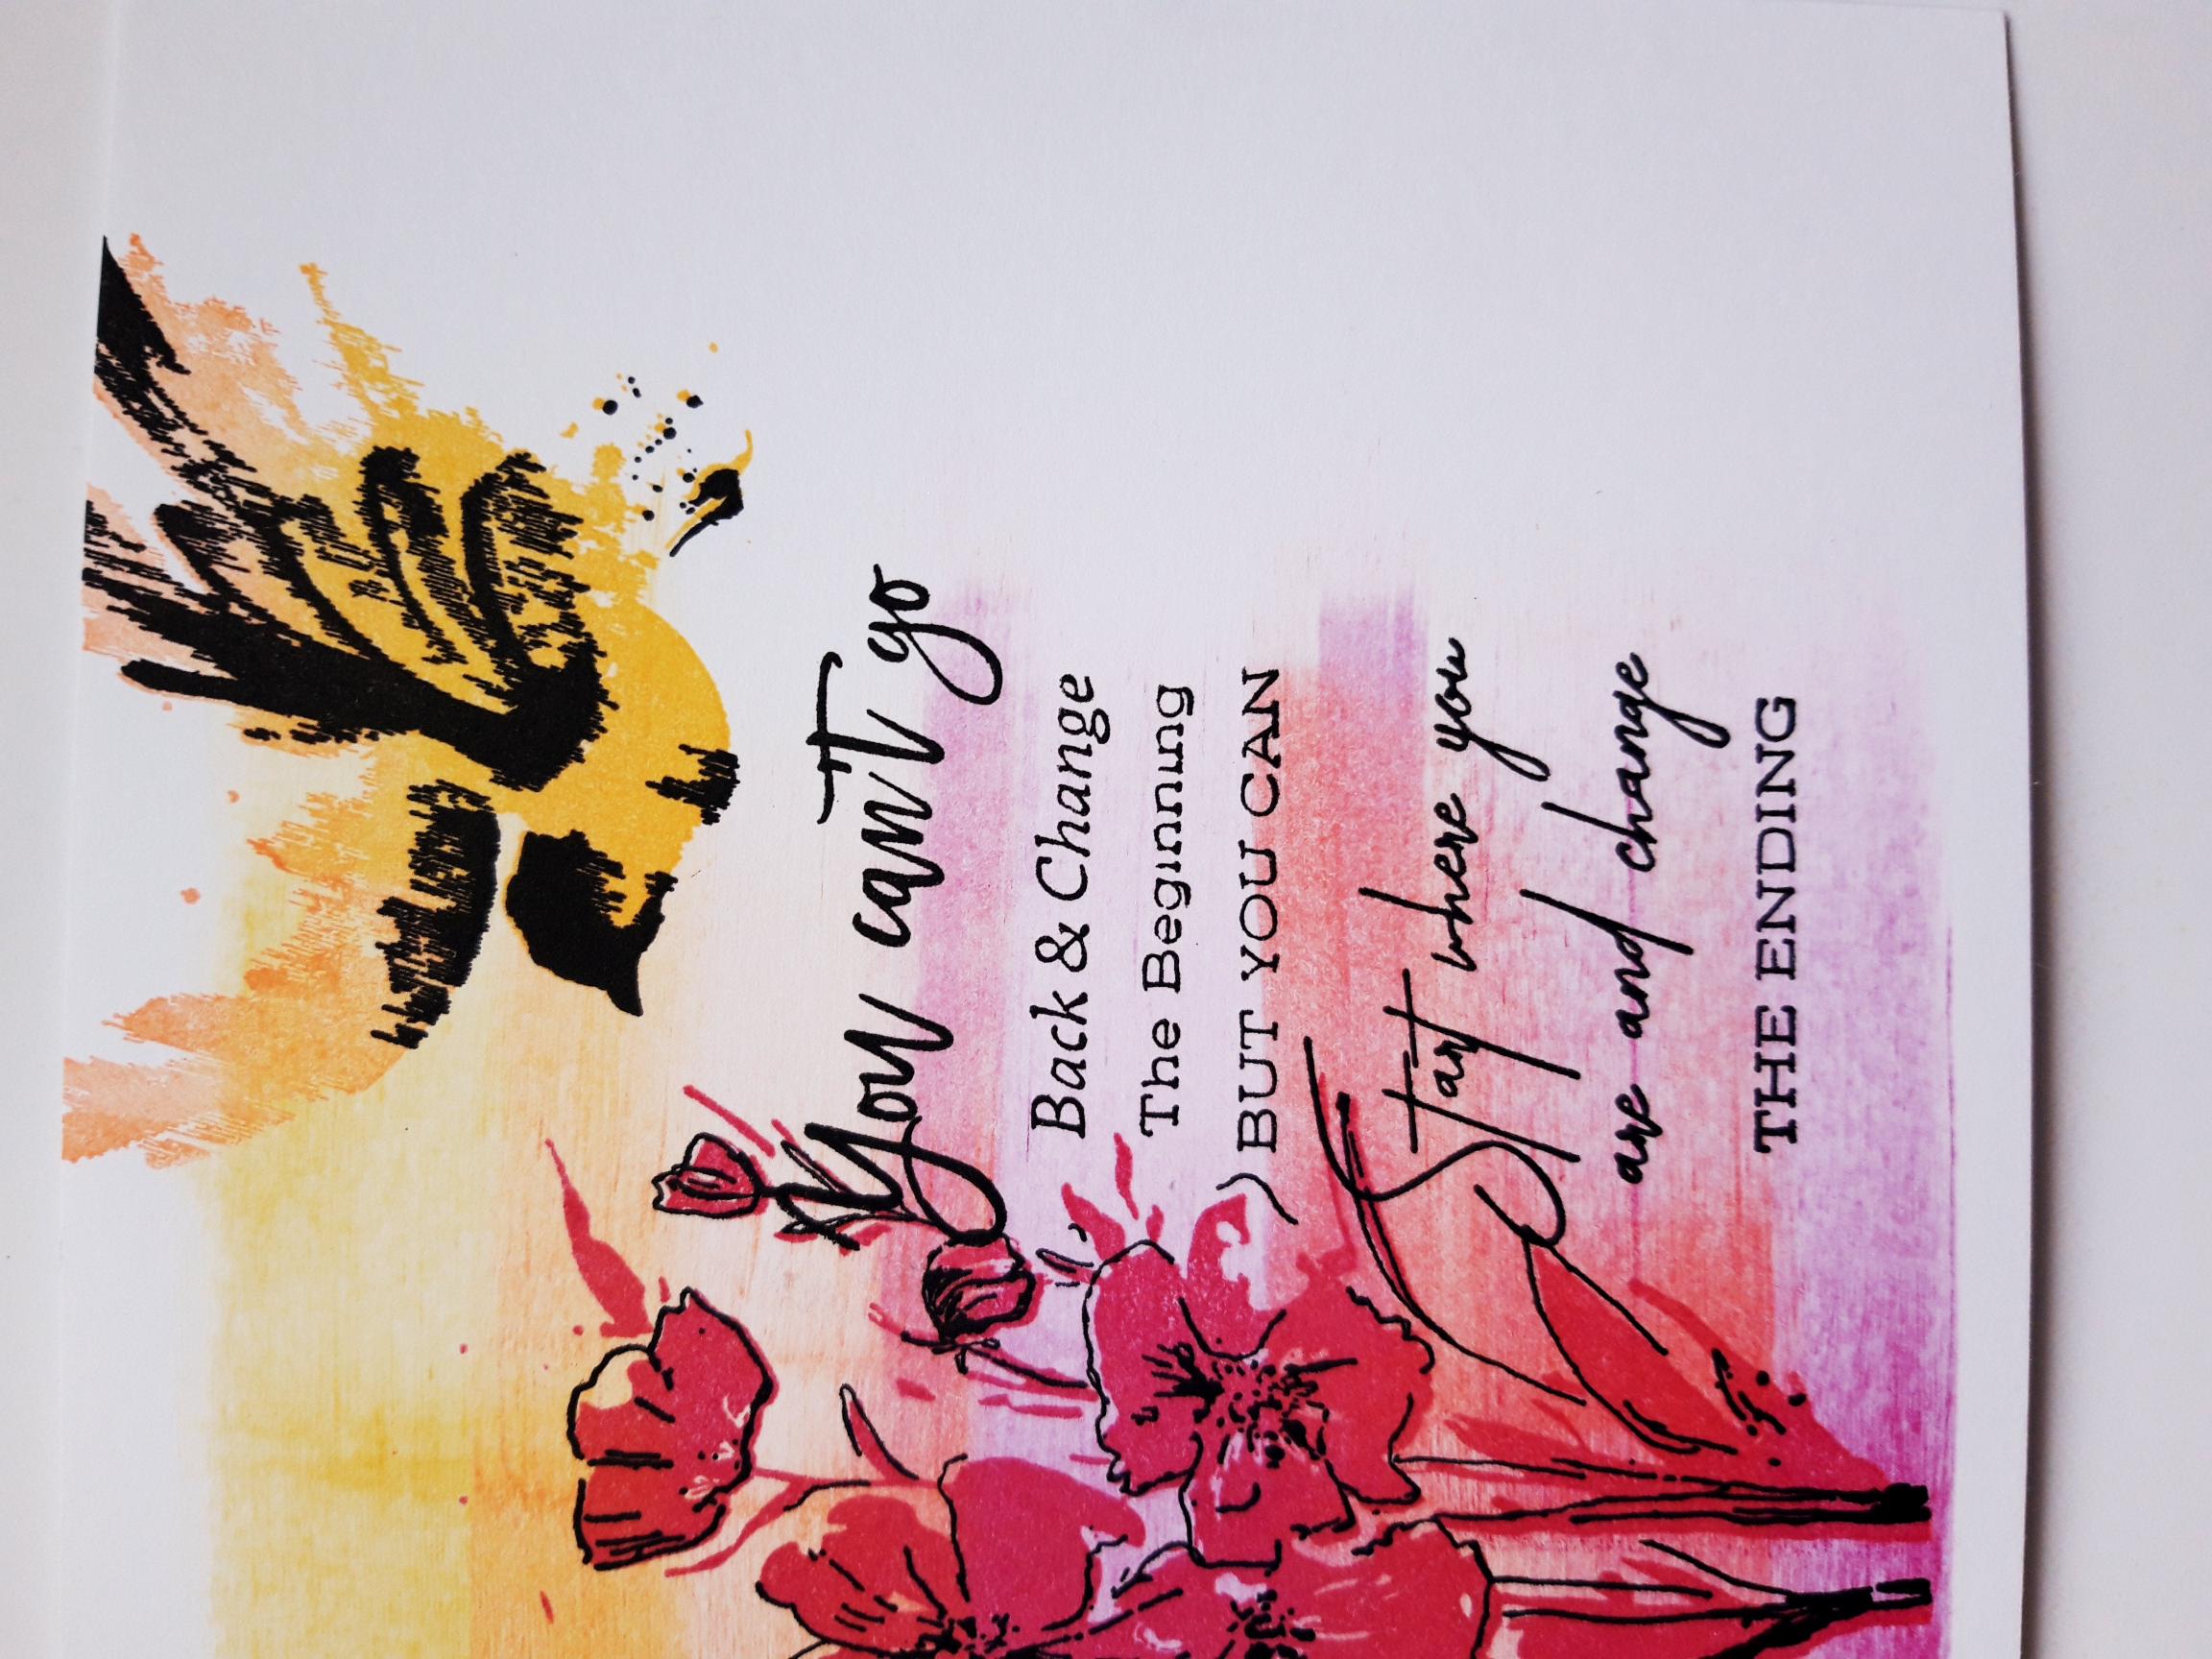
Ink up the sentiment stamp, from the What You Believe set, with the Versafine, and stamp just to the right of your artwork. Make sure all your artwork is completely dry, before proceeding to the next step. |
|
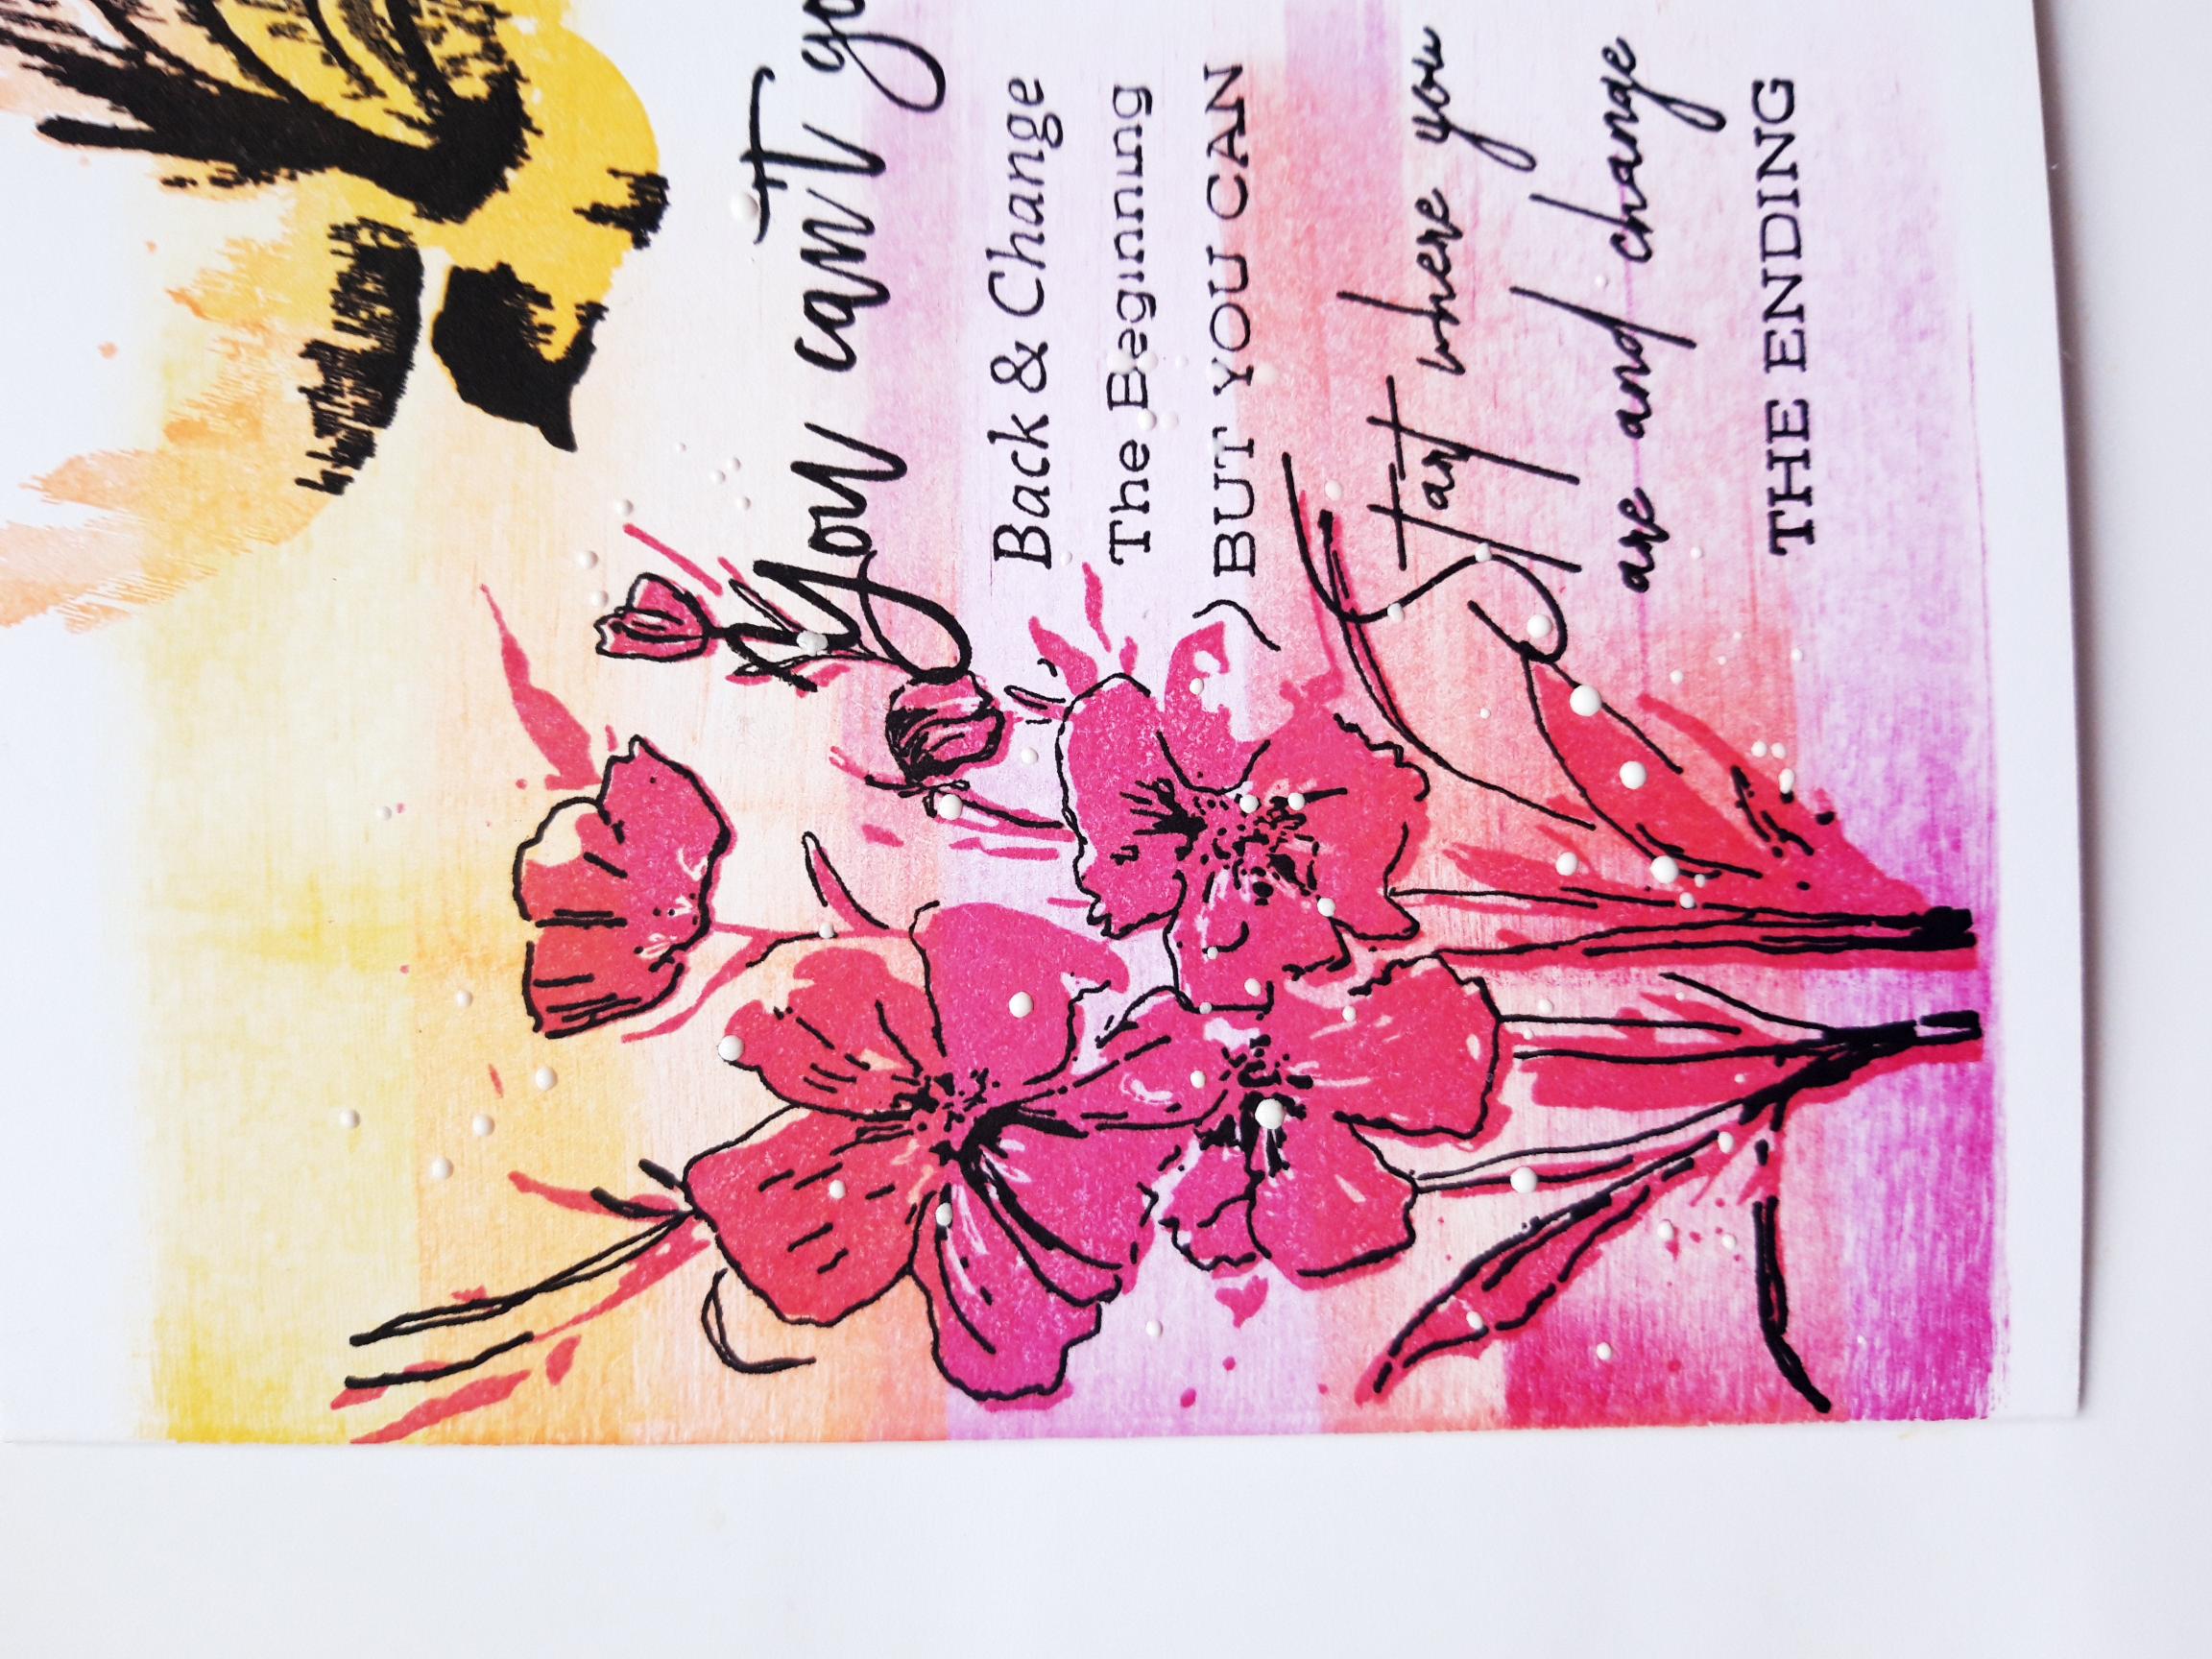
For the finishing touch, add water to your White Lace Confetti ink, and splatter your artwork with a paintbrush. You can add as many splatters as you like....and I like a lot!! |