

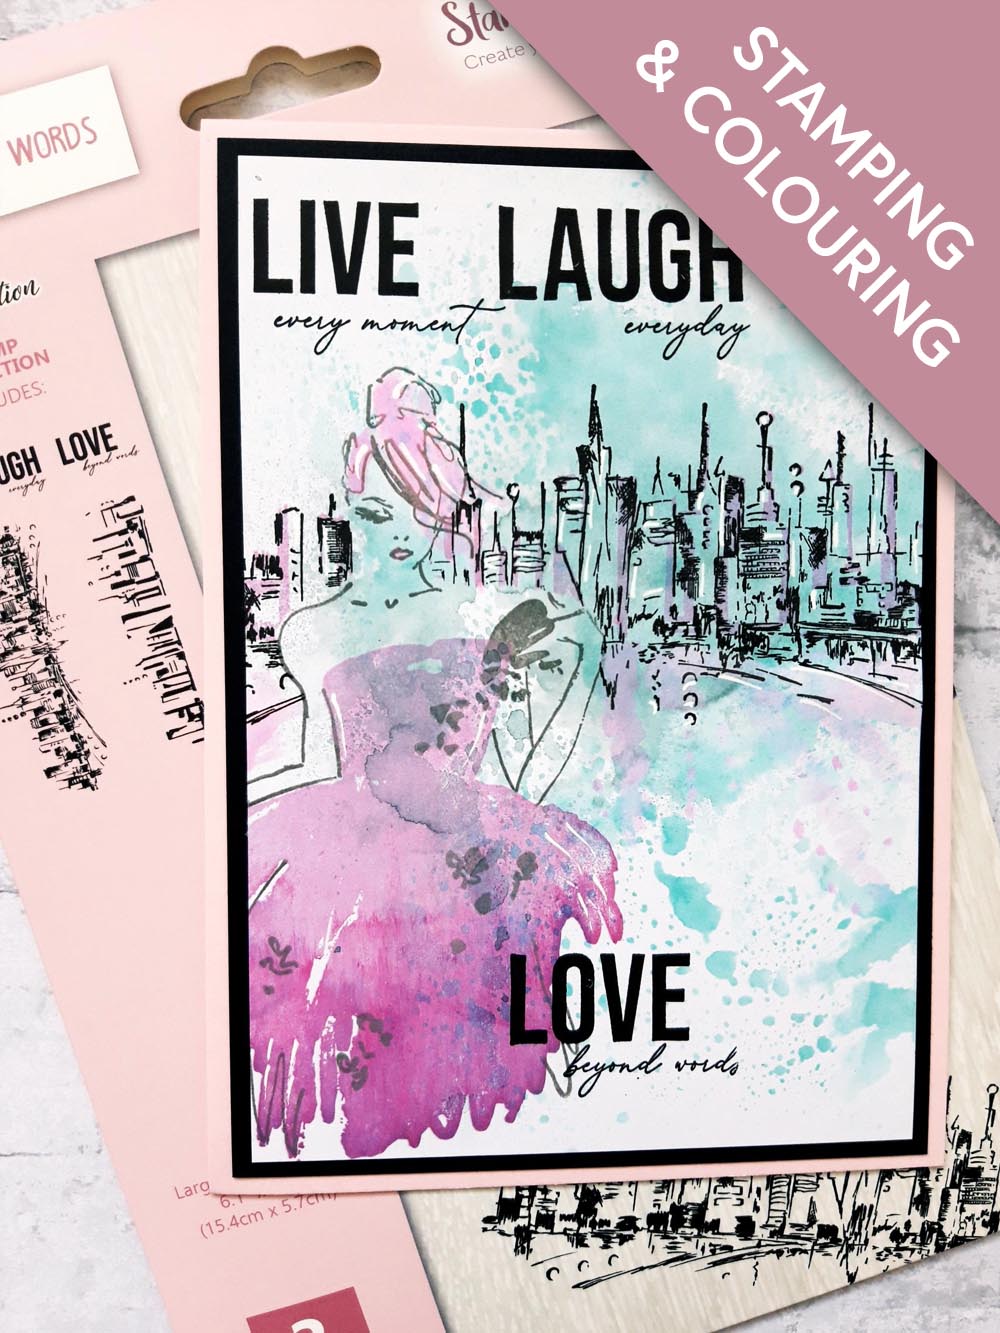
WHAT YOU WILL NEED:
Pink top folding card blank (Cut to 7 x 5")
Black card (6 3/4 x 4 3/4")
White card (6 1/2 x 4 1/2")
Sheet of copier paper or masking sheet
Stamps from Love Beyond Words Lamination Stamp Collection
Stamps from Small Town Girl Lamination Stamp Collection
Versafine: Onyx Black, Smoky Gray
Izink Dye Spray: Misty Morning, Underwater
Izink Pigment Ink pad: Classic Collection: light and dark pinks
Izink Dye Ink pad: Cassis
Paint brush
White gel pen
Water spray bottle
Eureka 101
Paper trimmer
Perfect Together glue
[click image to enlarge] 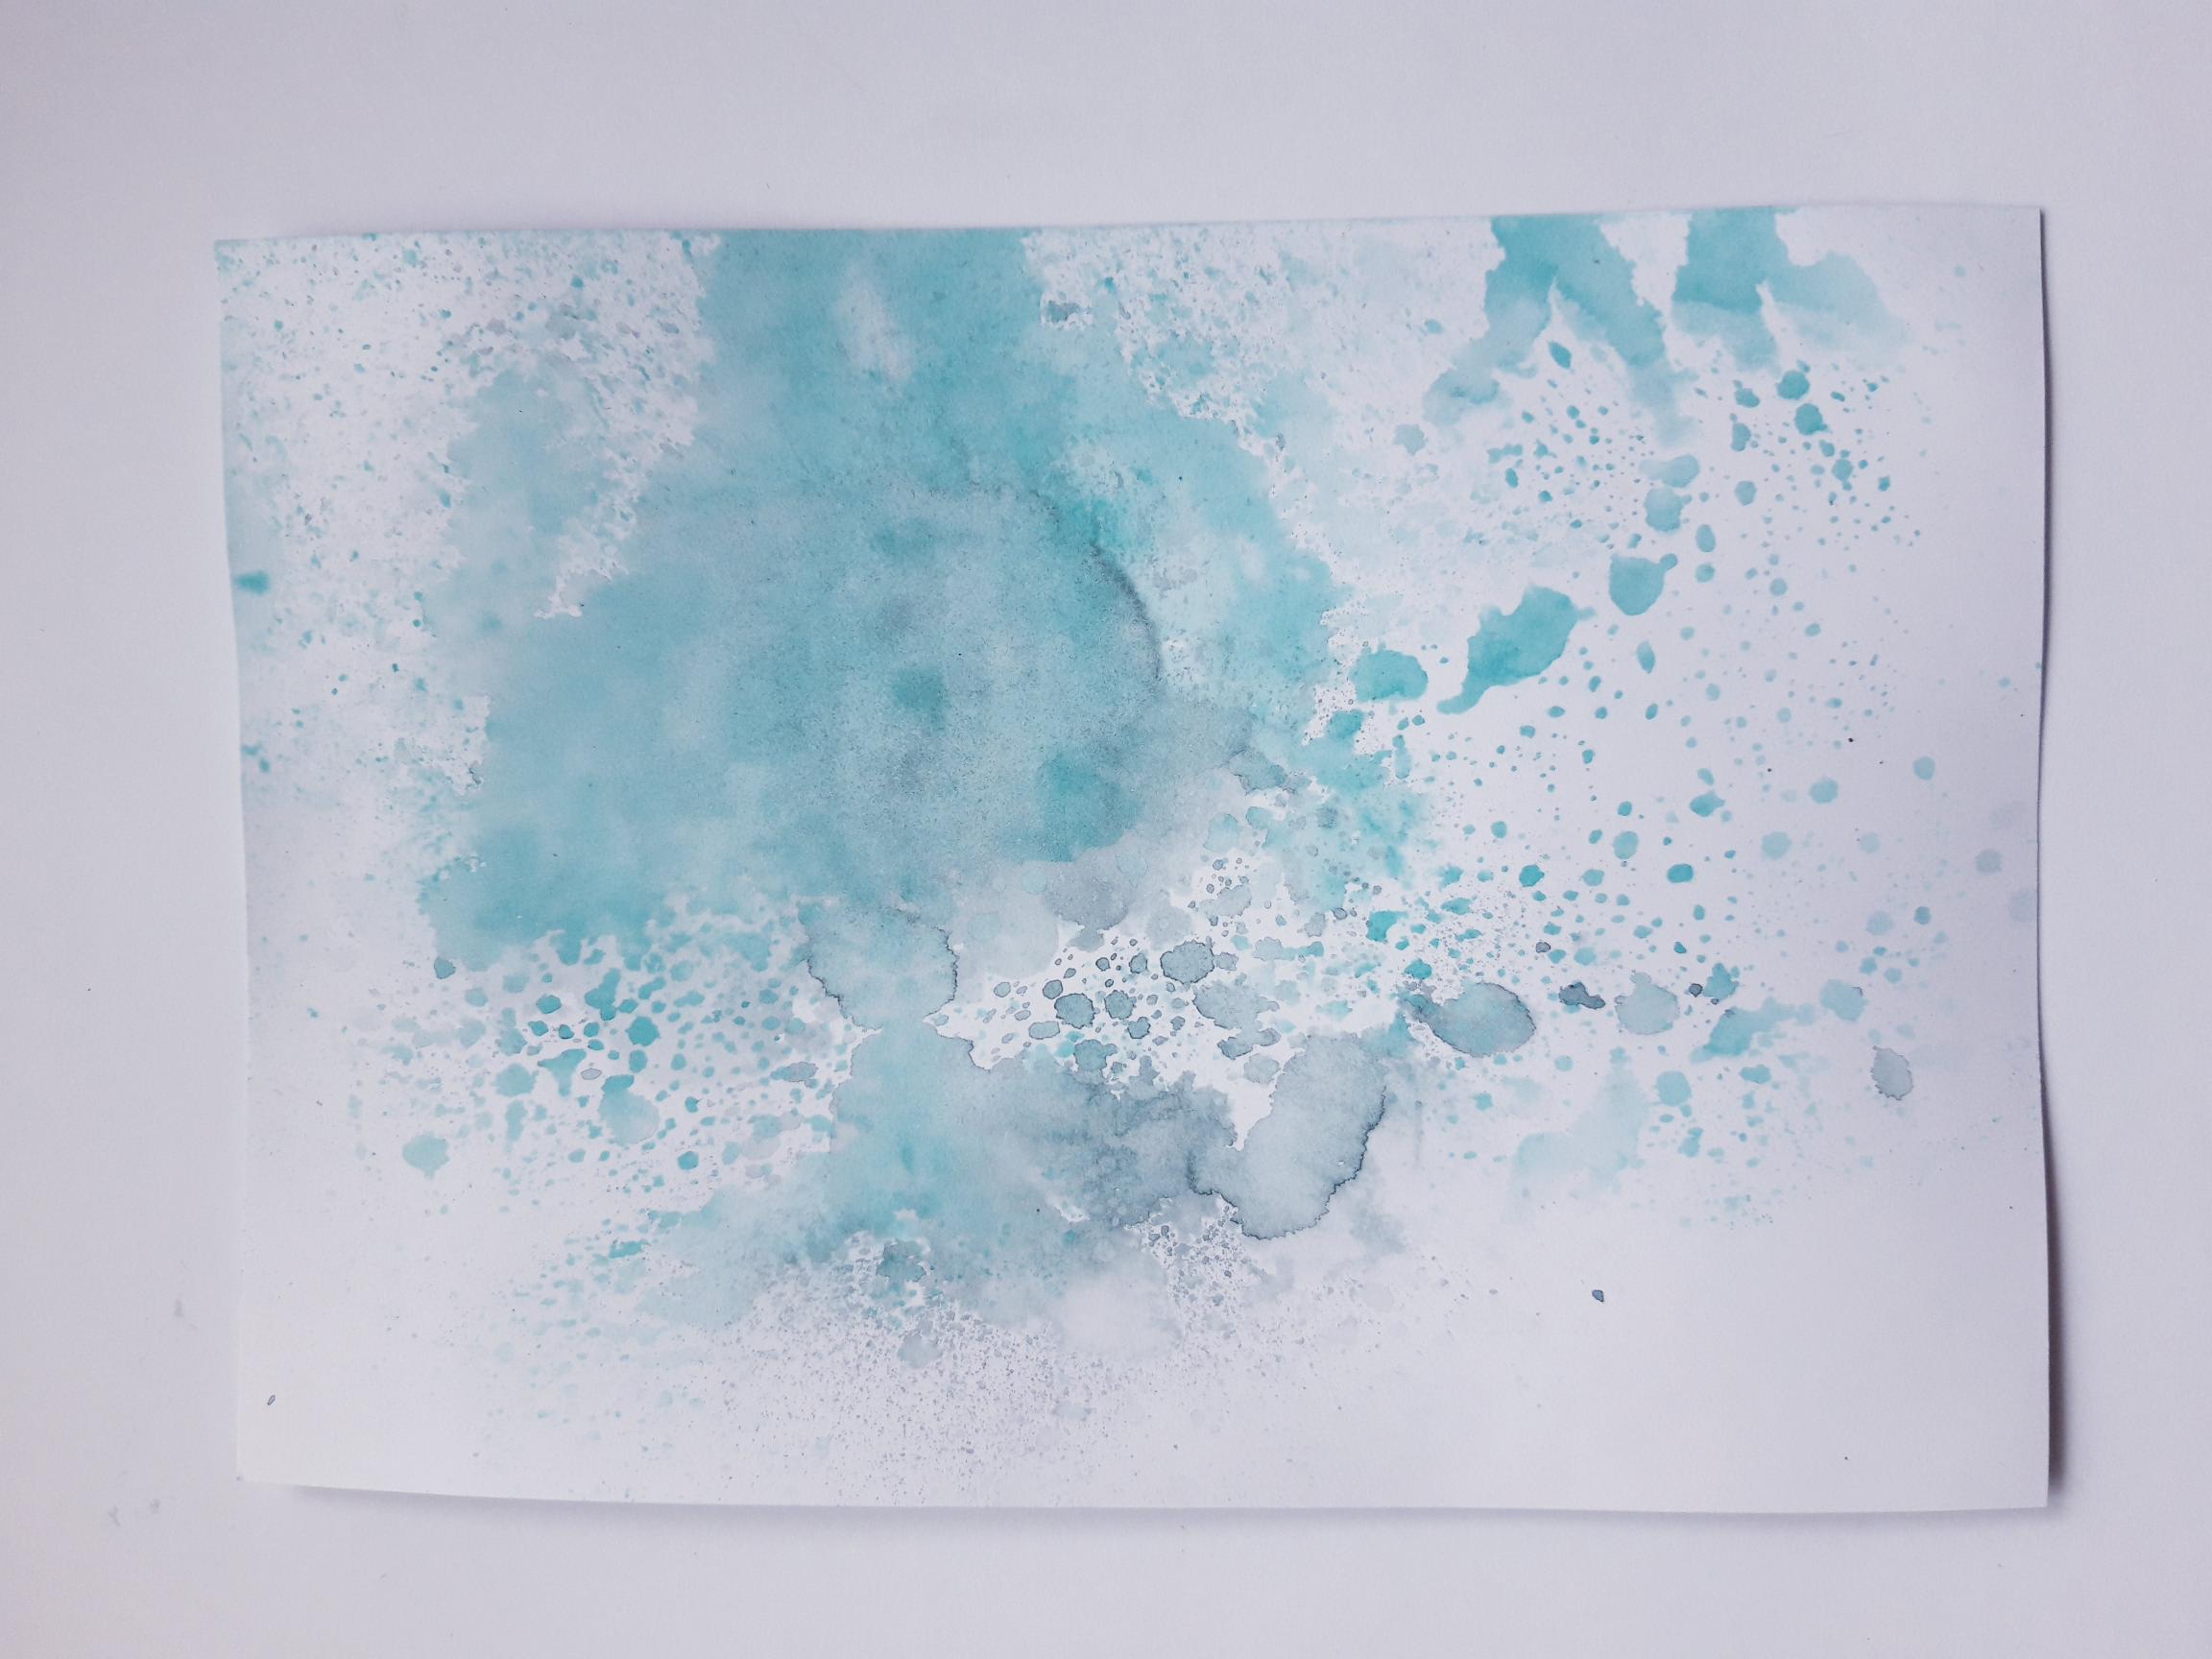
|
Spray the Izink Dye sprays on to a glass or craft mat. Spritz with water, then pick up the ink on to the white card. Dry off the ink.
|
|
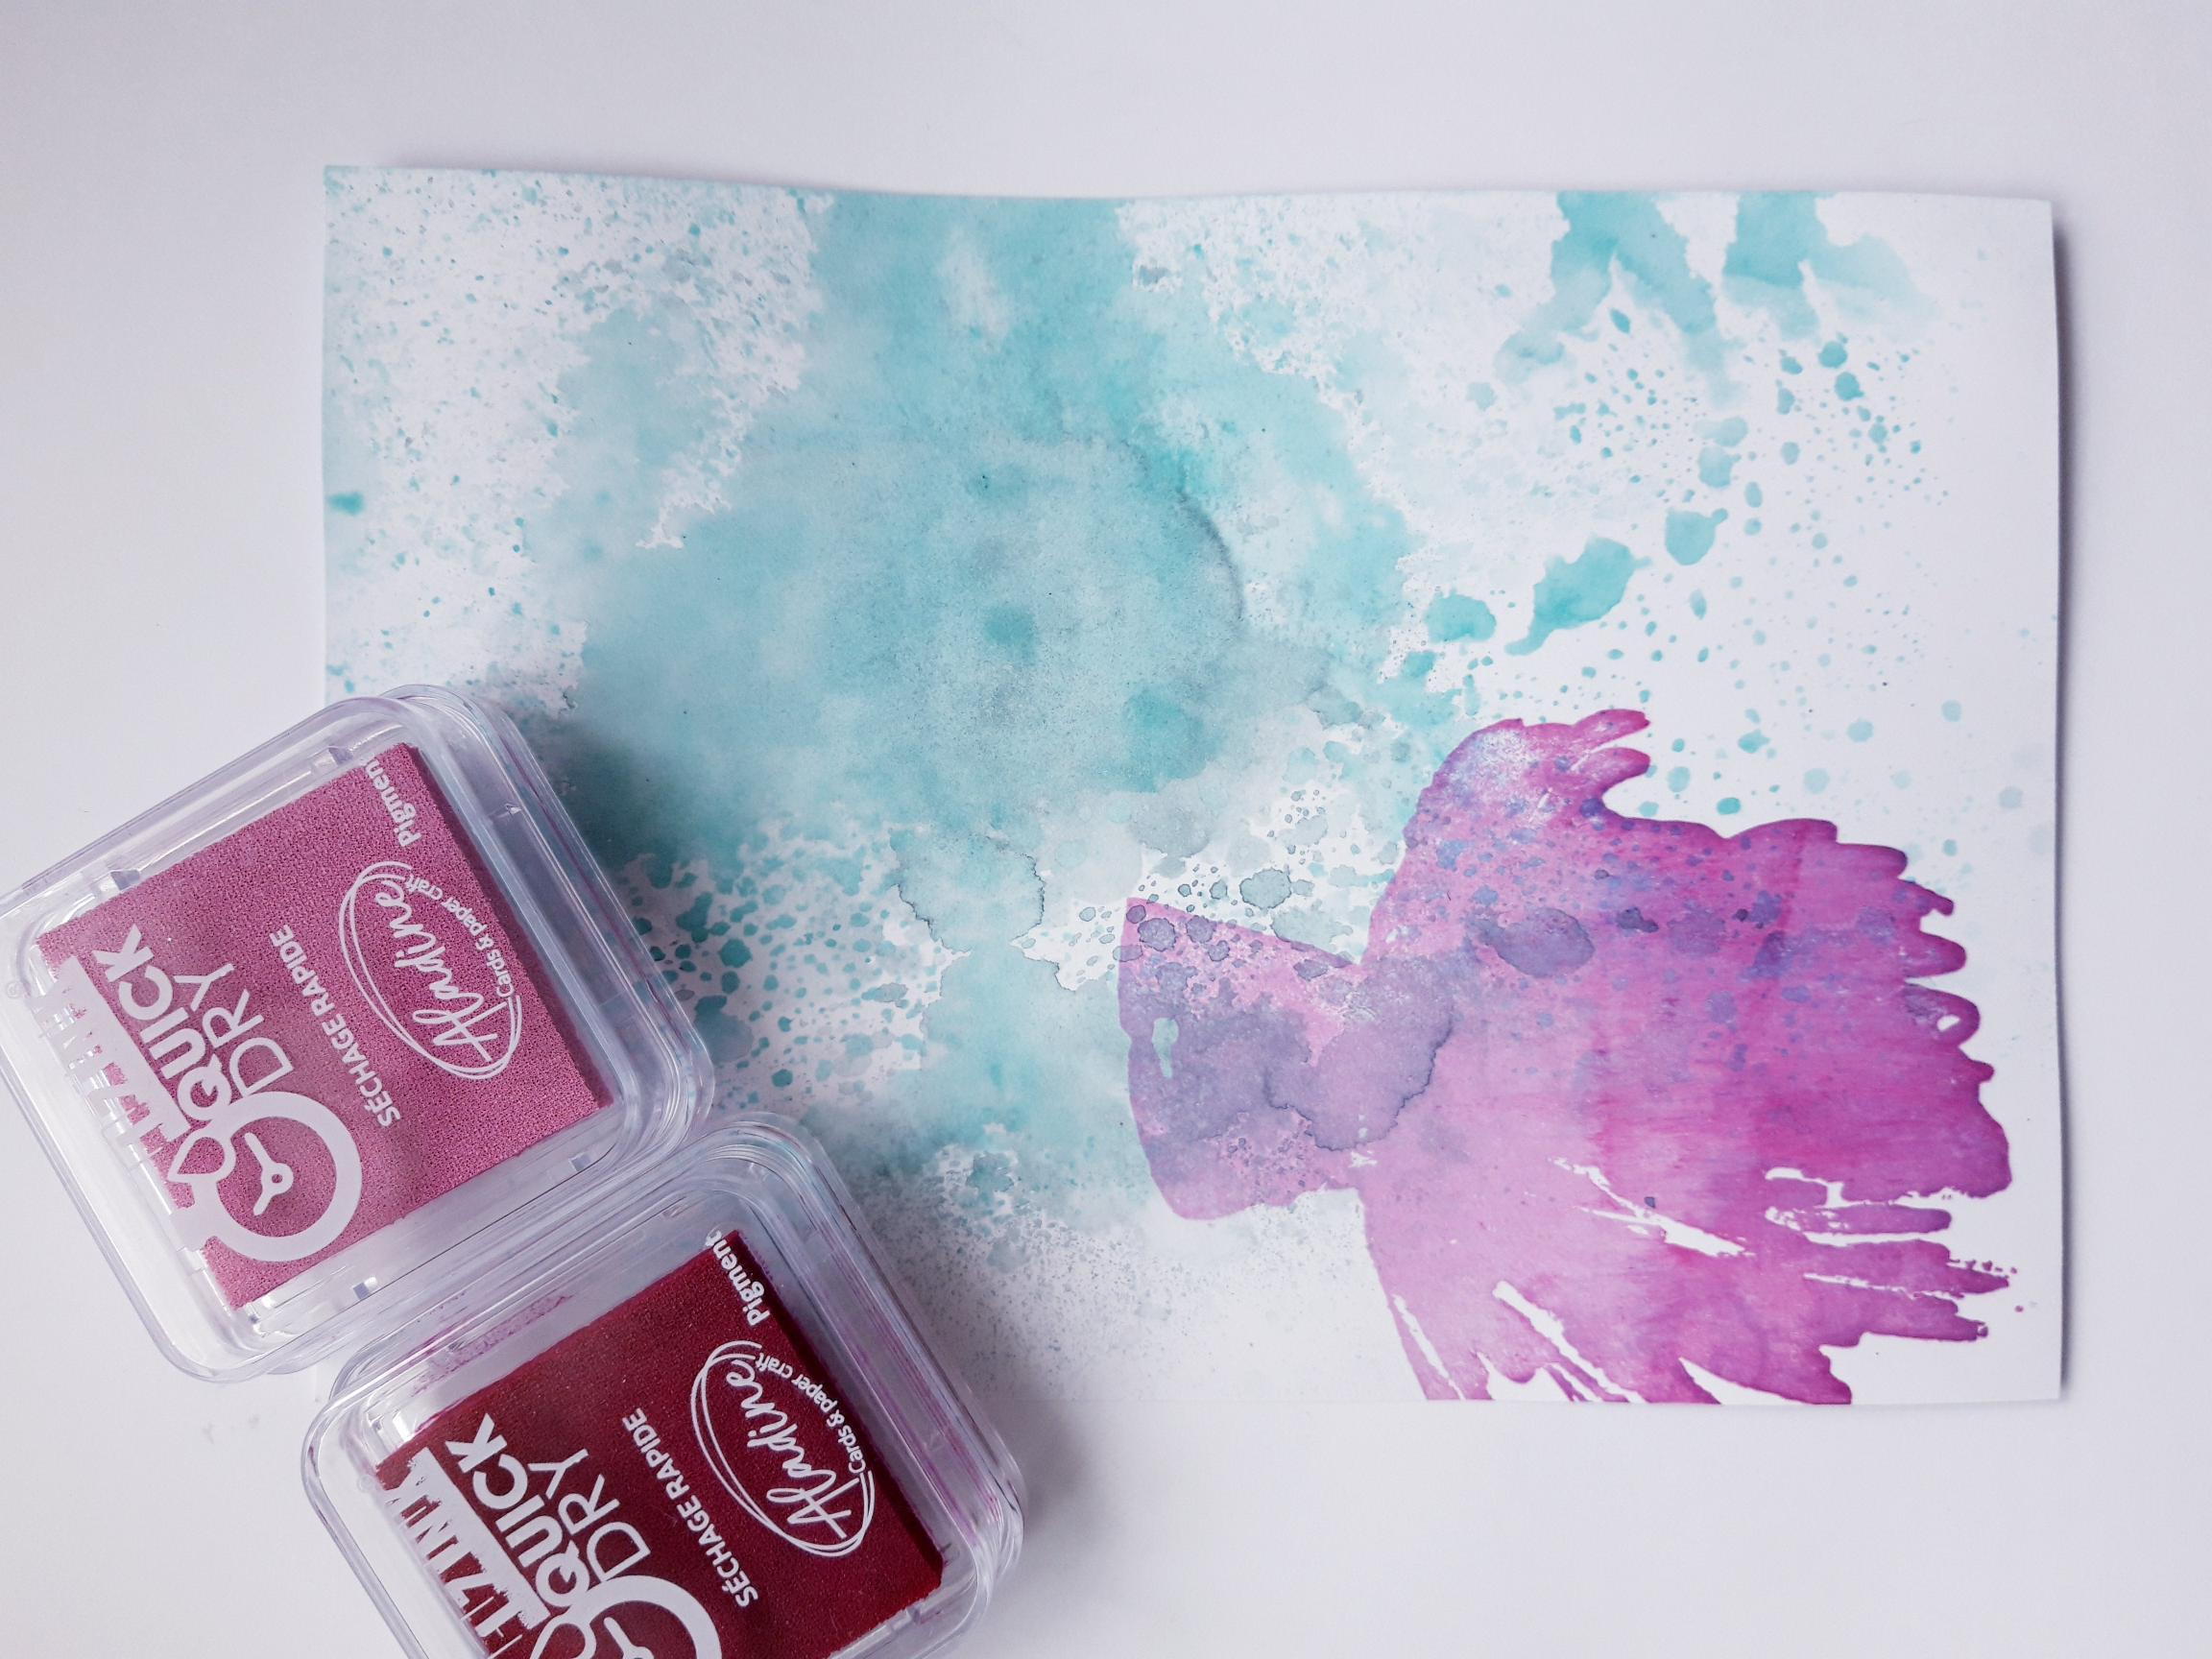
Ink up the solid part of the stamp, from the Small Town Girl Lamination Stamp Collection, with the 2 pink Izink Pigment ink pads. Stamp just off the bottom left of your inky background. You can reink, and stamp again, until you are happy wih the intensity of the colours. |
|
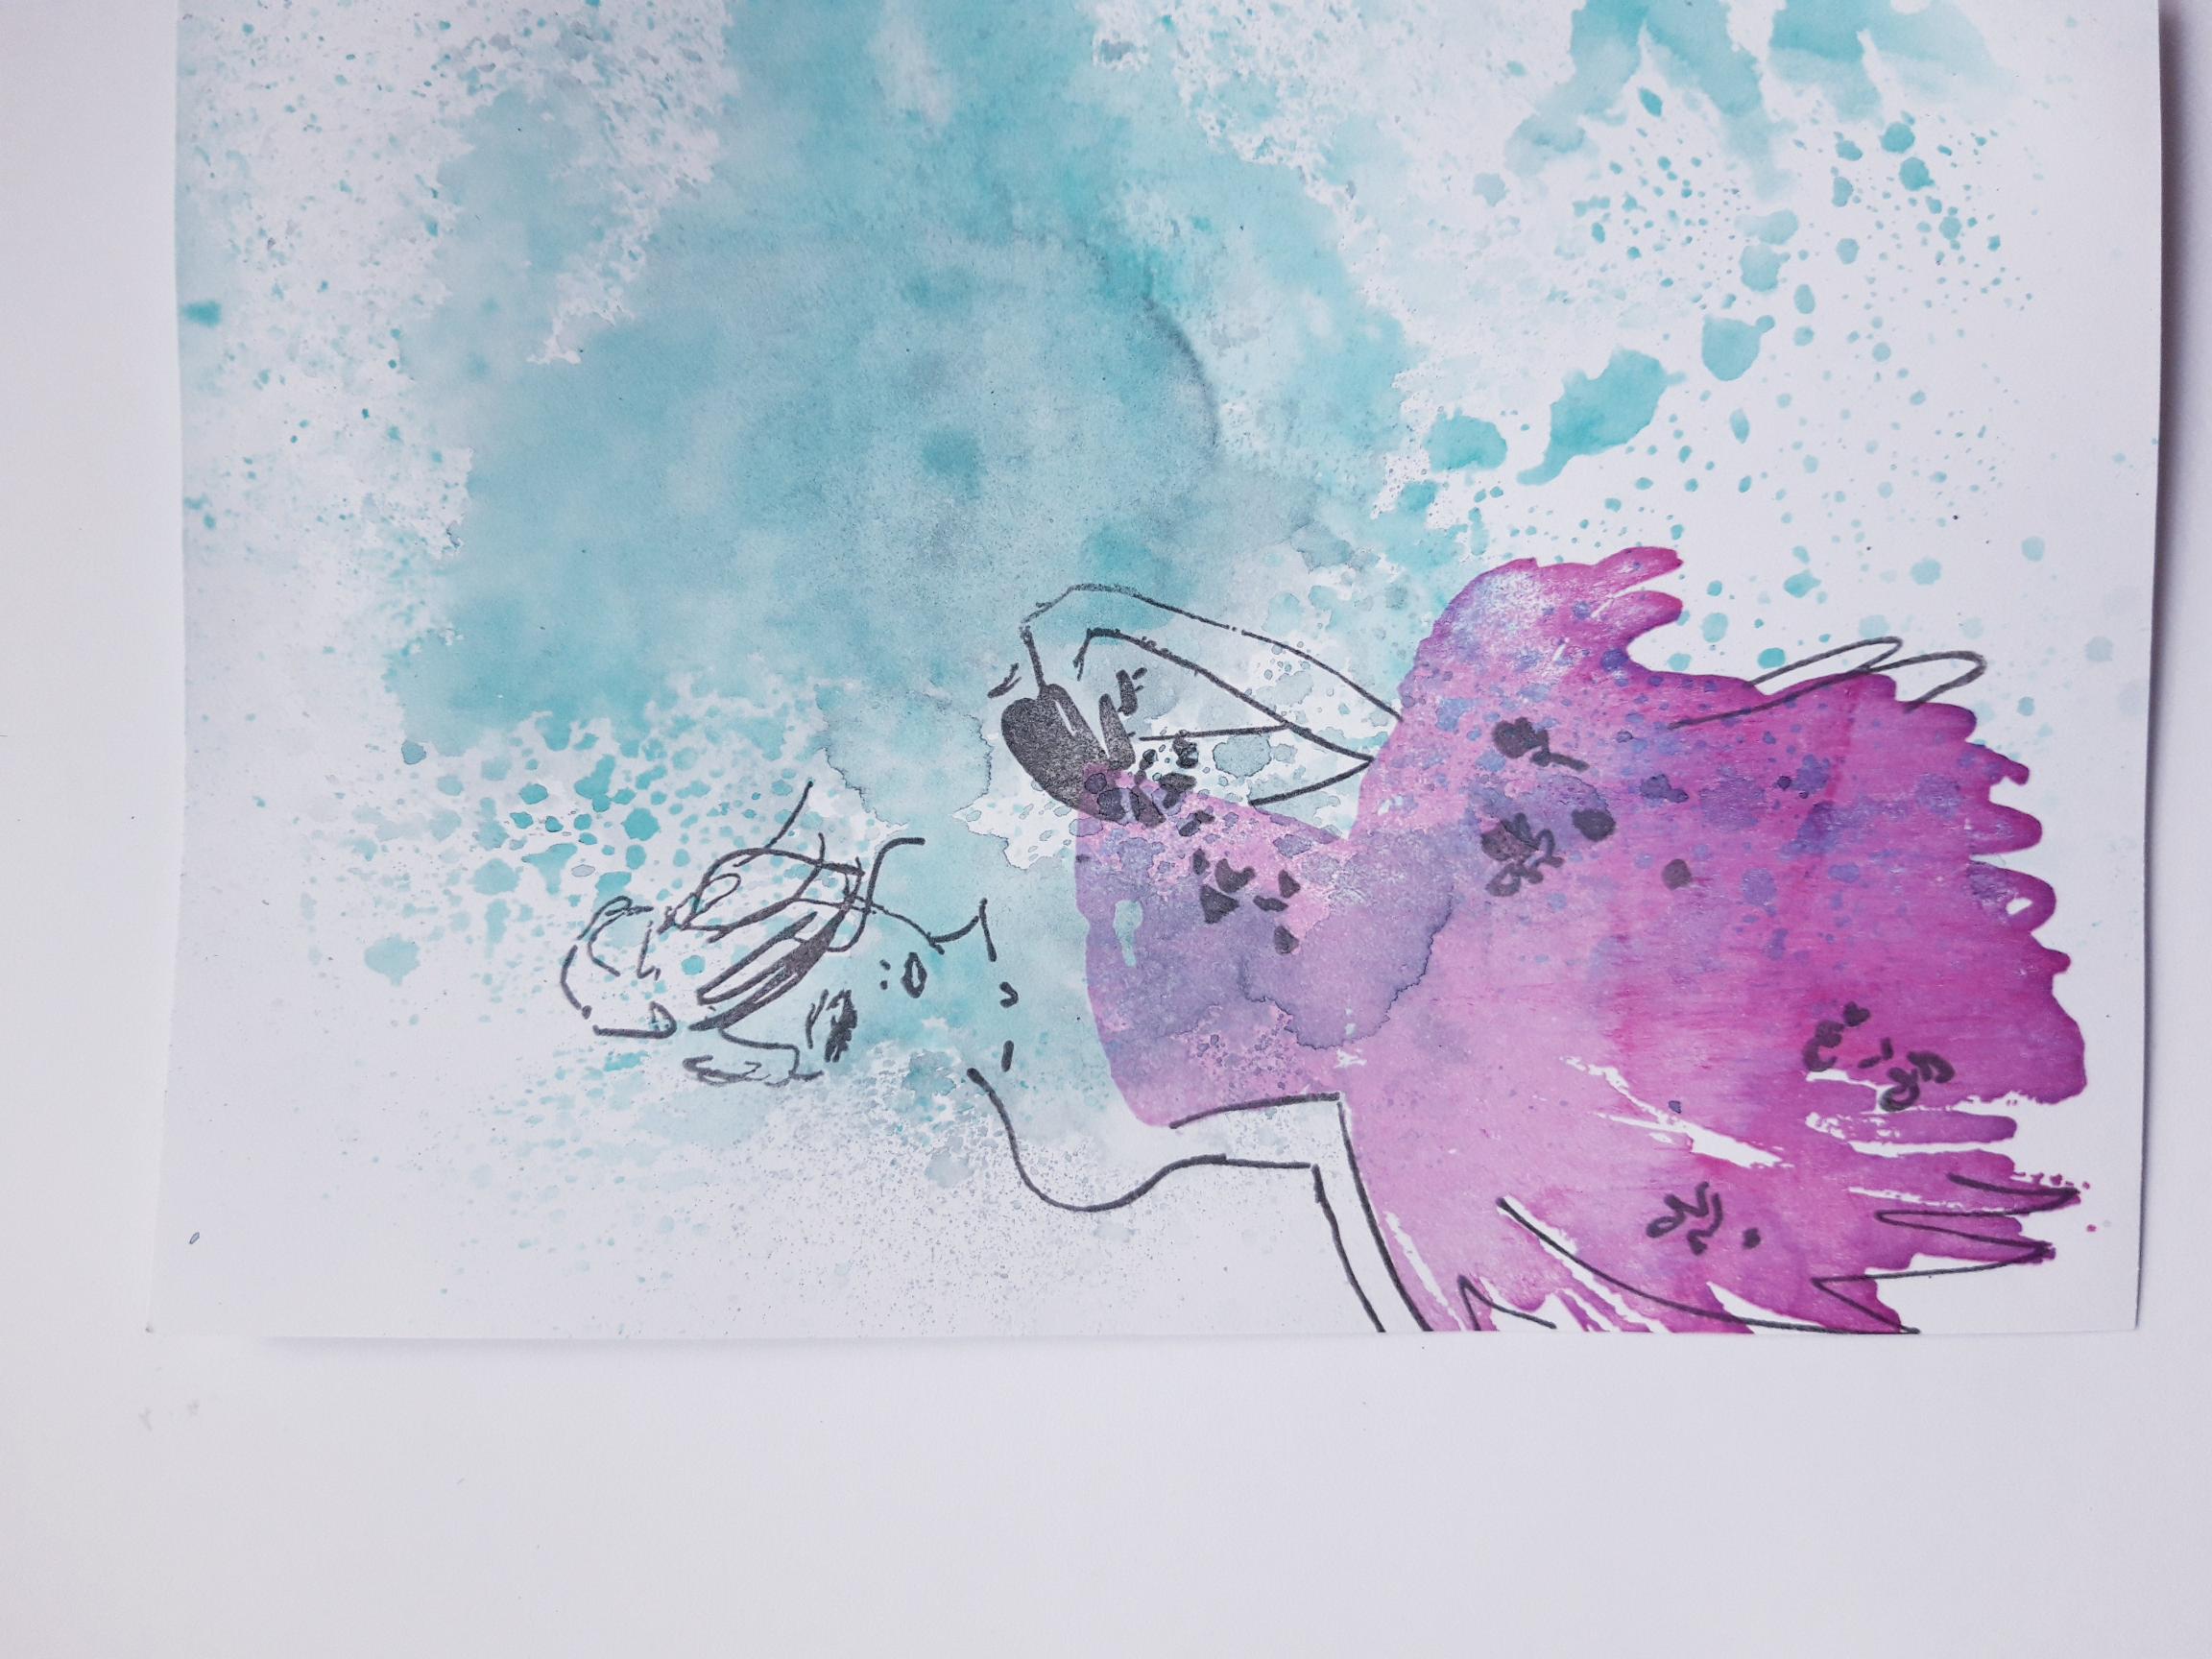
Ink up the detailed, coordinating stamp, with the Smoky Gray Versafine. Line it up, and stamp over your image. |
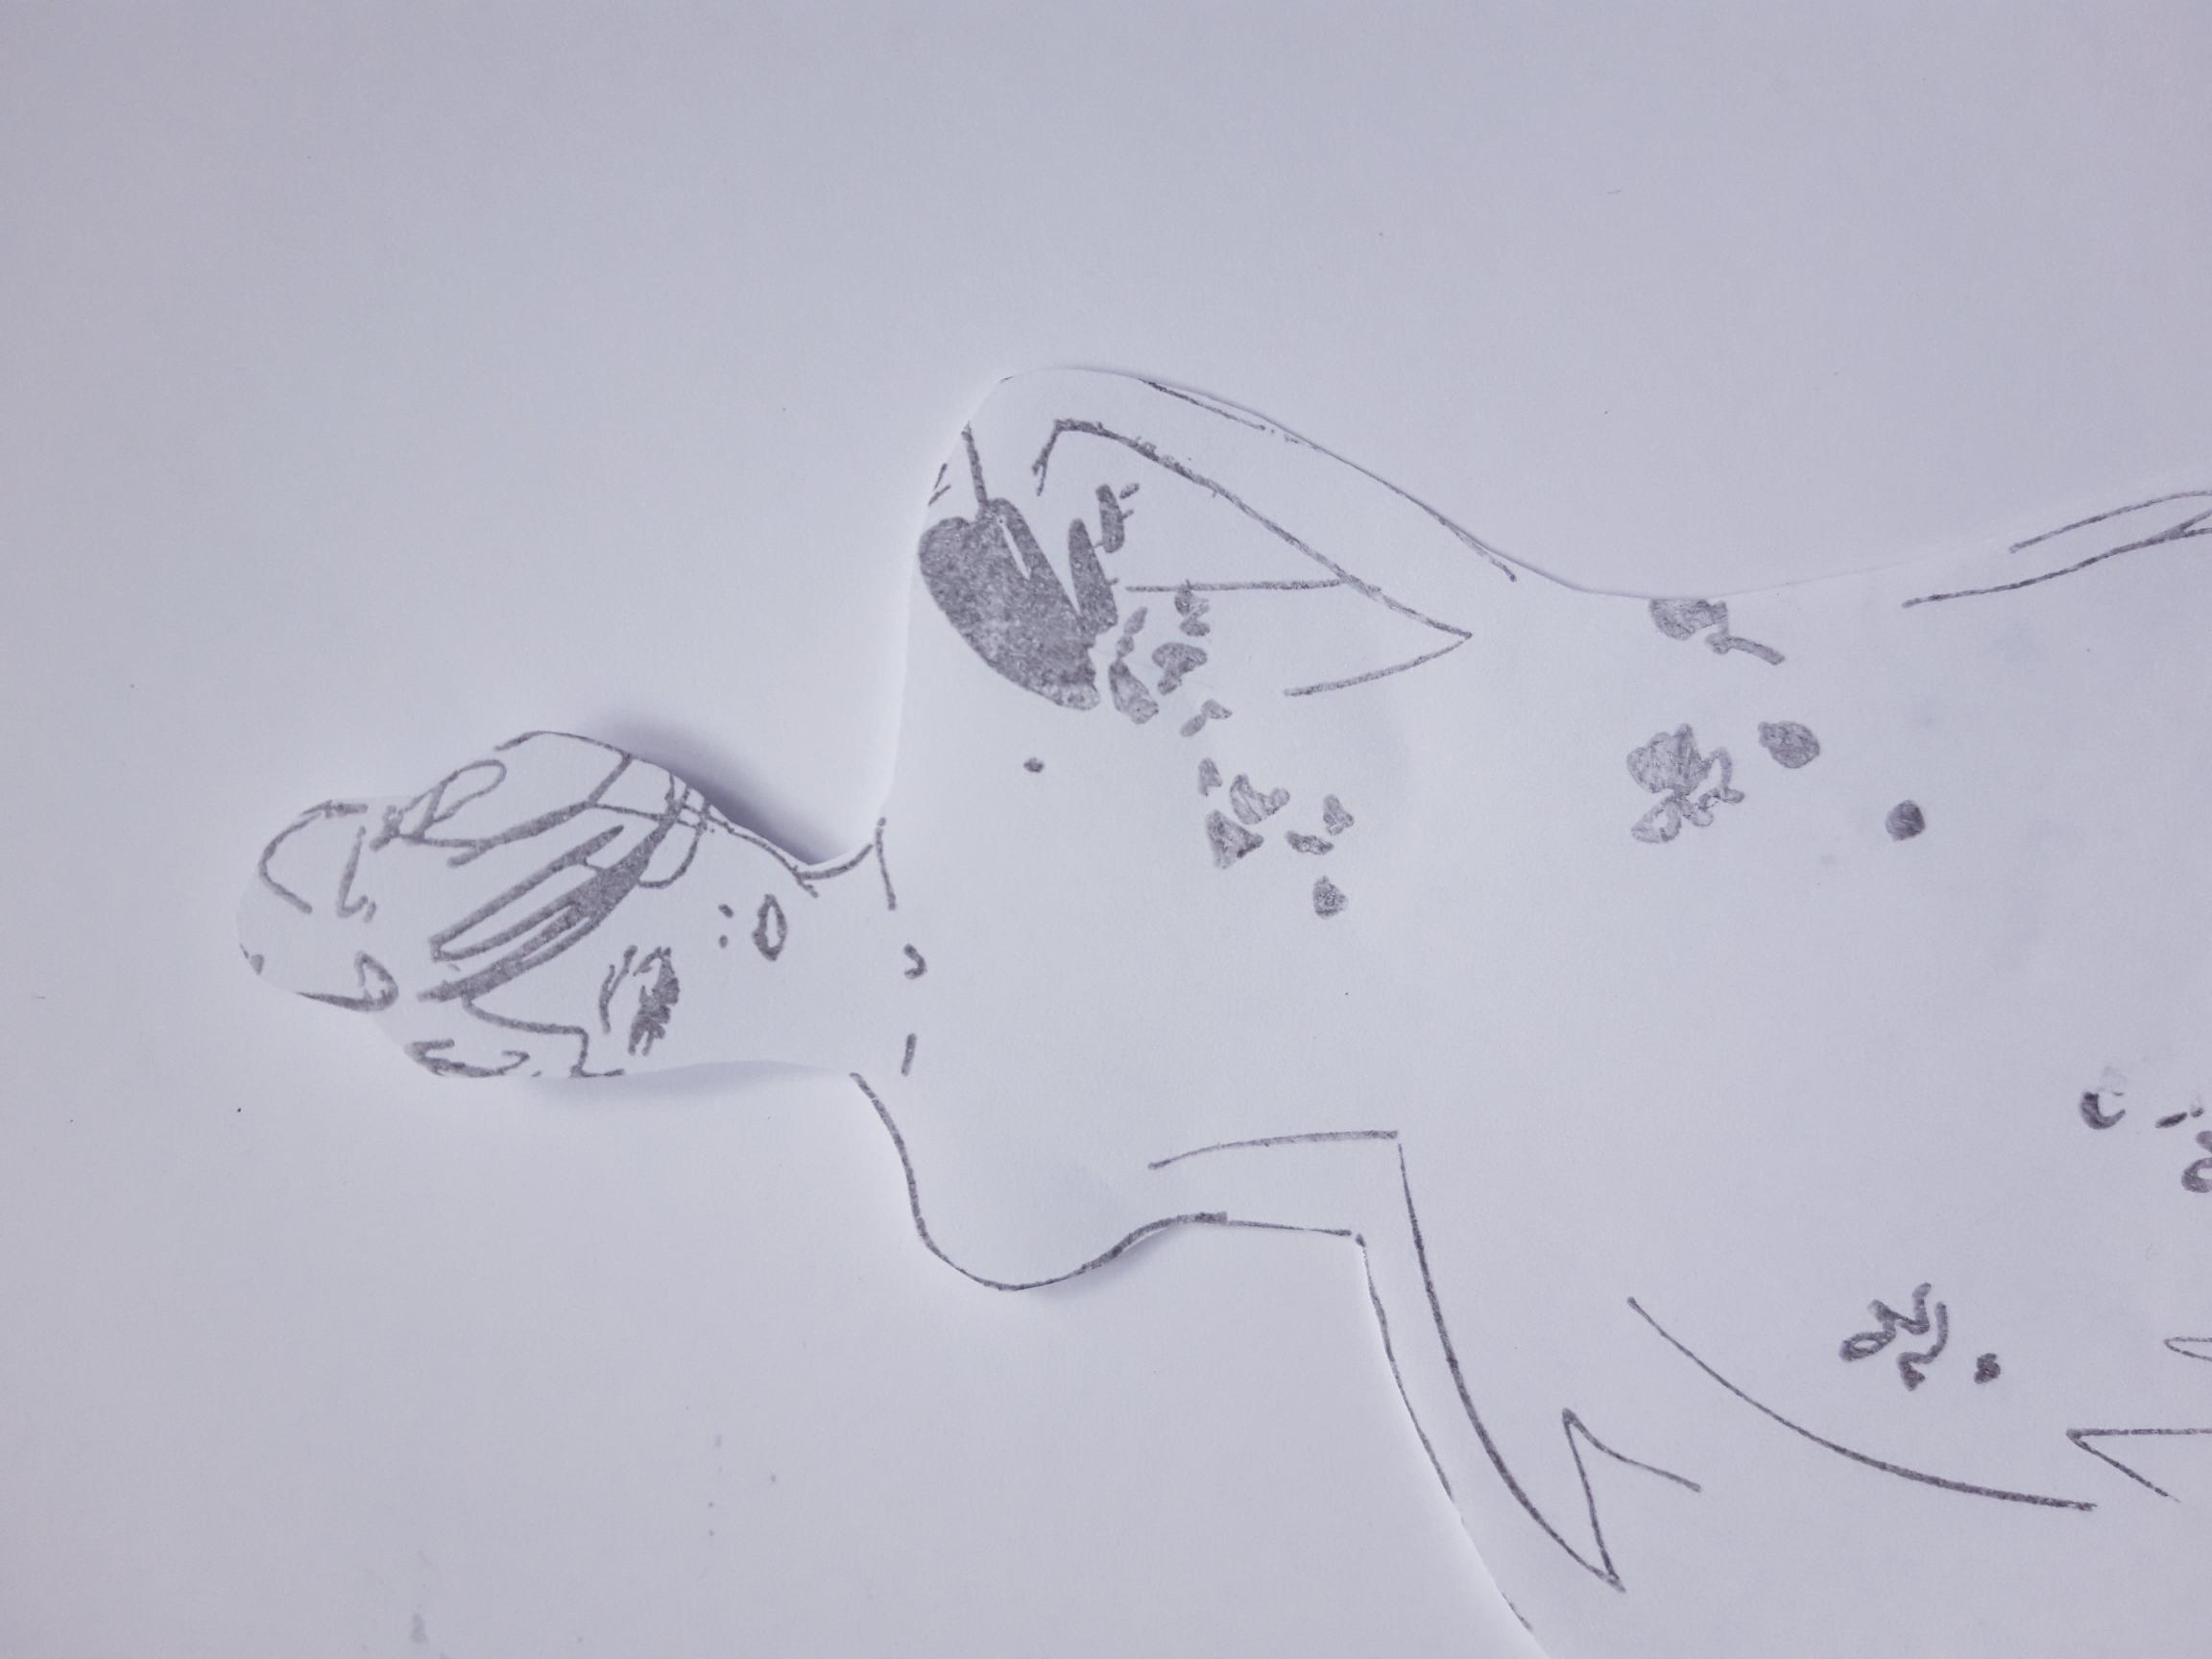
|
Ink up the same stamp again, with the Versafine, and stamp it on to the copier paper, or masking sheet. Cut it out, to create your "mask". |
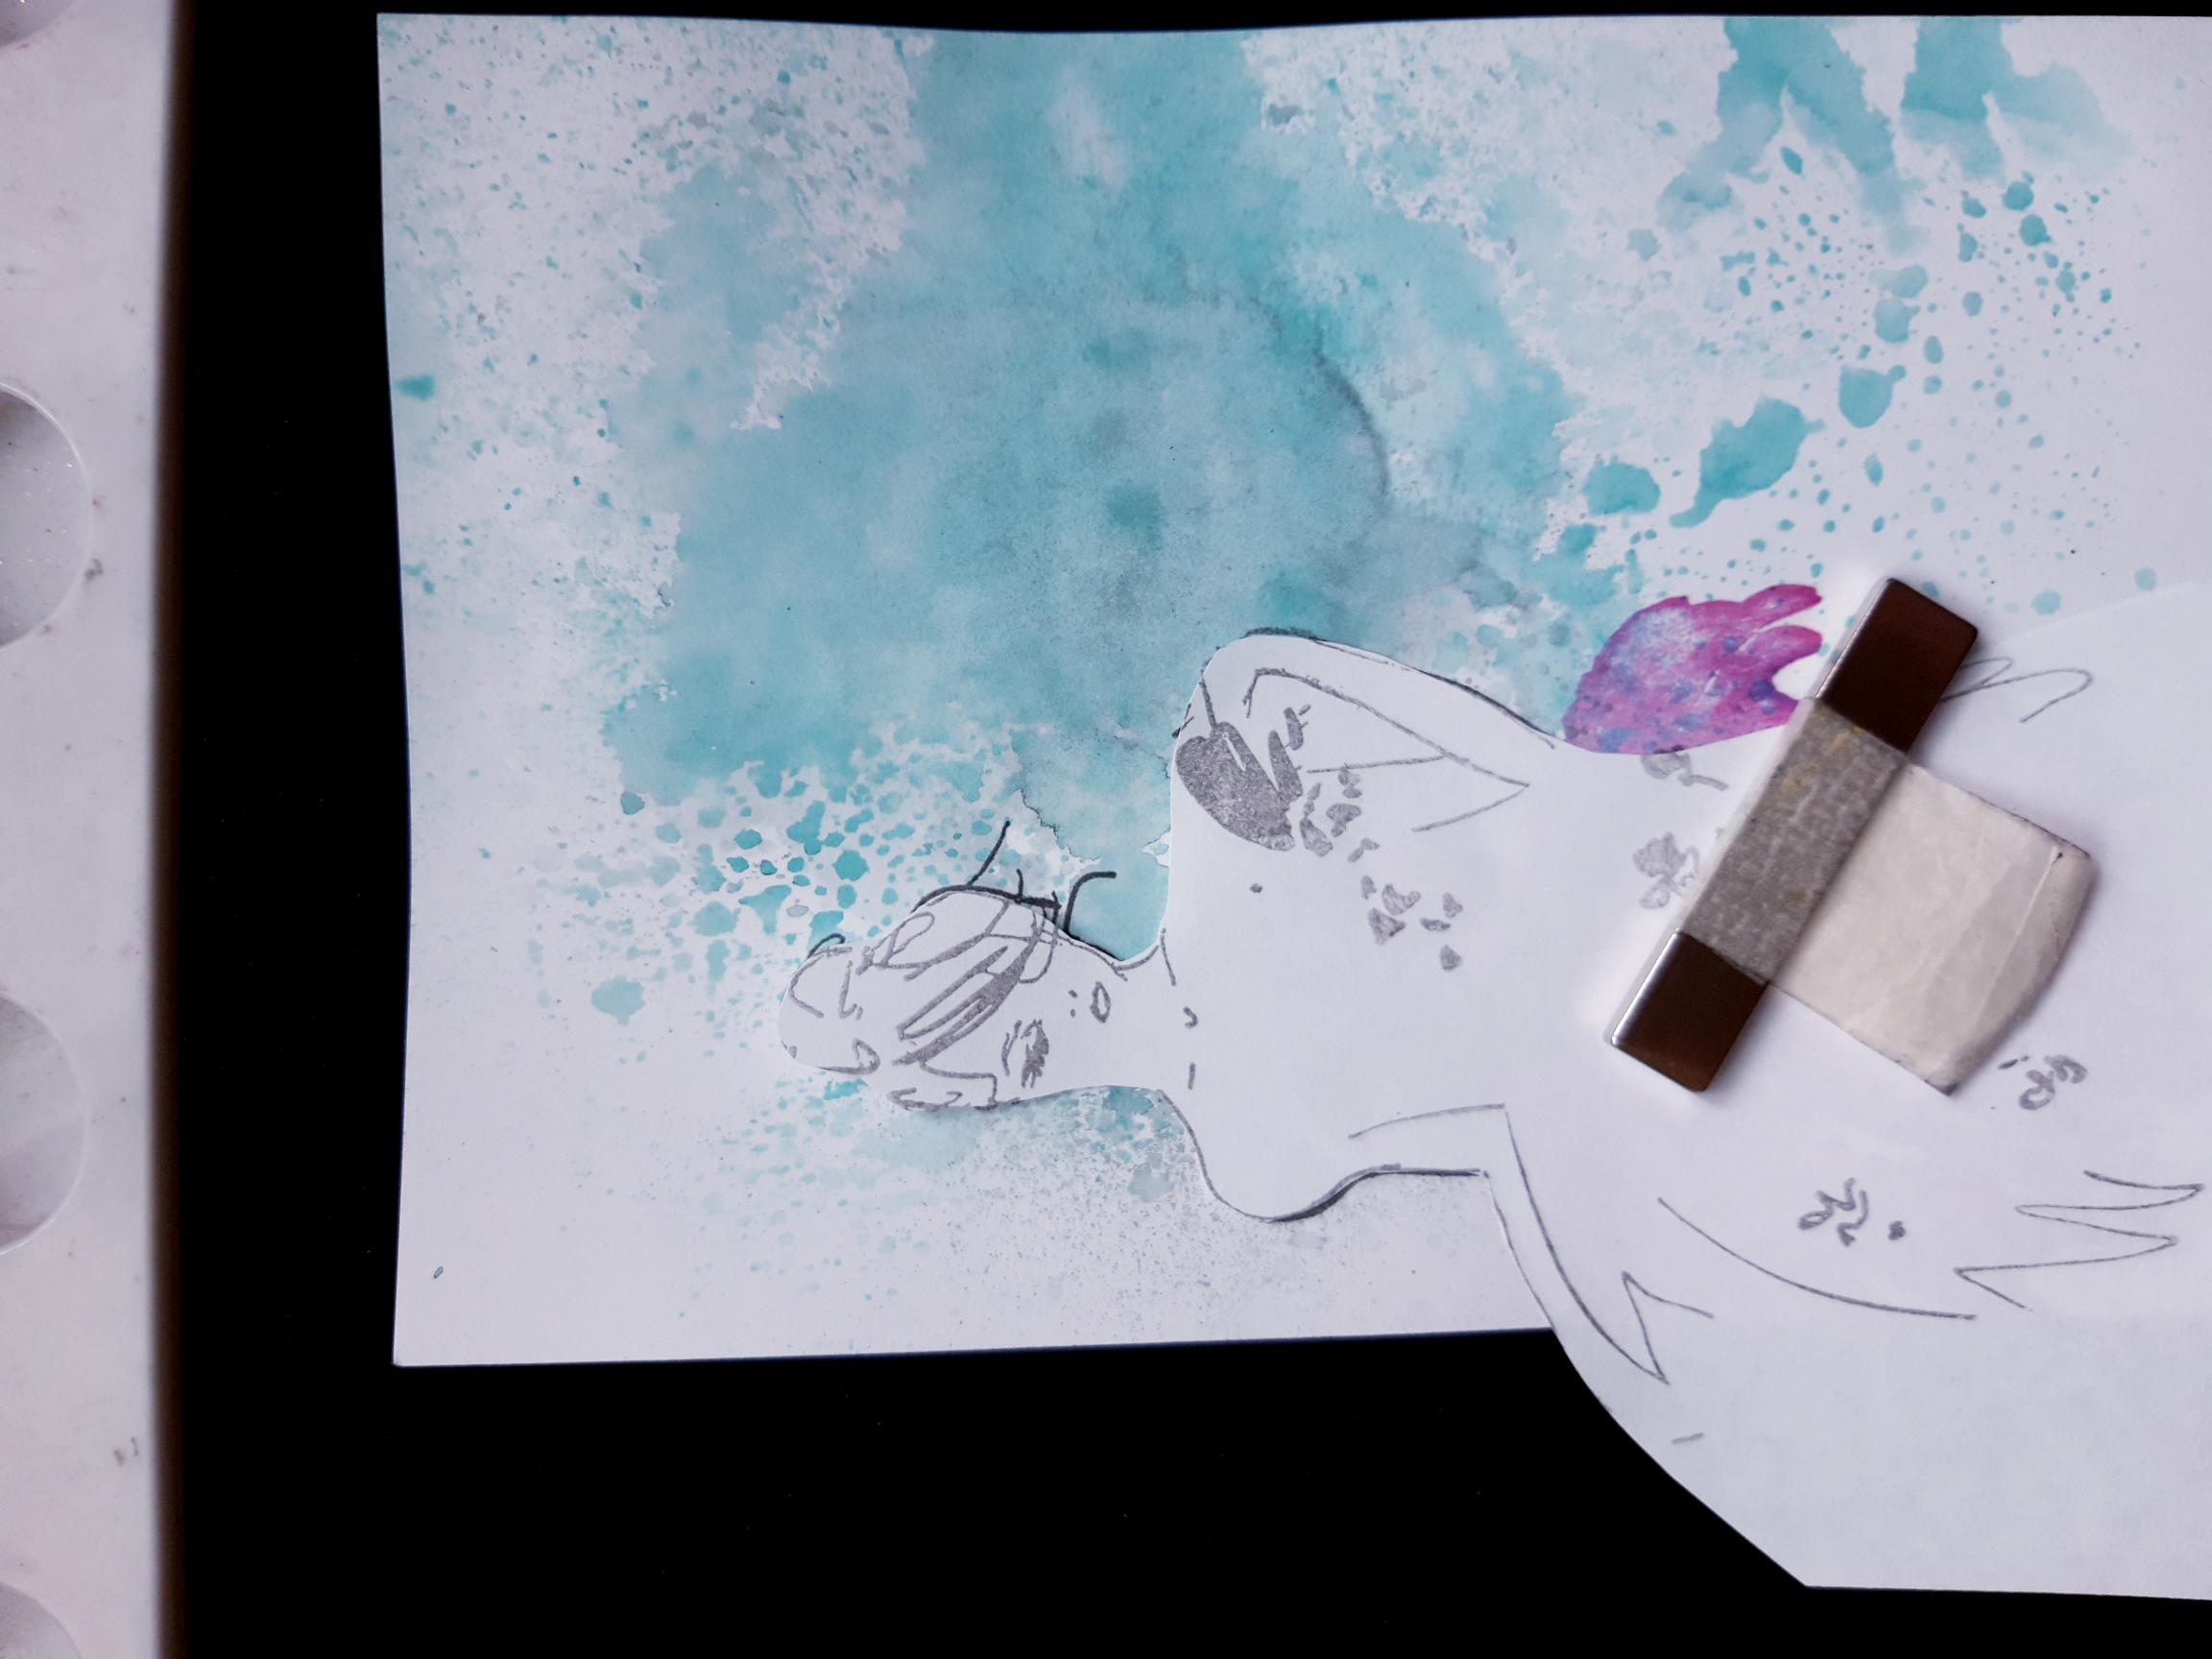
|
Place the mask over the top of your stamped image, and secure in place with your bar magnet. |
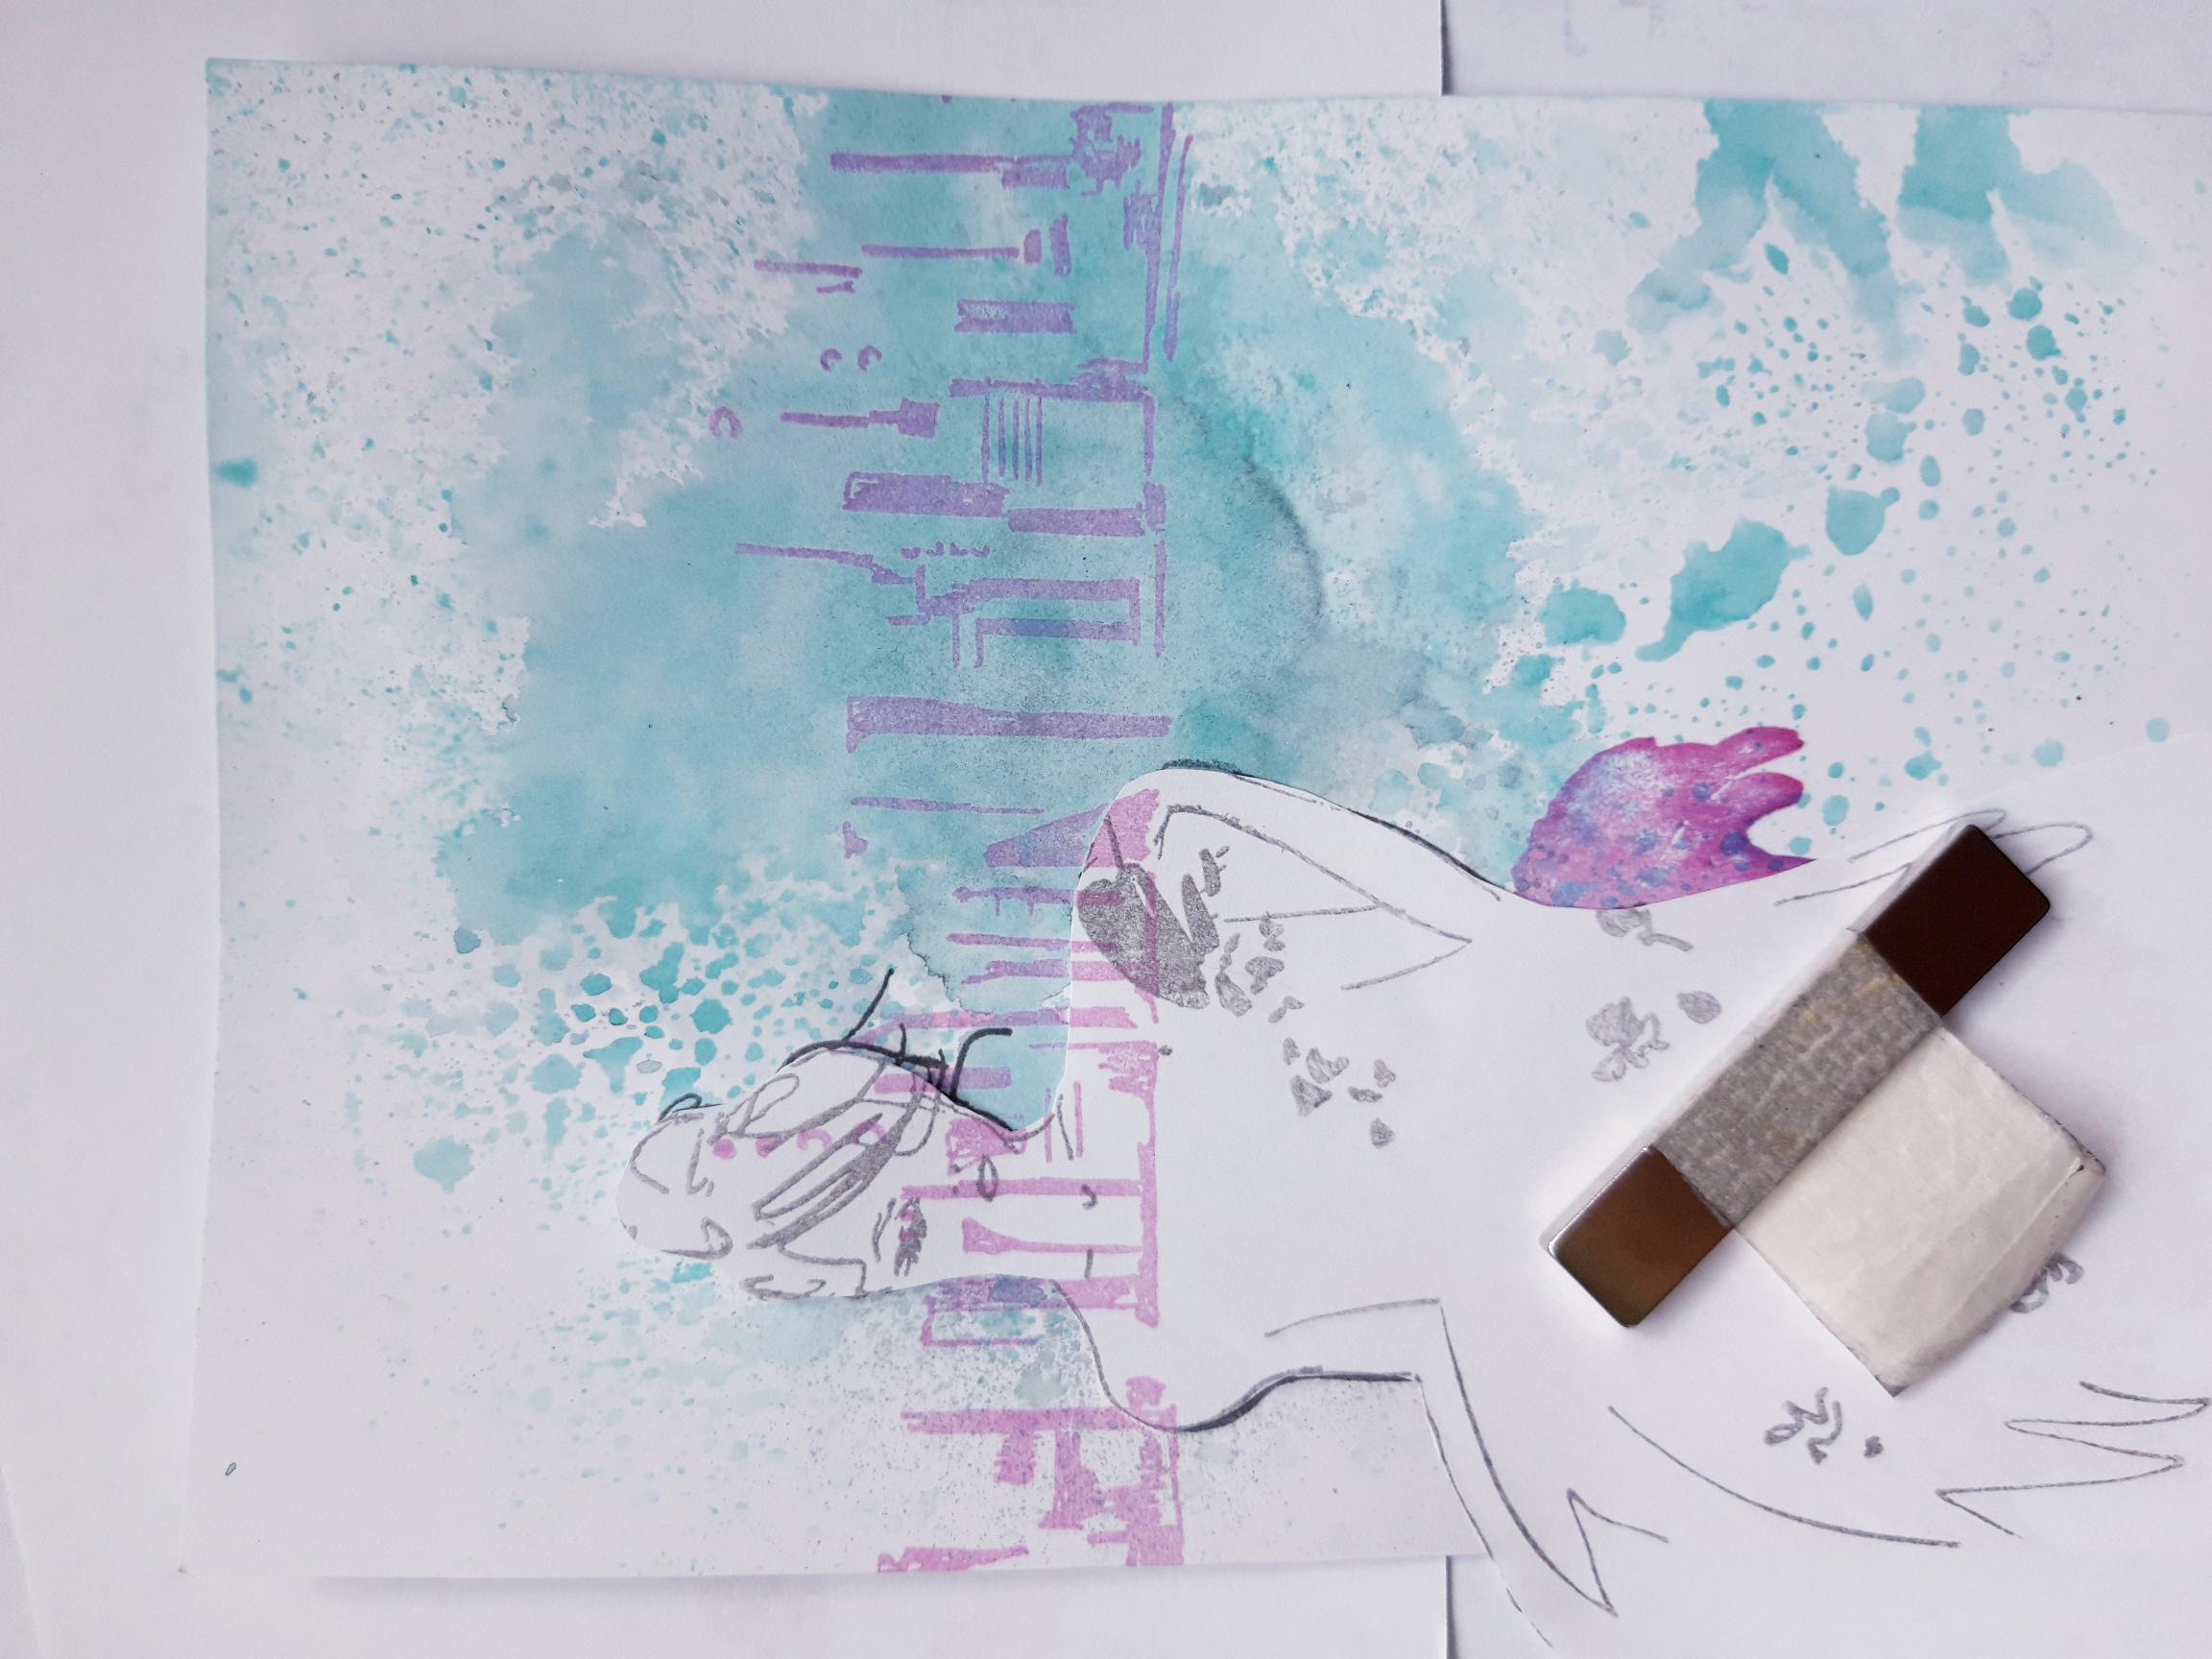
|
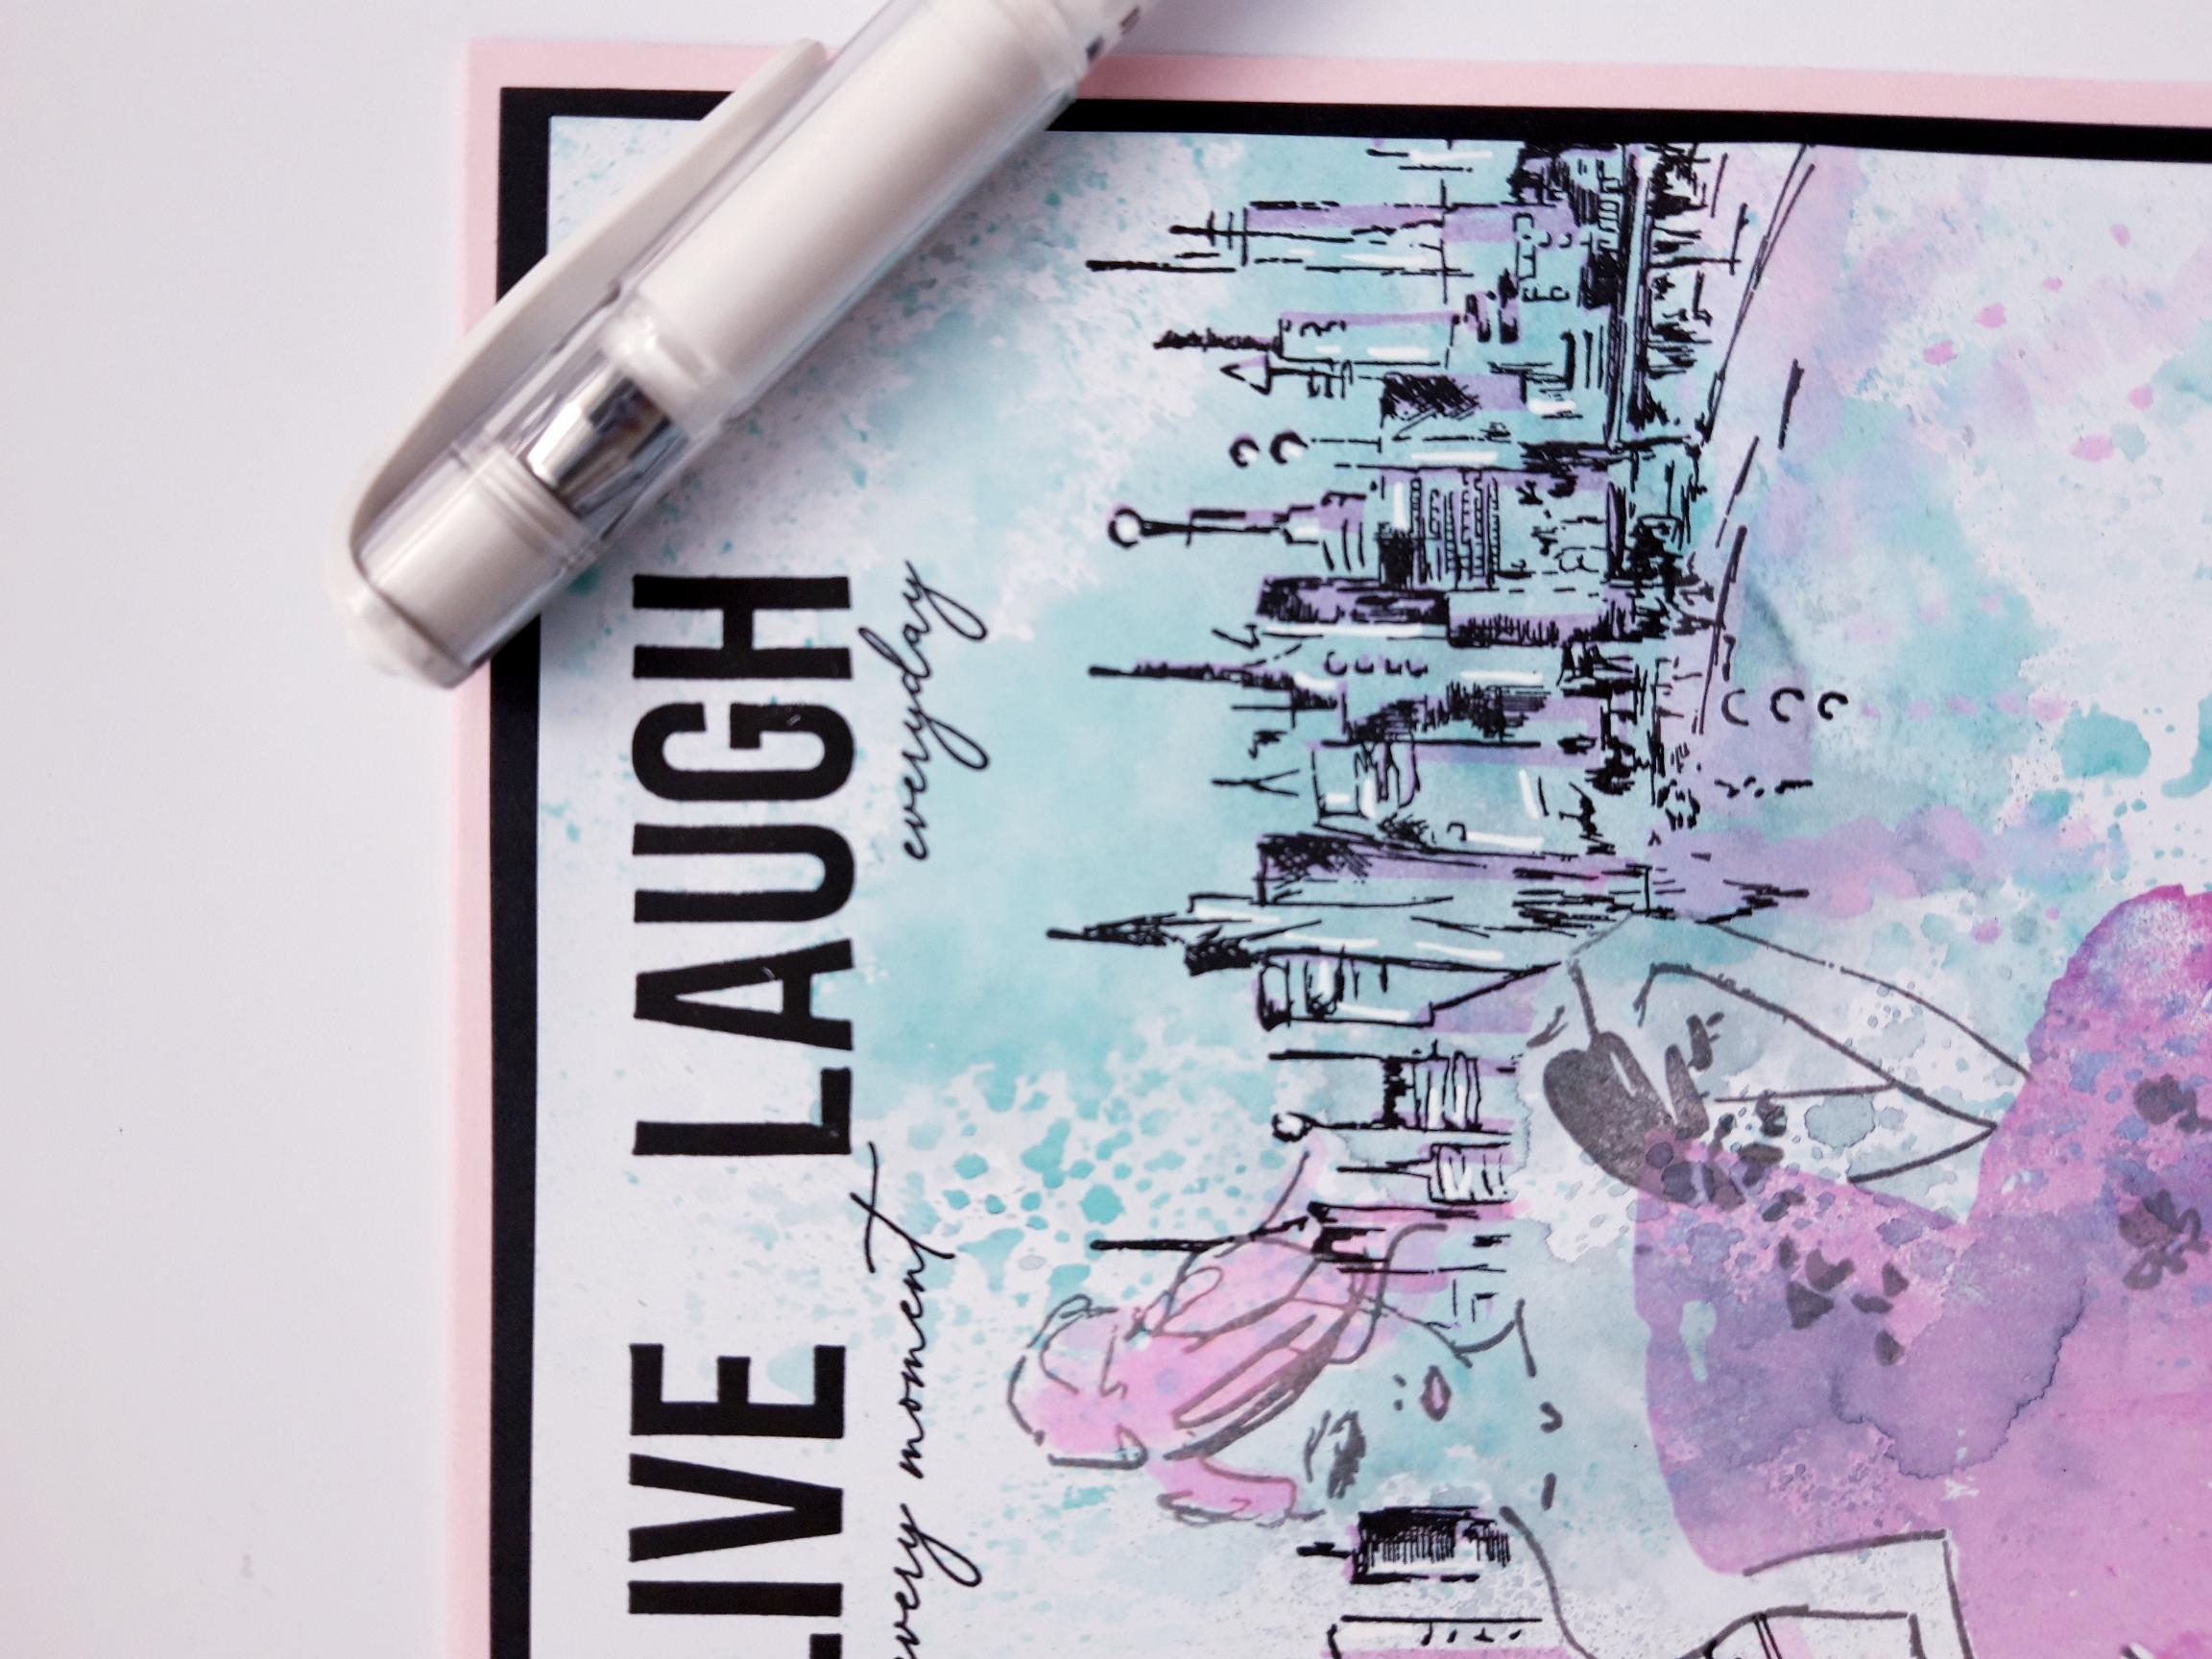
Ink up the solid stamp, from the Love Beyond Words Lamination Stamp Collection, with the same Izink Pigment Ink pads. Stamp across your background and mask, where required. I stamped mine roughly level with the lady's shoulders, but your skyline can be as high, or as low, as you wish. |
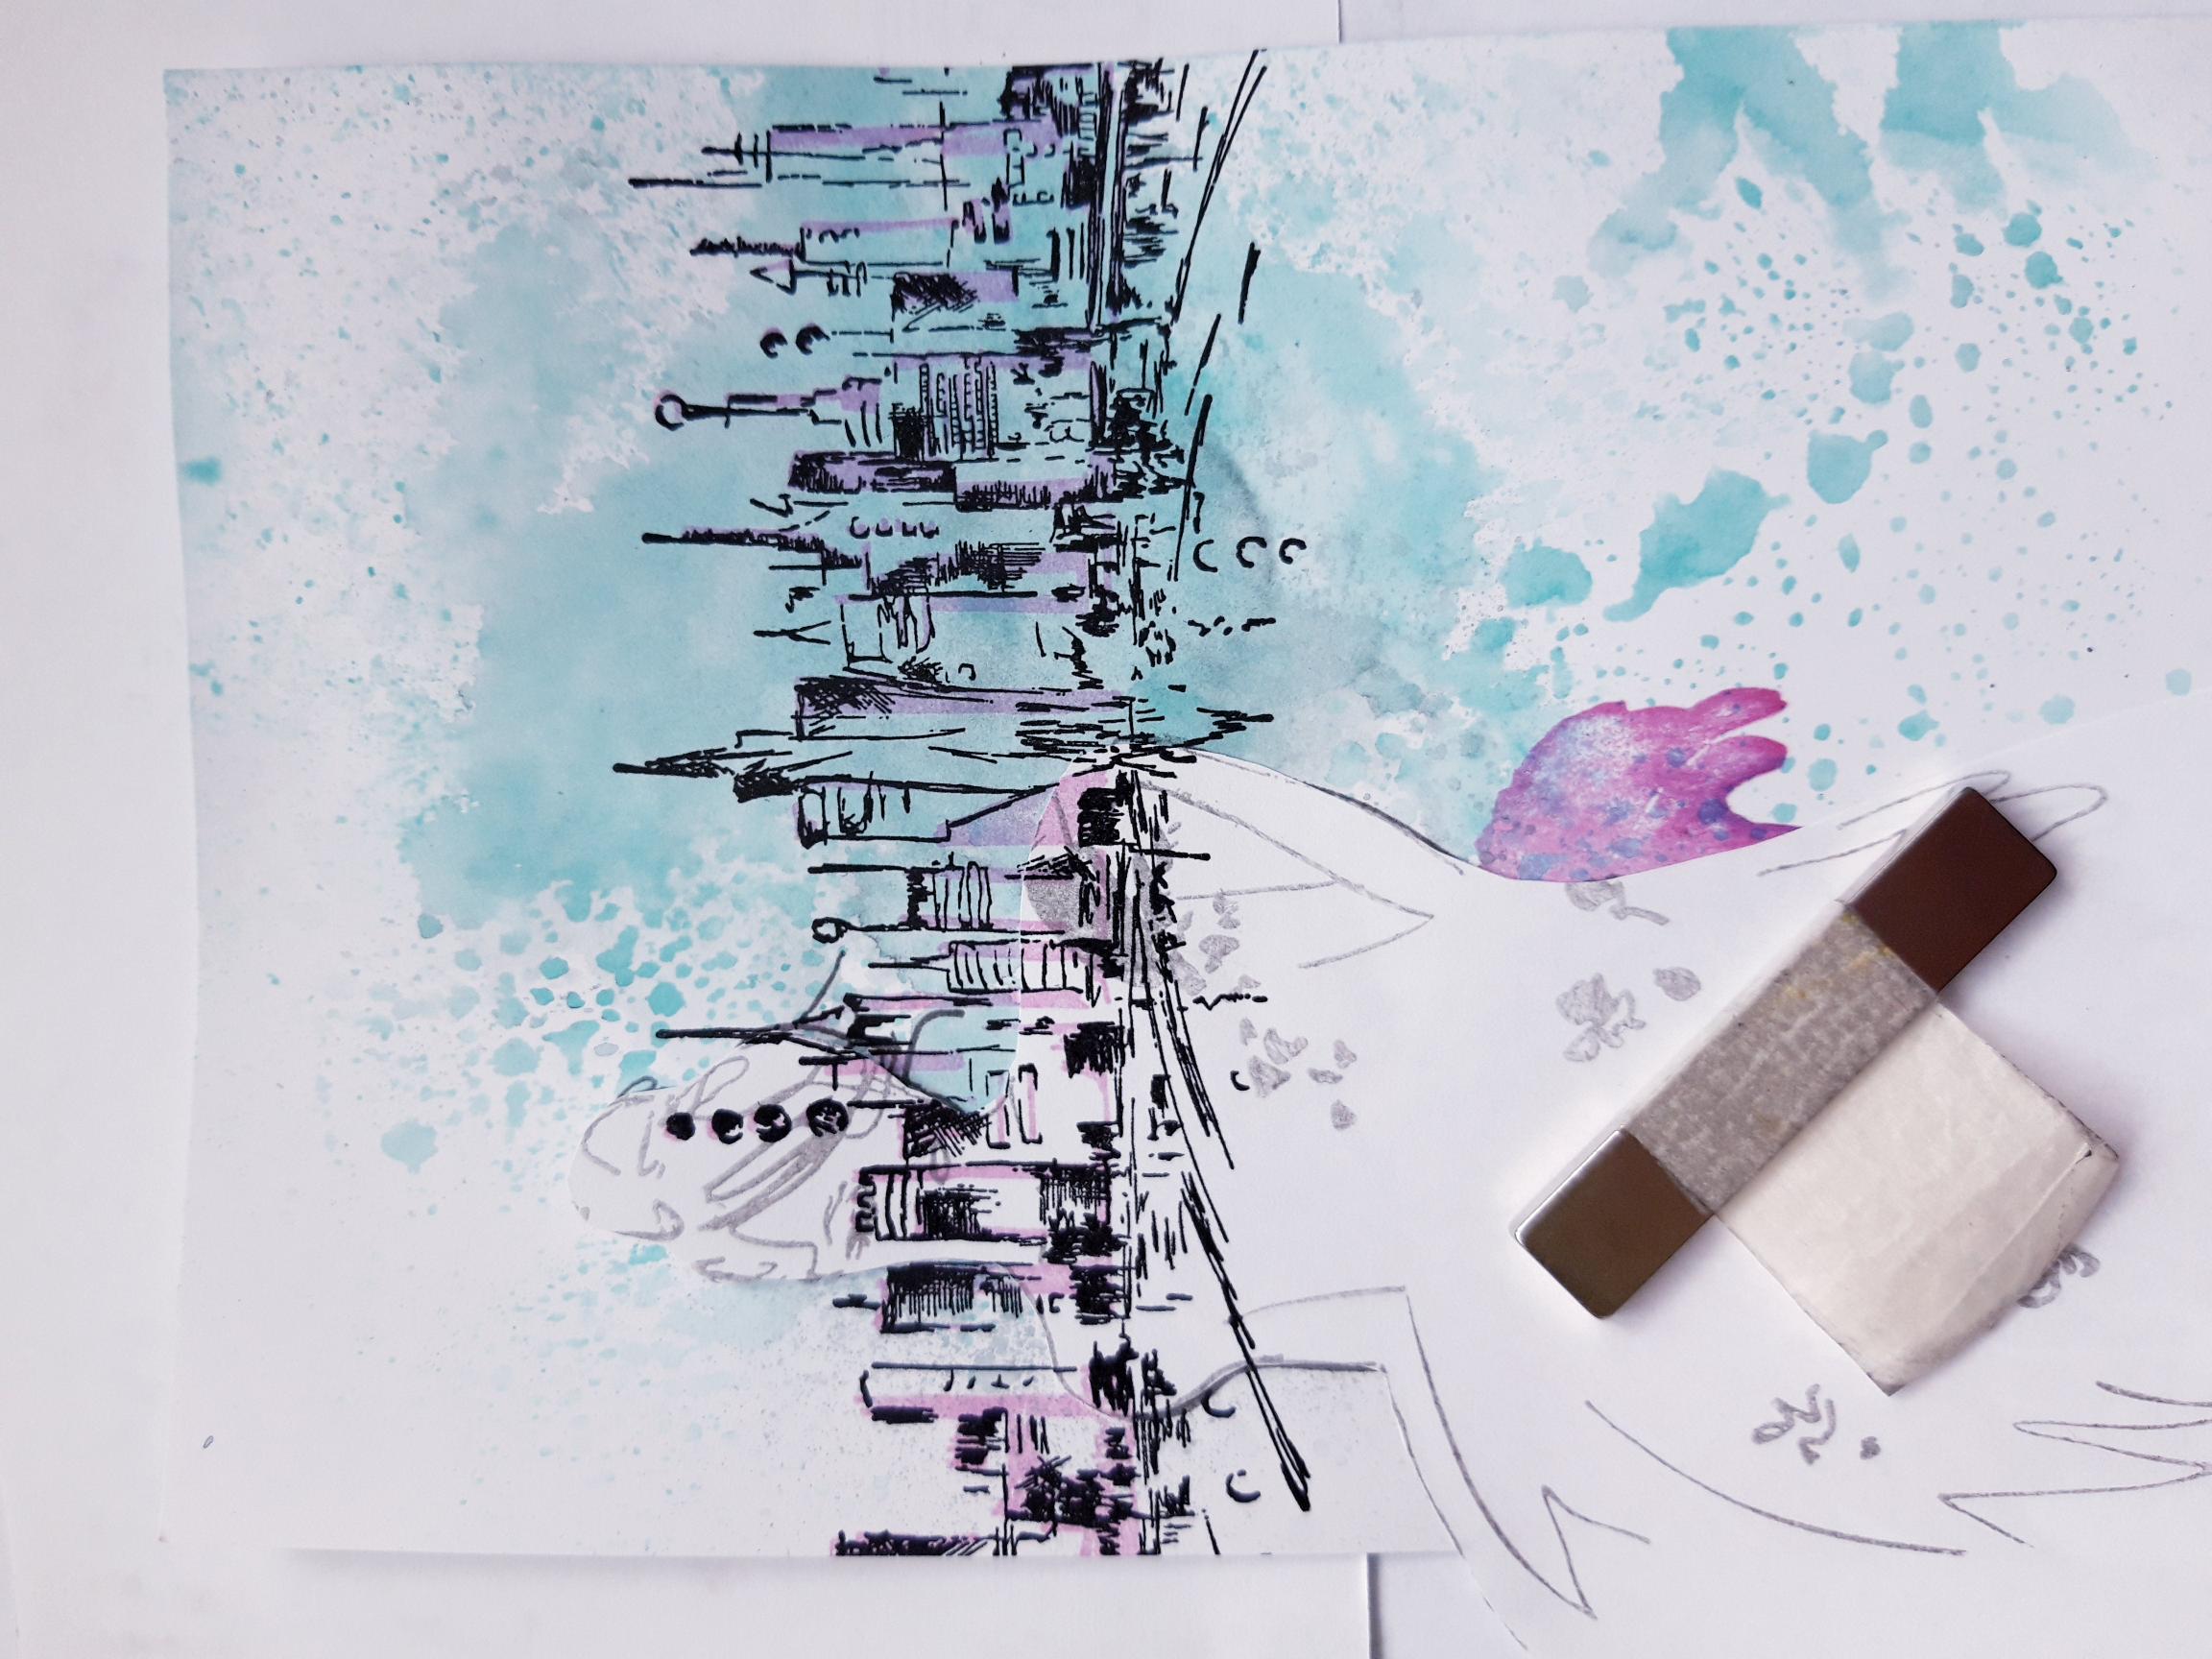
|
Ink up the detailed stamp, with the Onyx Black Versafine, and stamp it in position, on top of your stamped image. If you are unsure how to line it up, the image on the packaging will help. |
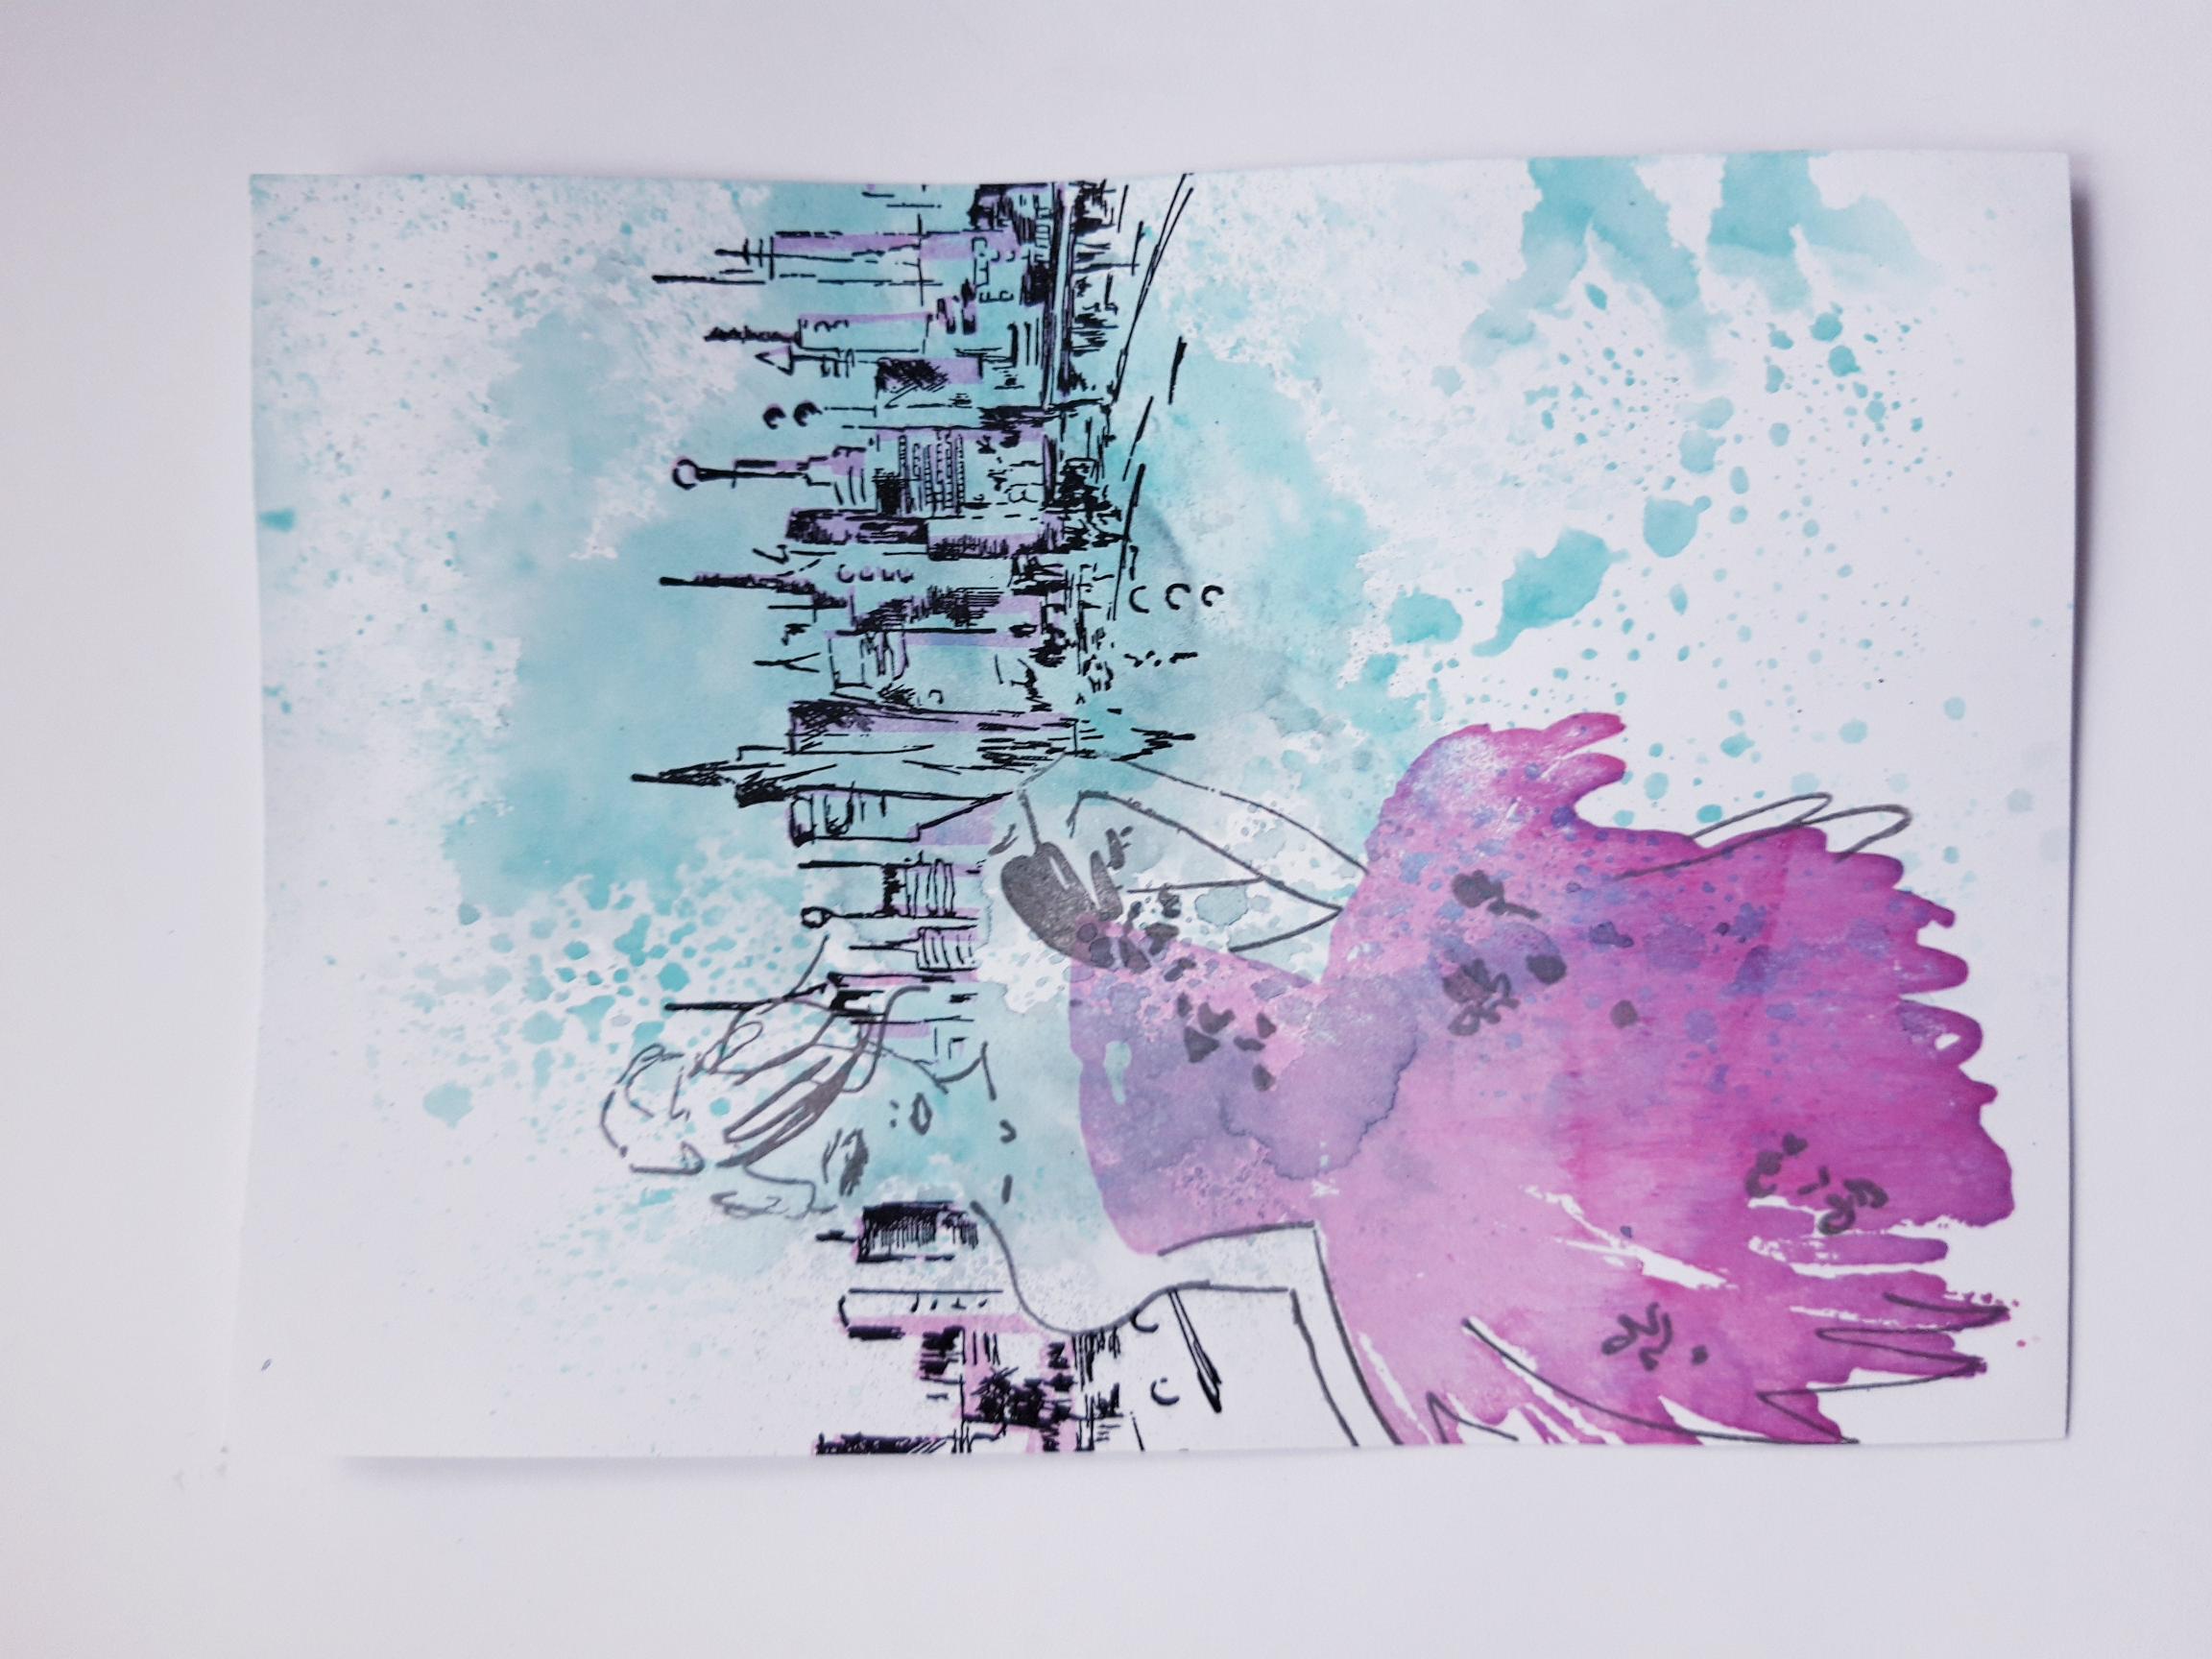
|
Carefully remove your mask, then dry off the ink. |
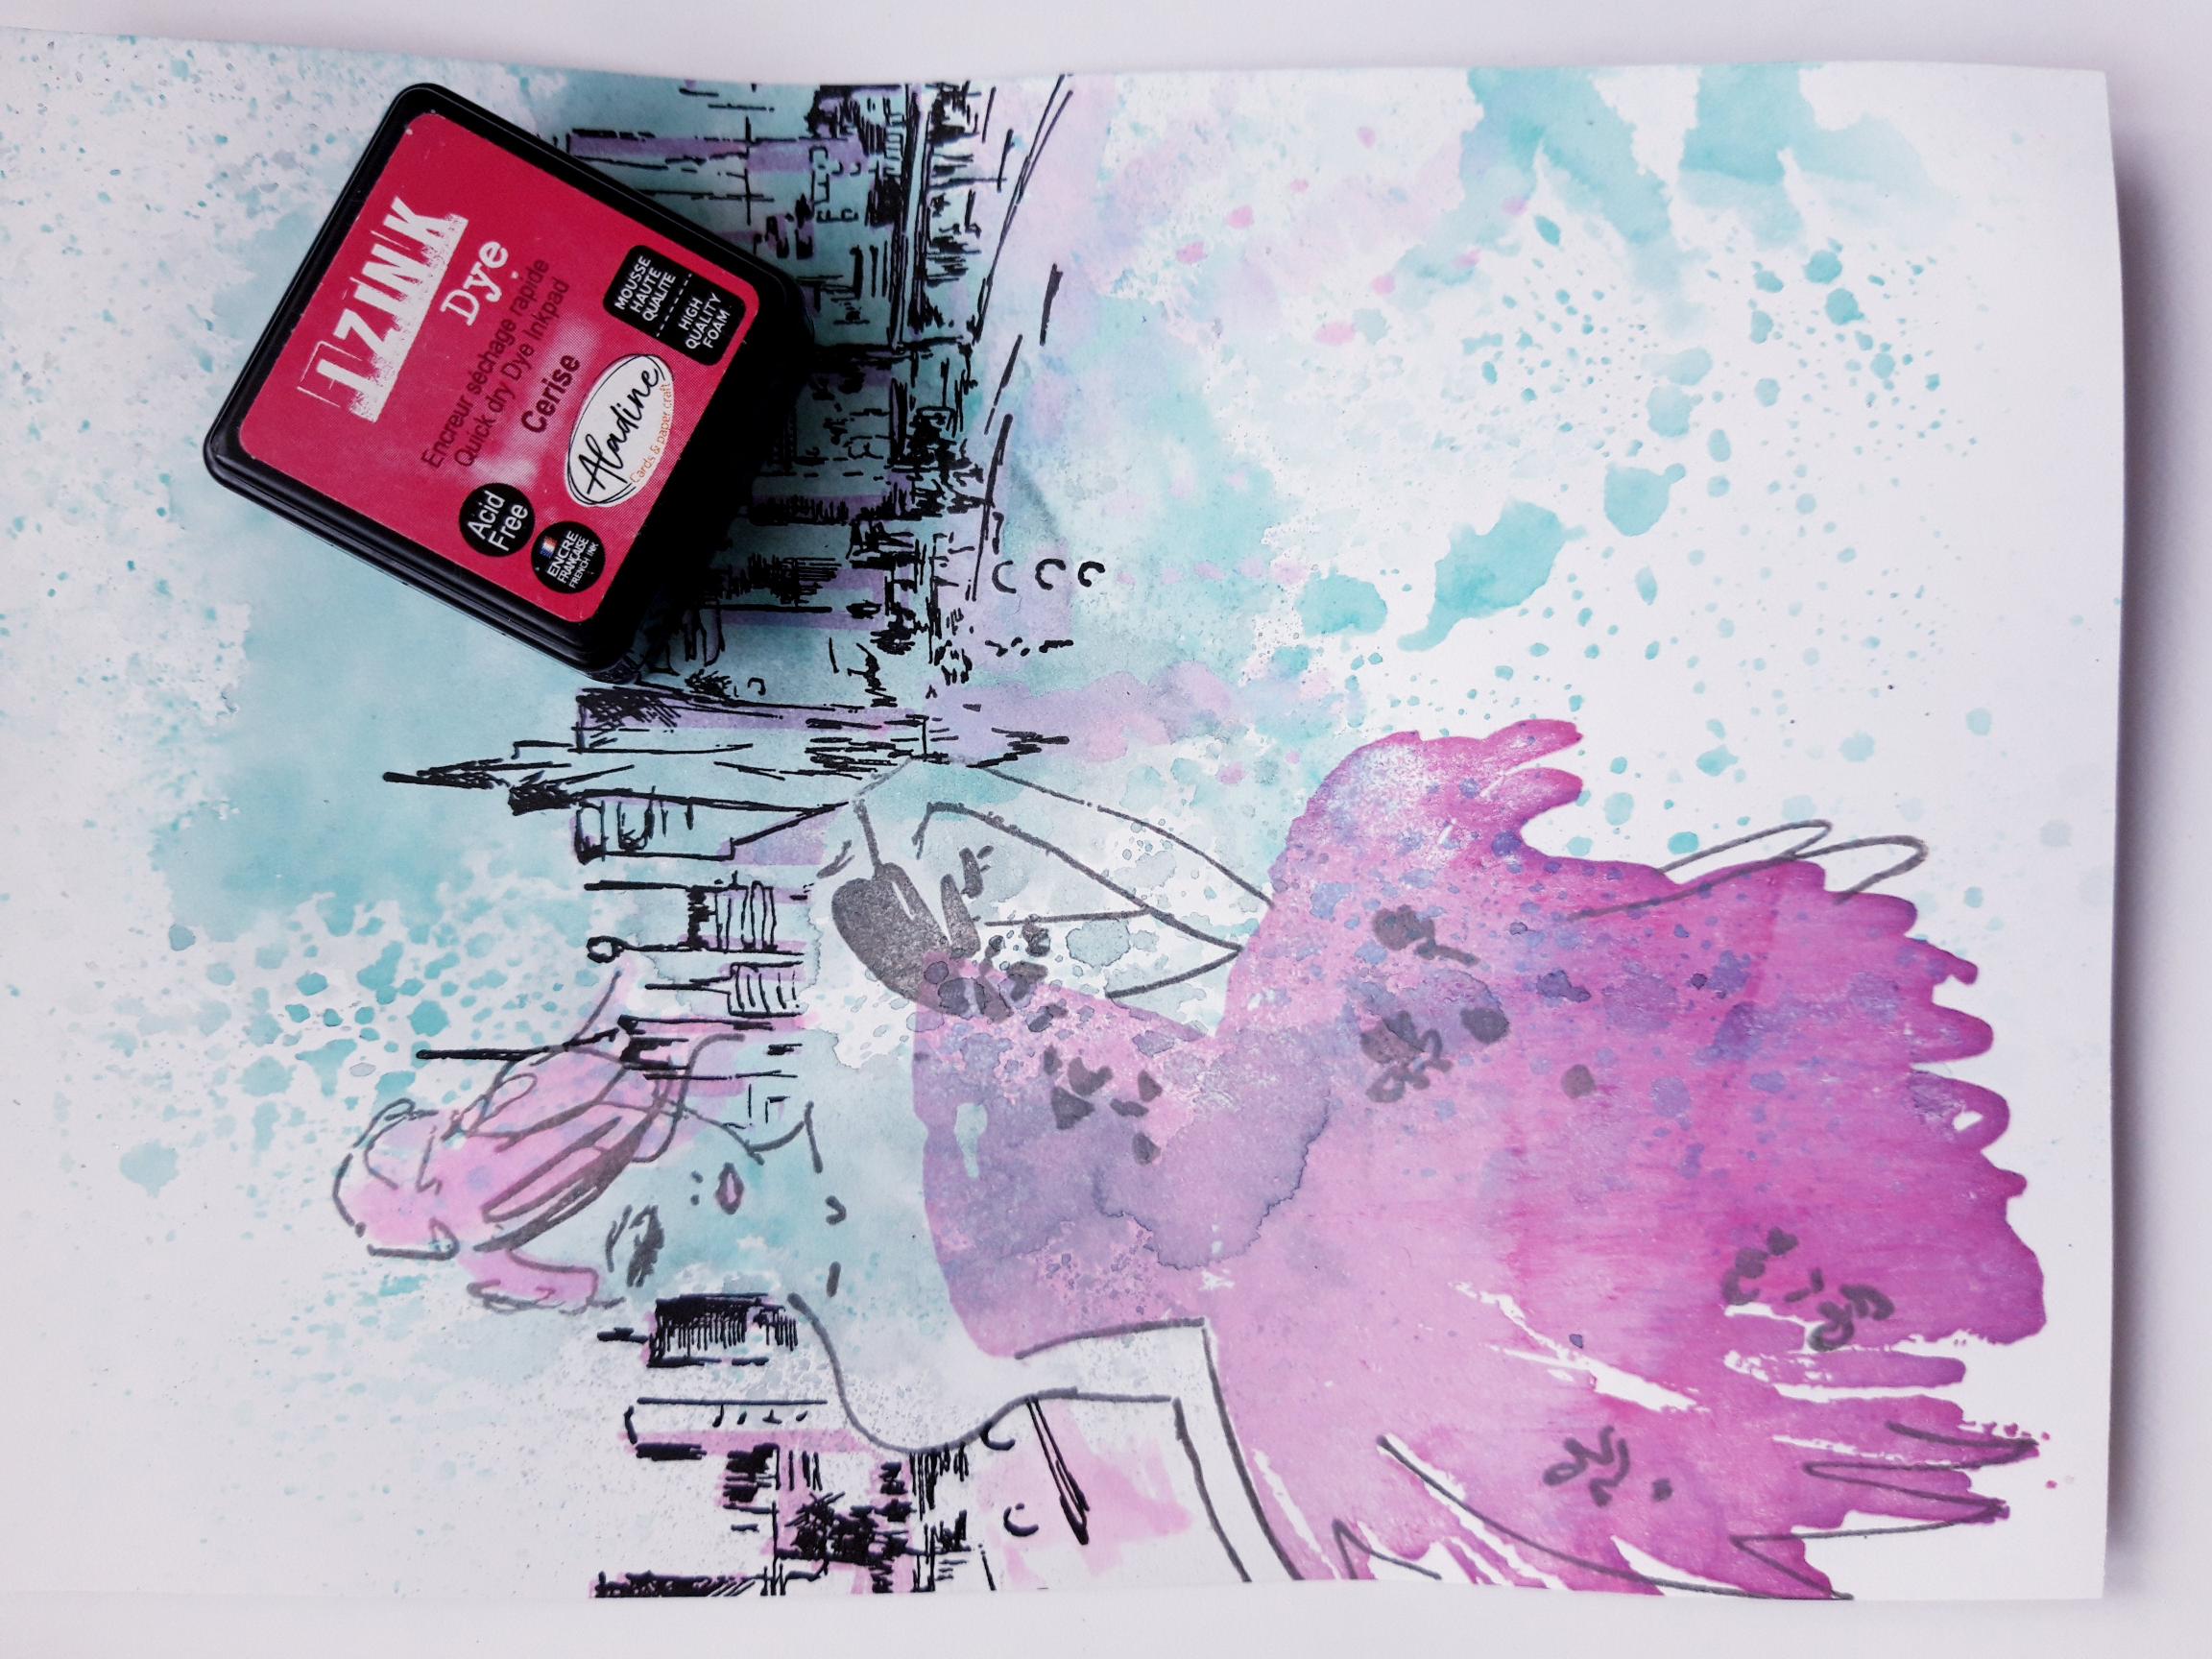
|
Smoosh the Izink Cassis ink pad on to a craft or glass mat, add a little water and paint the lady's hair, lips, eyes, as required. |
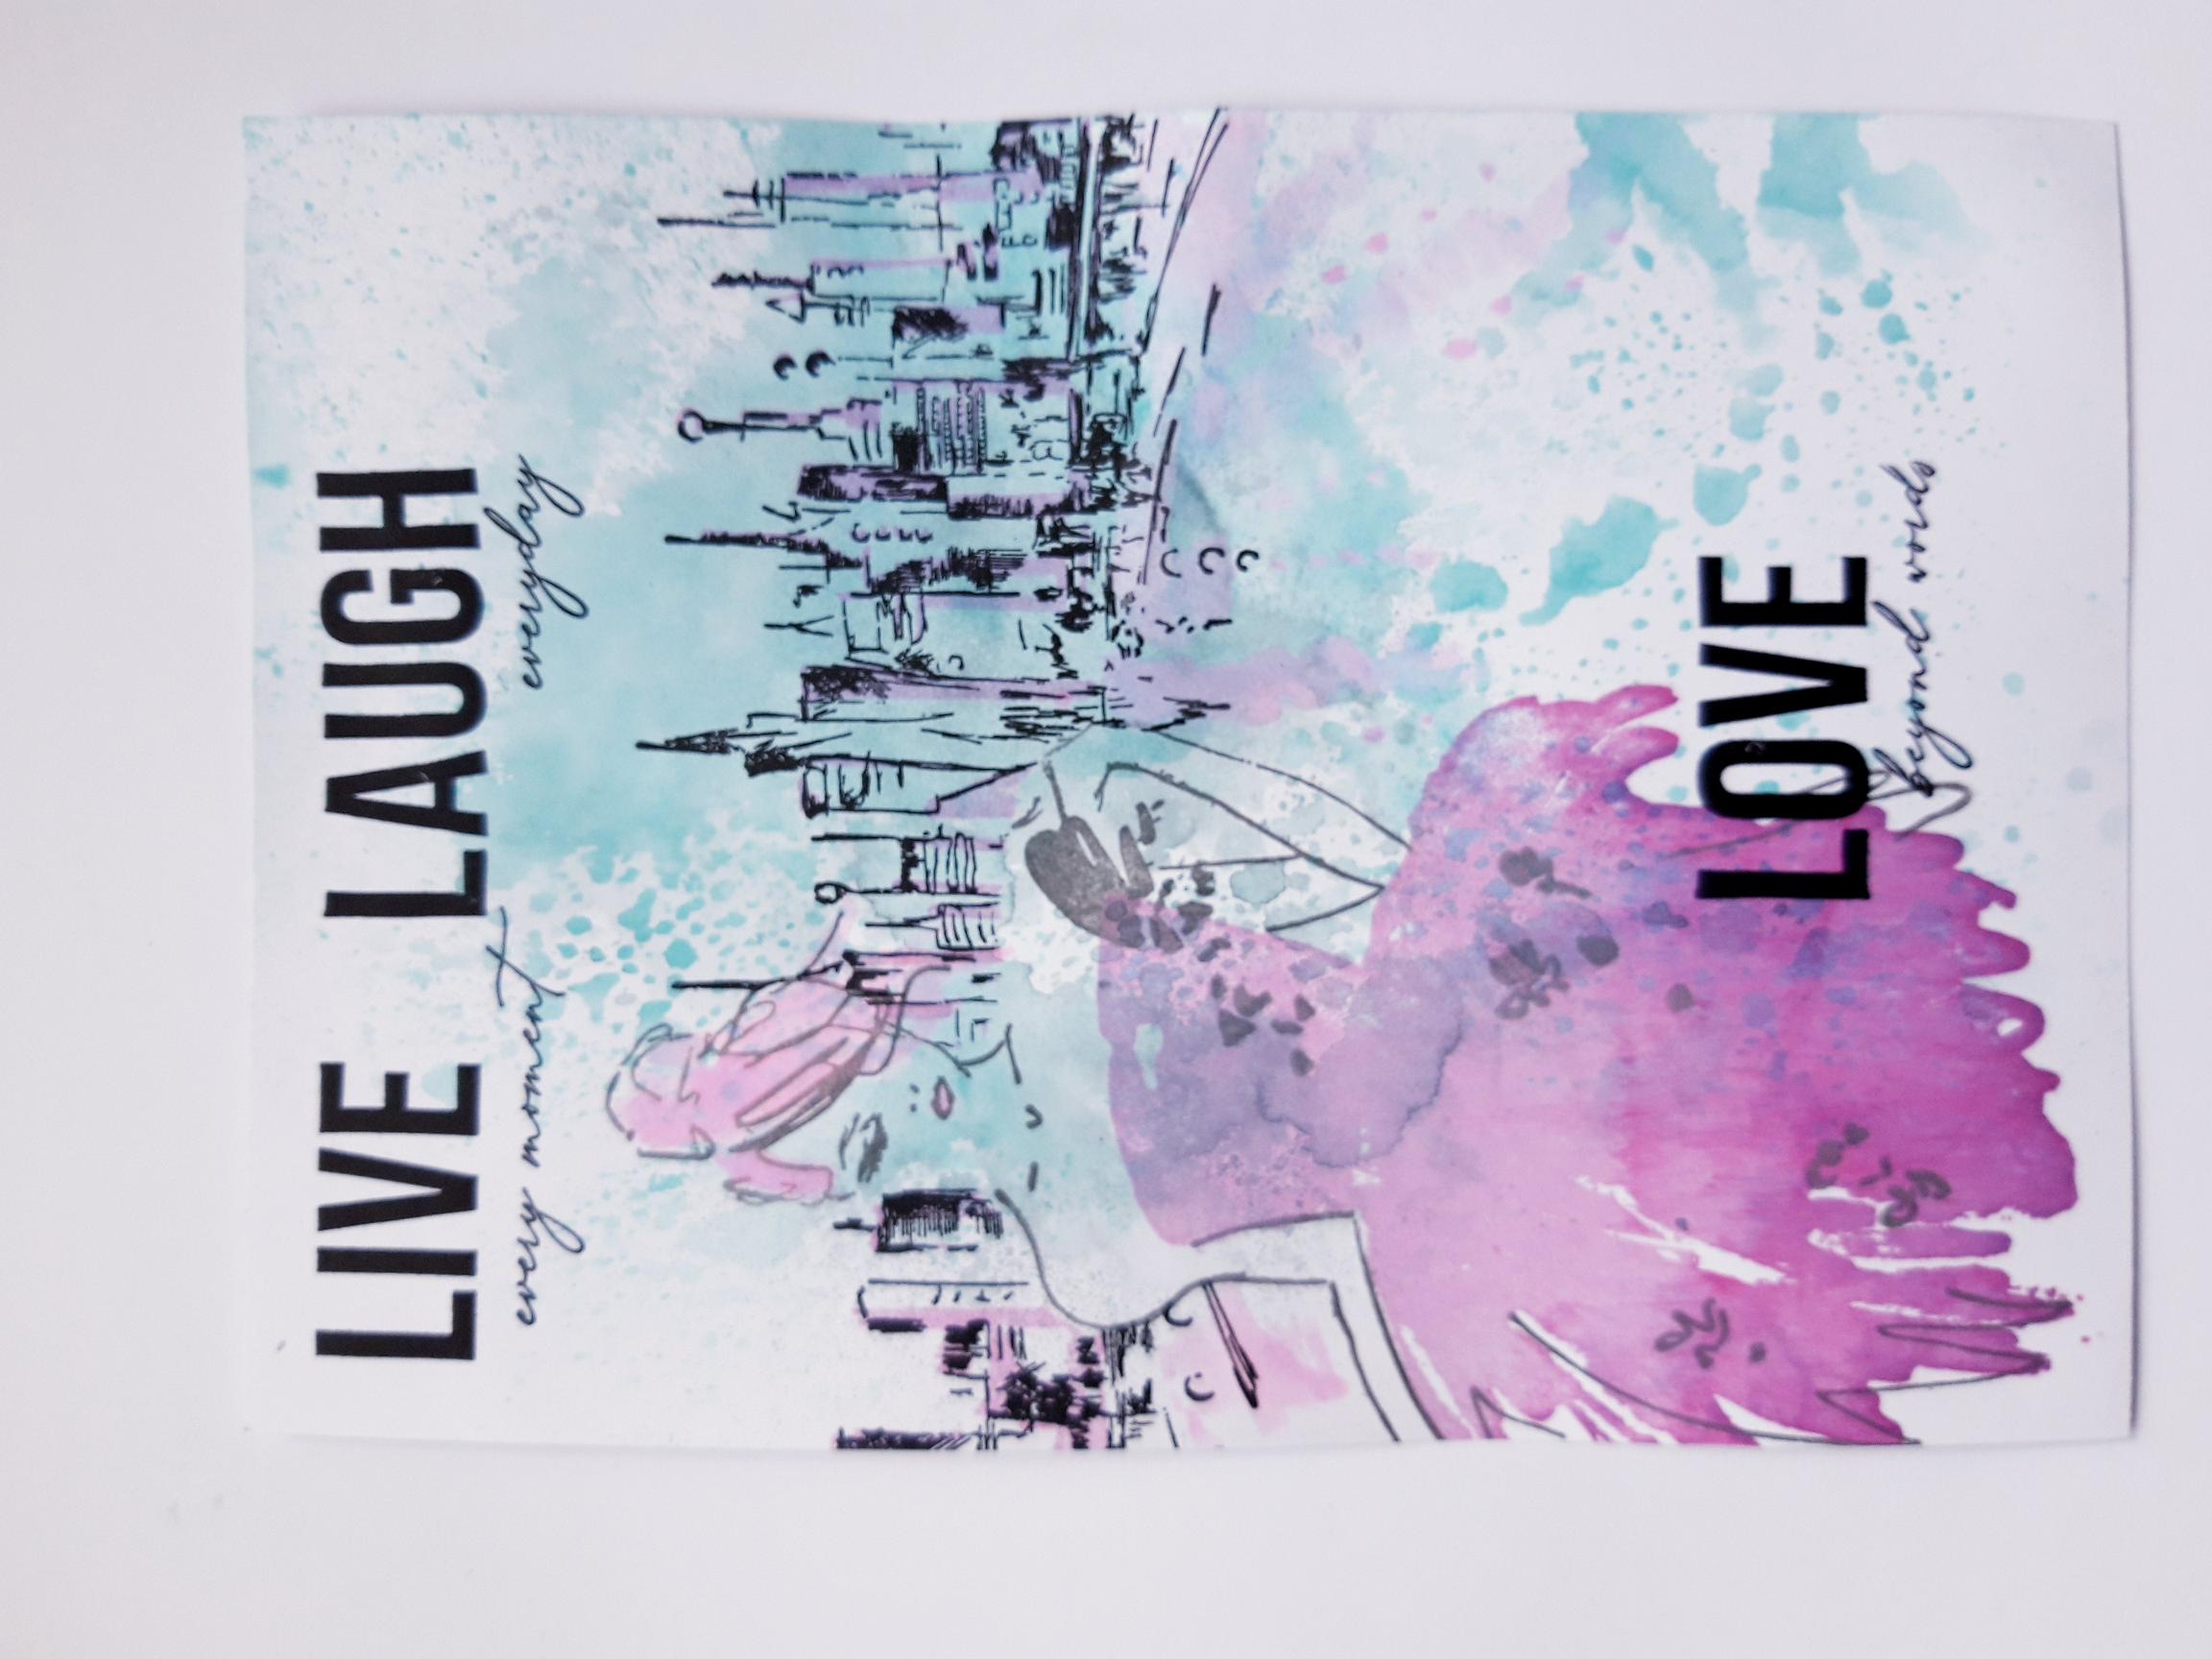
|
Ink up the sentiment from the Love Beyond Words set, with the Onyx Black Versafine, and stamp where required. I chose to split my sentiment up, but the choice is yours. |
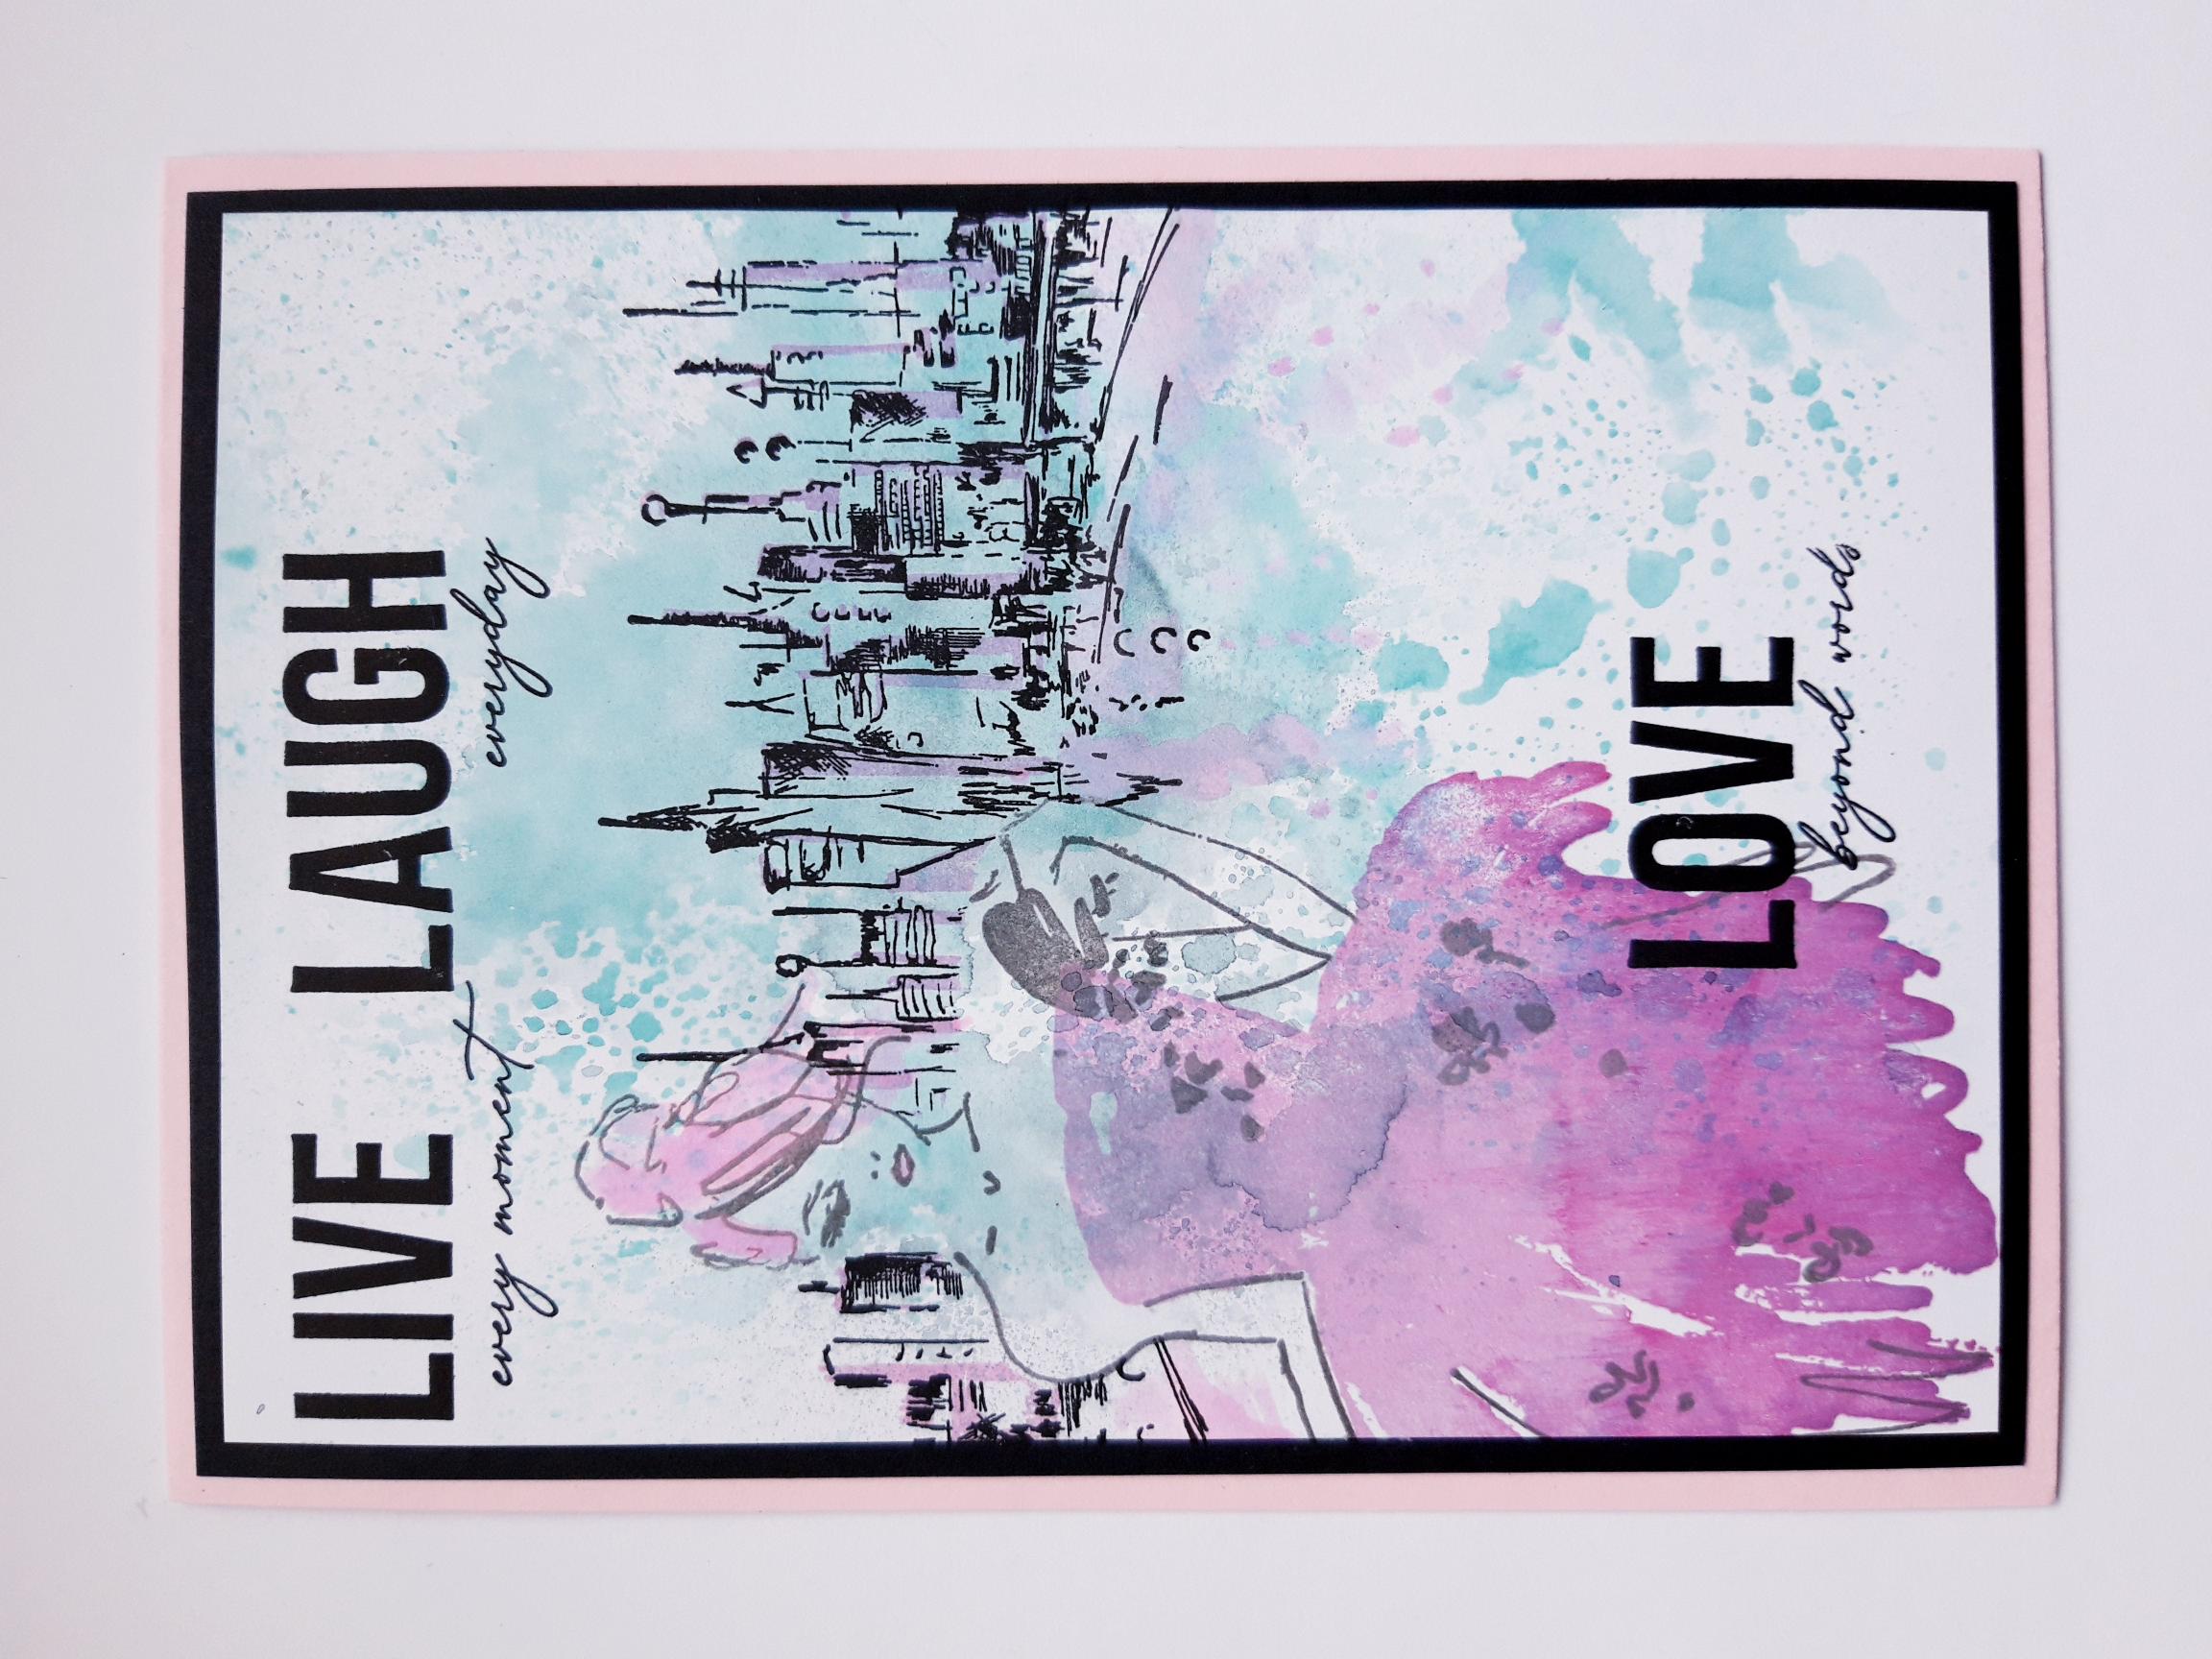
|
Once the ink is dry, mat your artwork on to the black card. Then mat this on to the front of your top folding, pink card blank. |
|
To finish, use a white gel pen to add accents, and highlights, where required. |